I recently bought a 3D Printer. And to make it even better I bought that 3D printer with crypto. I used the service of shopping.io to do that which I even wrote a article about here if you want to know more.
Right off the bat I started printing stuff and I was having a blast. I also had a LOT of print failures due to my inexperience with 3D printing but that was to be expected. However once I really started to print things I realized I needed more filament colors and so I started to buy more filament (with crypto and shopping.io) and then the fun really started to begin!
I also started my upgrade journey already. I bought the FlashForge Adventure 5M Pro because it was already an enclosed 3D printer so I knew that would let me print more filament types and have better longevity but I also knew it didn't do everything that I could want. A AMS system would be nice to print something in multiple colors but when I was doing my research over the last 2 or so years I kept seeing how much filament a AMS system wastes when it has to purge and change filaments, and I just didn't like that. I thought to myself that I would just print things in smaller batches of 1 color each and I can basically glue together each part. Well that requires so much more time and effort since a lot of 3D print files are designed for AMS systems. So that sucks.

But the one thing I hated right off the bat was that the FlashForge's recommend software to edit and print files is lacking at best. They have a skinned version of Orca (which is a standard software used) but it's capabilities are limited.
- You can't view the printer camera feed unless you are actively printing something
- It requires all prints to be sent through the cloud, so if their servers are down you can't print files with it. (that happened not to long ago)
- There is no Printer monitoring or statistics or anything other than just. Open a file and change Filament type or settings and then print the file.
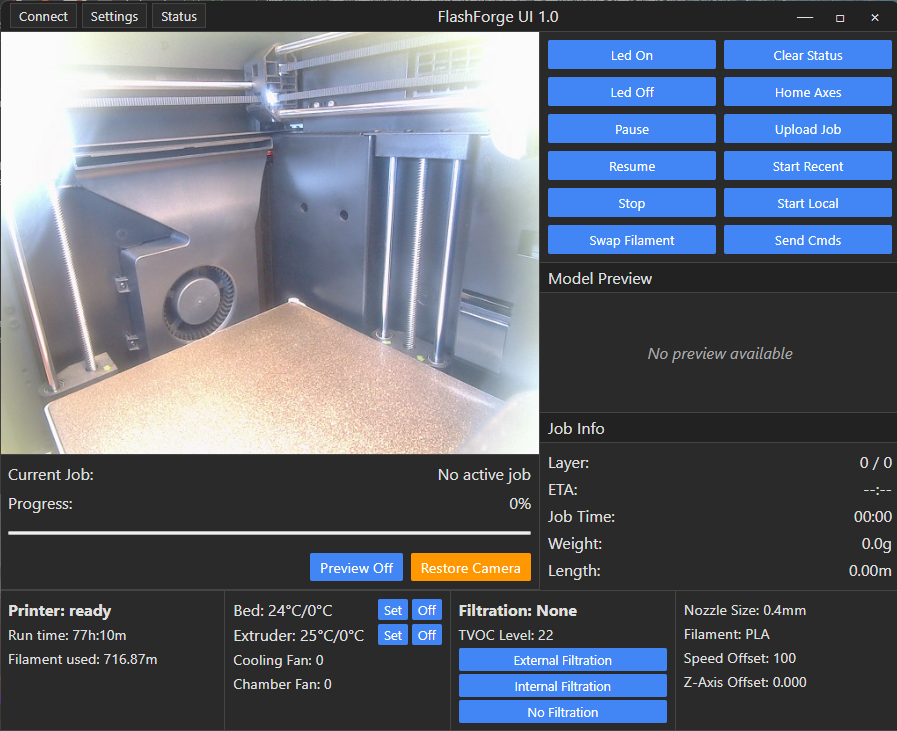
That is when I started to dig into Reddit and found "FlashForgeUI" and it has everything I want. Only download it from their GitHub here: https://github.com/Parallel-7/FlashForgeUI-Electron/releases/tag/v1.0.0
There main website is https://flashforge.dev/ and has a LOT of info there if you are curious
Once you setup the software it will auto connect to your printer every time you turn it on. It is just a gamechanger since my 3D printer is on the other side of my basement where I can physically see it but it is higher and angled away from where I am sitting so I can't see the print bed and the FlashForgeOrca software will show you the camera feed for about 1 minute before it times out and you have to reconnect which sucks.
I have such a backlog of things I want to print but they require me to make the 3D models and that is proving to be a time suck. I picked Blender back up recently because it was something I dabbled in when creating NFT's on WAX years ago and figured if I am going to learn 3D modelling I might as well learn the most feature rich software for 3D Modelling! And let me just say there is a STEEP learners curve to Blender.
- Splinterlands Character Model (not sure which one but would LOVE suggestions that are not too complex)
- Polyverse Character Model
- A Wireless Phone Charger (I have the charger, just need to make a stand that it fits in)
- Table Saw plate to replace my broken one on my Ridgid Table Saw
- A Dust Connector for my Ridgid Planer
- A Pokemon Deck Box that is shaped like a Gameboy (I made one from cardboard and such before I had a 3D printer but now want to make a slick looking plastic one)
- Inserts for the Pokemon Tins so that those can be repurposed and not just thrown away after they are opened.
- A connector to my Rain Barrell to fill up my Watering Cans easier
- Fun Cookie Cutters, cause why not!
- Minecraft themed items for the kiddo, cause why not!
What am I working on NOW though?
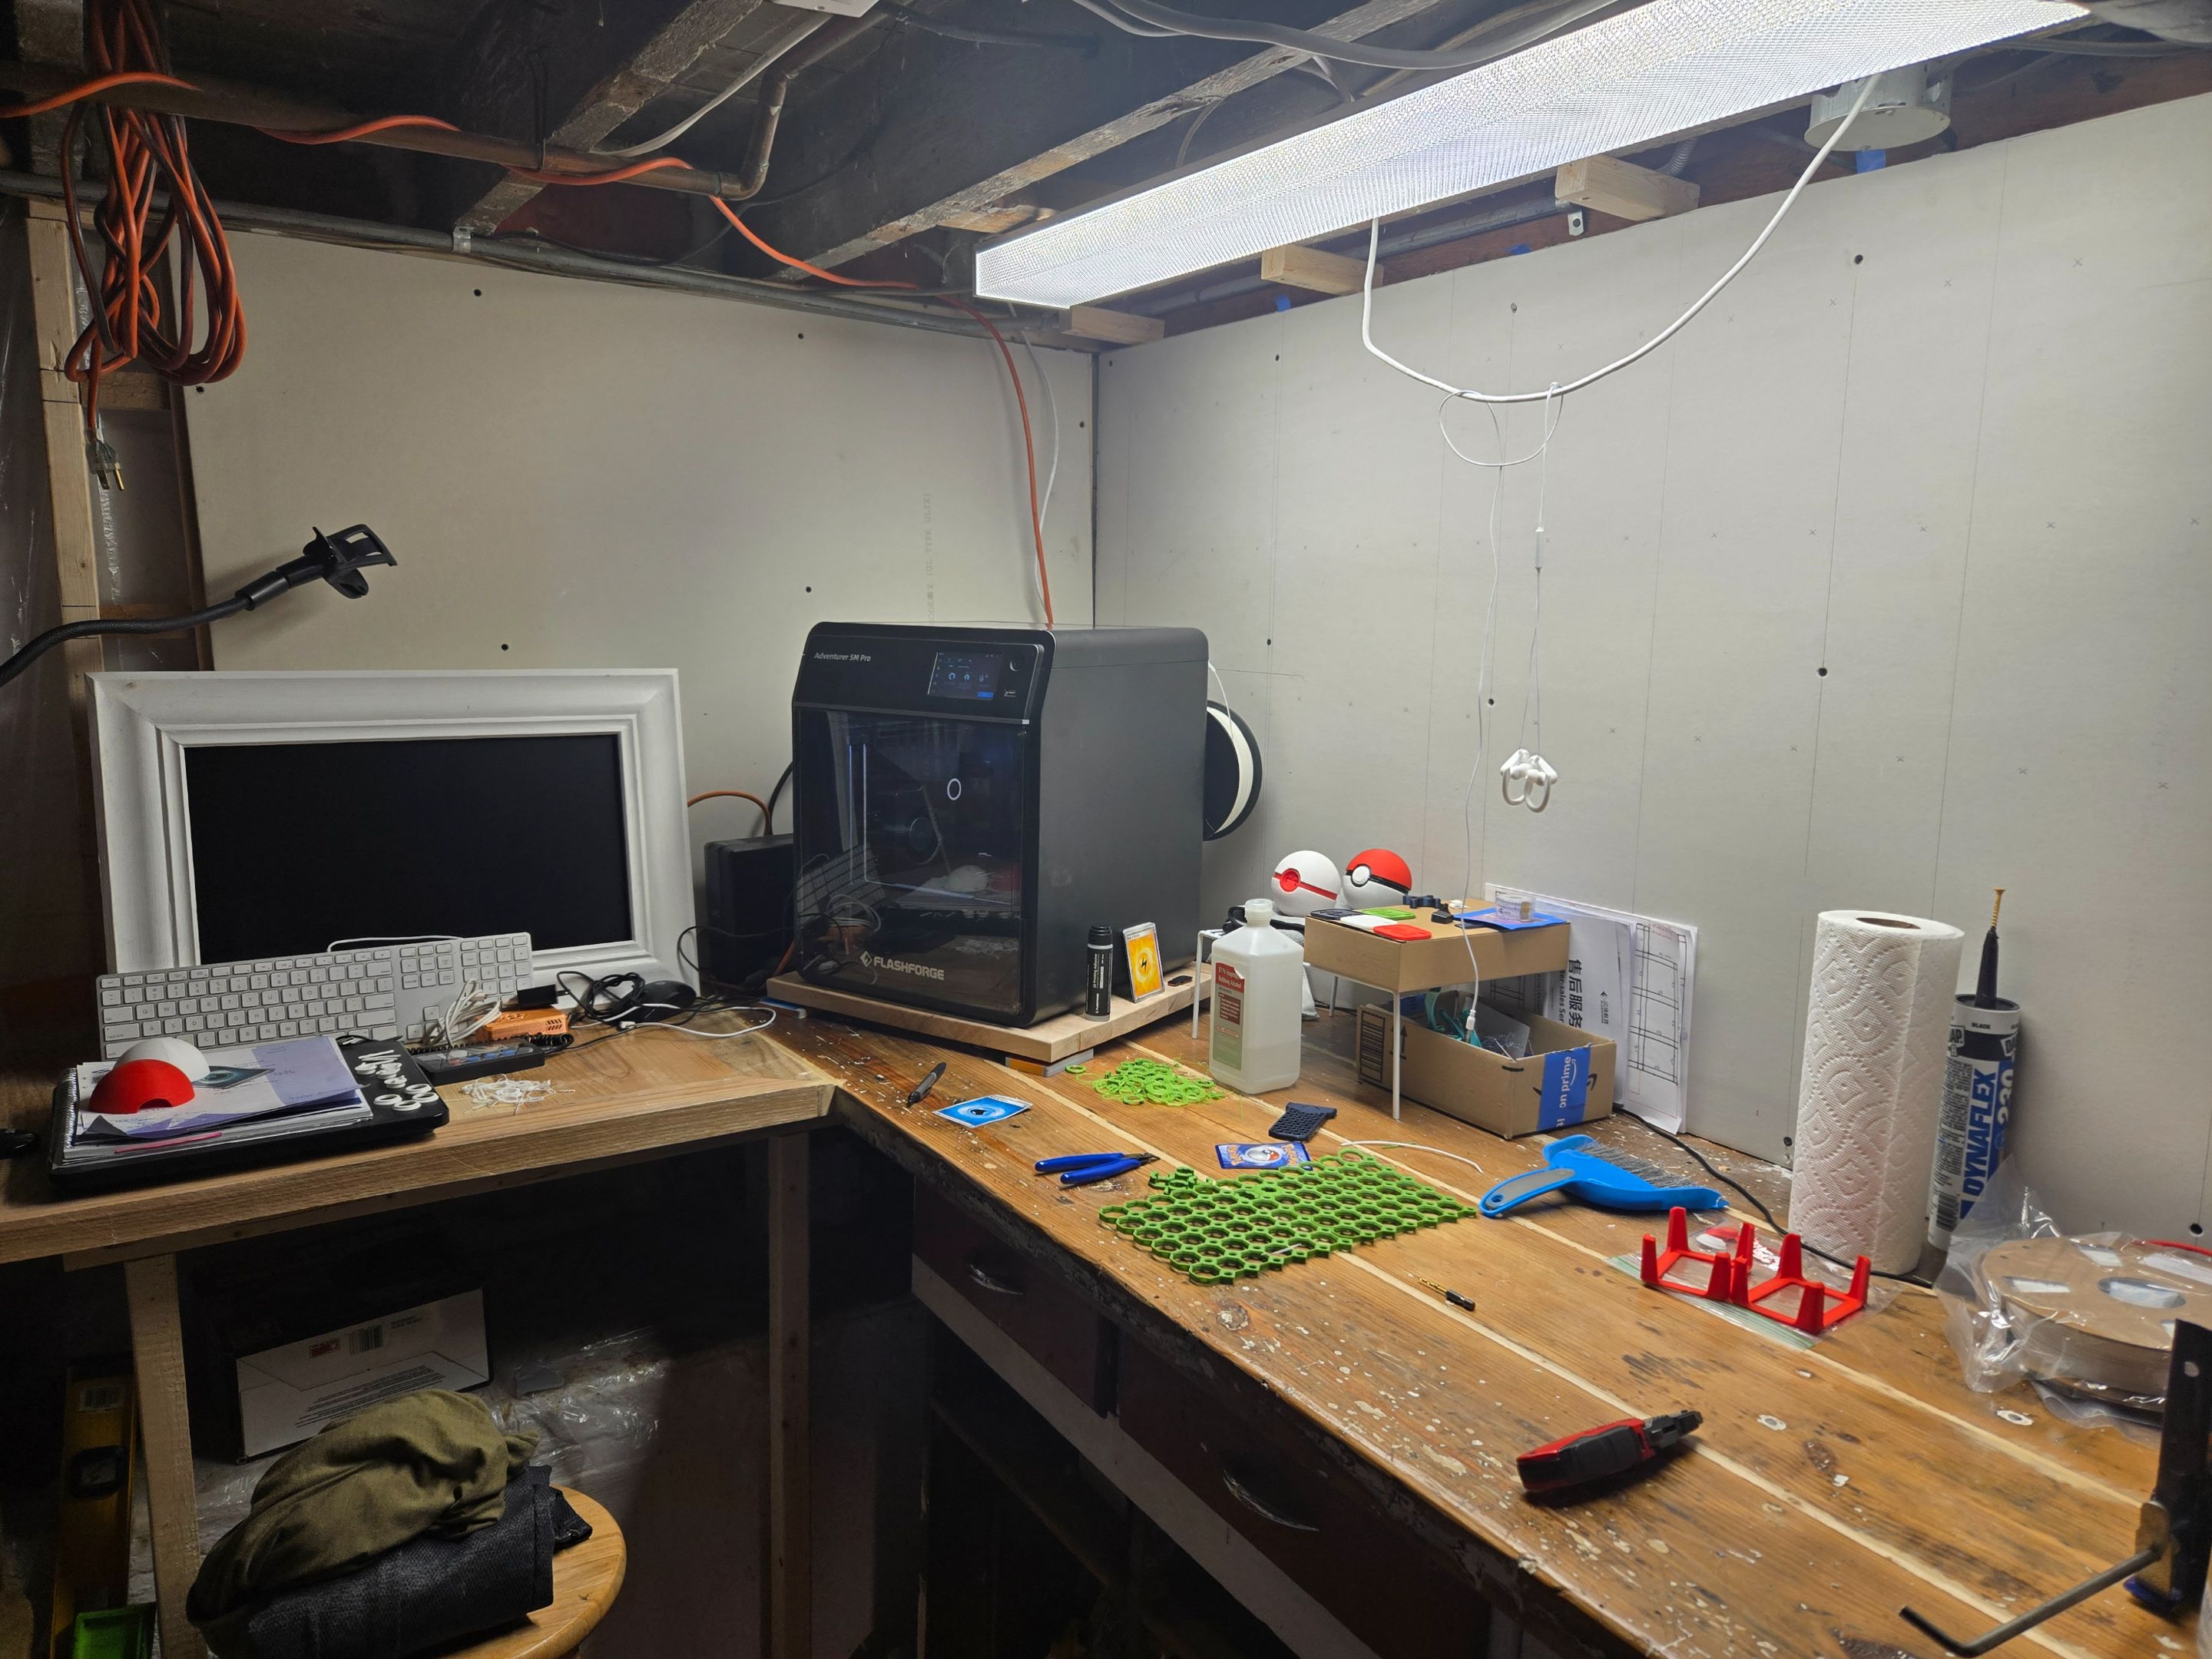
Well I started to get into organization and I wanted to clean up my work space some. I already cleaned up my desk area and put in my drywall to sort of clean up the space but I have not finished that because my 3D printer came before I was done! However I am going to finish up the Drywall section and clean up the walls and then start to put up a storage type system. The best one I found is called "Multiboard" and it's a game changer
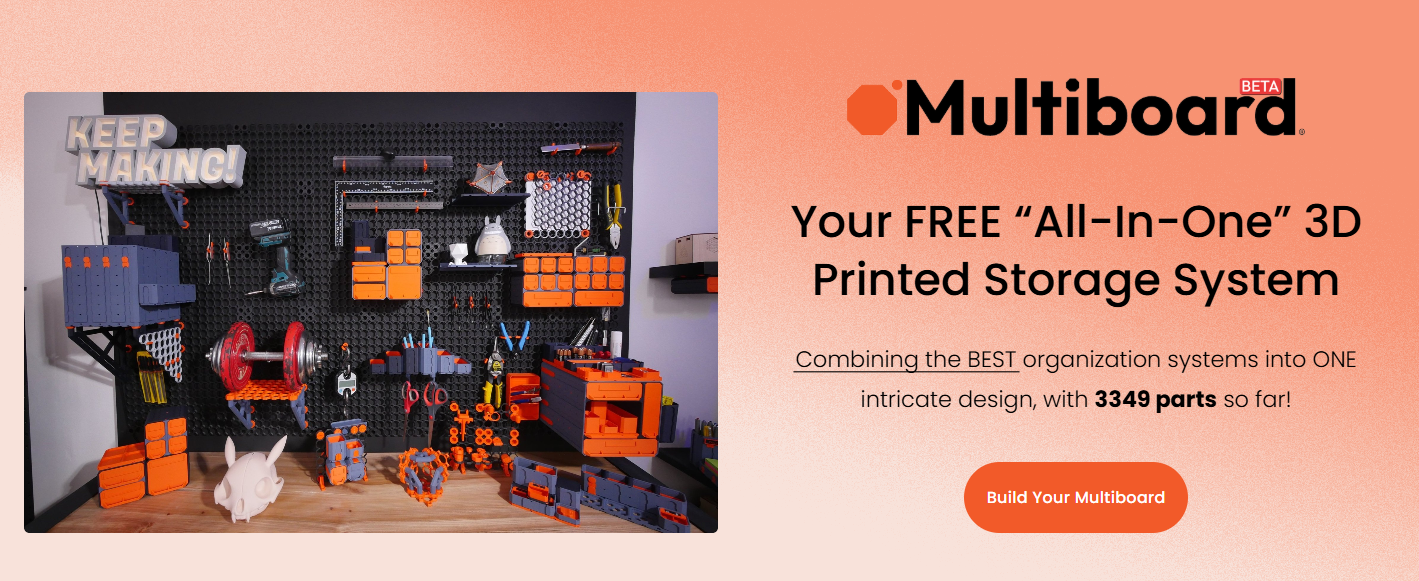
You can check it out for yourself here: https://www.multiboard.io/
I just started to print off a few of those Core Tiles to play around and see what type of connectors and such I am going to need to print. There are thousands of parts and pieces and they all come in various sizes so it's a struggle to know where to start and even when you started it's it hard to know what part is what and what part you need to do the thing you want. So there is a lot of trial an error!
Fast Forward 2 months (give or take). I wrote this post originally and then got totally distracted with printing and doing the things so I figured I would give an update before I post this intro to 3D printing post.
I have a workbench near my home office in the basement but wanted to spice it up a little. Here is after I added some support and drywall to the walls.
And during this entire time I was printing the Multiboard tiles and slowly piecing them together.
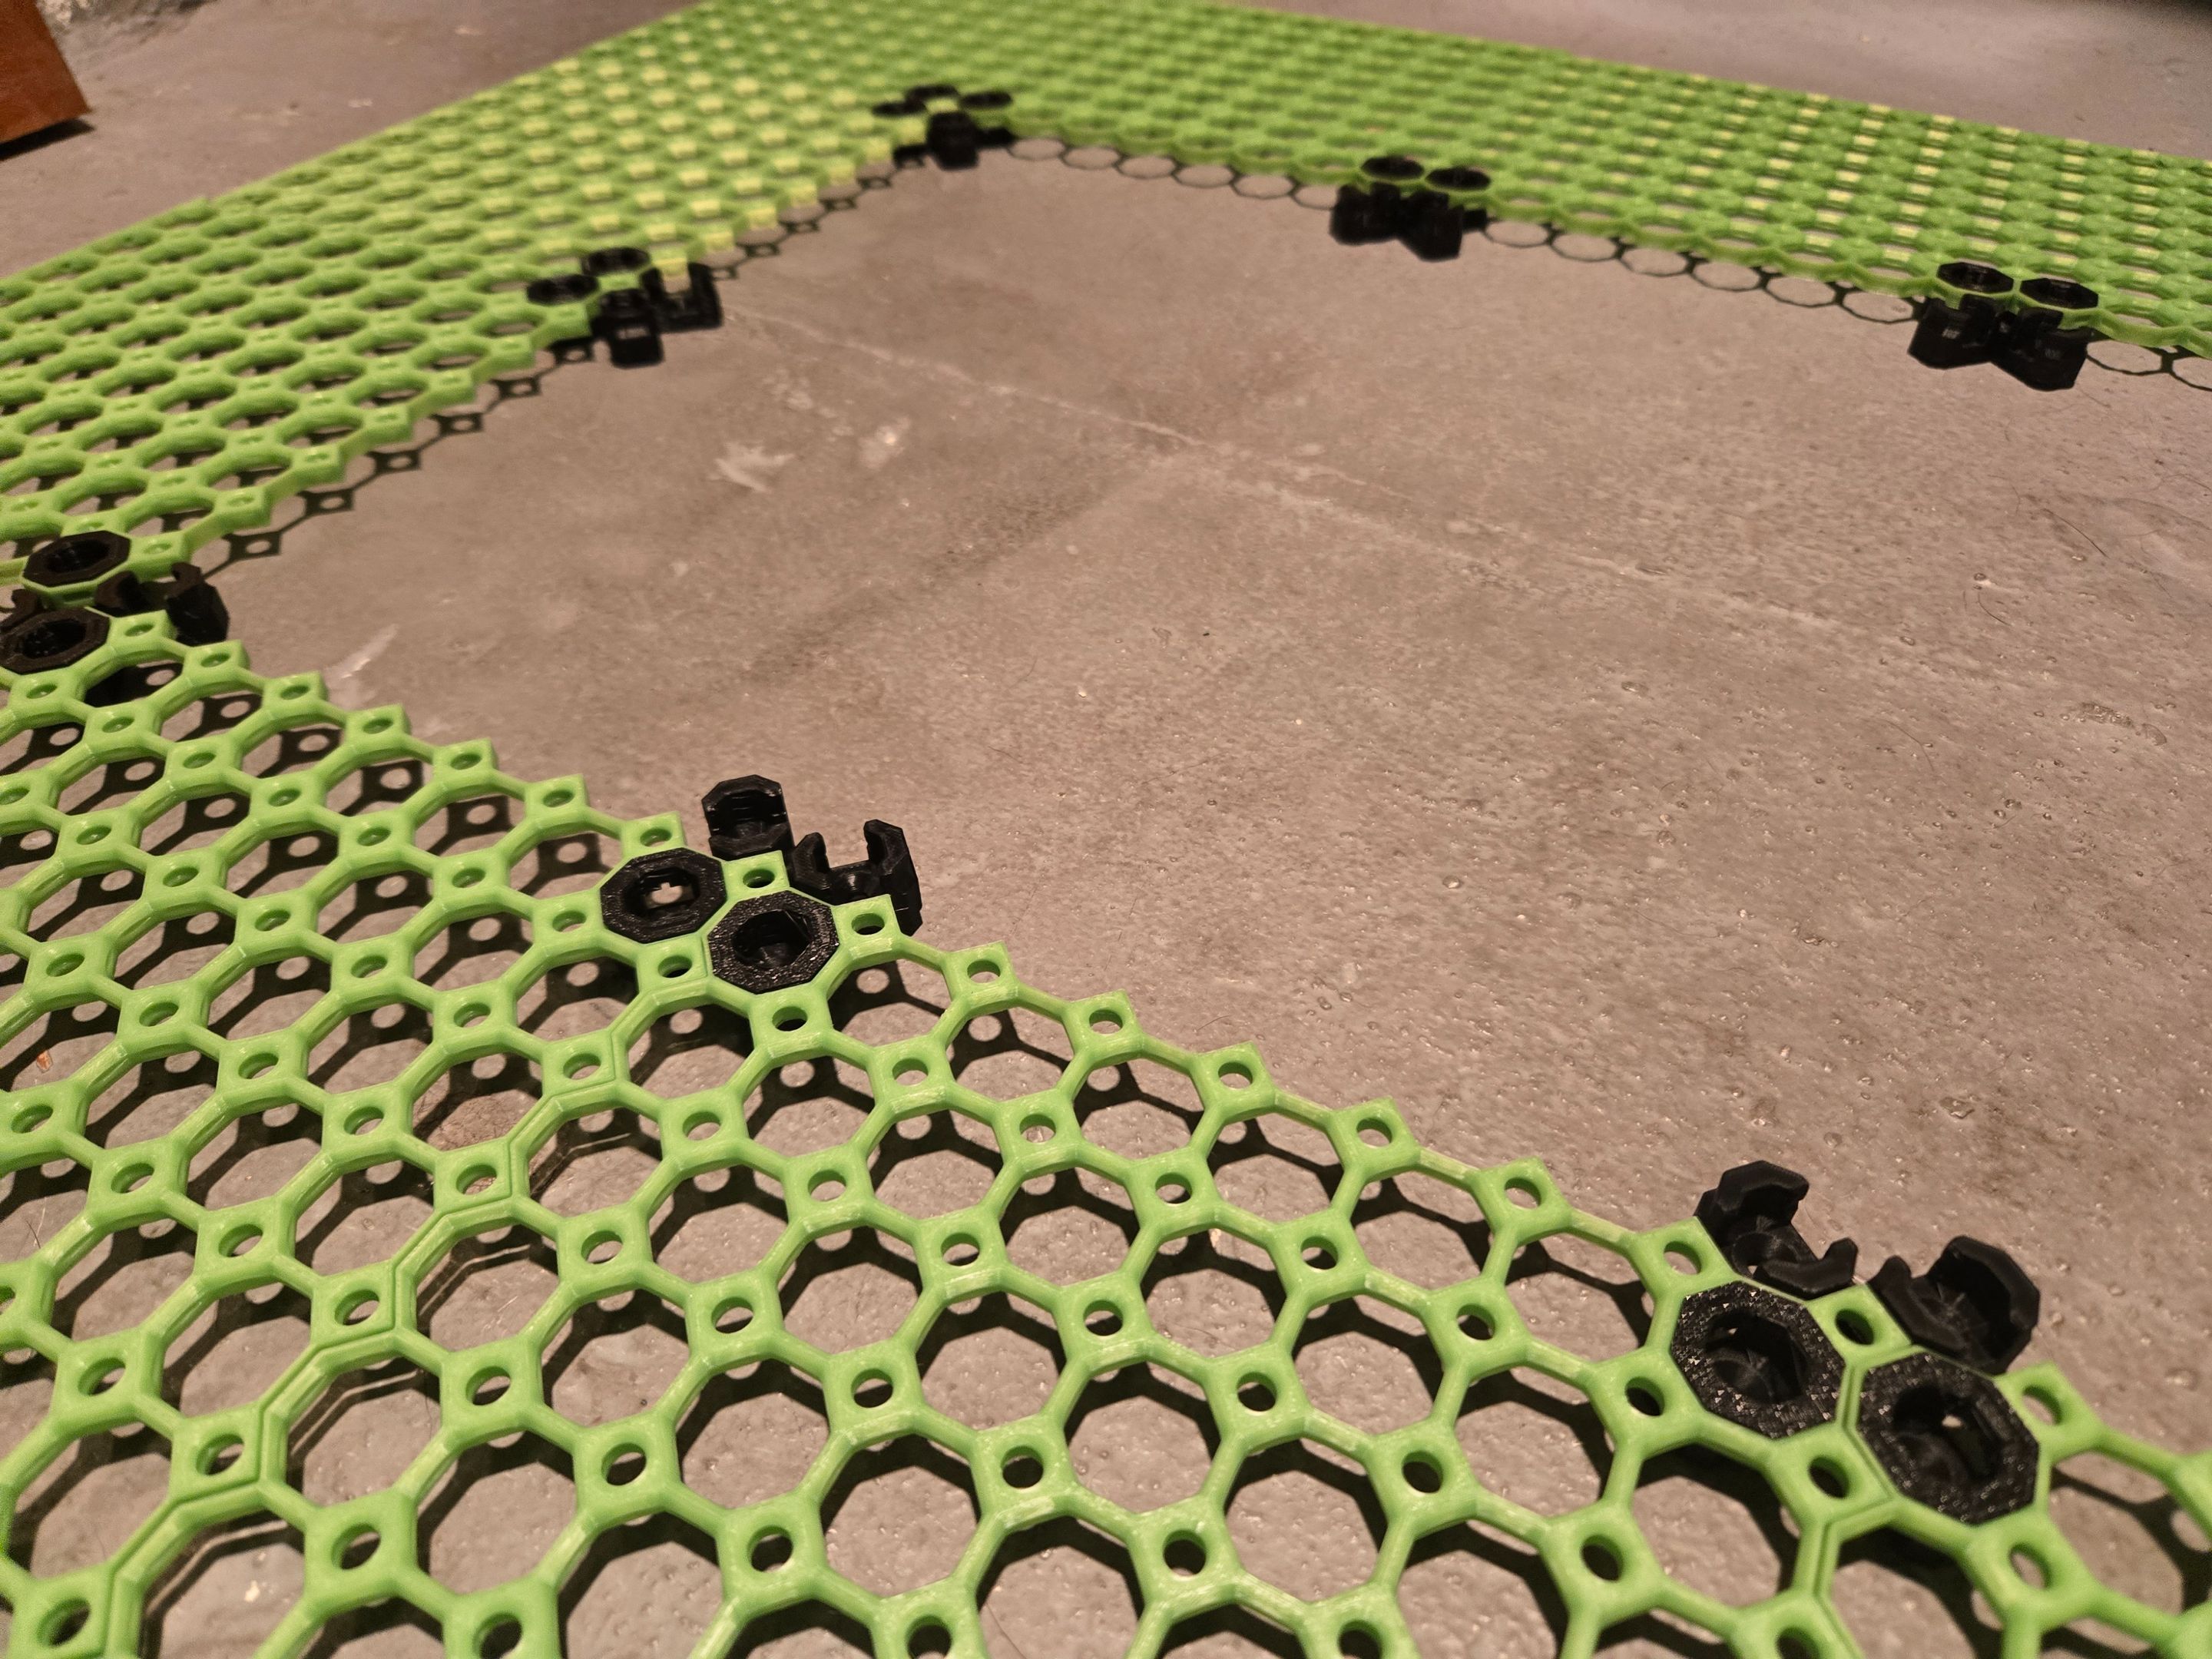
I finally printed enough to put it up on the wall!

Then I put the printer back into his place and also added my Filament Dryer which has been a game changer!
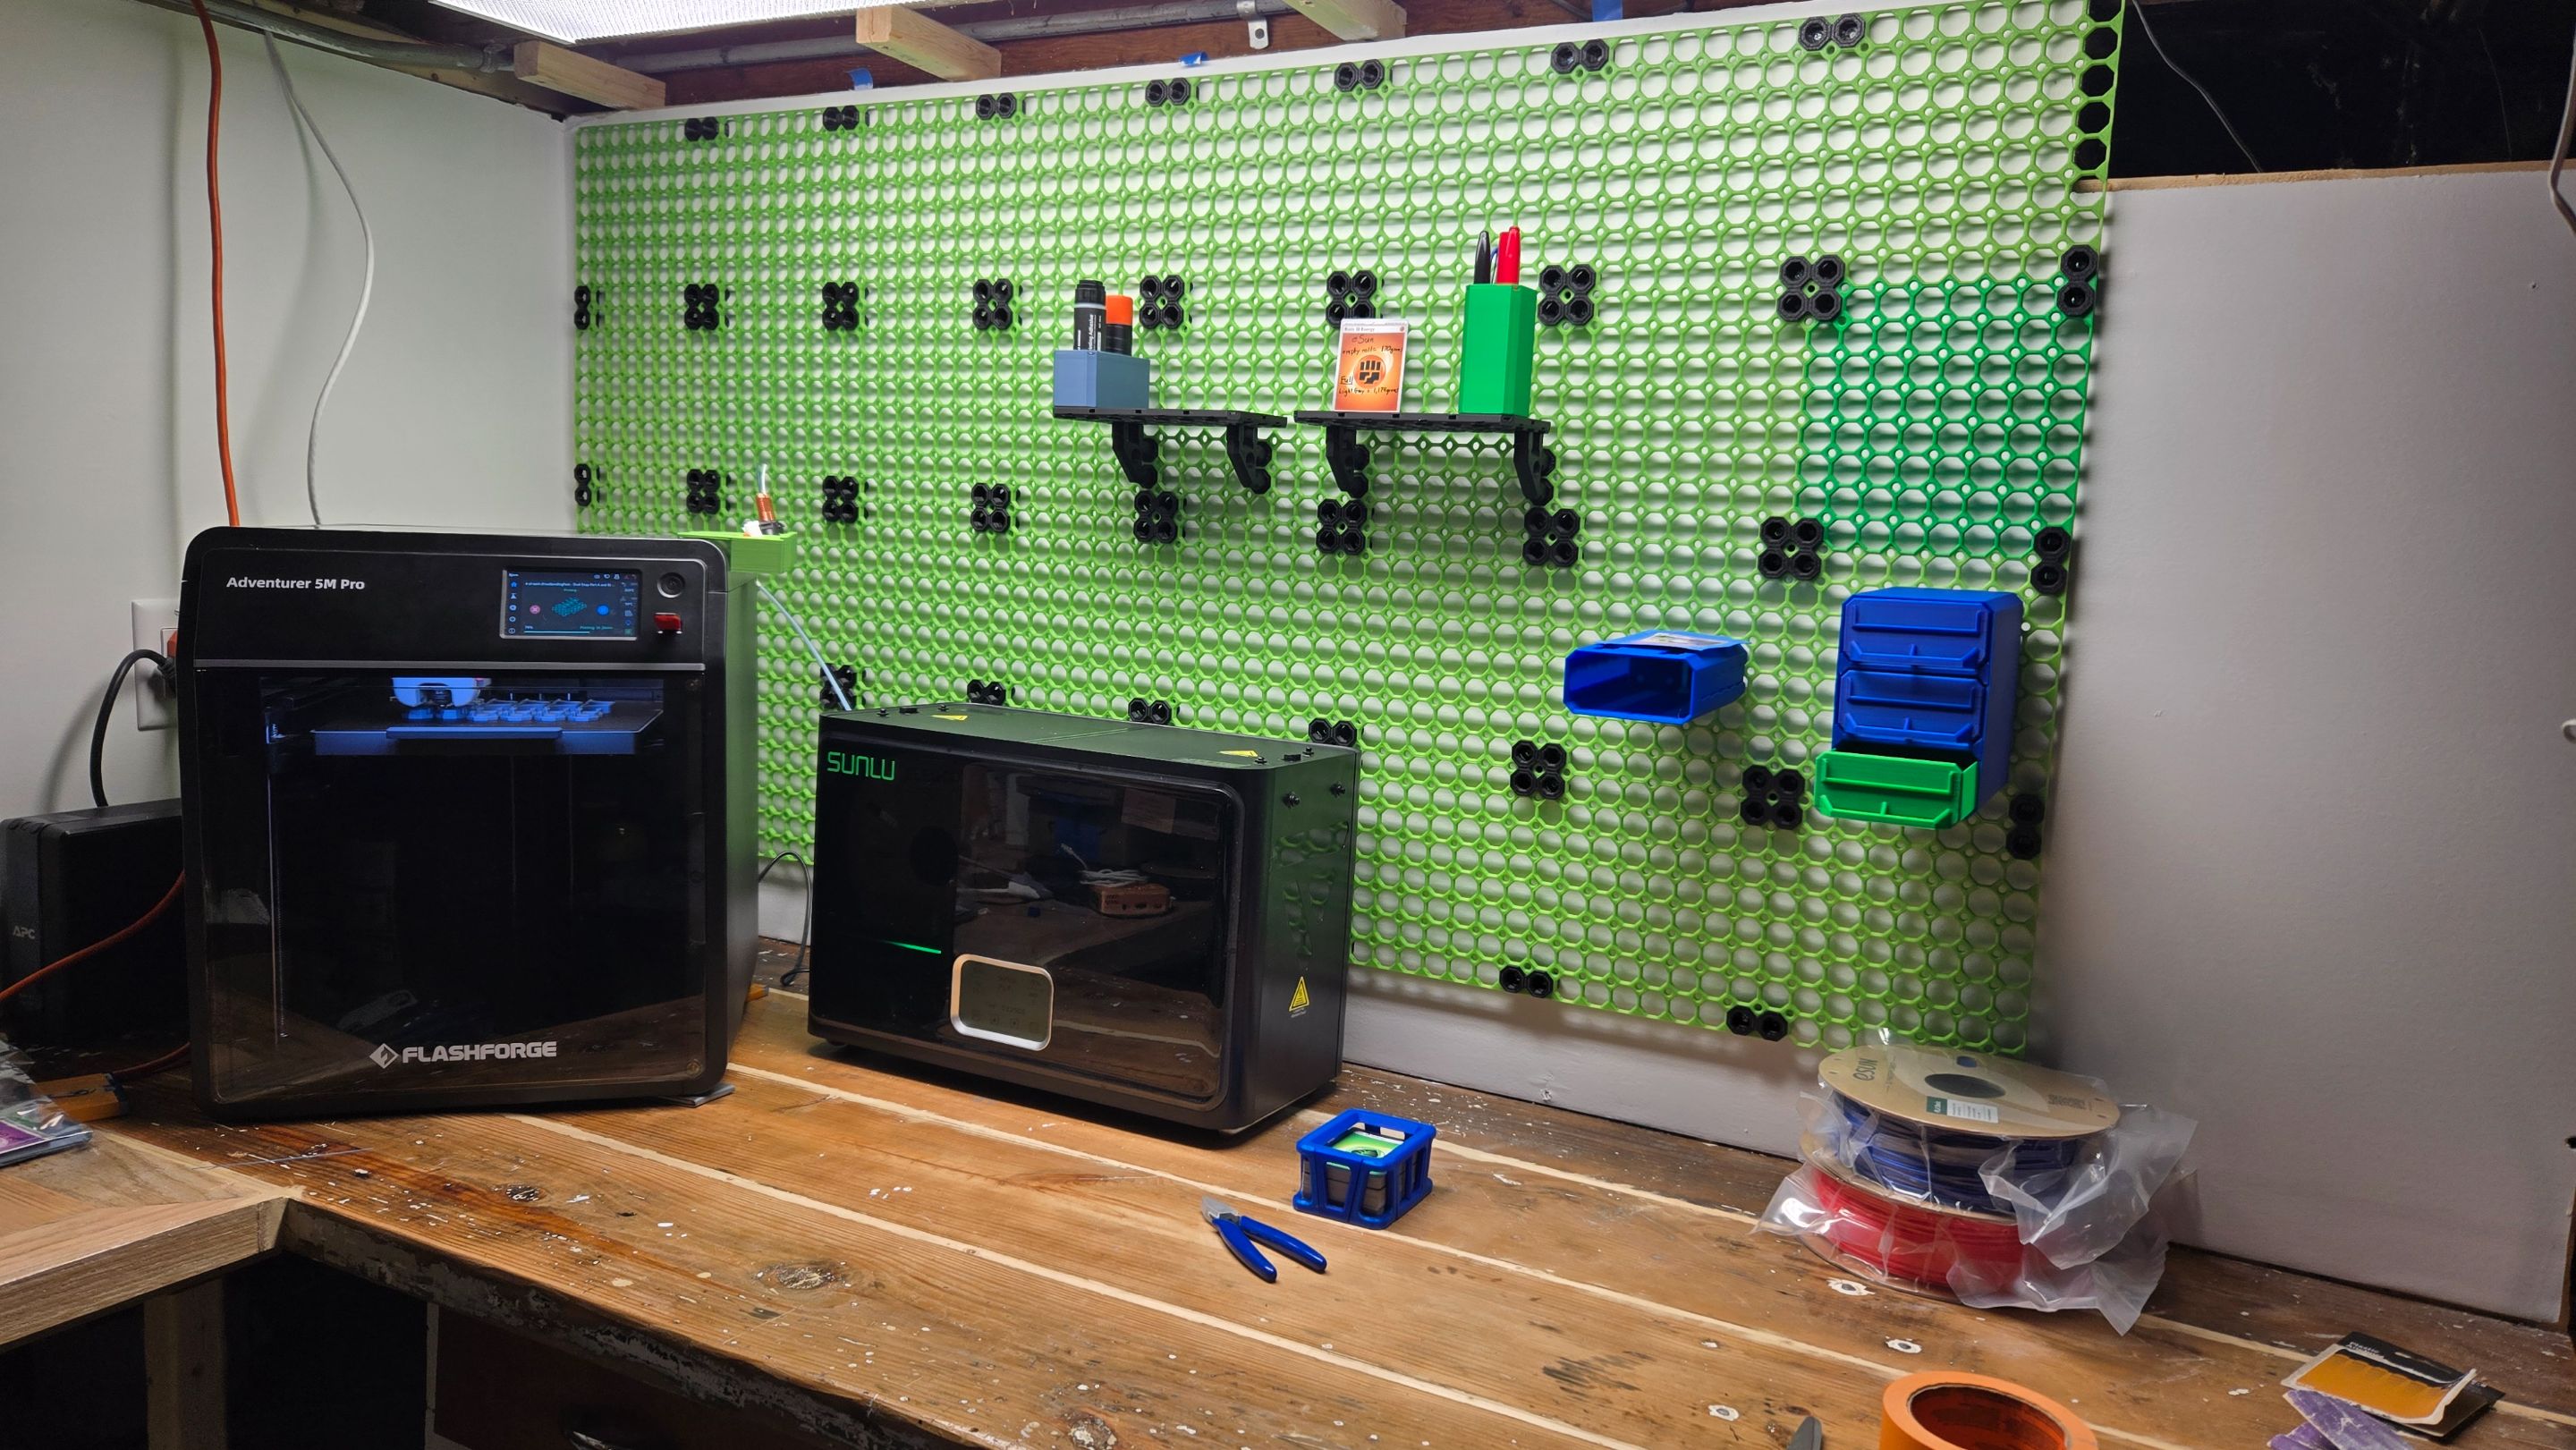
I then started to print shelves and containers and drawers to mount onto the Multiboard system. Which I gotta say can be very overwhelming at first because there are just SOOOOO many options but I figured it out.
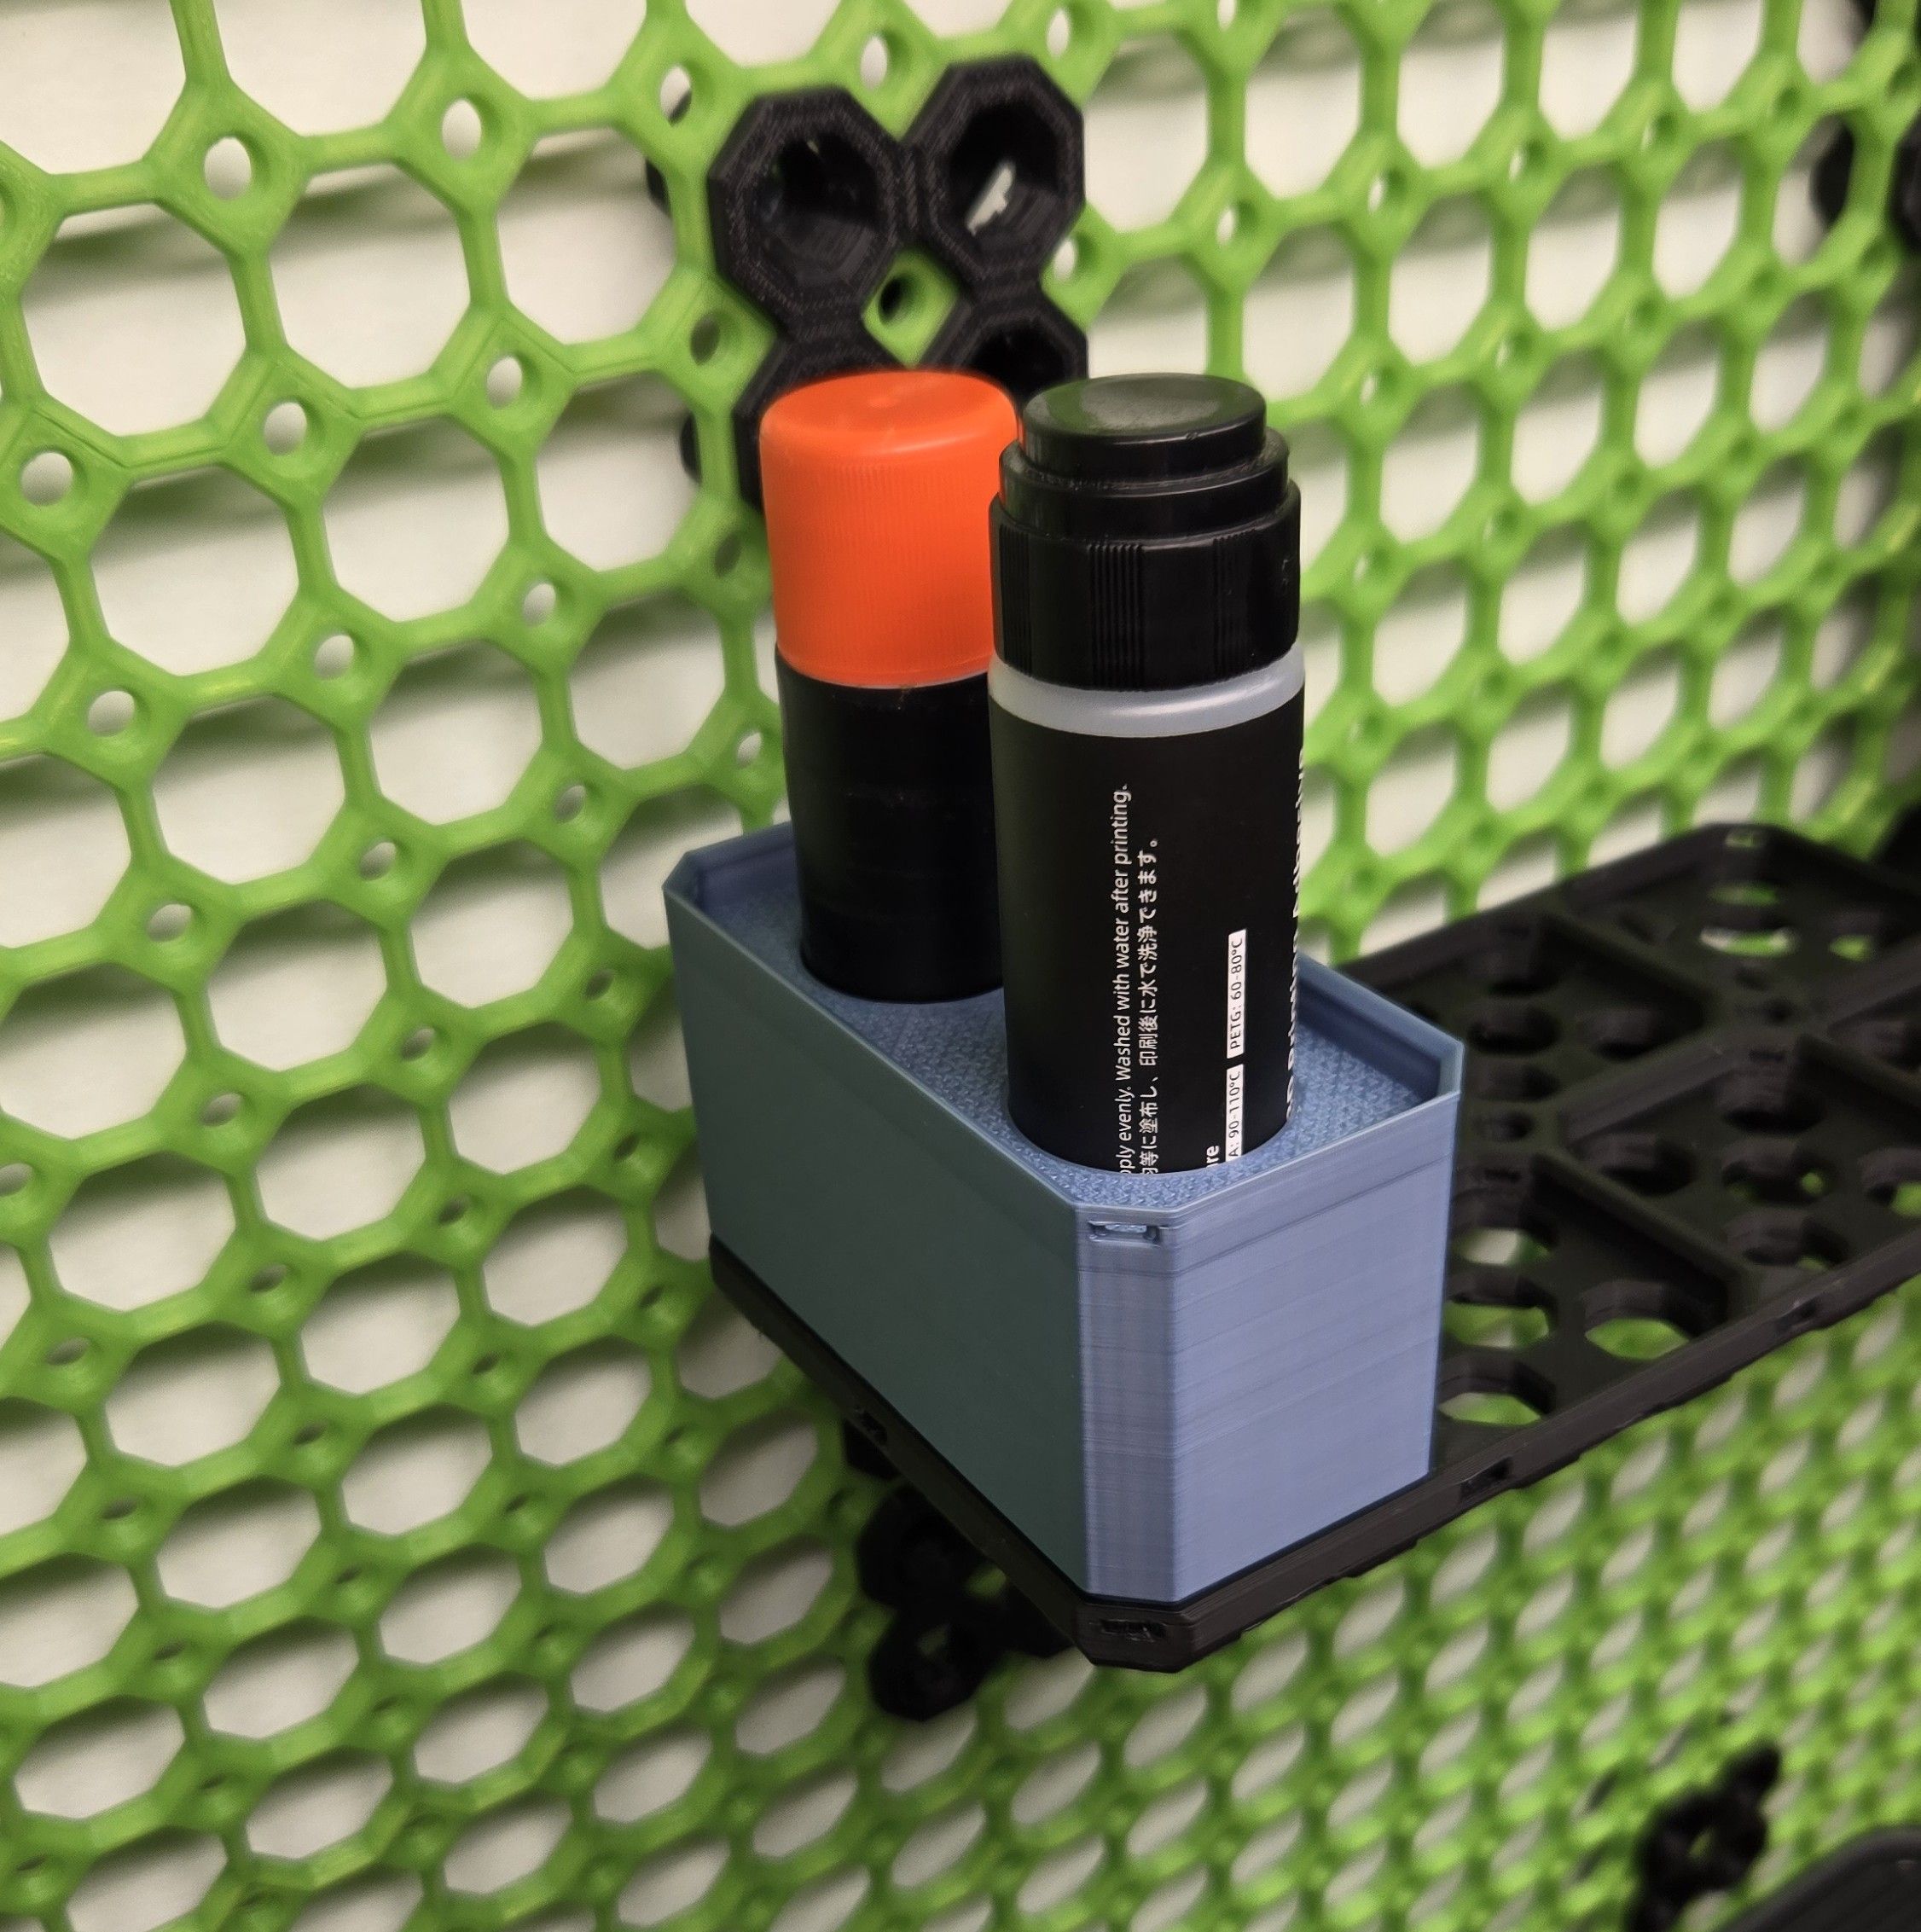
This one I actually took a box and added the cutouts and such to hold my 3D printer glue and I gotta say the exact fit... is so satisfying!
Here are some Drawers I made to hold all my little 3D printed pieces.

Here is what I printed so far!
There are too many to list but here are just a few of the things I printed since getting my 3D printer!
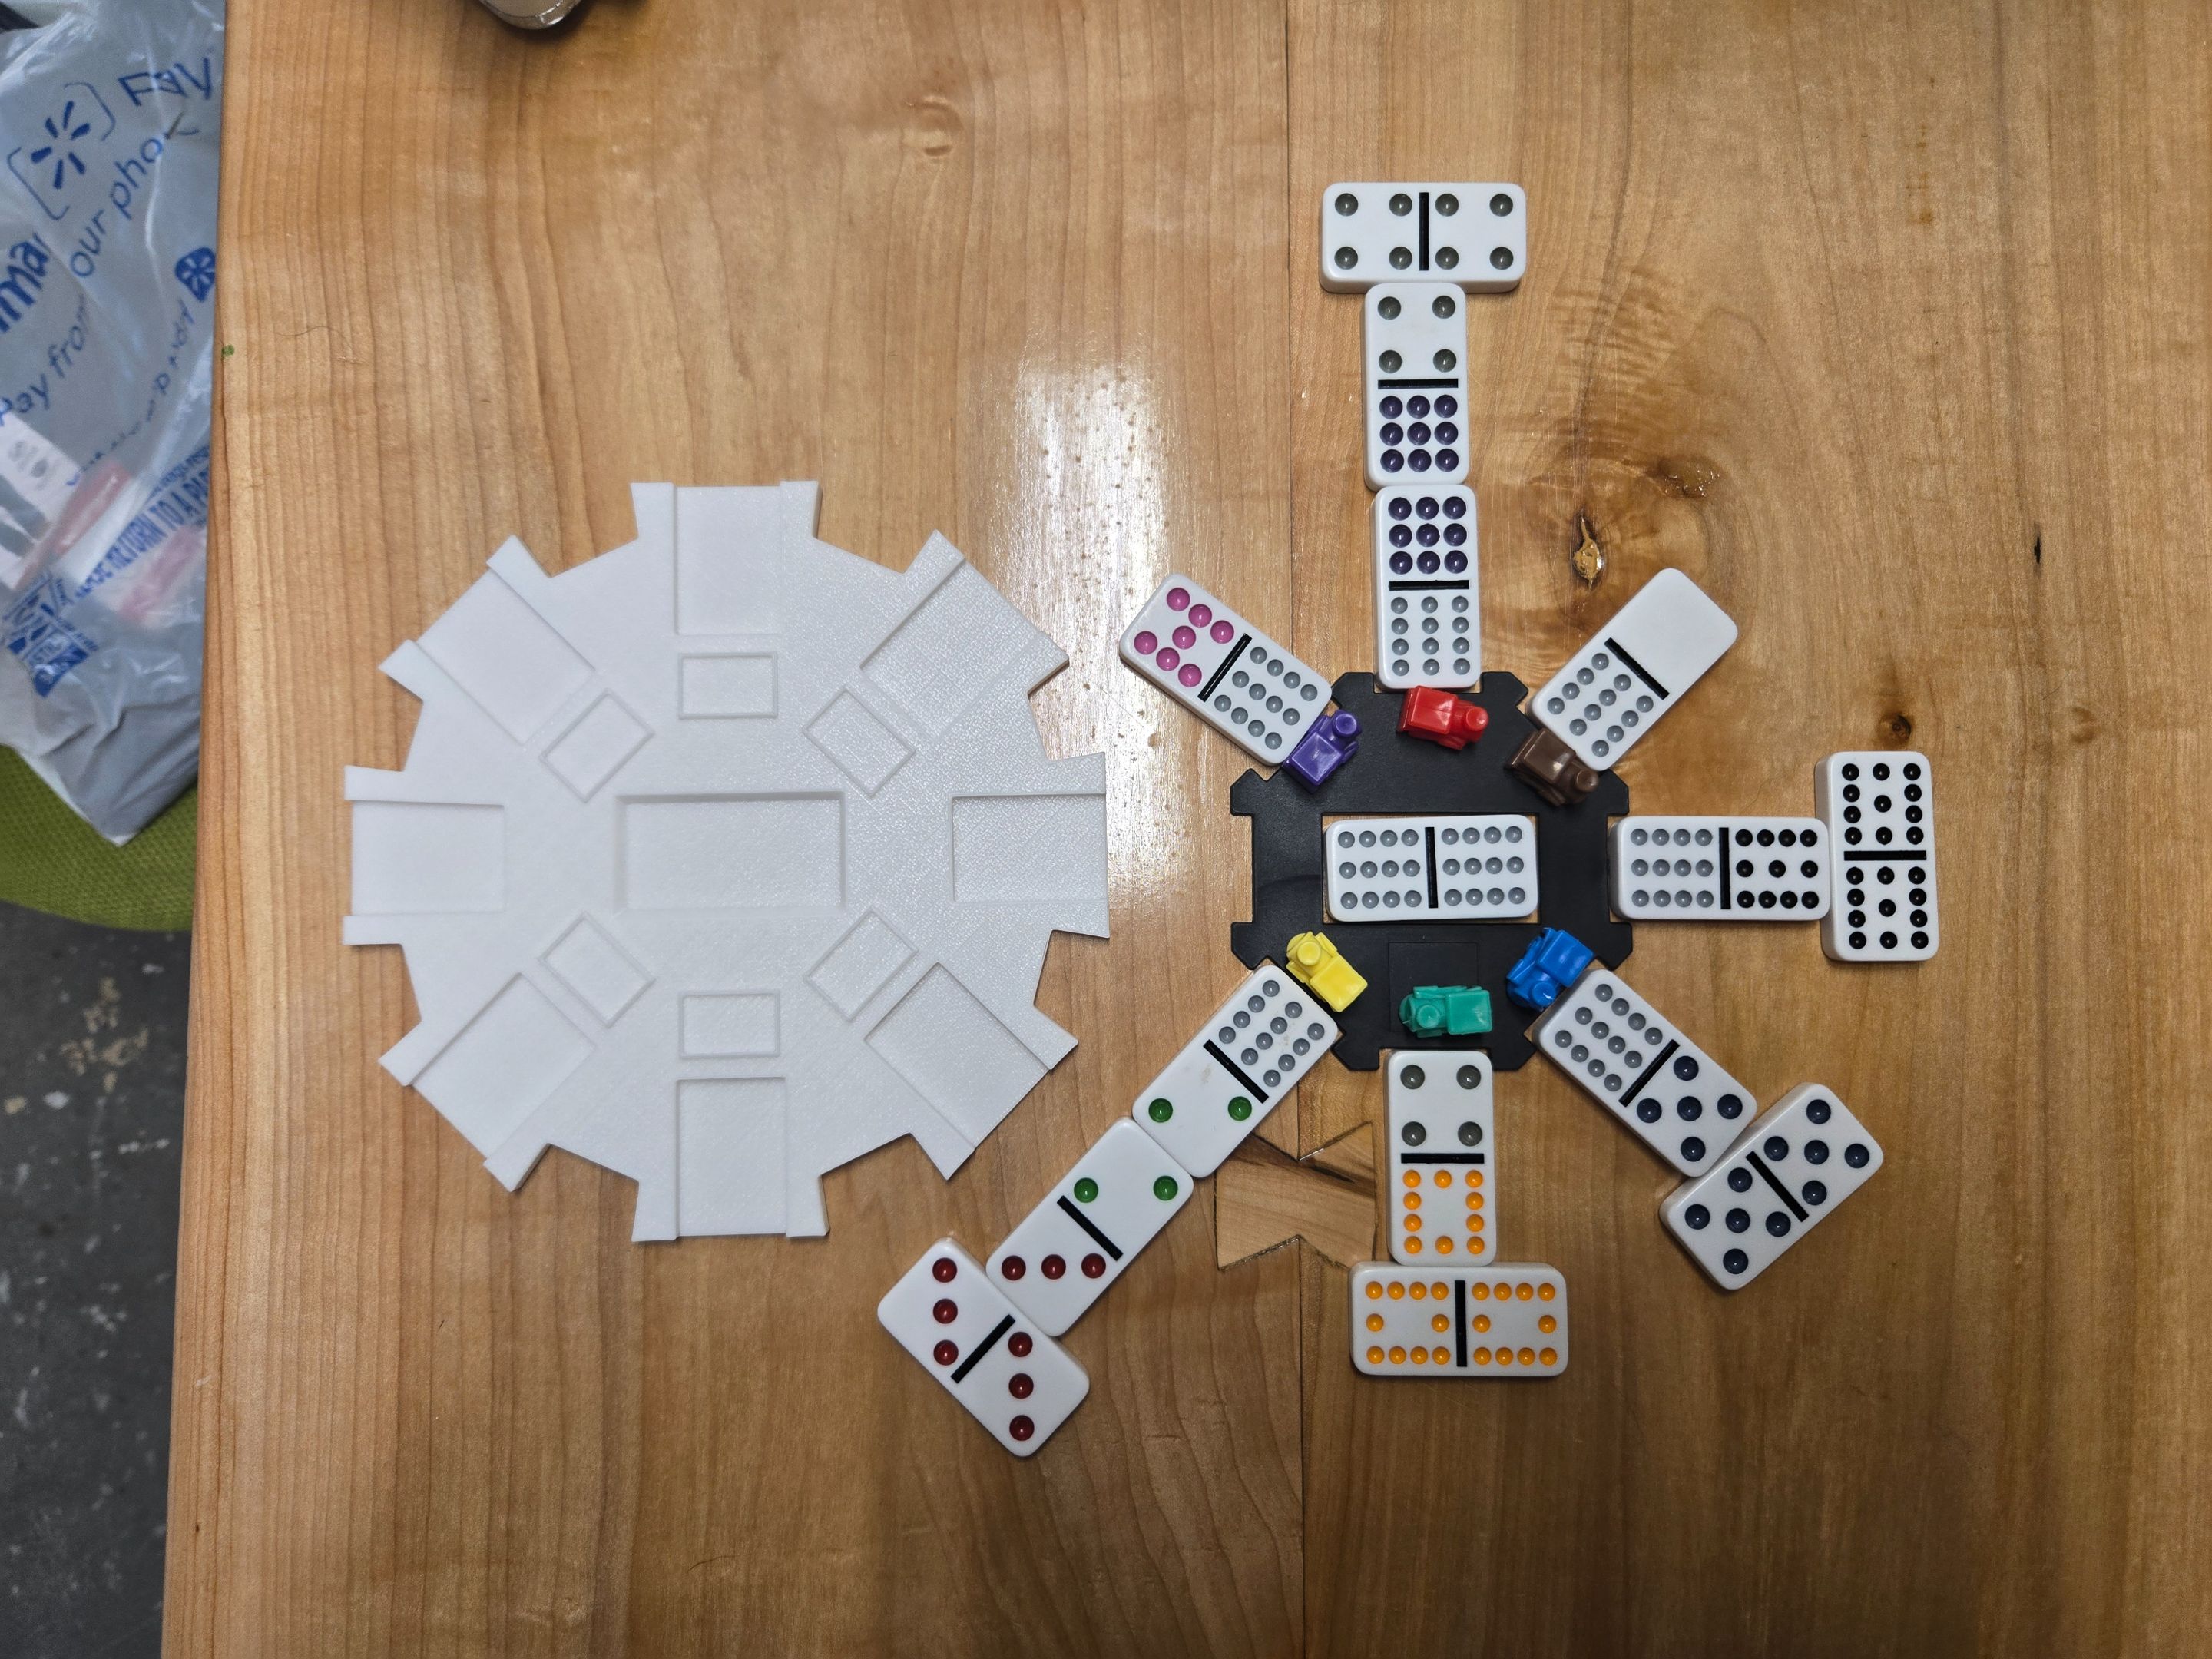
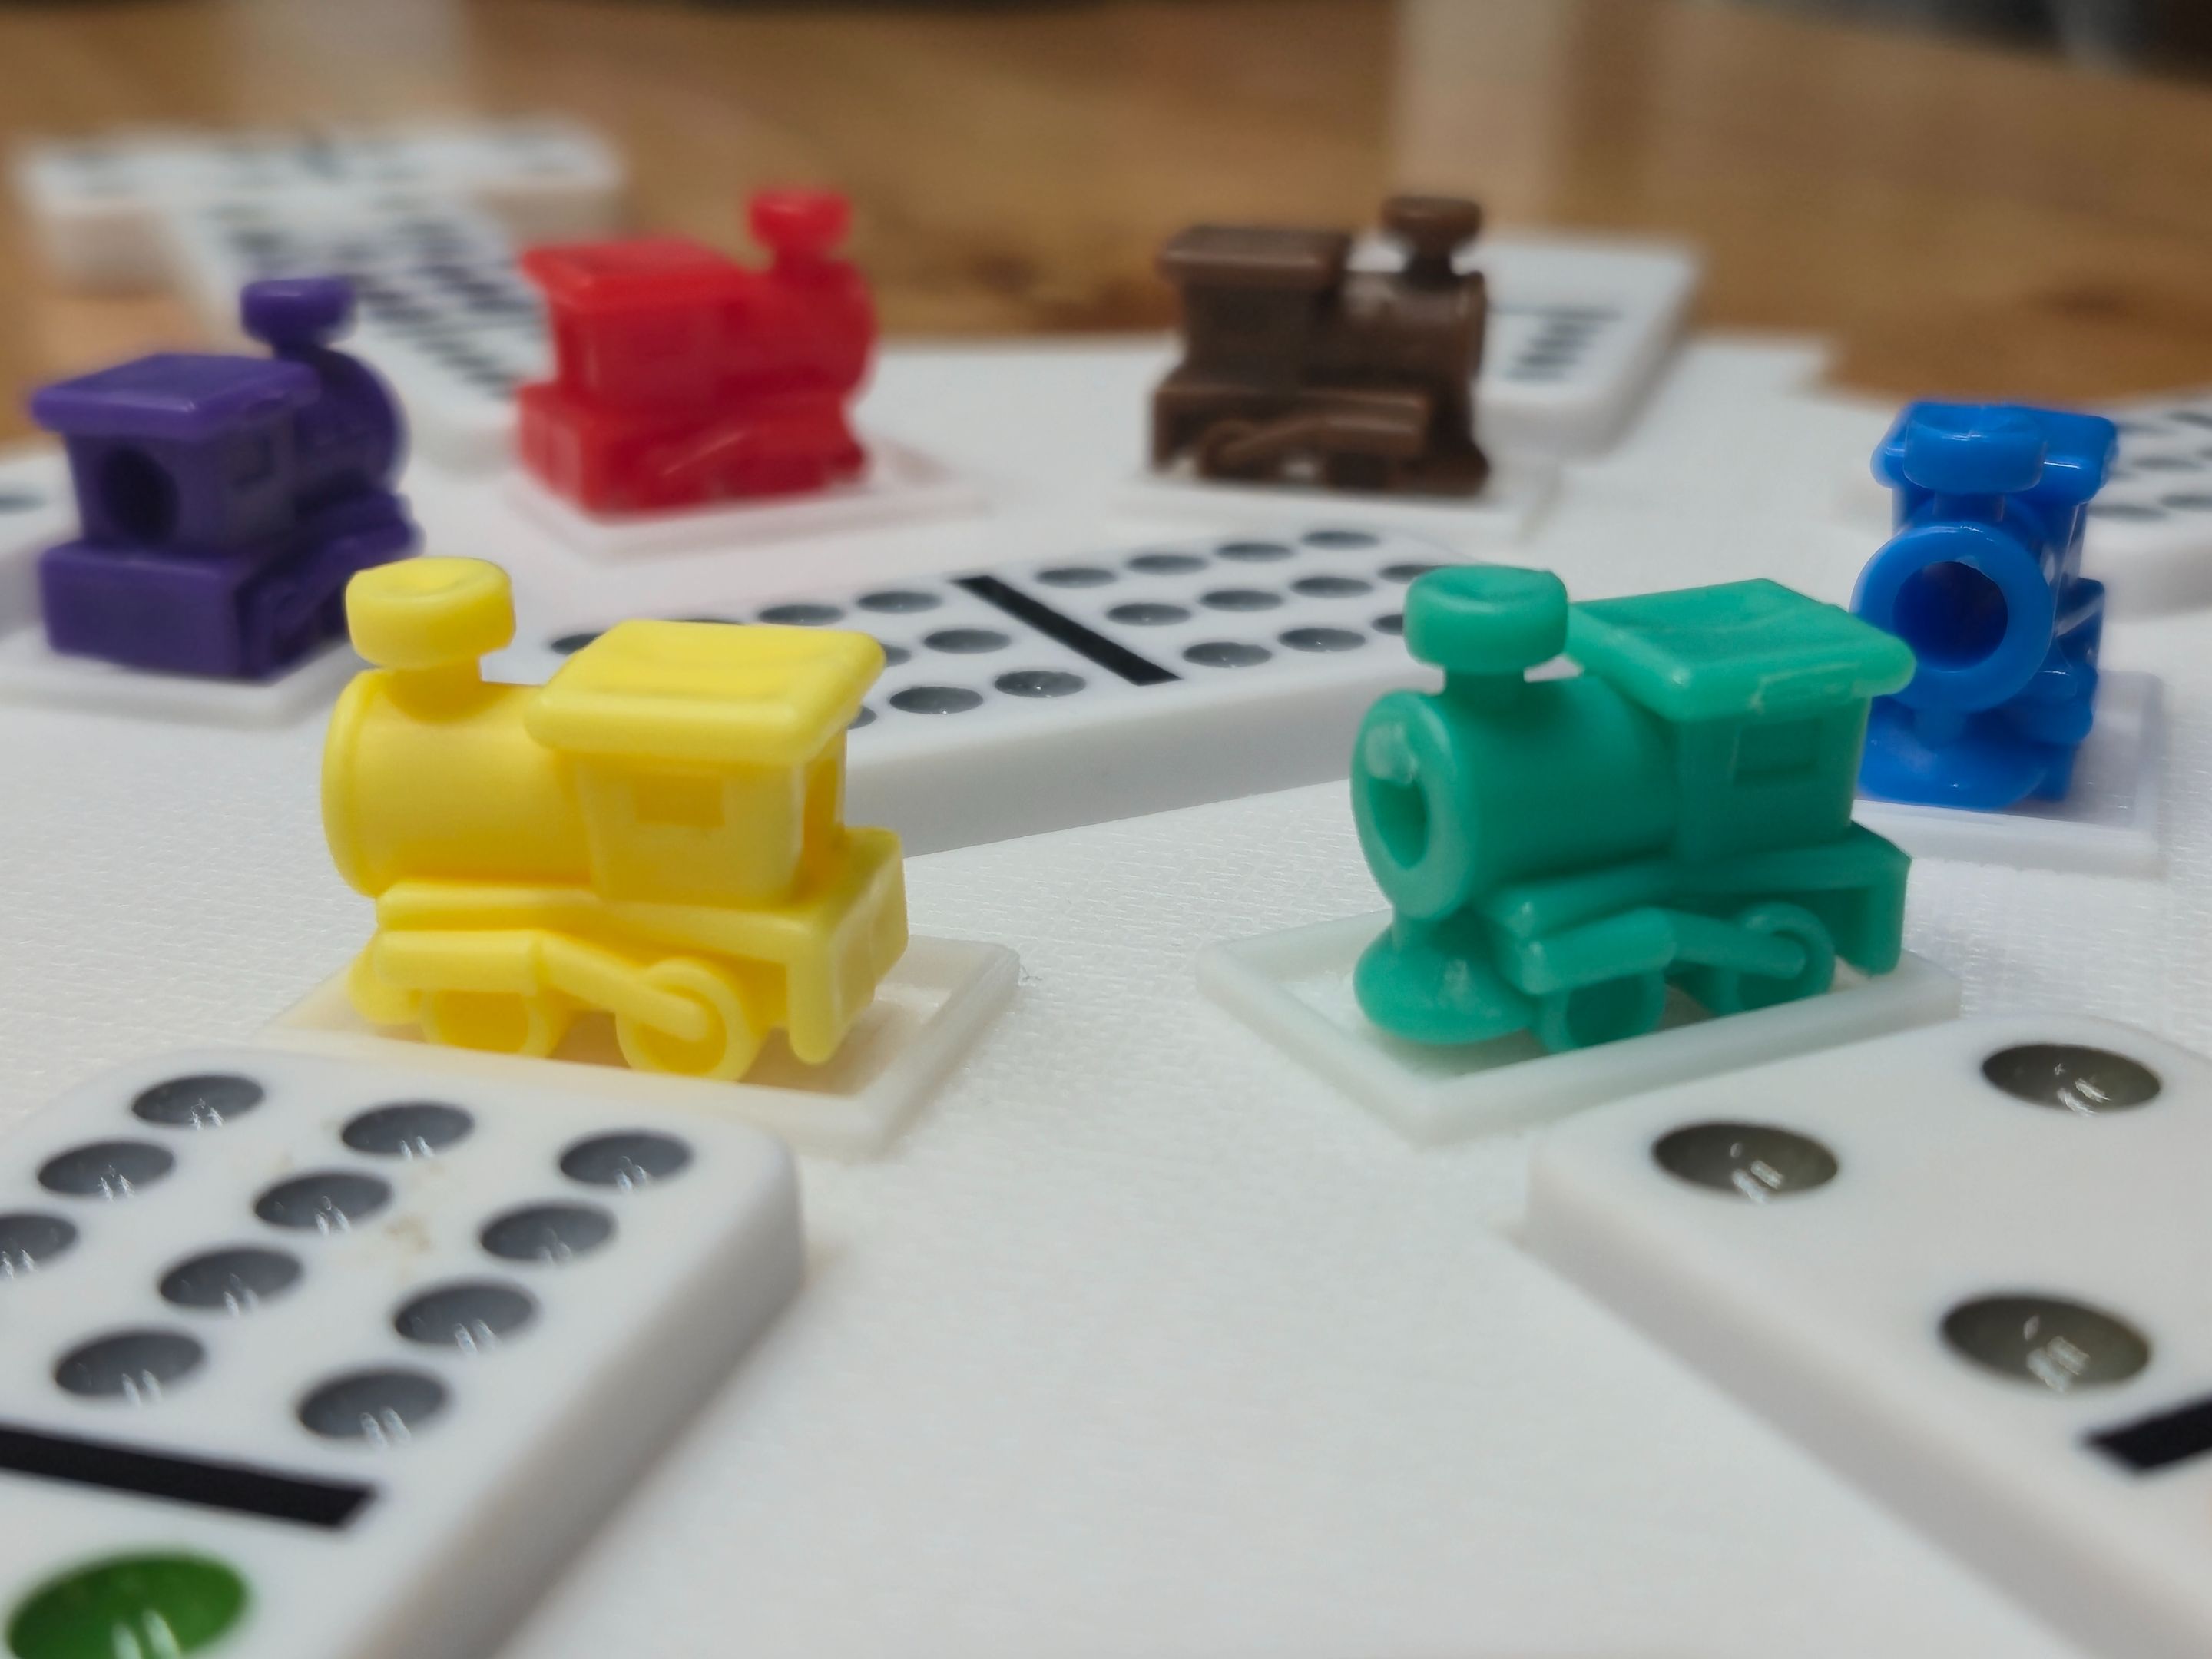
Mexican Train Dominoes
The black piece on the right is what came with the Domino set and I hated it. So I designed my own version in Blender and printed it out and I love it!
Nvidia RTX 5090
Since I can't afford a real one.. I decided to make my own 😜
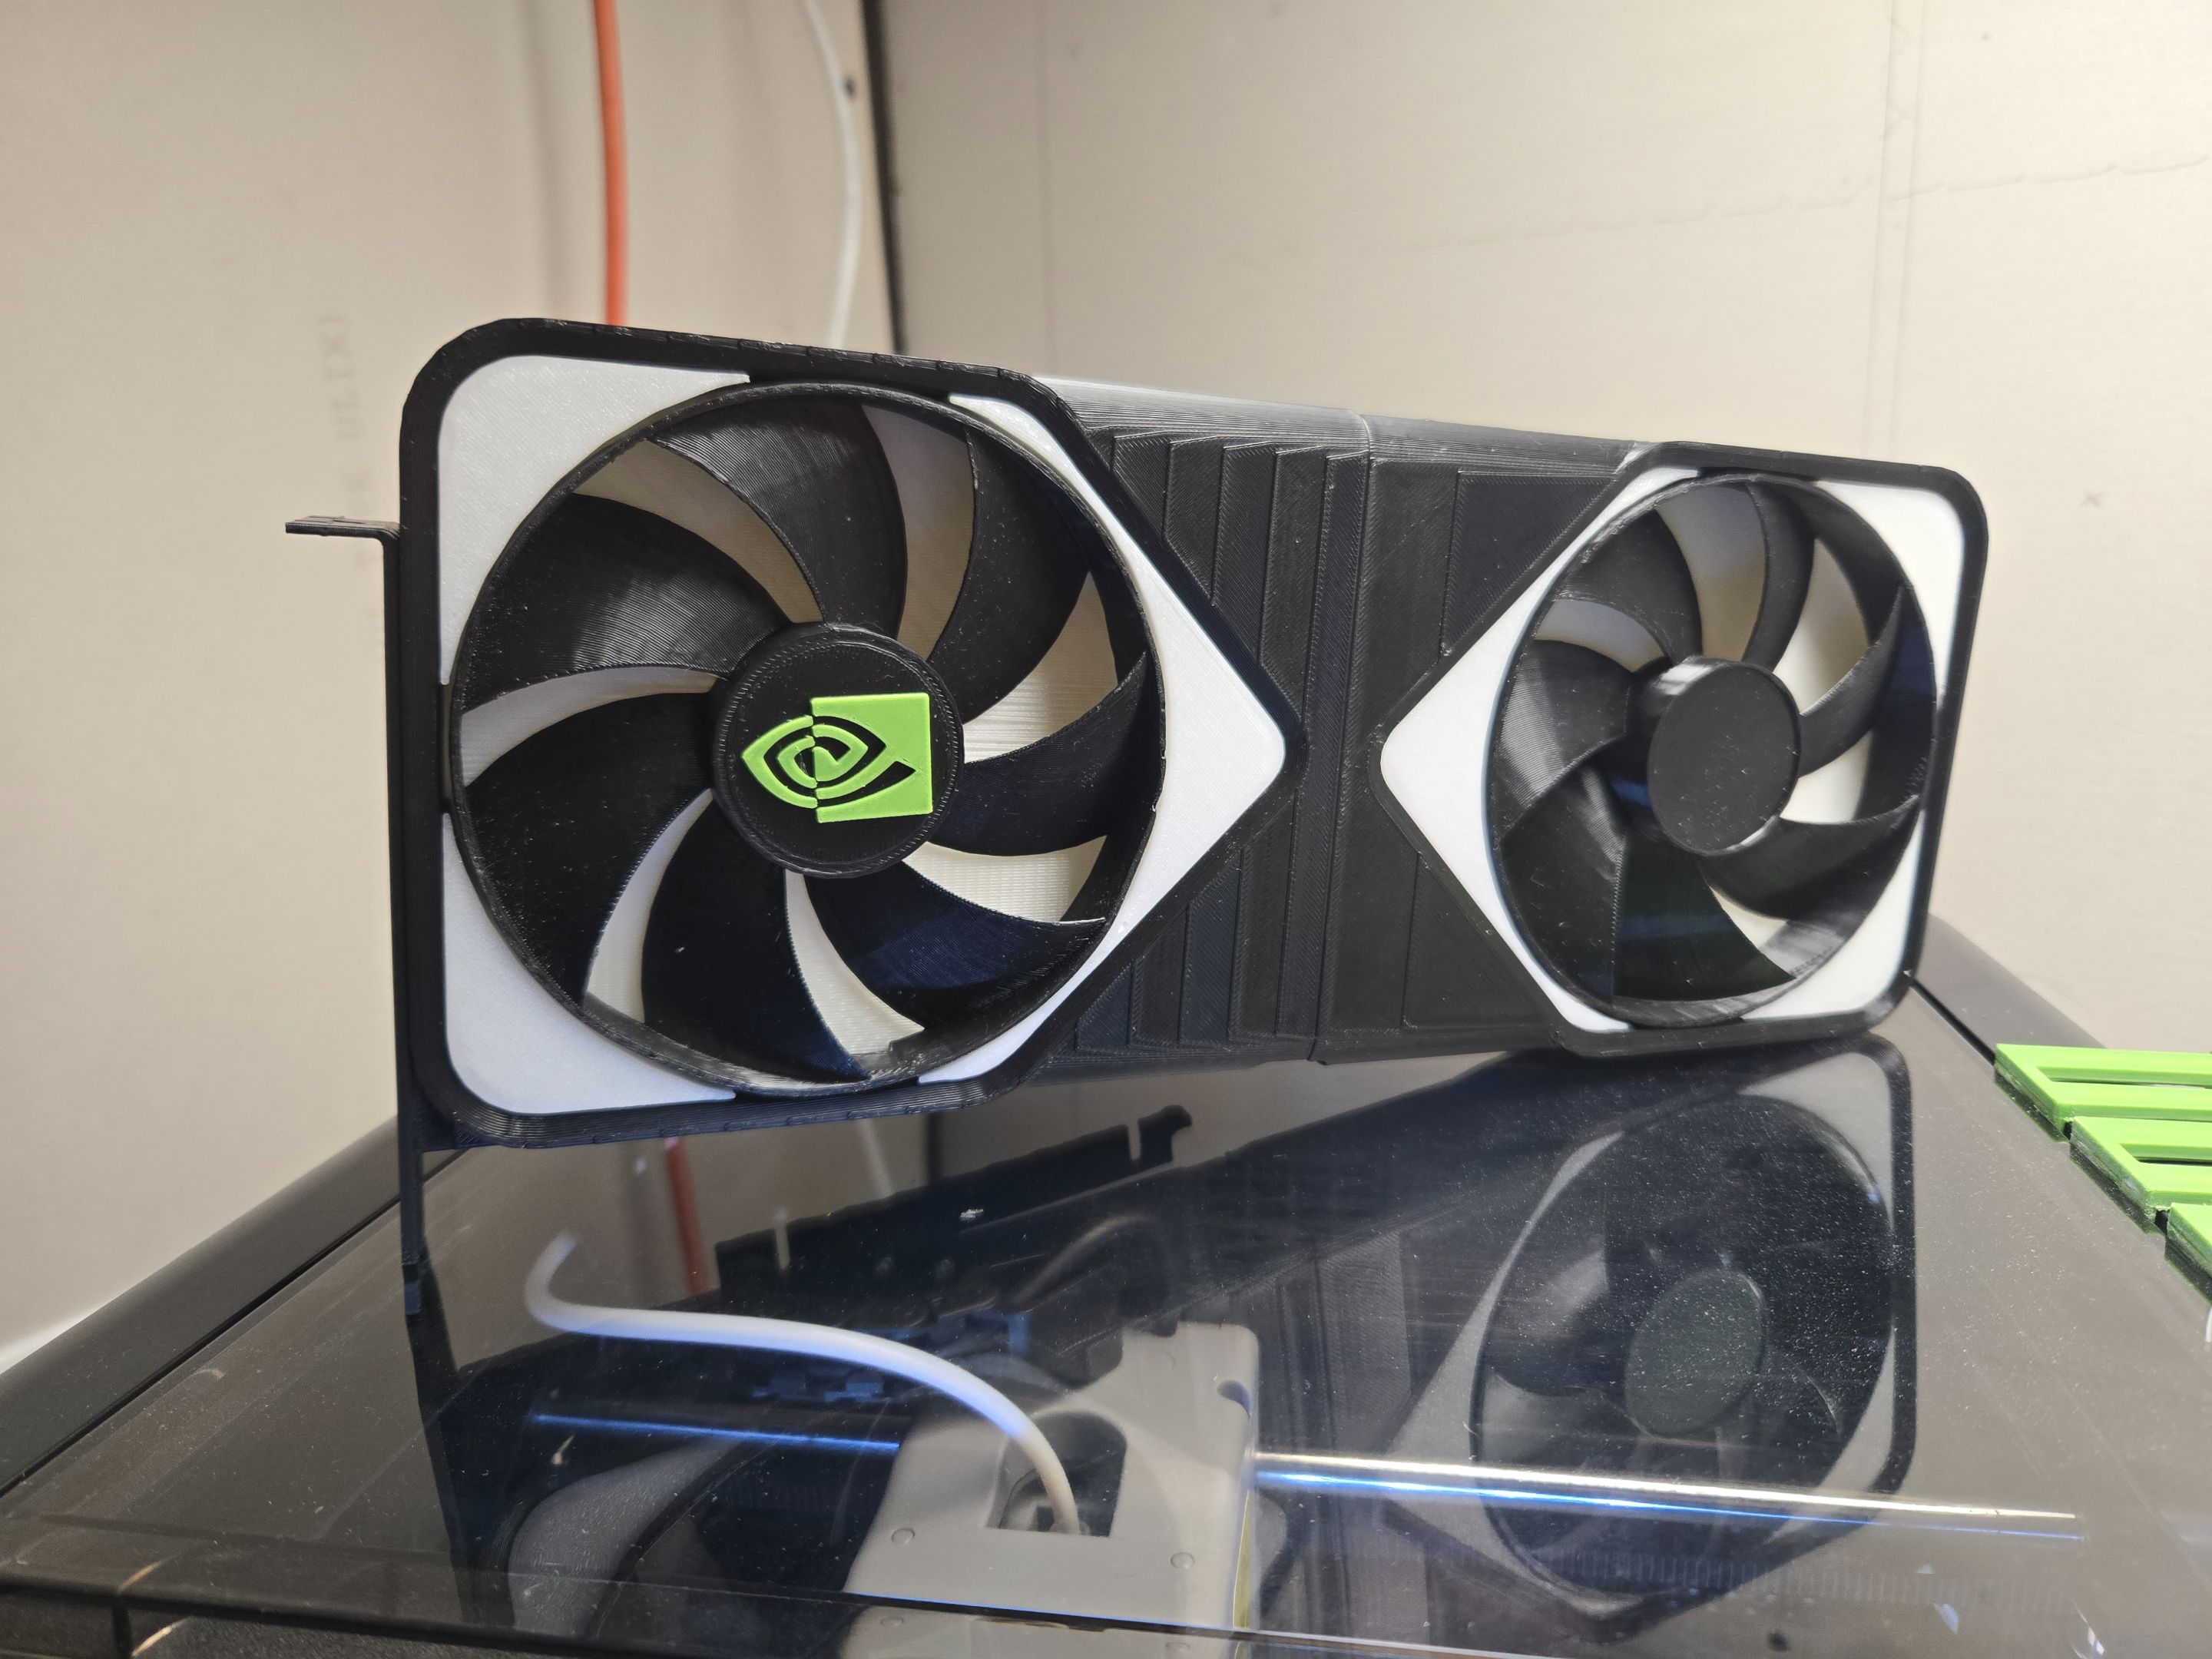
The 2 fans are removeable because why not and the White section is actually Glow in the Dark ABS so that's cool!
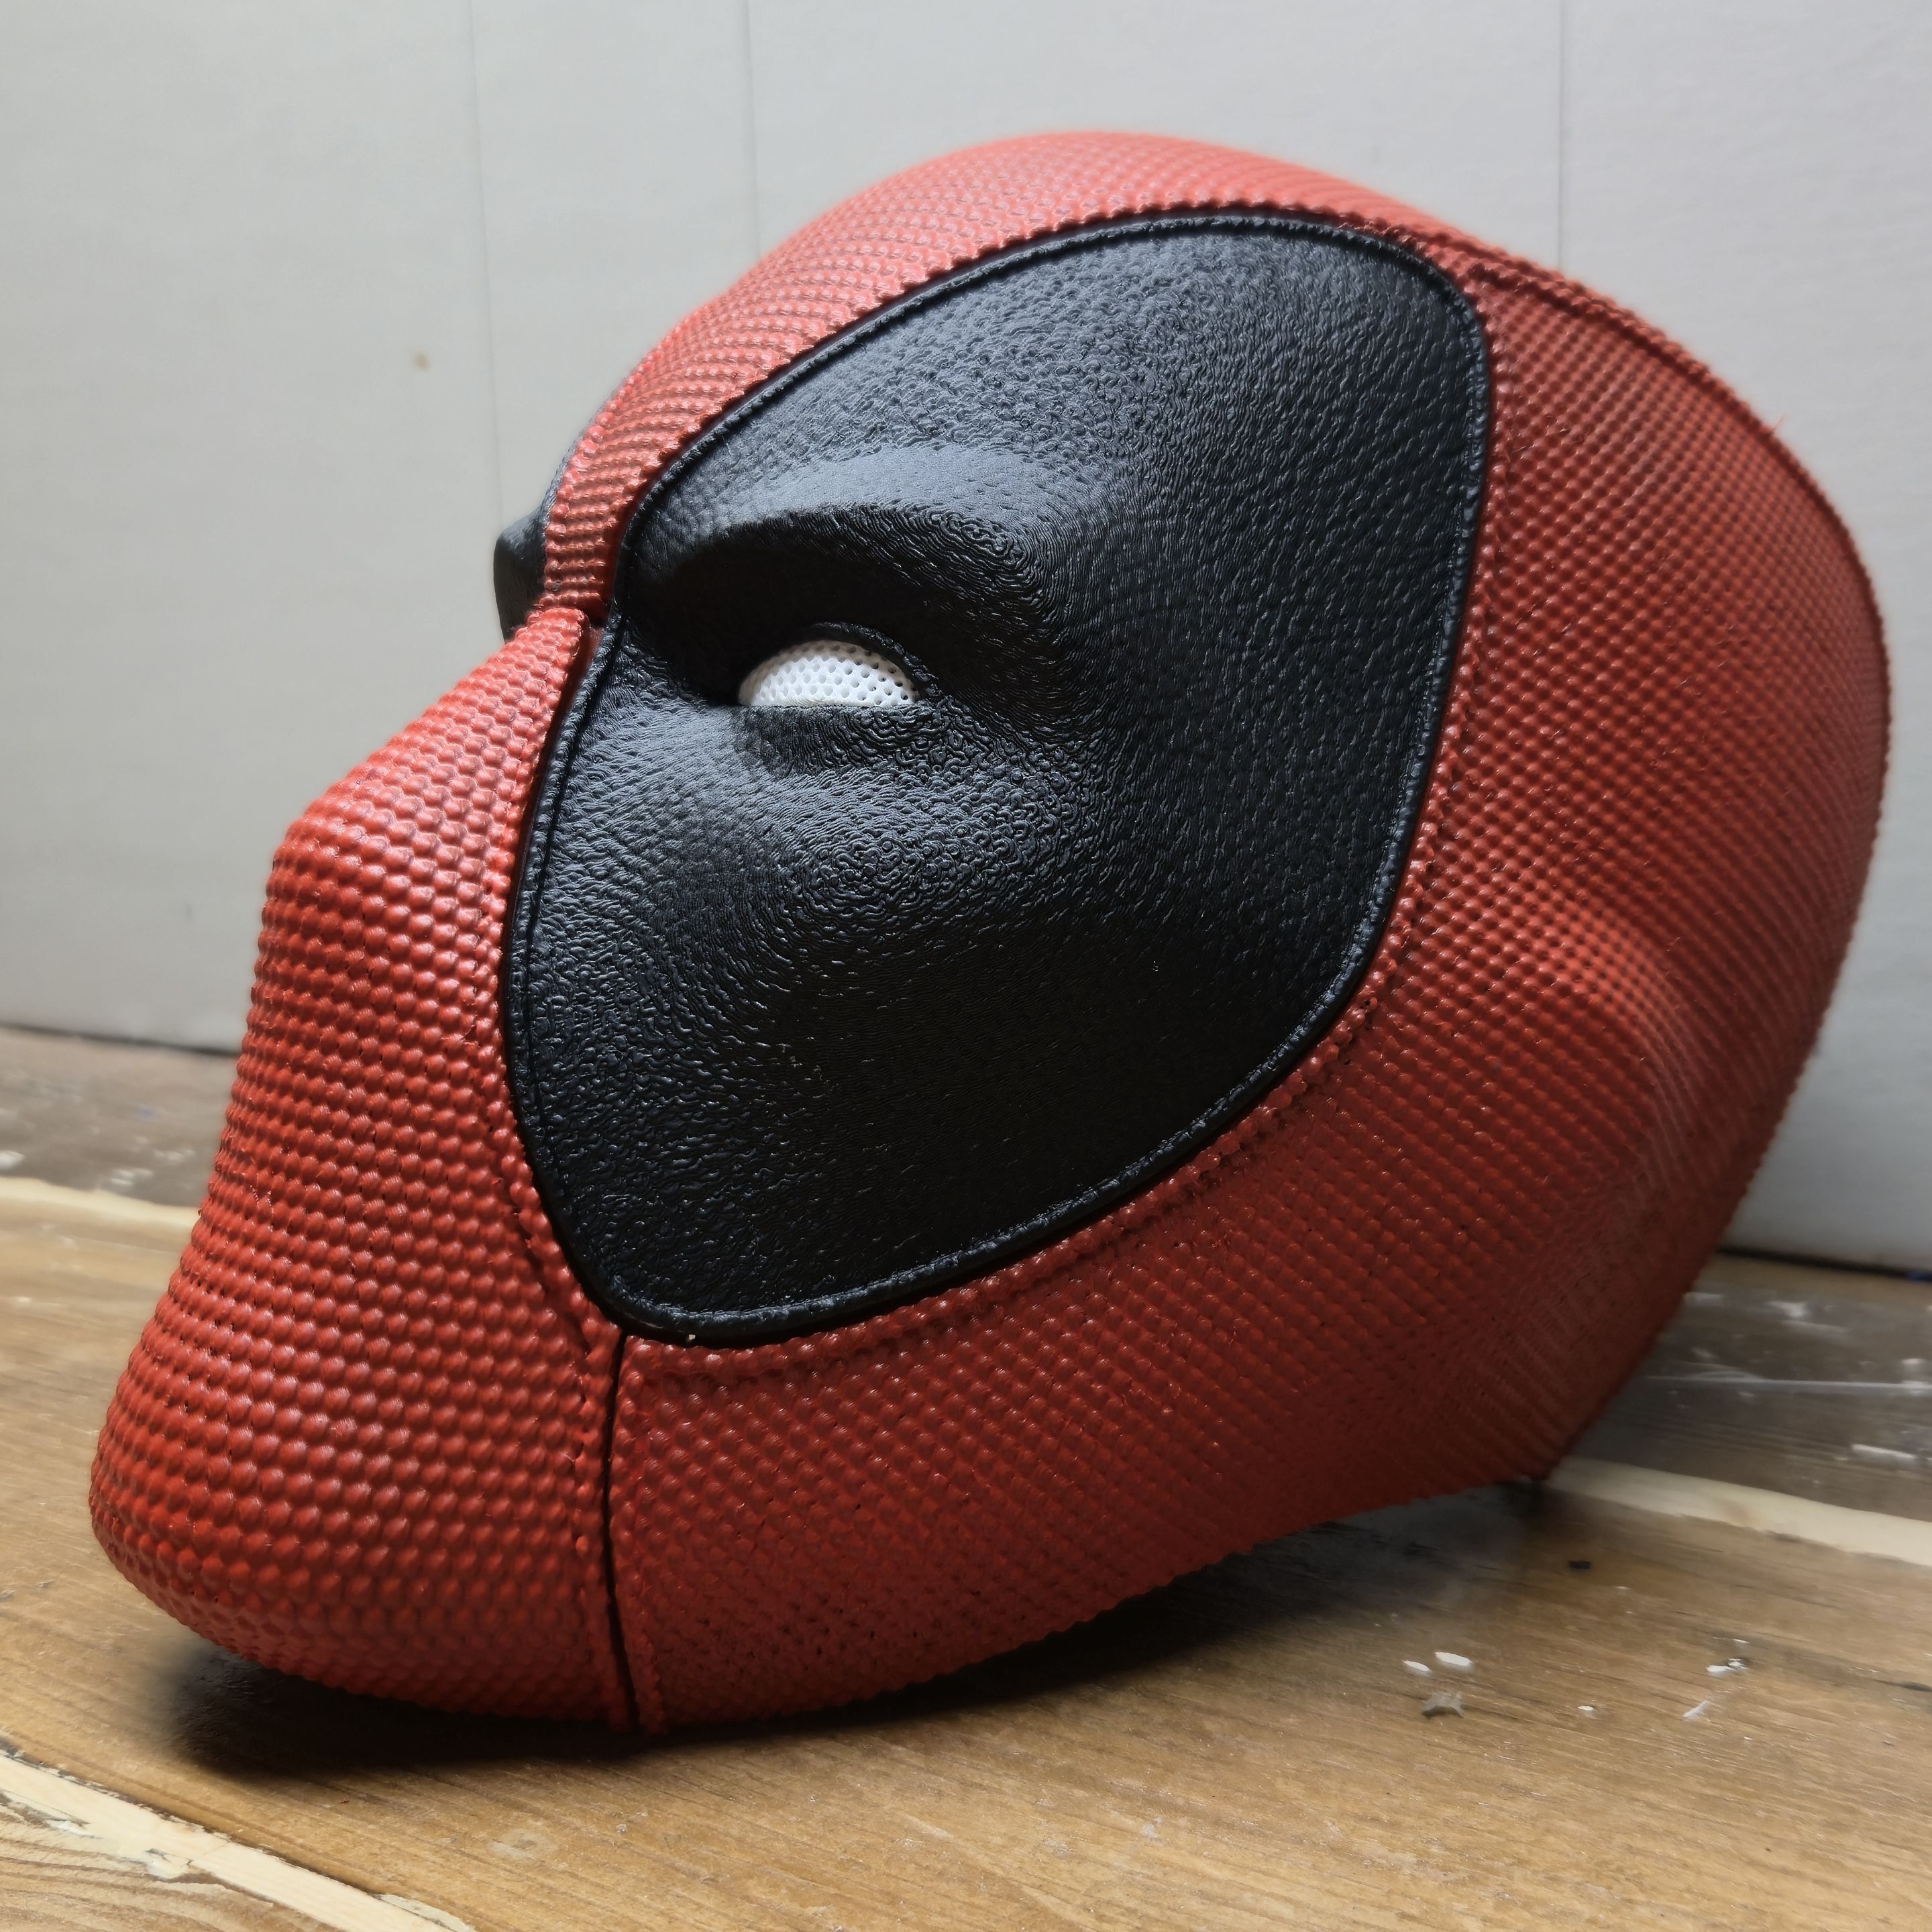
Deadpool Mask
This baby took me a LONG TIME to make. Printing all the parts alone took hours upon hours. But then I had to sand it, paint it with primer/filler, sand it again and then paint it with it's colors and yeah it was a lot. But I love it and it's a tiny bit too small for my head BUT it's a perfect shelf piece.
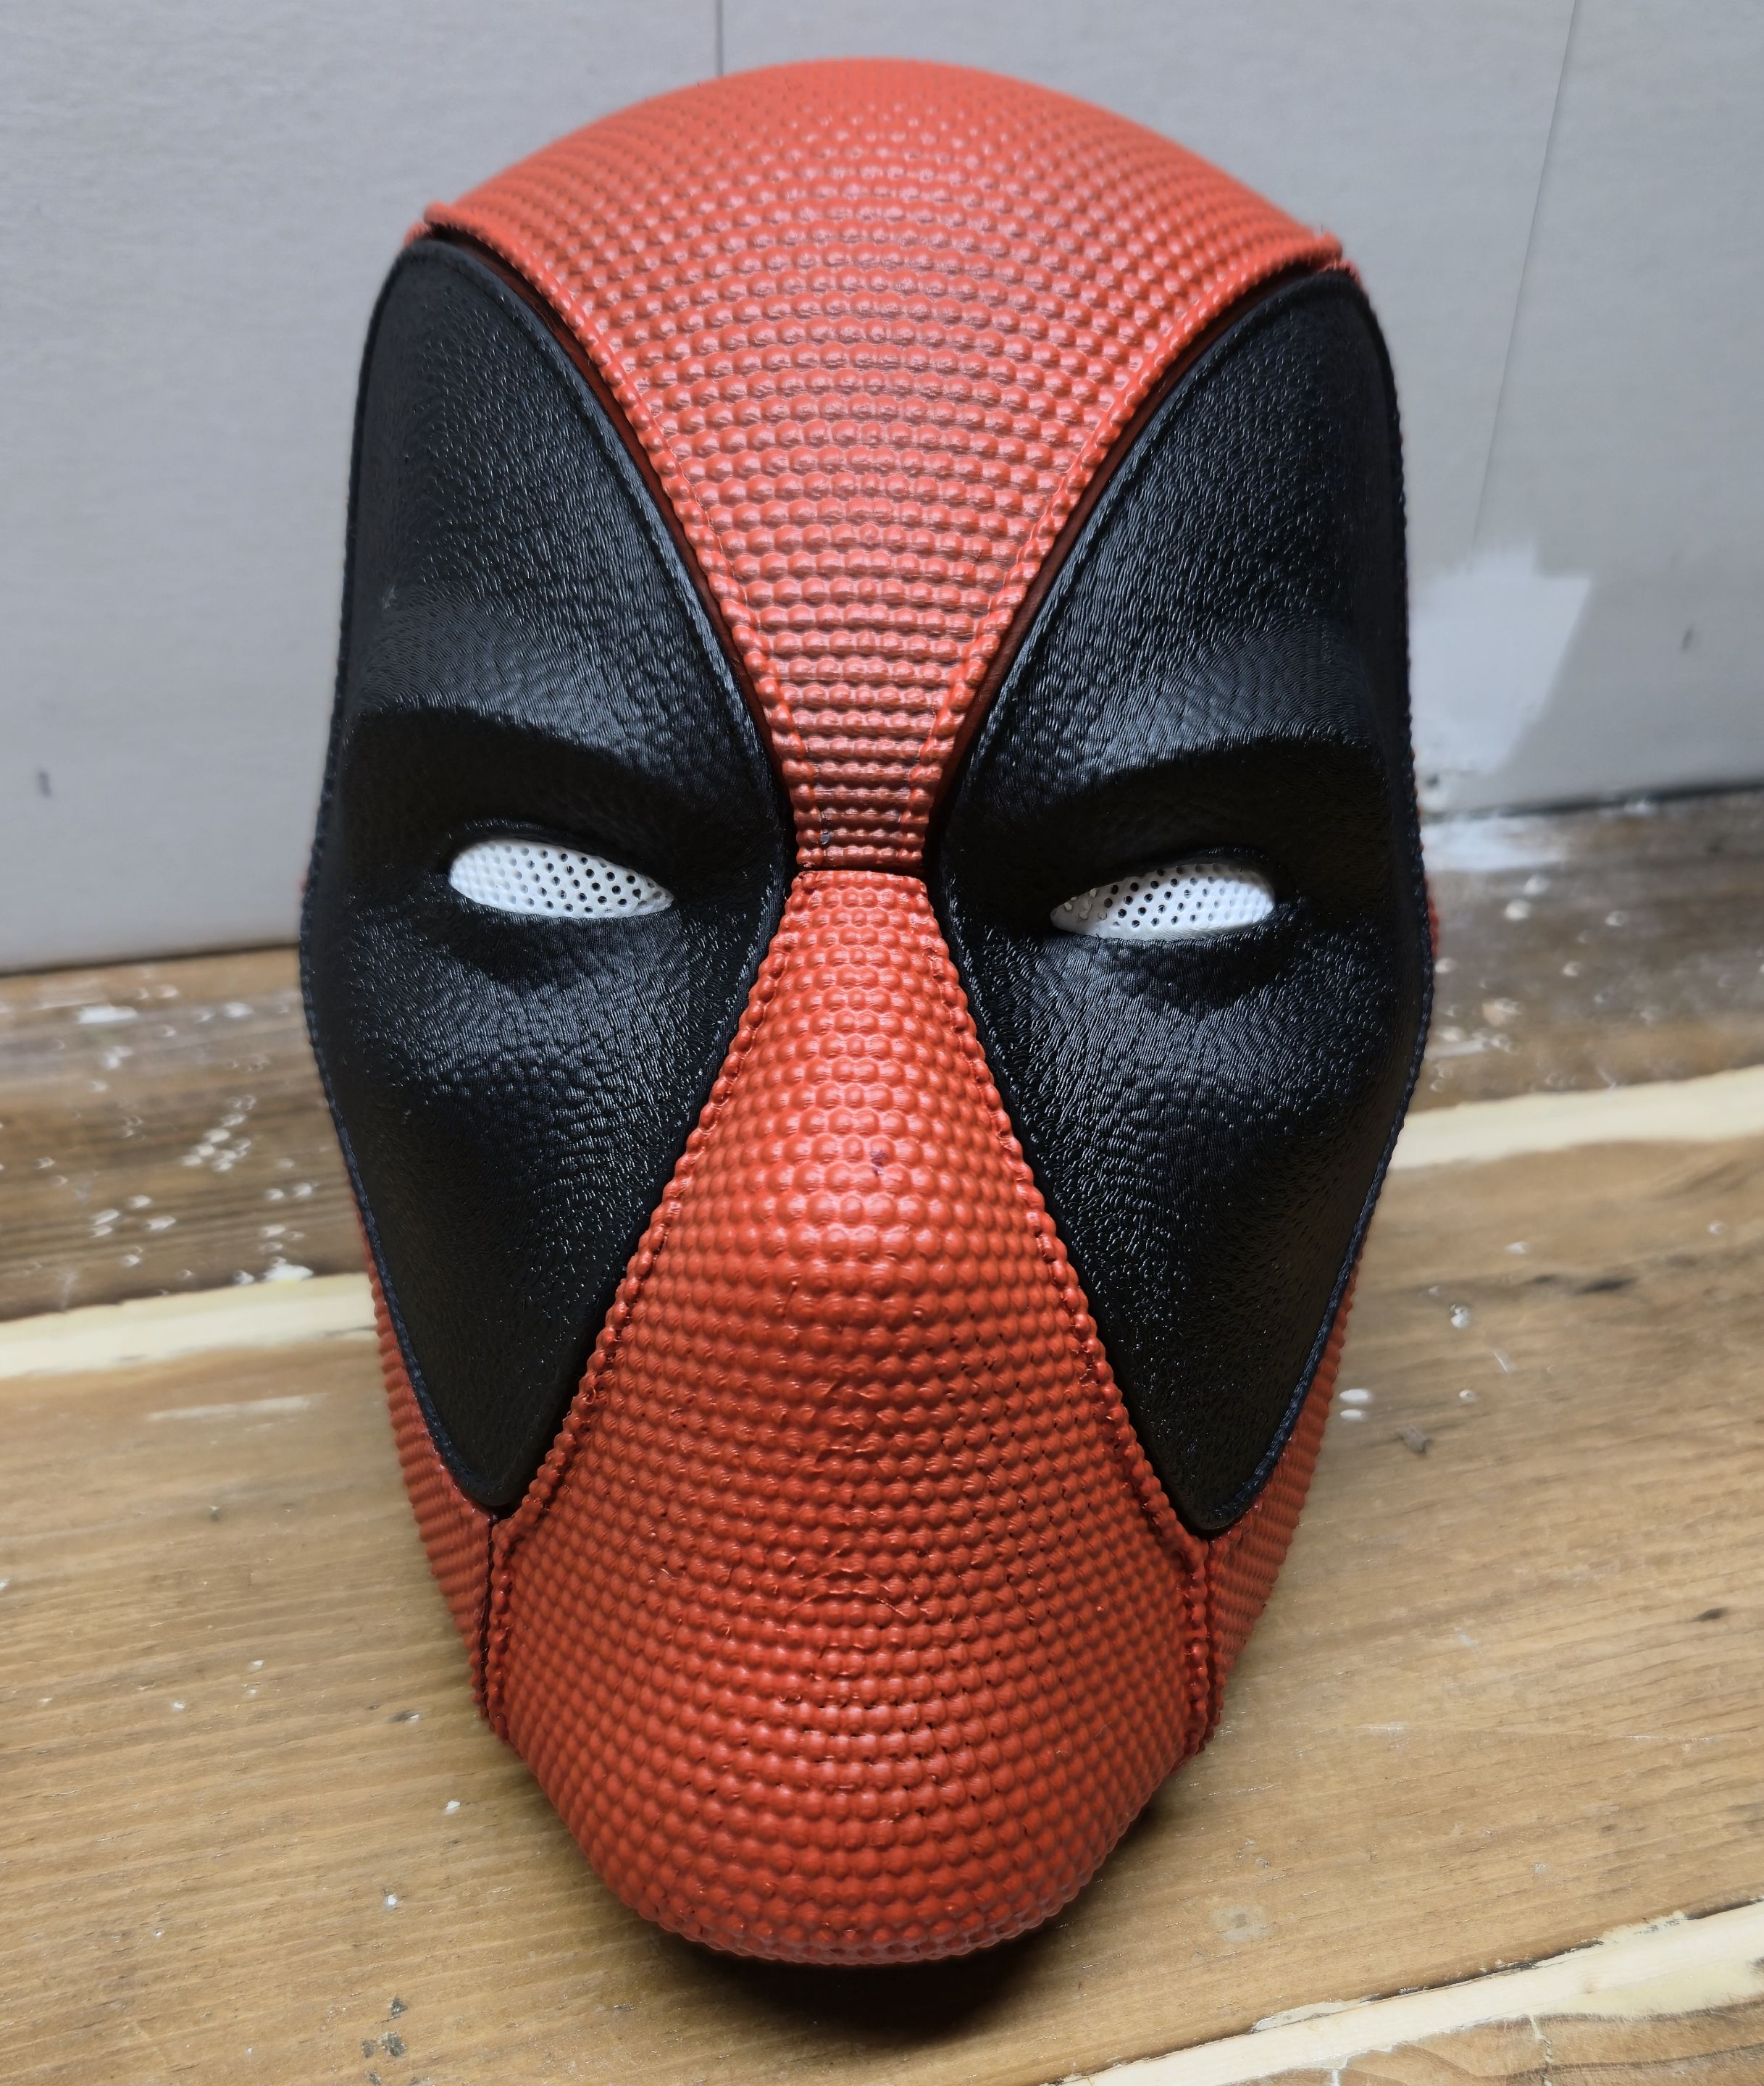
It is made up of 7 sections that are held together with magnets so you can put it on easily and take it off easily.
That concludes my first post on 3D printing... stay tuned for a bunch more though as I got a few things cooking! 🔥🔥🔥🔥🔥🔥