(ESP-ENG) Reciclando latas de pinturas en espectáculares maceteros🪴Recycling paint cans into spectacular planters
@claire23
· 2022-01-16 20:30
· Hive Diy
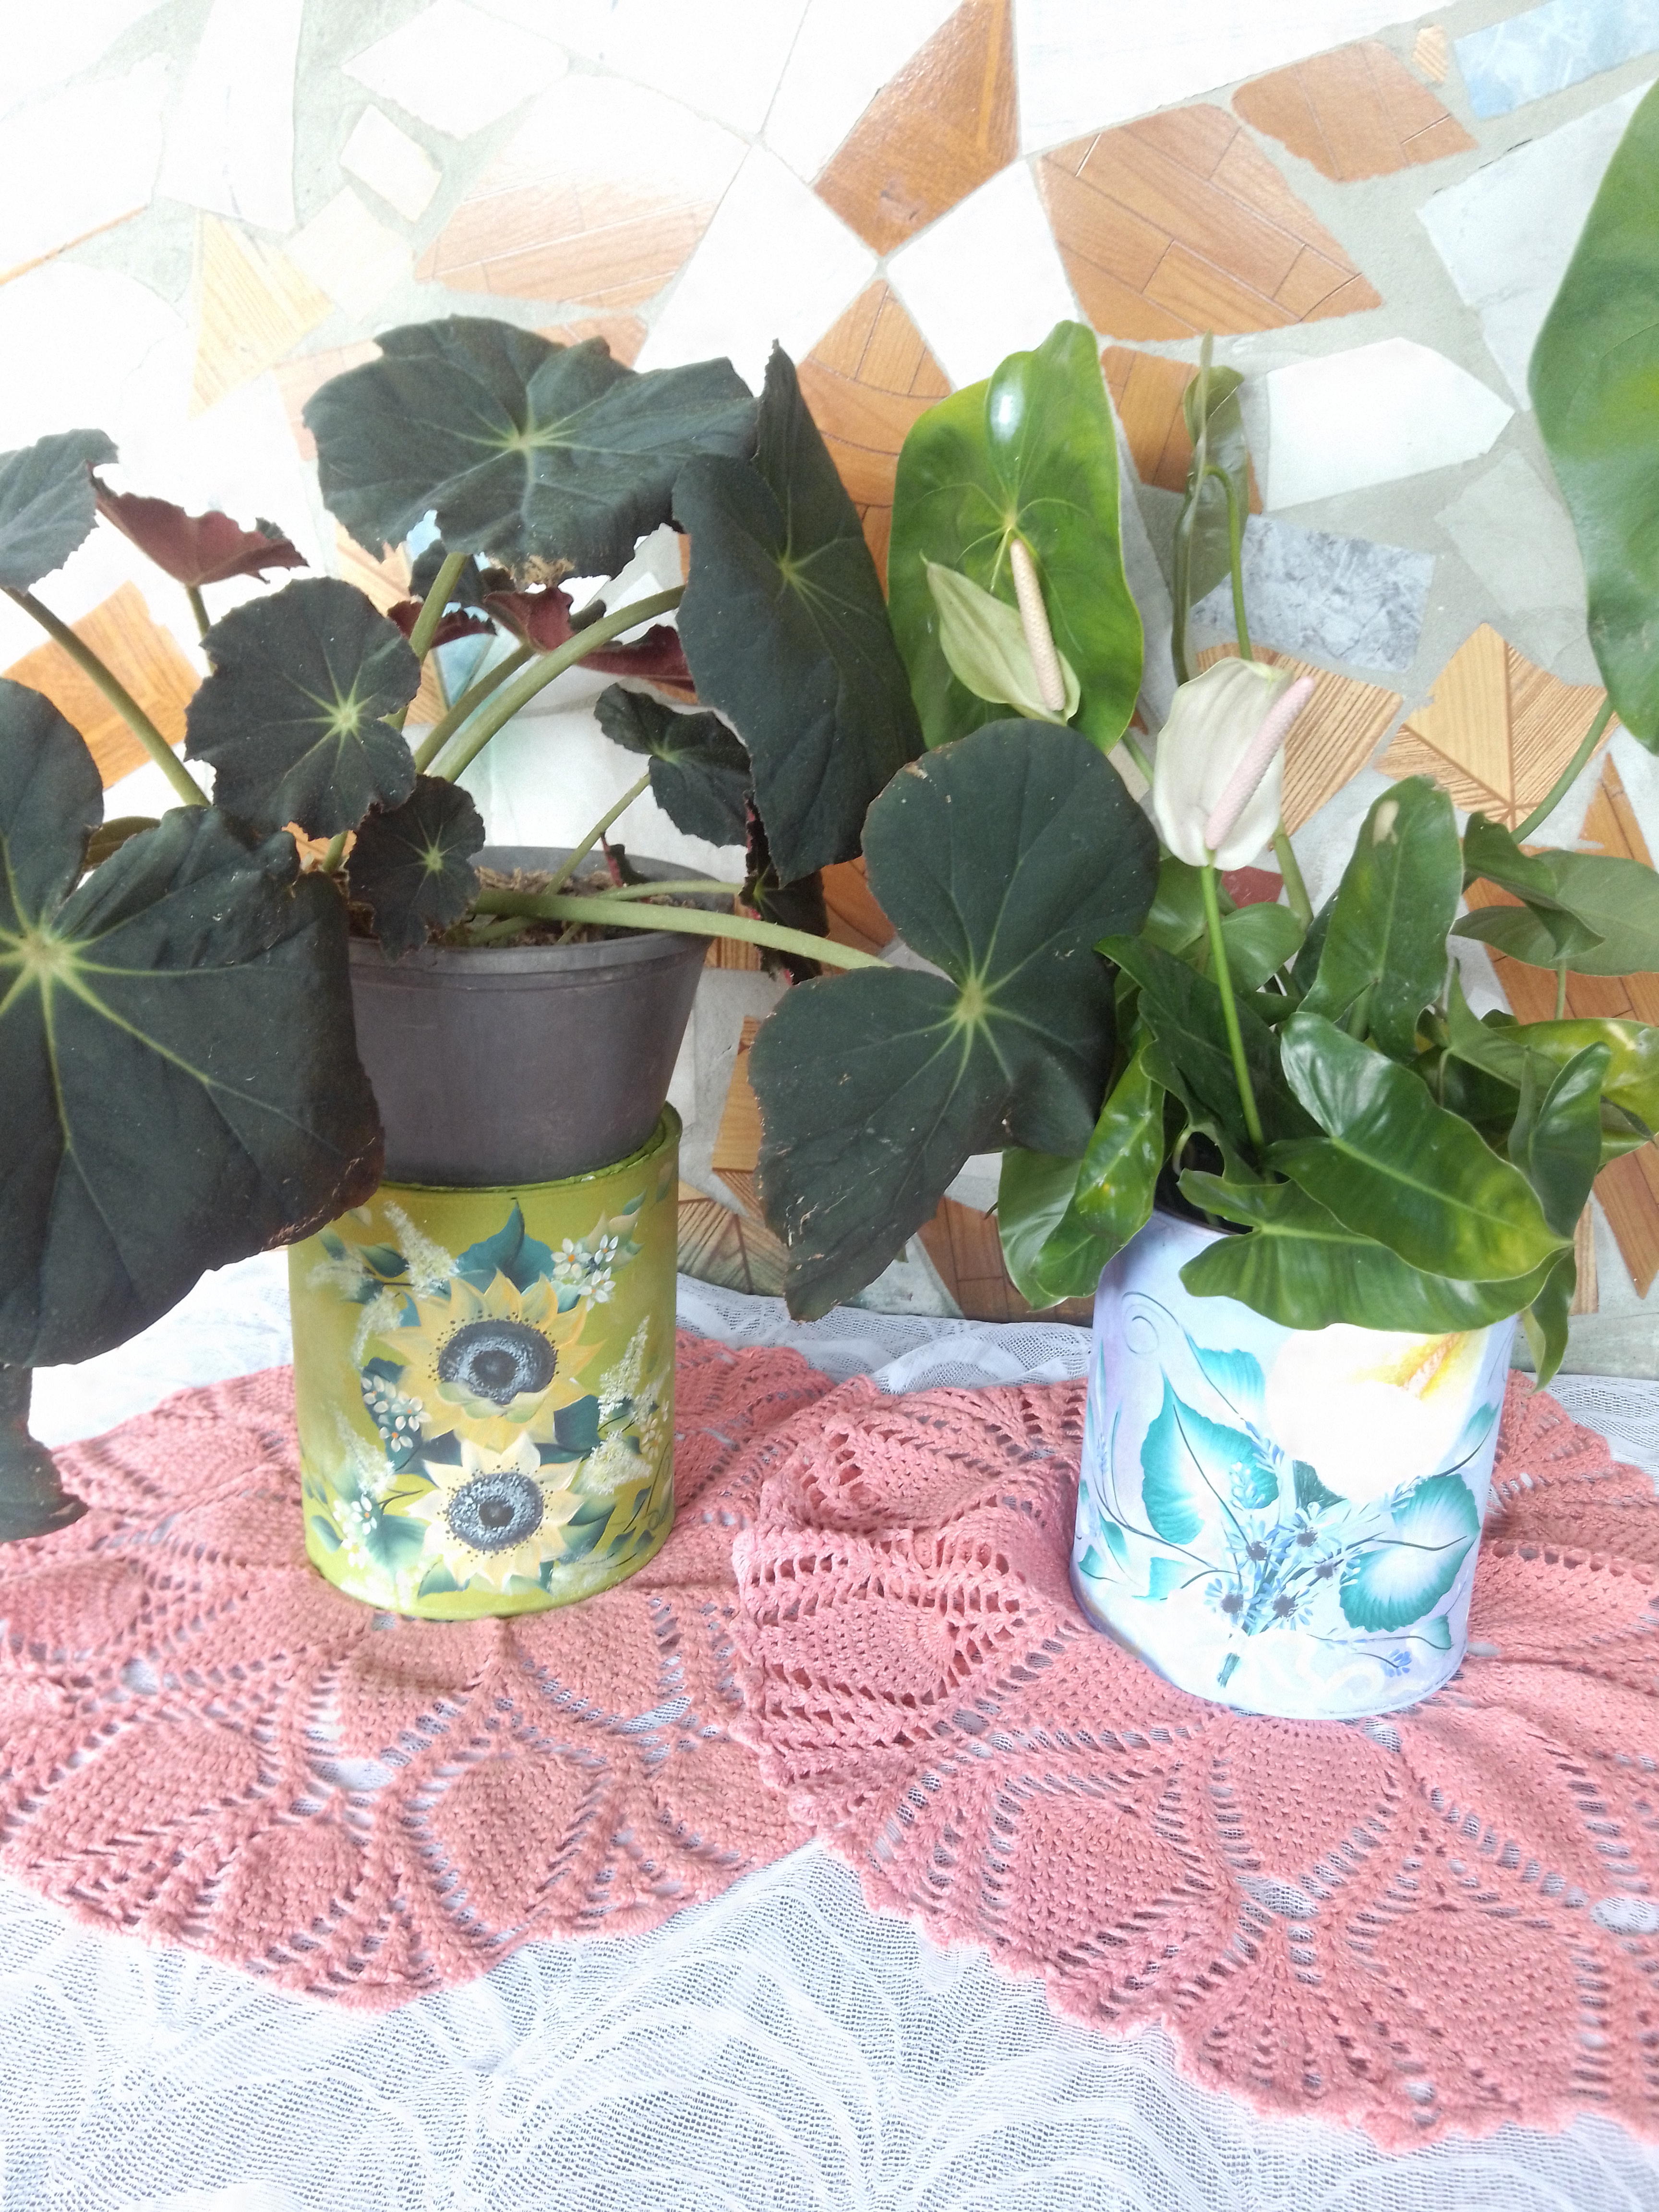
Un gran saludo y abrazo a toda la familía de Hive diy.Que Dios los bendiga! primeramente.En esta ocasión quiero compartir con ustedes este pequeño trabajo que realice con 2 latas de pintura en aceite que encontré en una esquina cerca de mi casa y tuve la idea de transformarlas en 2 bellos maceteros que decorarían perfectamente nuestros jardínes.Las técnicas que utilice fueron motiado y pinceladas.
A big greeting and hug to all the Hive diy family.may God bless you! first of all.on this occasion I want to share with you this little work I did with 2 cans of oil paint that I found in a corner near my house and I had the idea of transforming them into 2 beautiful planters that would perfectly decorate our gardens.the techniques I used were motiado and brushstrokes.
Foto tomada por mi nieto
Foto tomada por mi nieto
**Para este proyecto utilice los siguientes Materiales:**
- 2 latas de Pinturas de Aceite.
- Pinceles de cerdas suave:
Planos 12 y 18, liner 1 y redondo 3.
- Esponja.
- Pinturas acrílicas al frío colores:
Blanco,Negro,Marrón Oscuro,
Chocolate,Verde Pistacho,
Durazno,Azul claro,
Morado,Amarillo,
Verde Oscuro,Azul Rey.
- Cristal Glosse (Brillo).
- Potecito con agua.
- Pañito.
- Pieza de Cerámica.
- Pega Escolar.
**For this project used the following materials:**
- 2 cans of Oil Paints.
- Soft bristle brushes:
Flat 12 and 18, liner 1 and round 3.
- Sponge.
- Cold acrylic paints colors:
White,Black,Dark Brown,
Chocolate, Pistachio Green,
Peach, Light Blue,
Purple, Yellow,
Dark Green, King Blue.
- Crystal Glosse (Glitter).
- Small pot with water.
- Wipes.
- Ceramic piece.
- School glue.
Foto tomada por mi nieto
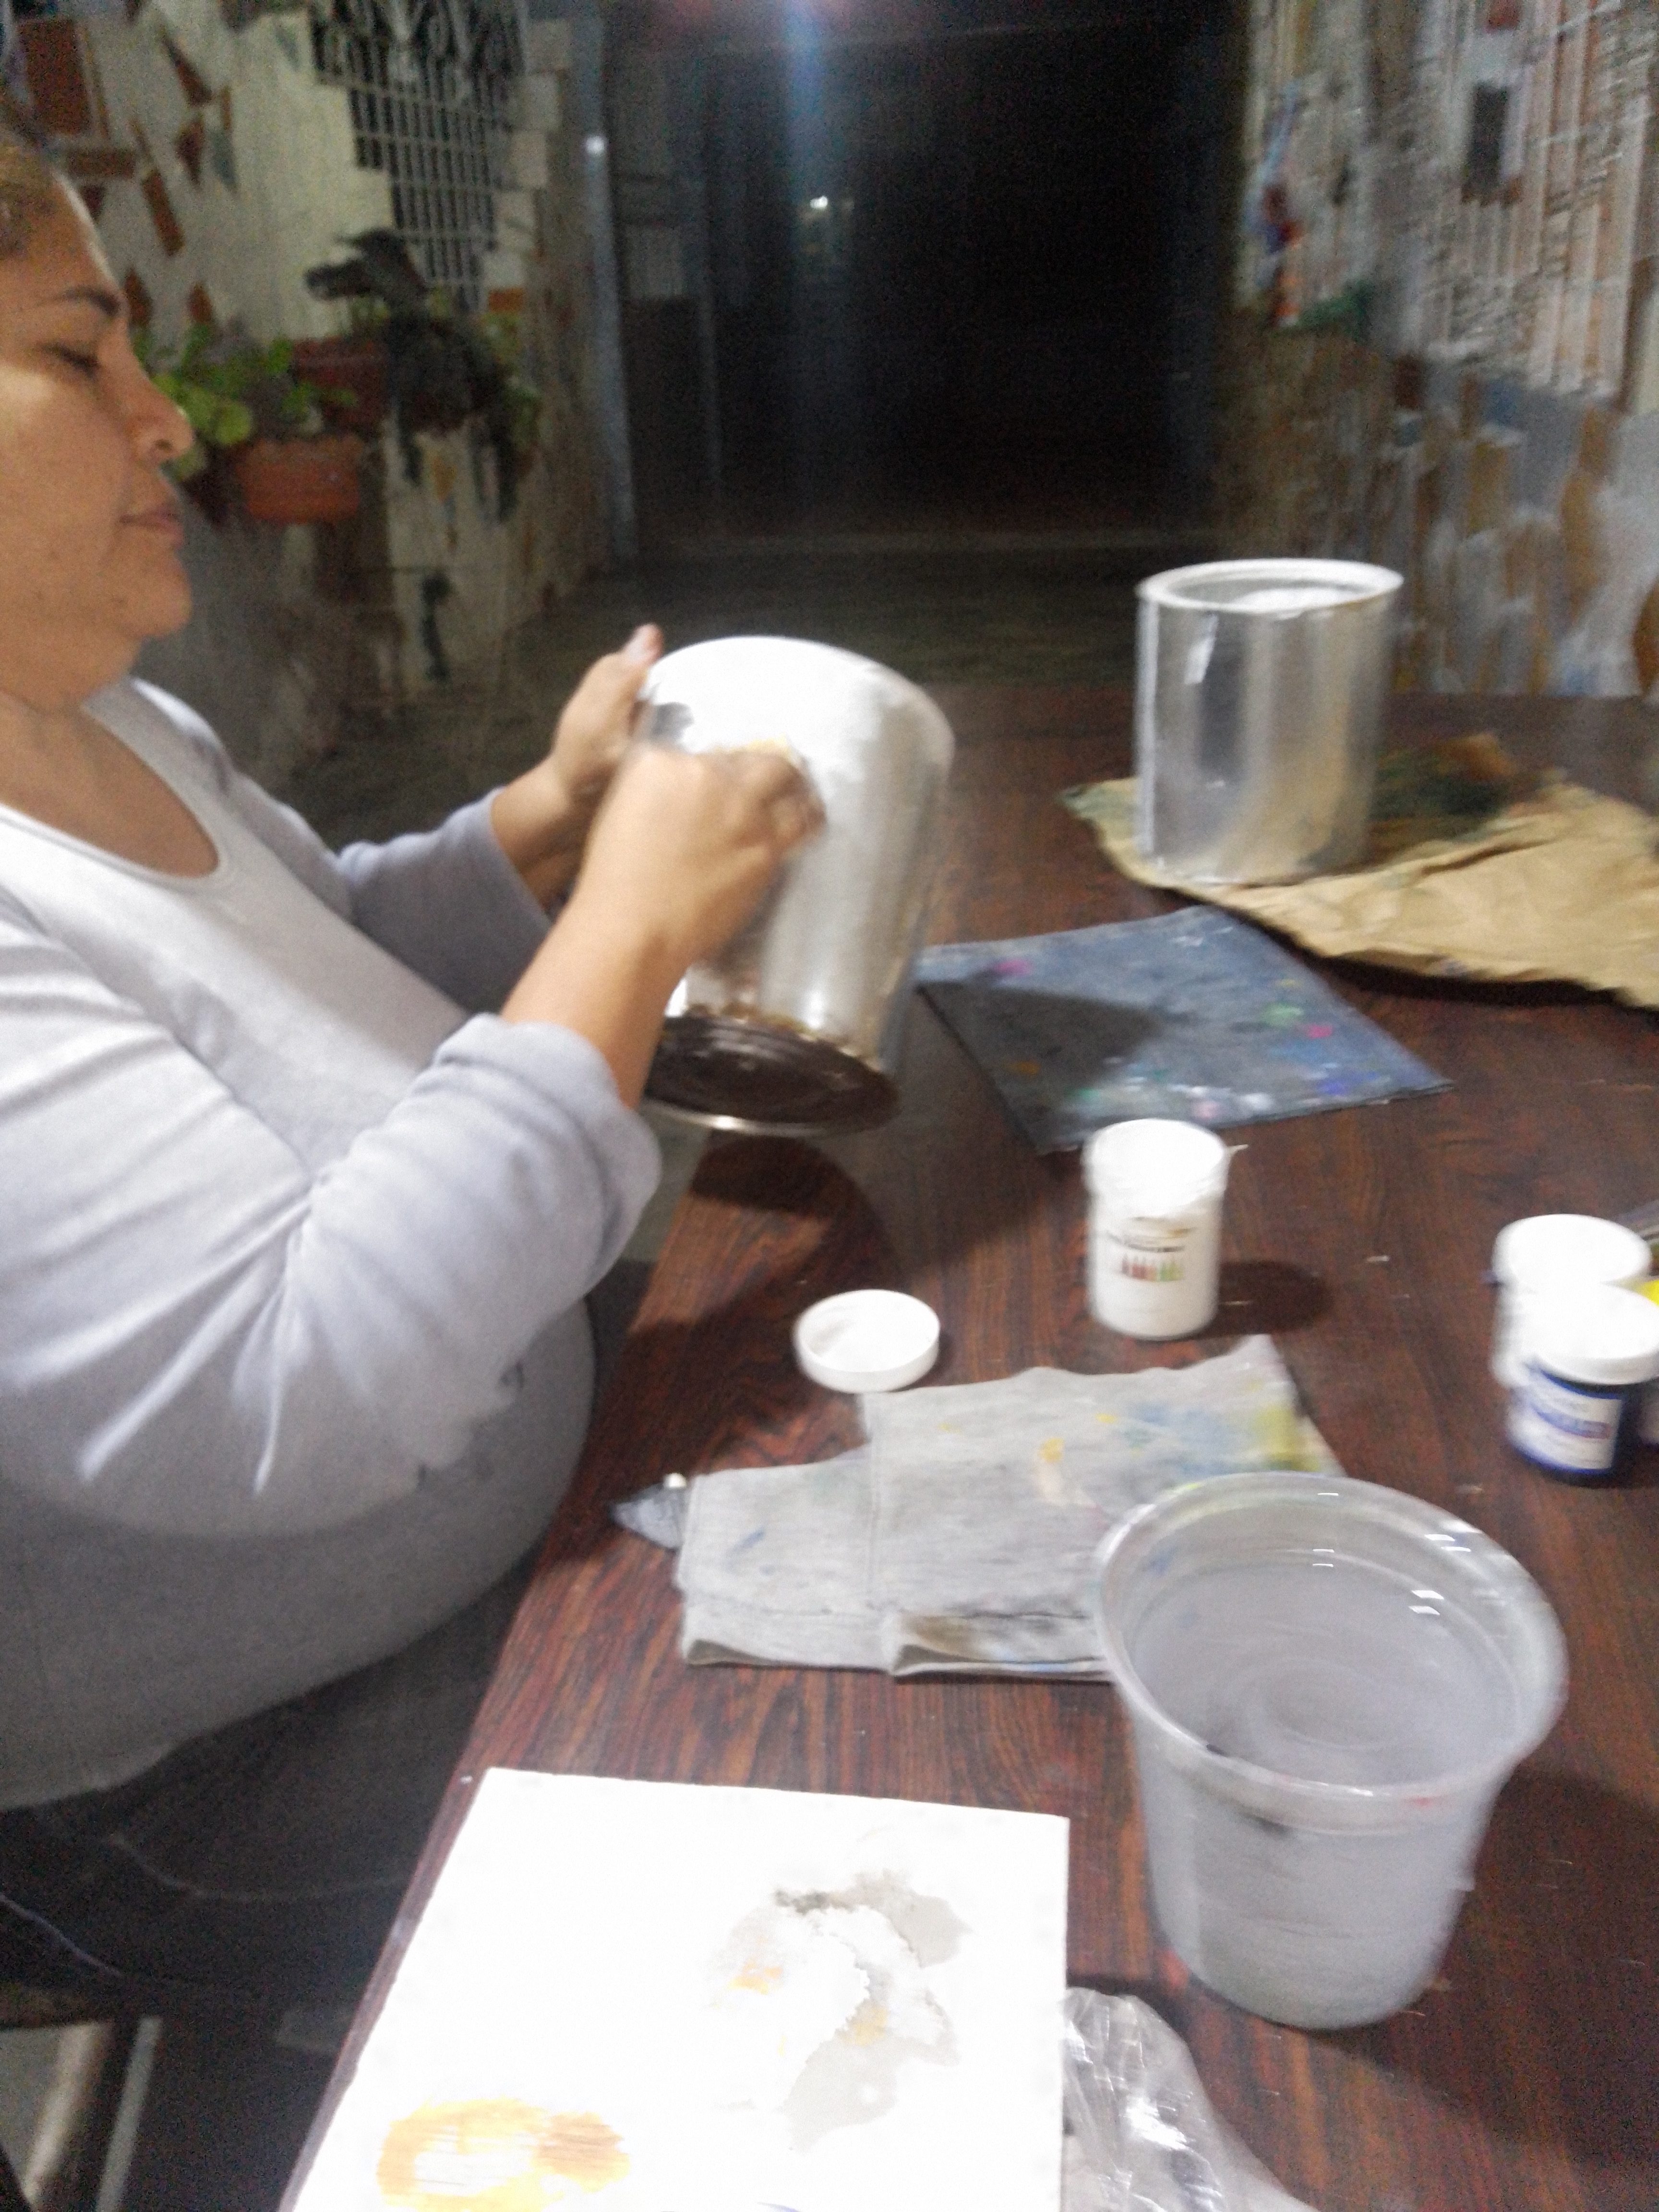
Antes del Paso 1,previamente lave las 2 latas de pintura en aceite.Preparé una mezcla en cantidades iguales de pega escolar y pintura acrilica blanca.Esto con la finalidad de que la pintura se adhiera más al latón y con trozo de lija 220 lijé la superficie de las latas despúes de lavadas.No tengo registro de esto porque las personas que me apoyan con las fotos no estaban en mi casa en ese momento. Pero estos pasos se tienen que hacer previamente.
Before Step 1, I previously washed the 2 cans of oil paint, prepared a mixture of equal amounts of school glue and white acrylic paint, so that the paint would adhere better to the brass and with a piece of 220 grit sandpaper I sanded the surface of the cans after washing, I have no record of this because the people who support me with the photos were not at home at that time. But these steps have to be done previously.
Foto tomada por mi nieto
**Paso 1:**
Con la esponja motie la mezcla que había preparado previamente con pintura acrilica blanca y pega escolar le dí 2 capas dejando secar entre capa y capa.
**Step 1:**
With the sponge motie the mixture I had previously prepared with white acrylic paint and school glue I gave it 2 coats letting it dry between coats.
Foto tomada por mi nieto
Foto tomada por mi nieto
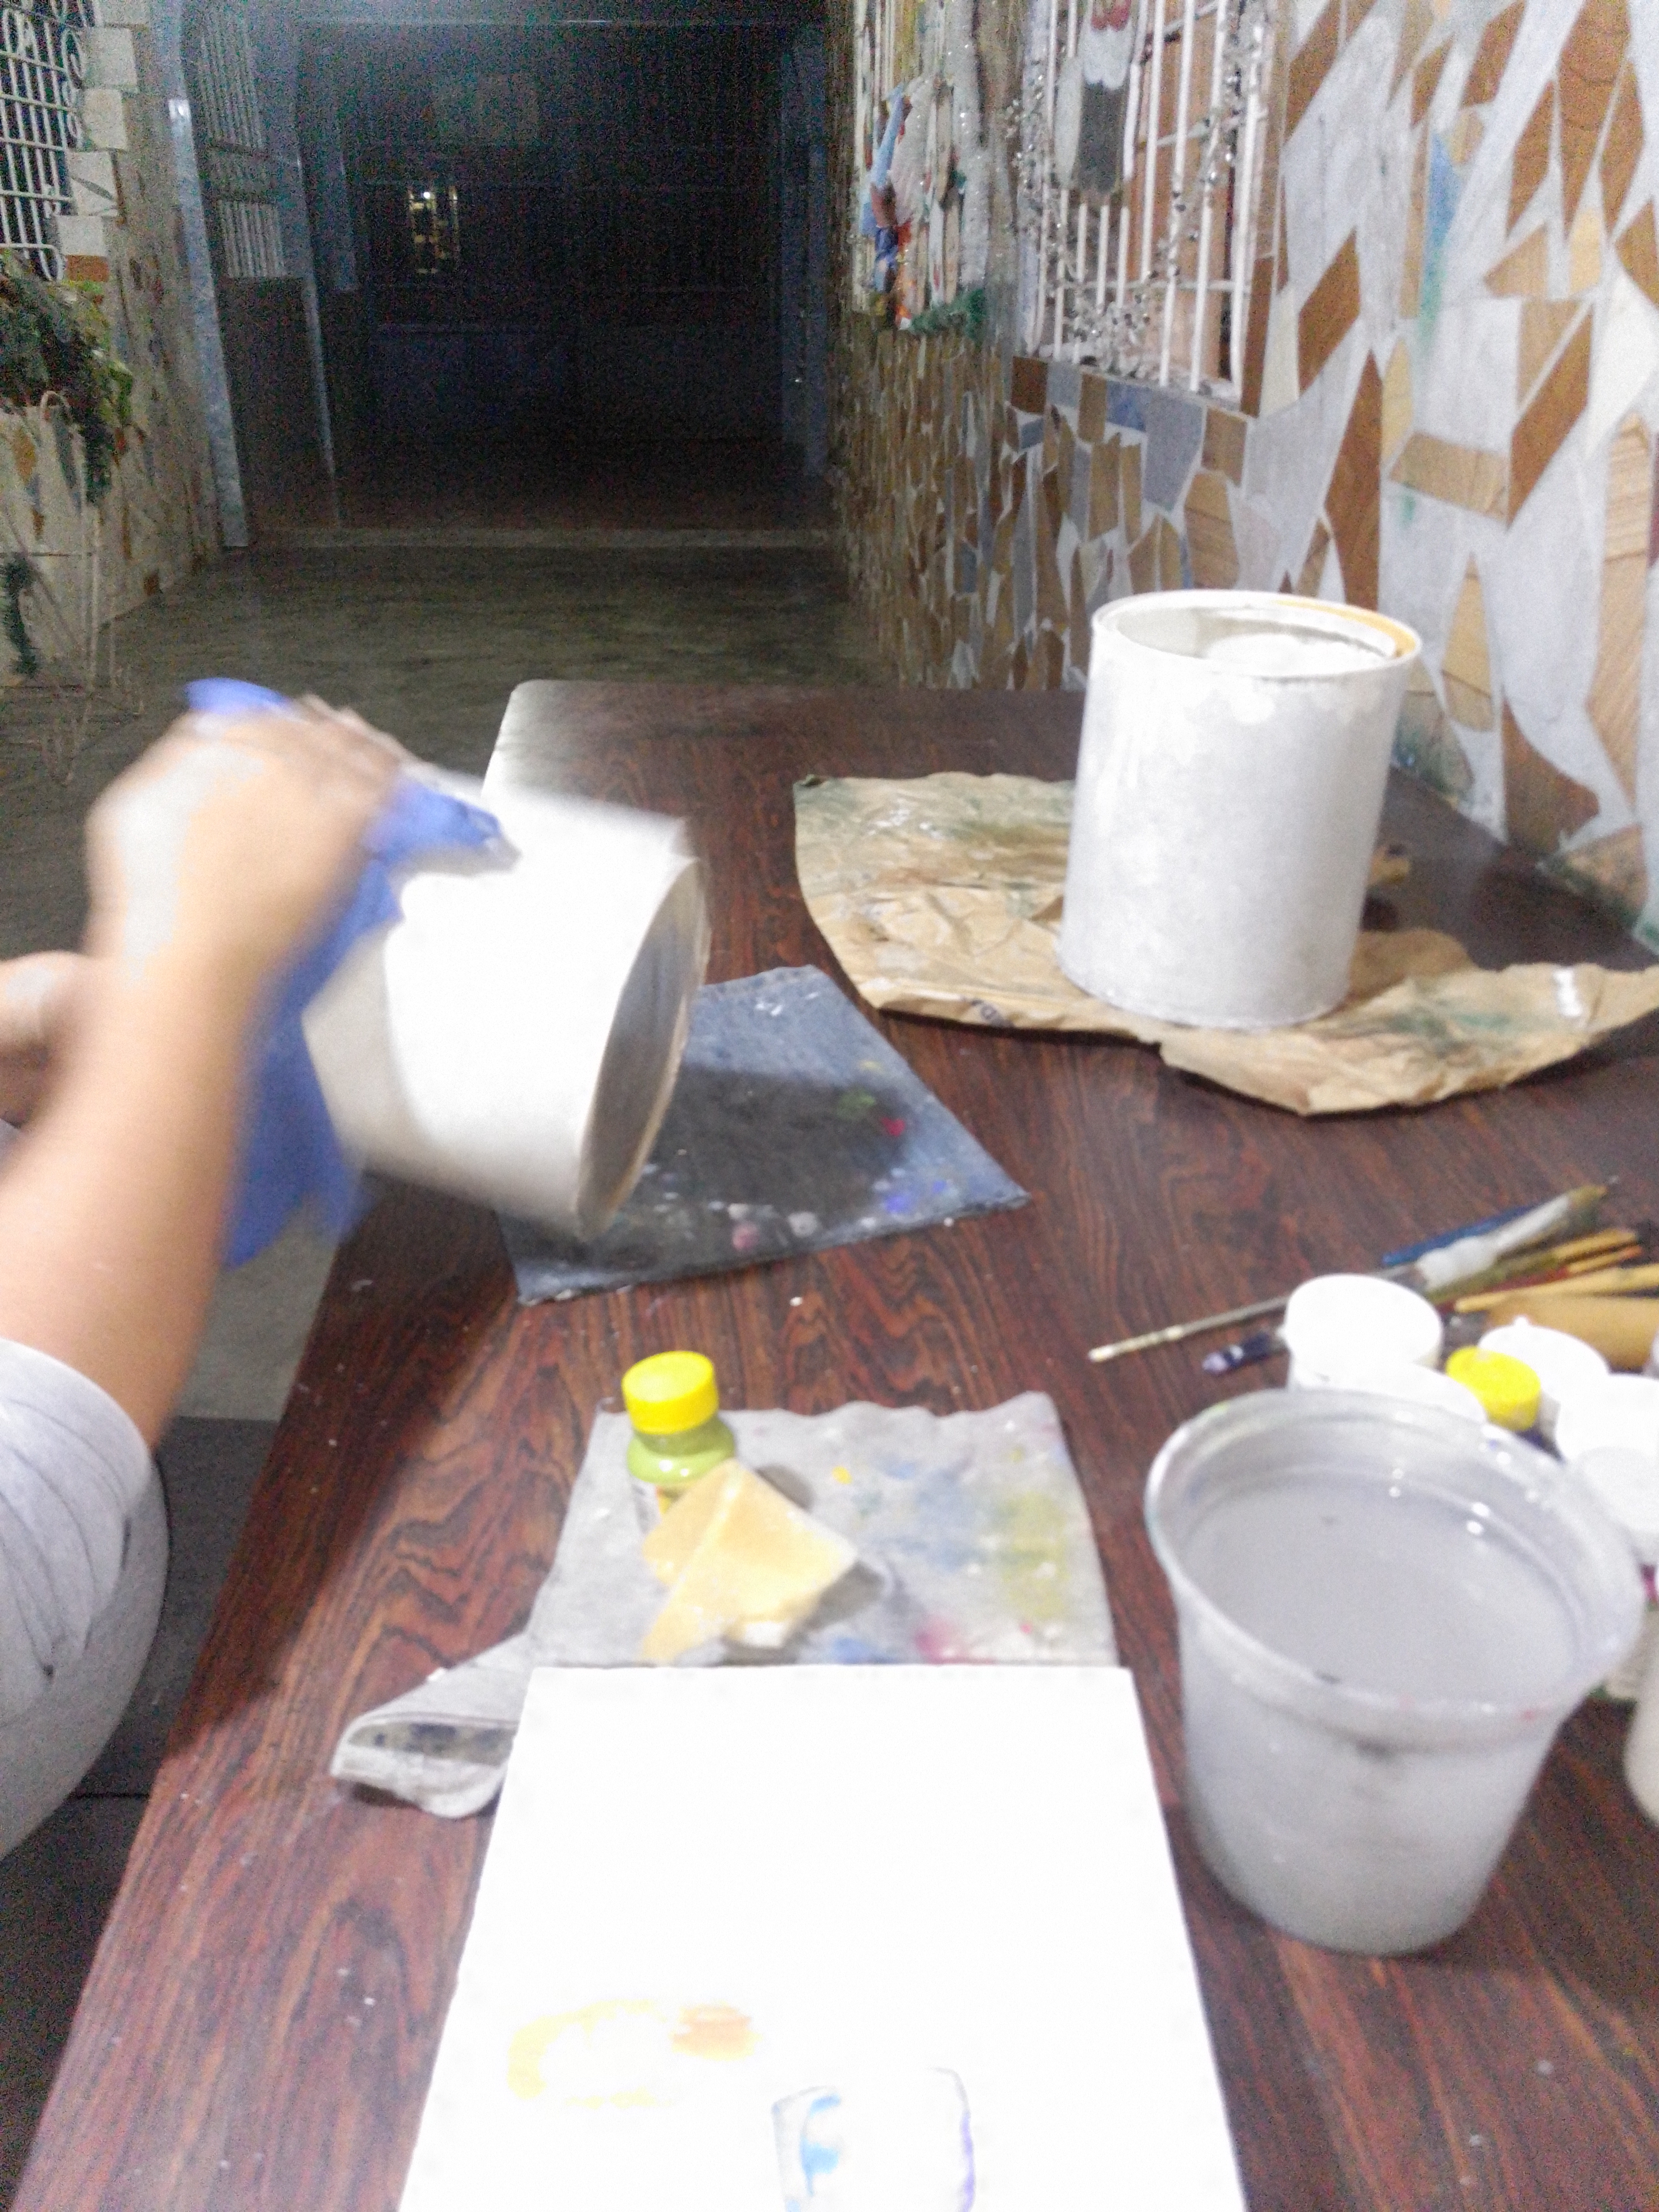
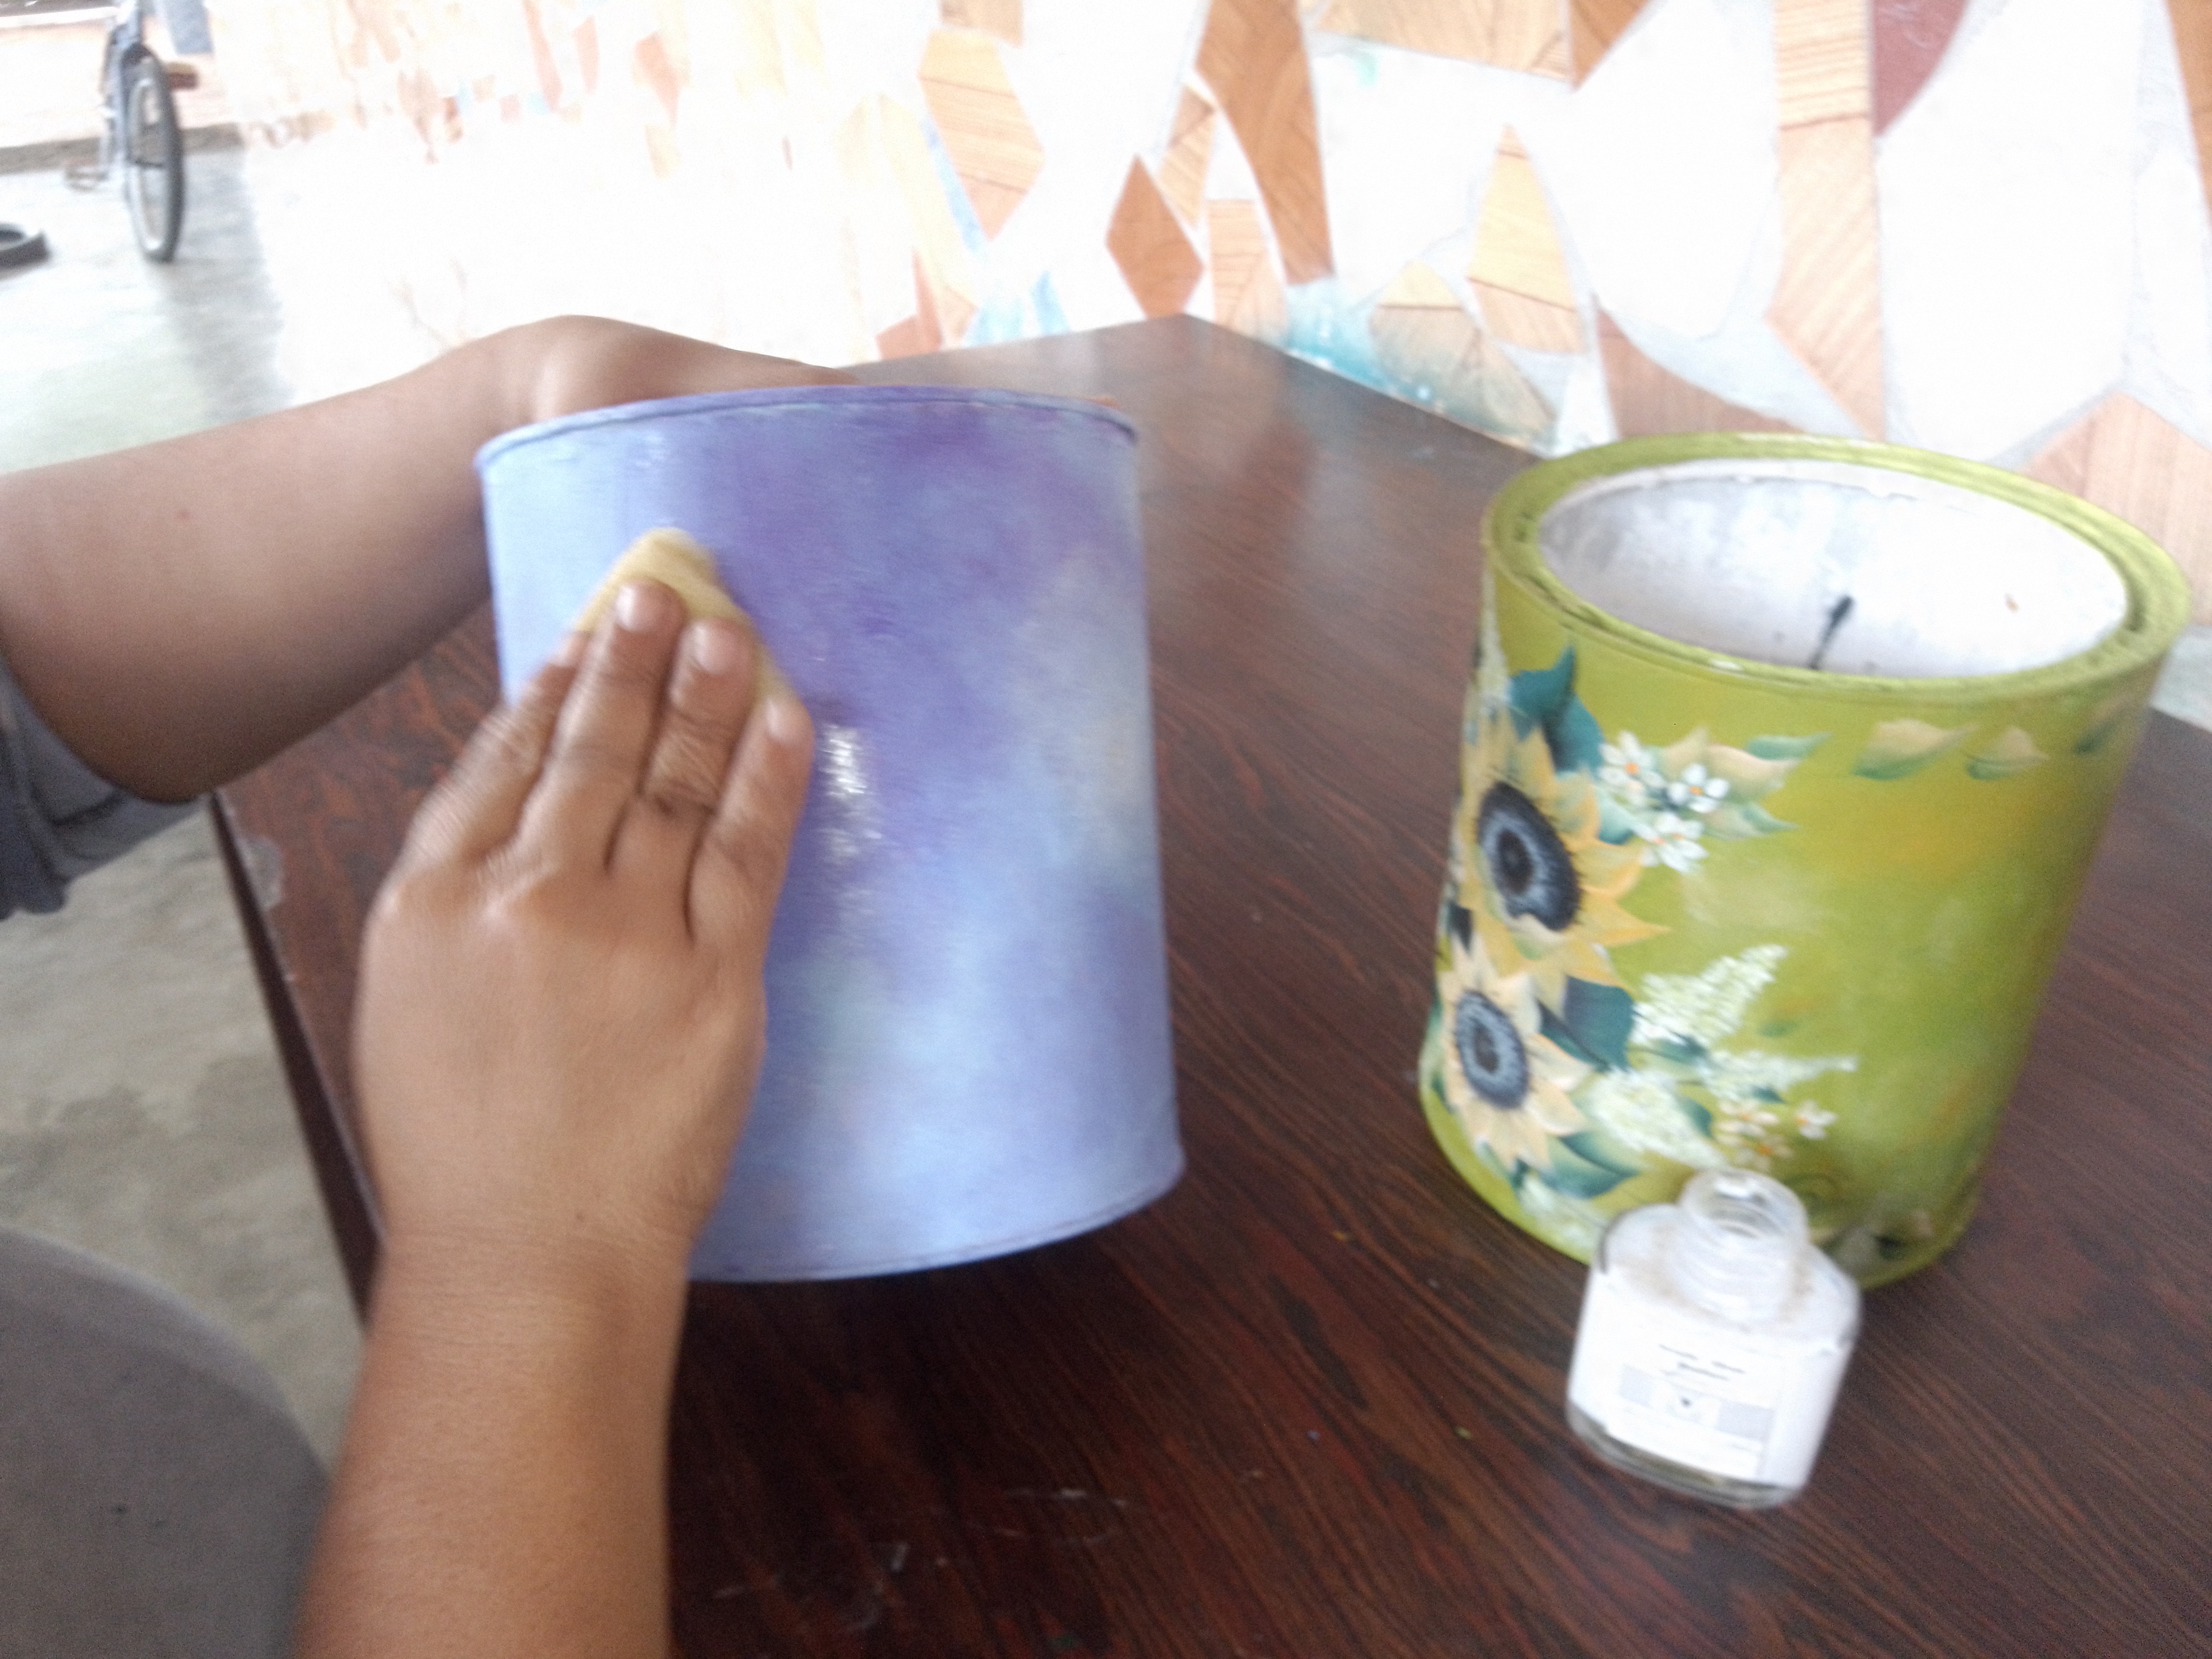
**Paso 2:**
Una vez seca la base con un pañito limpio frote suavemente la superficie de las latas.Esto lo hago para quitar la porocidad de la pintura y que quede mas suave la superficie. Luego,sobre la pieza de ceramica coloque verde pistacho y durazno para la base de una lata.La otra coloque azul claro y morado. Con la ayuda de la esponja coloque las bases en cada lata dejando secar entre capa y capa.A cada lata le aplique 2 mano de pintura acrílica.
**Step 2:**
Once the base is dry, gently rub the surface of the cans with a clean cloth to remove the porosity of the paint and make the surface smoother. Then, on the ceramic piece I put pistachio green and peach for the base of one can, and light blue and purple for the other. With the help of the sponge, place the bases on each can and let them dry between coats. 2 coats of acrylic paint were applied to each can.
Foto tomada por mi nieto
Foto tomada por mi nieto
Foto tomada por mi nieto
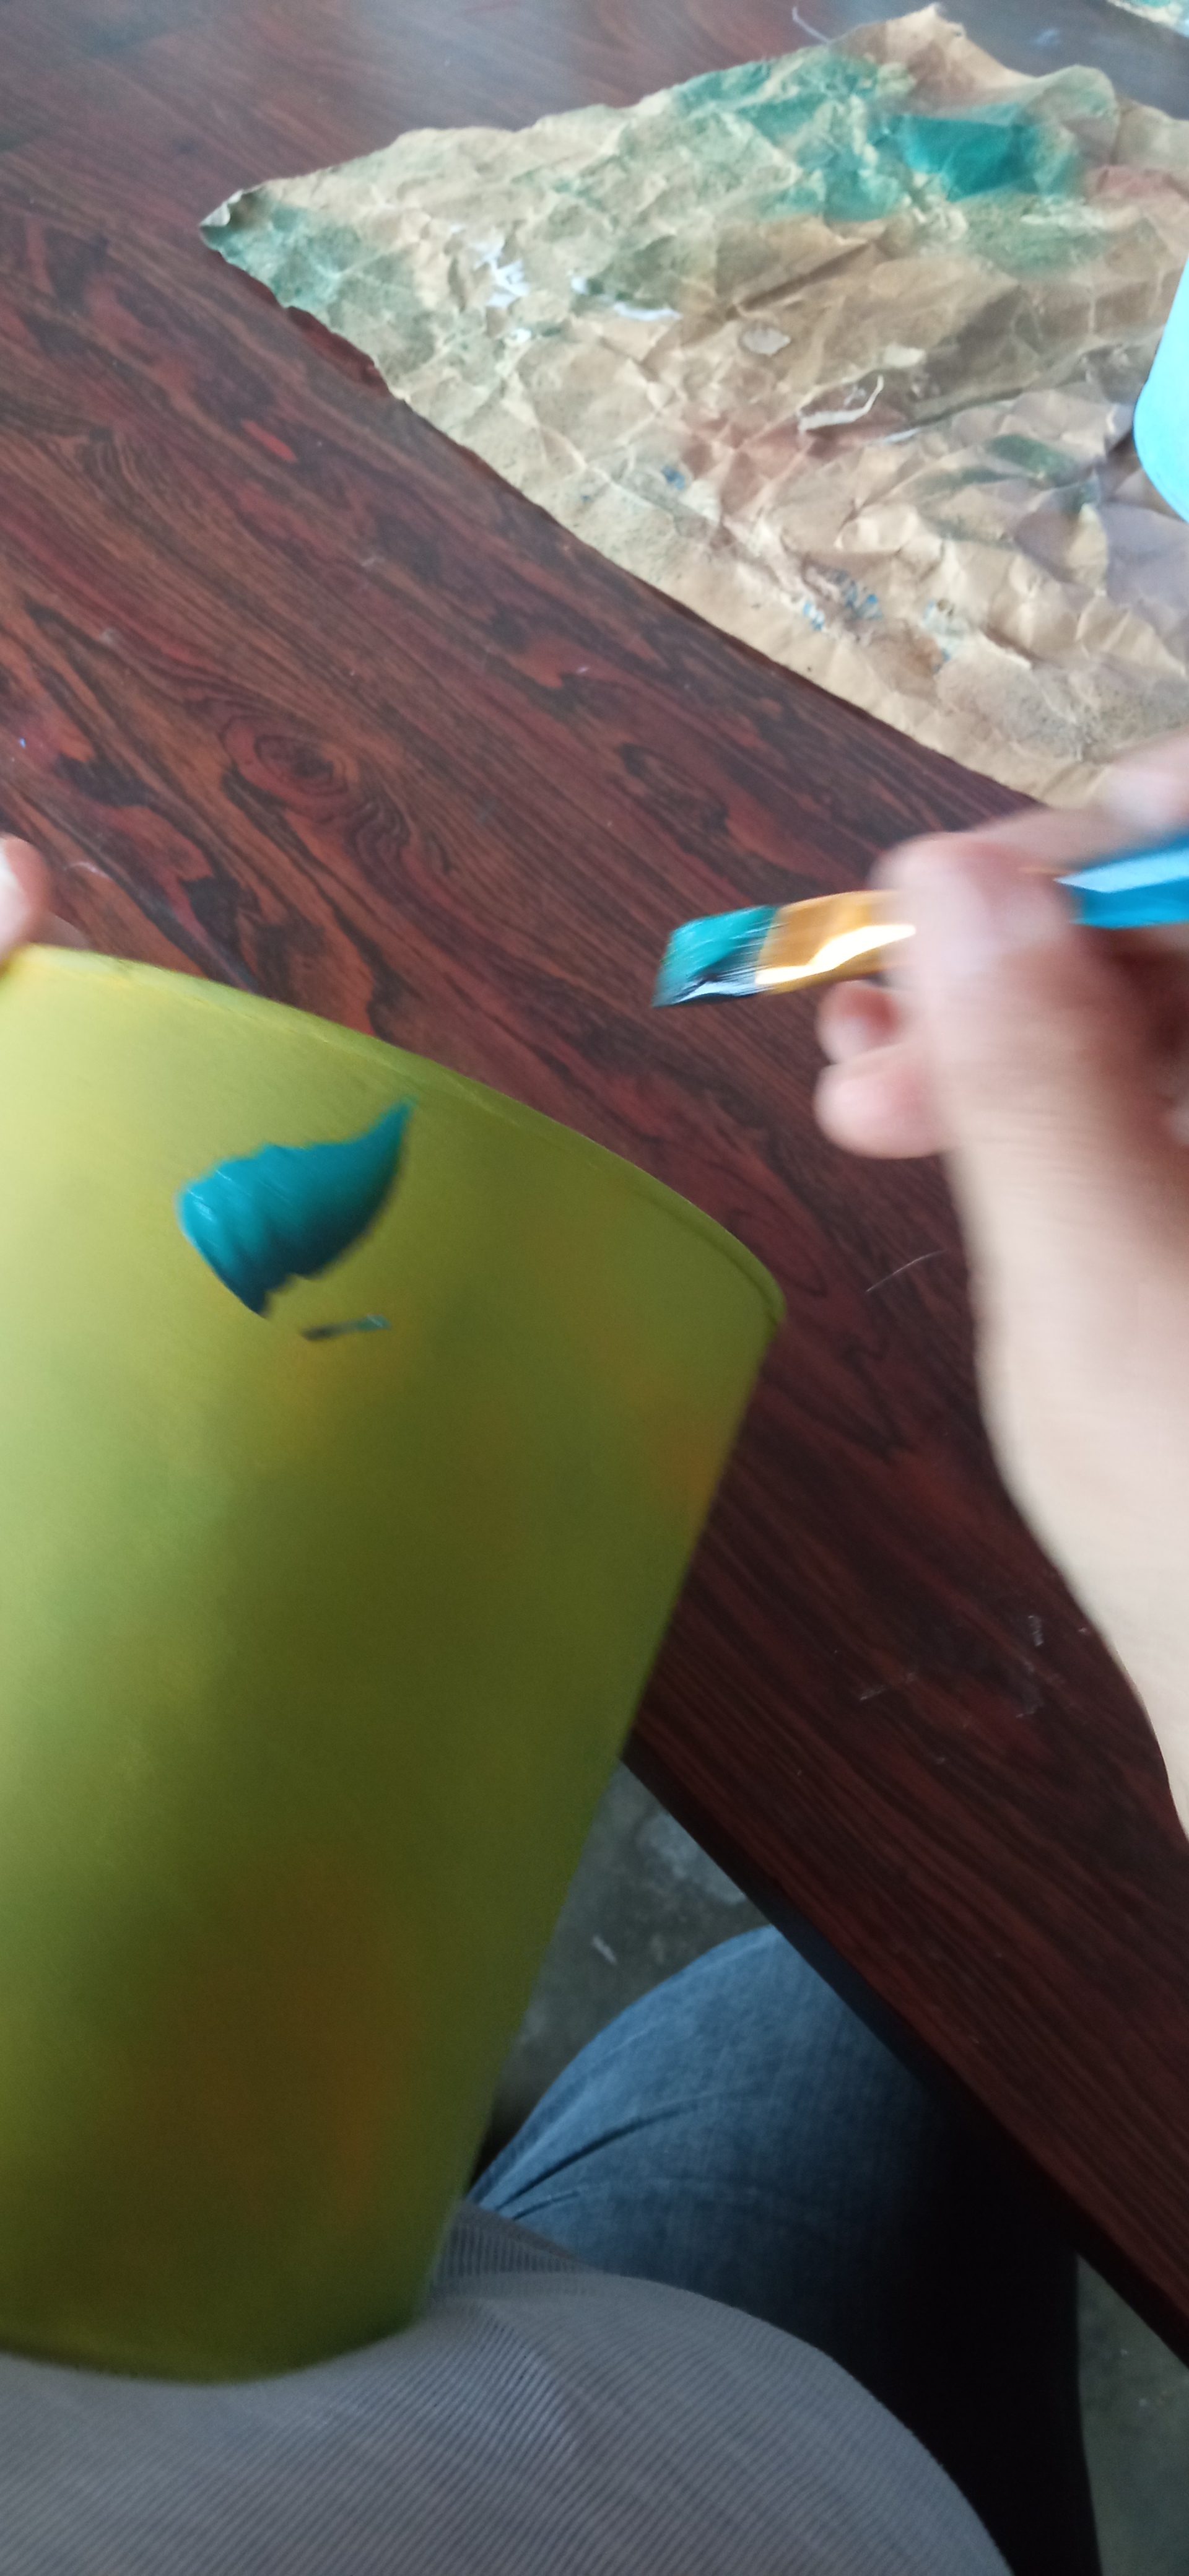
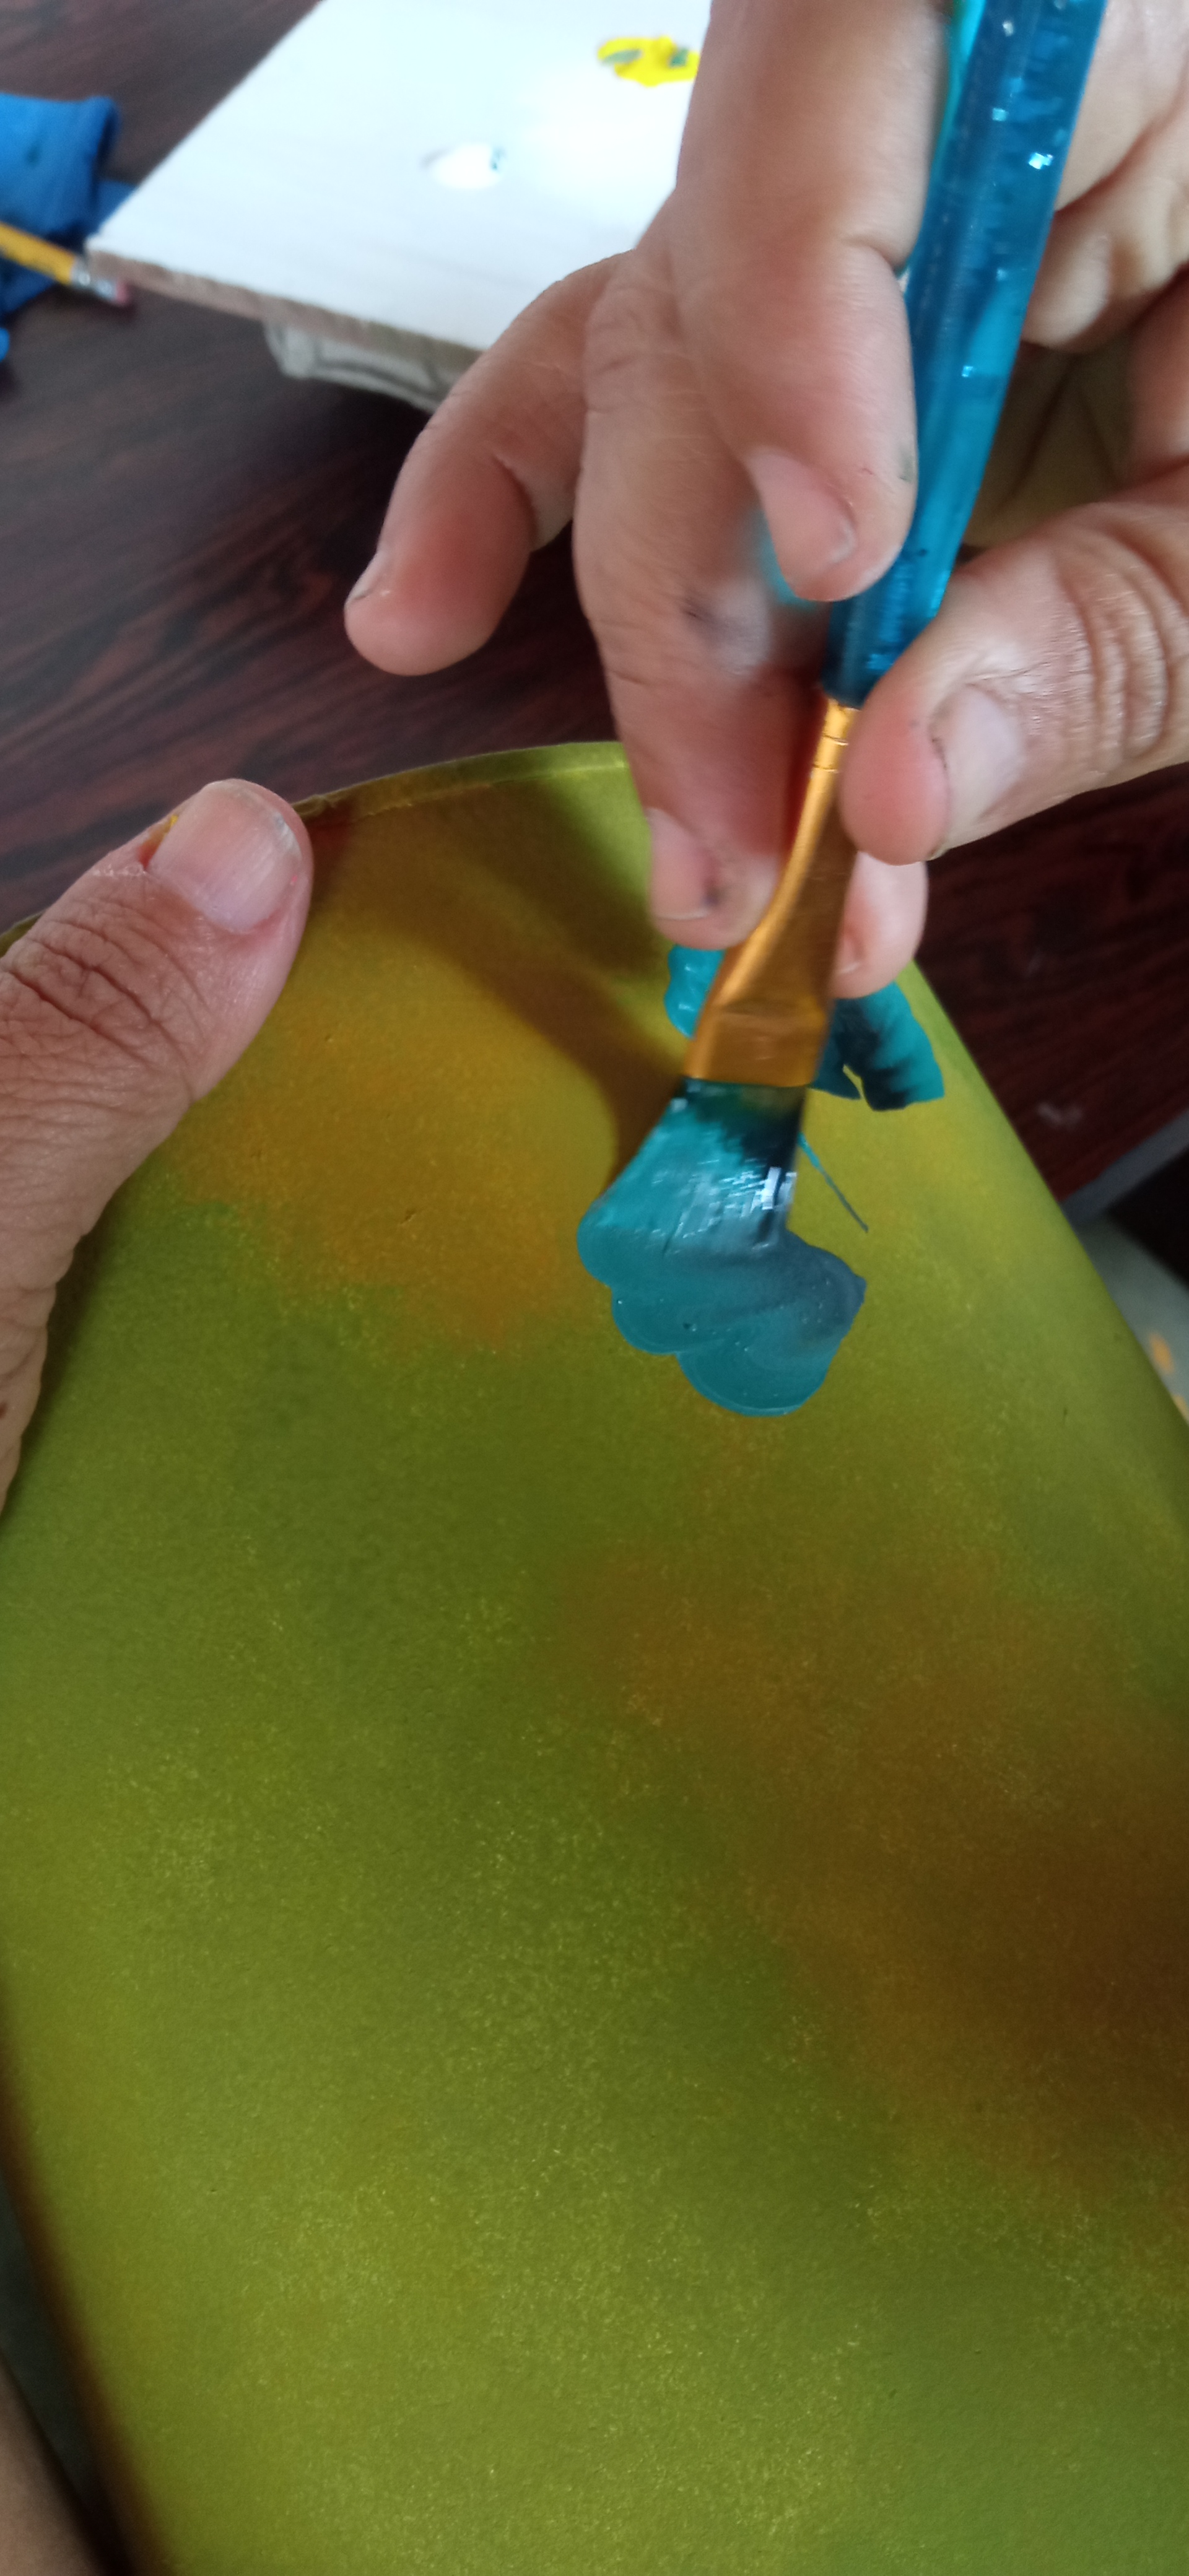
**Paso 3:**
Ya lista la base de los colores de cada una de las latas, decidi realizar dos tipos de pinceladas para cada una de ellas.Para la lata motiada de verde y durazno pinte una composición de Girasoles. Para ello, primeramente hice una doble carga del pincel plano 12 con verde oscuro y negro la cual descargue sobre la ceramica para unificar los tonos y realice las hojas que van por debajo del Girasol las cuales tienen que ser más oscura para destacar los claroscuros de la composición. Las otras hojas las realice un una doble carga de verde oscuro y blanco para resaltar las hojas que van hacia la luz.
**Step 3:**
Once the base colors for each of the cans were ready, I decided to make two types of brushstrokes for each of them.For the green and peach motif can I painted a composition of Sunflowers. For this, first I made a double load of the flat brush 12 with dark green and black which I unloaded on the ceramic to unify the tones and I made the leaves that go below the Sunflower which have to be darker to highlight the chiaroscuro of the composition. The other leaves were made with a double load of dark green and white to highlight the leaves that go towards the light.
Foto tomada por mi nieto
Foto tomada por mi nieto
Foto tomada por mi nieto
Foto tomada por mi nieto
Foto tomada por mi nieto
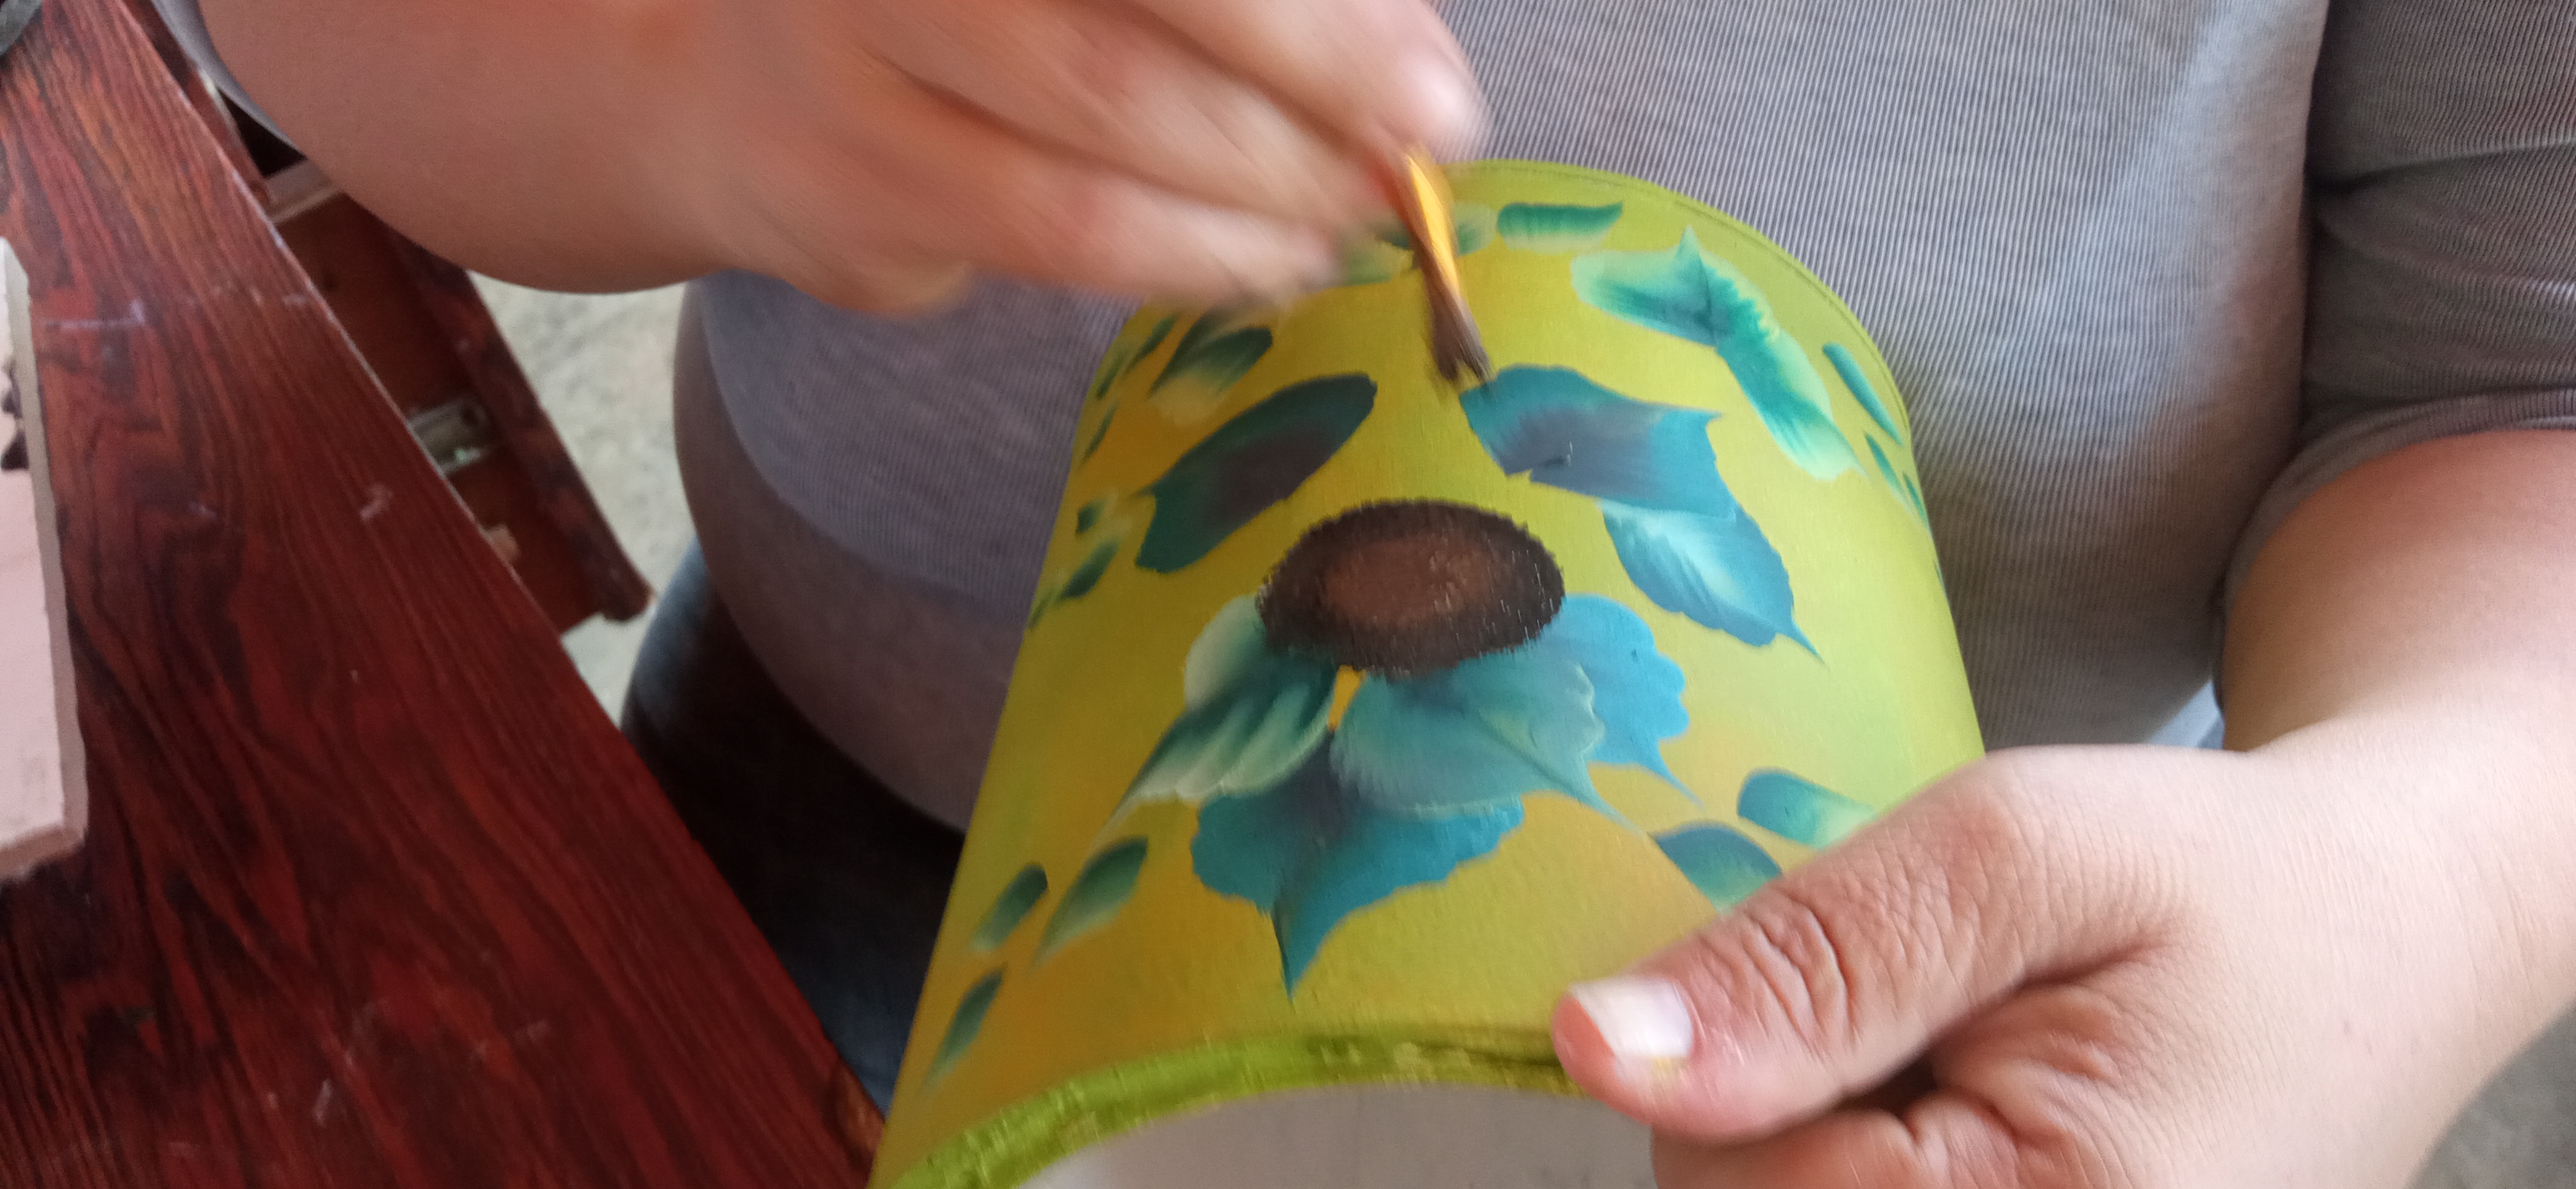
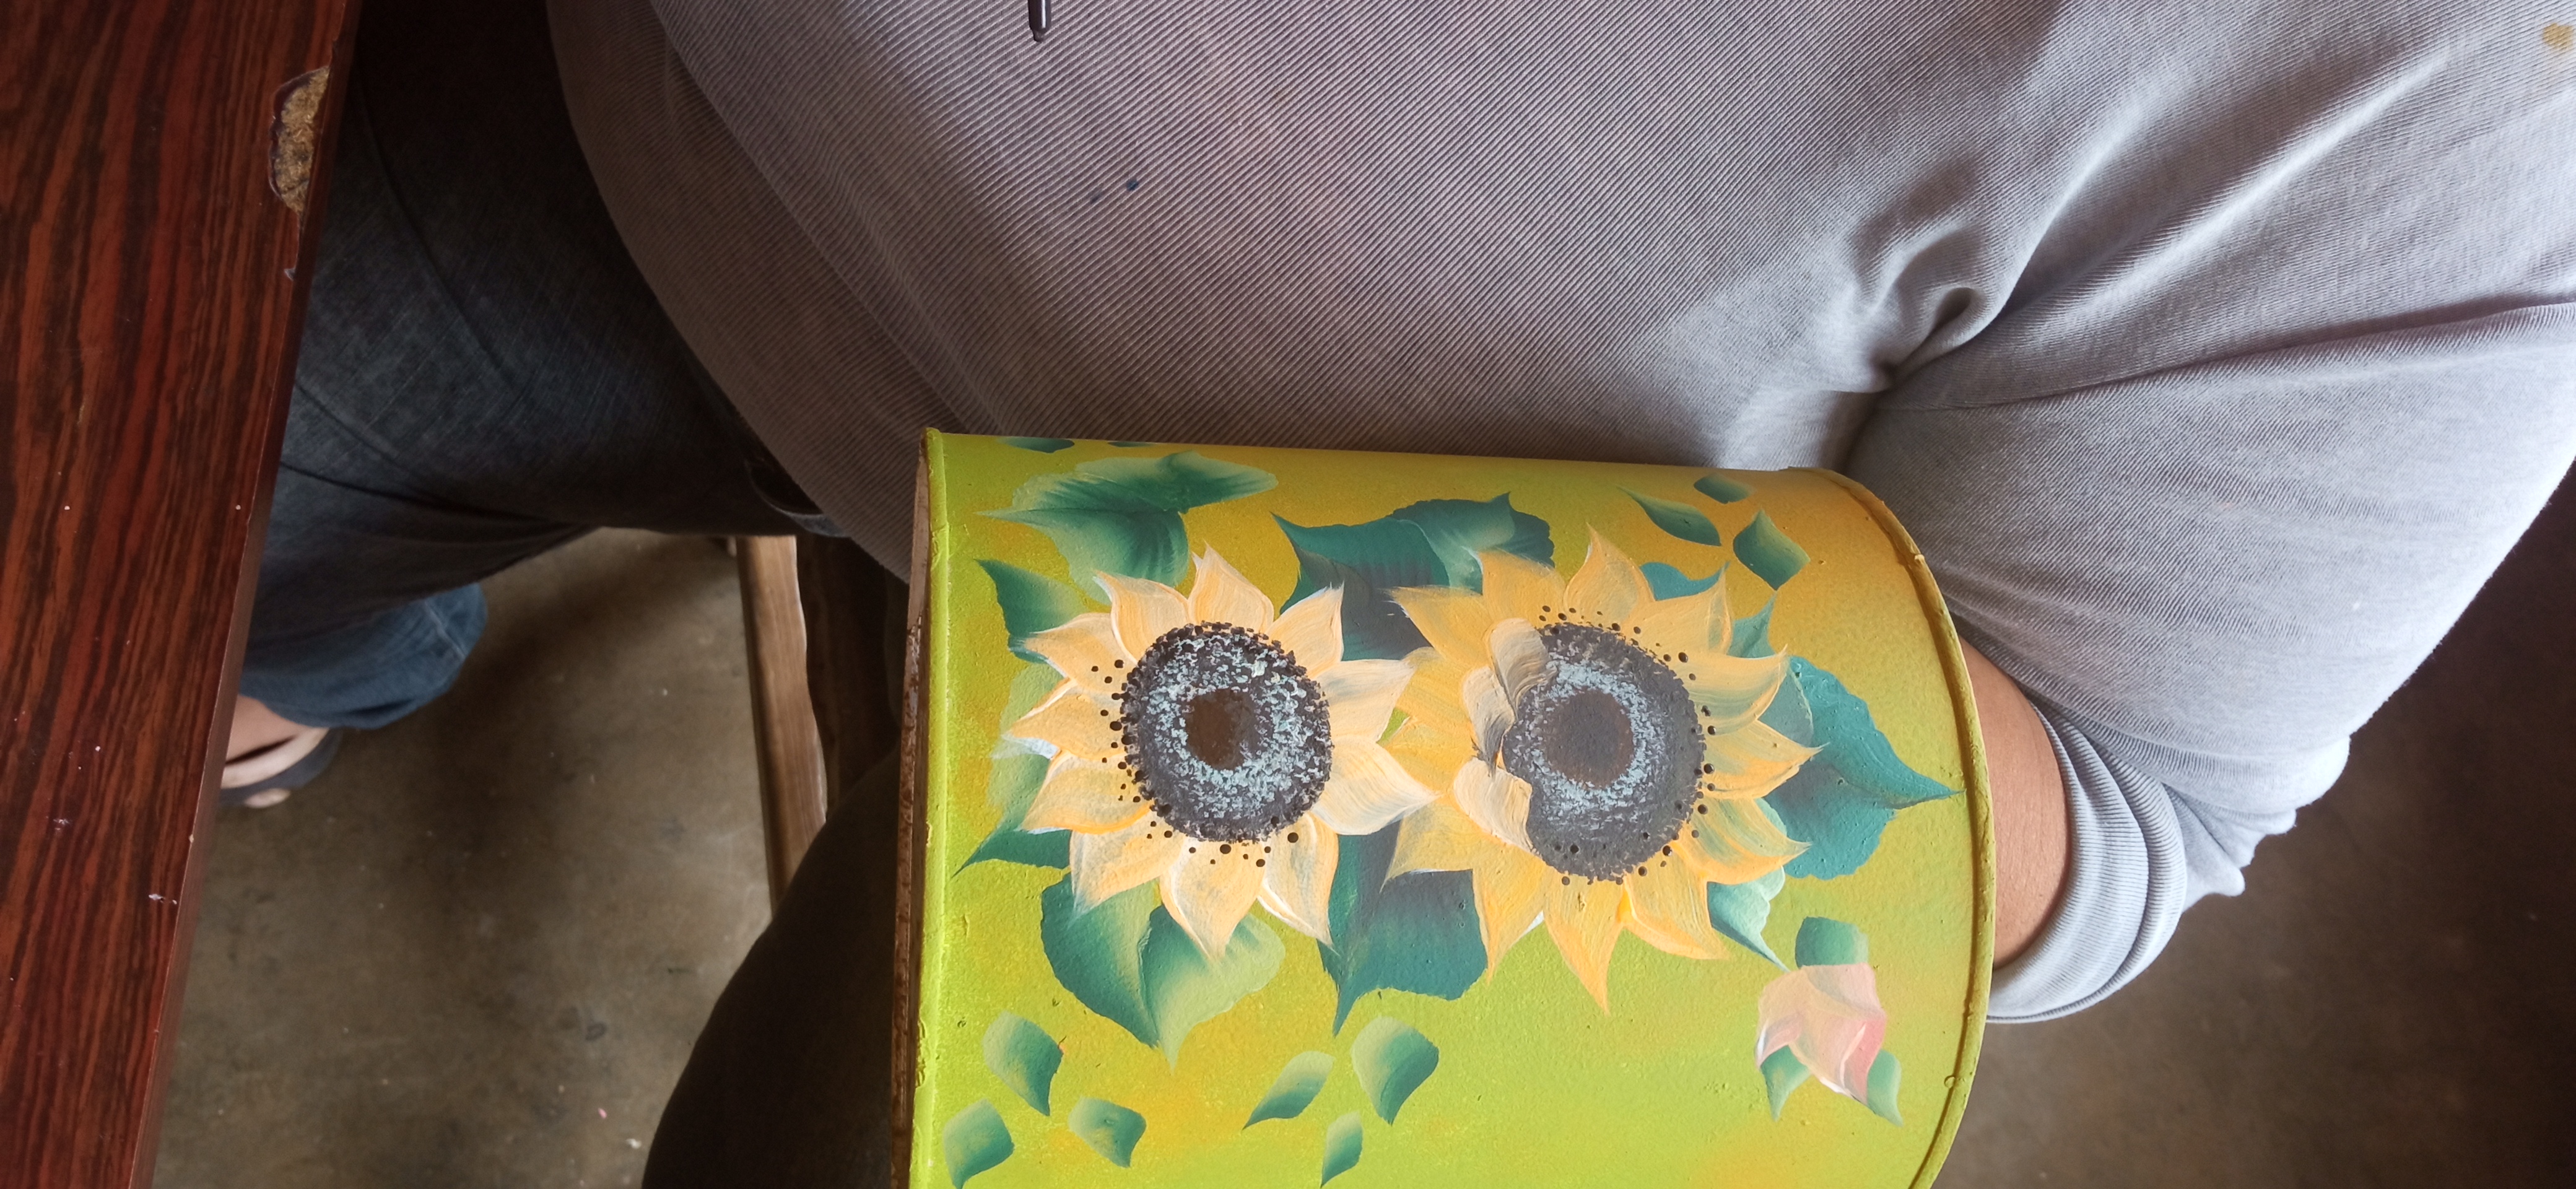
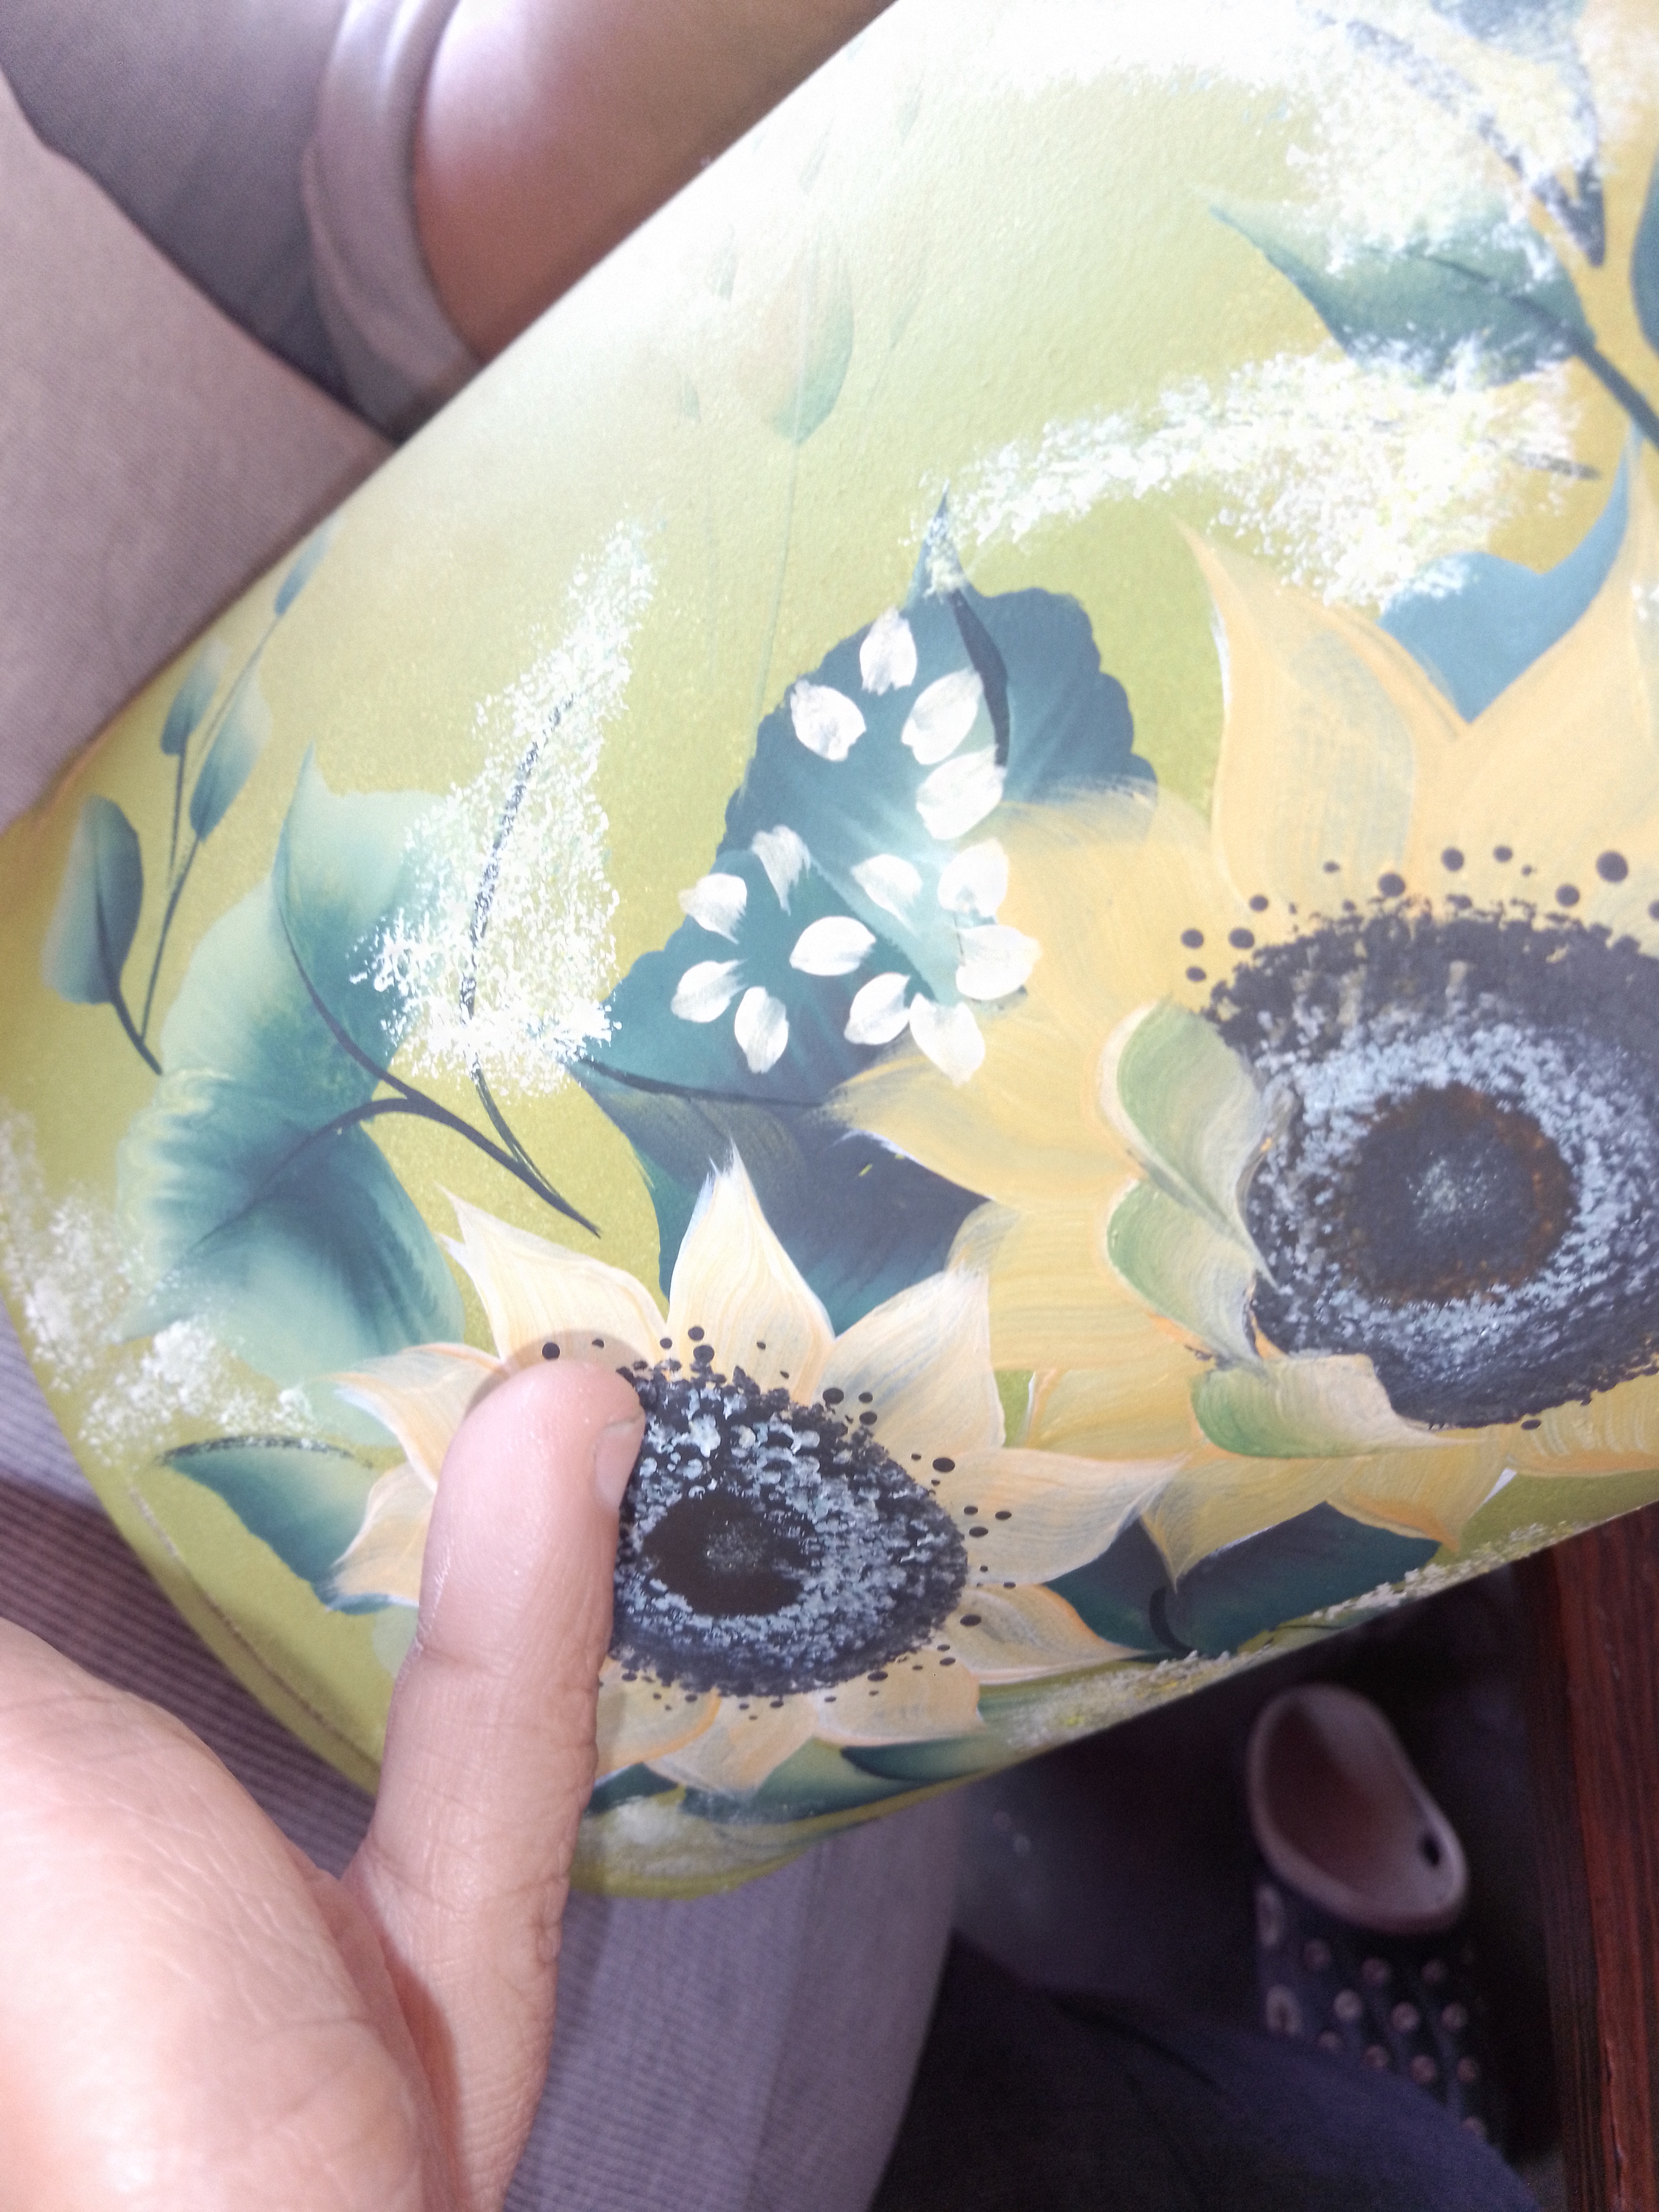
**Paso 4:**
Con un pincel desgastado y abierto cargue marrón oscuro y poncie de modo circular y coloque pequeños toque de negro para dar le la textura del centro del Girasol.Luego,con el pincel plano 12 hice los petalos de la flor los cuales volví arepasarlo pero esta vez con una doble carga de durazno y blanco.Retoqué nuevamente el centro de la flor con negro y le agregue pequeños puntos en negro en su centro y lo motie con blanco.Para completar la composición hice una cenefa de hojas en ambos bordes de la lata superior e inferior y adorne la composición con pequeñas flores blancas y ramilletes.
**Step 4:**
With a worn and open brush I loaded dark brown and paint in a circular way and put small touches of black to give the texture of the center of the sunflower, then with the flat brush 12 I made the petals of the flower which I brushed again but this time with a double load of peach and white. I retouched again the center of the flower with black and added small dots in black in its center and then I dipped it with white, to complete the composition I made a border of leaves on both edges of the upper and lower can and I decorated the composition with small white flowers and bouquets.
Foto tomada por mi nieto
Foto tomada por mi nieto
Foto tomada por mi nieto
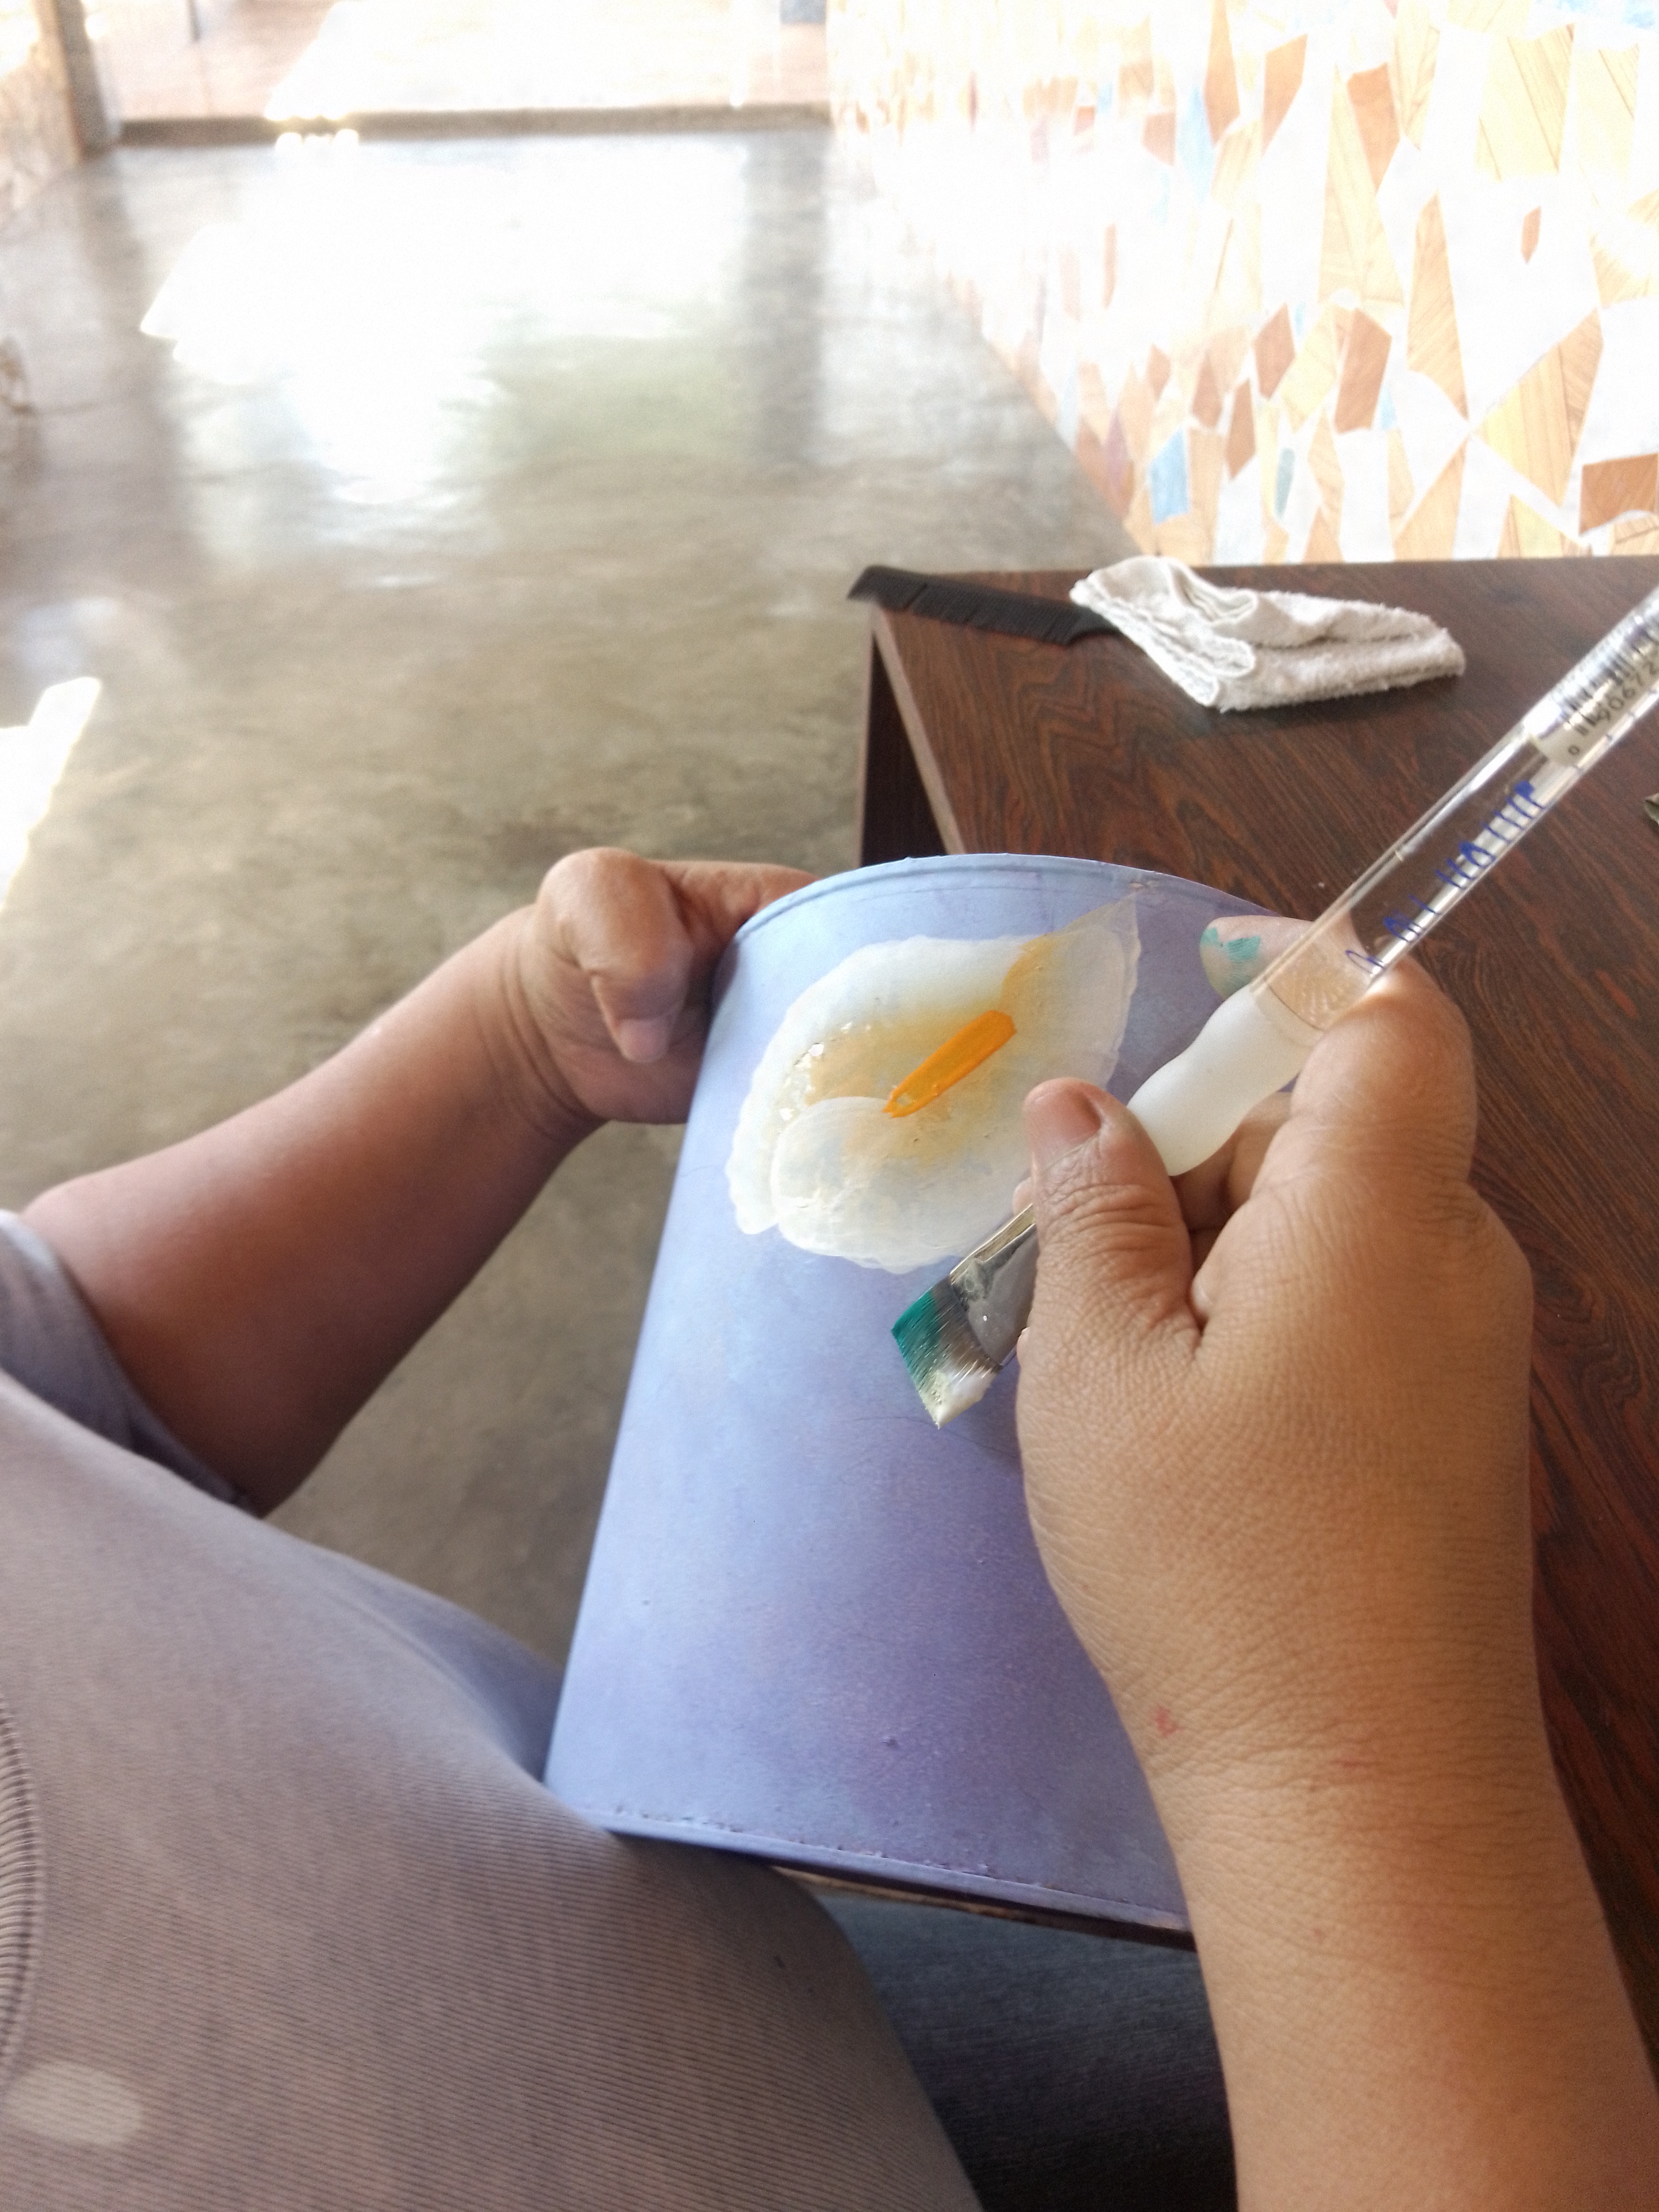
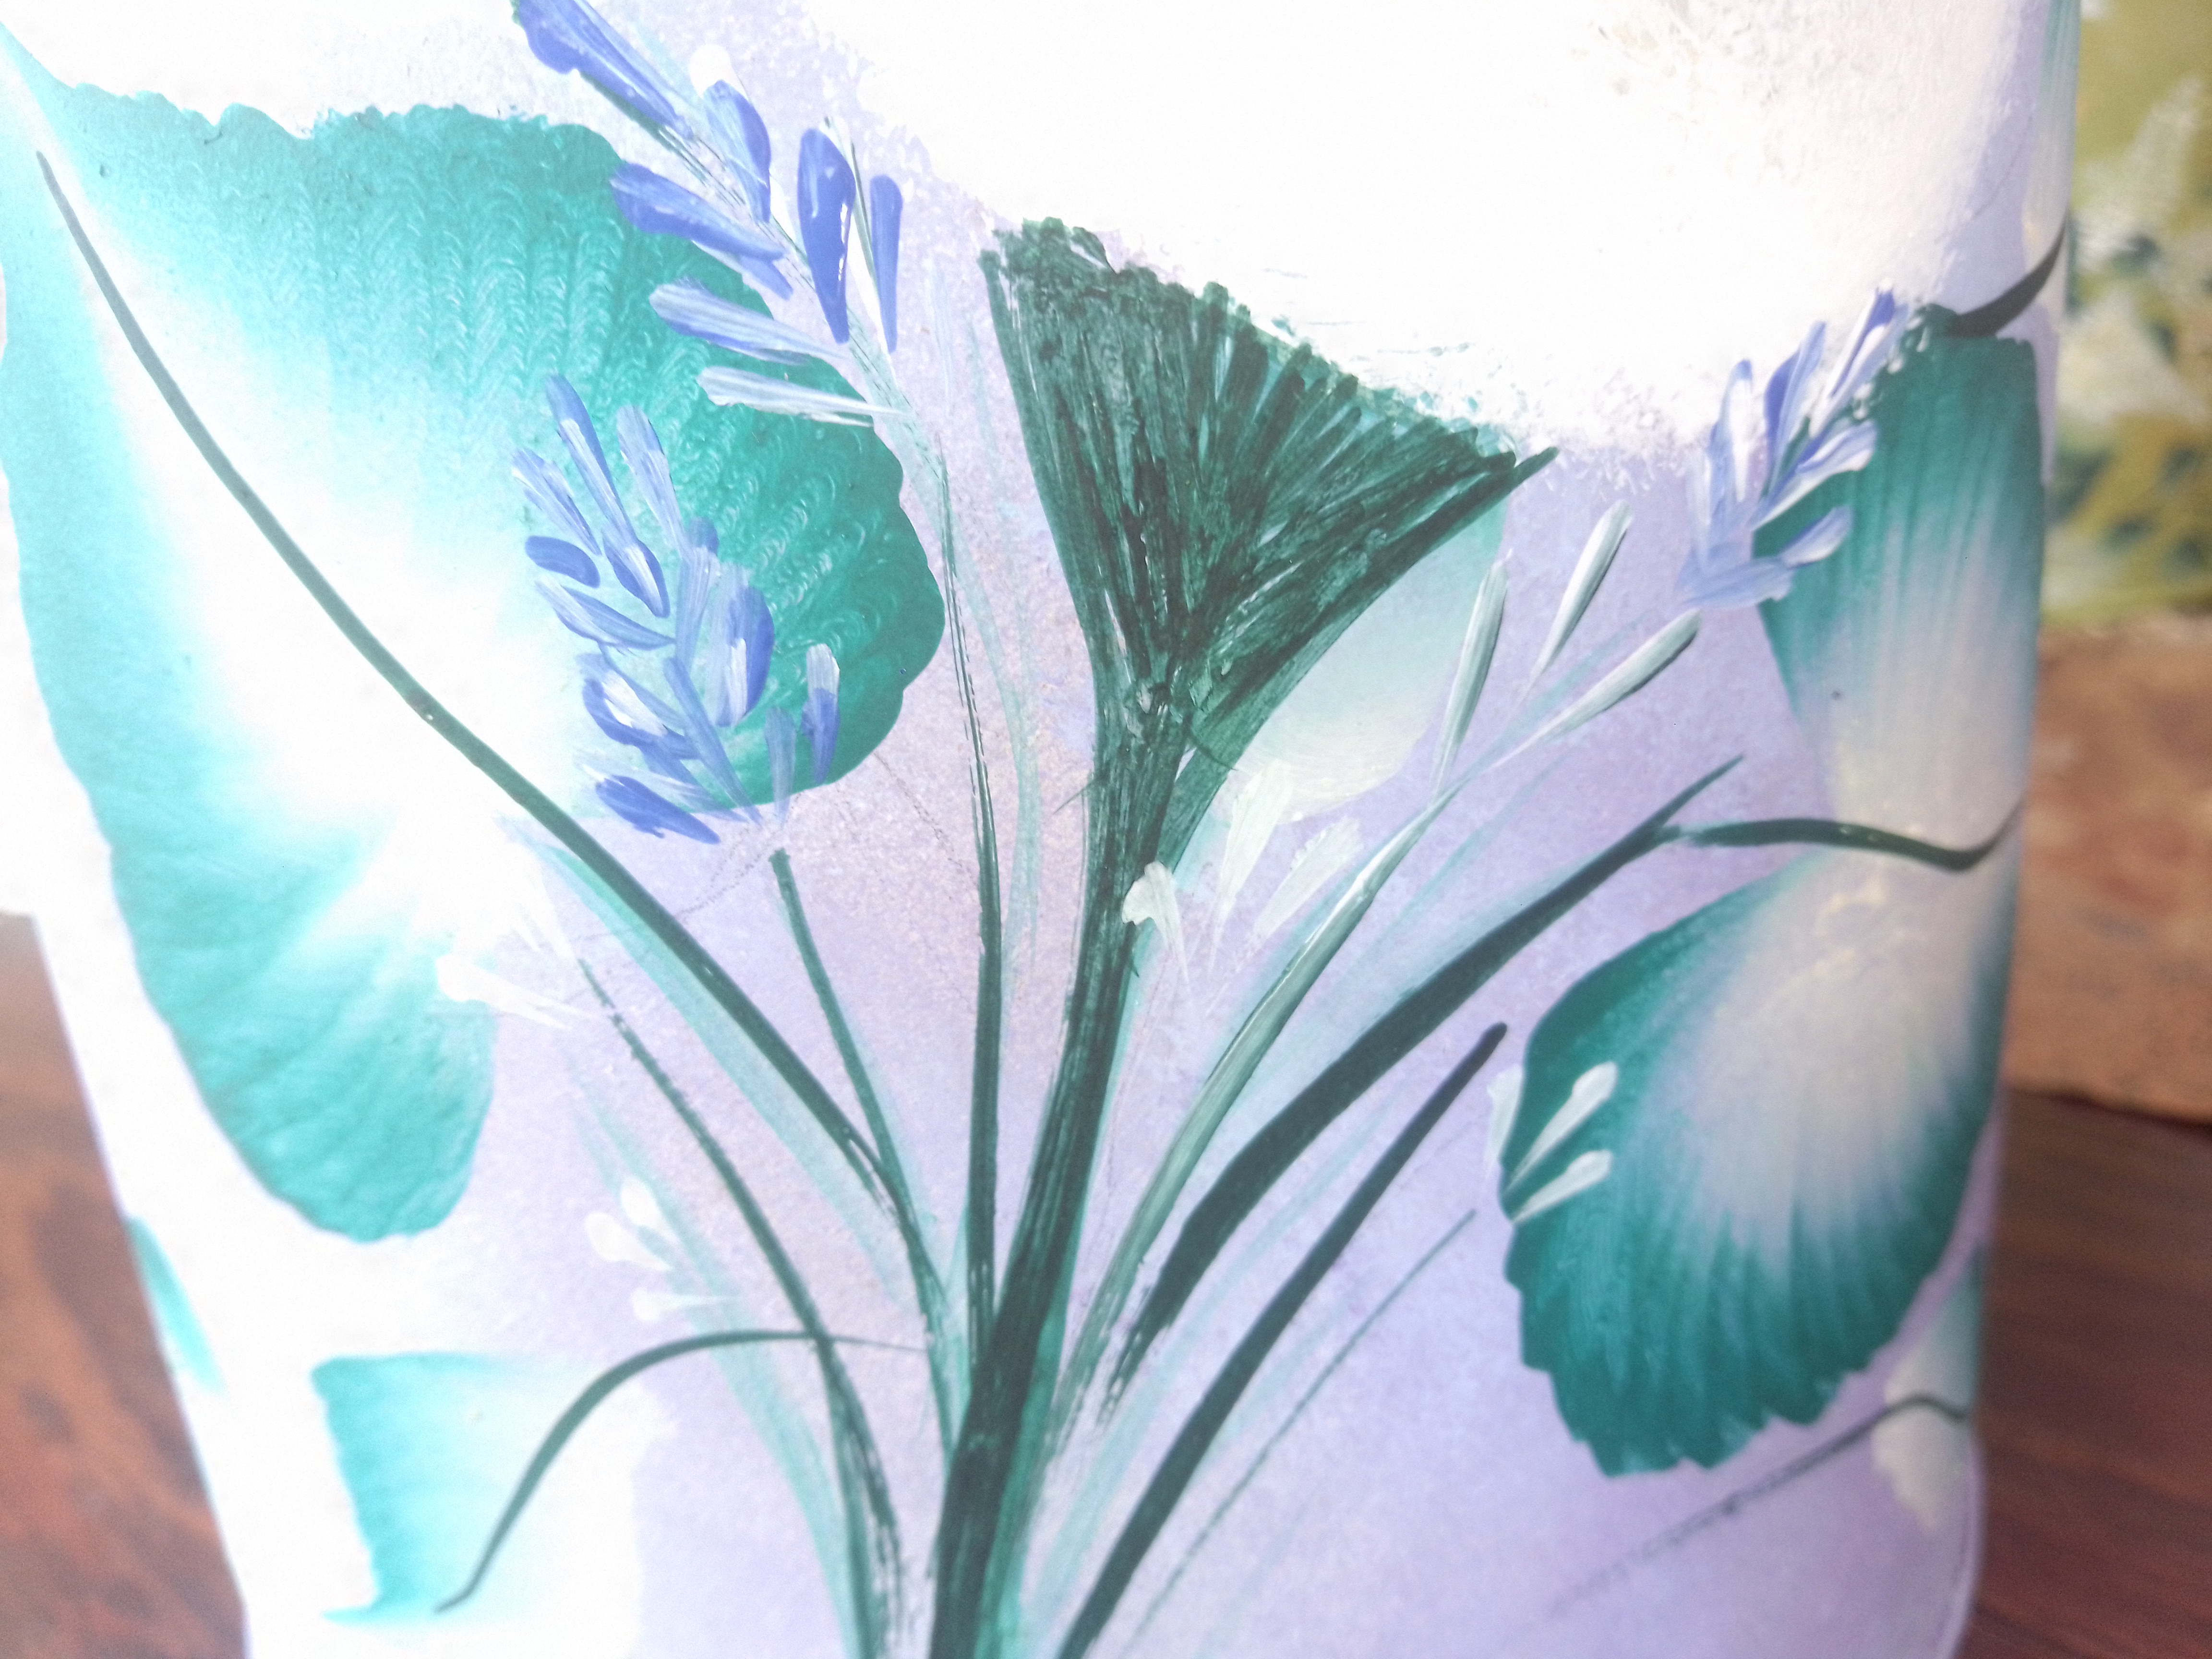
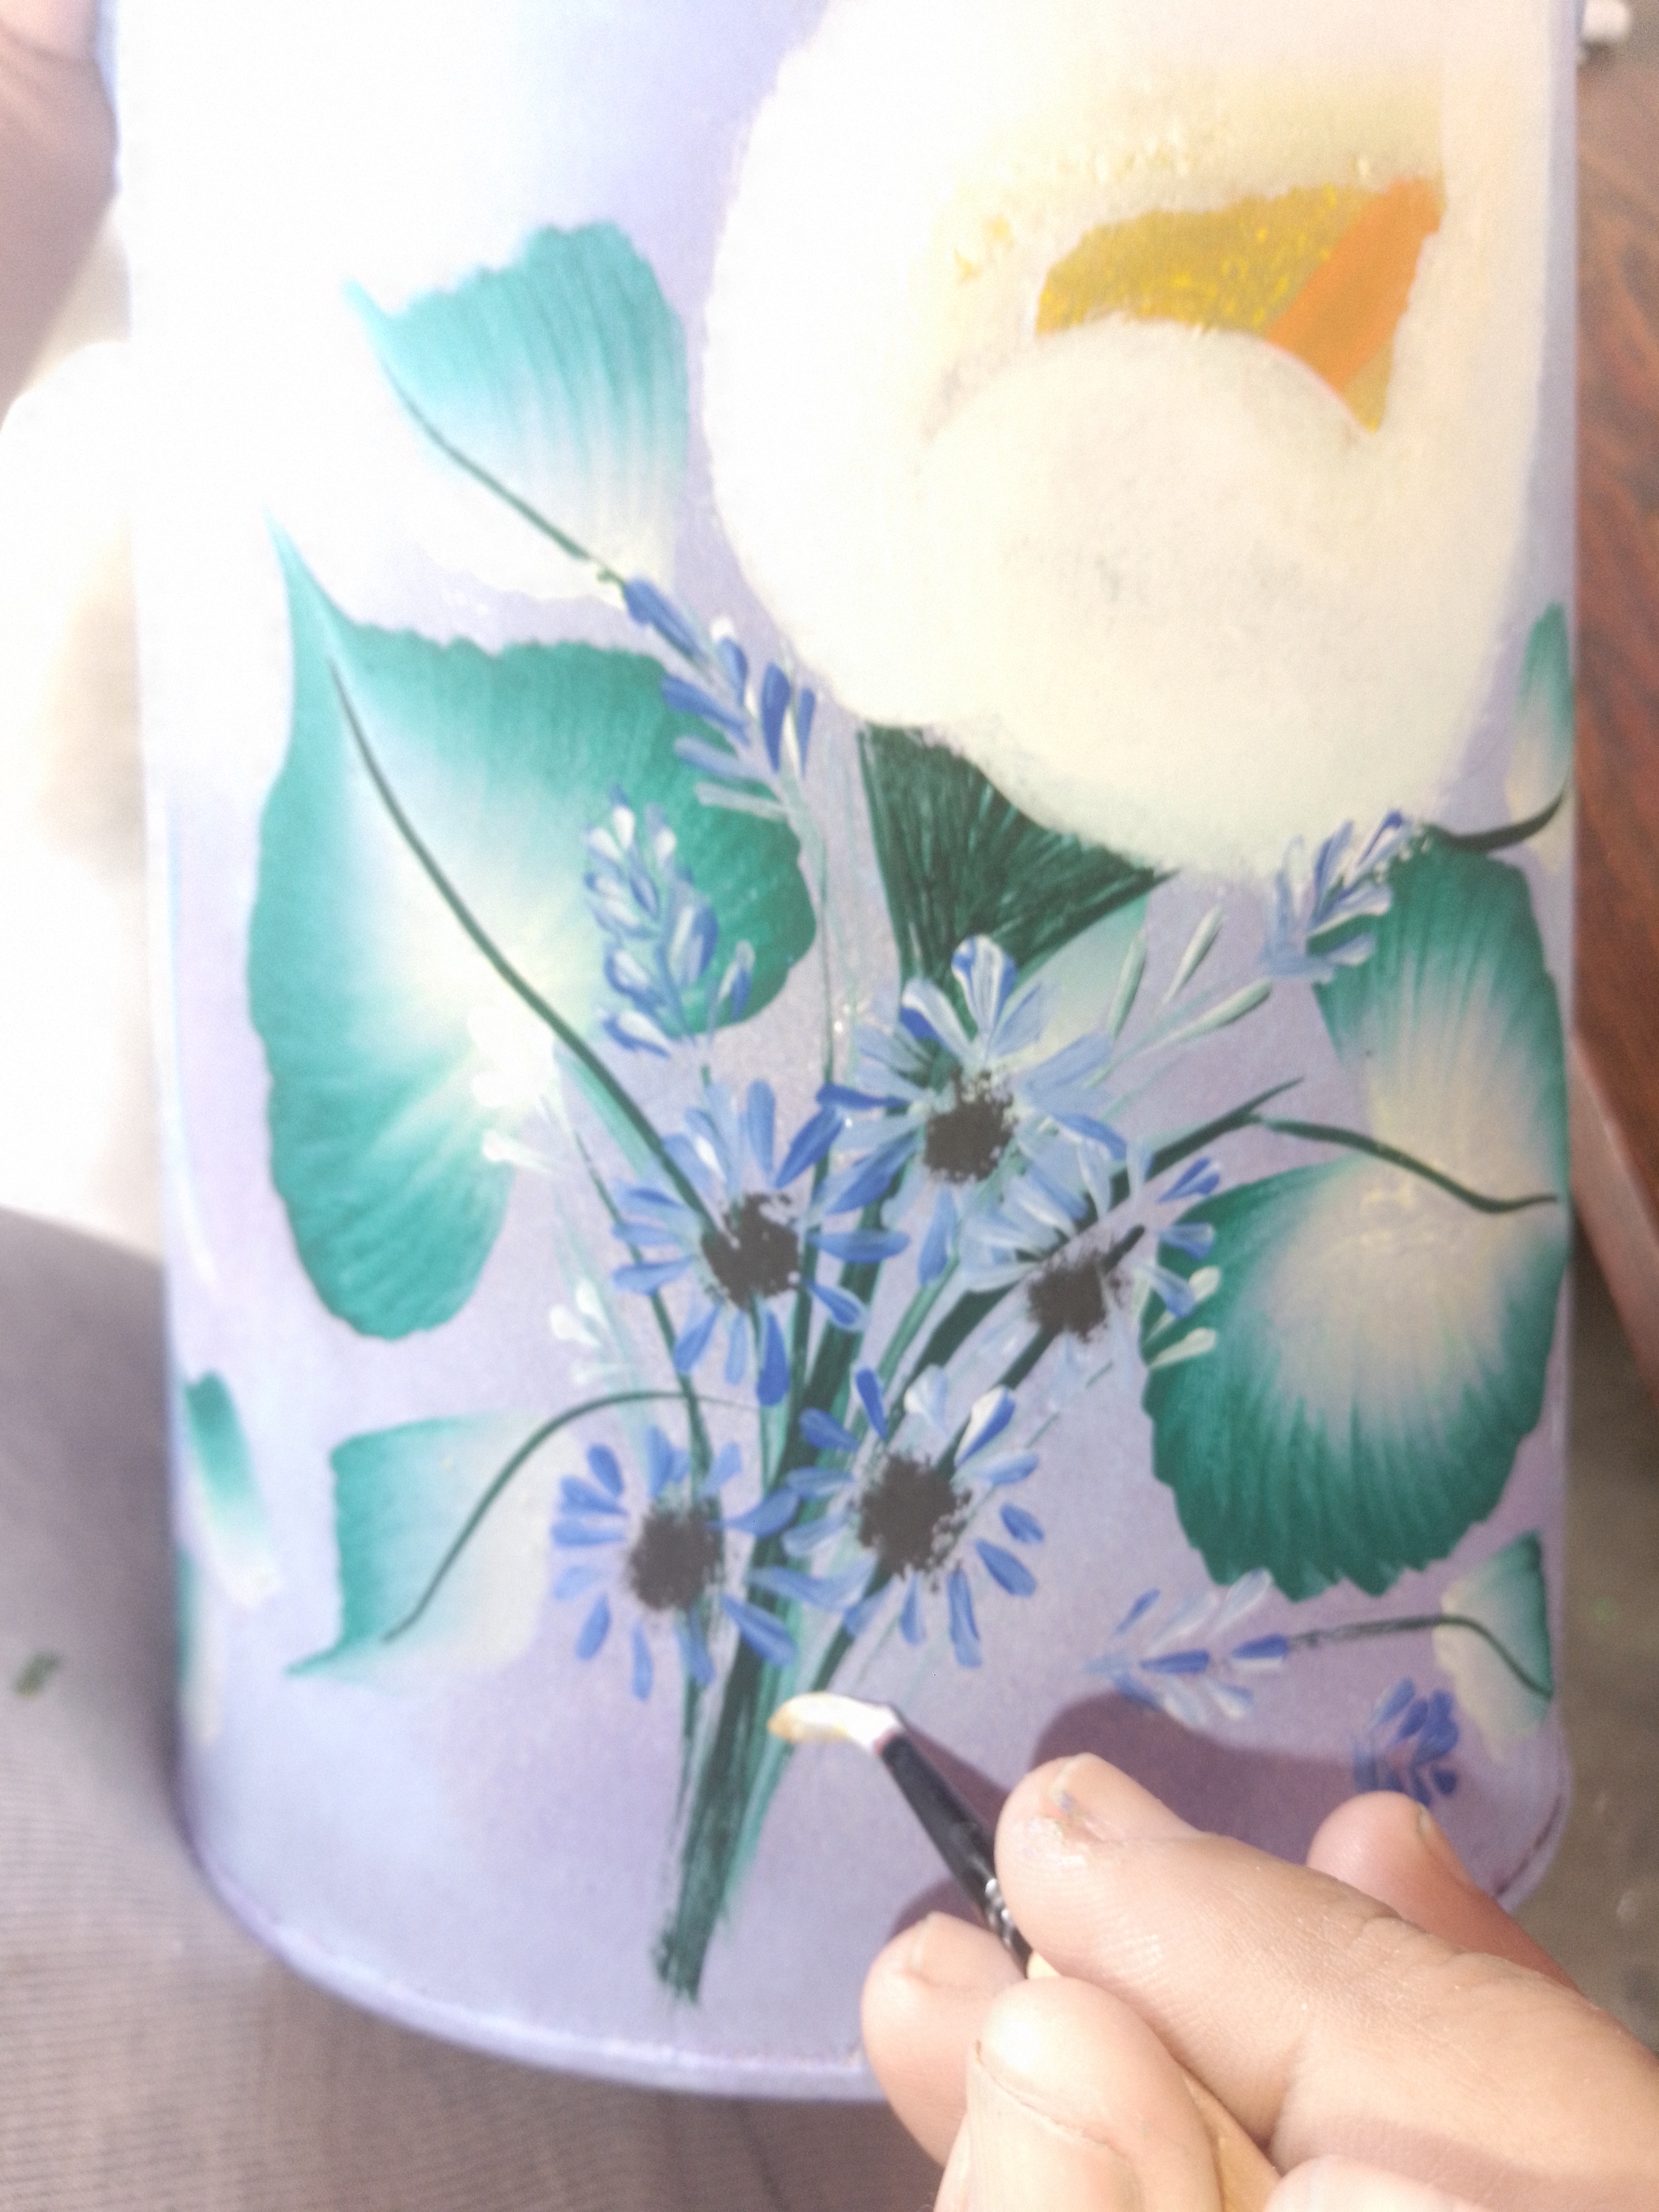
Paso 5:
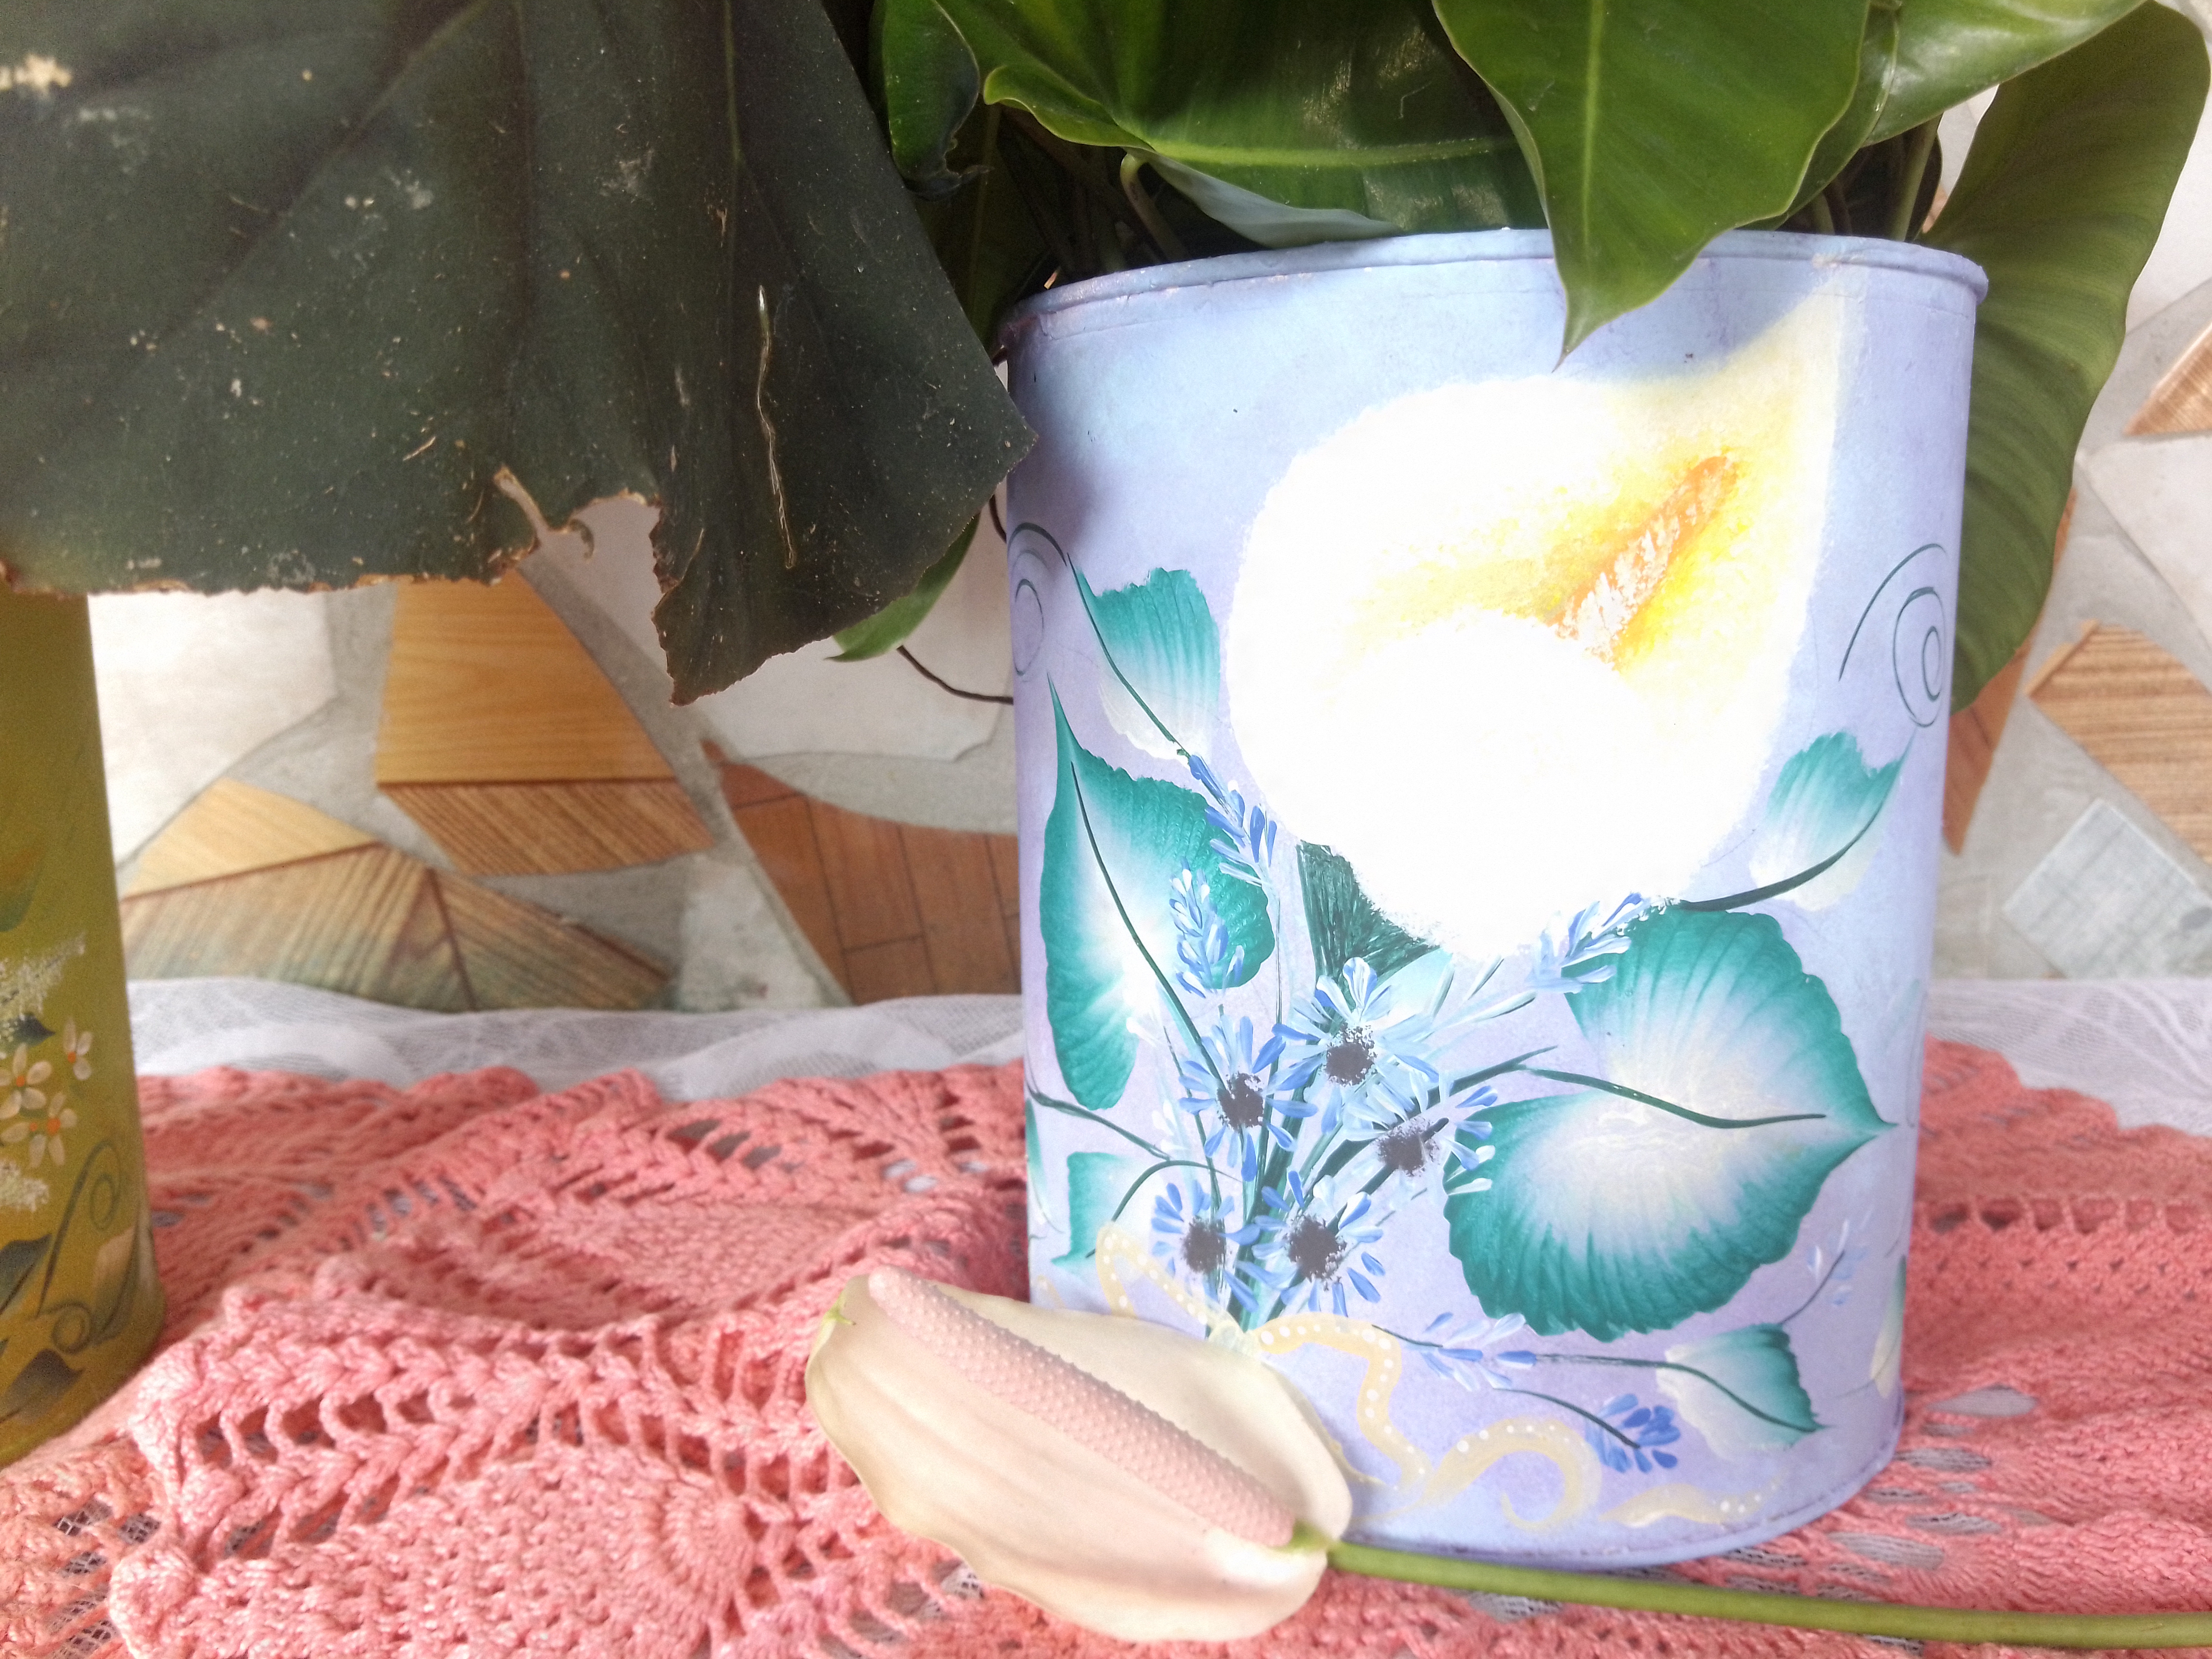
Con el pincel plano 18 hice una doble carga de blanco,amarillo y una pisca de durazno.Descargue sobre la pieza de cerámica y pinte la Cala.Del mismo modo hice con las hojas, hice una doble carga con verde y blanco con una pizca de amarillo descargue sobre la cerámica para unificar los tonos y realice las hojas presionando en forma dezig-zag. Con el pincel liner 1 cargado con verde oscuro y claro realice los tallos del ramillete y los arabescos de la composición.Las pequeñas margaritas azules las realice también con el liner 1 cargando su punta de azul rey y blanco ,e el centro lo poncie con marrón oscuro con un pincel desgastado al igual que hice el centro de los girasoles.Para el lazo utilice el pincel redondo 3 cargue con blanco y duranzo y pincele el lacito luego le coloque pequeños puntos blancos que los hice con el cabo del pincel.
Step 5:
With the flat brush 18 I made a double load of white,yellow and a pisca of peach.Discharge on the ceramic piece and paint the Cala.In the same way I did with the leaves, I made a double load with green and white with a pisca of yellow discharge on the ceramic to unify the tones and make the leaves pressing in a dezig-zag way. With the liner brush 1 loaded with dark and light green I made the stems of the bouquet and the arabesques of the composition.the small blue daisies I also made them with liner 1 loading its tip with royal blue and white, and the center I put it with dark brown with a worn brush as I did the center of the sunflowers.for the bow I used the round brush 3 loaded with white and duranzo and paint the bow then I put small white dots that I did with the end of the brush.
Foto tomada por mi nieto
**Paso 6:**
Por último aplique Cristal Glosse para dar brillo.
**Step 6:**
Lastly apply Cristal Glosse to add sparkle.
Foto tomada por mi nieto
Foto tomada por mi nieto
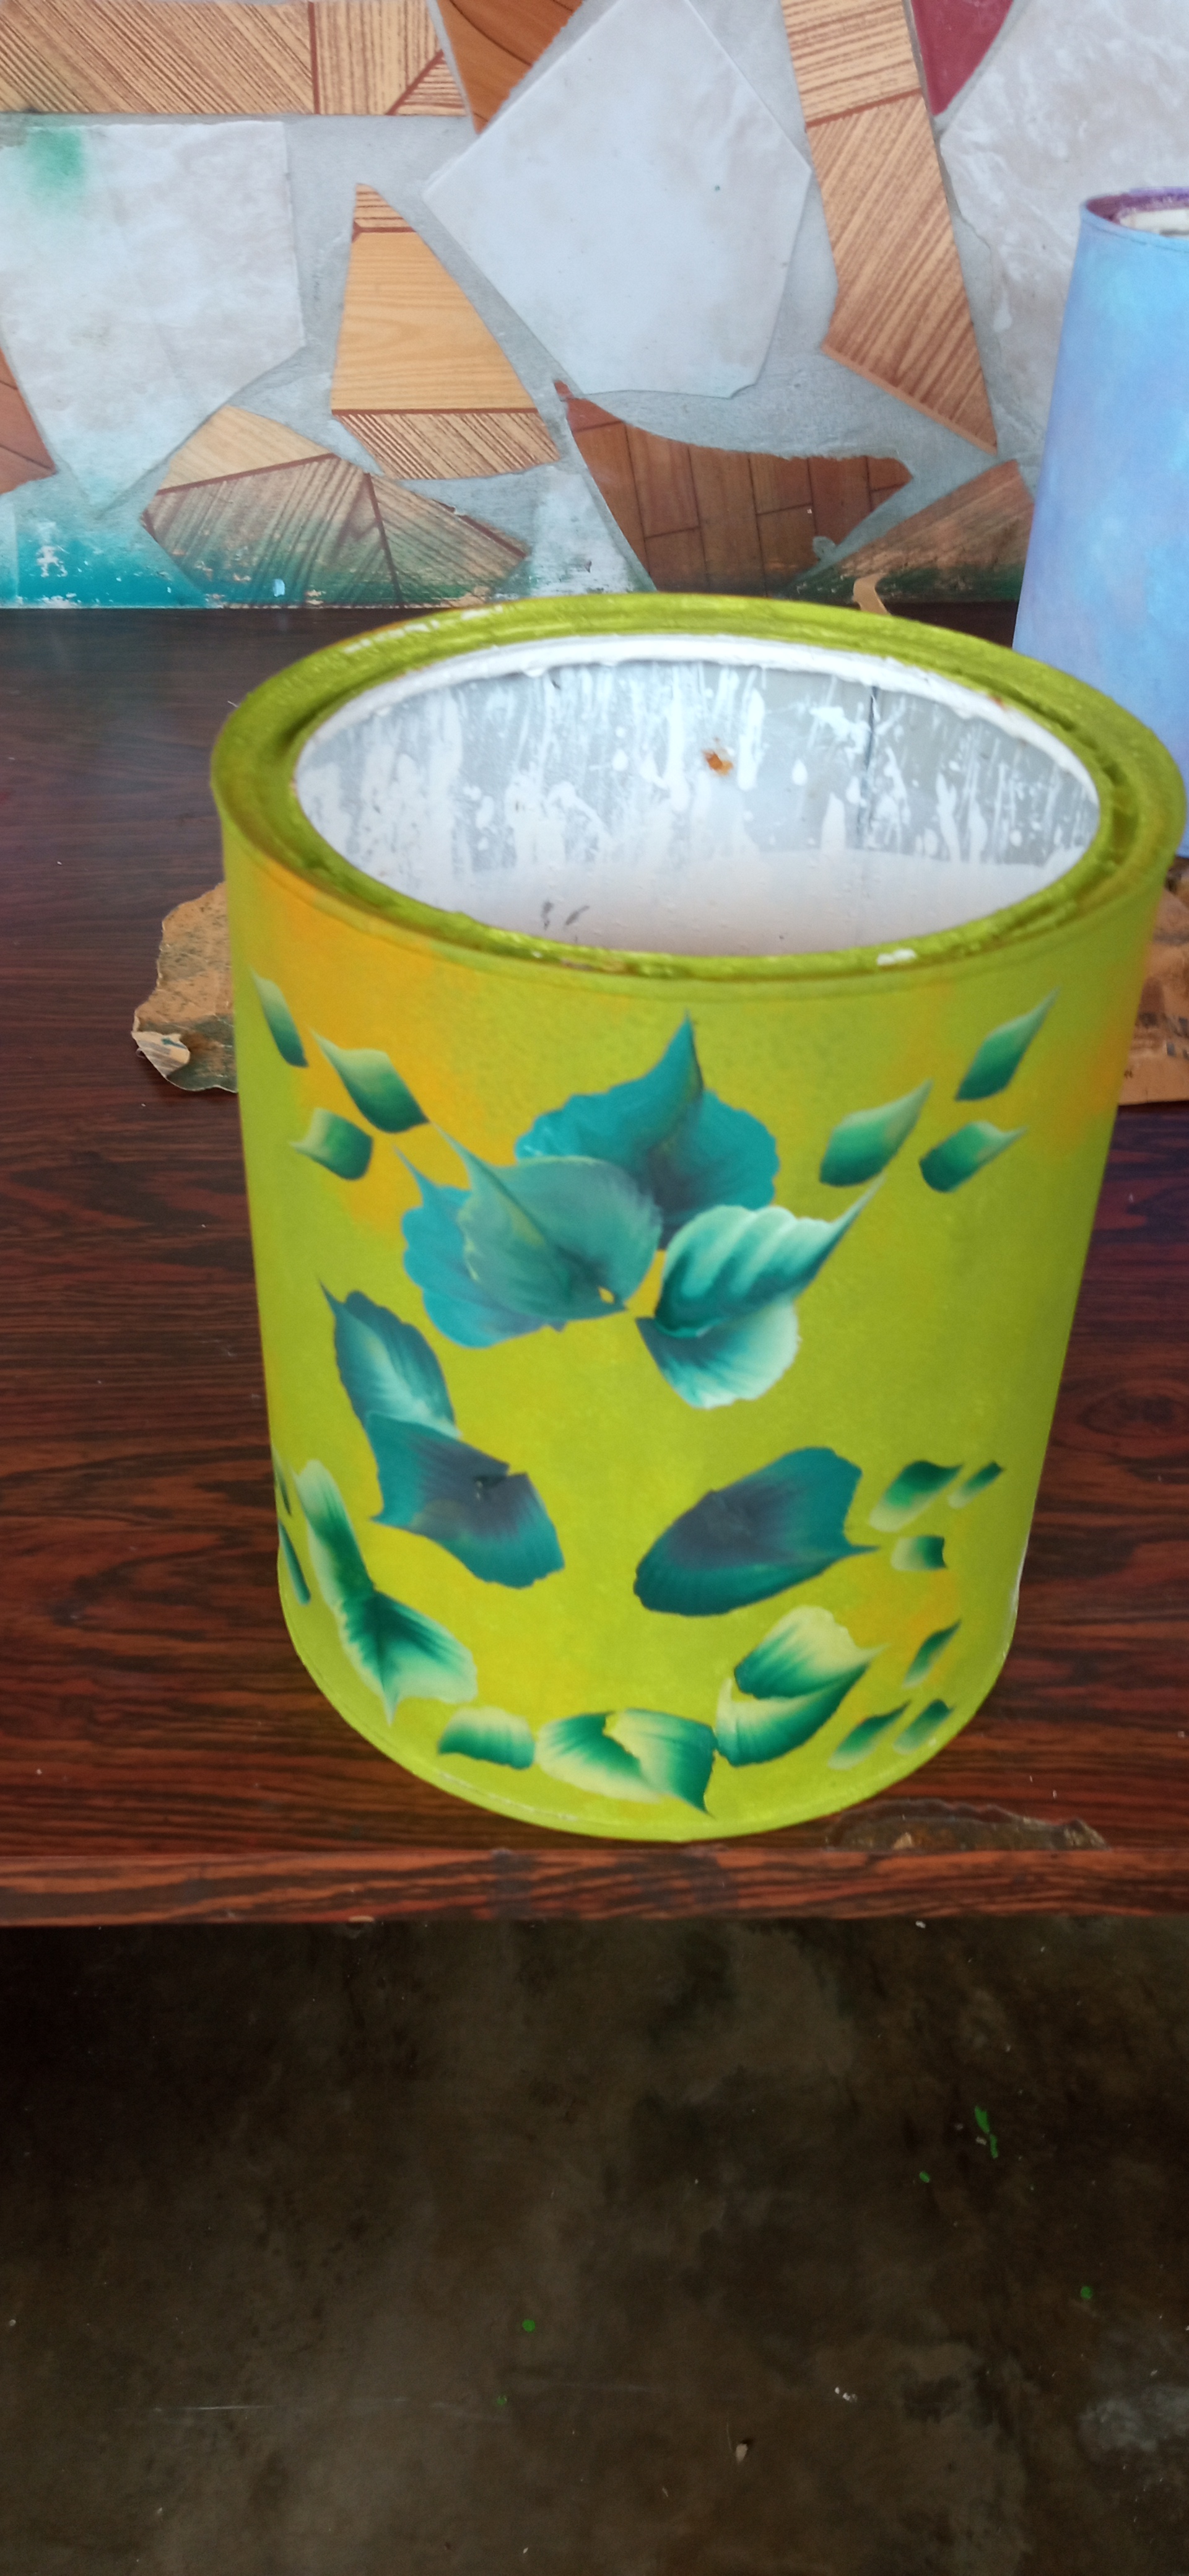
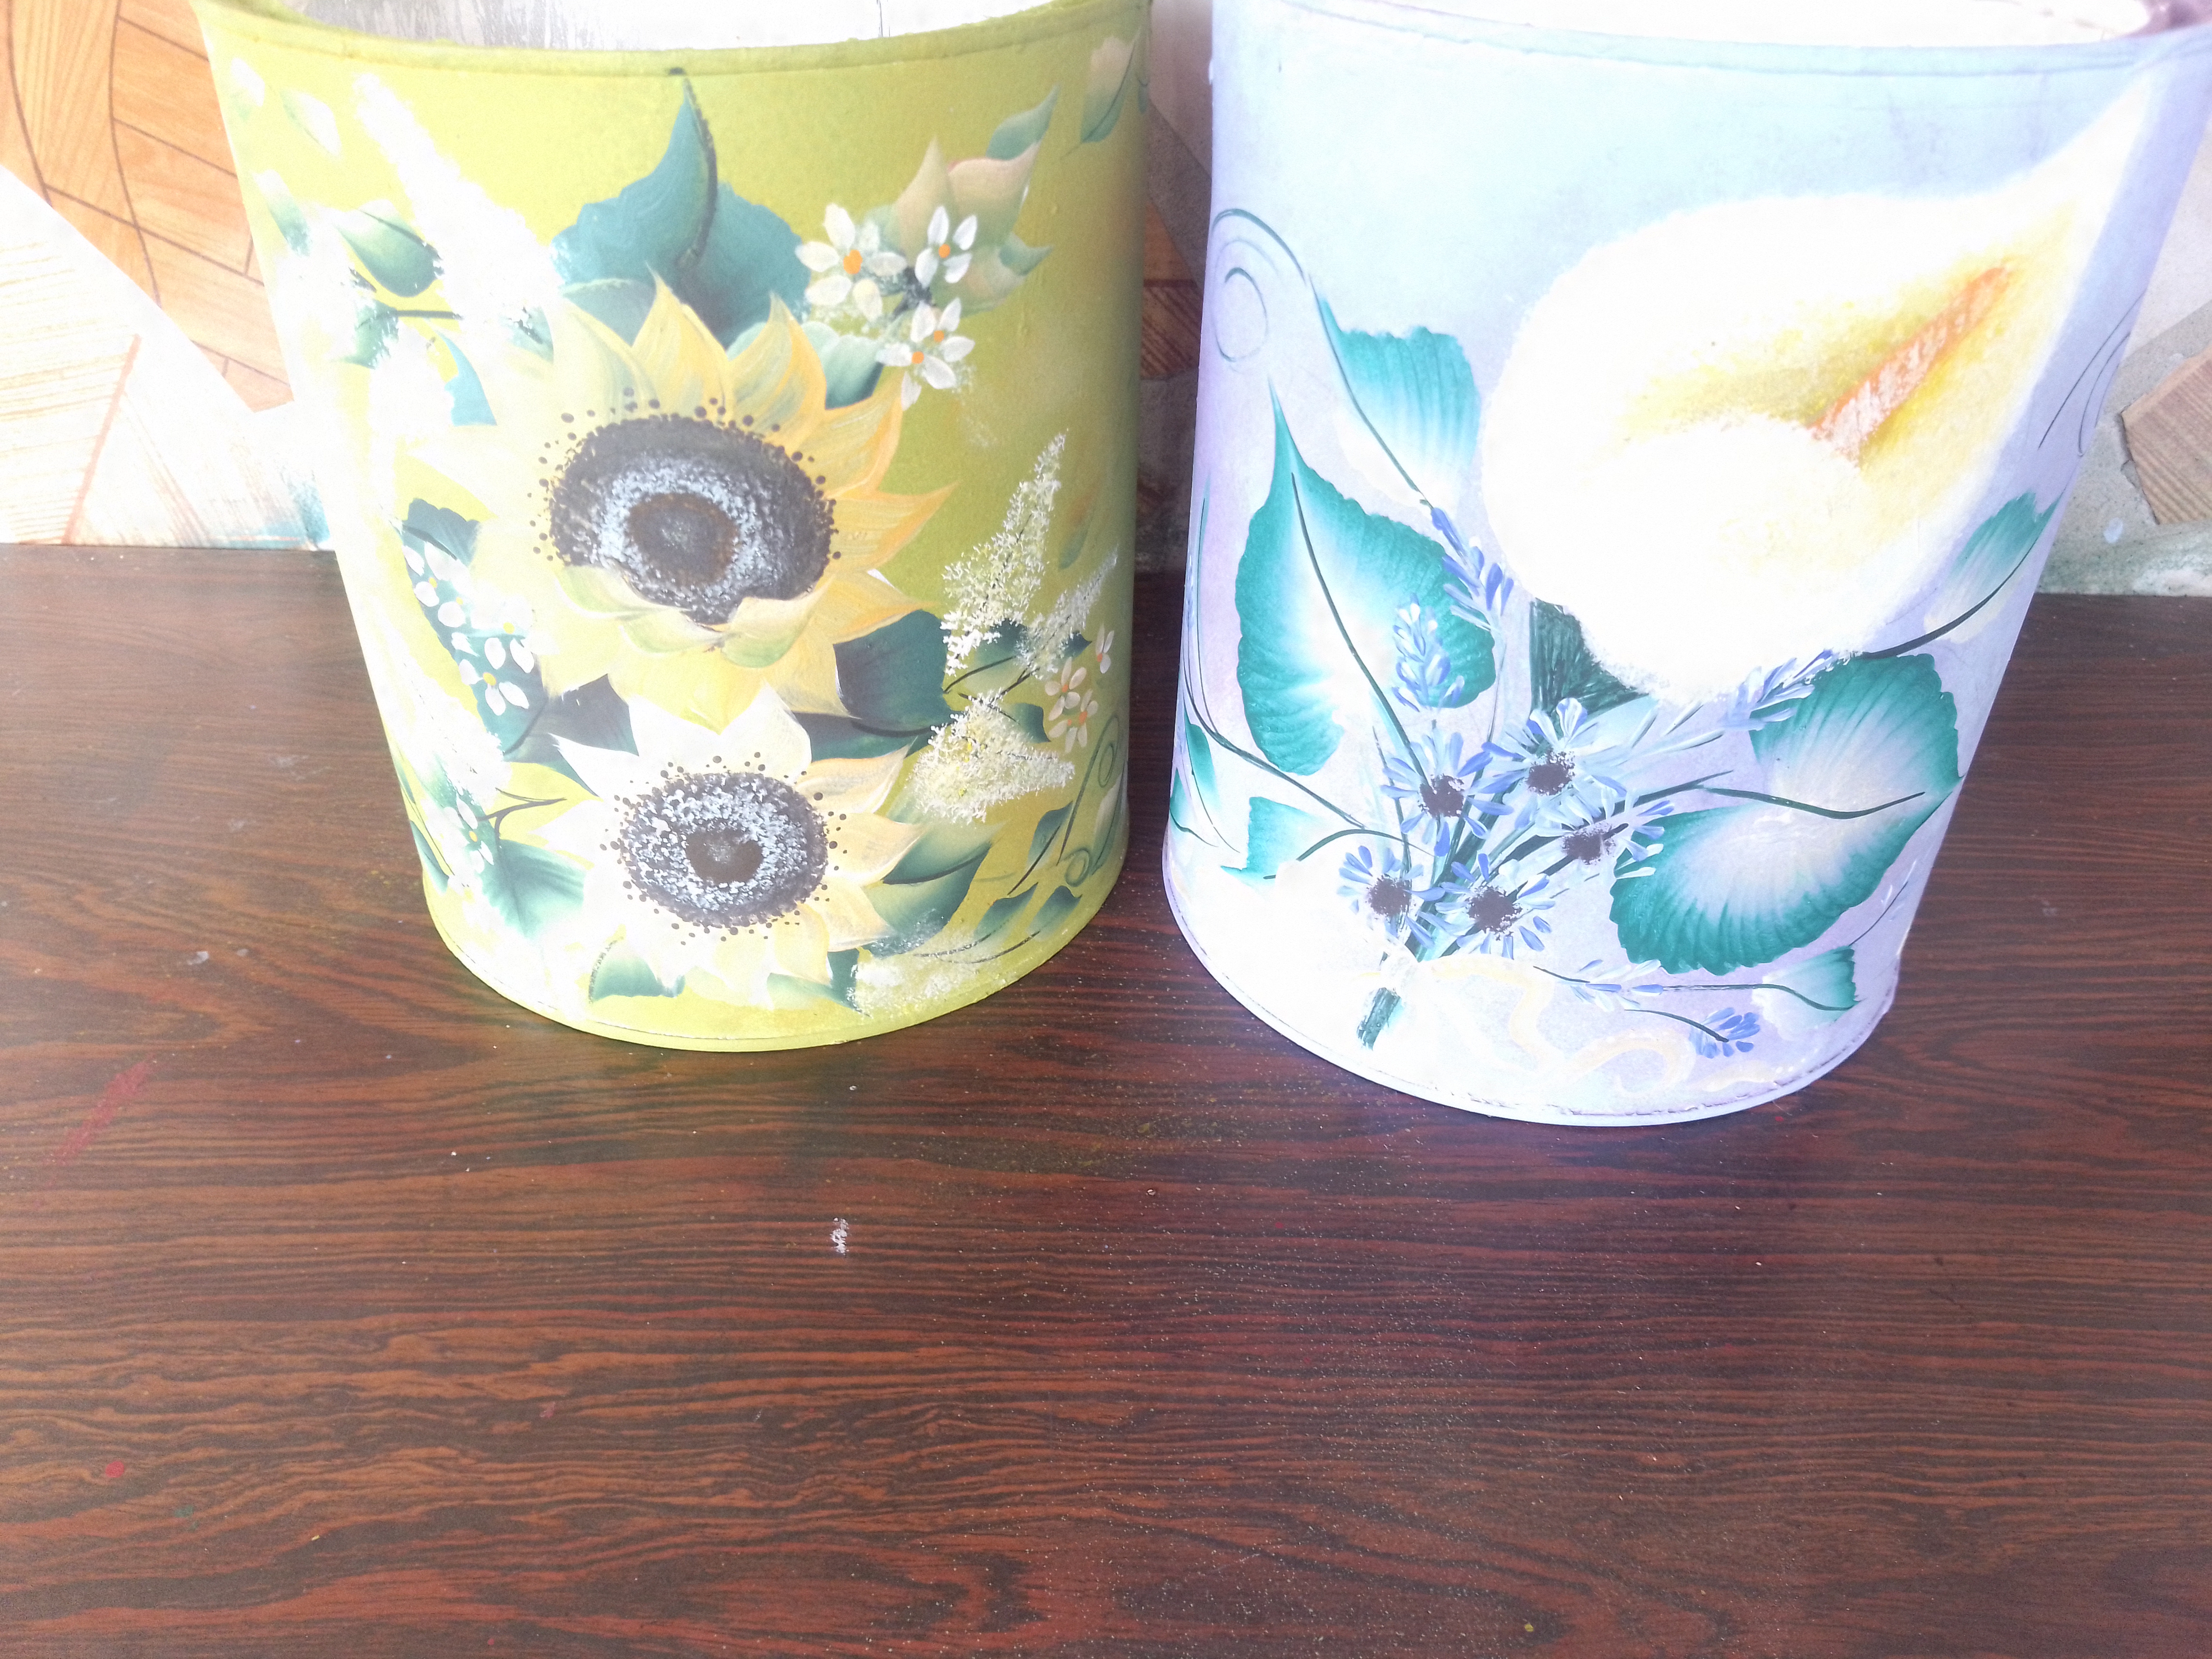
Y estos son mis 2 maceteros .Debo aclarar que por la parte de adentro no me preocupe solo pincelé la parte exterior.Espero que les haya gustado debemos reutilizar los materiales biodegradables para la conservaciòn de nuestro hermoso Planeta Tierra. ¡Se les quiere!. Una vez más, gracias por leer mi publicación. La Traducción del Texto fue realizada por el Traductor Deepl. ¡Cuidense mucho!.
And these are my 2 flower pots, I must clarify that I didn't worry about the inside, I only brushed the outside, I hope you liked it, we must reuse biodegradable materials for the conservation of our beautiful Planet Earth, I love you! Once again, thank you for reading my publication. The translation of the text was done by Deepl Translator, take care!.