(ESP-ENG)Sútiles y encantadores arreglos de tulipanes🌷 Subtle and charming tulip arrangements
@claire23
· 2022-01-24 04:09
· Hive Diy
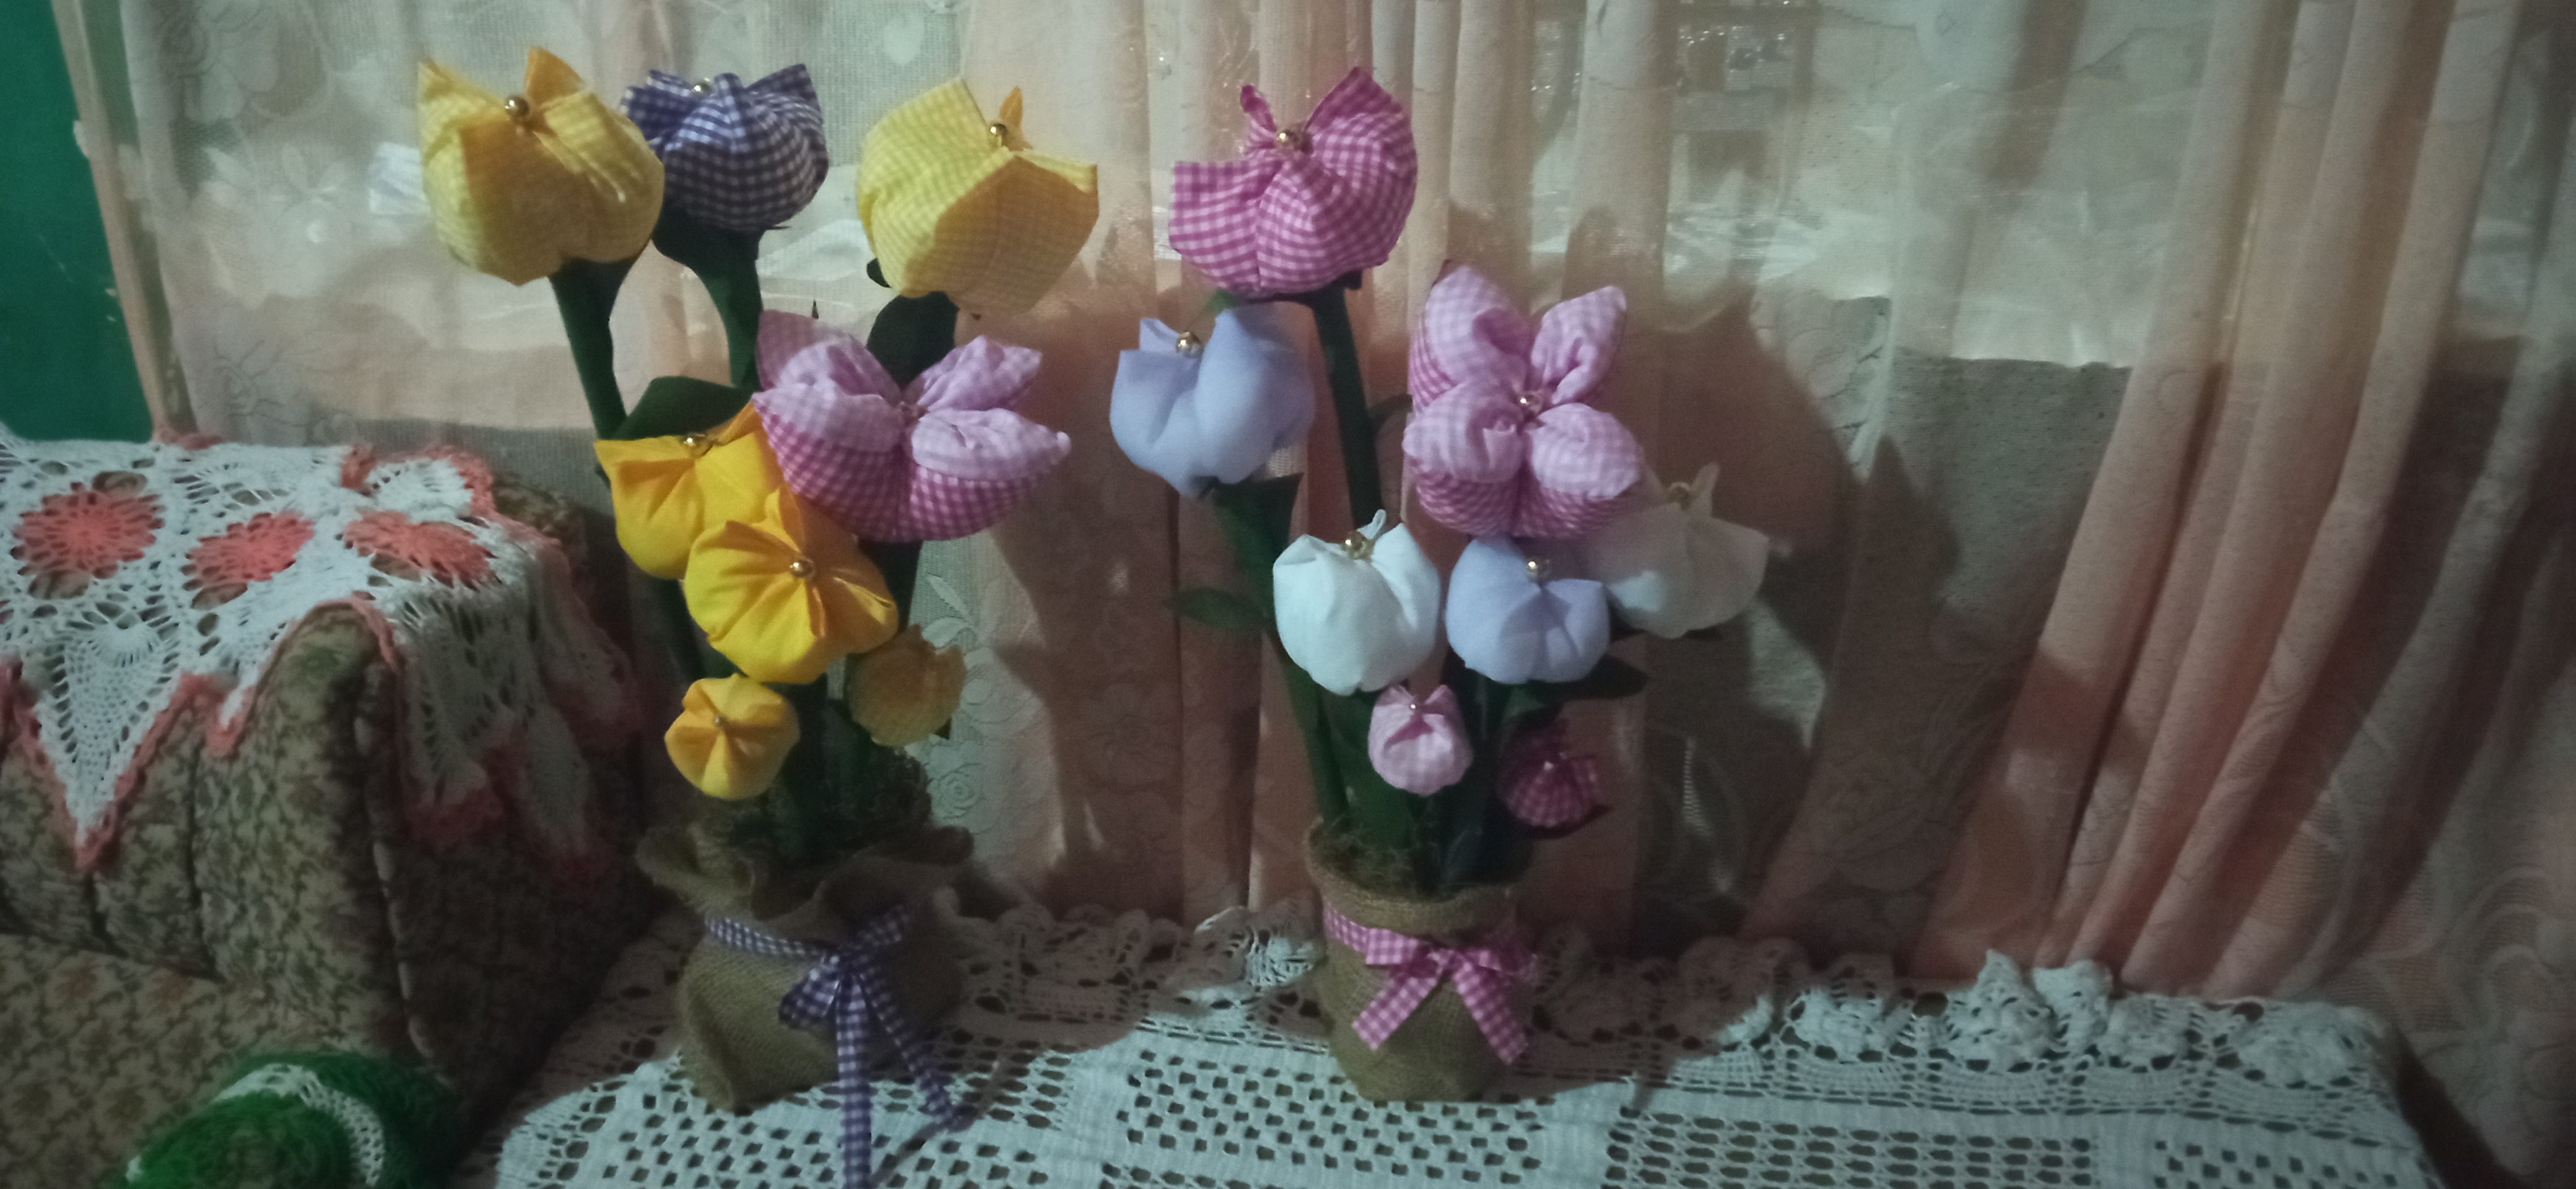
Feliz y bendecido día para toda la comunidad de Hive diy.En esta oportunidad quiero compartir con ustedes unos arreglos de Tulipan que realice para adornar la sala de estar de mi casa son hermosos y hechos con material de reciclaje.Estoy segura que les encantarán son ideales para regalar en cualquiera ocasión,a una persona especial,para ambientar cualquier espacio de la casa o oficina.
Happy and blessed day for all the Hive diy community.in this opportunity I want to share with you some Tulip arrangements that I made to decorate the living room of my house are beautiful and made with recycled material.I'm sure you will love them are ideal for any occasion, to a special person, to set any space in the house or office.
Foto tomada por mi nieto
Foto tomada por mi nieto
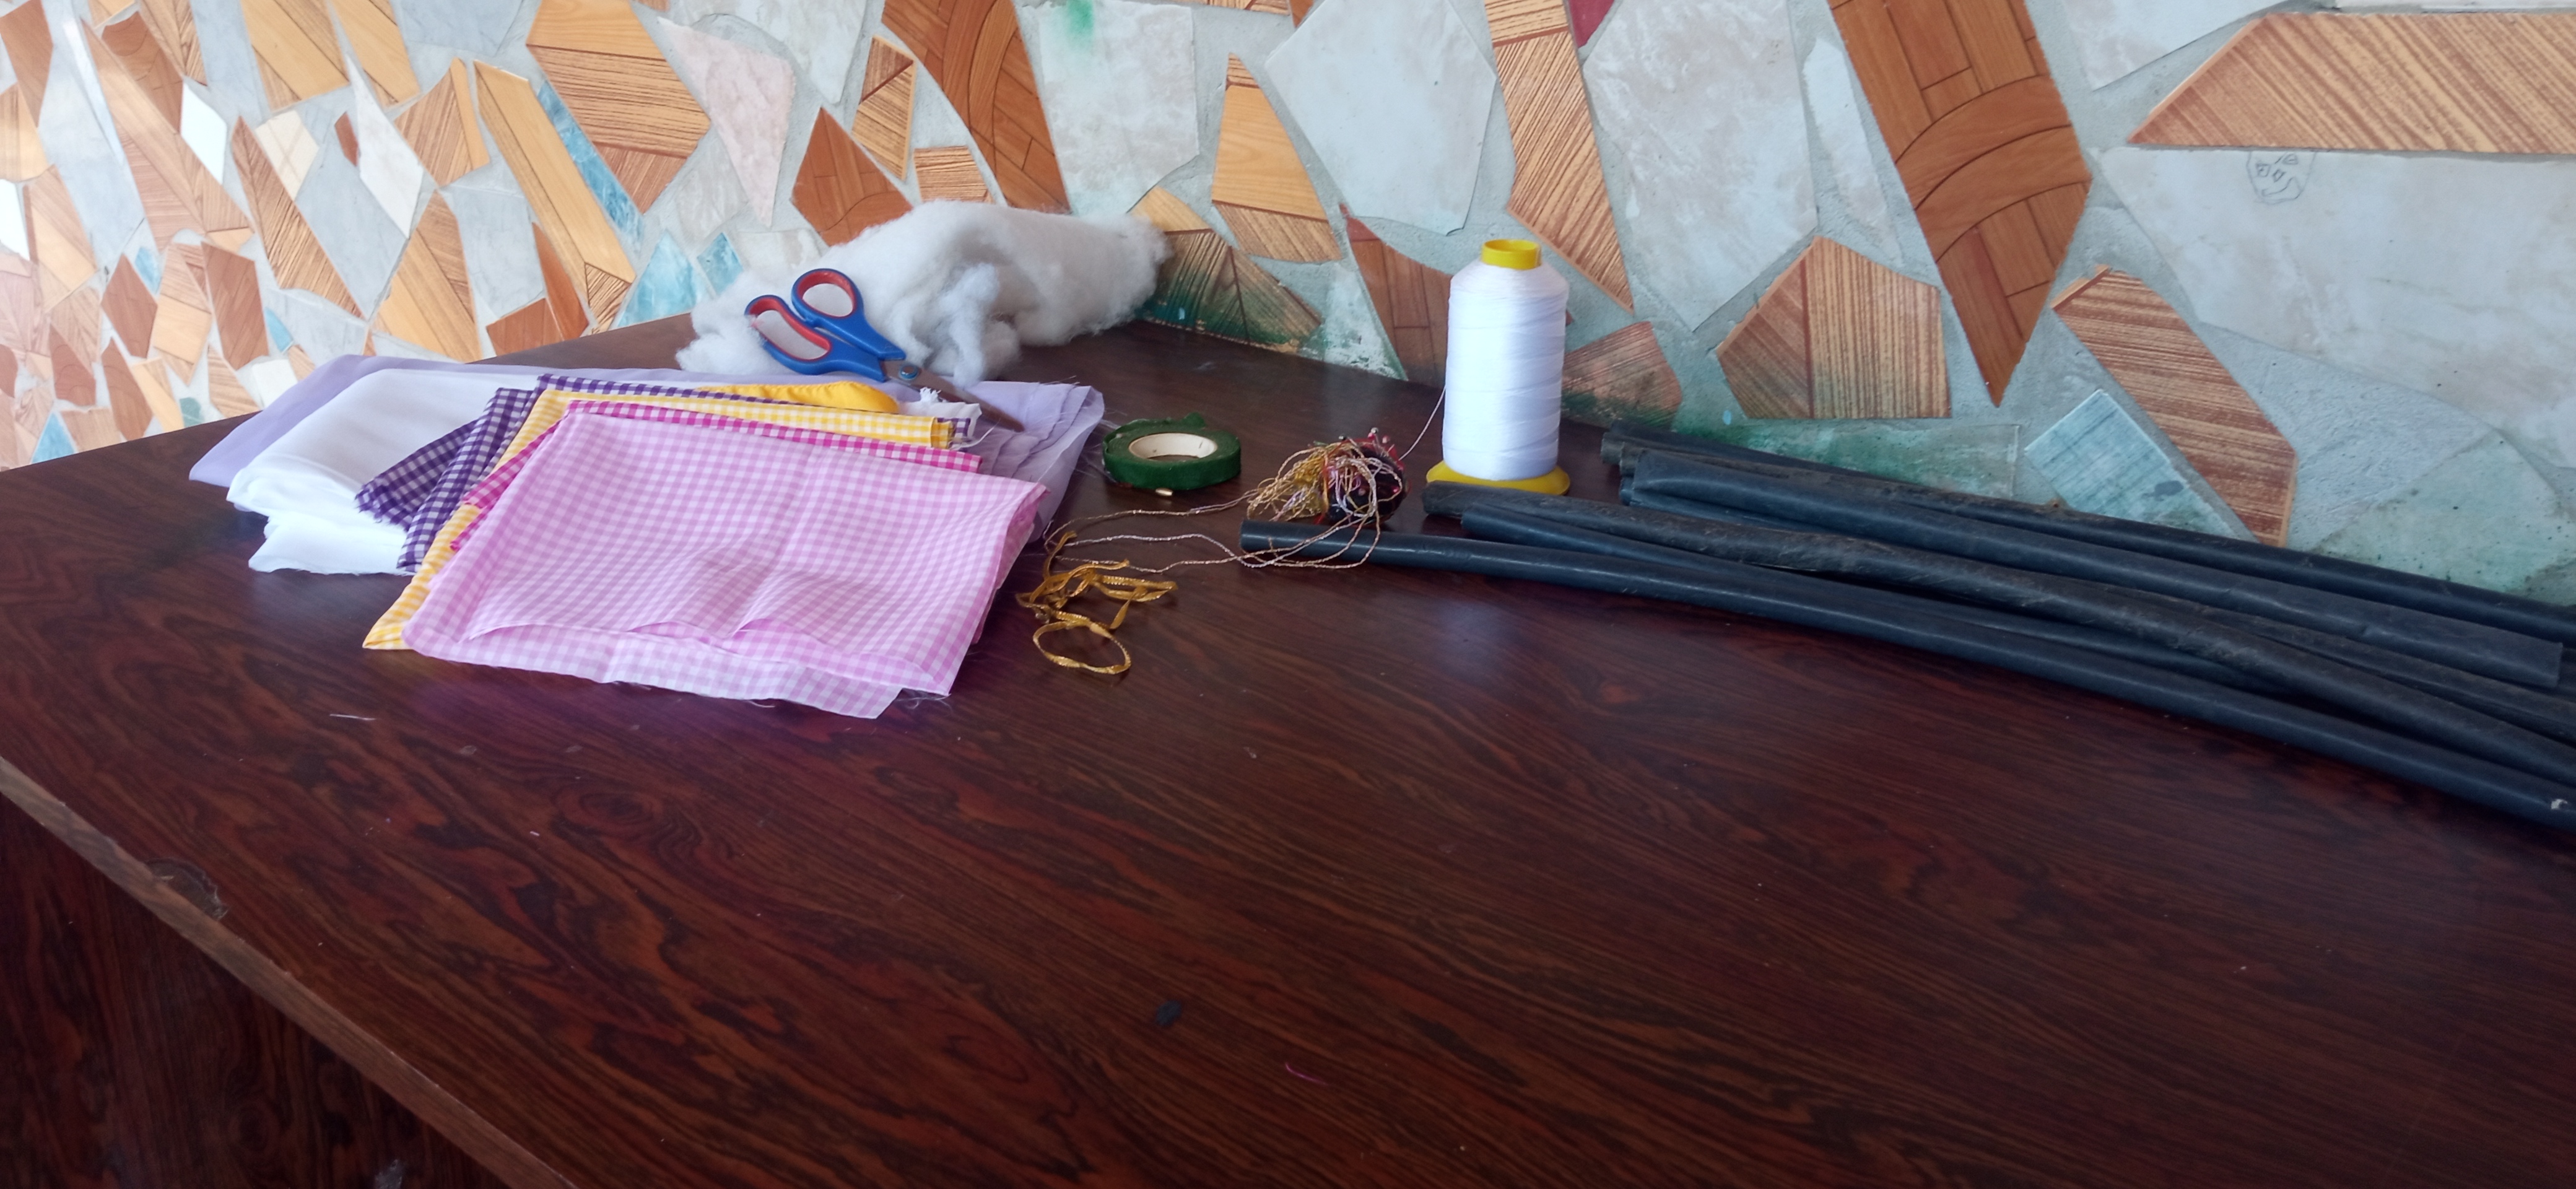
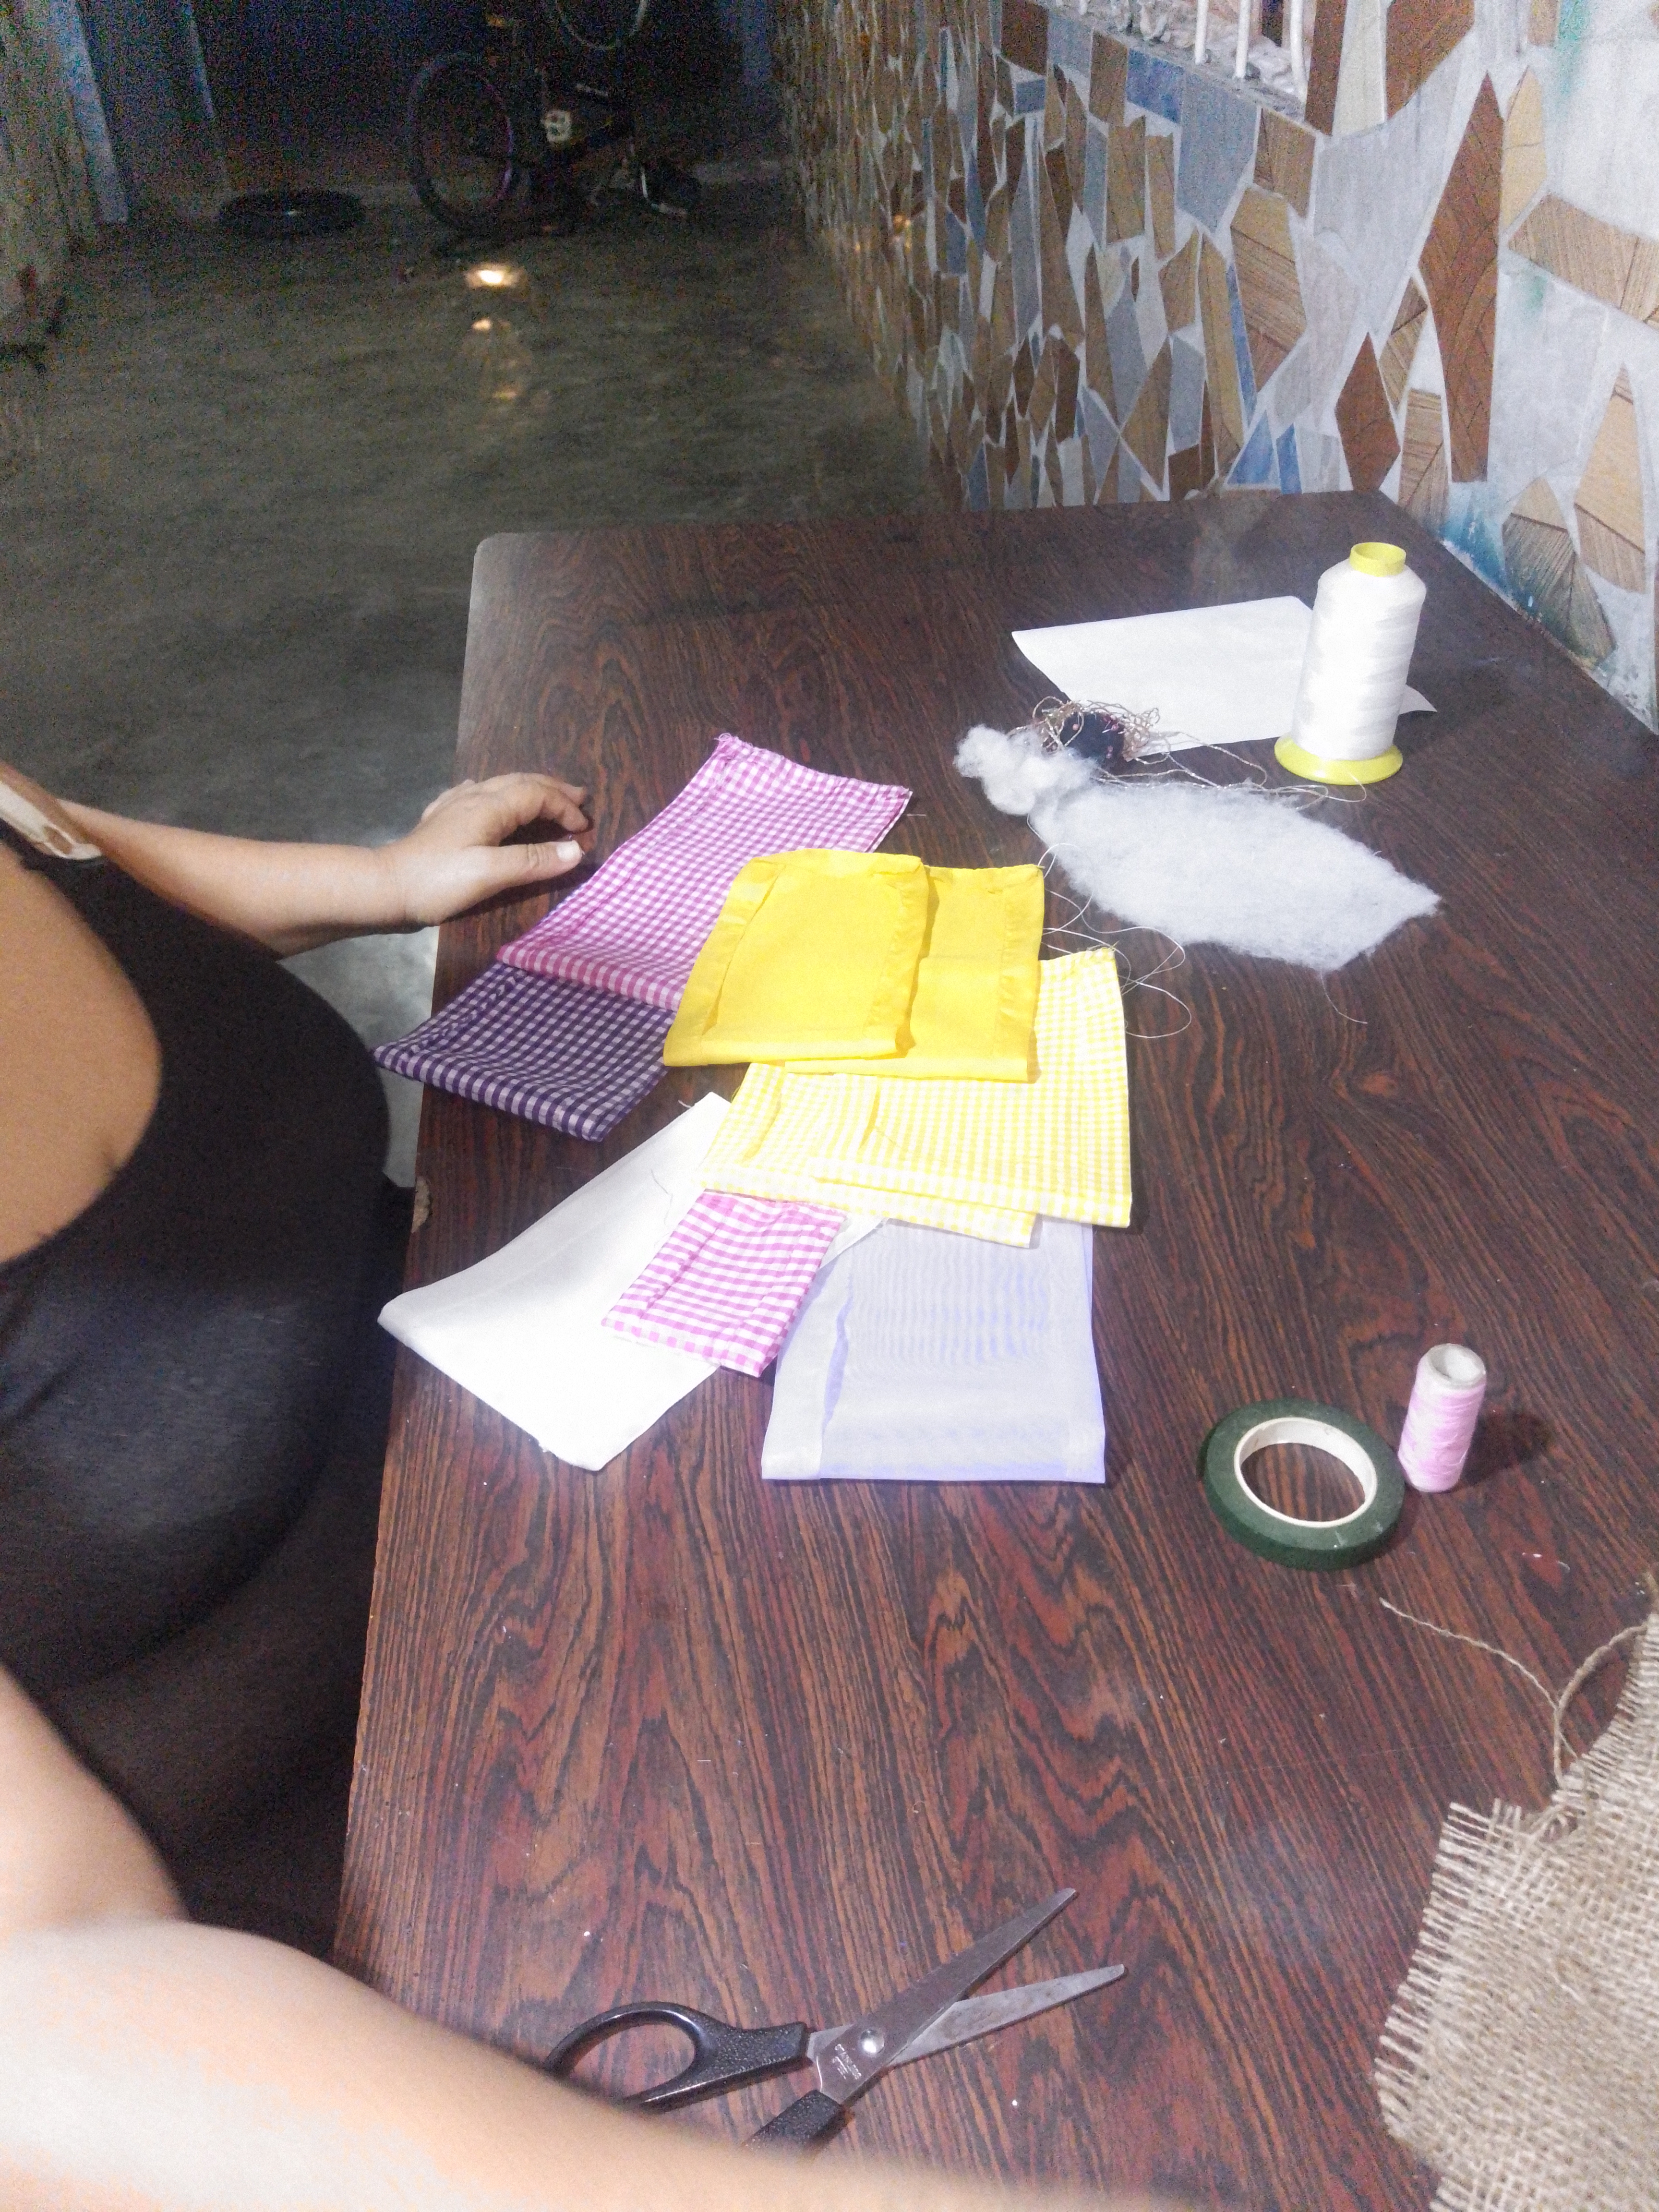
**Materiales para la Flor:**
- Retazos de telas unicolores blanco,
lila, verde y amarillo.
- Retazos de tela vichy colores rosado,
morado,rojo y amarillo.
- Tijeras.
- Hilo de coser.
- Aguja para coser.
- Tijera.
- Plancha.
- Tubos de electricidad de 1/2 pulgada
y 3/4 de pulgada.
- Floraté o conta floral verde.
- Guata.
**Materials for the Flower:**
- White, lilac, green and yellow fabric scraps,
lilac, green and yellow.
- Pink, purple, red and yellow vichy fabric scraps,
purple, red and yellow.
- Scissors.
- Sewing thread.
- Sewing needle.
- Scissors.
- Iron.
- 1/2 inch and 3/4 inch
and 3/4 inch.
- Floraté or green floral conta.
- Wadding.
Foto tomada por mi nieto
Foto tomada por mi nieto
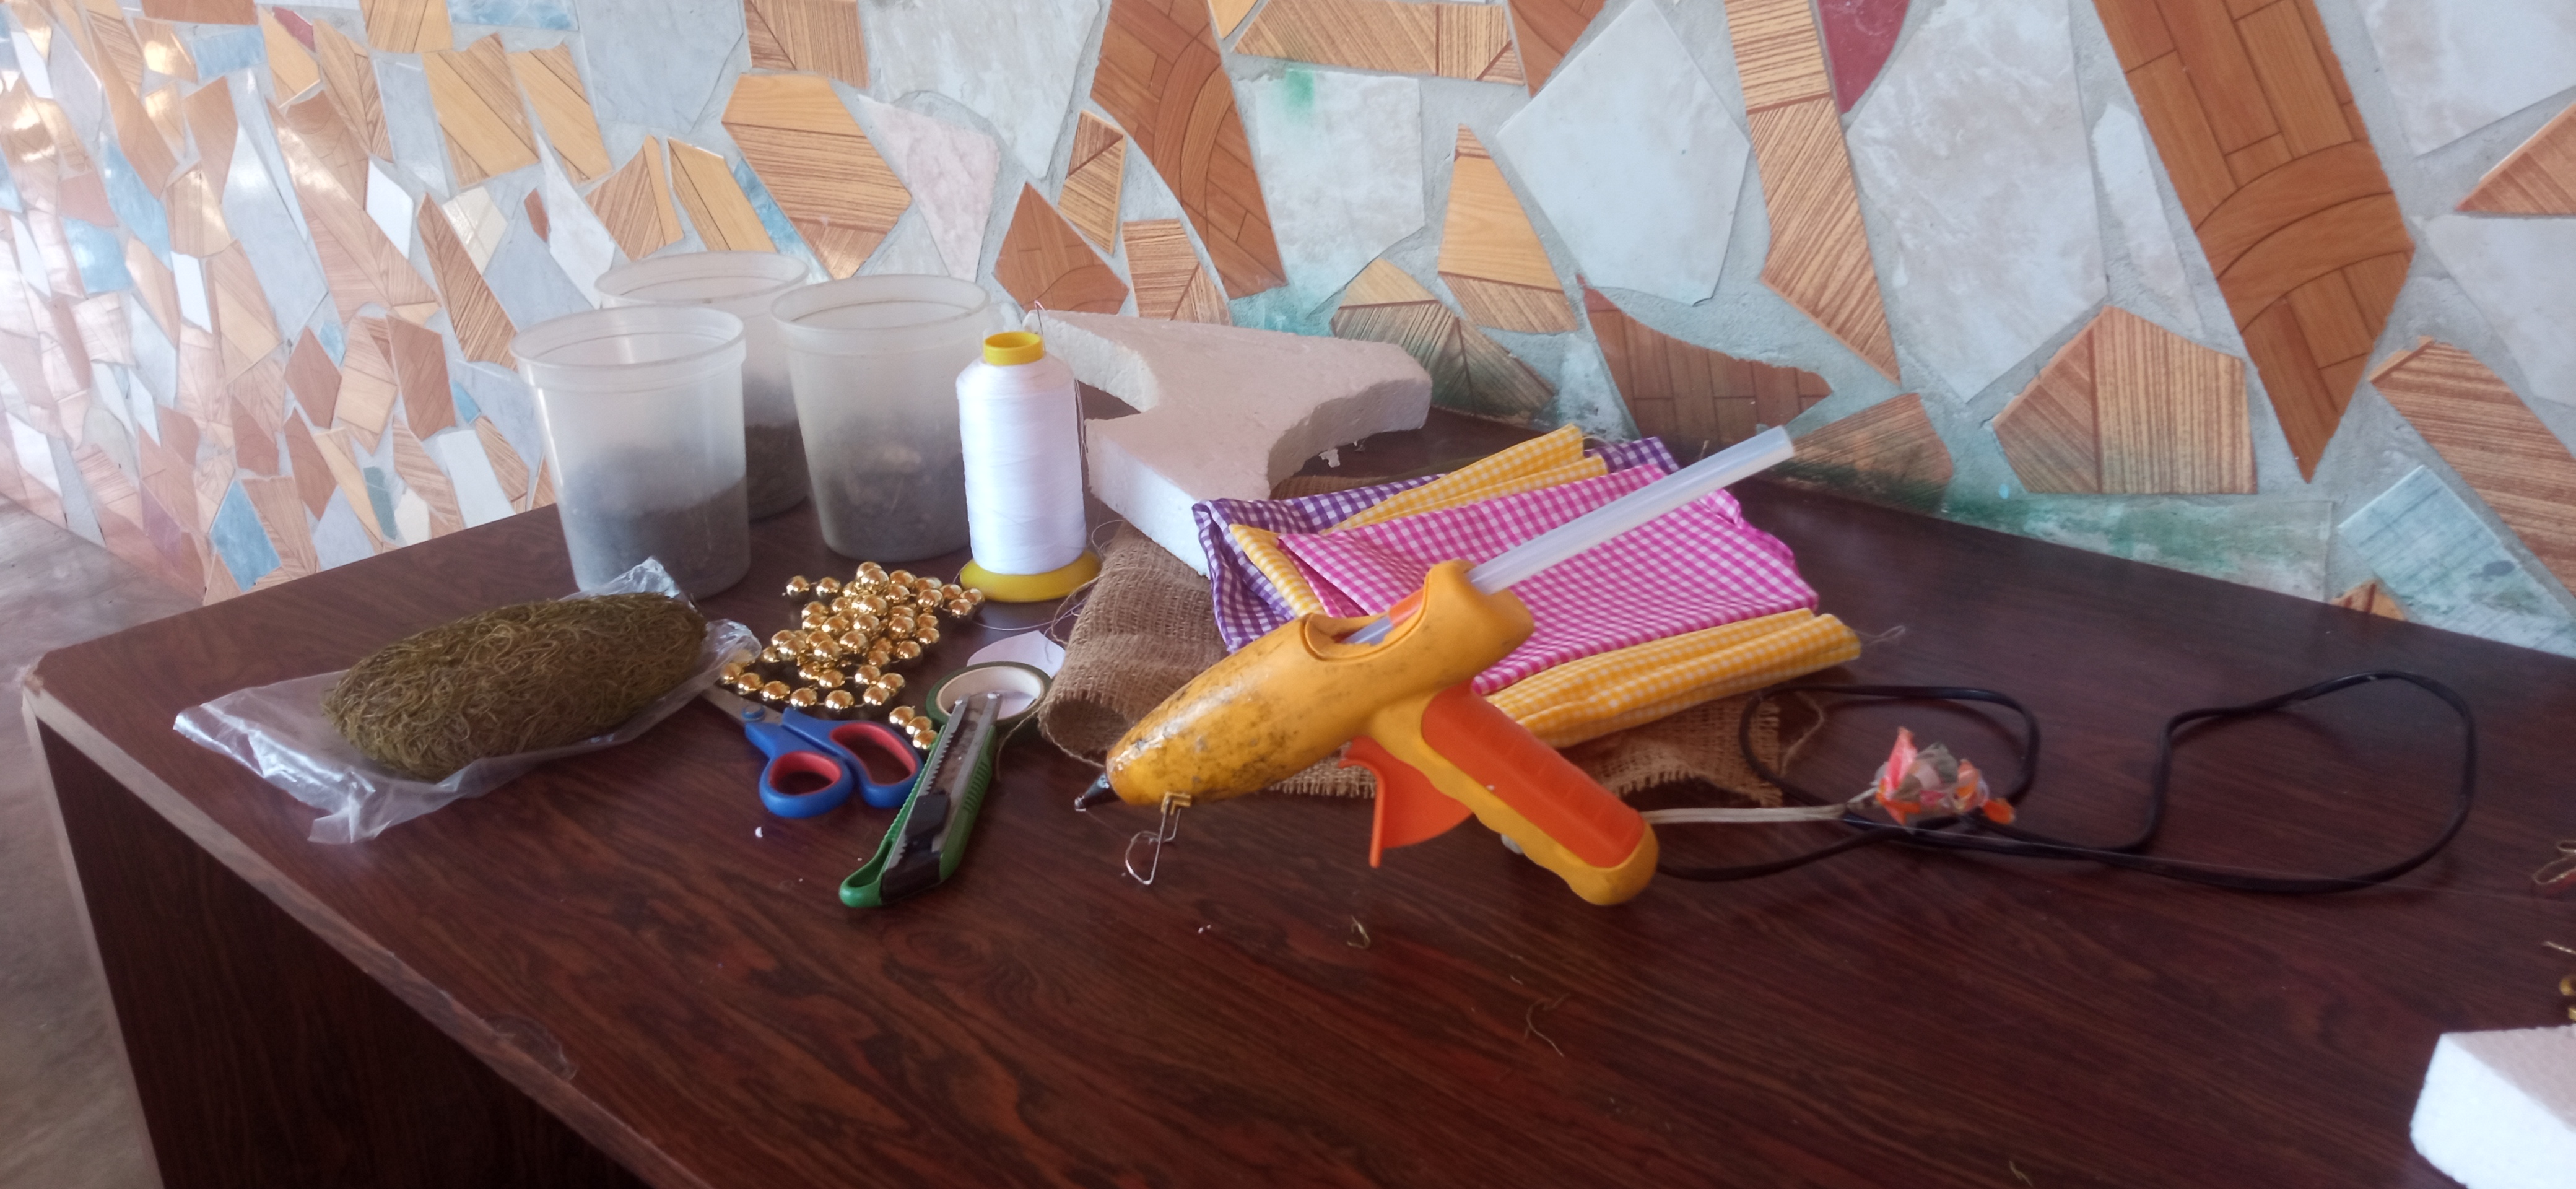
**Materiales para el arreglo:**
-Envases plásticos.
- Barra de silicón.
- pistola de silicon.
- Collar de perlas doradas.
- Tierra con piedritas.
- Un trozo de anime.
- Exato.
- Retazo de tela de yute.
- Retazo de tela de vichy colores
morado y rojo.
- Musgo.
**Arrangement materials:**
-Plastic containers.
- Silicone stick.
- Silicone gun.
- Gold pearl necklace.
- Soil with pebbles.
- A piece of anime.
- Exato.
- Piece of jute fabric.
- Piece of vichy fabric in purple and red
purple and red.
- Moss.
Foto tomada por mi nieto
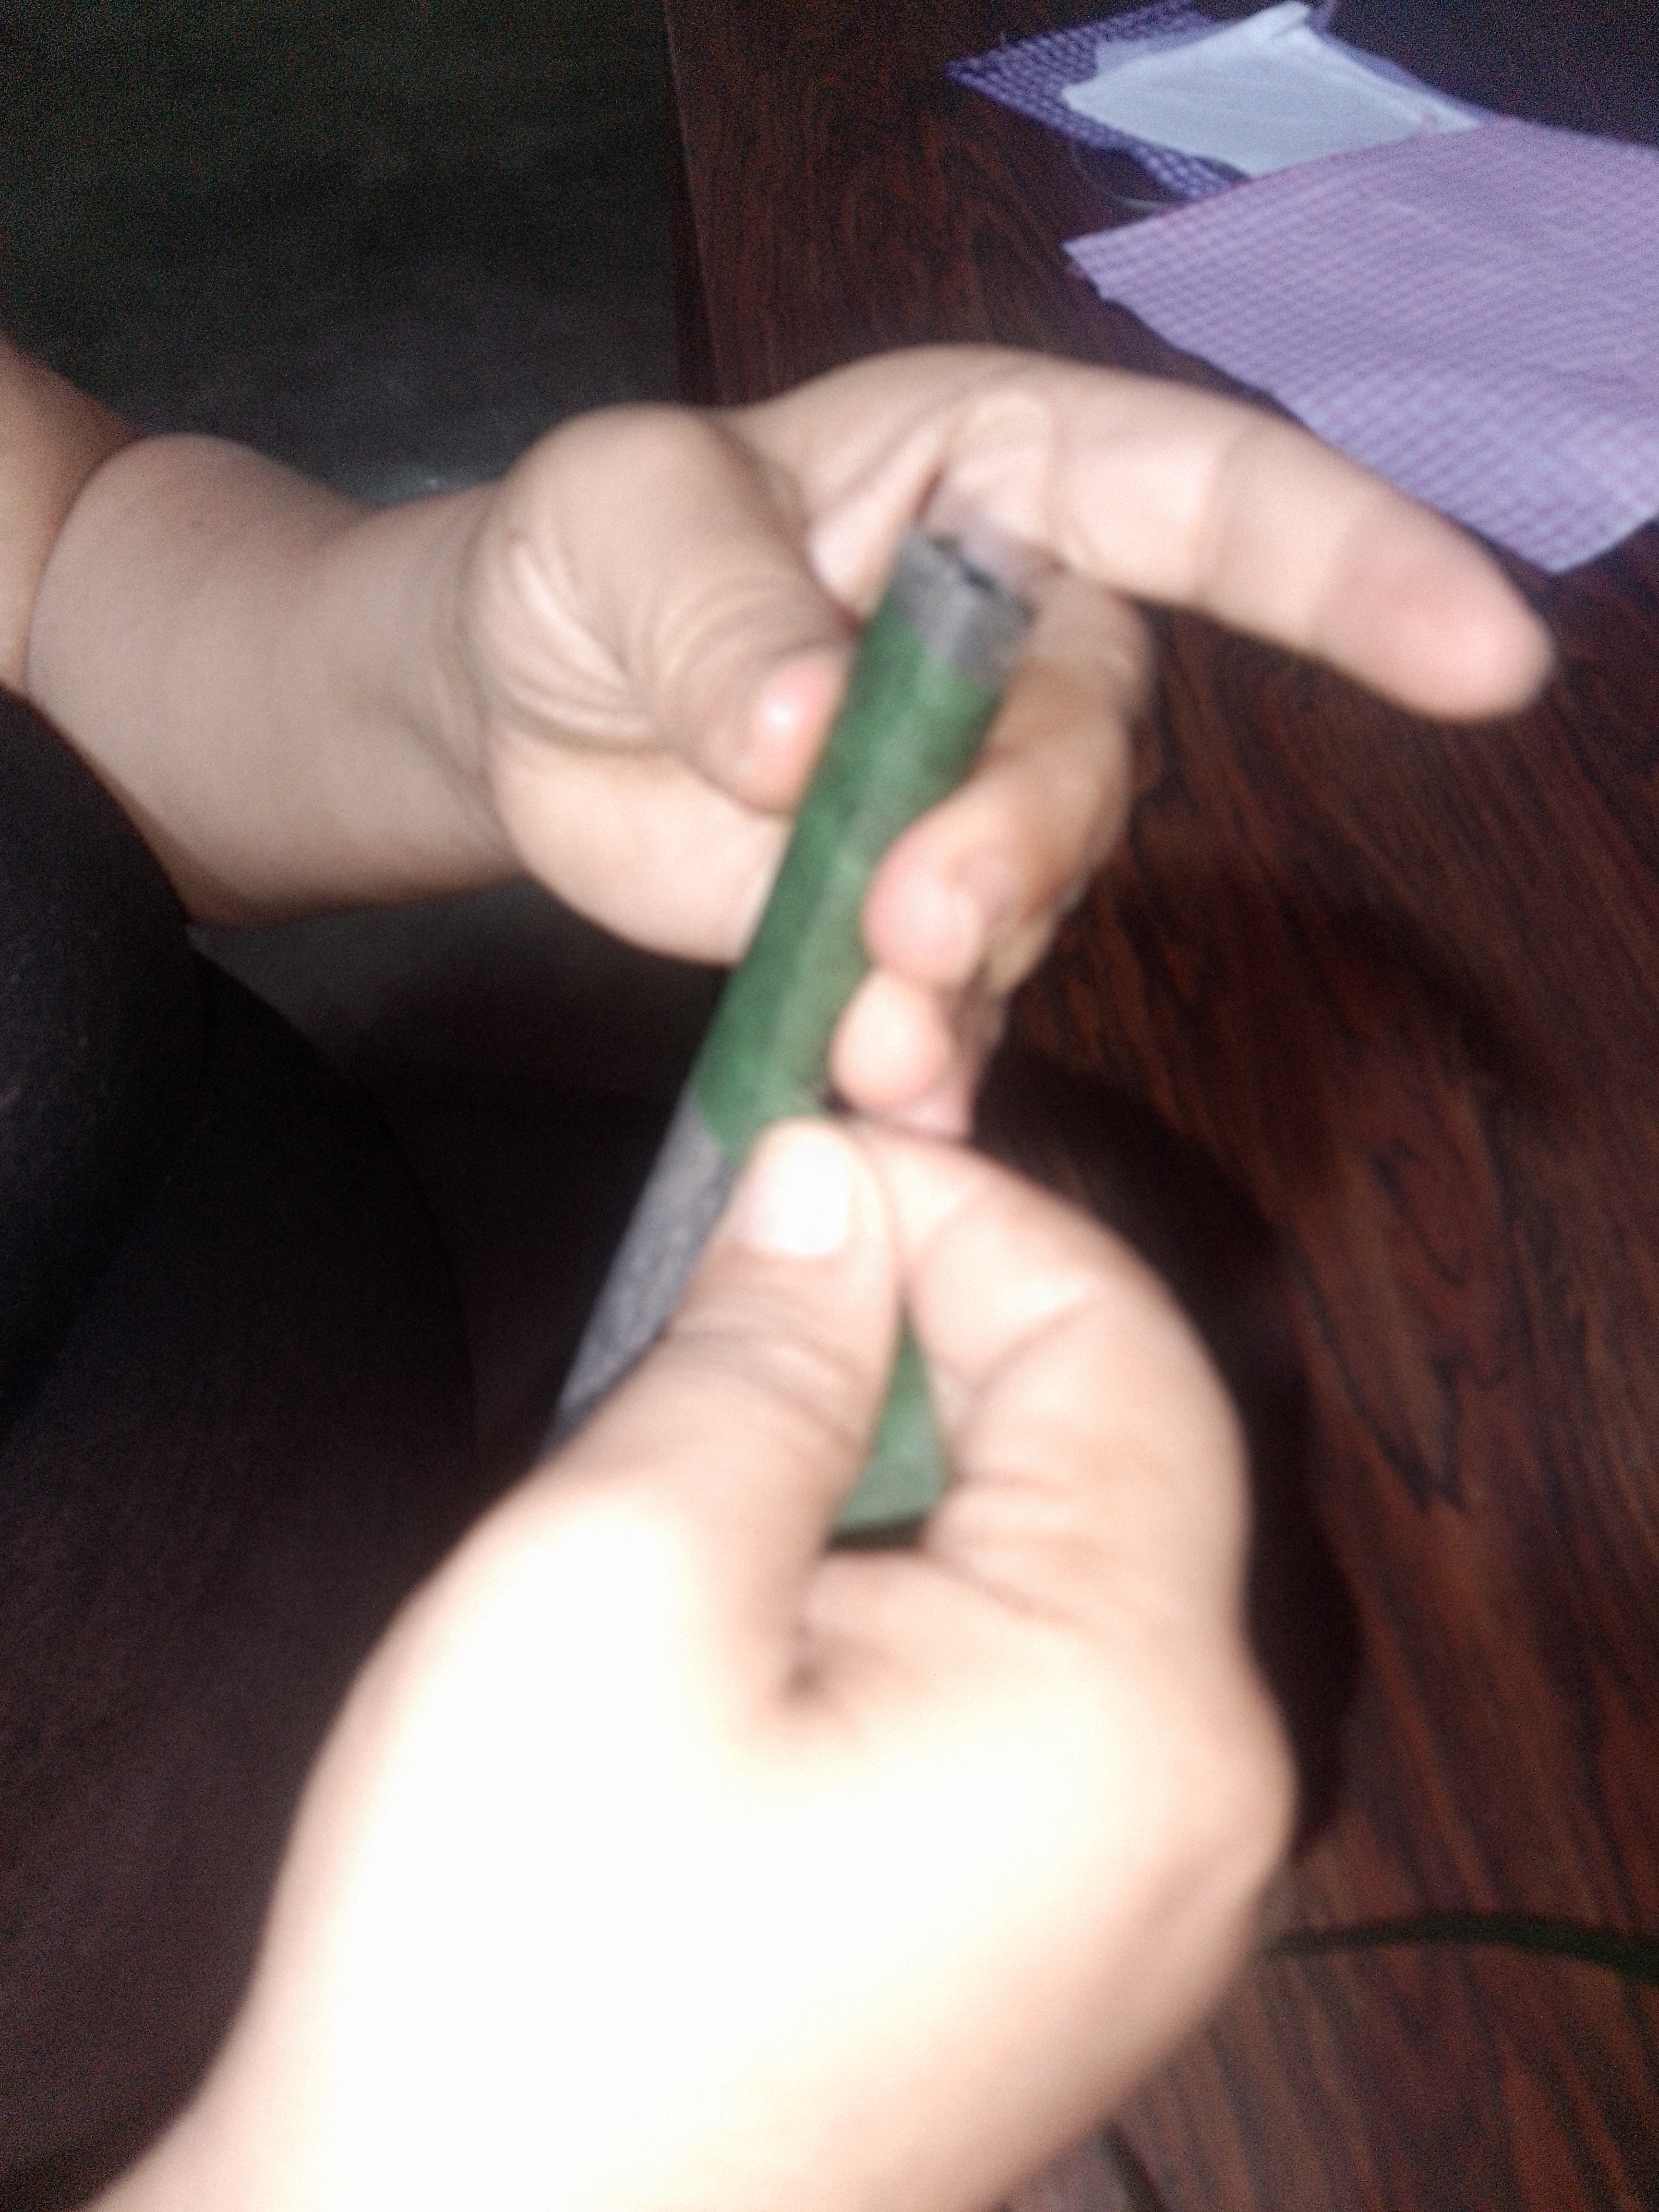
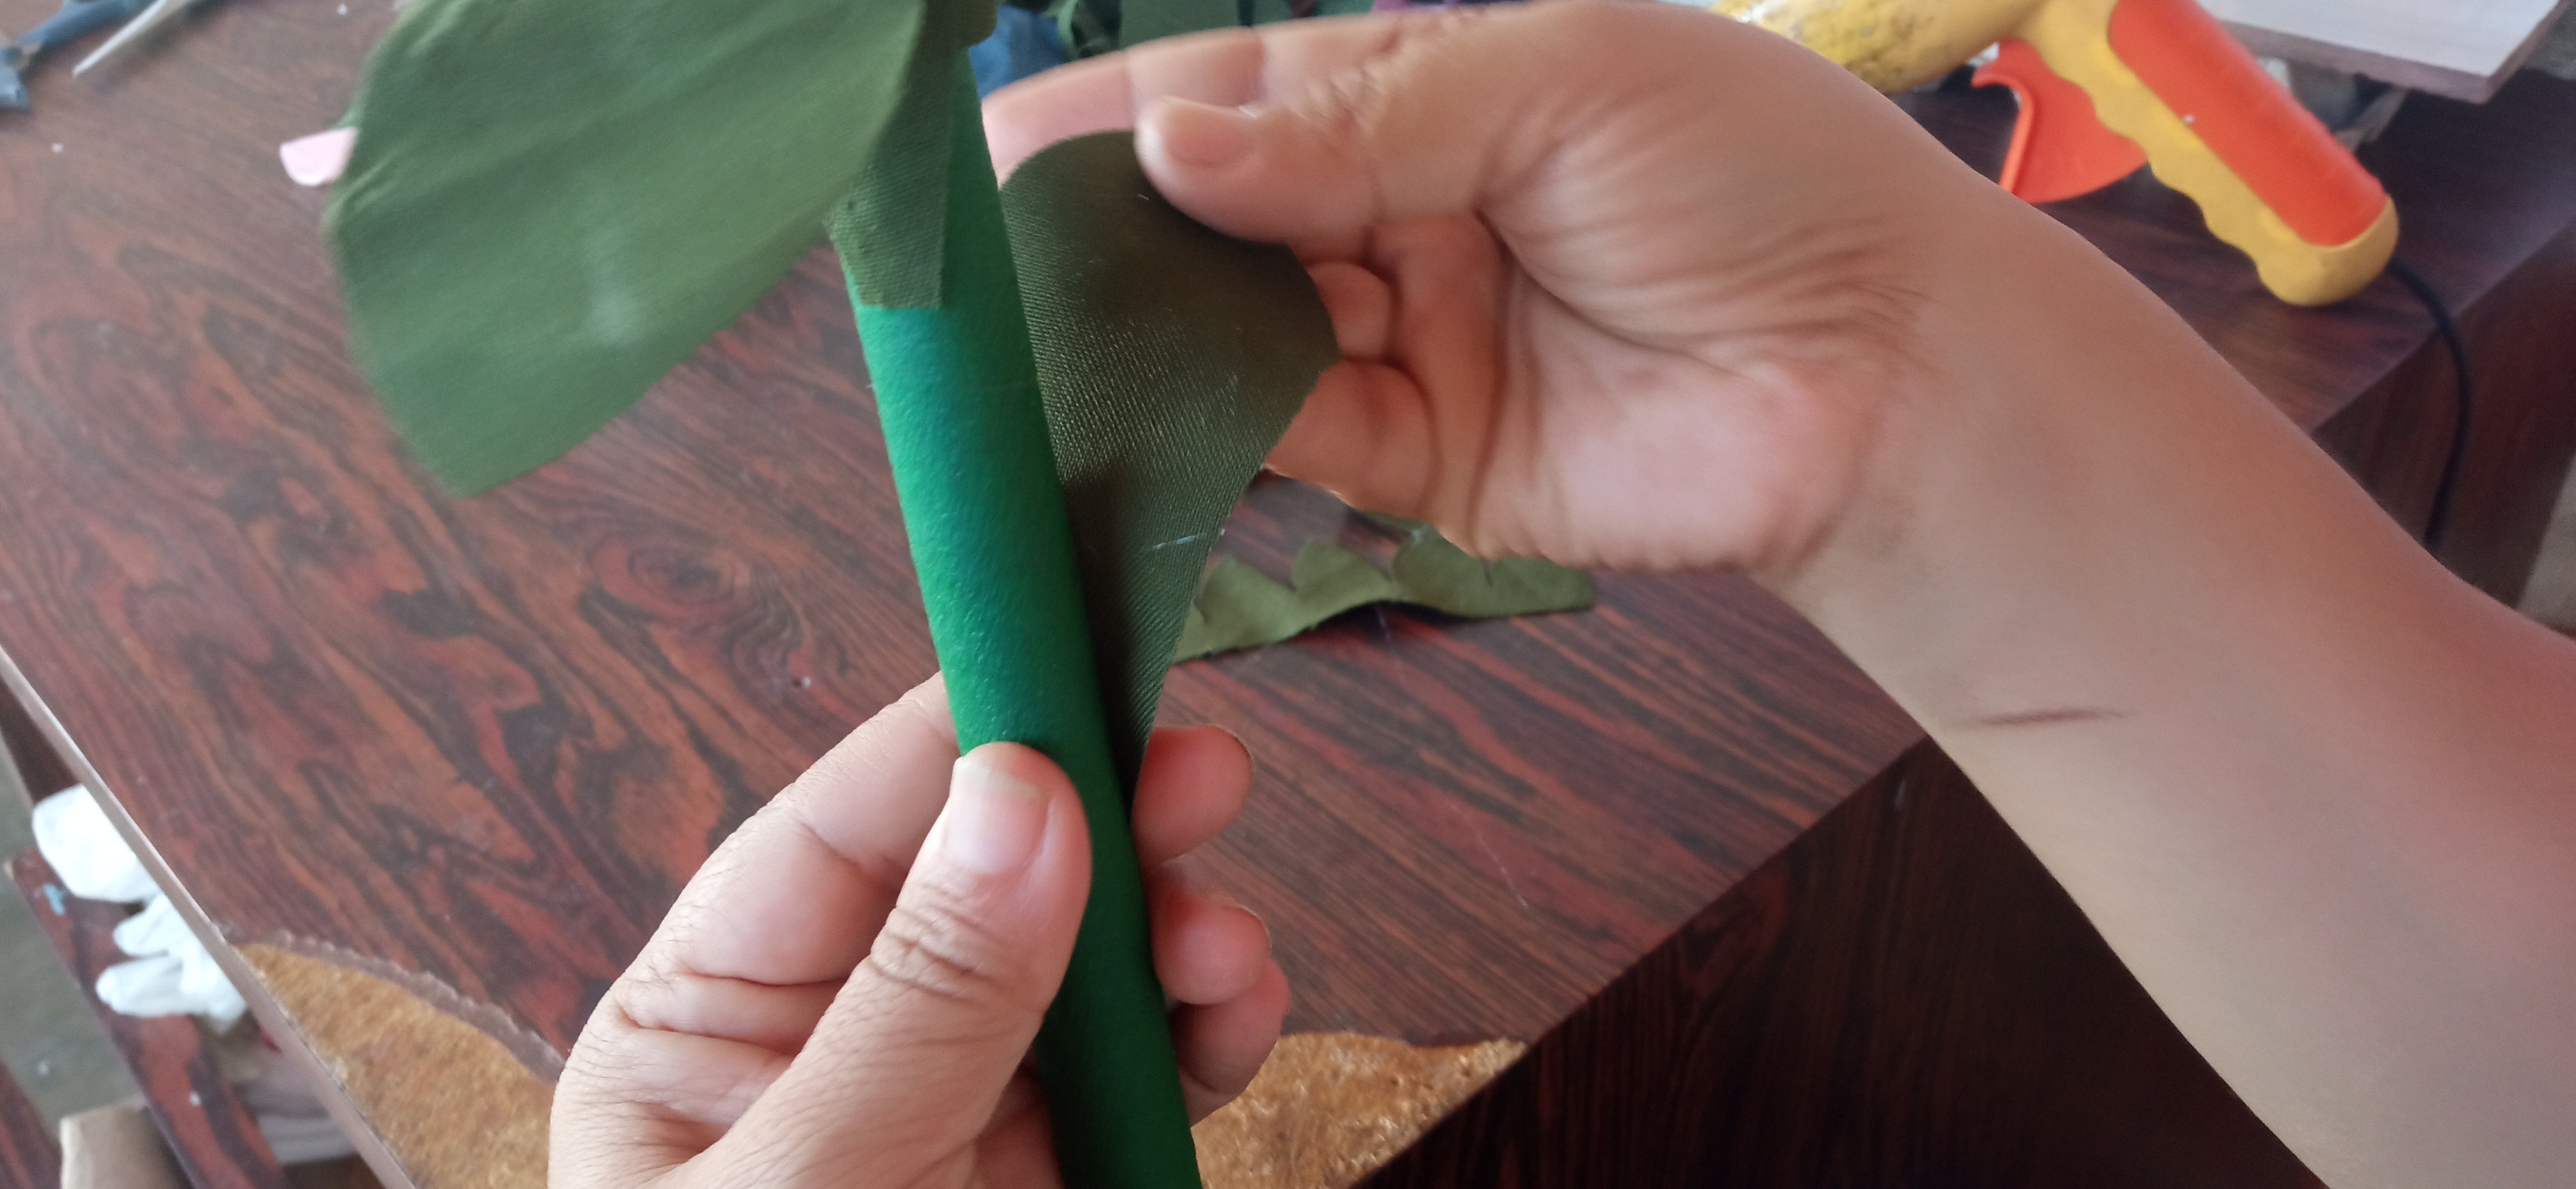
**Paso 1:**
Con cinta floral verde forré
los tubos de electricidad
previamente cortados los cuales serán los tallos de nuestra flor.
**Step 1:**
With green floral tape I lined the previously cut electricity tubes which will be the stems of our flower.
Foto tomada por mi nieto
Foto tomada por mi nieto
Foto tomada por mi nieto
Foto tomada por mi nieto
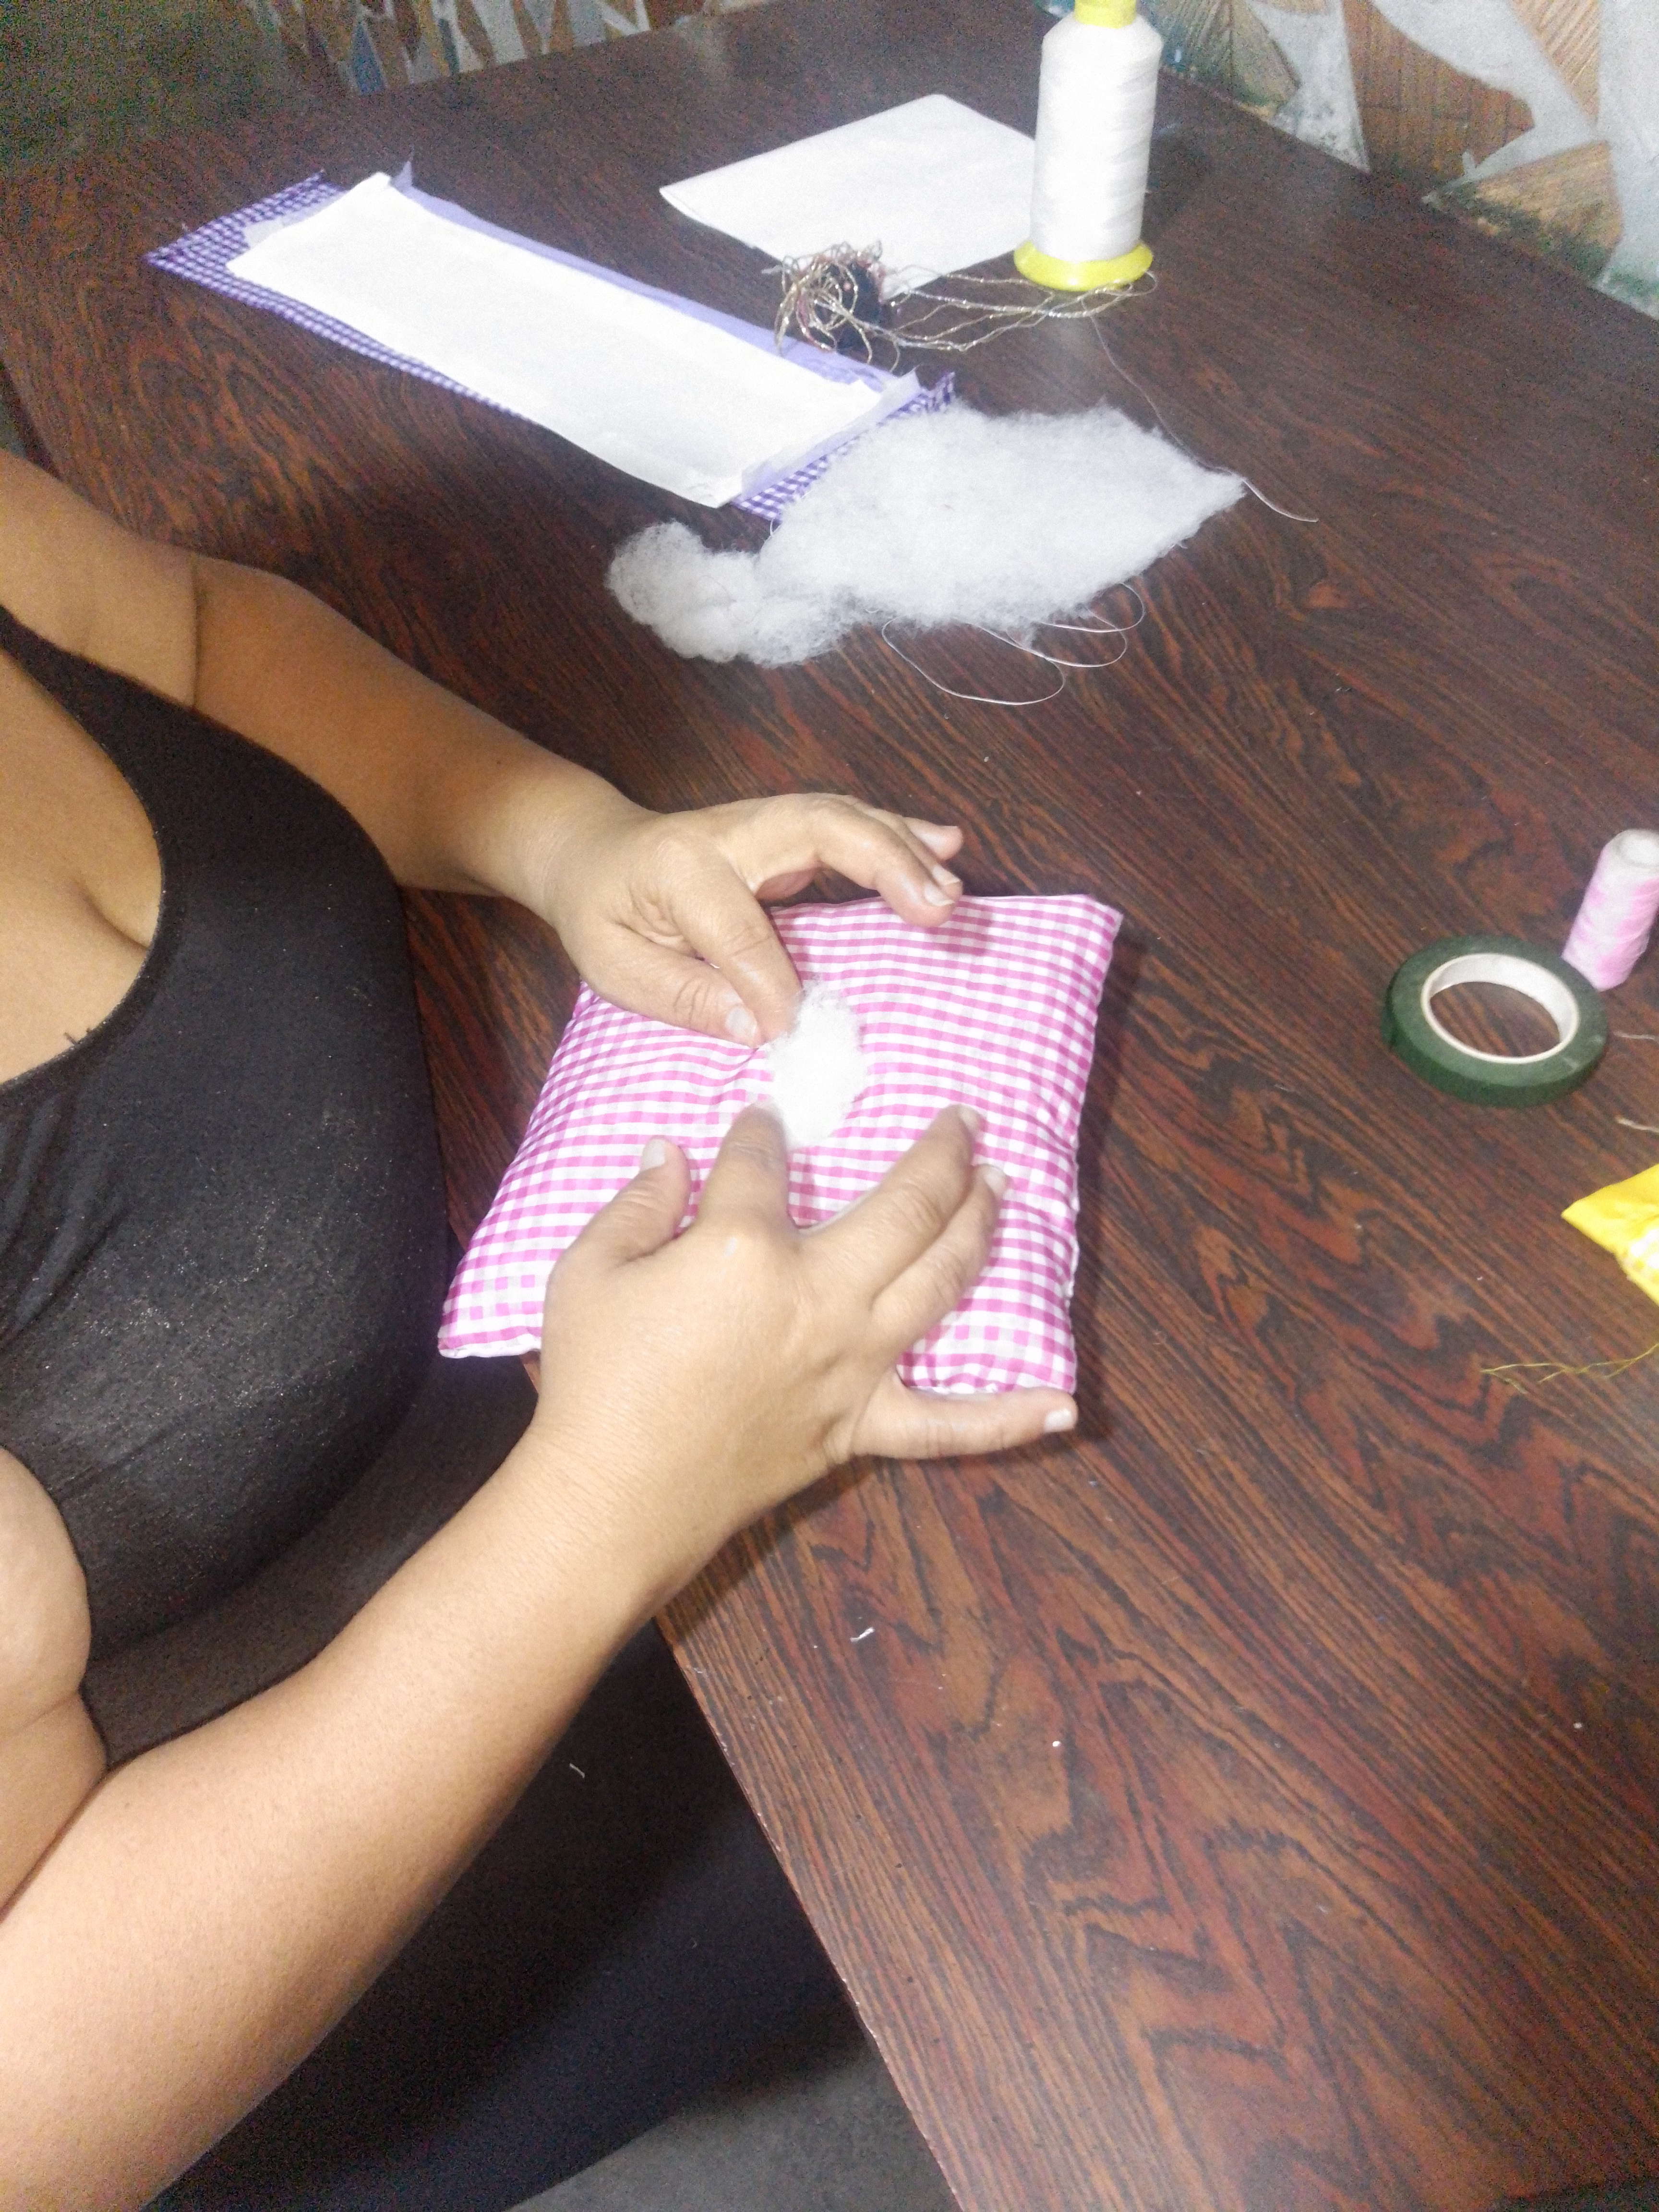
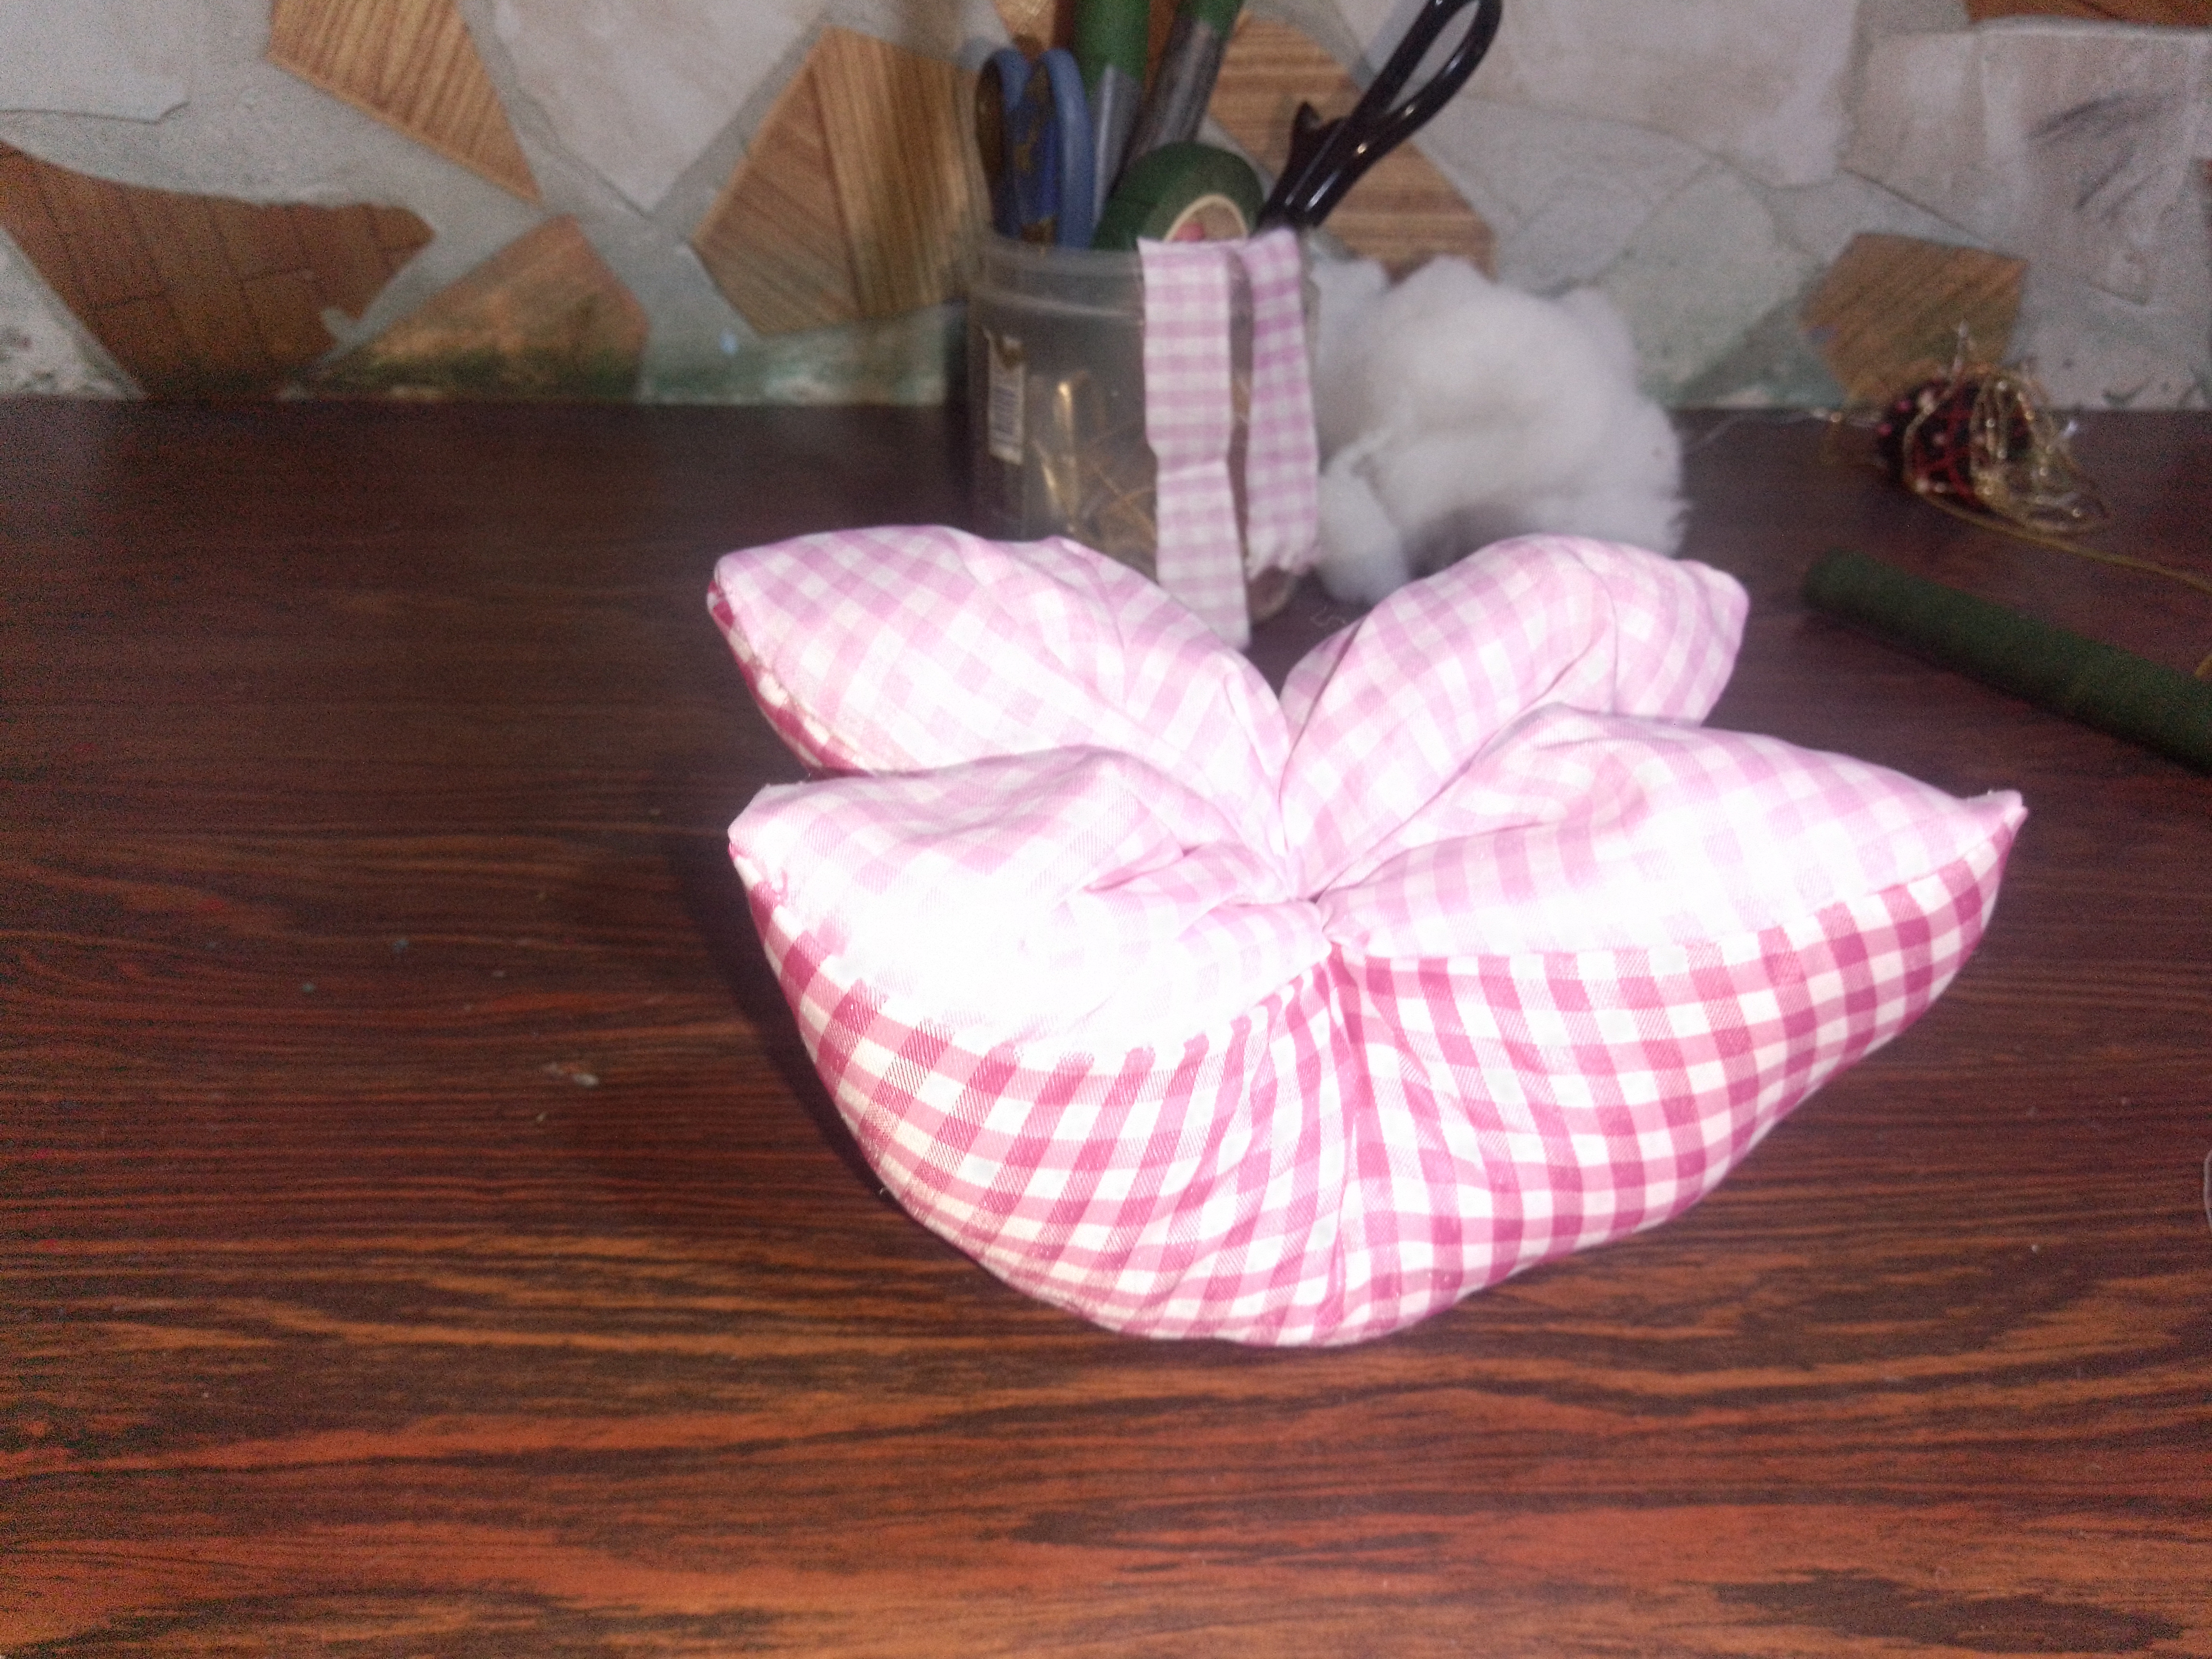
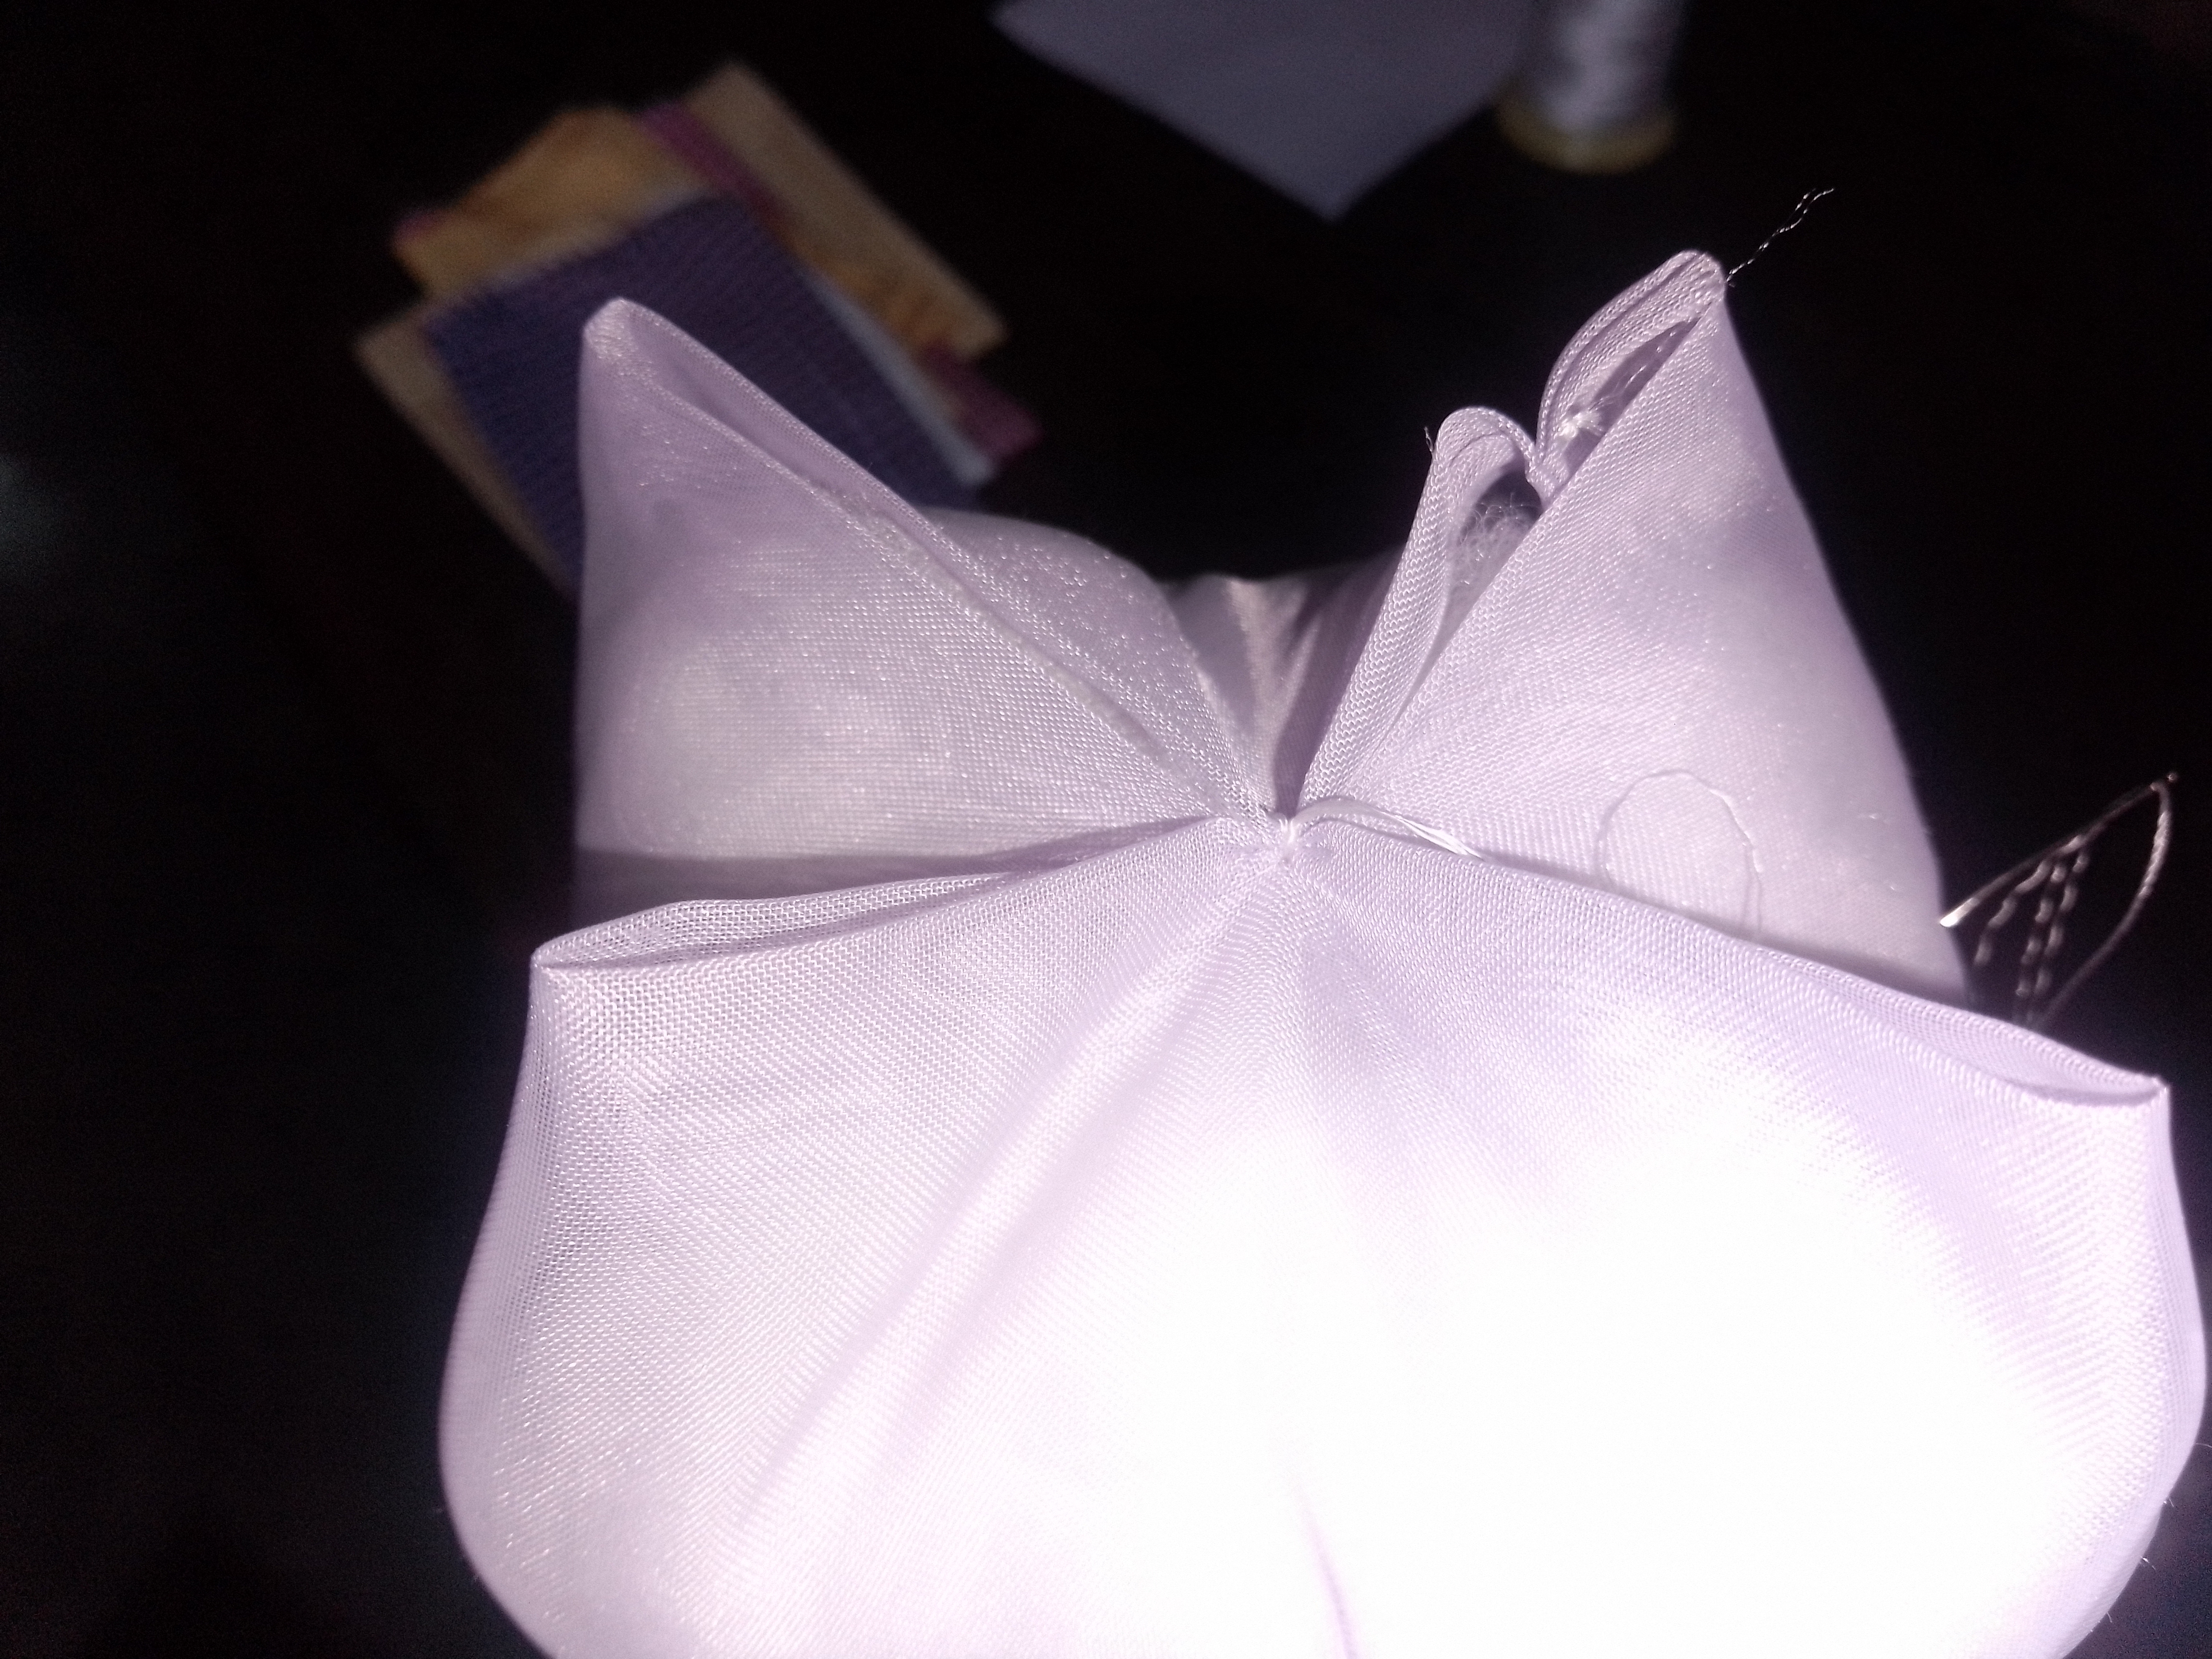
**Paso 2:**
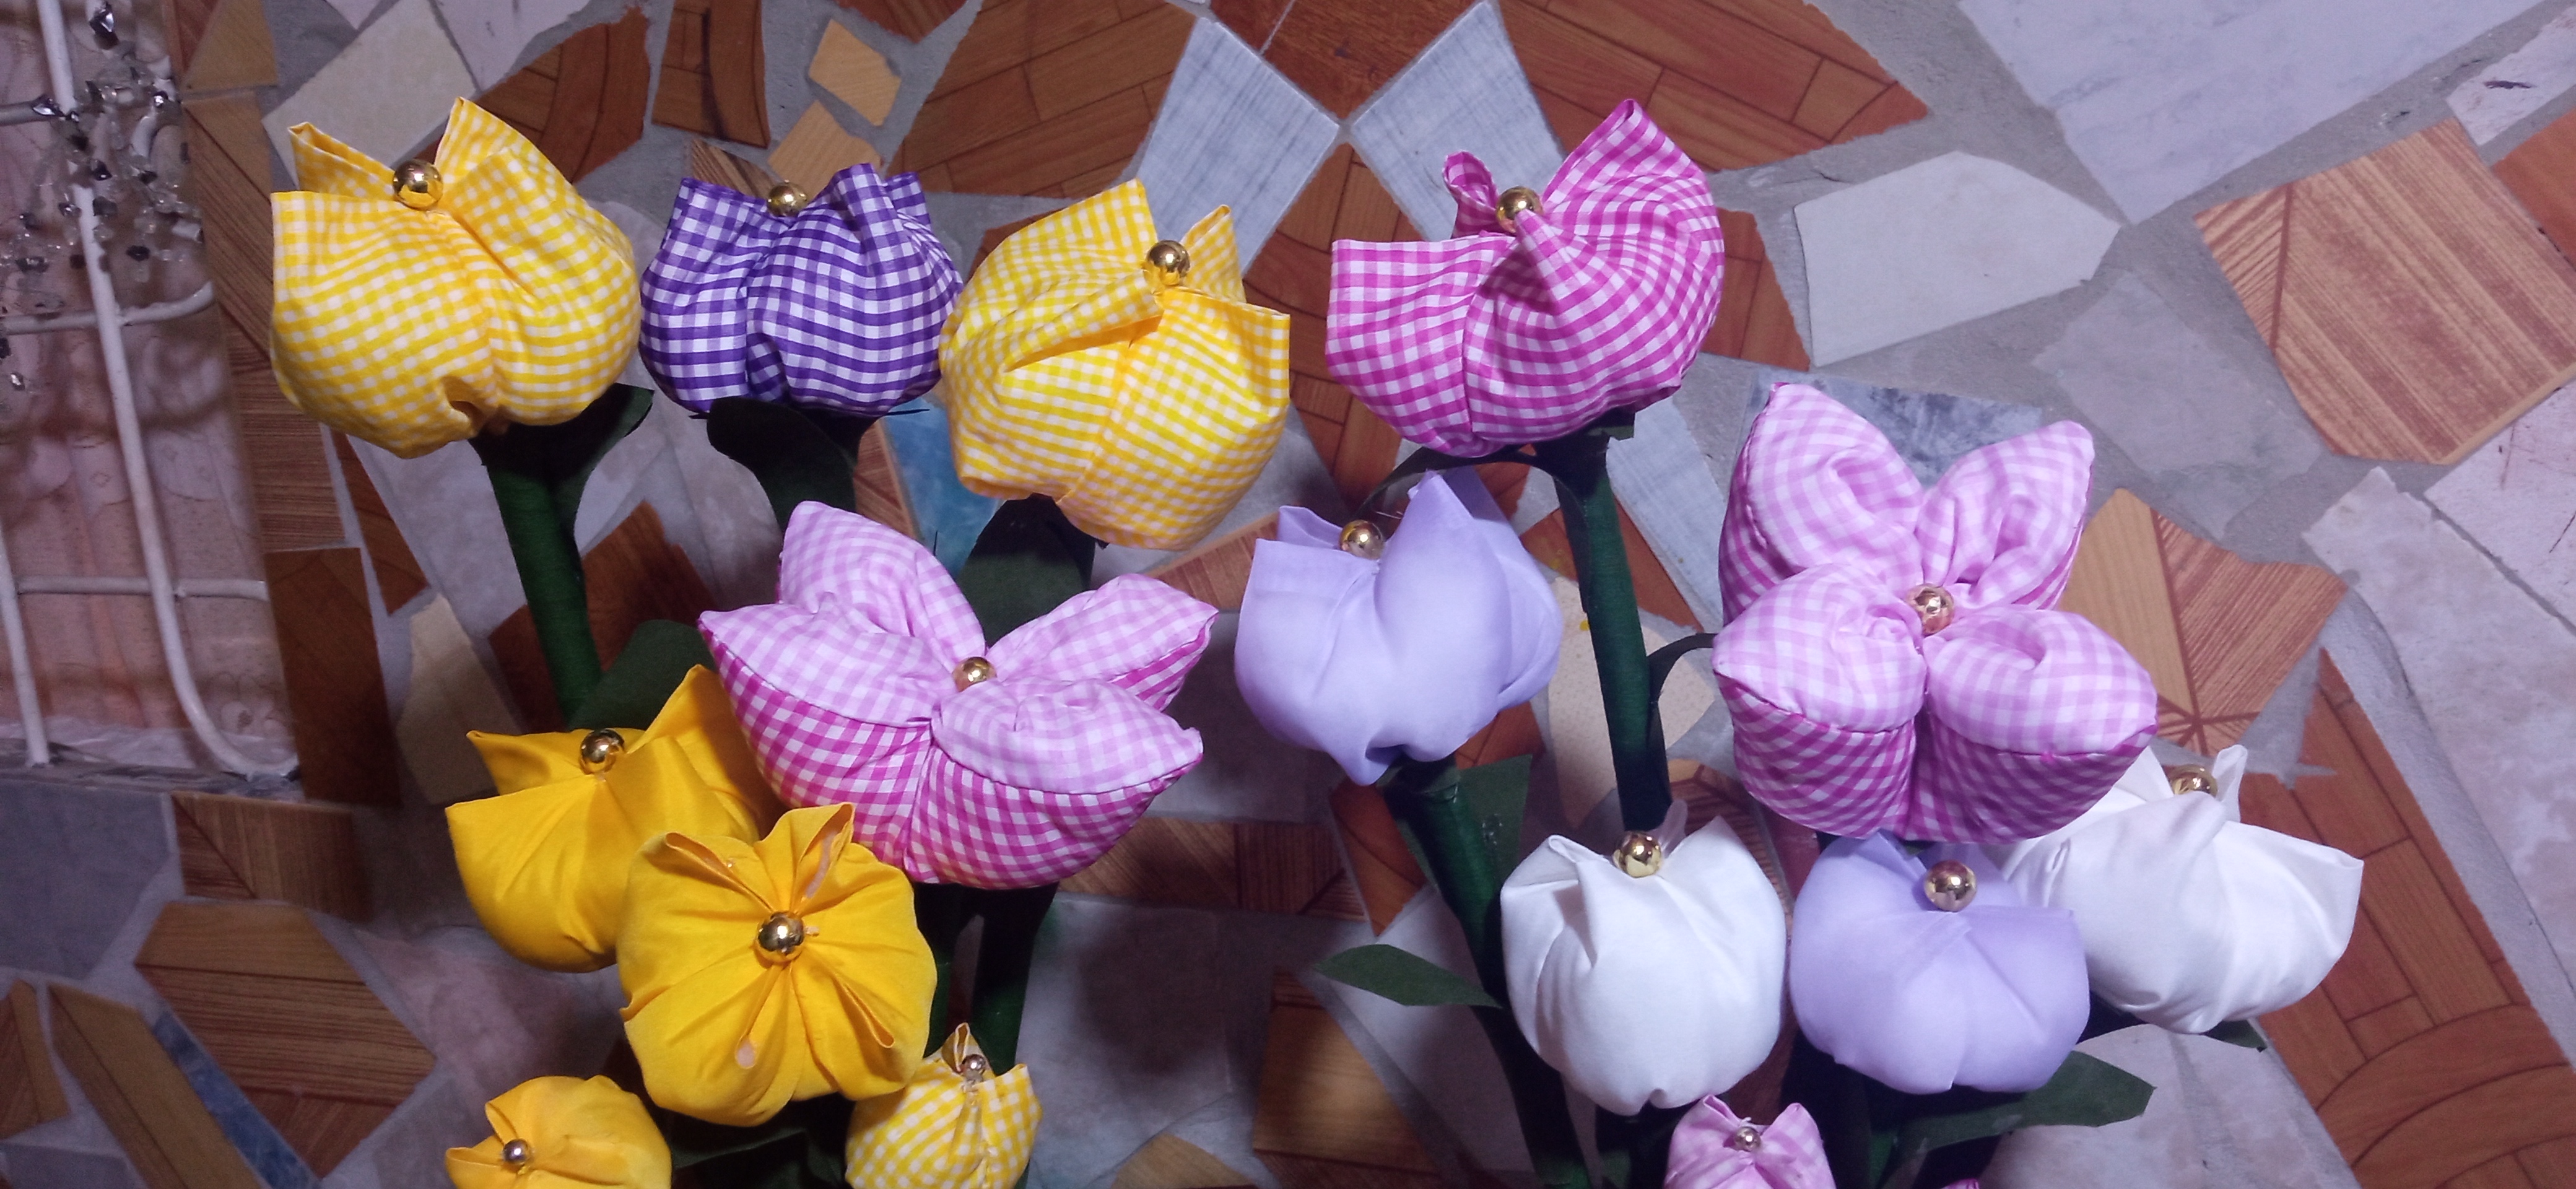
Para el tulipán abierto, previamente realice un molde cuadrado de 10 centímetro x 10 centímetro.Si gustan pueden hacerlo mas grande para que sus Tulipanes sean mas grandes o más pequeños, según su preferencia.Coloque el molde sobre la tela vichy rosado y rojo y lo asegure con alfileres para sujetarlo bien.Corte la tela y cosí todo el contorno por su lado al revés. luego hice una abertura de cuatro (4) centimetros aproximadamente. Voltíe la tela por ese agujero y lo rellene con guata debe quedar como un cojín pequeño. Luego ubique los puntos medios y pasé la aguja co hilo por todos los puntos medios,ajustamos y anudamos, de esta manera tendremos nuestro tulipán.
**Step 2:**
For the open tulip, previously make a square mold of 10 cm x 10 cm, if you like you can make it bigger so that your tulips are bigger or smaller, according to your preference, place the mold on the pink and red vichy fabric and secure it with pins to hold it well. Cut the fabric and sew all the contour on the wrong side, then I made an opening of four (4) centimeters approximately, turn the fabric through that hole and fill it with wadding, it should be like a small cushion, then place the middle points and pass the needle and thread through all the middle points, adjust and knot, in this way we will have our tulip.
Foto tomada por mi nieto
Foto tomada por mi nieto
**Paso 3:**
Por el agujero con la ayuda de los picos dla tijera abrimos un poco la guata e introducimos en tubo previamente forrado con un poco de silicón en su punta y pegamos.
**Step 3:**
Through the hole with the help of the scissors we open the wadding a little and introduce the tube previously lined with a little silicone on its tip and glue.
Foto tomada por mi nieto
Foto tomada por mi nieto
Foto tomada por mi nieto
Foto tomada por mi nieto
Foto tomada por mi nieto
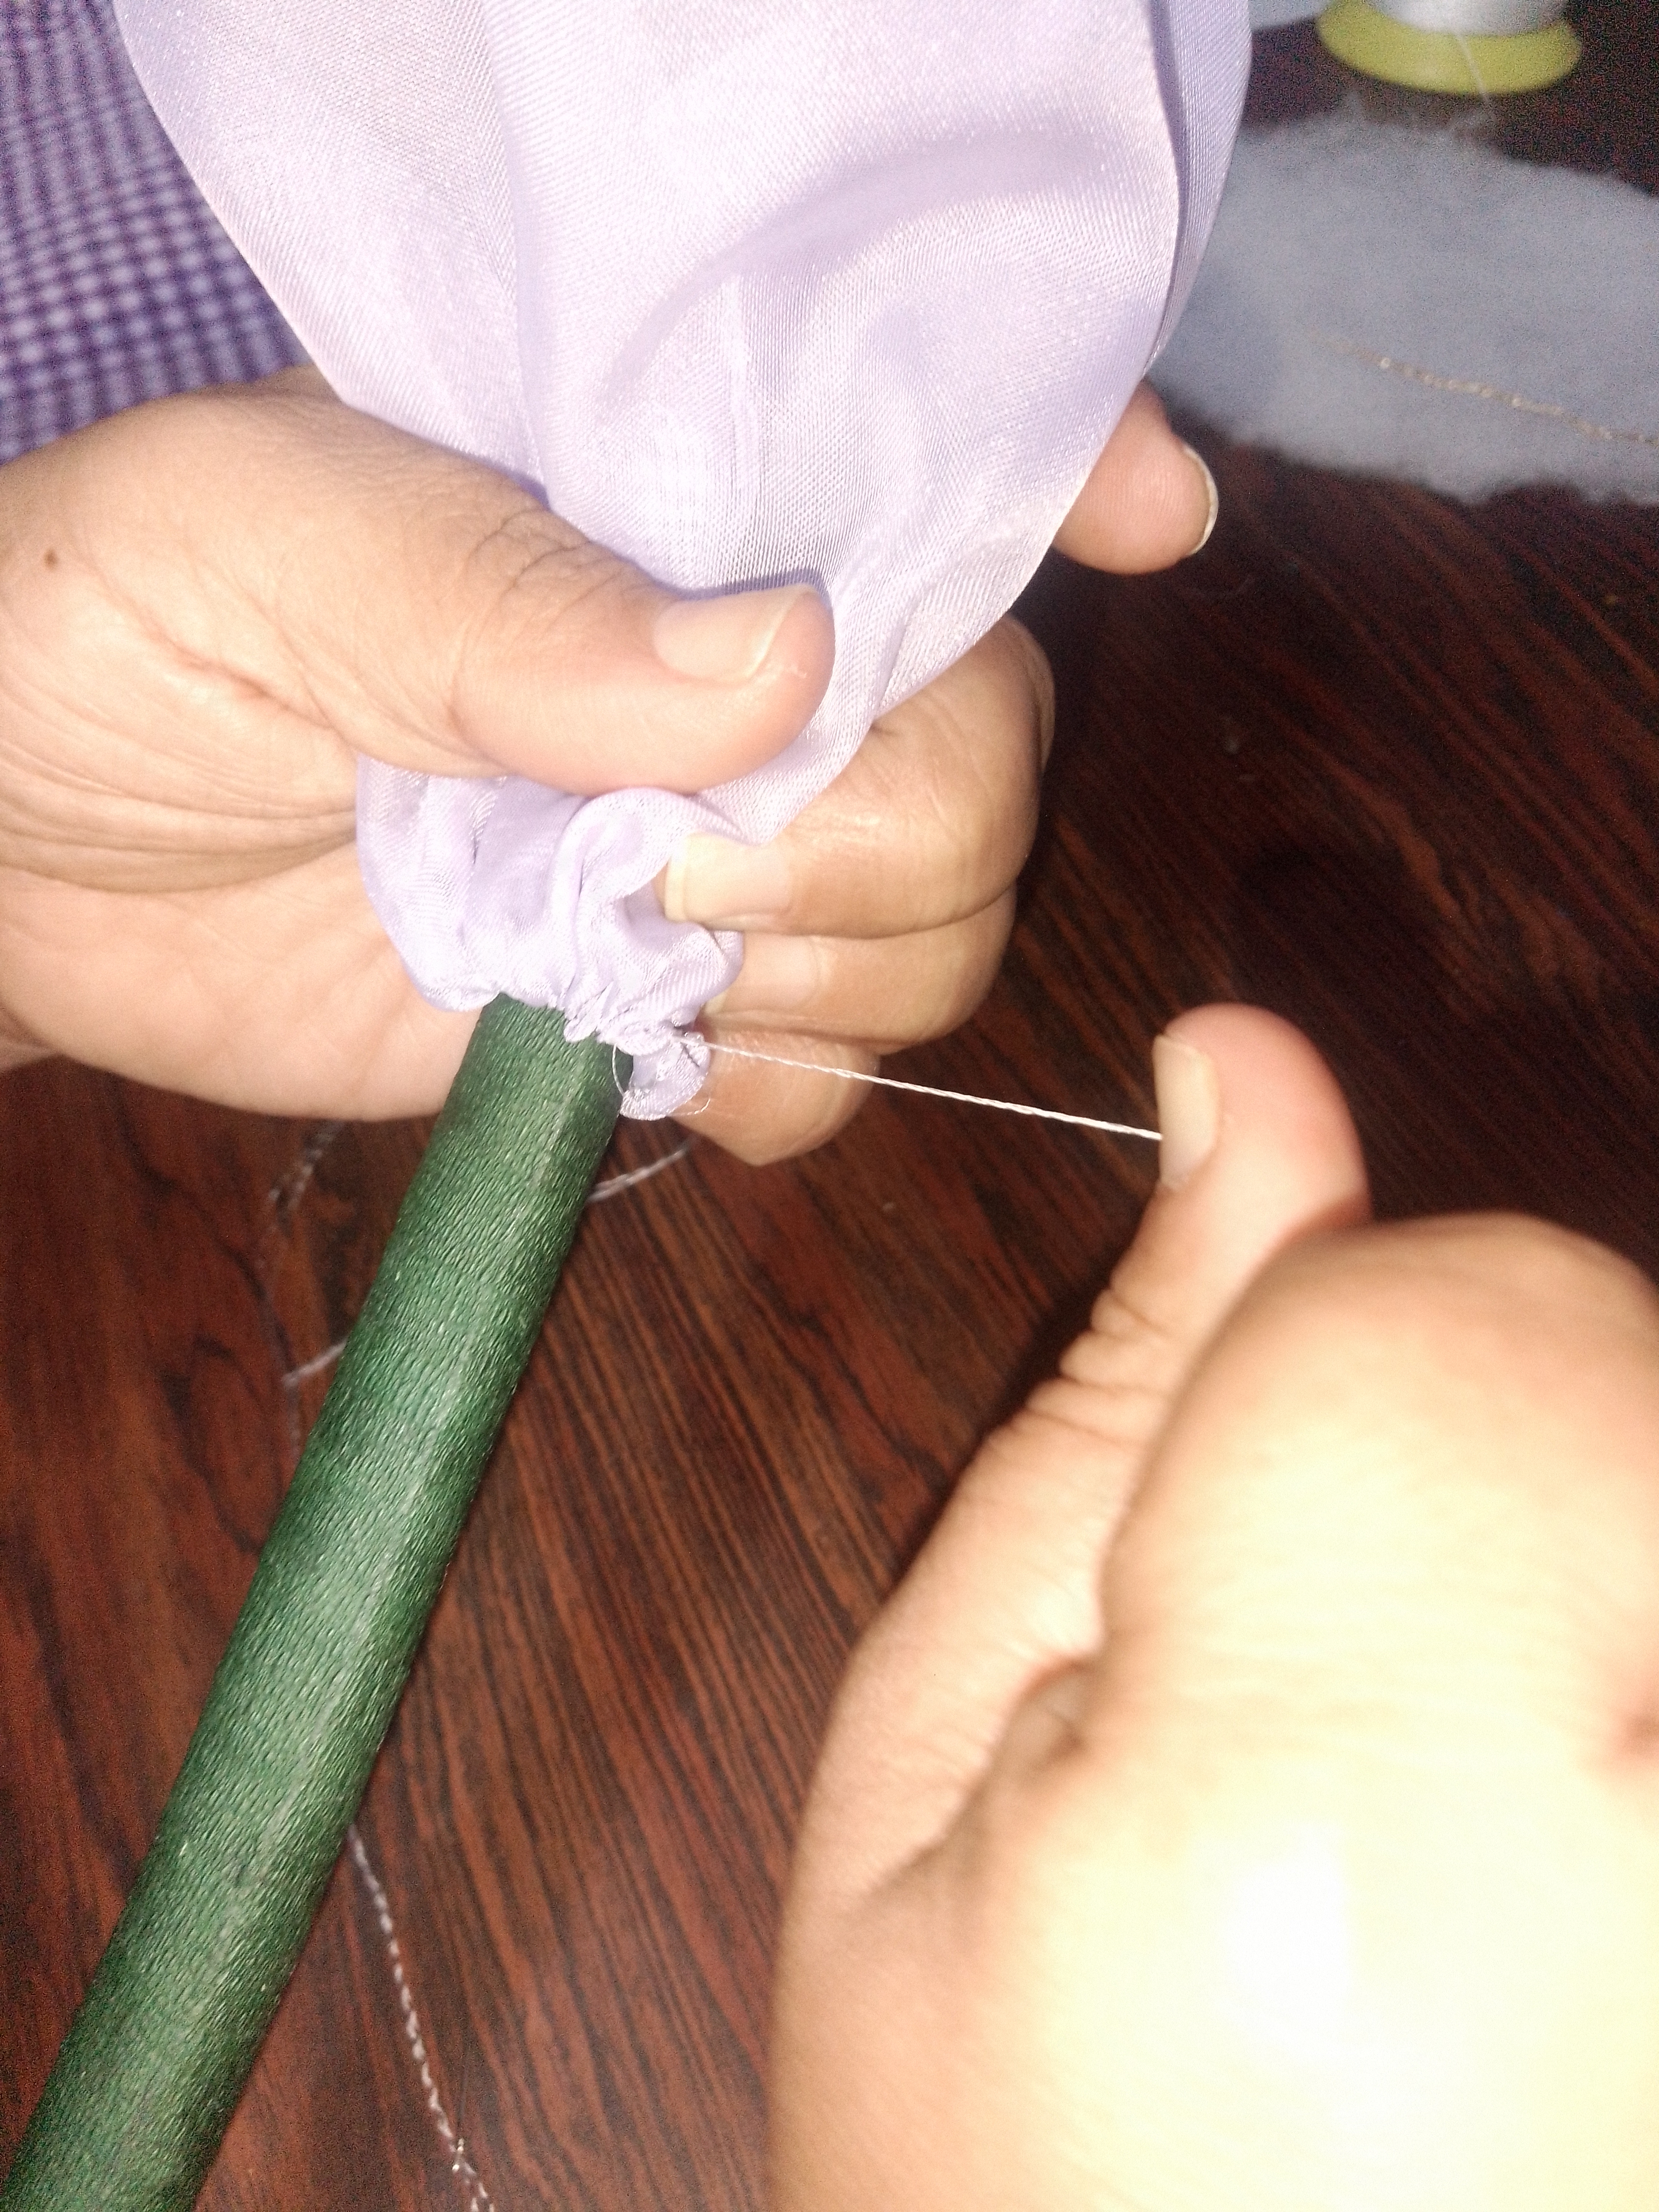
**Paso 4:**
Para los tulipanes cerrados o capullos. Corté tiras rectángulares de 41 centímetros de largo por 15 centímetros de alto. Estos también se pueden realizar de varios tamaños para armonizar la composición floral que desen hacer.Planché un centímetro aproximadamente de todos sus lado.Luego uní sus dos laterales más cortos los cosí y escogí uno de sus laterales más largos para coserlos de forma envolvente.Por último, tomé el tubo y los introduje y arruche la tela con el mismo hilo lo sujete 3 veces y lo anudé.Rellene su interior con guata hasta llegar al borde que había planchado.Al igual que la flor anterior ubique sus centros o medios pasé la aguja co hilo por todos los puntos medios,ajusté y anudé, de esta manera realice el capullo del tulipán.
**Step 4:**
For the closed tulips or buds I cut rectangular strips 41 centimeters long by 15 centimeters high. These can also be made in various sizes to harmonize the floral composition that I wanted to make, I ironed about one centimeter on each side, then I joined their two shorter sides and sewed them together and chose one of their longer sides to sew them in a wrap-around fashion. Finally, I took the tube and I introduced them and ruche the fabric with the same thread I fastened it 3 times and I knotted it.I filled its interior with wadding until reaching the edge that I had ironed.Like the previous flower I located its centers or means I passed the needle with thread through all the middle points, I adjusted and knotted, this way I made the bud of the tulip.
Foto tomada por mi nieto
Foto tomada por mi nieto
Foto tomada por mi nieto
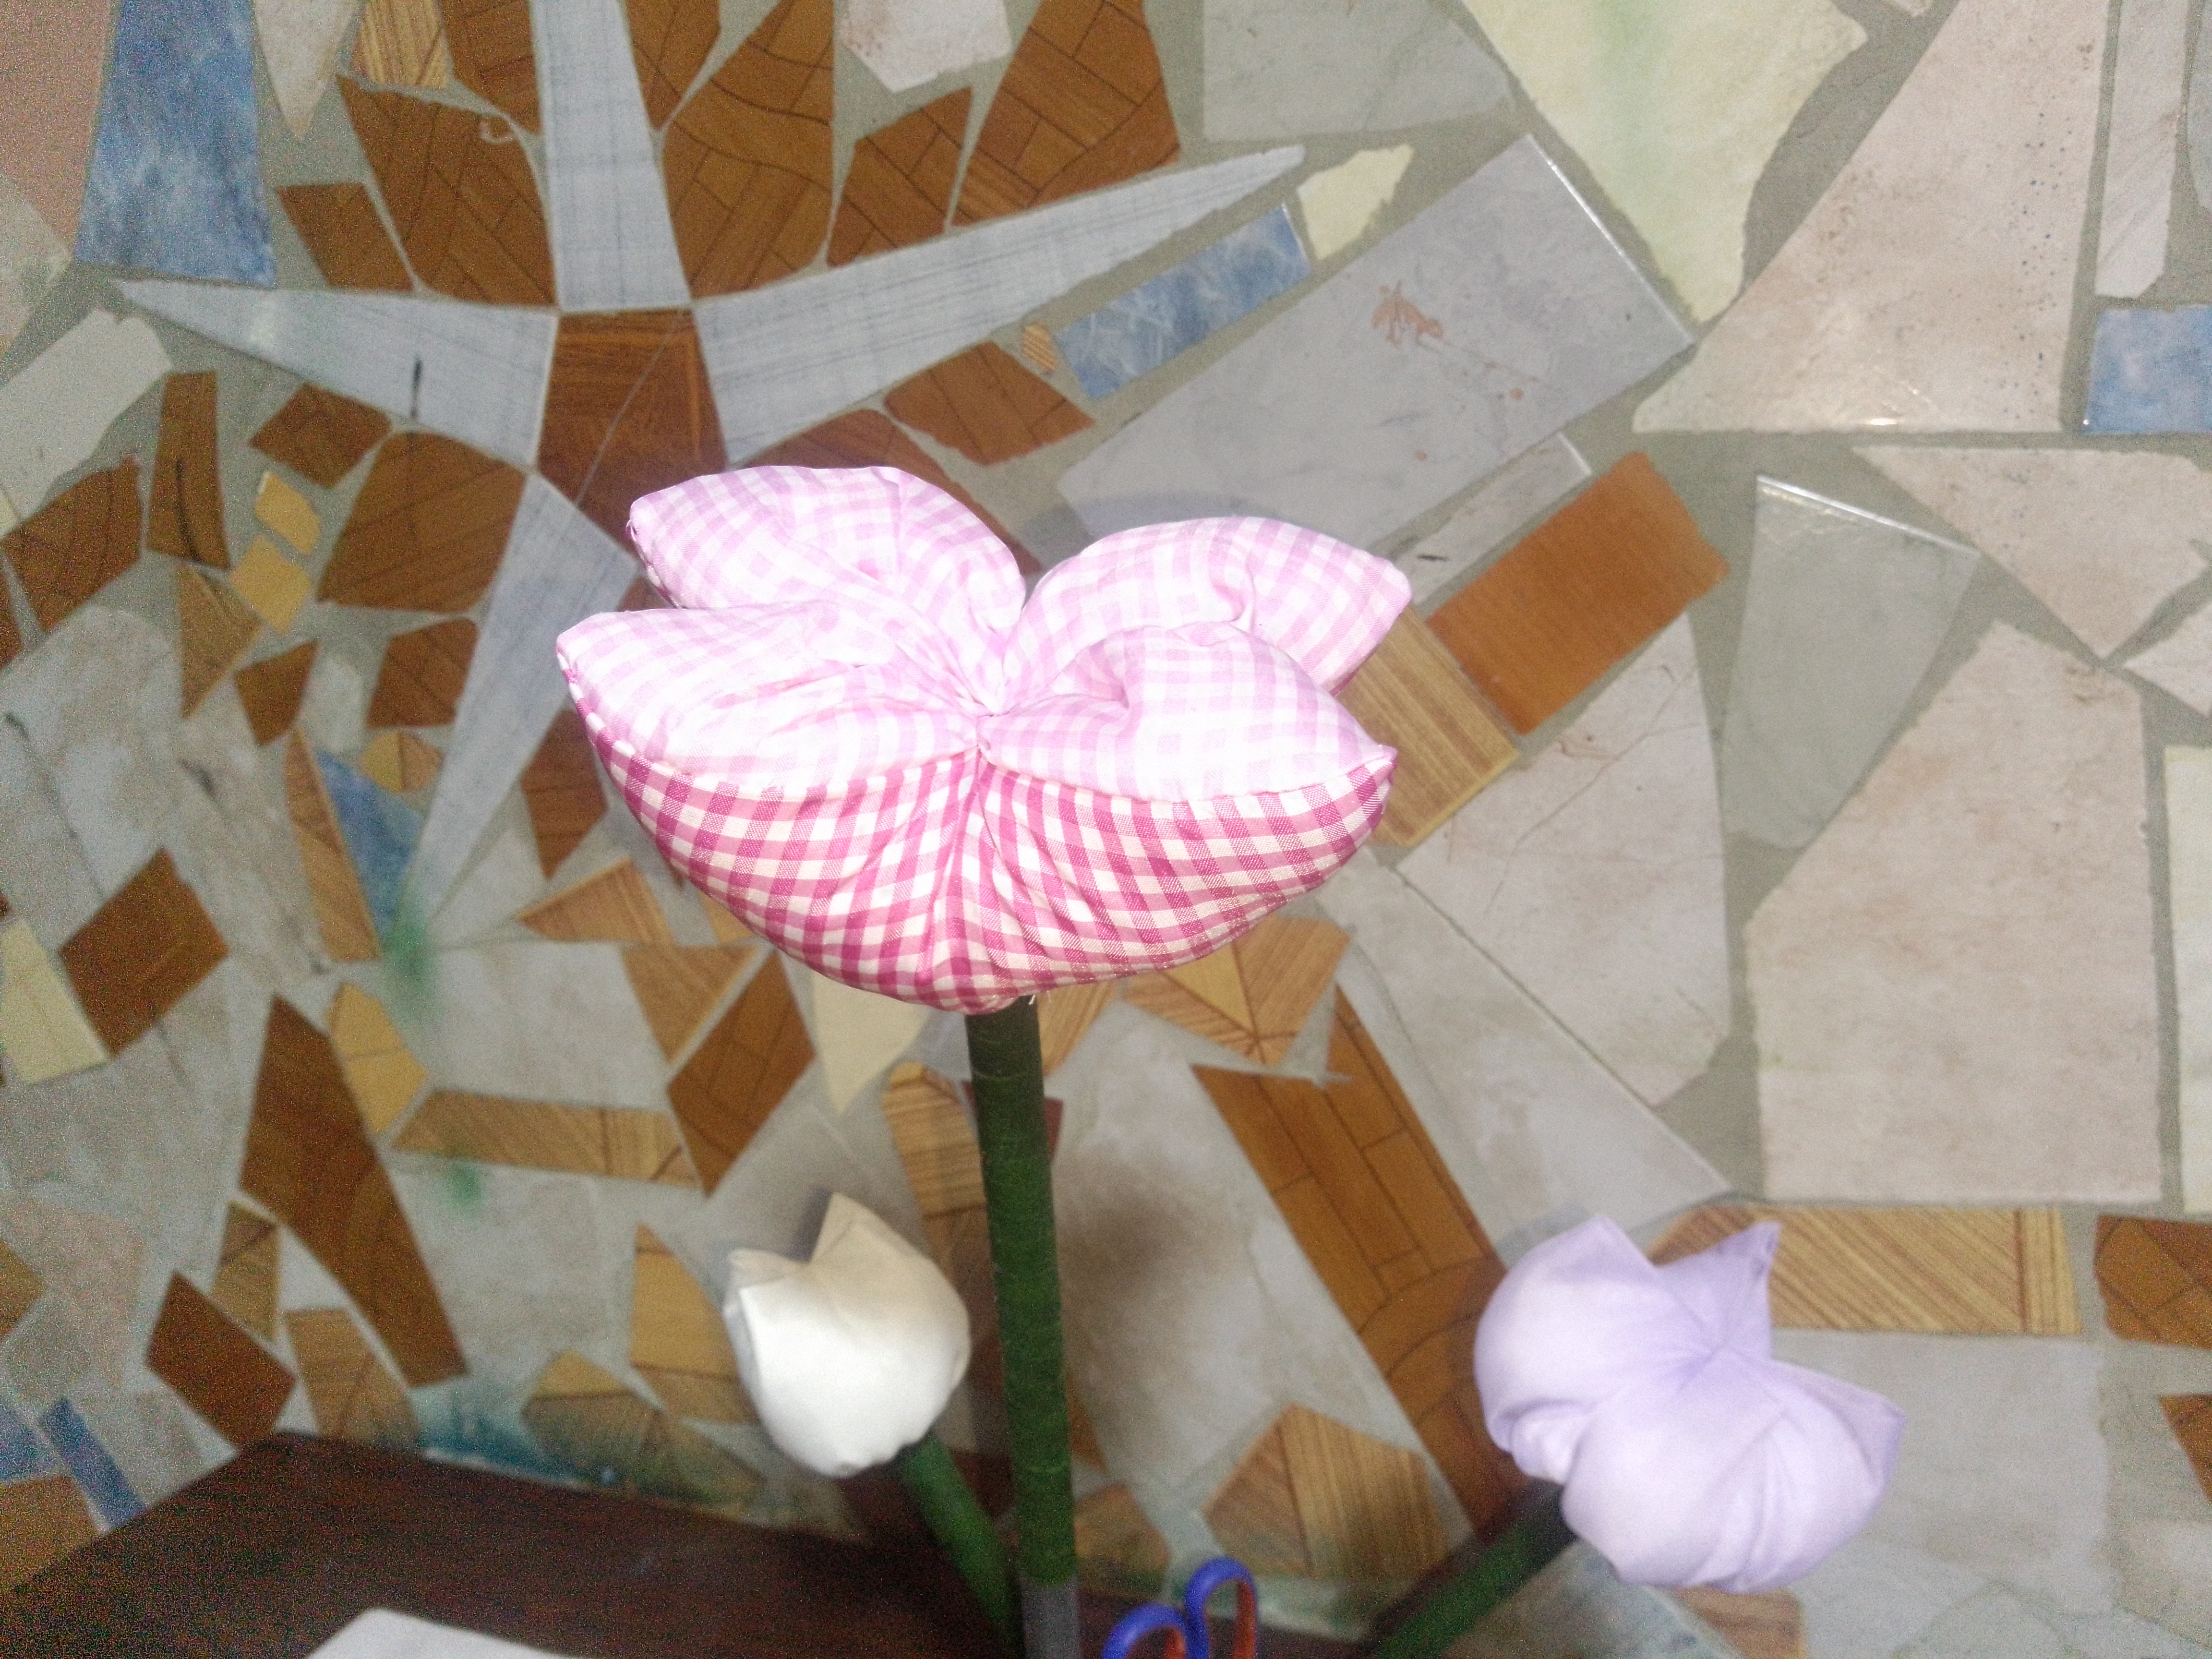
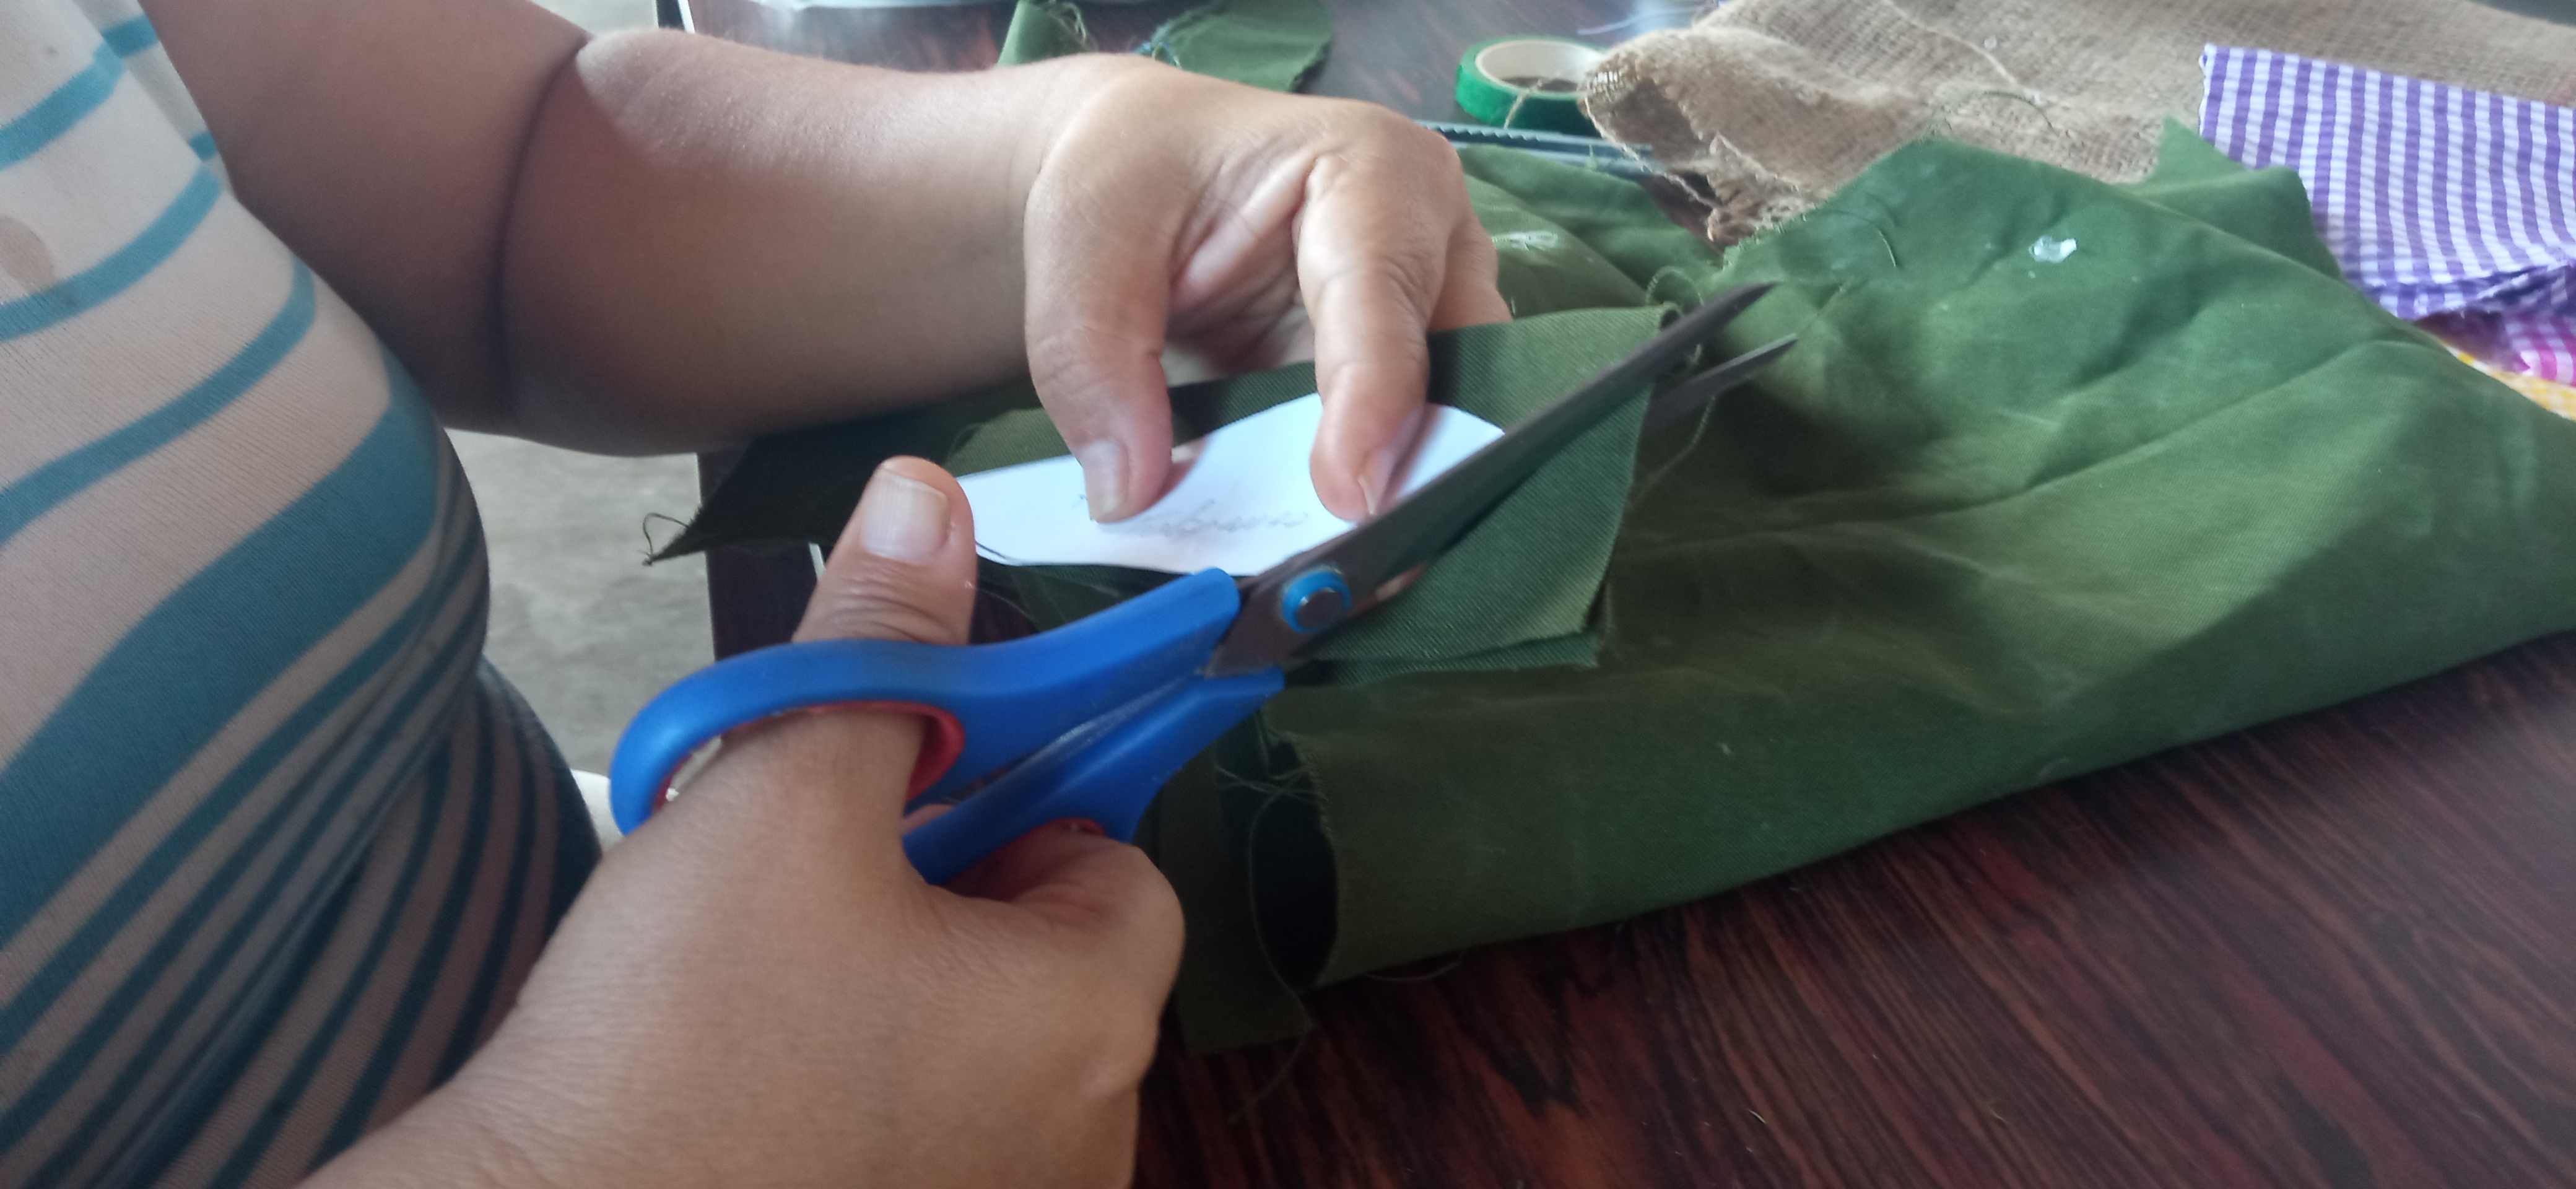
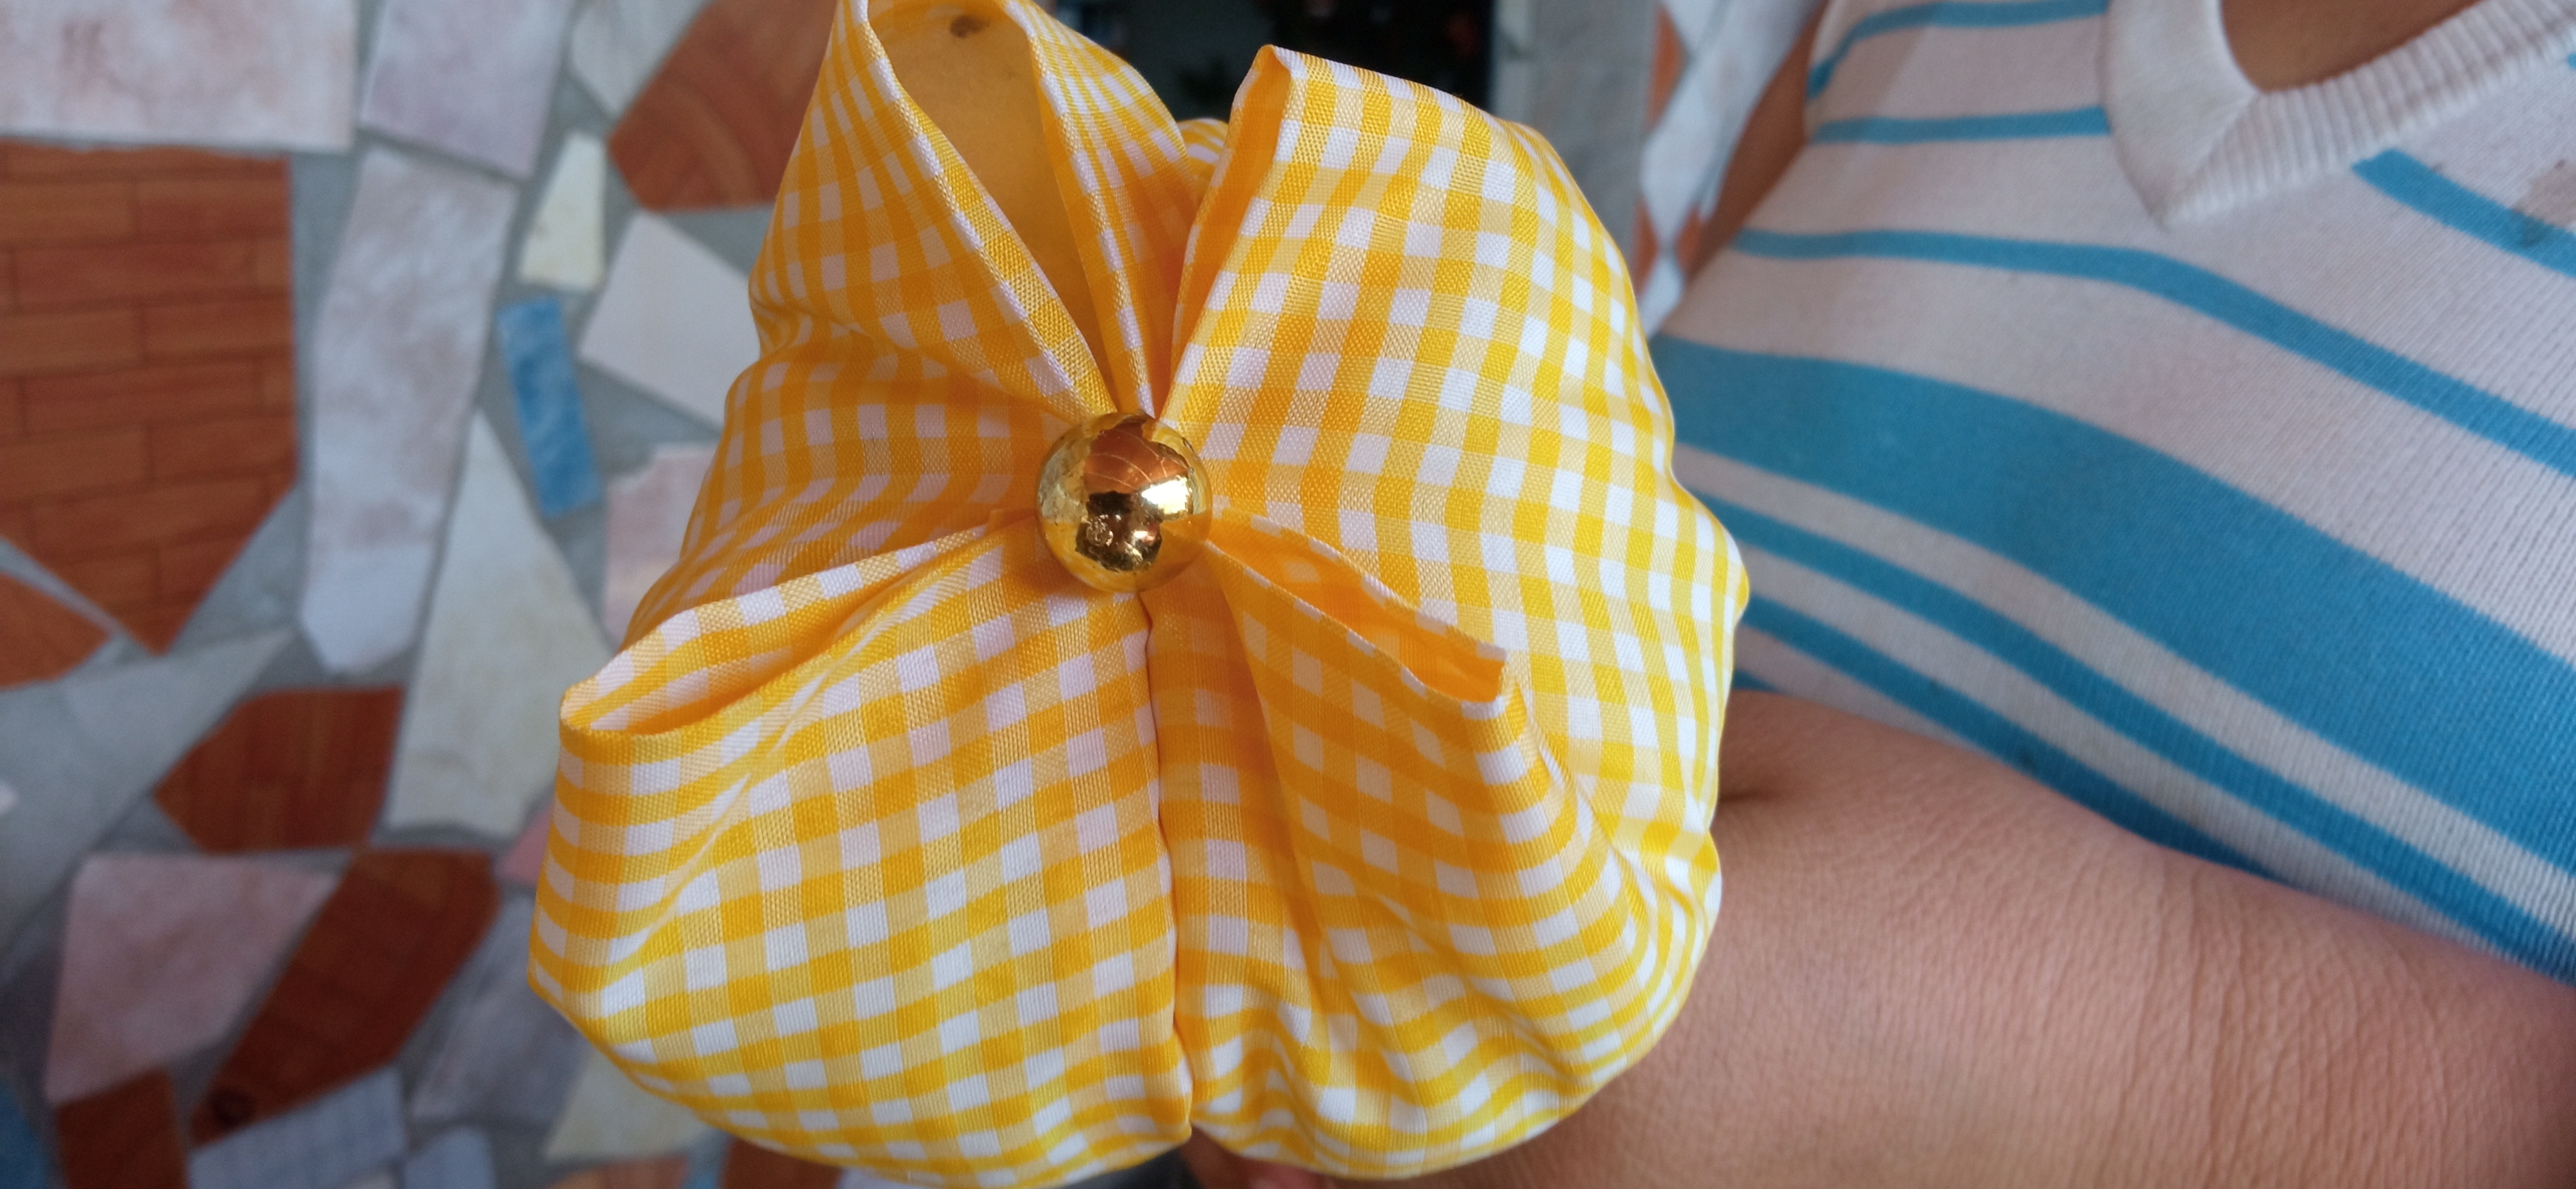
**Paso 5:**
Con la tela verde corté las hojas y los cepalos y los pegué con silicón caliente y decoré los centros de cada tulipán con una perla dorada.
**Step 5:**
With the green fabric I cut the leaves and vines and glued them with hot silicone and decorated the centers of each tulip with a golden pearl.
Foto tomada por mi nieto
Foto tomada por mi nieto
Foto tomada por mi nieto
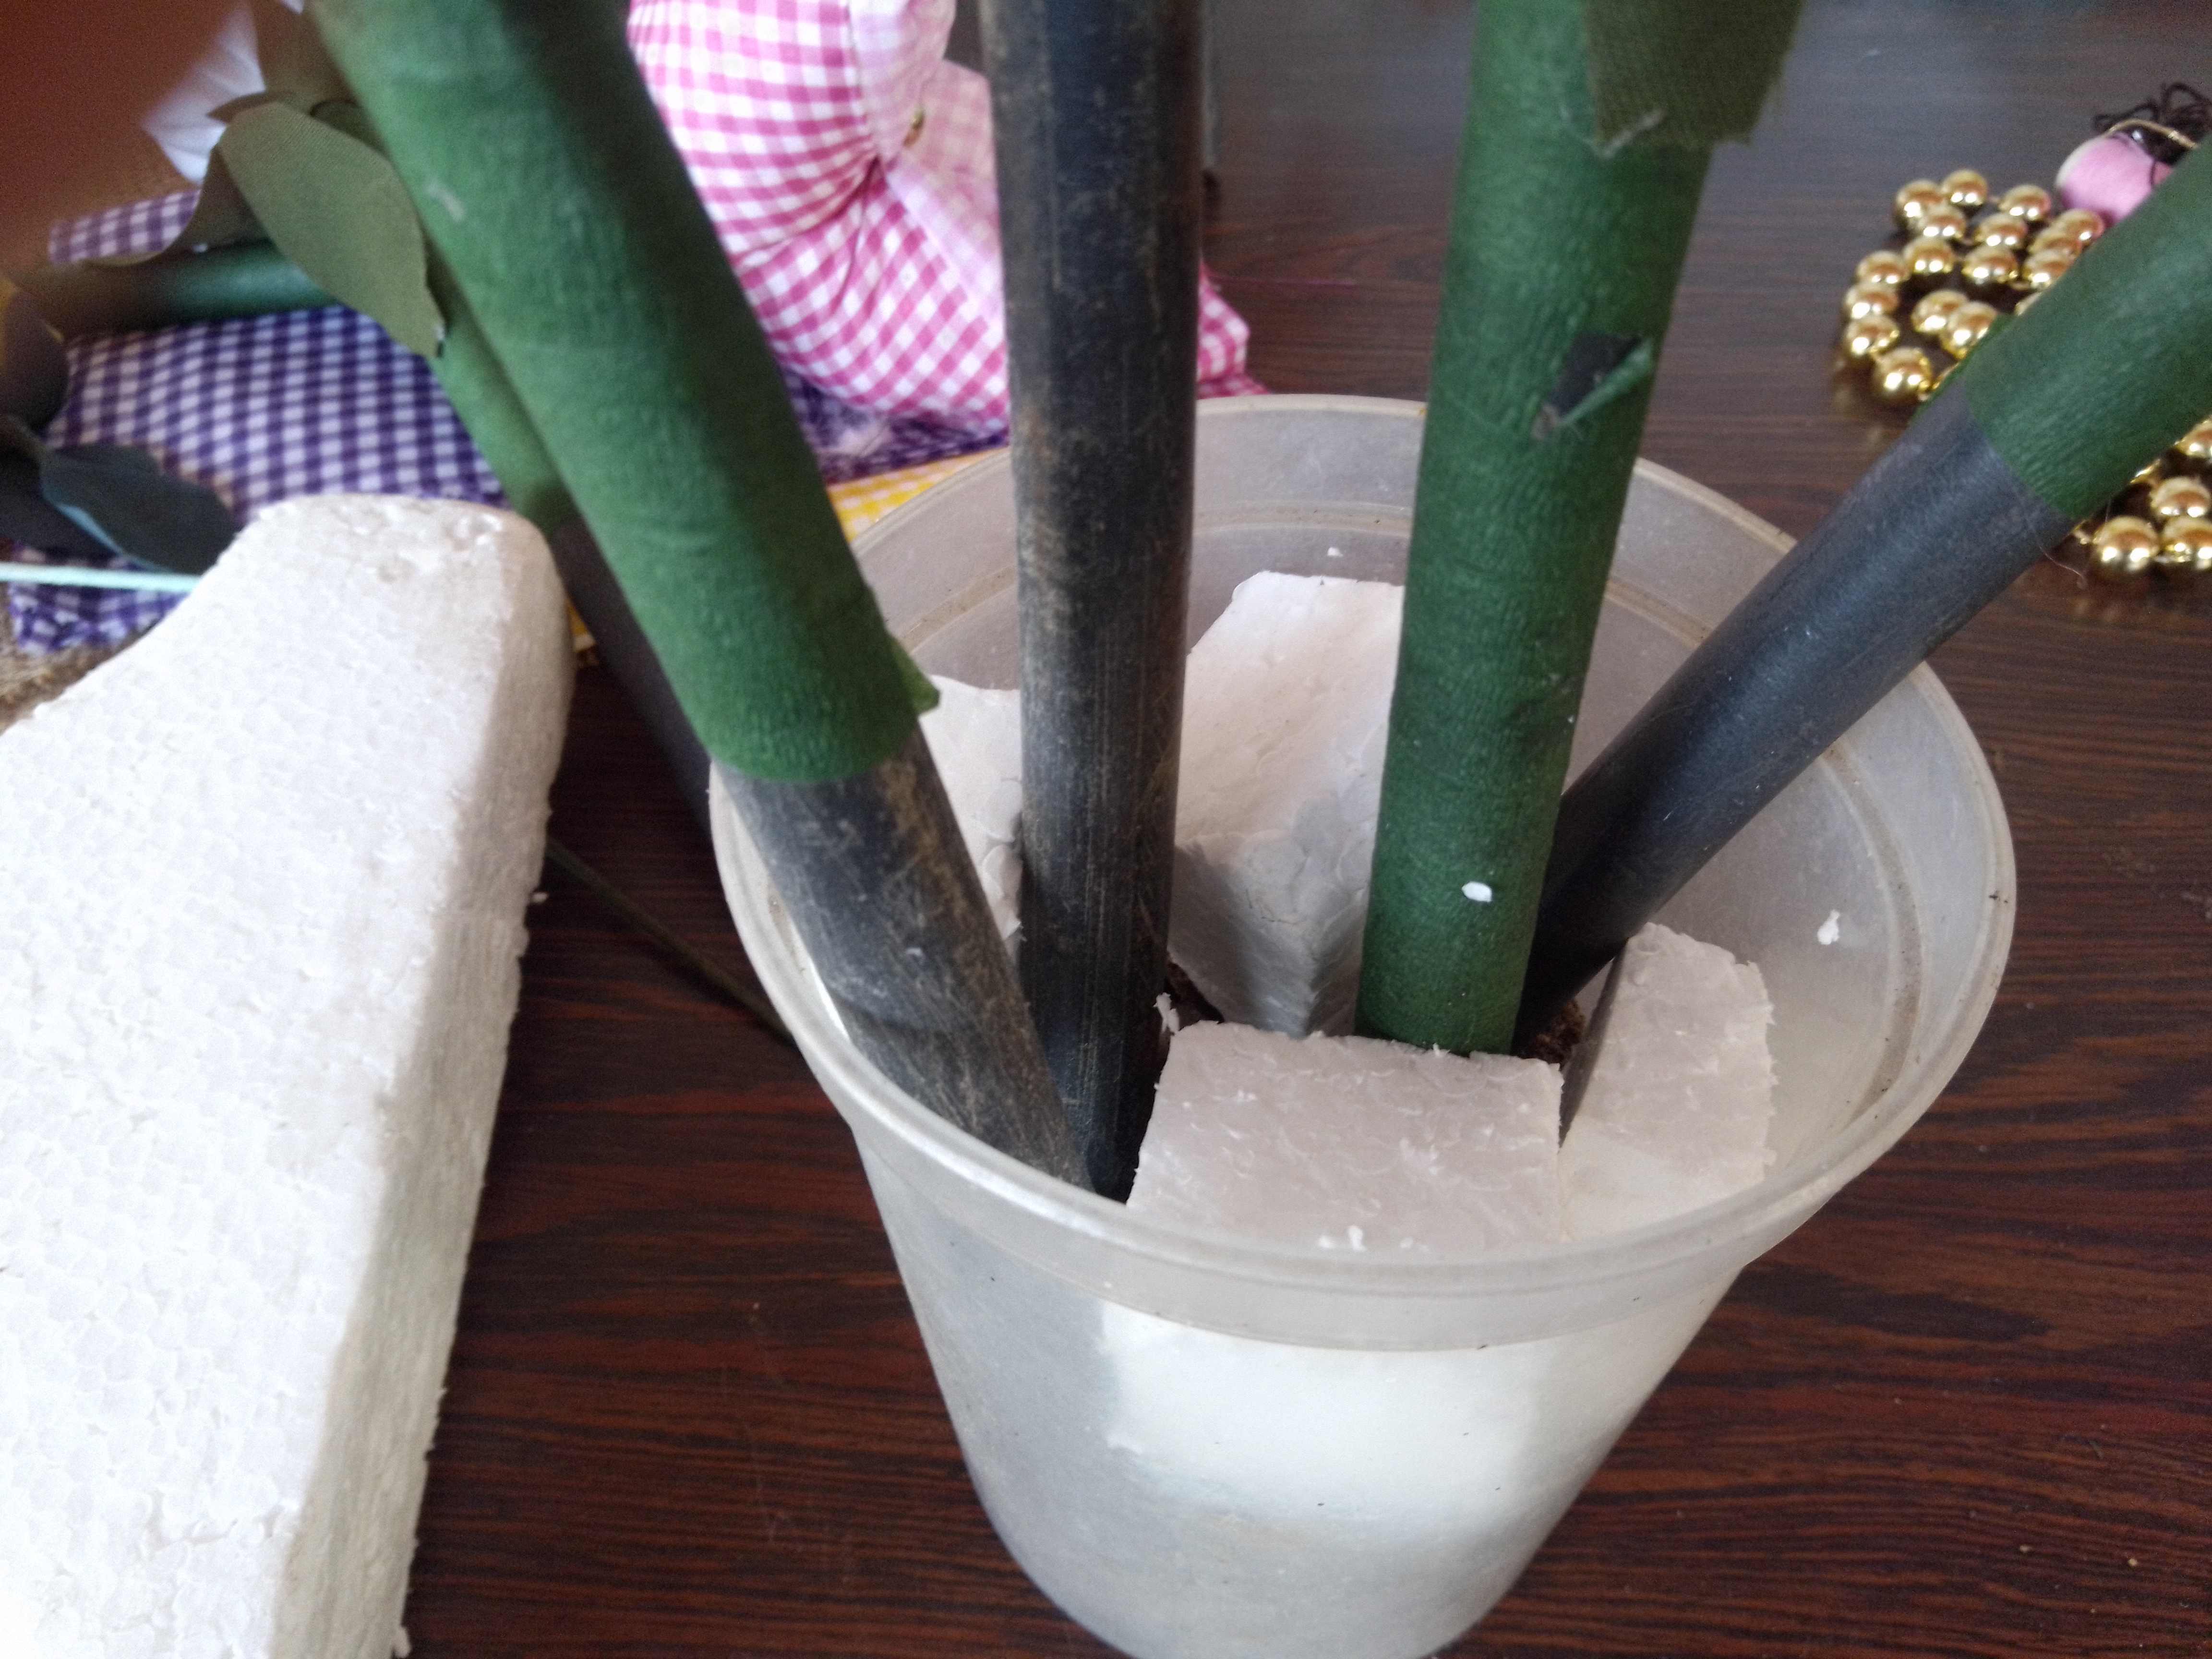
**Paso 6:**
Para el montaje del arreglo floral coloque las flores dentro de los envases plásticos previamente estaban rellenos con tierra y piedritas.Corté trocitos de anime y los coloque adentro para darle más fimeza a las flores y cubrí su superficie con musgo.
**Step 6:**
To assemble the floral arrangement I placed the flowers inside the plastic containers previously filled with soil and pebbles, I cut pieces of anime and placed them inside to give the flowers more firmness and covered their surface with moss.
Foto tomada por mi nieto
Foto tomada por mi nieto
Foto tomada por mi nieto
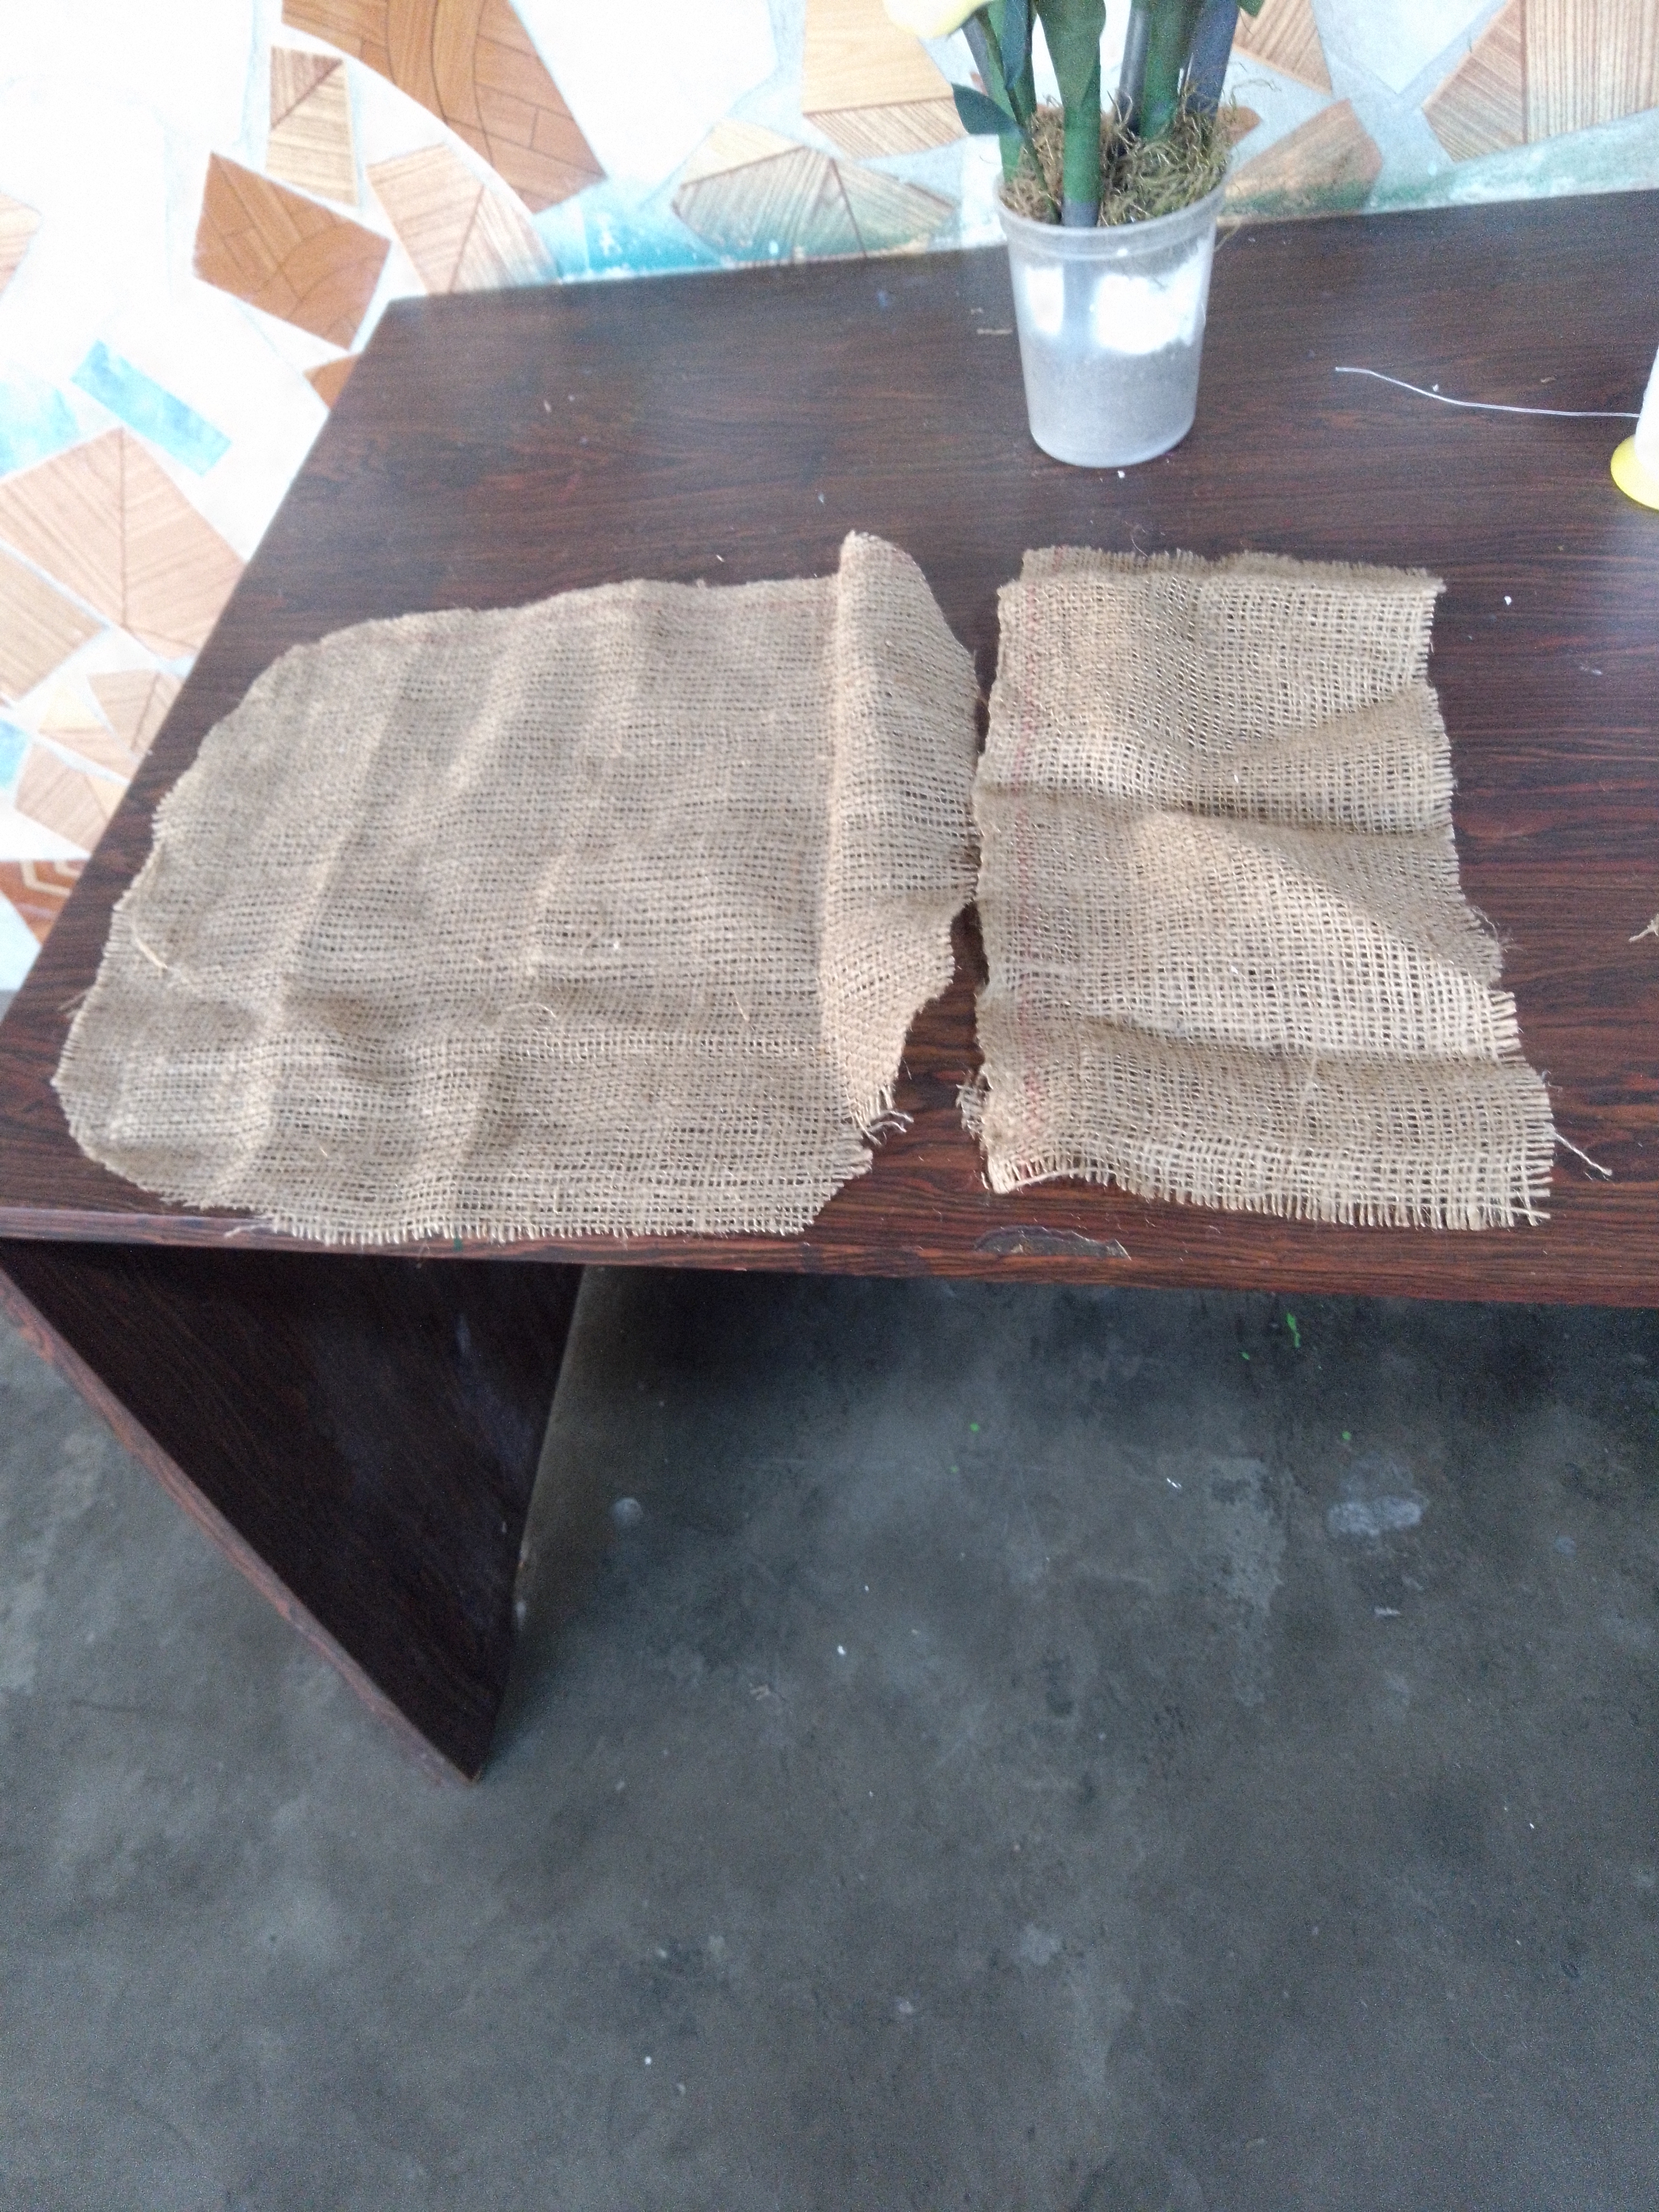
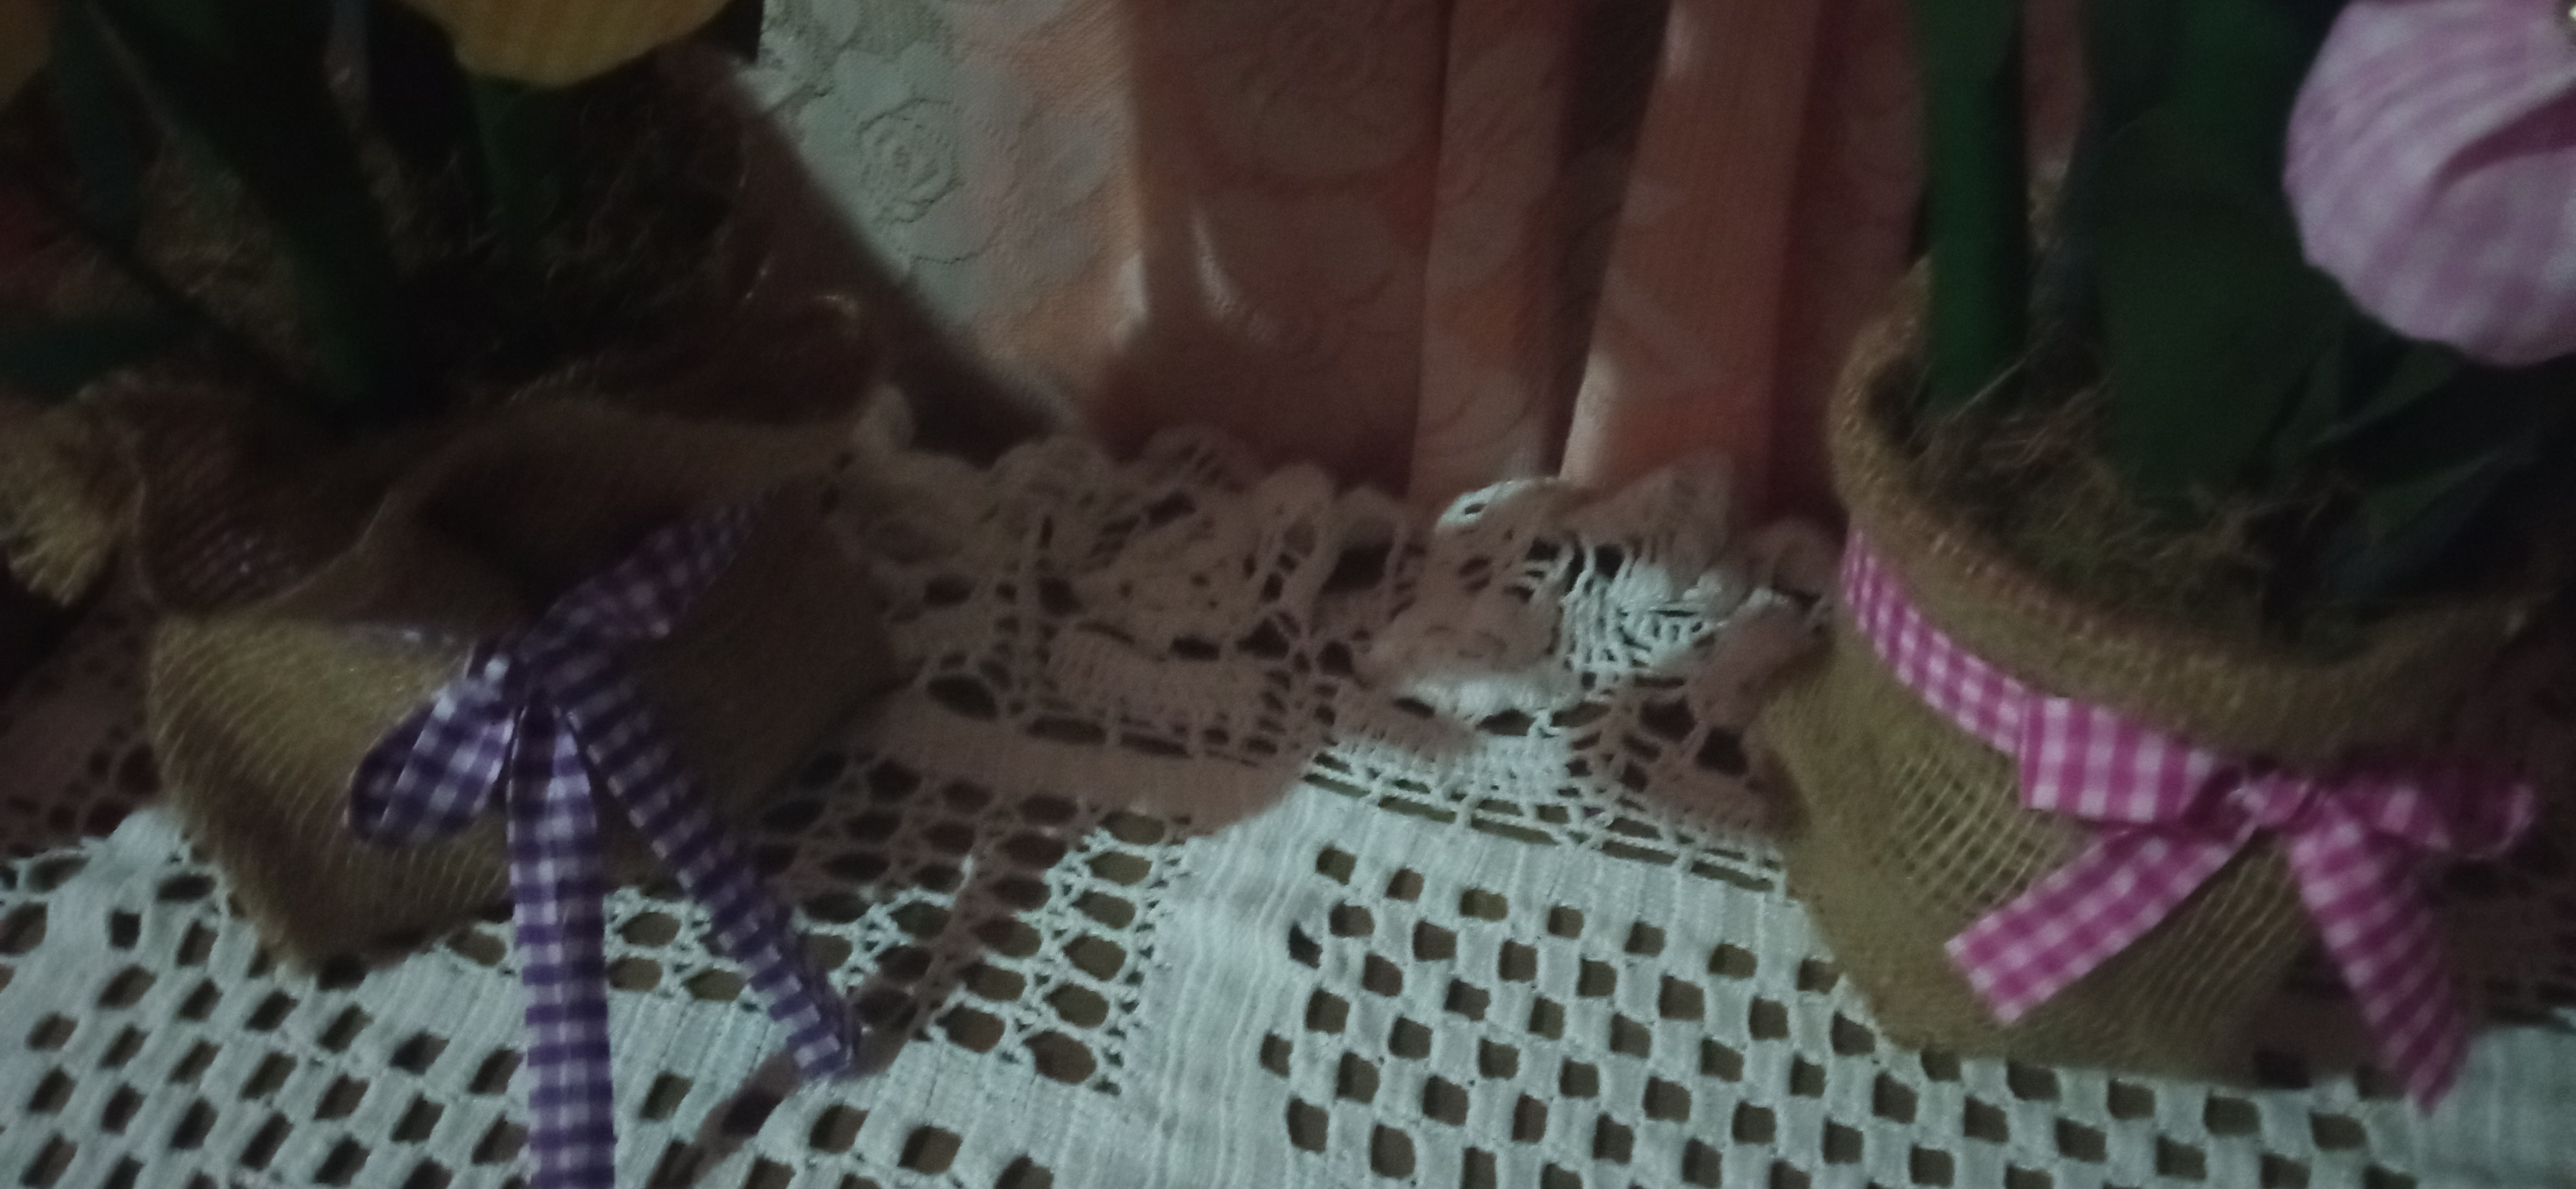
**Paso 7:**
Corté una pieza rectángular y cuadrada con la tela de yute los cuales los utilice para forrar los envases plásticos para ello, hice algunos prepuntes sobre la tela para darle forma de porrón.Corte 2 tiras de tela vichy de aproximadamente 4 centímetros a las cuales le planché sus bordes para formar una cintas las cuales coloque formando lazos en el contorno de la tela de yute.
**Step 7:**
I cut a rectangular and square piece with the jute fabric which I used to line the plastic containers for it, I made some pre-stitches on the fabric to give it the shape of a porrón. I cut 2 strips of vichy fabric of approximately 4 centimeters to which I ironed their edges to form a ribbon which I placed forming loops in the contour of the jute fabric.
Foto tomada por mi nieto
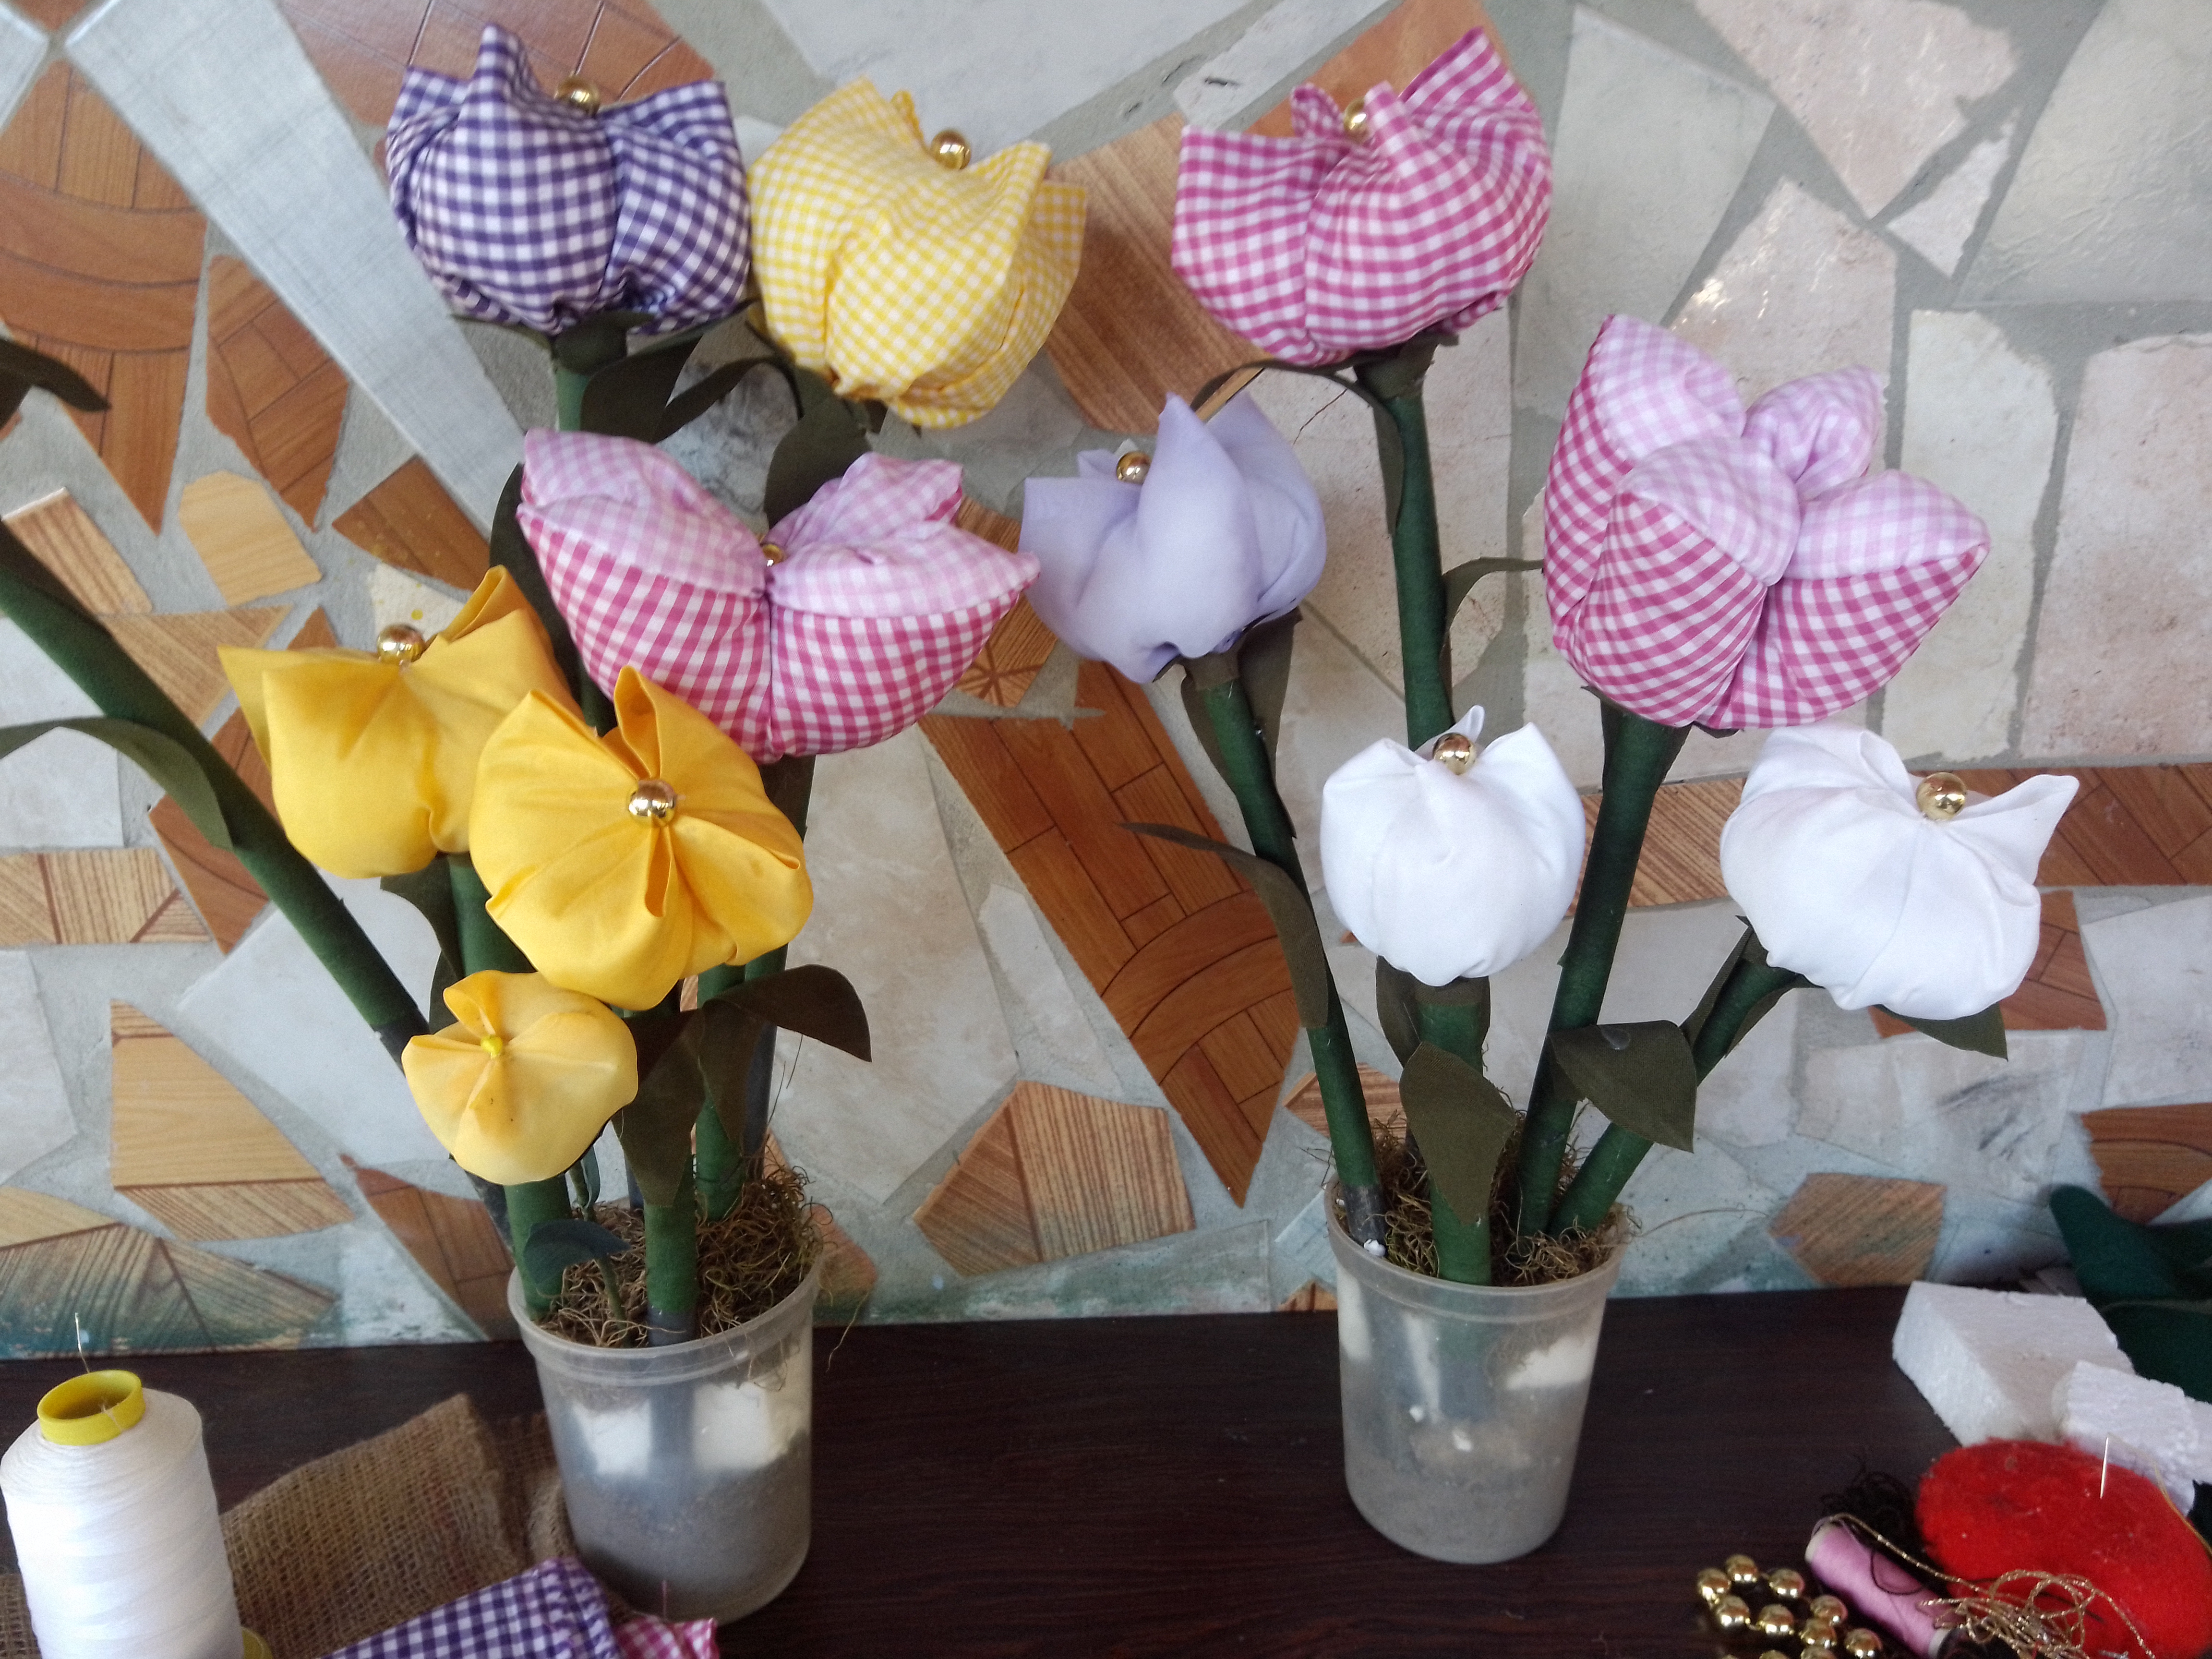
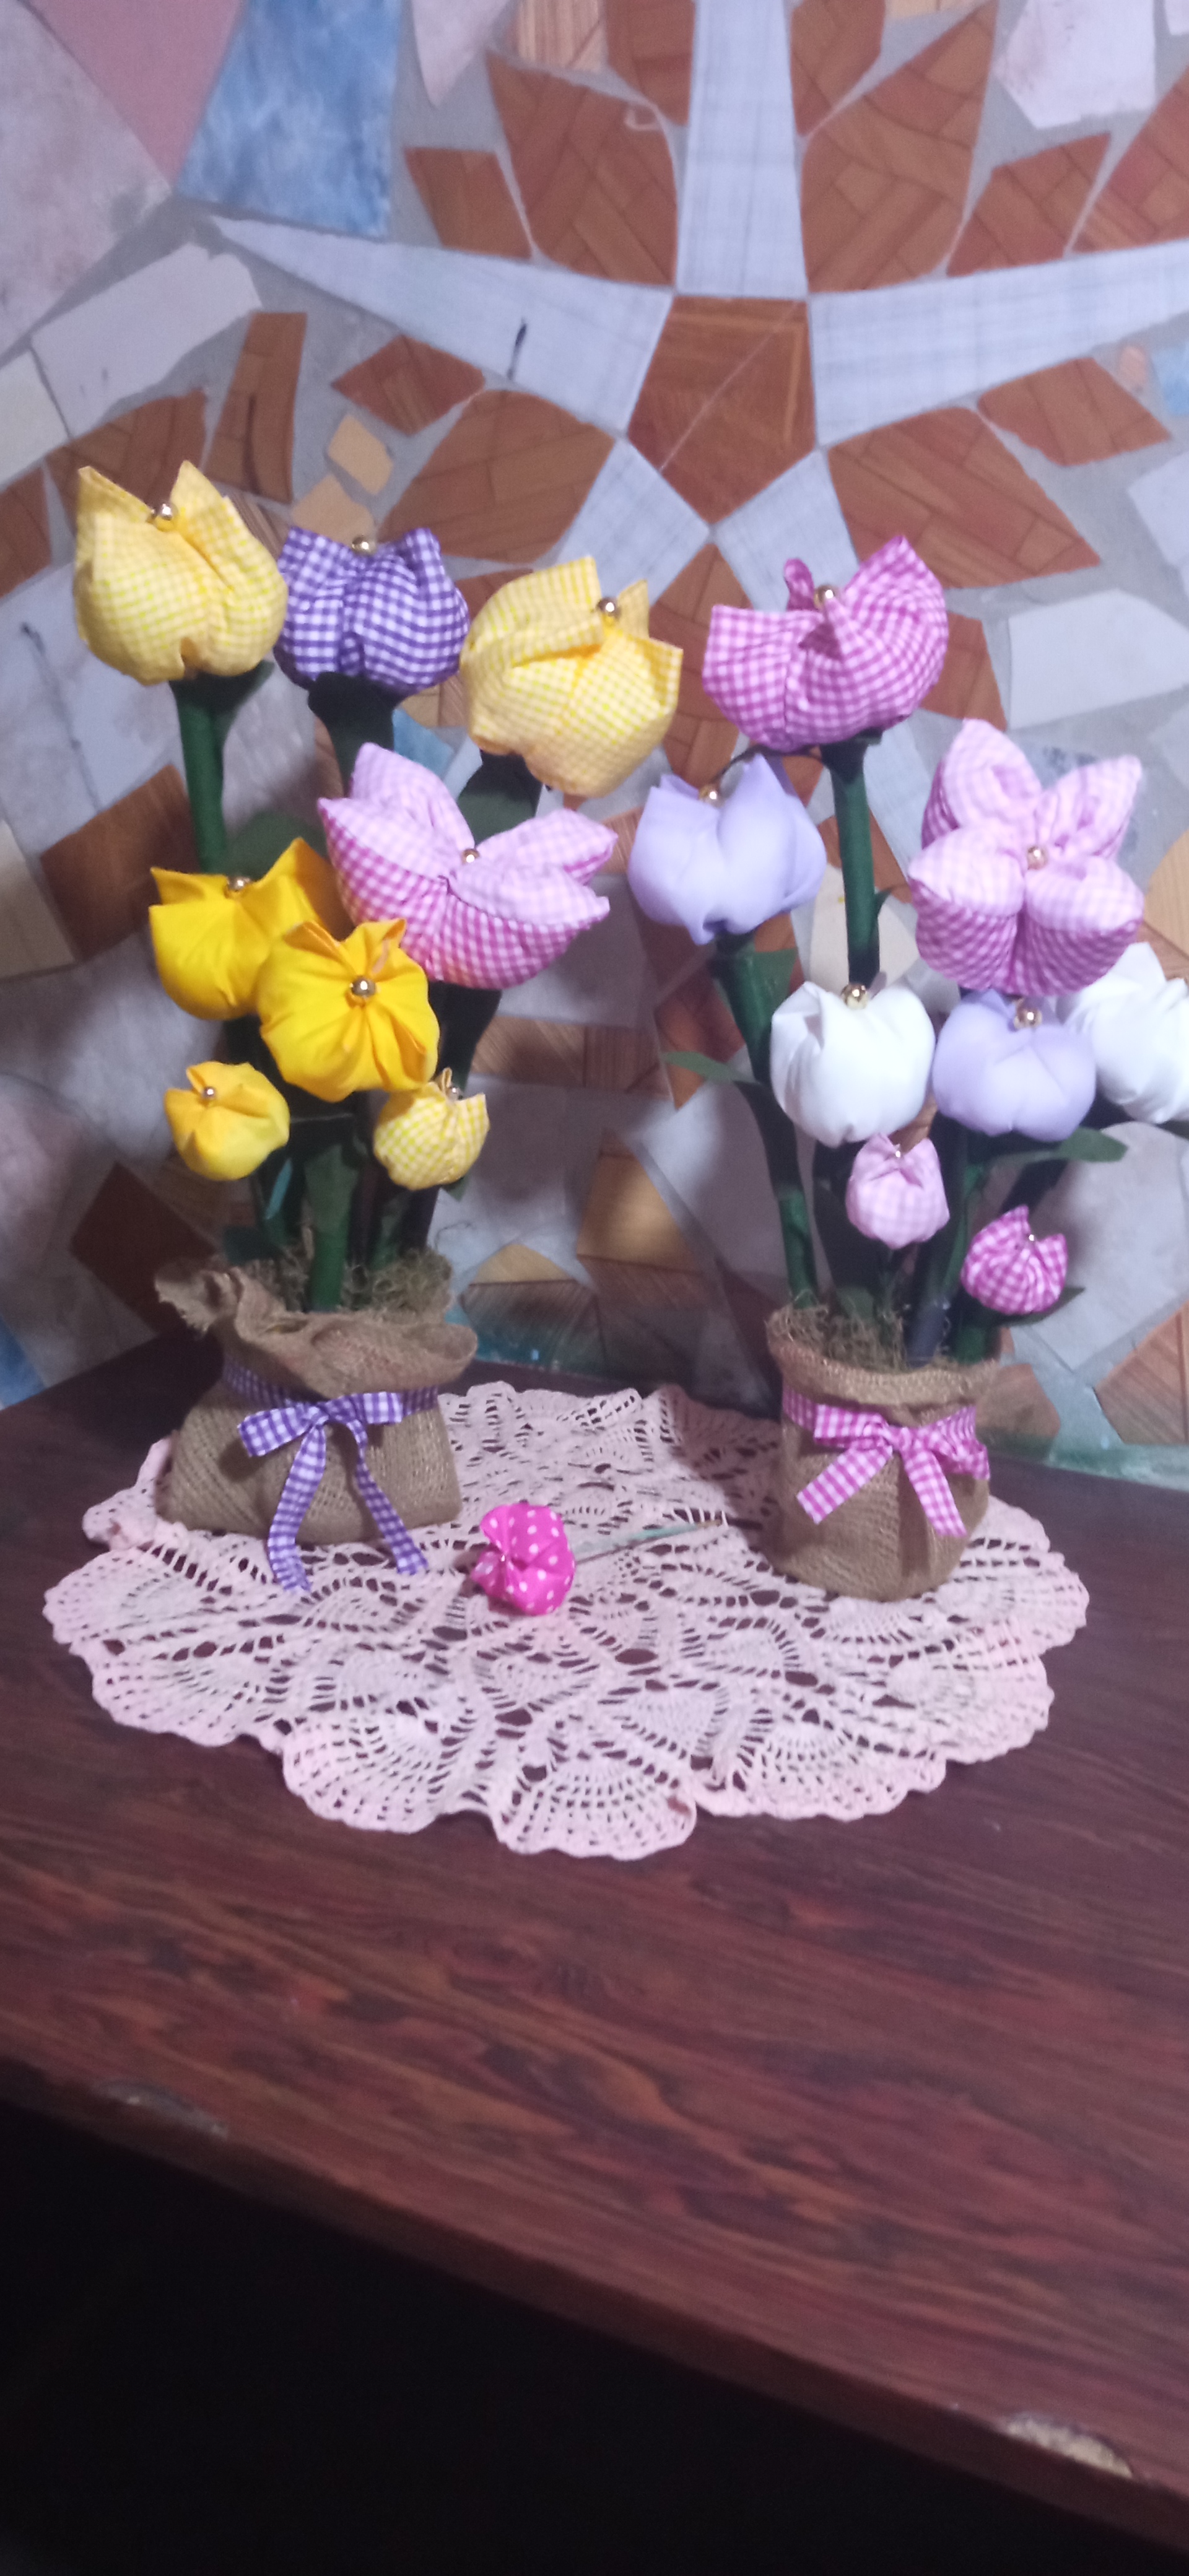
Y así quedarón mis dos arreglos de Tulipanes . Espero que lo disfruten!!! los invito a realizarlos son muy bellos y fáciles de hacer lo pueden hacer en uno o 2 días según la cantidad de flores o arreglos que deseen hacer.Hasta otra nueva publicación.Se les quiere mucho!!!.Para la traducción del texto utilice el Traductor Deepl.com.
And this is how my two tulip arrangements look like. I know that in the pictures there are 3 plastic containers but I decided to make 2. I hope you enjoy them!!! I invite you to make them, they are very beautiful and easy to make, you can do it in one or 2 days depending on the amount of flowers or arrangements you want to make.I love so much!!!.For text translation use Deepl.com Translator.