For a Spanish version of this article click here please 👈👈👈
What a wonderful season to enter in the magical world of Free Software/Open Source World (FLOSS) and cryptocoins!
Many people are attracted to the cryptocoin world for different reasons. Some want to tinker with something new like the blockchain or maybe you want to make some extra coins to complement your income. It doesn’t really matter why you are here, but maybe you are struggling to enter and you don’t know how to test the waters. That makes Devcoin a great entrance into this world without much hassle and it is a good entry coin for those with zero experience, as well as an interesting investment for those more knowledgeable on this topic.
For that reason, I think the FLOSS approach for me is ideal, because it can teach you the basics and with patience you can achieve a lot. In that sense, for this tutorial I will be using a Kubuntu 18.04 LTS OS as a starting point to compile our wallet, but any Ubuntu flavor would do without any problem. Heck!, I even think that any Debian-based Distribution can be used following these steps.
The scope of this tutorial is basically for people who haven’t compiled something before, however, I’m aware that this may appear cumbersome for the very beginner. I will try to make it the more simple I can and show you with pictures and clear steps what you can do. For those who are more advanced and seasoned in compiling software, you may find this a little bit boring, but I will try to highlight the main steps to make it faster to follow. For you, advanced user, at the end I had included an easy step-by-step guide.
⚠ **Warning:** It’s important that you try to compile it in a fresh installed environment or at least choose an OS that hasn’t being upgraded yet. The main reason for this is that if you upgrade from one distribution to another, you could be dragging dependency problems that can give you headaches later. If you happened to be in this situation, you could try to compile it inside a controlled environment like a virtualization program for example, but that would be a subject for another tutorial.

## Let’s begin! 💻
You basically will need three things once inside the computer OS: A terminal or command line, a bunch of tools that can be installed from the command line and the devcoin wallet source code and a some spare time!
1- First, open a terminal, in this case I’m using Konsole from the main program menu (Fig.01). You can choose any software you like that came with your distribution.
 *Fig.01 Open the terminal*
2- Once it has opened up (Fig.02), you need to install first these new packages (Fig.03): ```sudo apt-get install git libdb++-dev libdb-dev libboost-all-dev build-essential libtool pkg-config libssl-dev```
 *Fig.02 Here we are going to execute everything!*
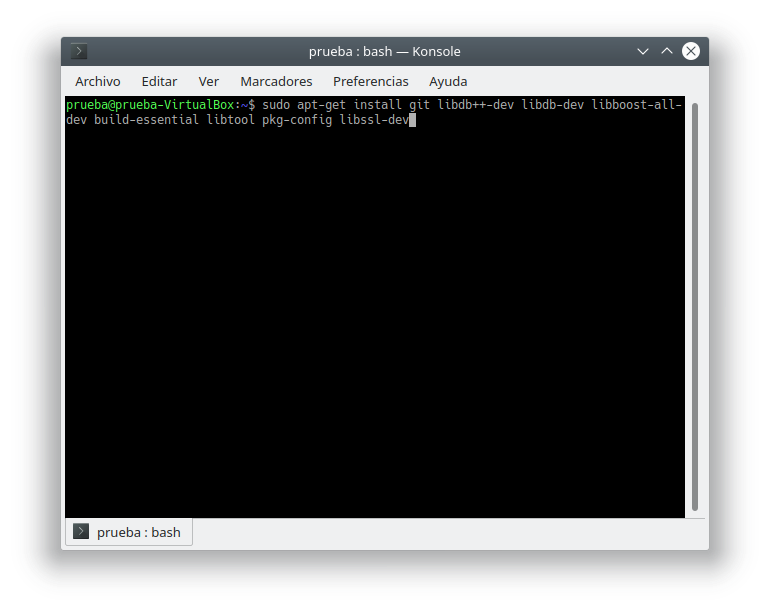 *Fig.03 The tools that we need*
Once the installation has finished, and everything looks fine and dandy, we can now download the source code! I strongly recommend you to try a stable branch. Nevertheless, this can be done with any cutting-edge source code inside the devcoin wallet repository. 3- There are two ways to download it. The simplest one is downloading it through git and the second one is downloading it as a zip file. In order to do it through git we use the same terminal window and write the following command: ```git clone https://github.com/devcoin/core.git``` If you want you can go to https://github.com/devcoin/core/archive/master.zip and unzipit anywhere you want. For the sake of this tutorial, we will continue as if we have used the git method (Fig.04).
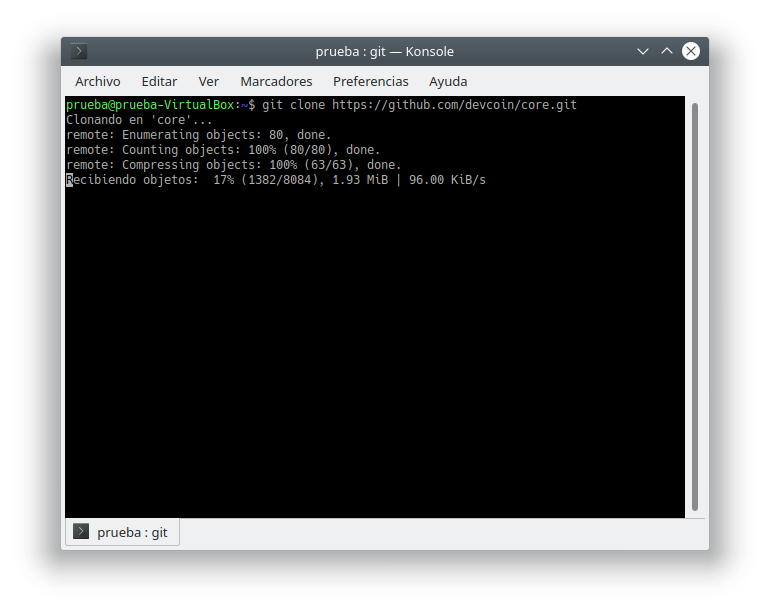 *Fig.04 Downloading the source code...*
4- Once the program has been downloaded, you can enter the directory writing in your terminal: ```cd core/``` In there you can see using the command ```ls``` a bunch of files and more directories. The blue ones are directories and the white ones plain files. 5- Now write the following command: ```cd src/``` This command will take you into the main source program directory, where the compiling of the core wallet, called devcoind, will be built (Fig.05).
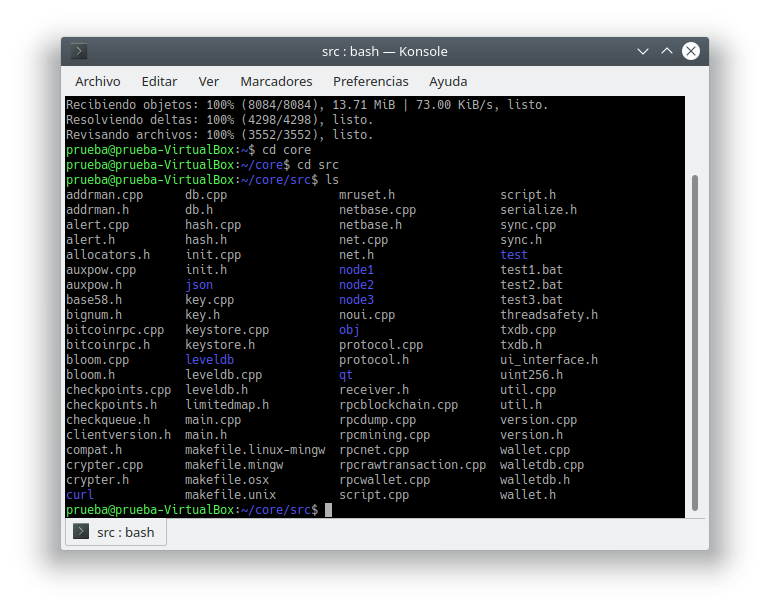 *Fig.05 First enter in core, then in src and finally execute the ls command to watch what’s inside*
6- As a way to assure you that the main branch is cleaned of a previous compilation, you should always execute the following command: ```make -f makefile.unix clean``` Usually when the source code has just been downloaded, it came with nothing and it will give you an error, but that’s fine (Fig.06). This step is necessary to assess that the source code hasn’t been compiled before, so if at this point you got an error, it’s because it’s clean! Yay! 👏 However, it’s useful to always execute this step as a way to assure yourself to correctly setup the code before compile anything. It’s a good practice in my opinion. 😉
 *Fig.06 That error does look like a bad thing, but it isn’t. So, don’t worry!*
7- Then we will begin the real deal. Inside the terminal enter the following command: ```make -f makefile.unix USE_UPNP=-``` Now, this will take some time depending on your computer or your configuration. Usually in a slow computer it will take around 30 minutes to compile, or two hours in a virtualization environment using a slow computer. Maybe you got a cutting-edge computer with a great performance and probably will take it much less time to compile the source code, but for this tutorial, expect at least 30 minutes. (Fig.07)
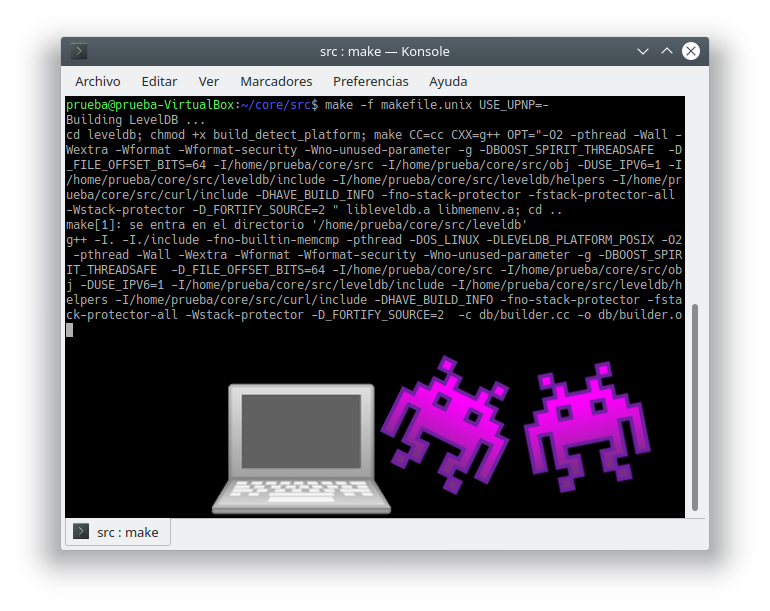 *Fig.07 We are compiling, humans...*
When it finishes, it’s done! You won’t see any message, it just returns to the command line without any problem! (Fig.08) If it ends with an error, it probably is because of a dependency problem or you need another package that isn’t installed correctly, 😵 but hopefully if you followed these steps, you won’t find any. Fingers crossed! 🤞🤞🤞
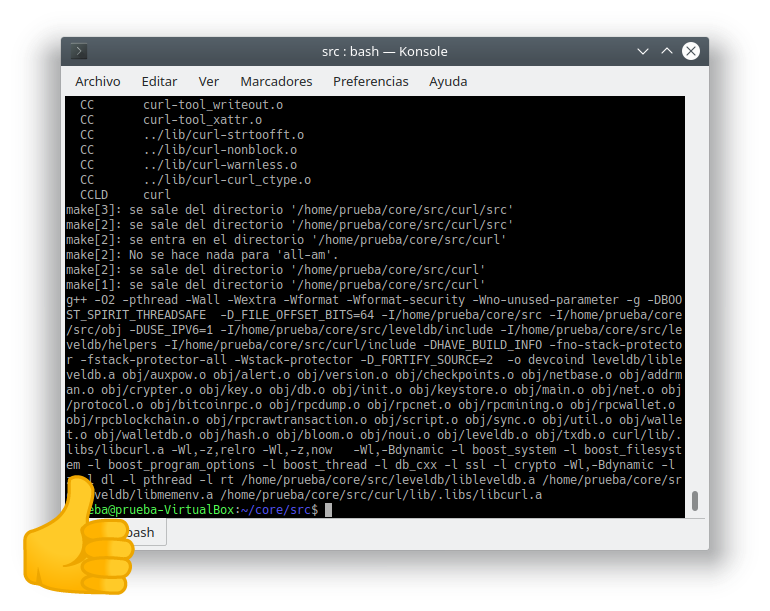 *Fig.08 The compilation process’s end: Note it finishes returning to the command line without any error on display*
8- To finish the devcoind compilation we will write the following command: ```strip devcoind``` That removes symbols from the object files, that in other words is to get rid of things not necessary for the compilation process, slimming down the binary file. Now, we have to compile the GUI! Without it, you are stuck with the command line and we don’t want that huh? 🤓 9- So, in order to compile the GUI, we need new dependencies installed. So, we write the following command: ```sudo apt-get install libqt4-dev qt4-qmake libqt5gui5 libqt5dbus5 qttools5-dev qttools5-dev-tools libprotobuf-dev libminiupnpc-dev libpng-dev libqrencode-dev``` 10- Once it finishes, we need to go back to the ```core/``` directory and exit the ```src/``` directory. To accomplish that, we need to write the following command: ```cd ..``` * Note that the space between cd and the two dots is required! 11- Now we need to prepare the compiler and tell it what settings do we need (Fig.09). For that, we write the following command: ```qmake USE_UPNP=1 USE_DBUS=1 USE_QRCODE=1``` It will show you a bunch of letters, symbols and numbers, just like before: It will swiftly give you back control of the command line. And of course, that’s perfectly fine!
 *Fig.09 Preparing the GUI: This command also ends silently, without errors, maybe some warnings, though.*
Now to compile the GUI! 12- Enter the following command in the terminal ```make``` And that’s it! (Fig.10) It will be much faster than compiling devcoind, but once it has ended you can use the command ```ls``` to see a list of files and names as before, but now you will see a green file called devcoin-qt (Fig.11) That’s how the system shows an executable file.
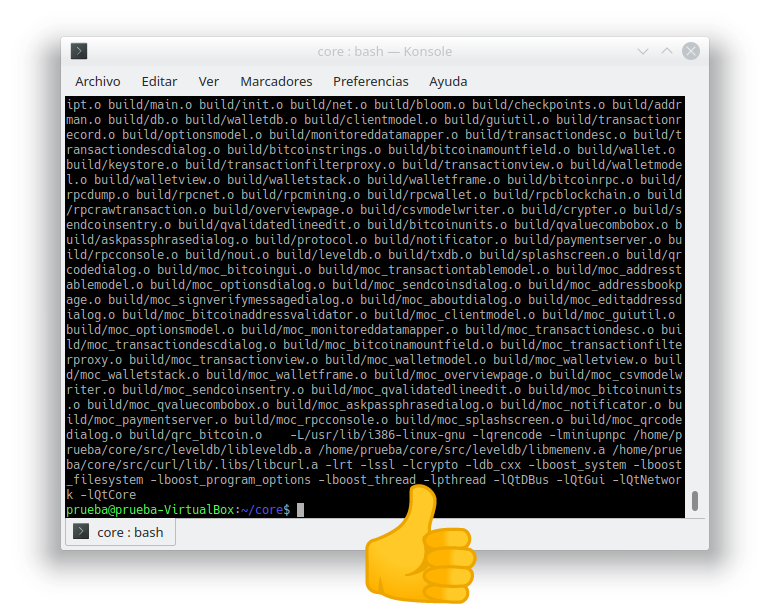 *Fig.10 Successfully compiled! Look how it returned without error to the command line, once it has finished to compile.*
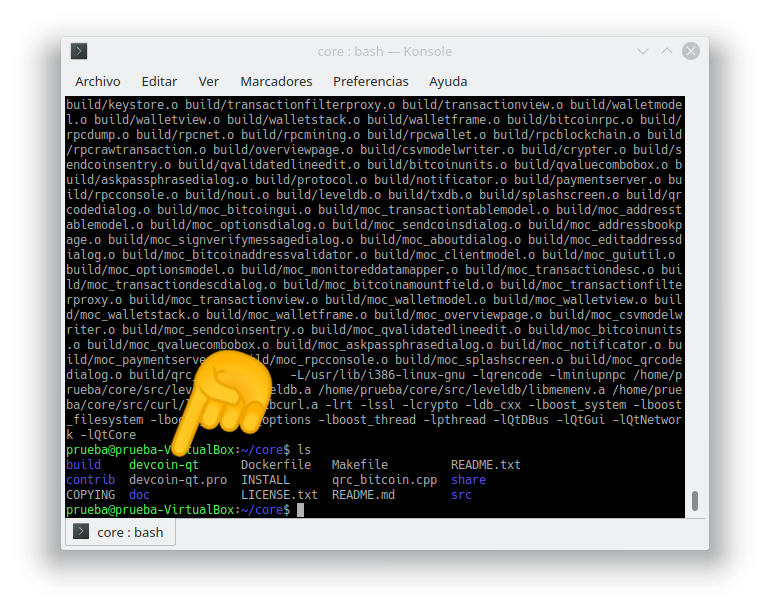 *Fig.11 This green guy here is a binary file, and it will run in your system when you execute it.*
In order to execute it, you have to write the following command in your terminal: ```./devcoin-qt``` The dot and the slash before an executable file name tell to the system that you want to run that file. And now you can see the handsome wallet working! (Fig.12) 😎 To download the blockchain completely, it will depend on your Internet speed. The blockchain size is around 2GB in size, so, it could take from 30 minutes to five hours (Fig.13). The good news is, you don’t have to wait for the whole blockchain at once, you can close the wallet and continue later and it will pickup where it left, so don’t worry about the time, but take note in case you don’t have much space left in your hard drive (Fig.14).
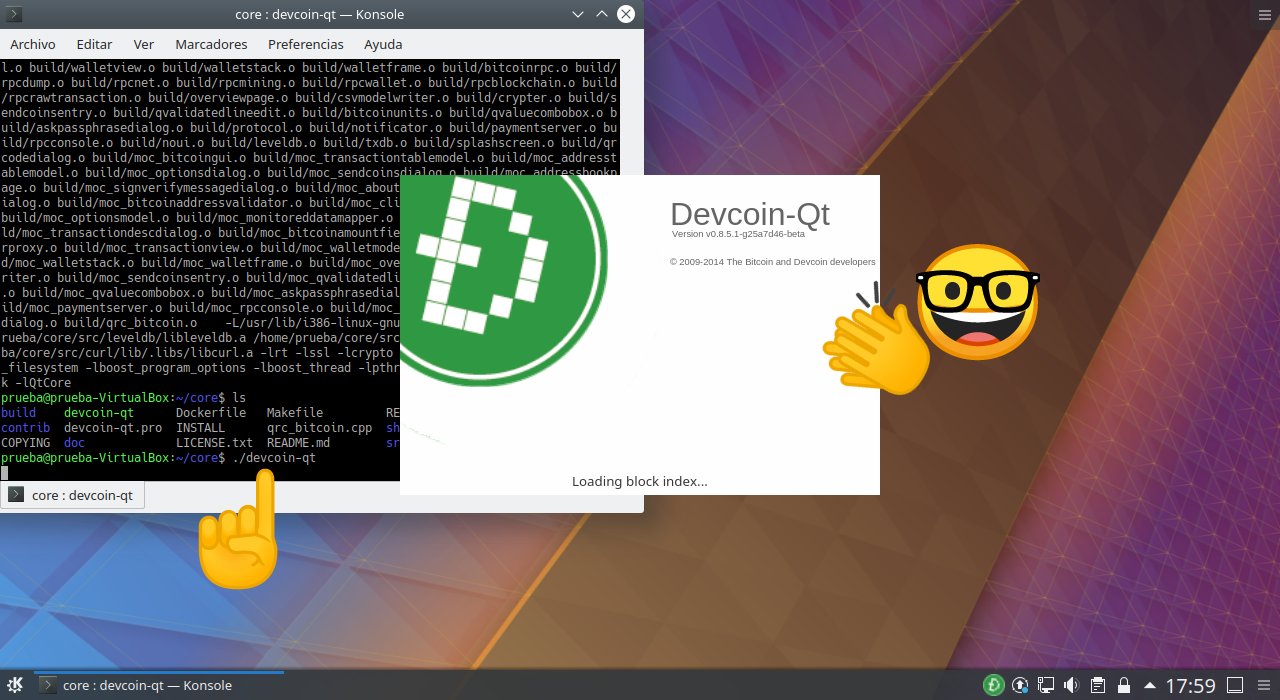 *Fig.12 Execute the ./devcoin-qt command and look how it runs!*
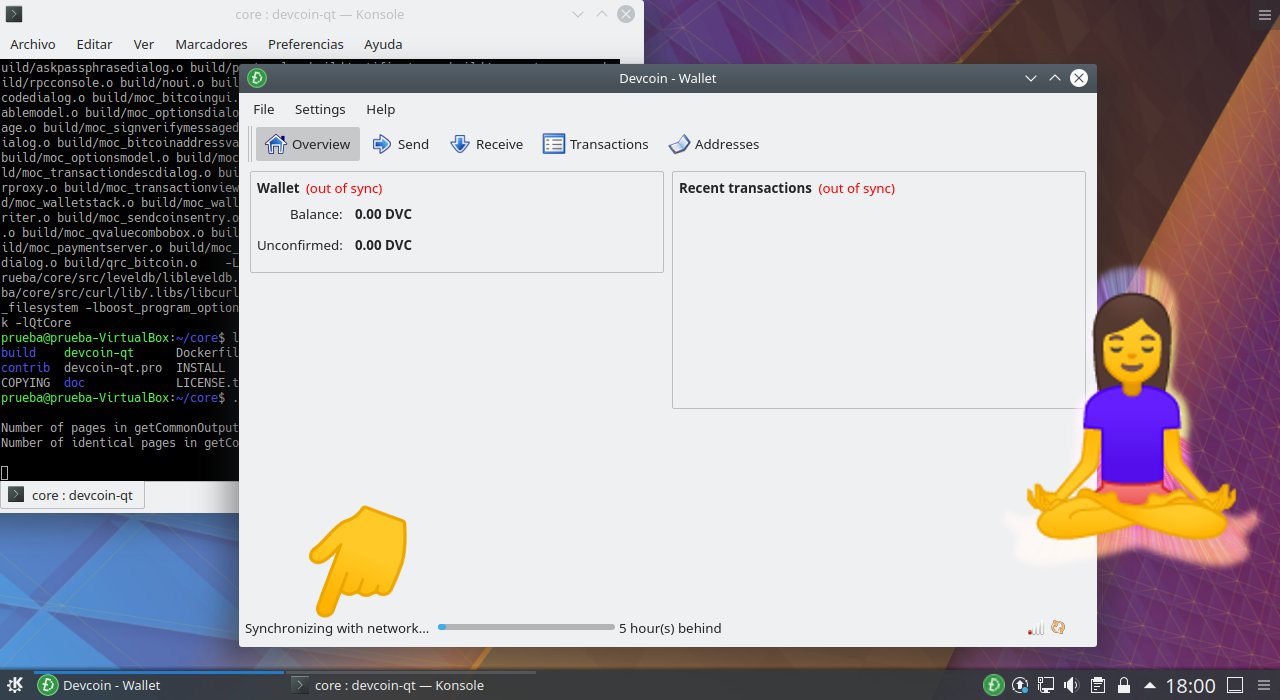 *Fig.13 Keep in mind that synching the wallet will take time, so patience is your friend.*
 *Fig.14 The synchronized wallet is ready. Enjoy!*
 Well, I hope you have found this tutorial helpful and I will try to write more in the future. Just tell me what you want and if you like it, what things can be improved or anything you want! Keep steeming! 👋👋👋👋 --- | Table guide: Steps for compiling| |------------------------| |1. Open a terminal | |2. Installing dependencies: ```sudo apt-get install git libdb++-dev libdb-dev libboost-all-dev build-essential libtool pkg-config libssl-dev```| |3. Download the code: ```git clone https://github.com/devcoin/core.git```| |4. Enter the source code directory with ```cd core/src```| |5. Clean before begin: ```make -f makefile.unix clean```| |6. Begin compile devcoind: ```make -f makefile.unix USE_UPNP=-```| |7. Remove unused symbols: ```strip devcoind```| |8. Install GUI dependencies ```sudo apt-get install libqt4-dev qt4-qmake libqt5gui5 libqt5dbus5 qttools5-dev qttools5-dev-tools libprotobuf-dev libminiupnpc-dev libpng-dev libqrencode-dev```| |9. Get out of the source code directory using ```cd ..```| |10. Prepare the compiler for the GUI ```qmake USE_UPNP=1 USE_DBUS=1 USE_QRCODE=1```| |11. Execute ```make```| |12. Enjoy!| _This article is licensed by @cpol under [CC-BY-SA 3.0](https://creativecommons.org/licenses/by-sa/3.0/) license. September 24th 2018_ ✍ ### References: Ctya. (2018, September 5). Failed compilation from source #2 · Issue #56 · devcoin/core [Github comments]. Retrieved September 22, 2018, from (https://github.com/devcoin/core/issues/56#issuecomment-418958715) GDJ. (2018, February 19). Free Image on Pixabay - Abstract, Decorative, Divider [Stock images]. Retrieved September 22, 2018, from (https://pixabay.com/en/abstract-decorative-divider-fancy-3166168/)