Hello to my dear Hivers and the dear community of artists,#Jewelry as always very pleased and excited to be here again, showing you my work made with love and especially for you.
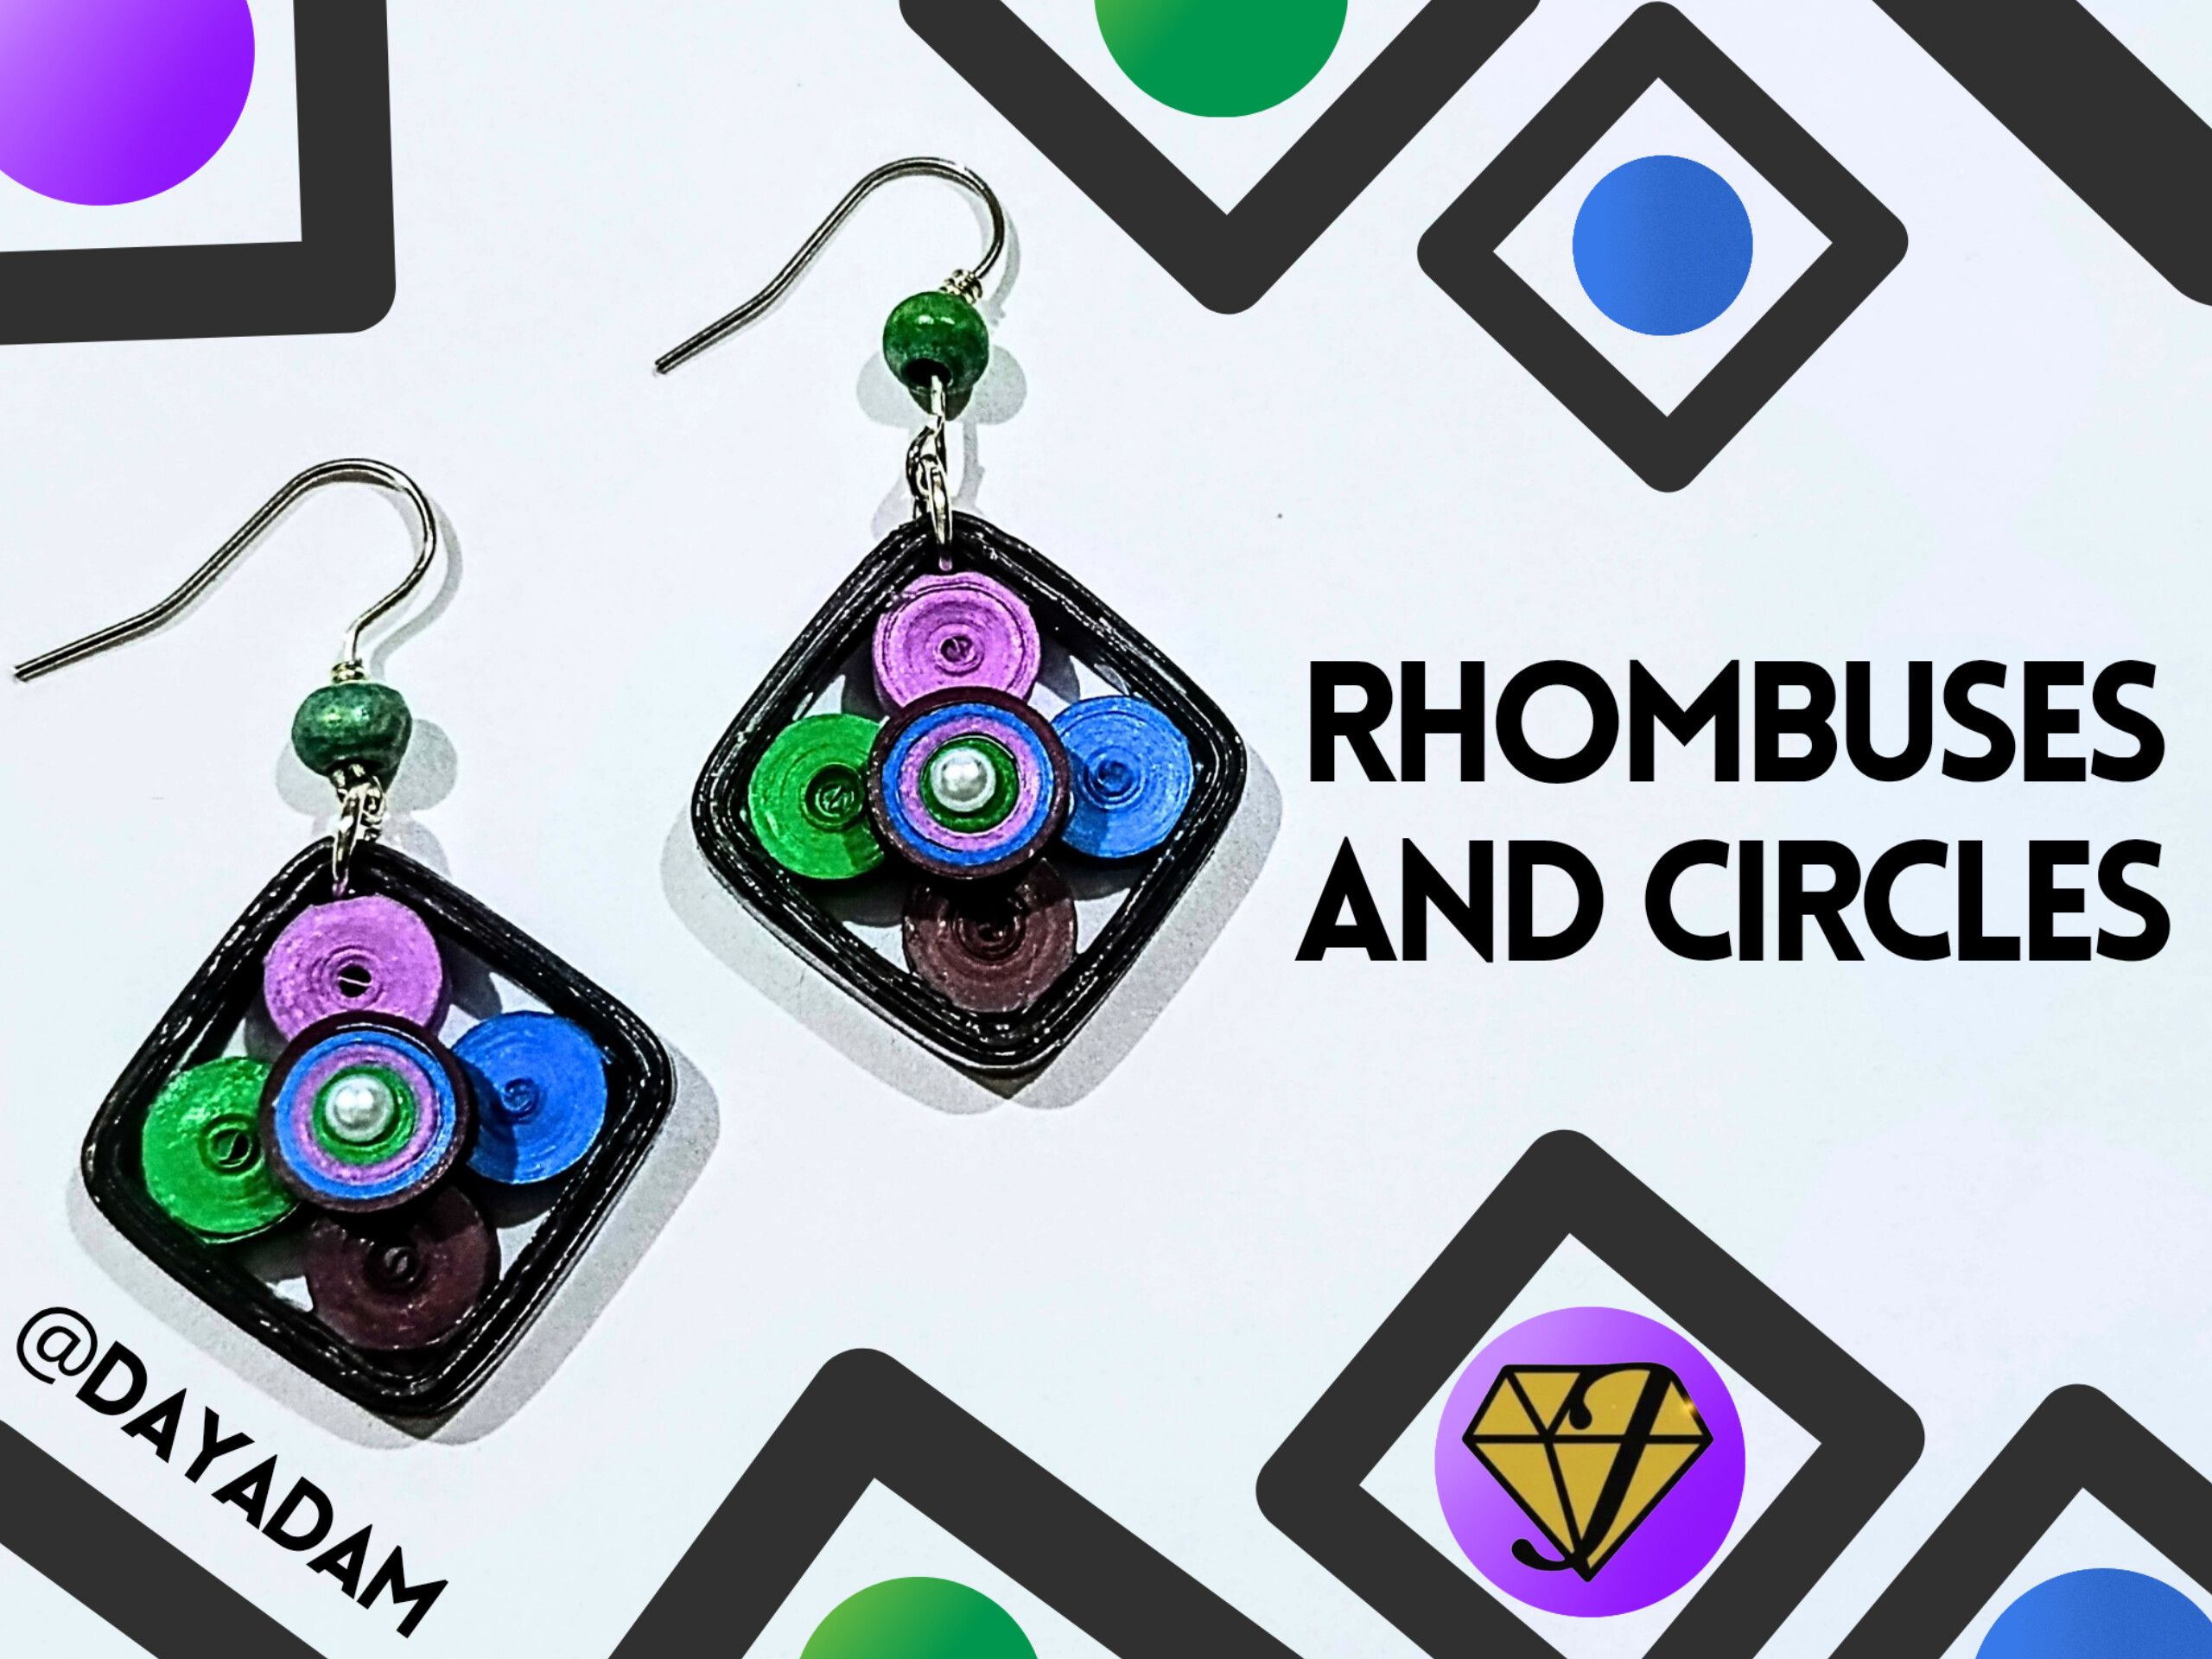
Today I bring you some hanging tendrils in the quilling technique, with some geometric figures that I chose while I was making them, in this same way I plan to make some others, combining shapes, figures and colors.
Hoping you like it, I leave you my creative process:
Let's get started:😃

Hola a Todos...✨
Hola a mis queridos Hivers y a la querida comunidad de artistas #Jewelry, como siempre muy complacida y emocionada de encontrarme por acá nuevamente, mostrándole mi trabajo hecho con mucho amor y especialmente para ustedes.
Para hoy les traigo unos zarcillos colgantes en la técnica de quilling, con algunas figuras geométricas que fui escogiendo mientras iba elaborando los mismos, de esta misma manera tengo pensado hacer algunos otros, combinando formas, figuras y colores.
Esperando que sea de su agrado, les dejo mi proceso creativo:
Comencemos:😃
 |
|


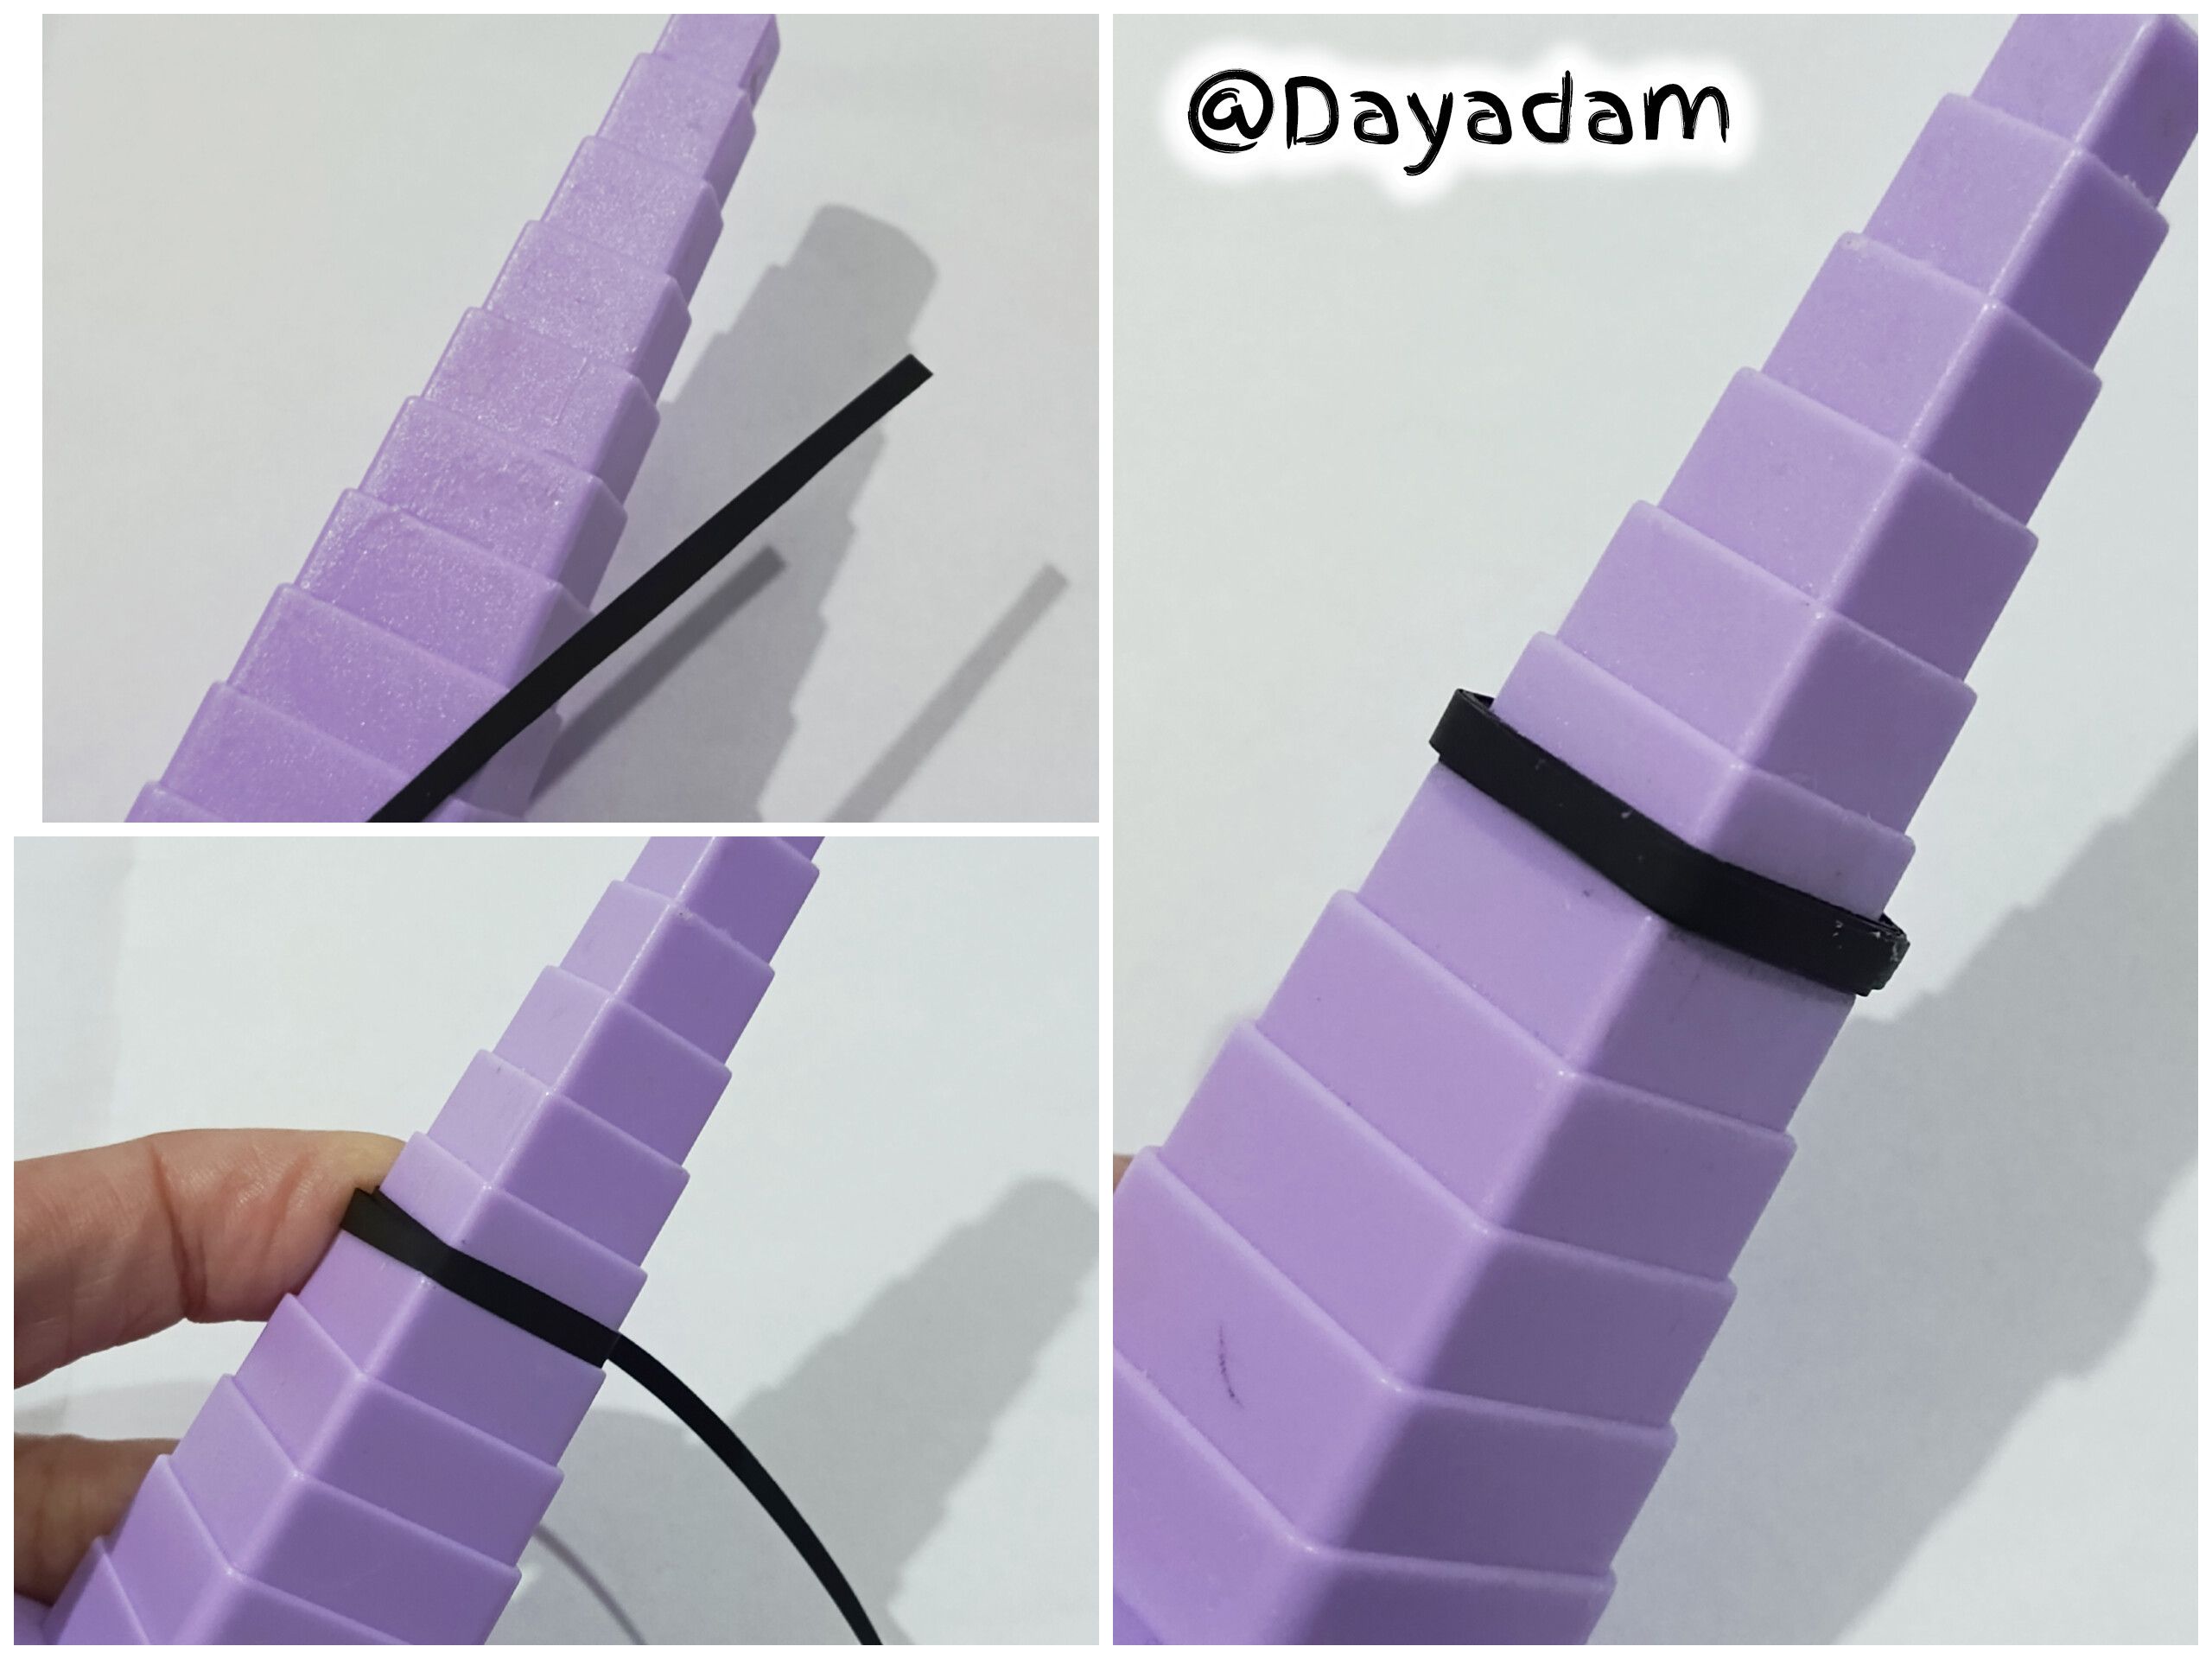
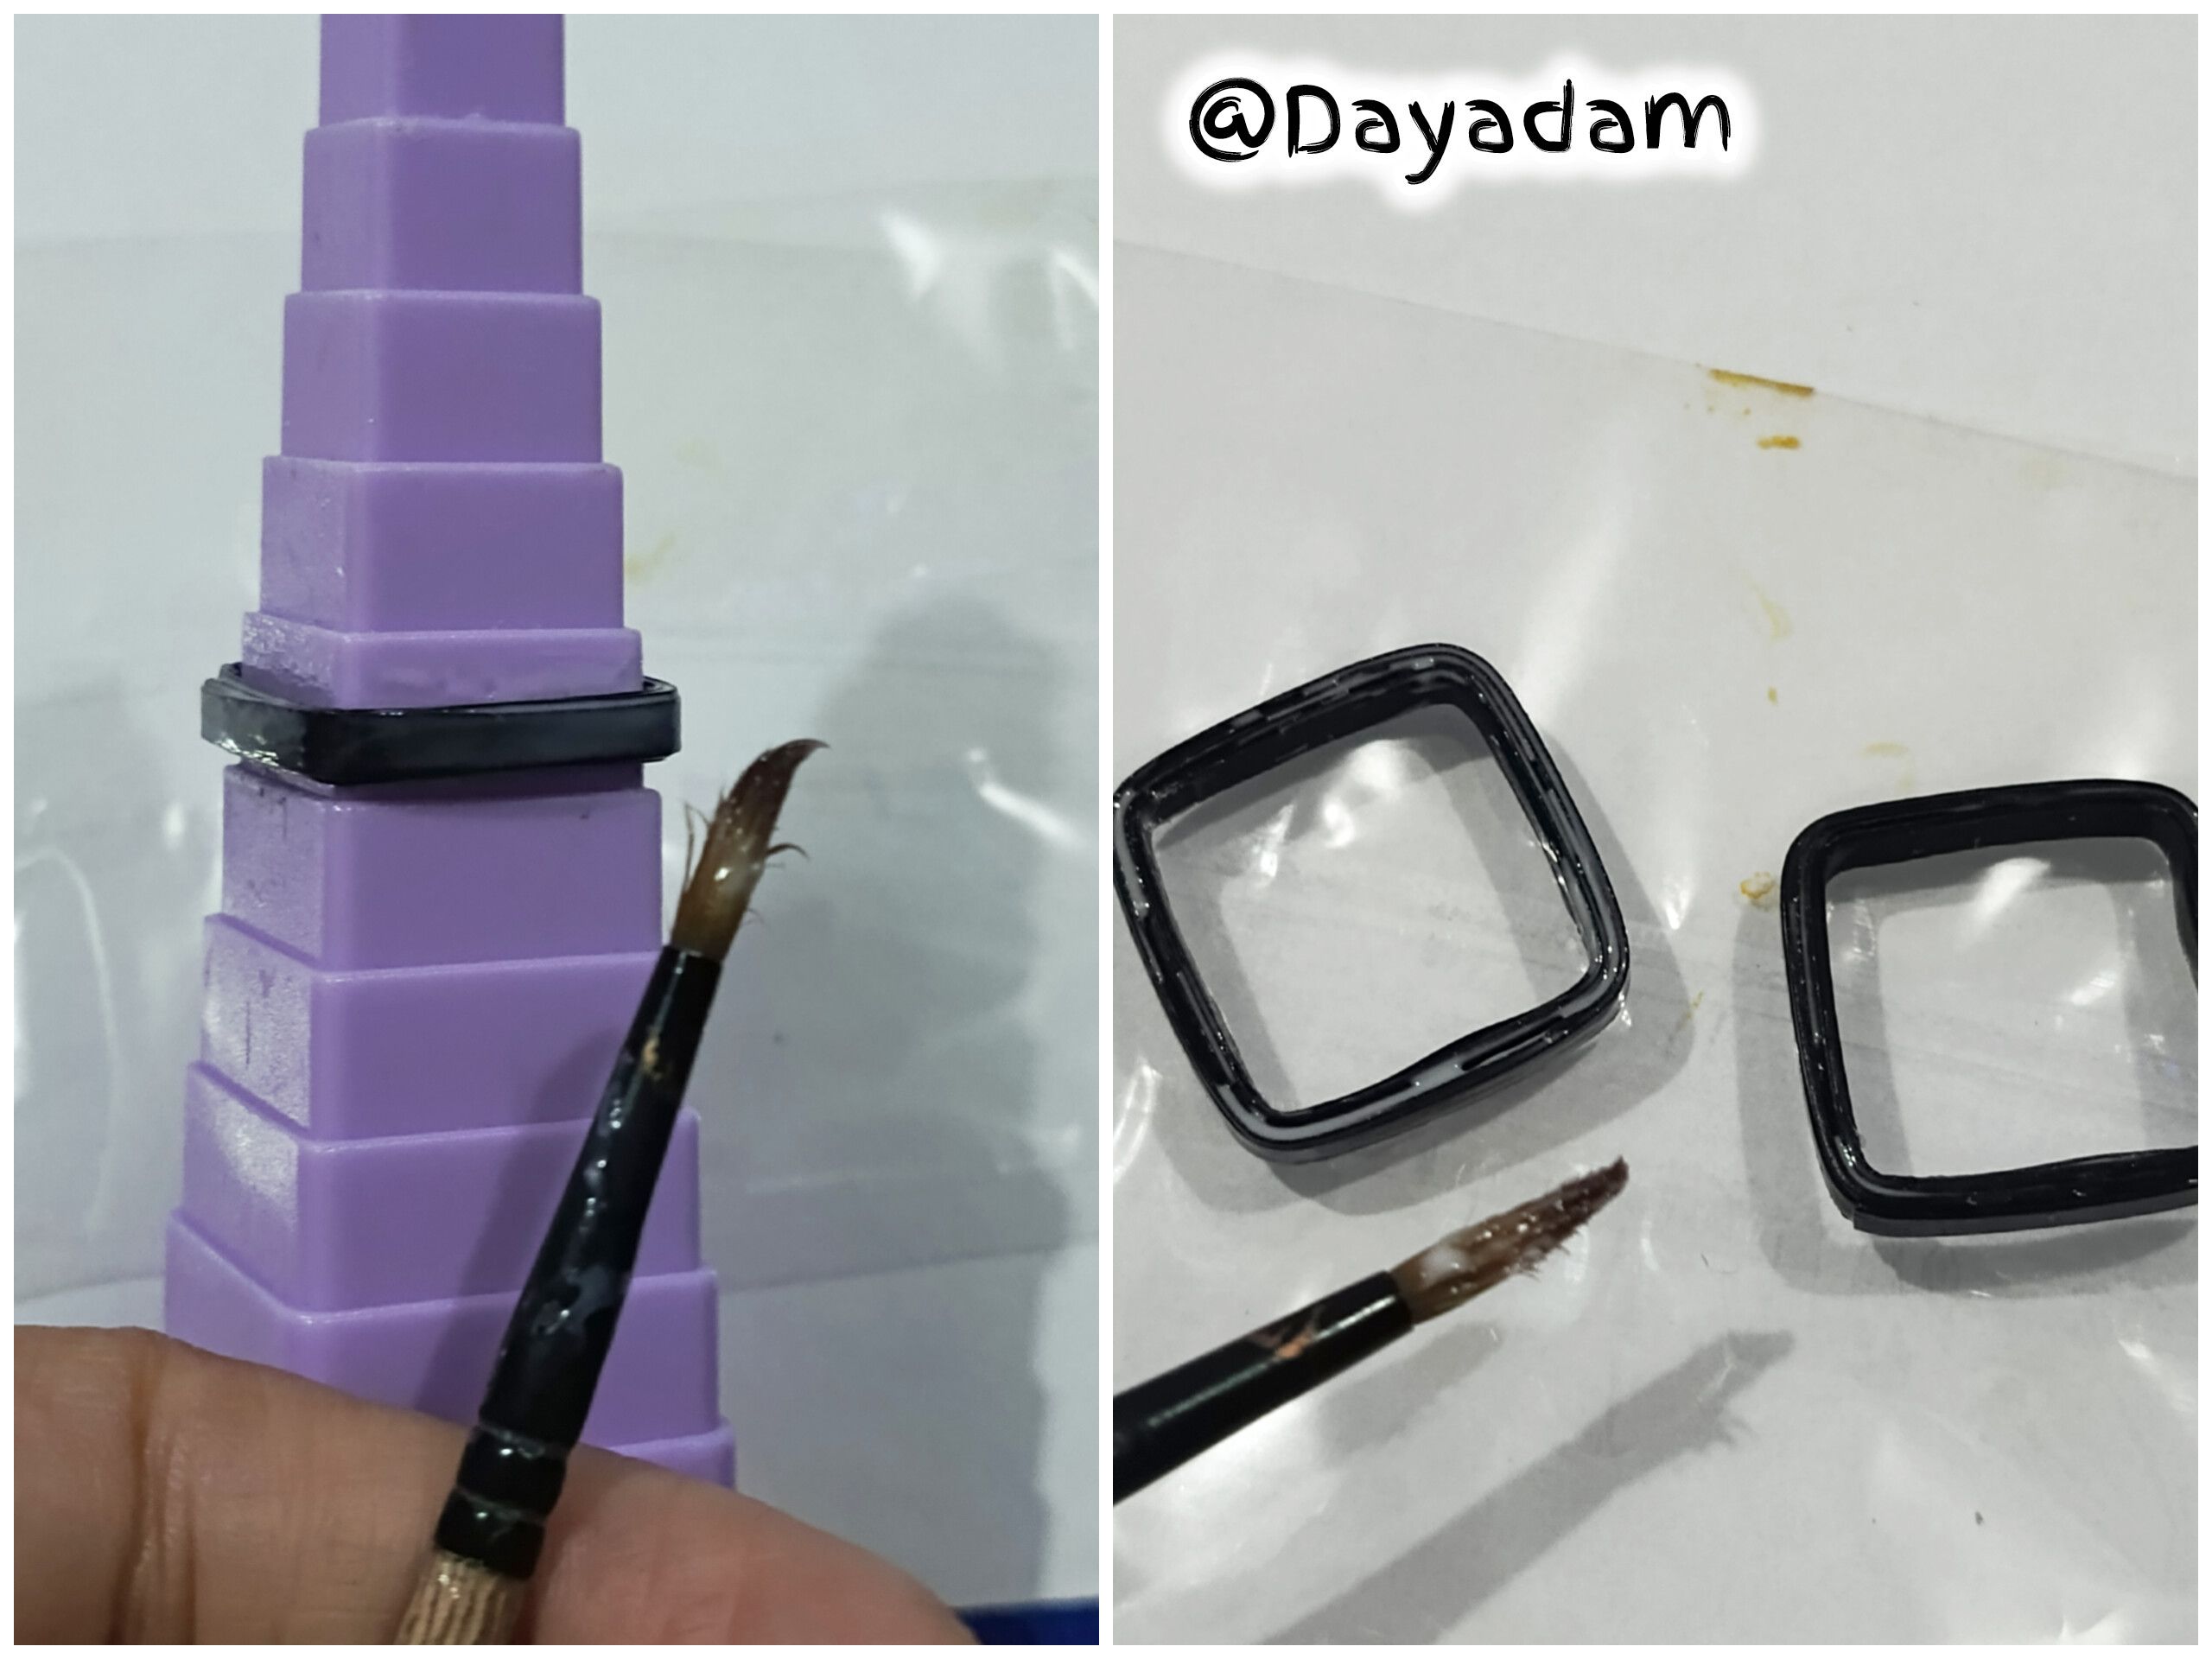
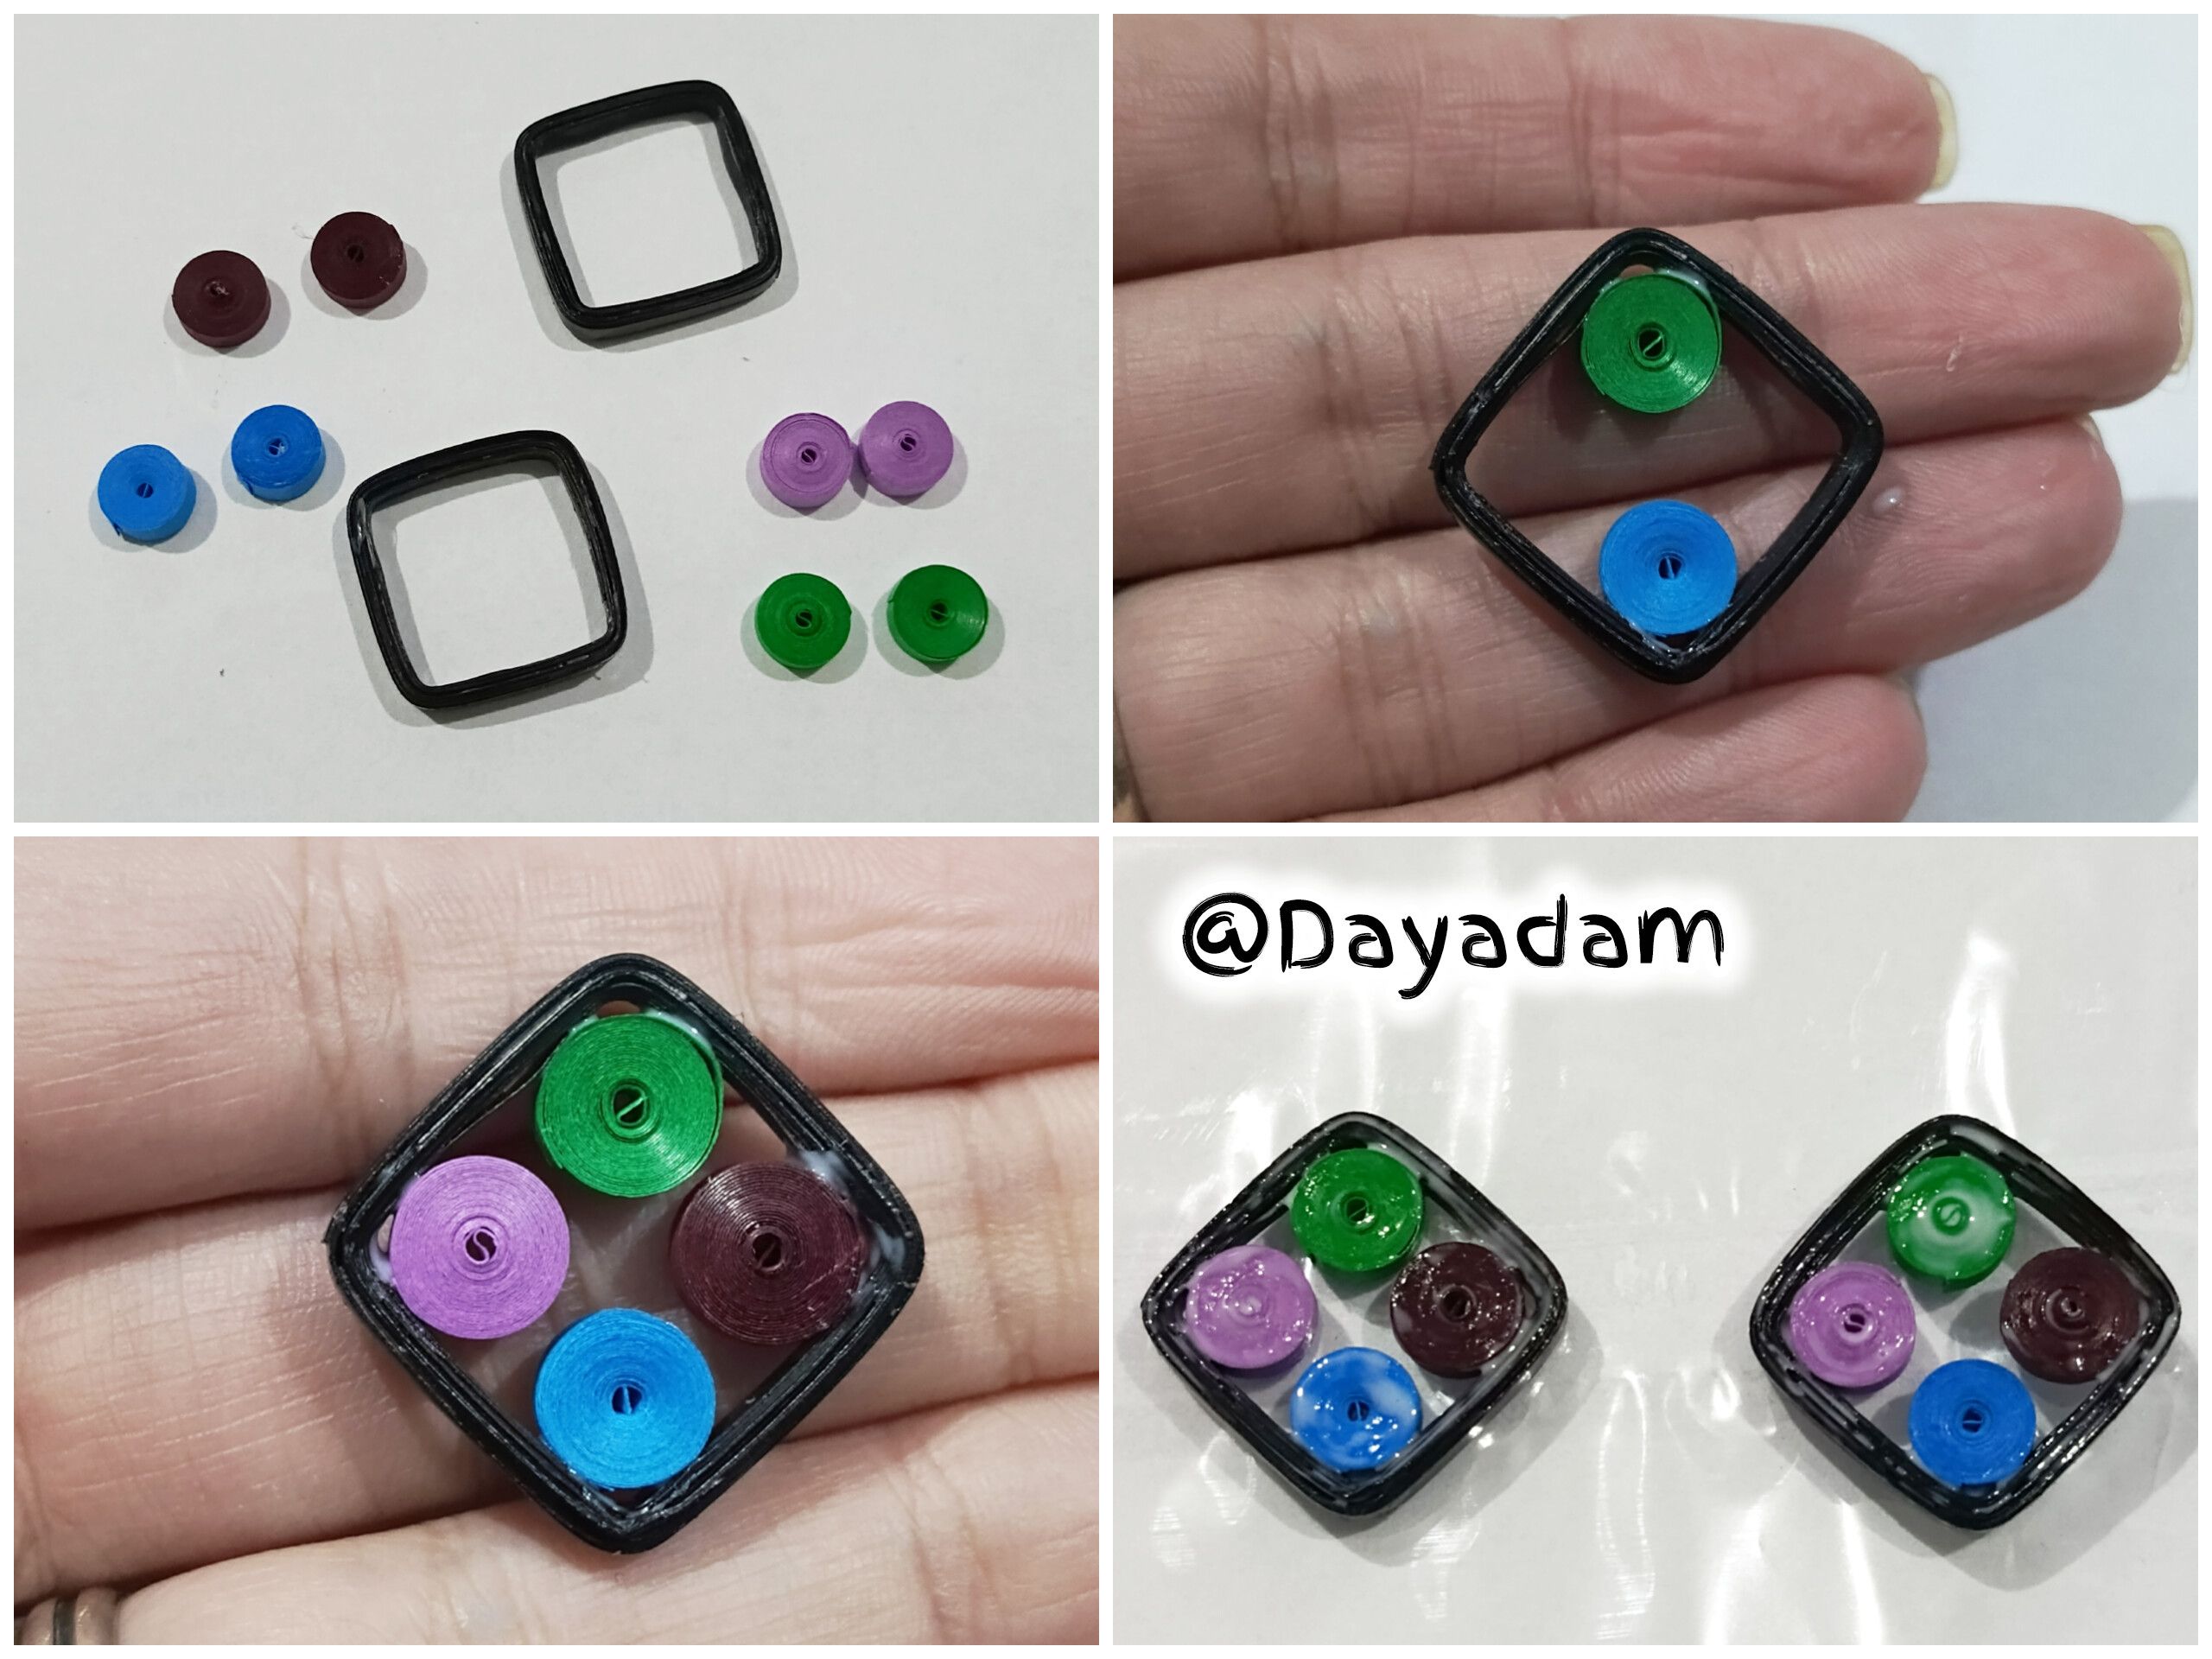
• I started by taking a mandrel for shaping squares and a 3 mm wide black quilling tape. I wrapped the tape around the mandrel 6 times from top to bottom, and when I finished, I sealed it with extra-strong white glue. We will need two identical pieces. Then I applied white glue all over the piece and let it dry thoroughly.
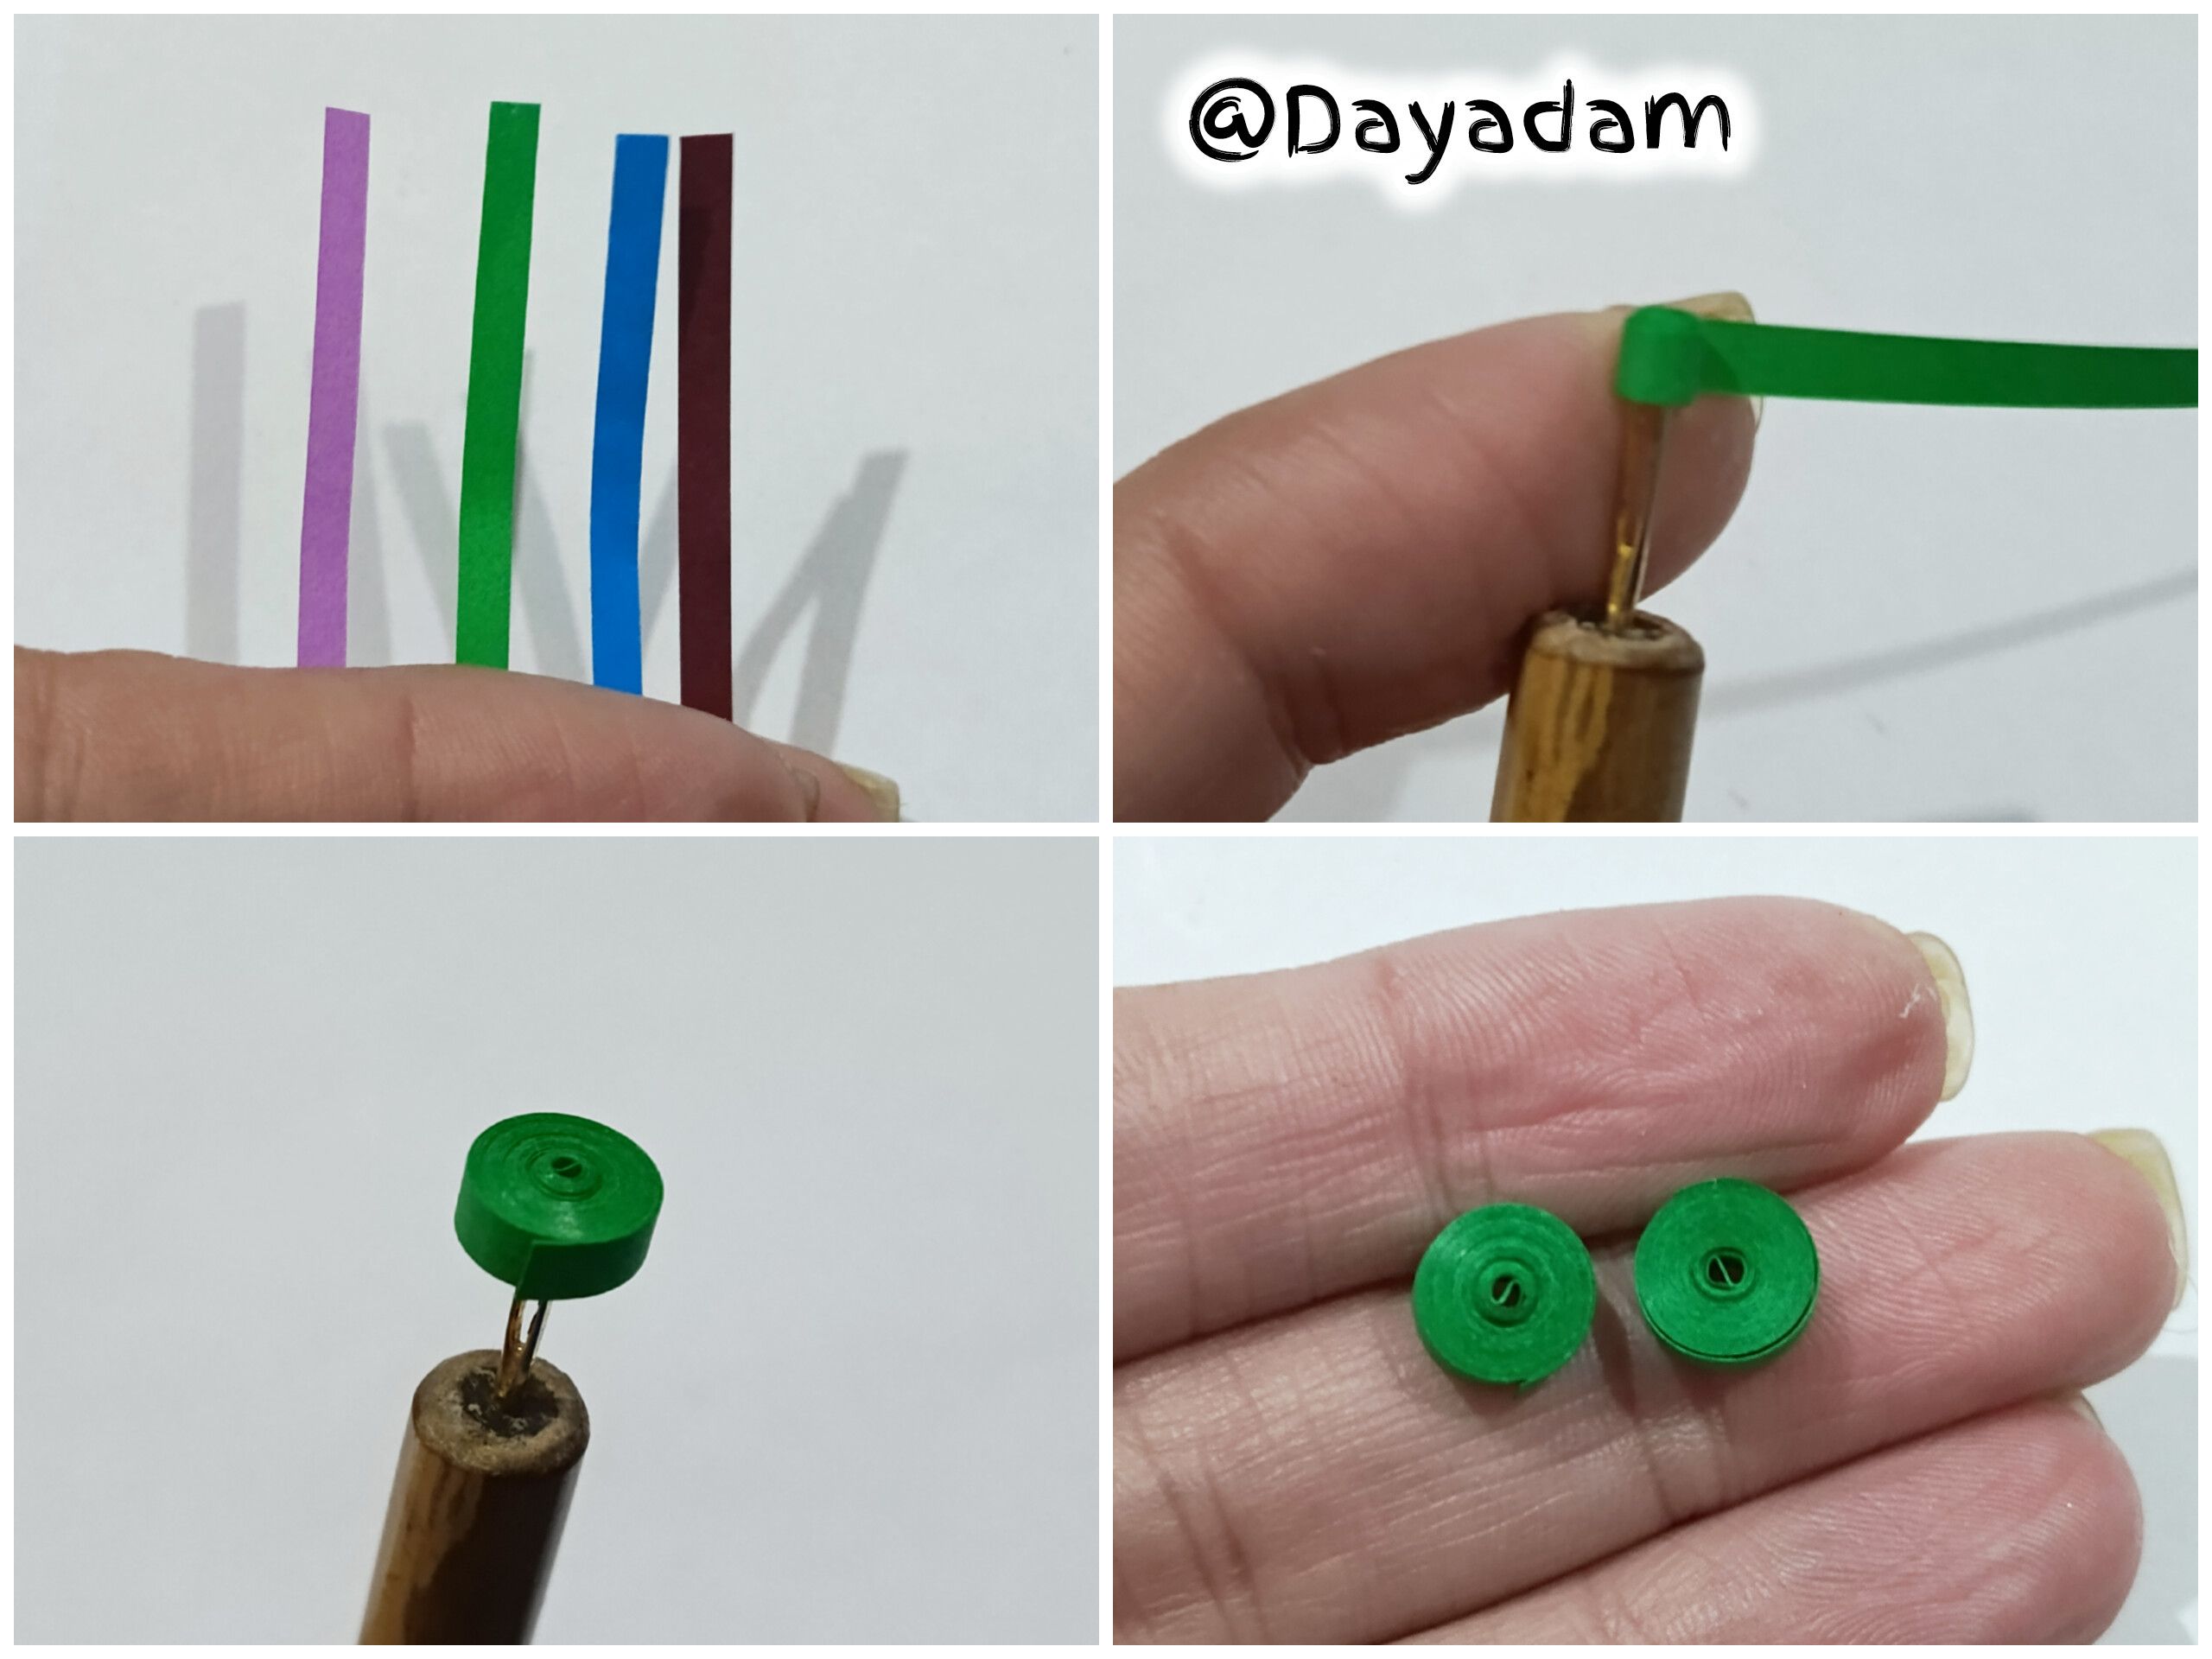
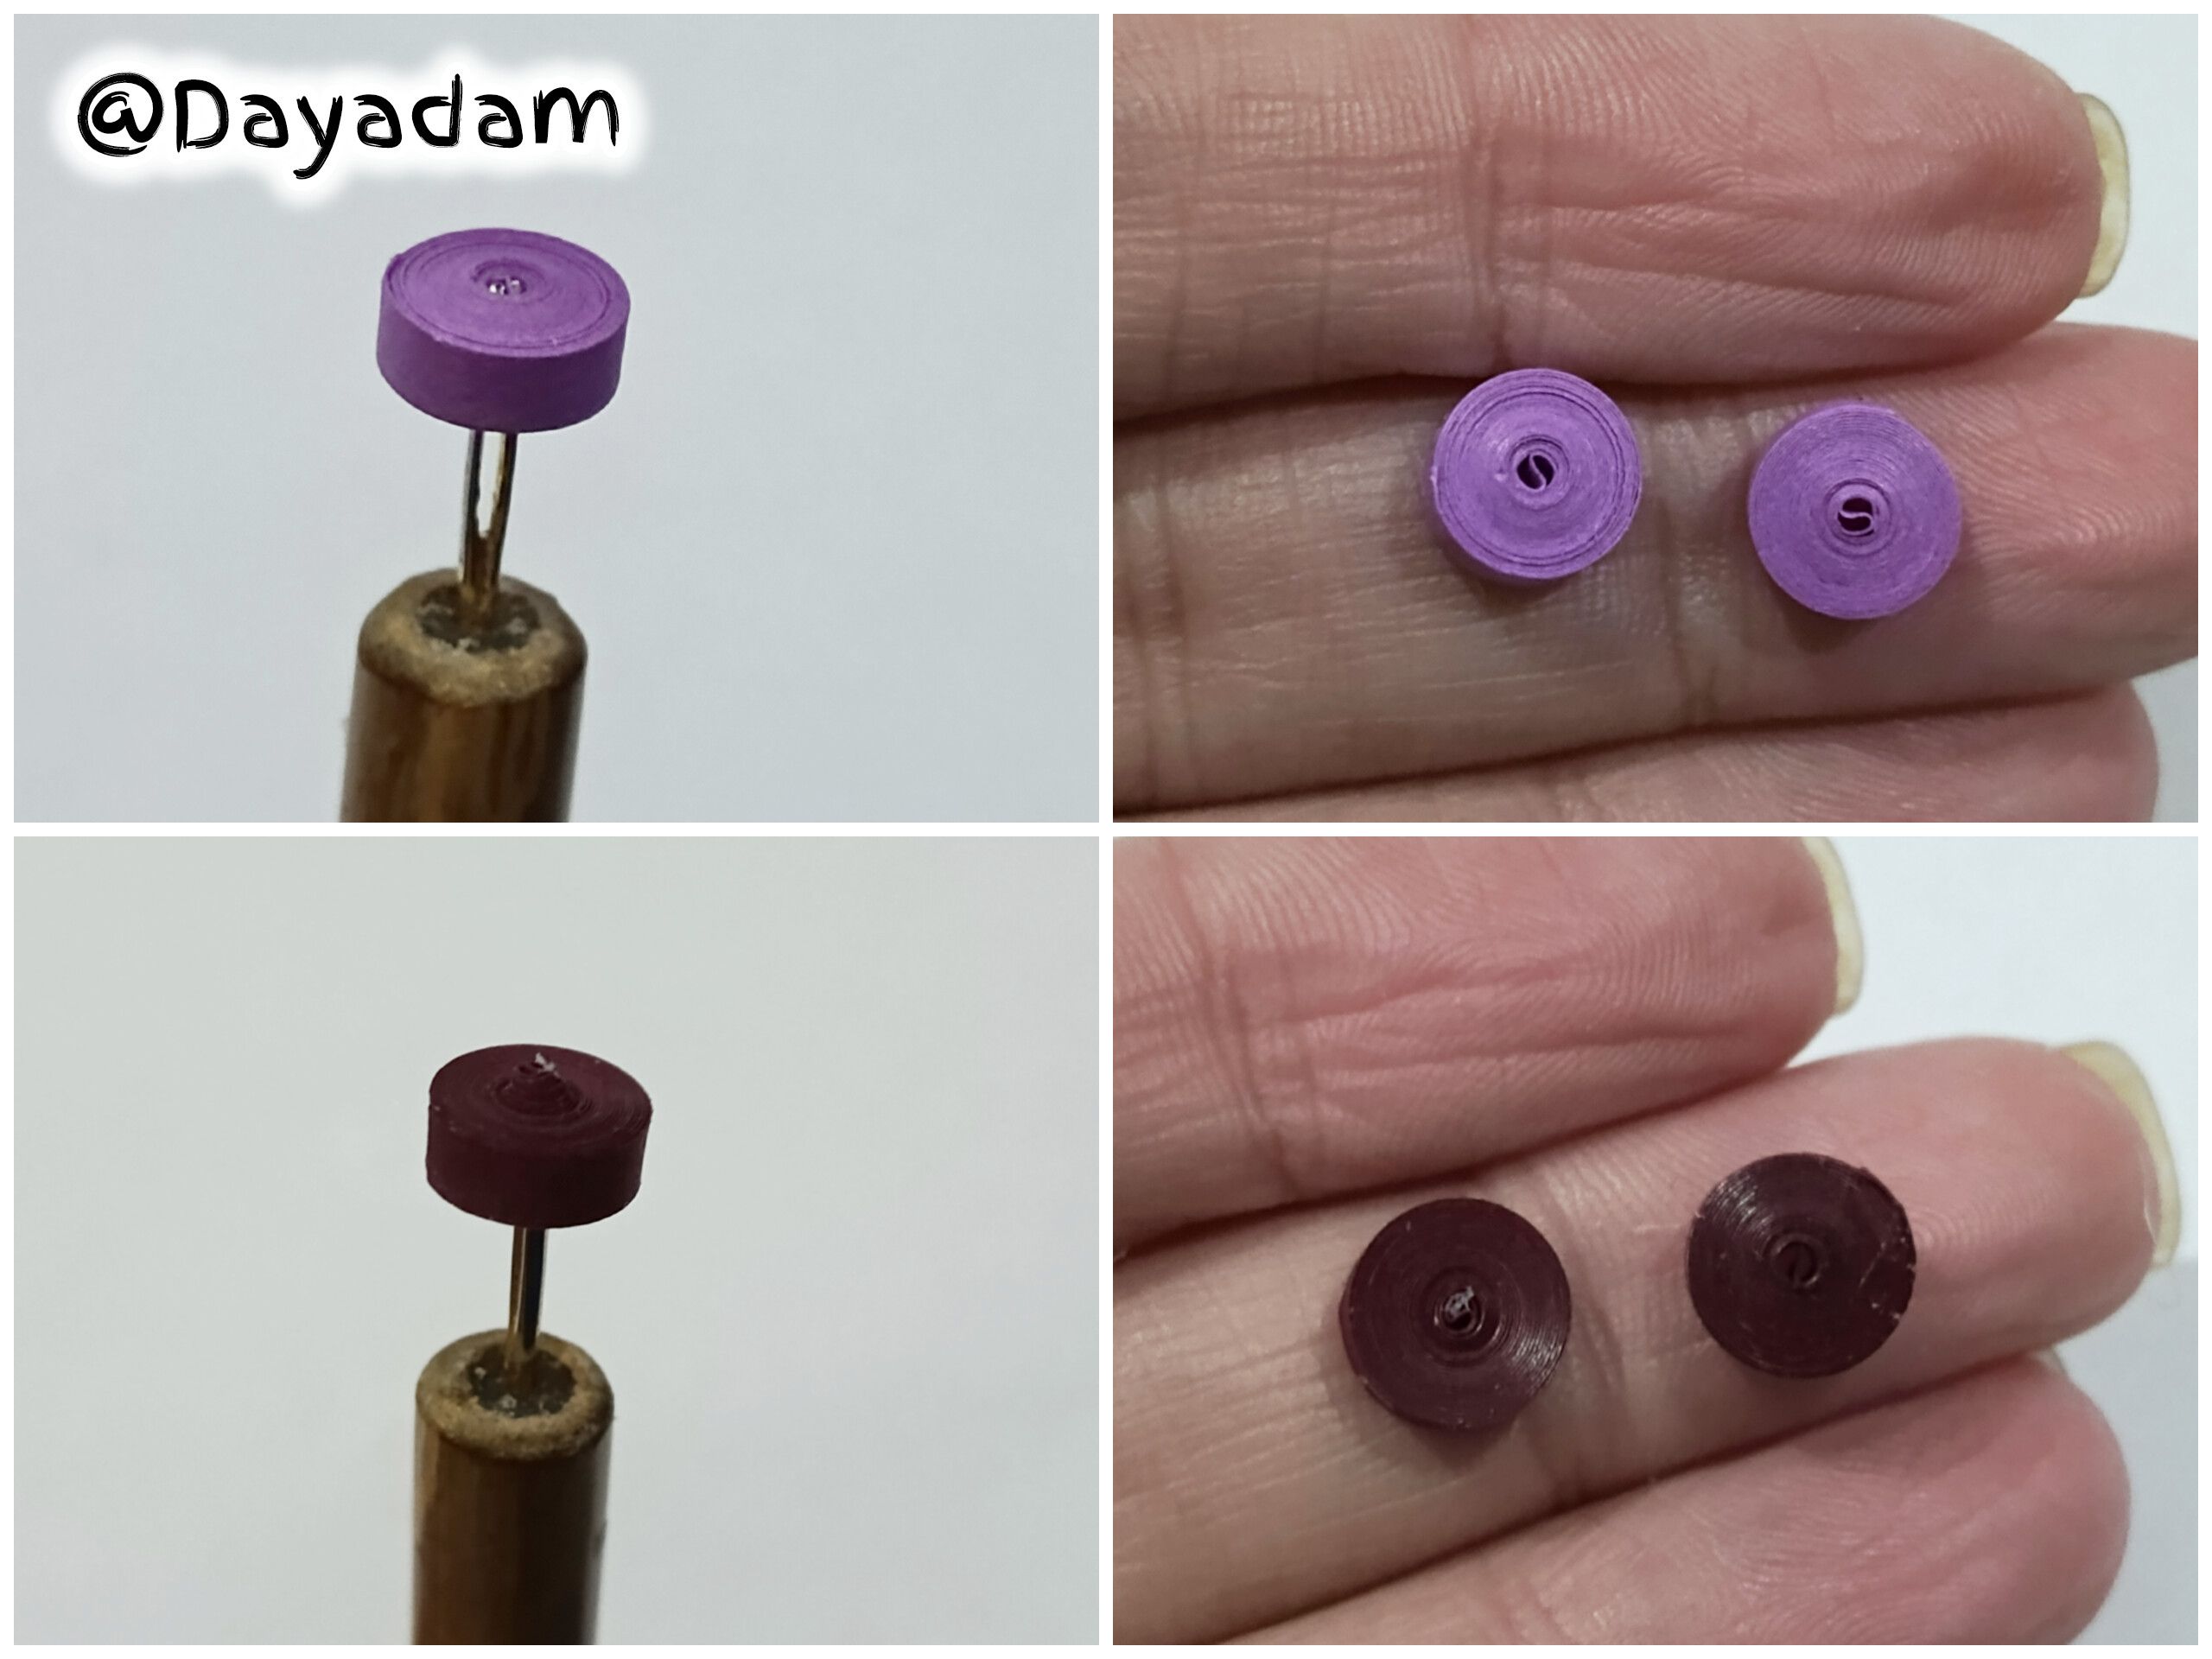
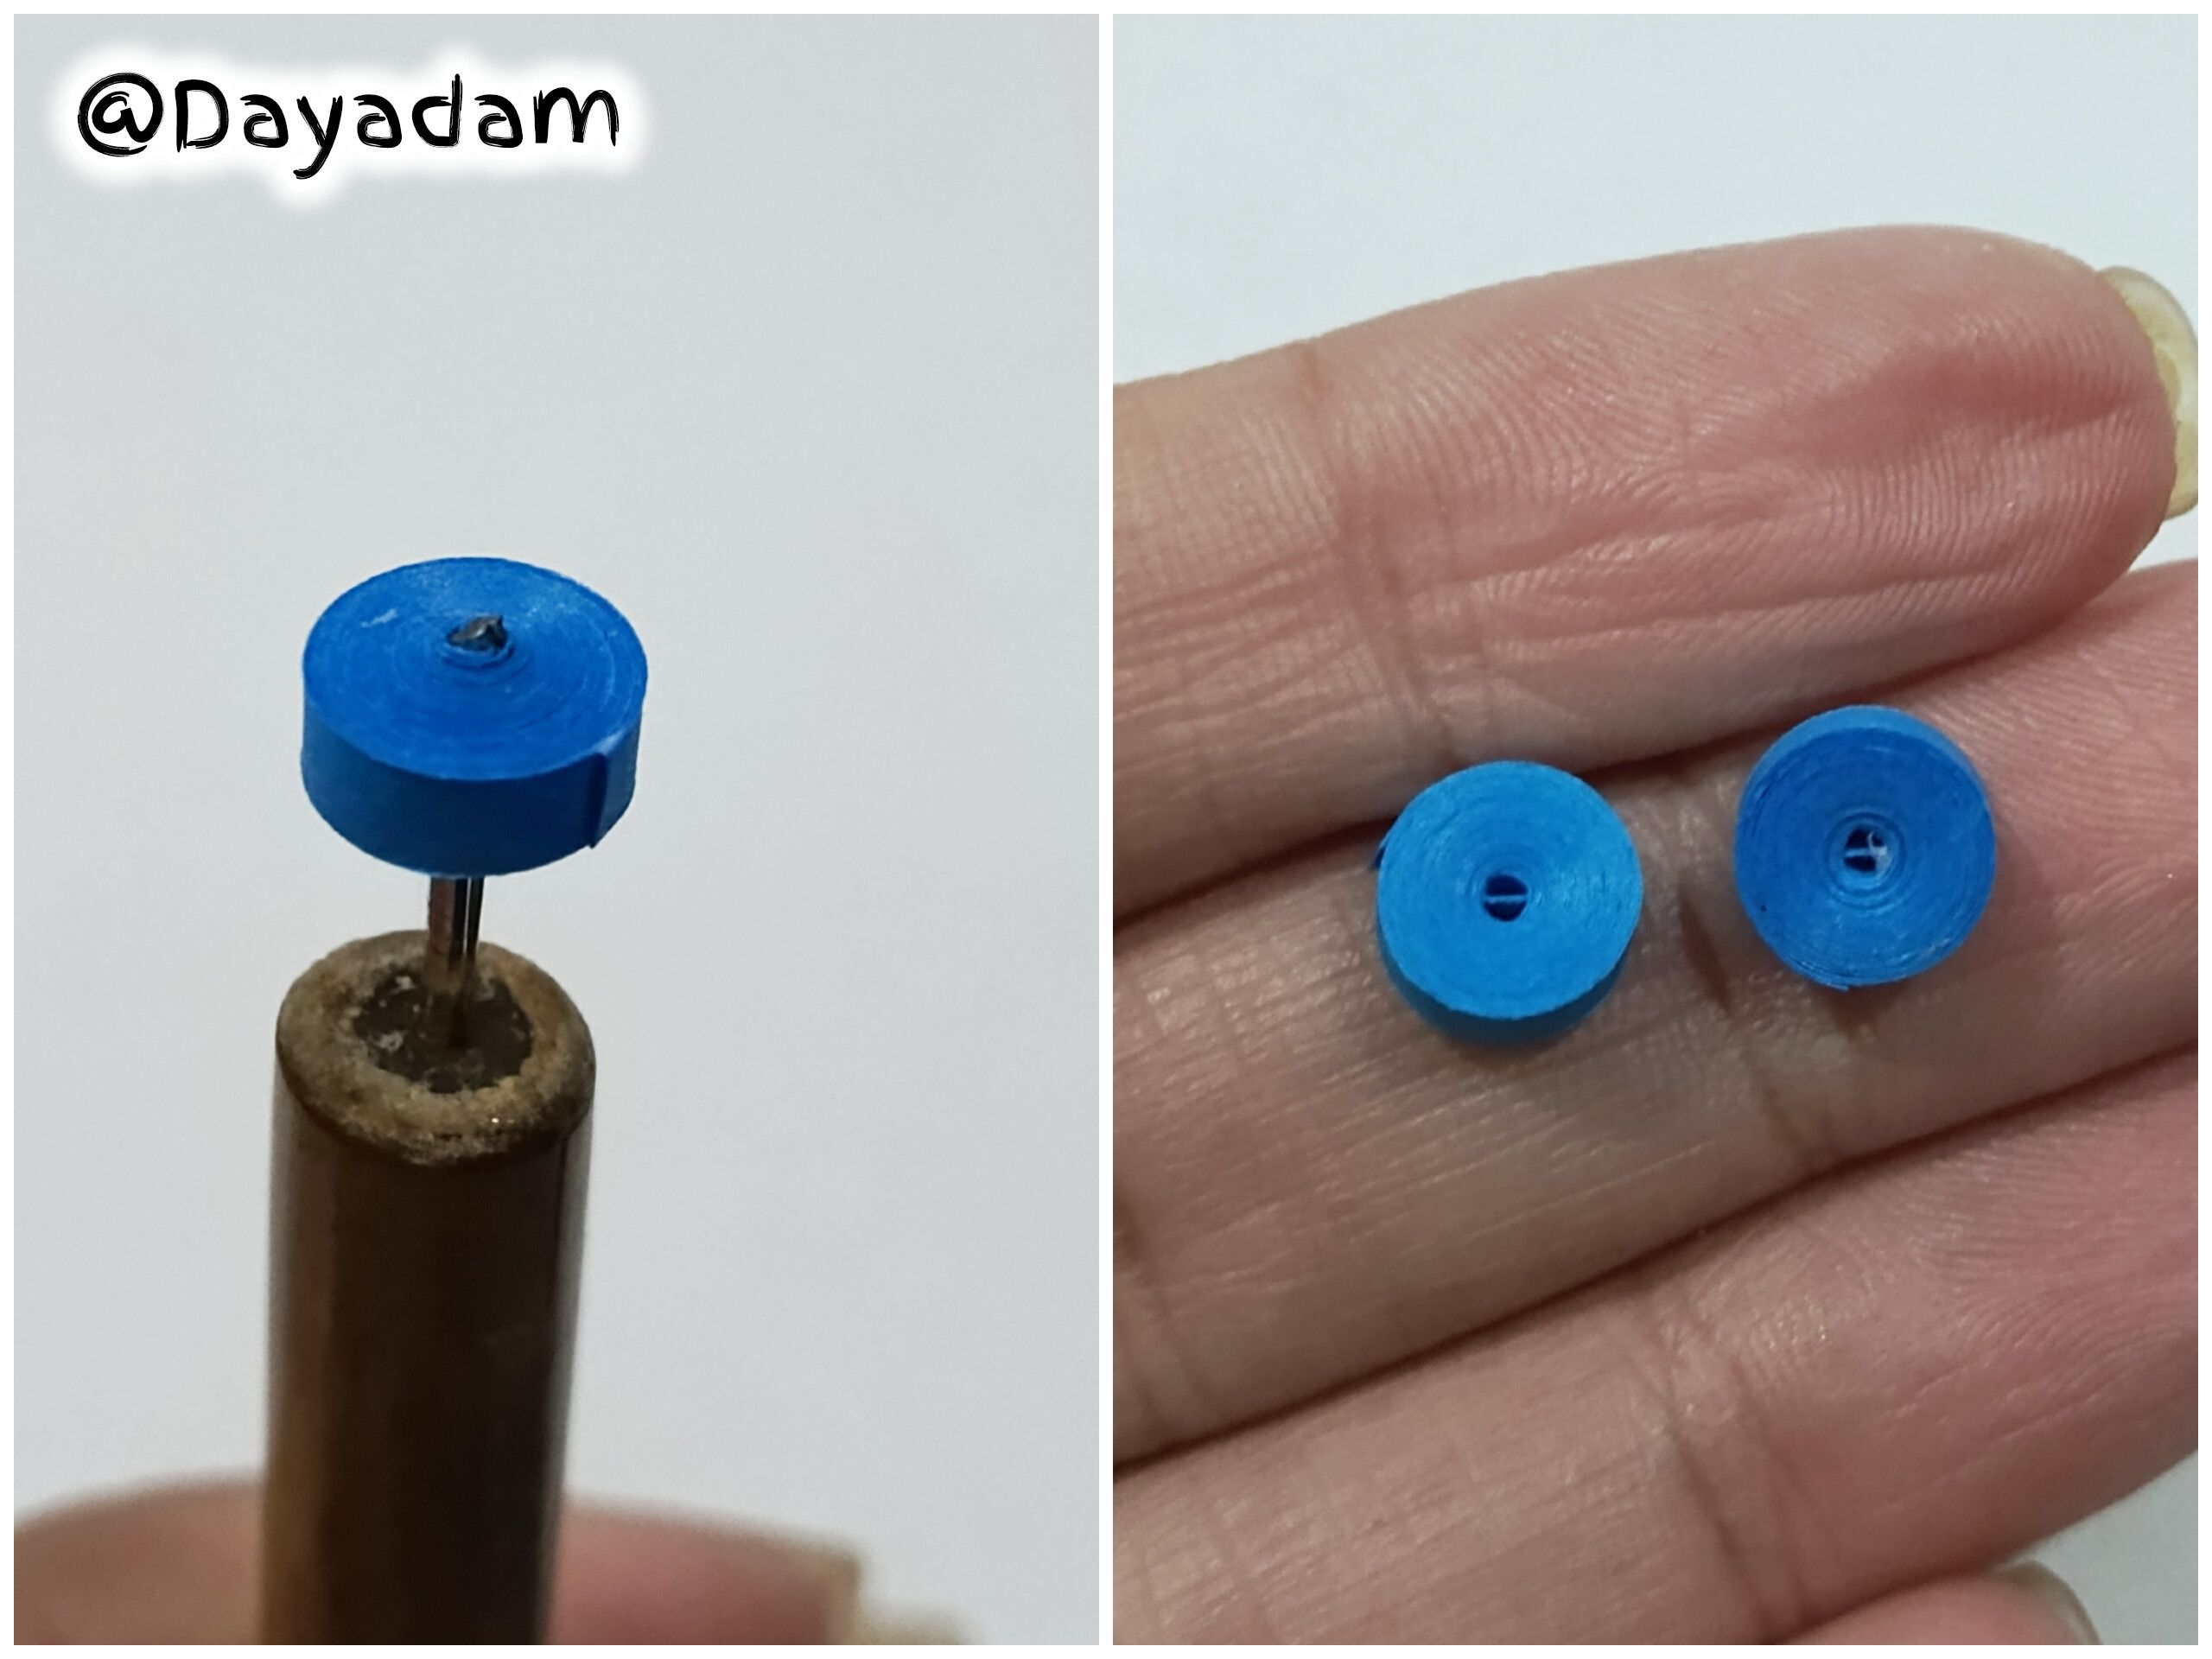
• Take 3 mm wide strips of tape in 4 different colors. I used them to make closed circles in each of the colors. I took each strip of tape and rolled it onto the quilling needle one by one. When I finished rolling, I sealed it with extra-strong white glue. We will need two circles of each color.

• Comencé tomando un mandril para moldear cuadrados y una cinta para quilling de 3 mm de ancho de color negro, pasé alrededor del mandril en la medida número 6 de arriba hacia abajo, al finalizar con la cinta sellé con pega blanca extra fuerte. Necesitaremos dos piezas iguales. Luego apliqué pega blanca por toda la pieza deja secar muy bien.
• Tomes cintas de 3 mm de ancho de 4 colores diferentes, con ellas realicé círculos cerrados de cada uno de los colores, tome cinta por cinta y enrollé una a una en la aguja para quilling terminé de enrollar y sellé con pega blanca extra fuerte. Necesitaremos dos círculos de cada color.
 |
 |
 |
 |
 |
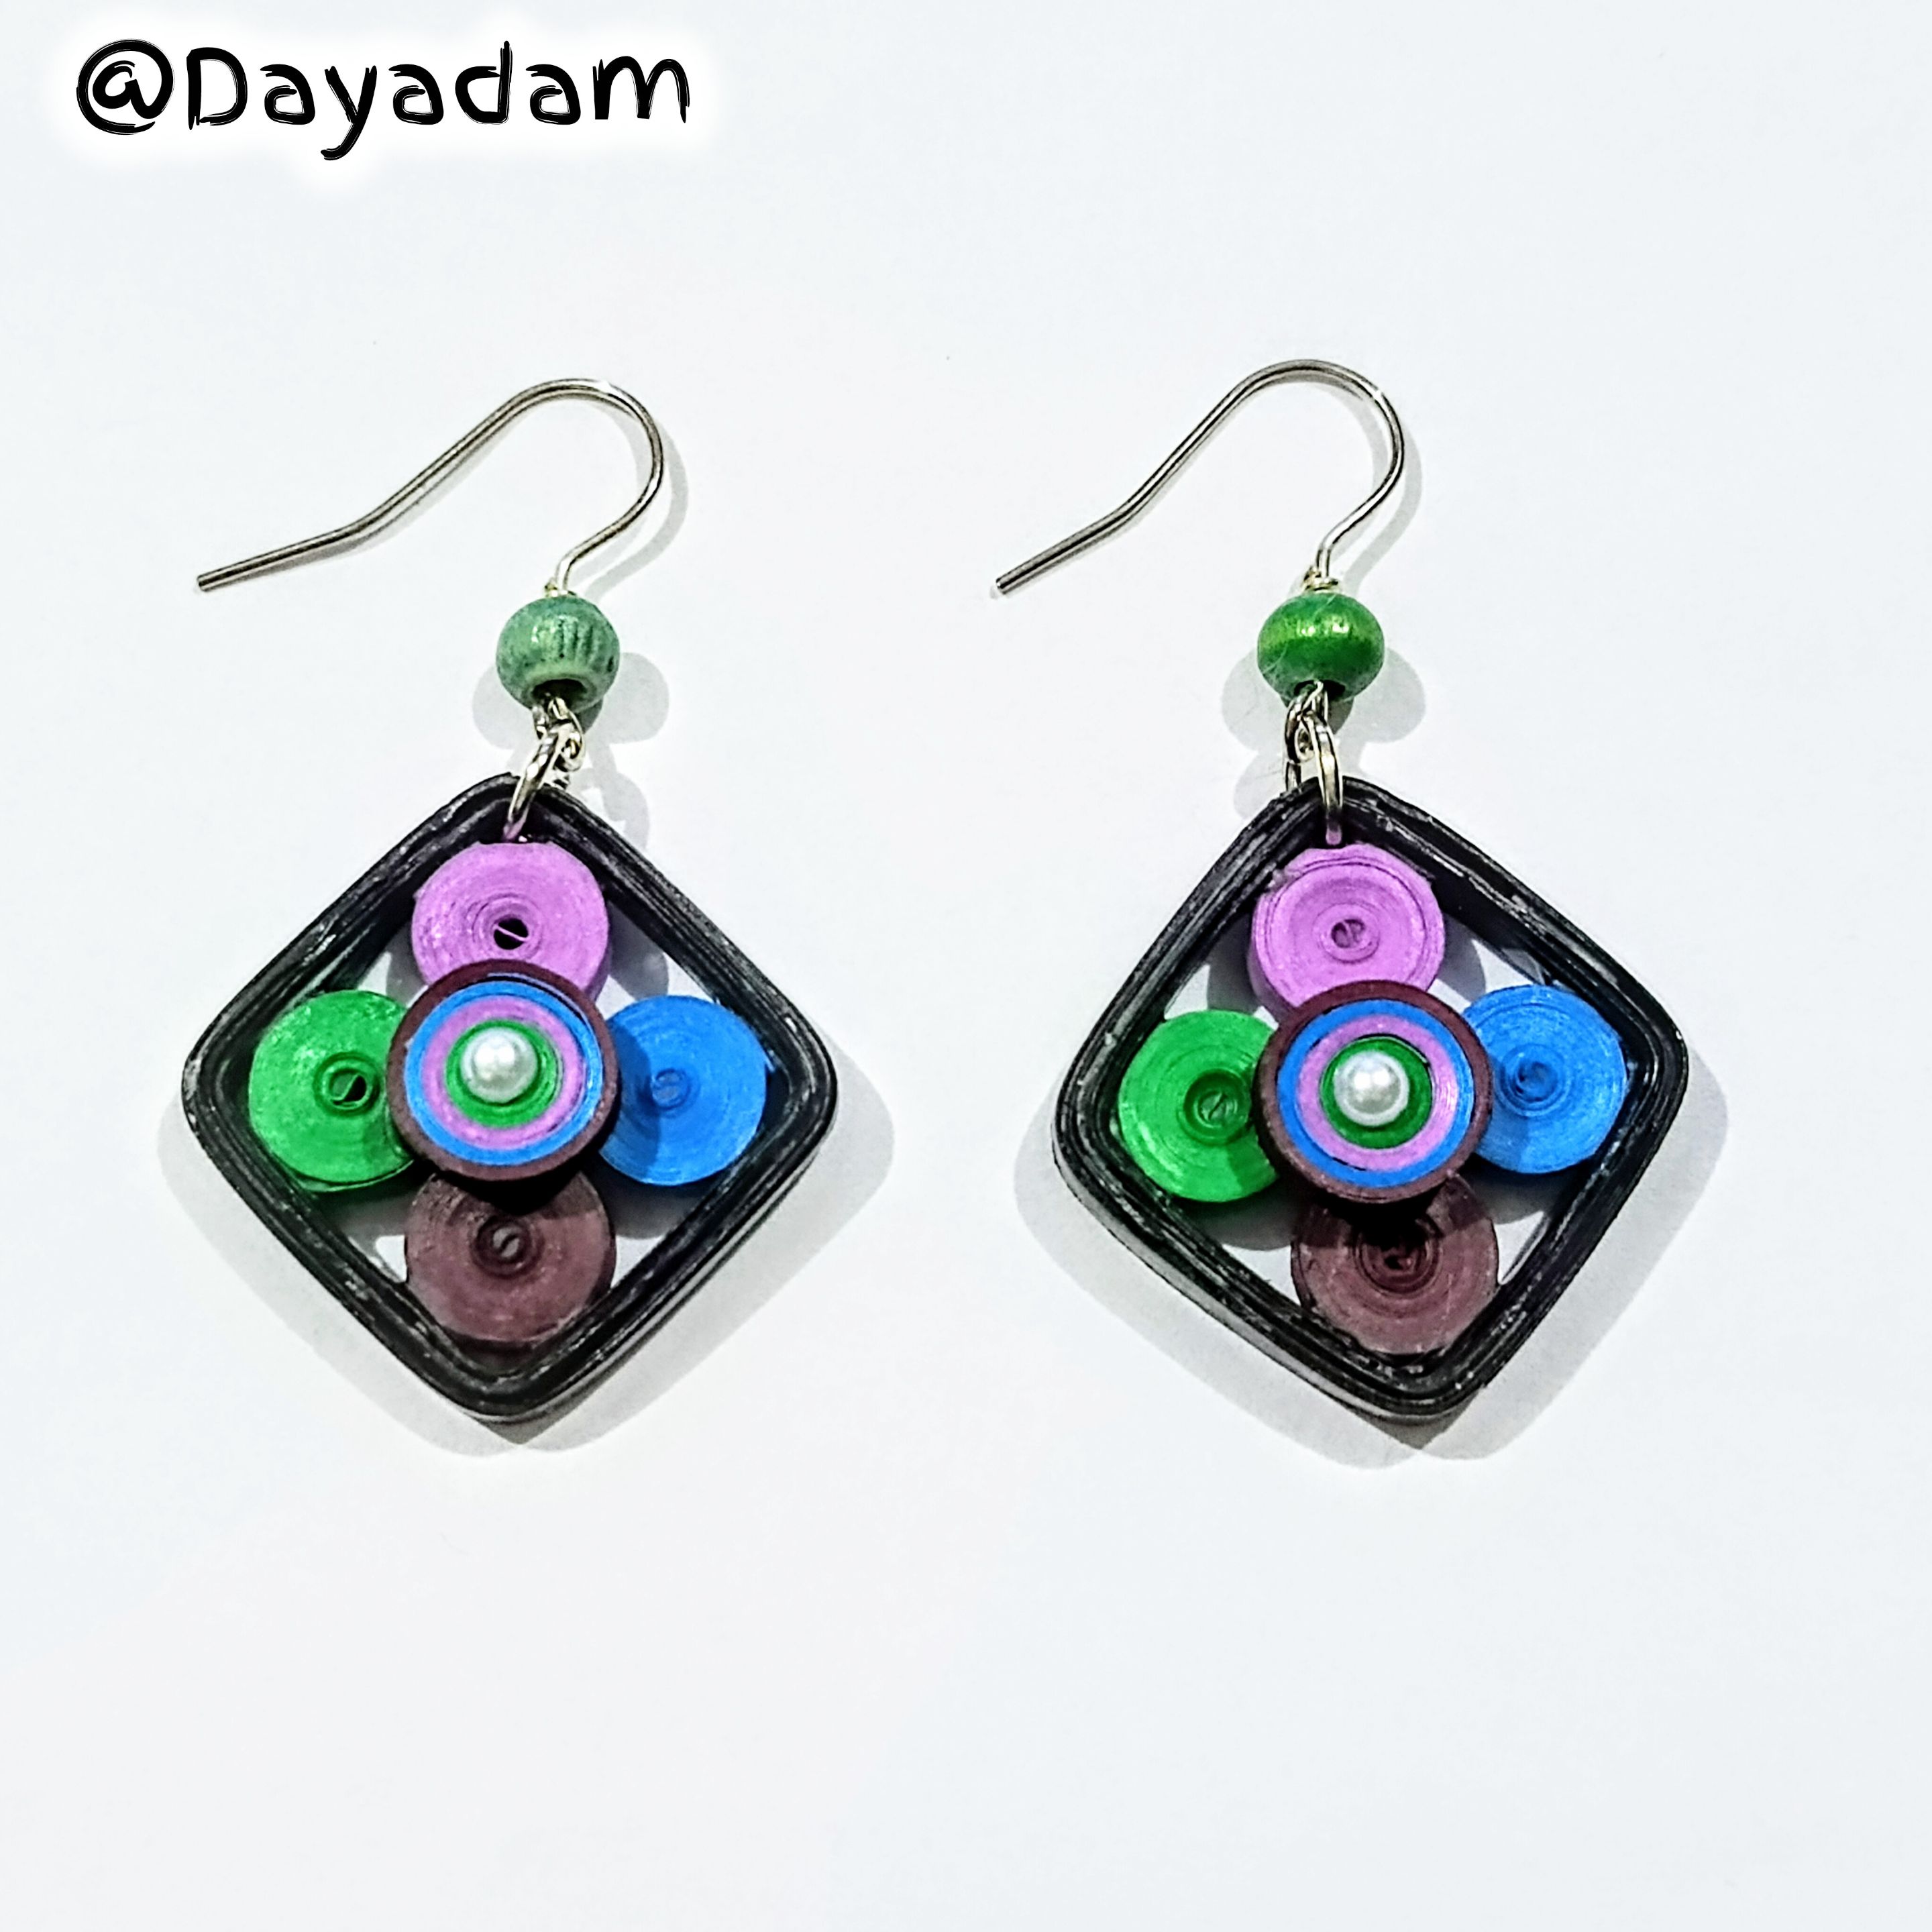
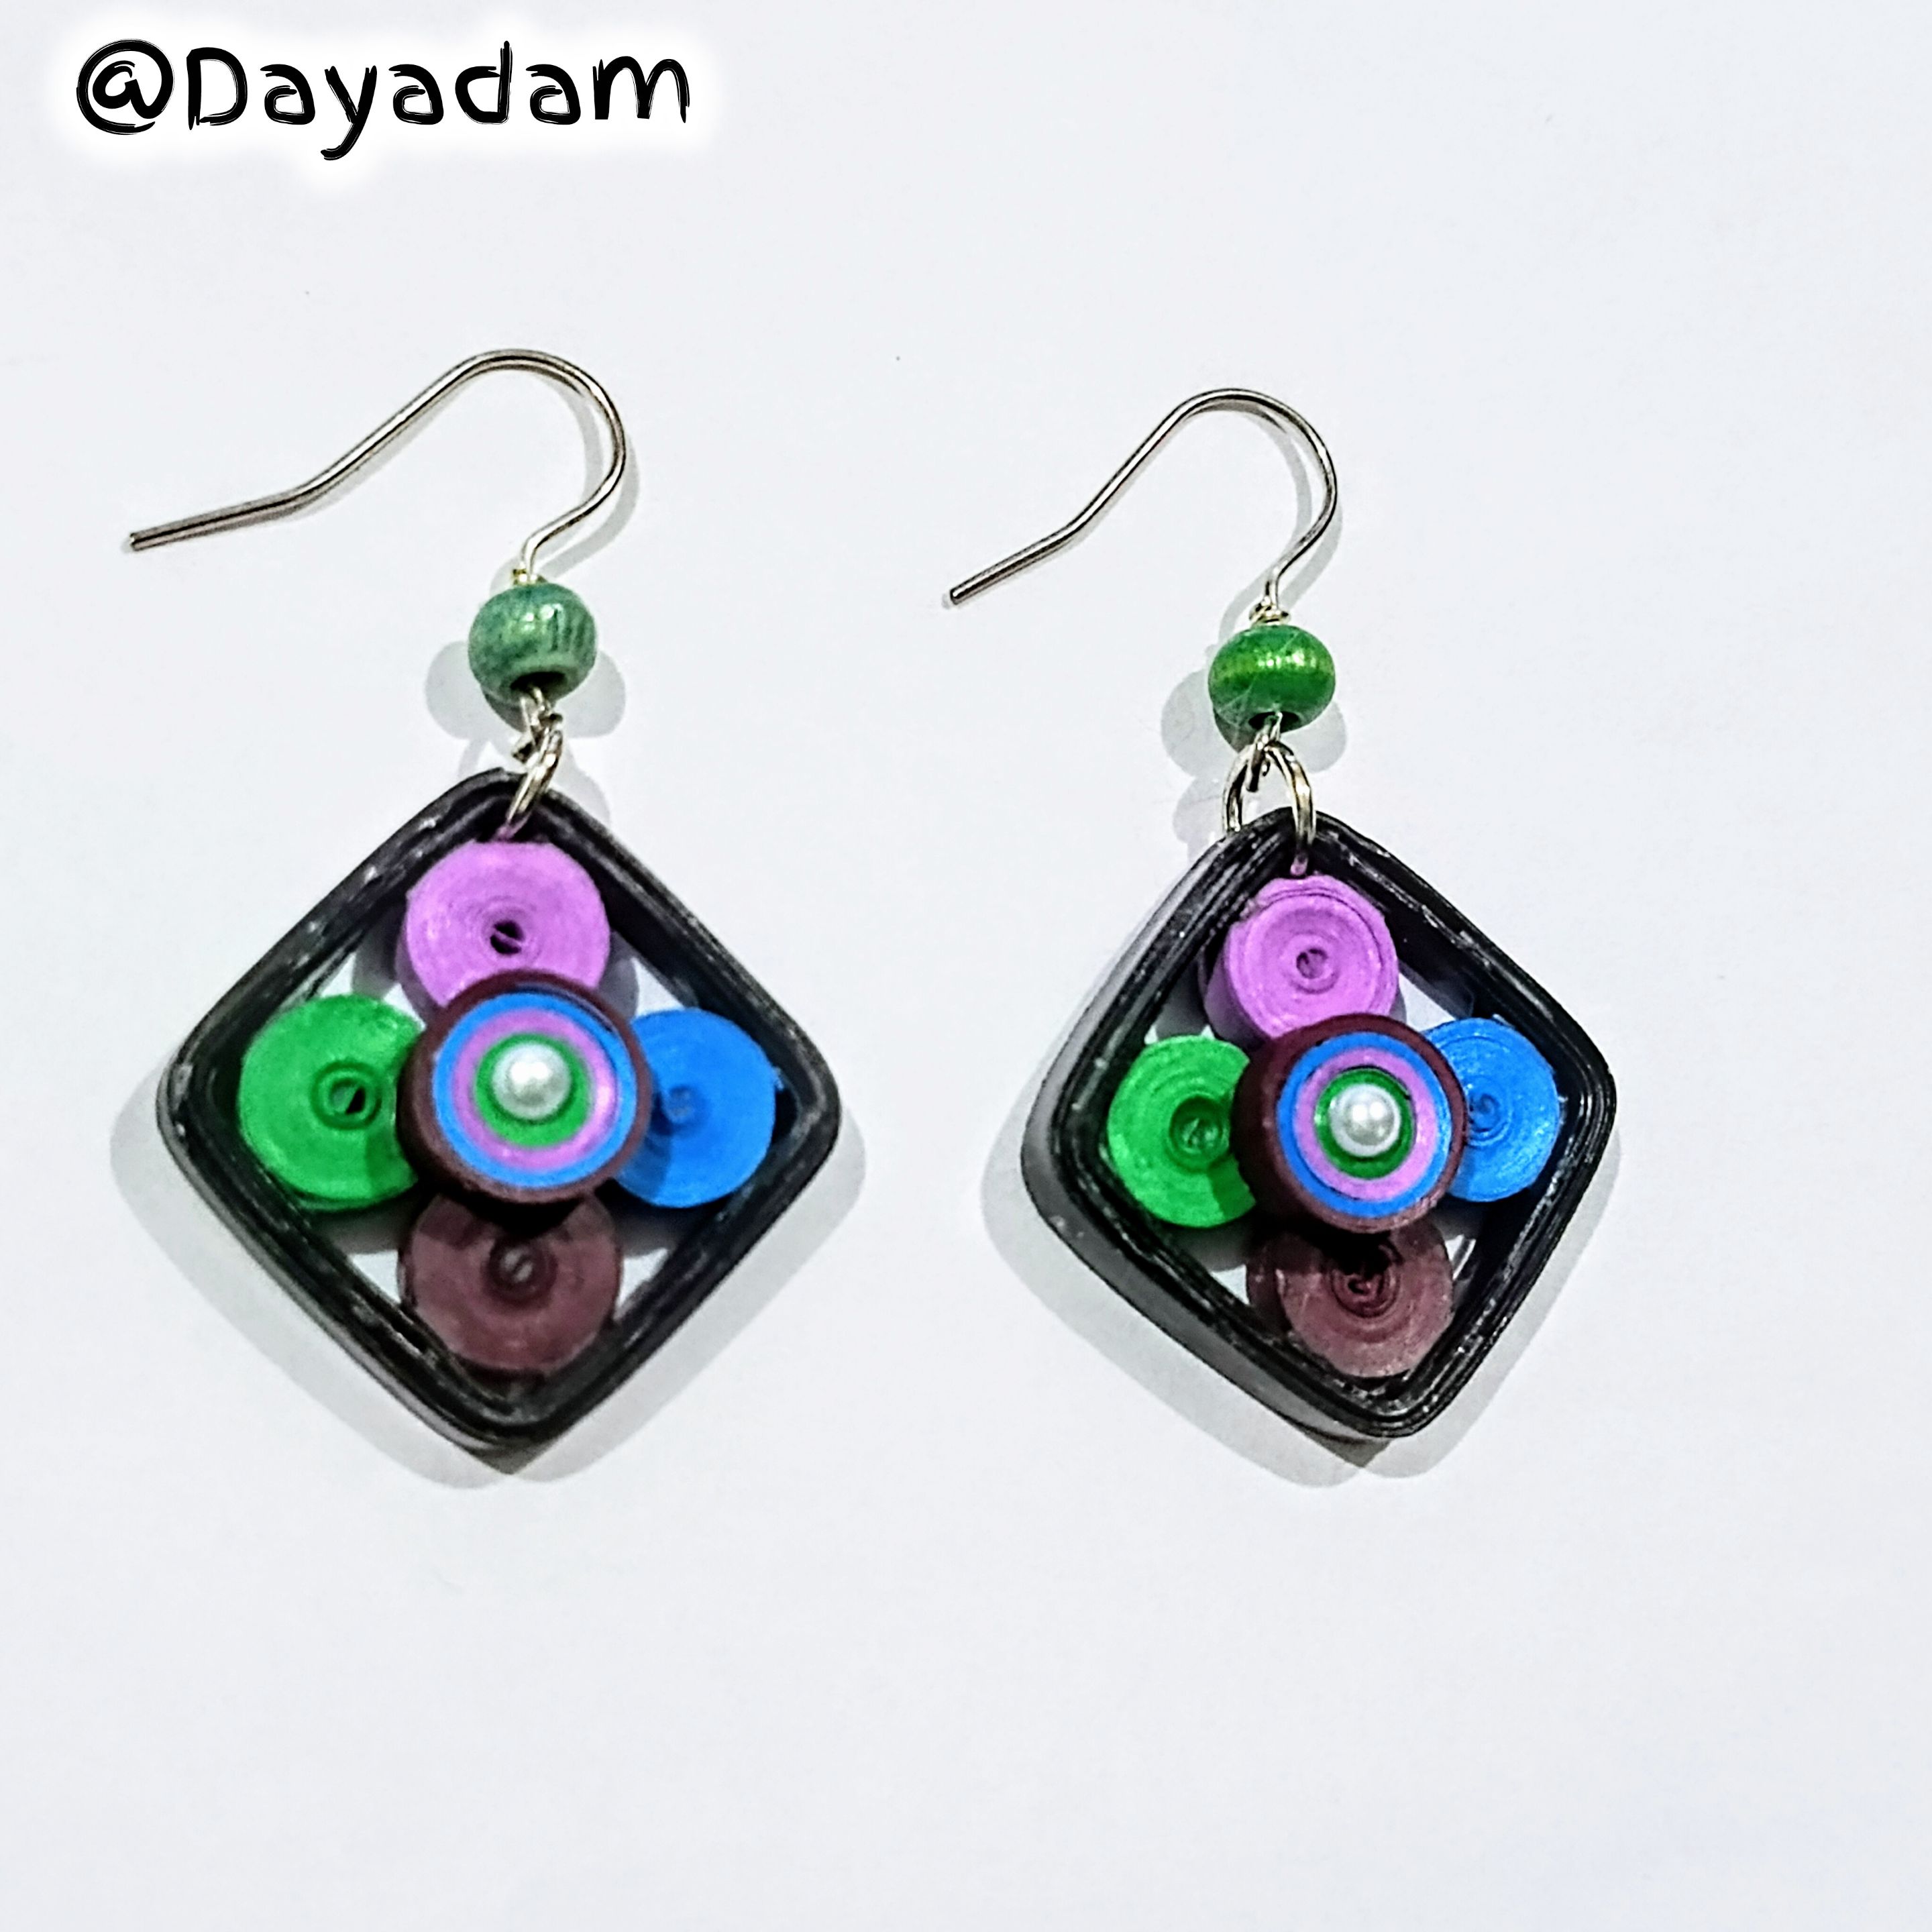
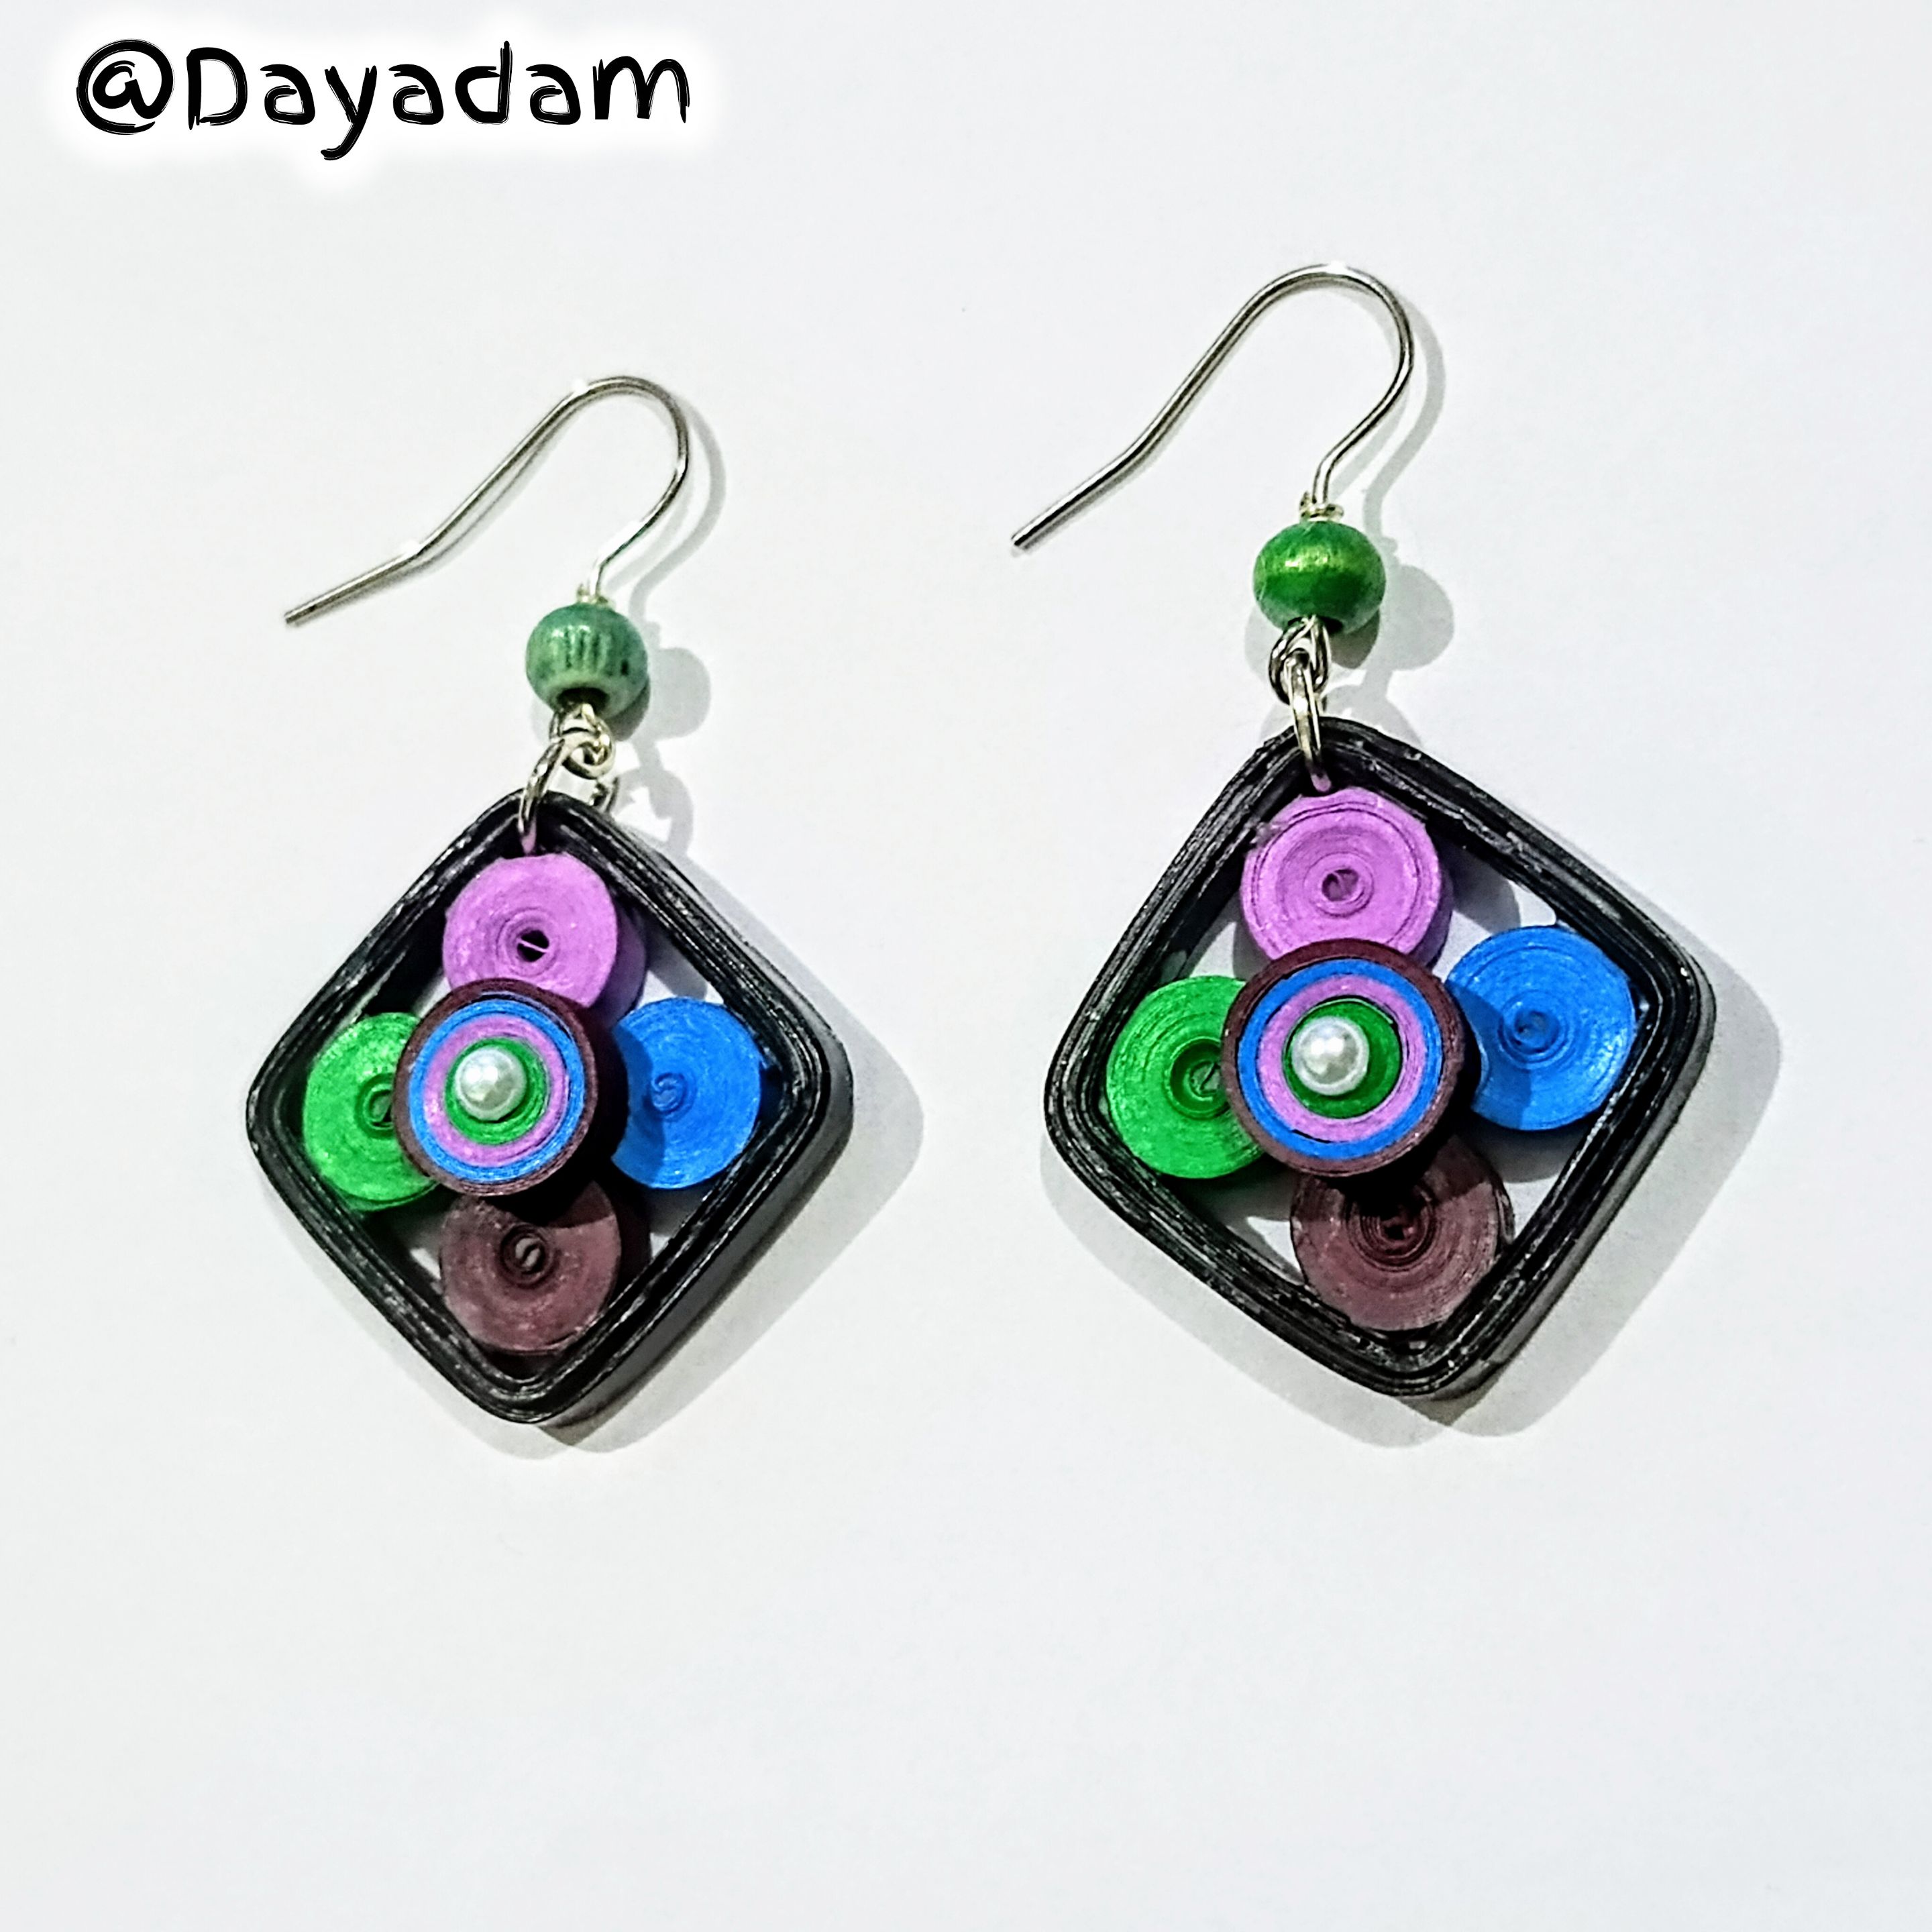
• At this point, I took the circles and glued them onto the squares I had made, one at each end on the inside, as you can see in the pictures.
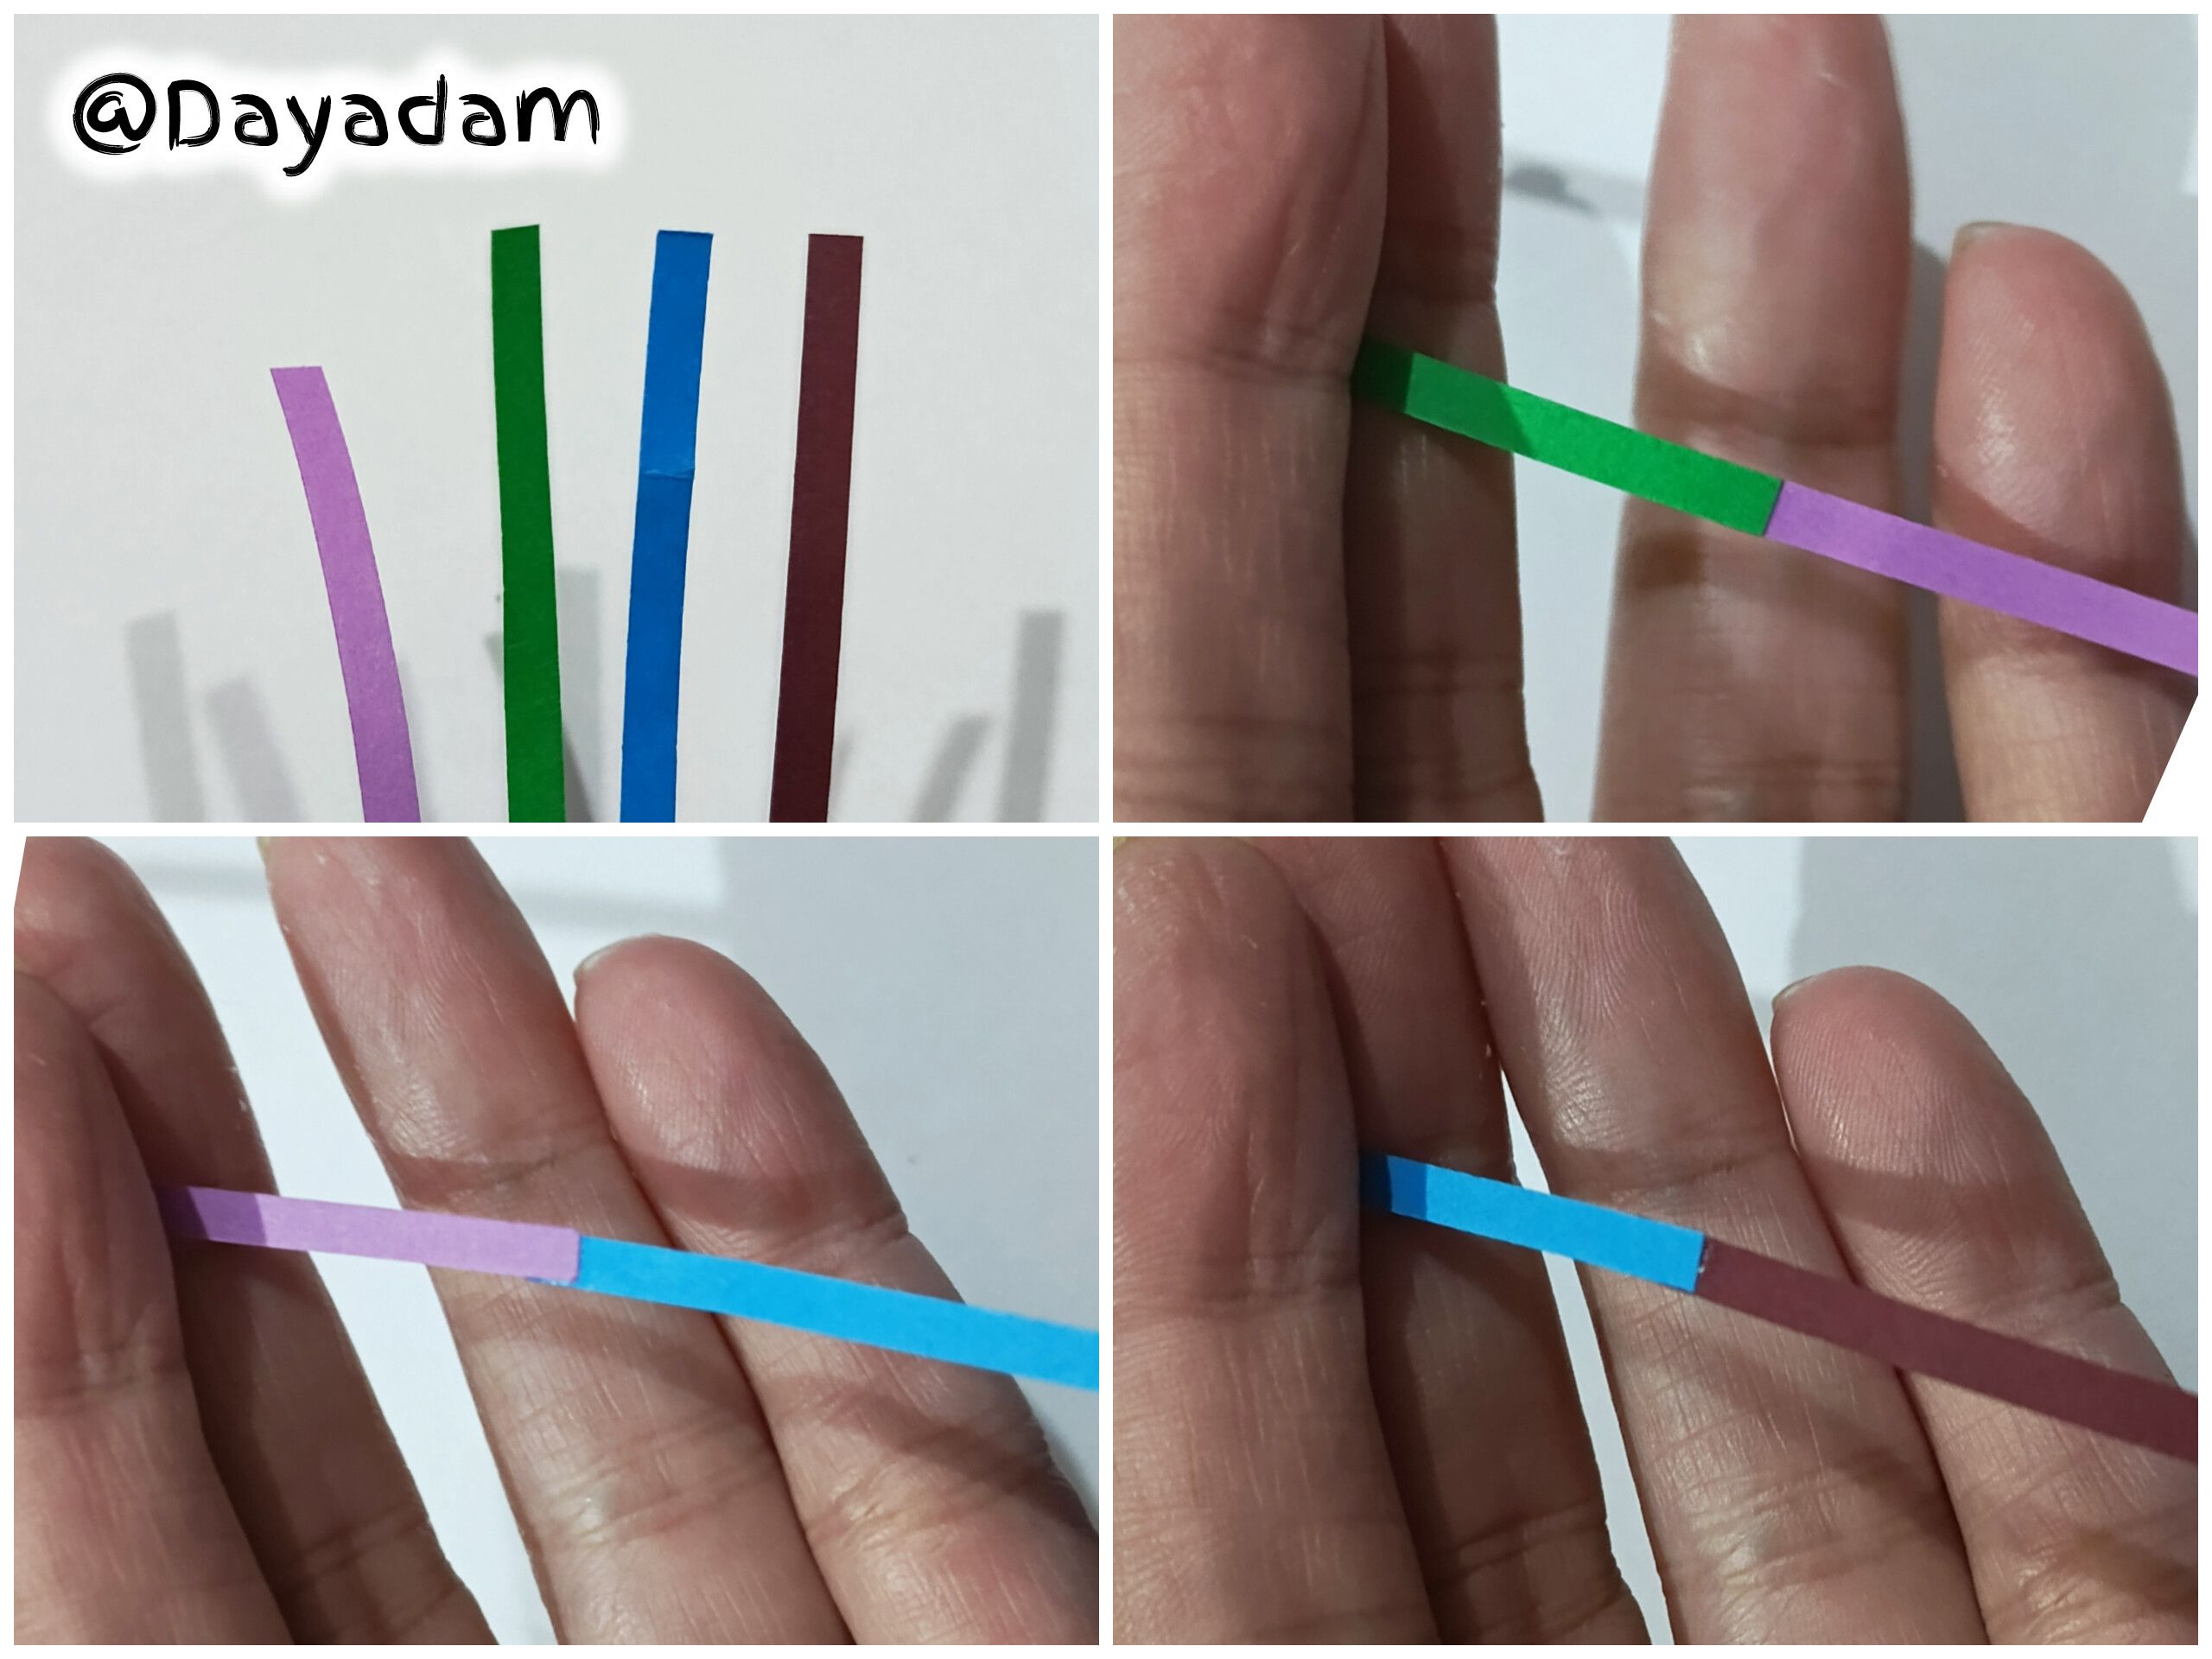
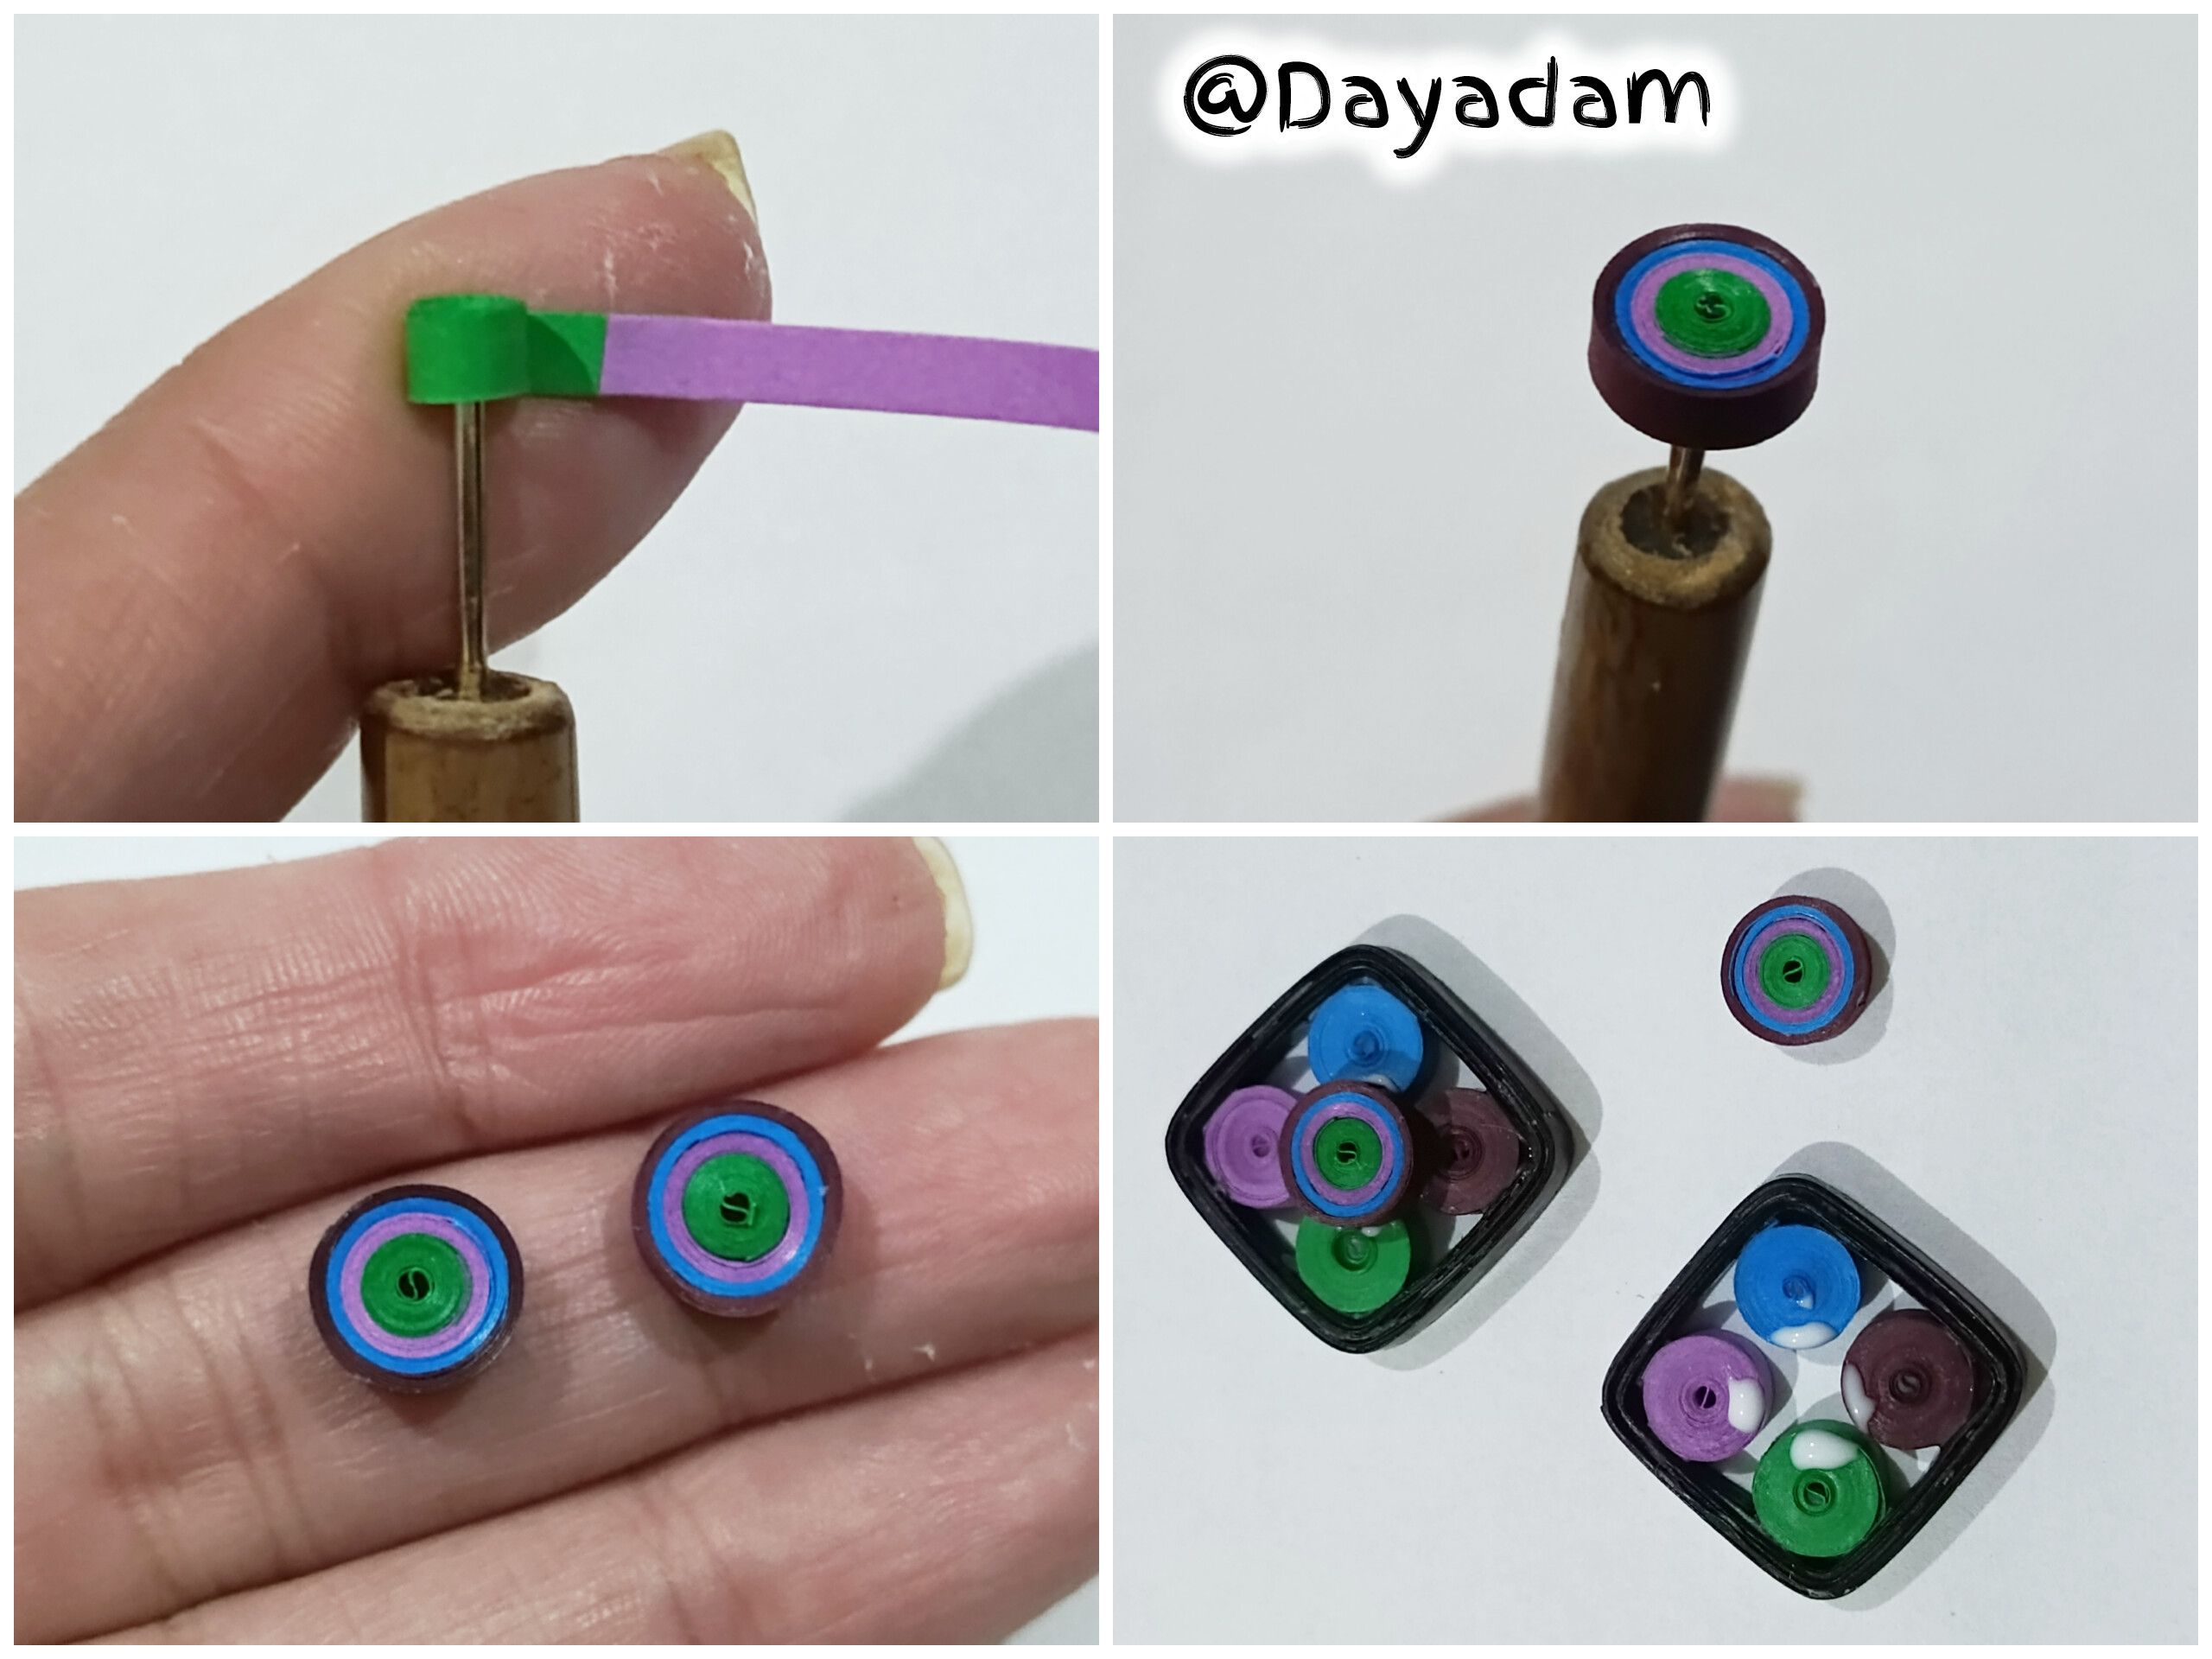
• I took a small piece of ribbon in each of the colors I used to make the circles, joined them all together into a single ribbon, and used it to make a closed multicolored circle. I made two identical ones, which I glued in the center of the piece I had made earlier.
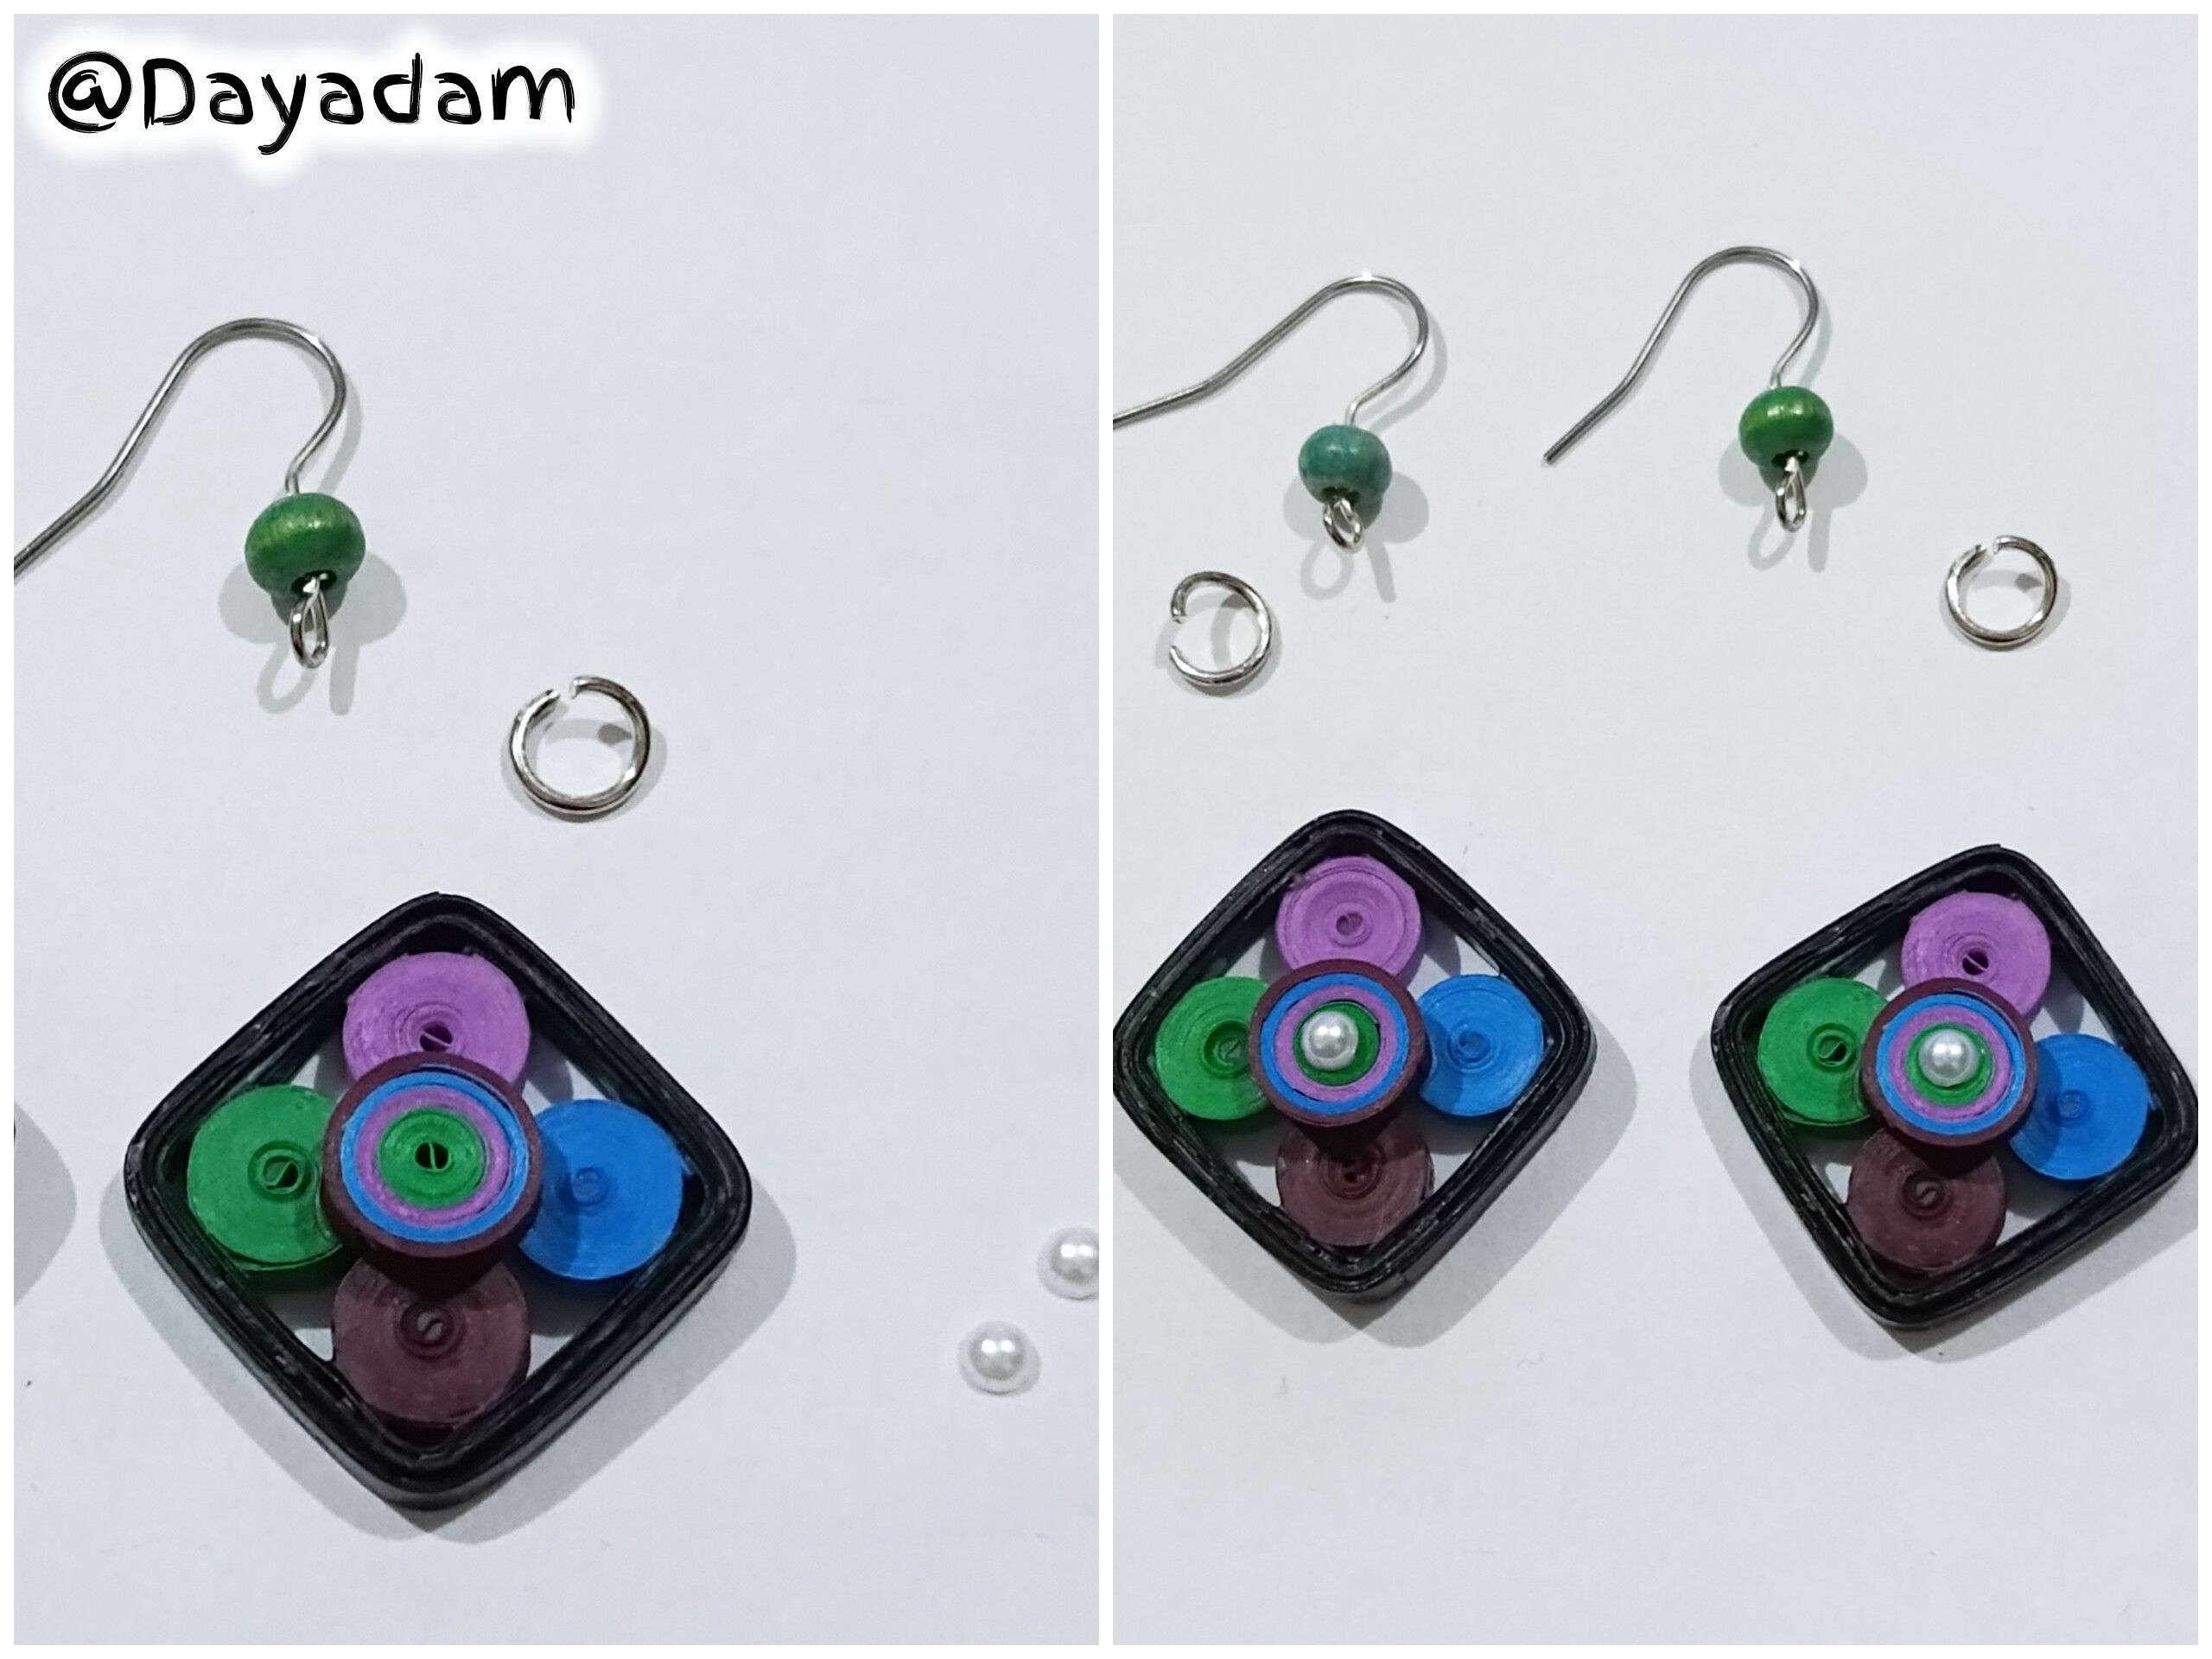
• To decorate it, I placed a half jewelry pearl in the center circle.
• To finish, I attached a jewelry ring and a base for dangling earrings, to which I had previously attached a green wooden jewelry pearl to make the earrings more eye-catching.
This is how I finished this pair of dangling earrings with diamond and circle shapes using the quilling technique.
• En este punto tomé los círculos, los pegué en los cuadrados que realicé, uno en cada extremo en la parte de adentro tal como pueden ver en las imágenes.
• Tomé un trozo pequeño de cinta de cada uno de los colores que utilicé para hacer los círculos, los uní todos en una sola cinta y con ella procedí a realizar un círculo cerrado multicolor. Realicé dos iguales, los cuales pegué en el centro de la pieza que realicé con antelación.
• Para decorar le coloqué una media perla de bisutería en el círculo central.
• Para finalizar le coloque su argolla de bisutería y base para zarcillos colgante, a la cual le coloque previamente una perla de bisutería de madera de color verde, para darle más vistosidad a los aretes.
De esta manera finalice este par de zarcillos colgantes con formas de rombos y círculos en la técnica de técnica de quilling.
 |
 |
 |
 |

|
 |
 |
 |
|
What did you think, did you like it?
I hope you did, I hope you liked my explanation, procedure and photos, I made them with love for you.
"Let out that muse that inspires you, and let your imagination fly".
Thank you all, see you next time ✨.
¿Qué les pareció, les gustó?
Espero que sí, que les haya gustado mi explicación, procedimiento y fotos, los hice con mucho cariño por y para ustedes."Deja salir esa musa que te inspira, y deja volar tu imaginación".
Gracias a todos, nos vemos en la próxima✨
All photos used in this post are of my authorship and have been taken on my personal cell phone a Redmi 9T, edited in InShot and Canva
Banner and separator made by me in Canva
Translated with the help of DeepL
Todas las fotos usadas en este post son de mi autoría y han sido sacadas en mi celular personal un Redmi 9T, editadas en InShot y Canva
Banner y separador hecho por mí en Canva
Traducido con la ayuda de DeepL
