Hello to my dear Hivers and the dear community of artists,#Jewelry as always very pleased and excited to be here again, showing you my work made with love and especially for you.
Greetings to the Splinterlands community, and everyone who lives there, I'm here to join the Splinterlands Social Media Challenge!
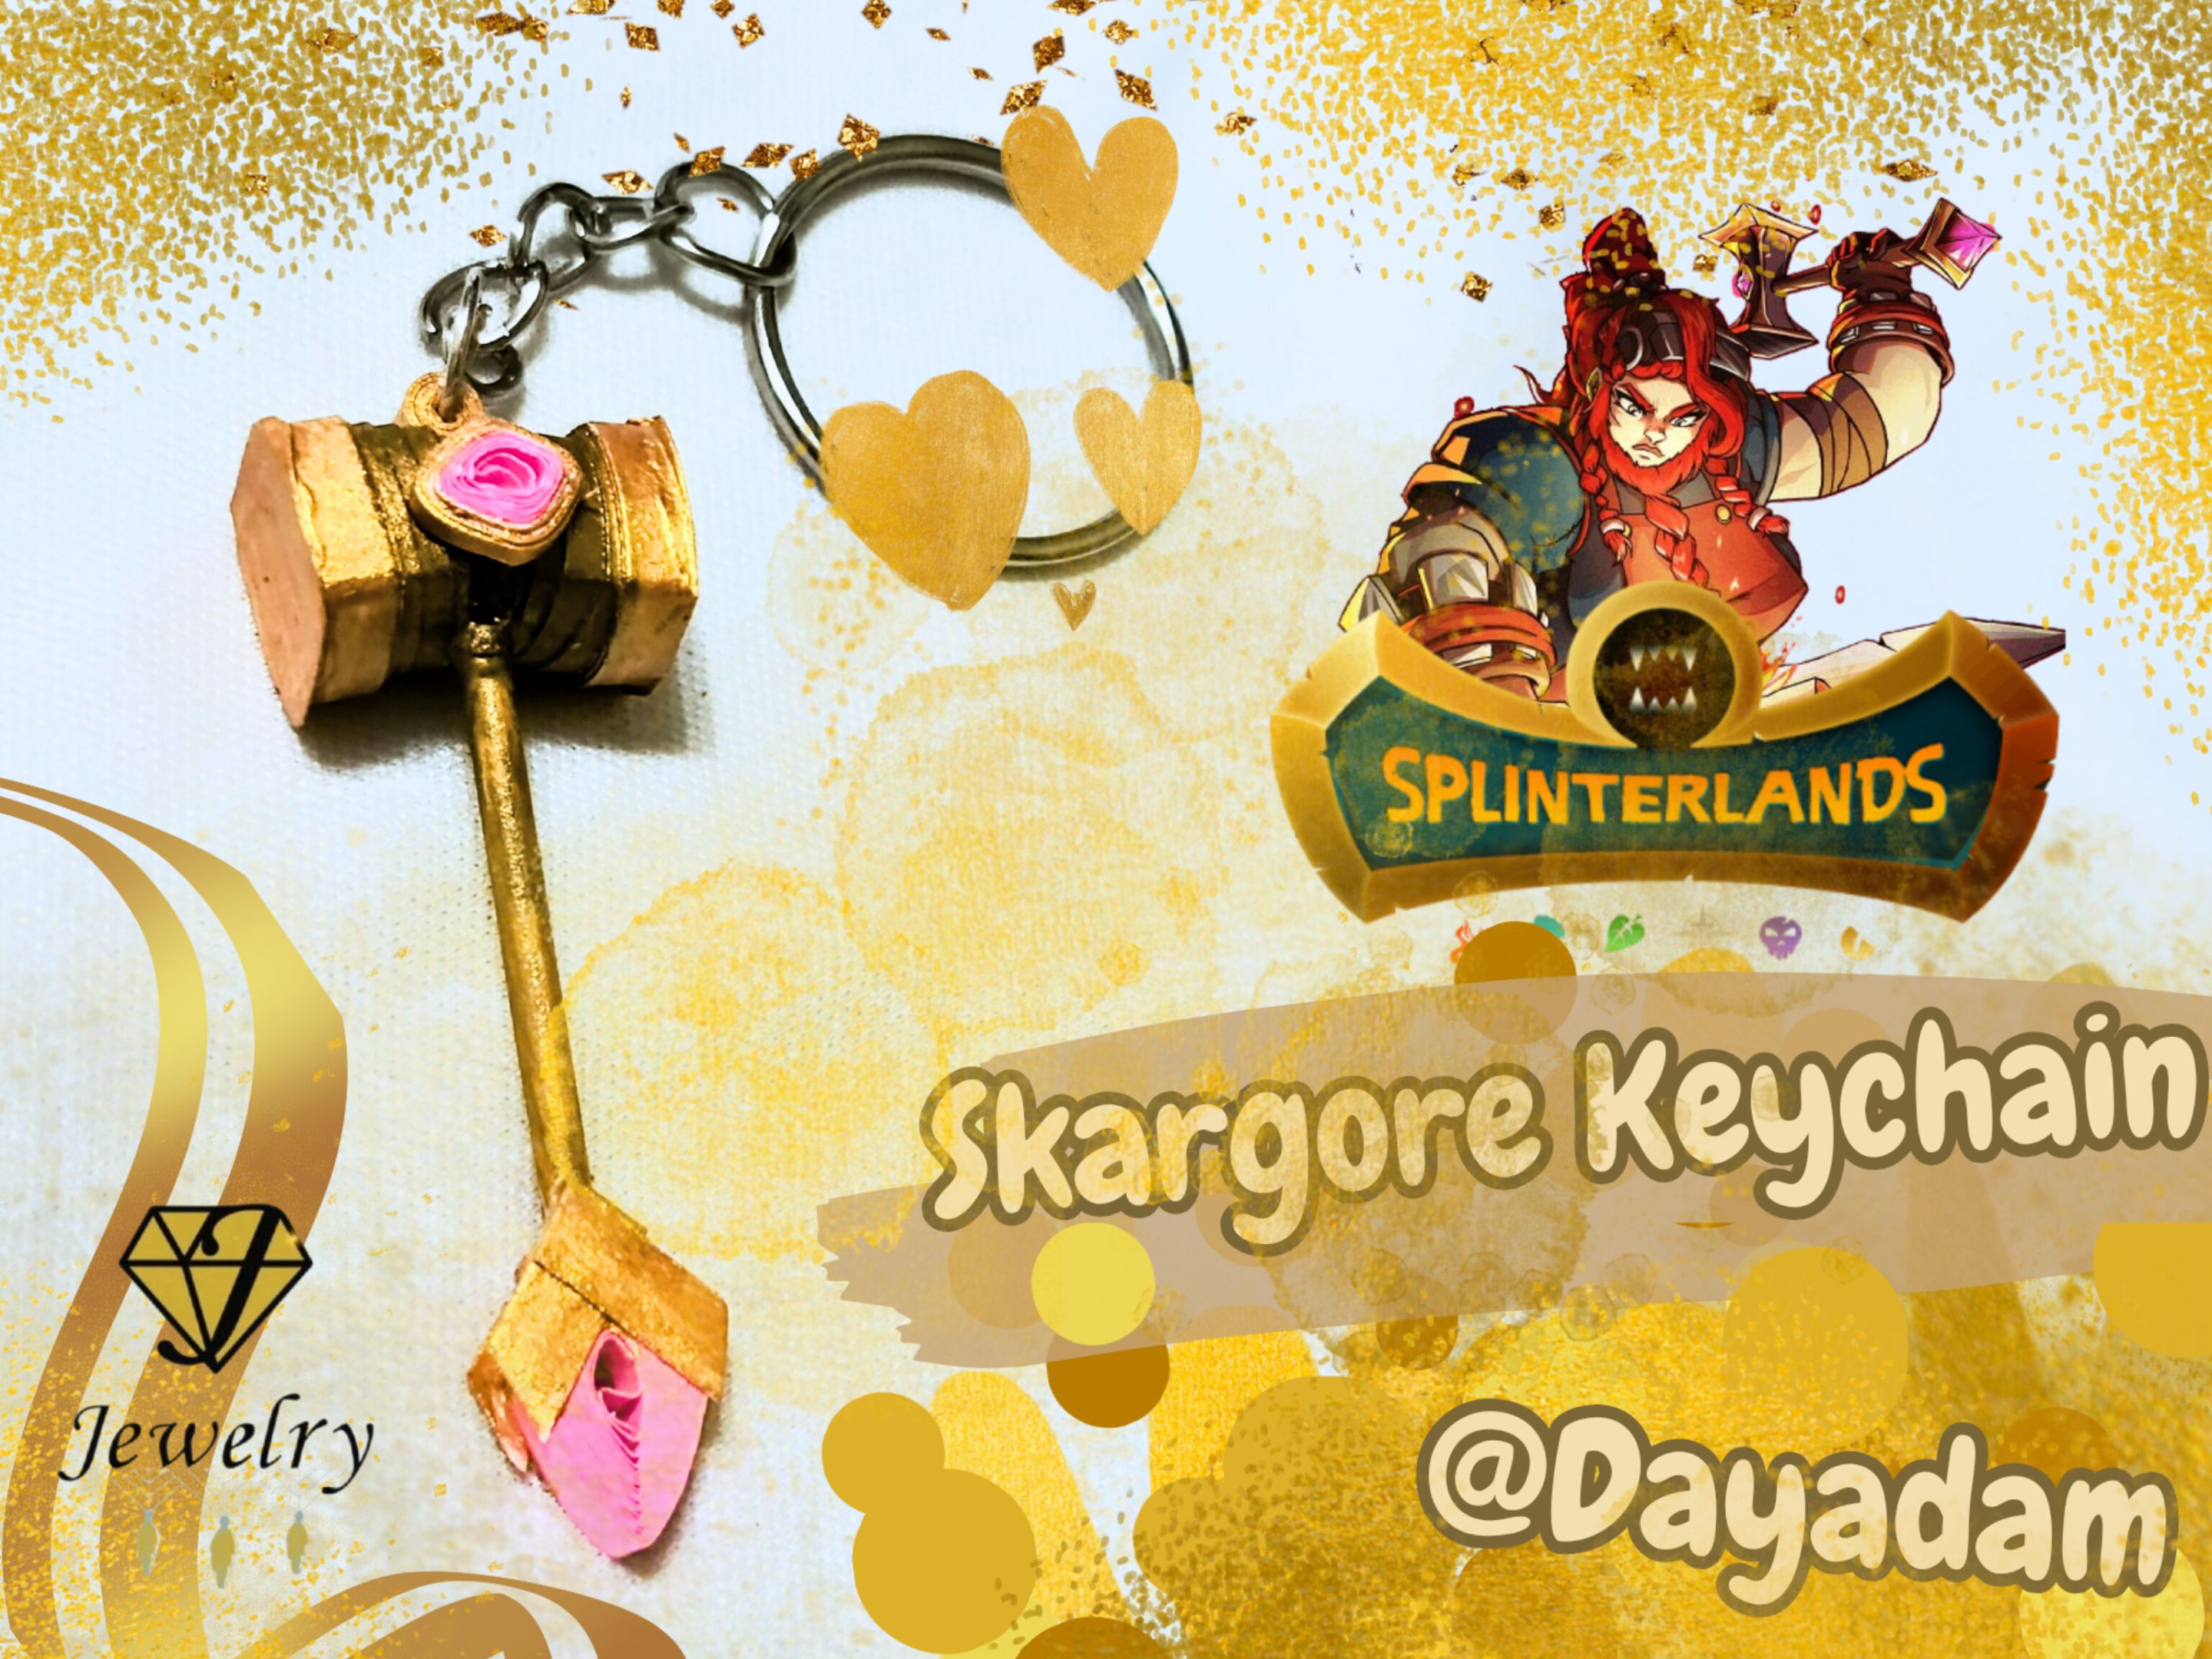
For today I bring you a new artwork, I wanted to make a keychain inspired by the deck that carries in his hands the character of the card, Skargore in the quilling technique.
If you want to know more about the game, I leave you my reference link to enter it and navigate through this wonderful world: https://splinterlands.com?ref=dayadam
Hoping you like my work, without further ado, I leave you with my creative process.
Let's start:😃

Hola a Todos...✨
Hola a mis queridos Hivers y a la querida comunidad de artistas #Jewelry, como siempre muy complacida y emocionada de encontrarme por acá nuevamente, mostrándole mi trabajo hecho con mucho amor y especialmente para ustedes.
Un saludo para la comunidad de Splinterlands, y todos los que hacen vida por allí, estoy por acá para unirme al reto Splinterlands Social Media Challenge!
Para hoy les traigo un nuevo trabajo de arte, quise realizar un llavero inspirado en el mazo que lleva en sus manos el personaje de la carta, Skargore en la técnica de quilling.
Si quieren saber más con respecto al juego les dejo mi enlace de referencia para que ingresen en él, y naveguen por este maravilloso mundo: https://splinterlands.com?ref=dayadam
Esperando les guste mi trabajo, sin más preámbulos, les dejo mi proceso creativo.
Comencemos:😃
 |

|


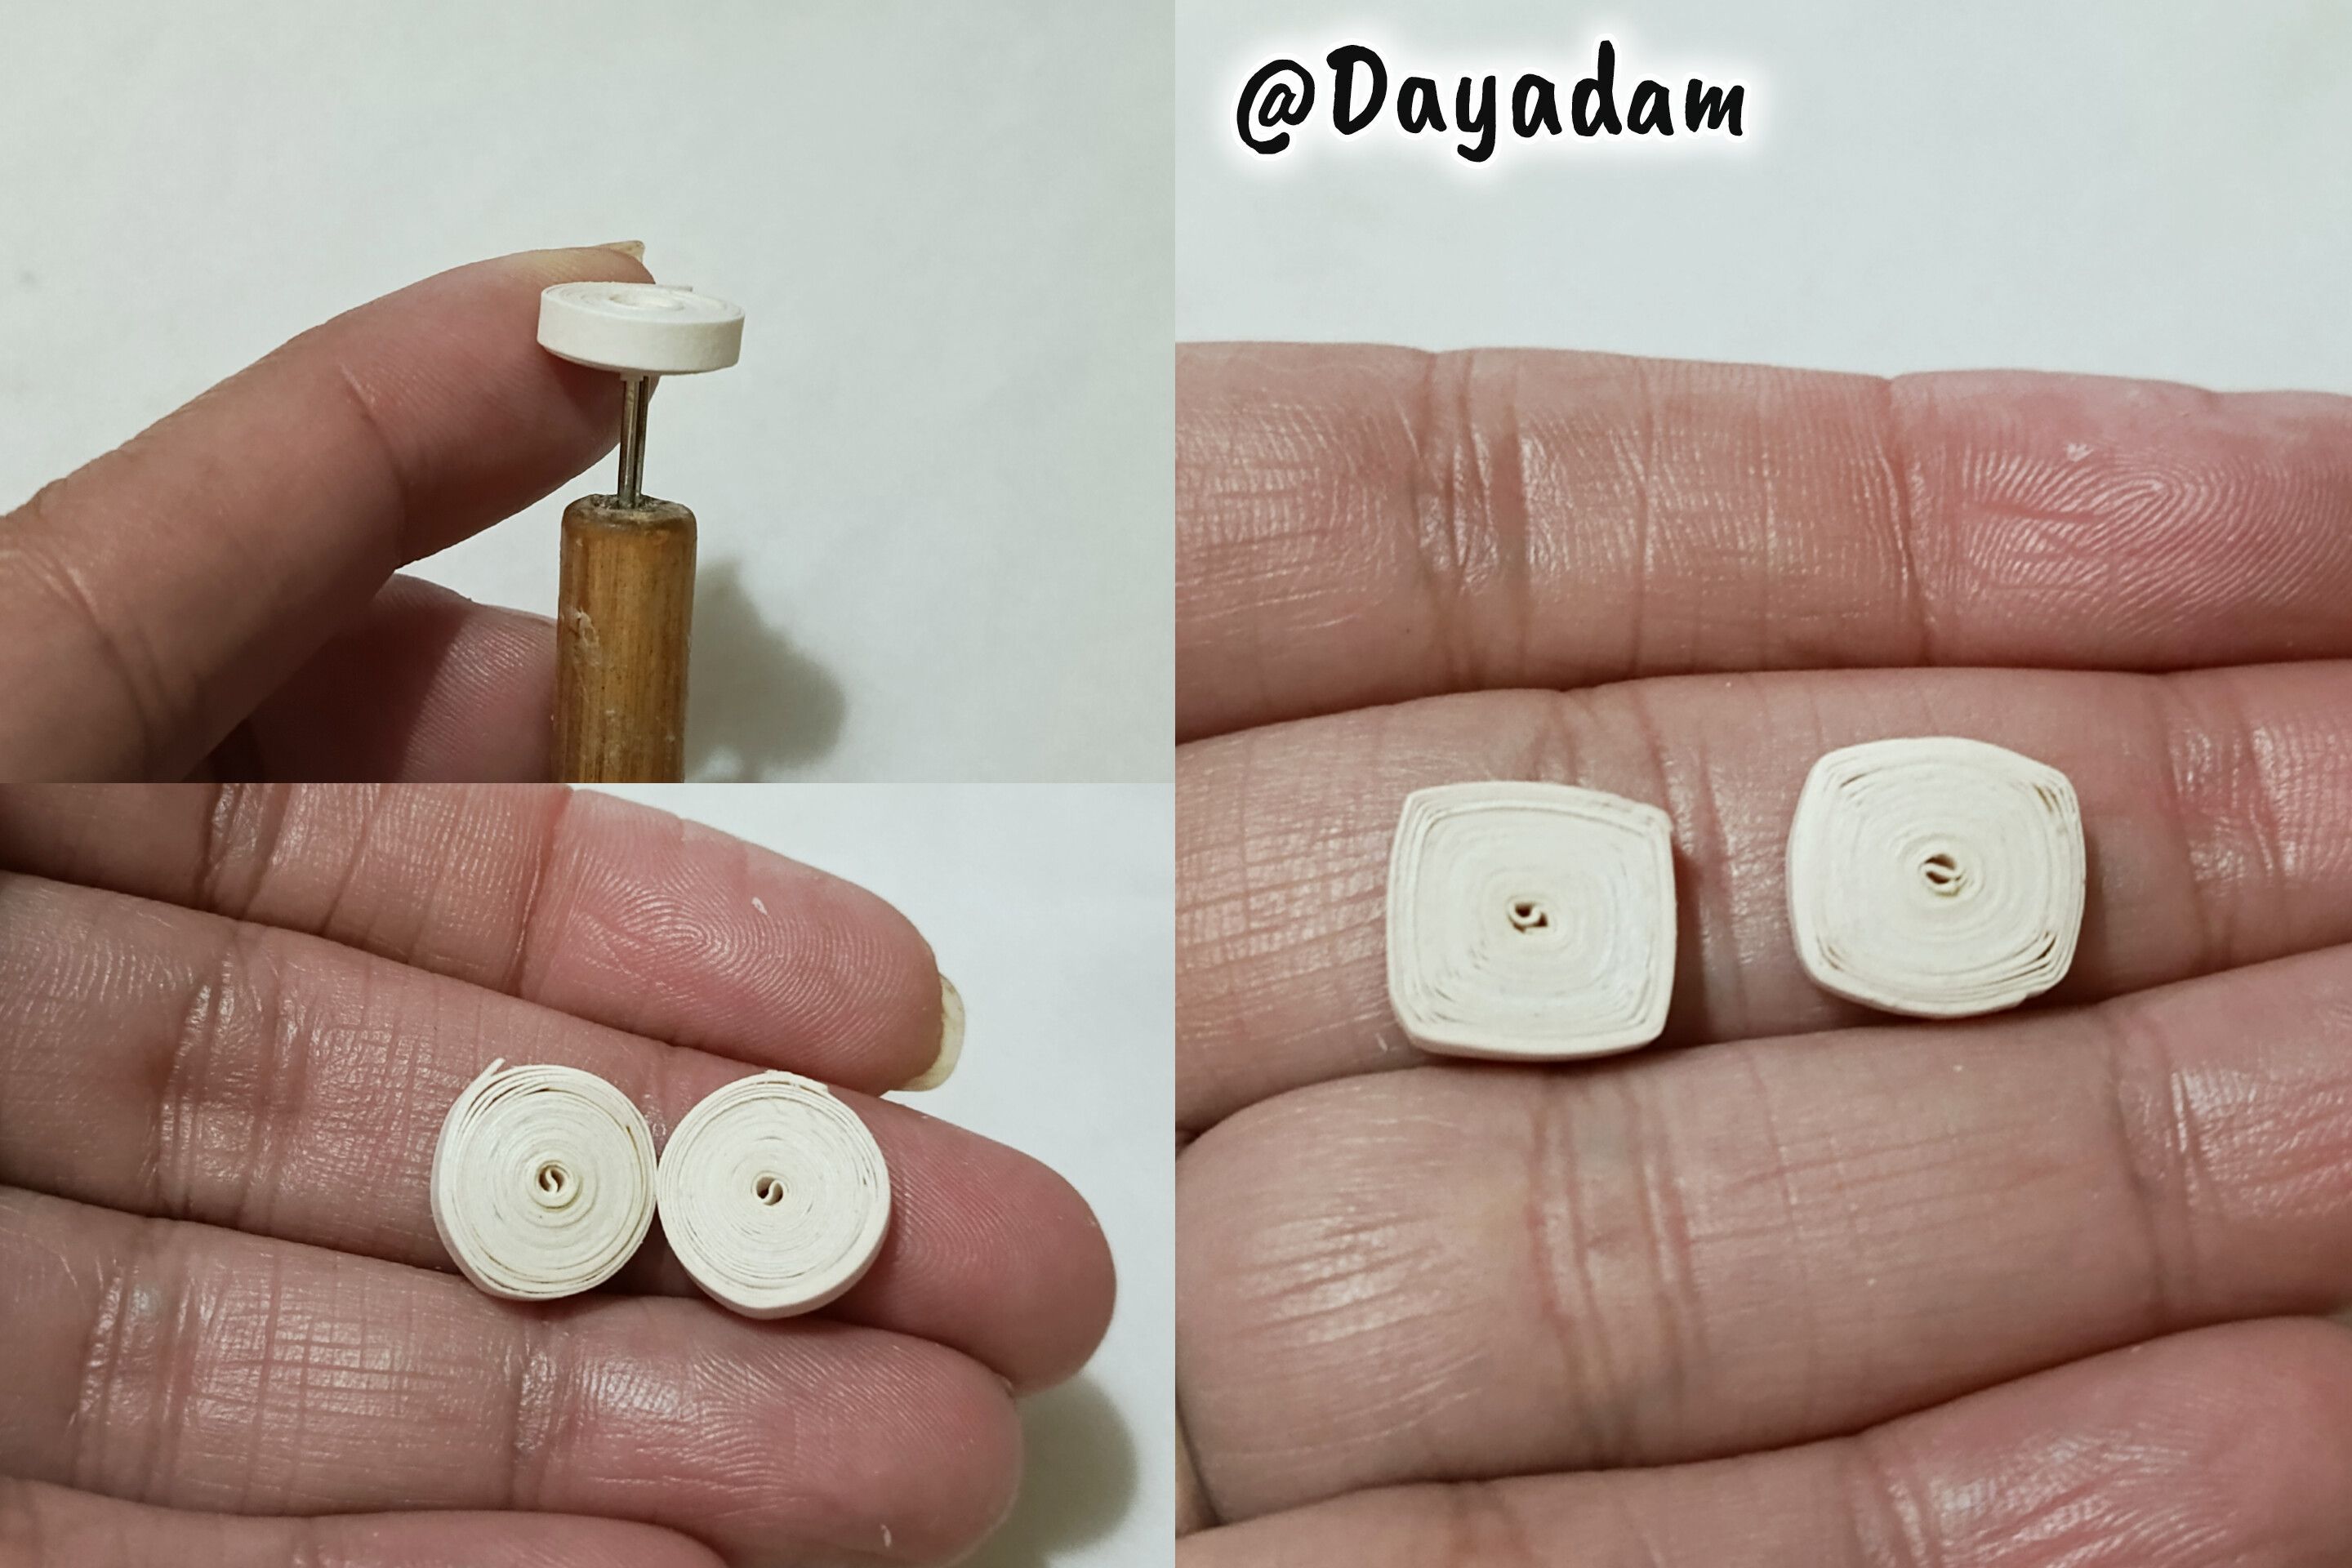
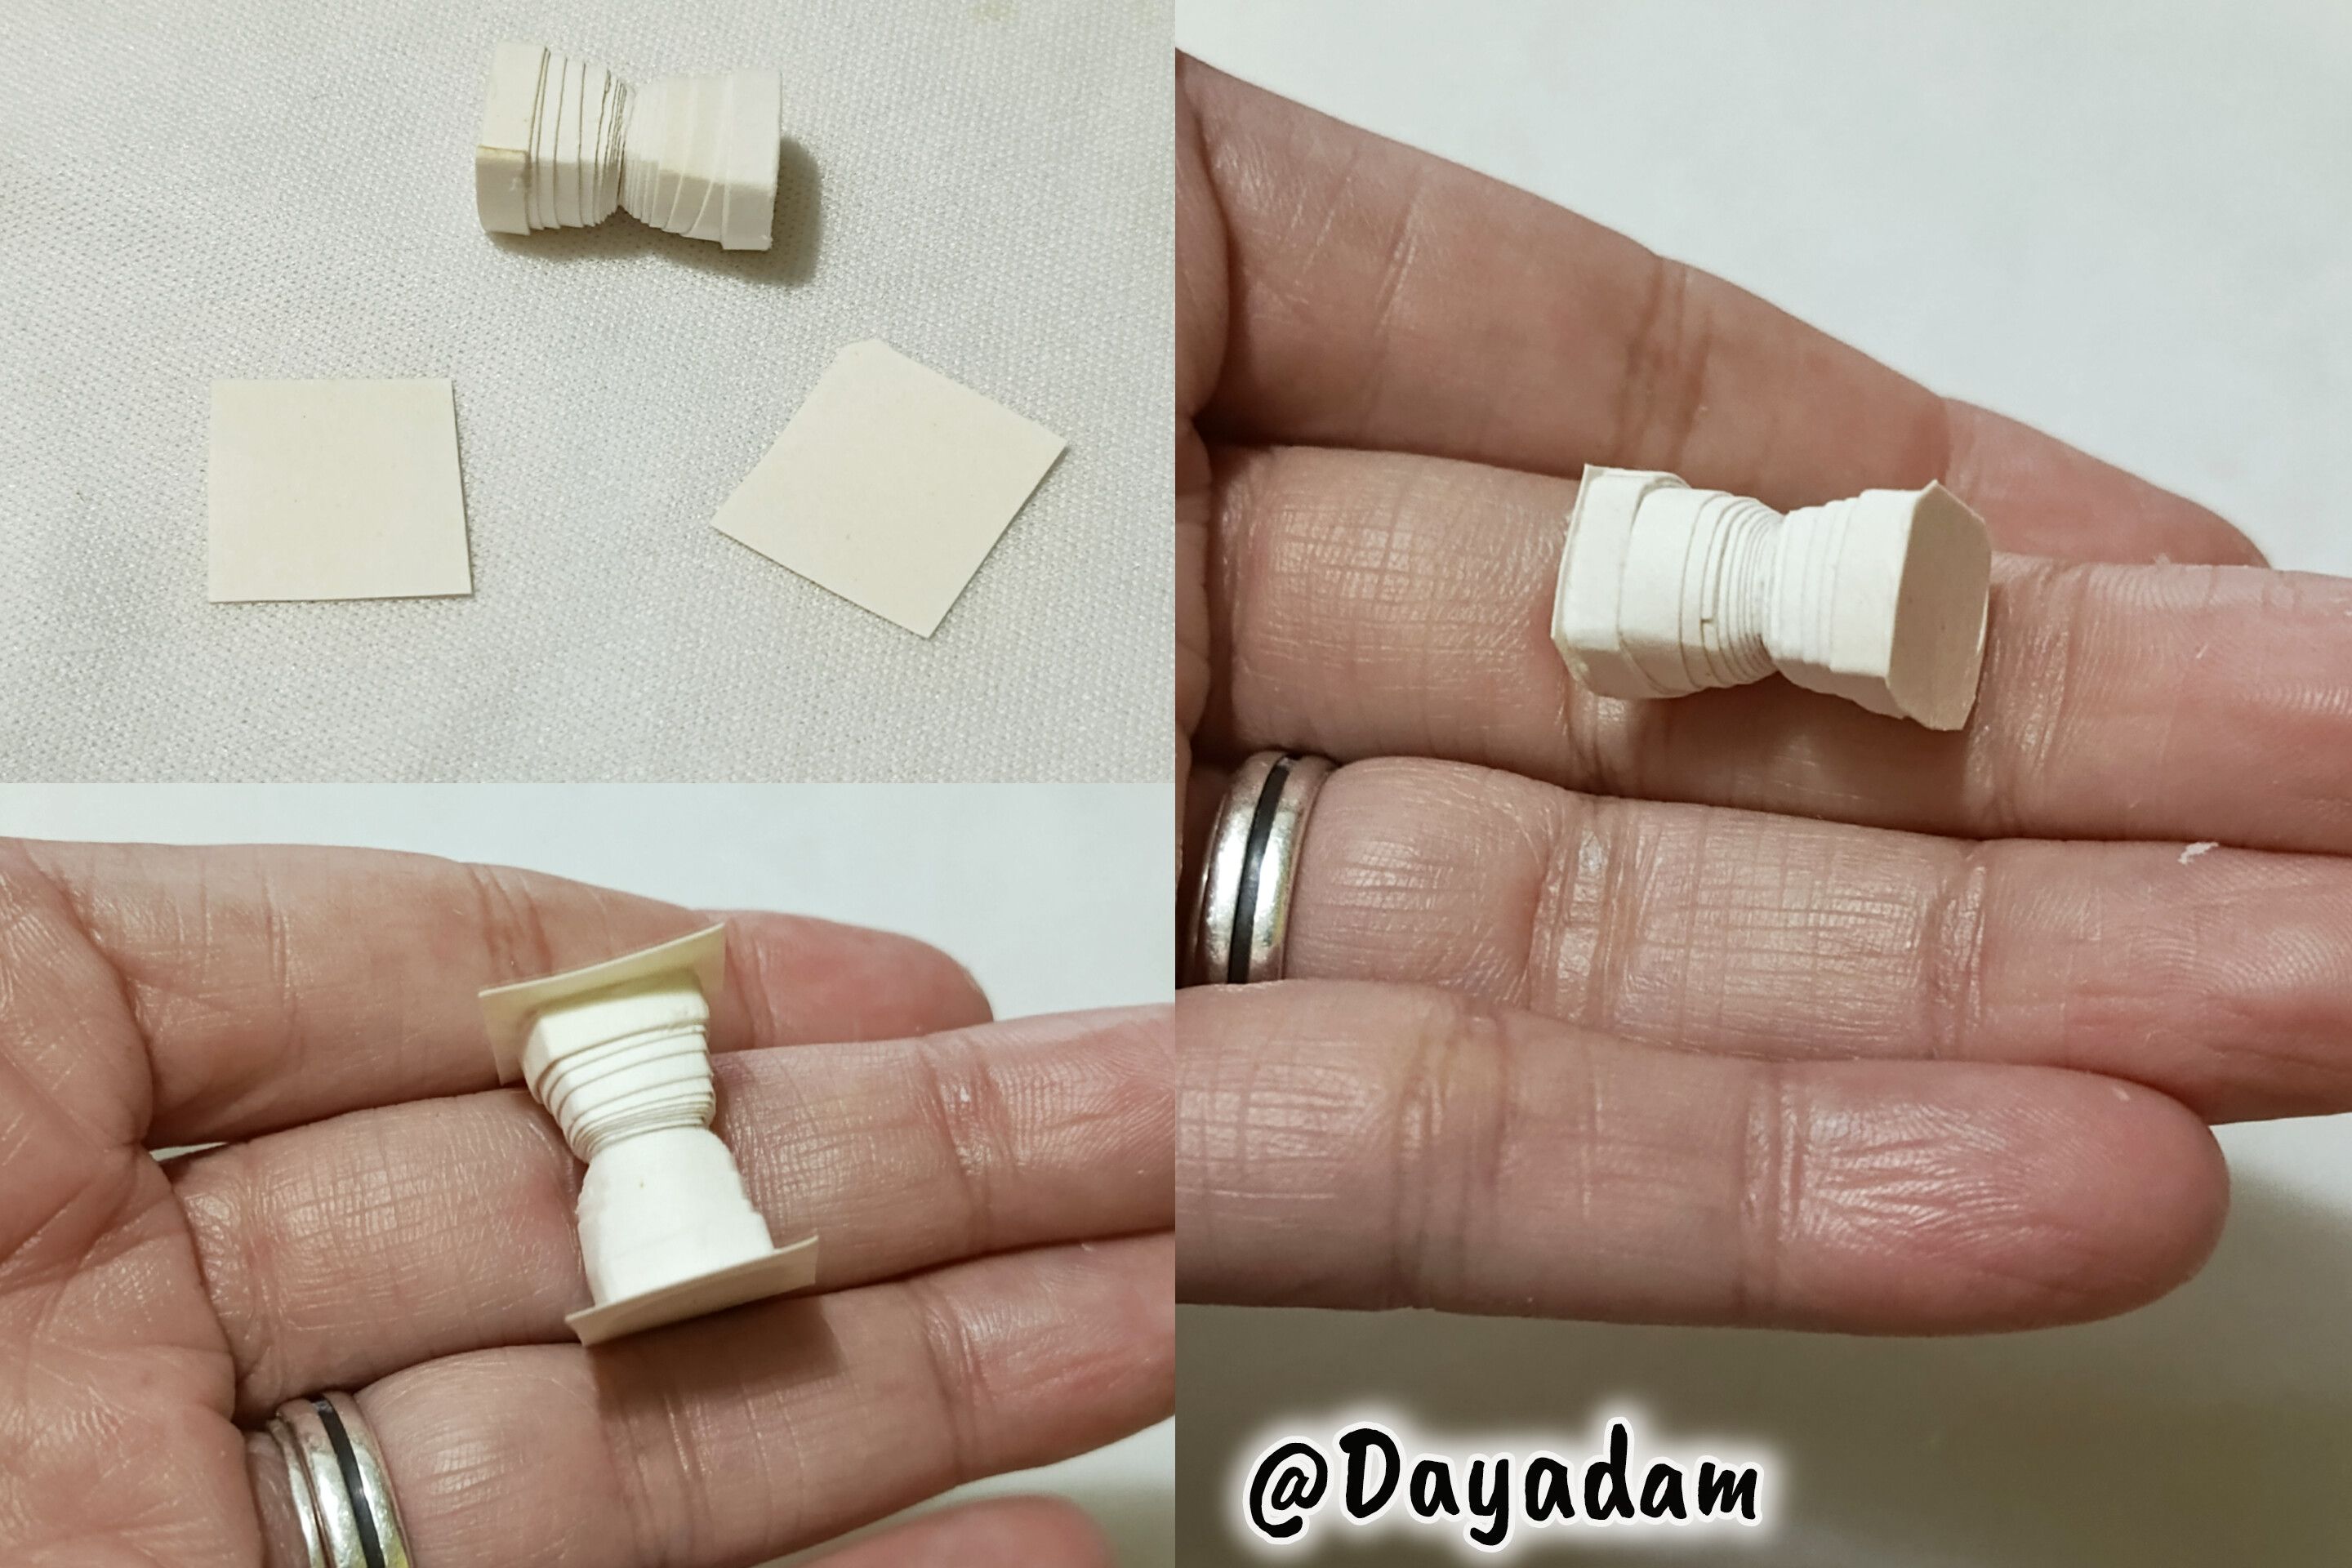
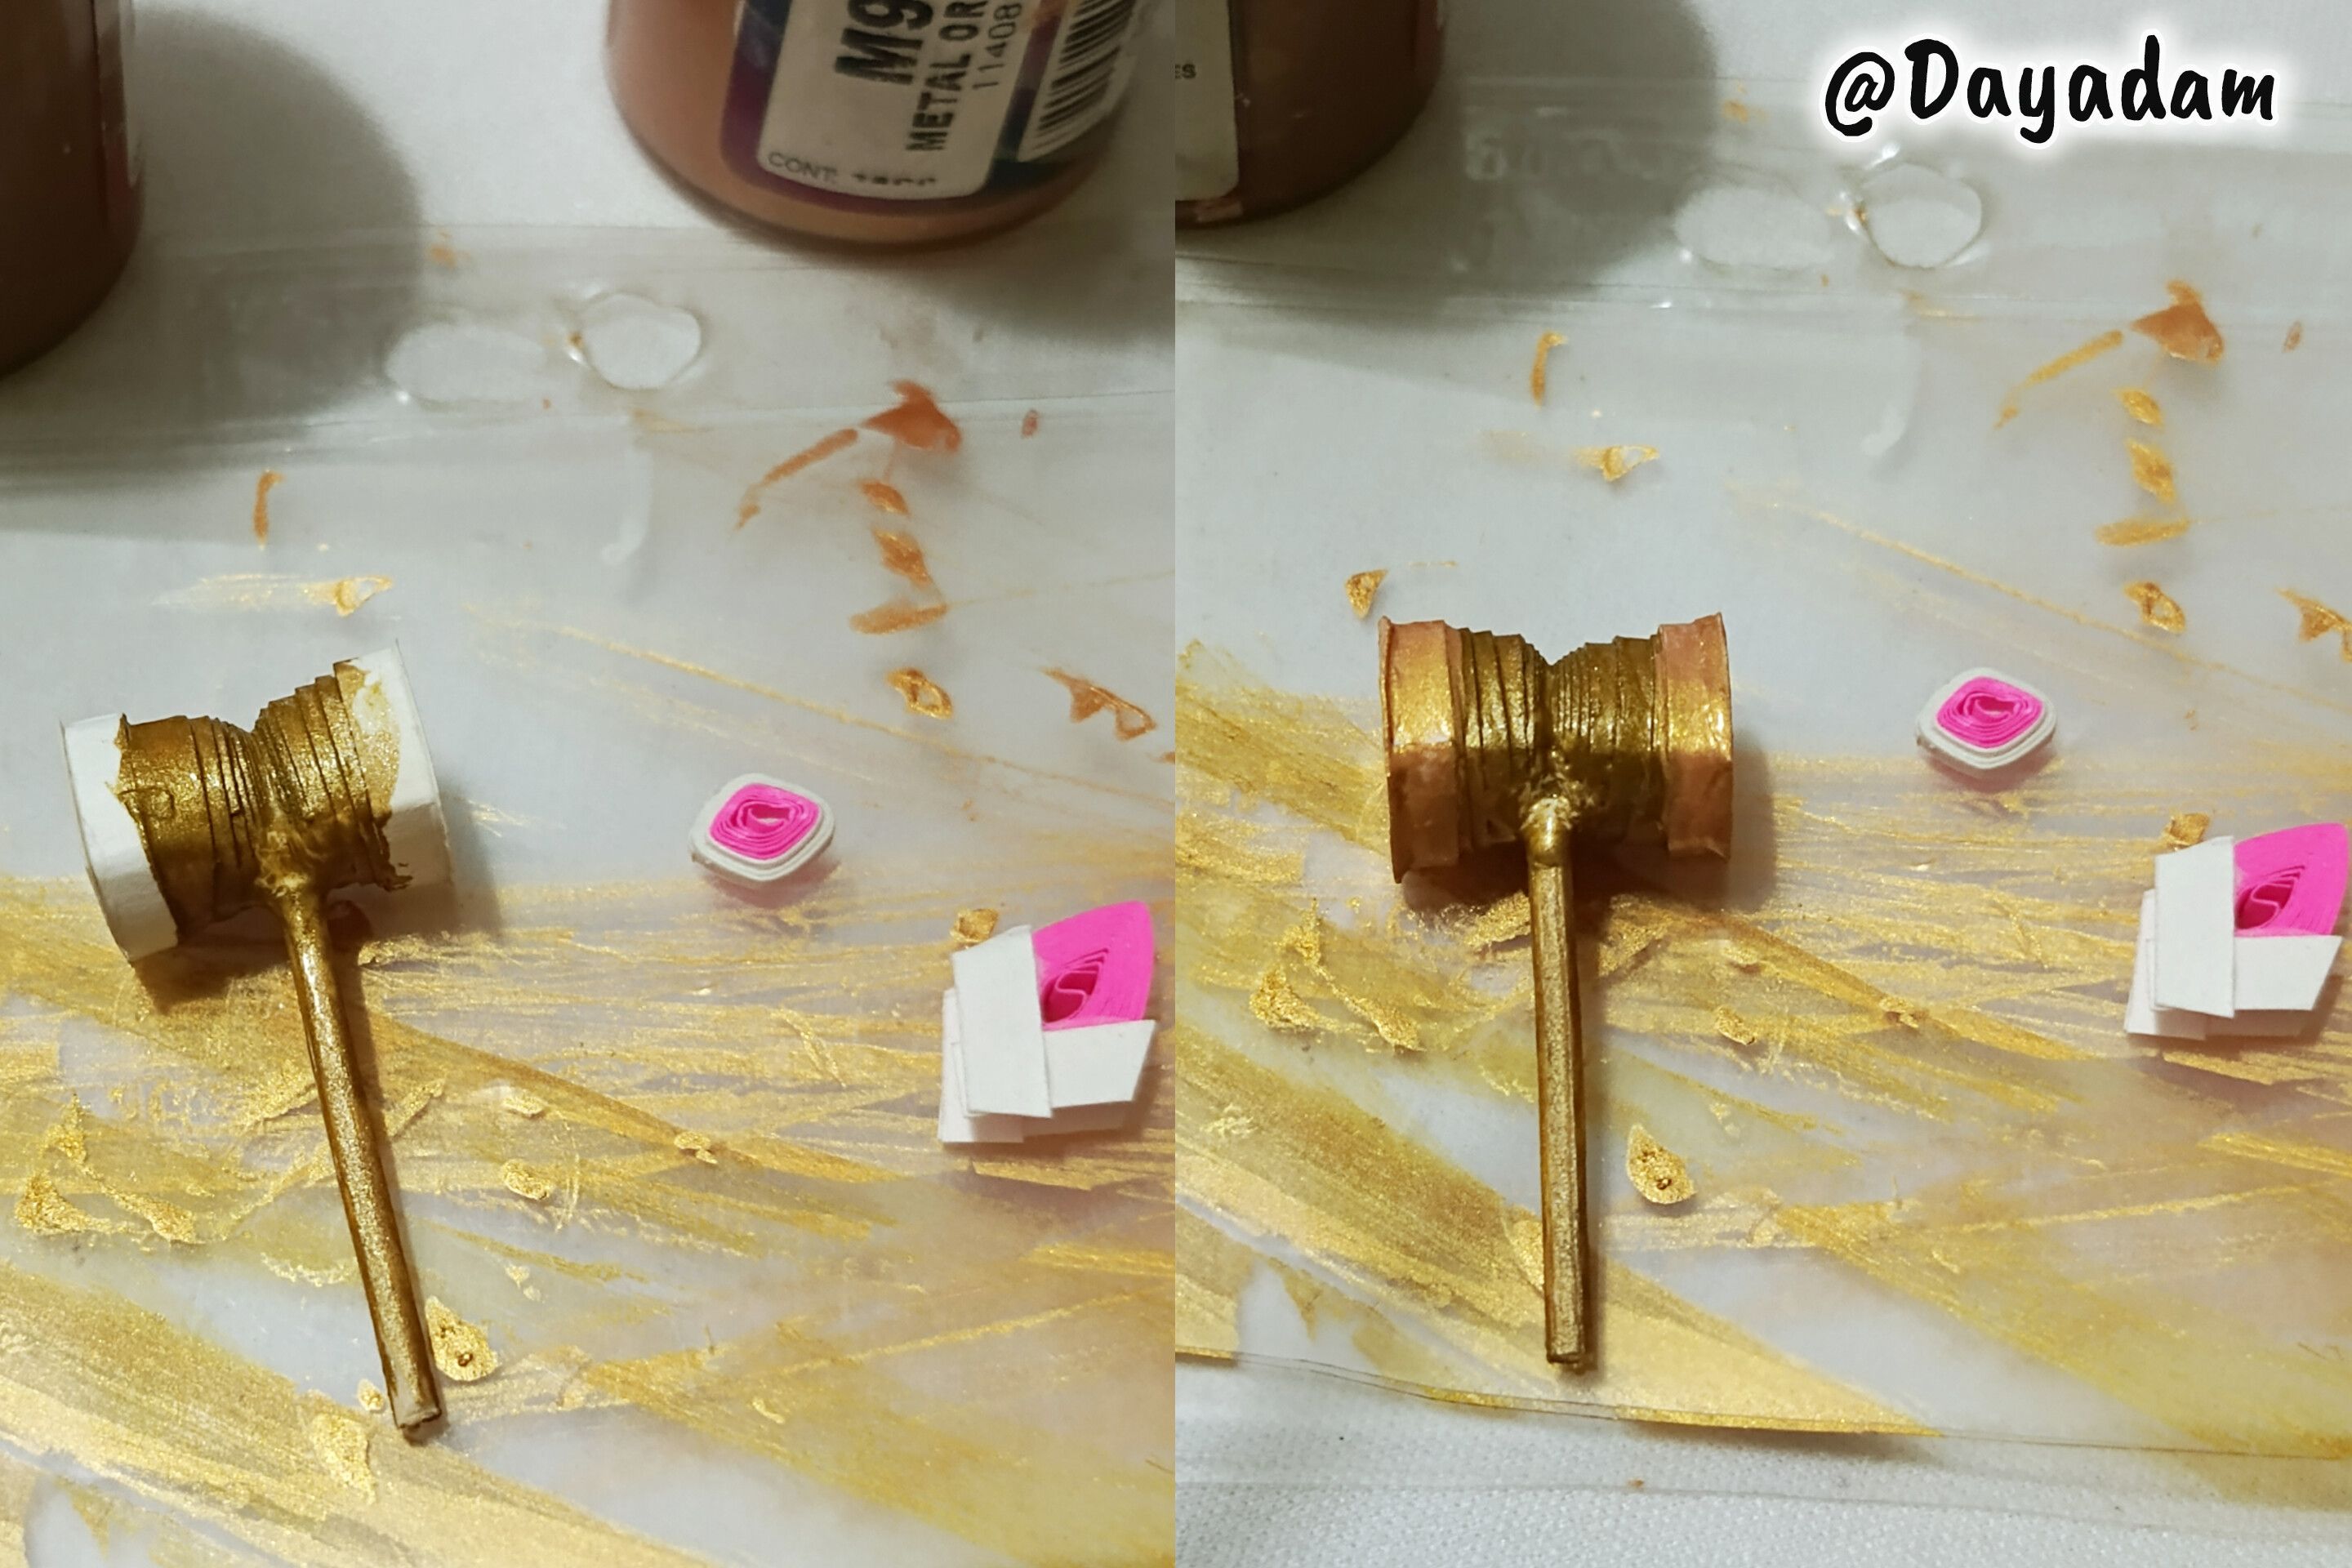
- We took white quilling tape 3 mm wide, with the needle I proceeded to roll until the end of the same sealed with white glue I took out the needle to get a closed circle, we will need 2 equal.
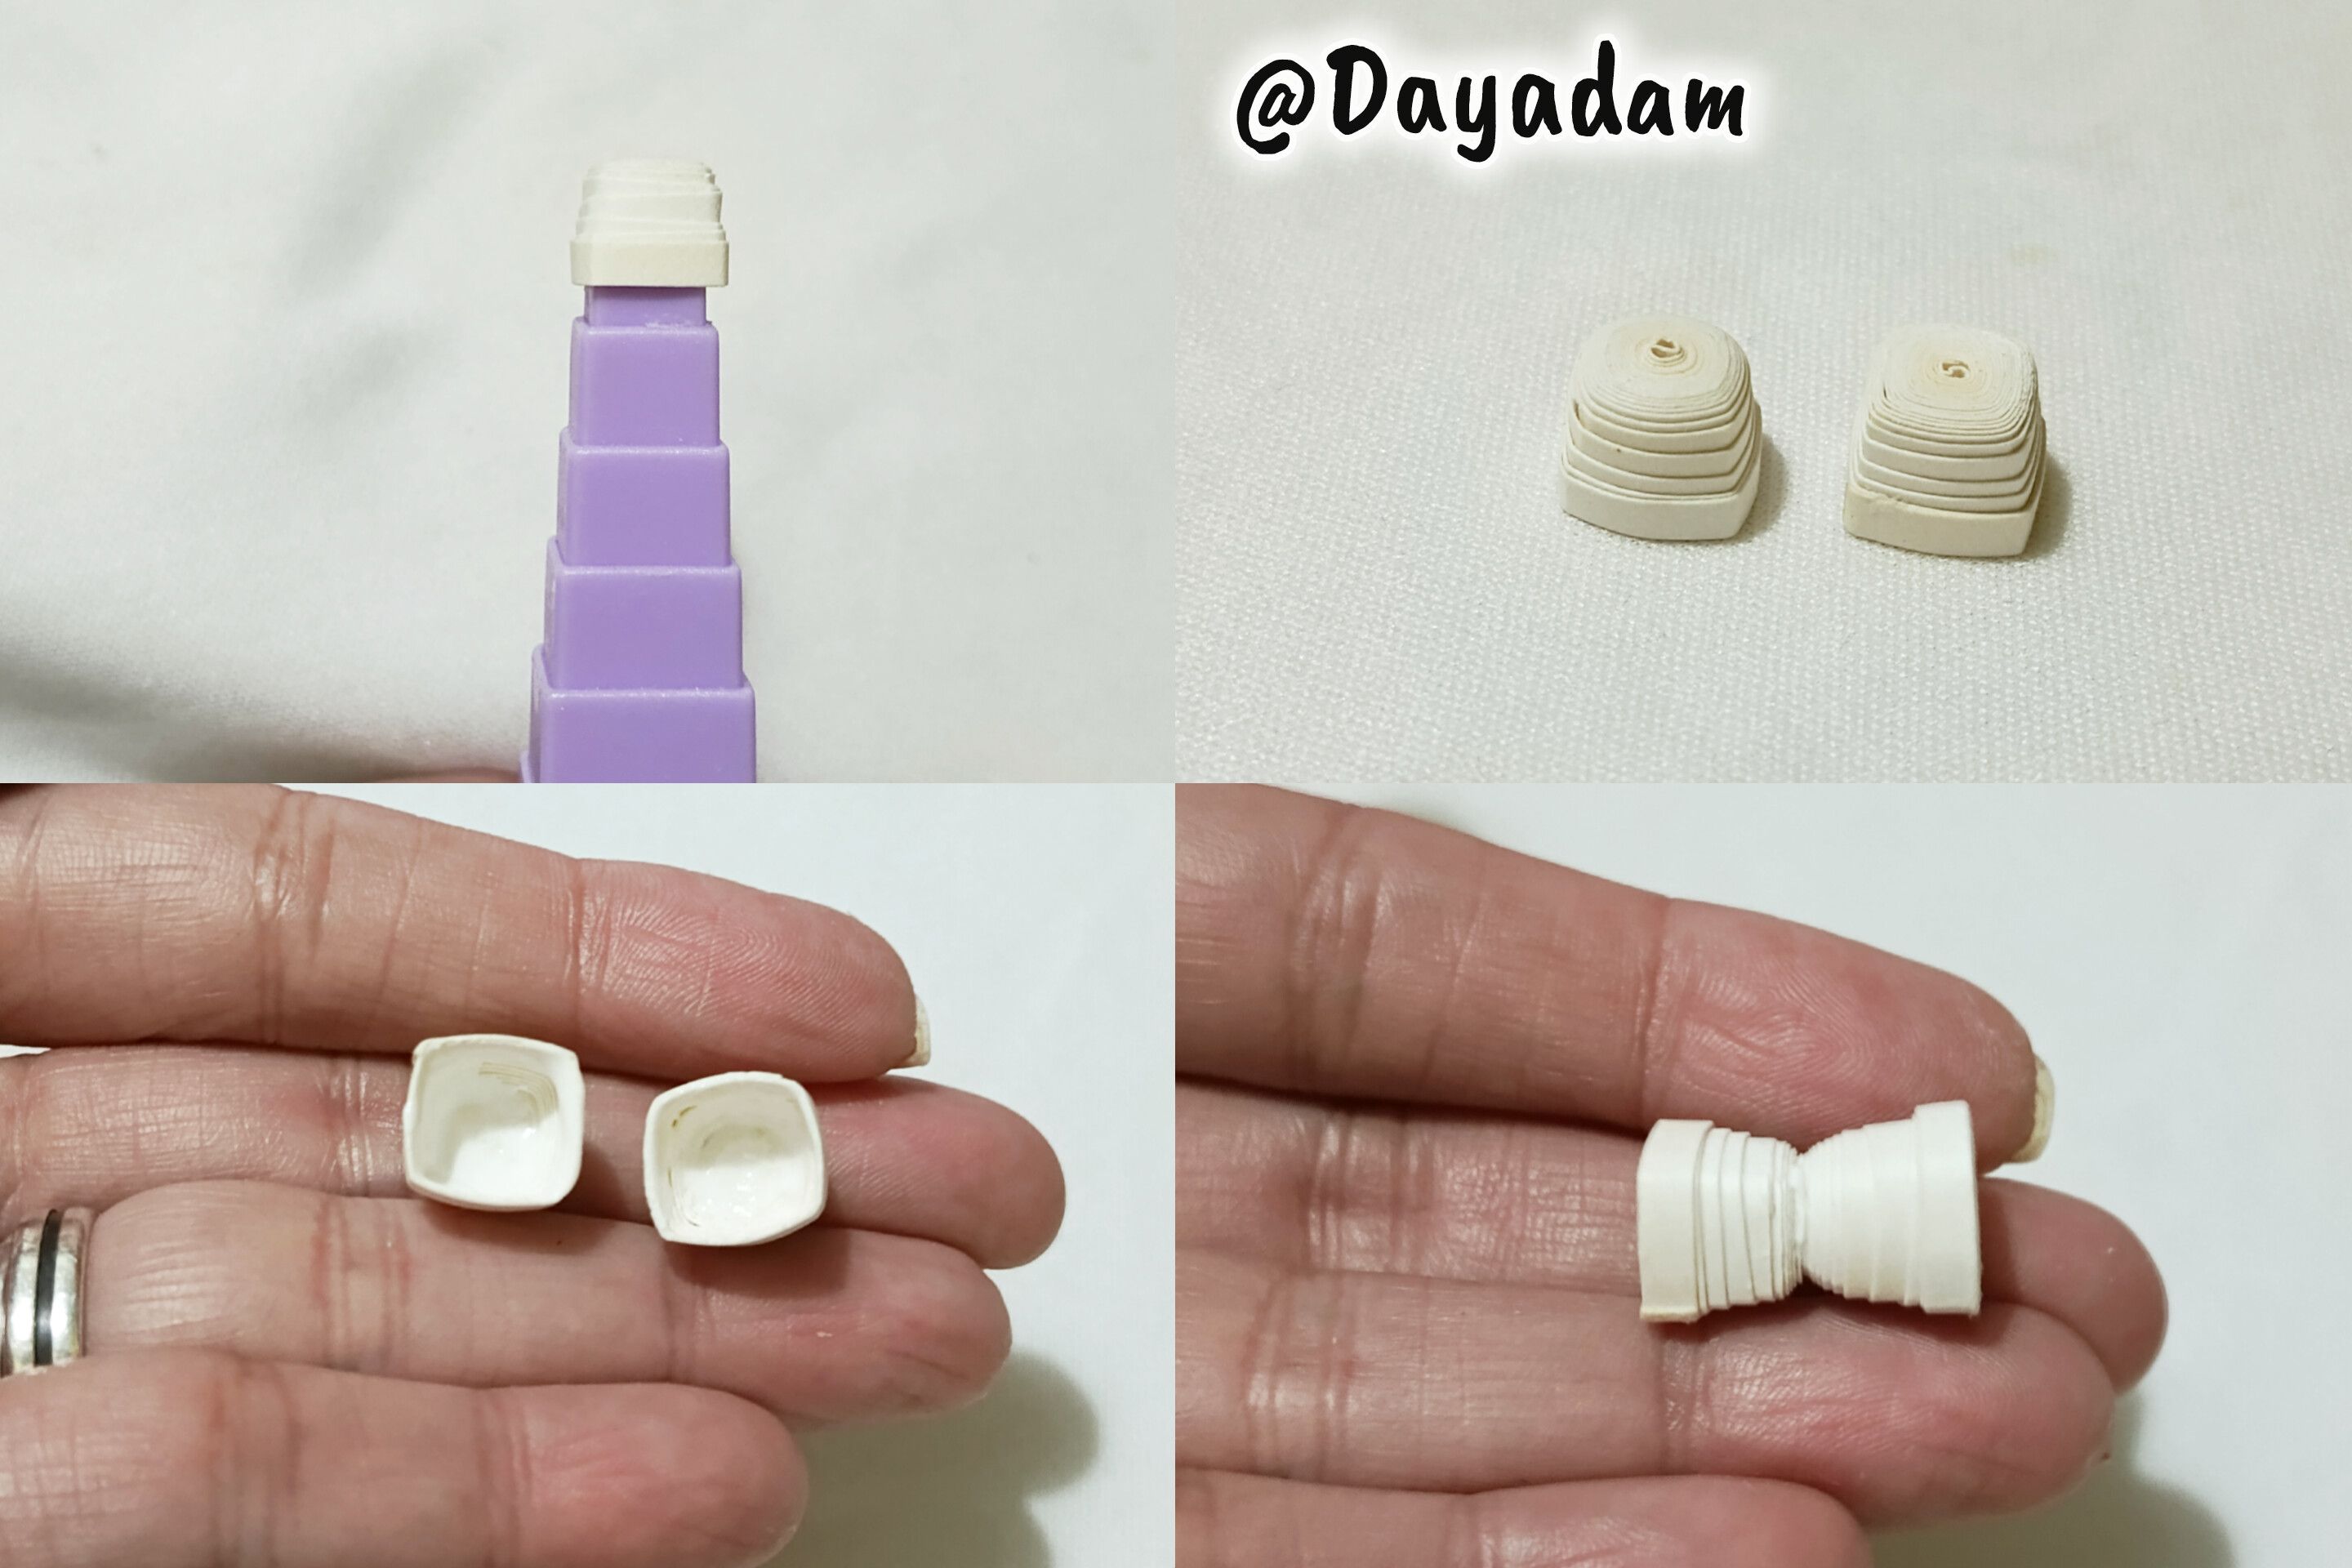
- We molded giving it a square shape, then with a cone to mold circles we will take a little out, apply extra strong white glue on the inside and let dry very well.
- We are going to glue these 2 pieces in reverse, then on the sides I glued a piece of white cardboard trim the leftovers.
- I took a piece of wooden stick and glued it on the piece as you can see in the picture.

• Tomamos cinta para quilling de color blanco de 3 mm de ancho, con la aguja procedí a enrollar hasta llegar al final de la misma sellé con pega blanca saqué la aguja para obtener un círculo cerrado, vamos a necesitar 2 iguales.
• Moldeamos dándole una forma cuadrada, luego con un cono para moldear círculos vamos a sacar un poco hacia afuera, aplicamos pega blanca extra fuerte por su parte interna y dejamos secar muy bien.
• Vamos a pegar estas 2 piezas de manera inversa, luego a los lados pegué un trozo de cartulina de color blanco recorte los sobrantes.
• Tomé un trozo de palillo de madera, lo pegué en la pieza tal y como lo pueden ver en la imagen.
 |
 |
 |
 |
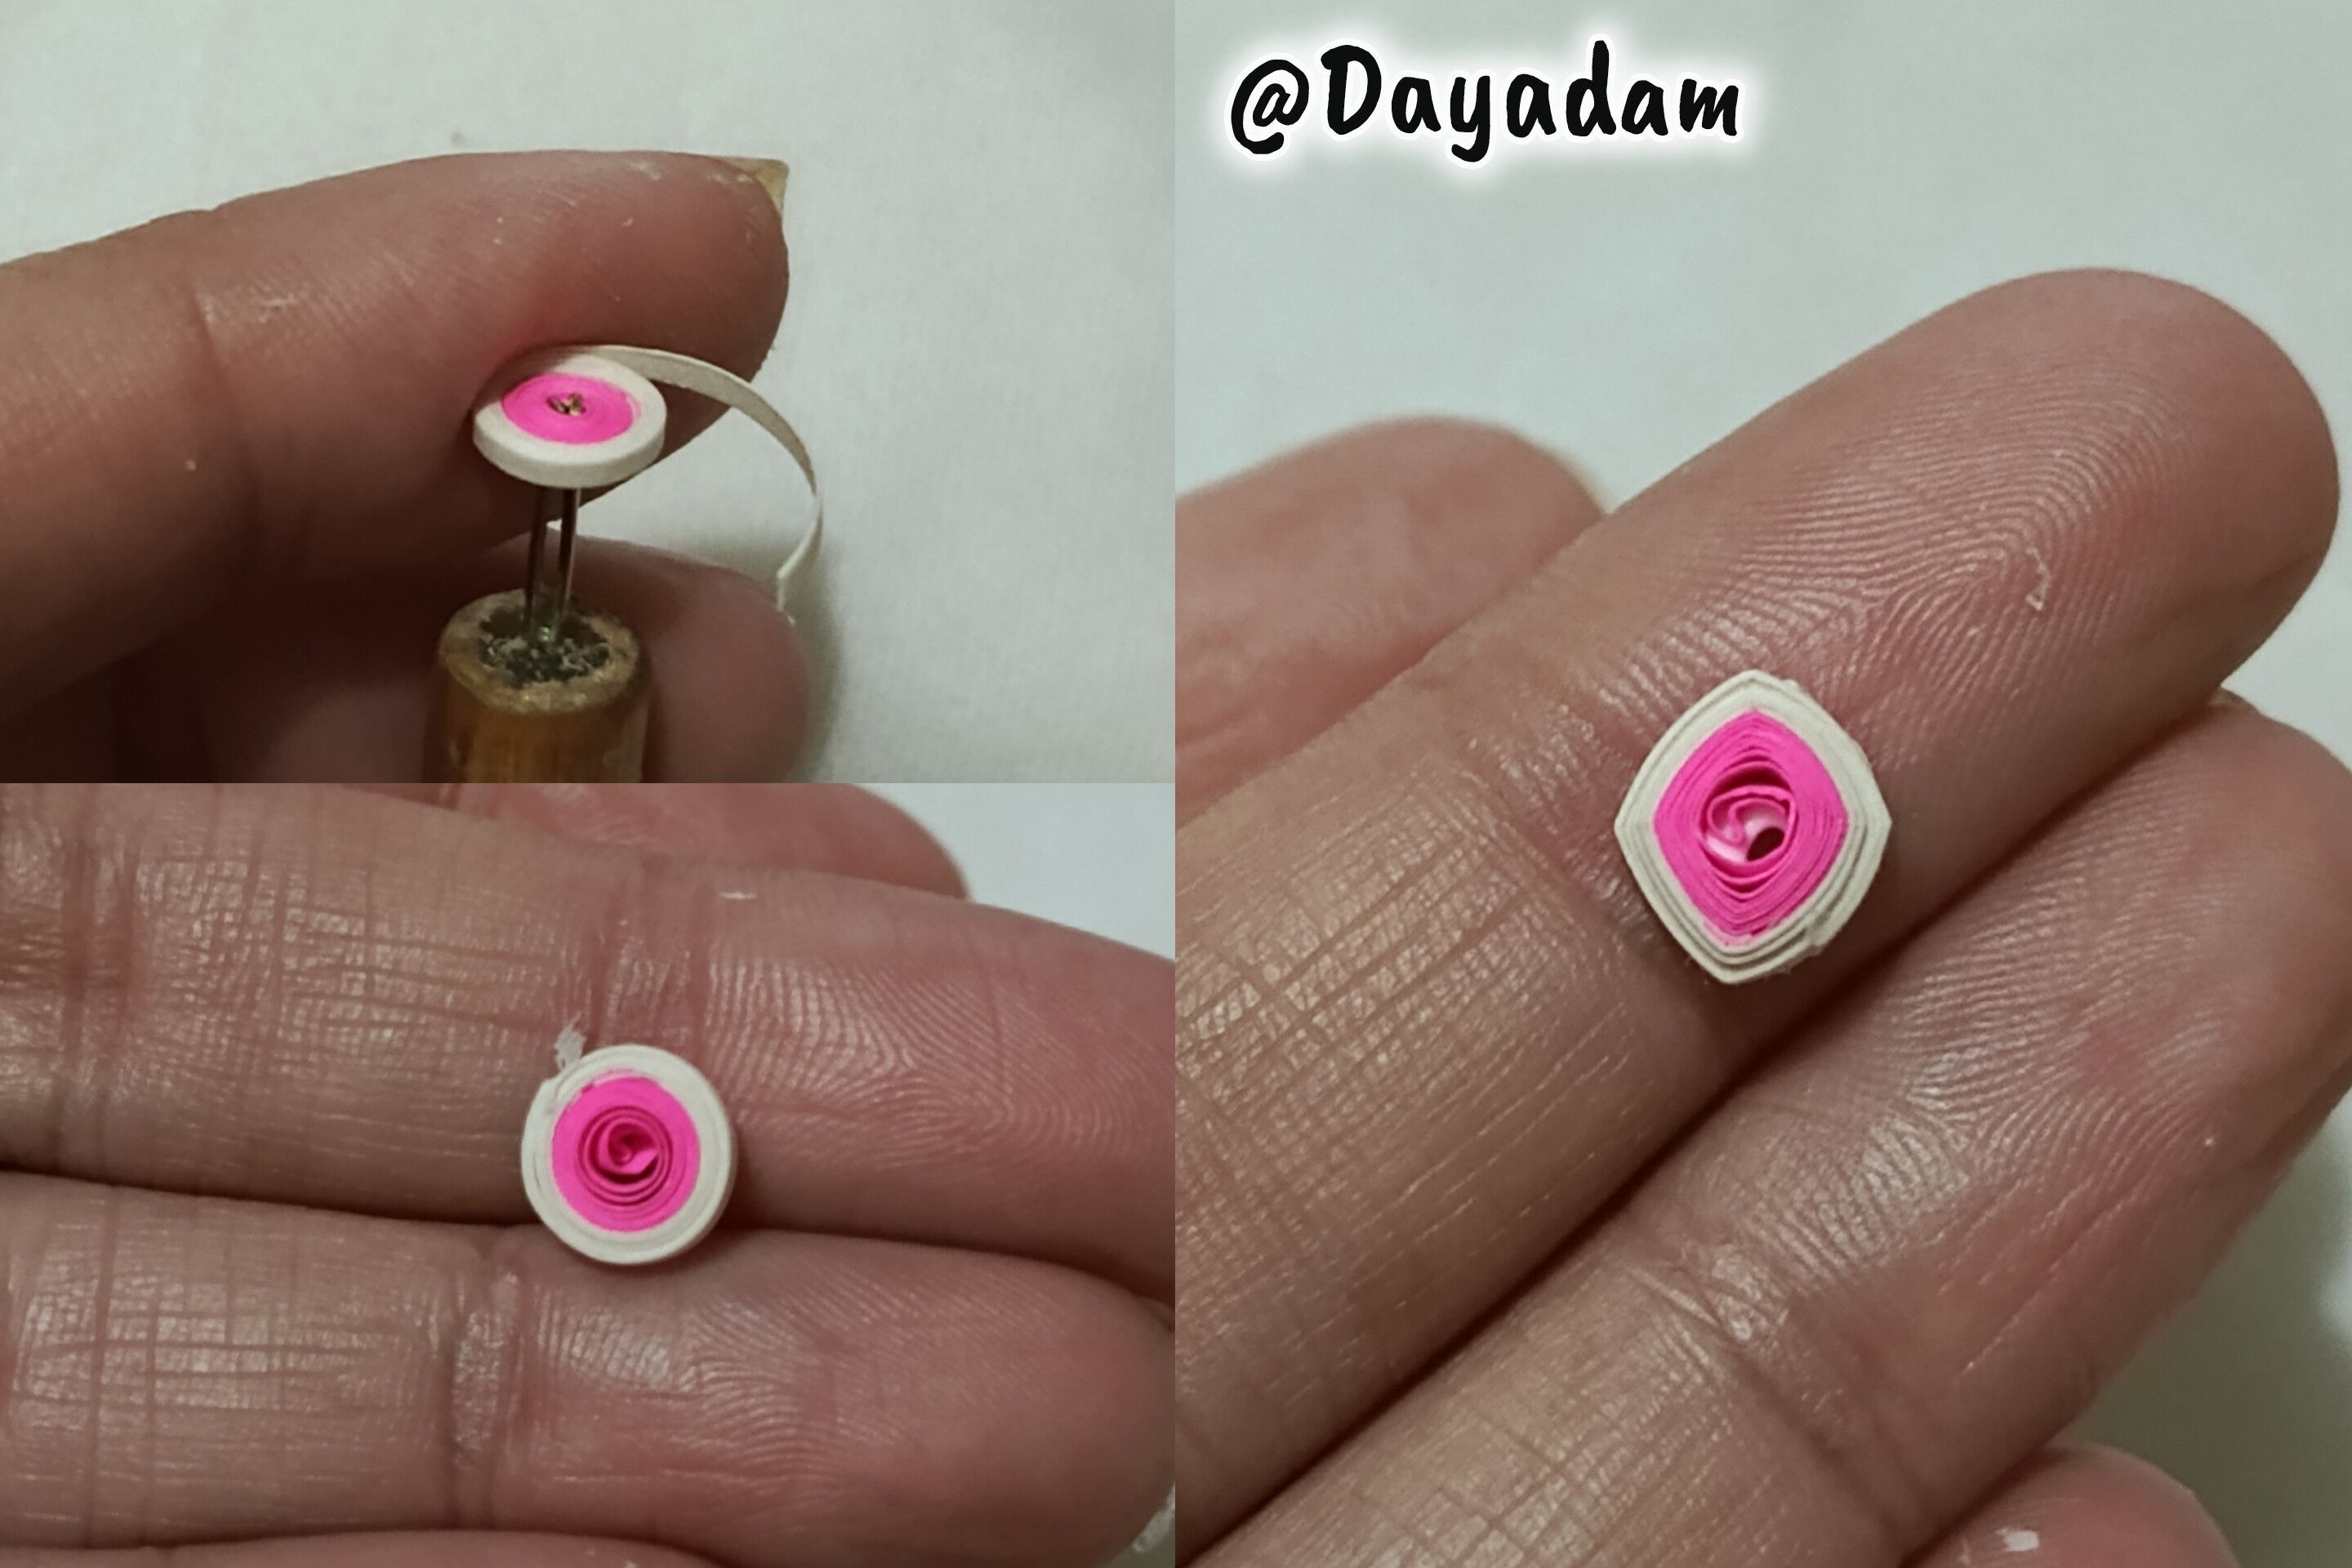
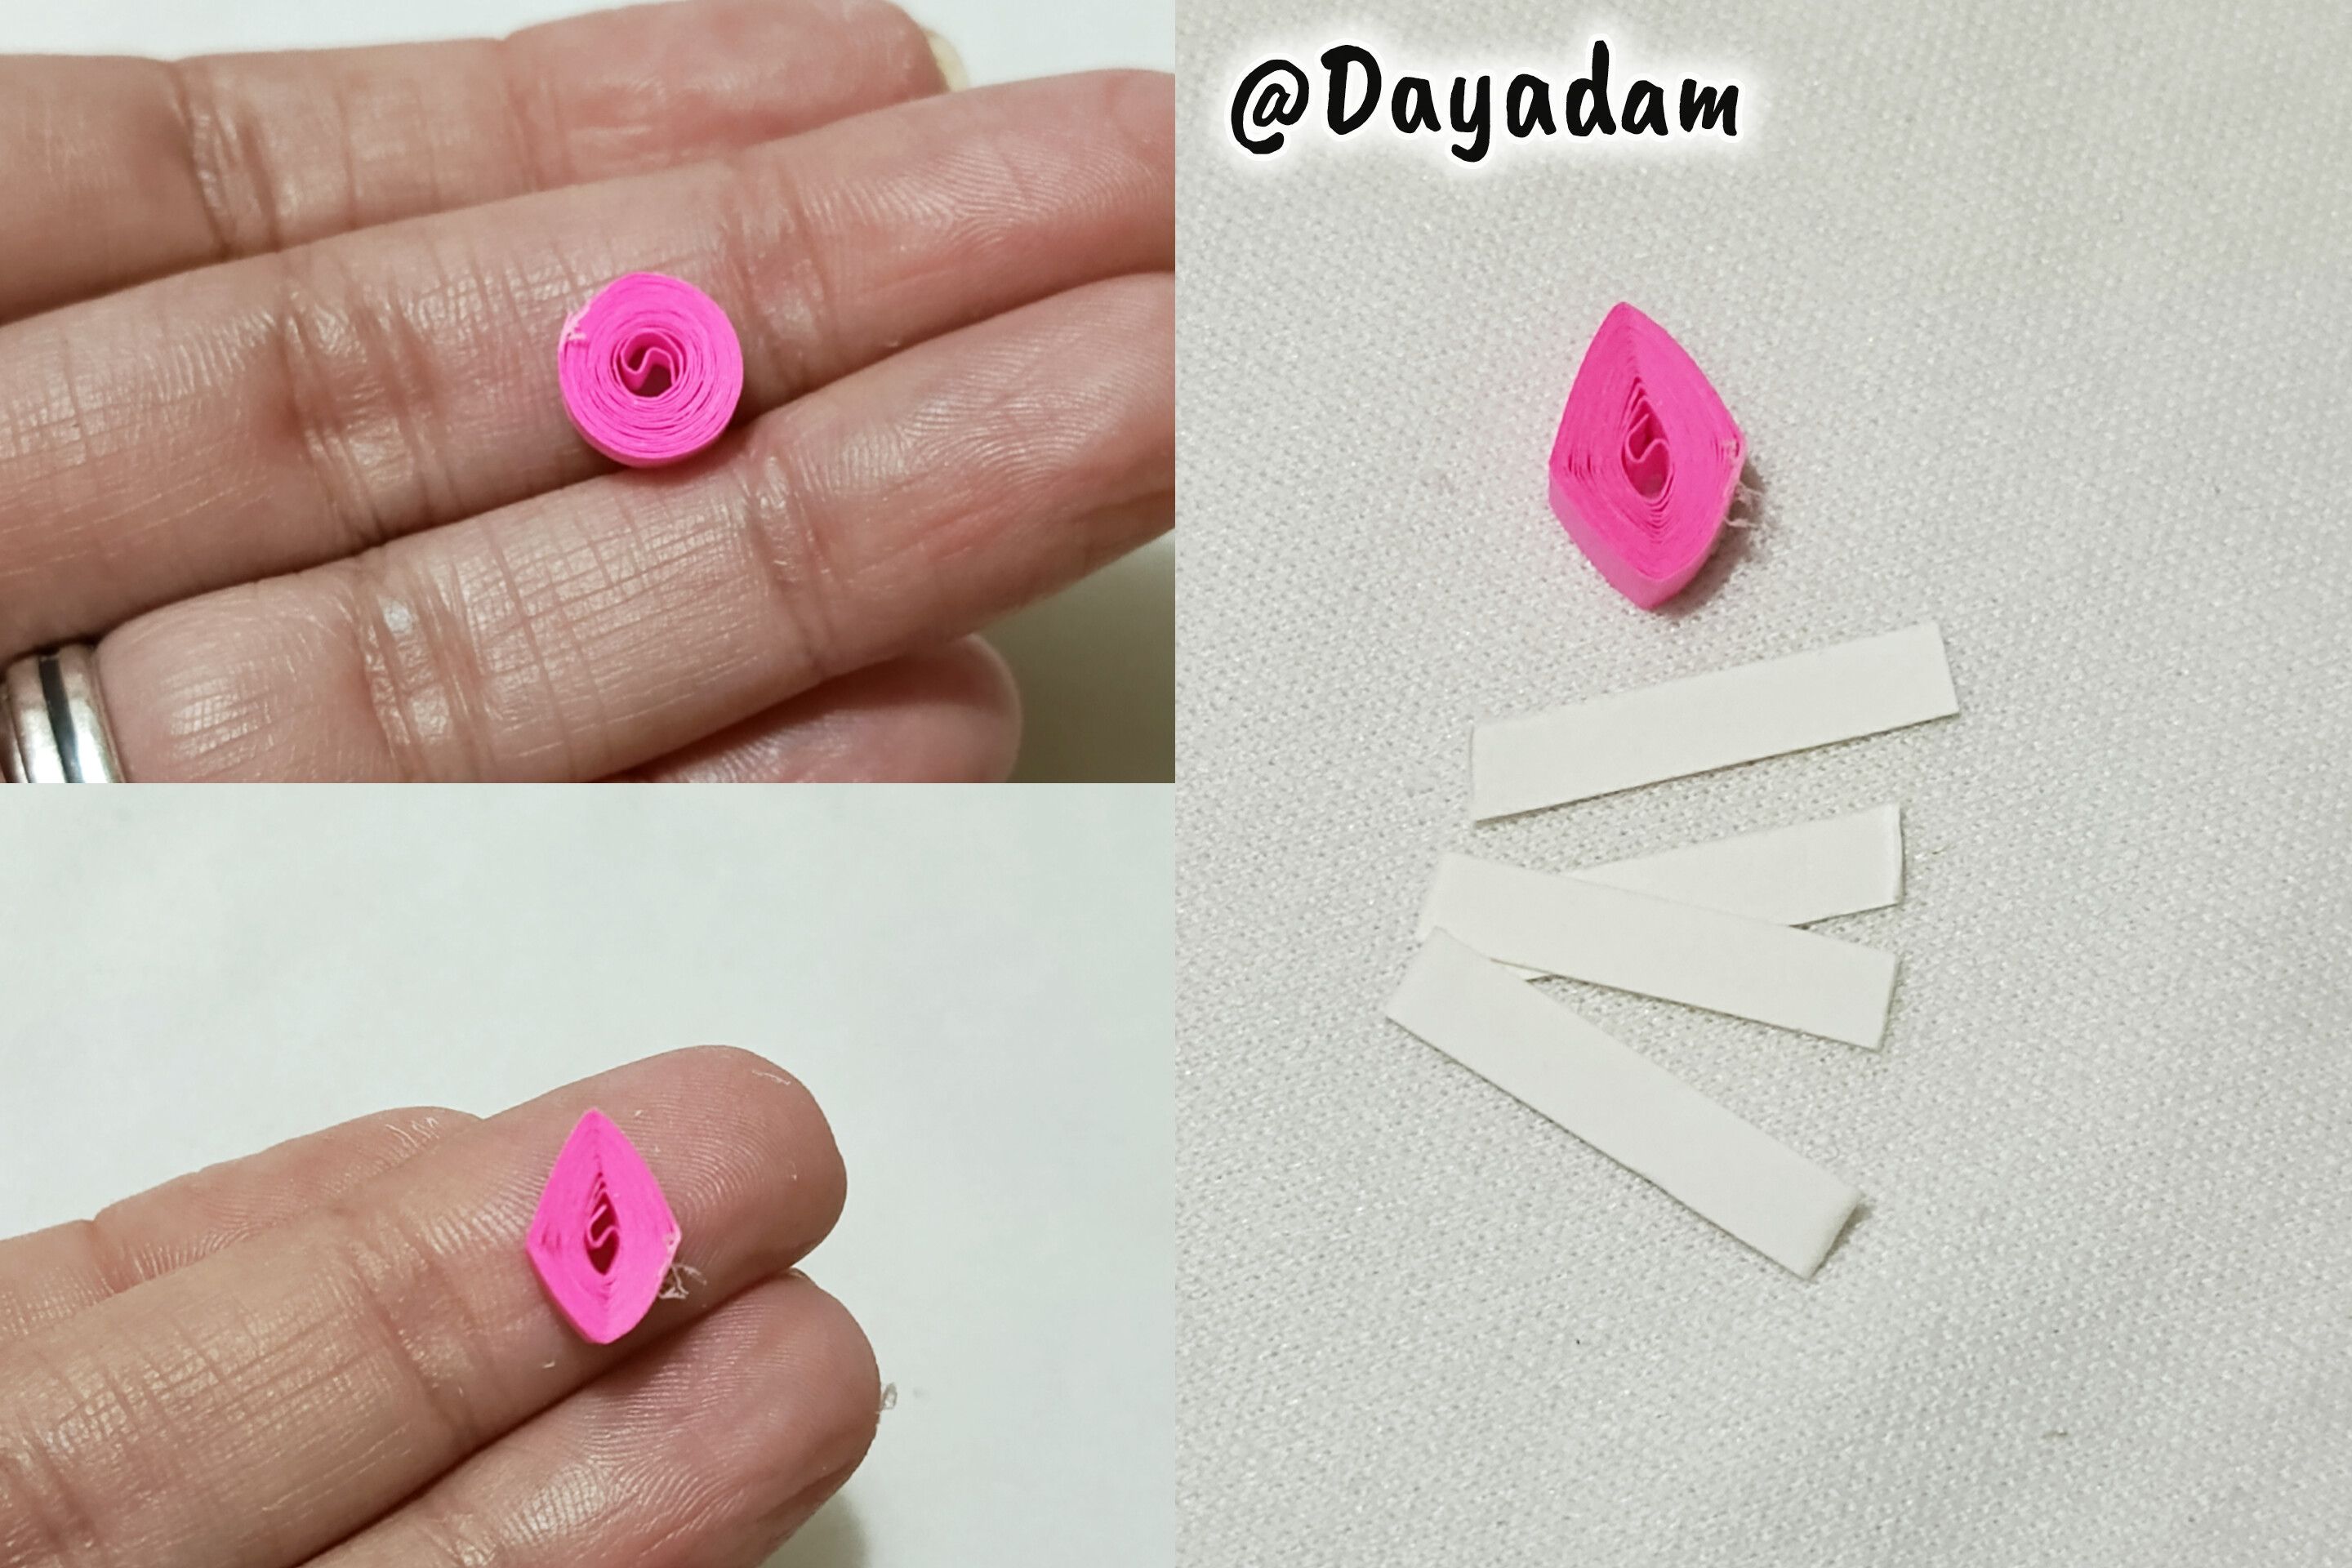
- I joined a piece of white and fuchsia ribbon one millimeter wide, with it I made an open circle molding in the shape of a diamond.
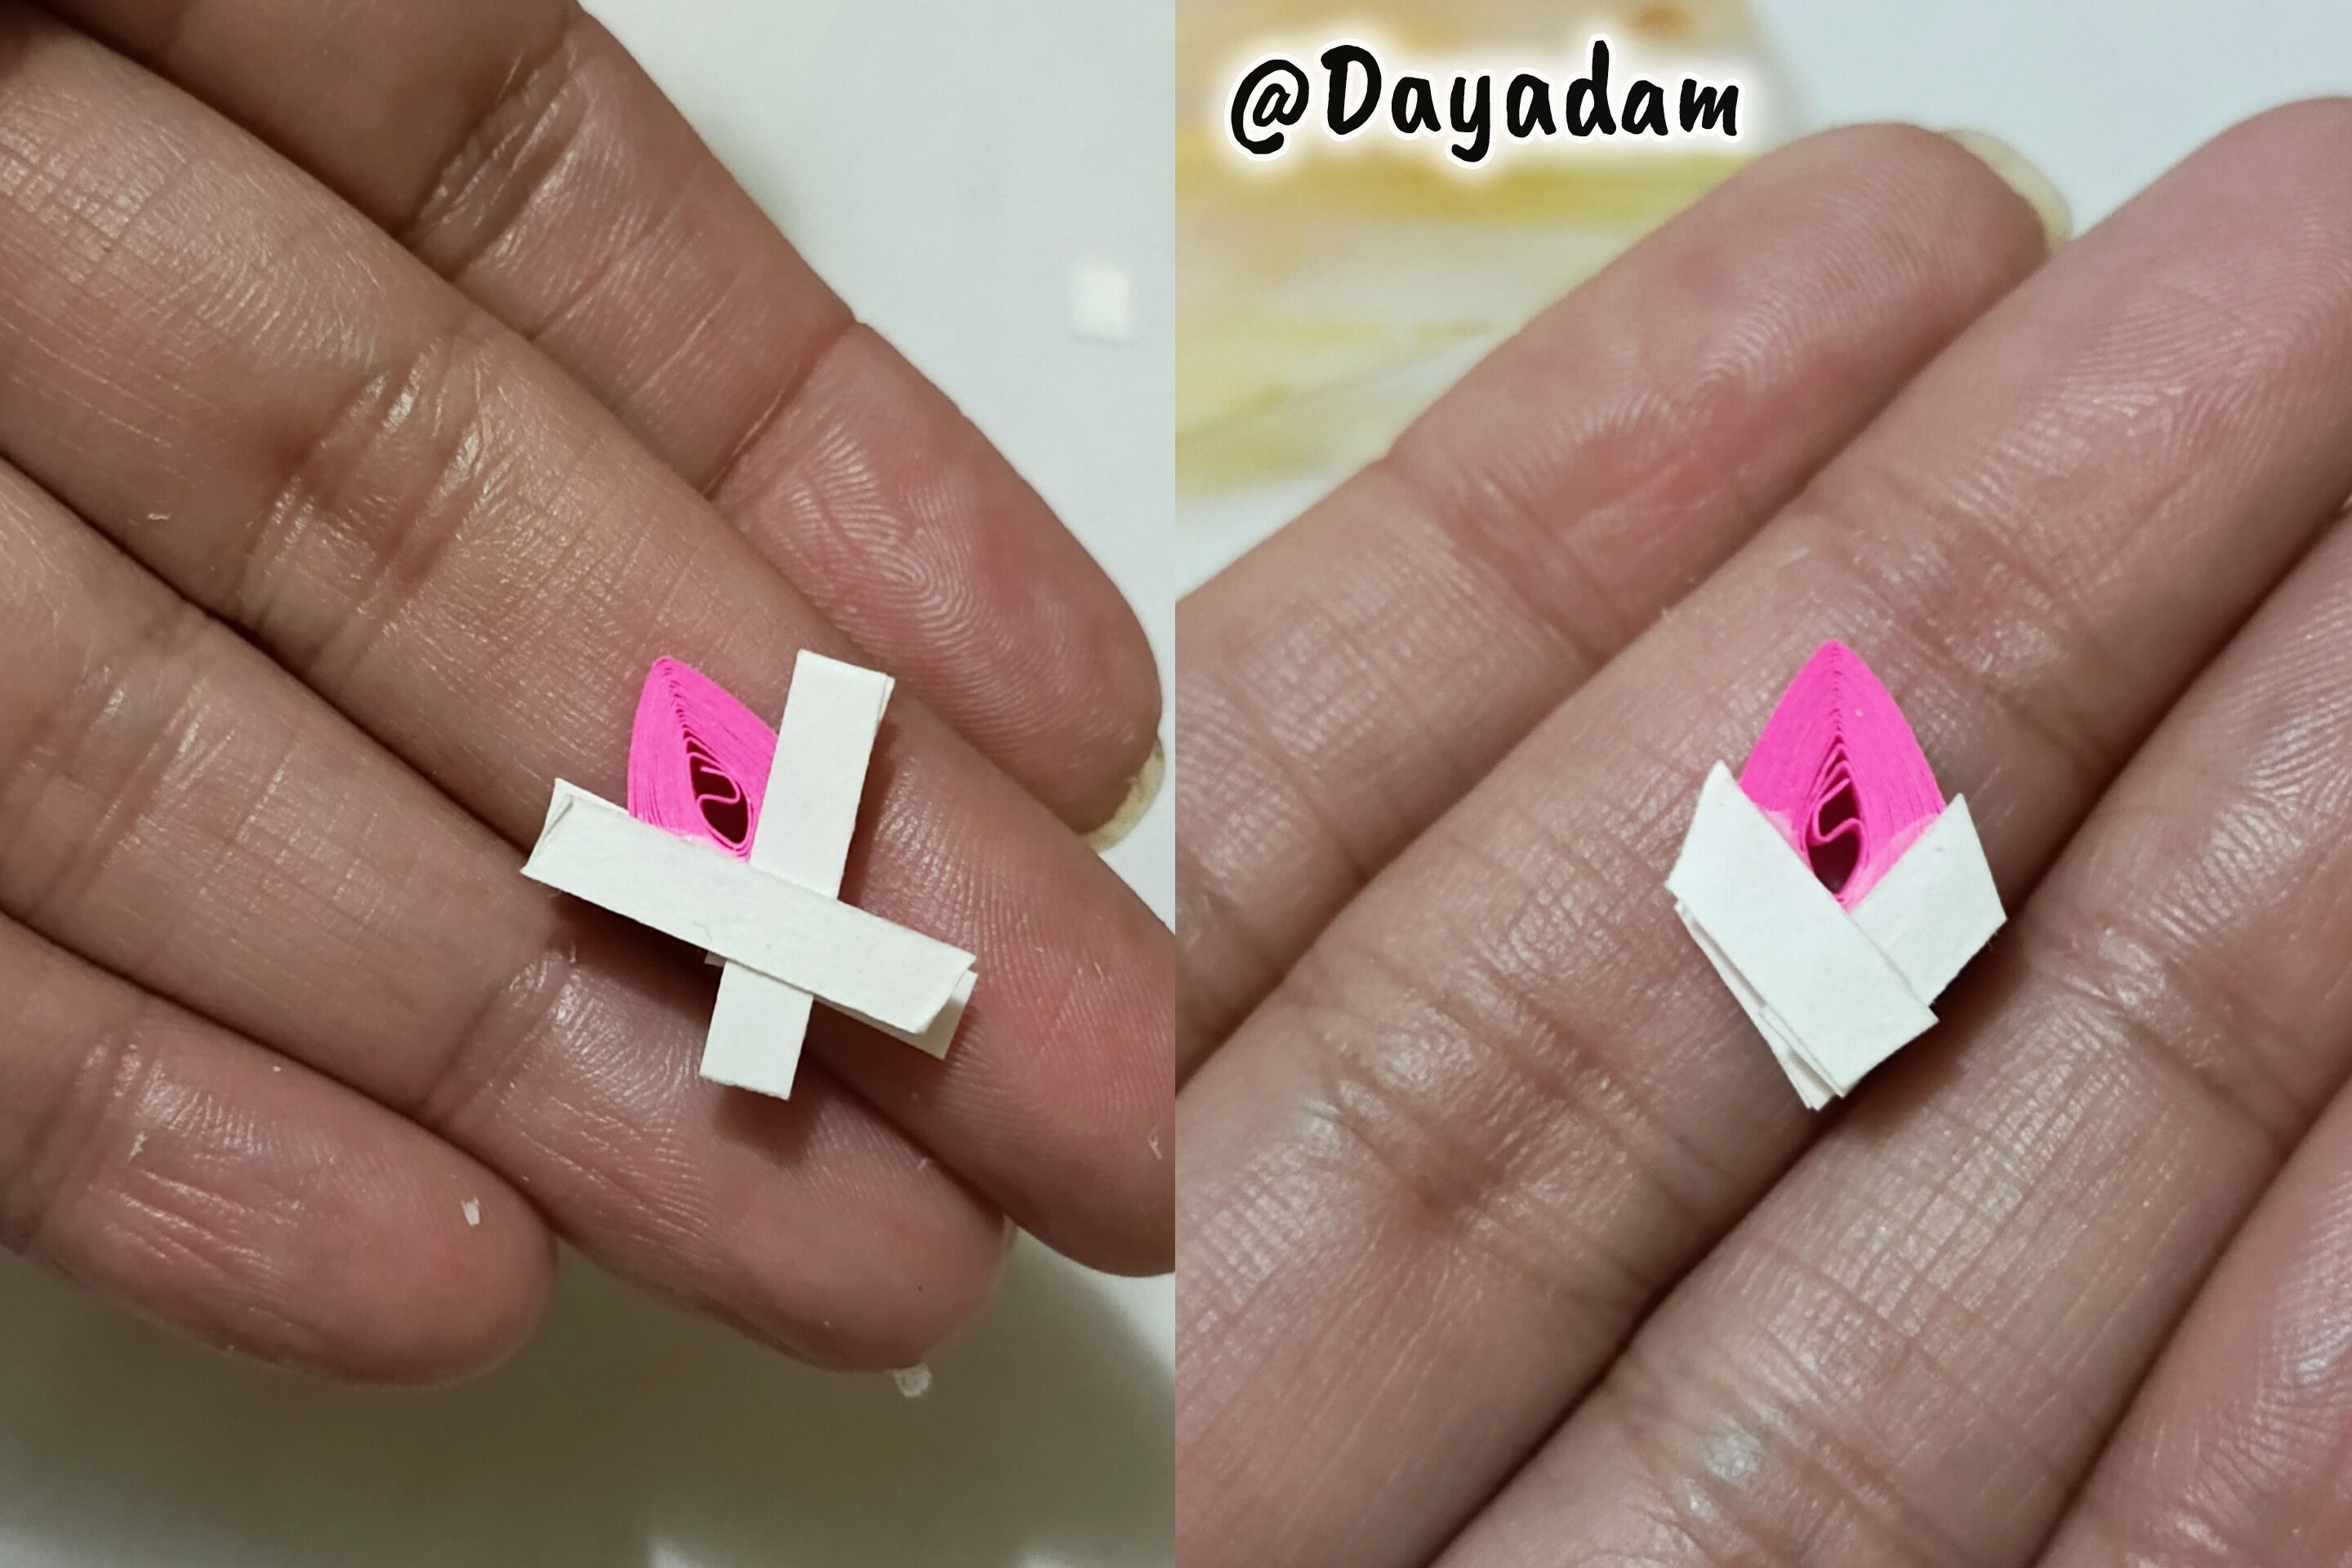
- With a 3 mm wide fuchsia colored ribbon, I made another piece a little bigger in the shape of a diamond, I took some pieces of white colored cardboard, placed them on the bottom of the diamond, trimmed the leftover pieces.
• Uní un trozo de cinta blanca y fucsia de un milímetro de ancho, con ella realicé un círculo abierto moldear en forma de diamante.
• Con una cinta de color fucsia de 3 mm de ancho, realice otra pieza un poco más grande en forma de diamante, tomé algunos trozos de cartulina de color blanco, los coloqué en la parte de abajo del diamante, recorte los trozos sobrantes.
 |
 |
 |
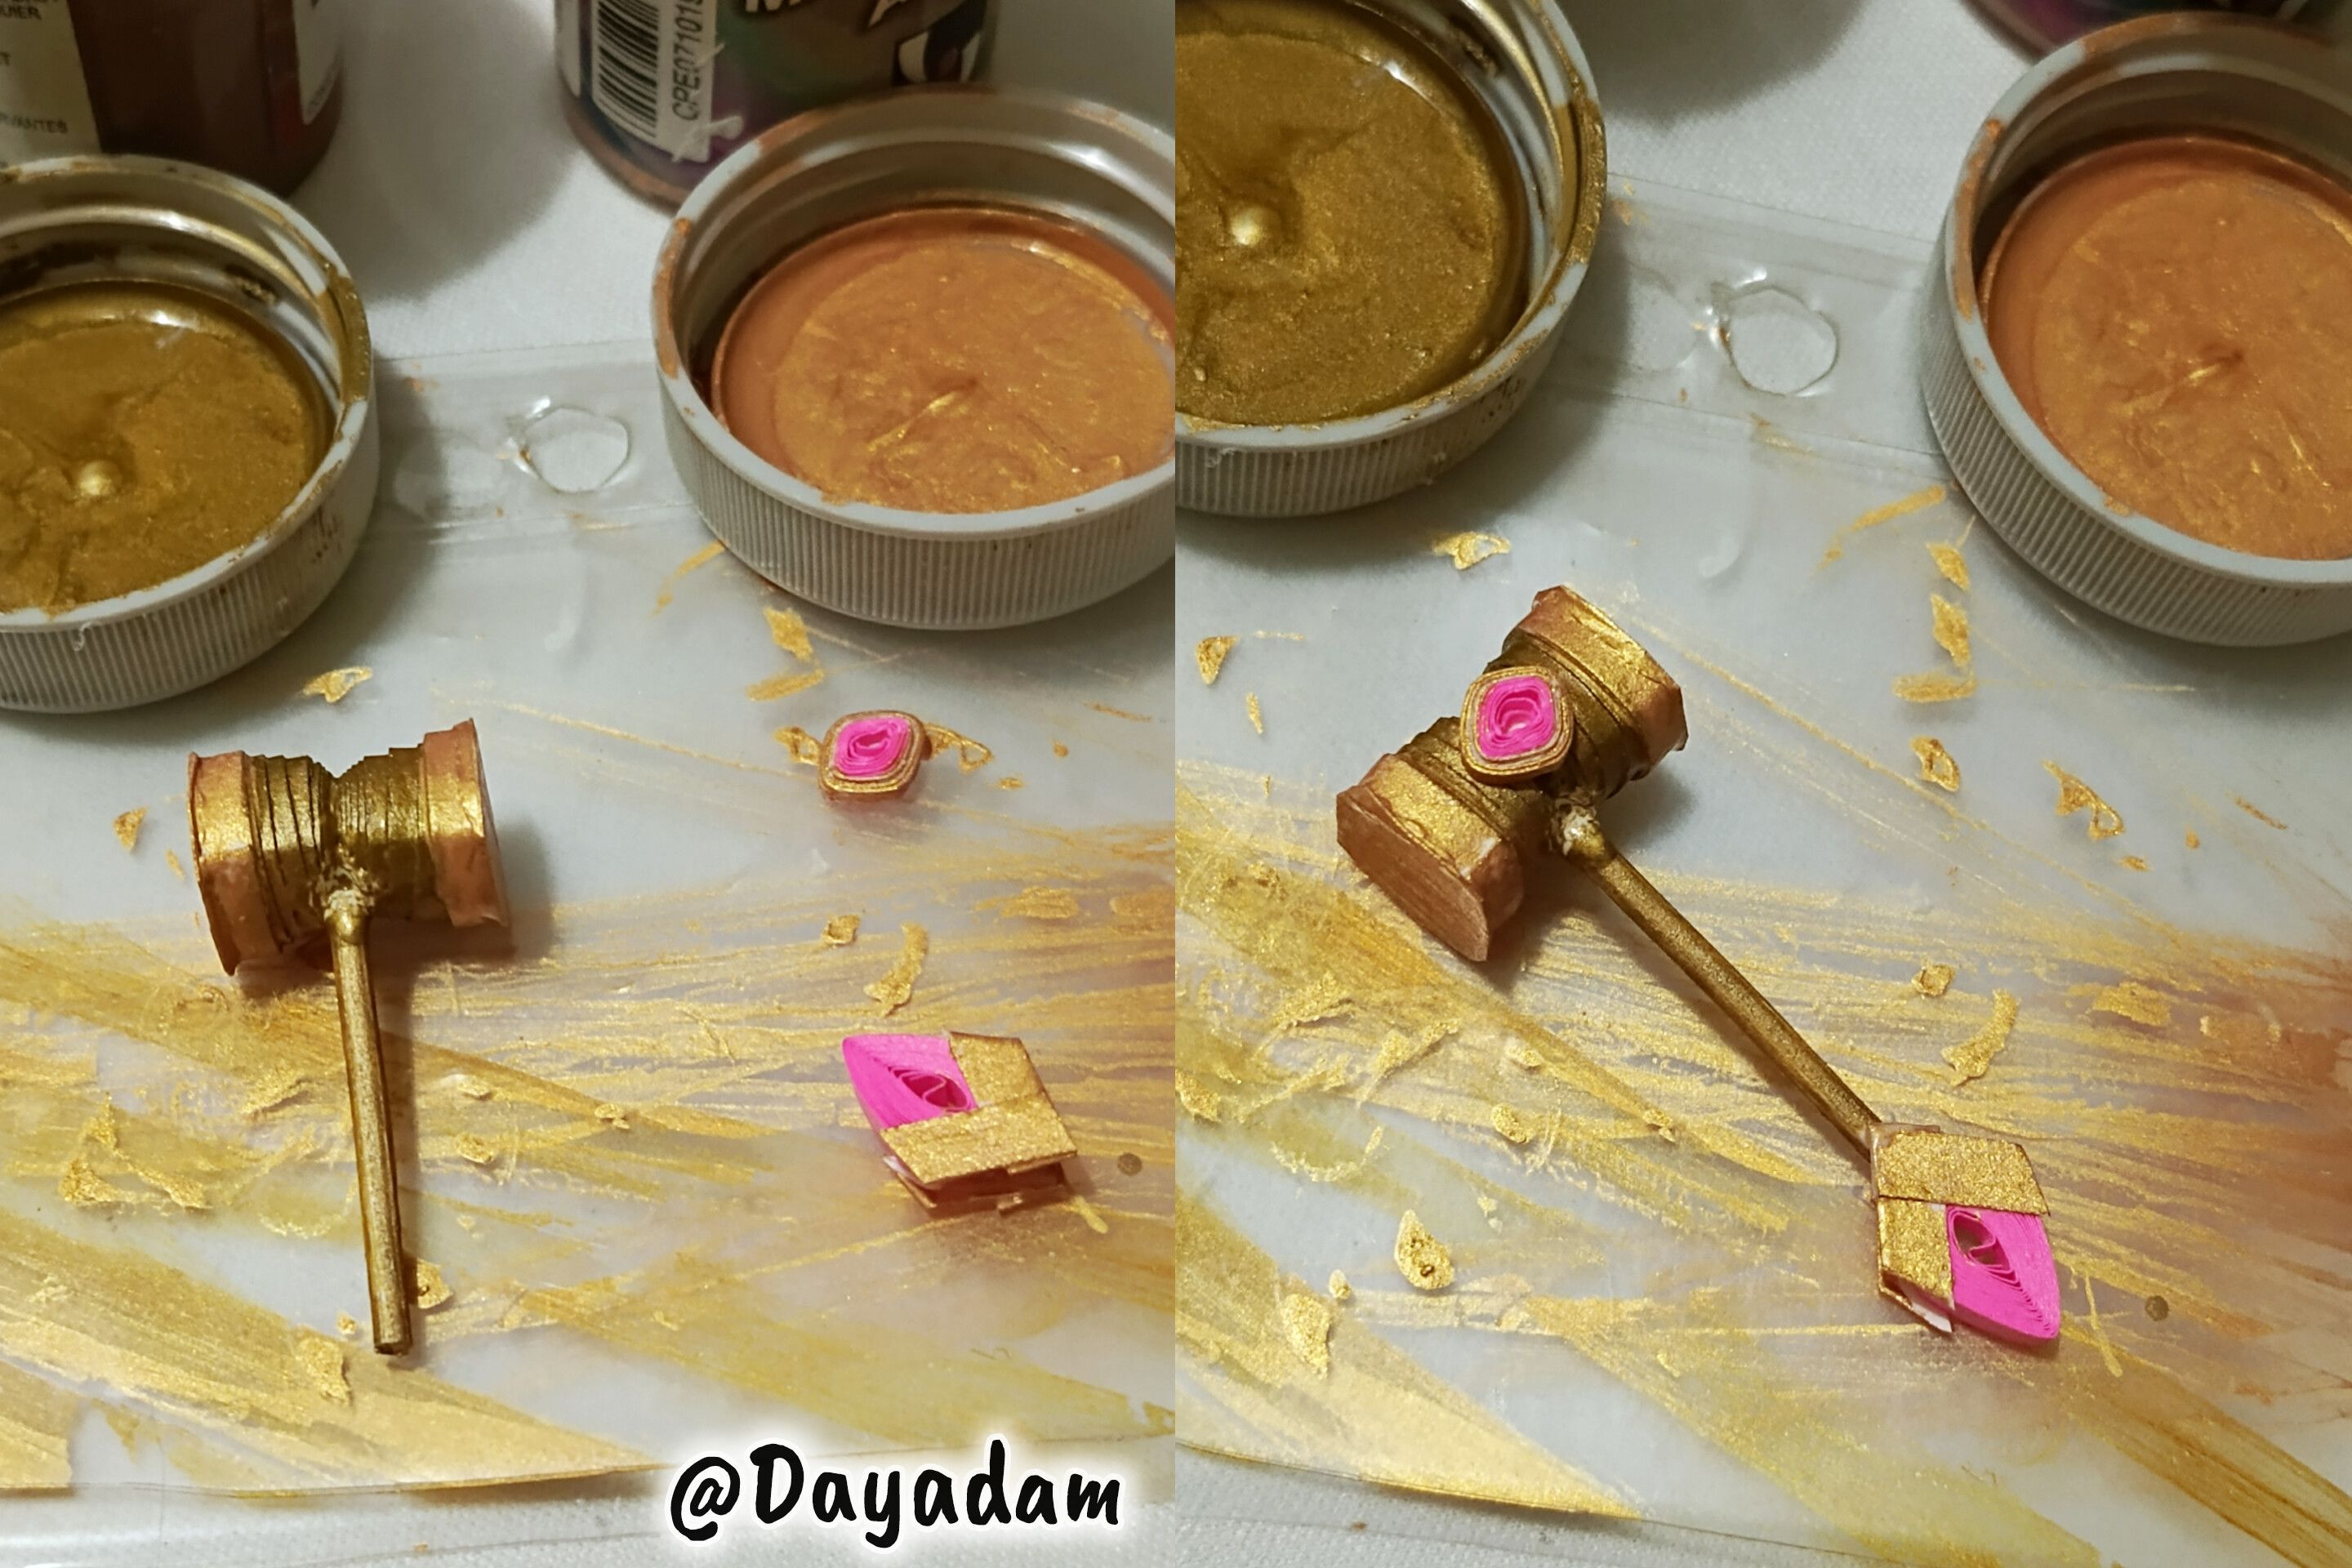
- I took gold and bronze metallic paints and proceeded to paint the pieces, I let them dry very well.
- Once dry, I glued all the pieces together to form the mallet.
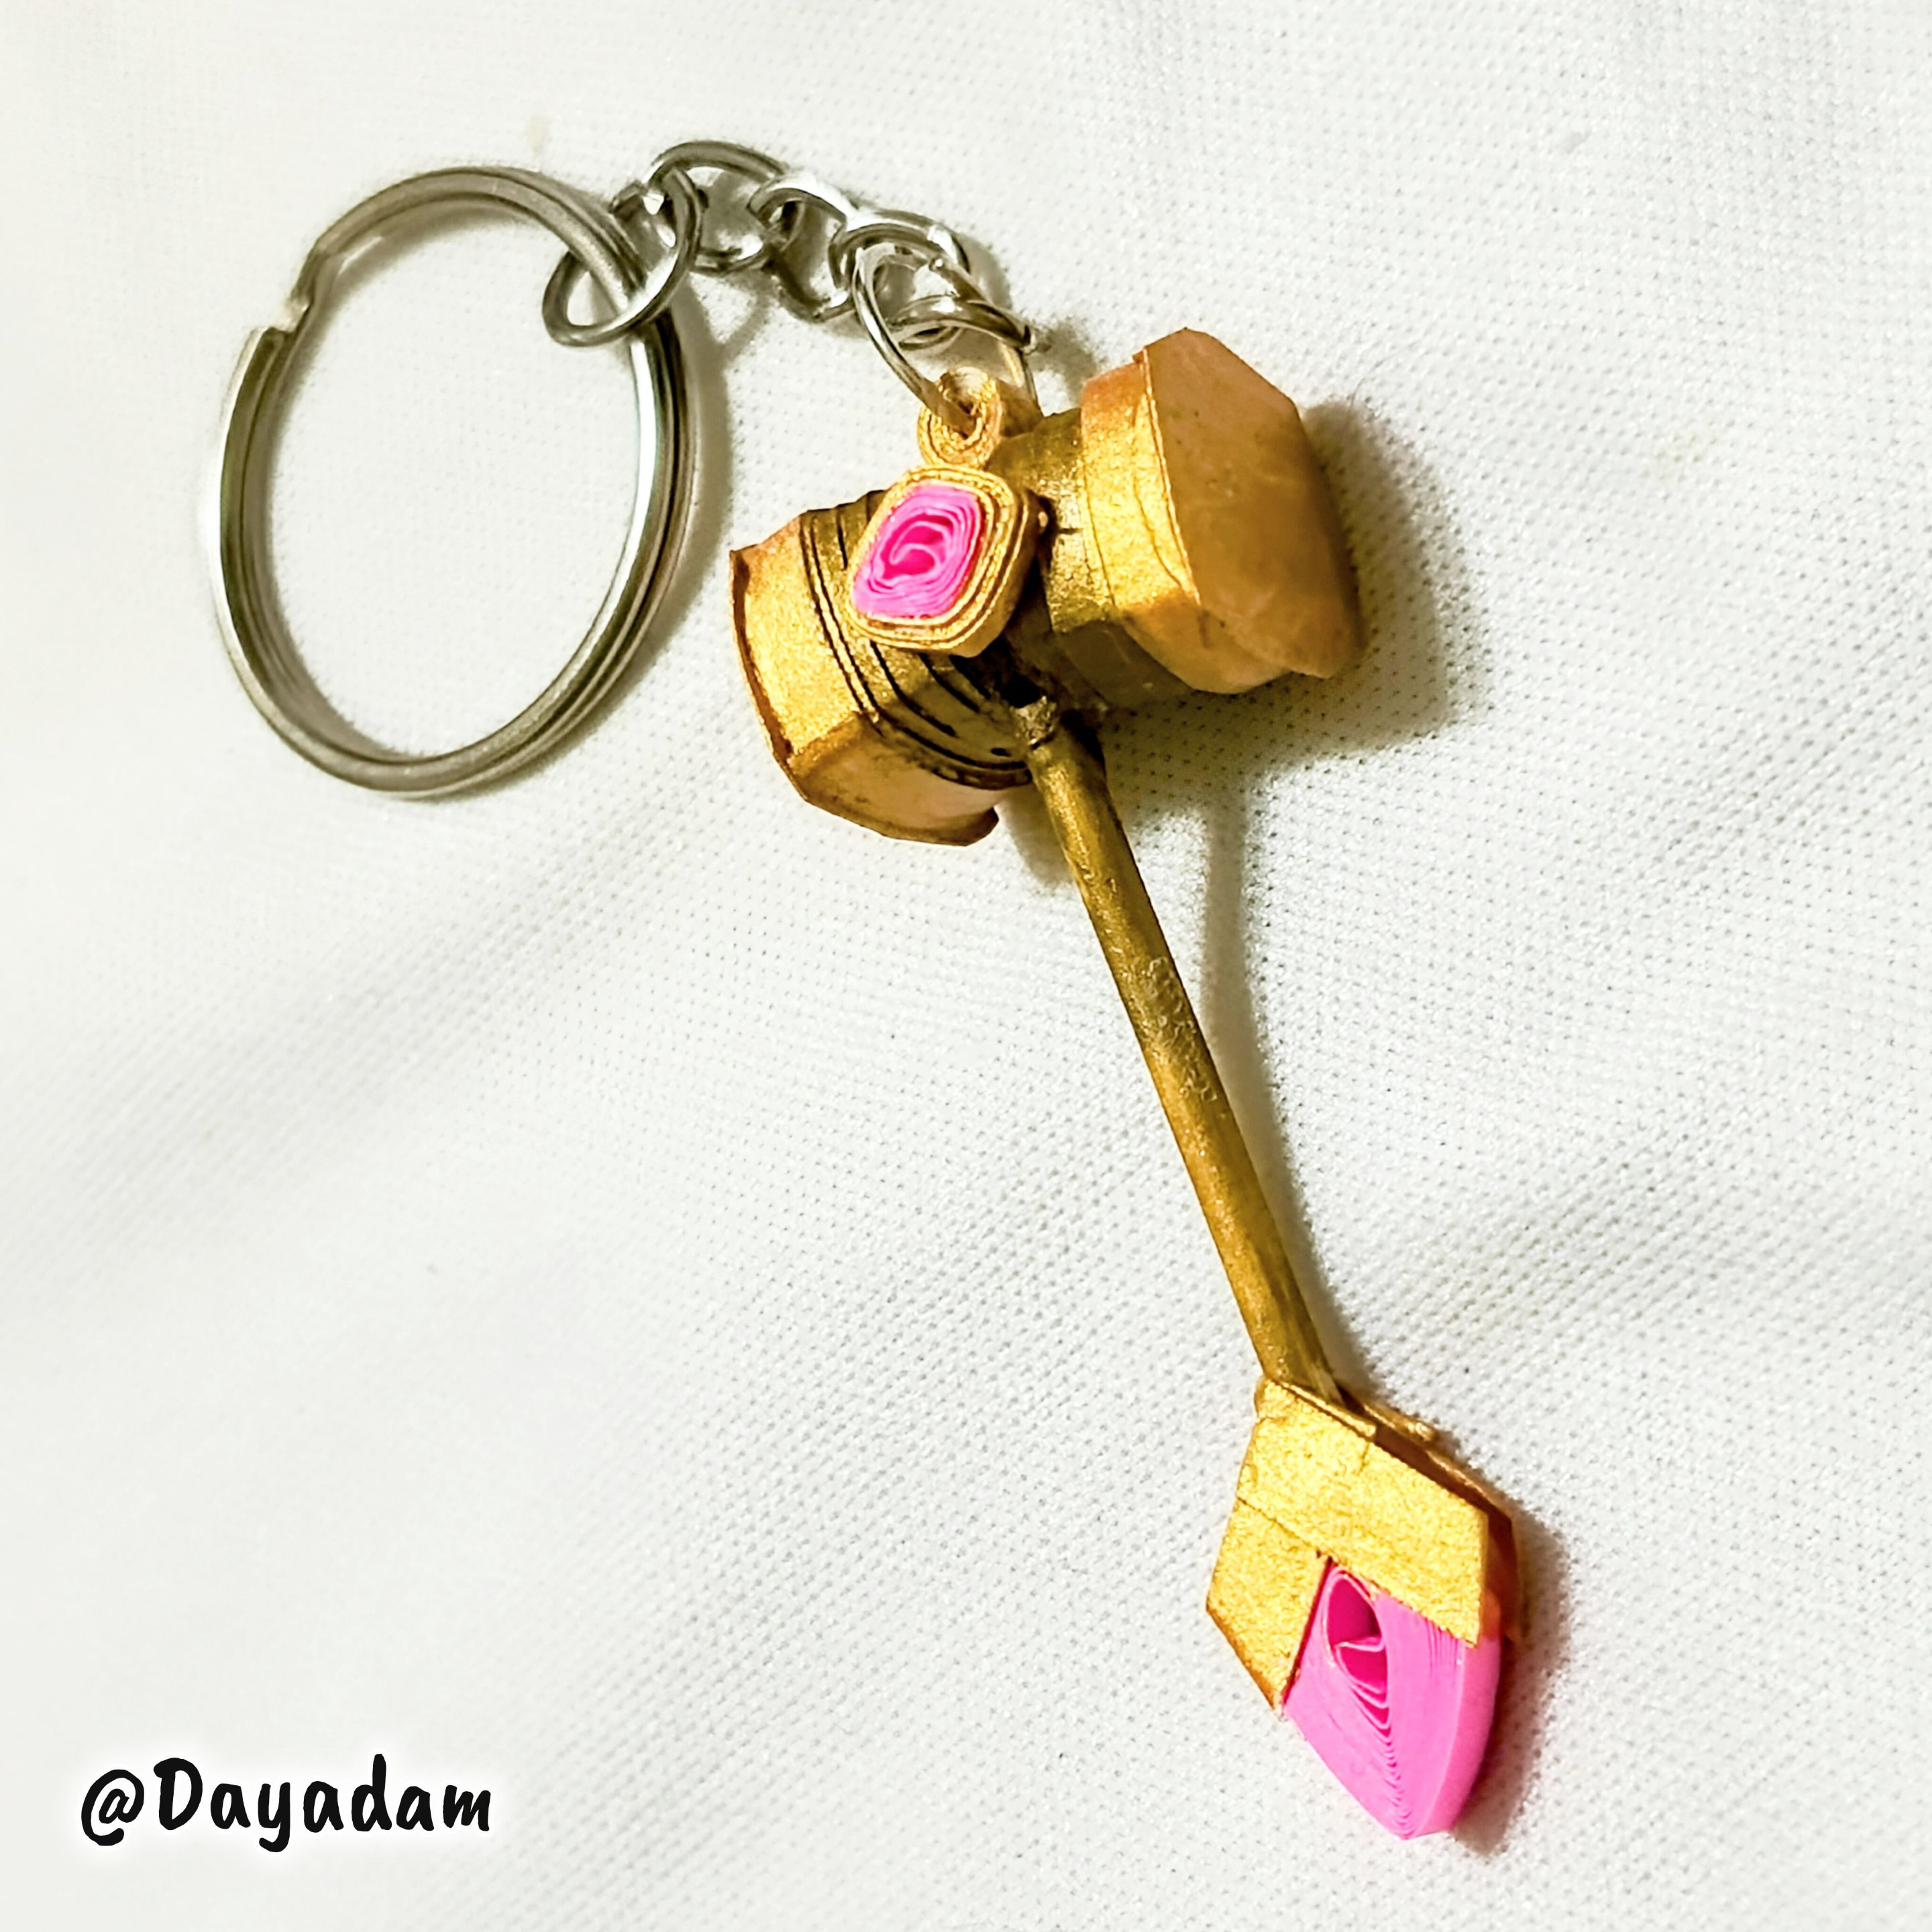
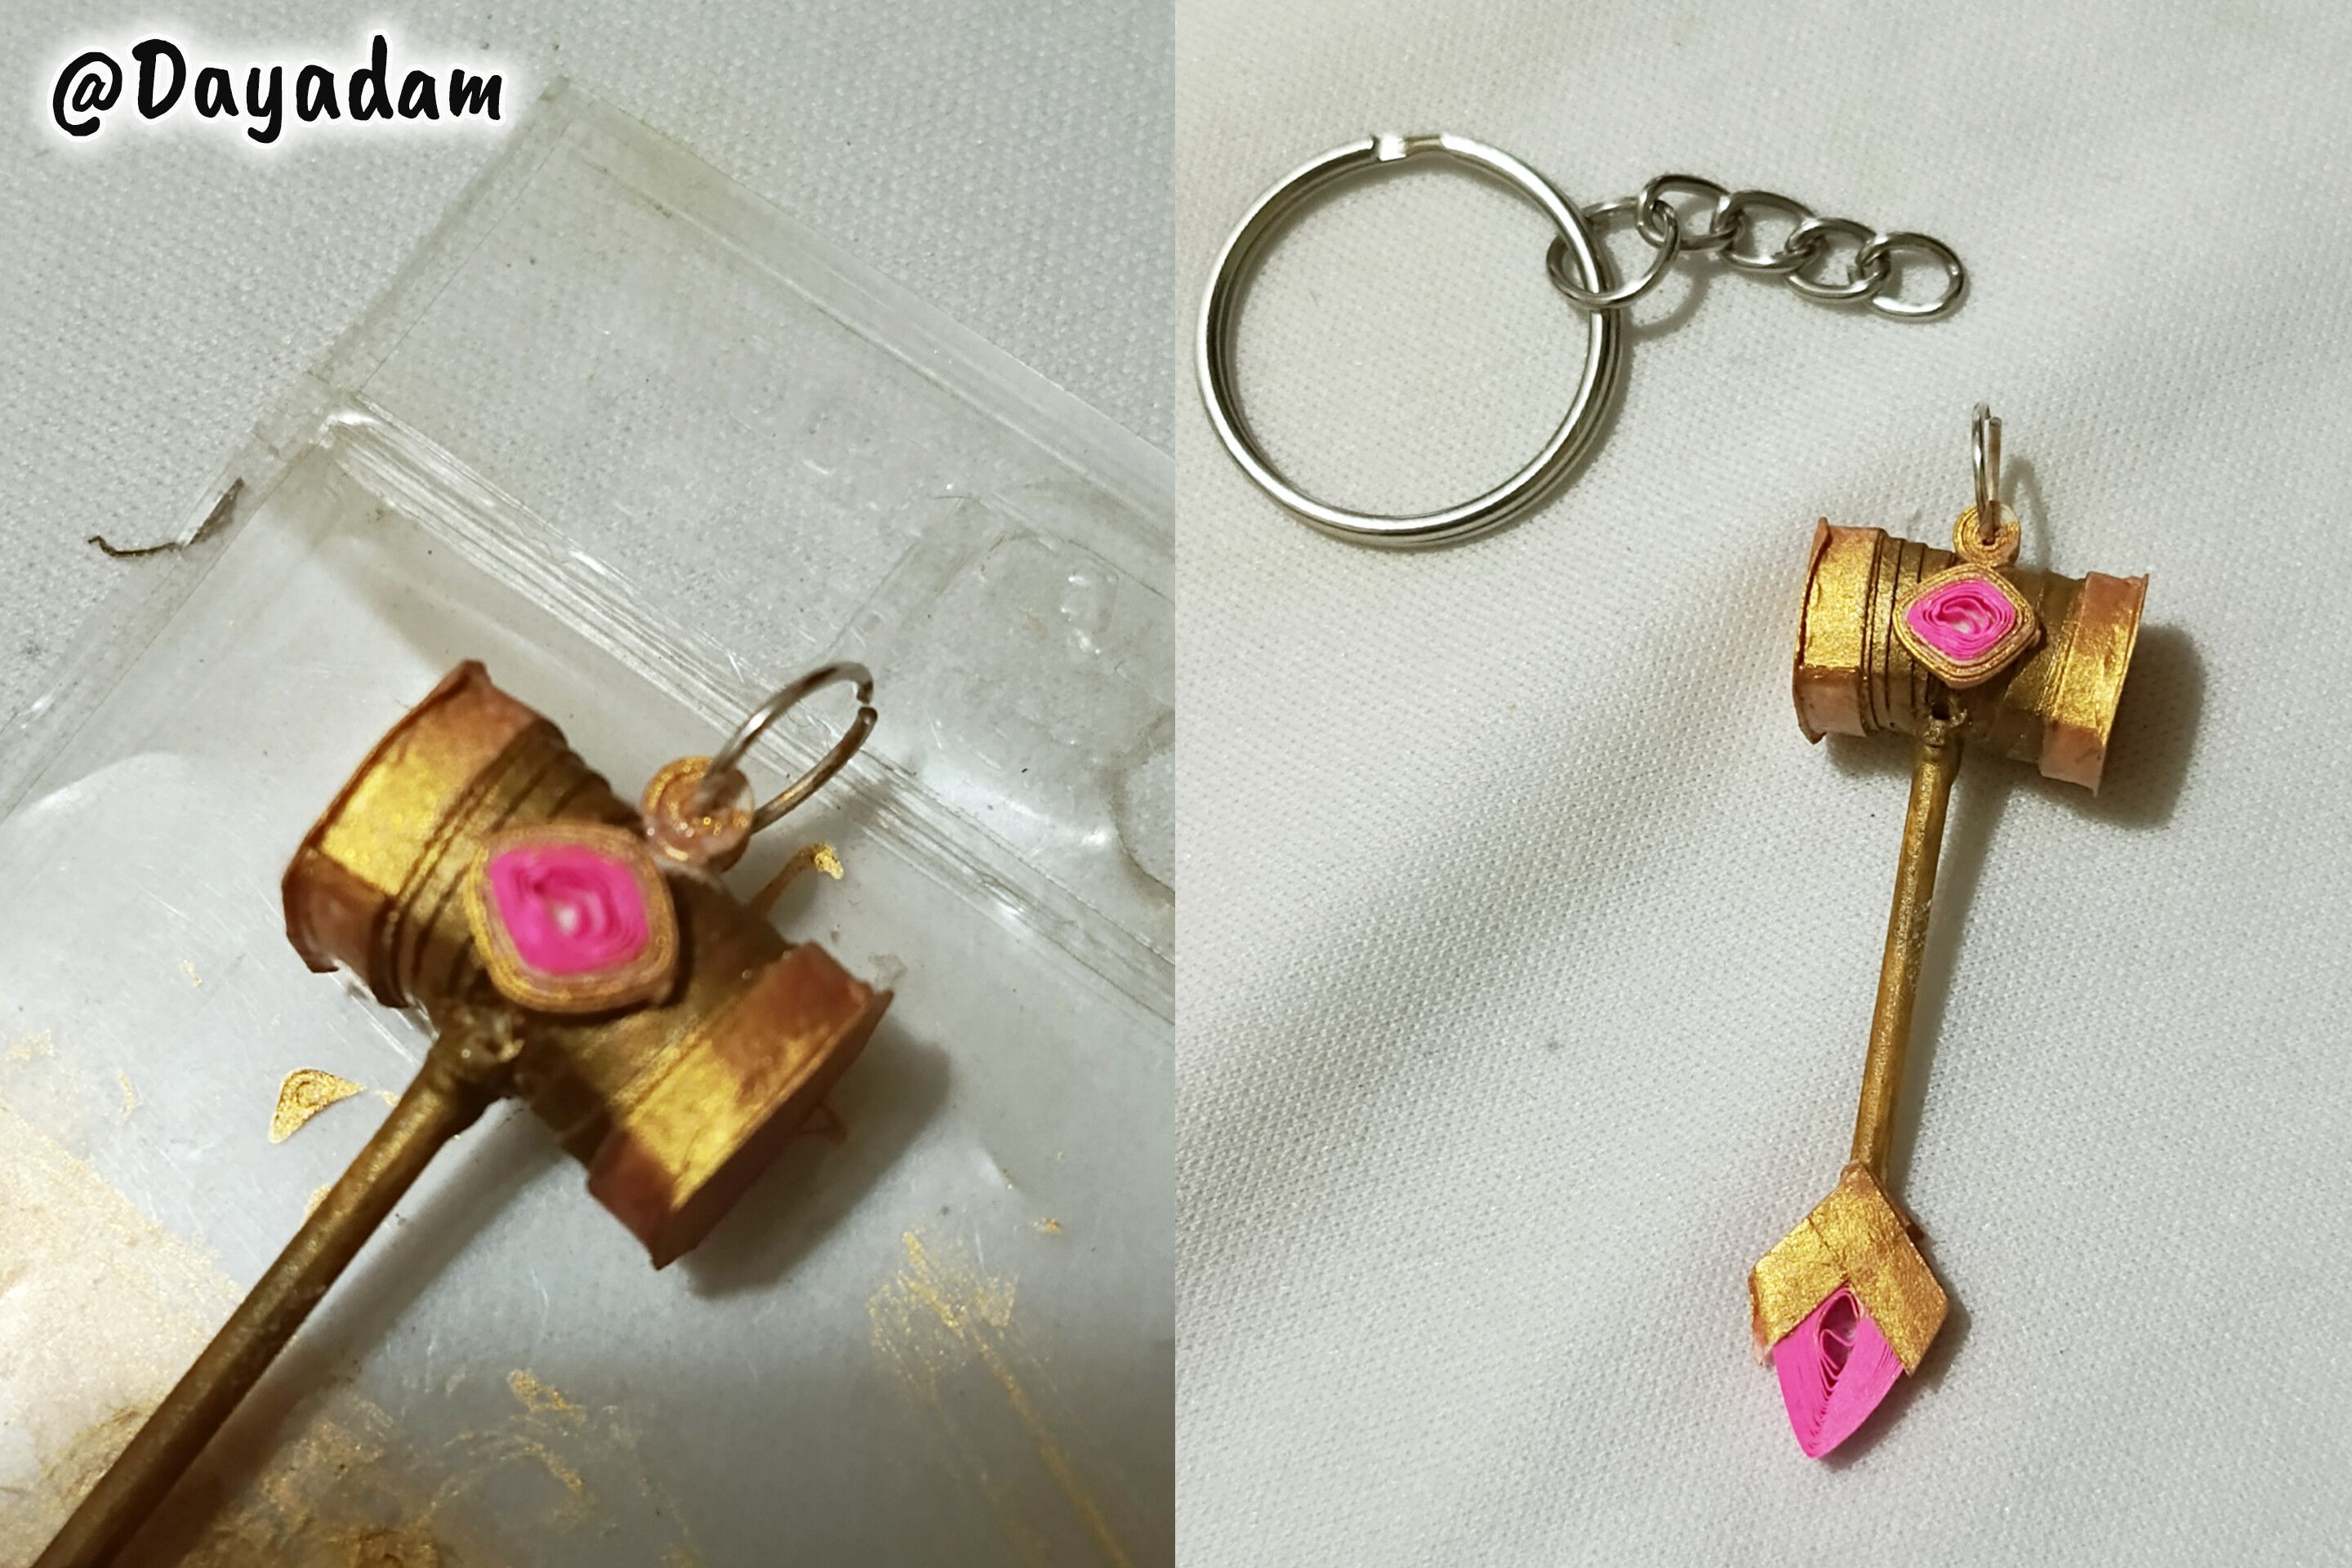
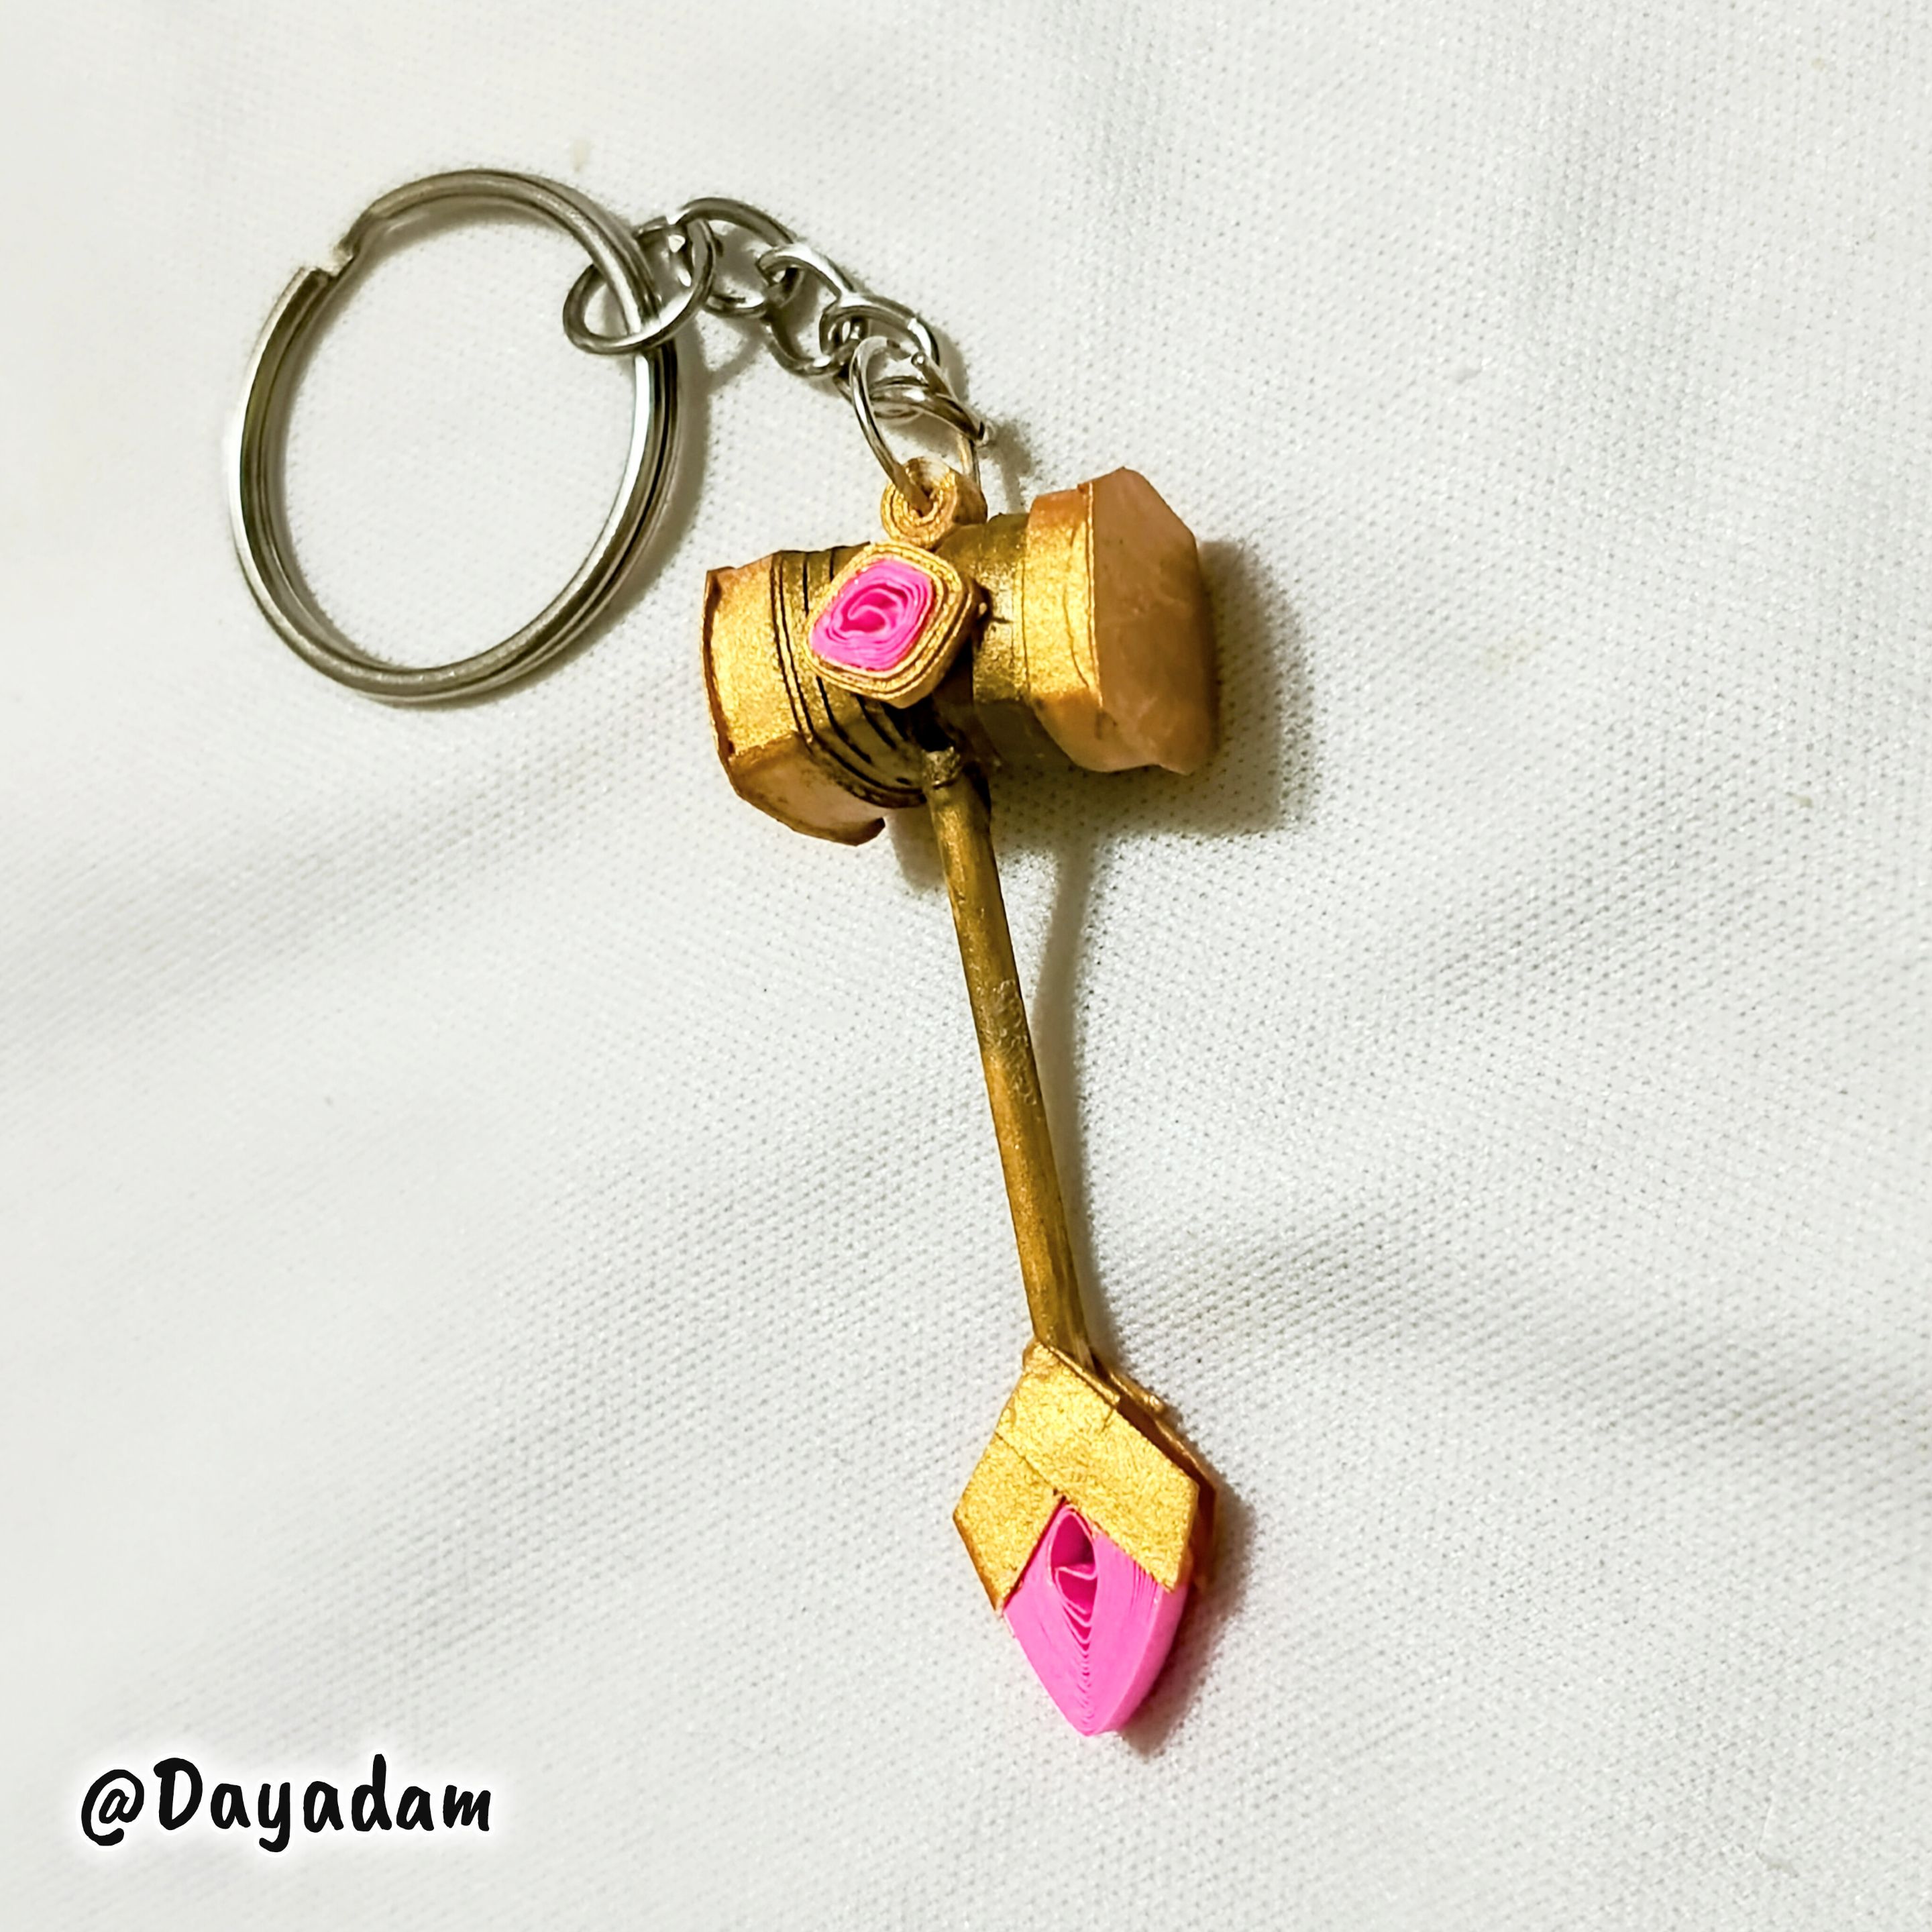
- I made a small closed circle to which I placed a ring of bronze dye costume jewelry and glued from the top of the mallet, and finally I placed the key ring with chain.
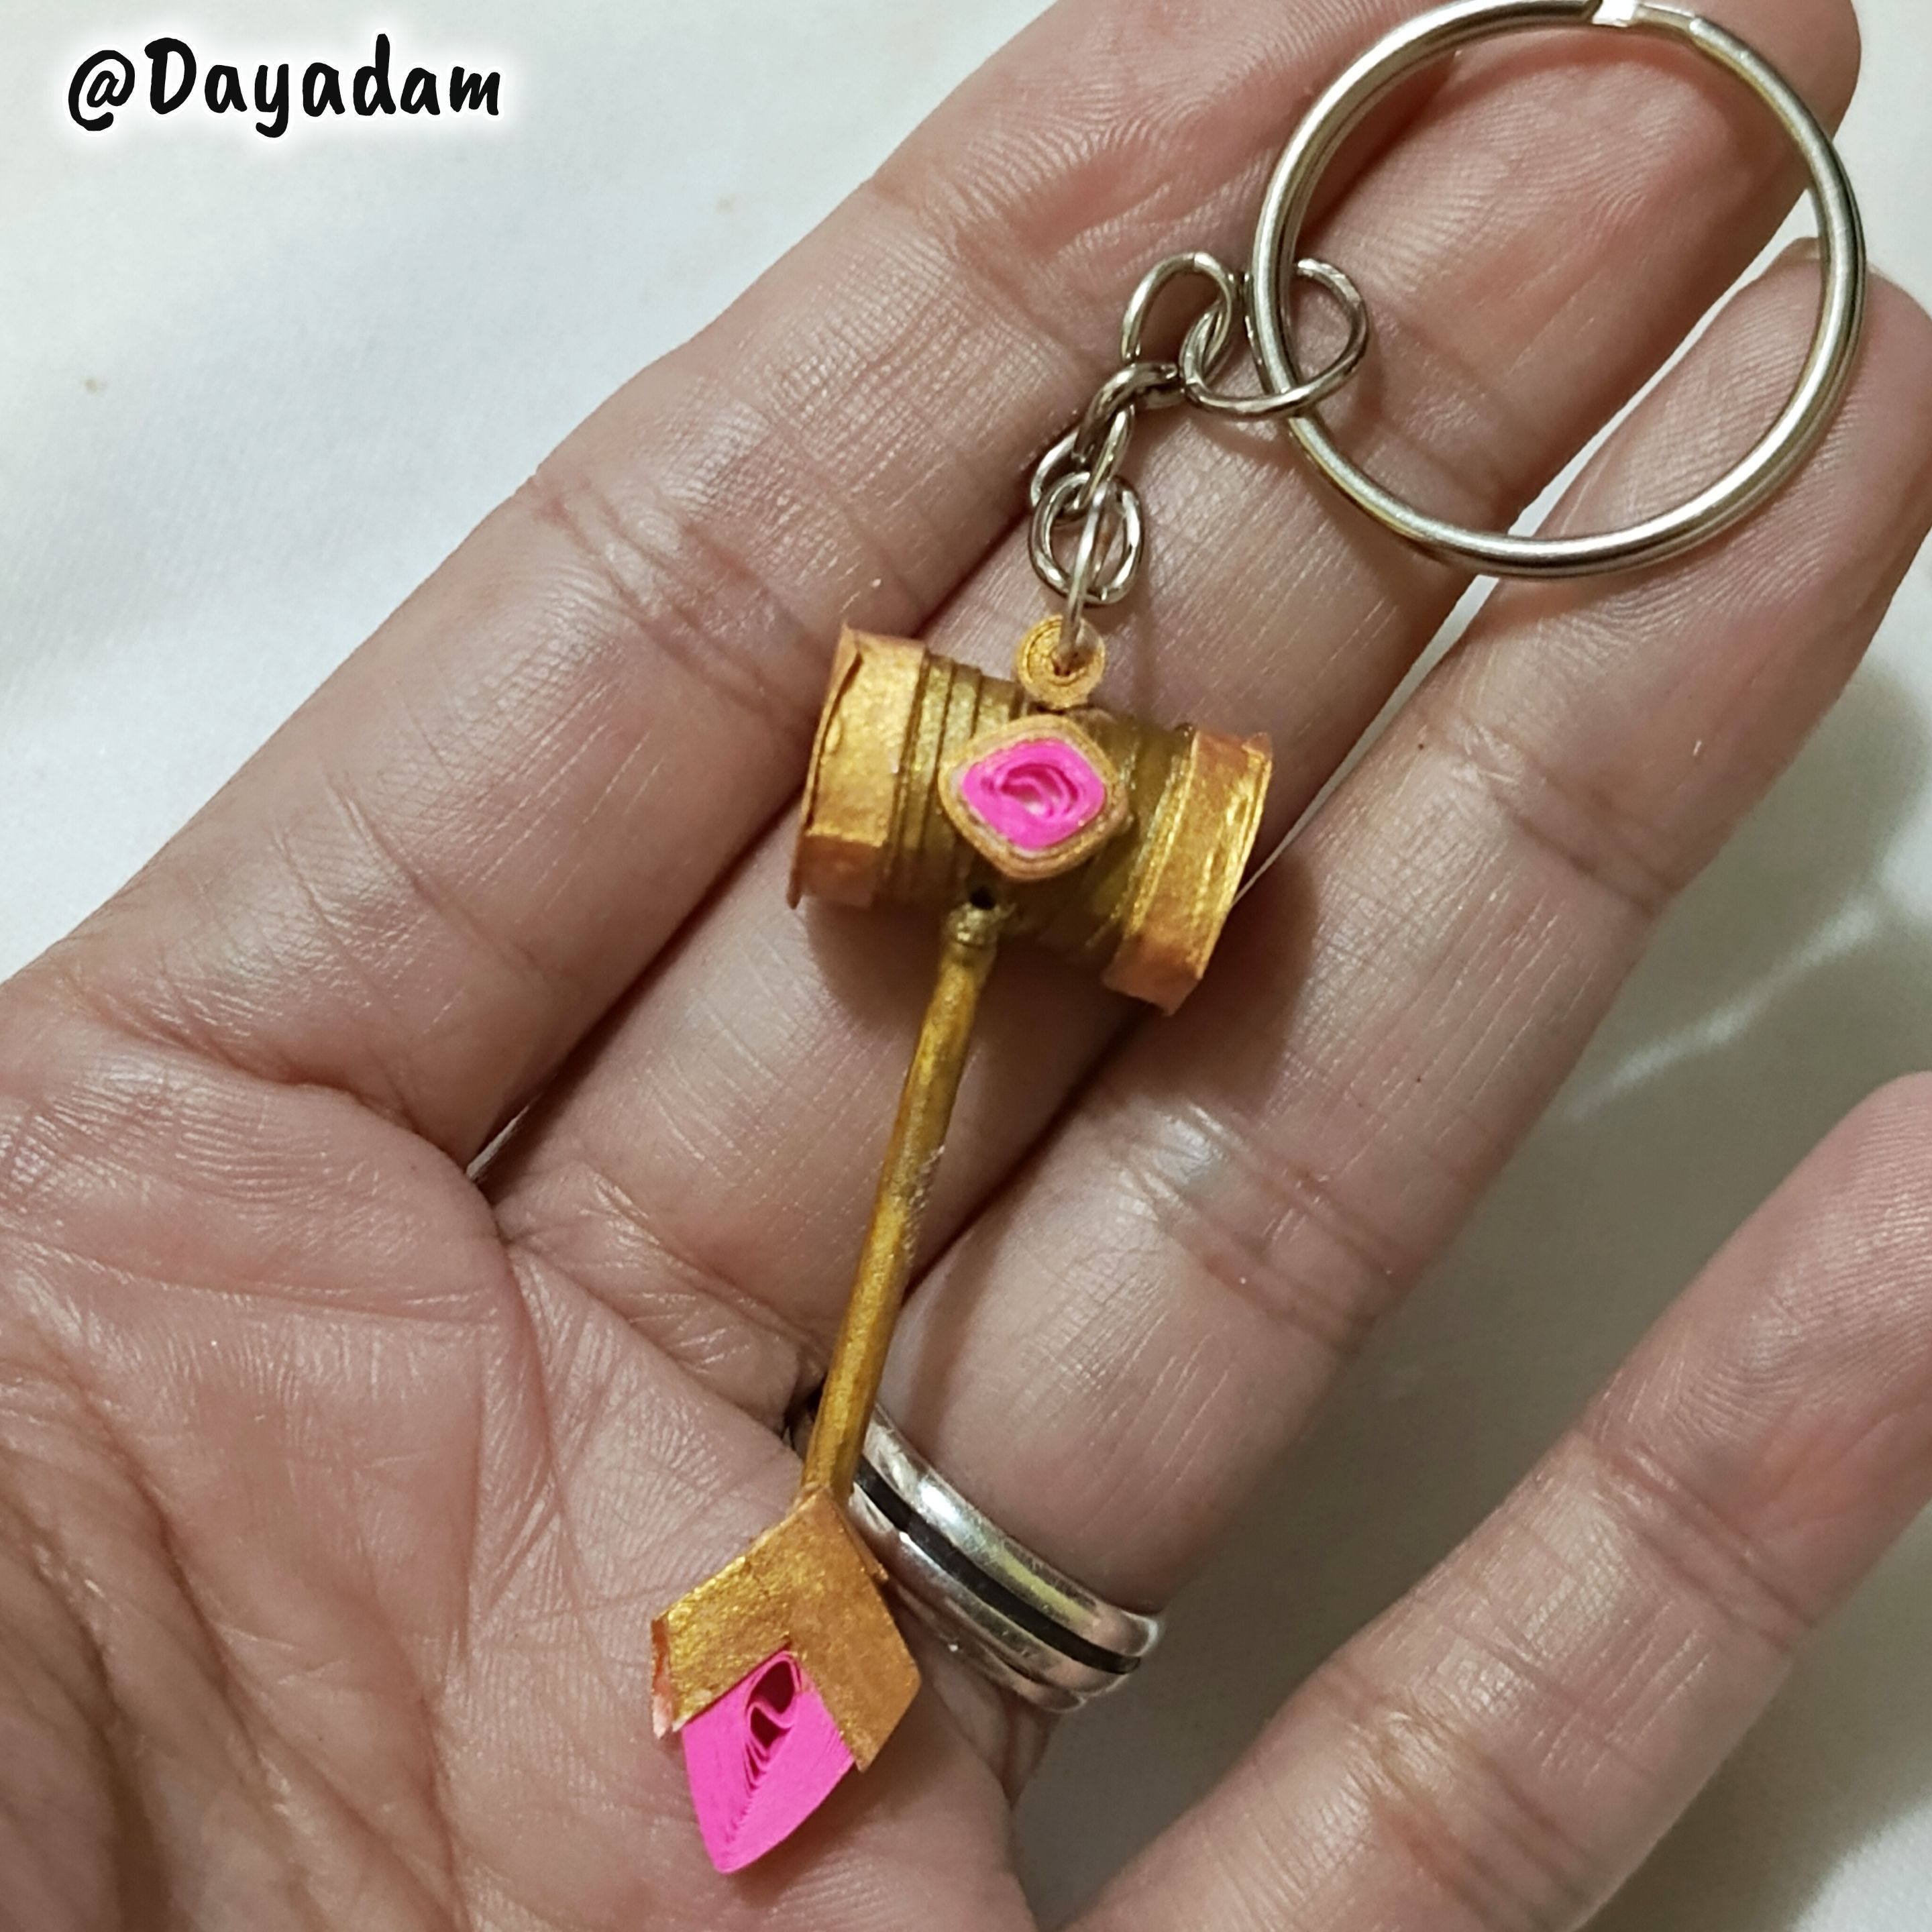
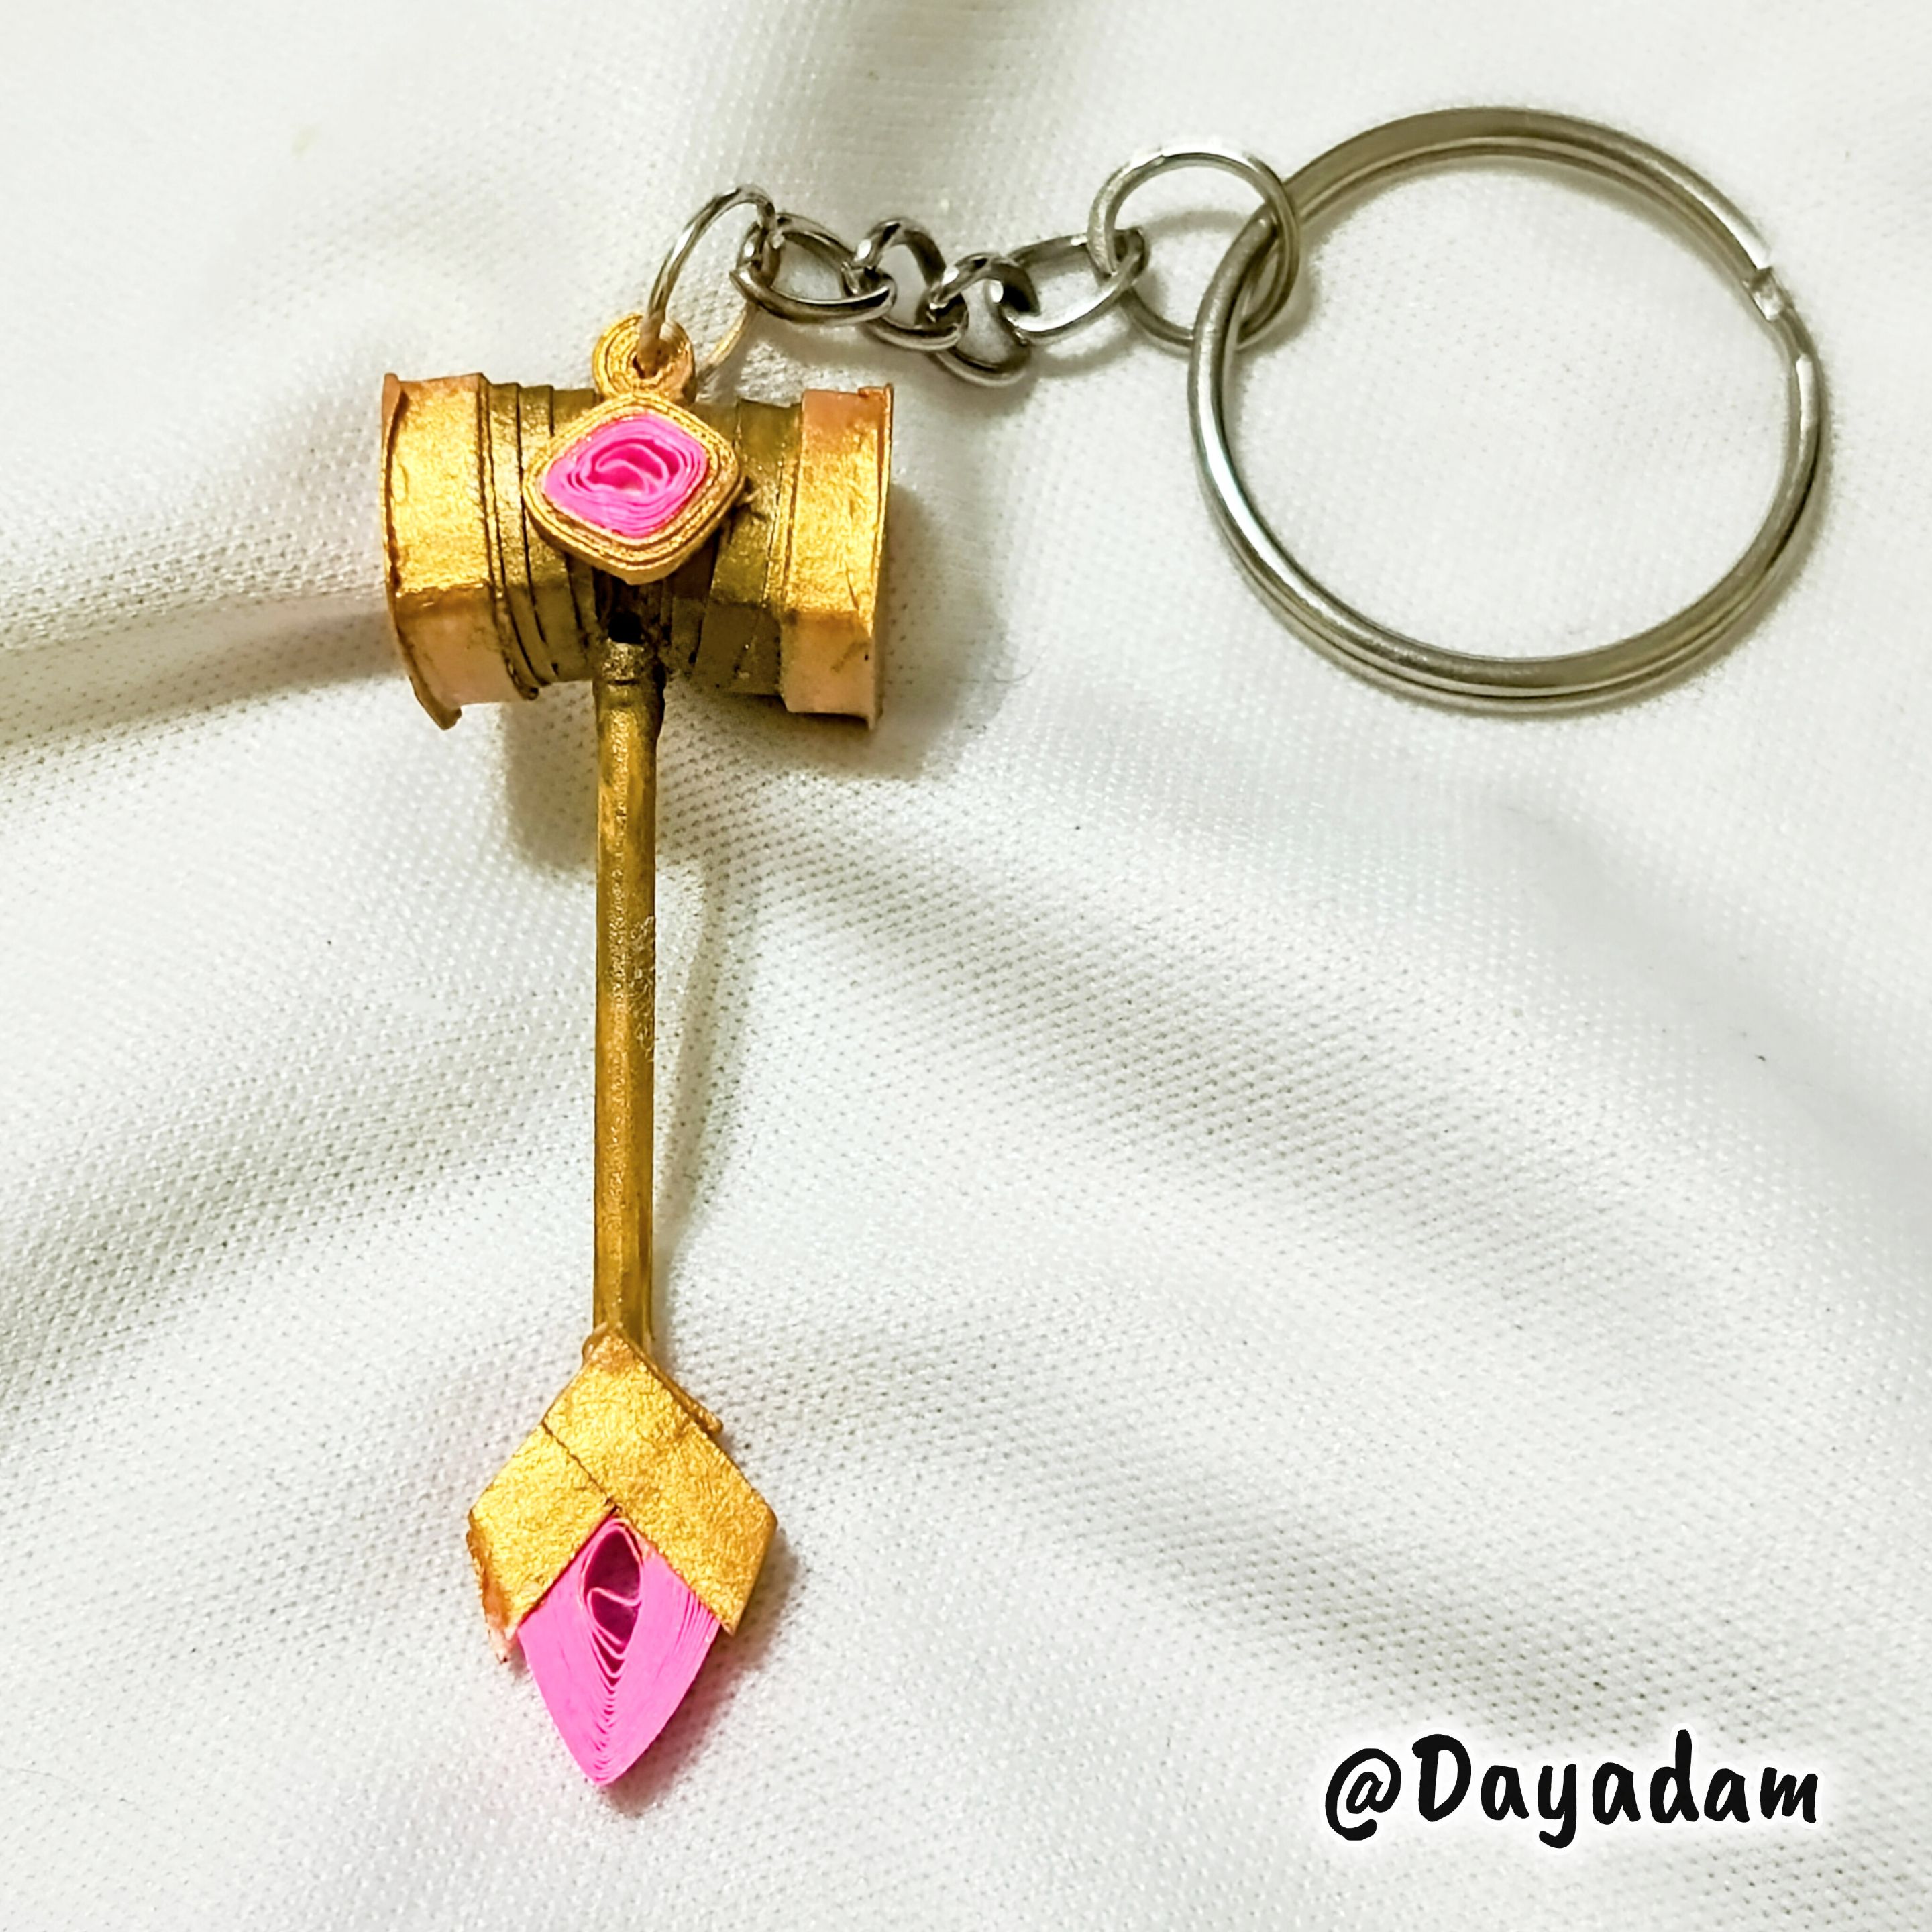
- In this way we have ready this keychain that I made, inspired by the deck that has in his hands the character of the card "Skargore ".
• Tomé pinturas metalizadas color oro y bronce y procedí a pintar las piezas, dejé secar muy bien.
• Una vez secas, pegué todas las piezas para formar el mazo.
• Realice un pequeño círculo cerrado al cual le coloqué una argolla de bisutería tinte de color bronce y pegué de la parte de arriba del mazo, para finalizar coloque la argolla de llavero con cadena.
• De esta manera tenemos listo este llavero que elabore, inspirado en el mazo que tiene en sus manos el personaje de la carta "Skargore".
 |
 |
 |

 |
 |
 |
 |
 |
|
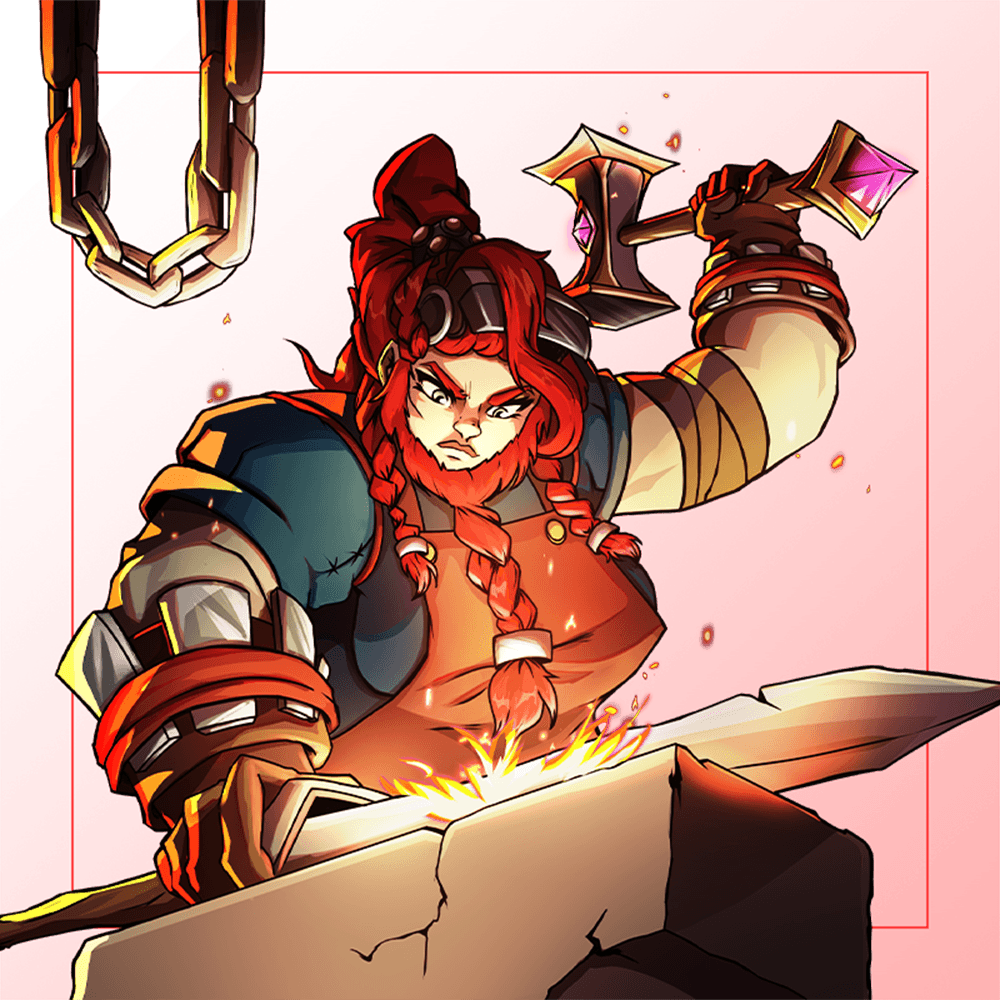
Fuente carta / Charter Source // Xander Foxwood
What did you think, did you like it?
I hope you did, I hope you liked my explanation, procedure and photos, I made them with love for you.
"Let out that muse that inspires you, and let your imagination fly".
Thank you all, see you next time.
¿Que les pareció, les gustó?
Espero que sí, que les haya gustado mi explicación, procedimiento y fotos, los hice con mucho cariño por y para ustedes."Deja salir esa musa que te inspira, y deja volar tu imaginación".
Gracias a todos, nos vemos en la próxima.
All photos used in this post are of my authorship and have been taken on my personal cell phone a Redmi 9T and edited in Canva and in Inshot
Fuente carta / Charter Source // Skargore
Banner and separator made by me in Canva
Translated with the help of DeepL
Todas las fotos usadas en este post son de mi autoría y han sido sacadas en mi celular personal un Redmi 9T y editadas en Canva y en Inshot
Fuente carta / Charter Source // Skargore
Banner y separador hecho por mí en Canva
Traducido con la ayuda de DeepL