Hello to my dear Hivers and the dear community of artists,#Jewelry as always very pleased and excited to be here again, showing you my work made with love and especially for you.
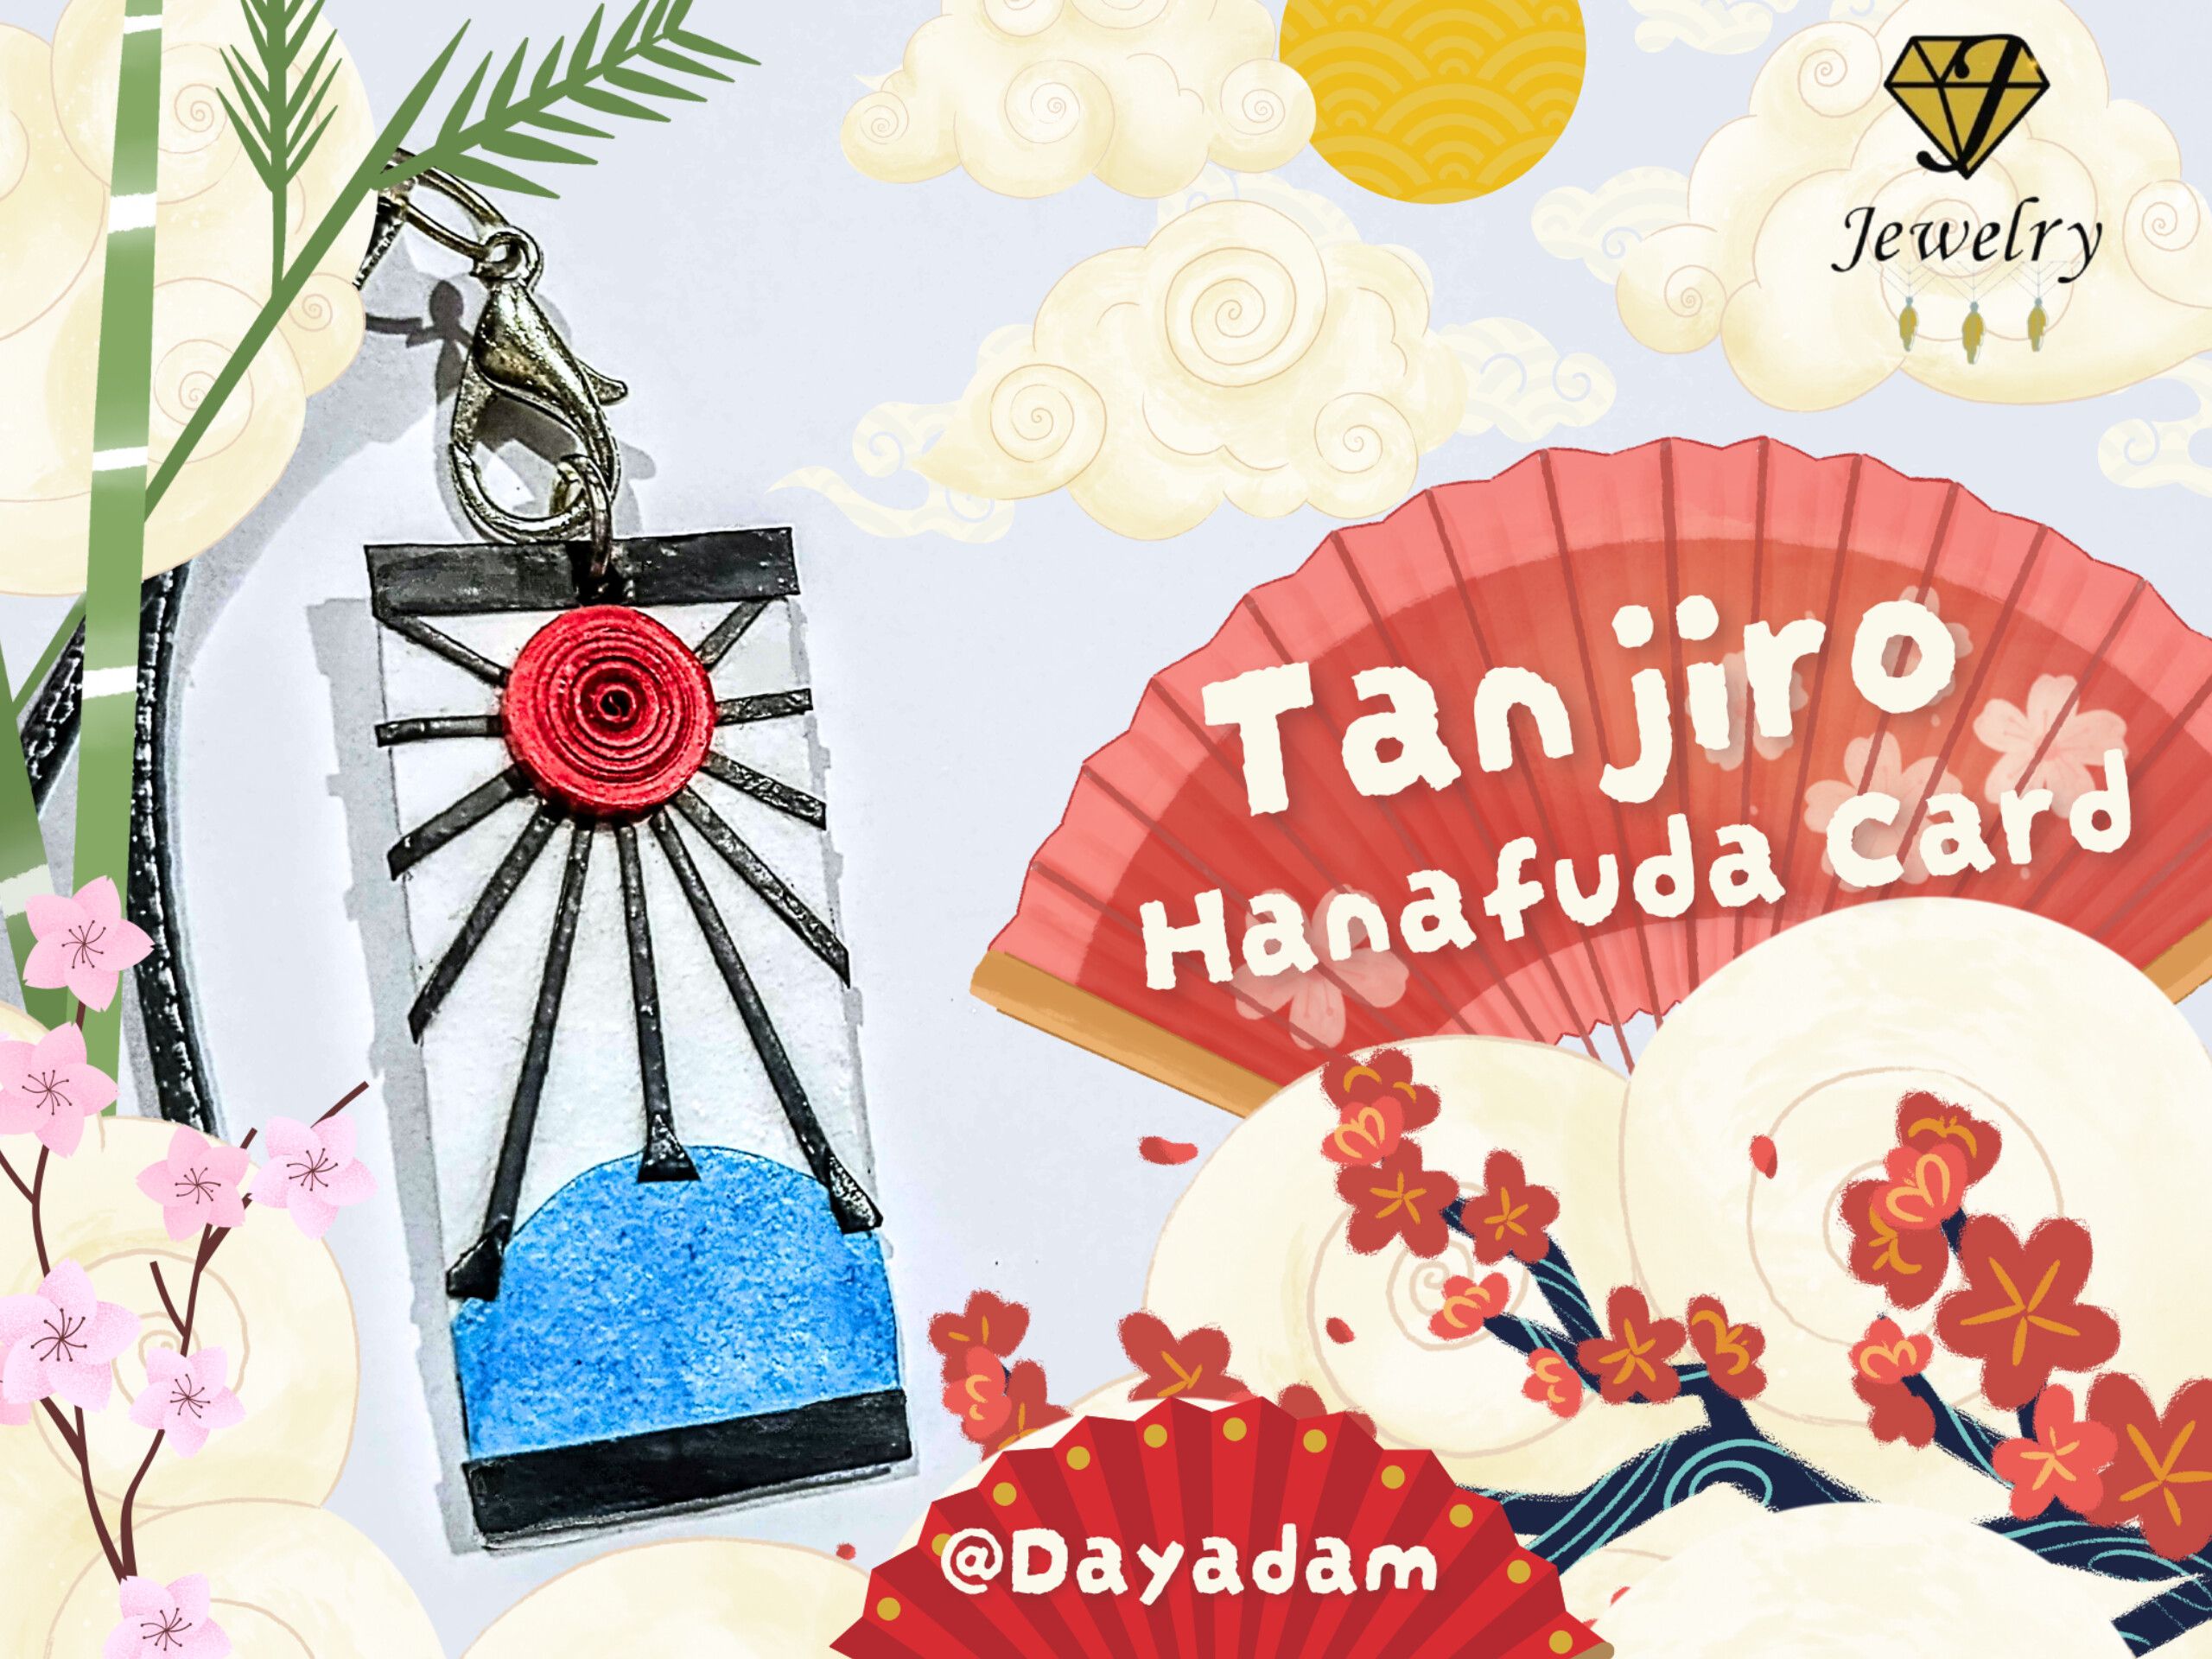
Taking advantage of the trend surrounding the release of the movie Demon Slayer, I decided to make a decorative pendant of one of the Tanjiro Hanafuda Cards, using the quilling and cardboard crafting techniques.
Hoping you like it, I leave you my creative process:
Let's get started:😃

Hola a Todos...✨
Hola a mis queridos Hivers y a la querida comunidad de artistas #Jewelry, como siempre muy complacida y emocionada de encontrarme por acá nuevamente, mostrándole mi trabajo hecho con mucho amor y especialmente para ustedes.
Para hoy aprovechando la tendencia del estreno de la película Demon Slayer, decidí realizar un colgante decorativo de una de las Cartas de Tanjiro Hanafuda, en la técnica de quilling y cartonaje.
Esperando que sea de su agrado, les dejo mi proceso creativo:
Comencemos:😃
 |
 |
|


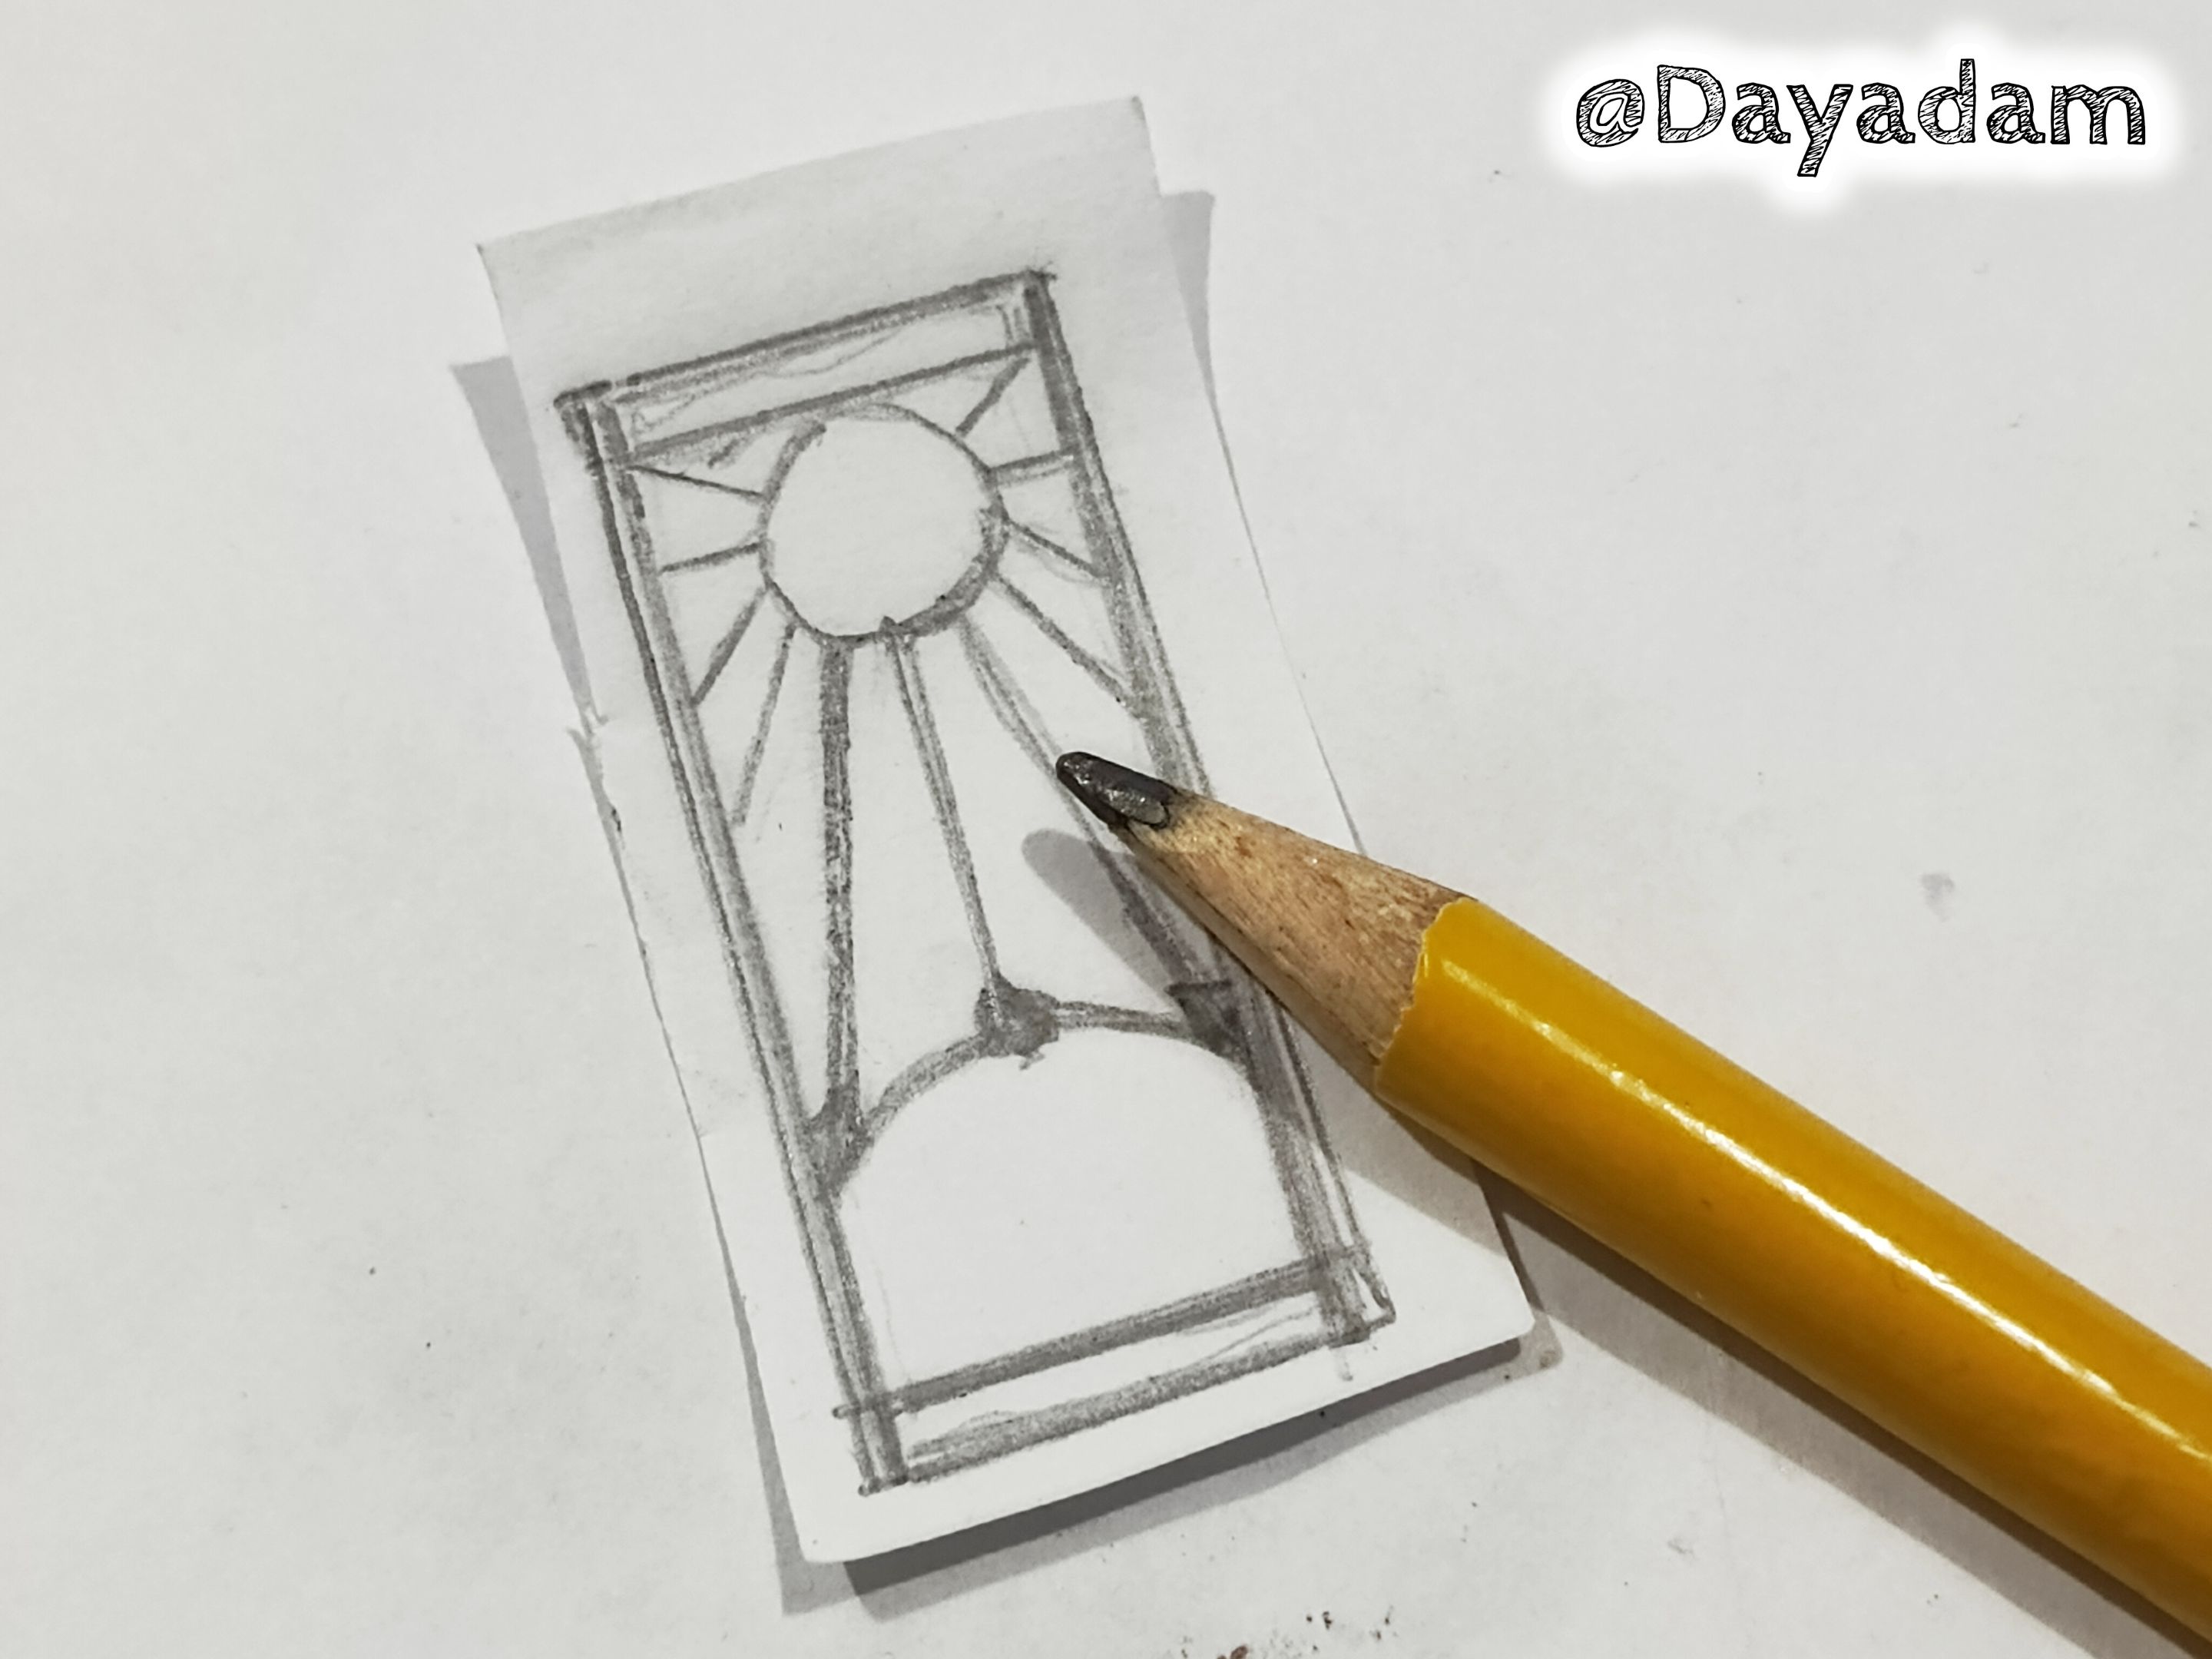
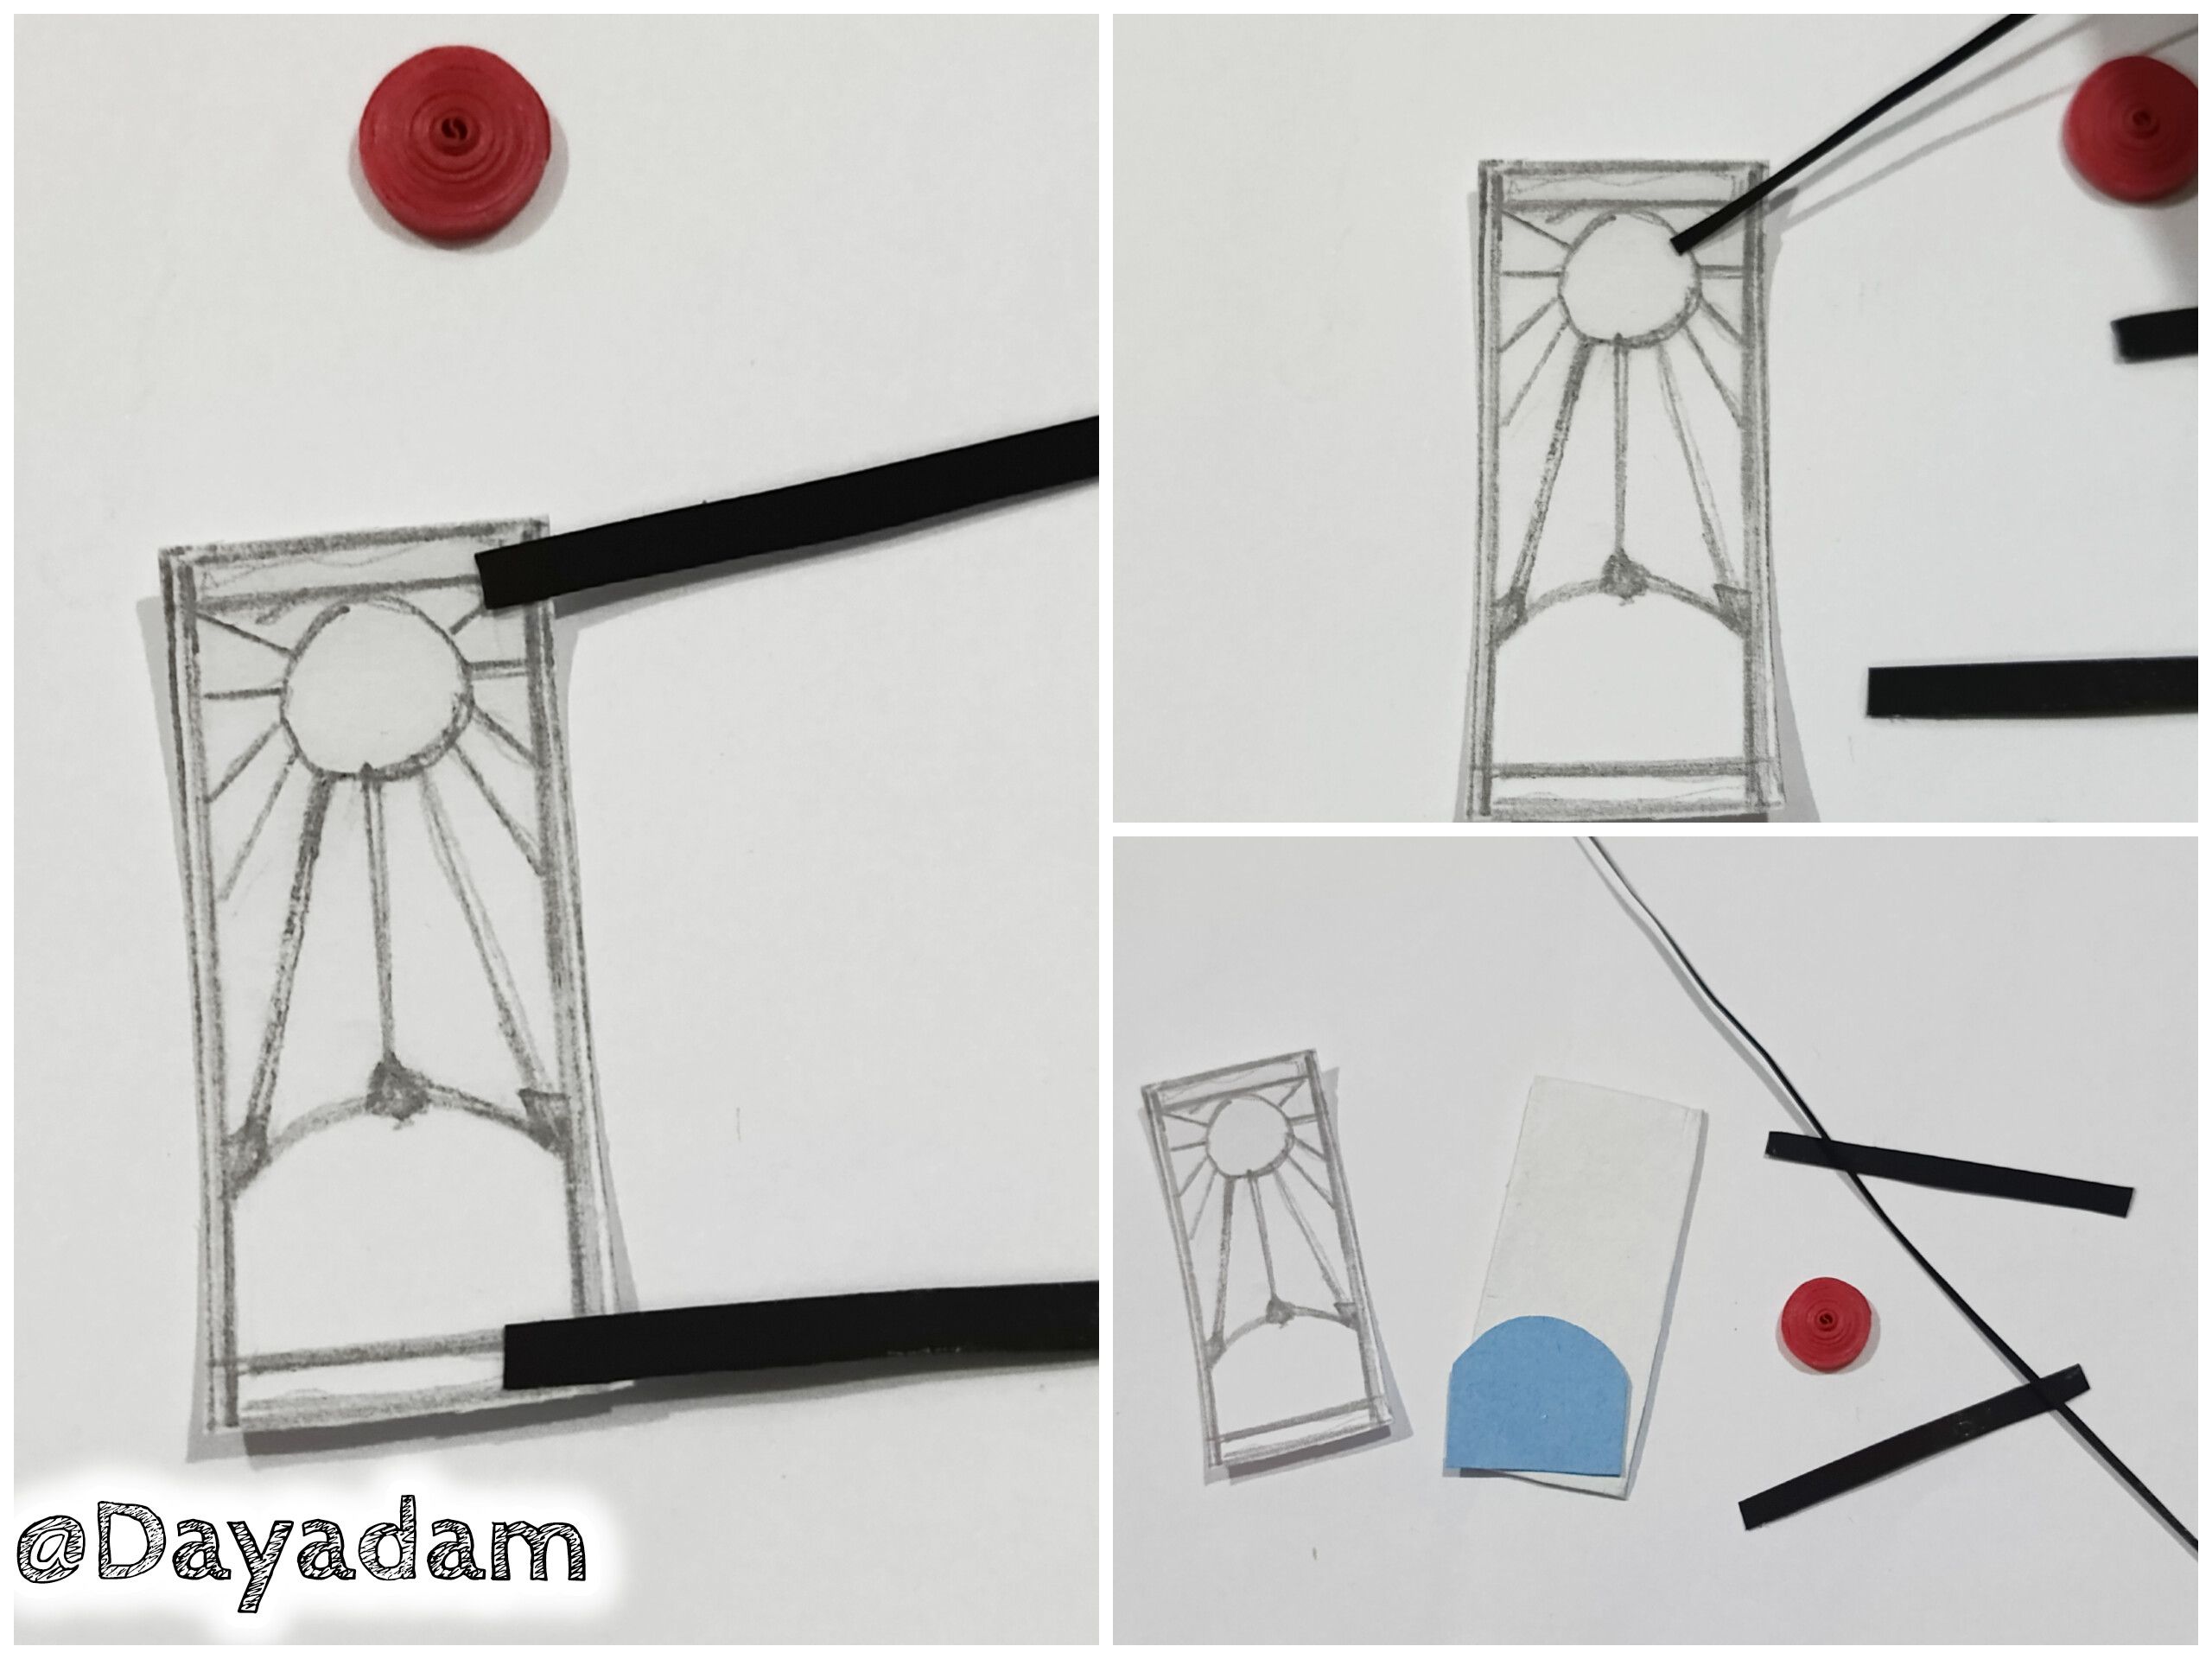
• I started by sketching the figure I wanted to create on a white sheet of paper with a pencil, then cut it out with scissors.
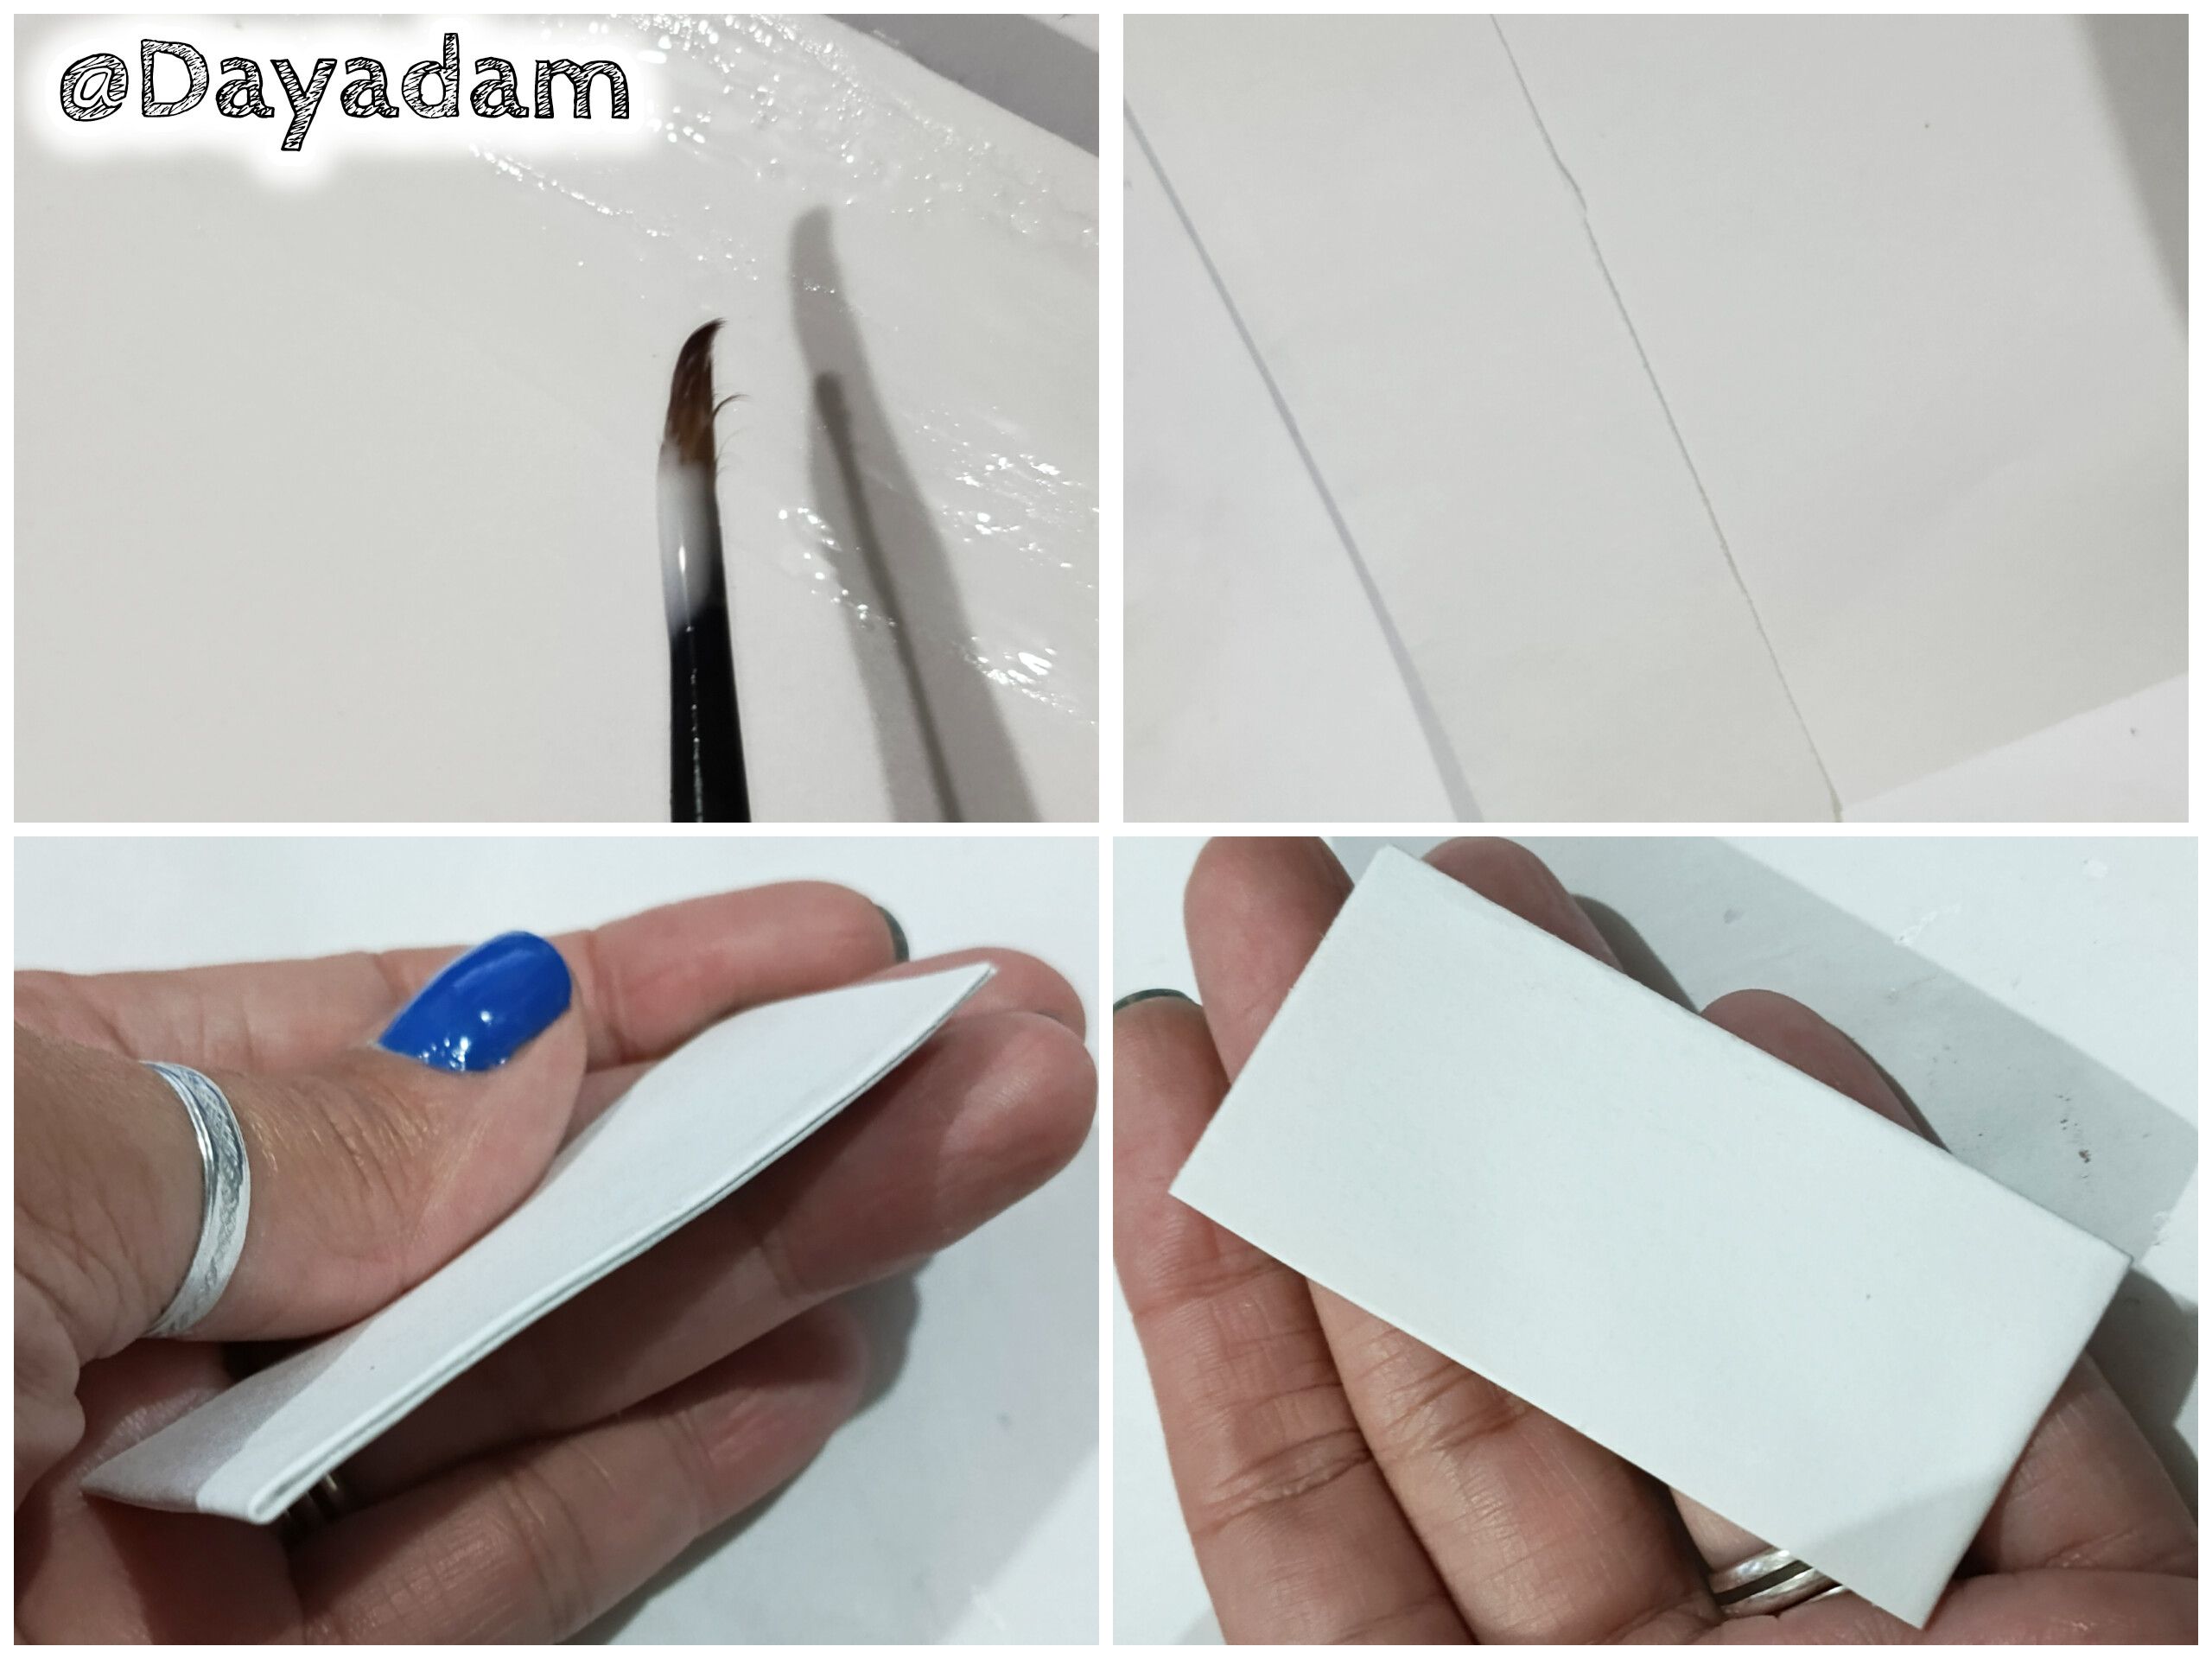
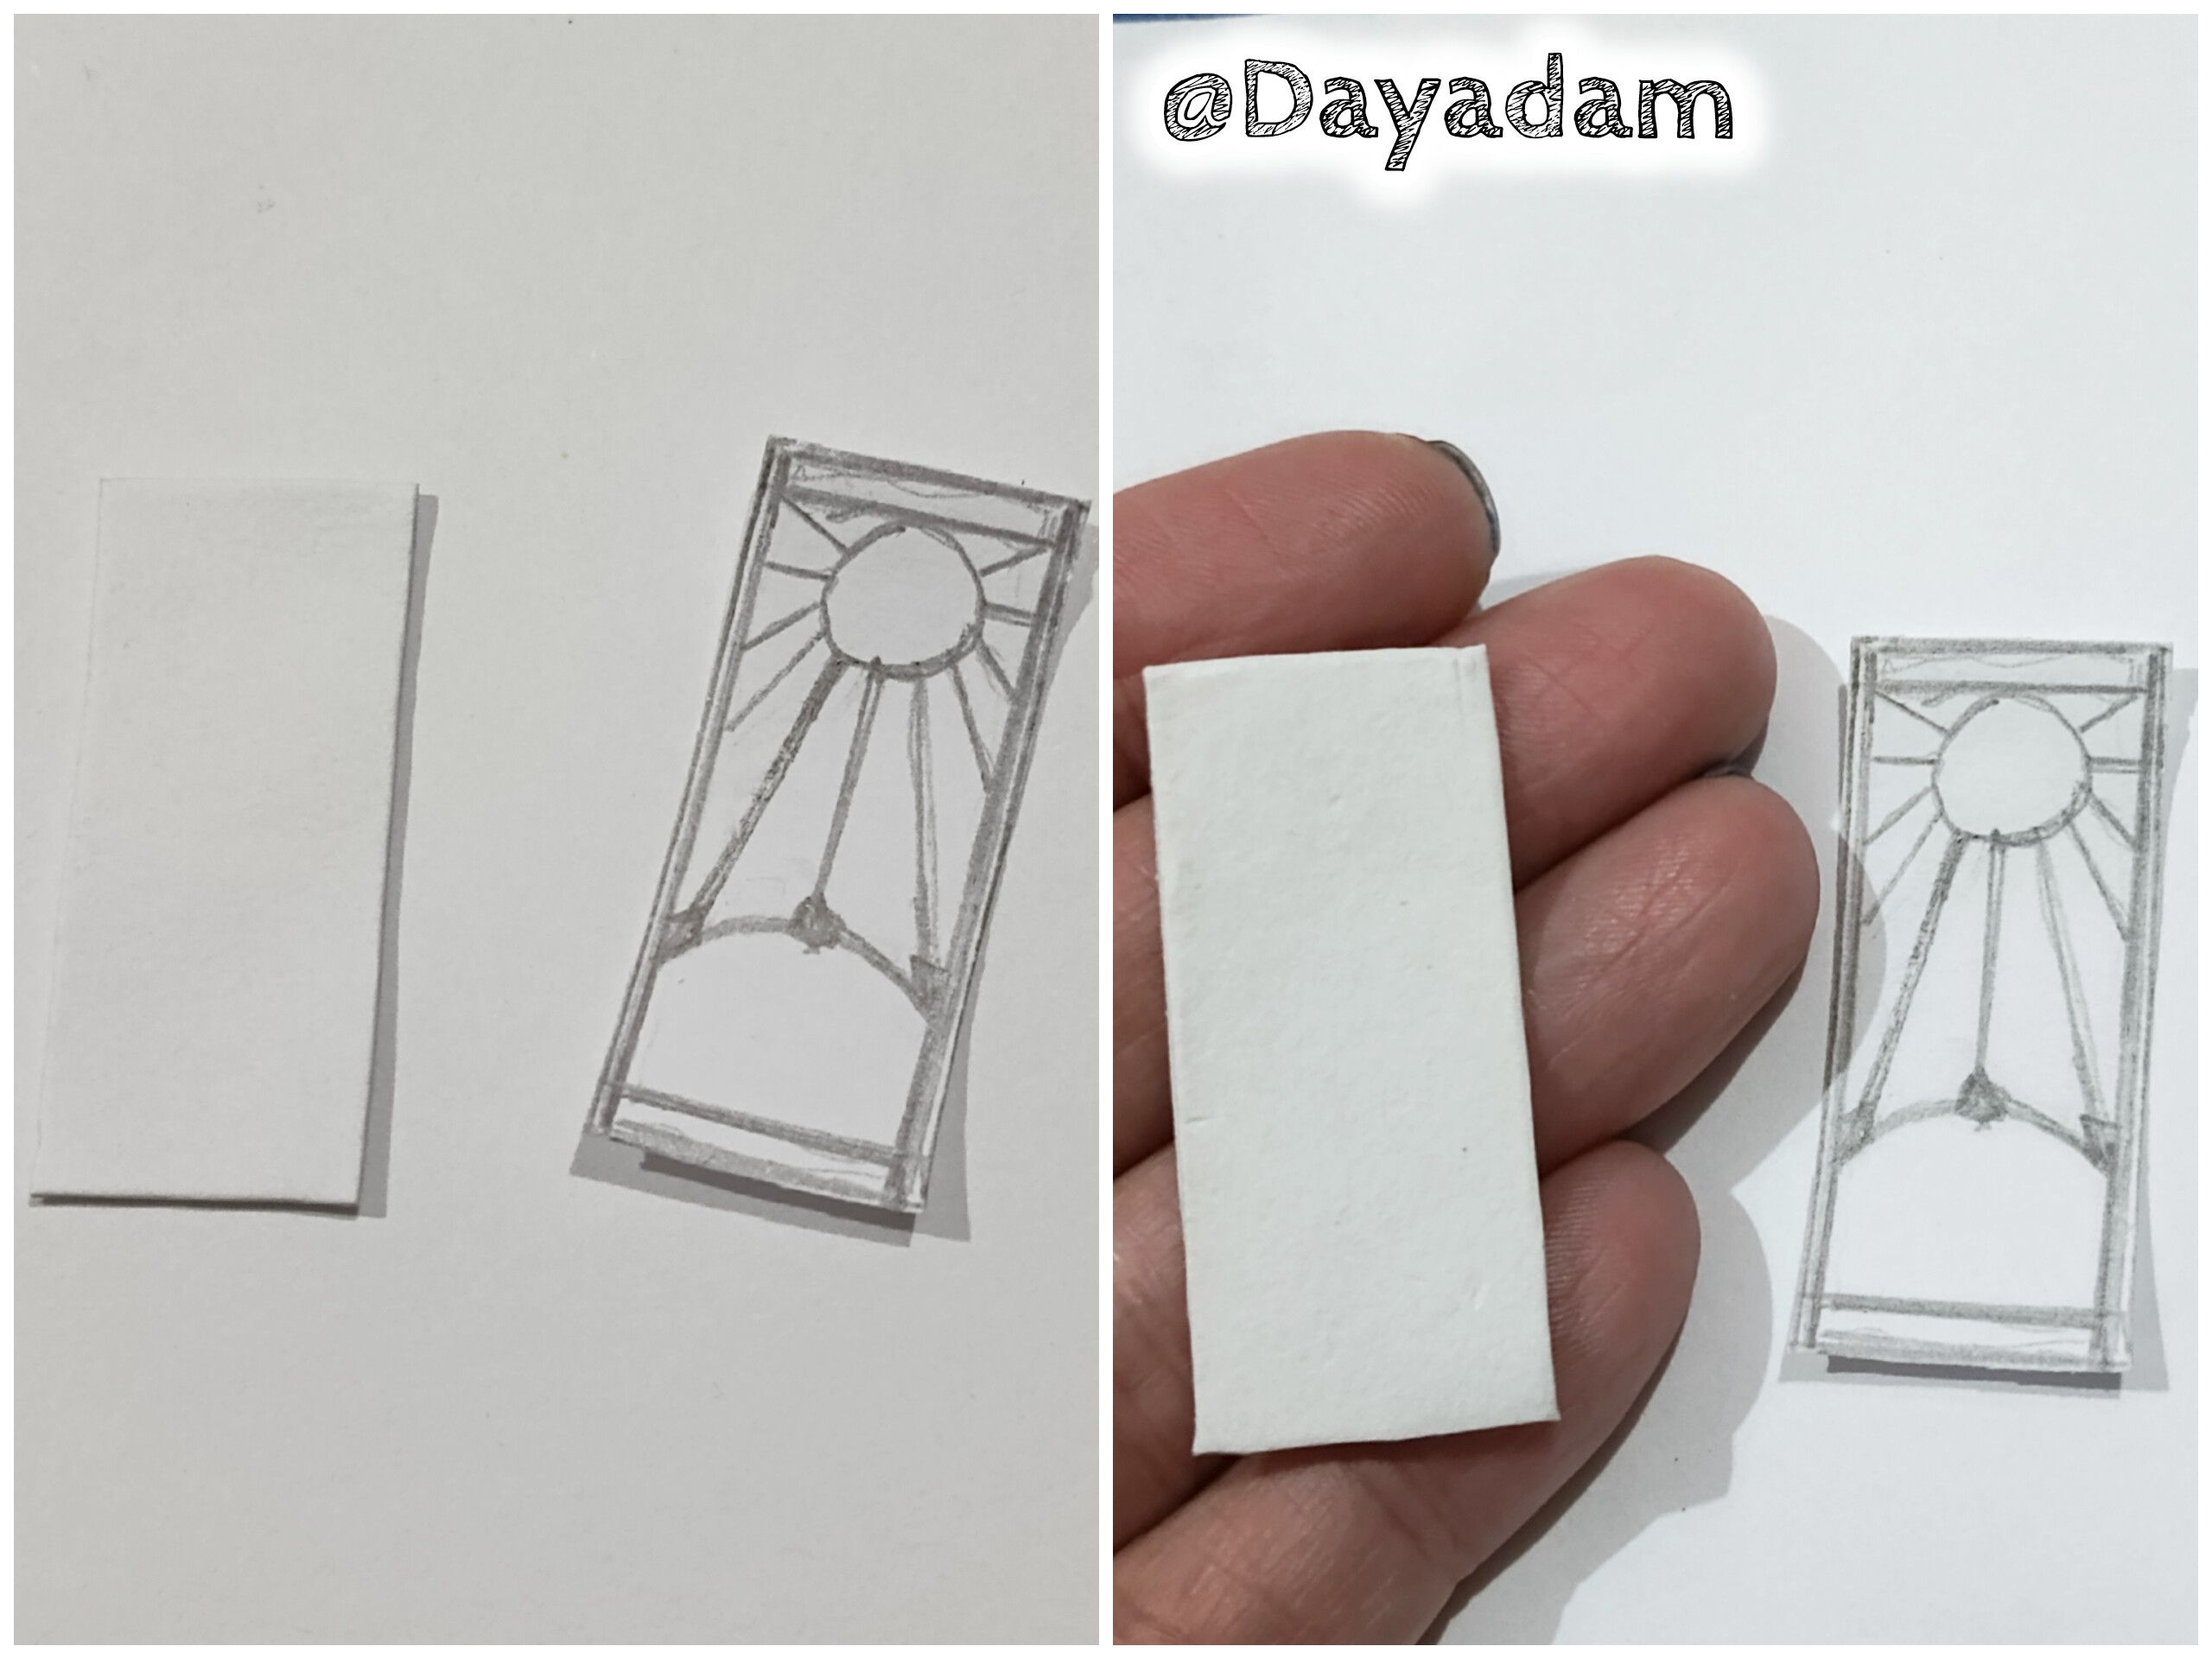
• I took a piece of white cardstock, applied extra-strong white glue to it, and made some folds to create a strong, hard, and resistant base. I let it dry thoroughly, then cut it out according to the sketch I had made.
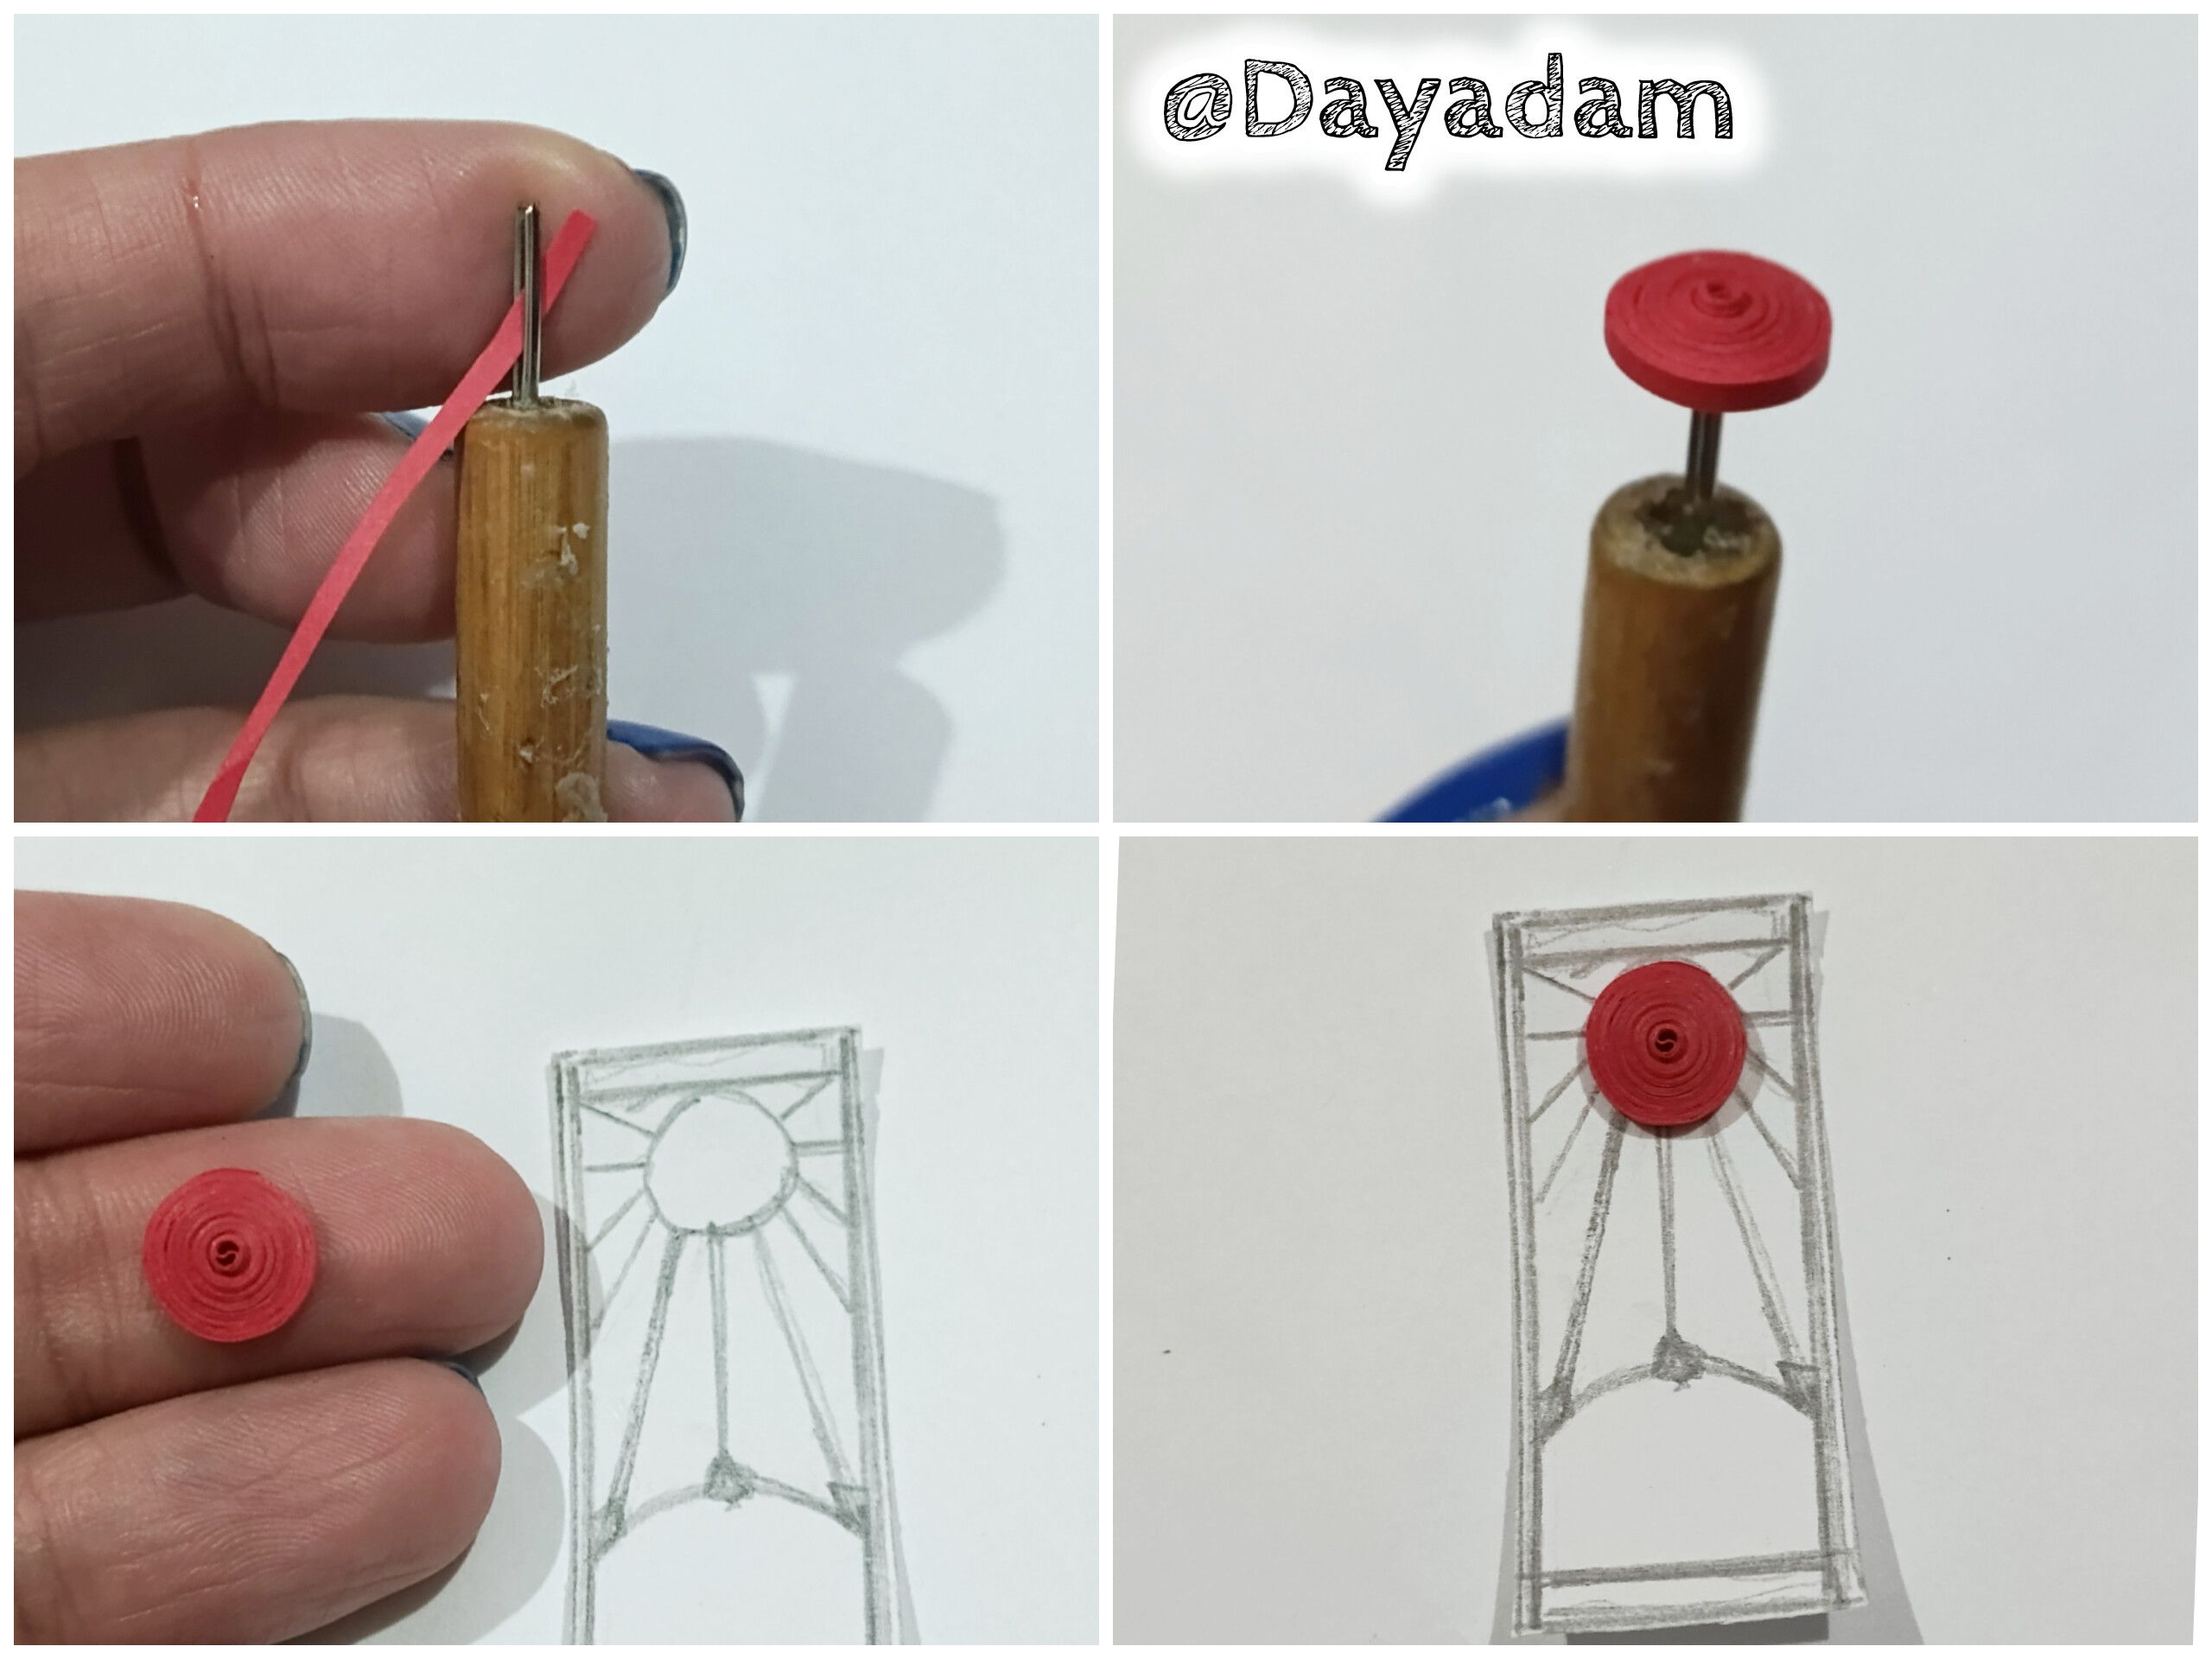
• Using a 1mm wide red quilling strip, I made a closed circle with the needle, the right size according to my sketch.

• Comencé realizando un boceto de la figura que deseo crear, en una hoja blanca con un lápiz, lo recorte con una tijera.
• Tomé un trozo de cartulina de color blanco al cual apliqué pega blanca extra fuerte, y realicé algunos dobleces, esto para hacer una base fuerte, dura y resistente, deje secar muy bien, luego recorte de acuerdo al boceto que había realizado.
• Con una tira para quilling de color rojo de 1mm de ancho, realicé con la aguja un círculo cerrado, del tamaño adecuado según indicaba mi boceto.
 |
 |
 |
 |
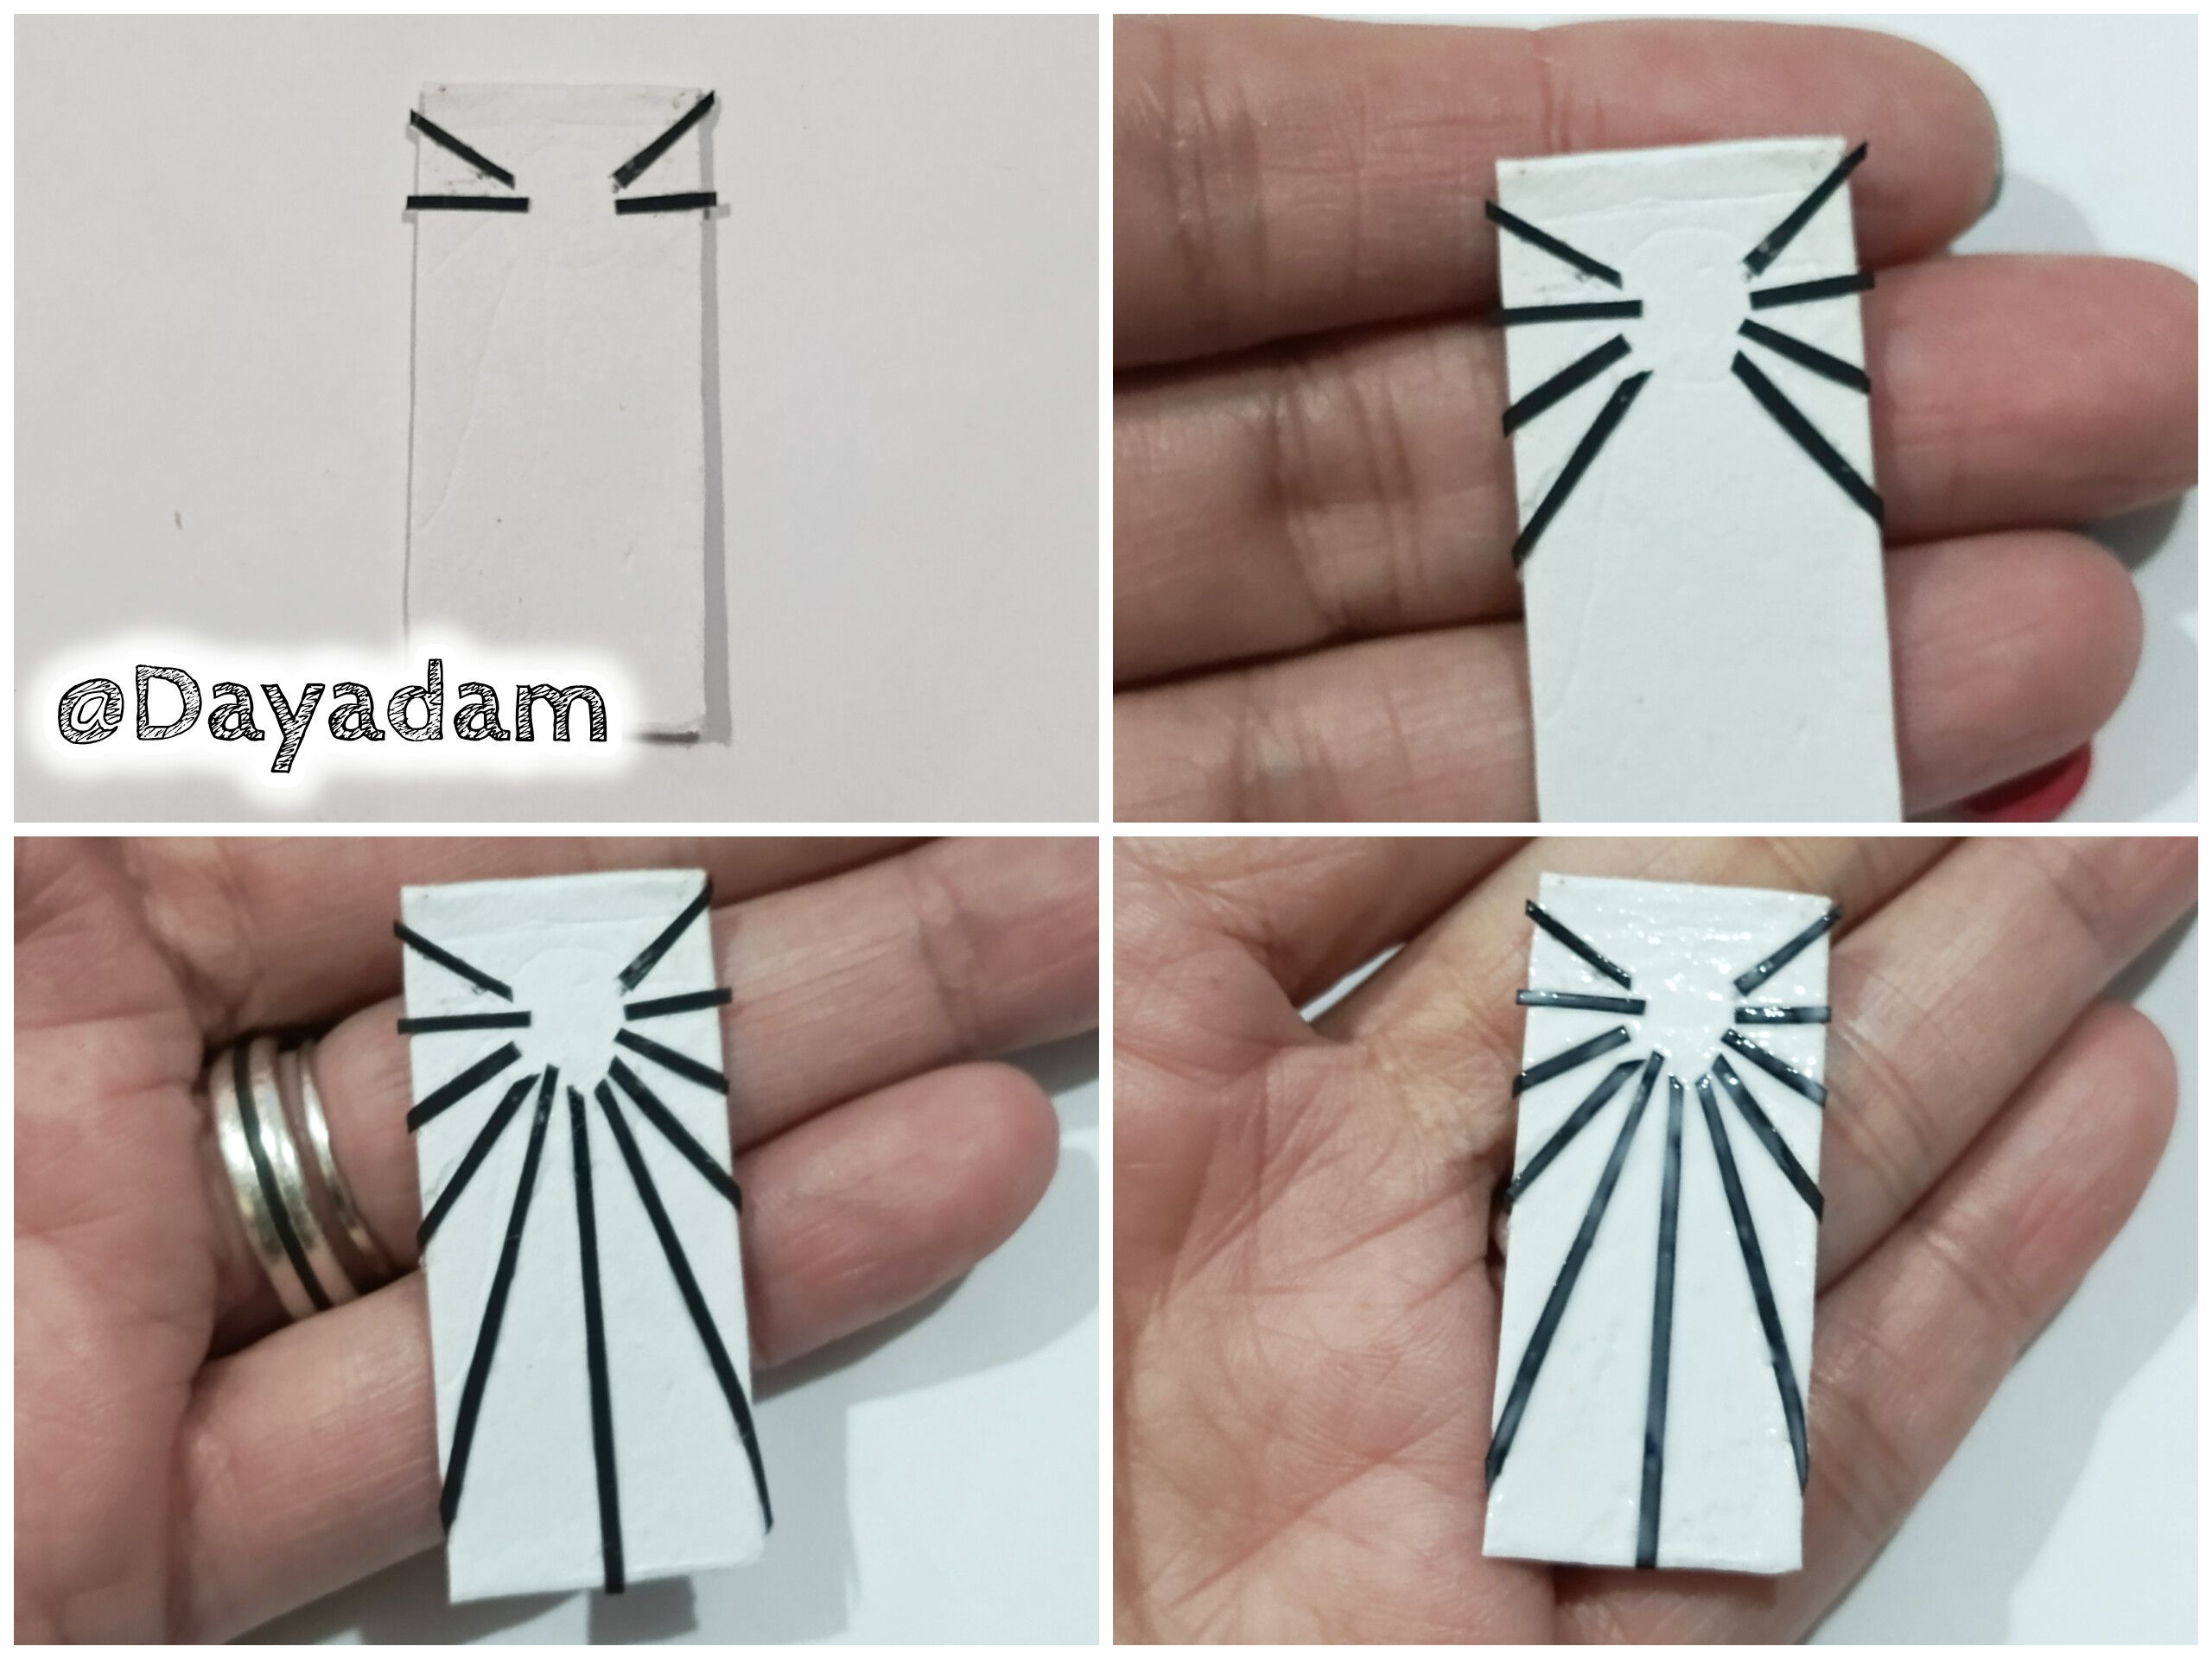
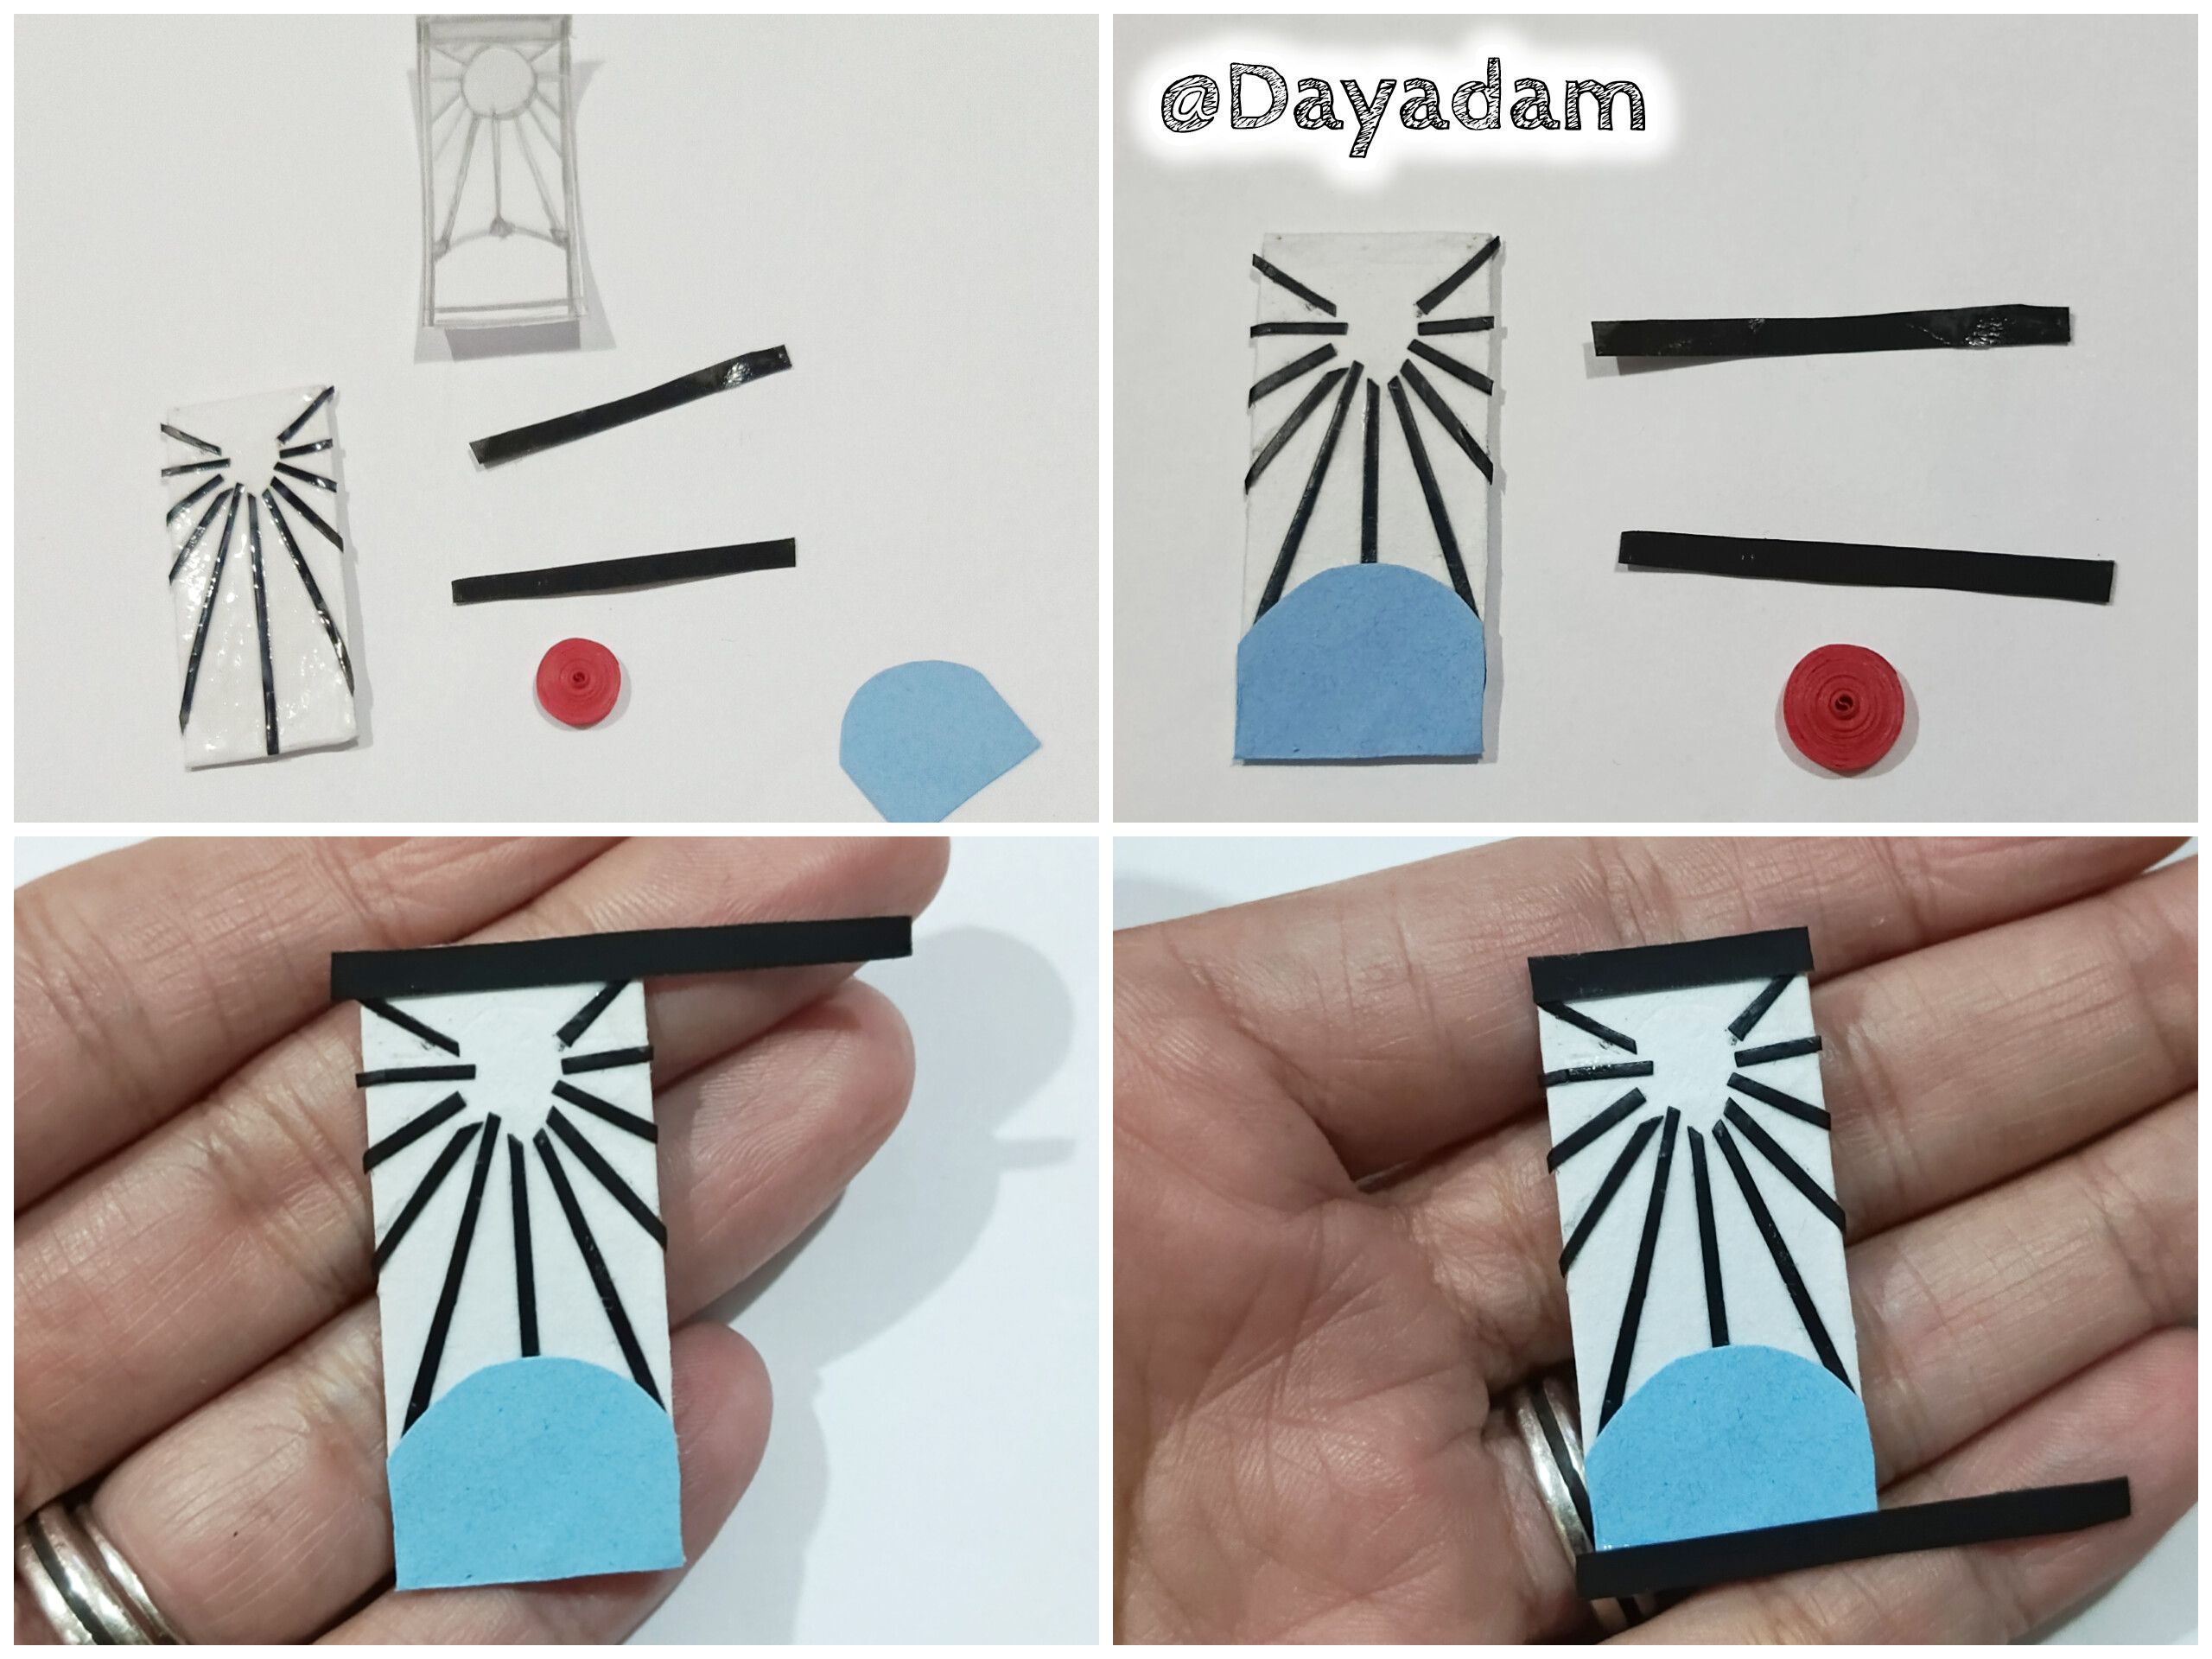
• I cut two pieces of black tape, each 3 mm wide, for the top and bottom of the pendant.
• I cut other very thin strips of black tape for the lines on my pendant.
• Using light blue cardstock, I cut out another piece to go on the bottom of my pendant.
• I began to glue all the pieces together, starting with the lines. When I finished, I applied a layer of extra-strong white glue to seal them and let them dry thoroughly.
• I continued gluing the remaining pieces together to assemble the pendant.
• Procedí a recortar 2 trozos de cinta negra de 3mm de ancho, estás para la parte de arriba y abajo del dije.
• Recorte otras tiras muy finas de cinta de color negro, para las líneas de mi dije.
• Con cartulina de color azul claro, recorte otra pieza, que va en la parte de abajo de mi dije.
• Comencé a pegar todas las piezas, empezando por las líneas, al terminar con estas apliqué una capa de pega blanca extra fuerte para sellarlas, deje secar muy bien.
• Seguí pegando las piezas restantes, para armar el dije.
 |
 |
 |
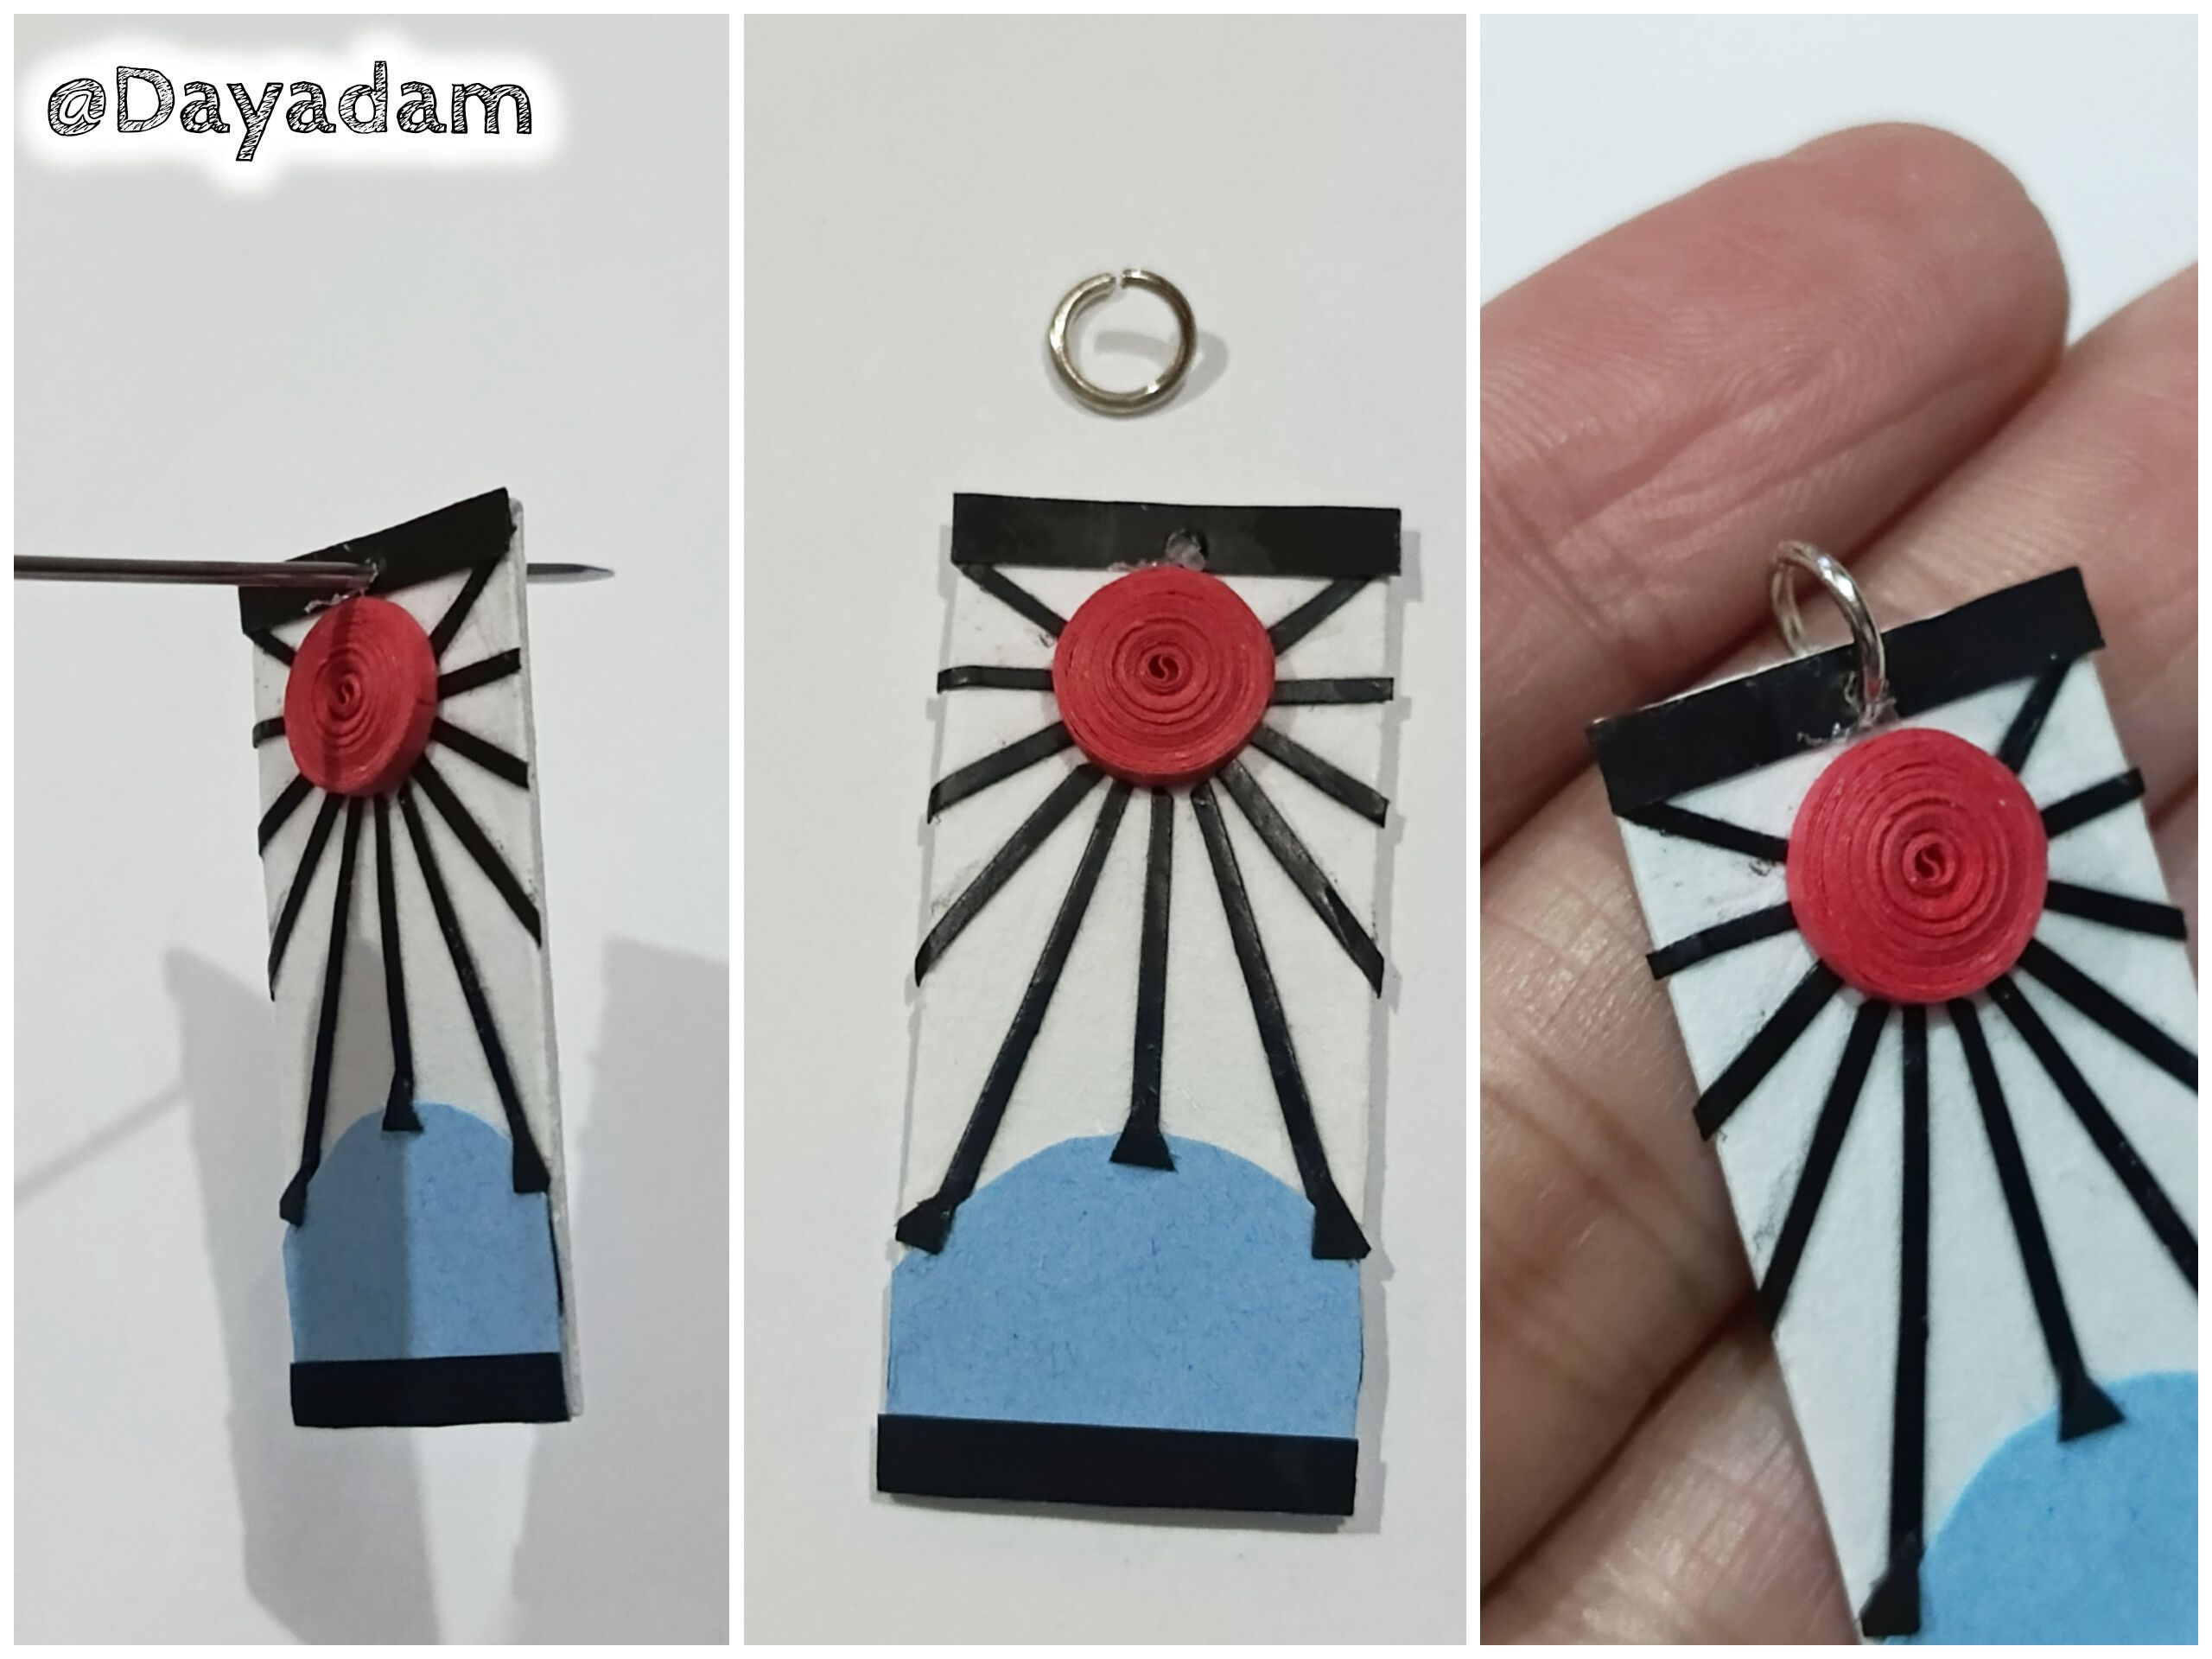
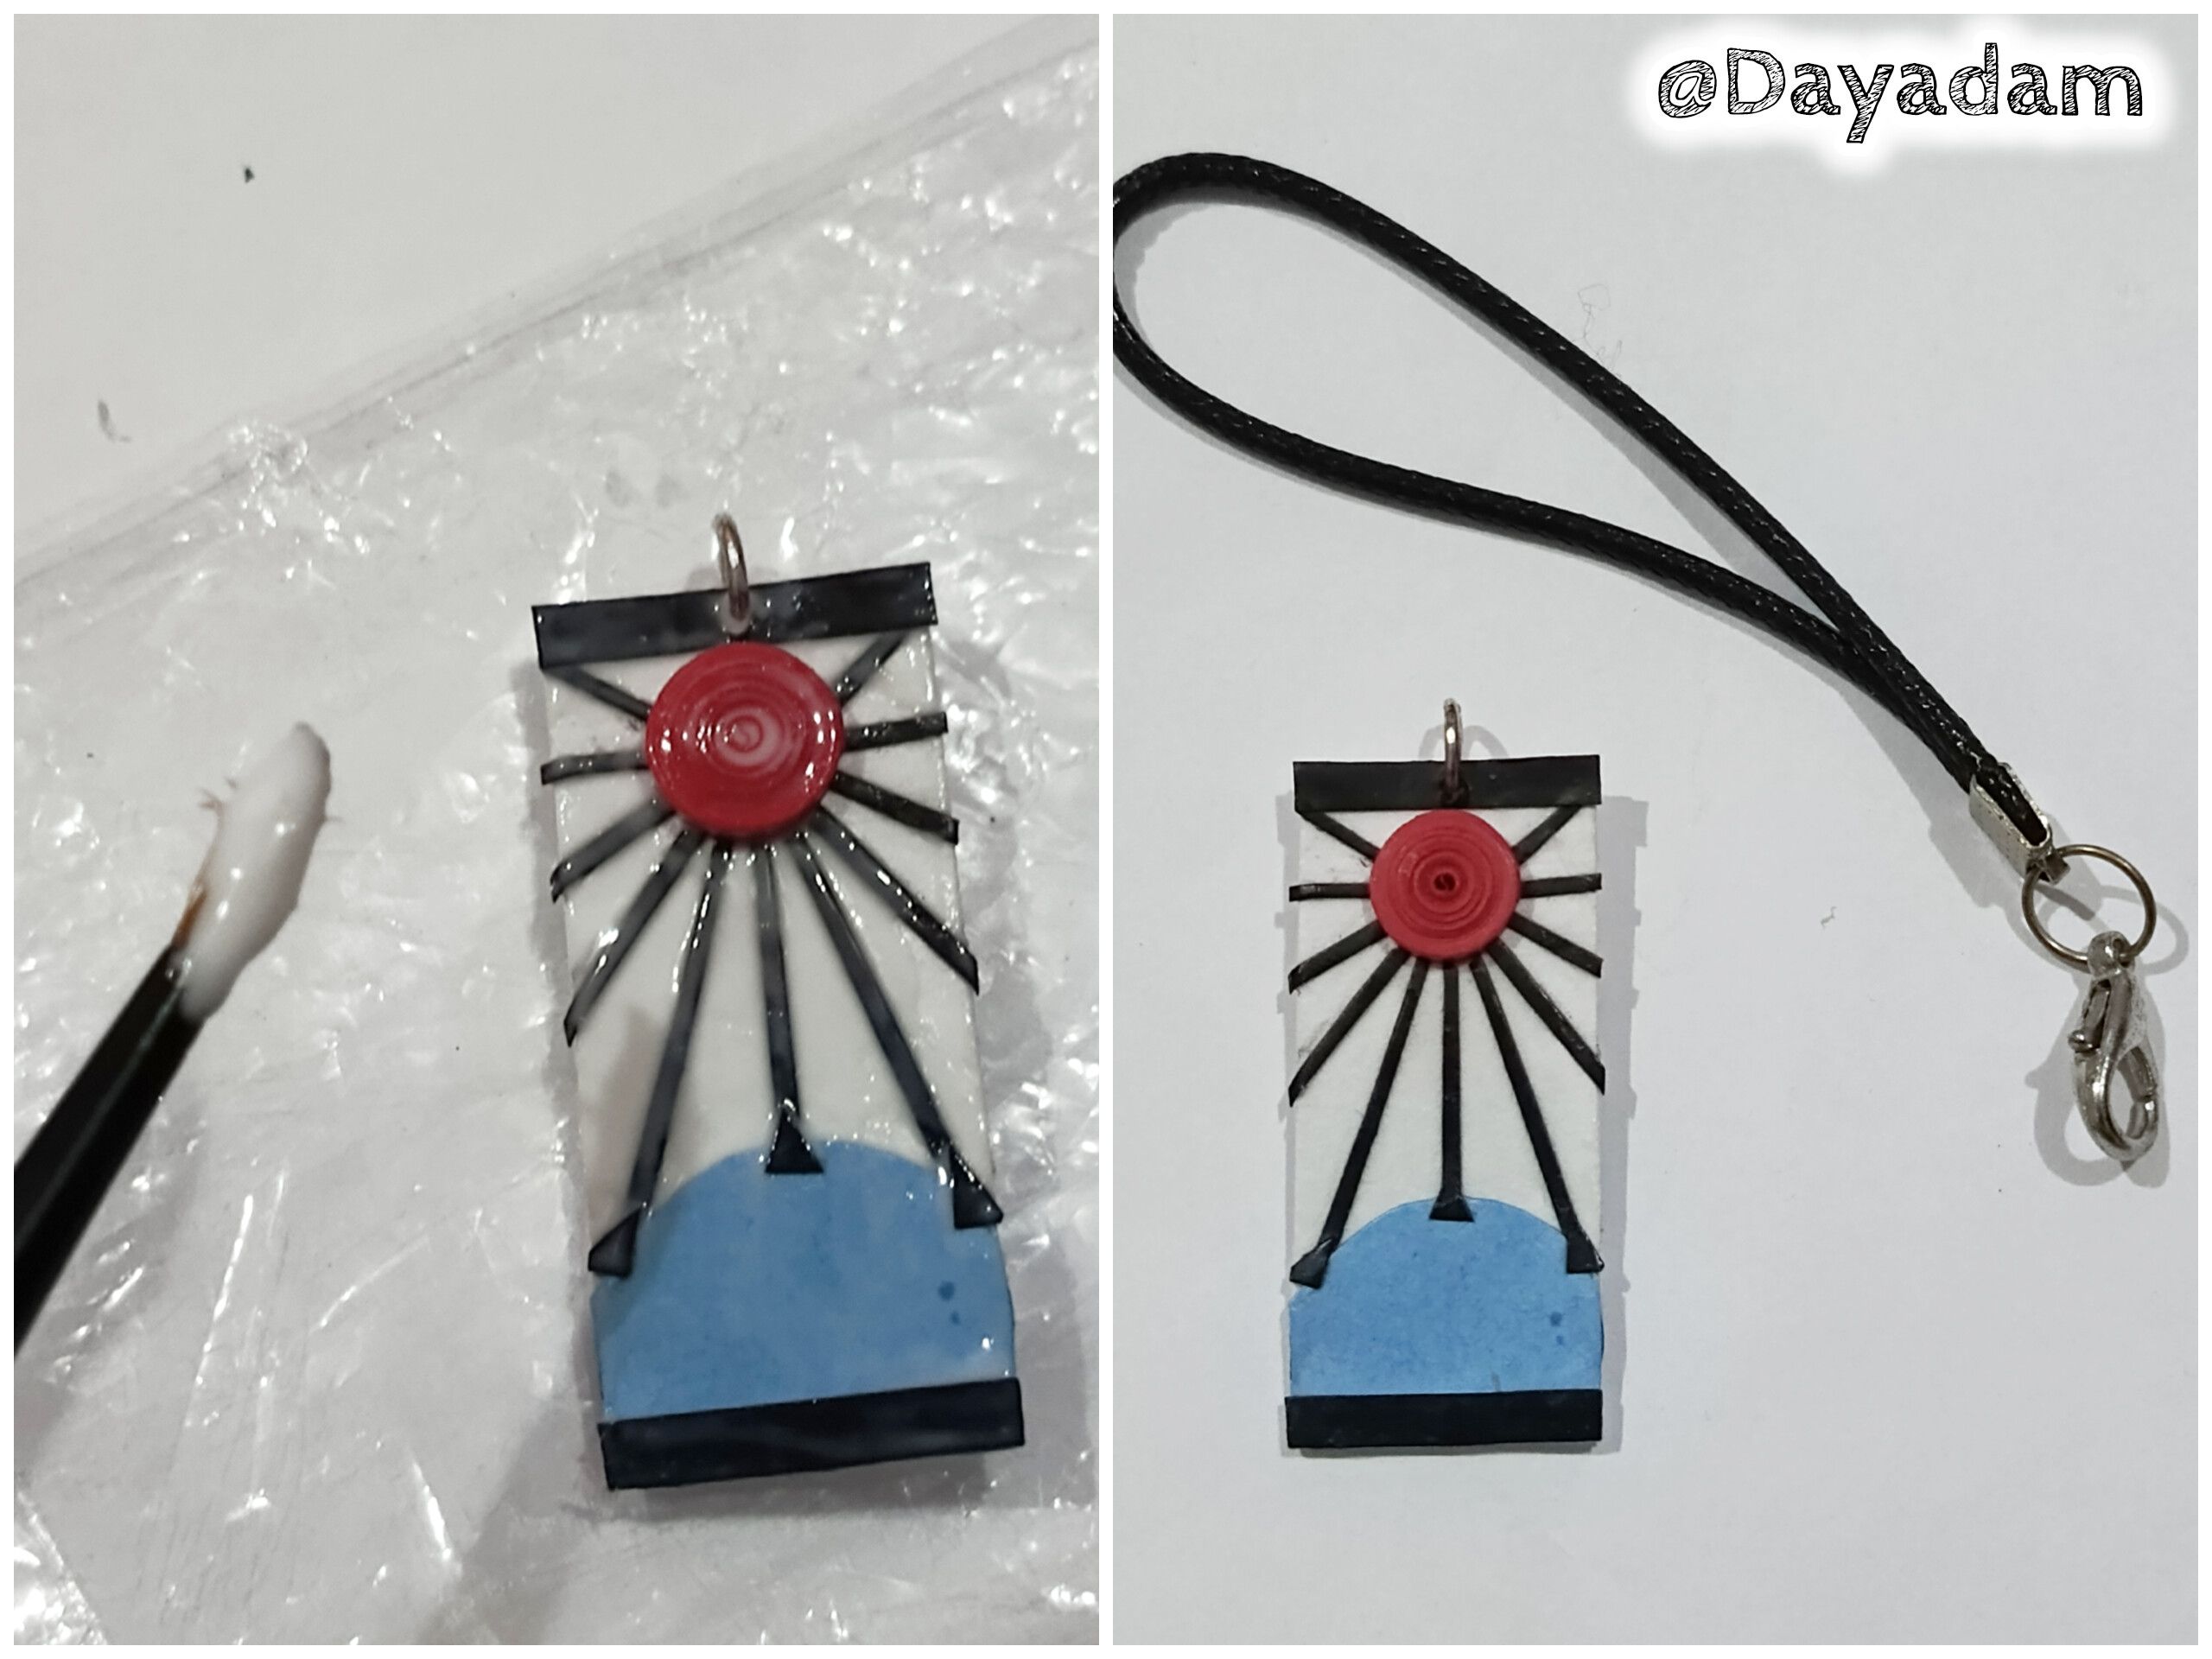
• To finish the pendant pieces, I cut out three small black triangles and glued them in place.
• Using a long pin, I made a hole in the top of the pendant and inserted a jewelry ring.
• To protect my finished piece and give it sufficient strength, plasticity, and shine, I applied several coats of extra-strong white glue, allowing each coat to dry before applying the next.
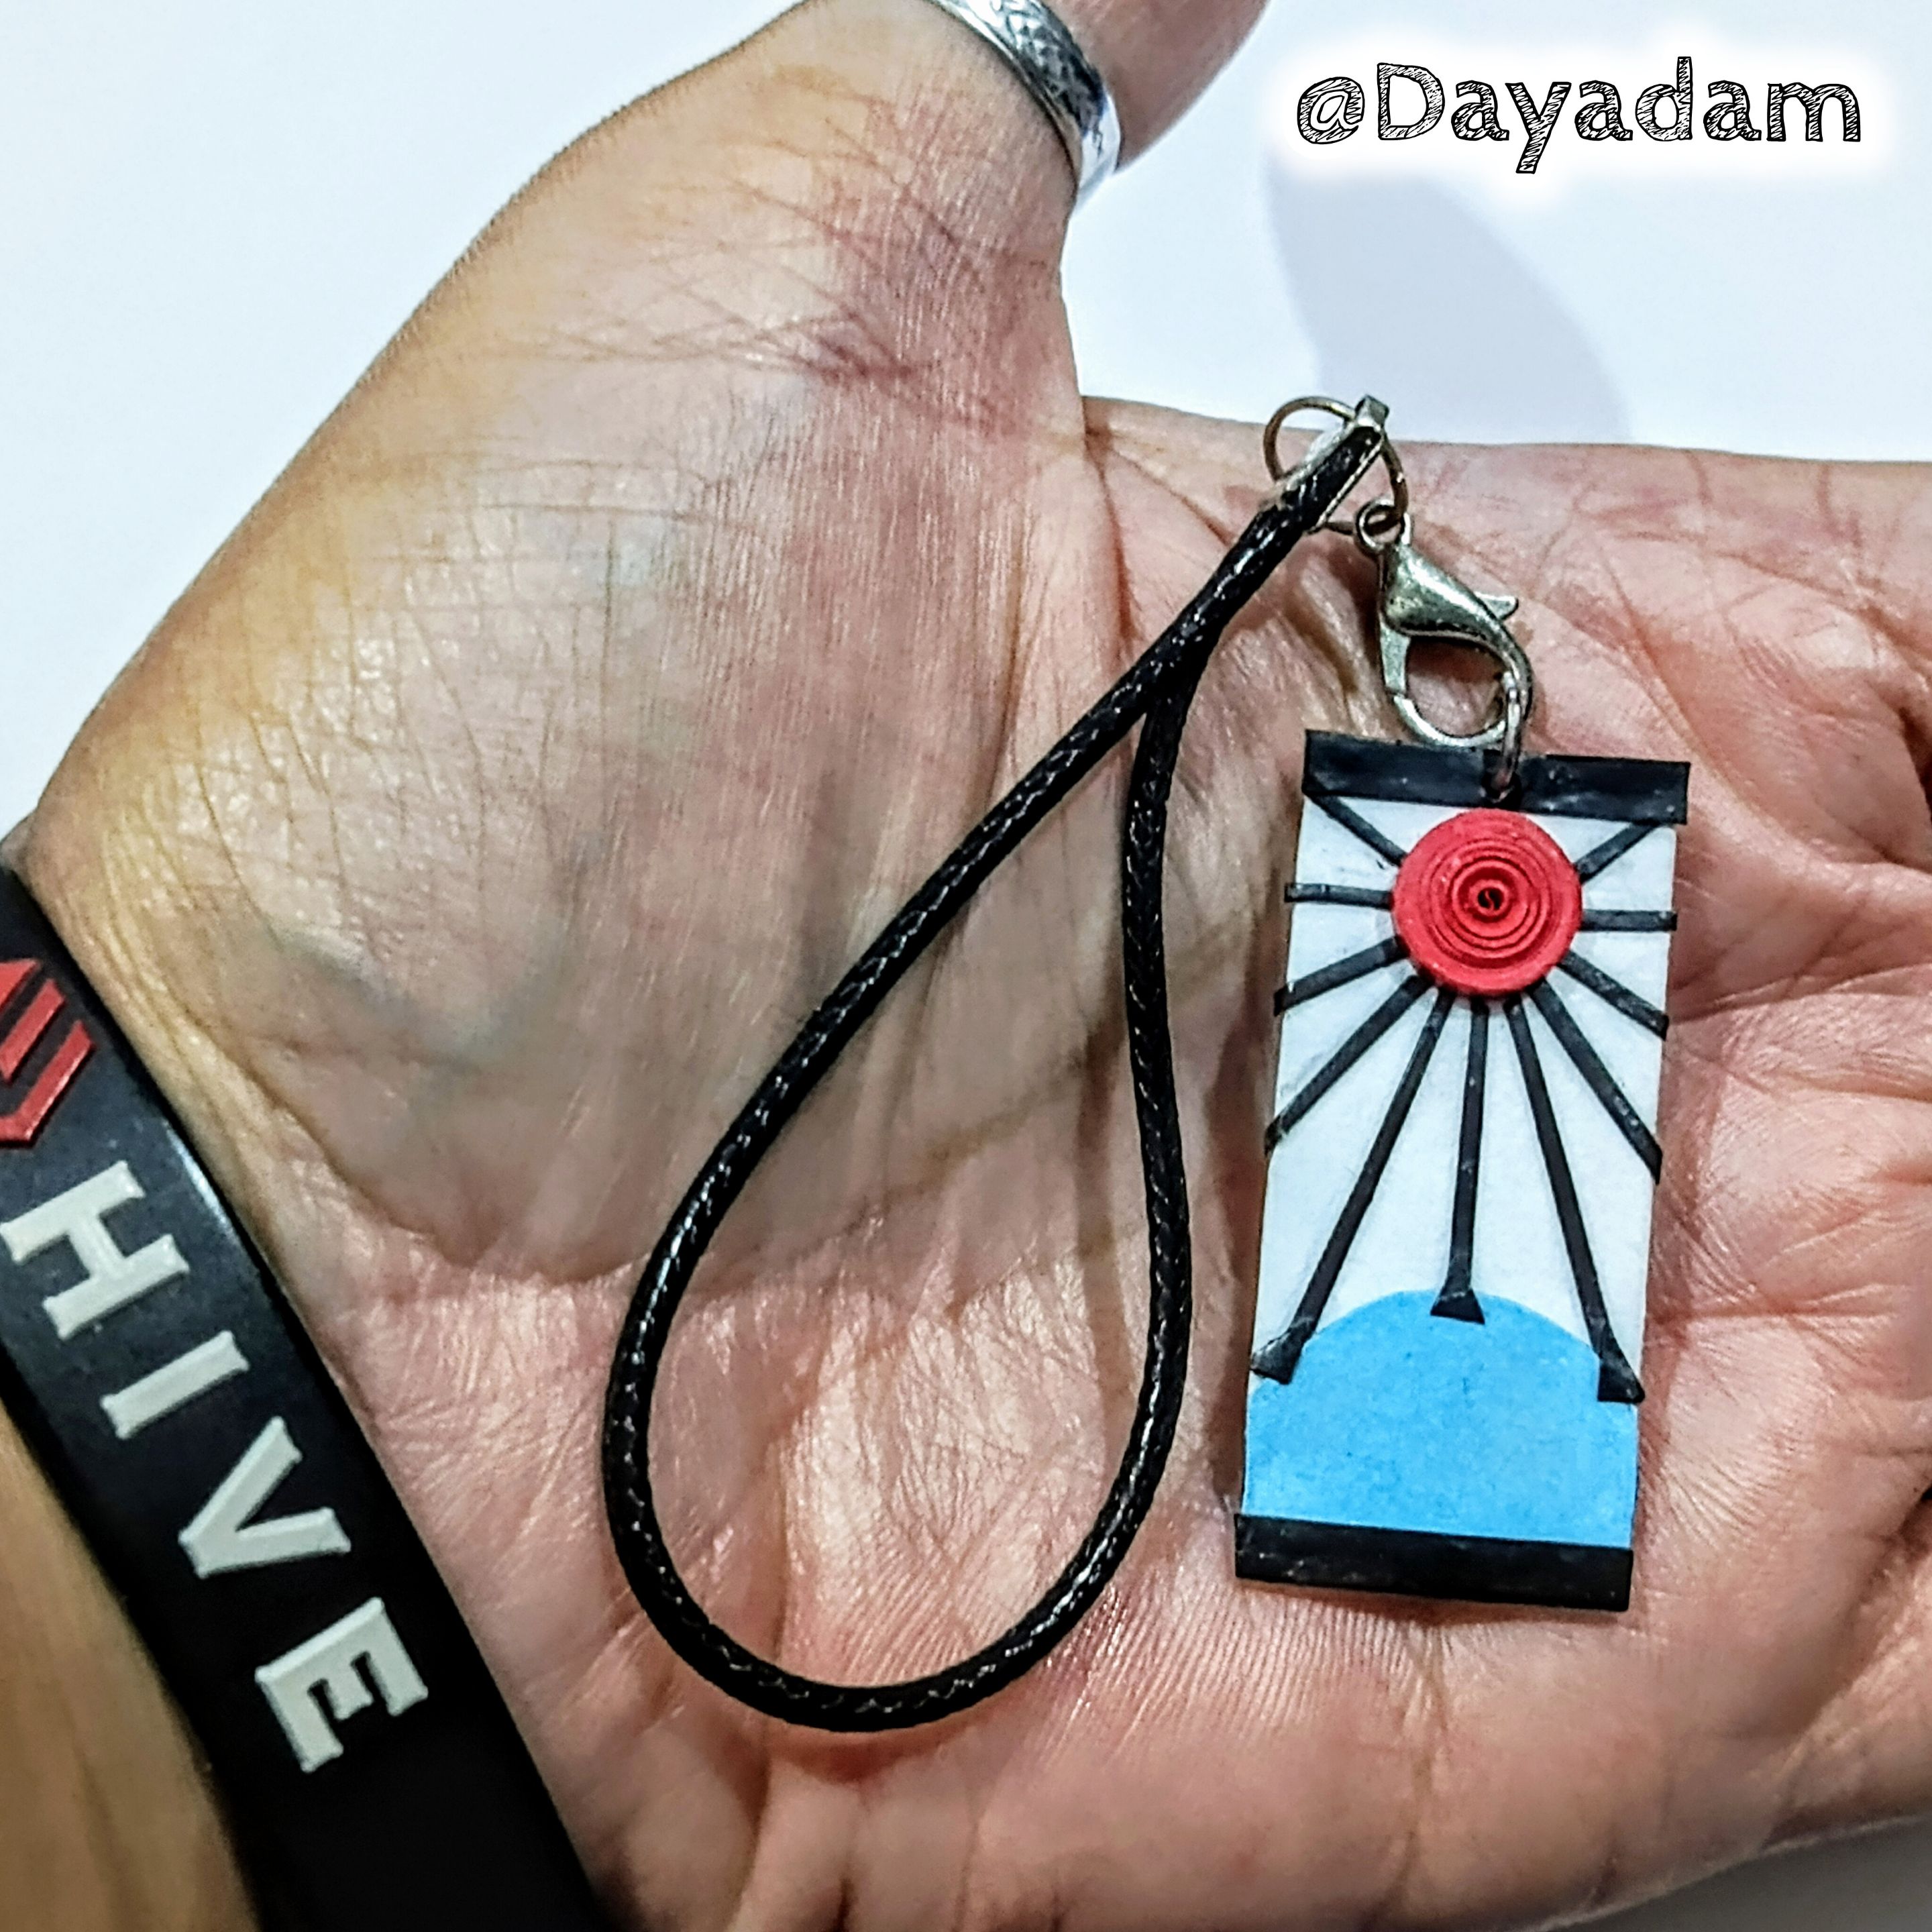
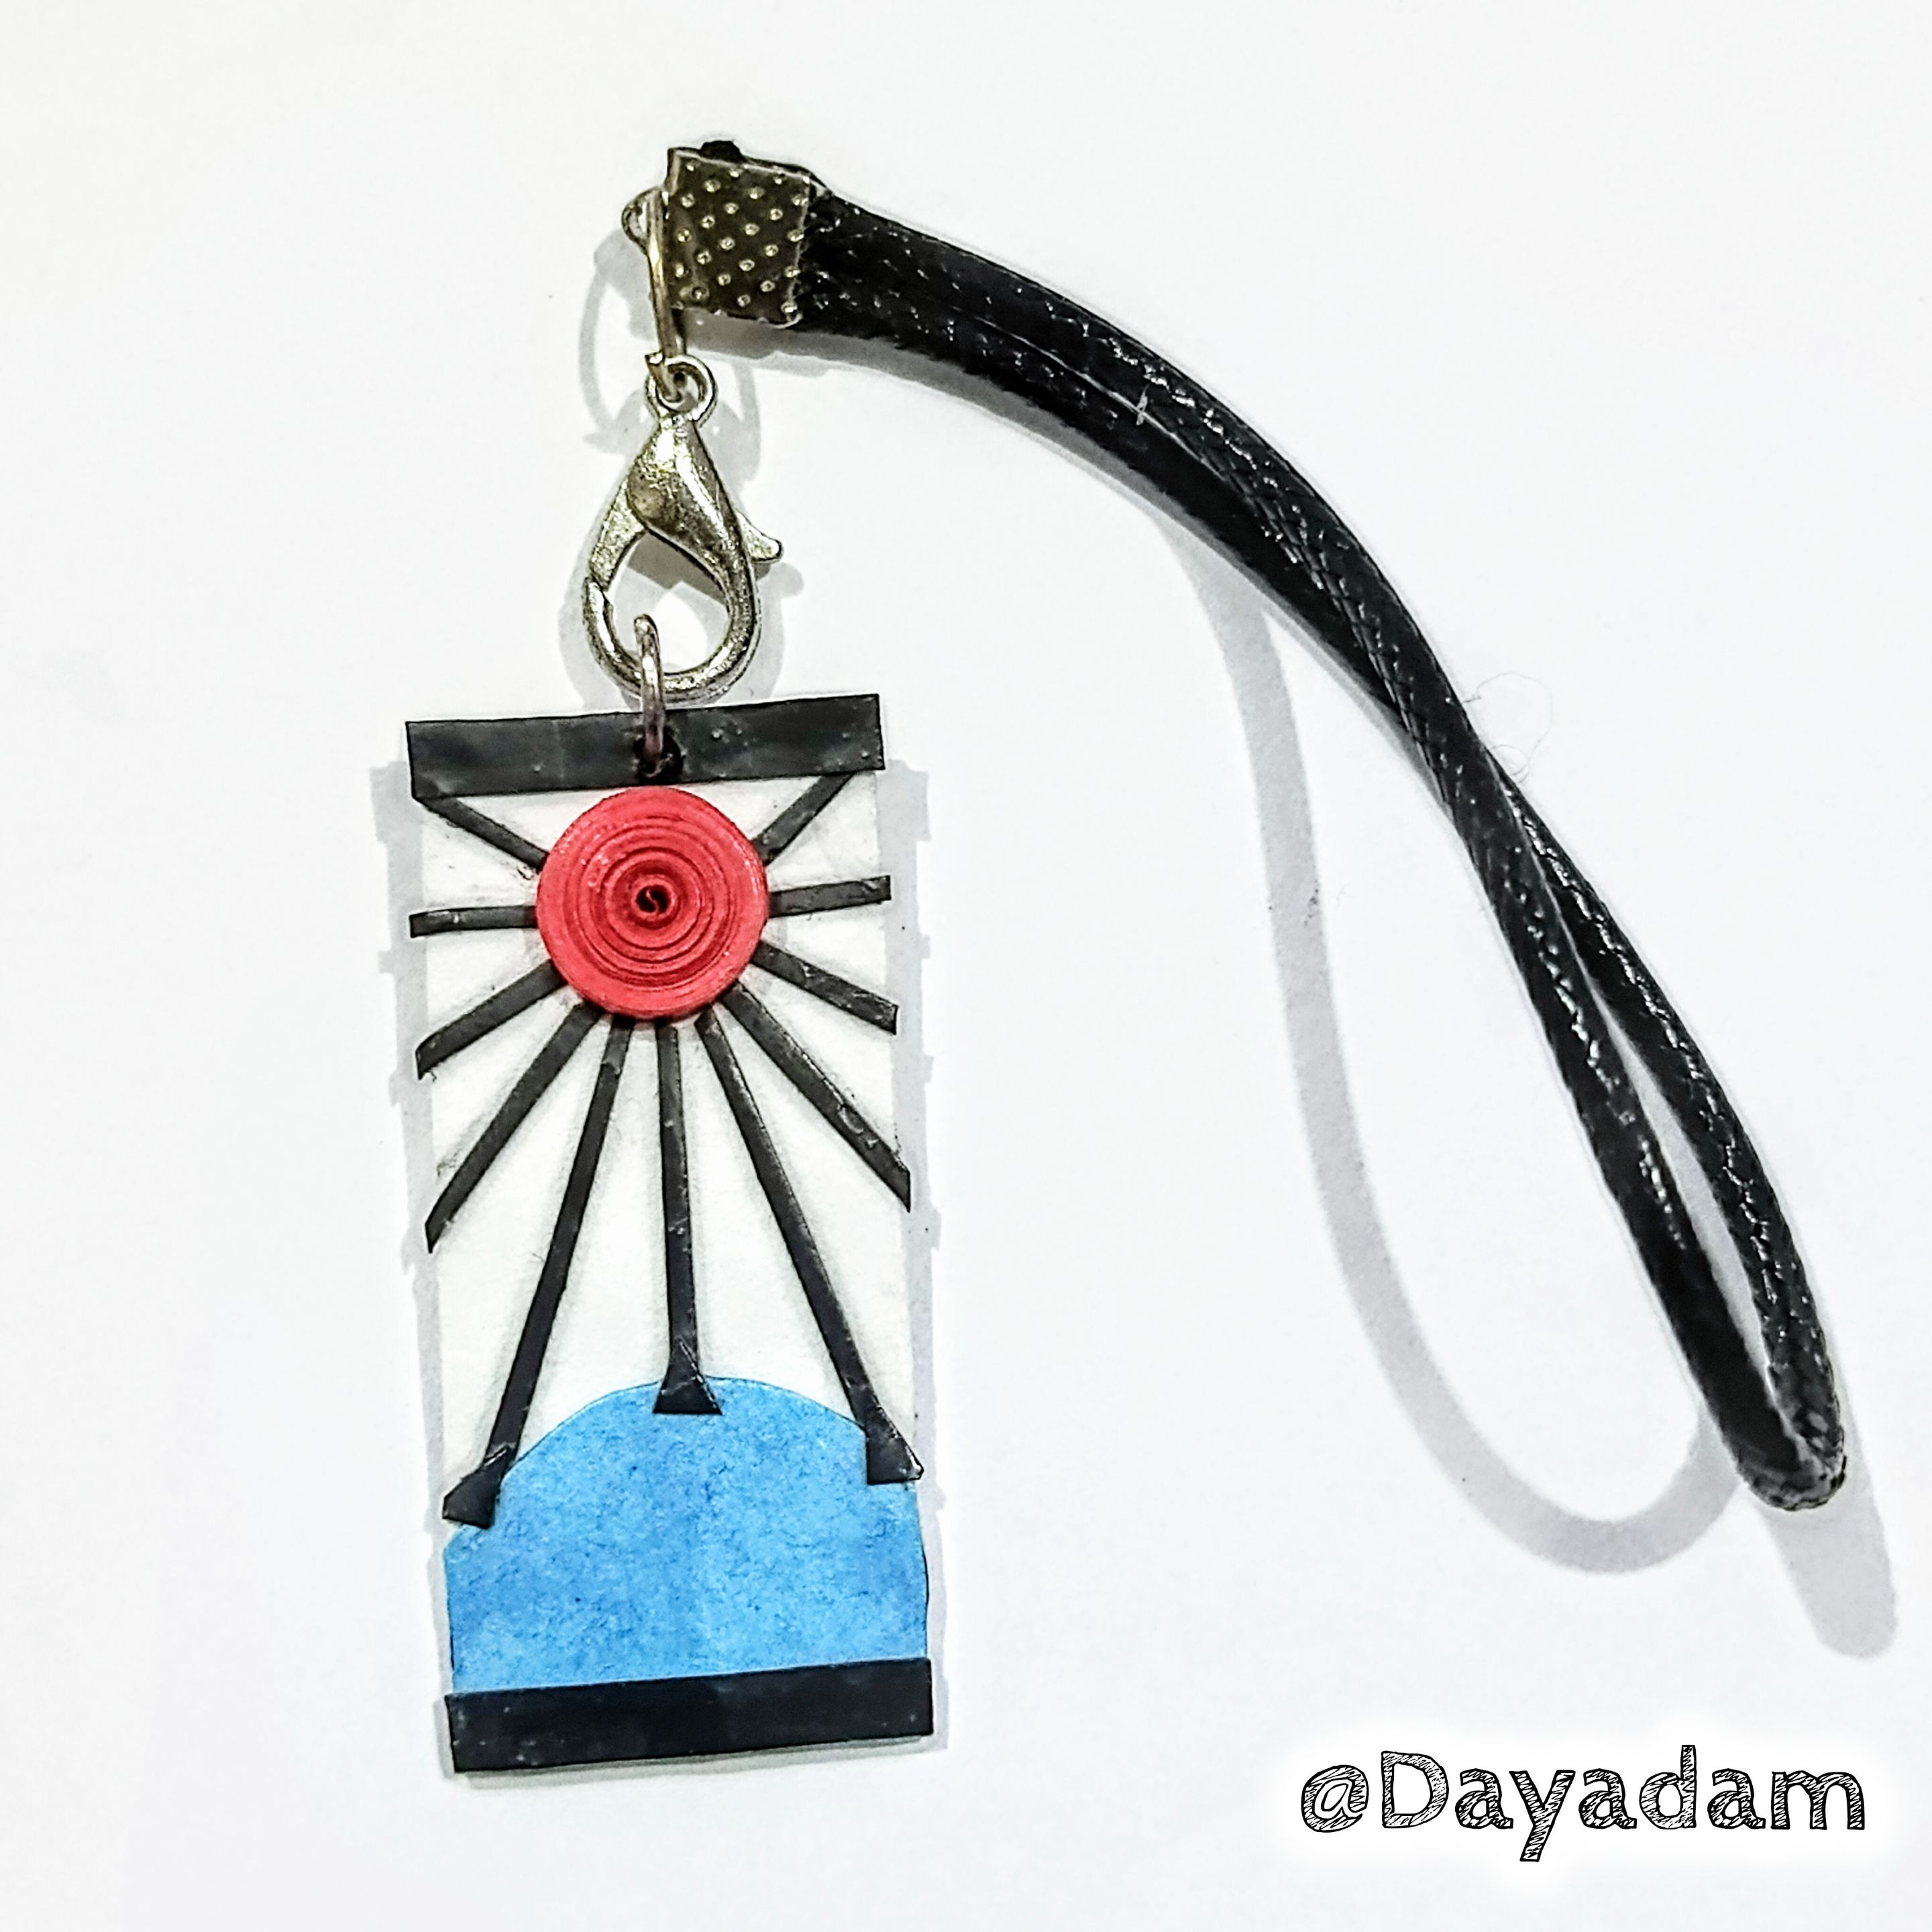
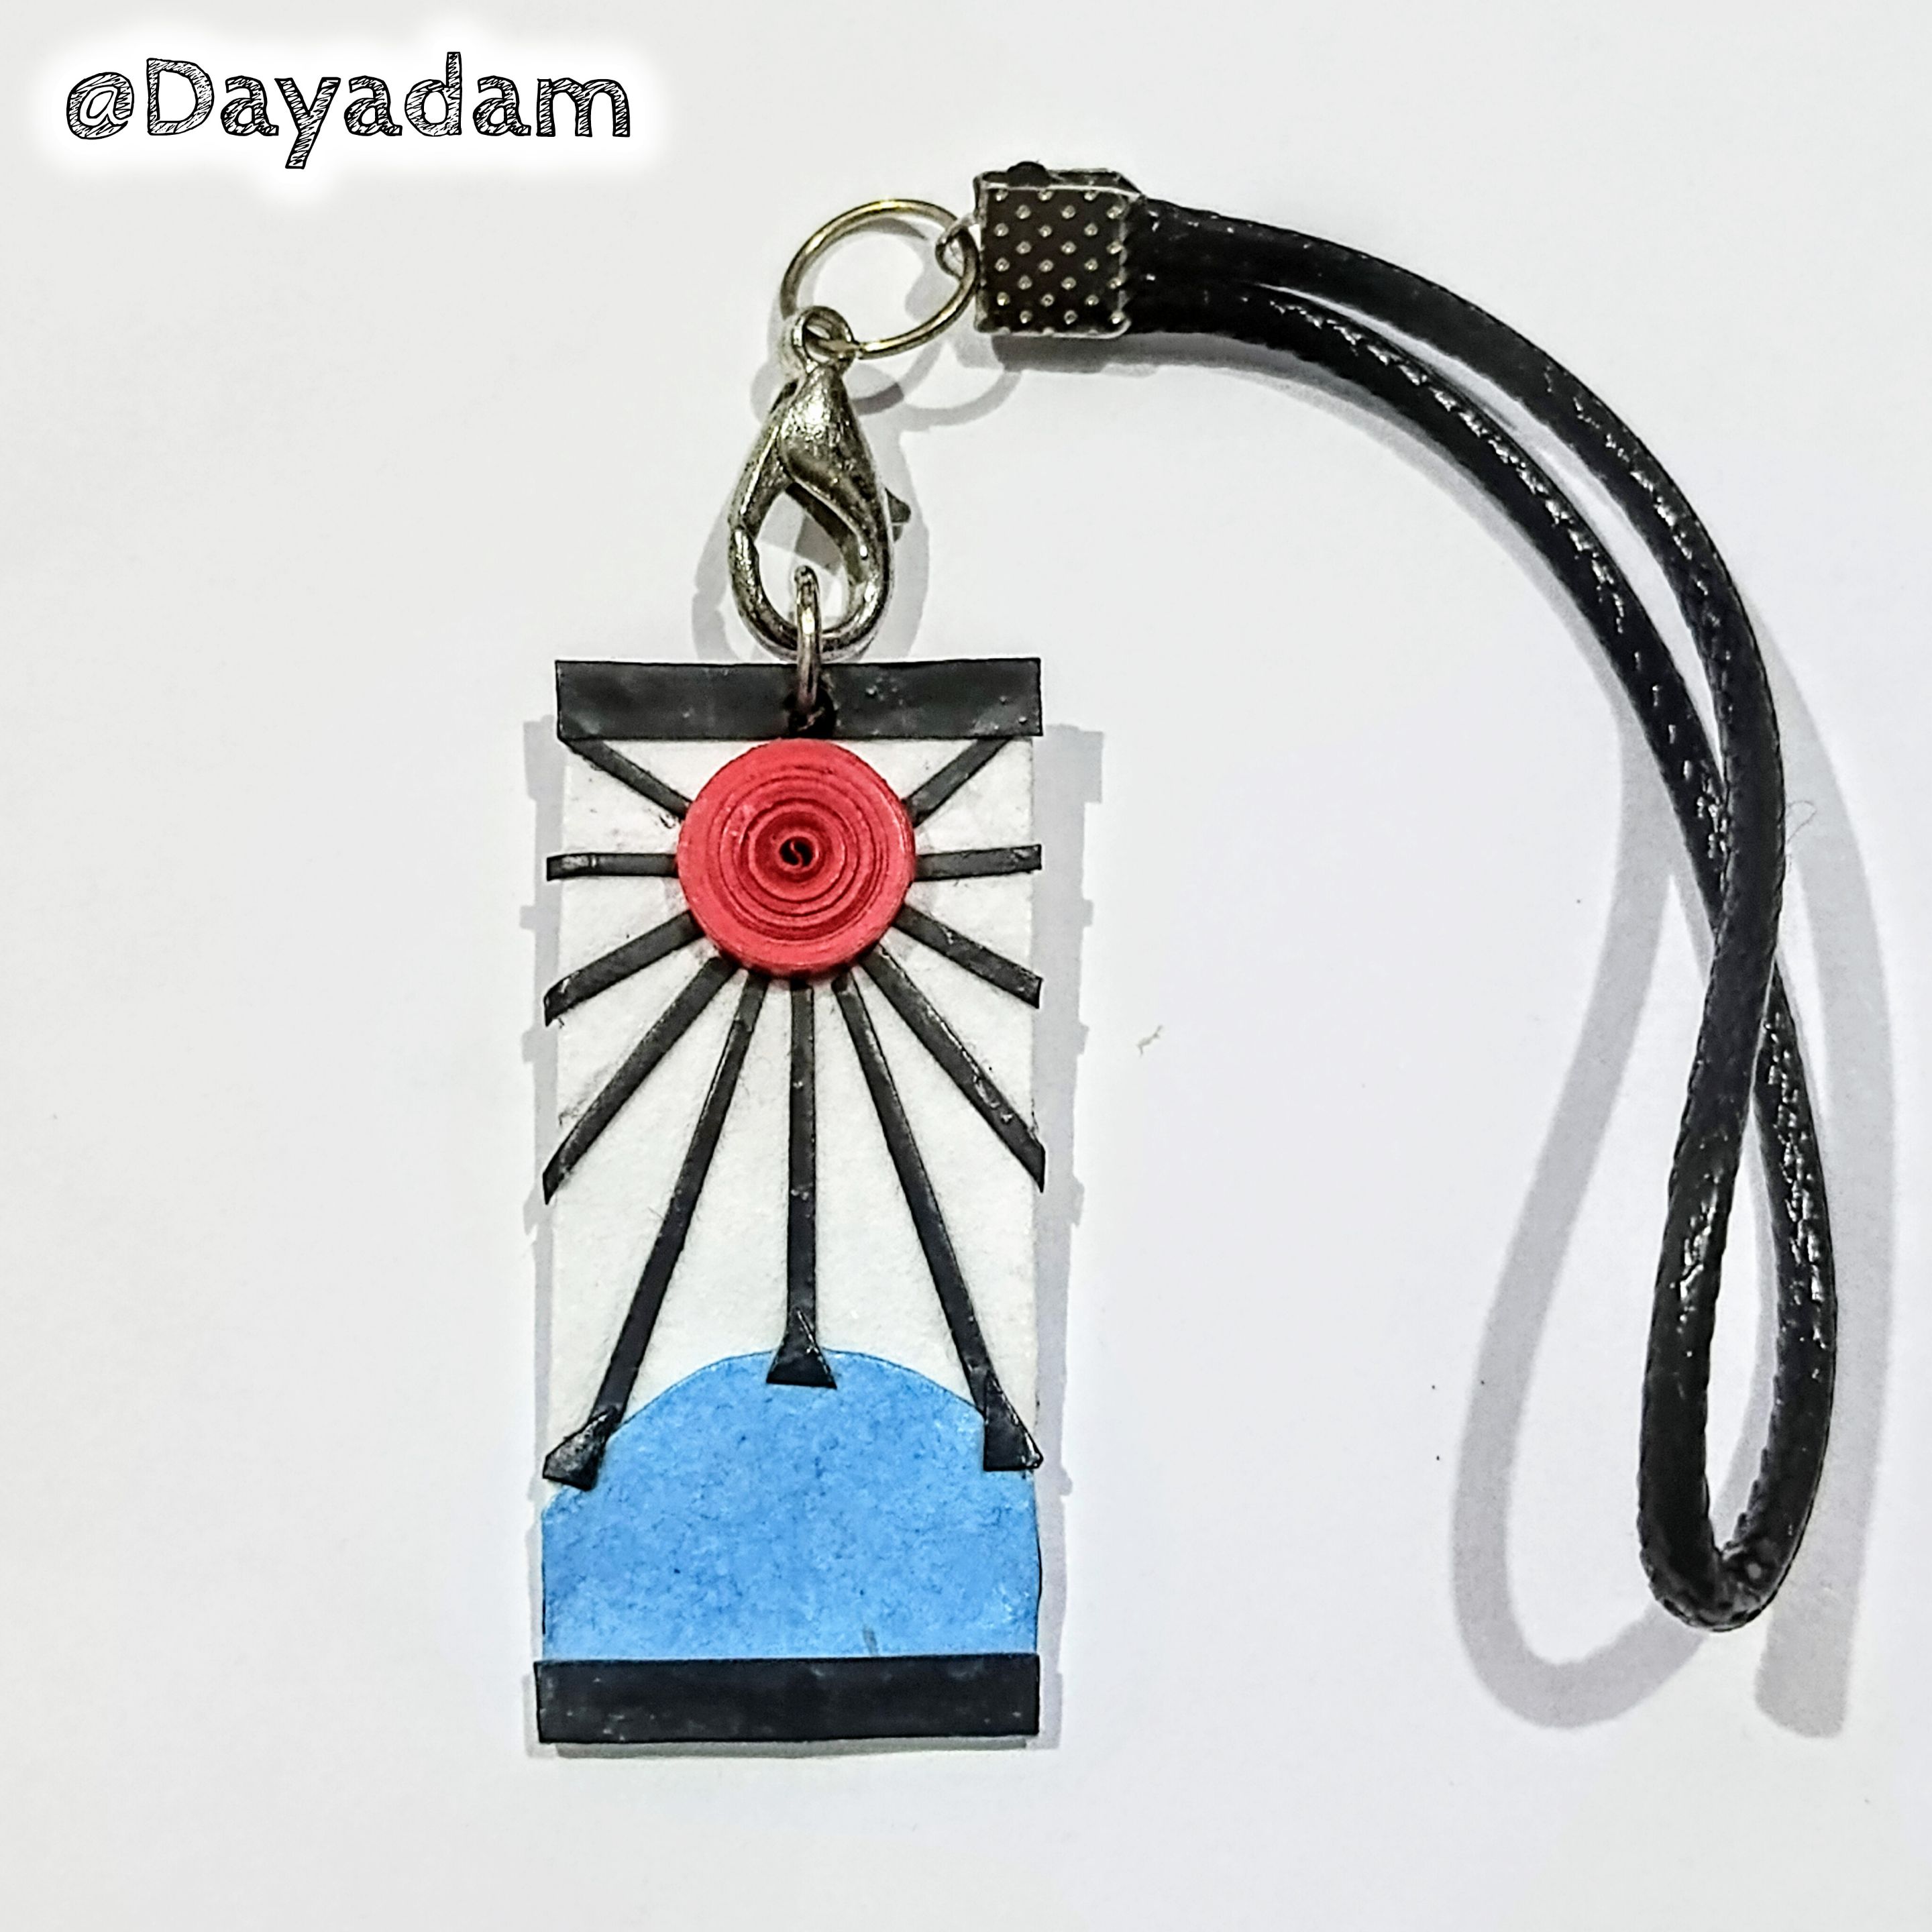
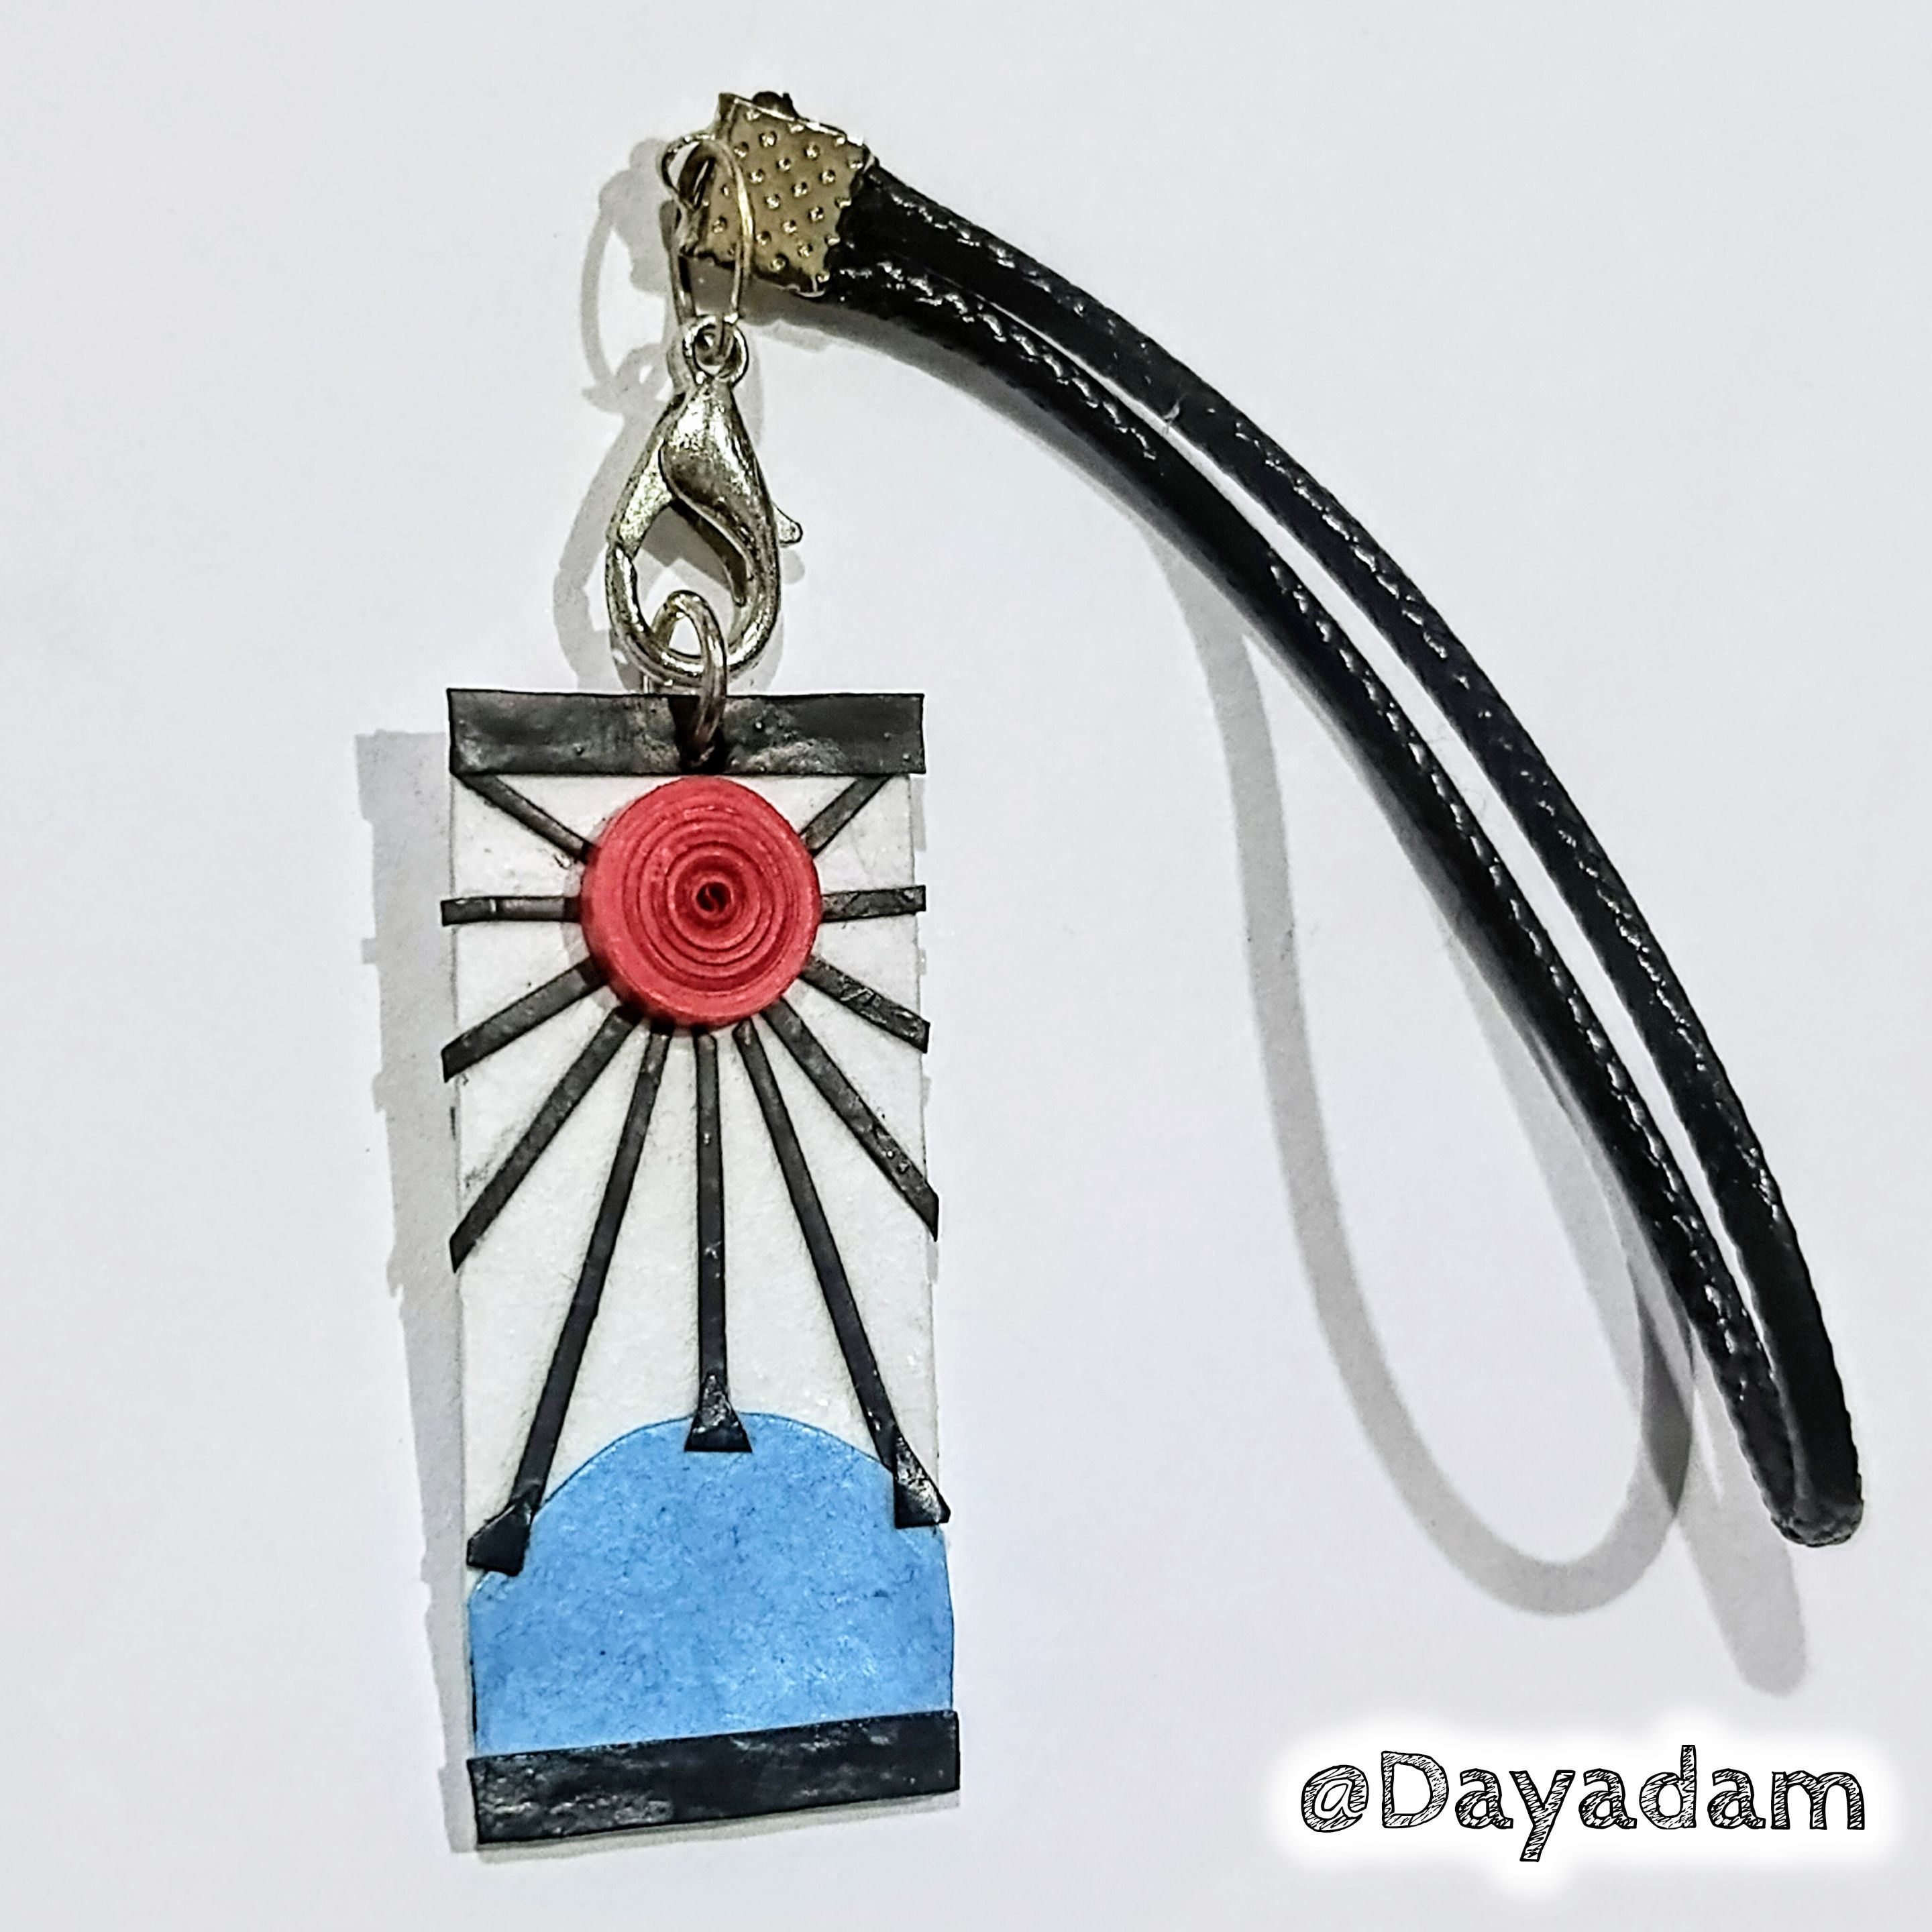
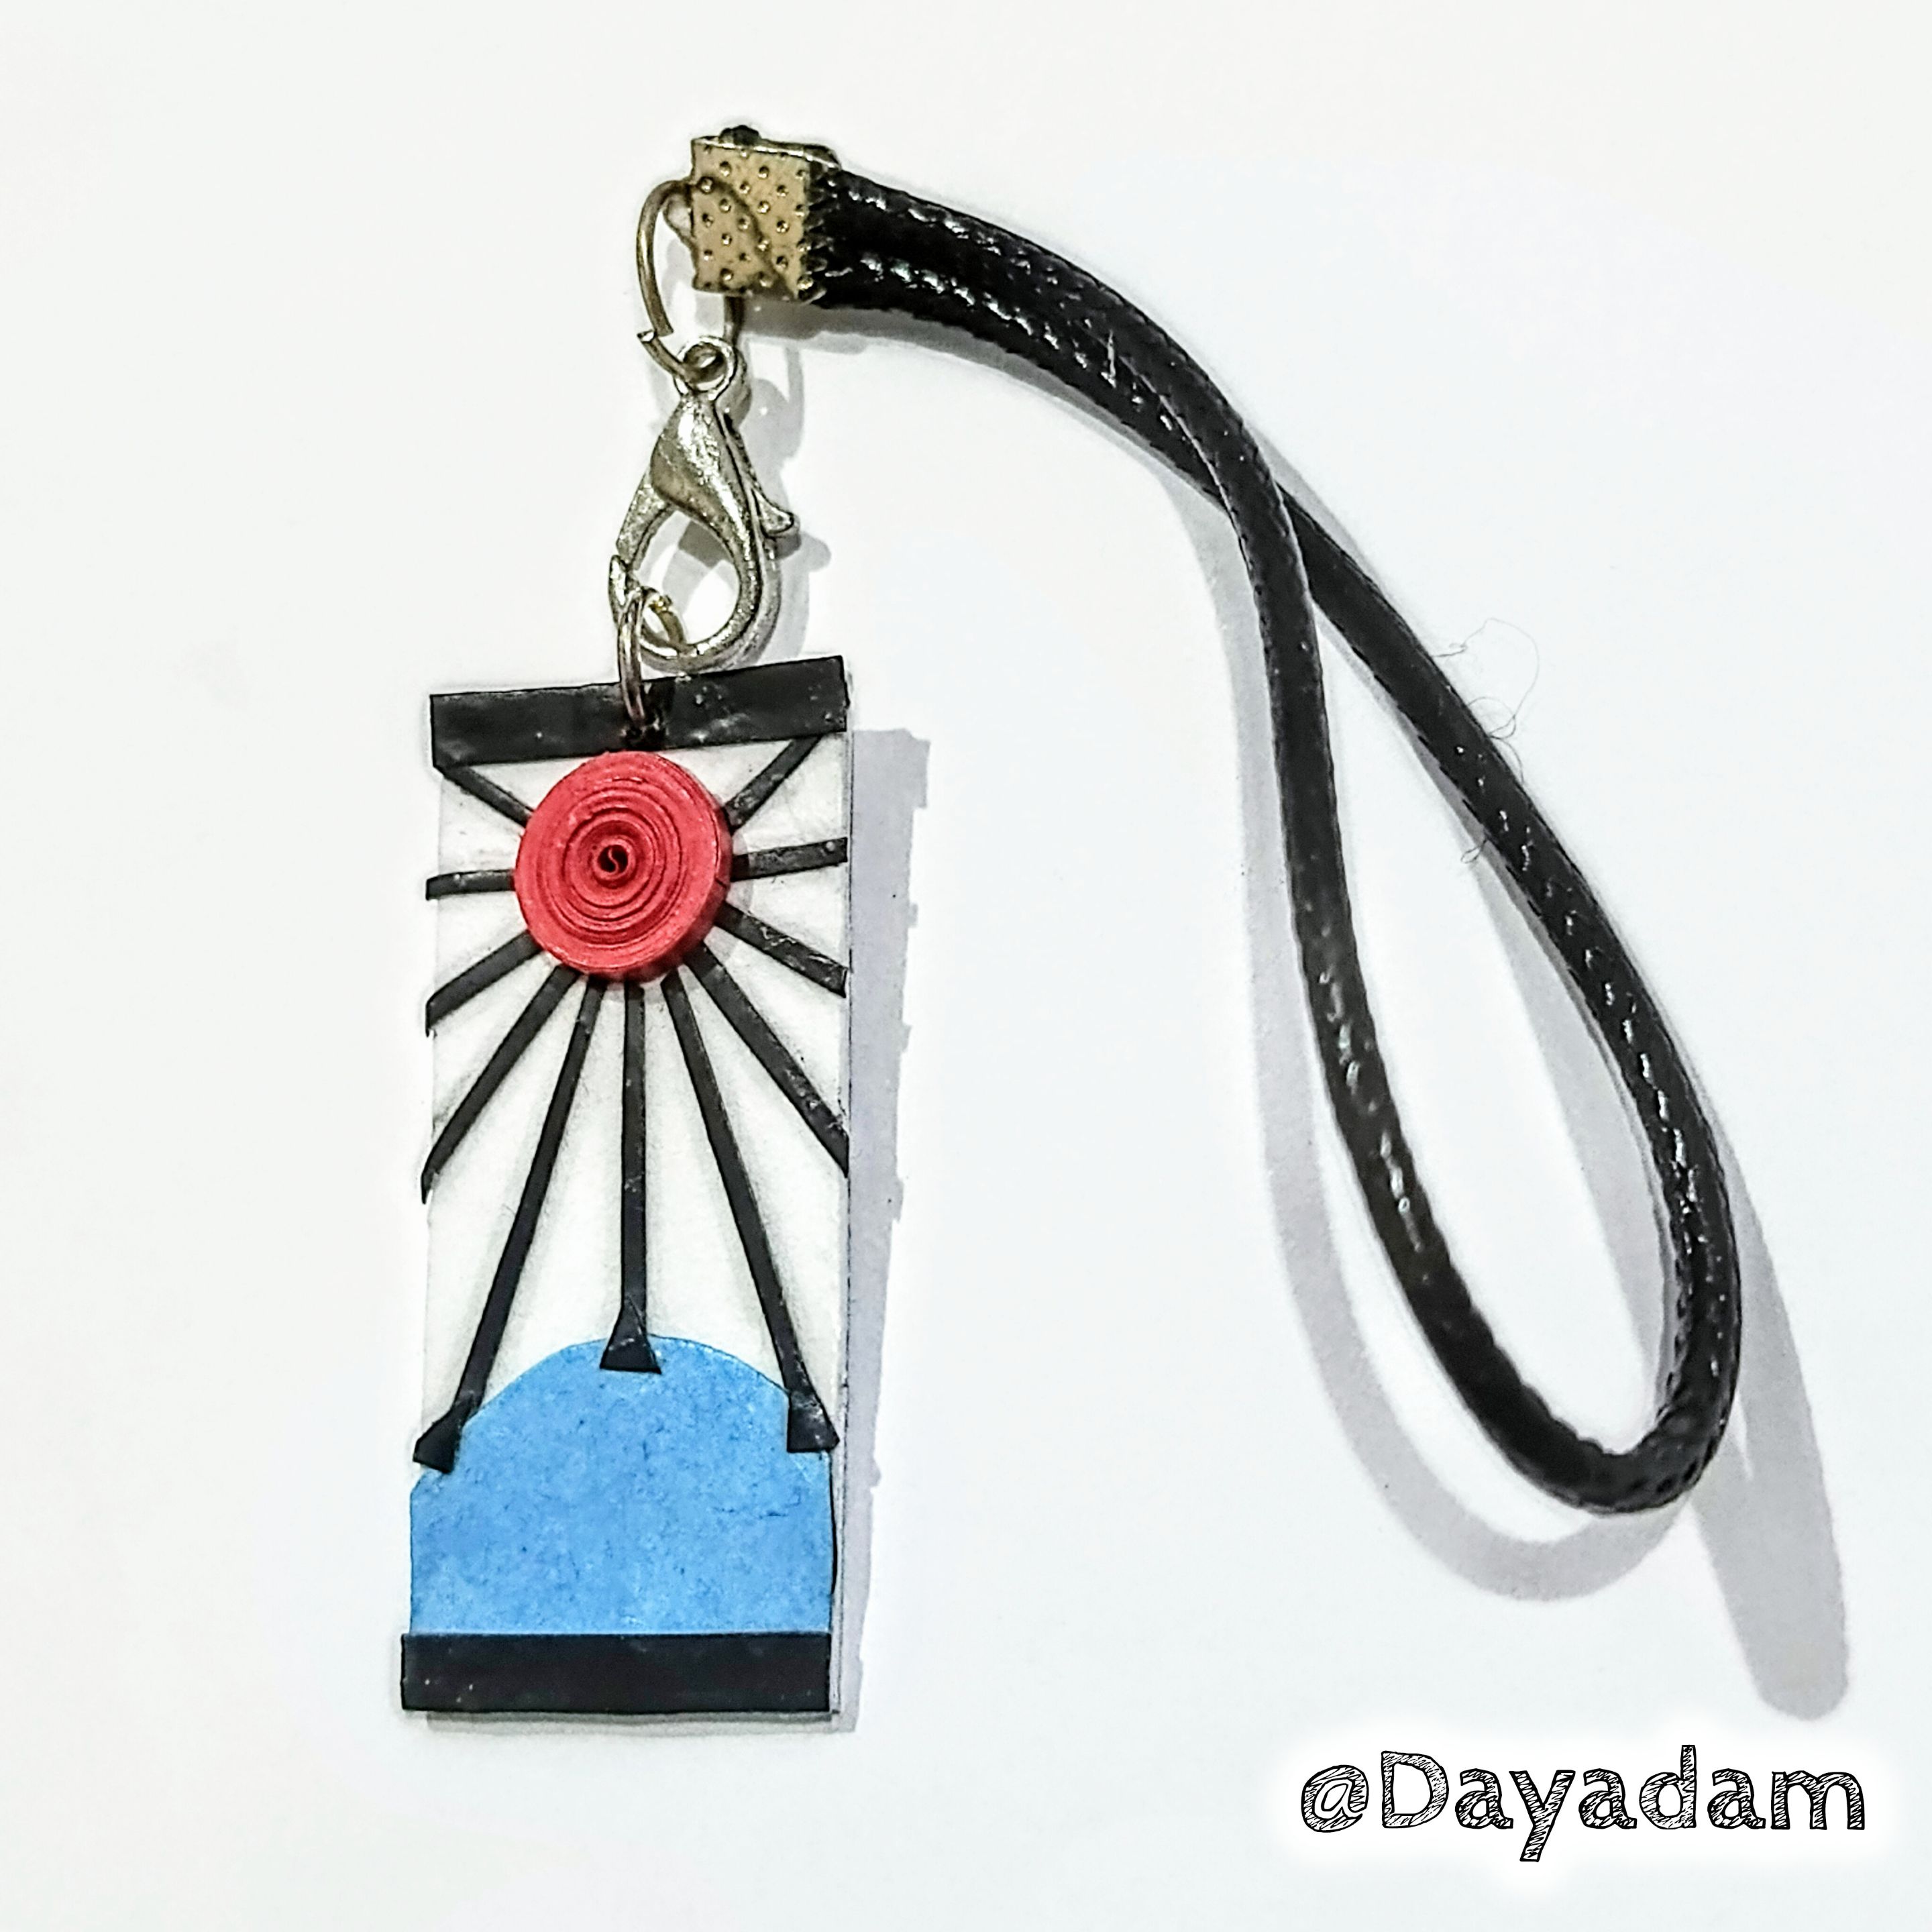
• I attached a thick snakeskin pendant with its respective knot cap and parrot beak clasp.
This is how I finished this decorative pendant of Tanjiro Hanafuda's card using the quilling technique.
• Para finalizar con las piezas del dije, recorte 3 pequeños triángulos negros, los pegué en el sitio correspondiente.
• Con un alfiler largo realicé un hoyo en la parte de arriba del dije, allí coloqué una argolla de bisutería.
• Para proteger mi pieza terminada, darle suficiente fuerza, plasticidad y brillo, aplique varias capas de pega blanca extra fuerte, dejando secar entre una capa y otra.
• Enganché del mismo un colgante realizado de piel de serpiente gruesa, con su respectivo tapa nudos y trancadero pico de loro.
De esta manera finalice este Colgante decorativo de la Carta de Tanjiro Hanafuda, en la técnica de técnica de quilling.
 |
 |
 |

|
||
|-|-|
| |
|
 |
 |
|
|
What did you think, did you like it?
I hope you did, I hope you liked my explanation, procedure and photos, I made them with love for you.
"Let out that muse that inspires you, and let your imagination fly".
Thank you all, see you next time ✨.
¿Qué les pareció, les gustó?
Espero que sí, que les haya gustado mi explicación, procedimiento y fotos, los hice con mucho cariño por y para ustedes."Deja salir esa musa que te inspira, y deja volar tu imaginación".
Gracias a todos, nos vemos en la próxima✨
All photos used in this post are of my authorship and have been taken on my personal cell phone a Redmi 9T, edited in InShot and Canva
Banner and separator made by me in Canva
Translated with the help of DeepL
Todas las fotos usadas en este post son de mi autoría y han sido sacadas en mi celular personal un Redmi 9T, editadas en InShot y Canva
Banner y separador hecho por mí en Canva
Traducido con la ayuda de DeepL
