Hey lovelies ❤️ It's your favorite girl @debbie-ese 😍 Welcome to my blog 🤗
In this post I will be sharing a post on how I made an off-shoulder gown using white George fabrics. Like I have opined in many of my blog posts where I made dresses using George fabrics I have shared that they offer so much luxury and class. George fabrics is that one fabrics that elevate the beauty of a person that wears a dress made with it. This gown made with white George fabrics is not an exception. It is so beautiful.
Let me walk you through how I made this stunning dress.
Materials Needed - 4 yards of George fabric - 4 yards of lining - 1 yard of hair stay - ¼ yard of breast pad - 4-5 yards of fishing line - Zip - Tailoring chalk - Matching threads
Measurements - Bust - 46" - Upper Bust - 42" - Under Bust - 16.5" - Top Length - 26" - Waist - 42" - Round shoulder circumference 48 - Hip - 47" - Full length - 60"
Step by Step
- Start by folding your George fabric into two with the right sides facing each other.
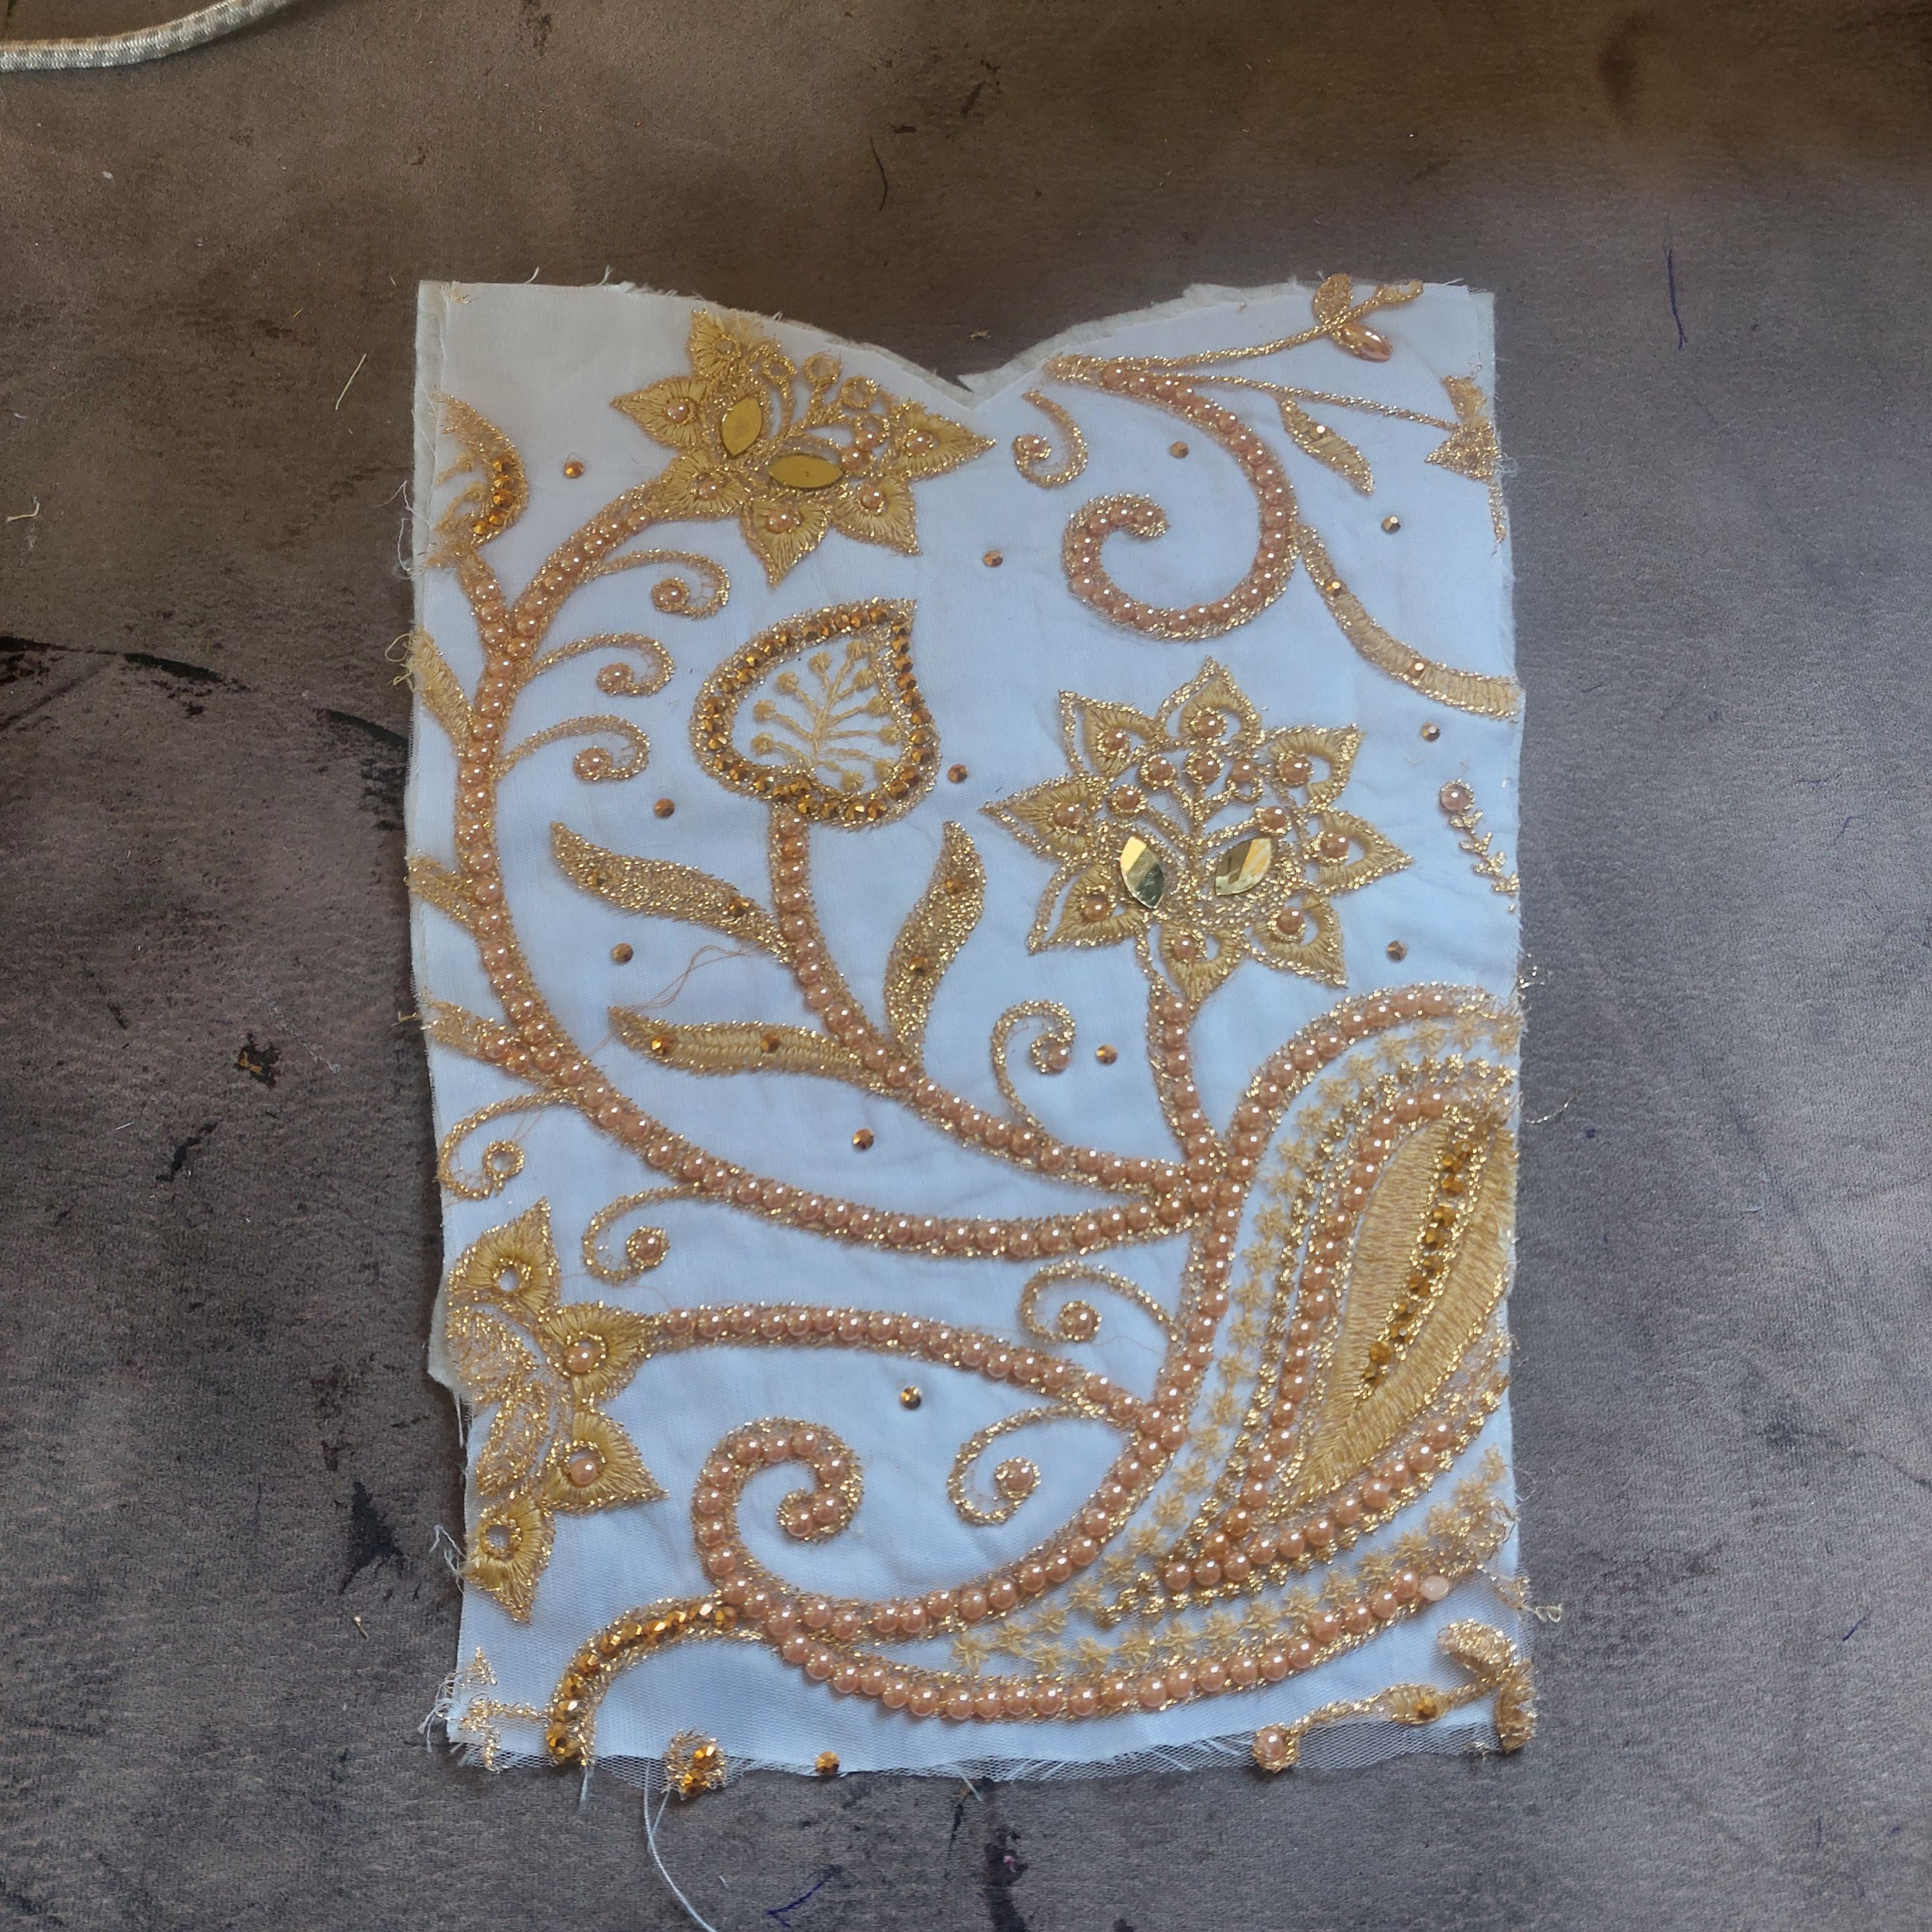 - Next, draft the upper bodice pattern using the bust, upper bust, under bust, waist, and top length measurements and add extra 2" for seam allowance.
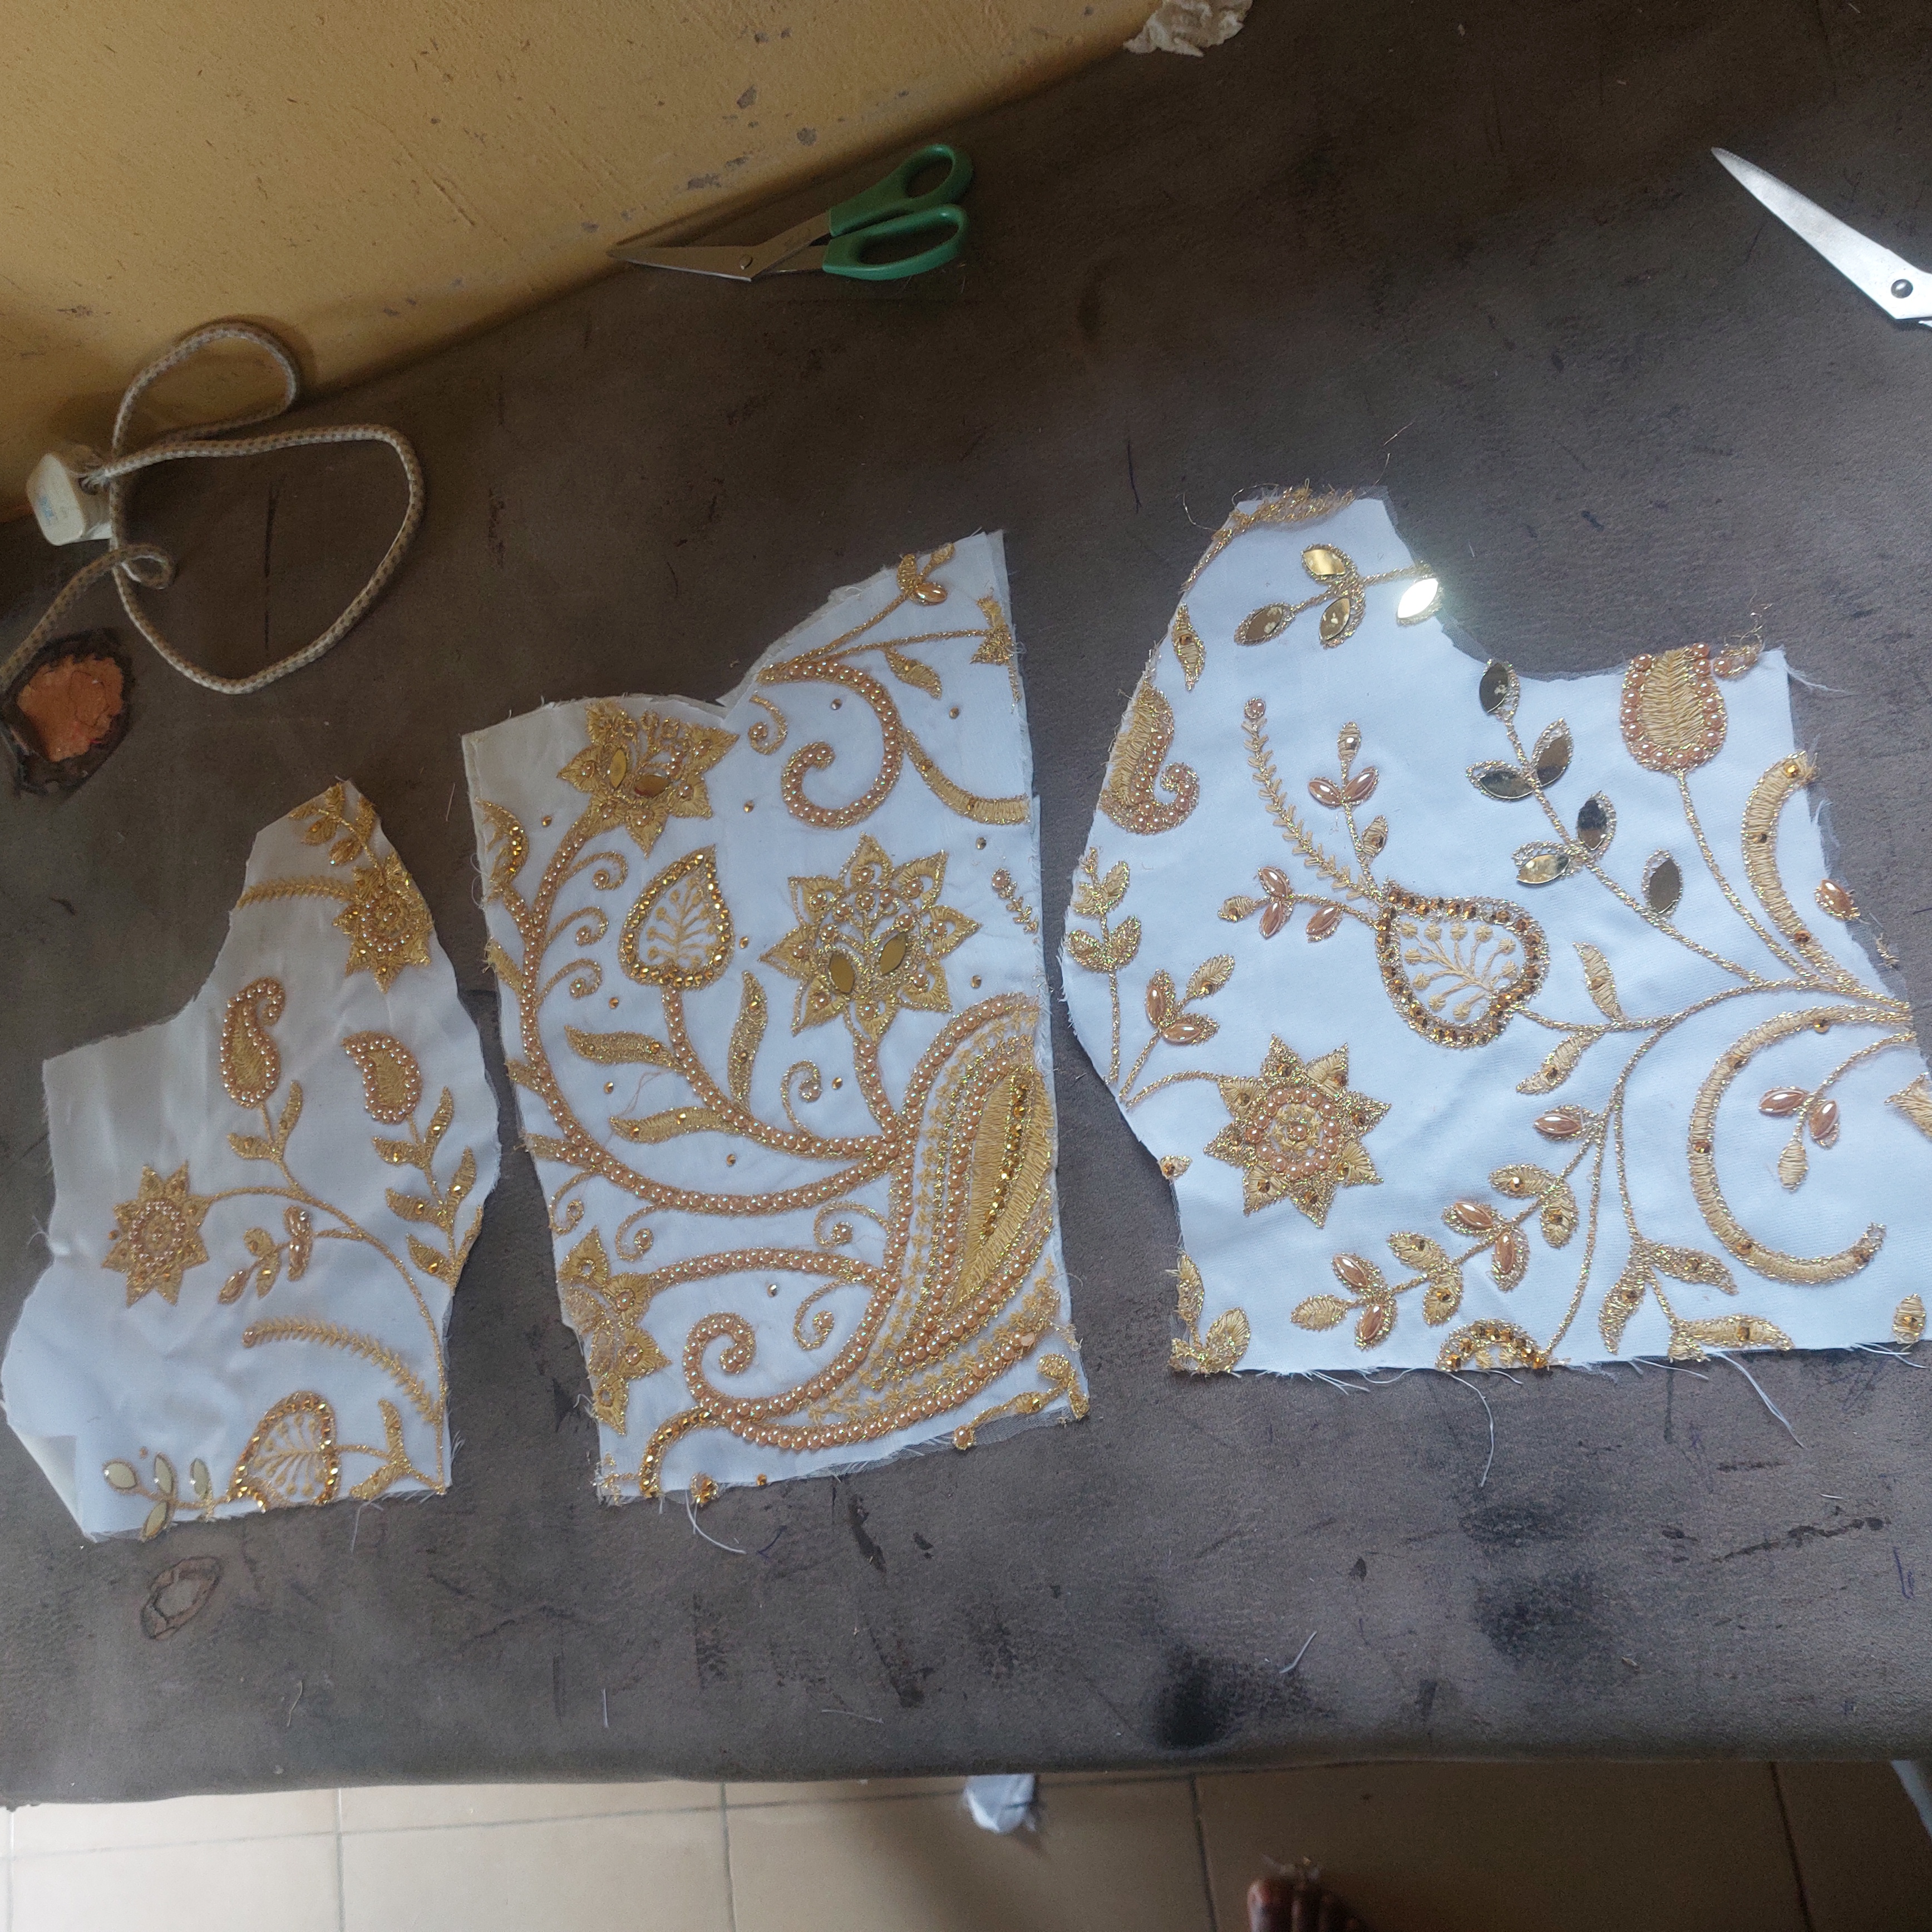 - Next, cut out the front and back pieces and be sure to remember to add 1.5" at the back piece for zipper allowance.
- Remember we are working with an off-shoulder neckline, so to achieve it you will reduce the shoulder drop by 5.5" and create a curve neckline across the chest and back.
- Next, cut out the front and back pieces and be sure to remember to add 1.5" at the back piece for zipper allowance.
- Remember we are working with an off-shoulder neckline, so to achieve it you will reduce the shoulder drop by 5.5" and create a curve neckline across the chest and back.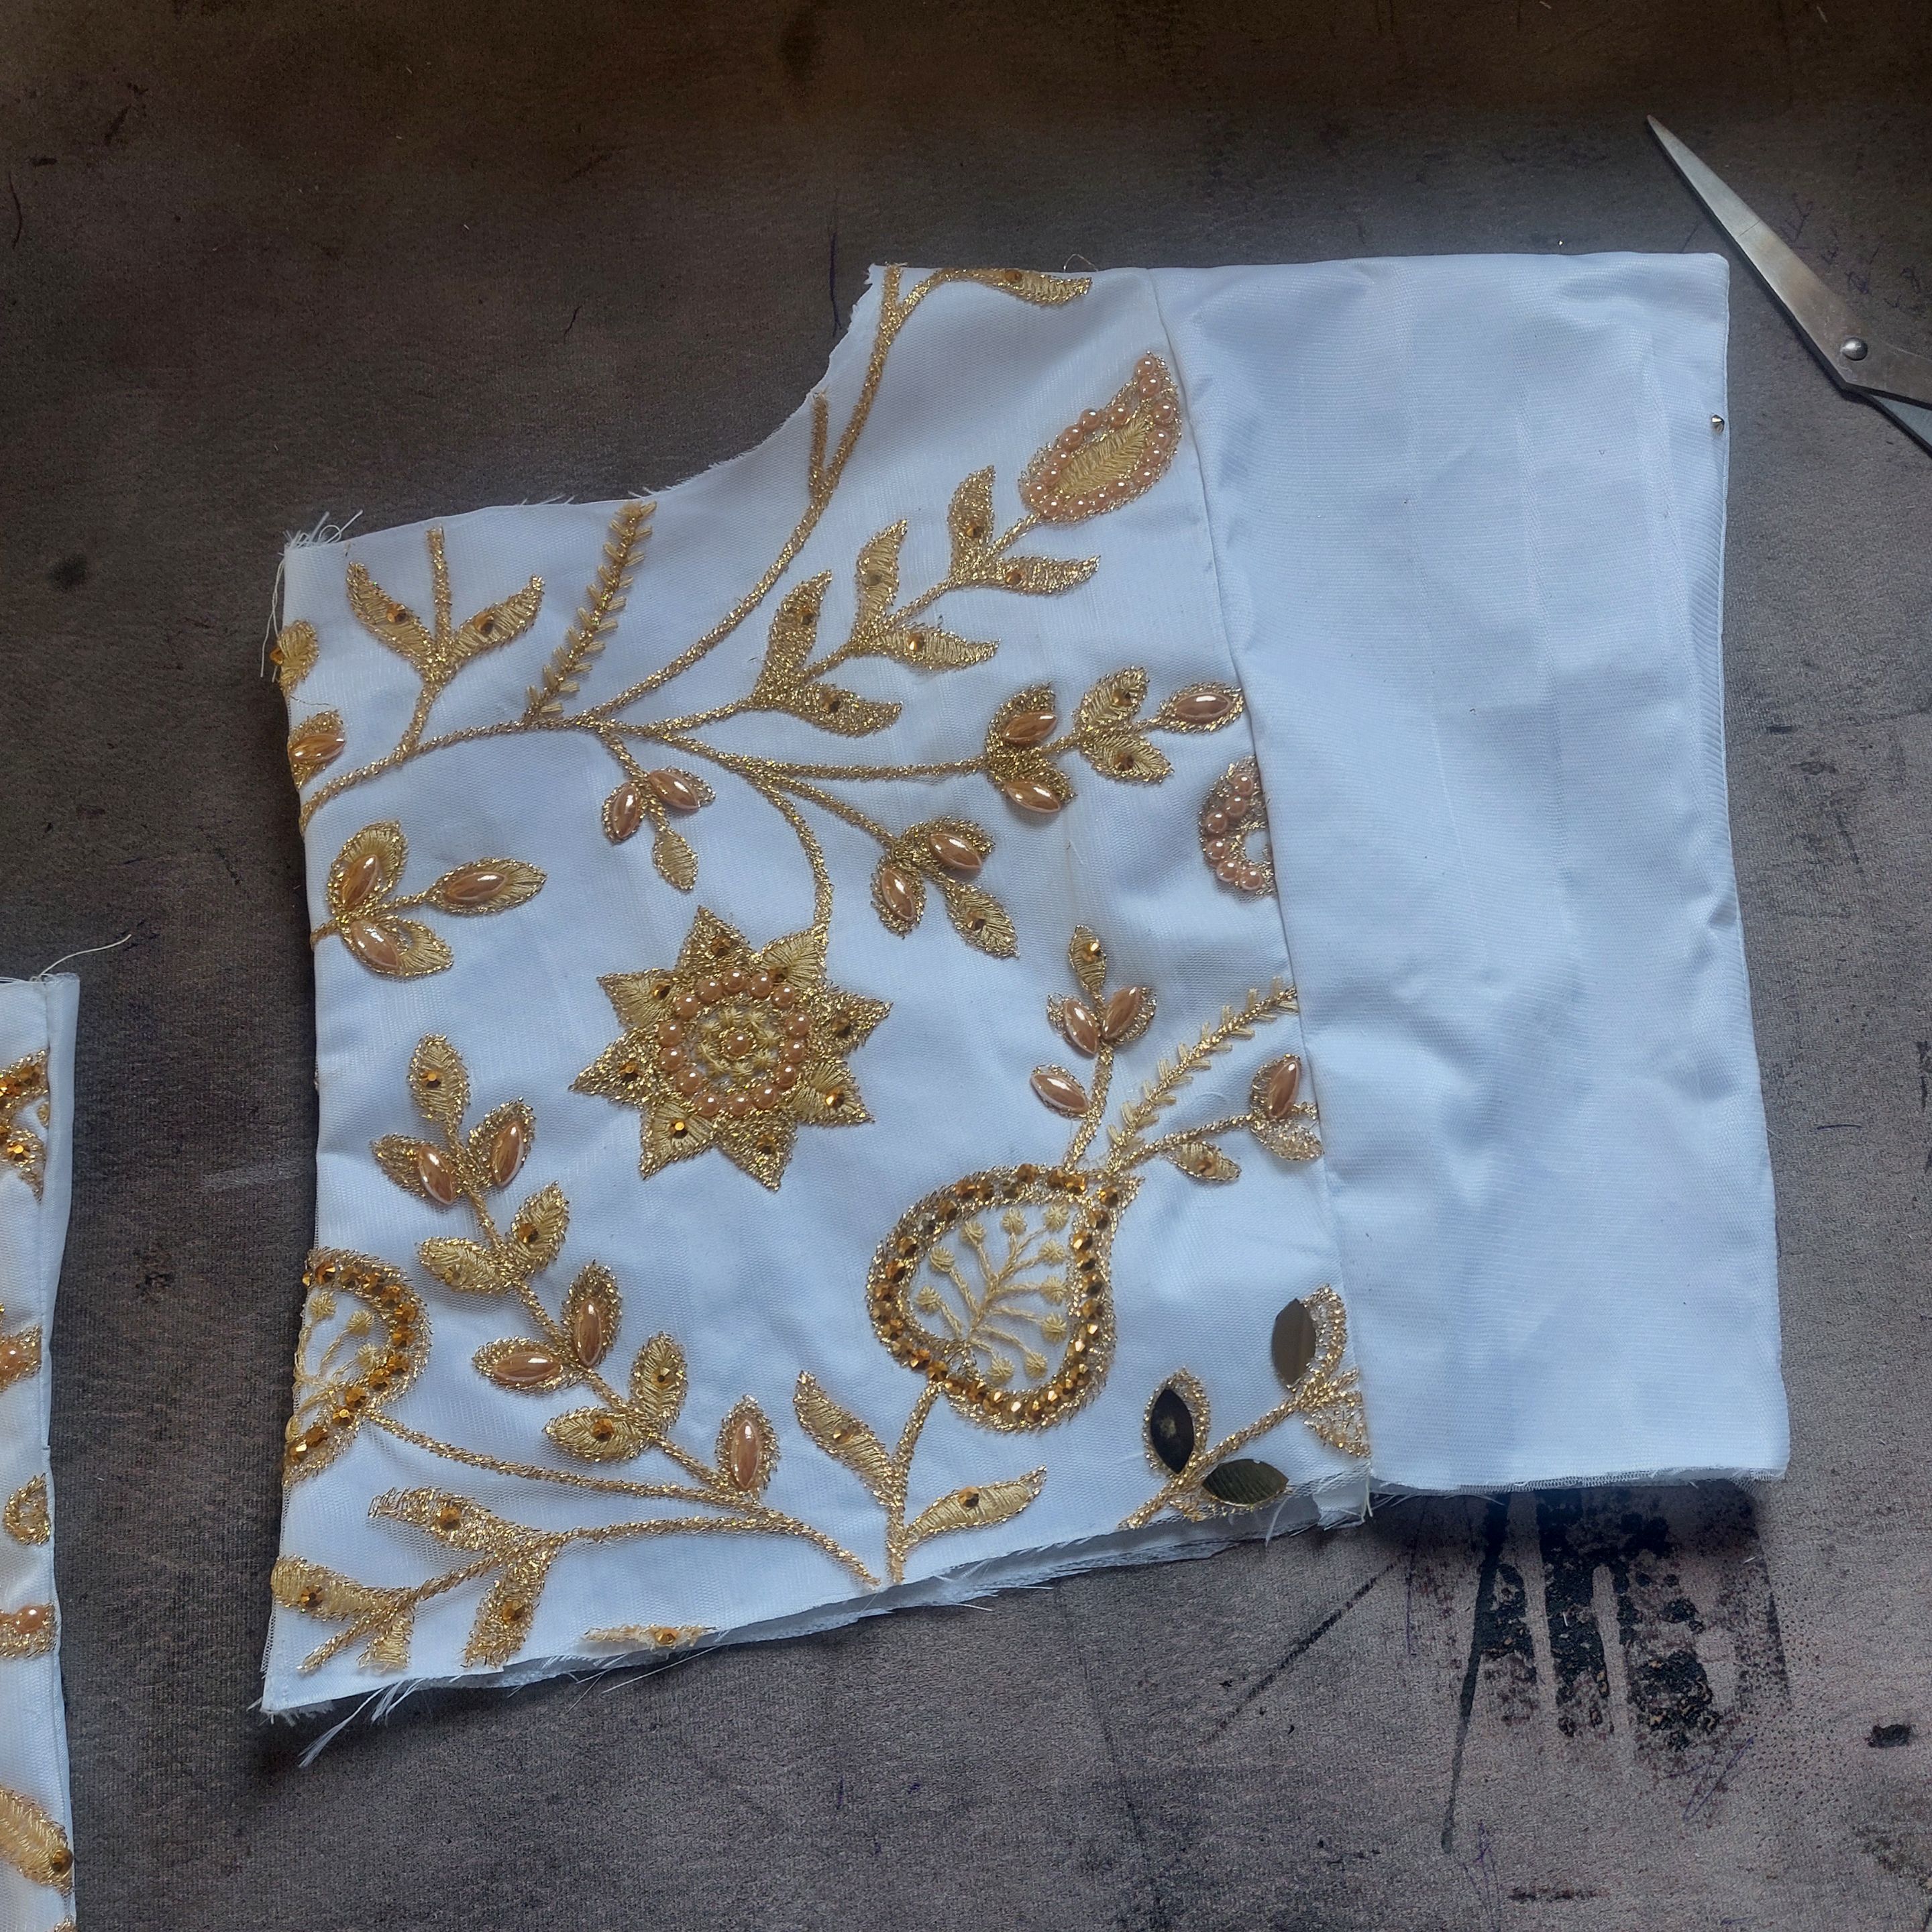 - Next, draft and cut the off-shoulder sleeves. Use the upper bust measurements for the front and back which is 22".
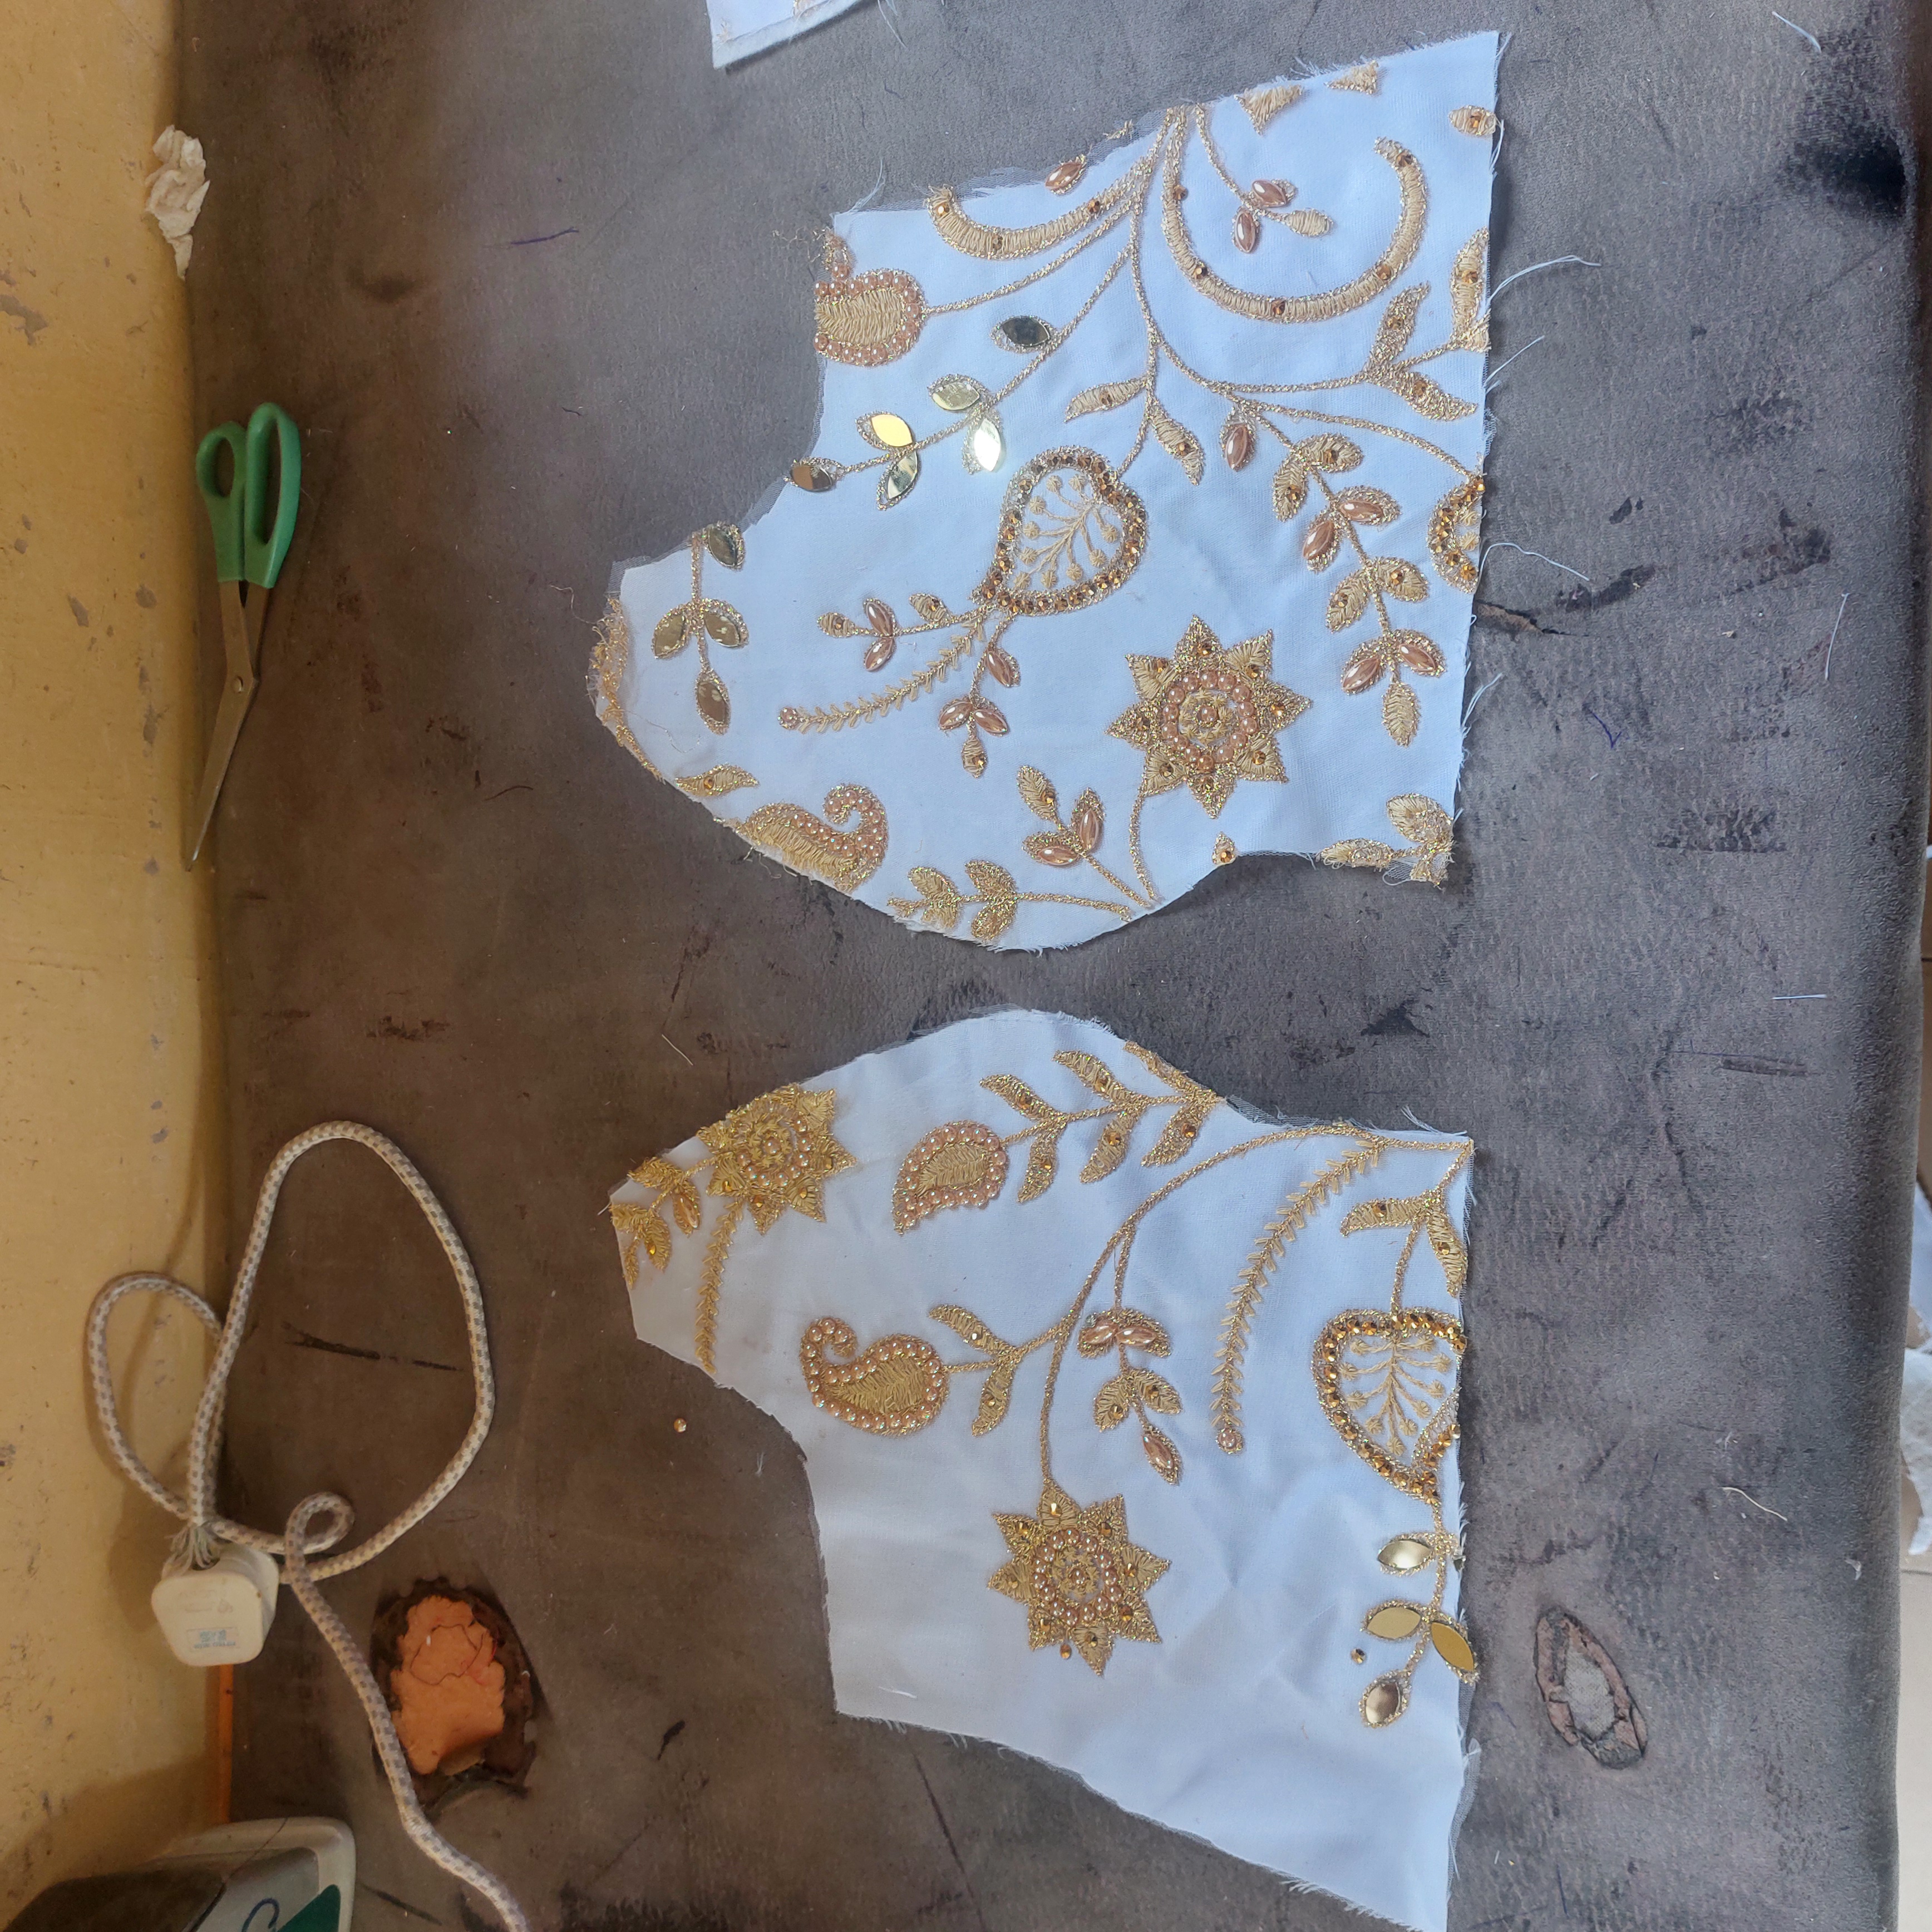 - Then divide that between the two sleeve, that is, 11" + 1.5"seam allowance. I also used 3" for the length.
 - Next, iron your breast pad and interface to the front piece and iron interface to the back piece.
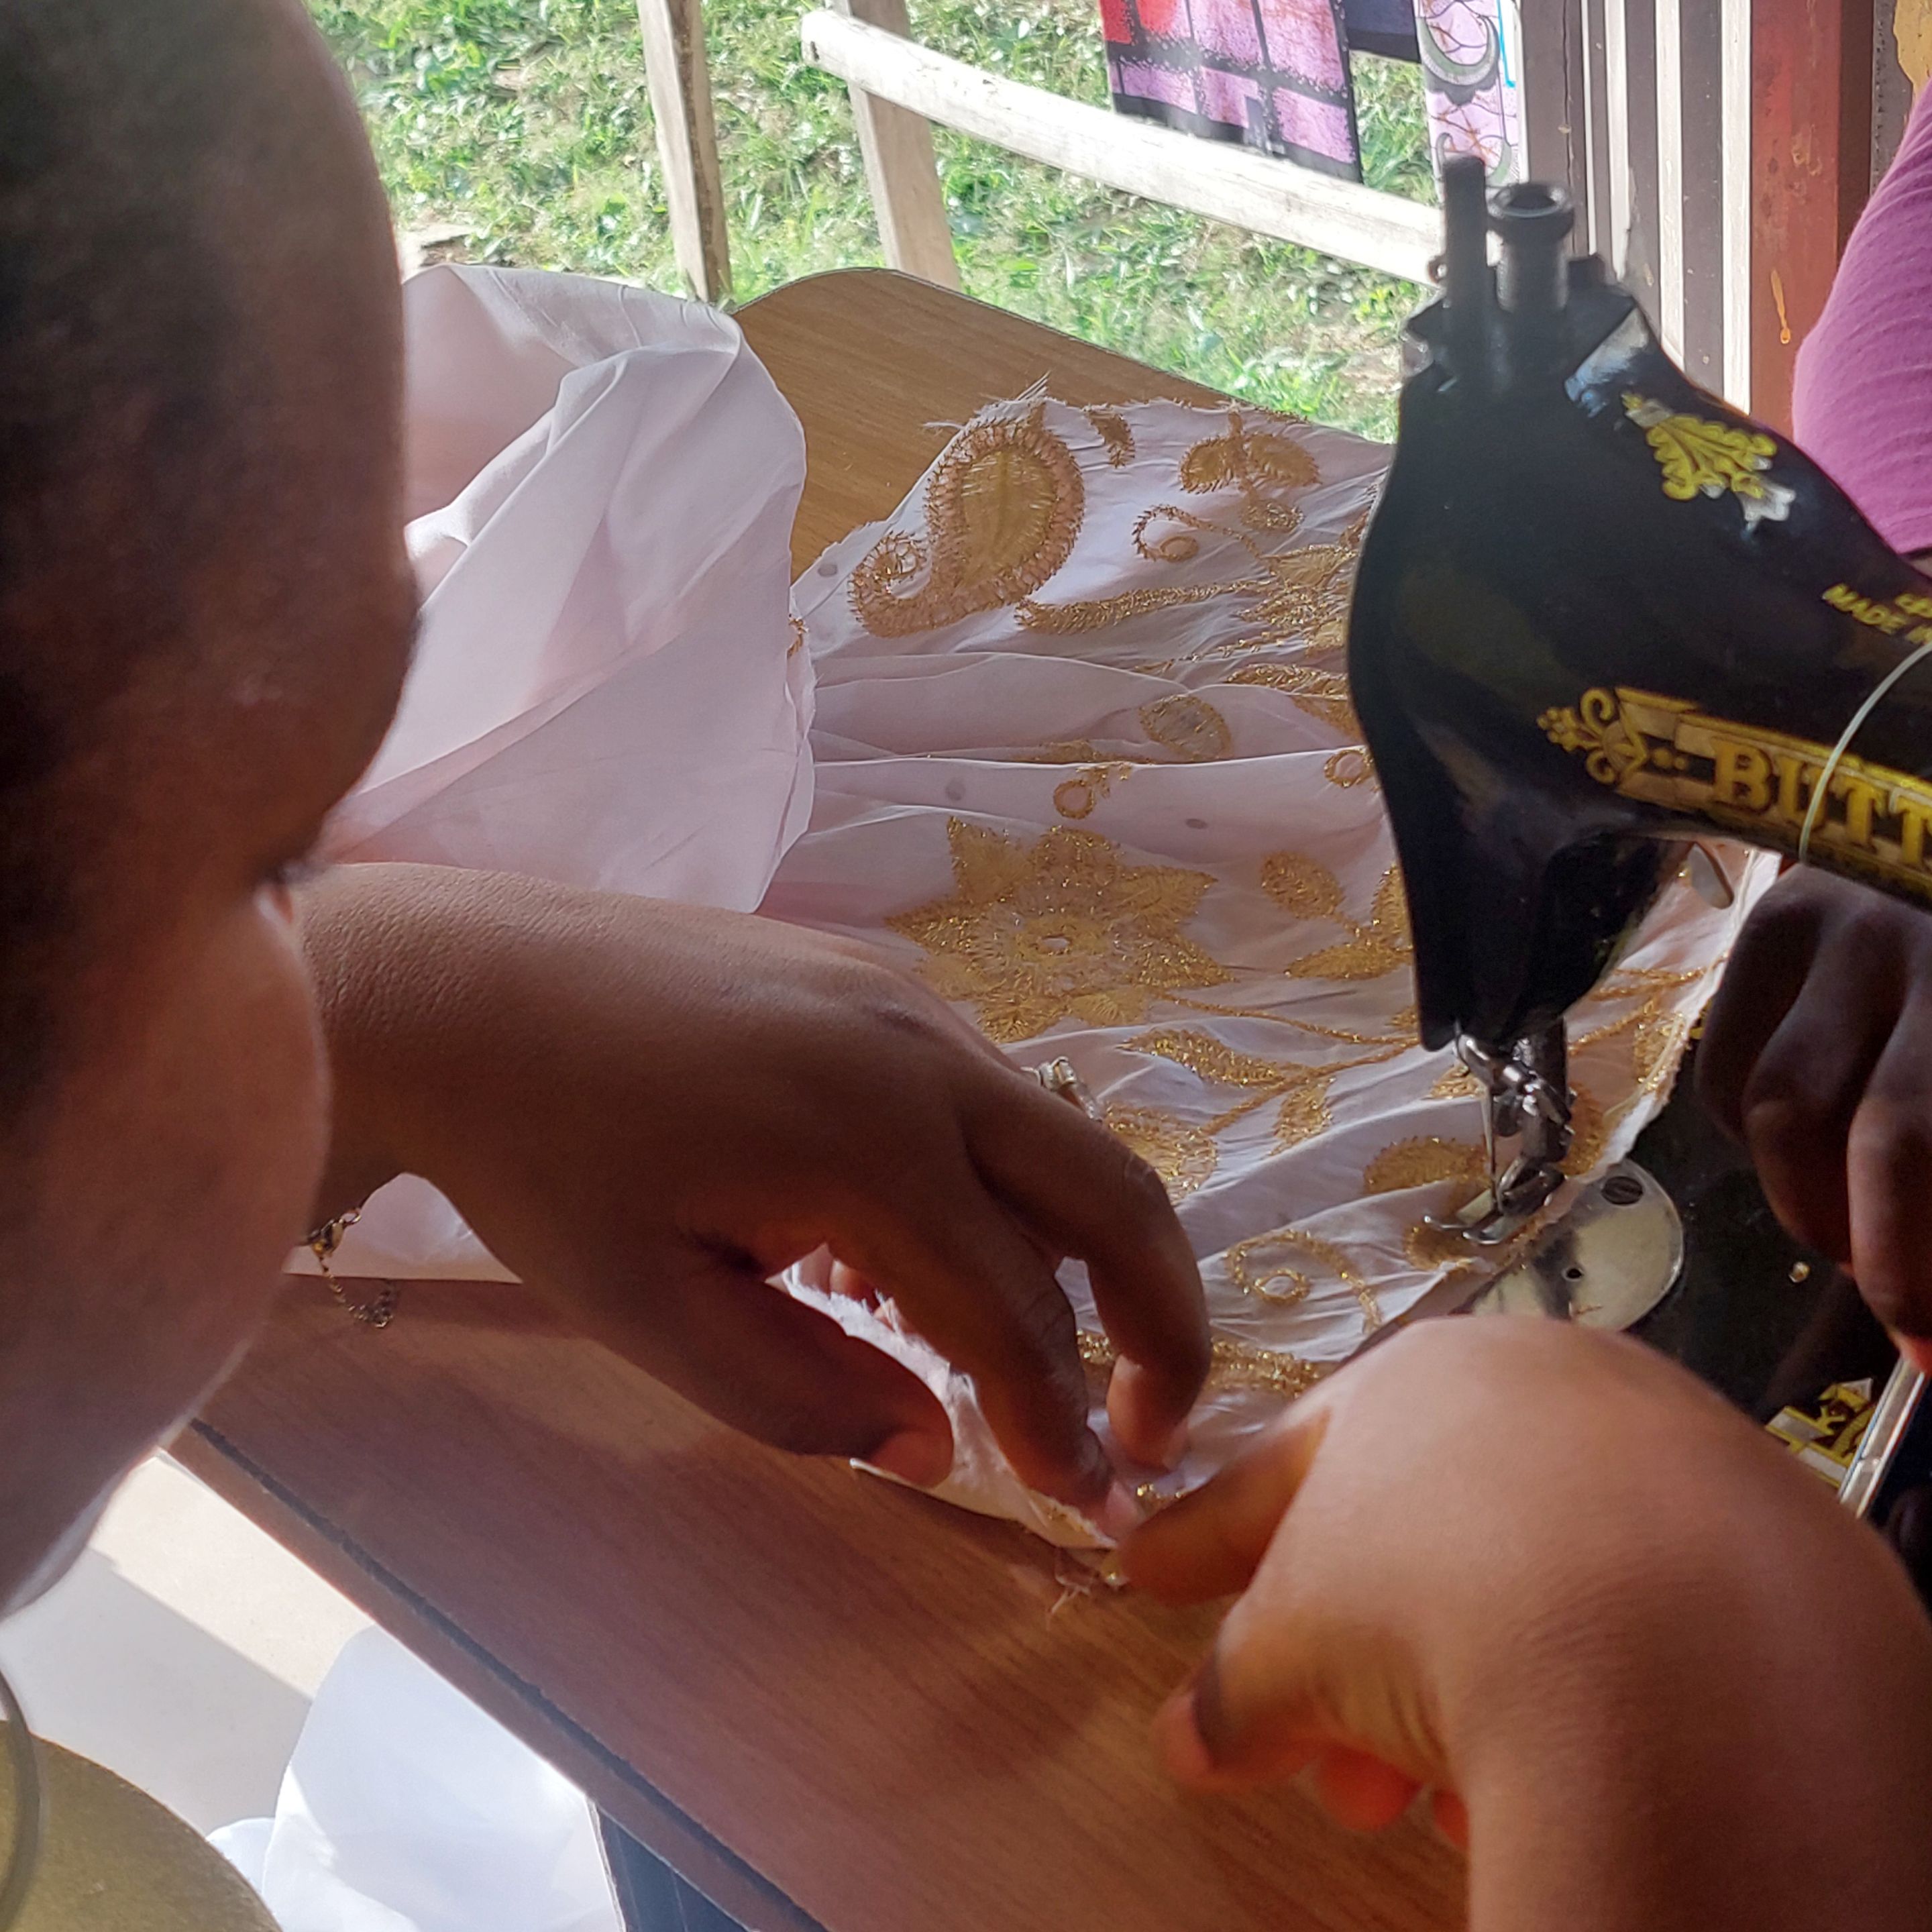
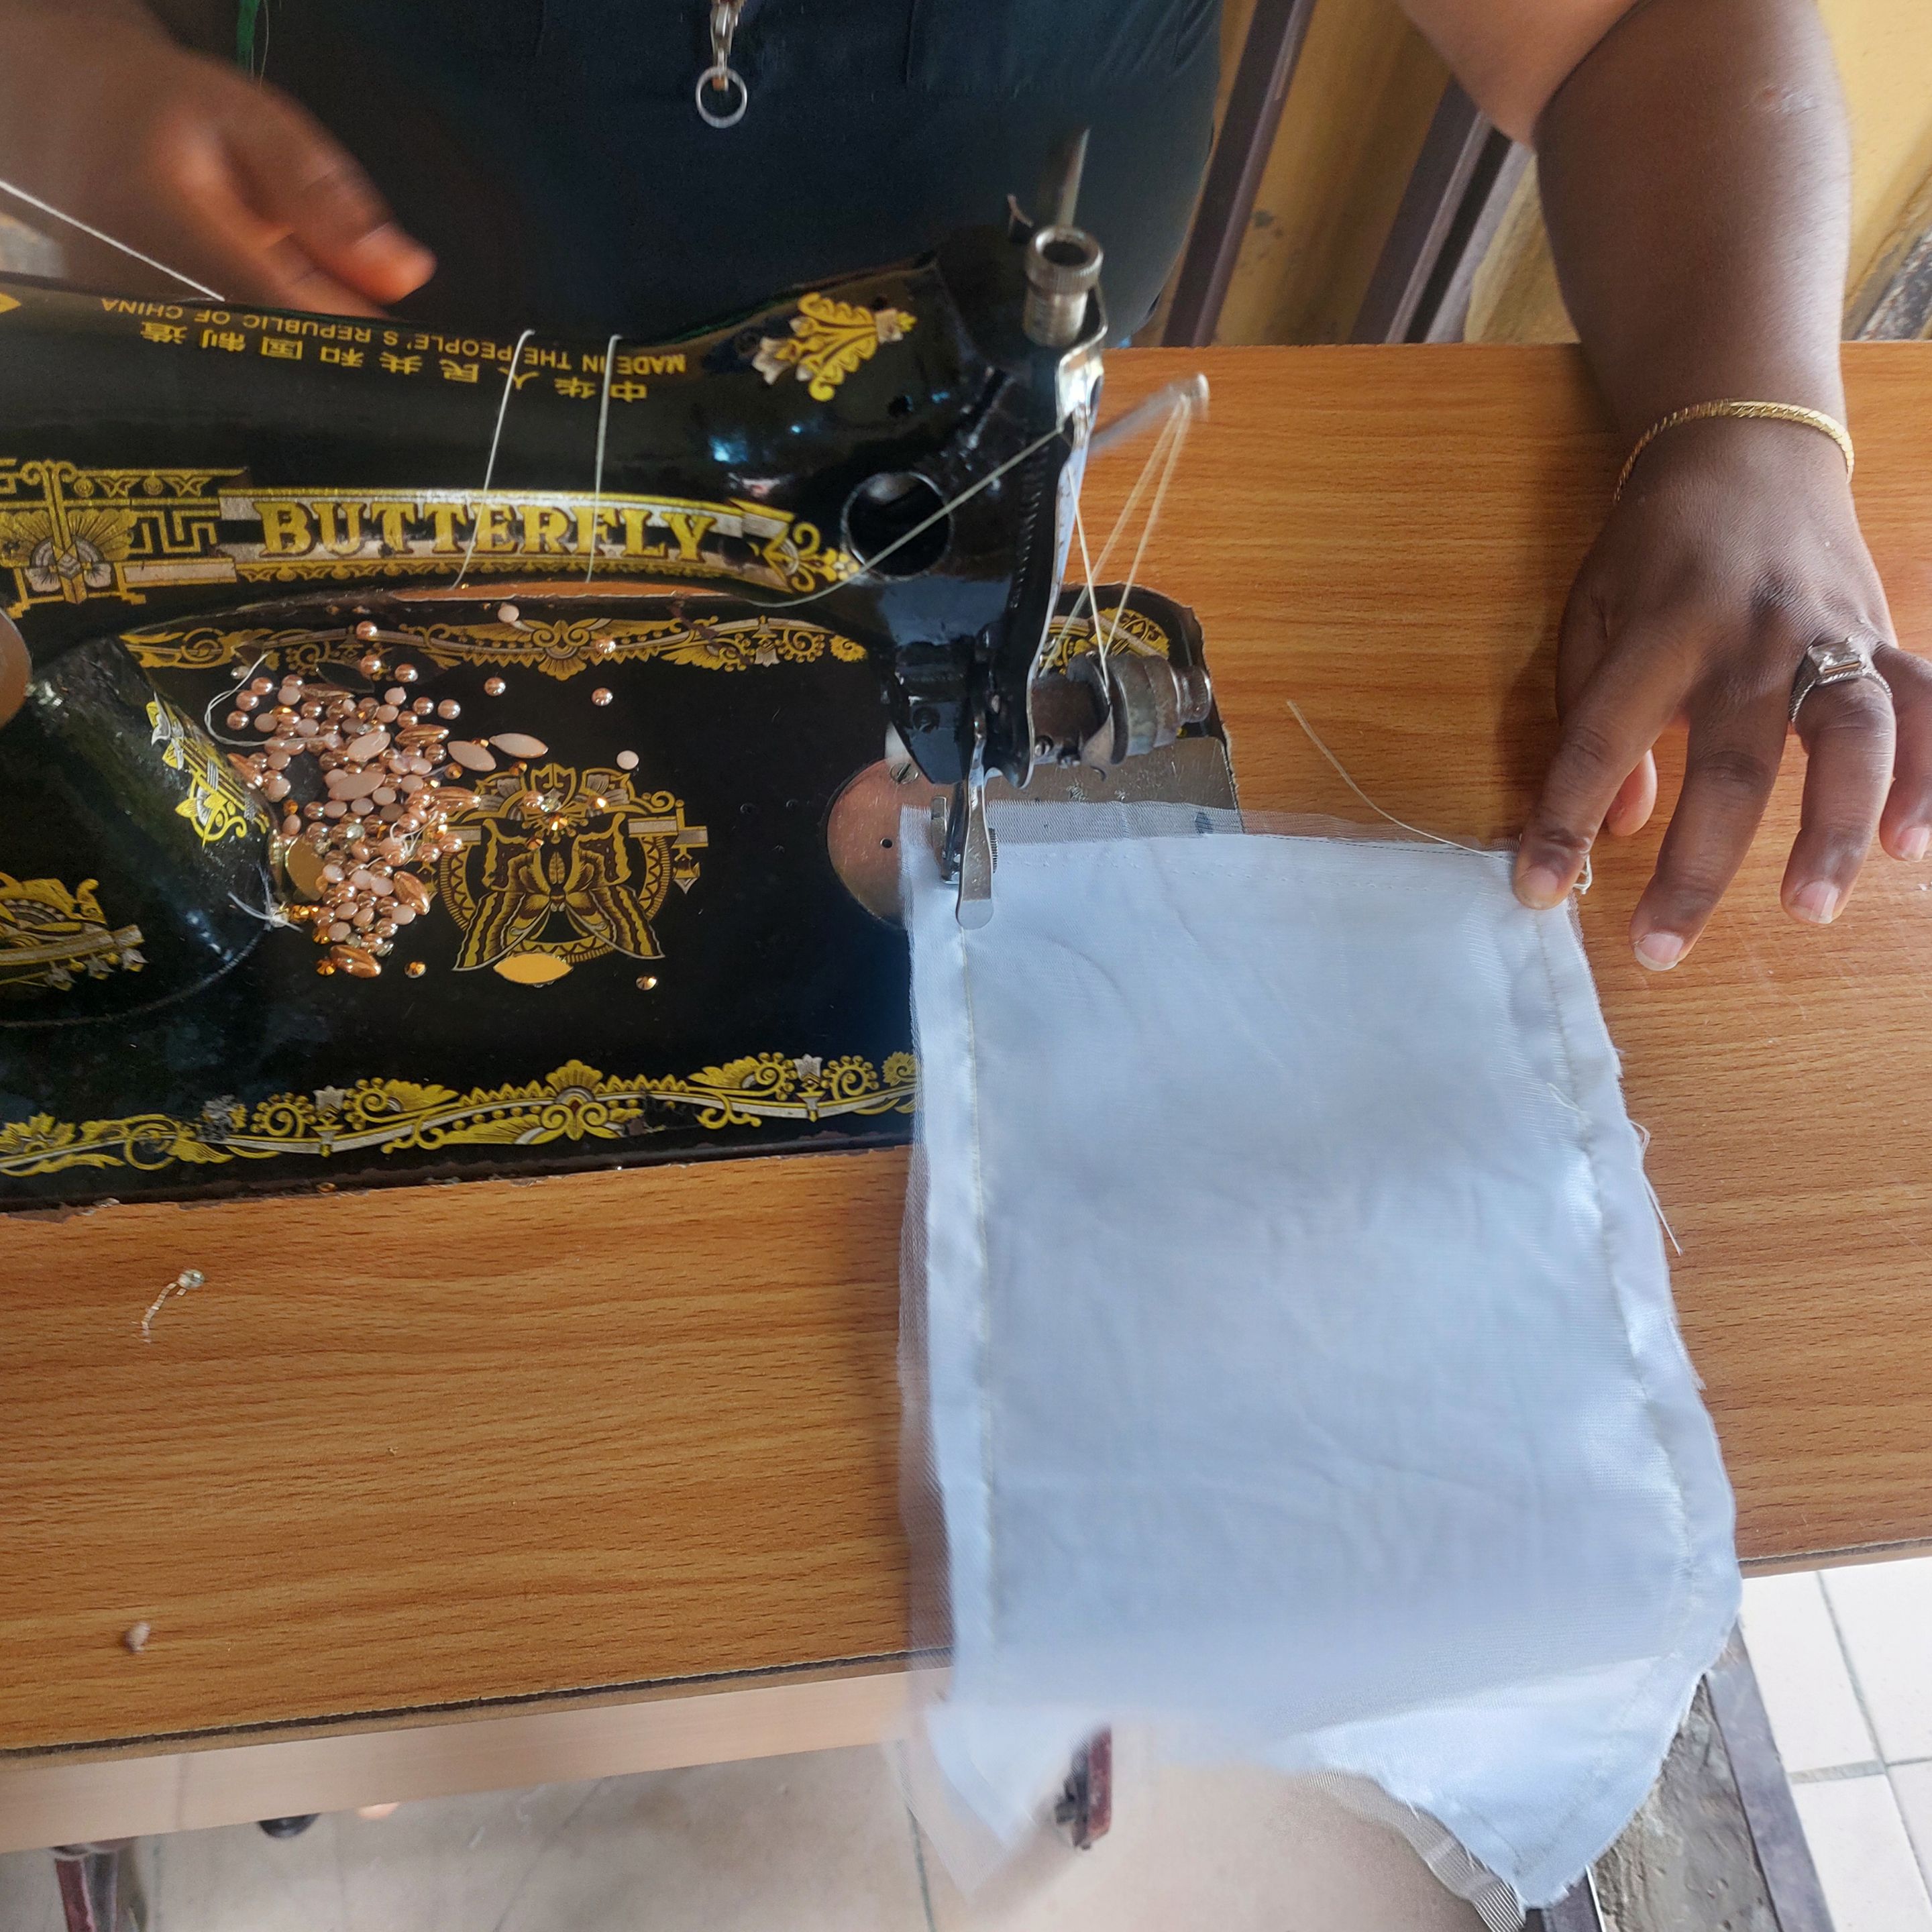 - Join the front and back bodice pieces lining to lining cloth to cloth, then use the lining to turn the actual fabric.
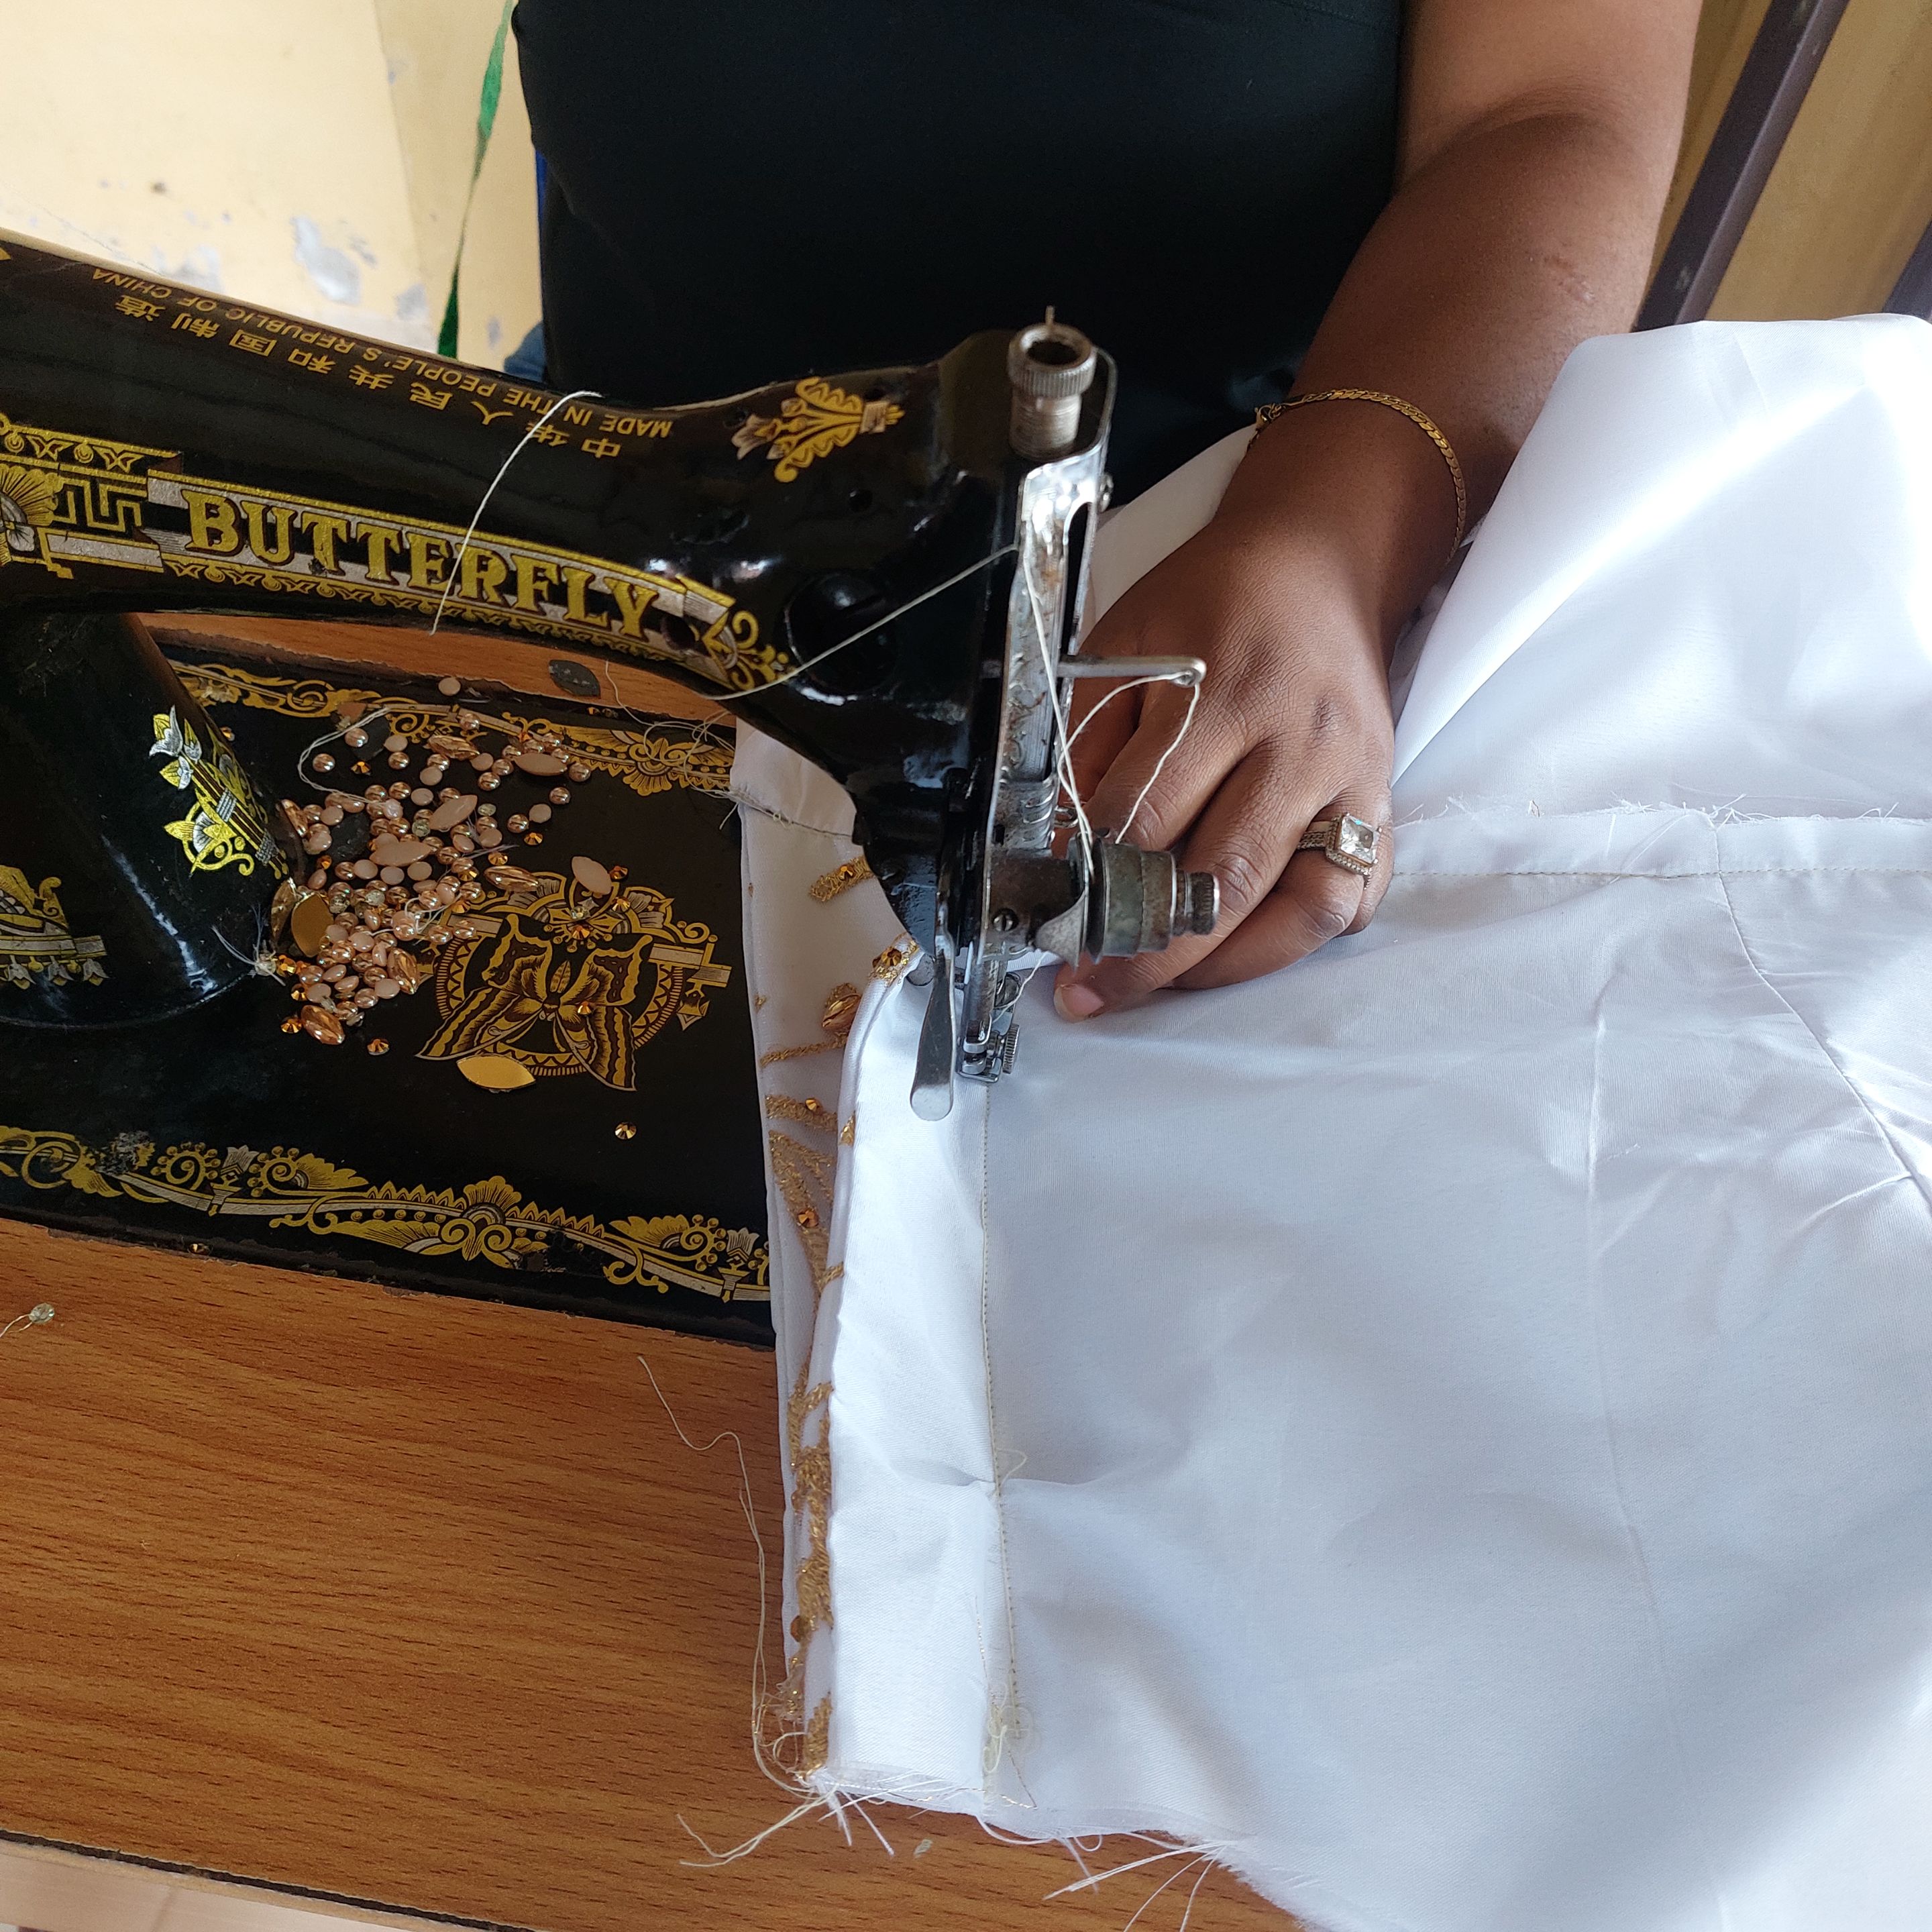 - Then, sew the sleeves to the armholes.
- For the skirt, measure from the waist down to the full length (60”) and continue by creating a fitted shape down to the knee before flaring out to the hem.
- Then, sew the sleeves to the armholes.
- For the skirt, measure from the waist down to the full length (60”) and continue by creating a fitted shape down to the knee before flaring out to the hem.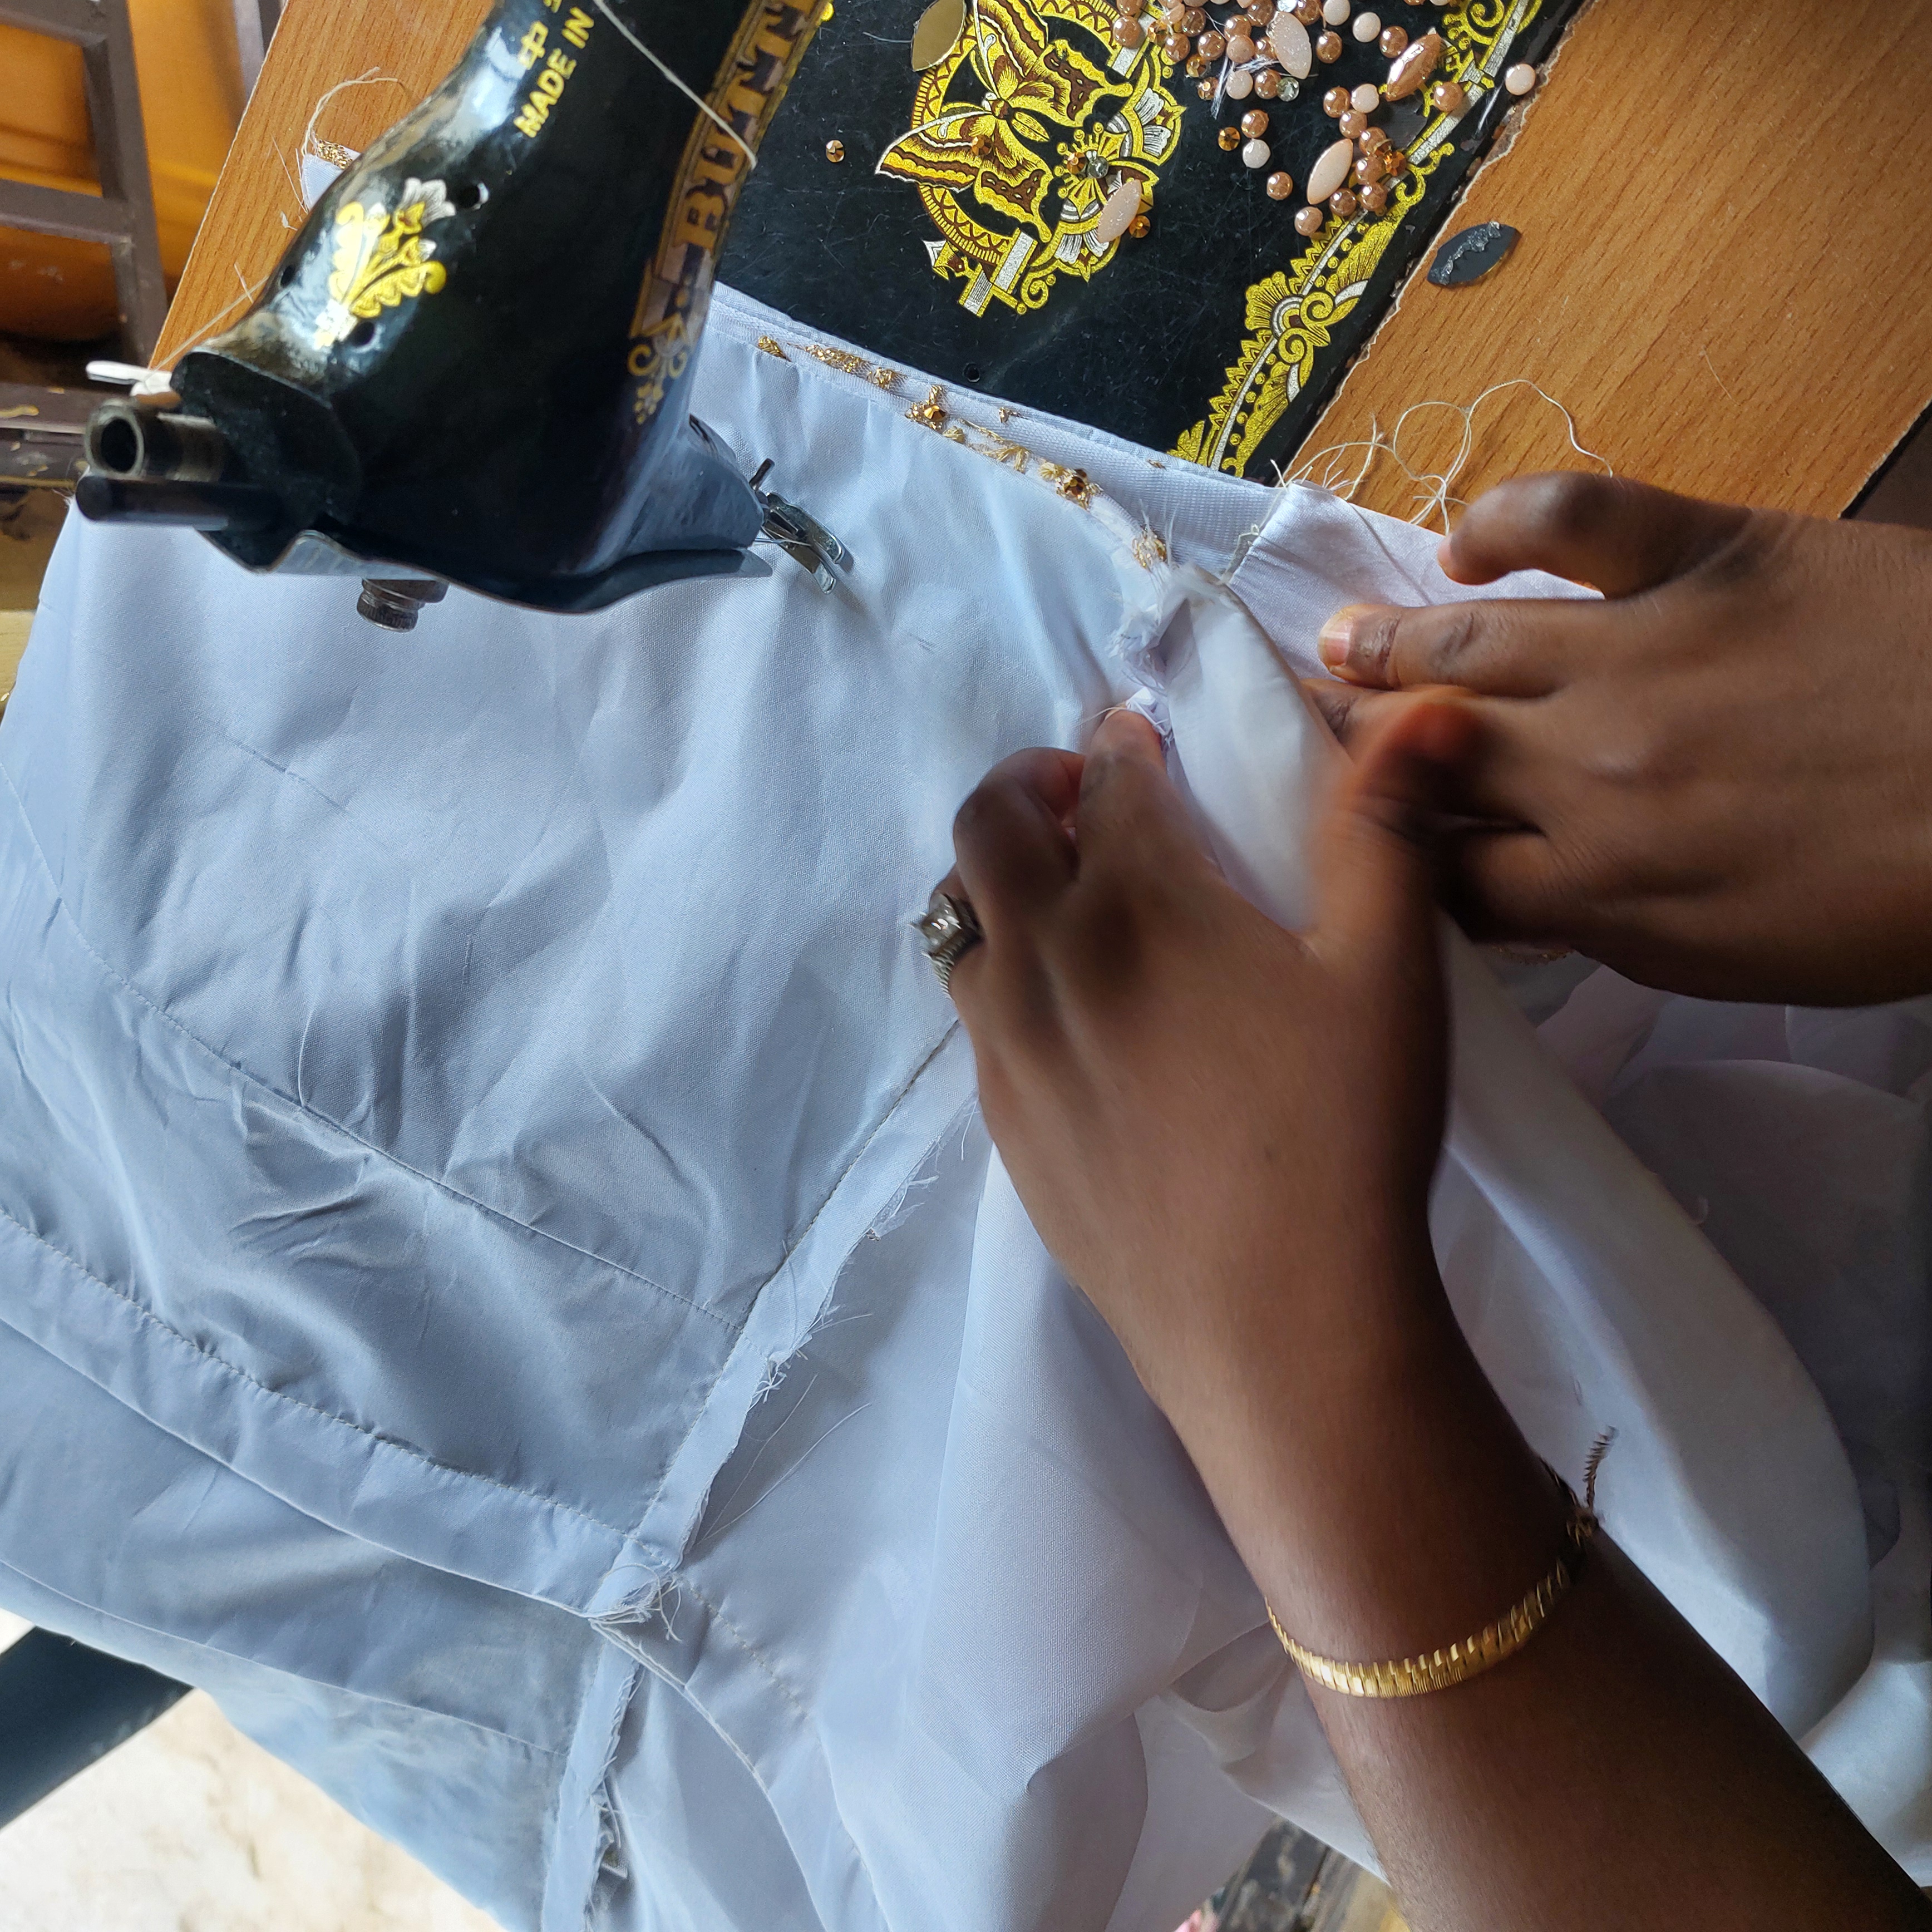 - Then using the waist measurement of 42" shape the upper part of the skirt so that it can become narrow as it comes down to the knee area and it will then flare out in the lower part.
 - Cut out the front and back pieces of the skirt.
- Then join the two linings to the skirt pieces and attach them to the bodice. Next, insert your zip.
- Cut out the front and back pieces of the skirt.
- Then join the two linings to the skirt pieces and attach them to the bodice. Next, insert your zip.
 - Then you can start doing the finishing by hemming the bottom. In my case I didn't have to hem because my George fabrics has a beaded design at the hem.
 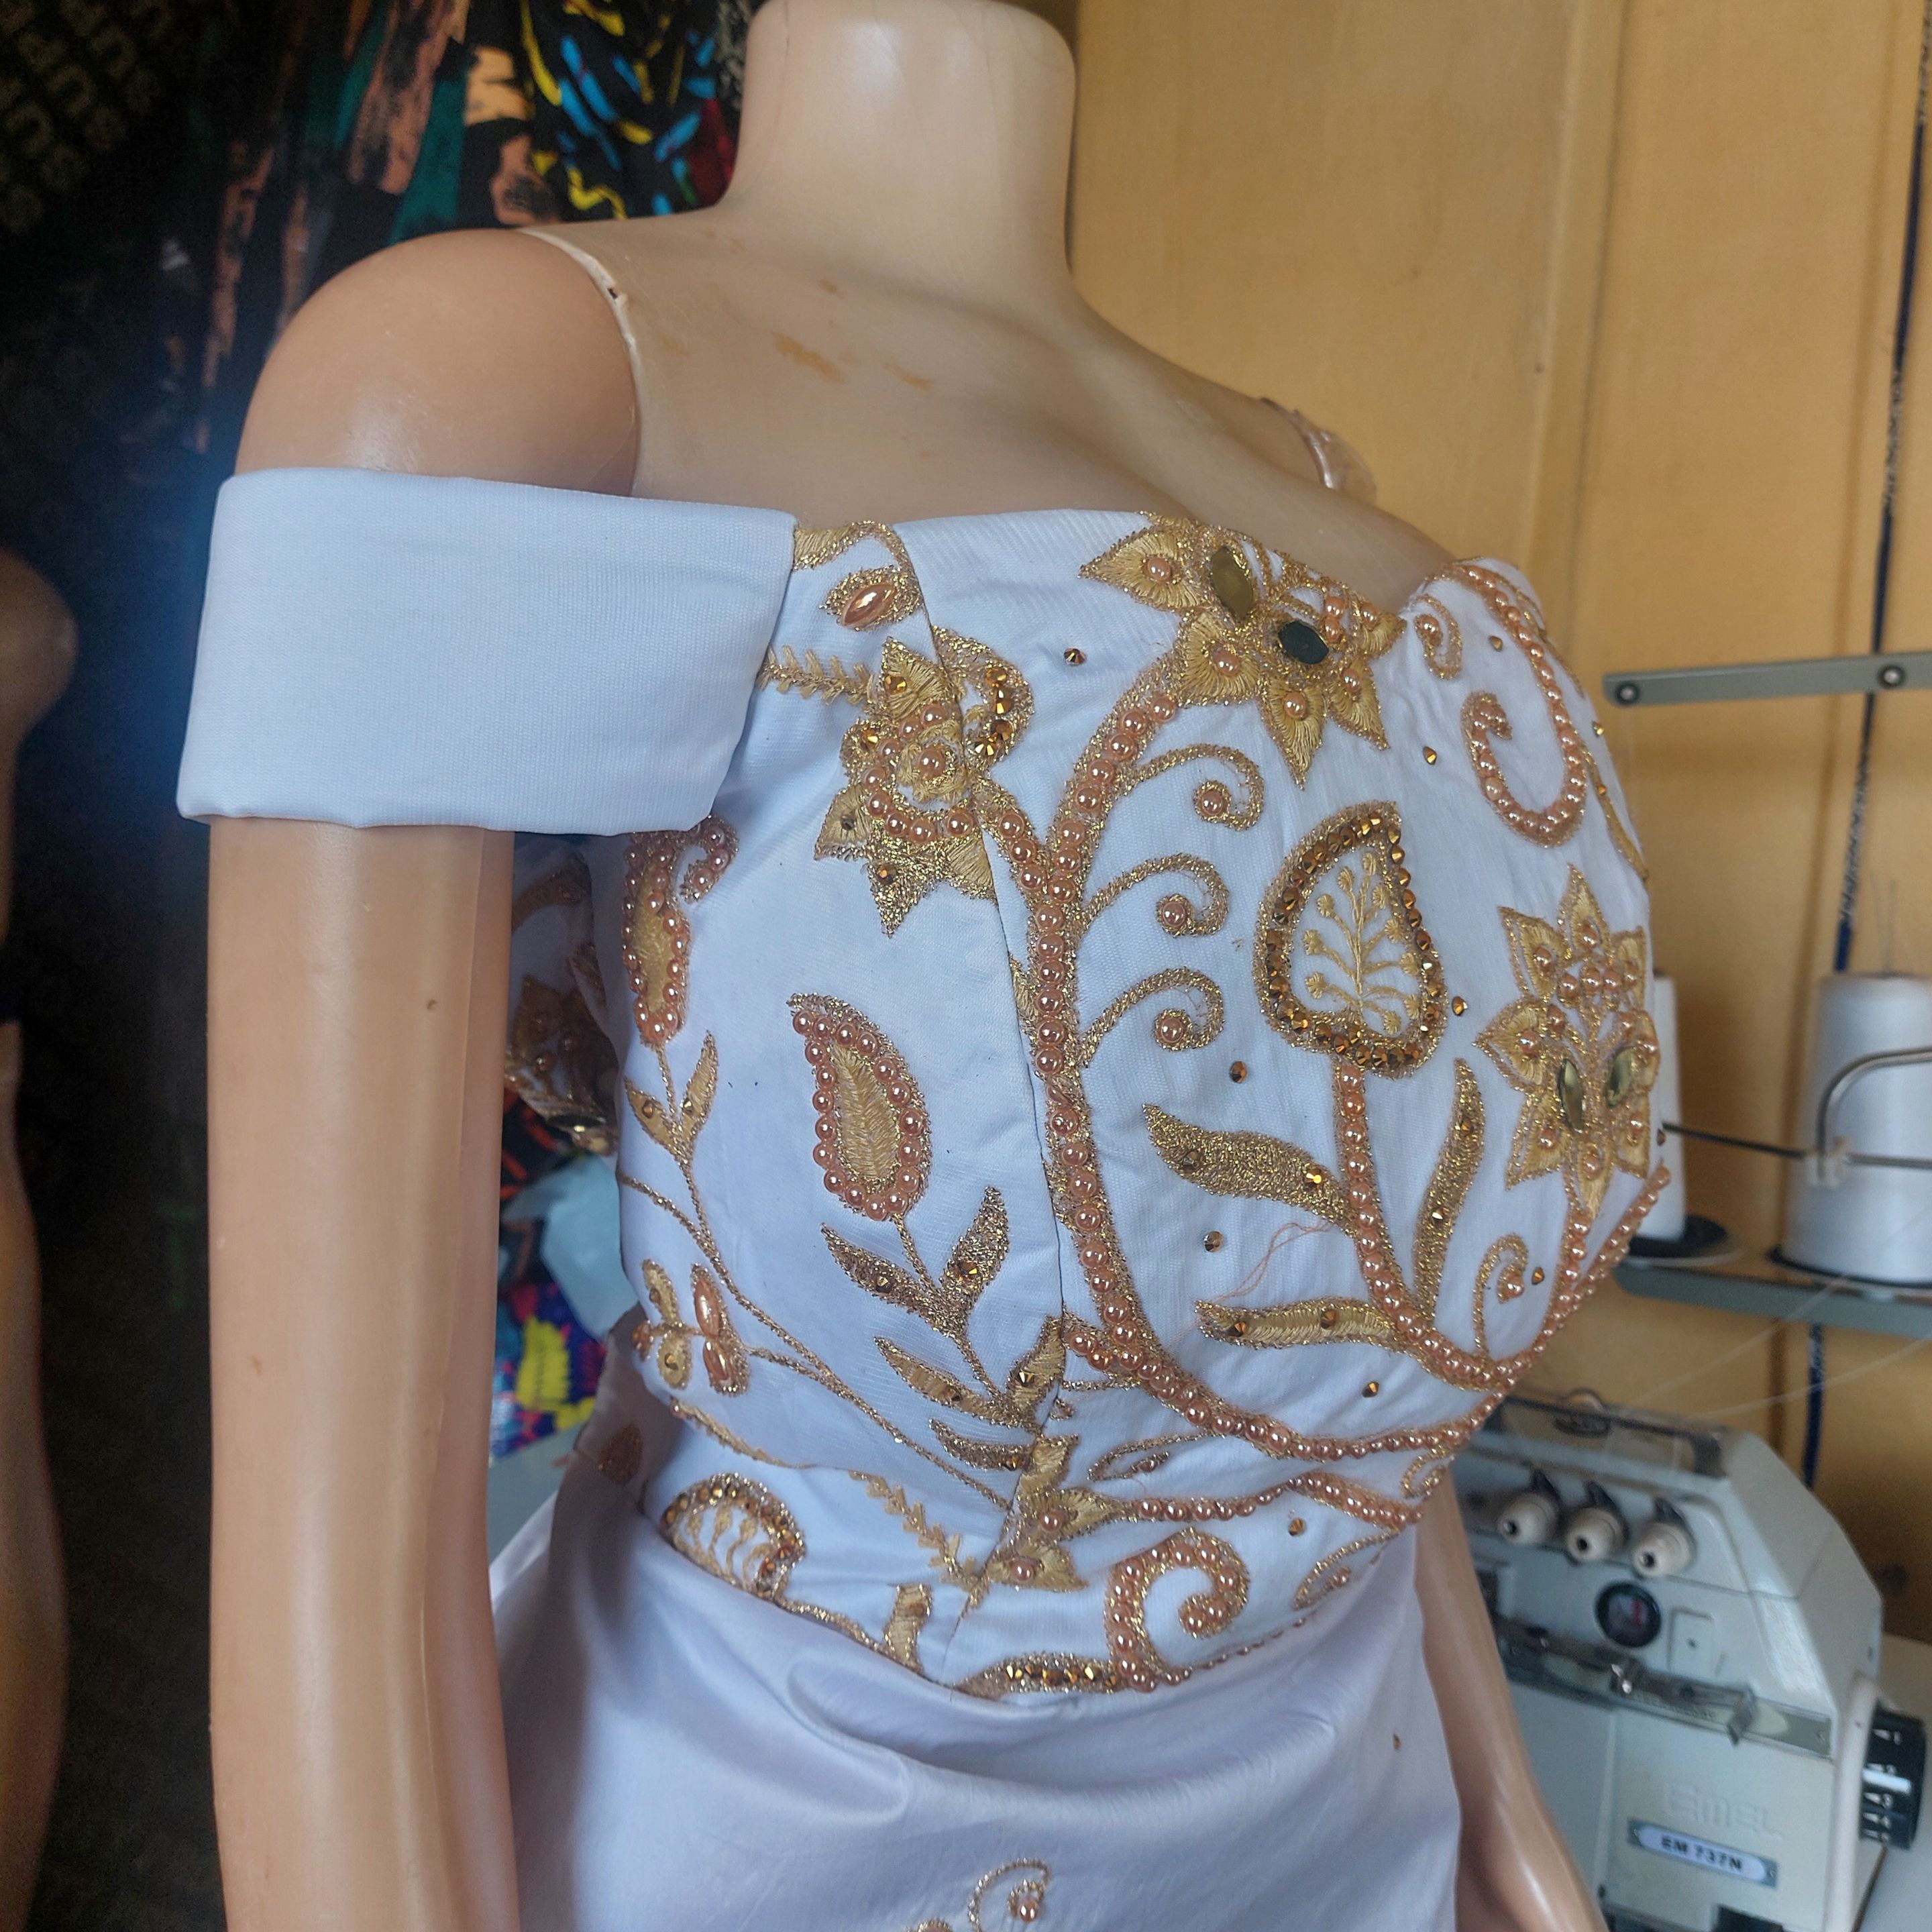 - Next, give all the seams a good press.
- Then, cut a long stripe of 4yards and width of 6” then go over to the weaving machine and weave it with your wire inserted. Do this on both side after which you go to the sewing machine to sew gathers then use your hand needle to tack it to any part of the sleeve.
- Next, give all the seams a good press.
- Then, cut a long stripe of 4yards and width of 6” then go over to the weaving machine and weave it with your wire inserted. Do this on both side after which you go to the sewing machine to sew gathers then use your hand needle to tack it to any part of the sleeve. - Wear the gown on your mannequin to check of there are any adjustments needed.
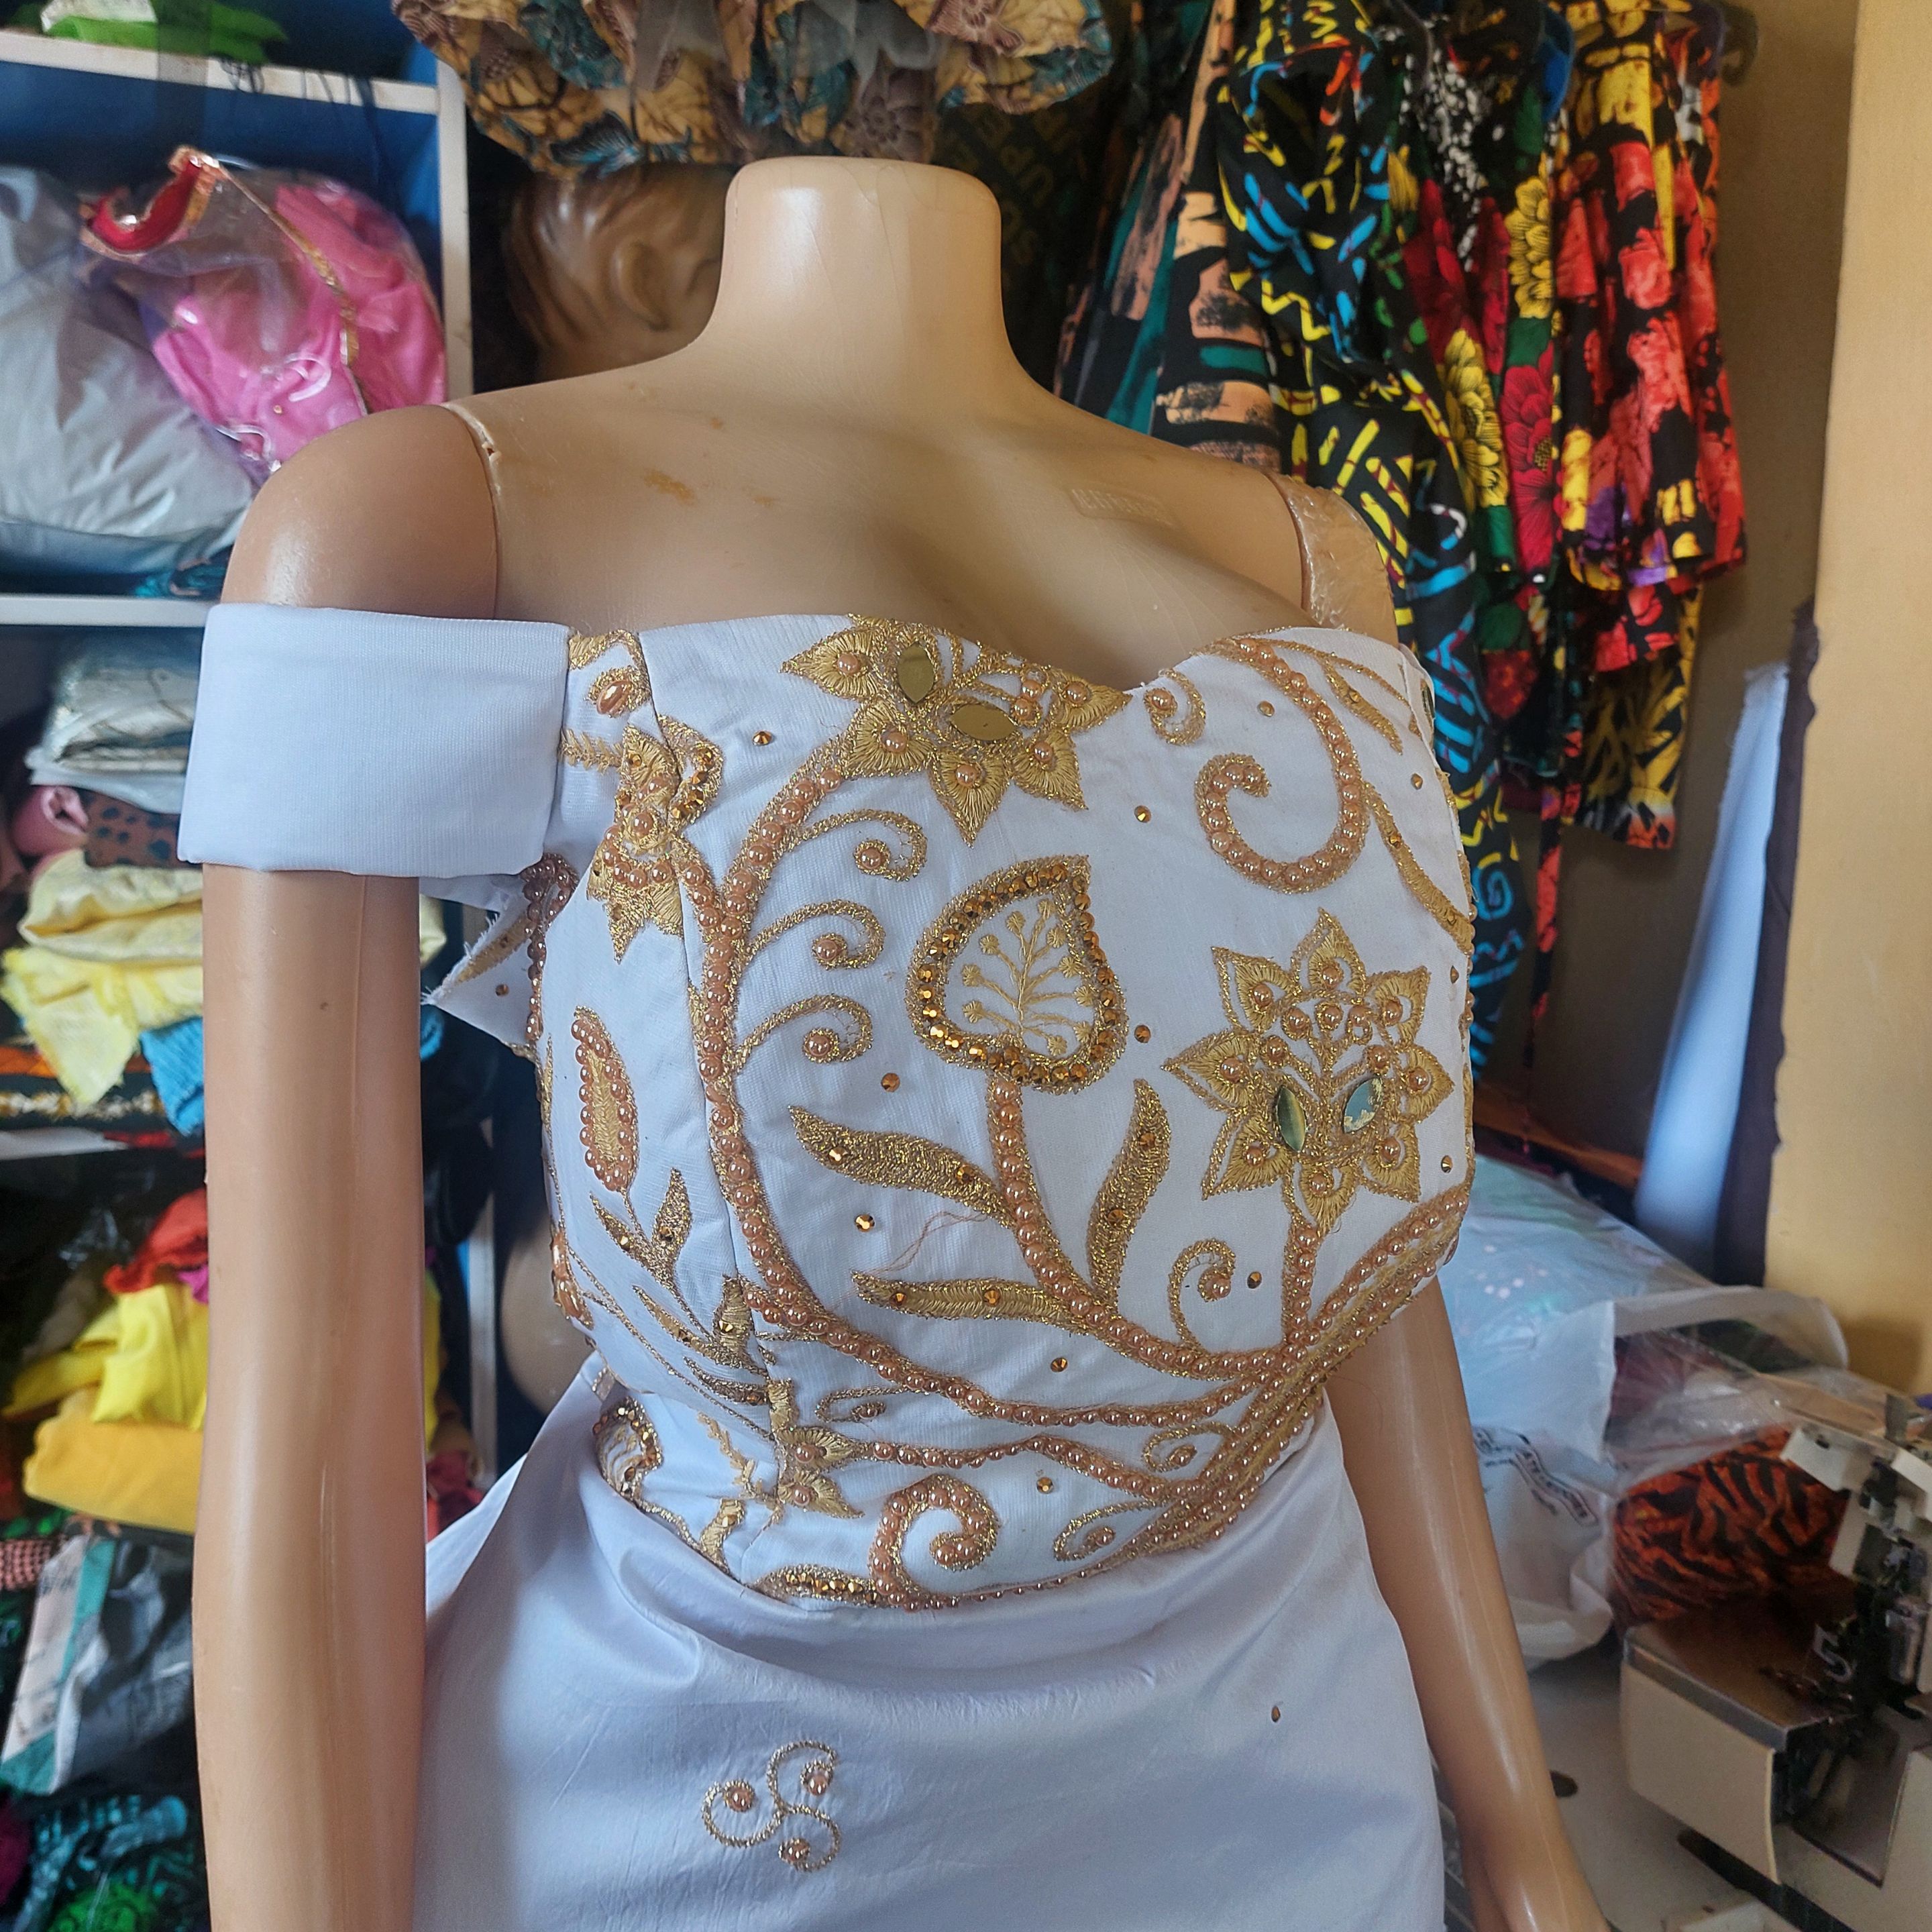
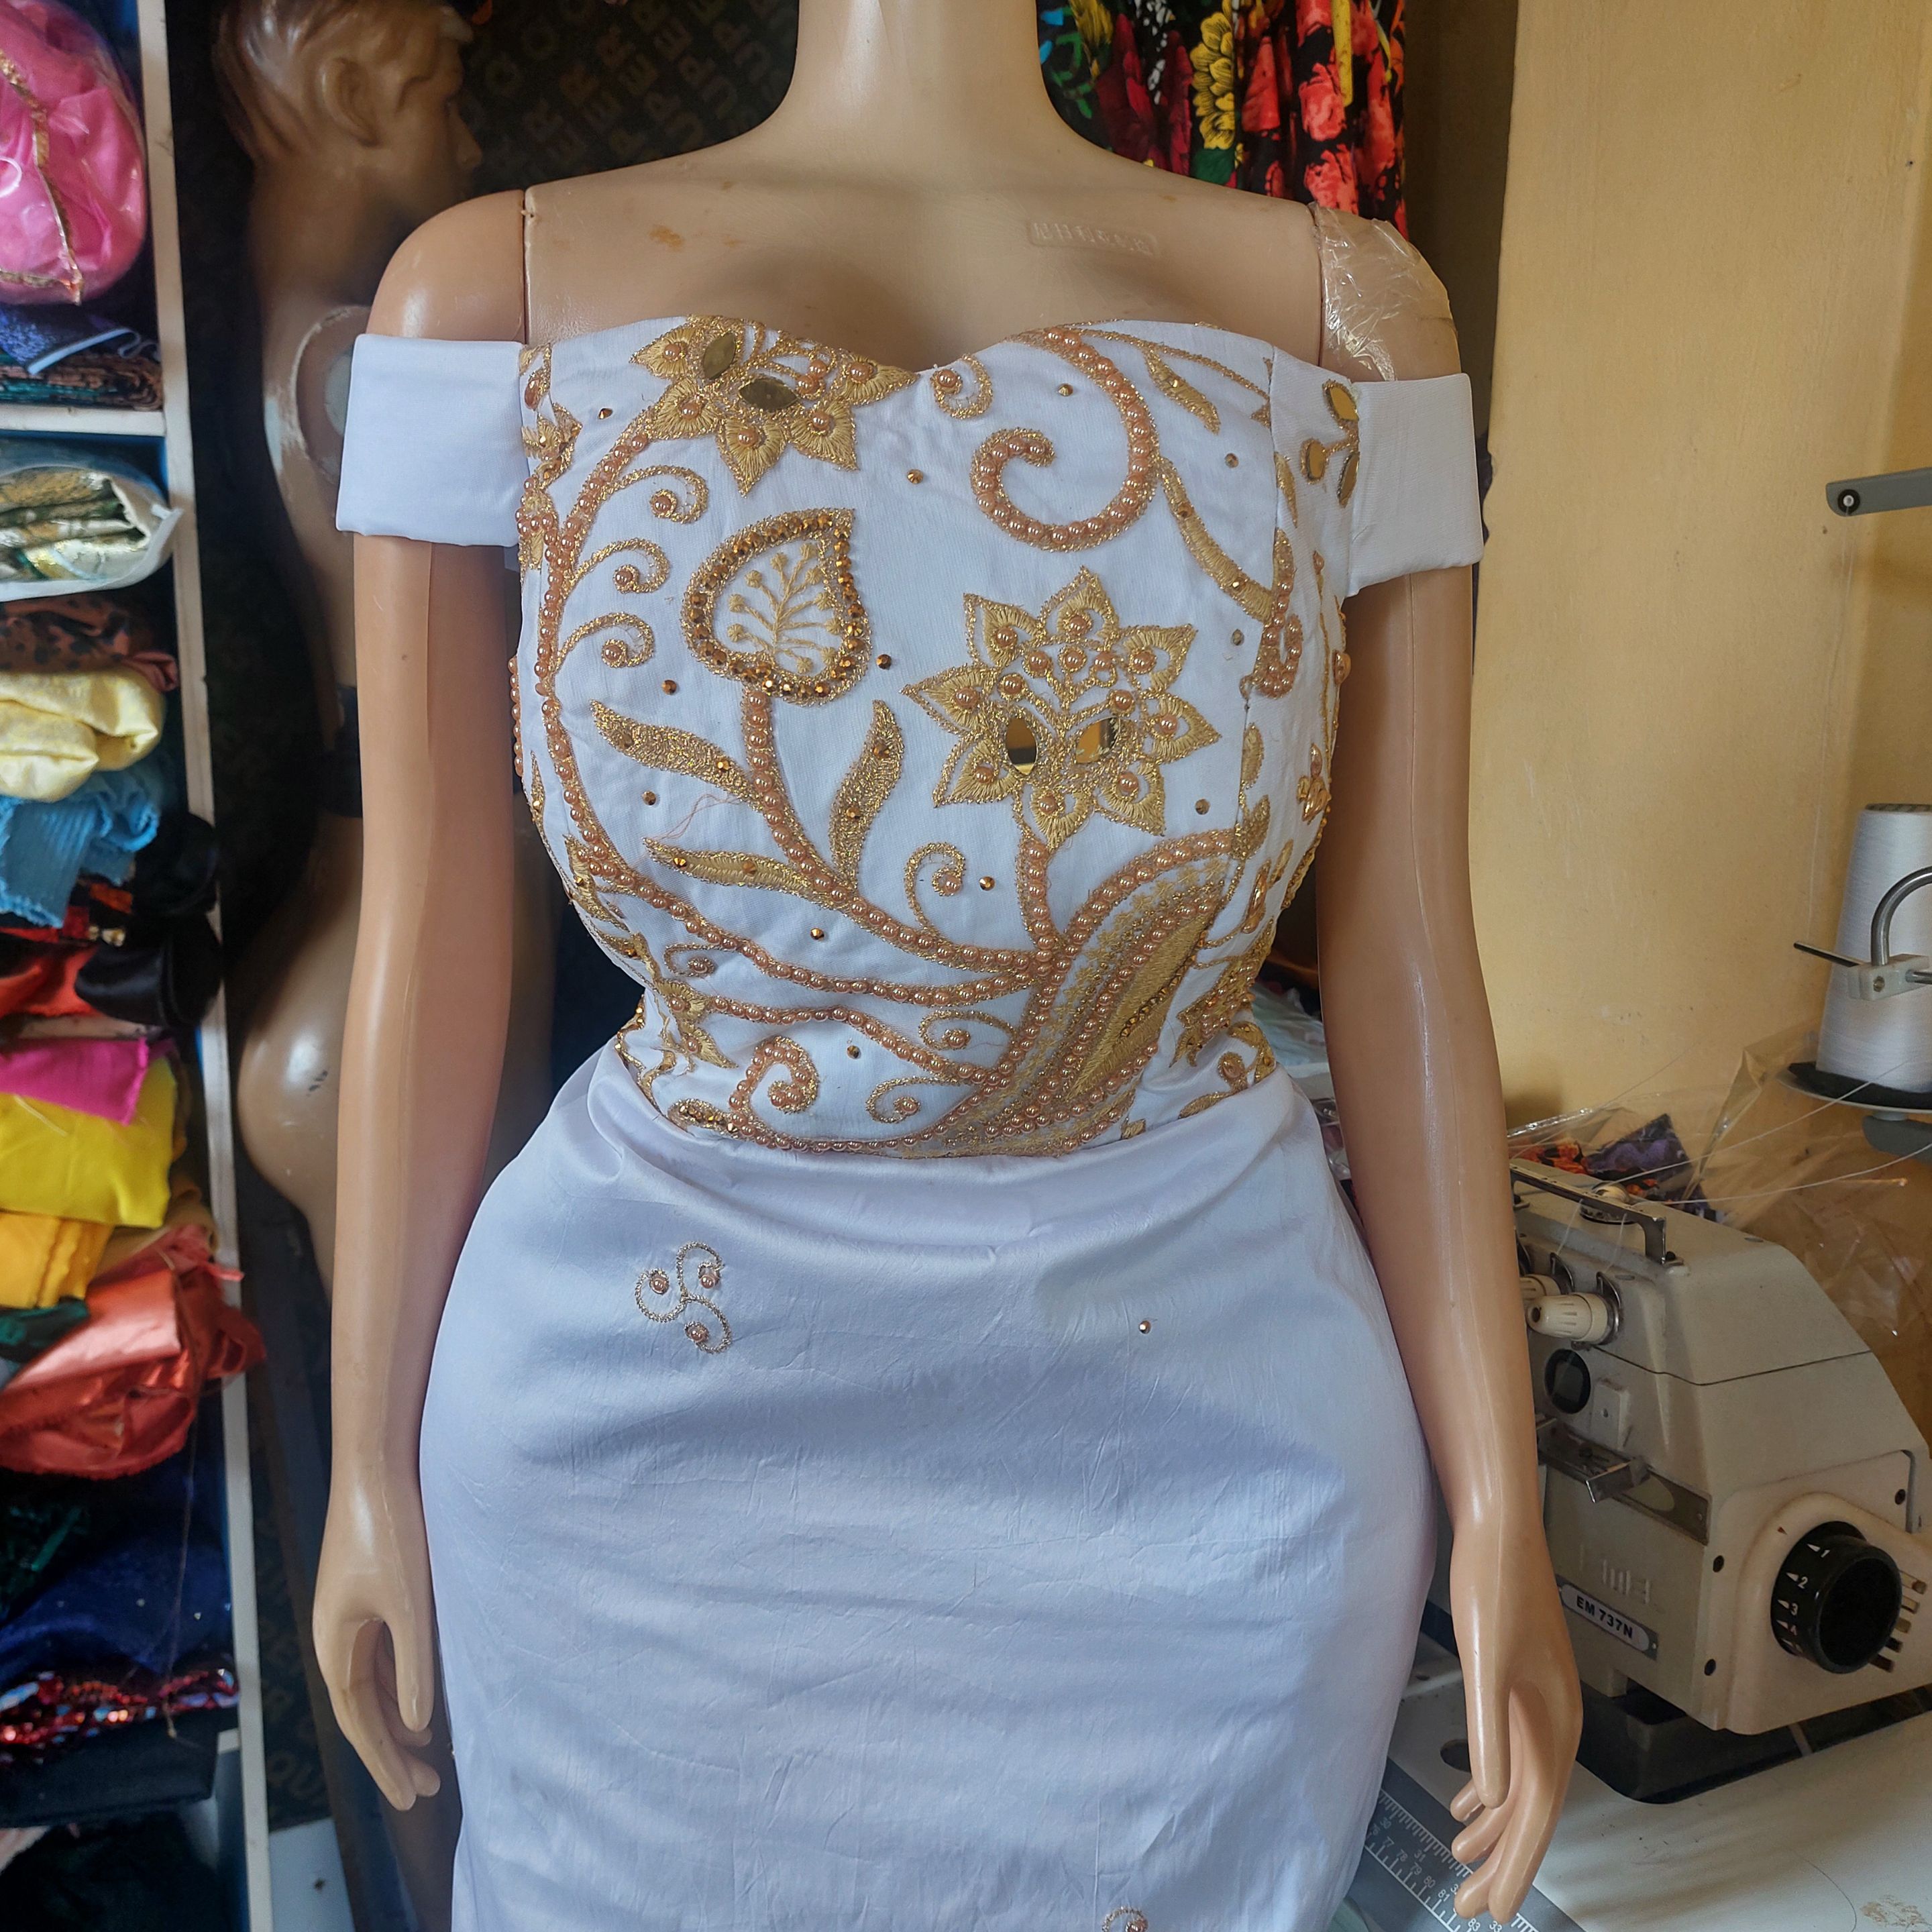
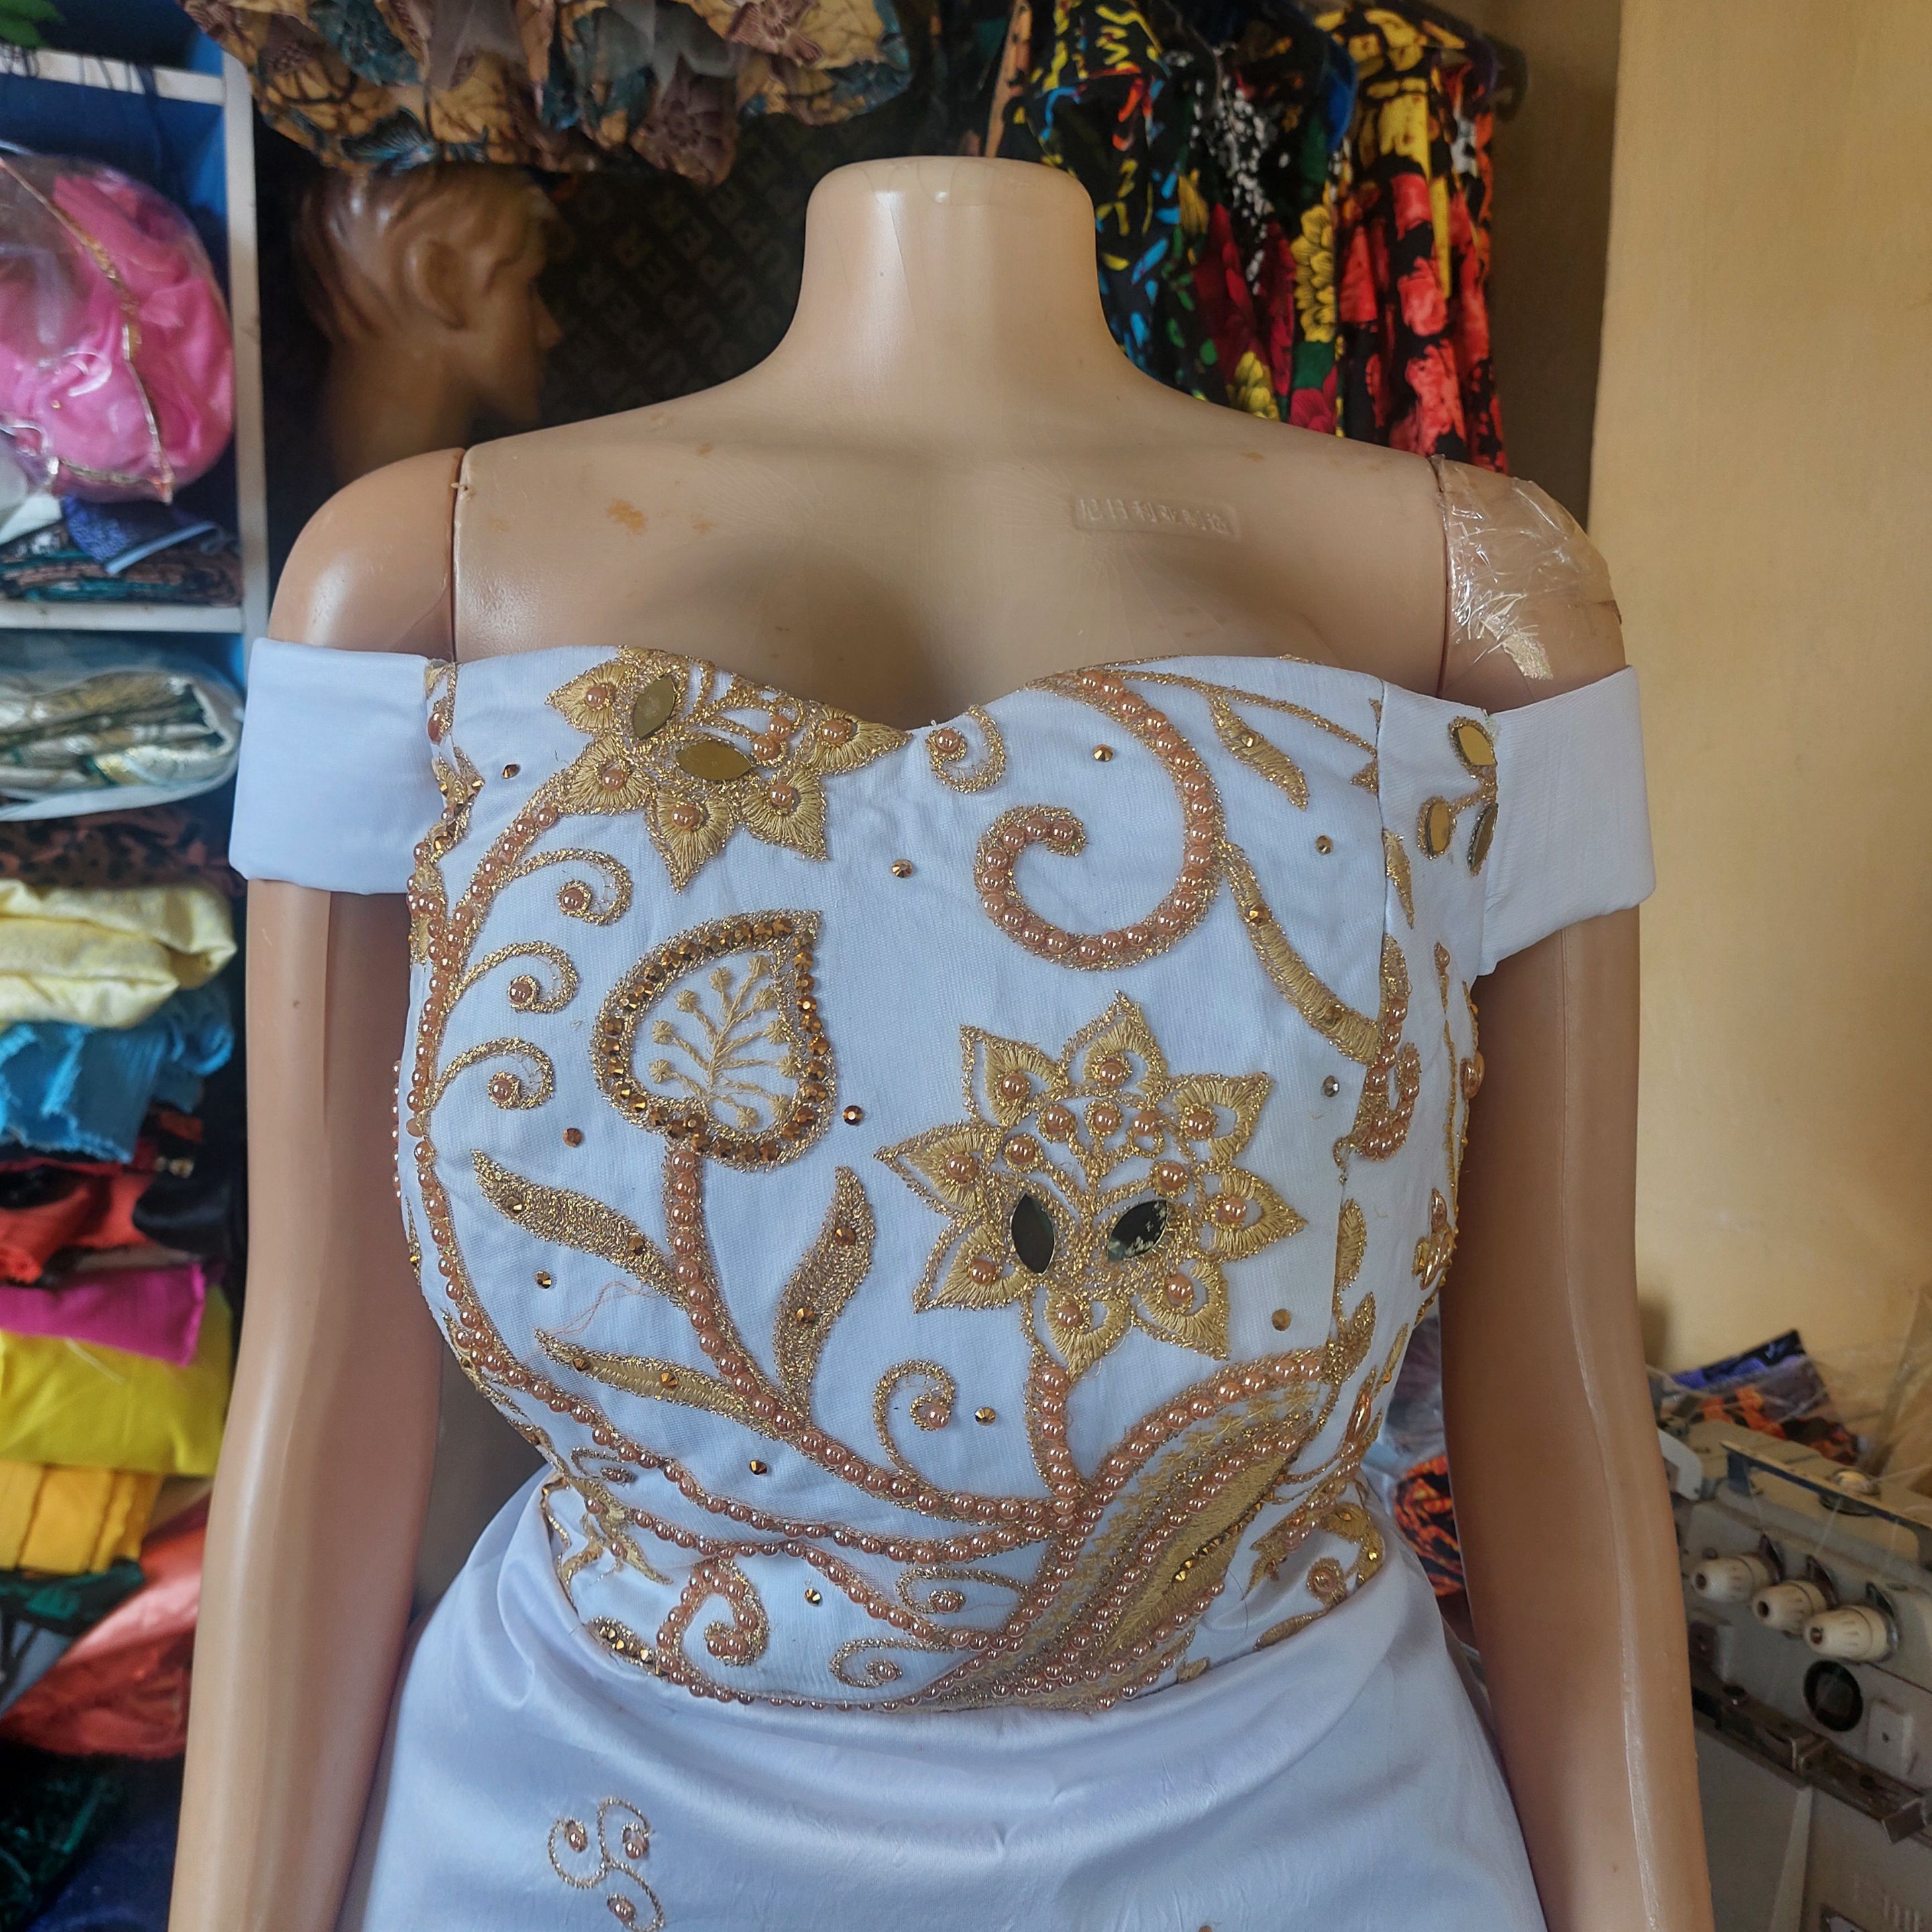 - Your off-shoulder mermaid gown is ready.
Thanks for reading and see you in my next one.
ABOUT ME

Just a quick reminder:
The text and photos on this blog was created by me, unless I state otherwise.
The cover images are designed using Canva with strict adherence to elements that are licenced for use under their terms.
Photographs are taken with my Samsung Galaxy A52 - 64MP Camera and other amazing features that absolutely capture the moment in high quality.
Lastly, do not use any of my content either text or image without asking me for authorisation. In other words, unauthorised used of my content is highly prohibited.