Hey lovelies ❤️ It's your favorite girl @debbie-ese 😍 Welcome to my blog 🤗

In this post I will be sharing how I beaded a bust-caging bustier gown. In fashion designing, beading is a full time job for some people but in some cases when you feel like no other person can deliver that picture you have in your mind the way you want it, you will have to take up the responsibility of doing the task for yourself. This is my story about this beading work that took me about three days of meticulous beading.
Beading is one of the many ways to bring out the beauty of any outfit especially gowns made with traditional fabrics. It has a way of adding a touch of amazing depth and luxury to any outfit. When a dress is well beaded it does not only serve as an embellishment but it completely transforms the dress.
 This week, I made a custom bust-caging bustier gown using a crepe fabrics, beaded lace for the skirt part and chantilly lace for the sleeves. The fabrics were already portraying elegance especially the beaded lace that is attached to the skirt part but I needed to add an extra layer of luxury to strategic parts of the dress.
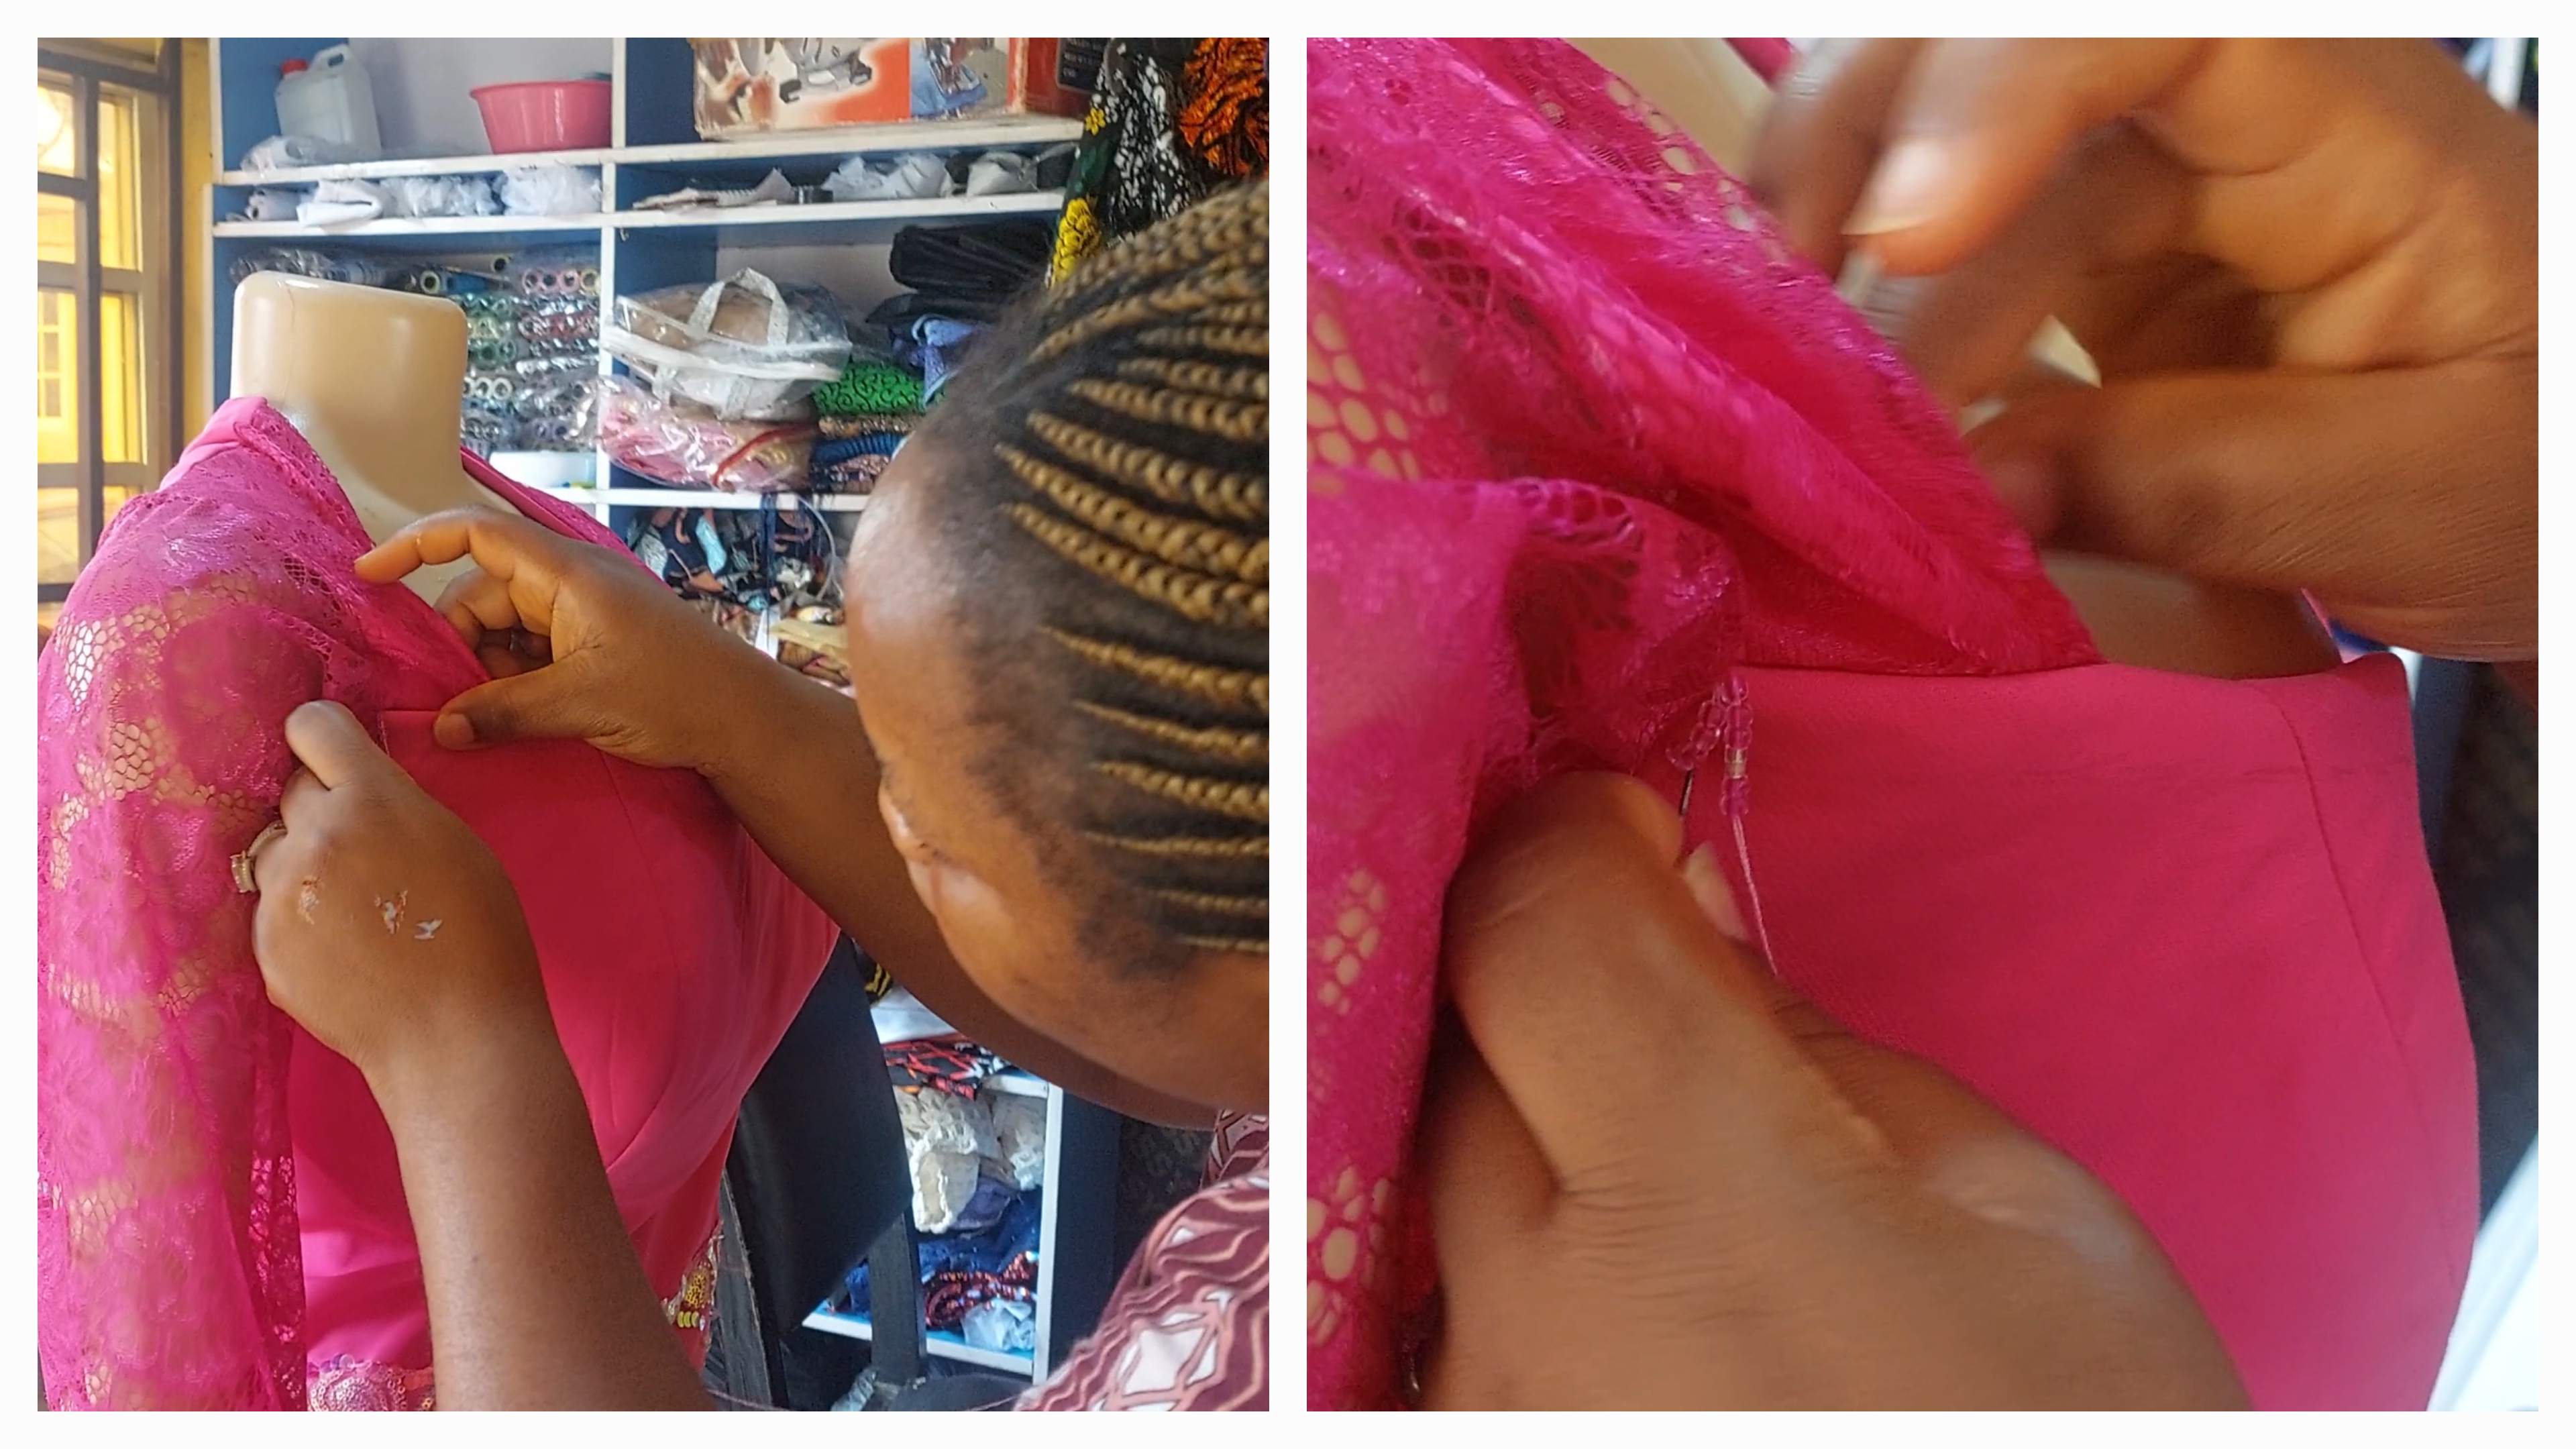
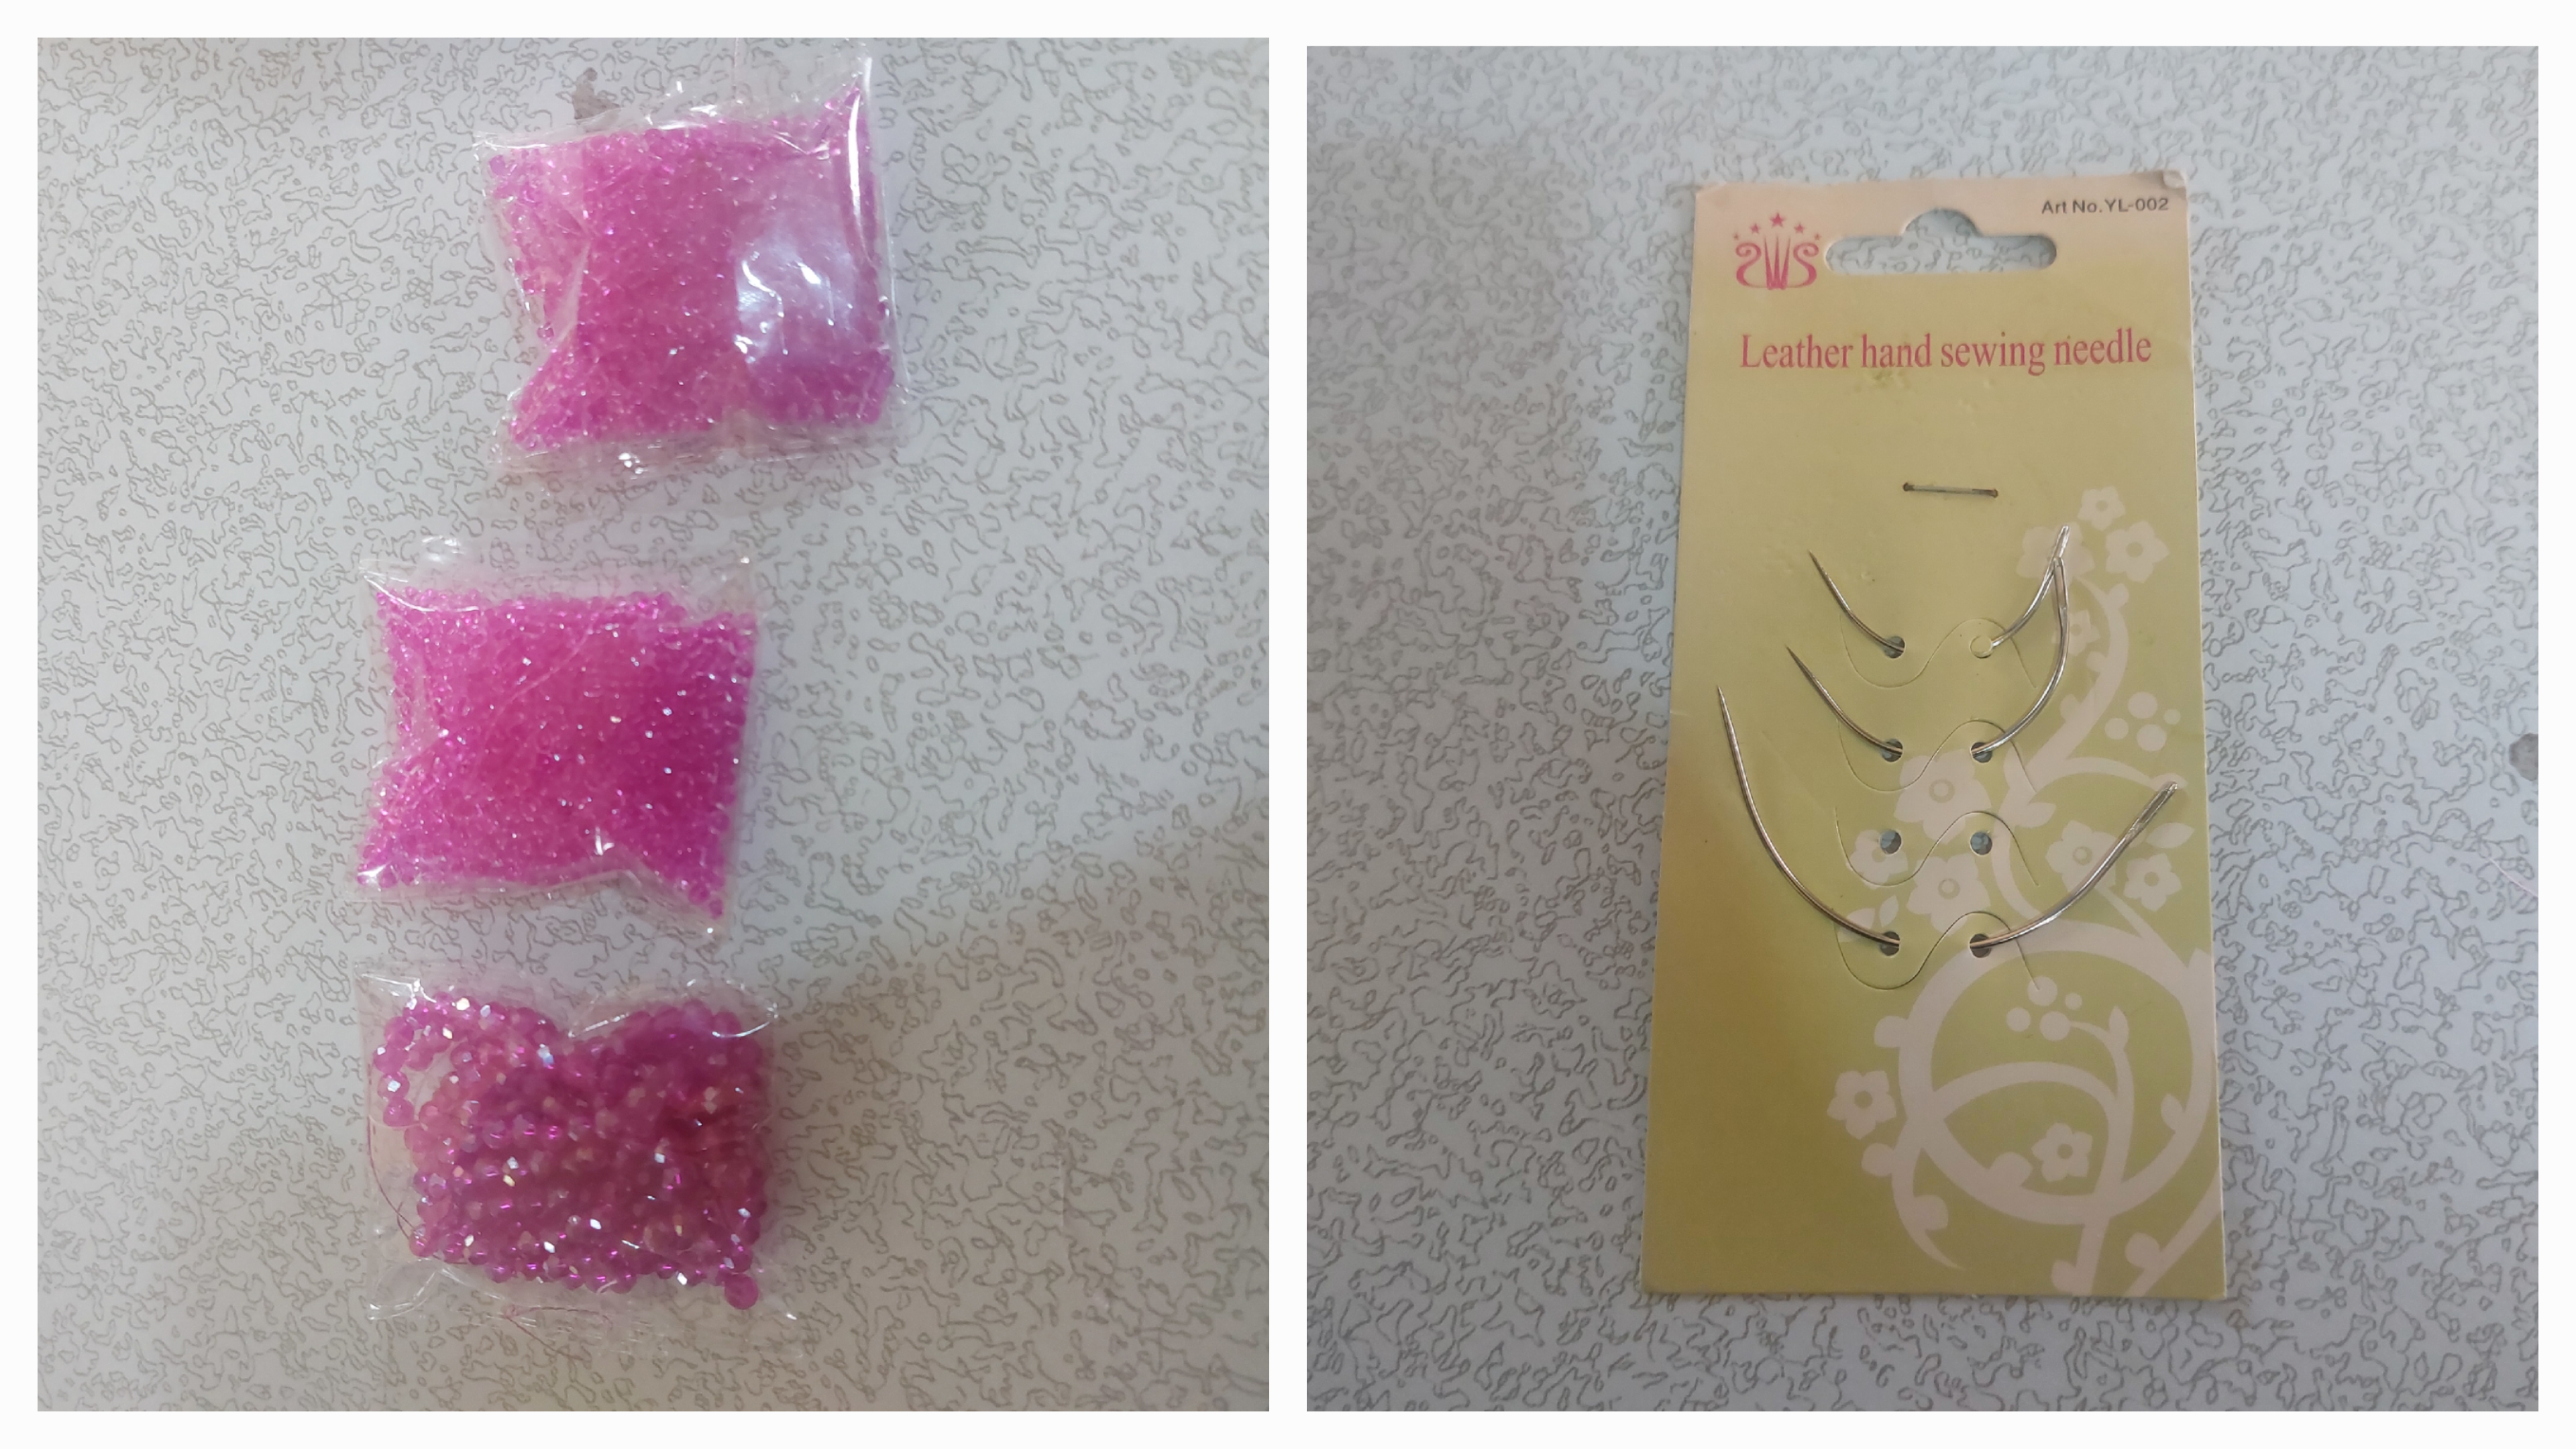
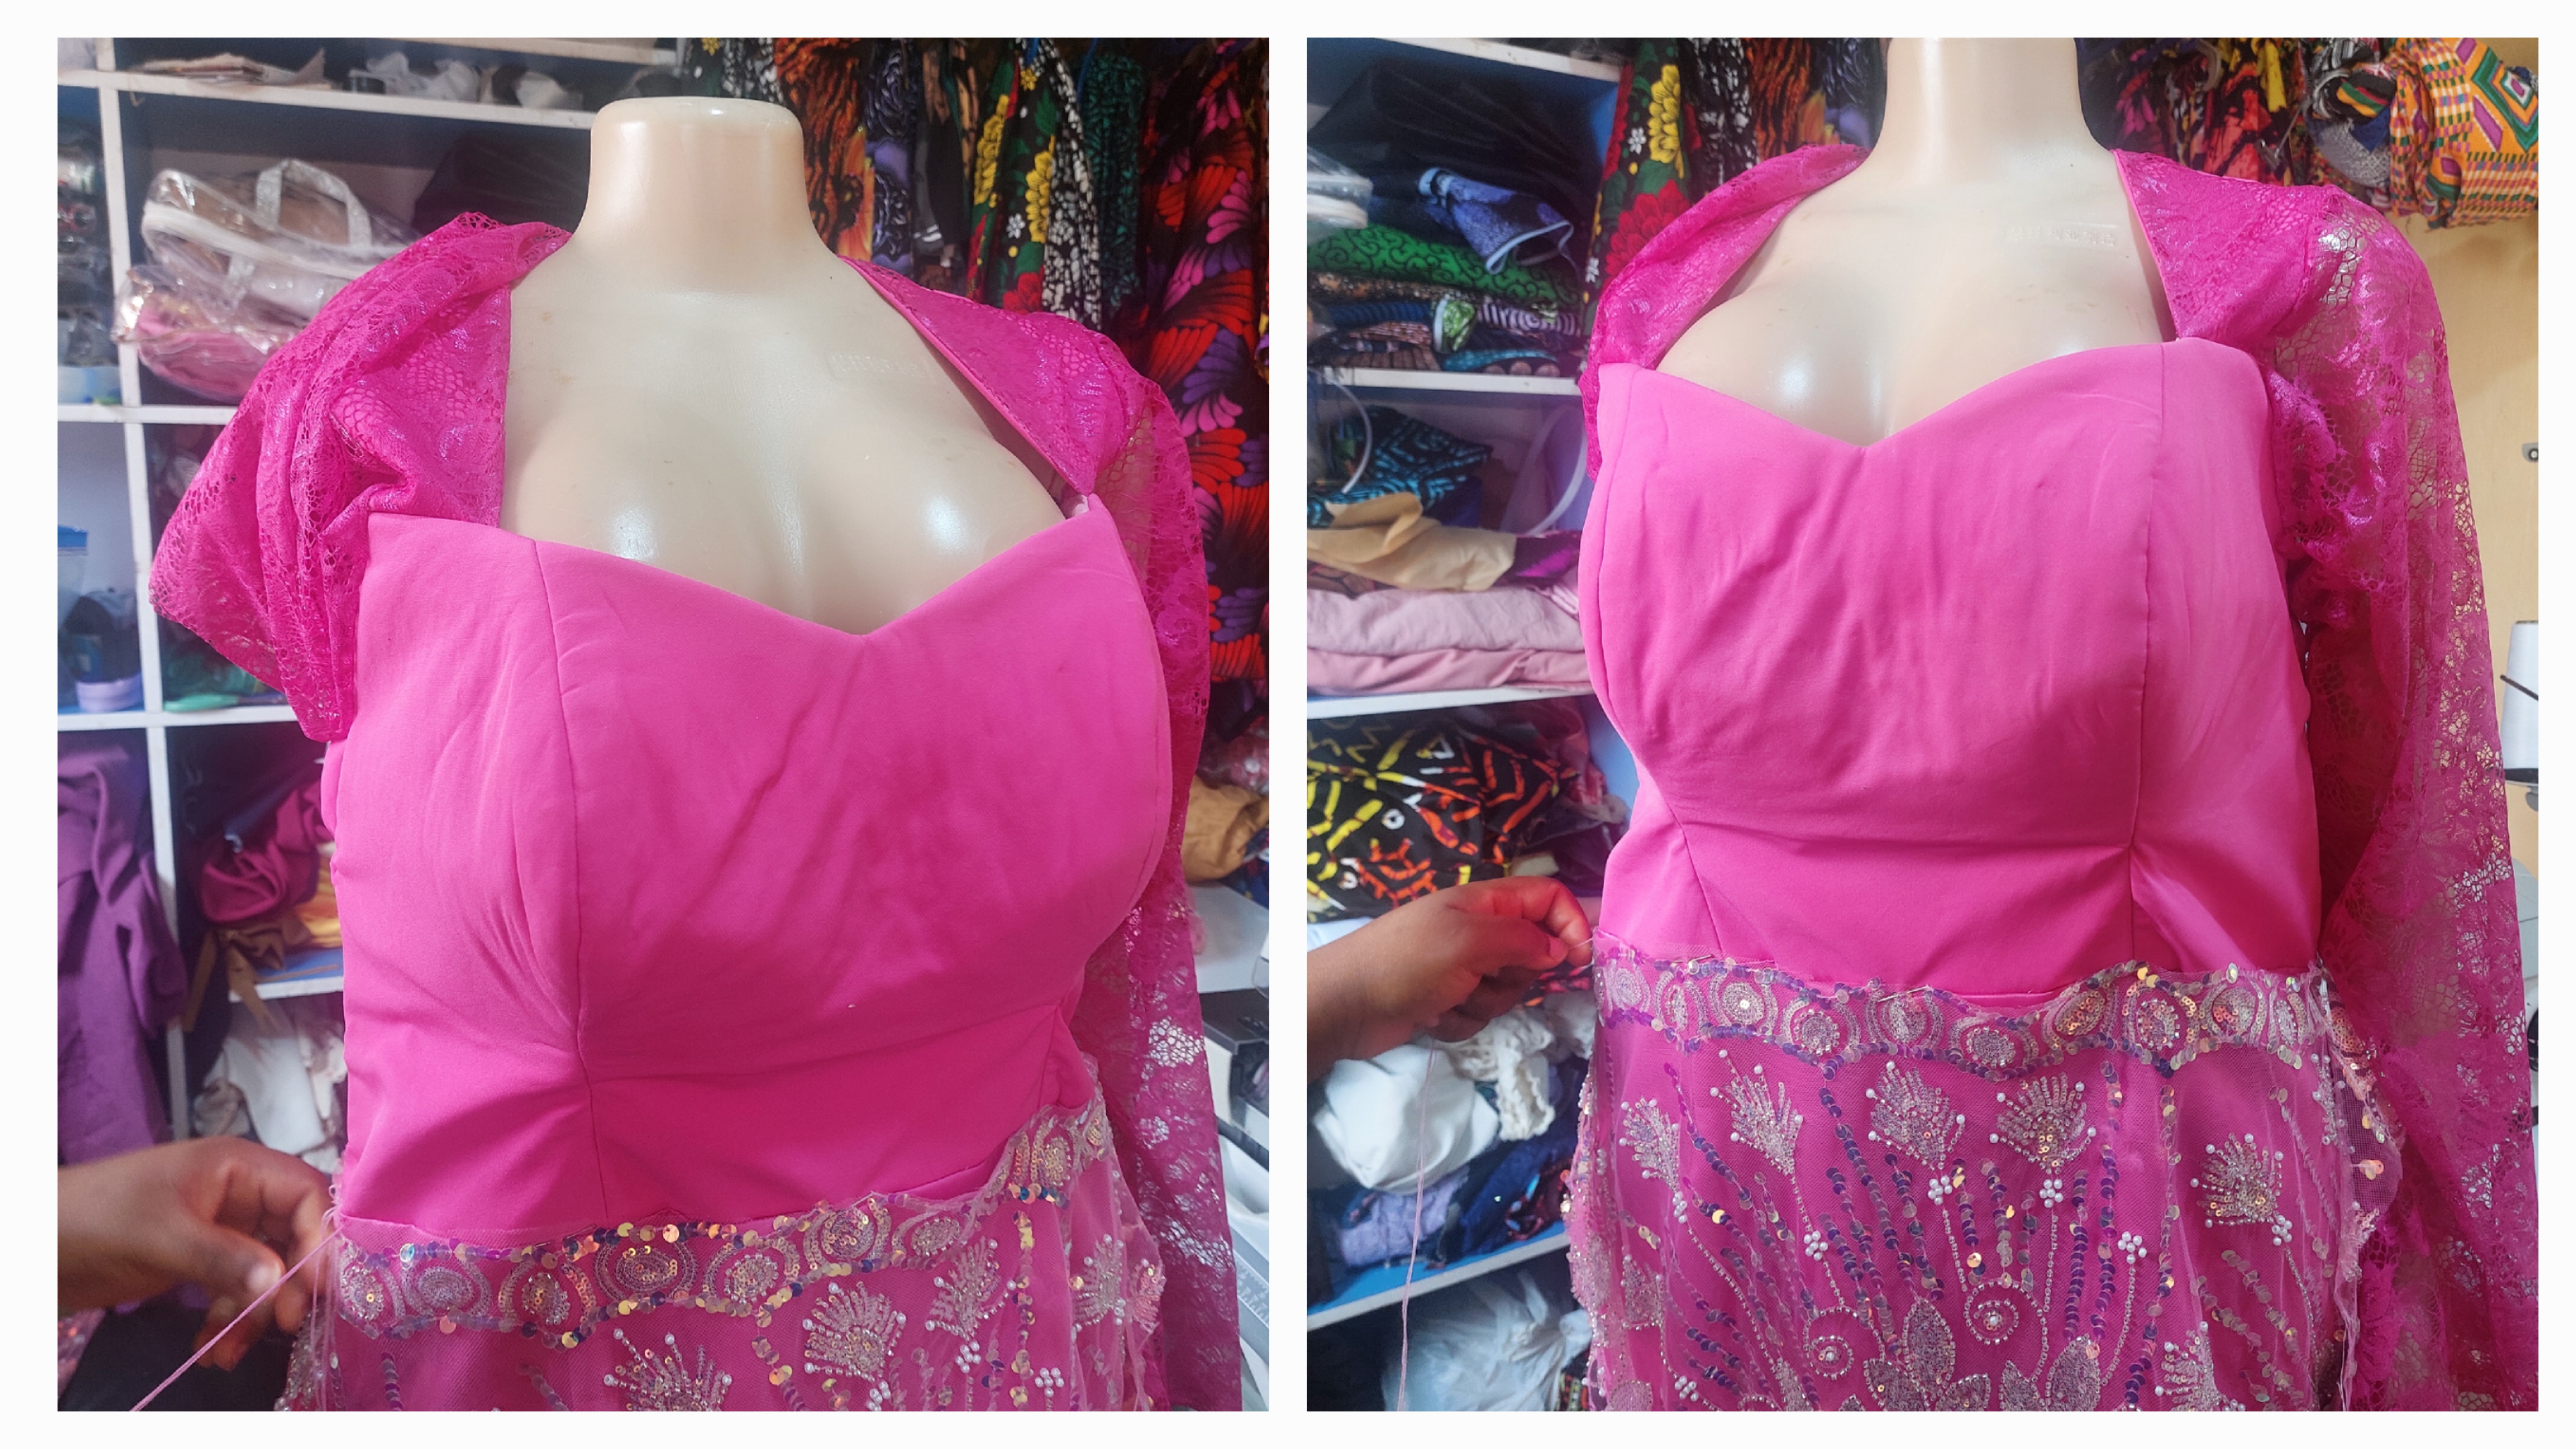
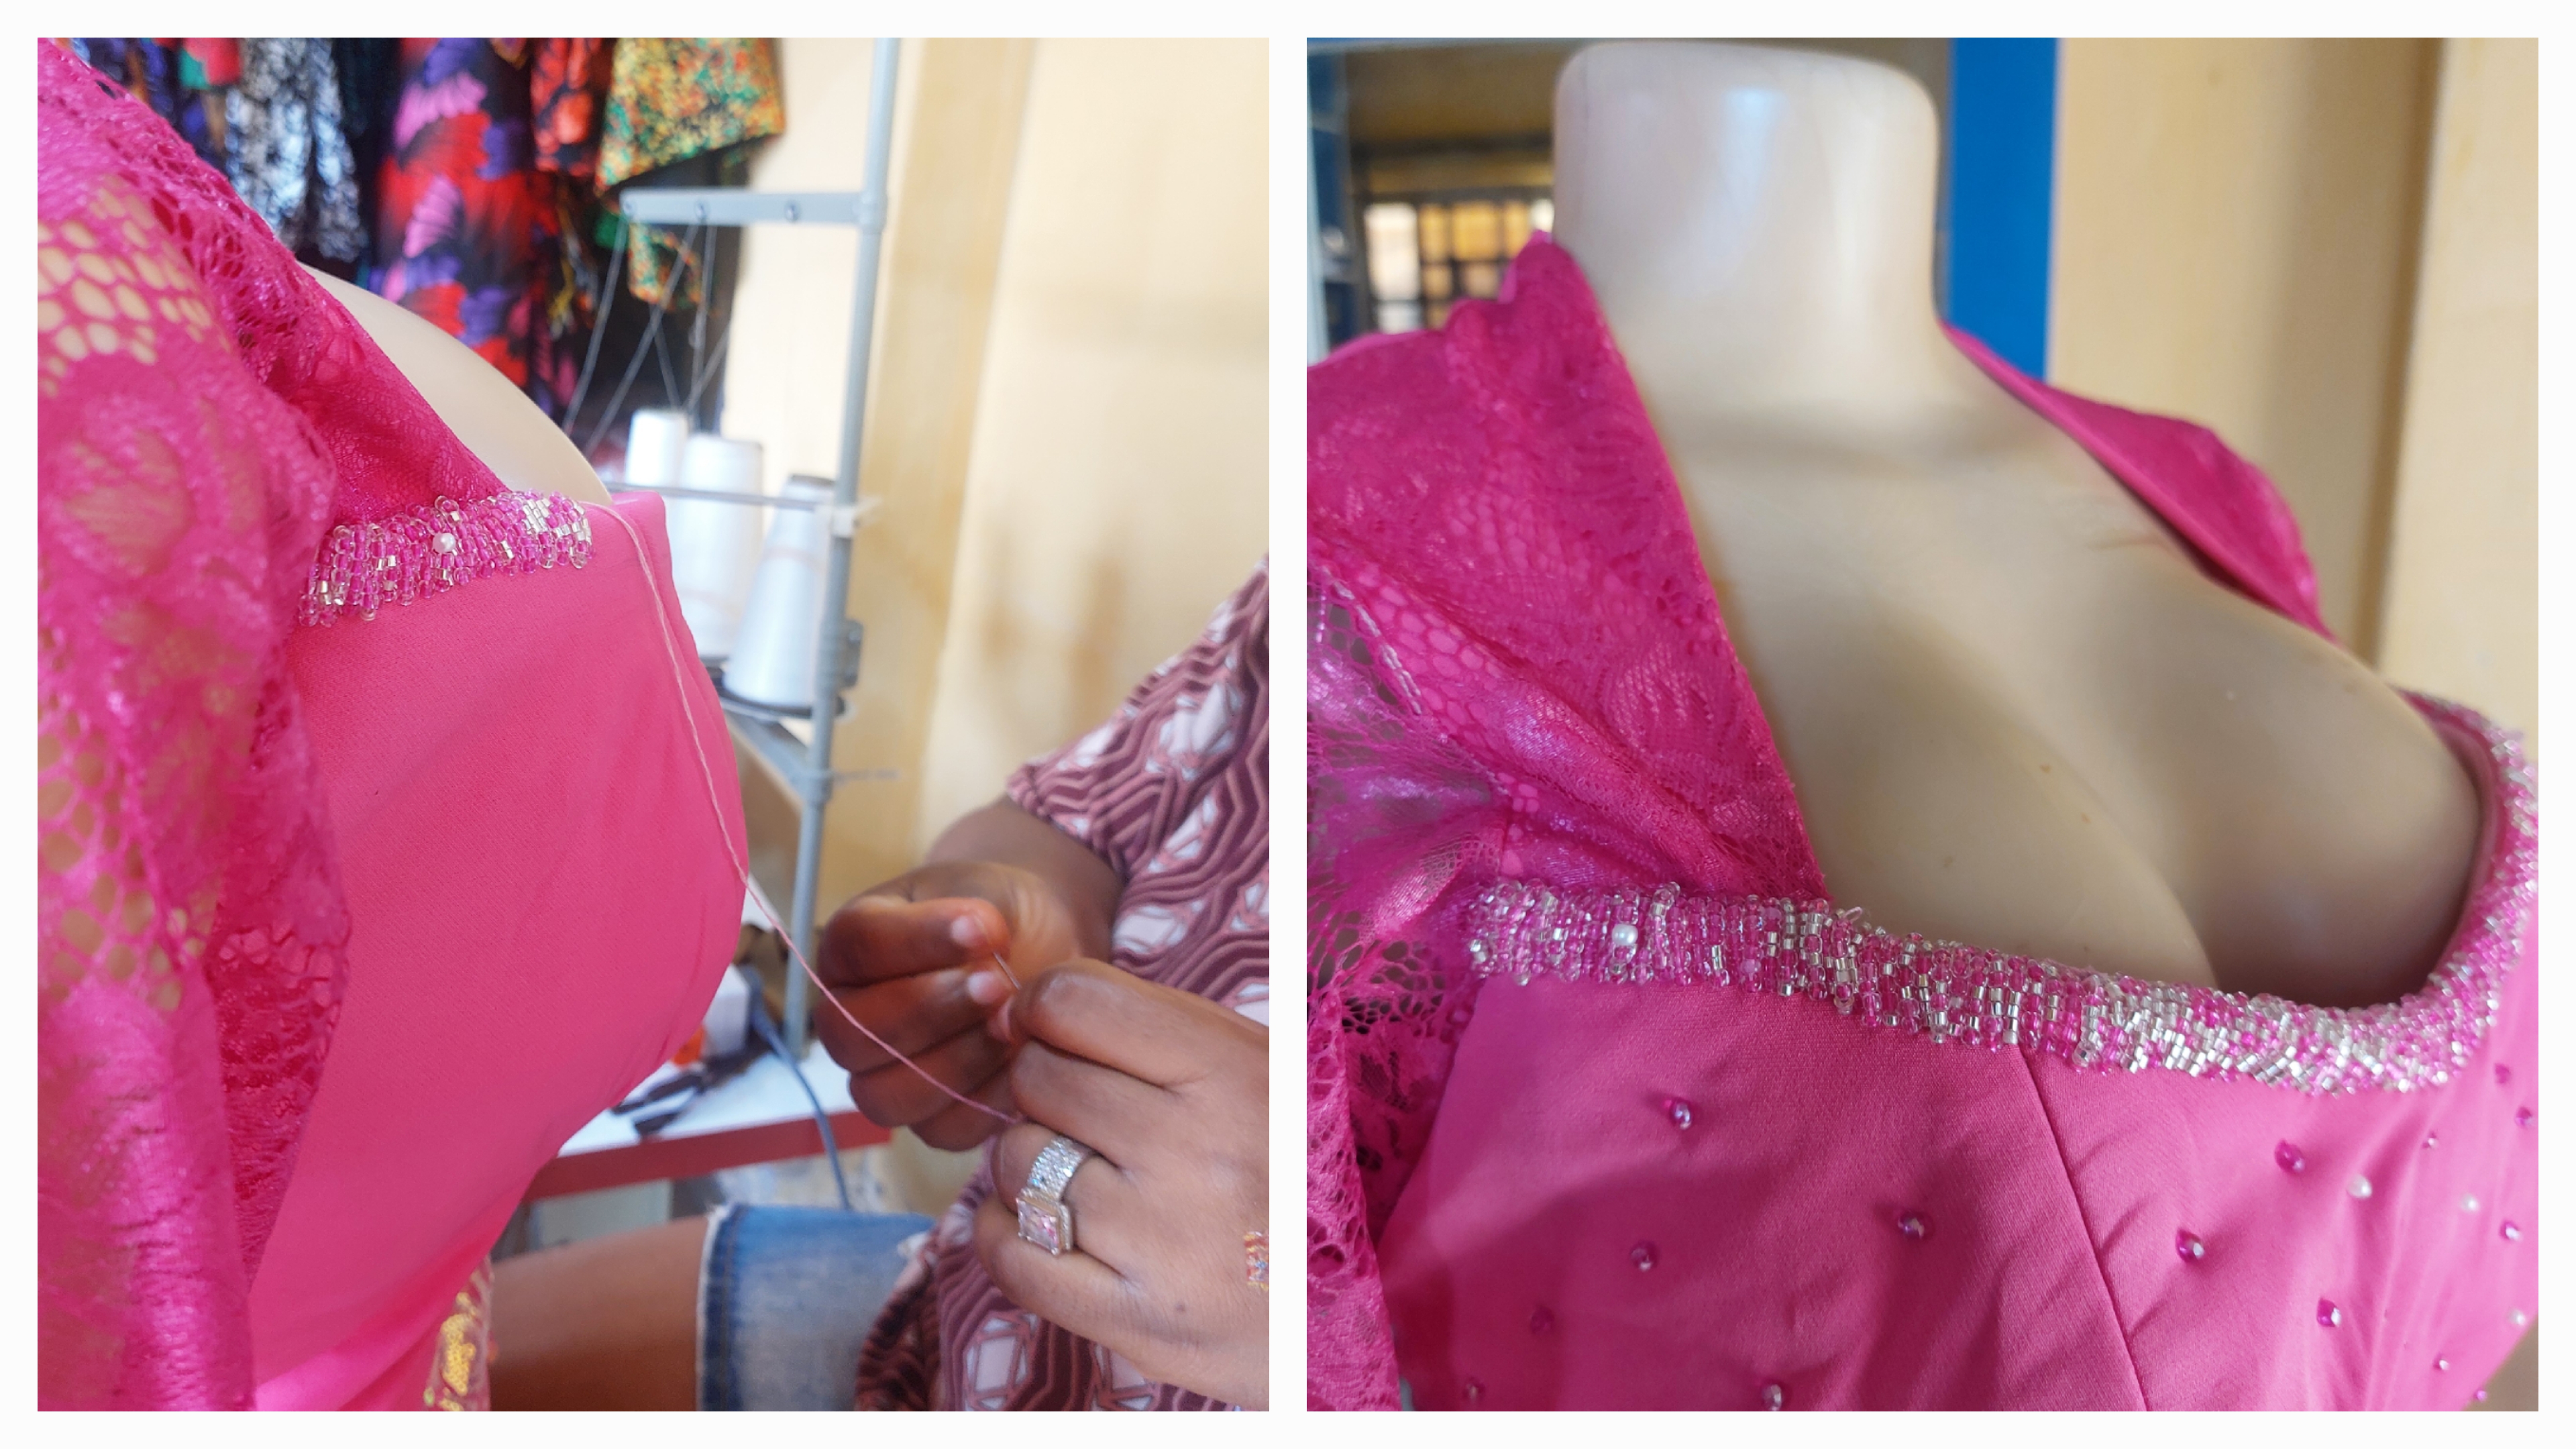
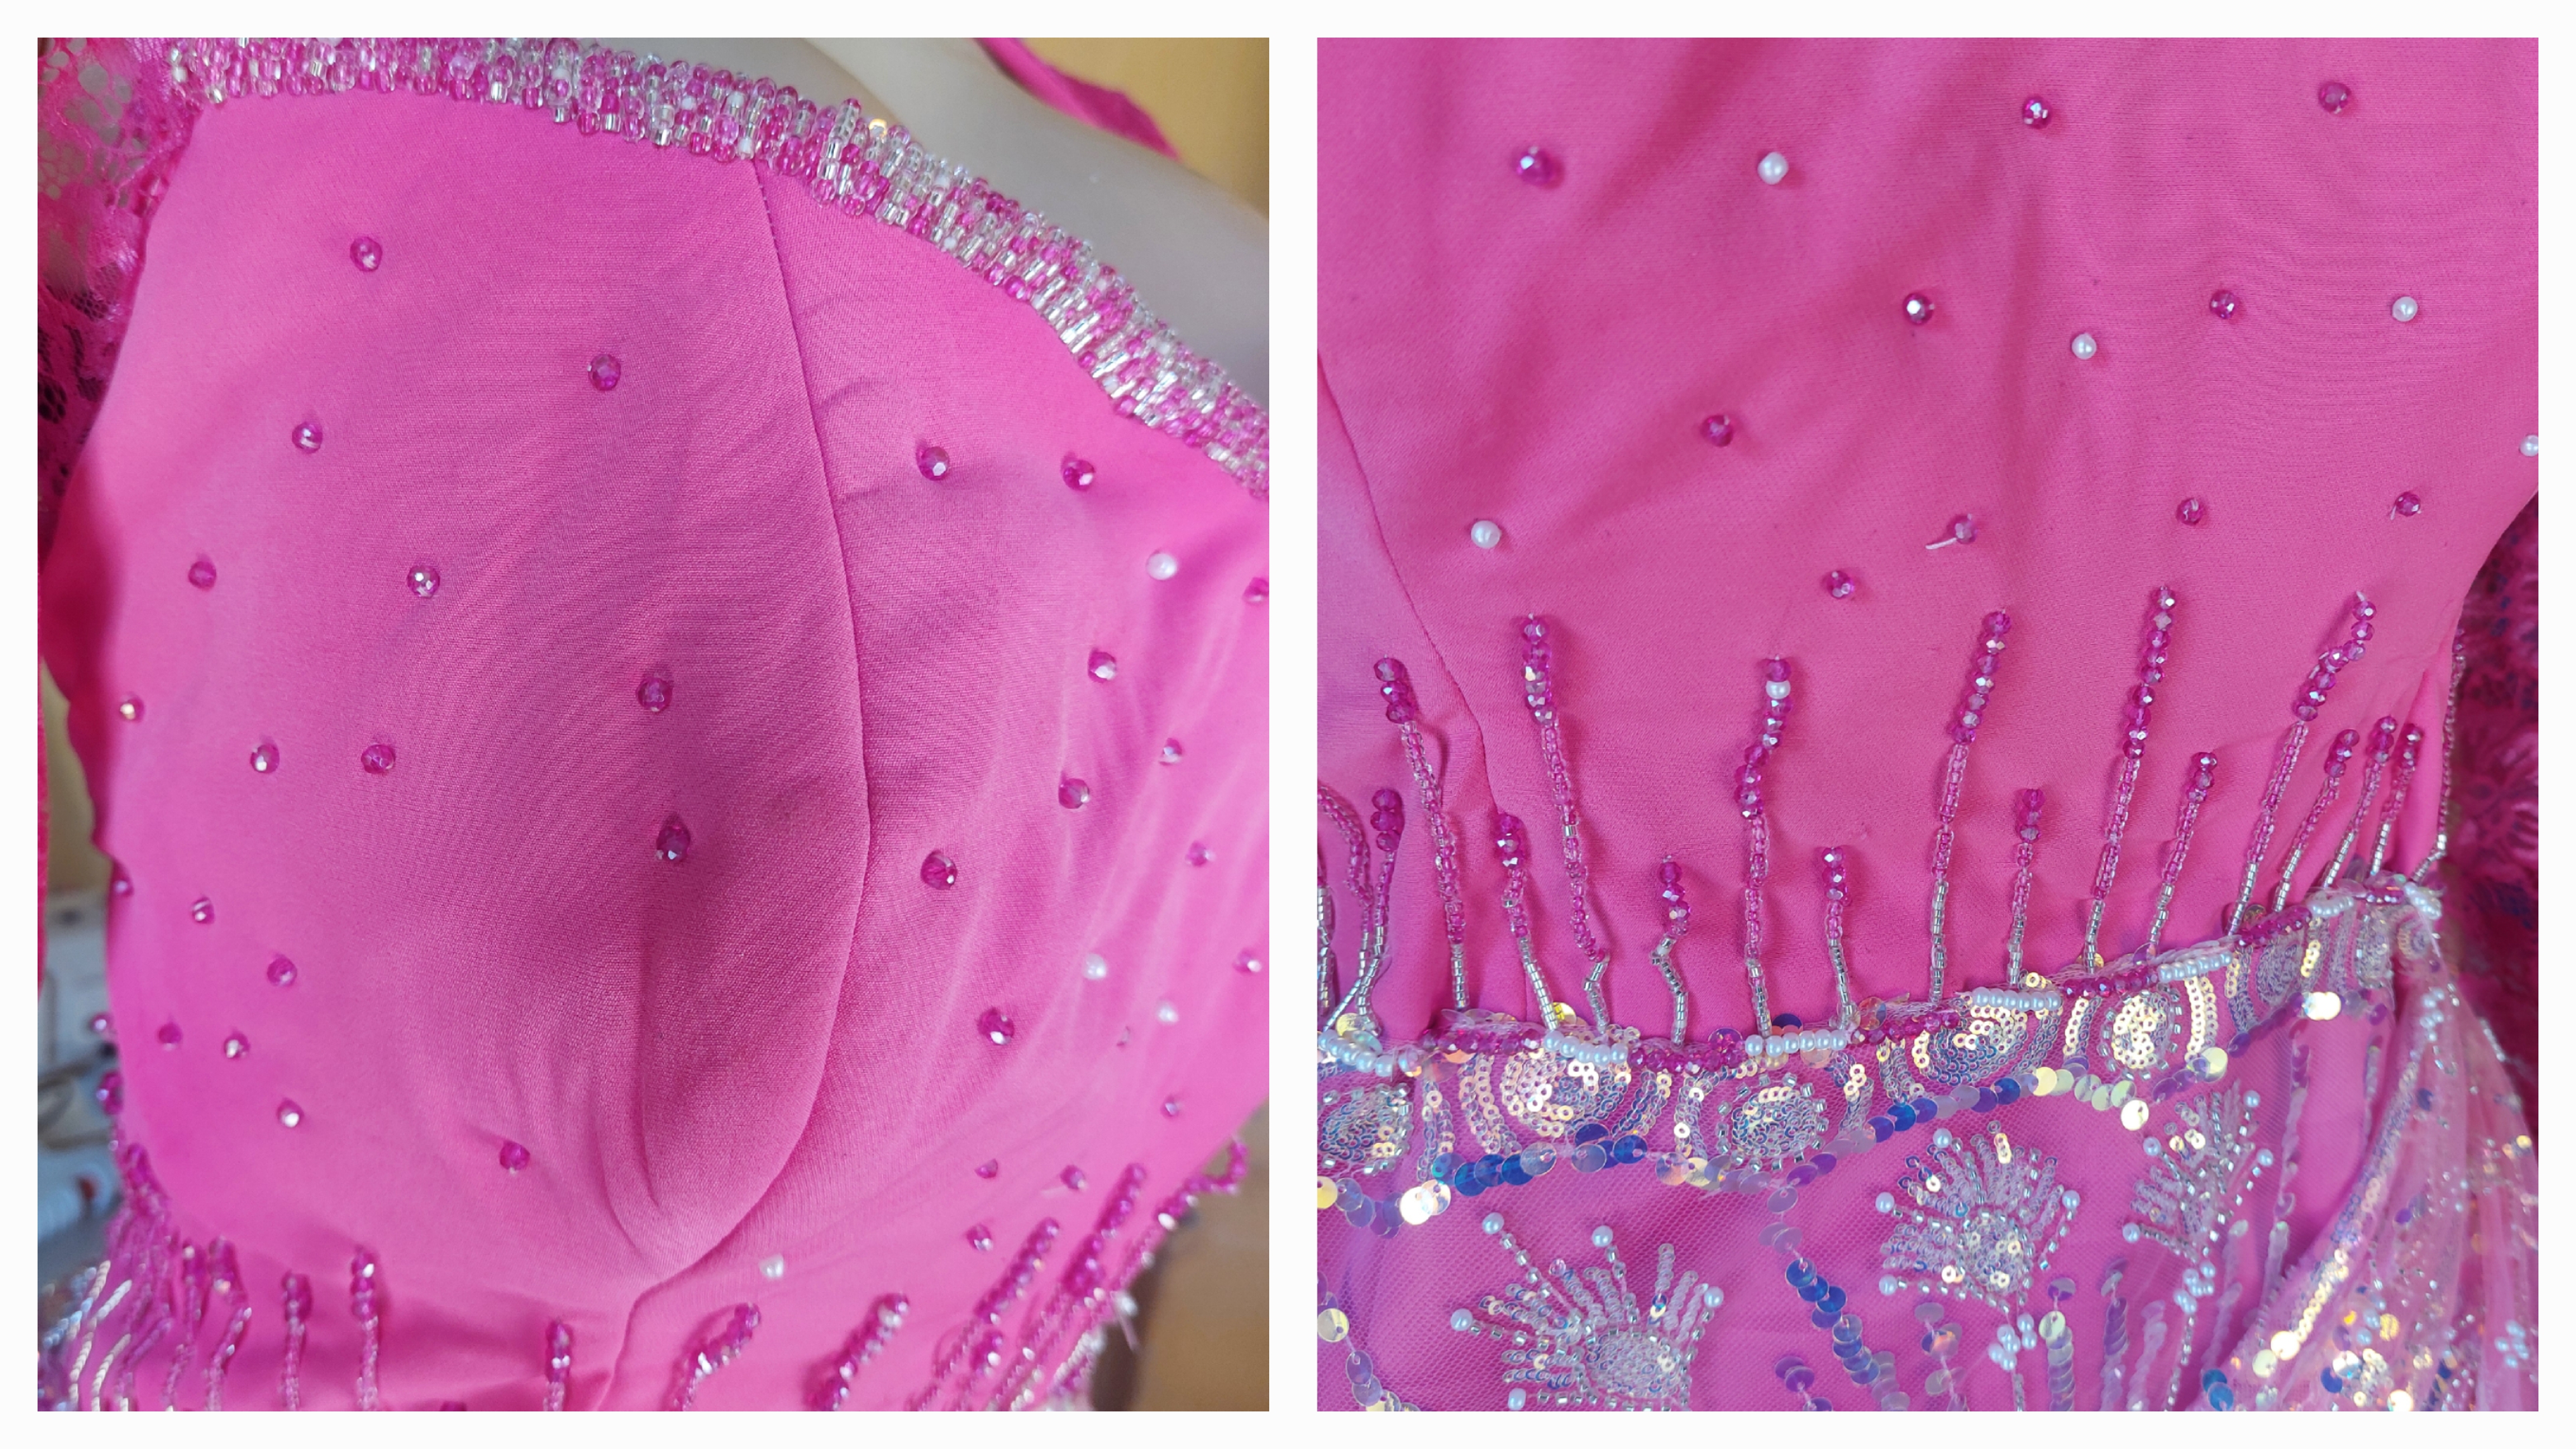
I started the beading process from the neckline using beads that matches the color of the fabric and also a matching thread. I first used a pencil to mark out the area of the neckline that I want the bead to start and stop. Then I began to pass the beads through the needle onto the thread and beaded each line as neatly as possible. The neckline required the most attention so I spent so much time in that area to ensure that every inch is properly beaded.
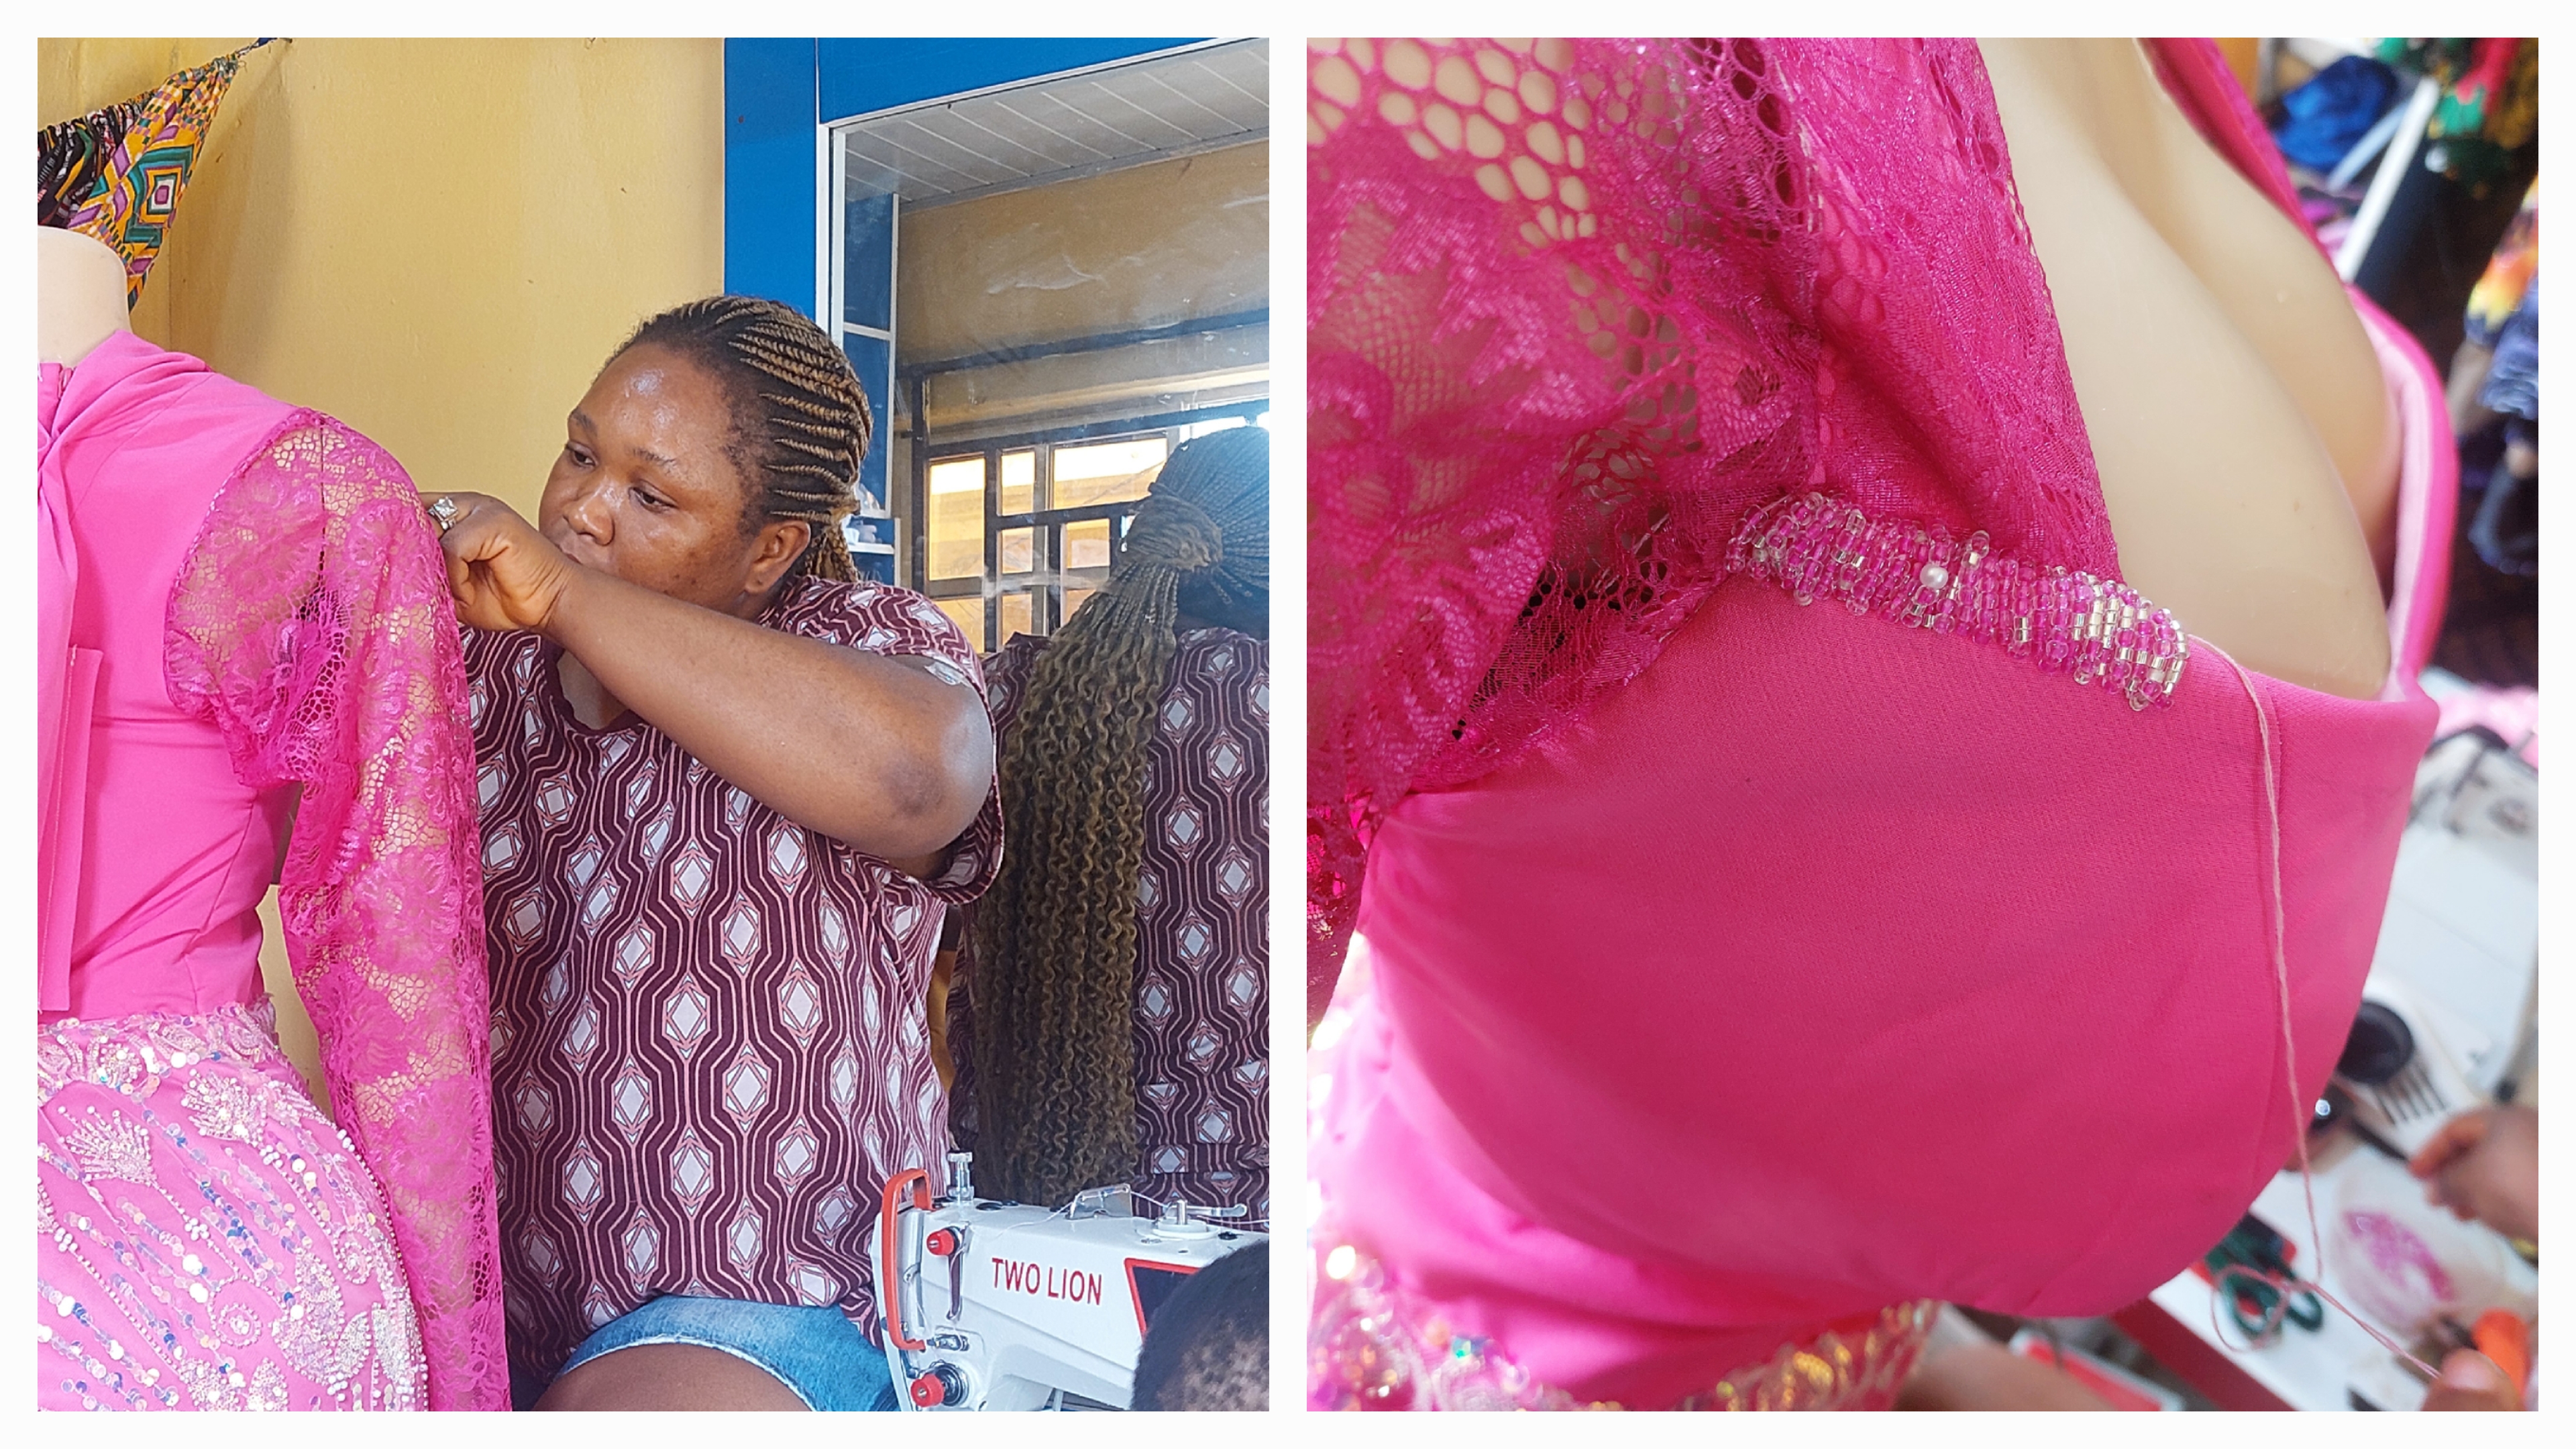
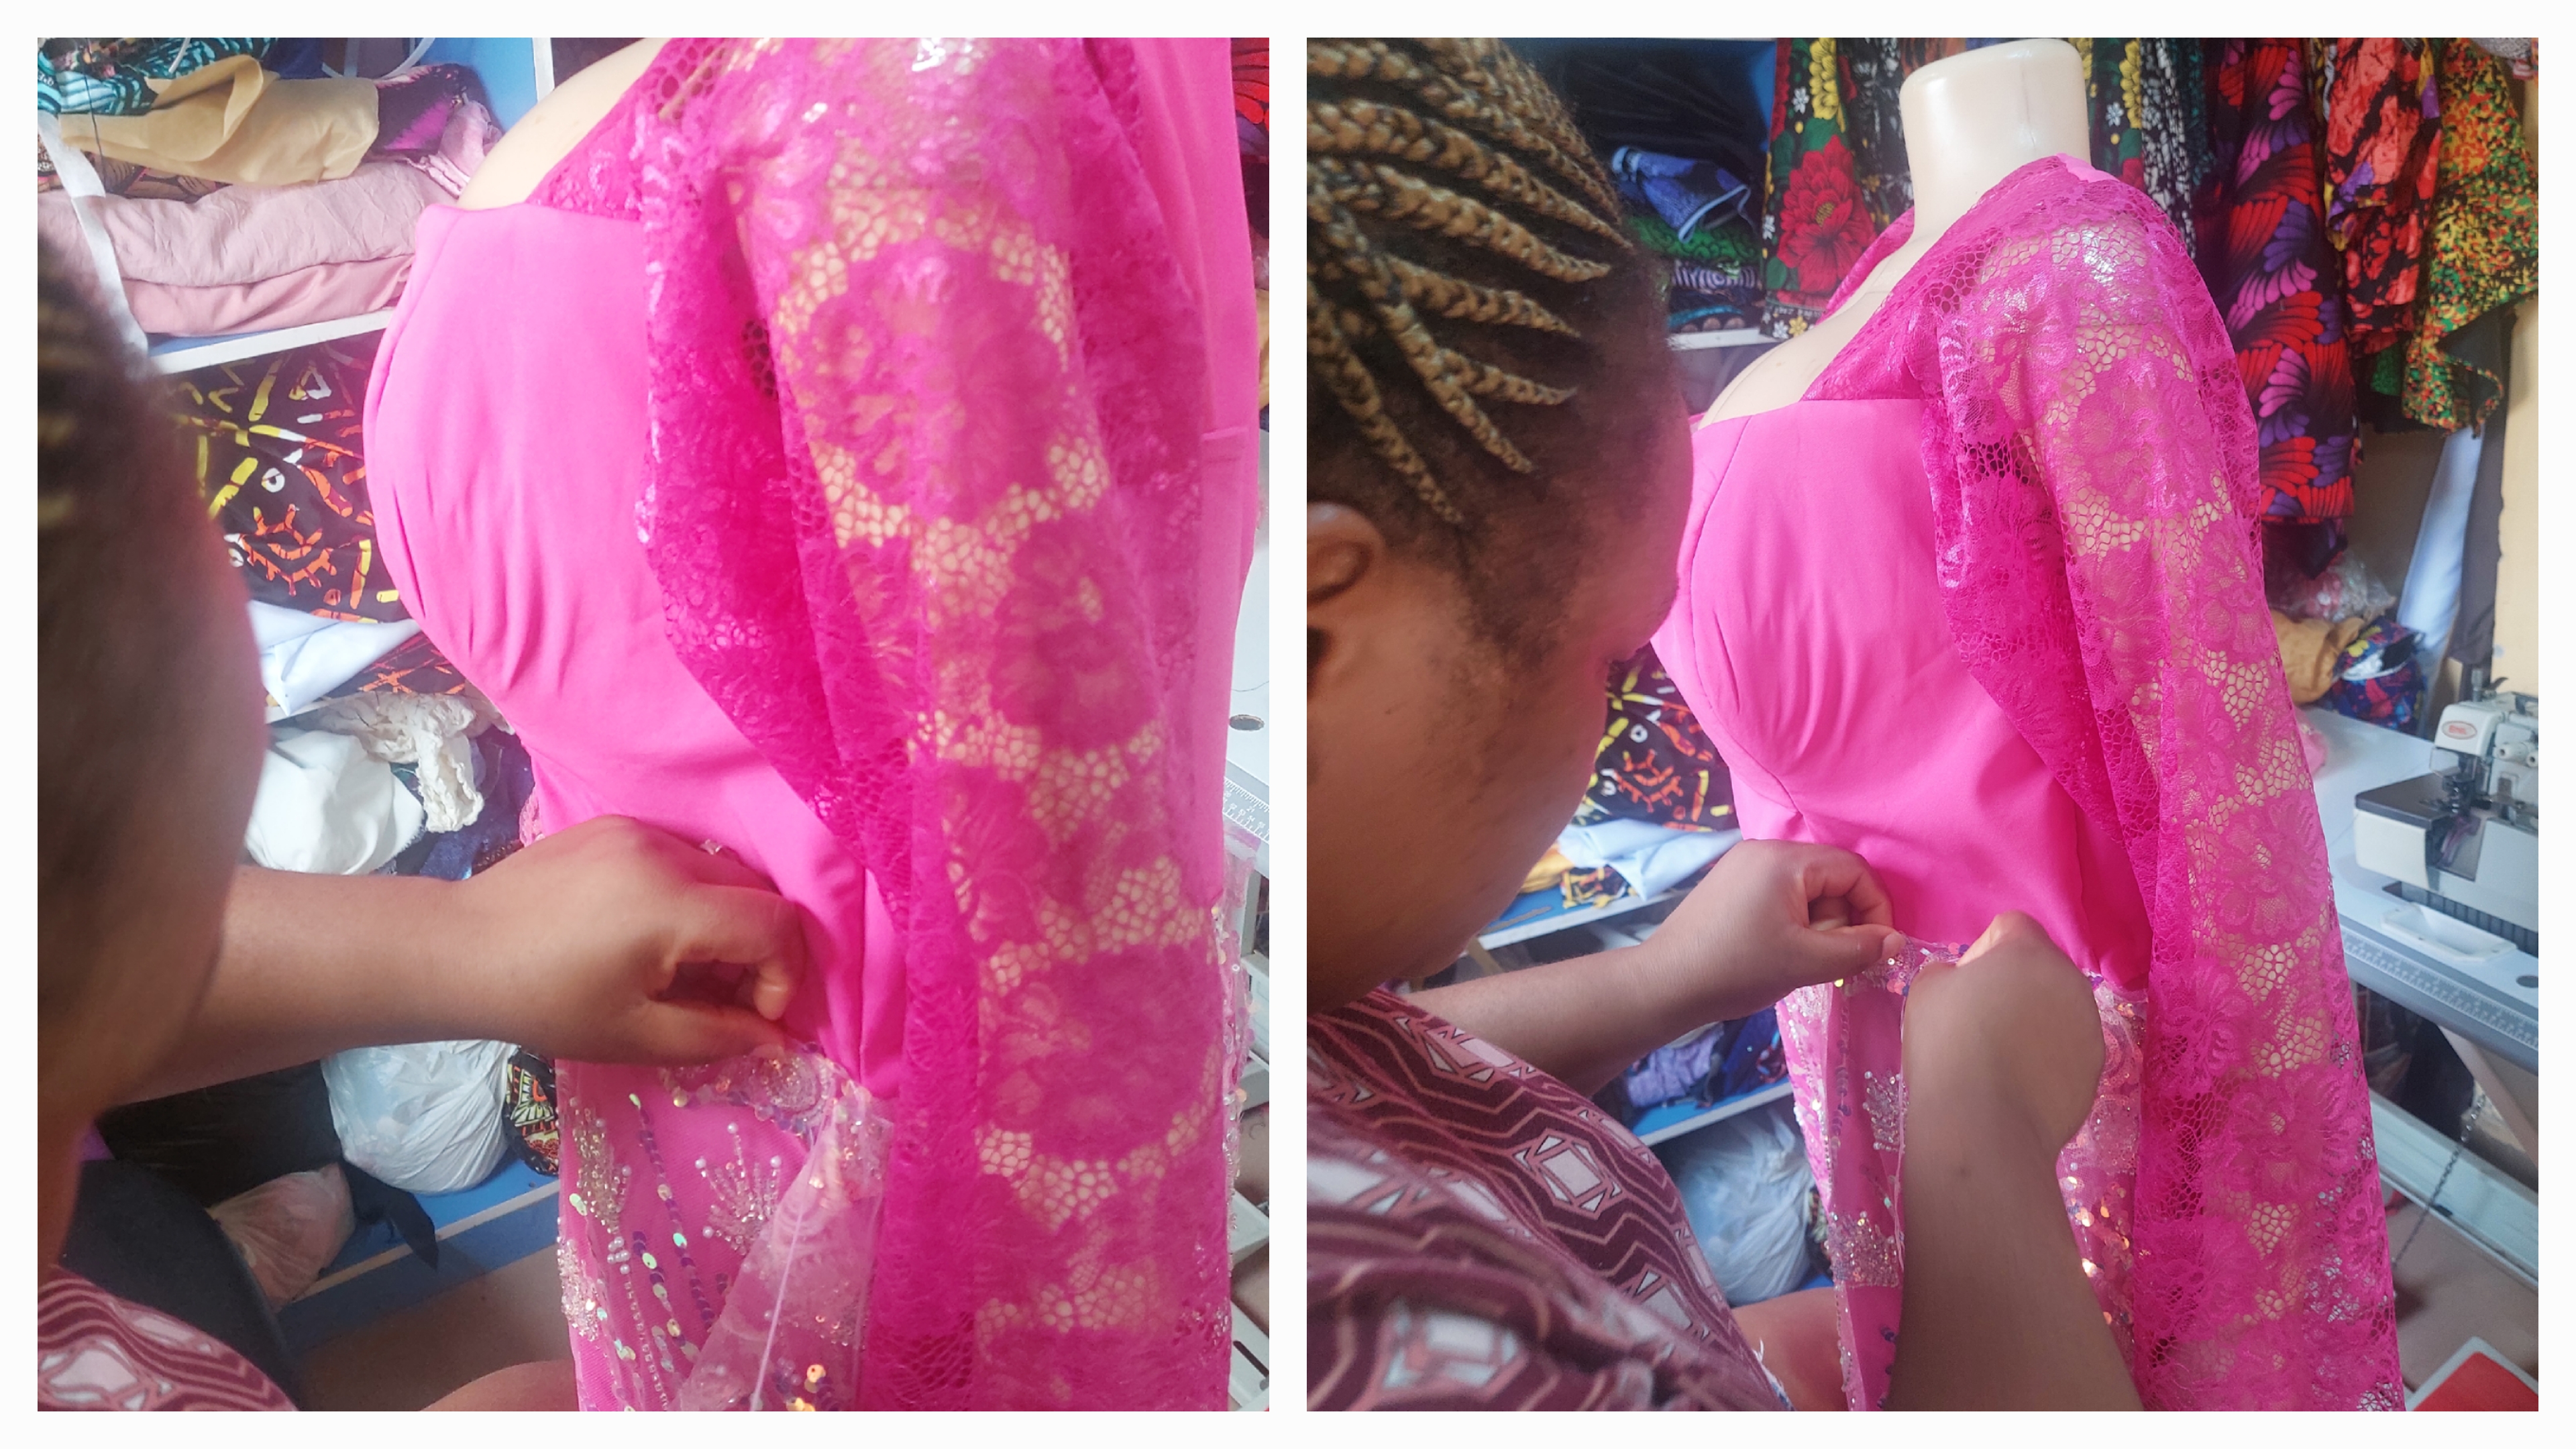
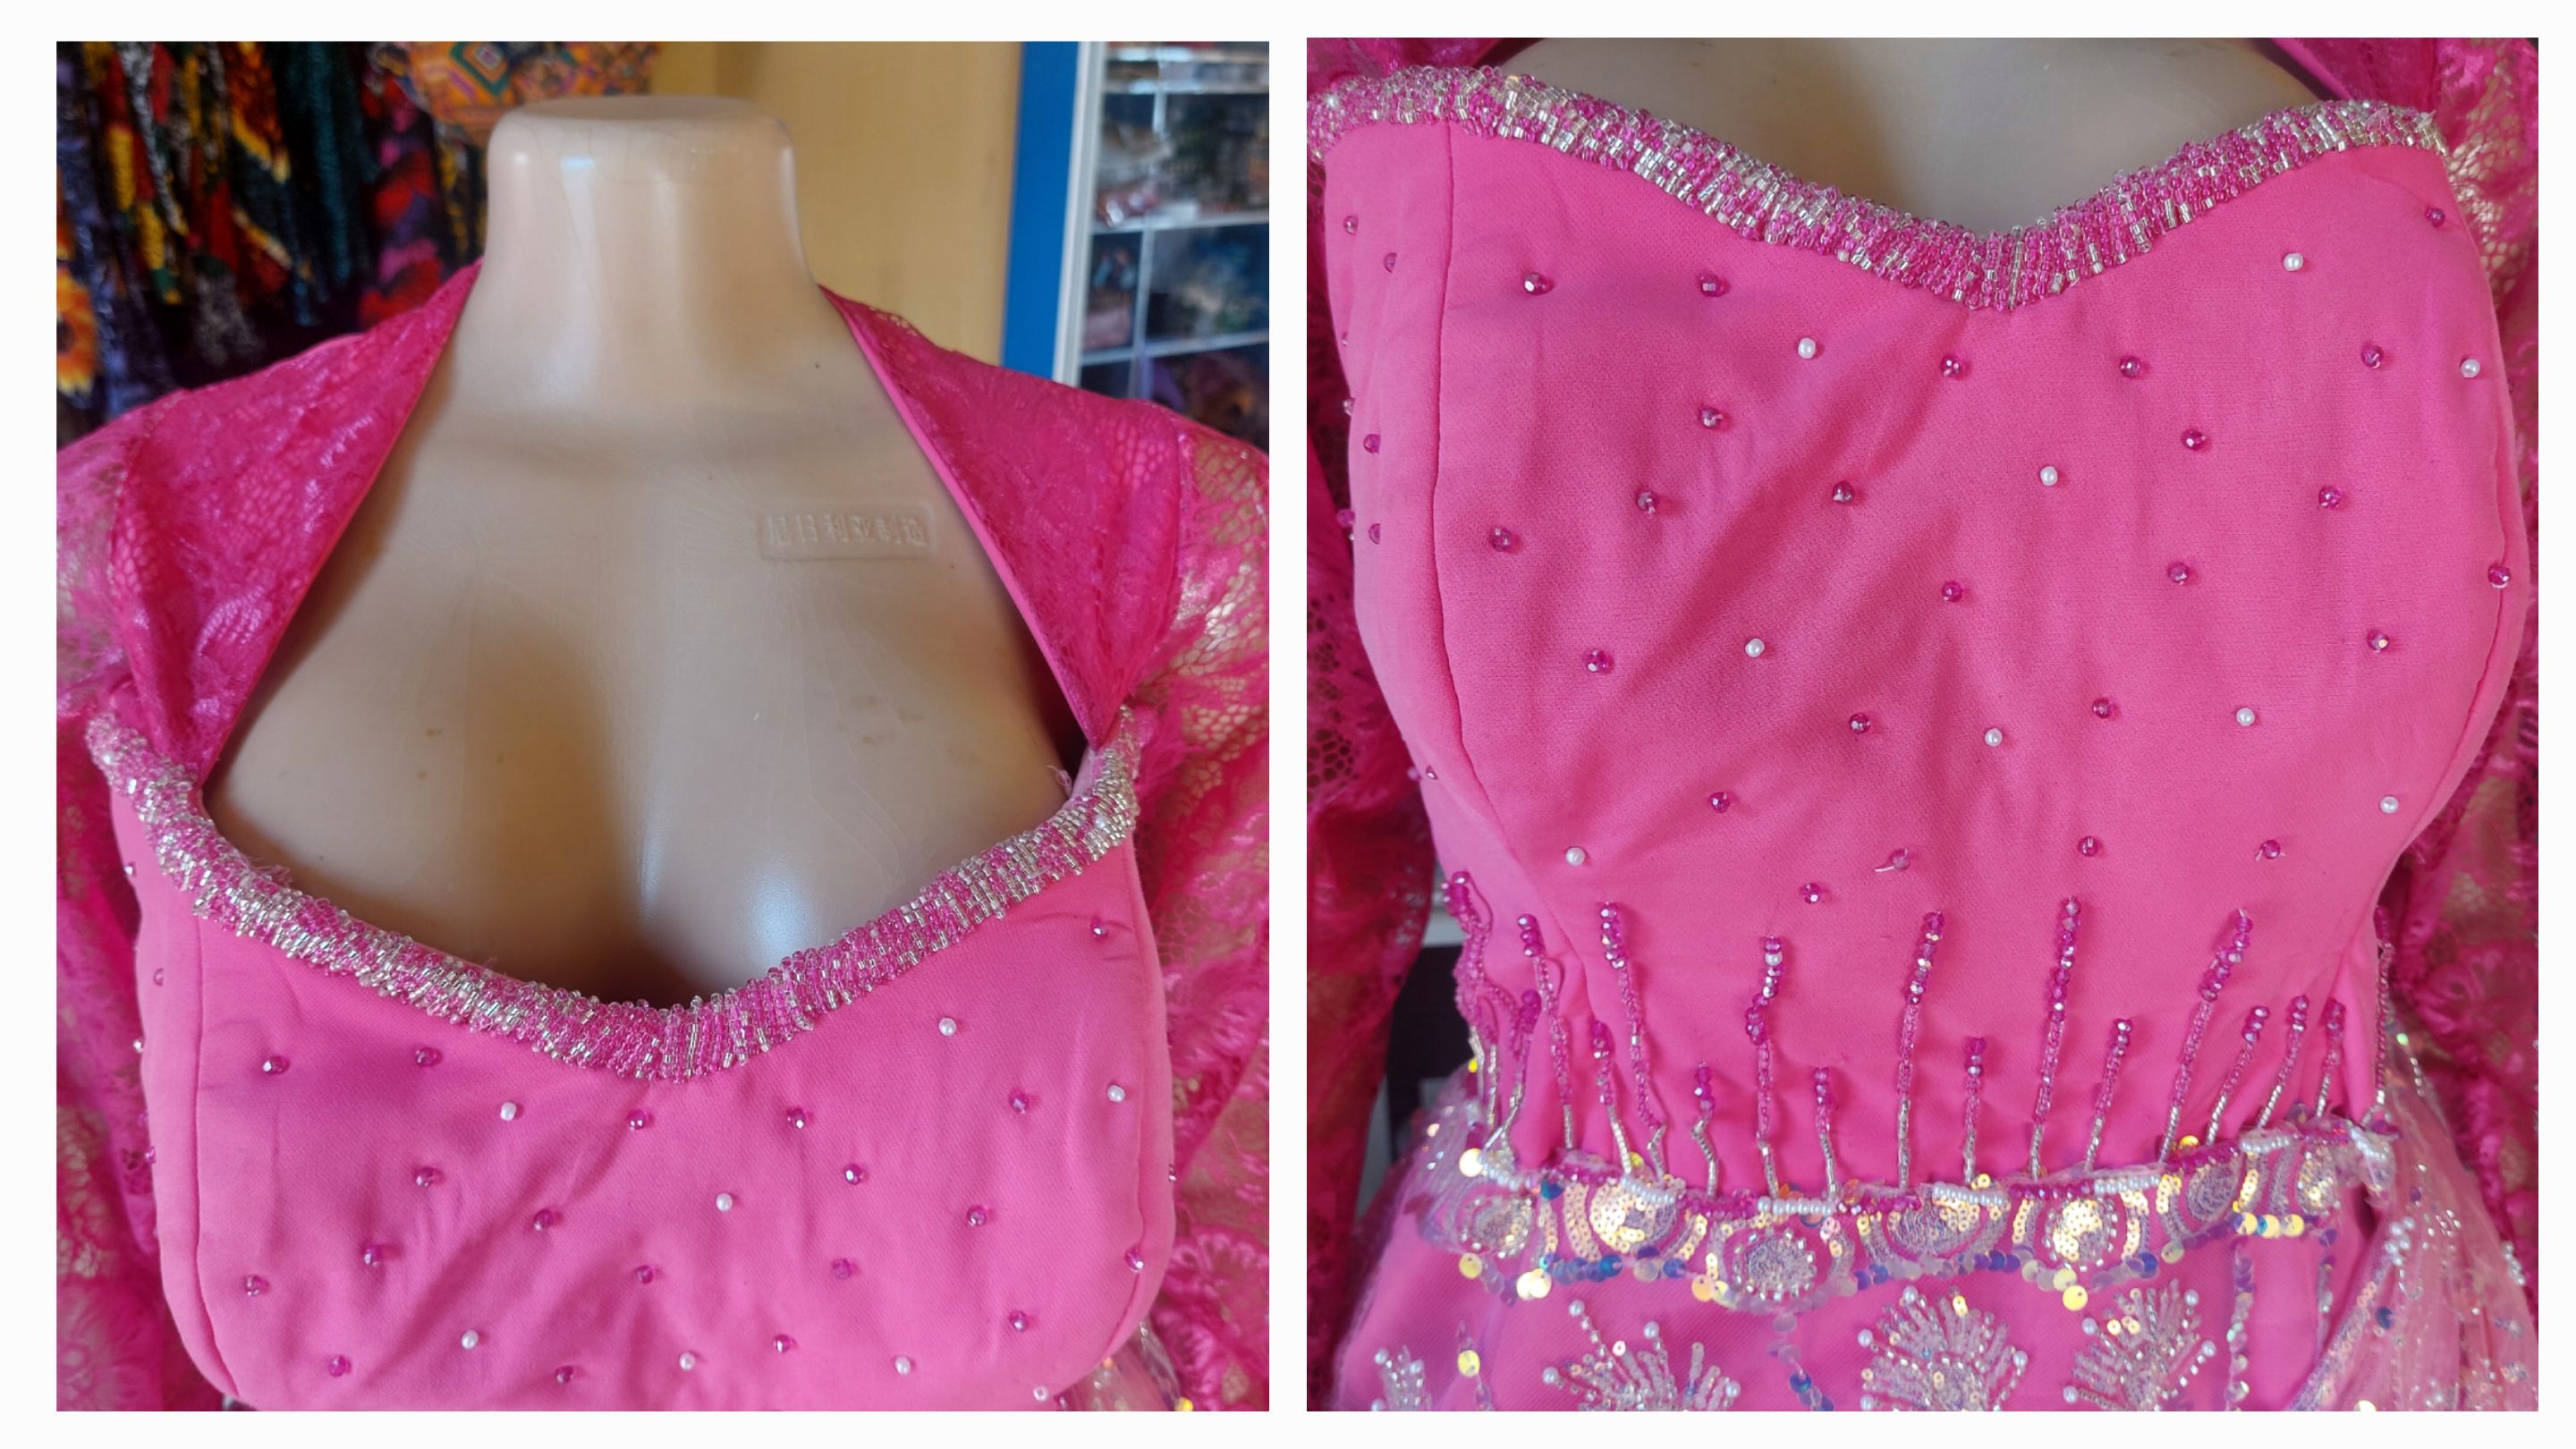
Next, I moved on to the bust area and beaded it scantily. I had it in mind not to cluster too many beads around the area but to add sparkling effect to the bust-caging area. Then, I swiftly moved to the waistline and also beaded it scantily but ensuring it enhanced the elegance of the structure of the dress.
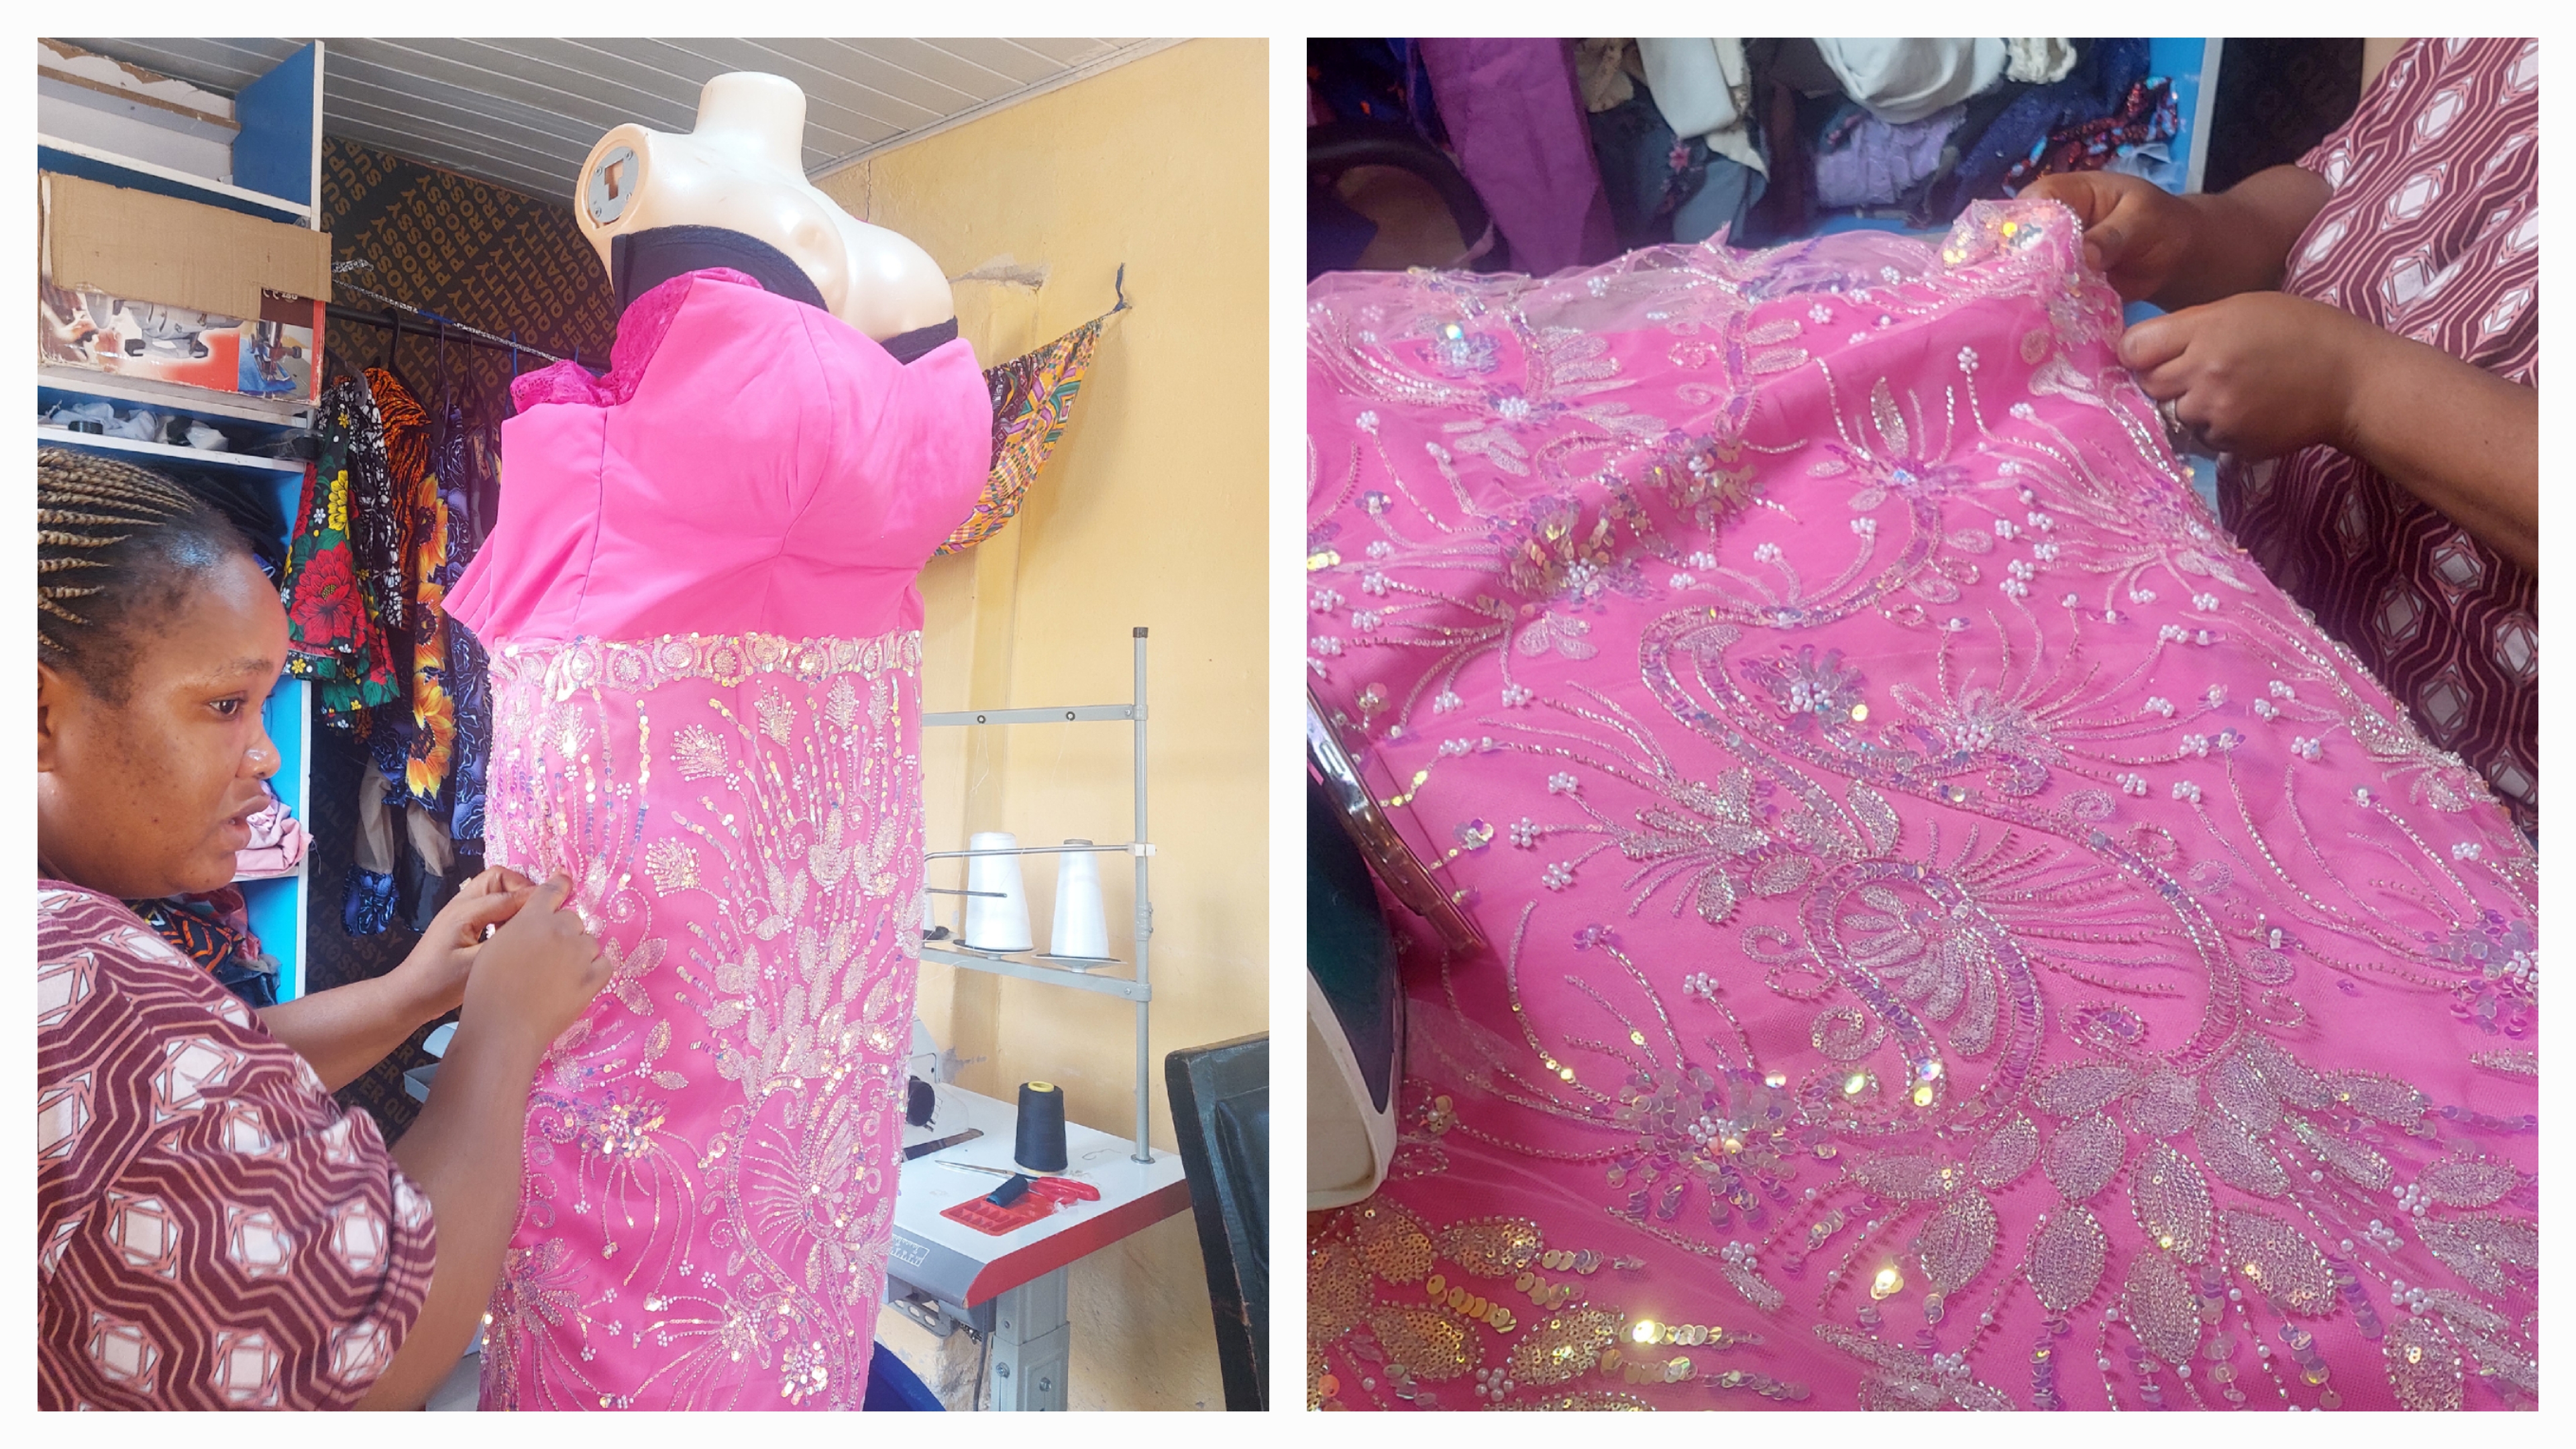
Beading is very time demanding and exhausting. I said earlier at the beginning of the post that it took about three days to complete only the beading work. It is a slow work that requires you to carefully take one bead at a time with so much patience.
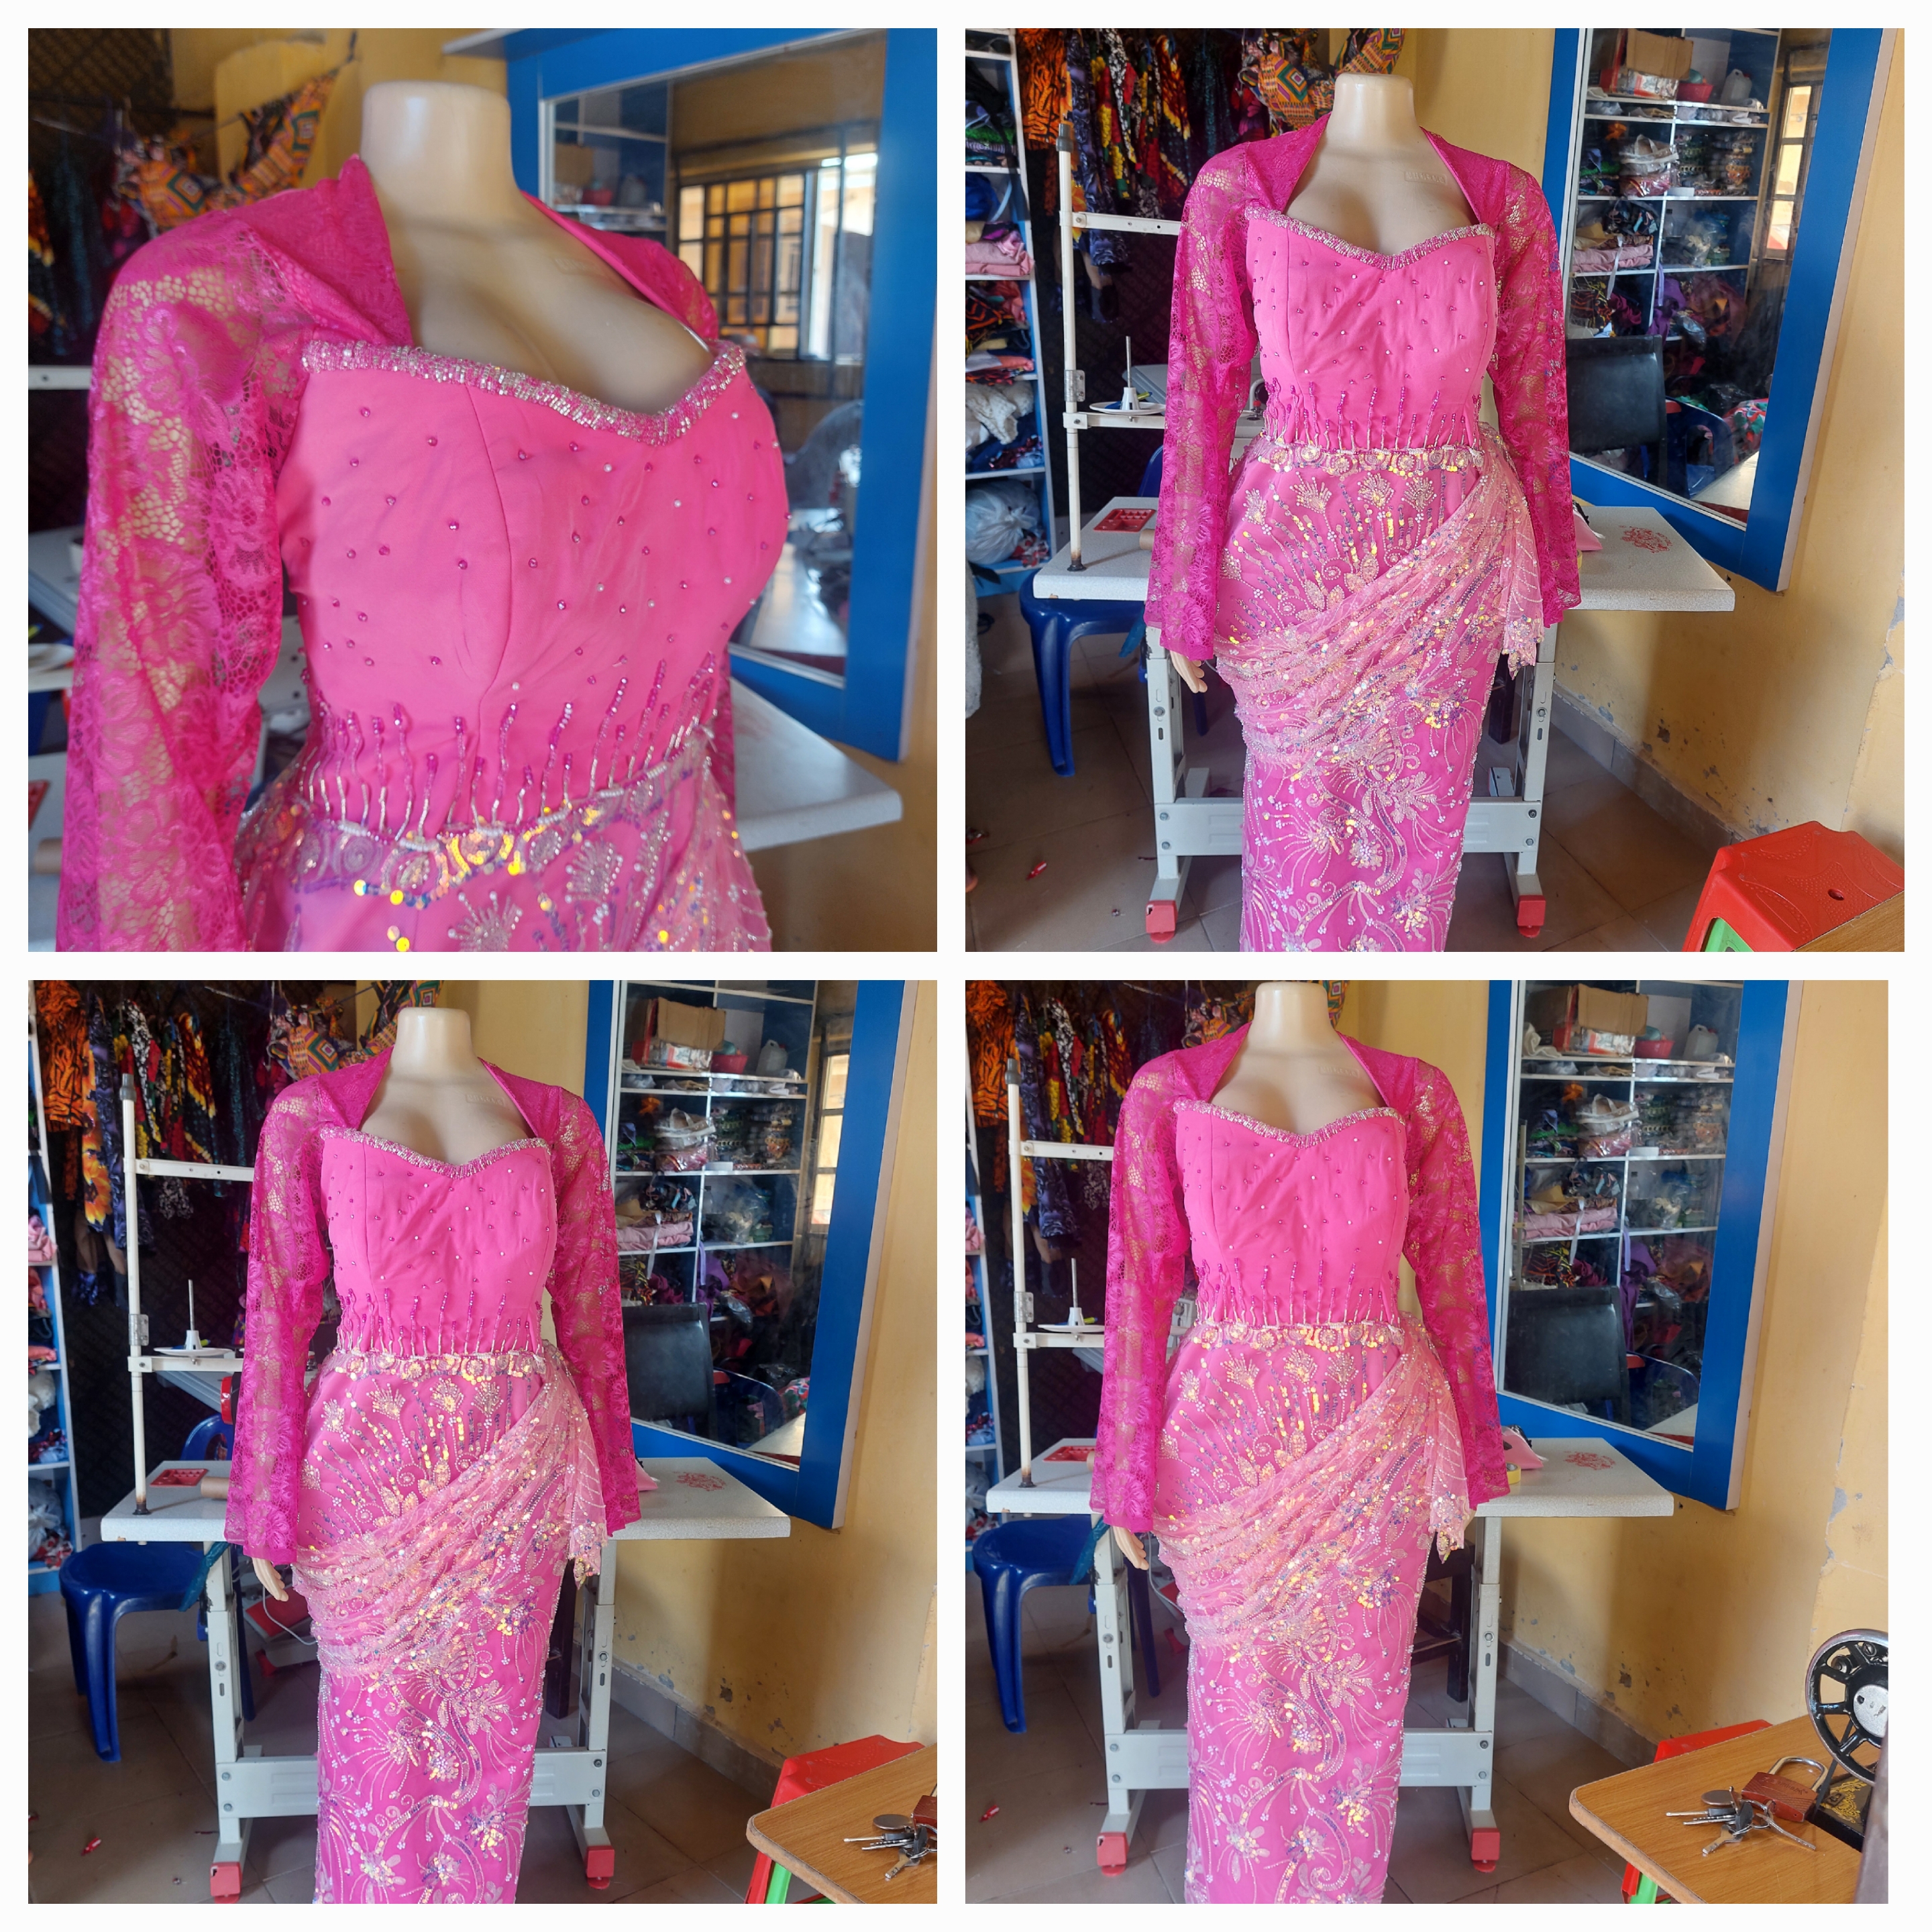 In the end the outcome was fantastic and I'm glad I took up the responsibility to execute the beading myself even though I pricked my fingers several times and I ended up having some aches in my back.
Thanks for reading and see you in my next one.
ABOUT ME

Just a quick reminder:
The text and photos on this blog was created by me, unless I state otherwise.
The cover images are designed using Canva with strict adherence to elements that are licenced for use under their terms.
Photographs are taken with my Samsung Galaxy A52 - 64MP Camera and other amazing features that absolutely capture the moment in high quality.
Lastly, do not use any of my content either text or image without asking me for authorisation. In other words, unauthorised used of my content is highly prohibited.