Hey lovelies ❤️ It's your favorite girl @debbie-ese 😍 Welcome to my blog 🤗
In this post I will be sharing with you pattern drafting and sewing of sleeveless blazer. The blazer was made using a plain crepe fabric and other materials that I will list during the course of this post. I encountered some challenges when making the blazer but with the help of online fashion tutors I was able to rectify the issue. The issue was that I was finding it hard to turn the blazer to the right side after sewing everything on the wrong side. It was kind off tricky but I was able to do it at the end of the day.
Measurements - Shoulder 17" - Bust 48" - Bust Length 17" - Underbust 46" - Half Length 20" - Waist 52" - Top Length 32"
Materials Needed - 1½ yards crepe fabric - 1½ yards lining - 1½ yards interfacing - Drafting paper - Matching threads - Tailoring chalk
Step by Step
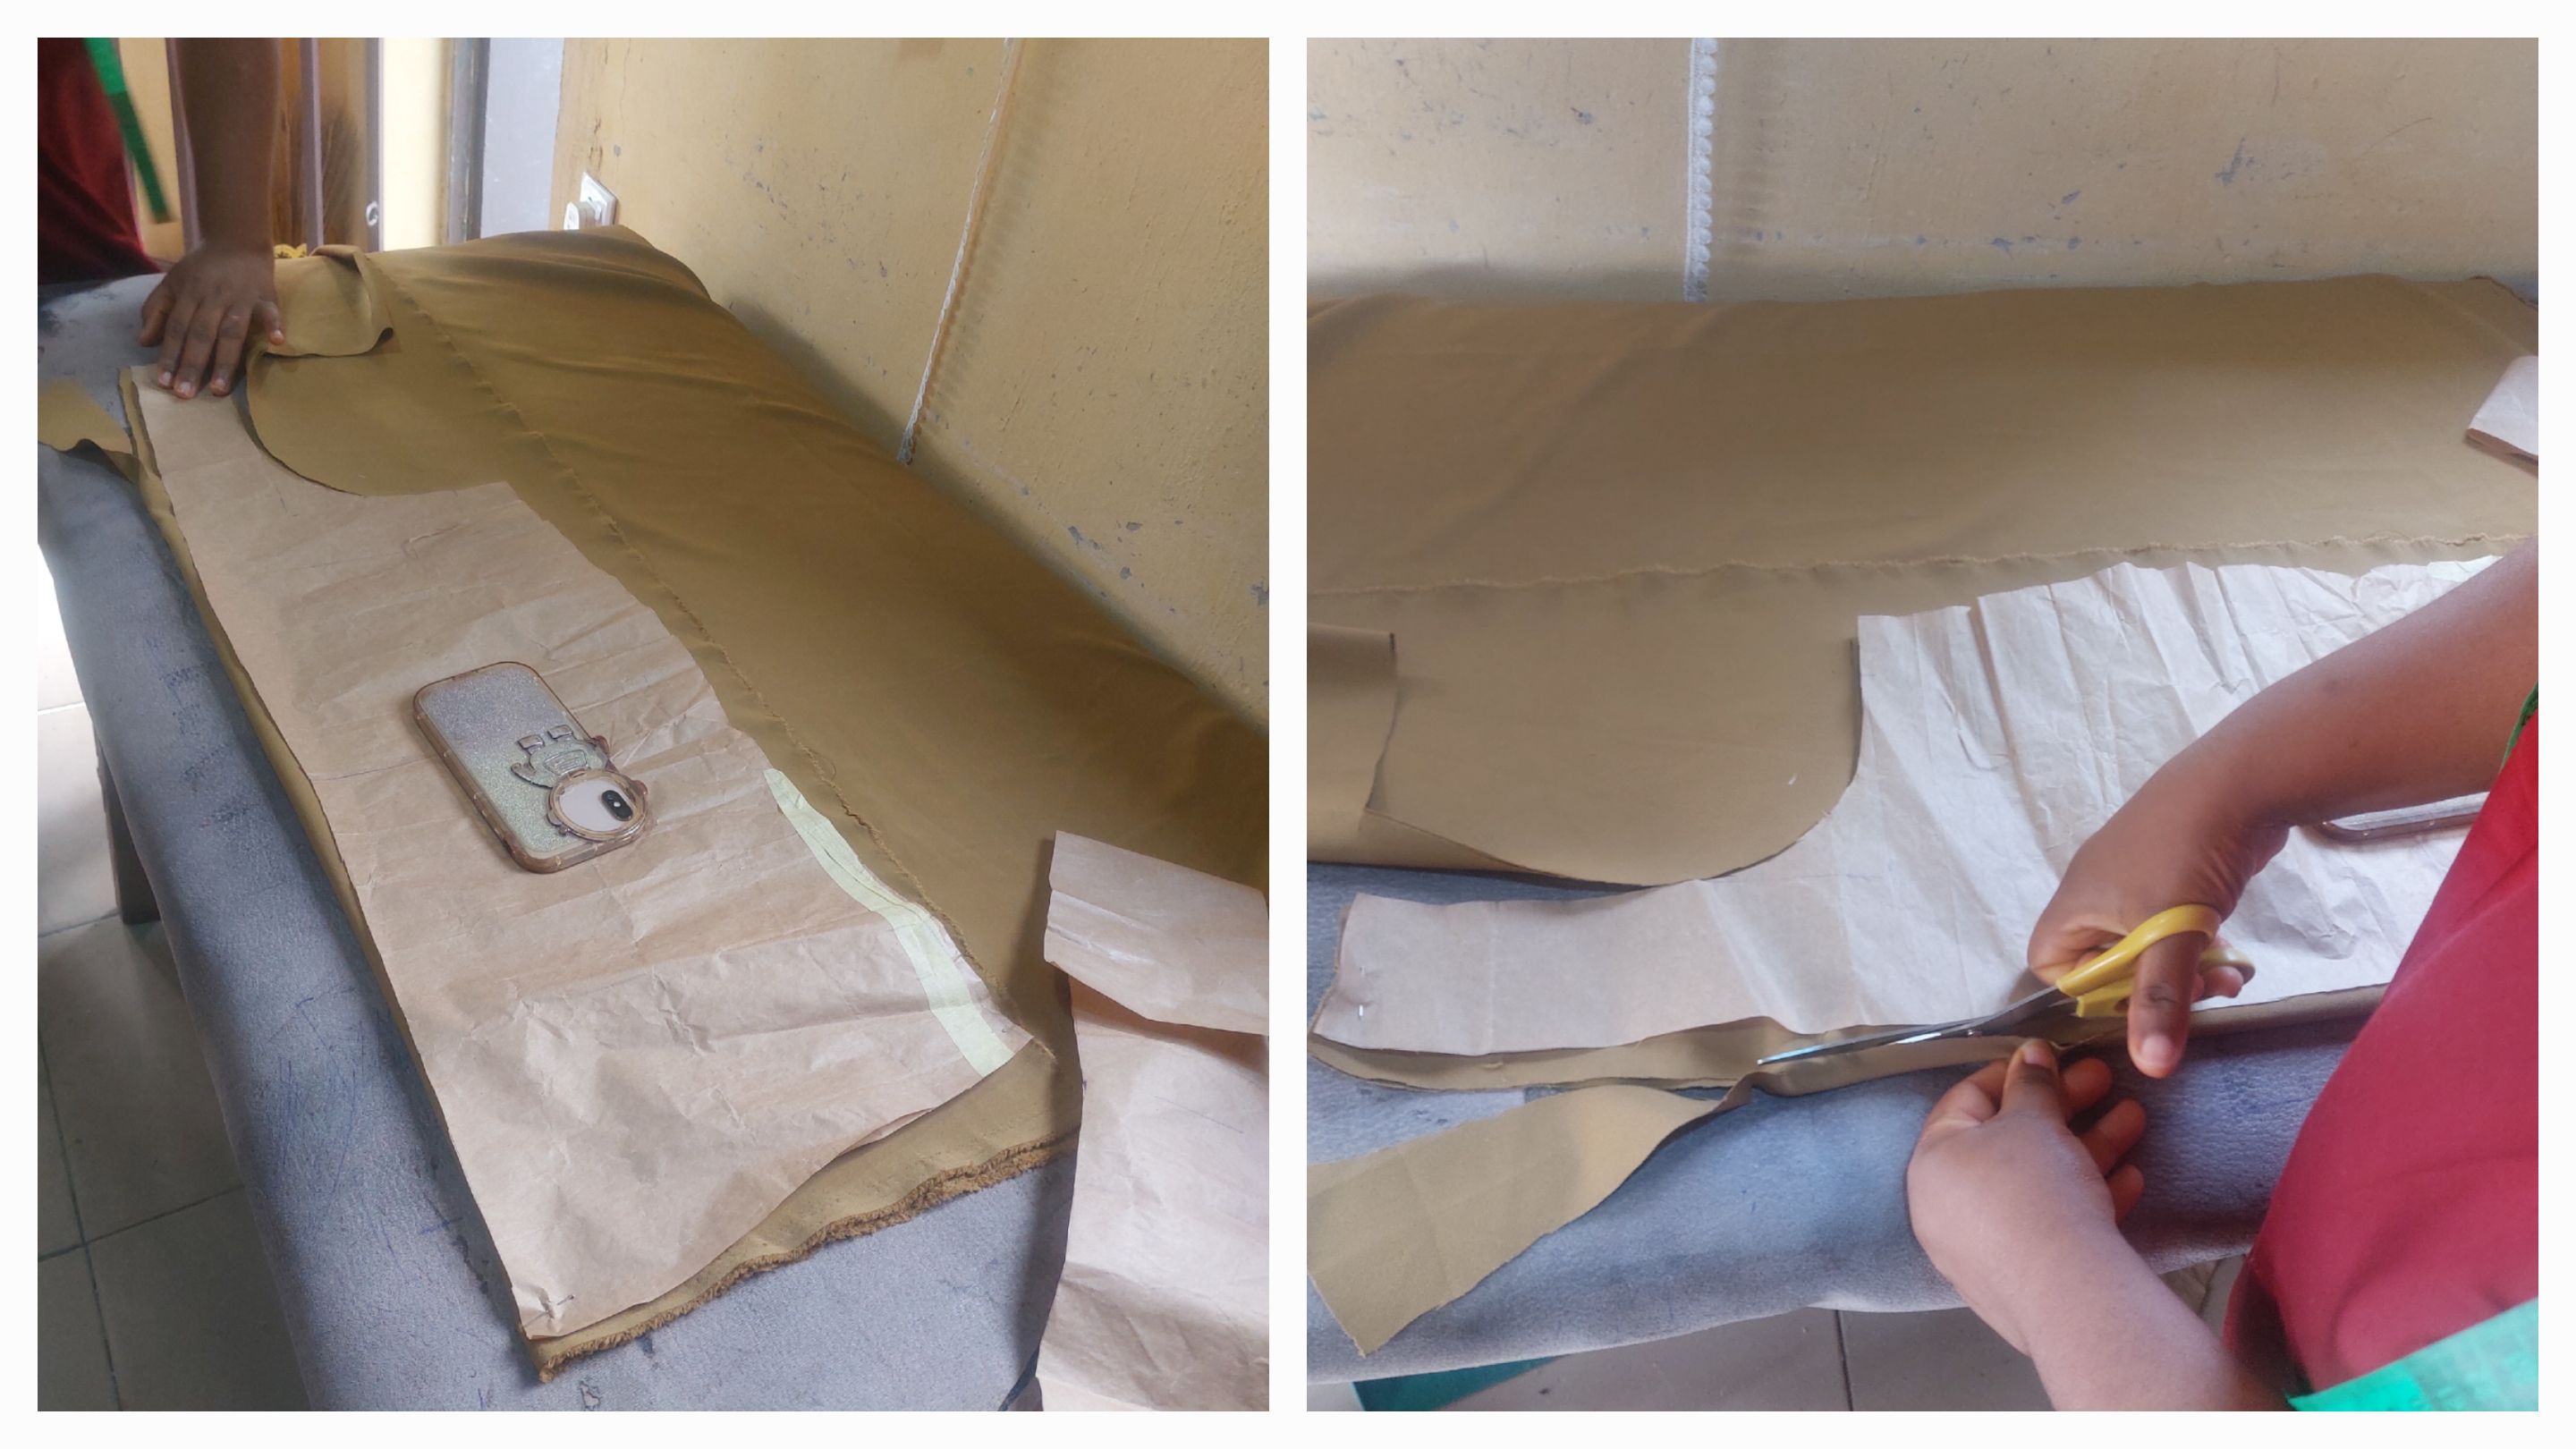
- Start by drafting your back pattern paper using the above measurements. Take shoulder measurements divided by 2 which is 8.5", take the bust line 17" and waist length 20" and the full length of the blazer 32".
-
Next, take the bodice measurements divide by 4 and make a dart at the center back and side back of 1.5" each. Then, replace the dart measurements and add 1" for allowance.
-
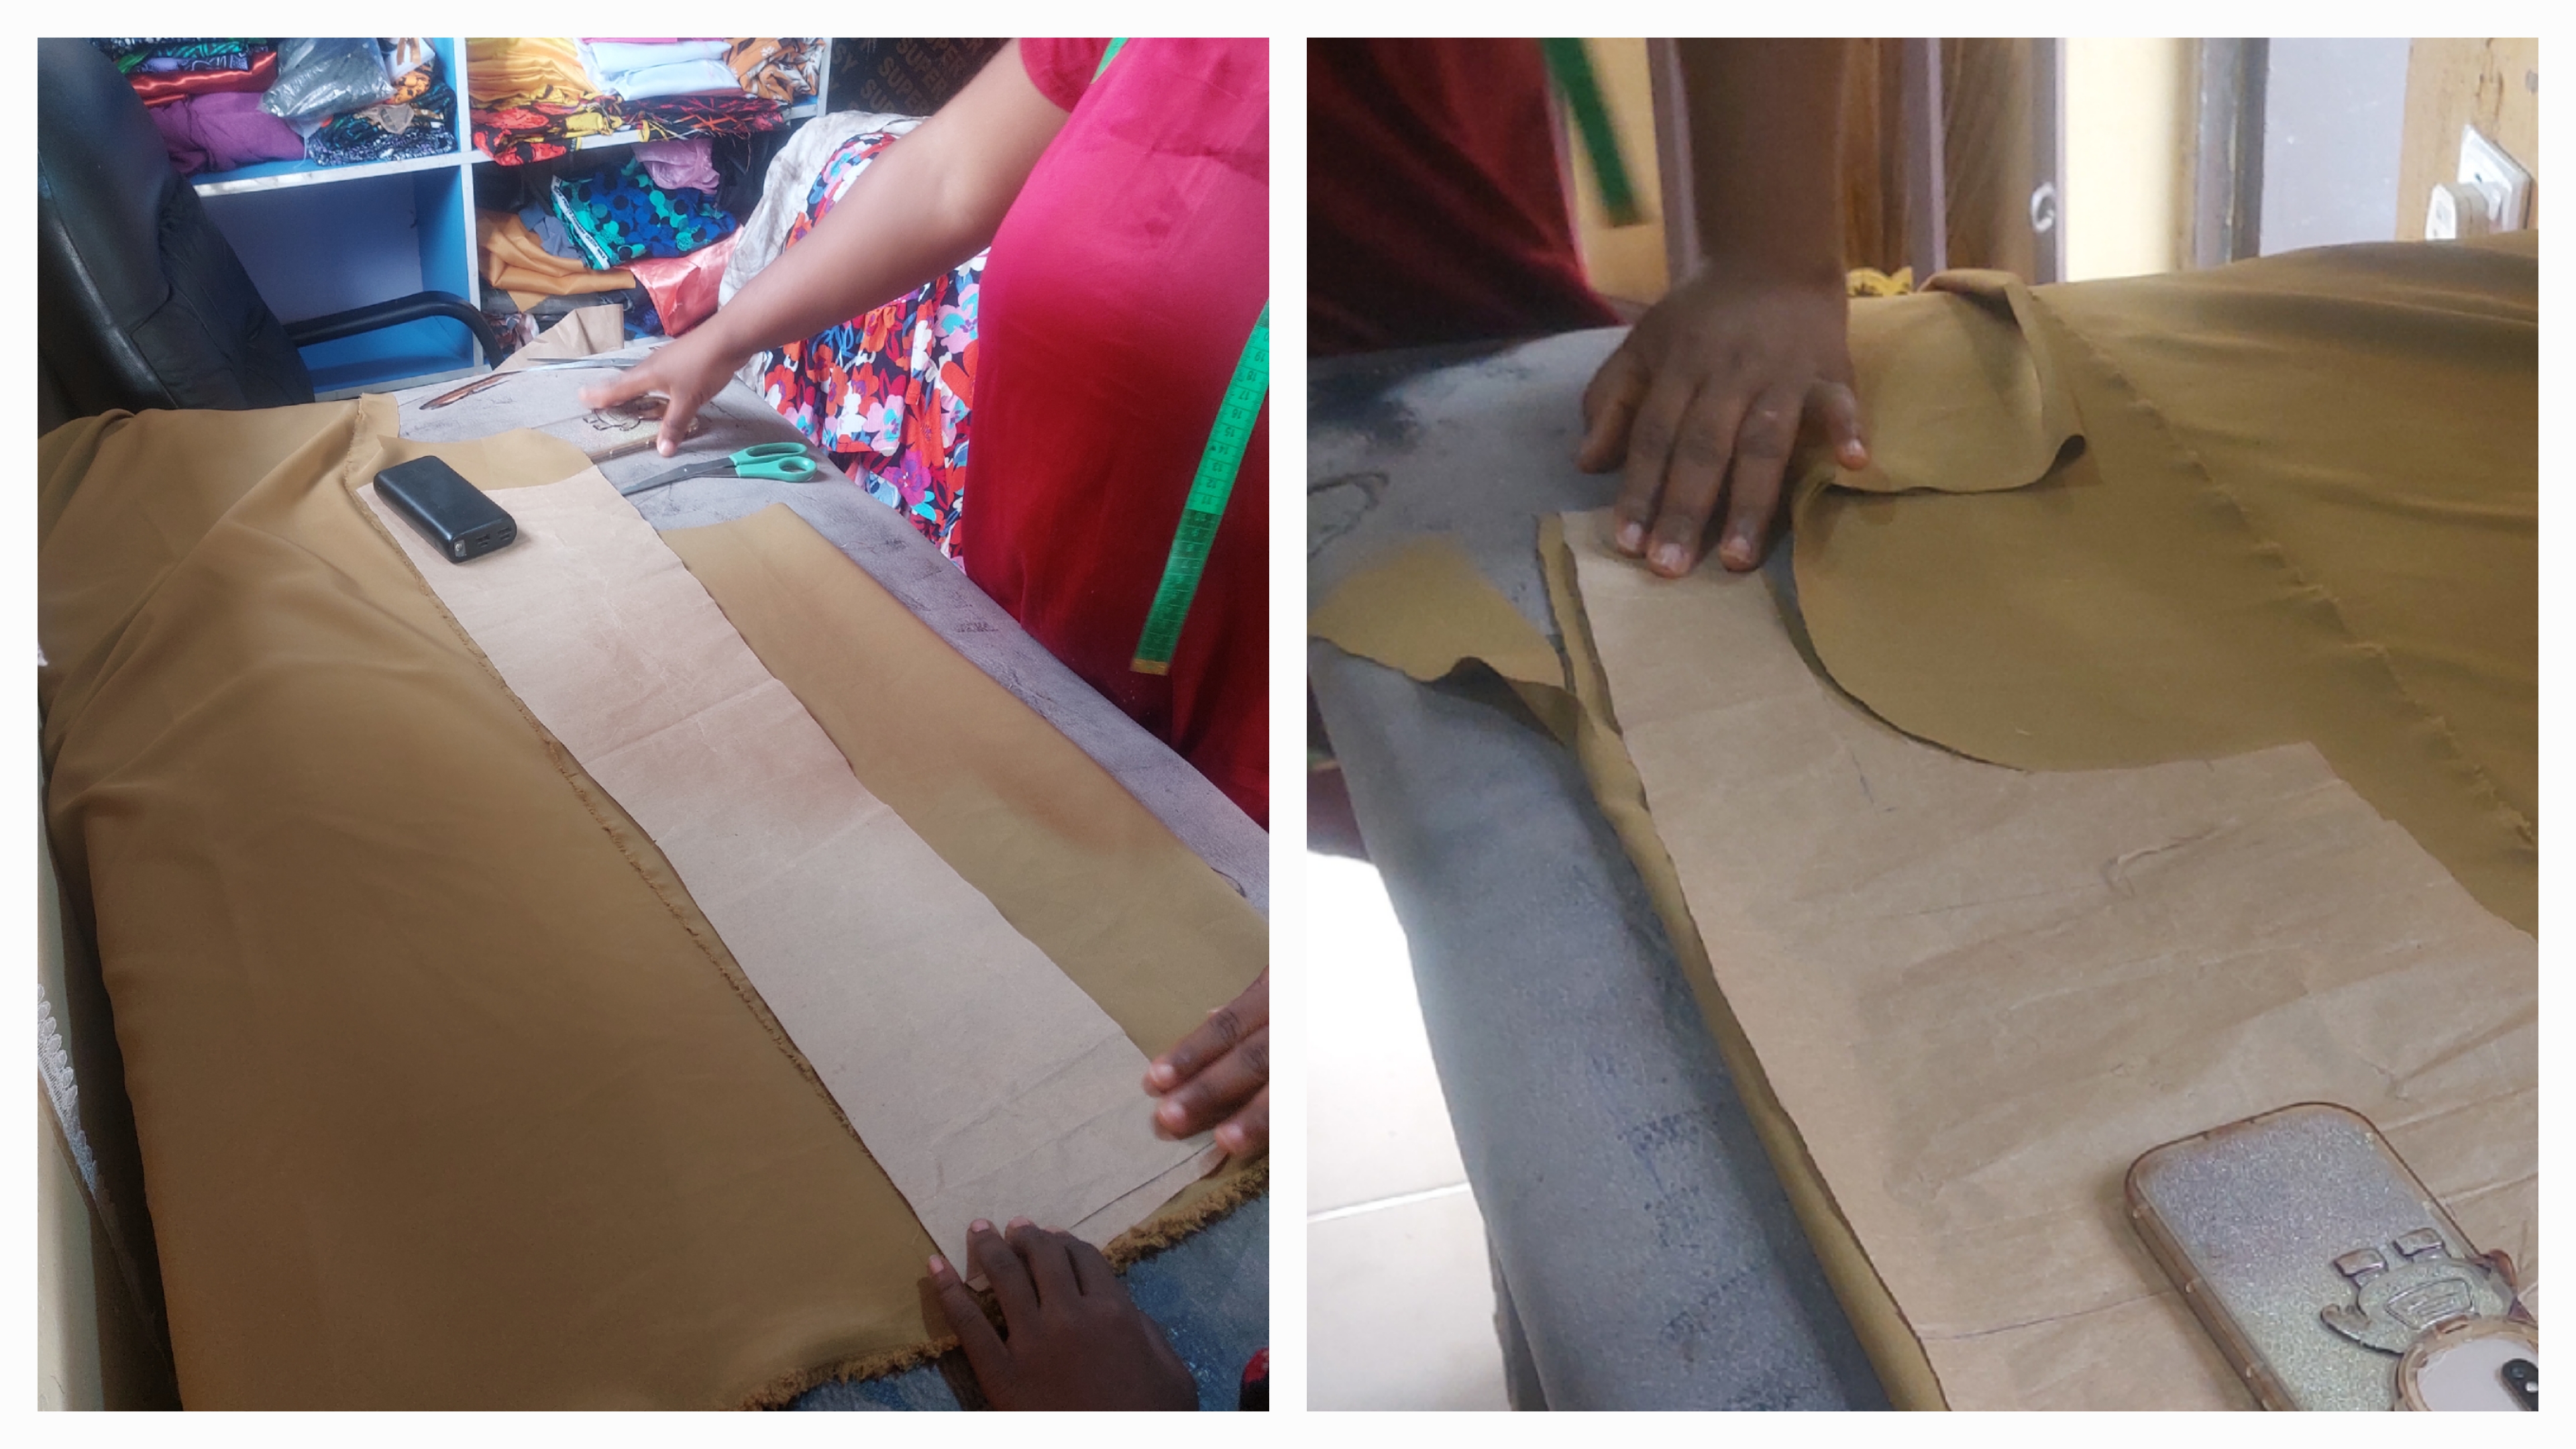
Next, use the back pattern to cut the front pattern.
-
Then, add a 1.5" lapel extension to the front center line. This will form the blazer front opening that overlaps slightly, the will stop at the waist line.
-
Now, connect the bust, underbust, waist, and hemline with a gentle curve and ensure to adjust it accordingly for body shape.
-
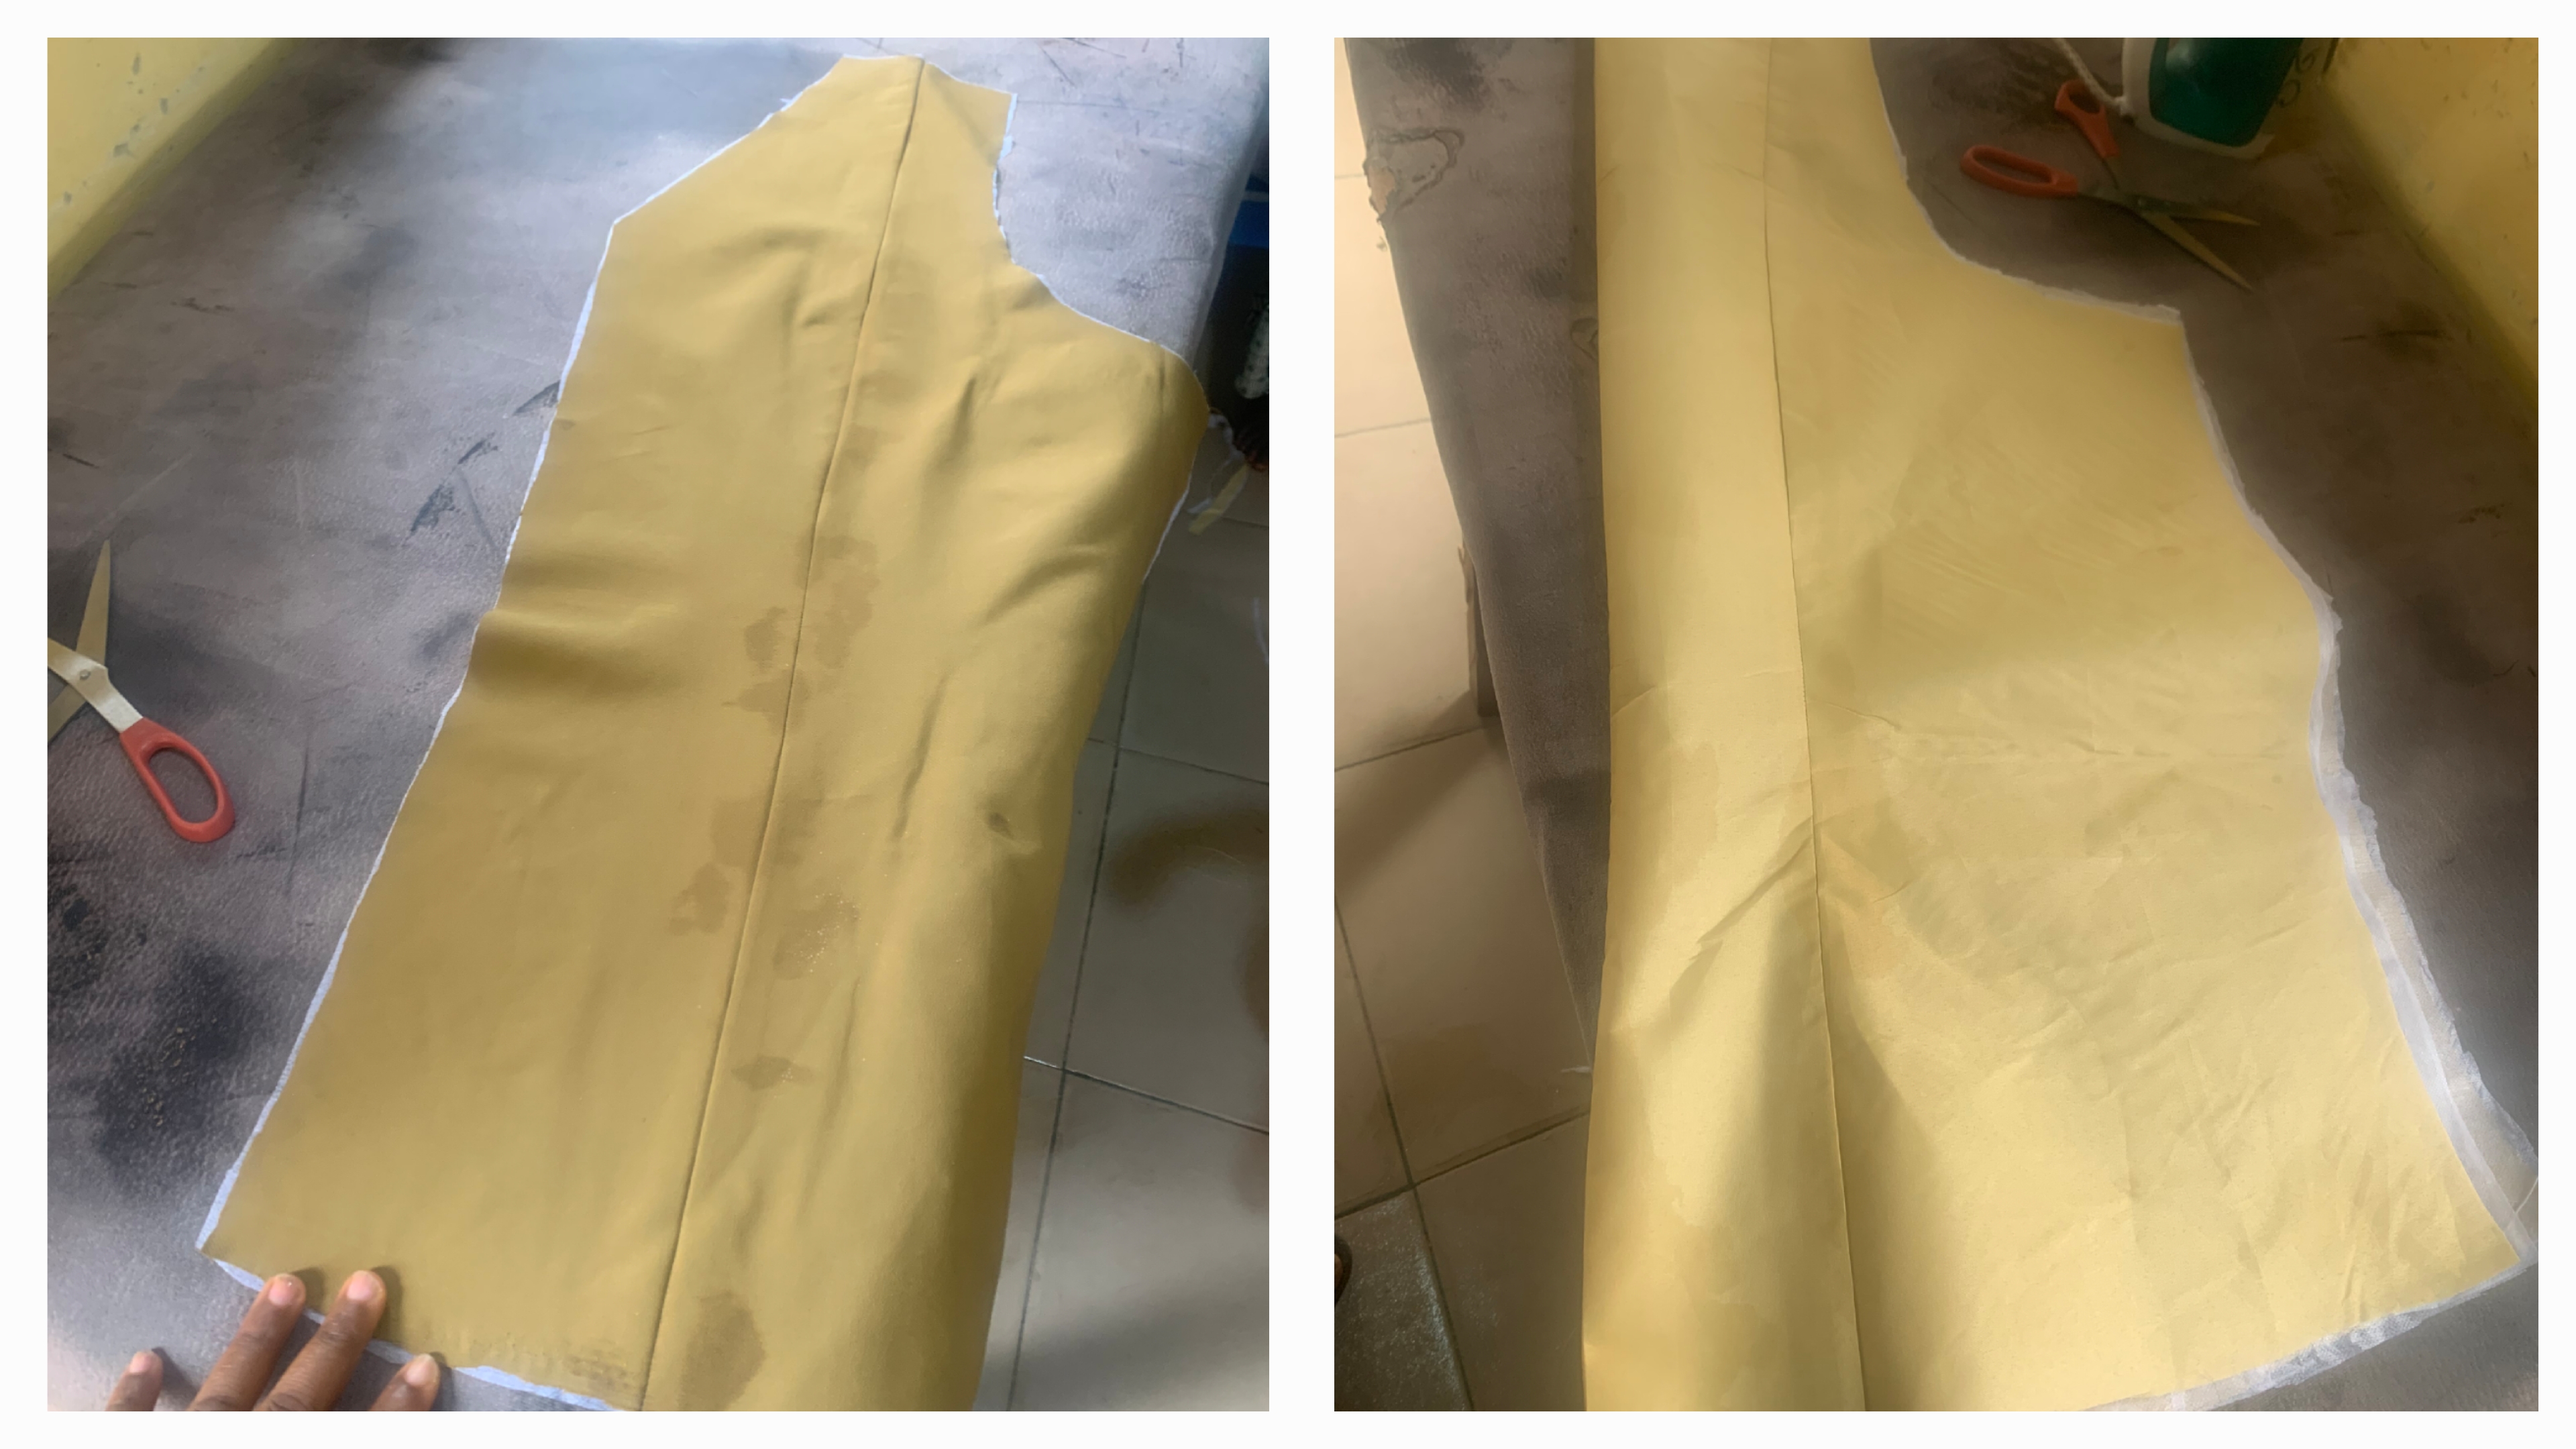
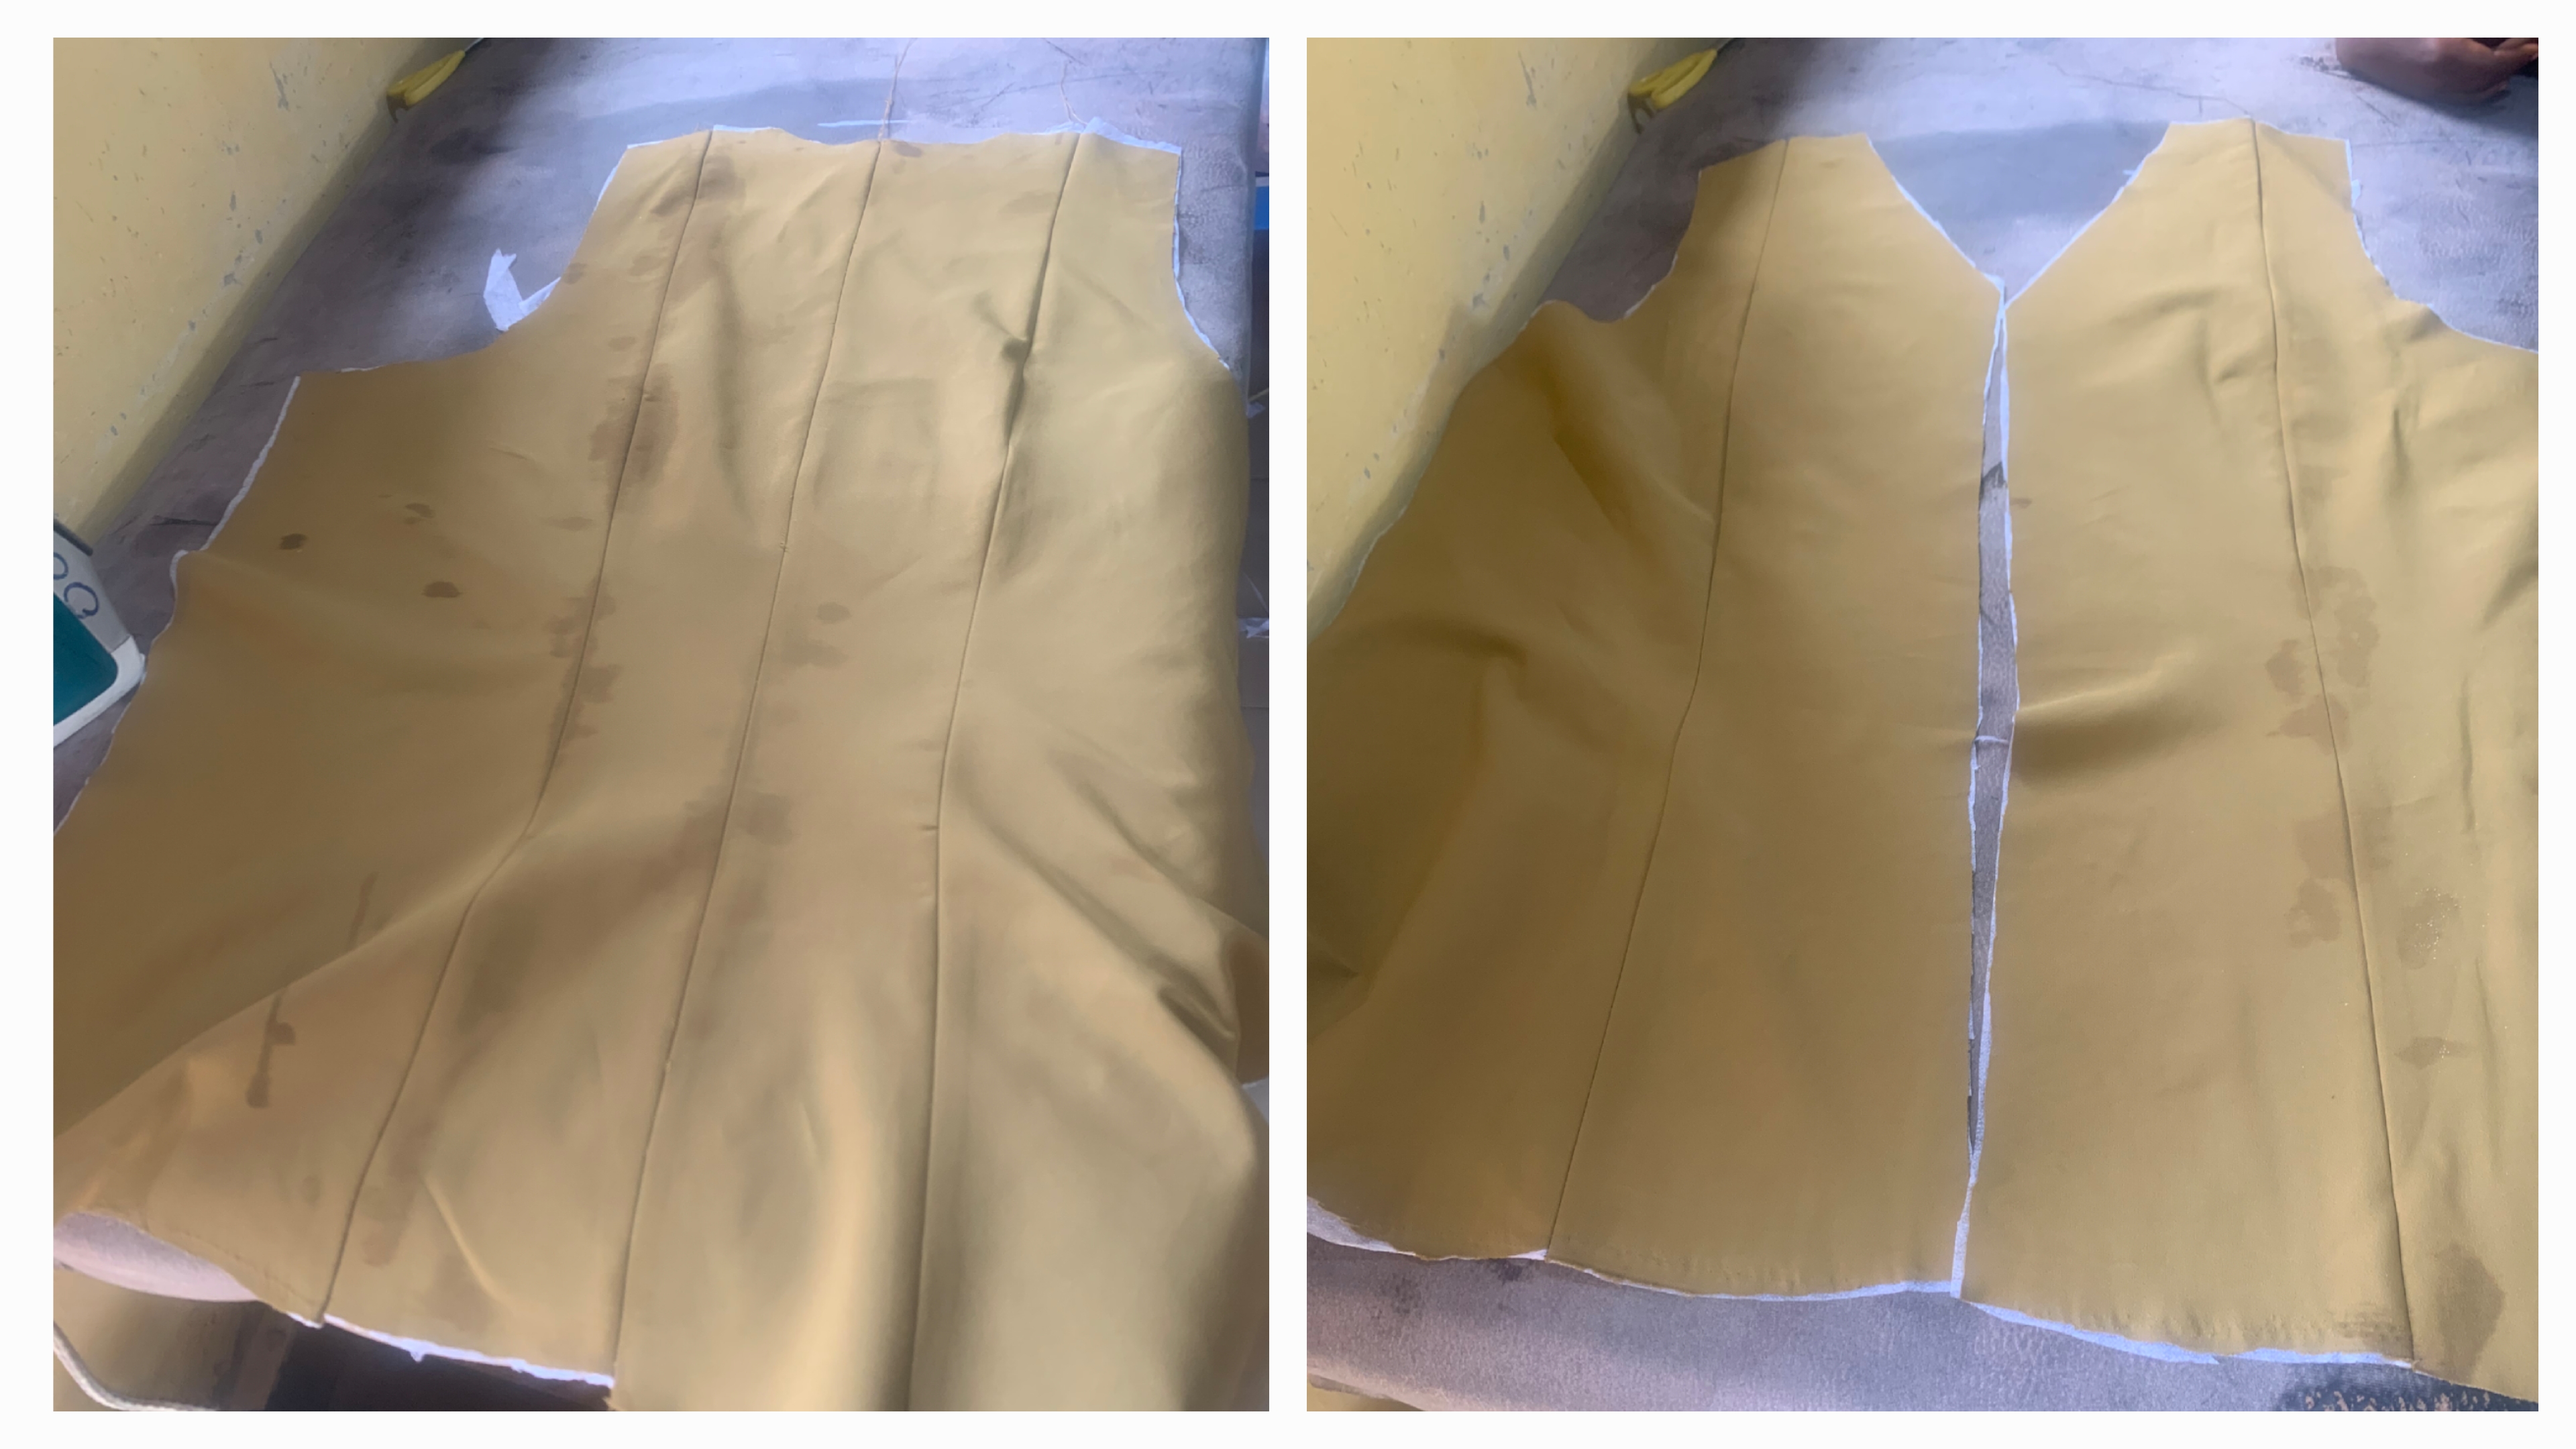
Line the centre front panel using crepe and the side of the front panel using lining.
-
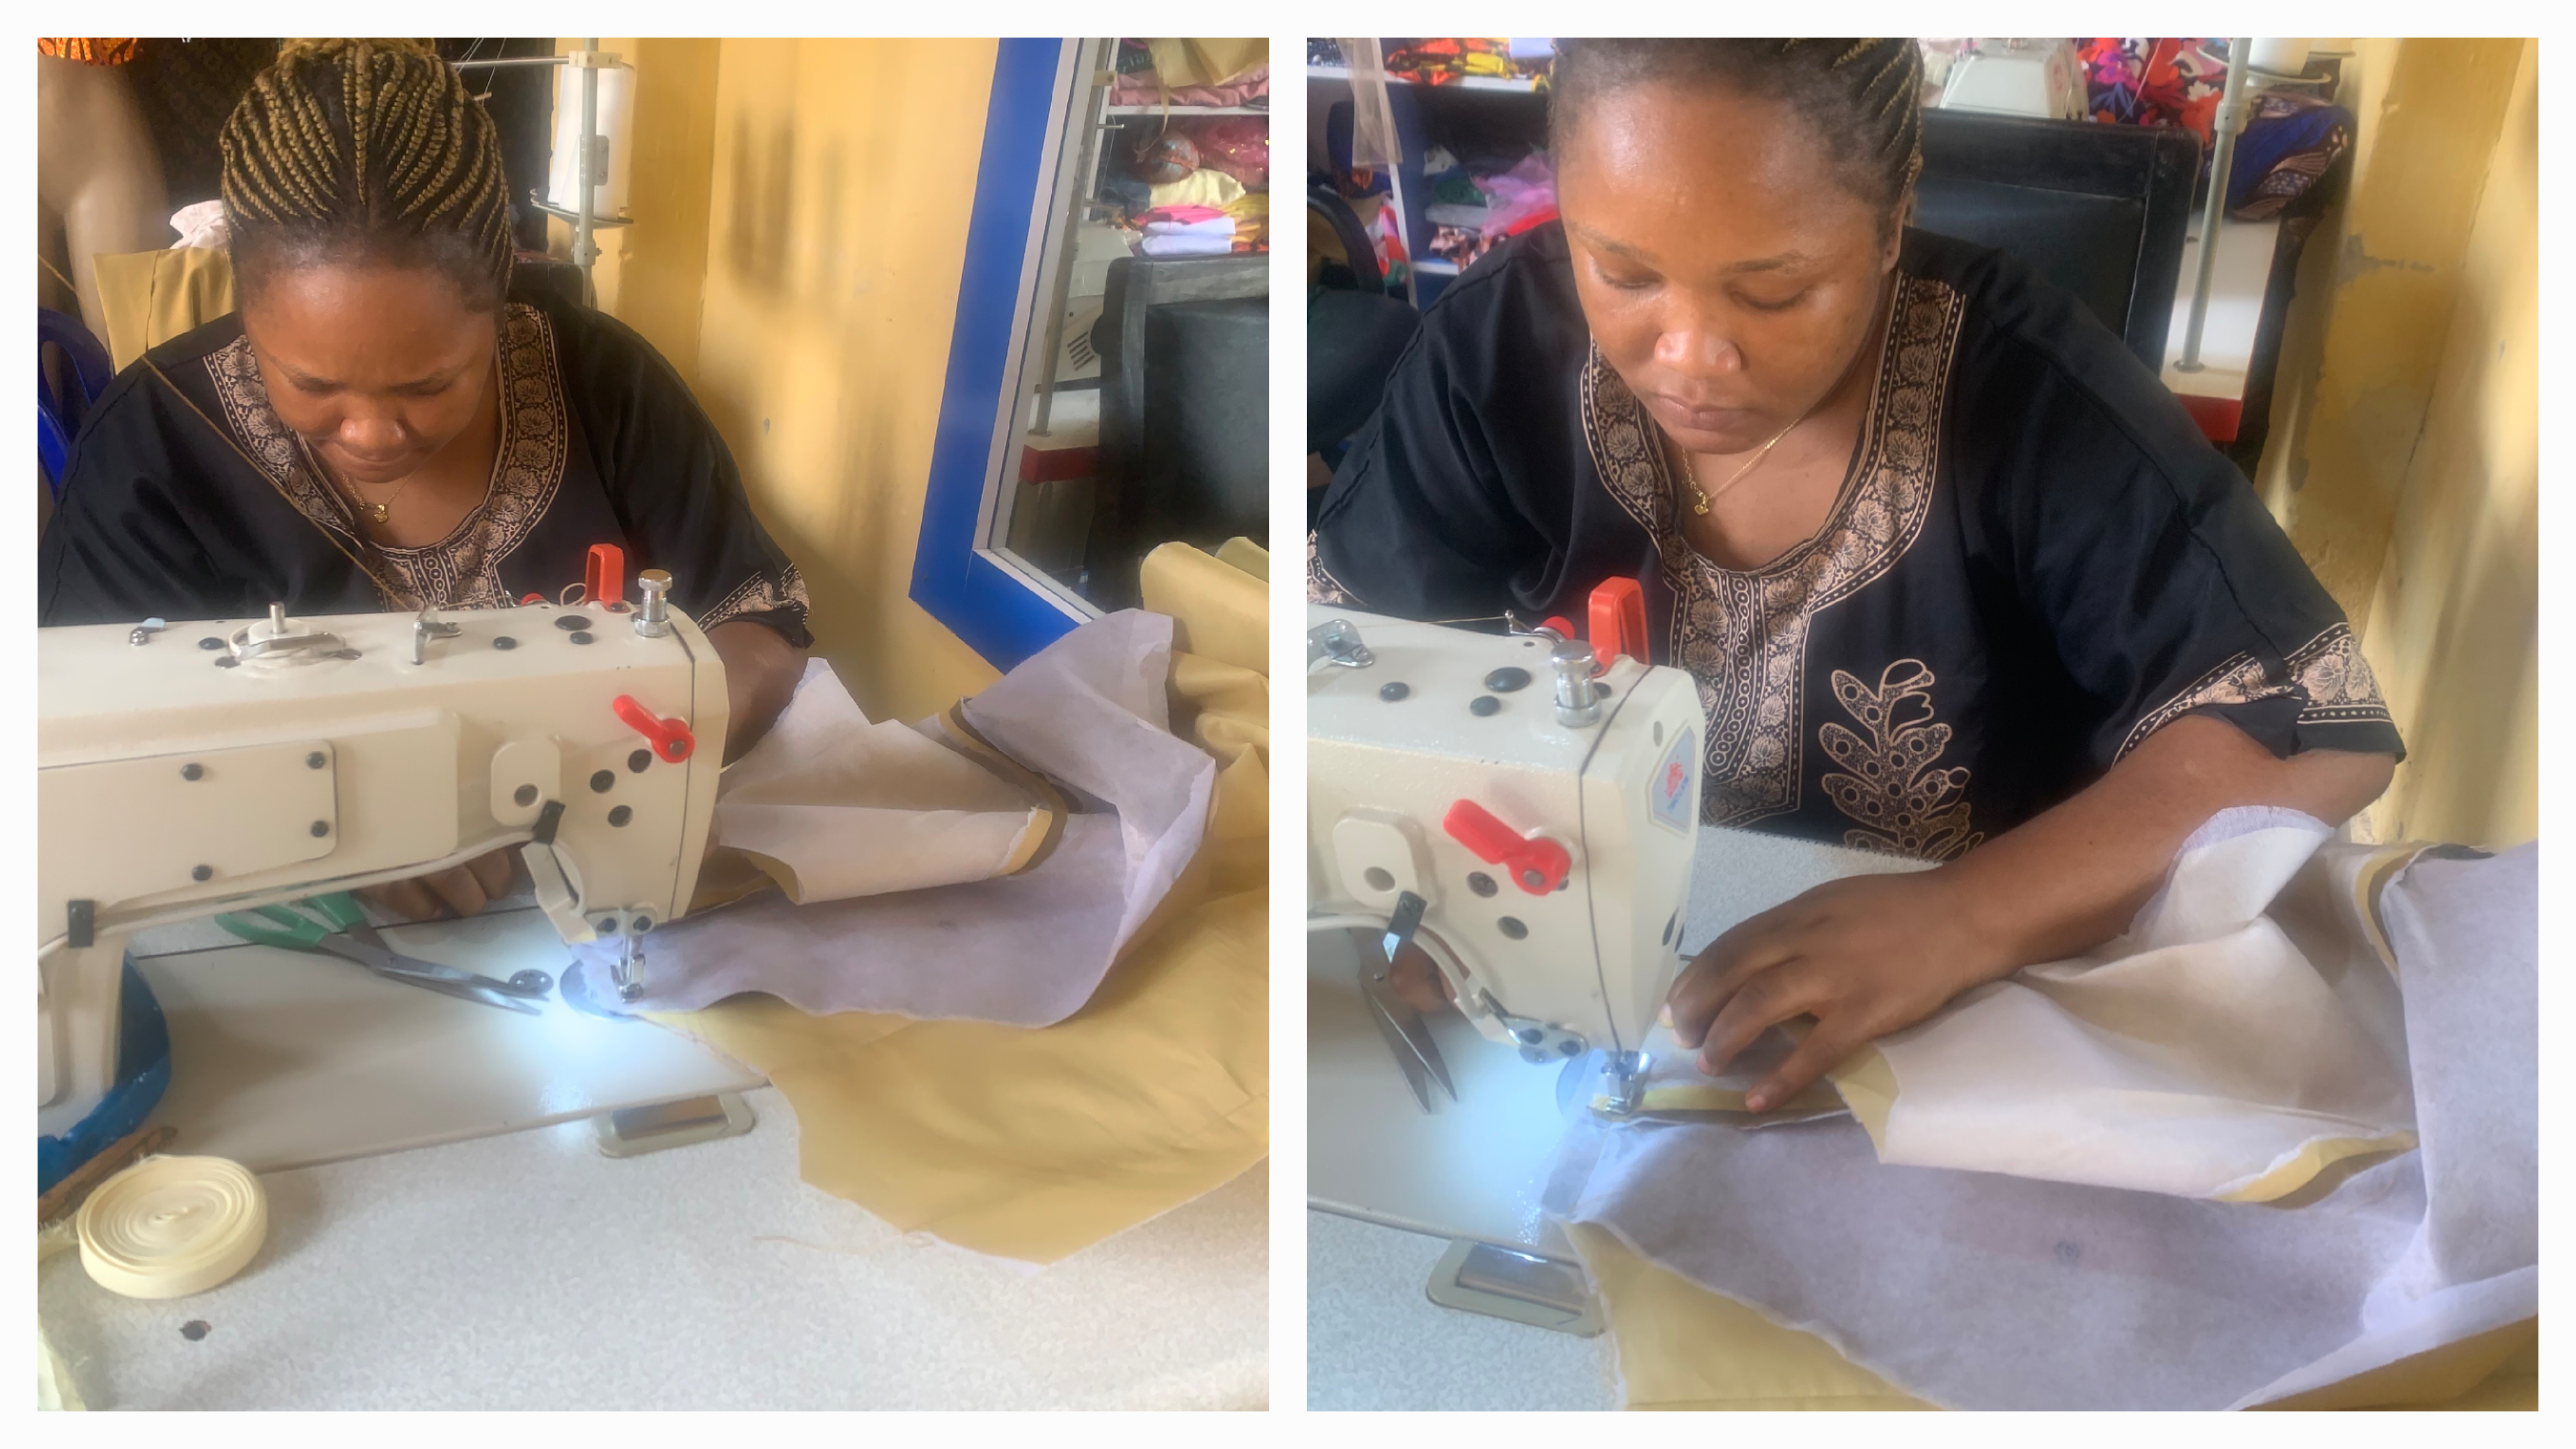
Next, sew the front and back darts of the crepe fabric first, pressing them toward the side seams.
- Then sew the shoulder seams together, joining front and back.
-
Also, sew lining dart of both the front and the back and press all seams open neatly.
-
Kindly note that this method is called lining to lining and cloth to cloth.
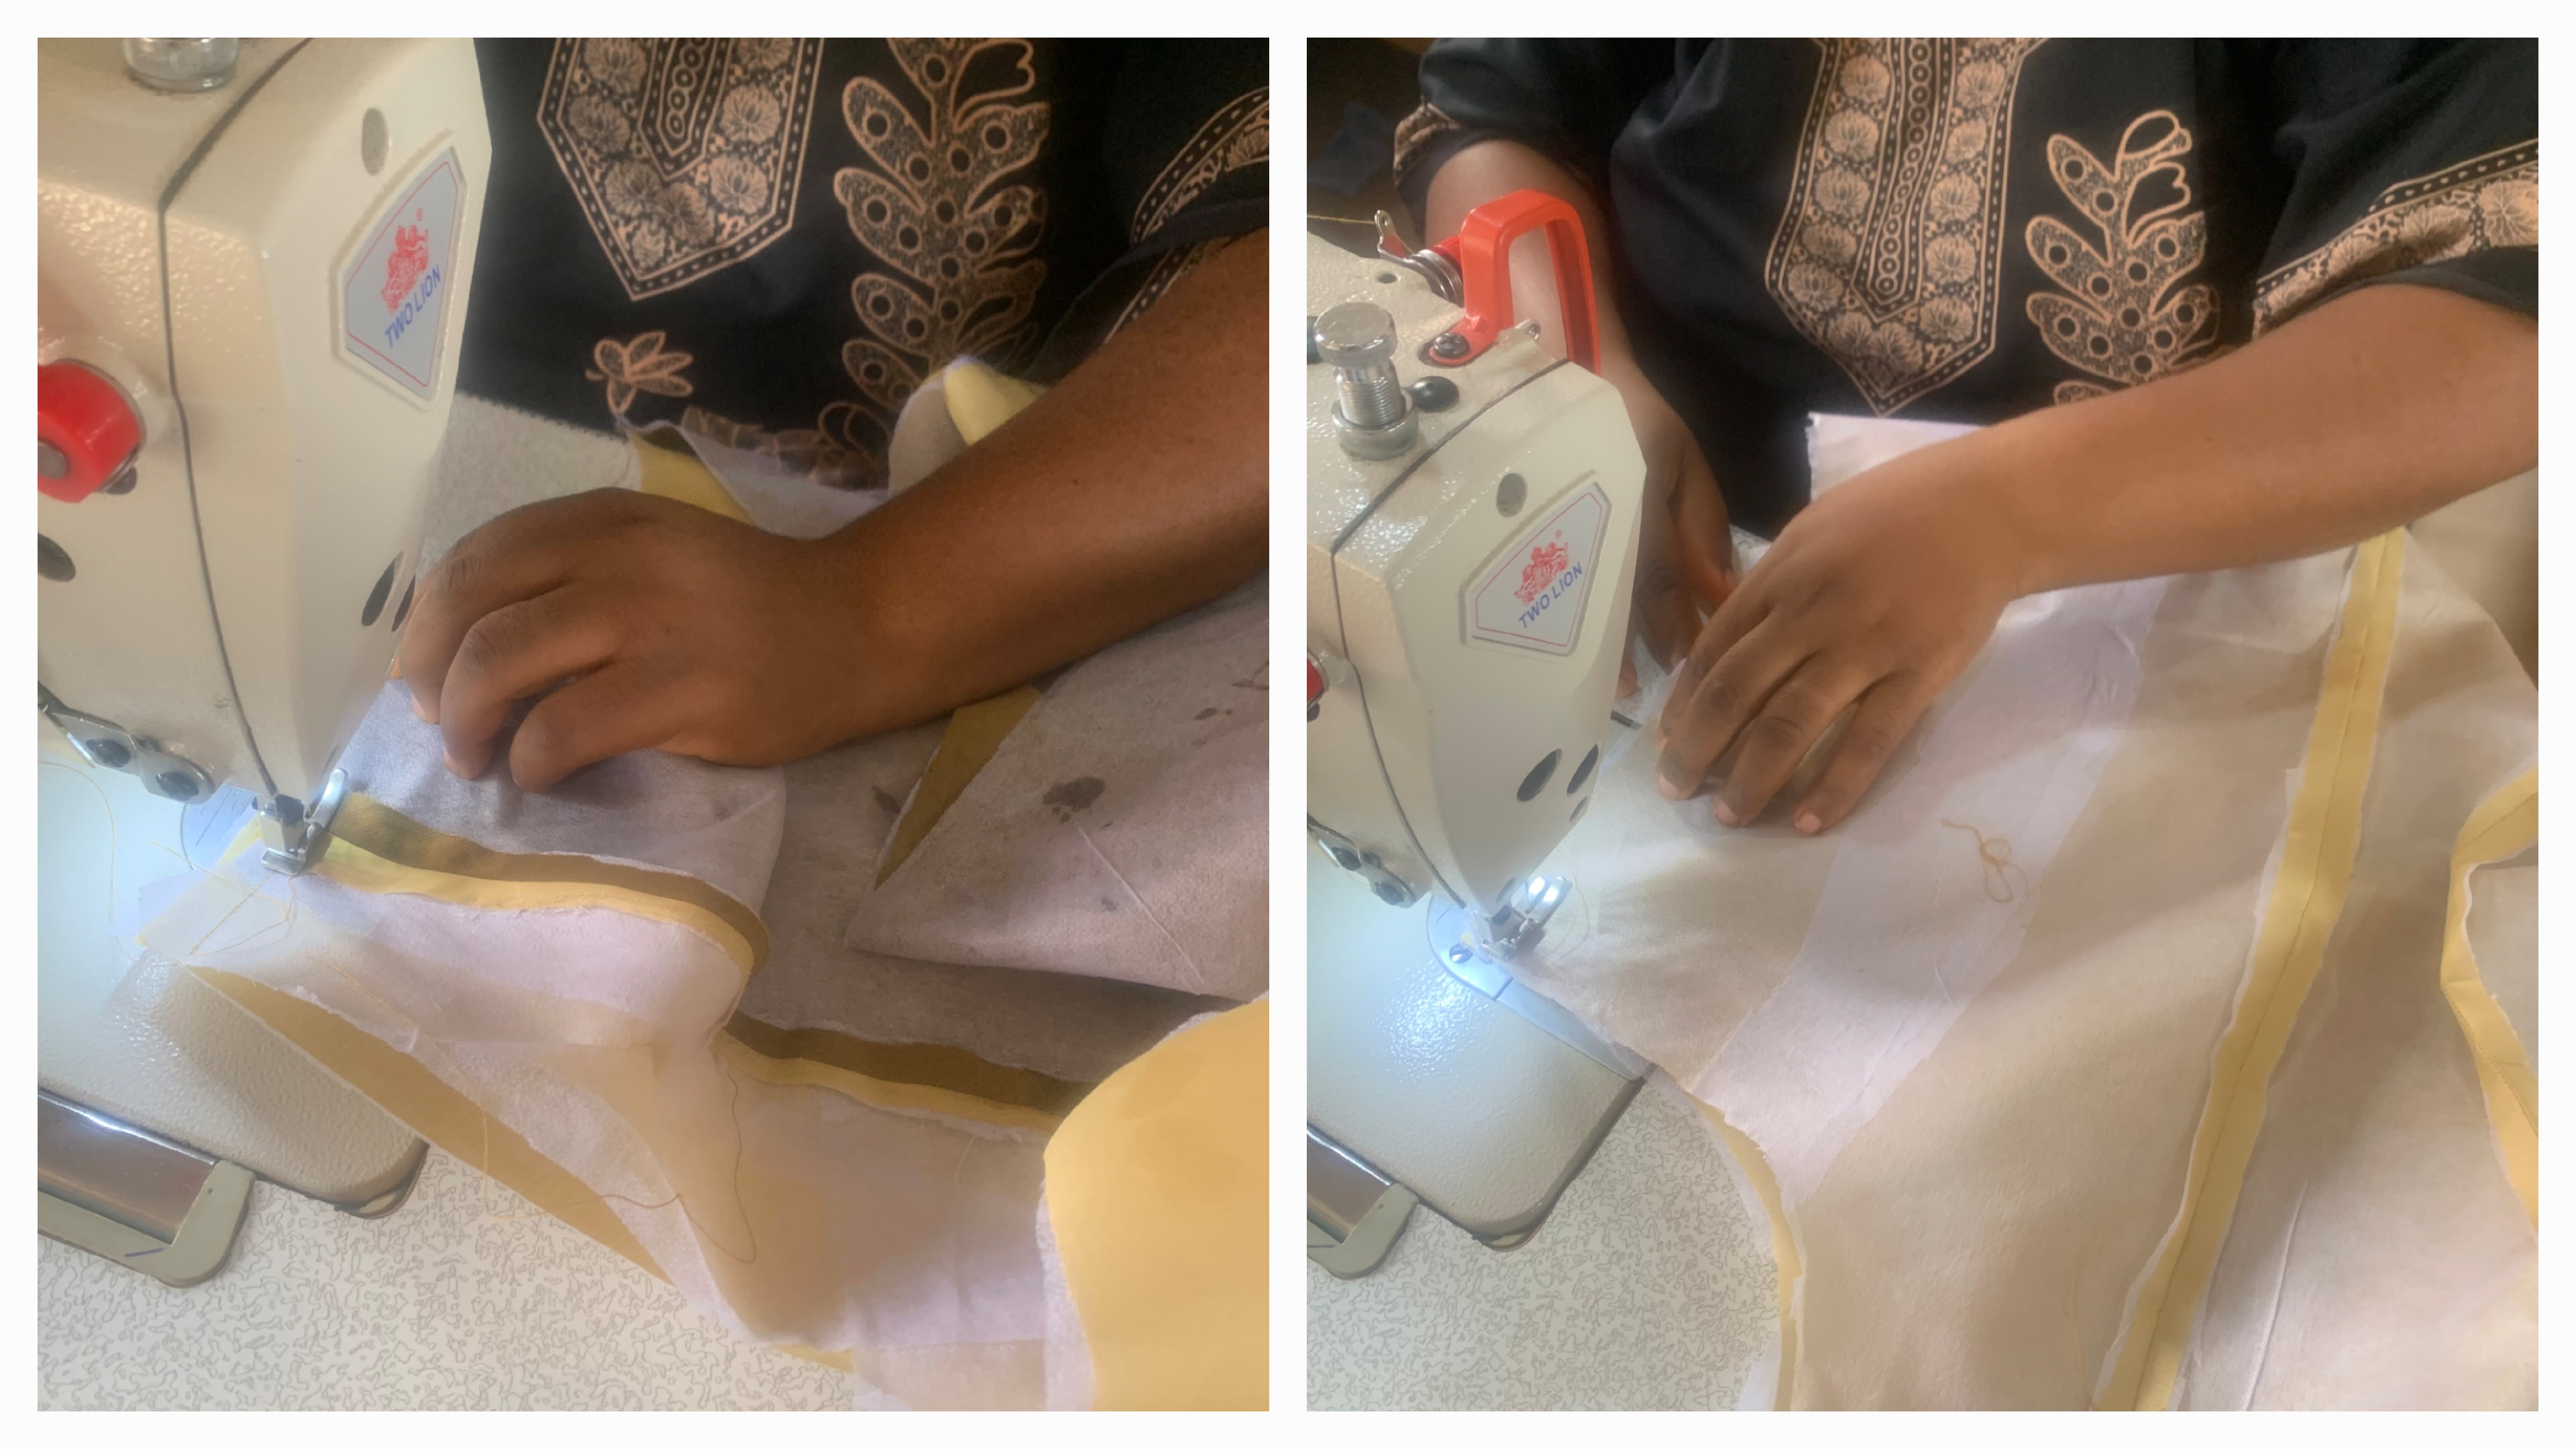
- Now, place the fabric and the lining right side facing right side, use pin to secure it all round from the waist to the neckline to the armhole, leaving the hem line open and sew all around the neckline and lapel edge and armhole.
-
Then the next thing is to curve all curves and corners and turn the facing inside, and give a good press to flatten it.
-
Then turn to right side and press, turn over again and sew the remaining part leaving a small part to turn it to the right side.
-
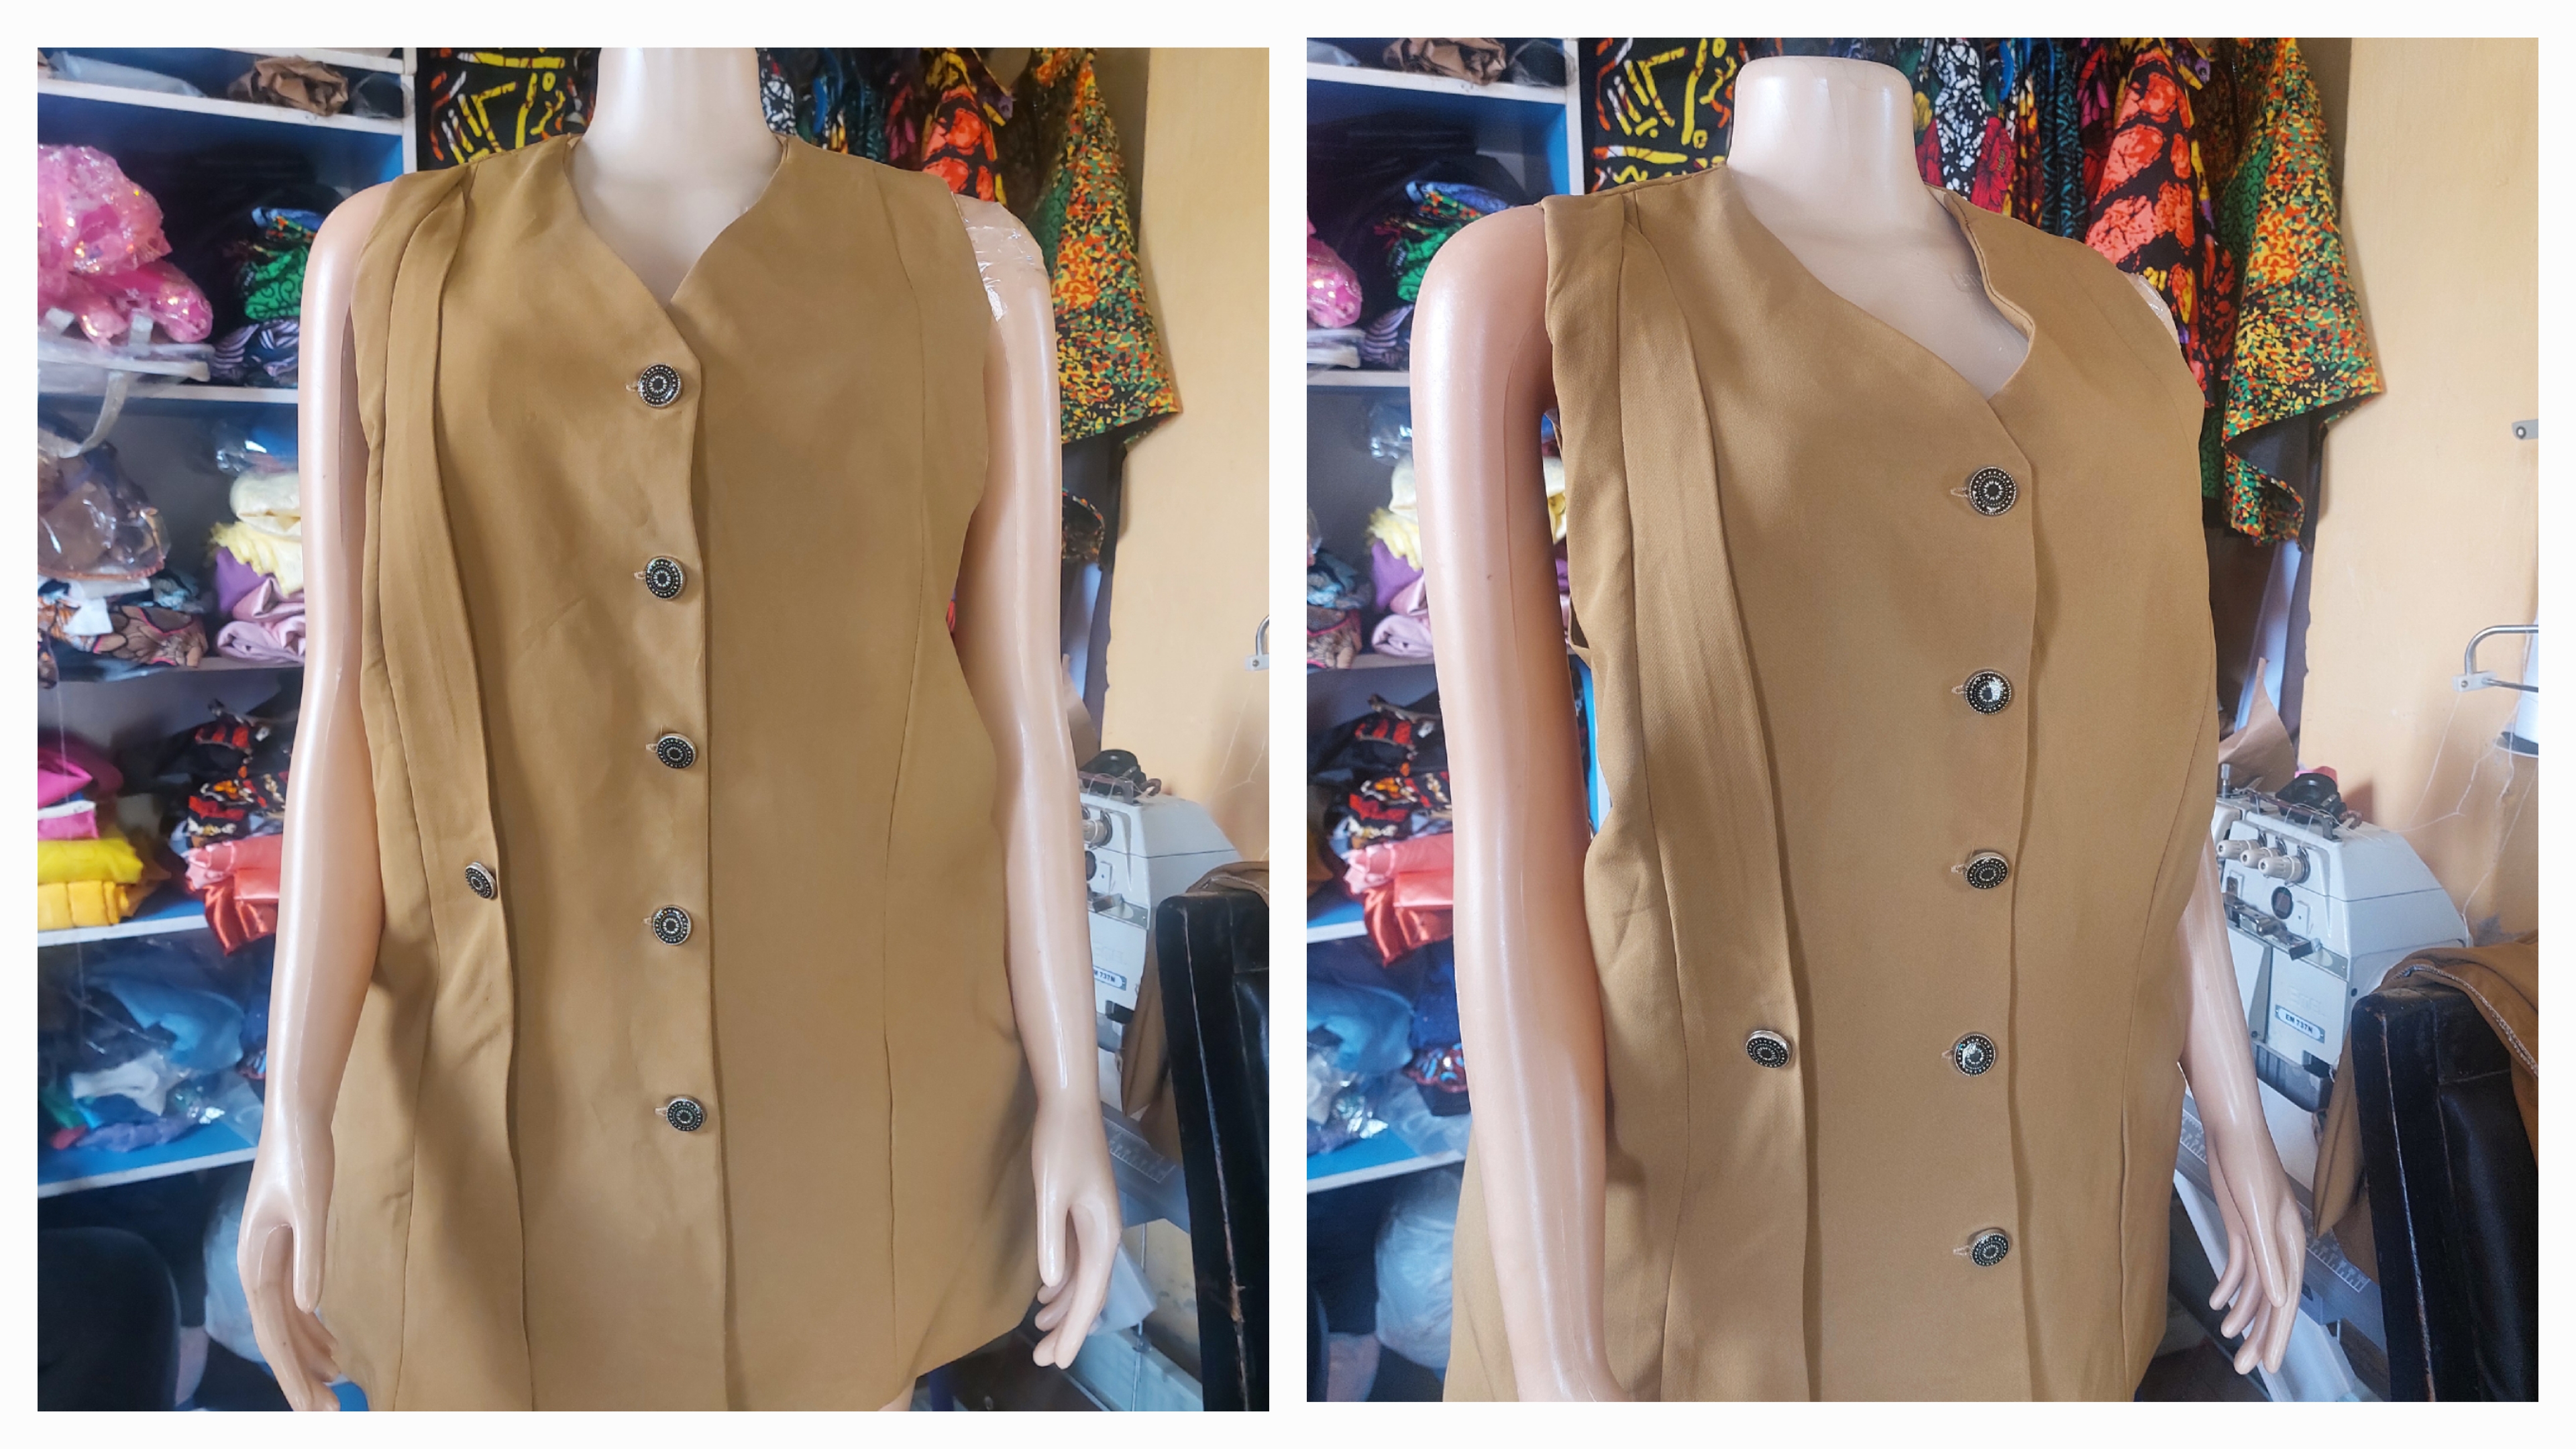
Now, do the finishing touches by giving the blazer a final press.
-
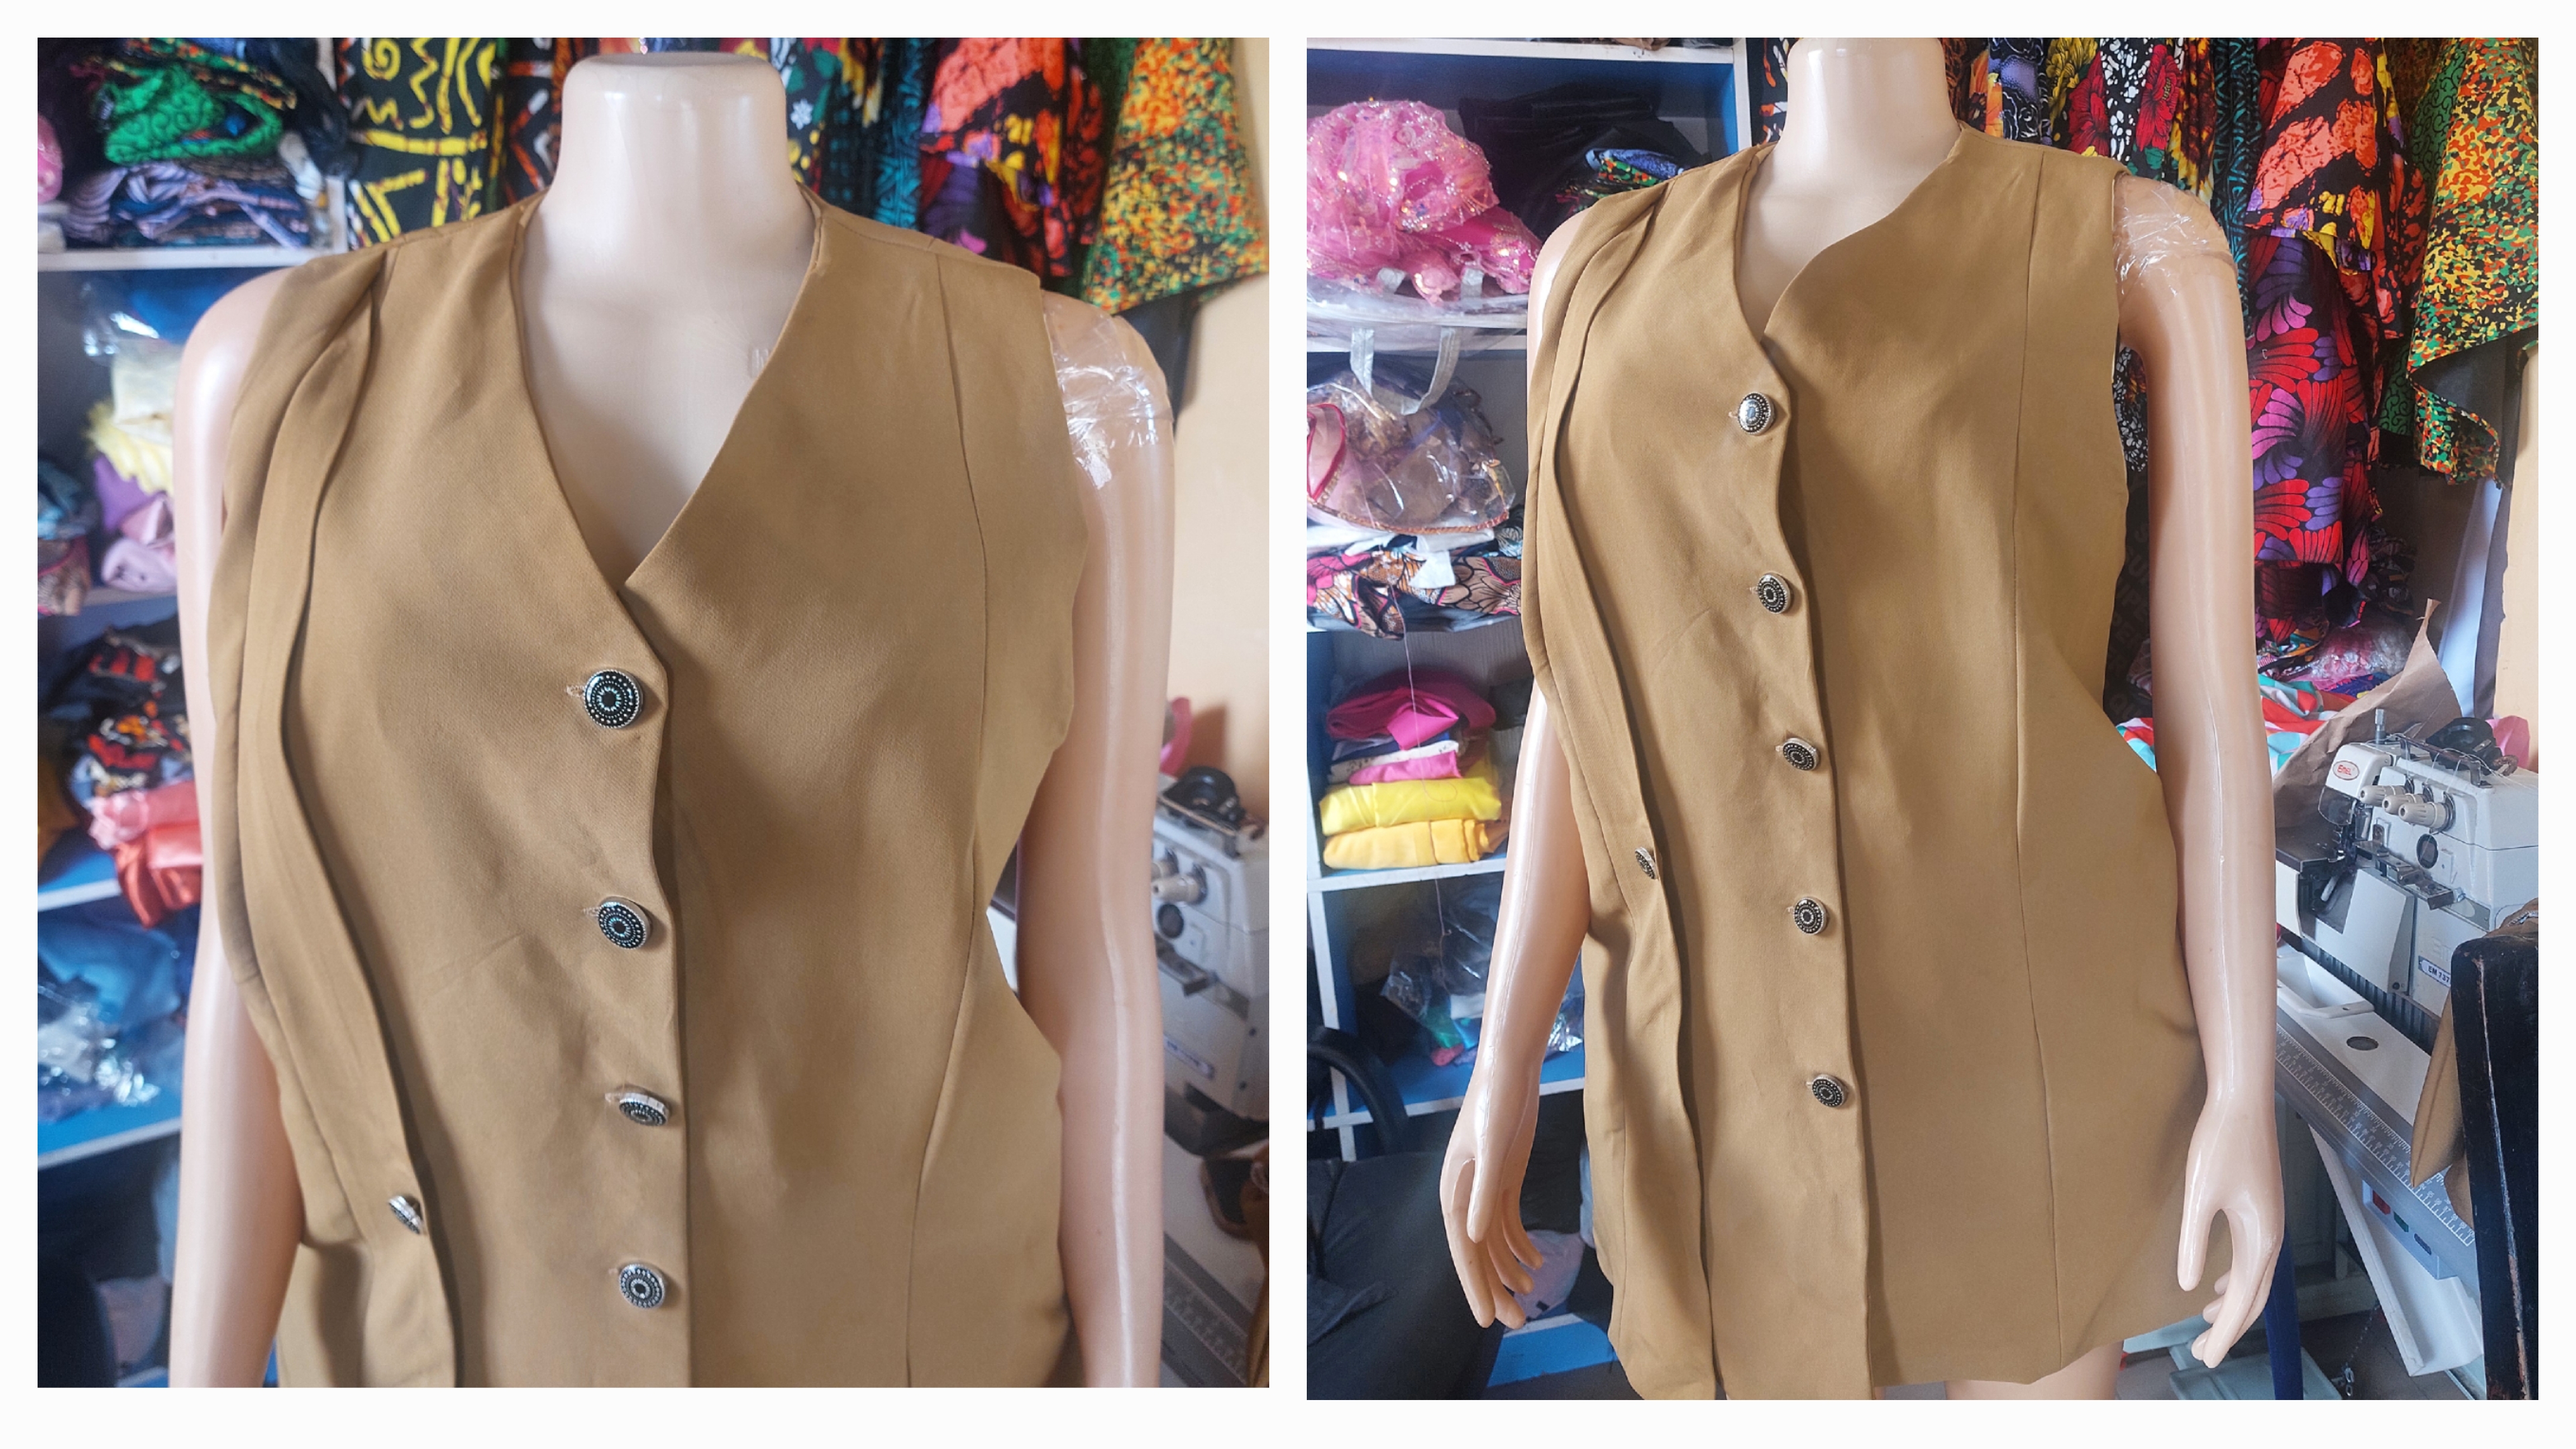
Your sleeveless blazer is now ready.
Thanks for reading and see you in my next one.
ABOUT ME

Just a quick reminder:
The text and photos on this blog was created by me, unless I state otherwise.
The cover images are designed using Canva with strict adherence to elements that are licenced for use under their terms.
Photographs are taken with my Samsung Galaxy A52 - 64MP Camera and other amazing features that absolutely capture the moment in high quality.
Lastly, do not use any of my content either text or image without asking me for authorisation. In other words, unauthorised used of my content is highly prohibited.