Hello hive
Greetings dear creative Hivers, I hope your week is going as pleasant as expected.
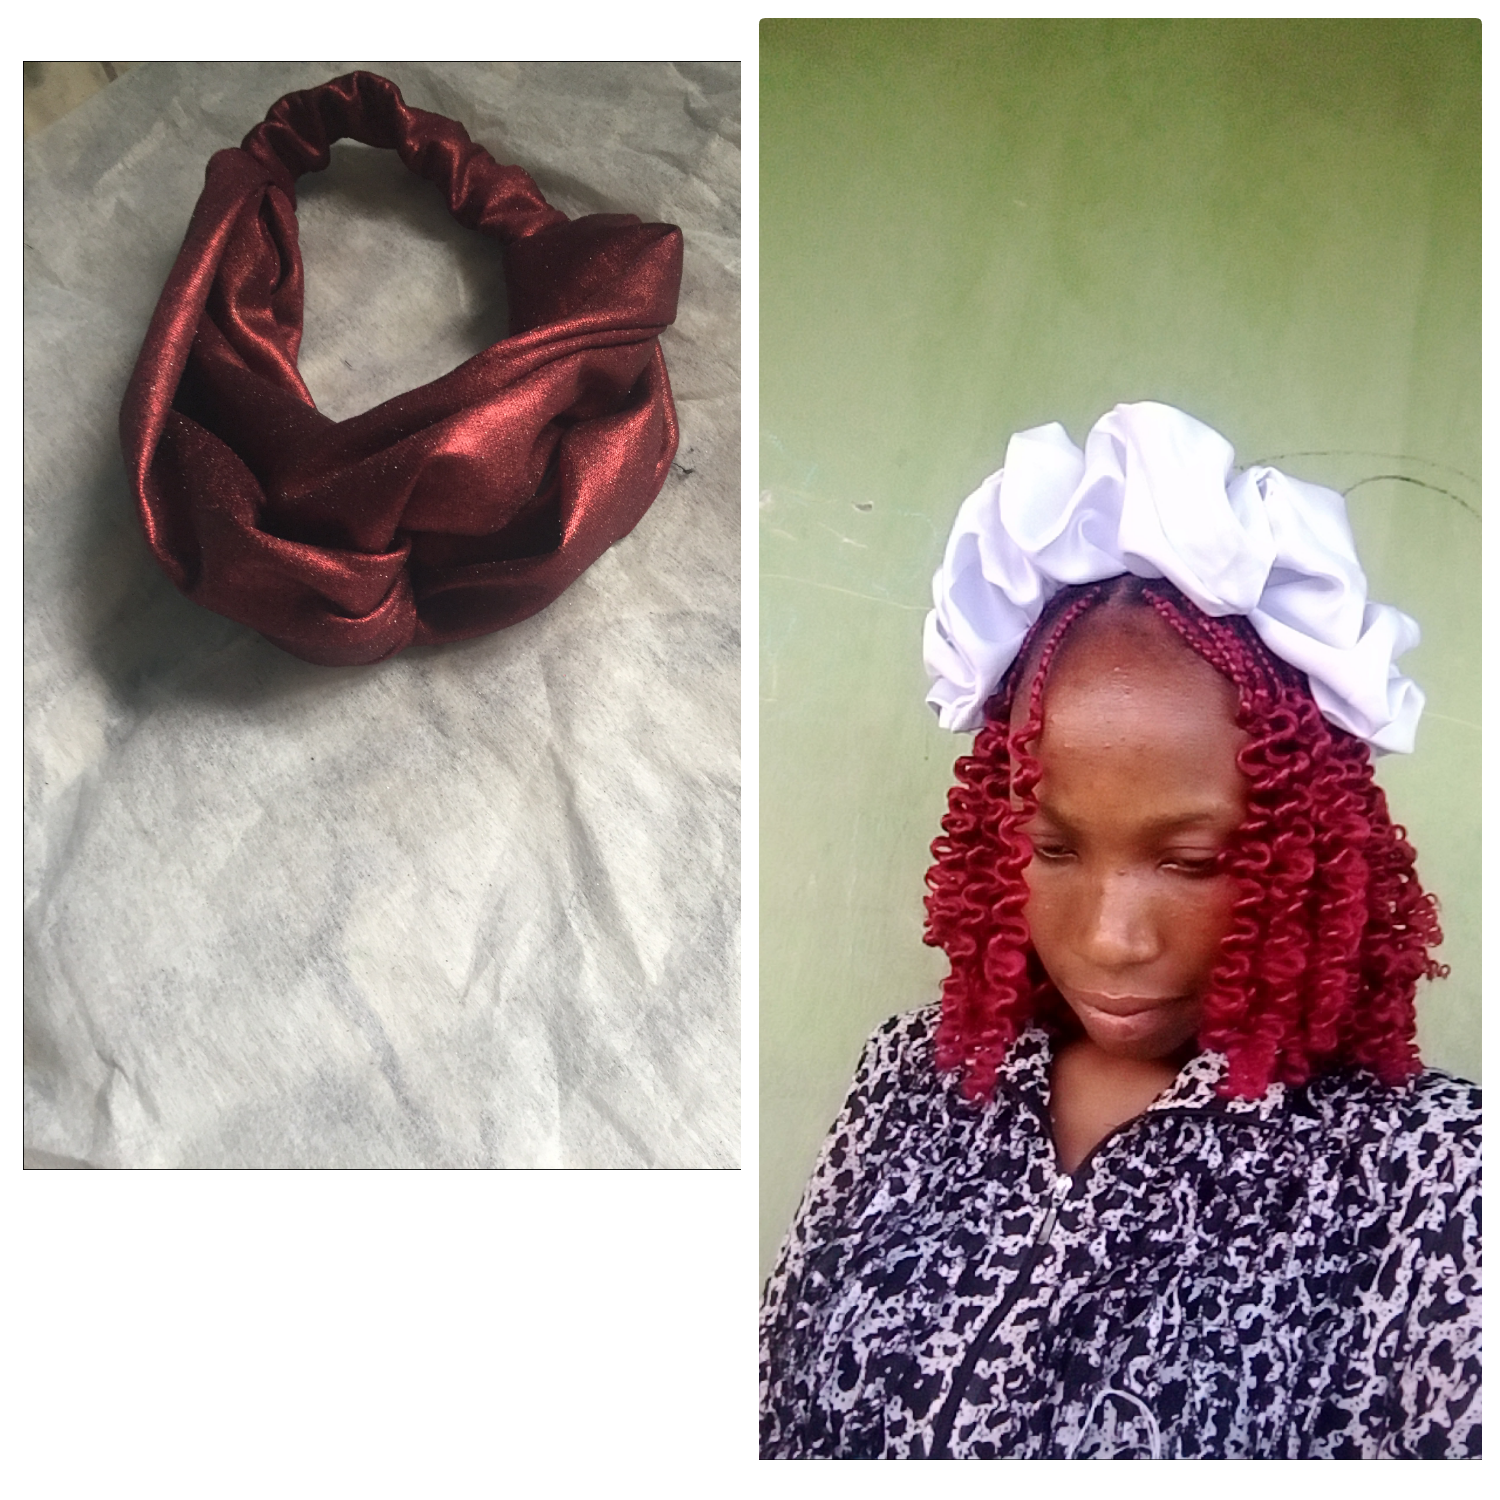
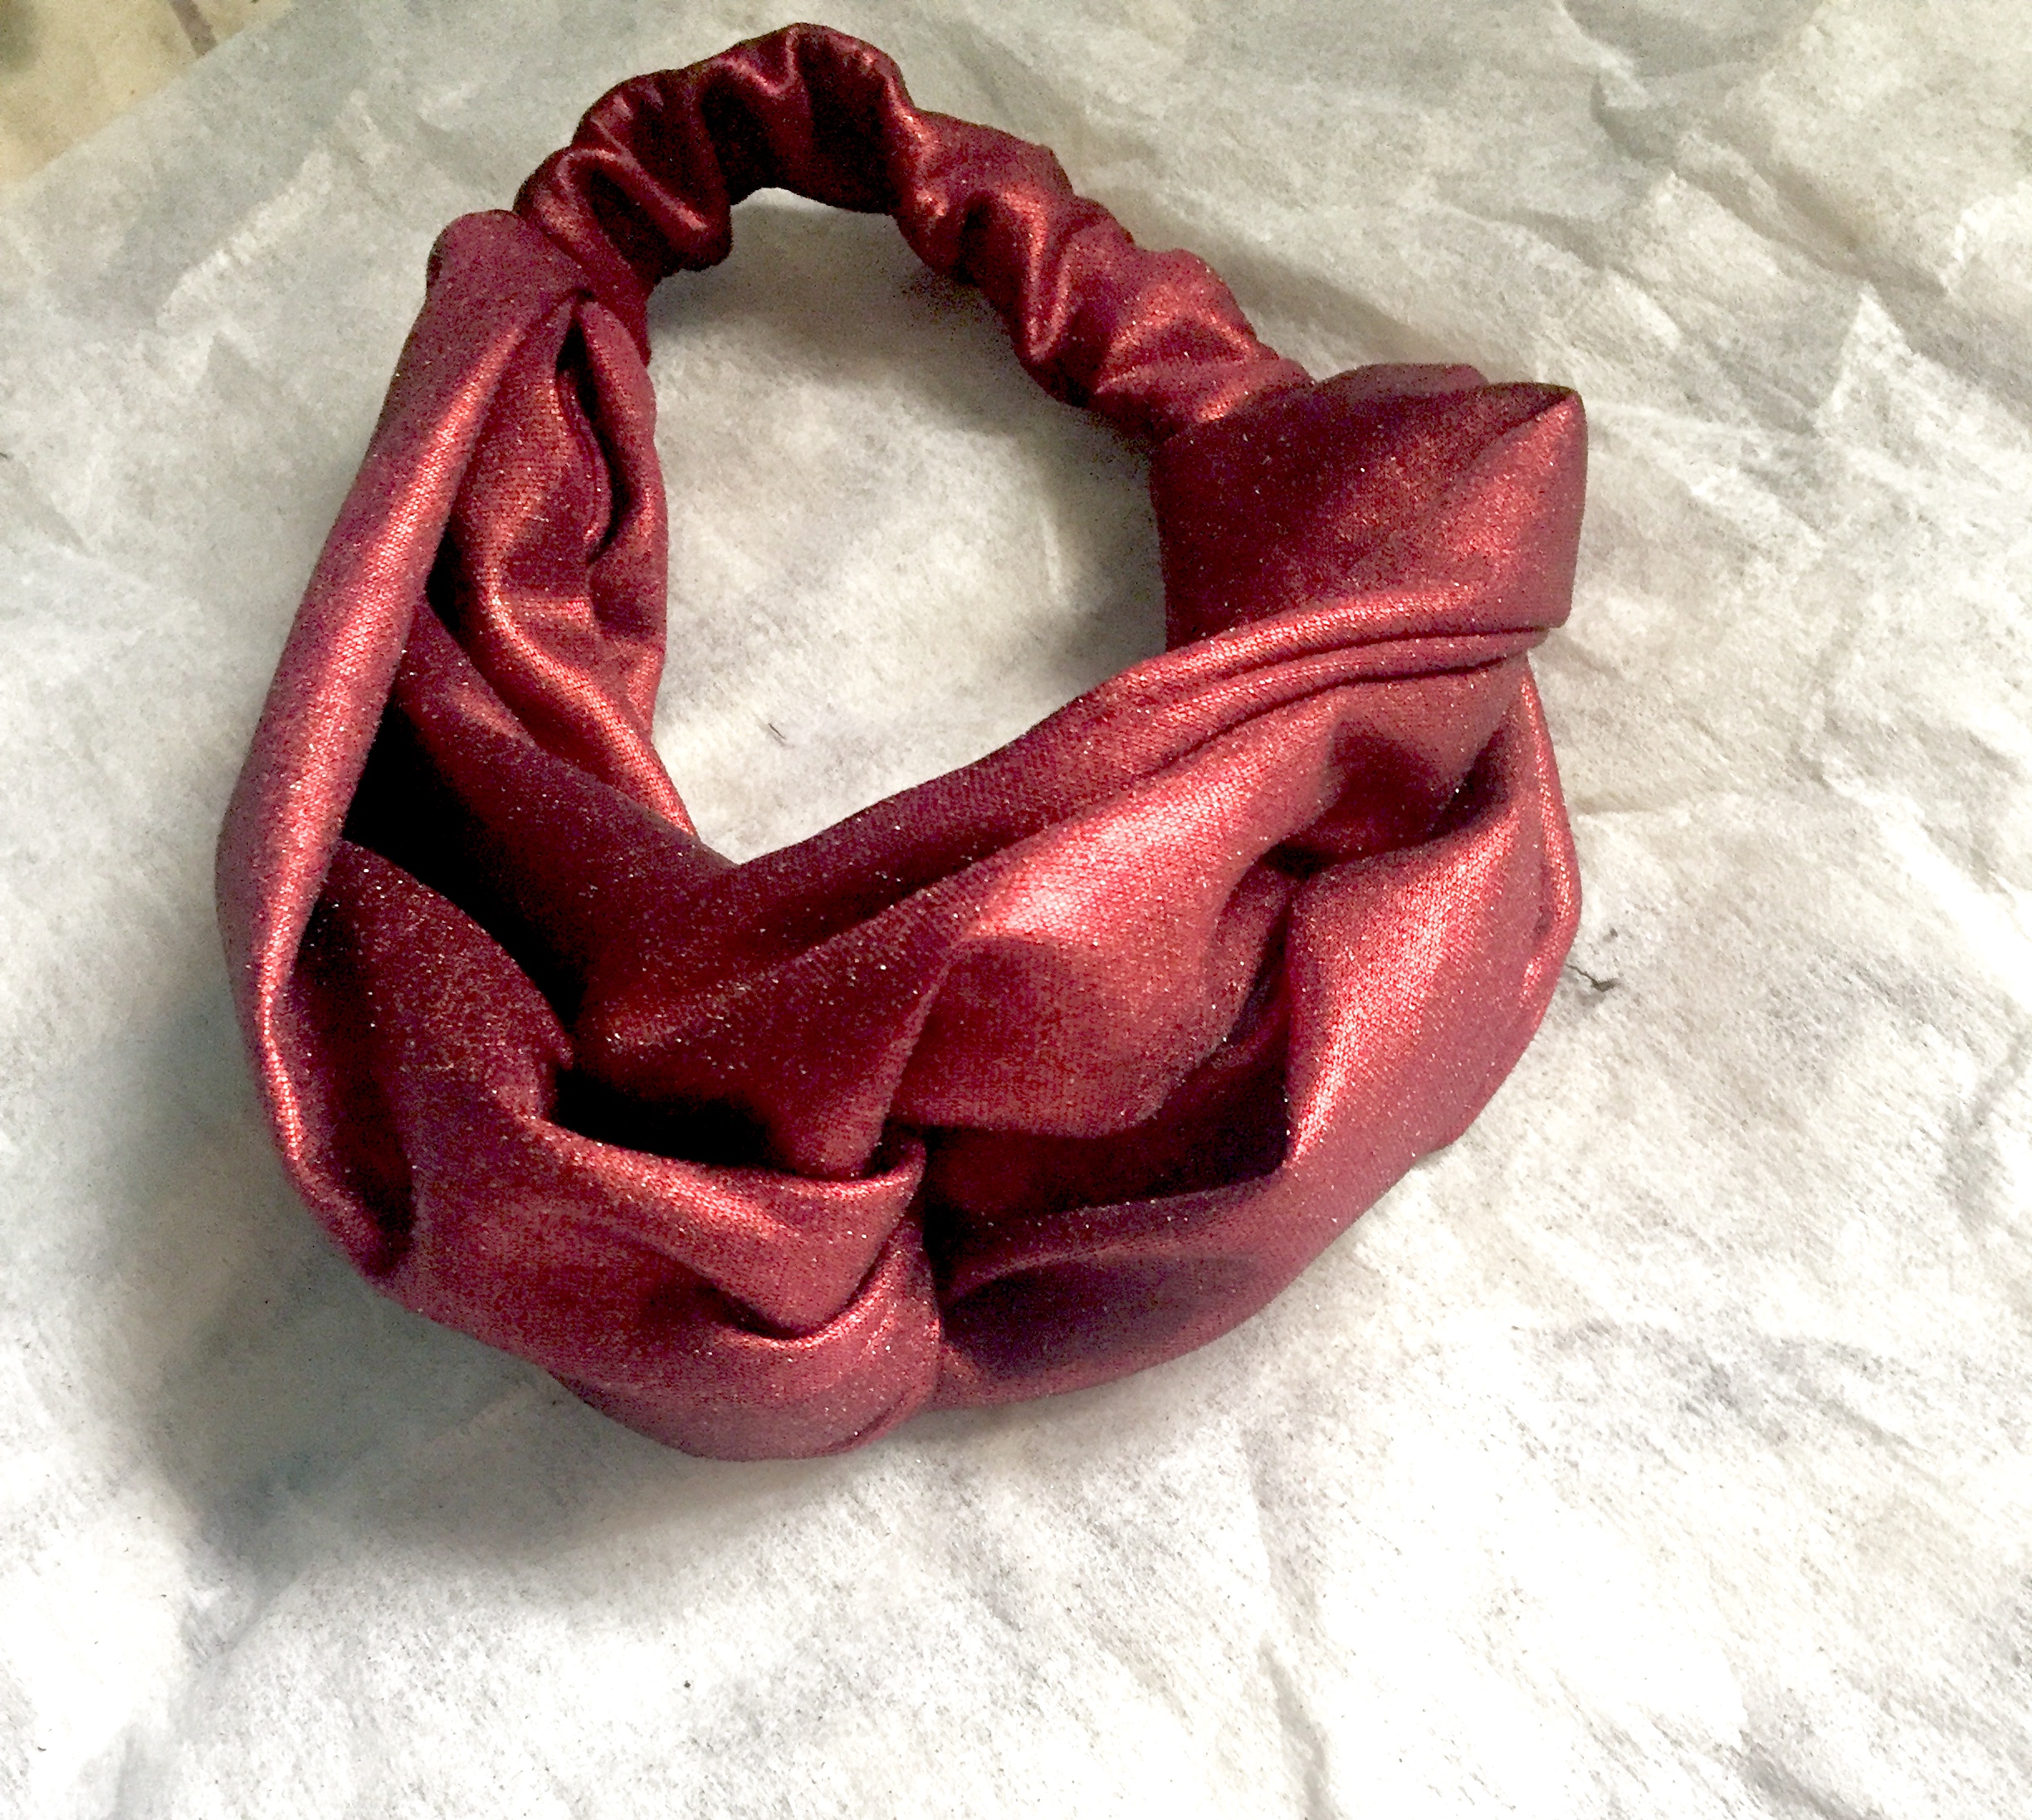
I will be sharing with you today in this great community @diyhub the making of this beautiful scrunchie hair band I made for myself and my elder sister.
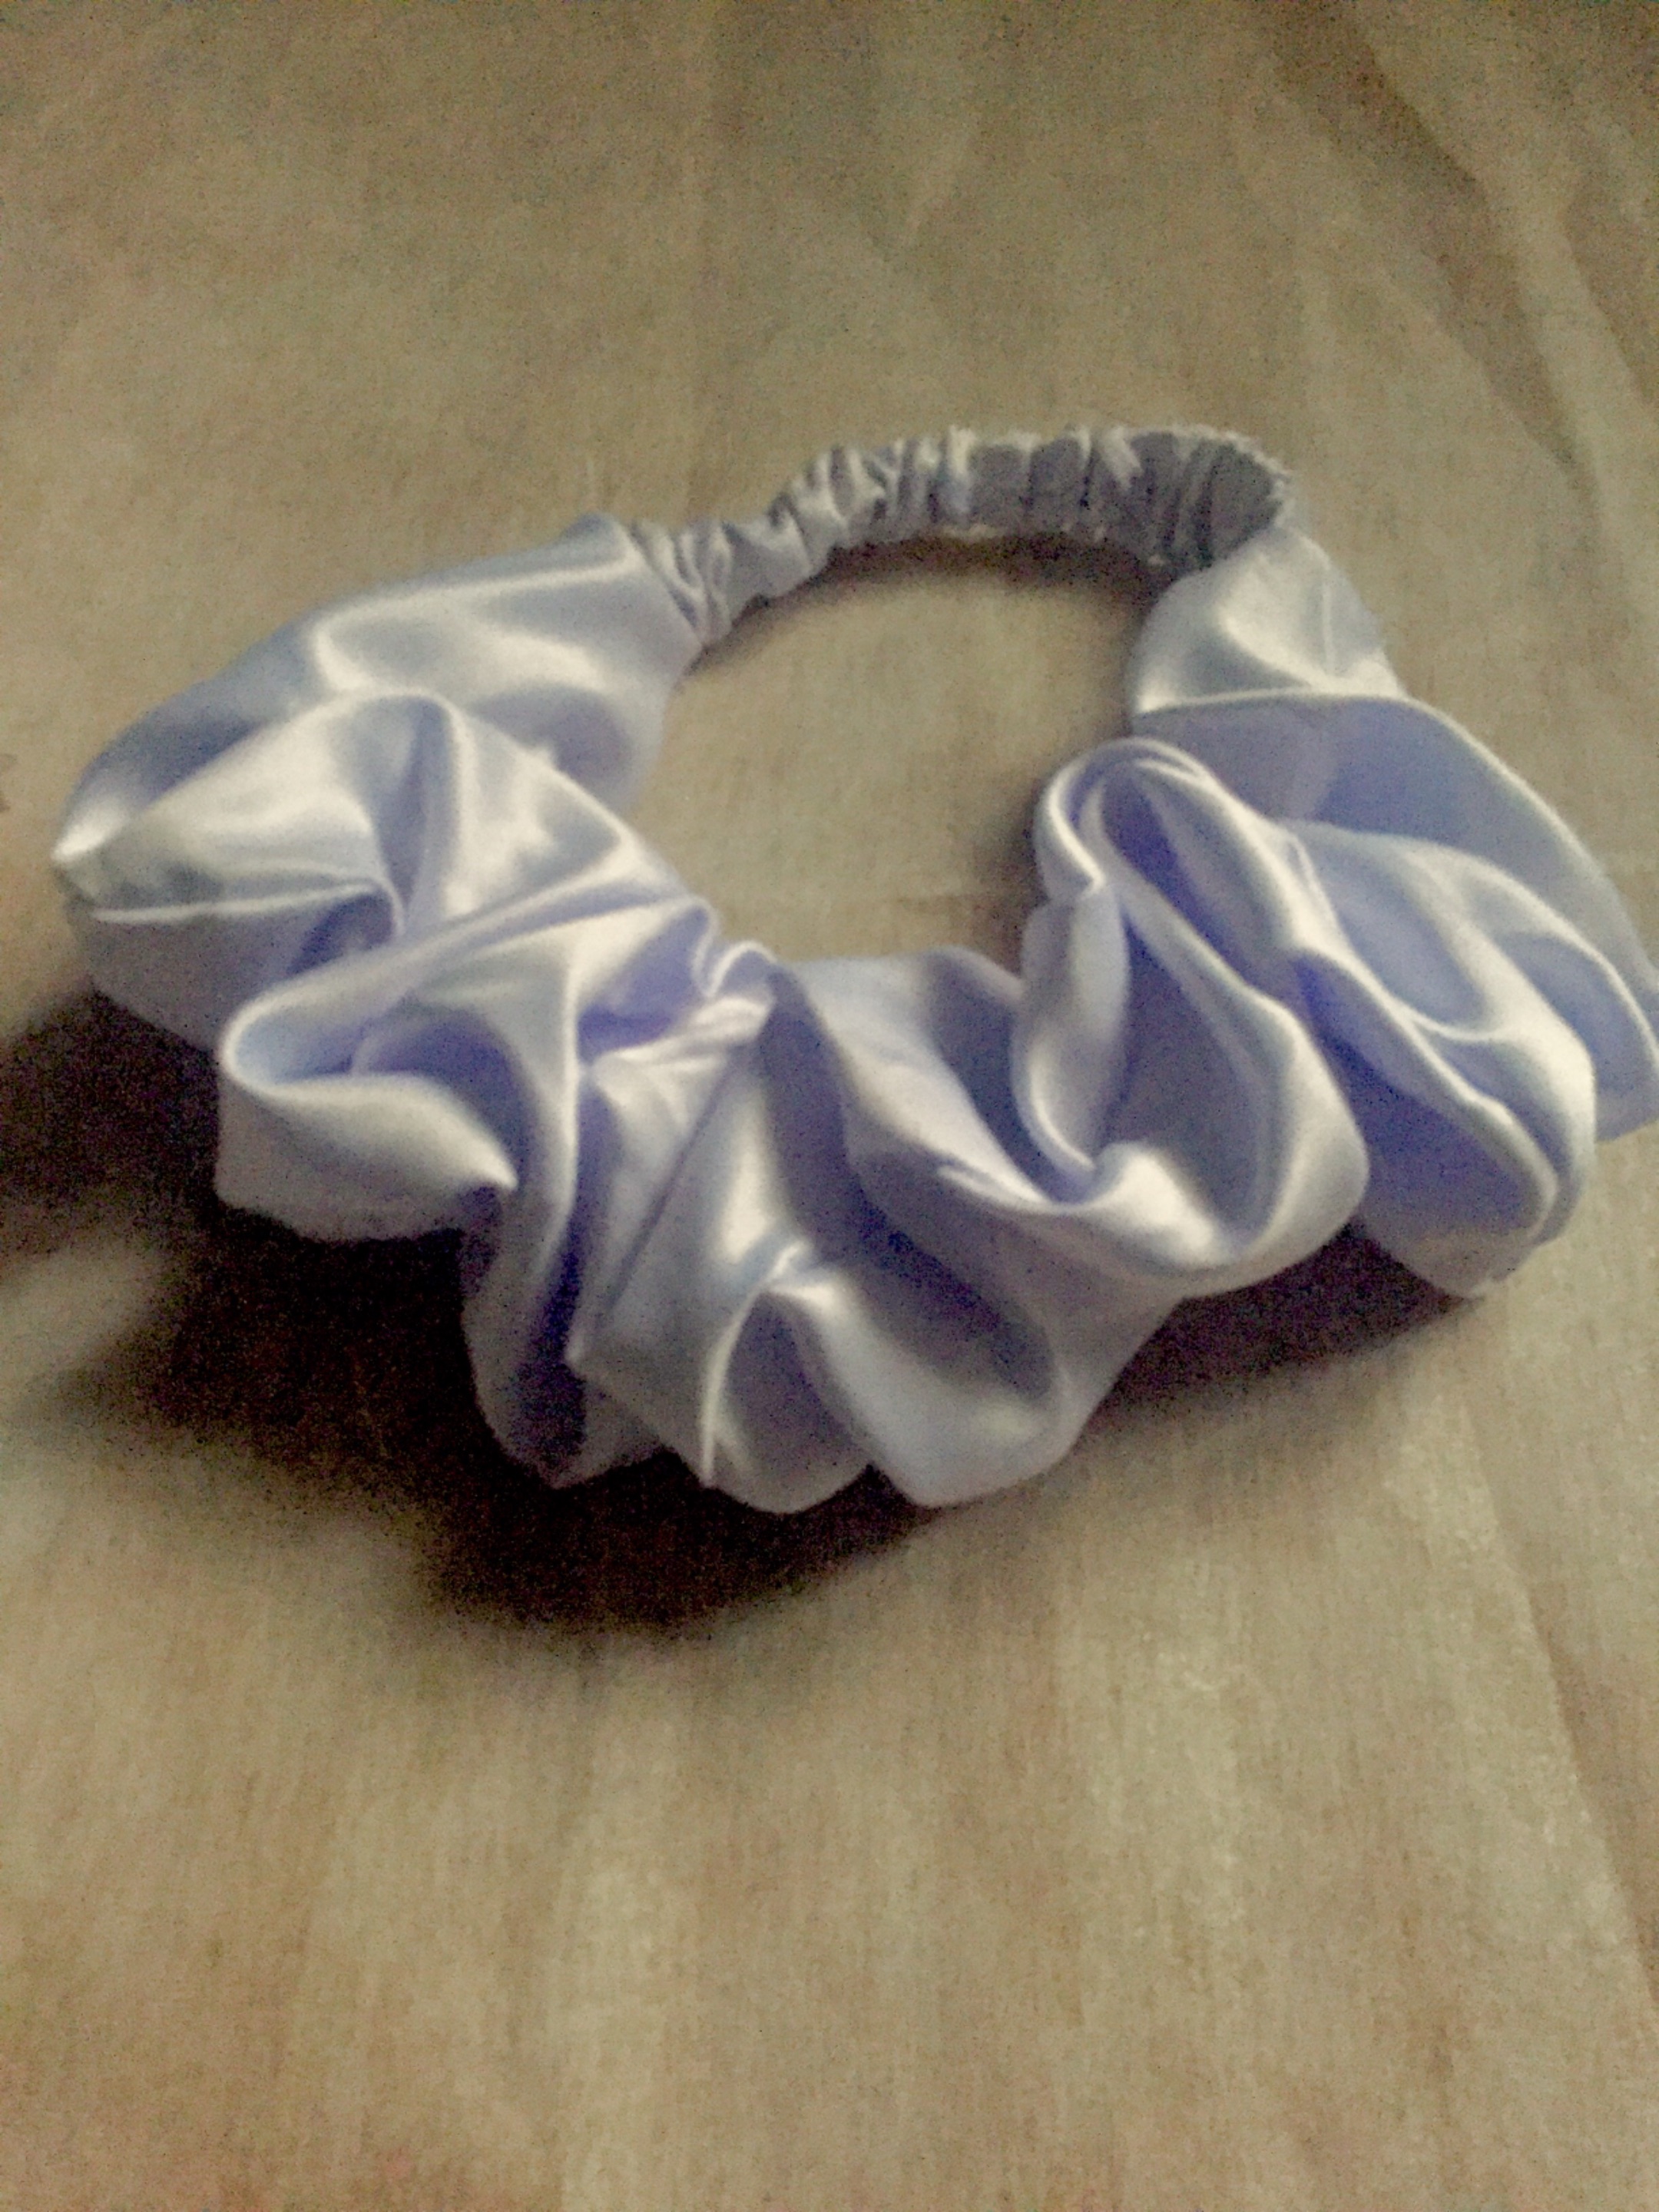
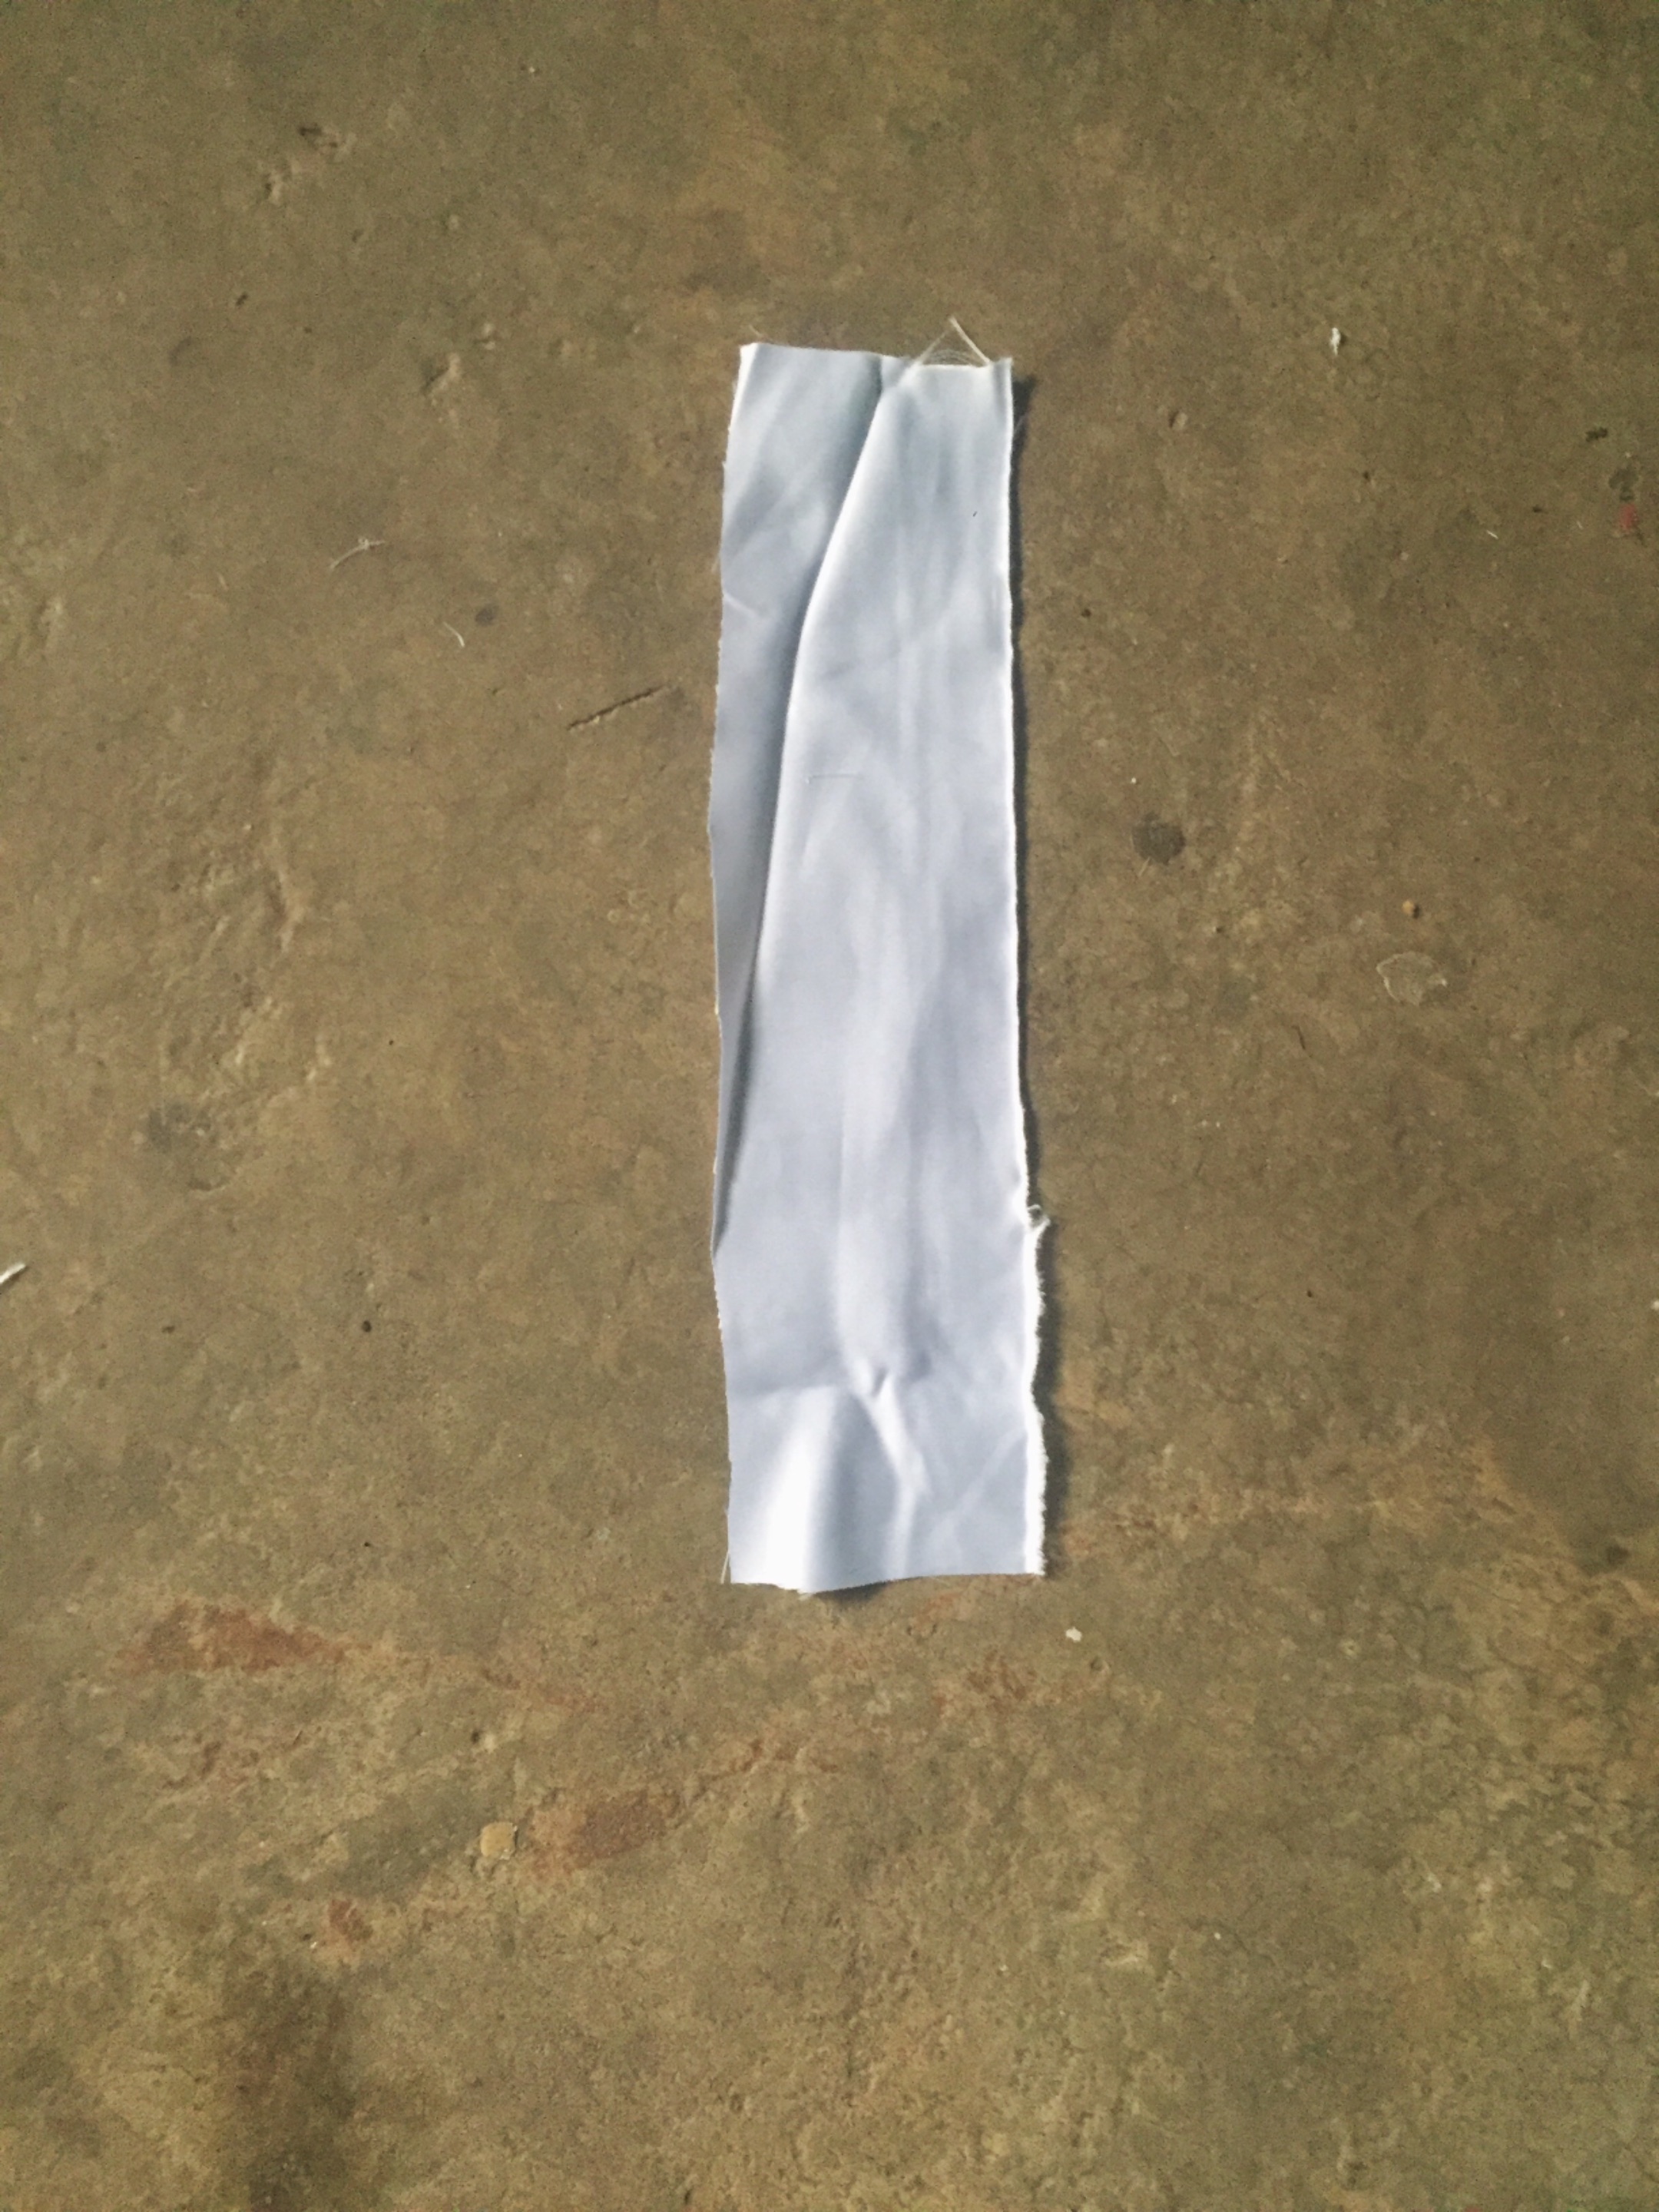
I receive message lately from the choir group that use a white fascinator on our head with the custom we using and it dark already ready where I can get that now, thank goodness the is lady that selling some fabric around my area so get white dull face satin from her.
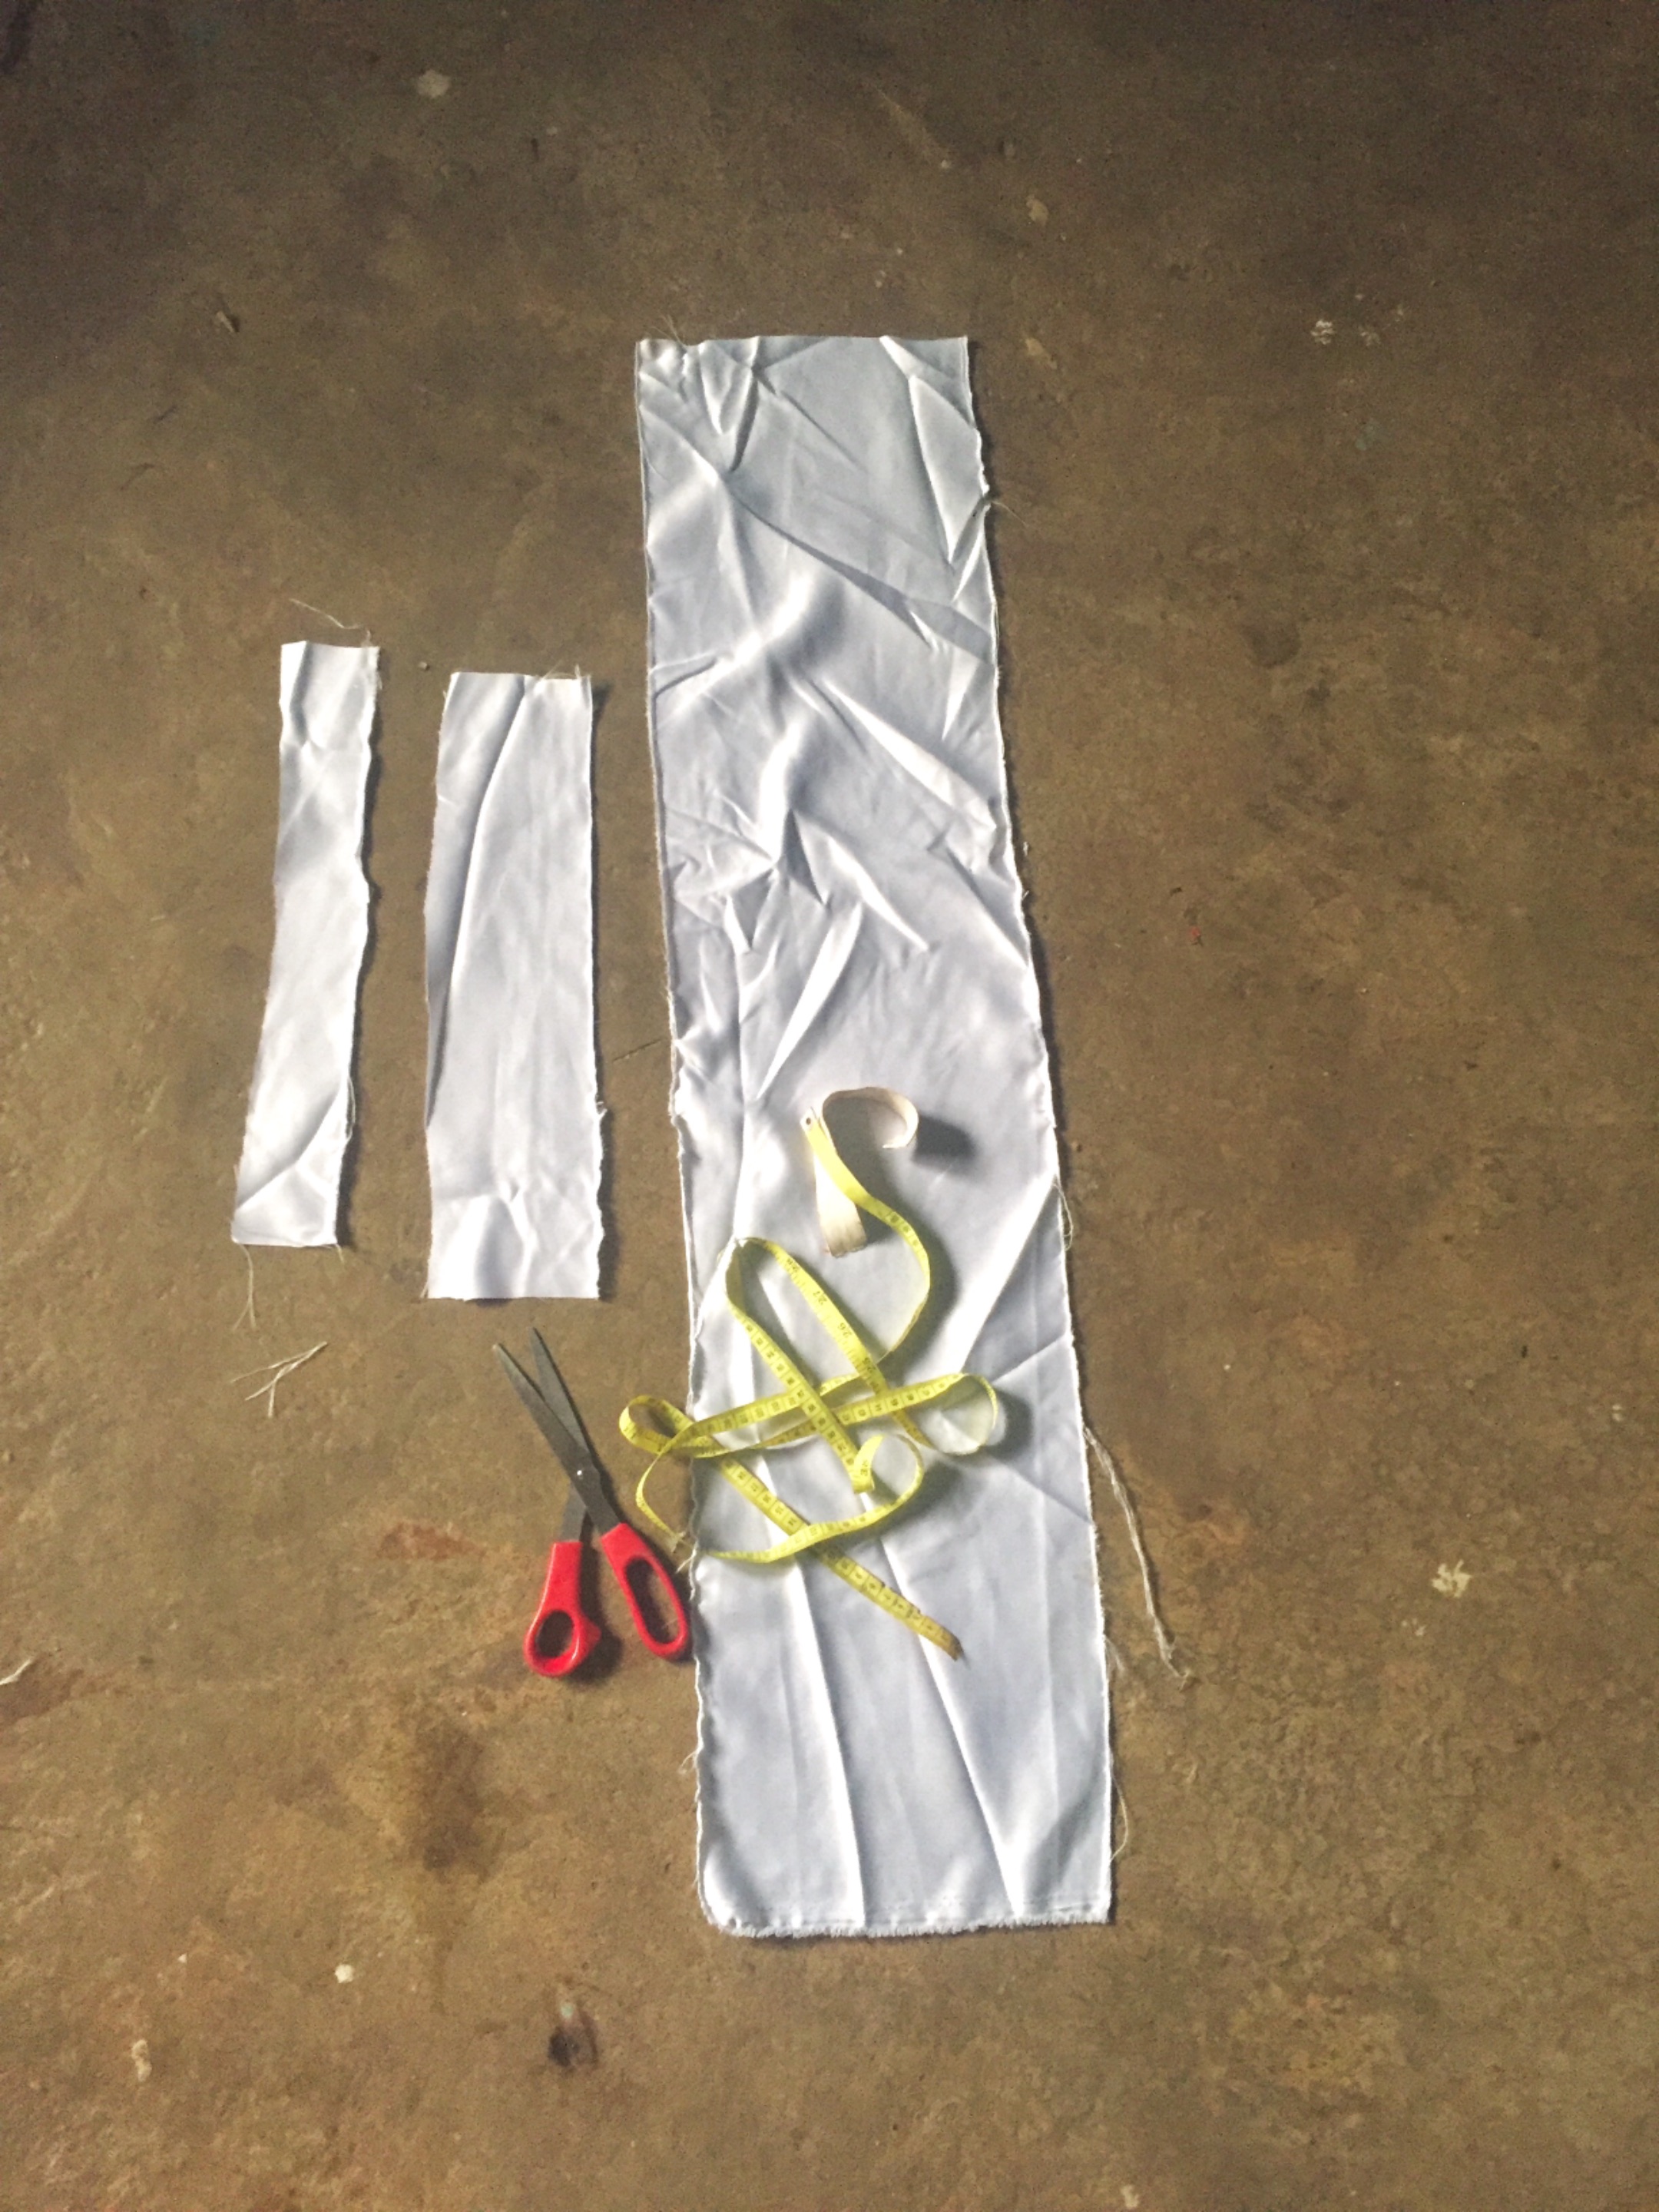
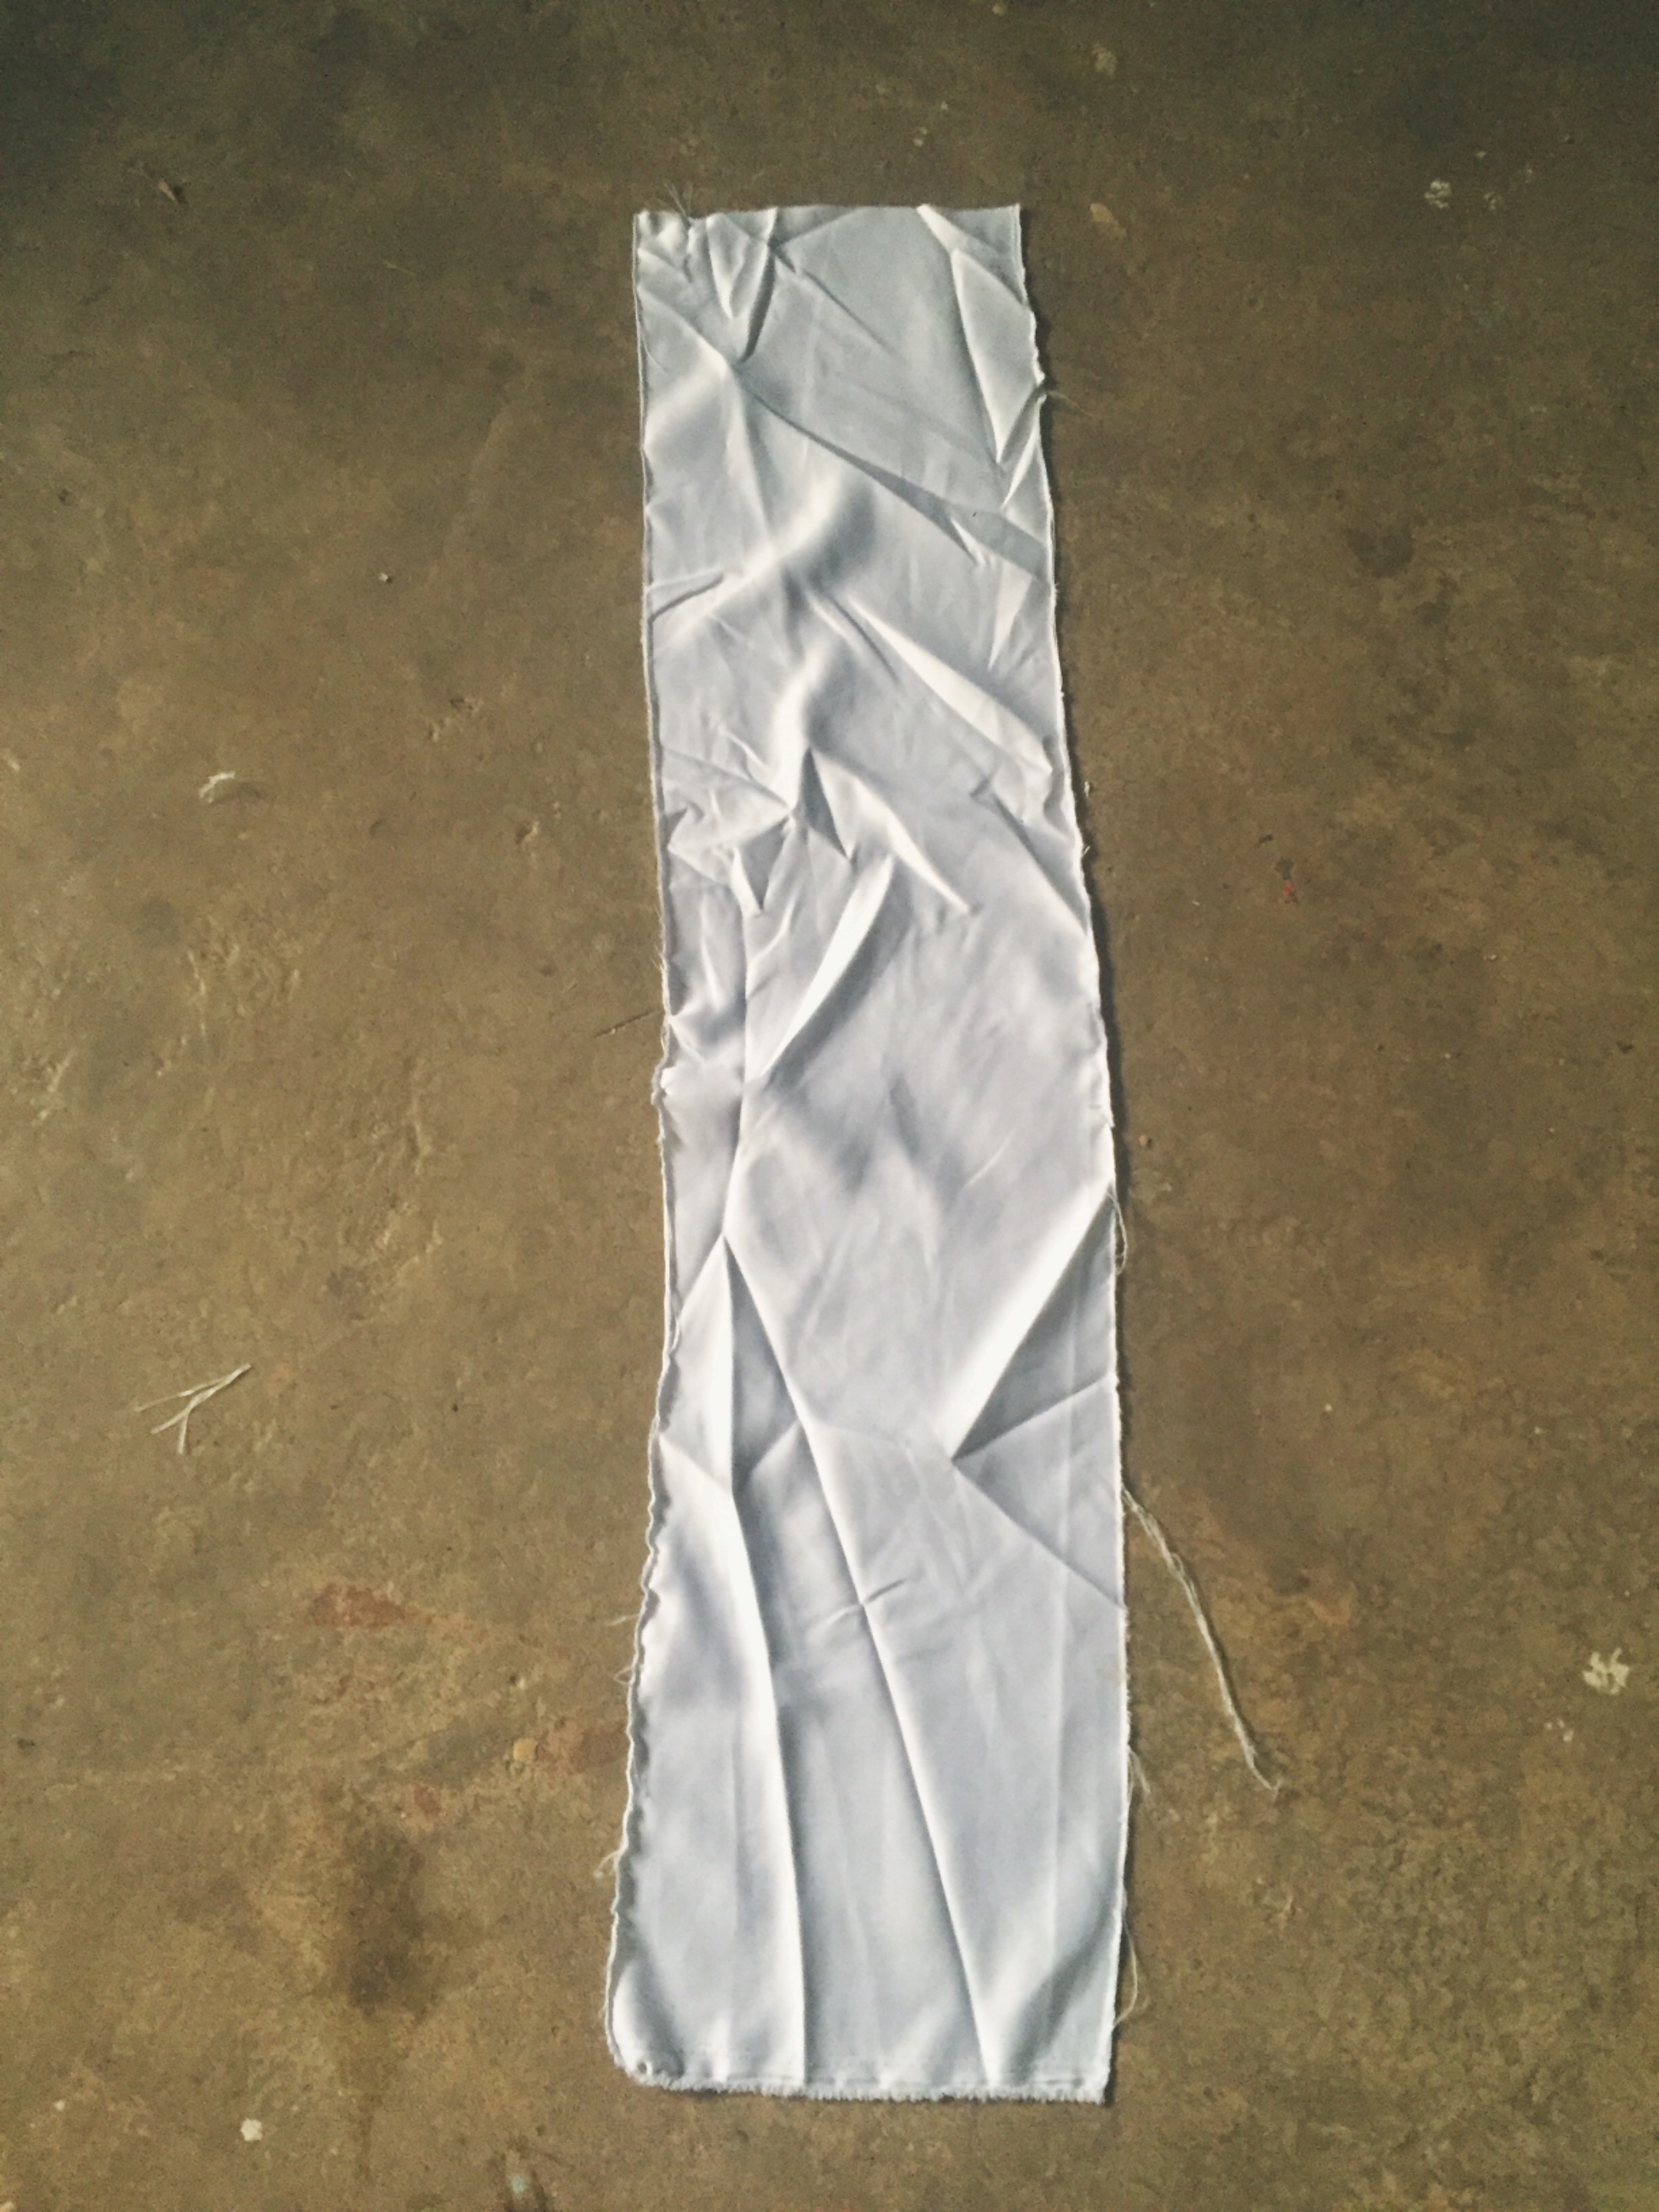
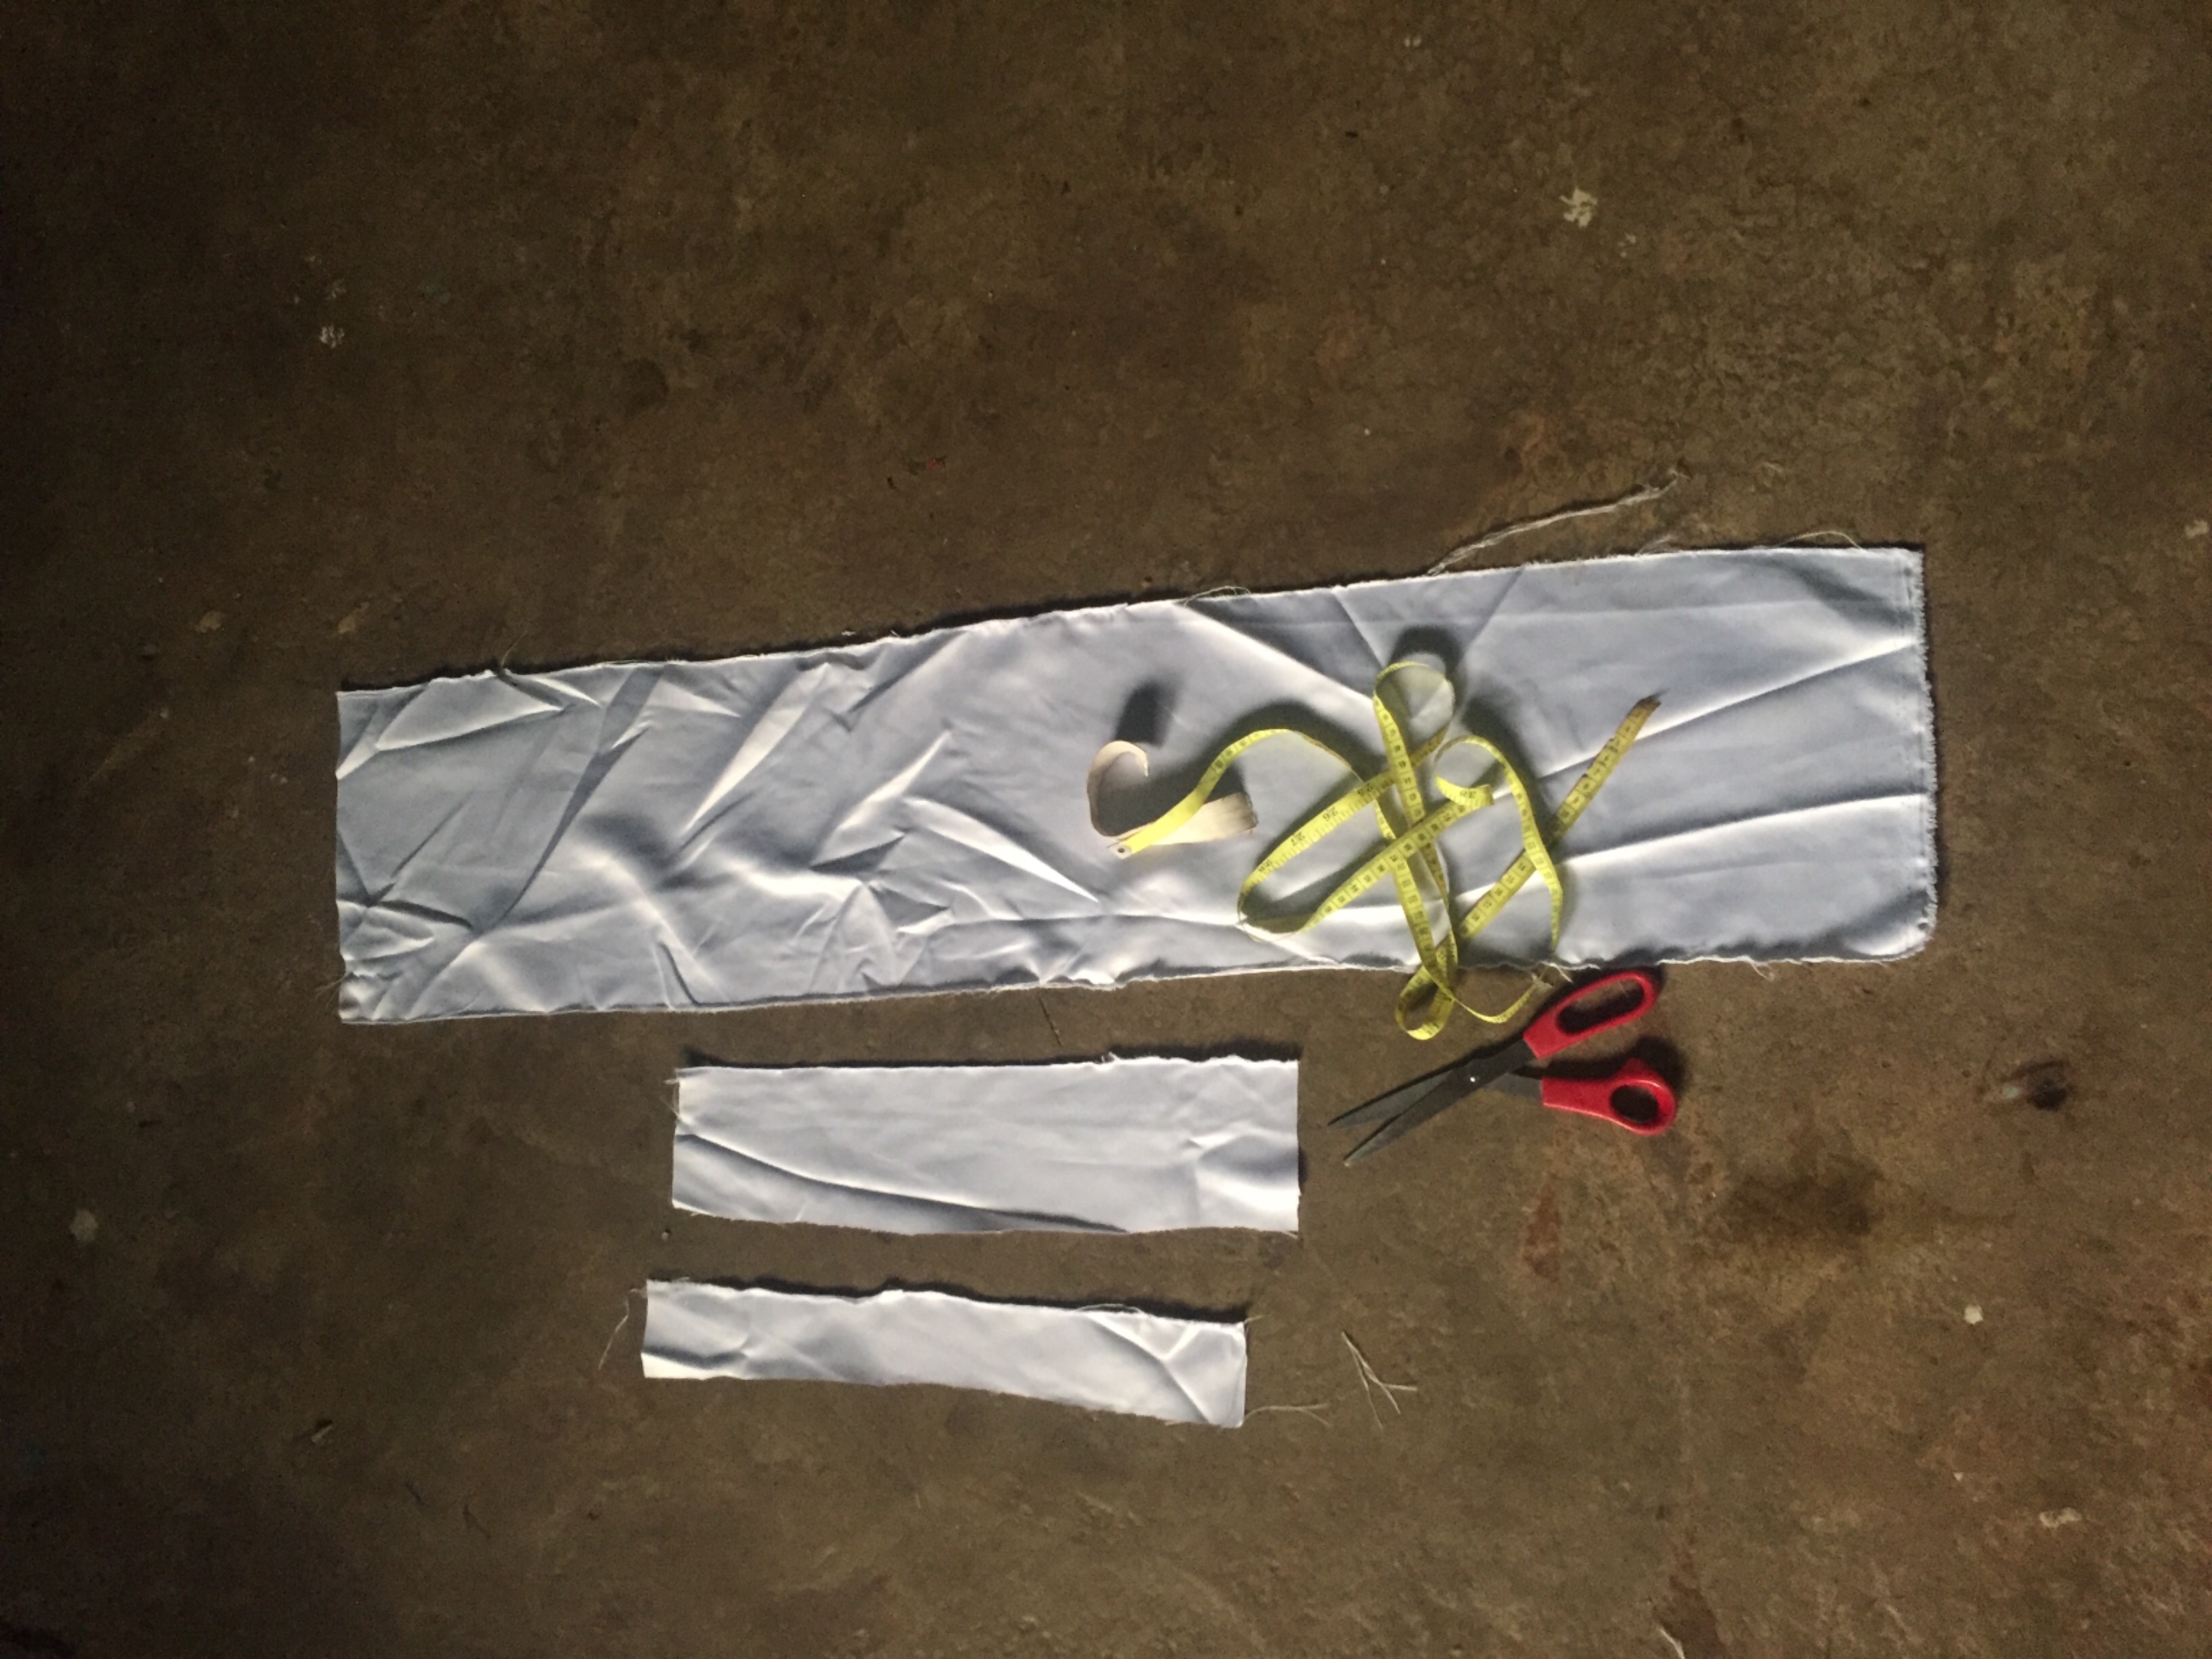
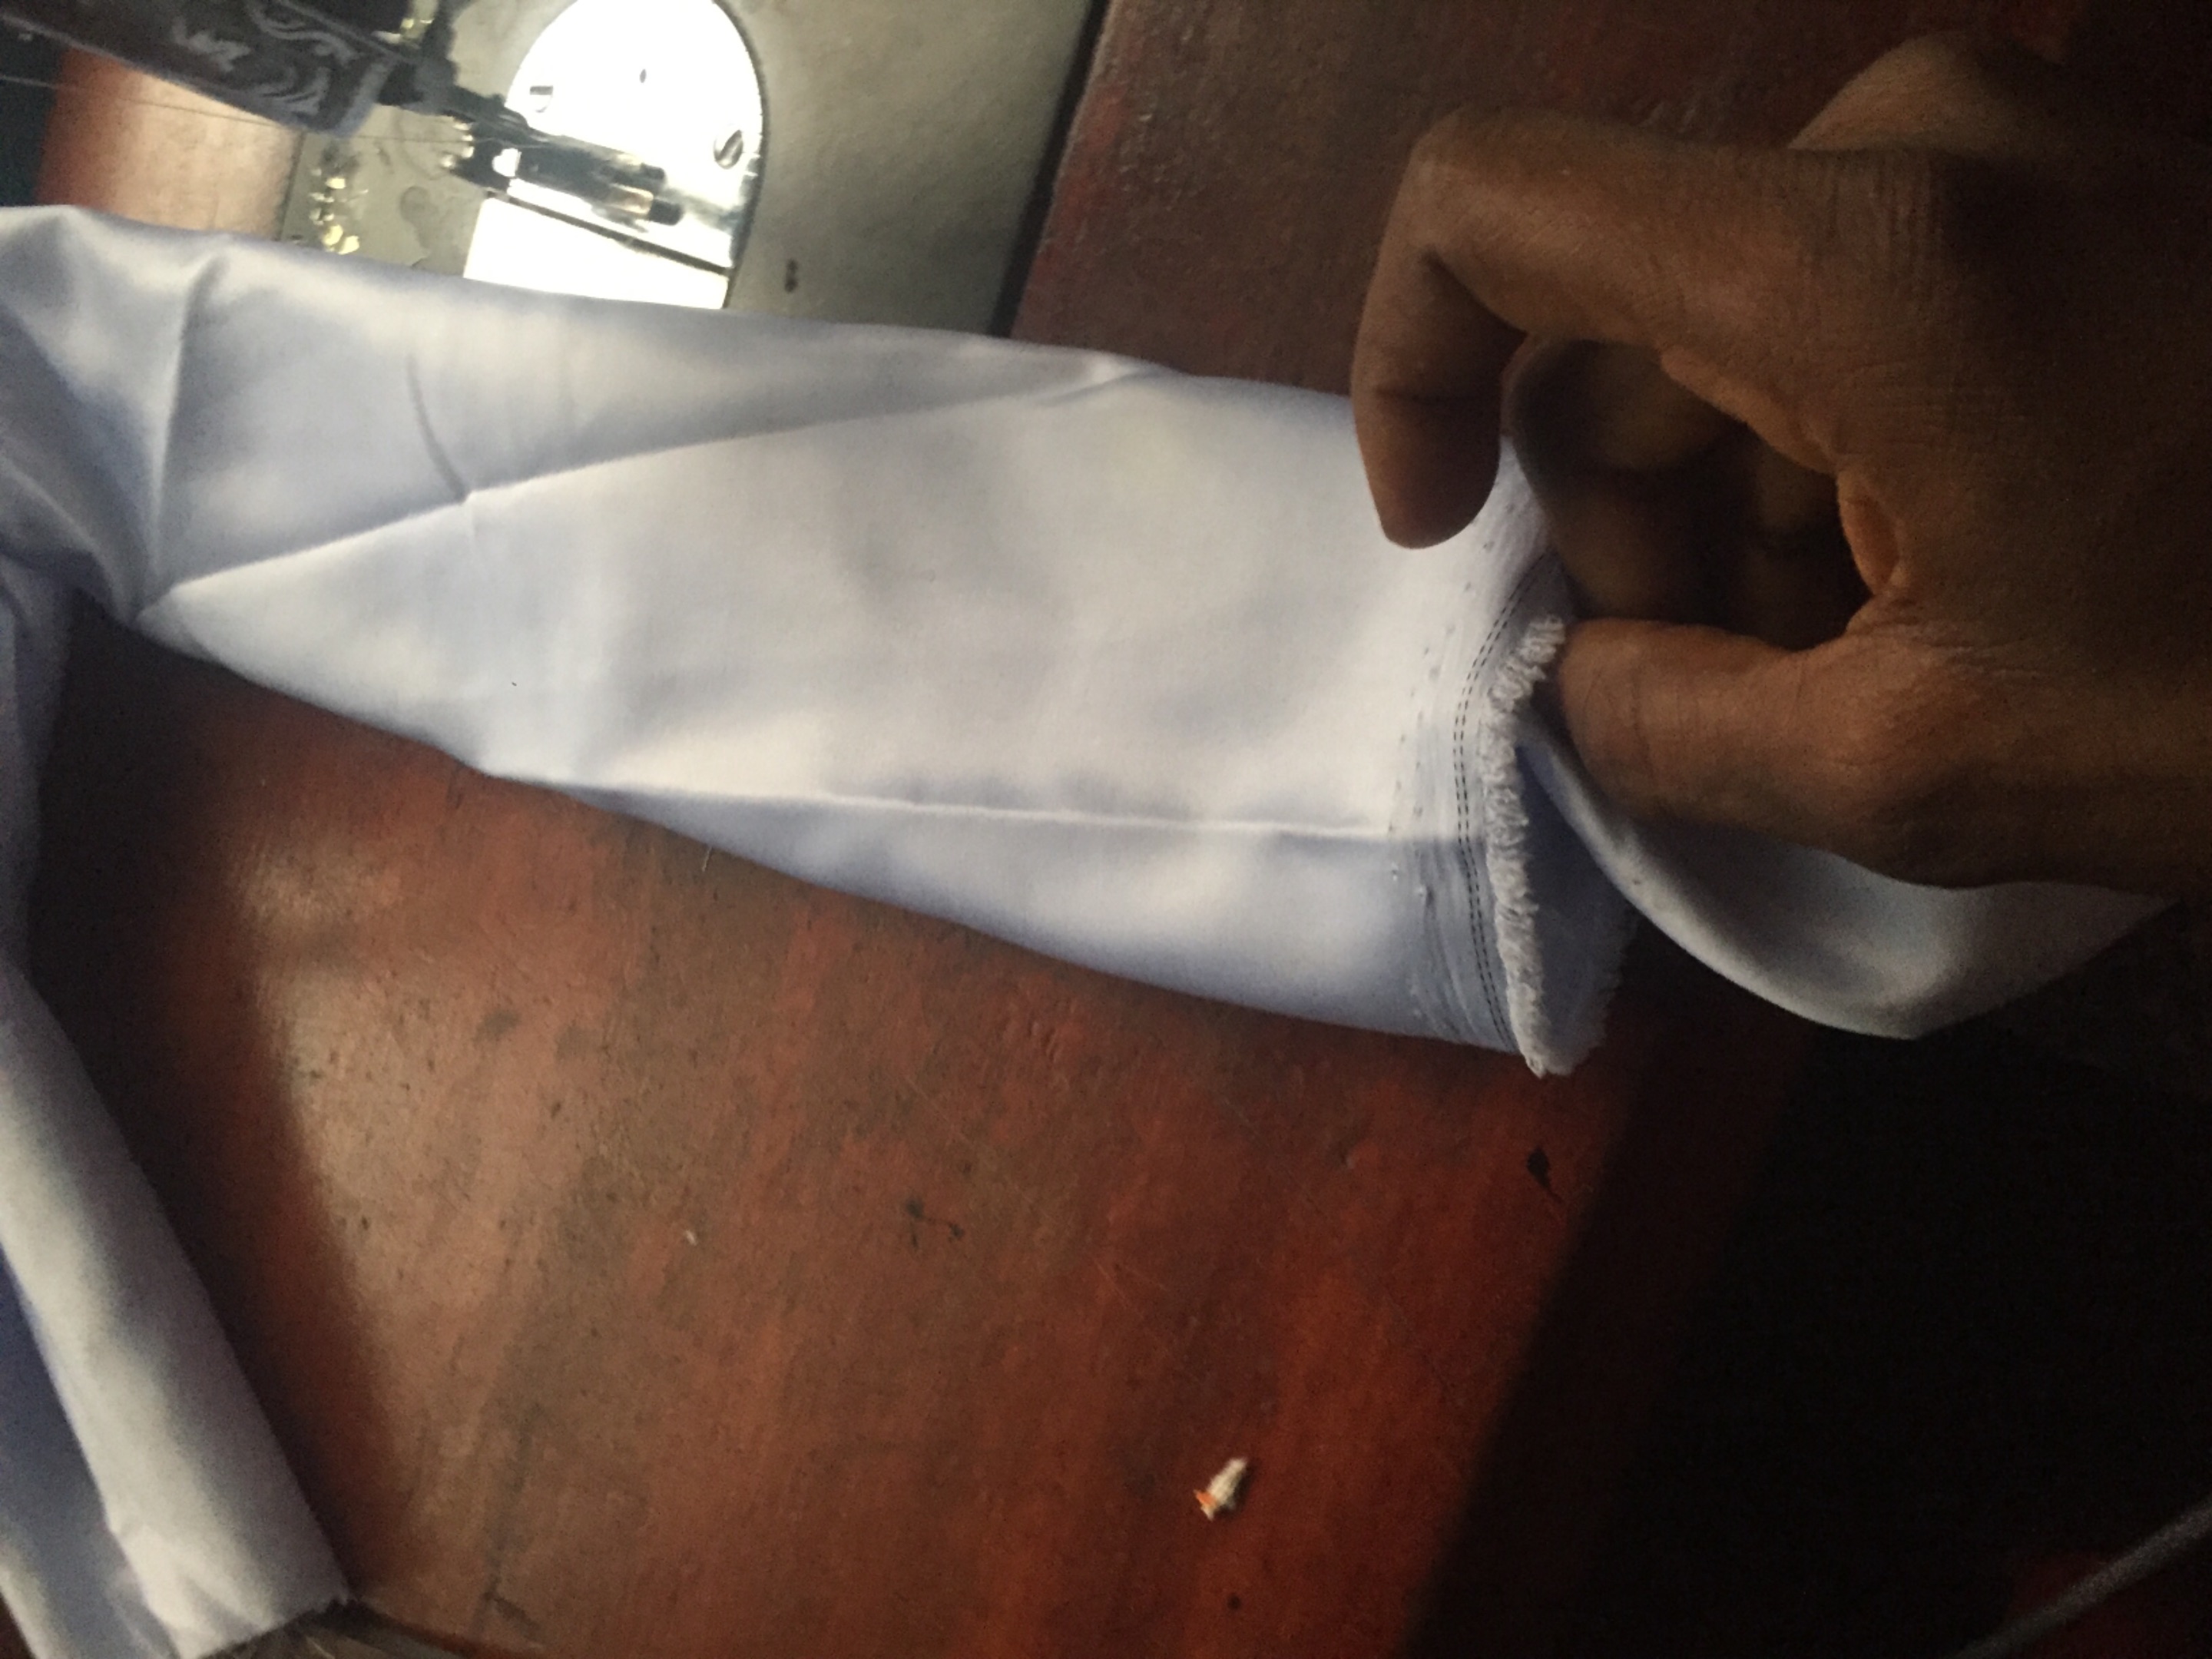
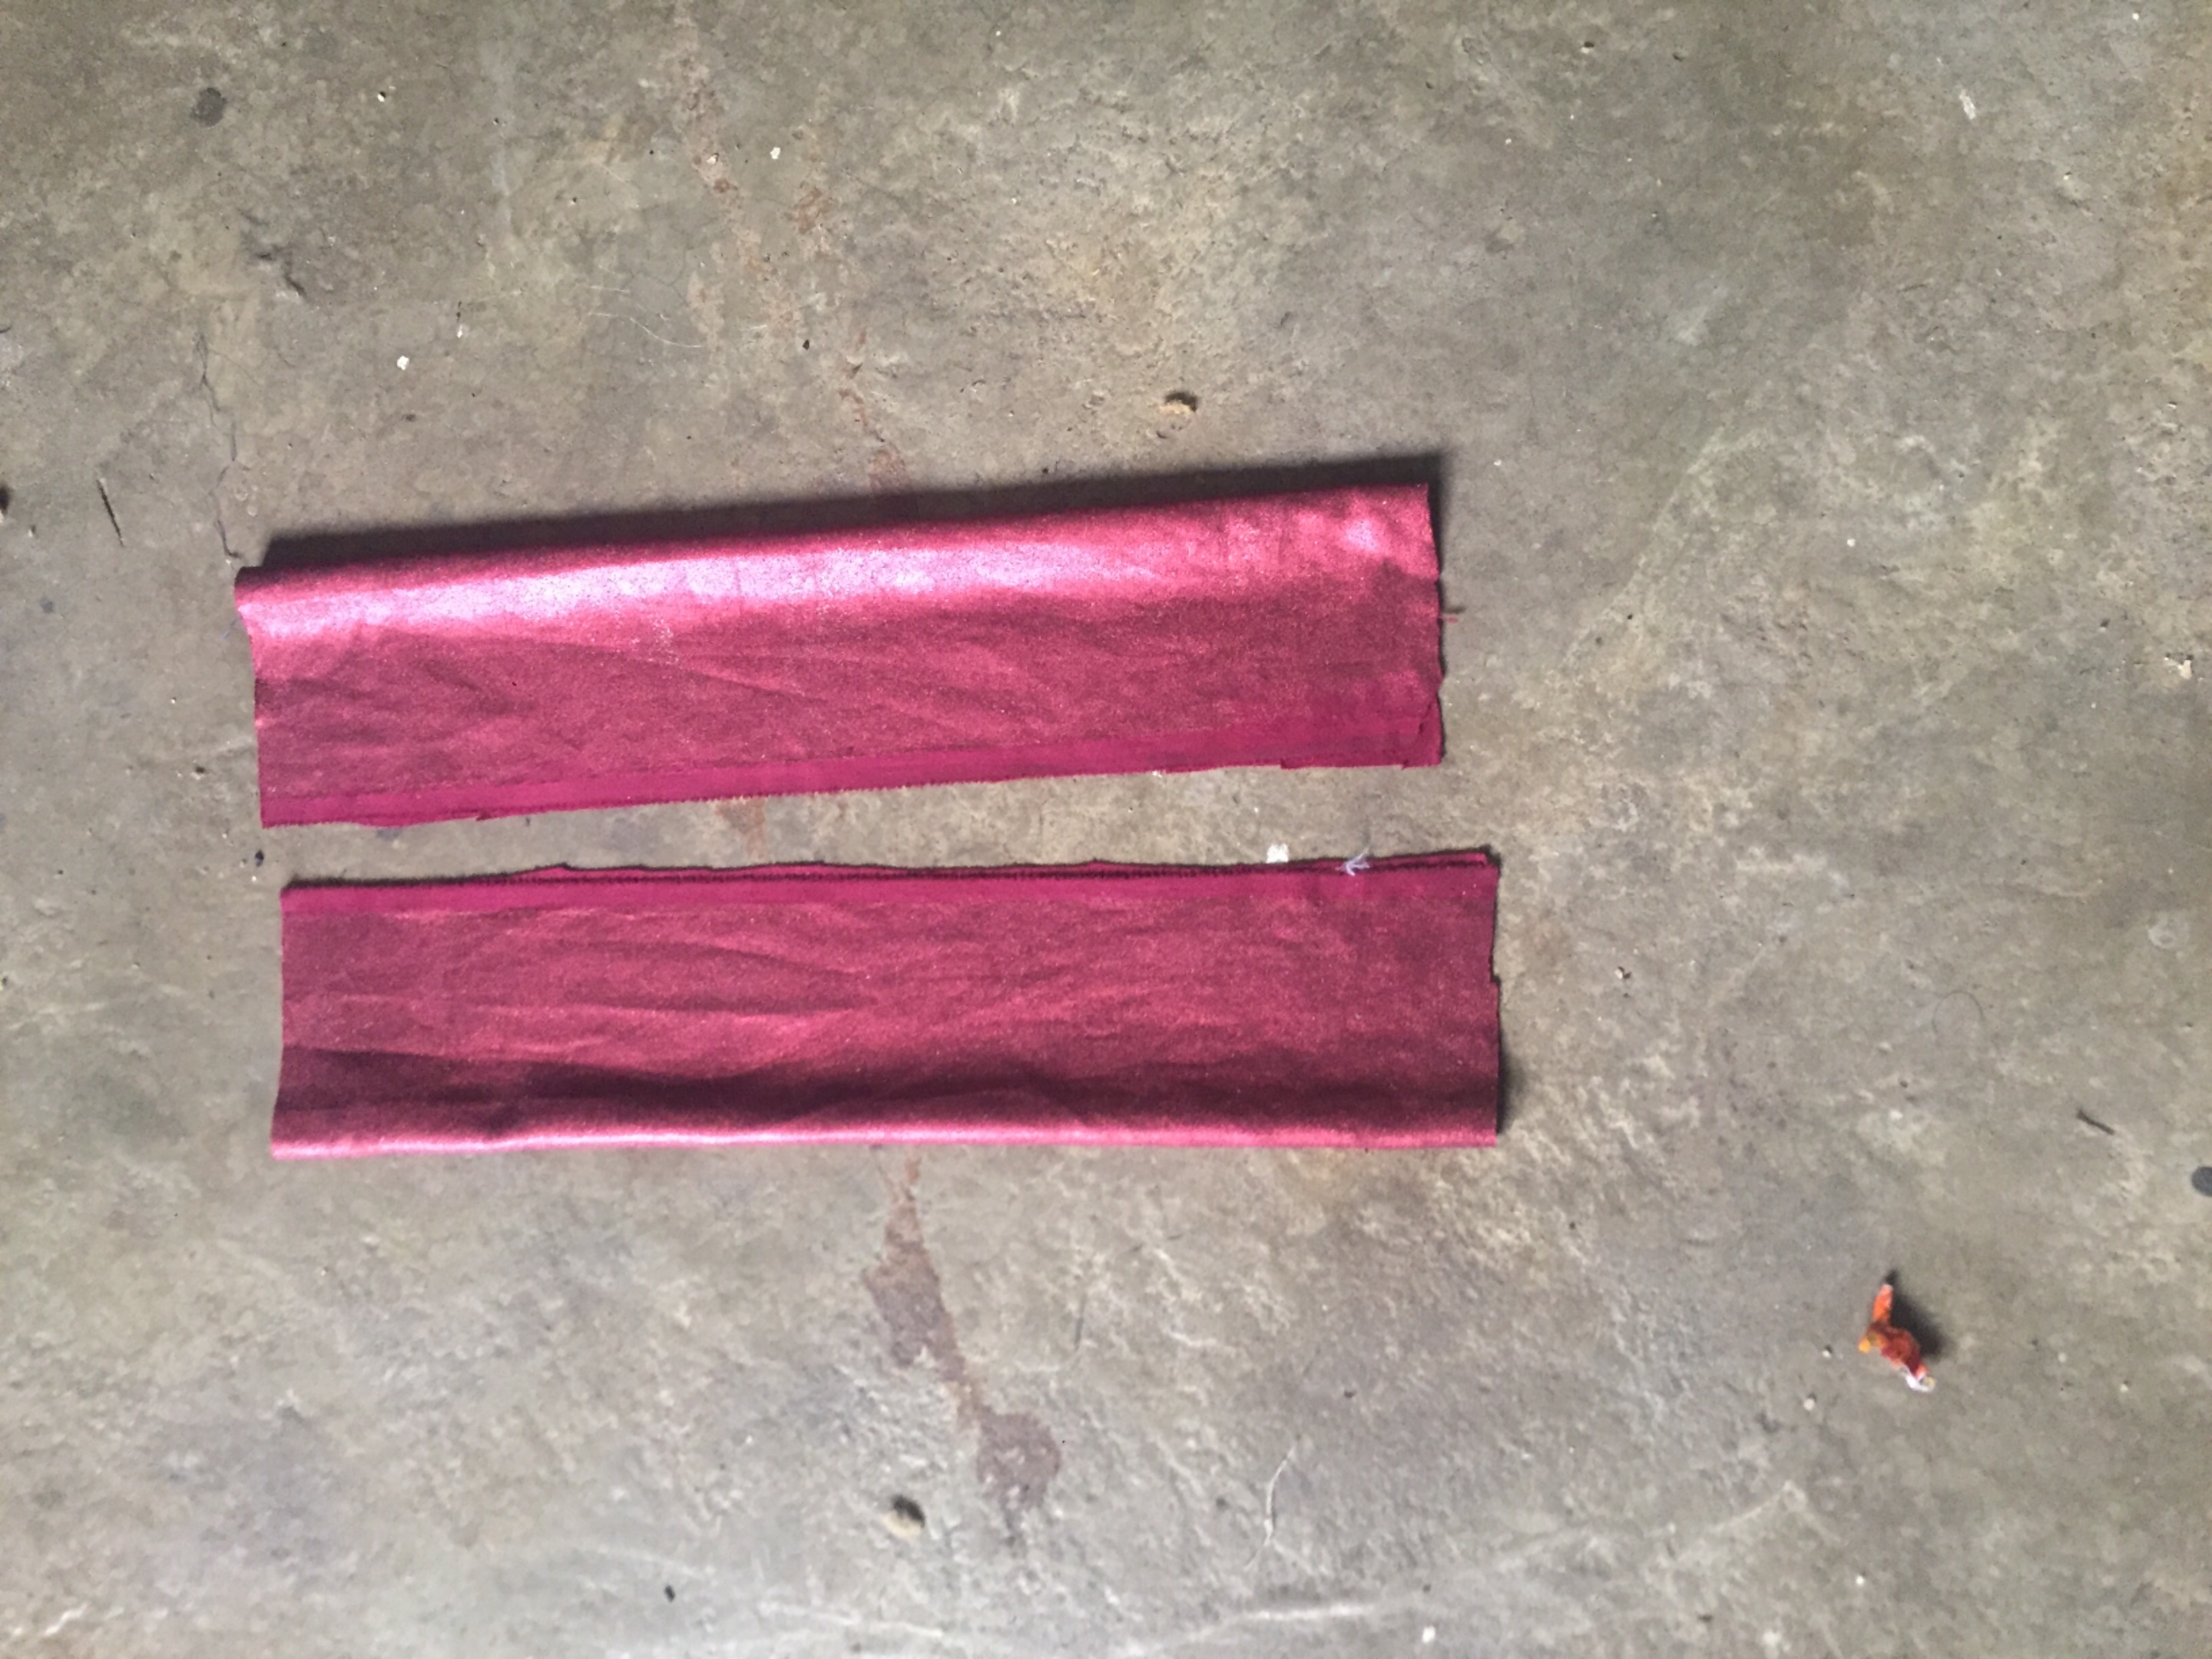
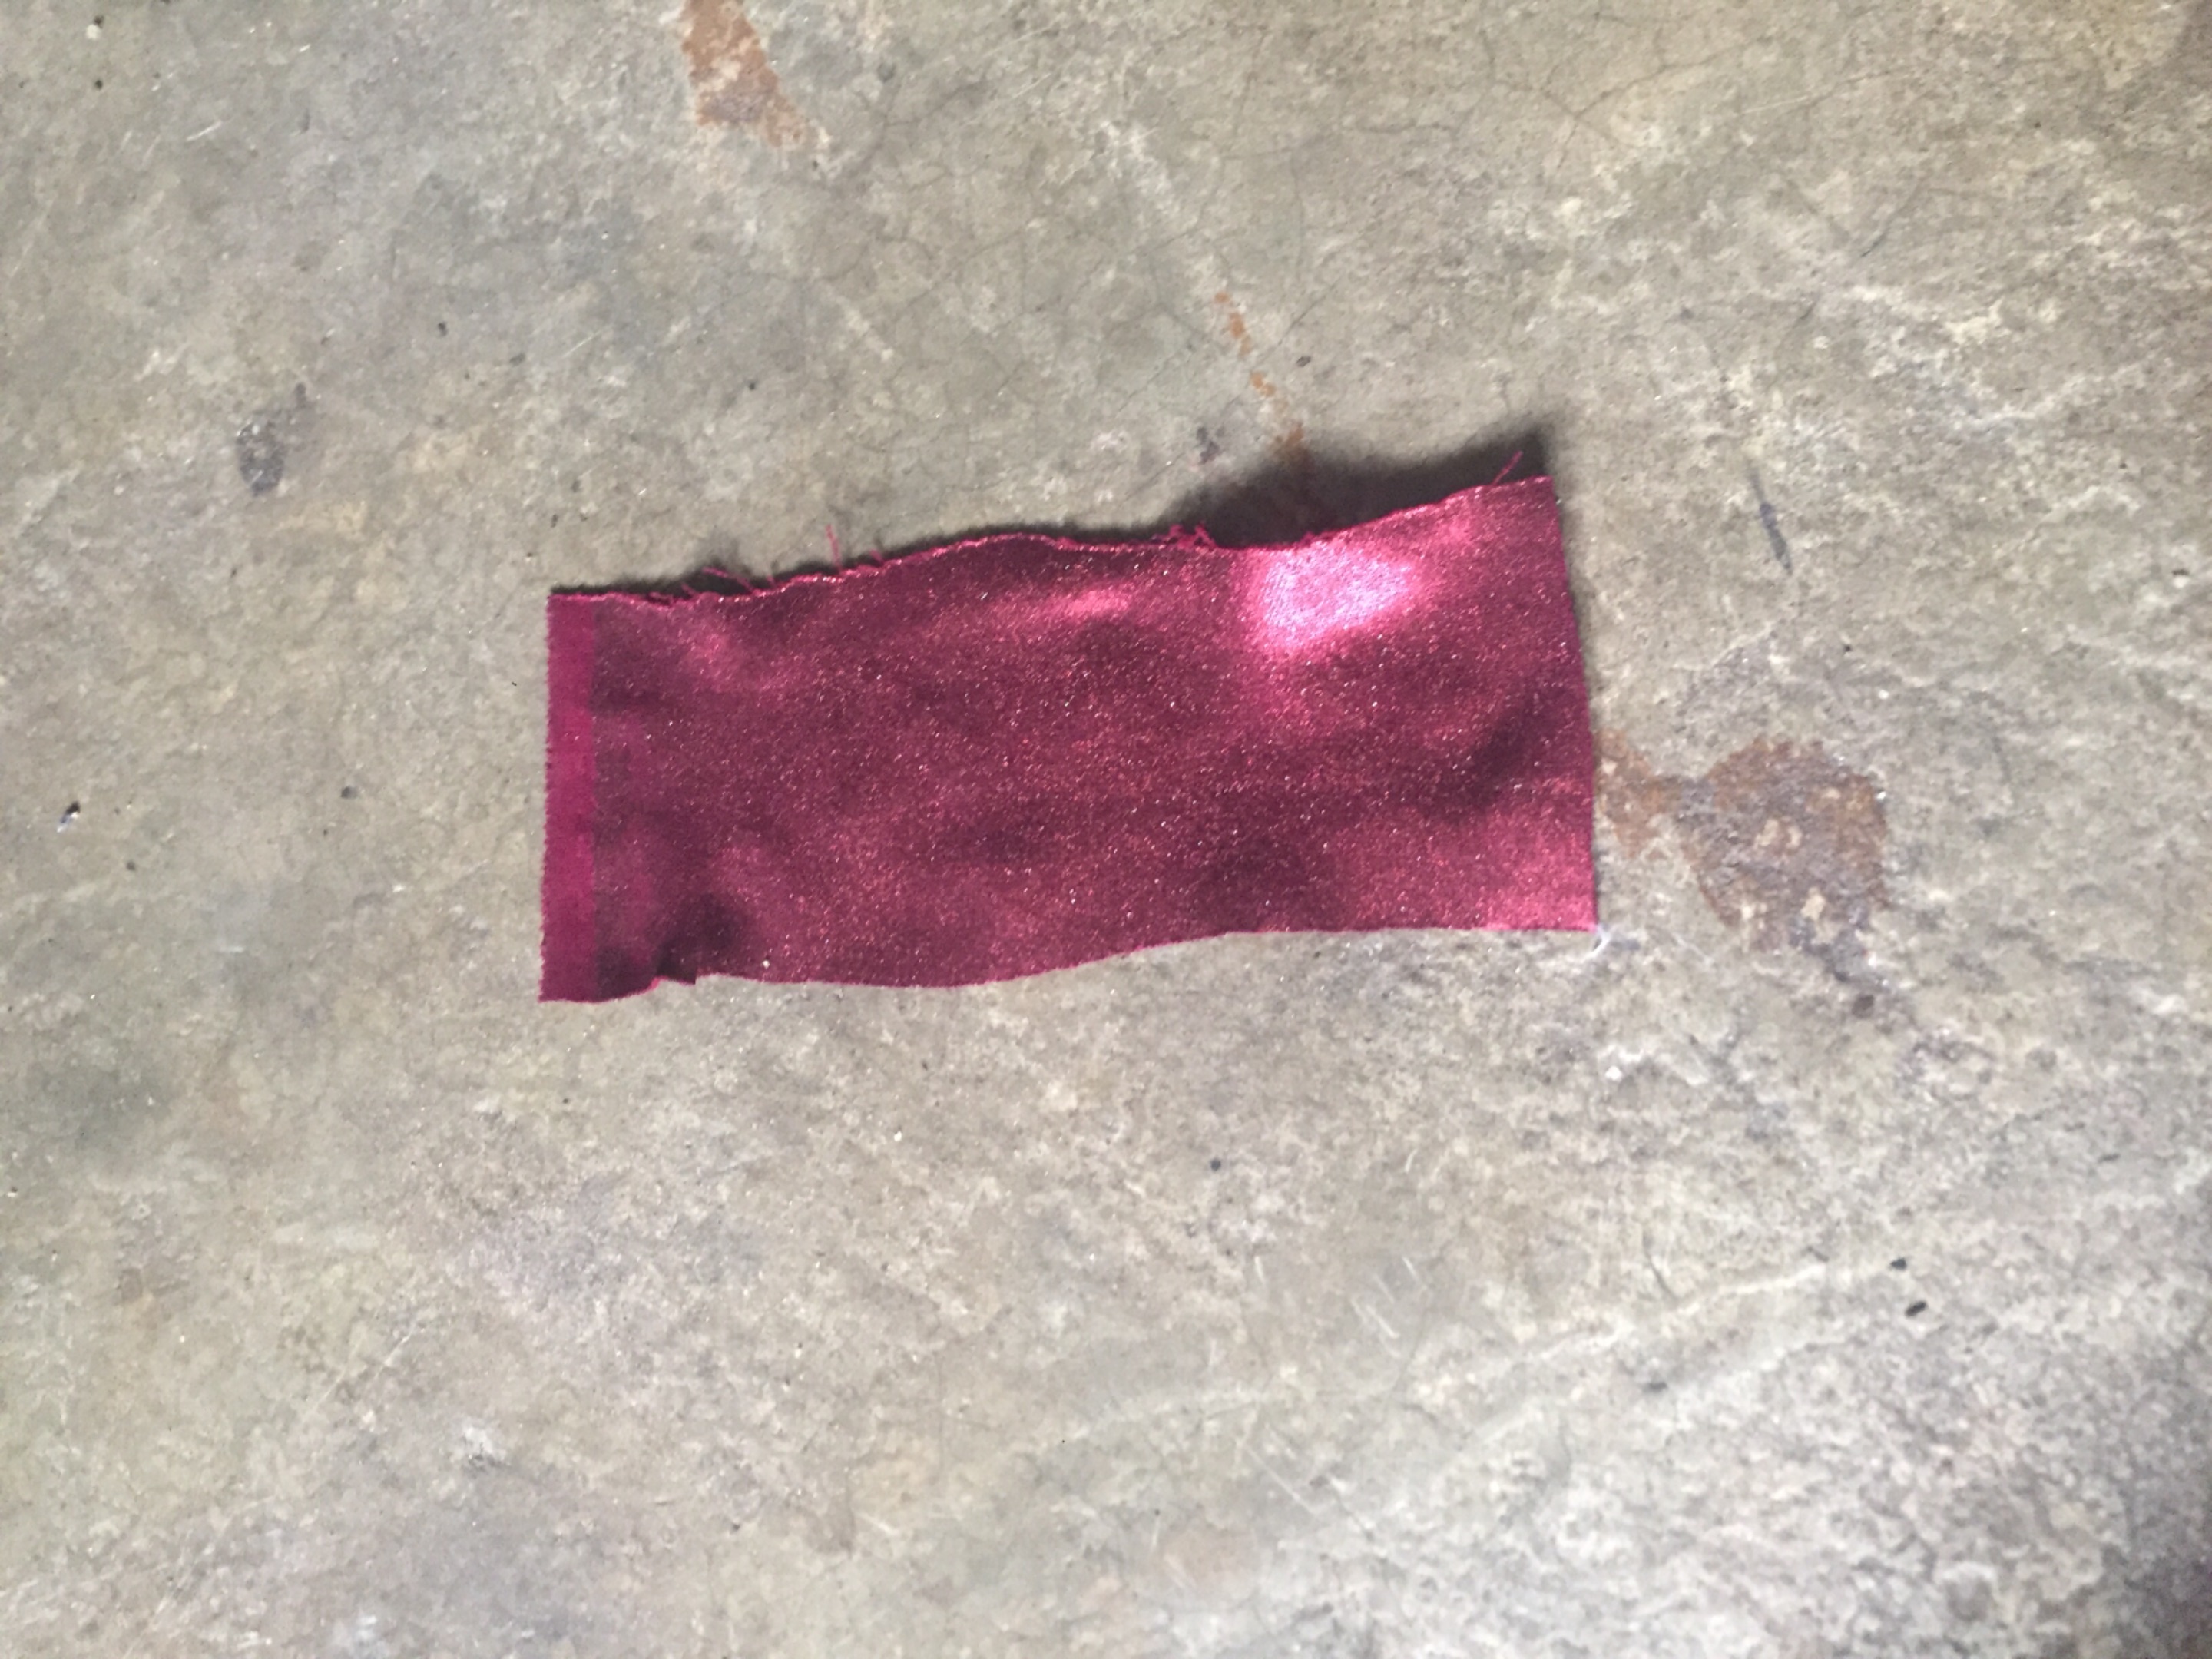
I cut out 3 pieces of different sizes to make my scrunchie headband first piece I cut was length of 36cm and width of 6cm the second pieces 100cmx15cm on edge I go up by 11cm and at the down I mark 2cm inward and Connect the mark together and cut and the third piece 40cmx6cm
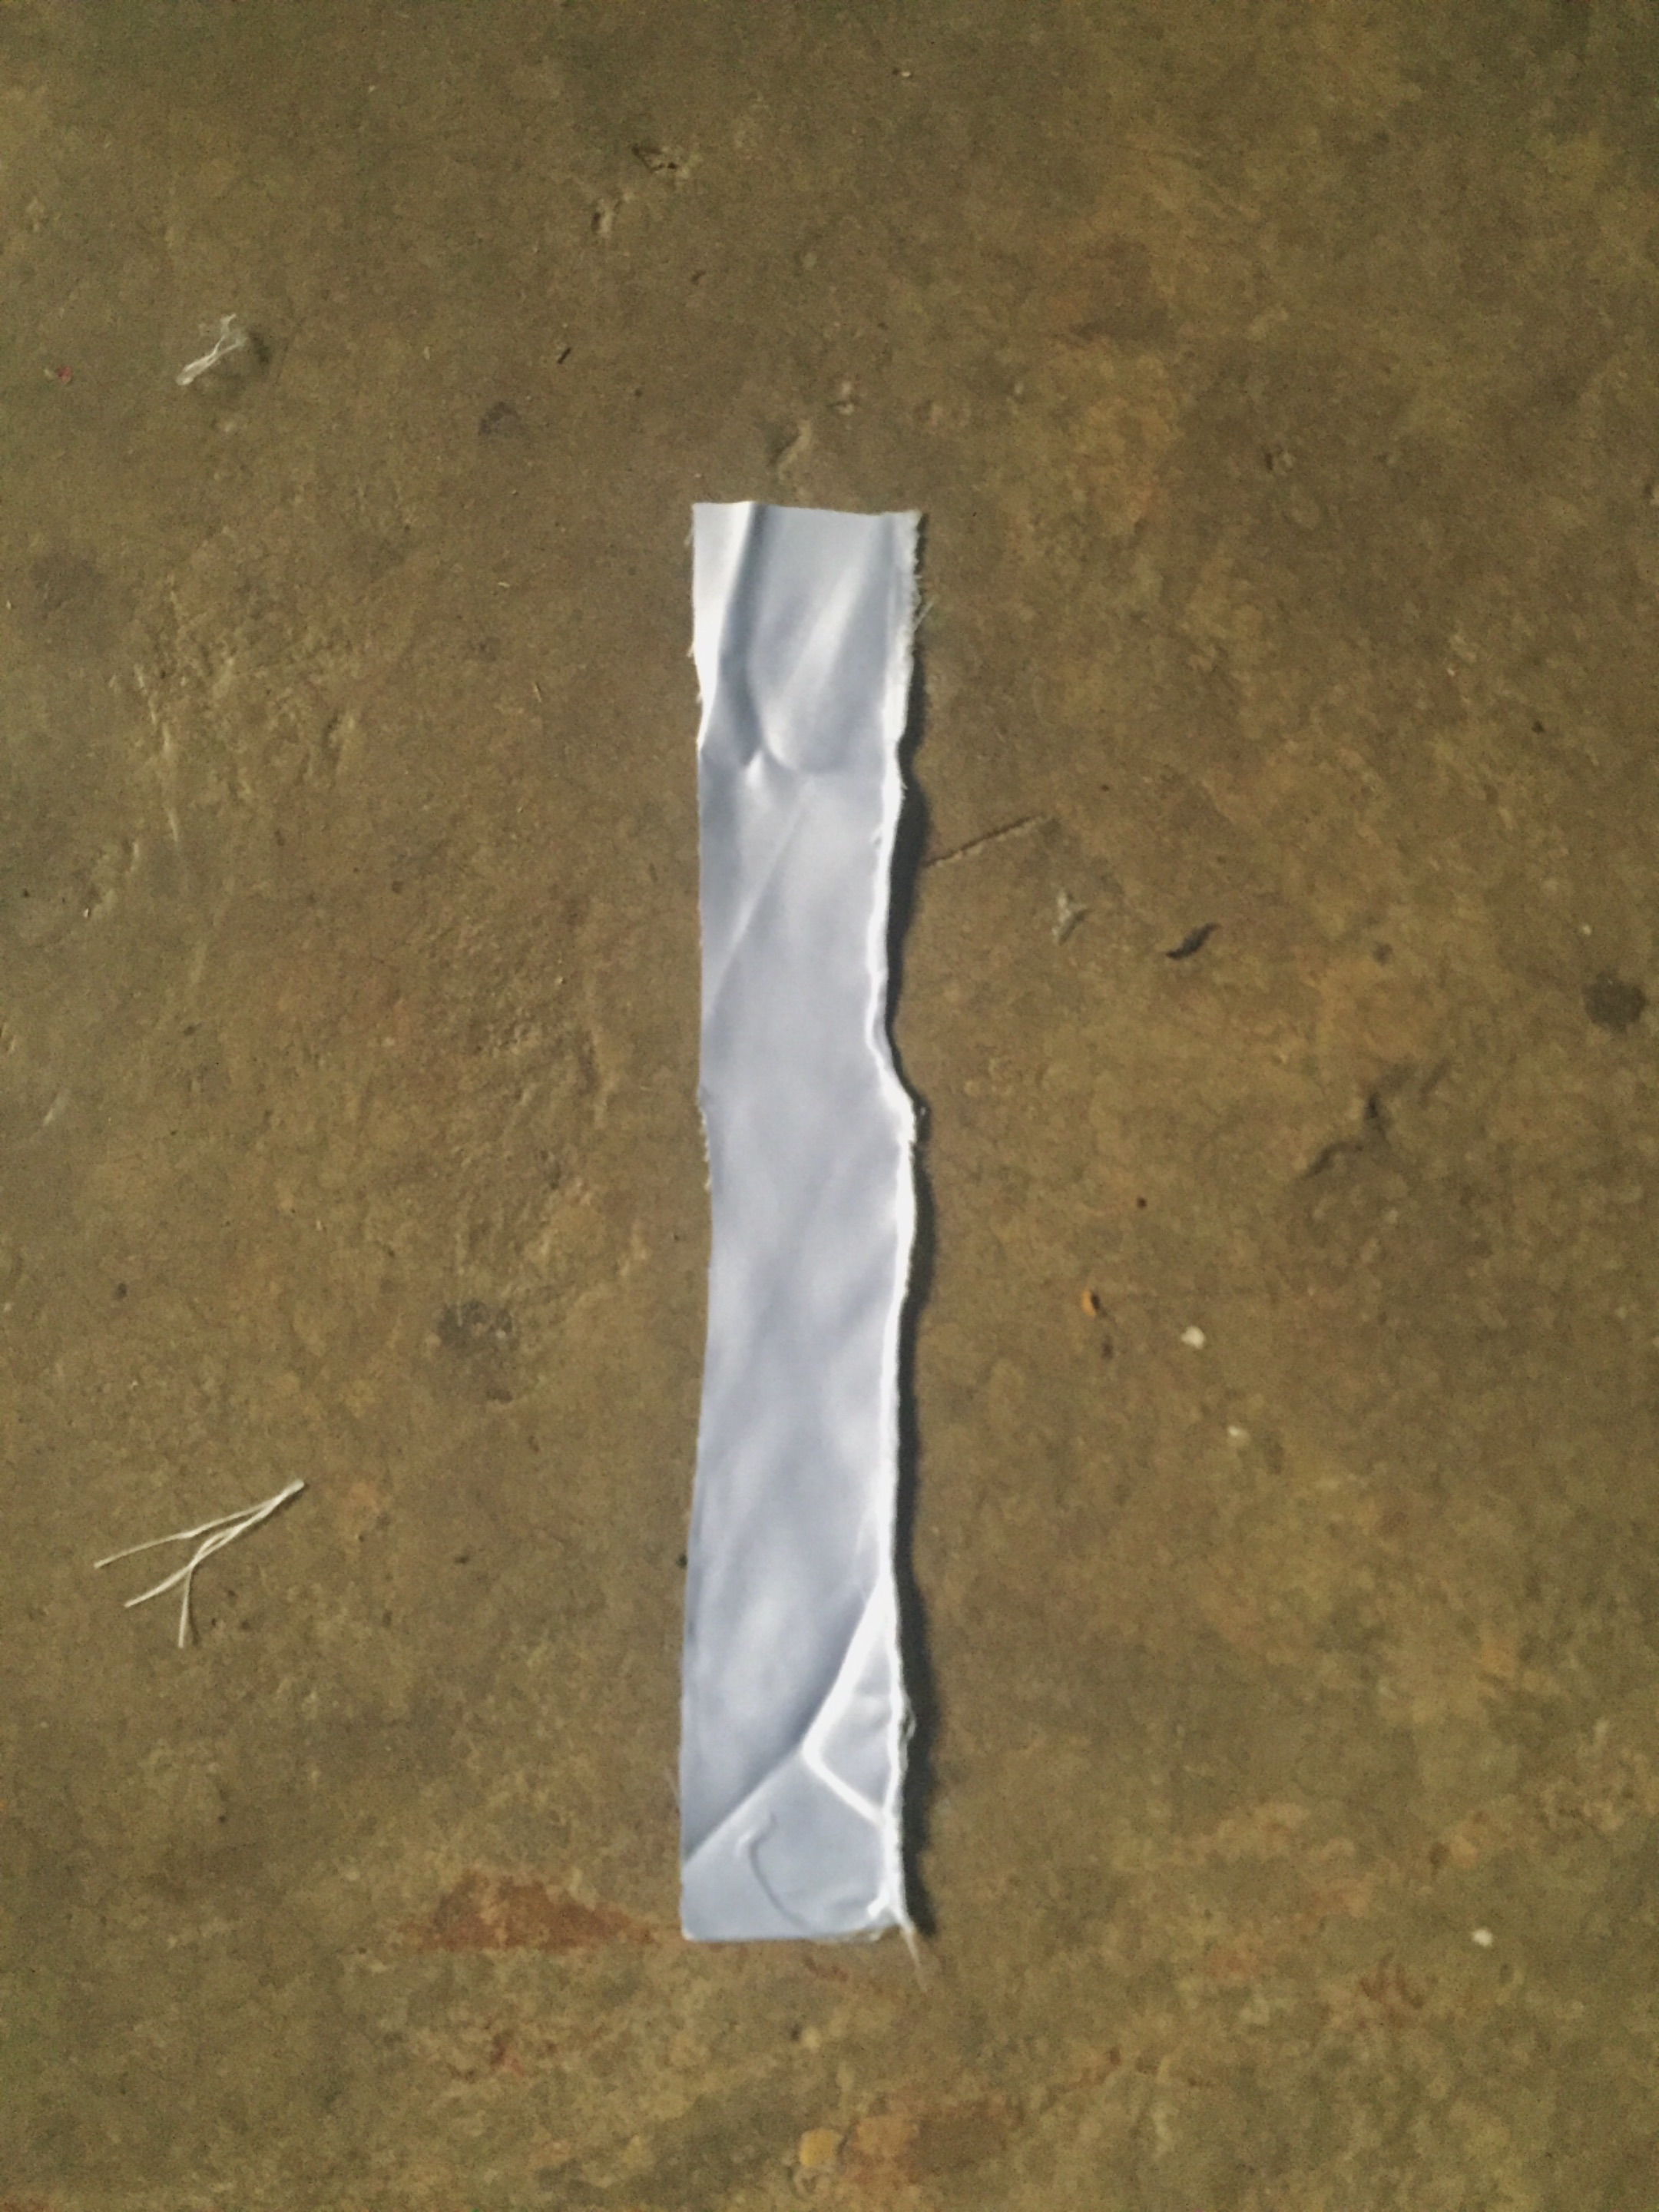
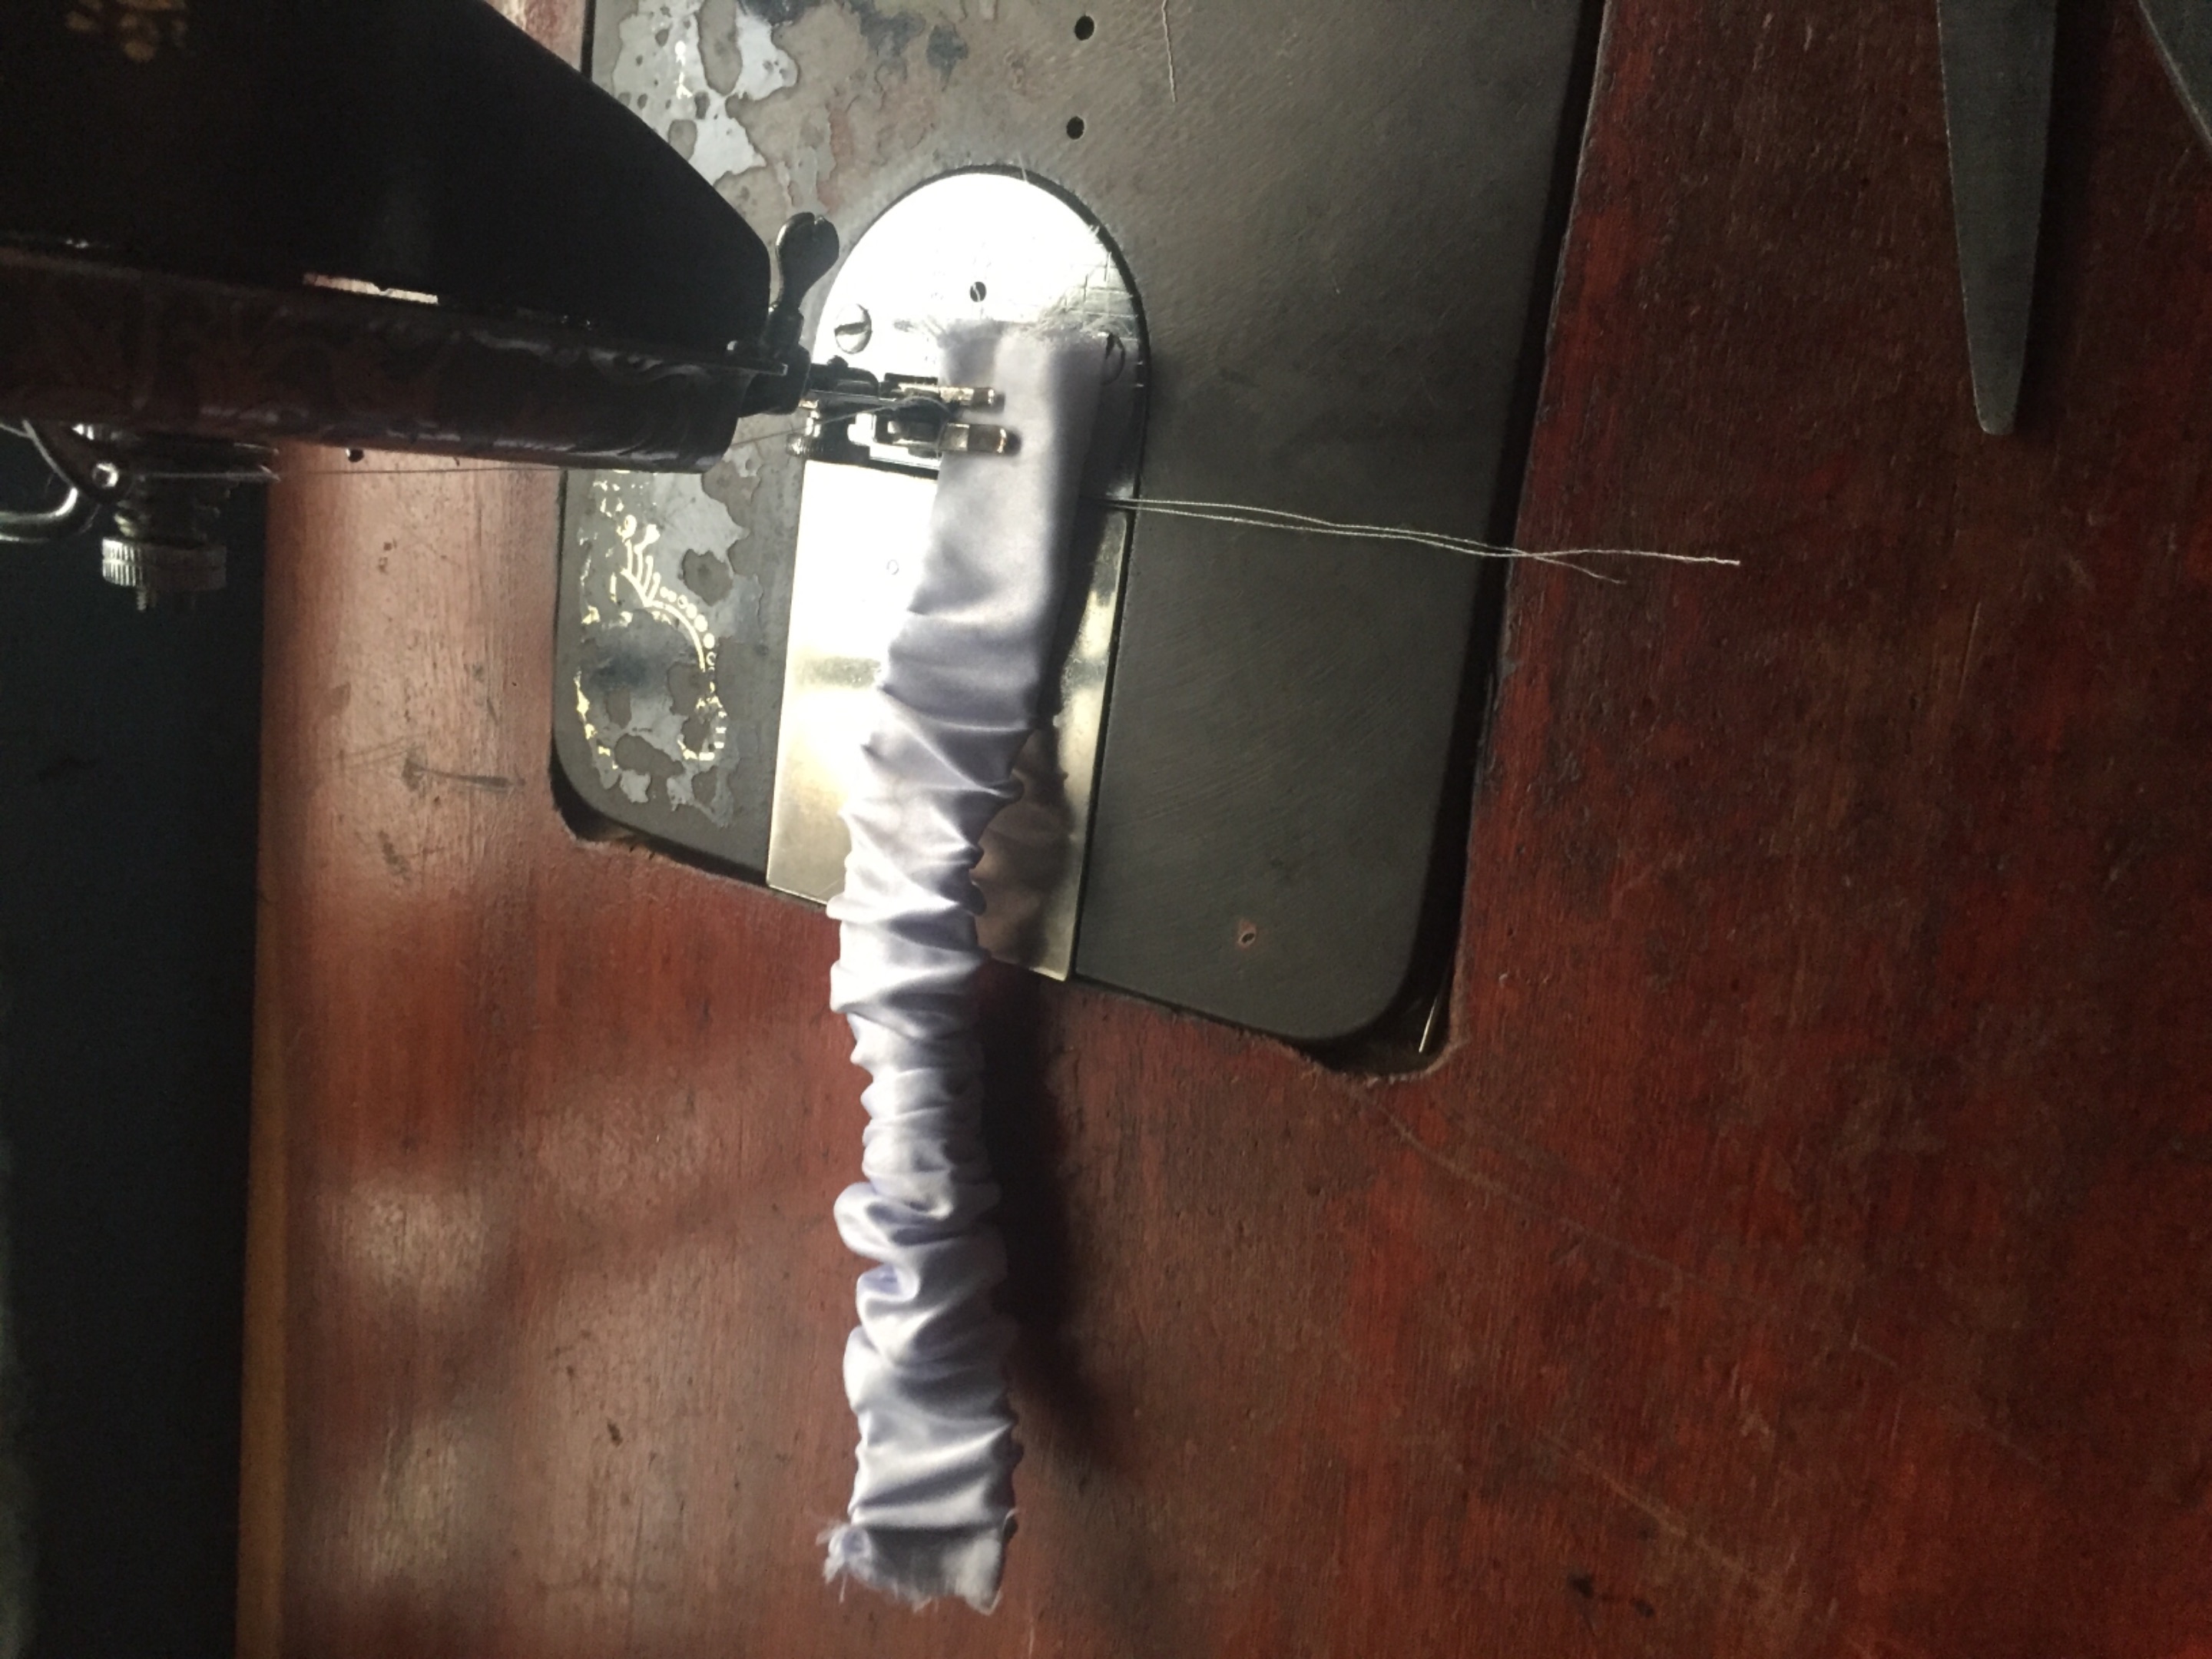
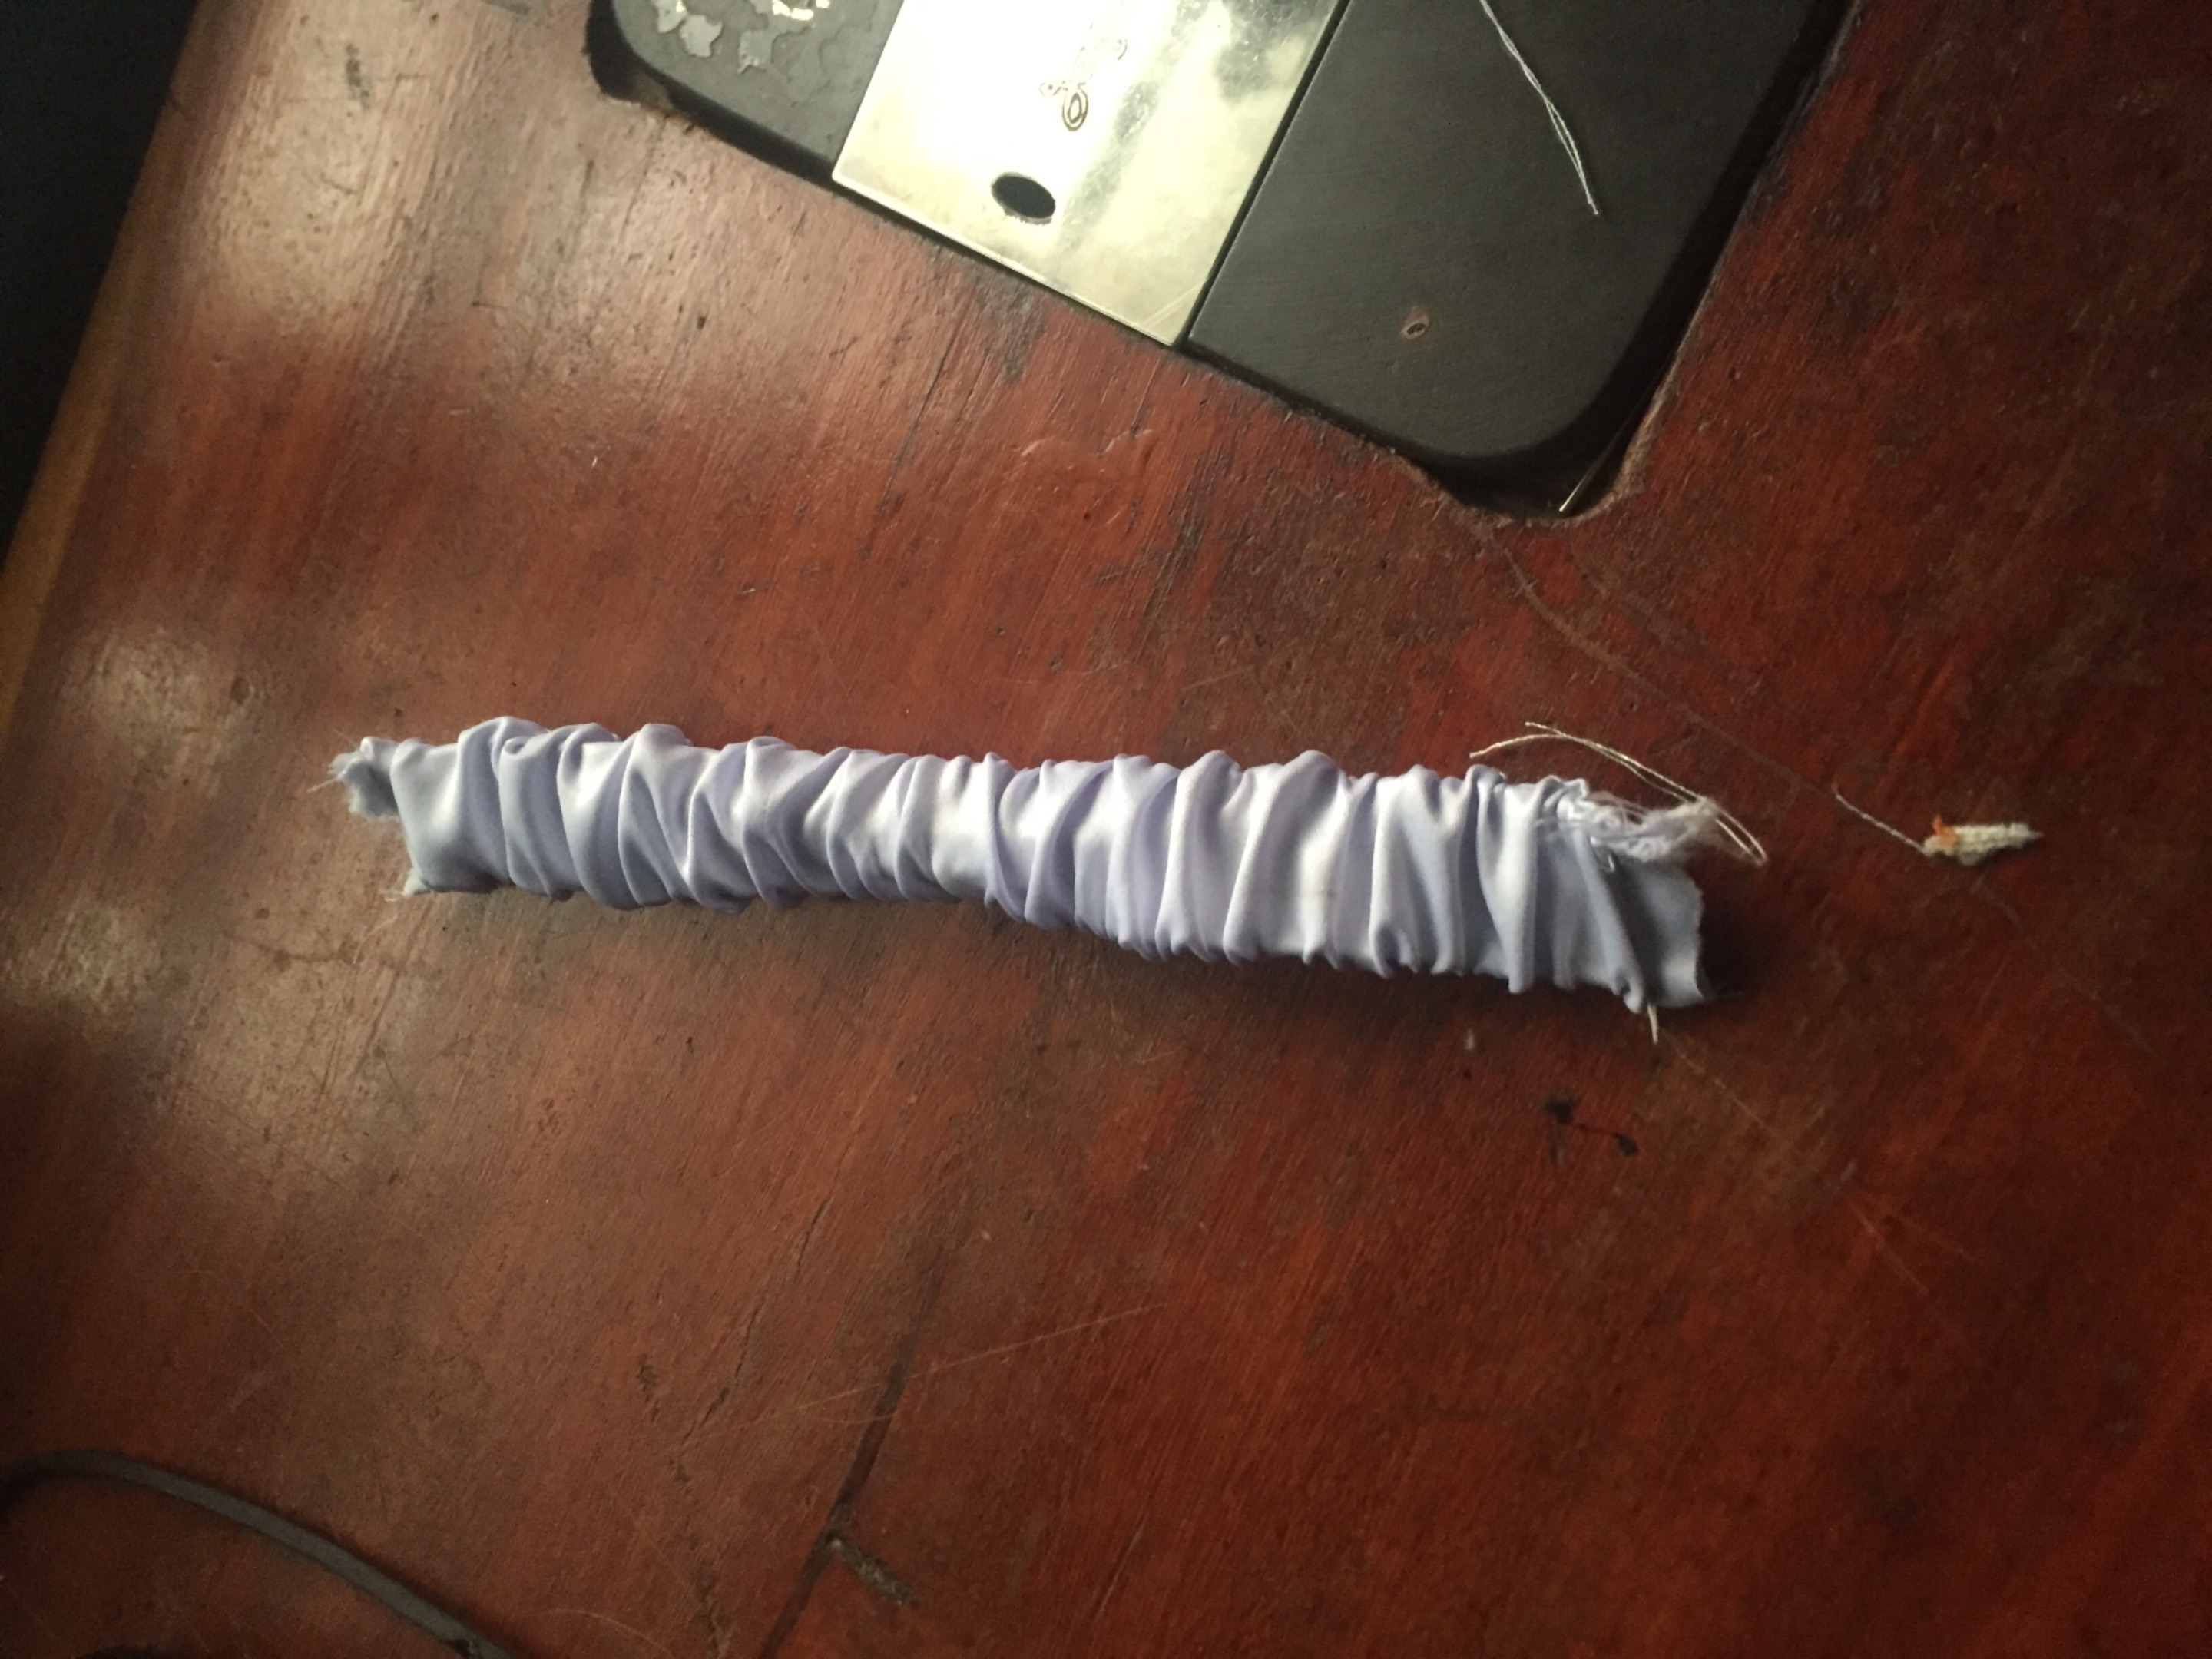
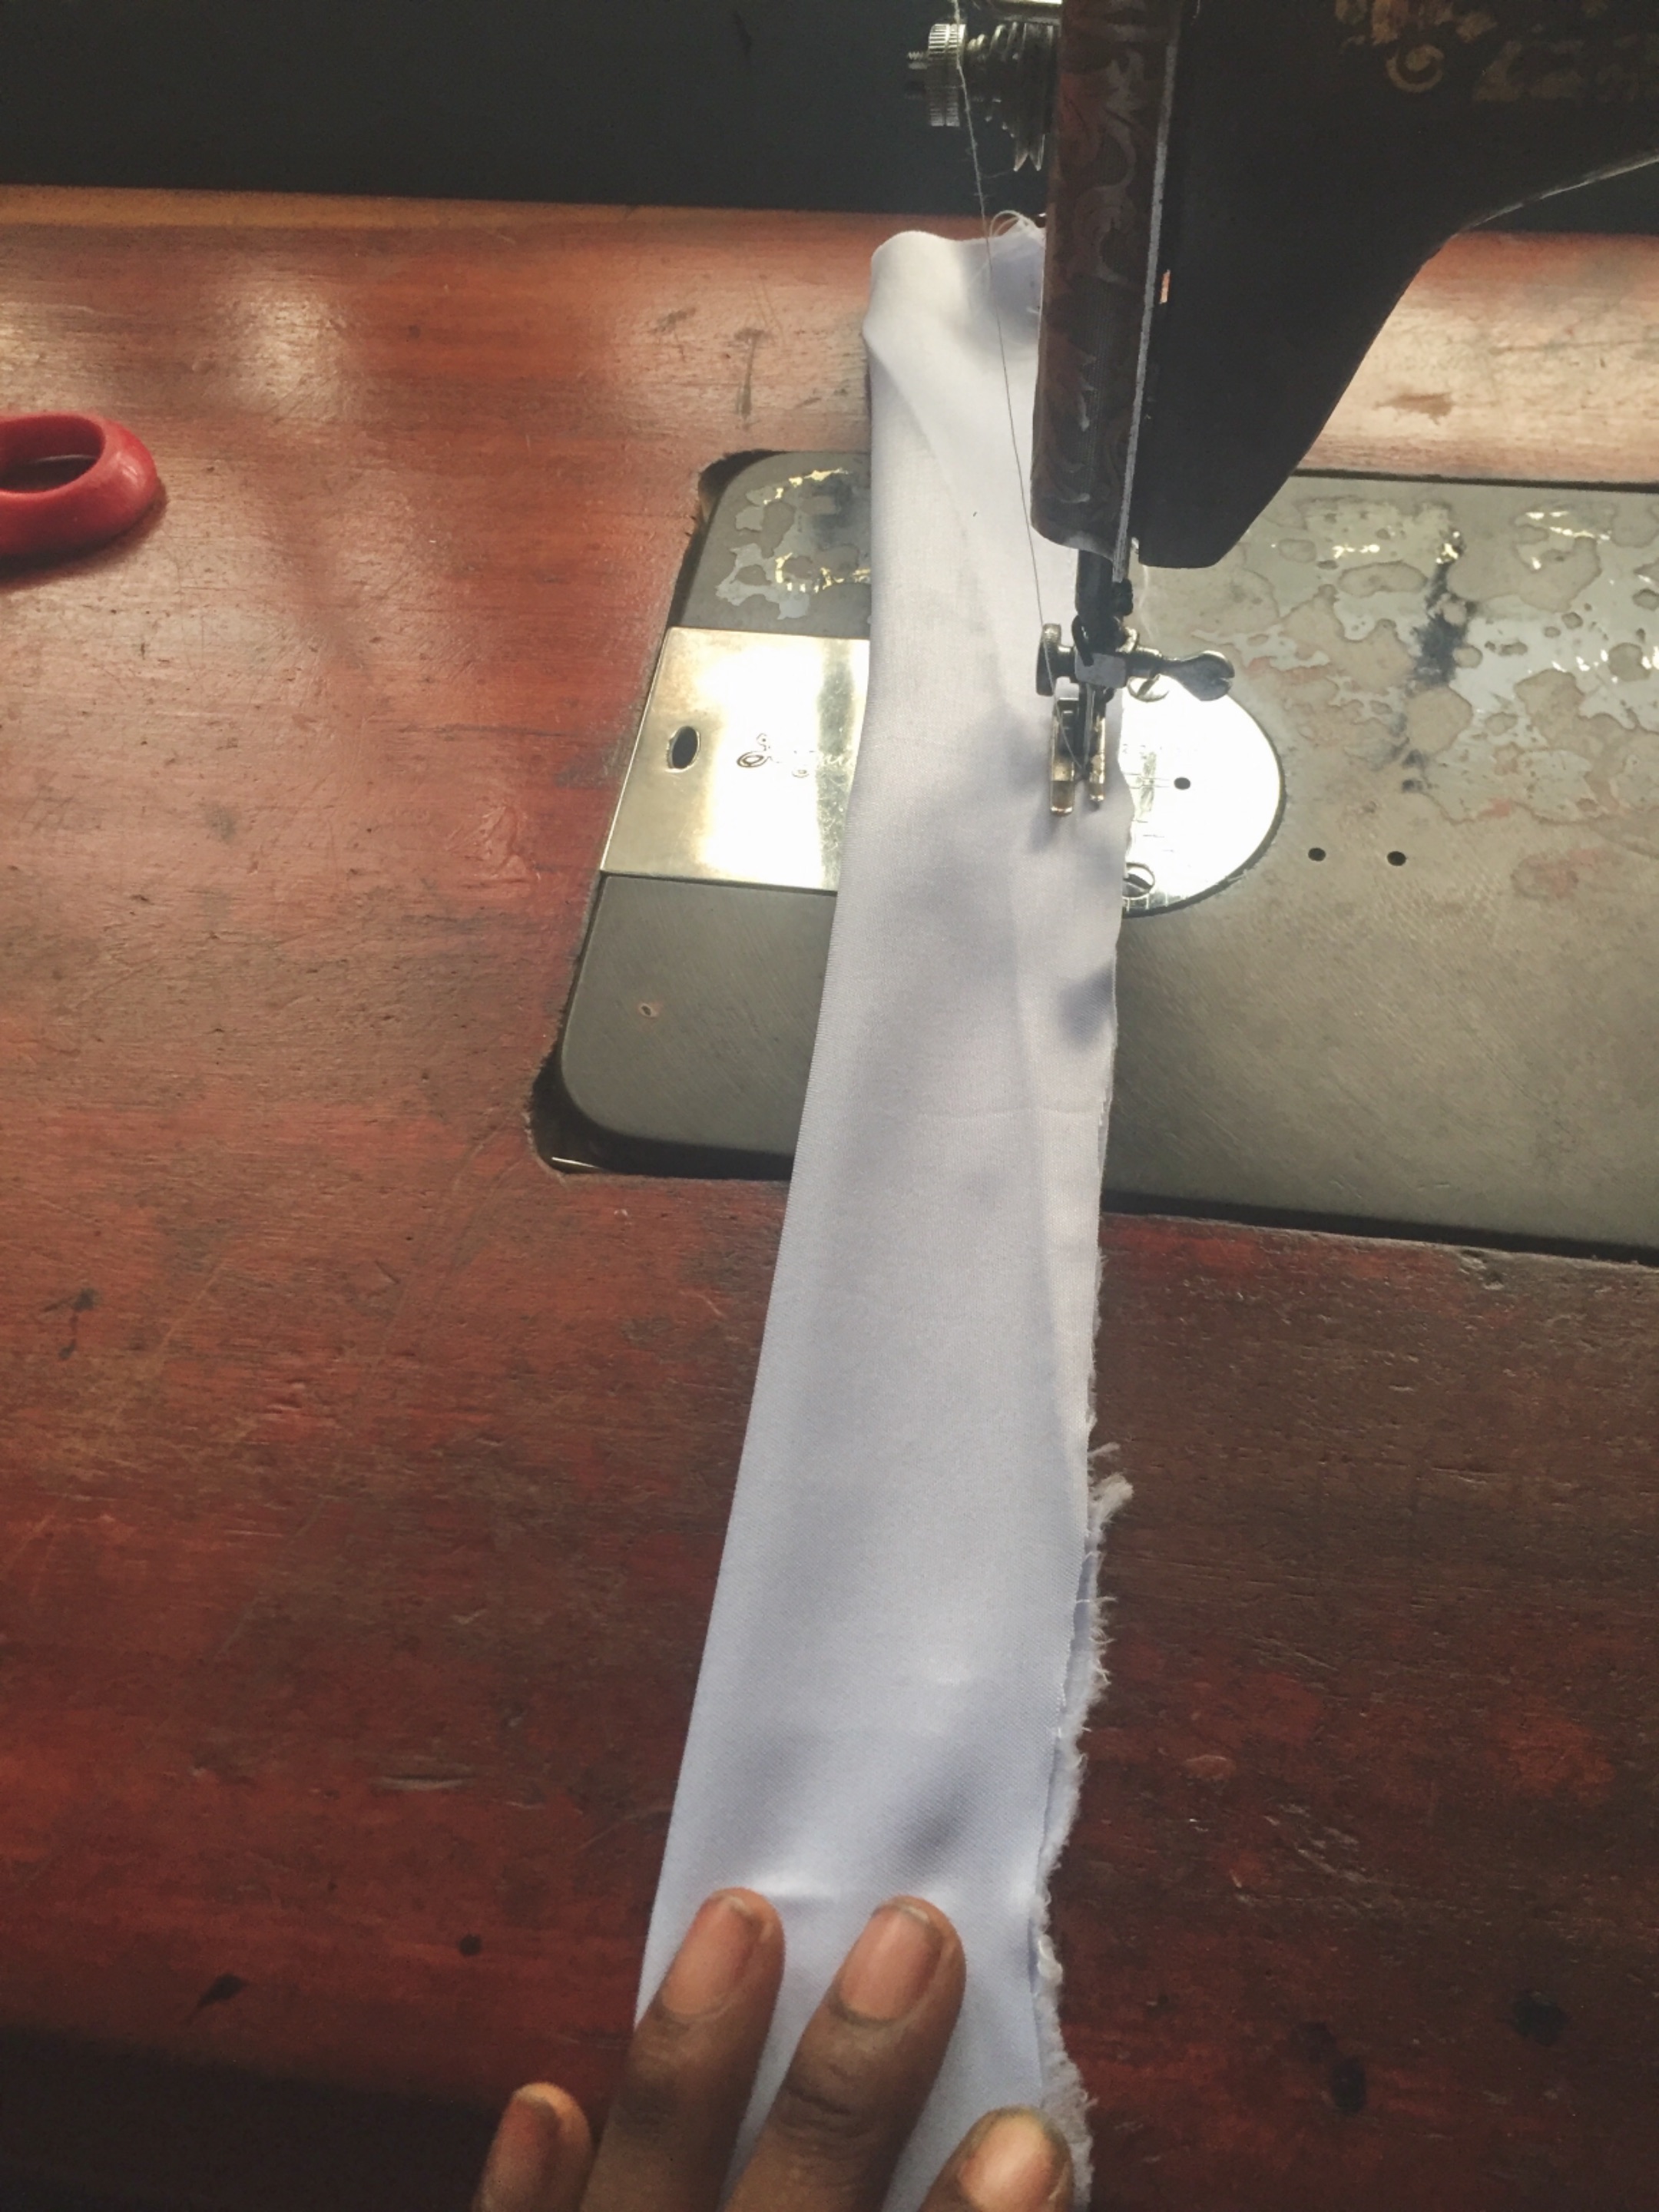
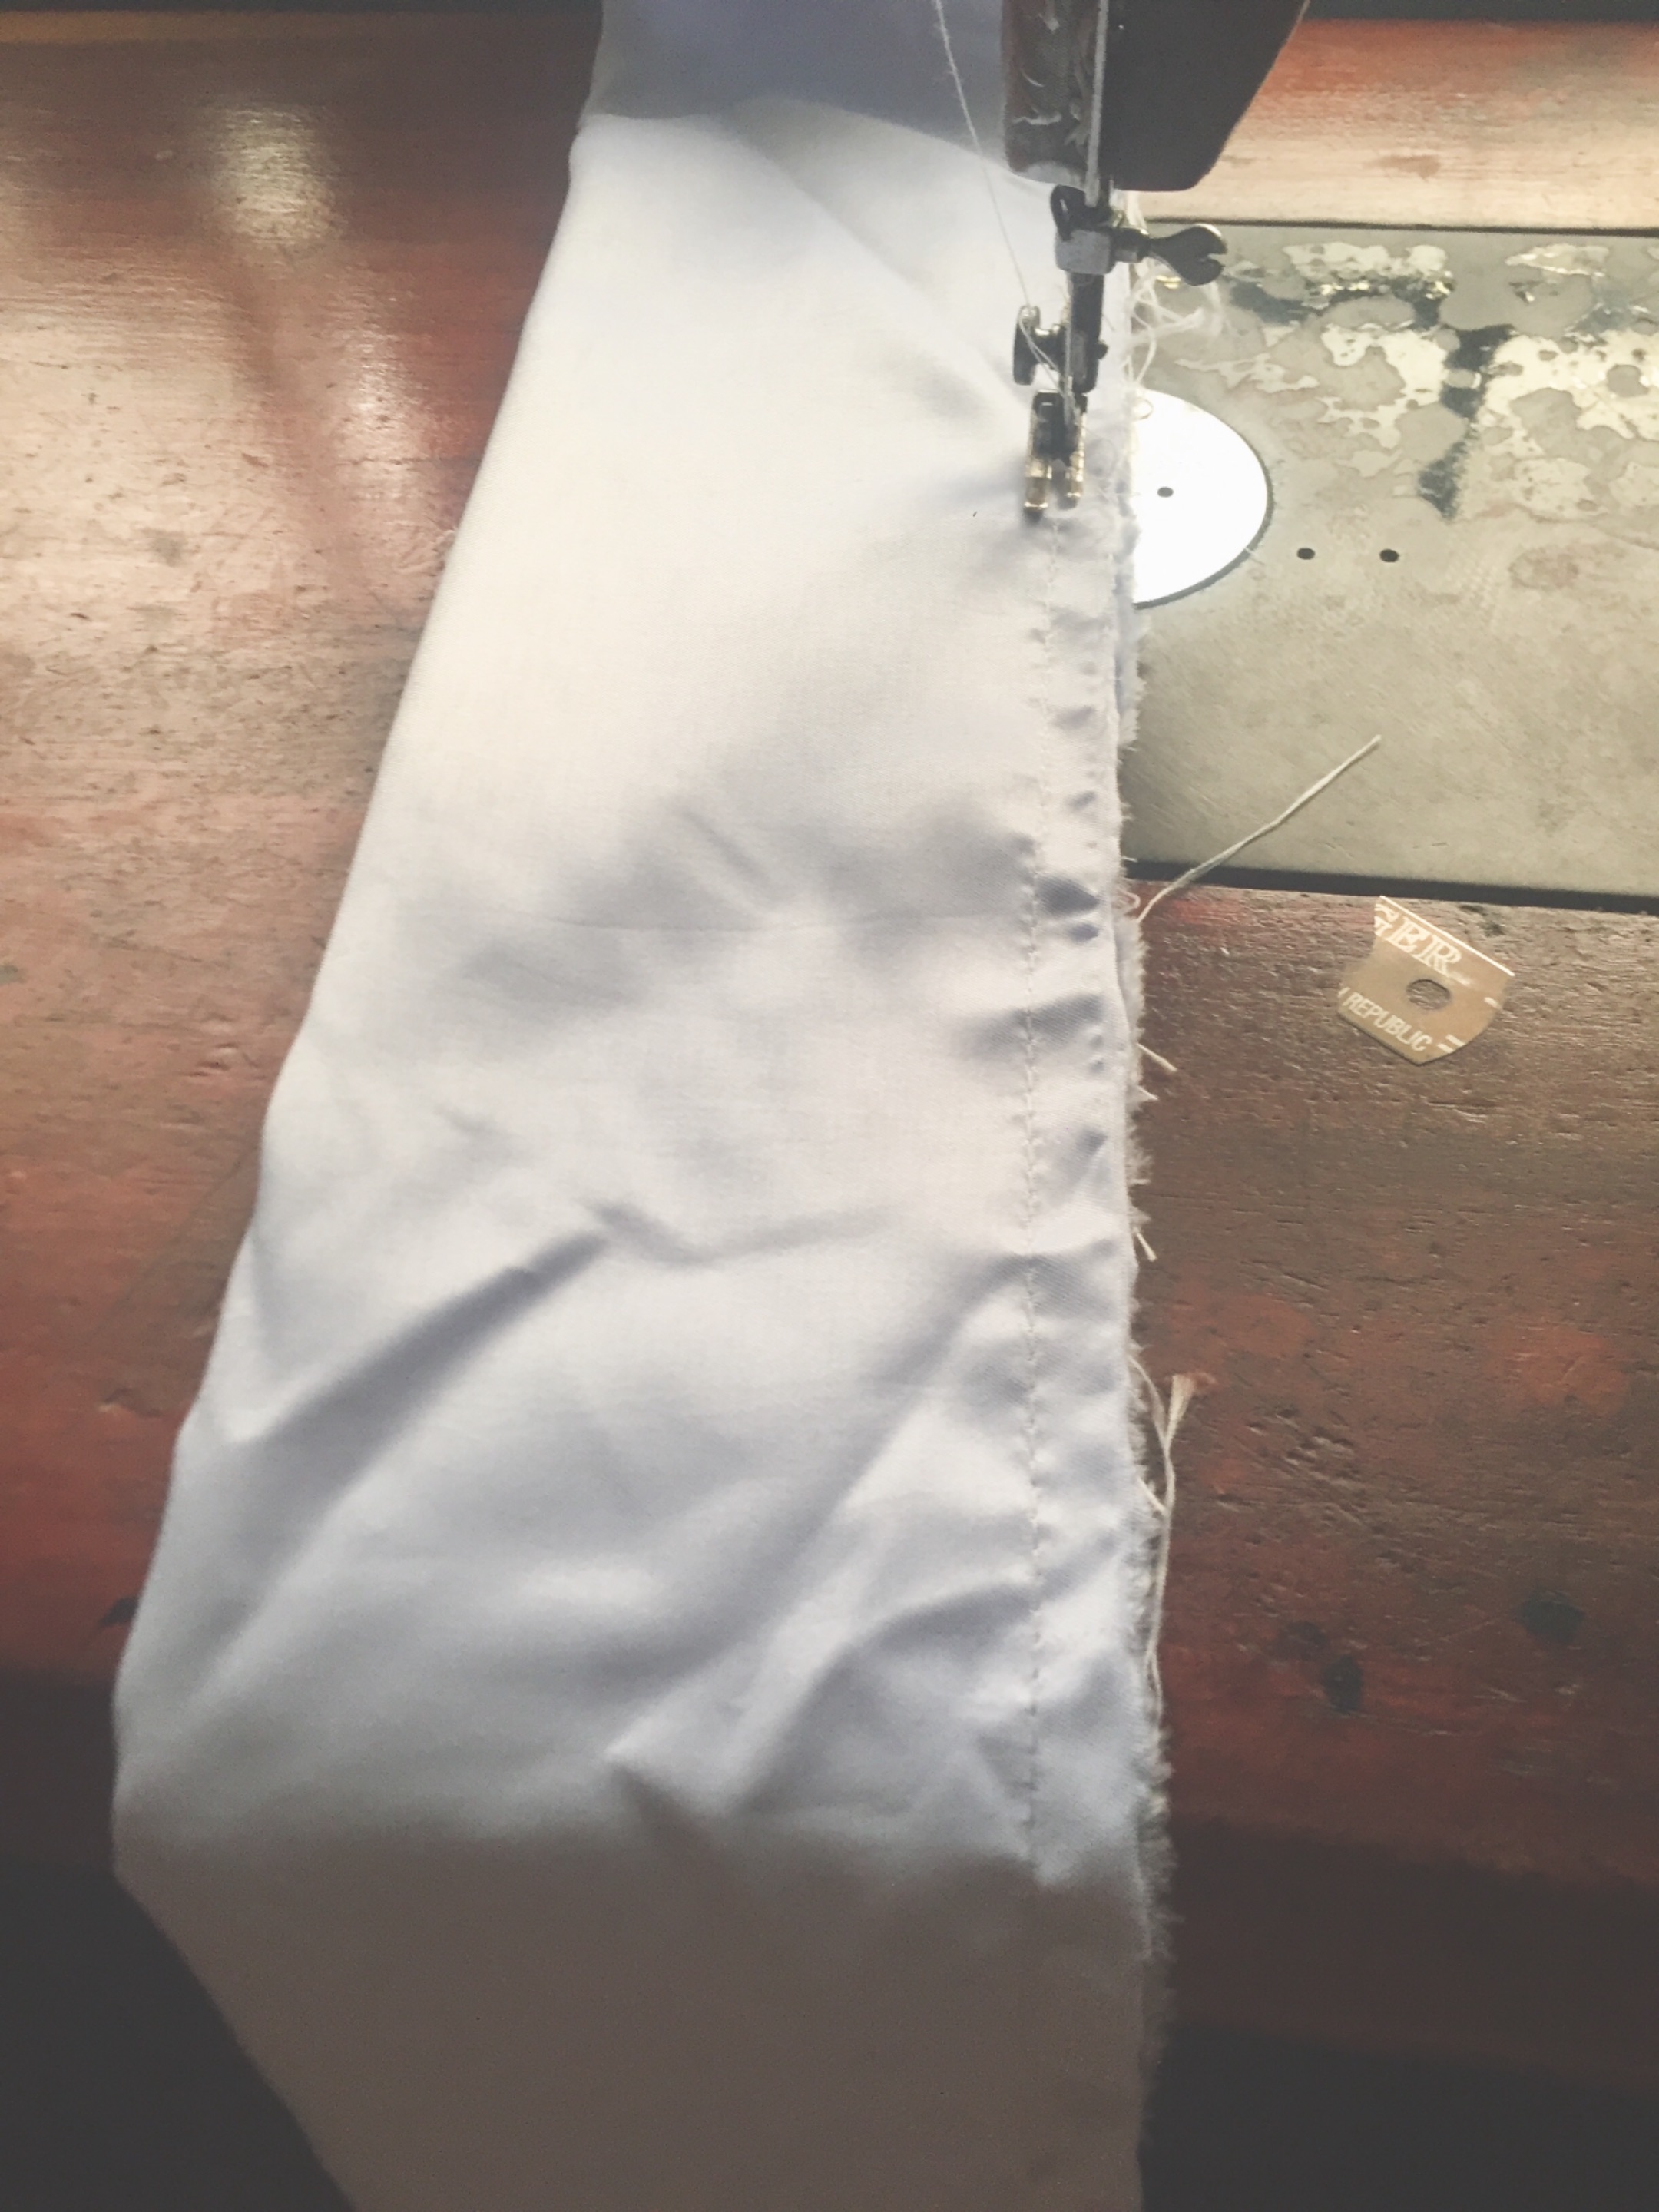
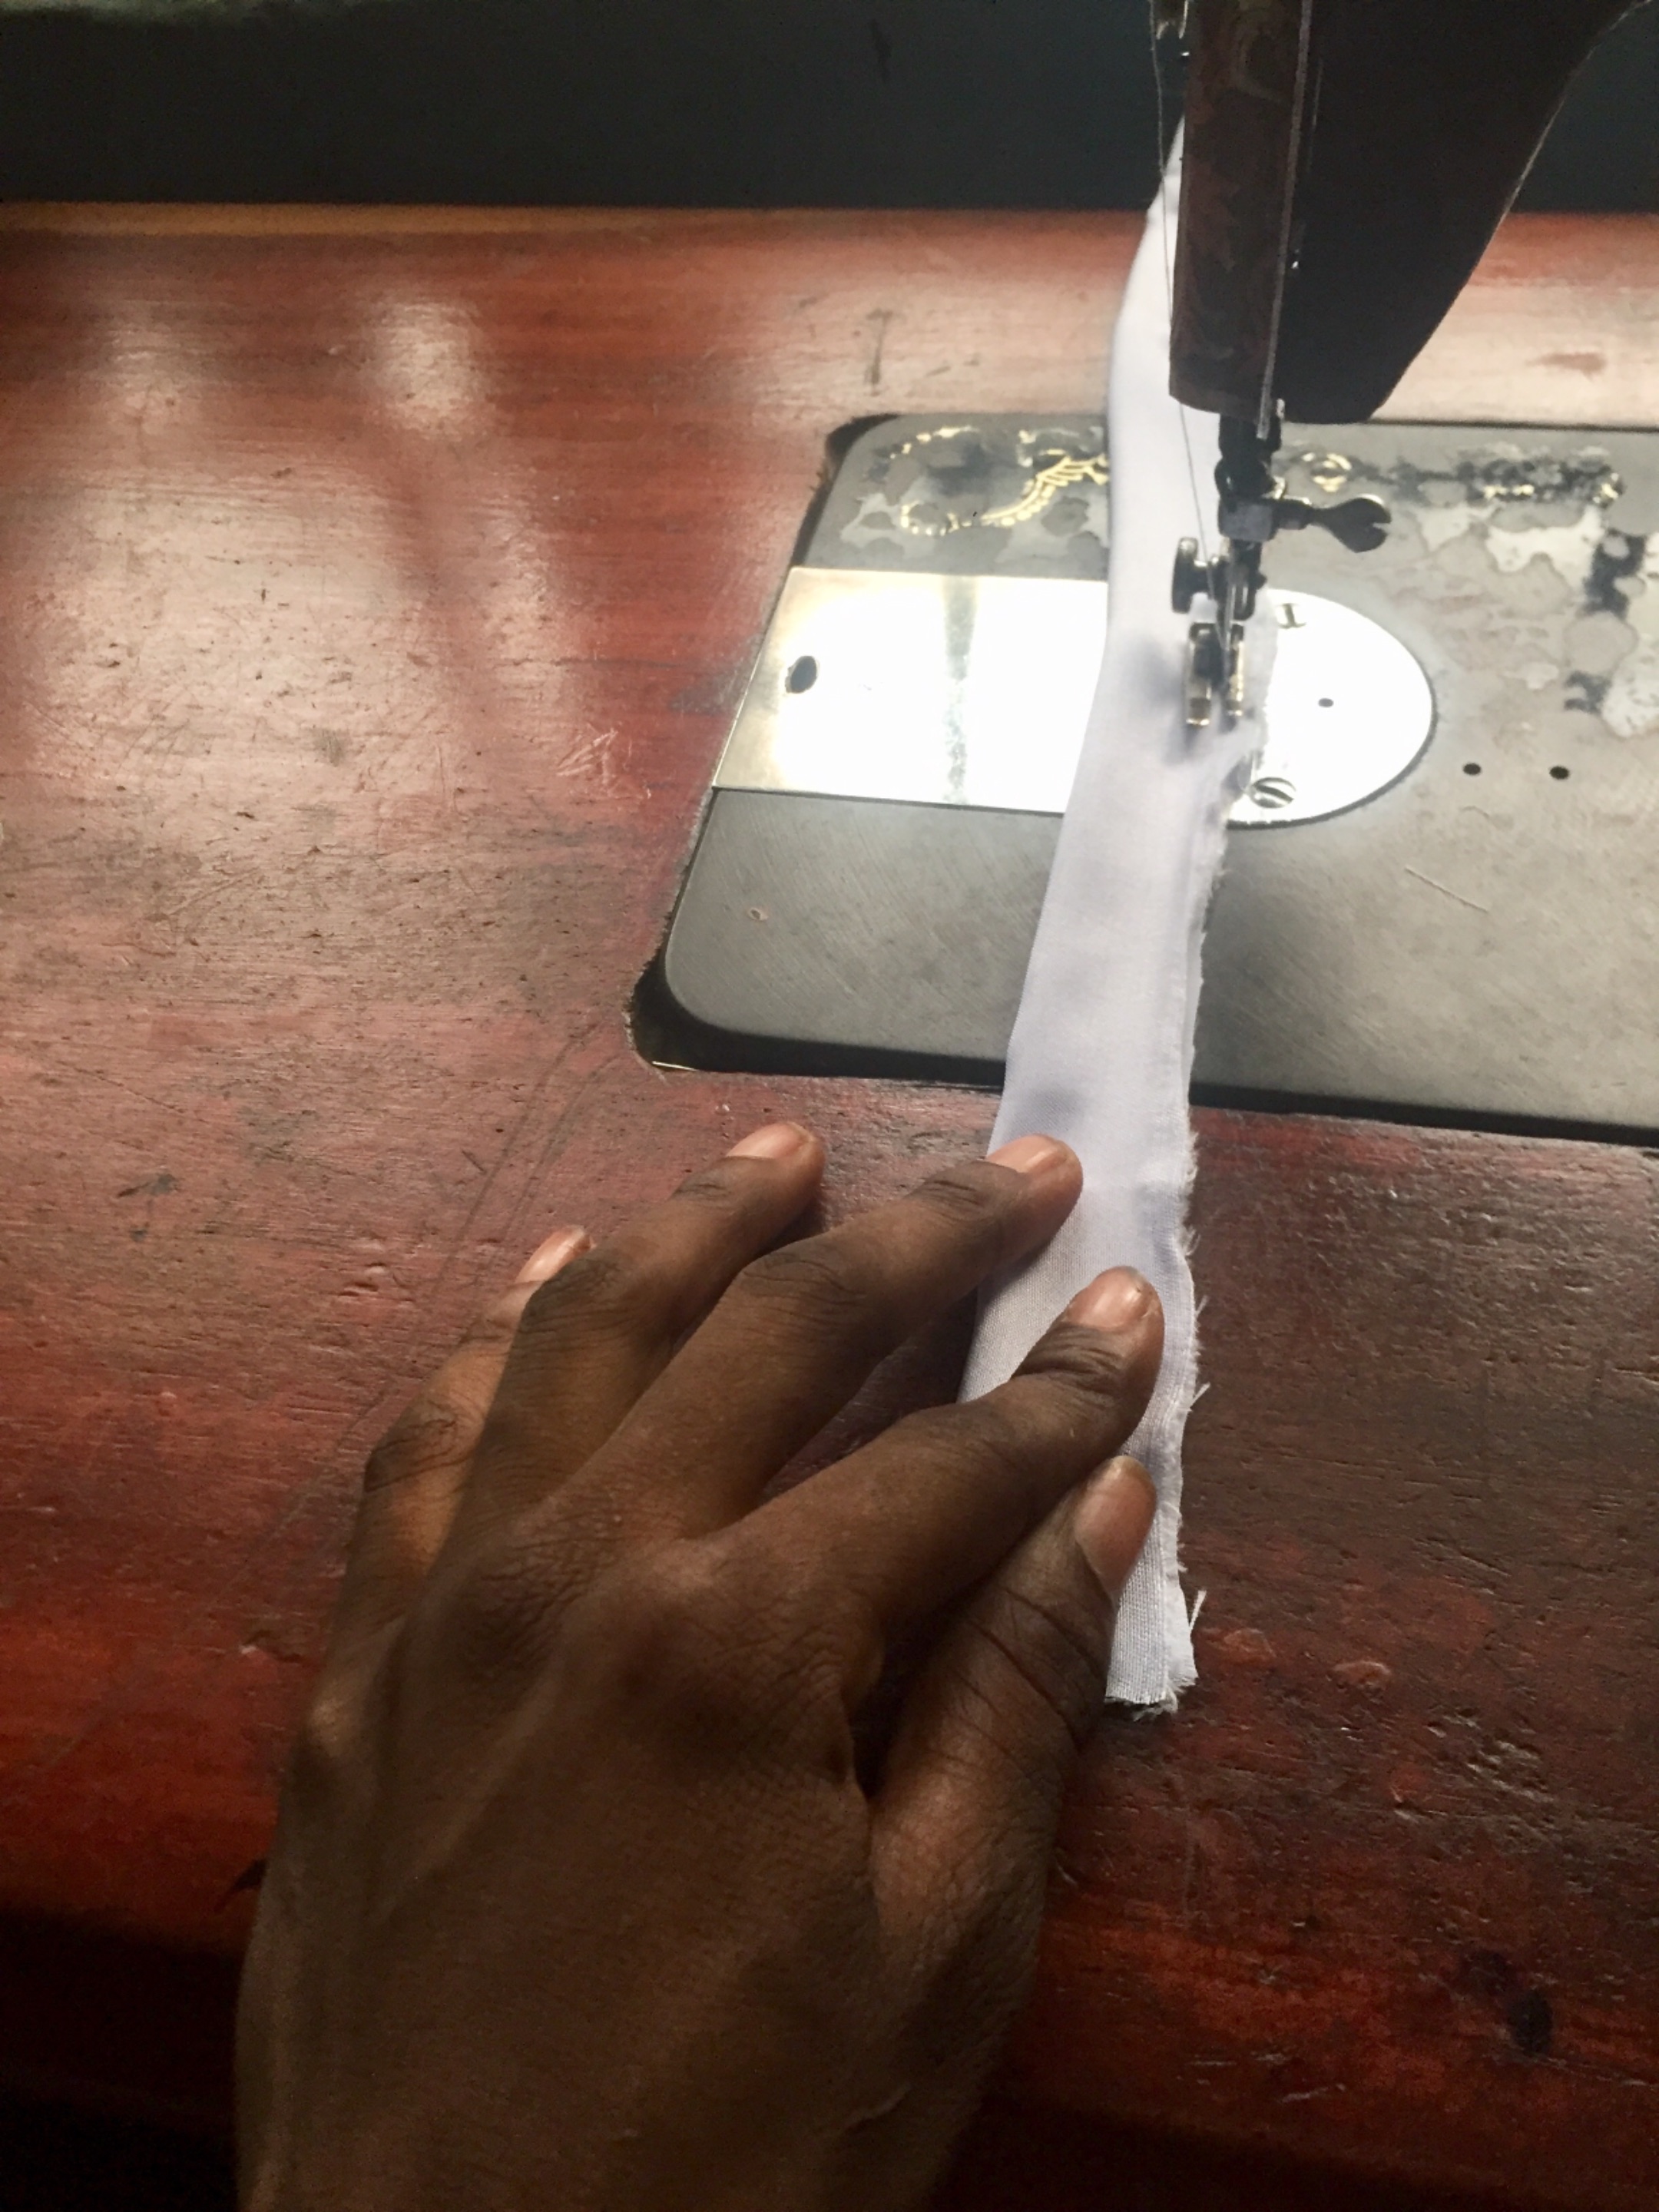
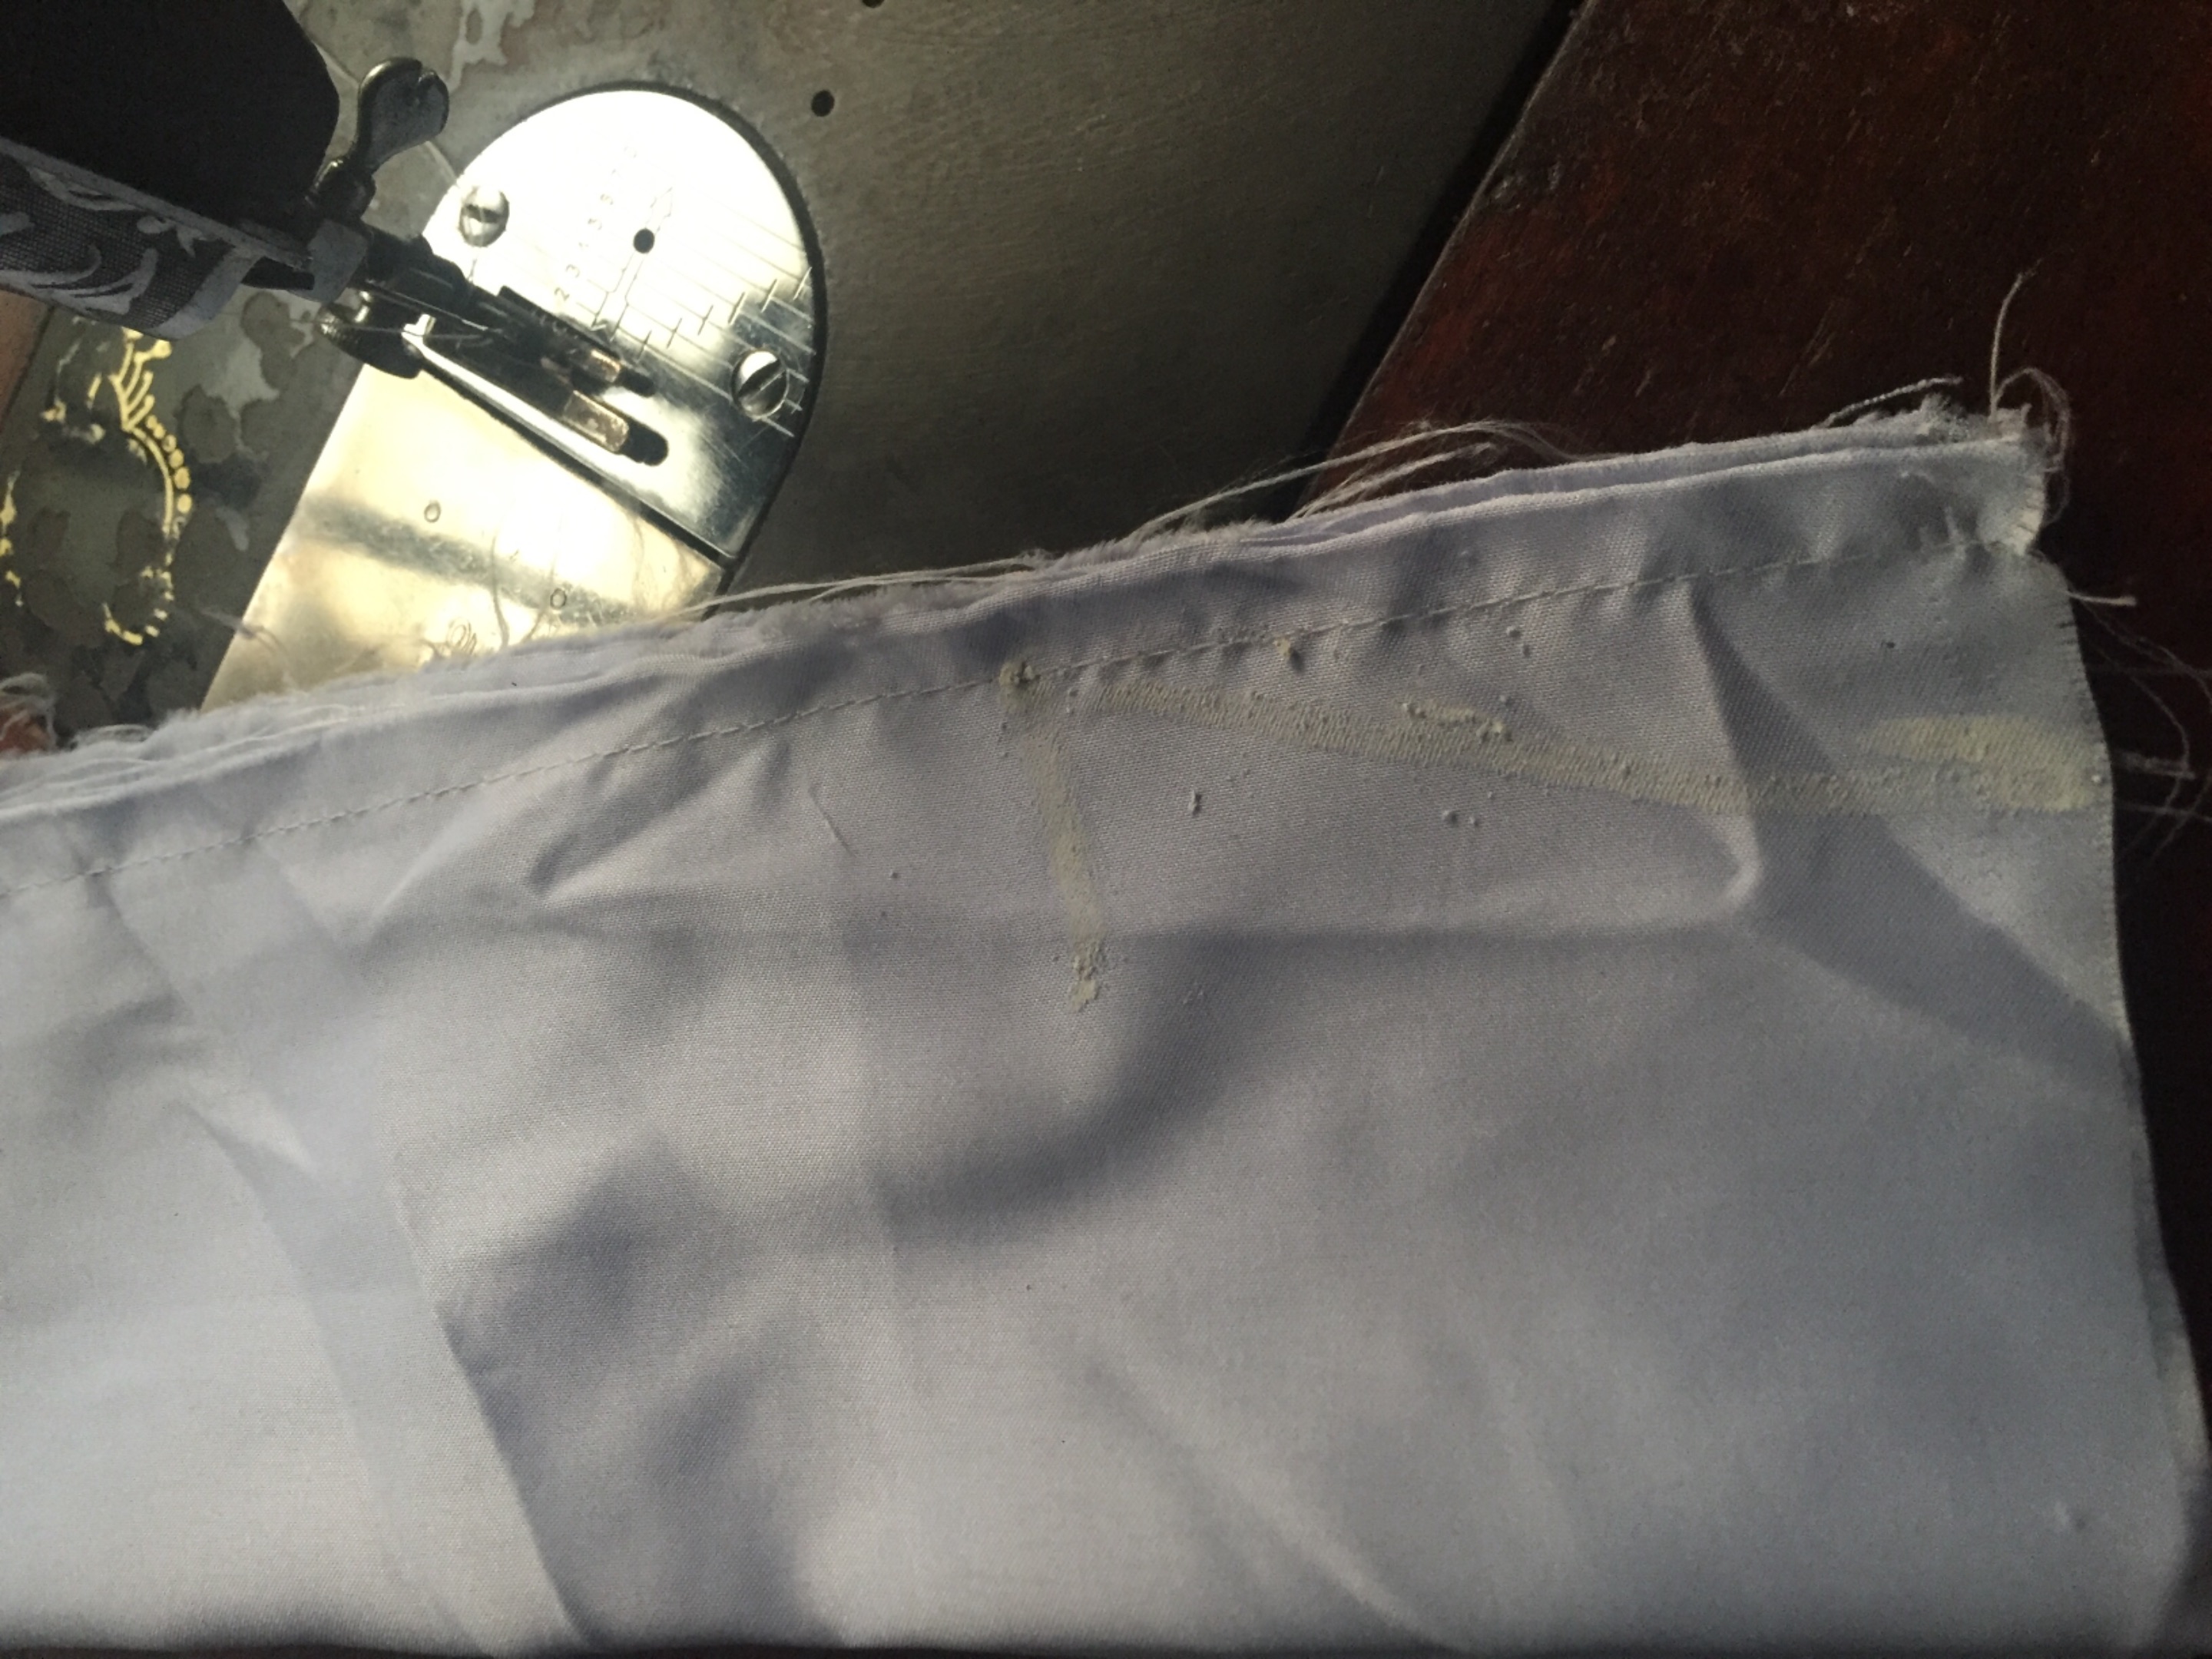
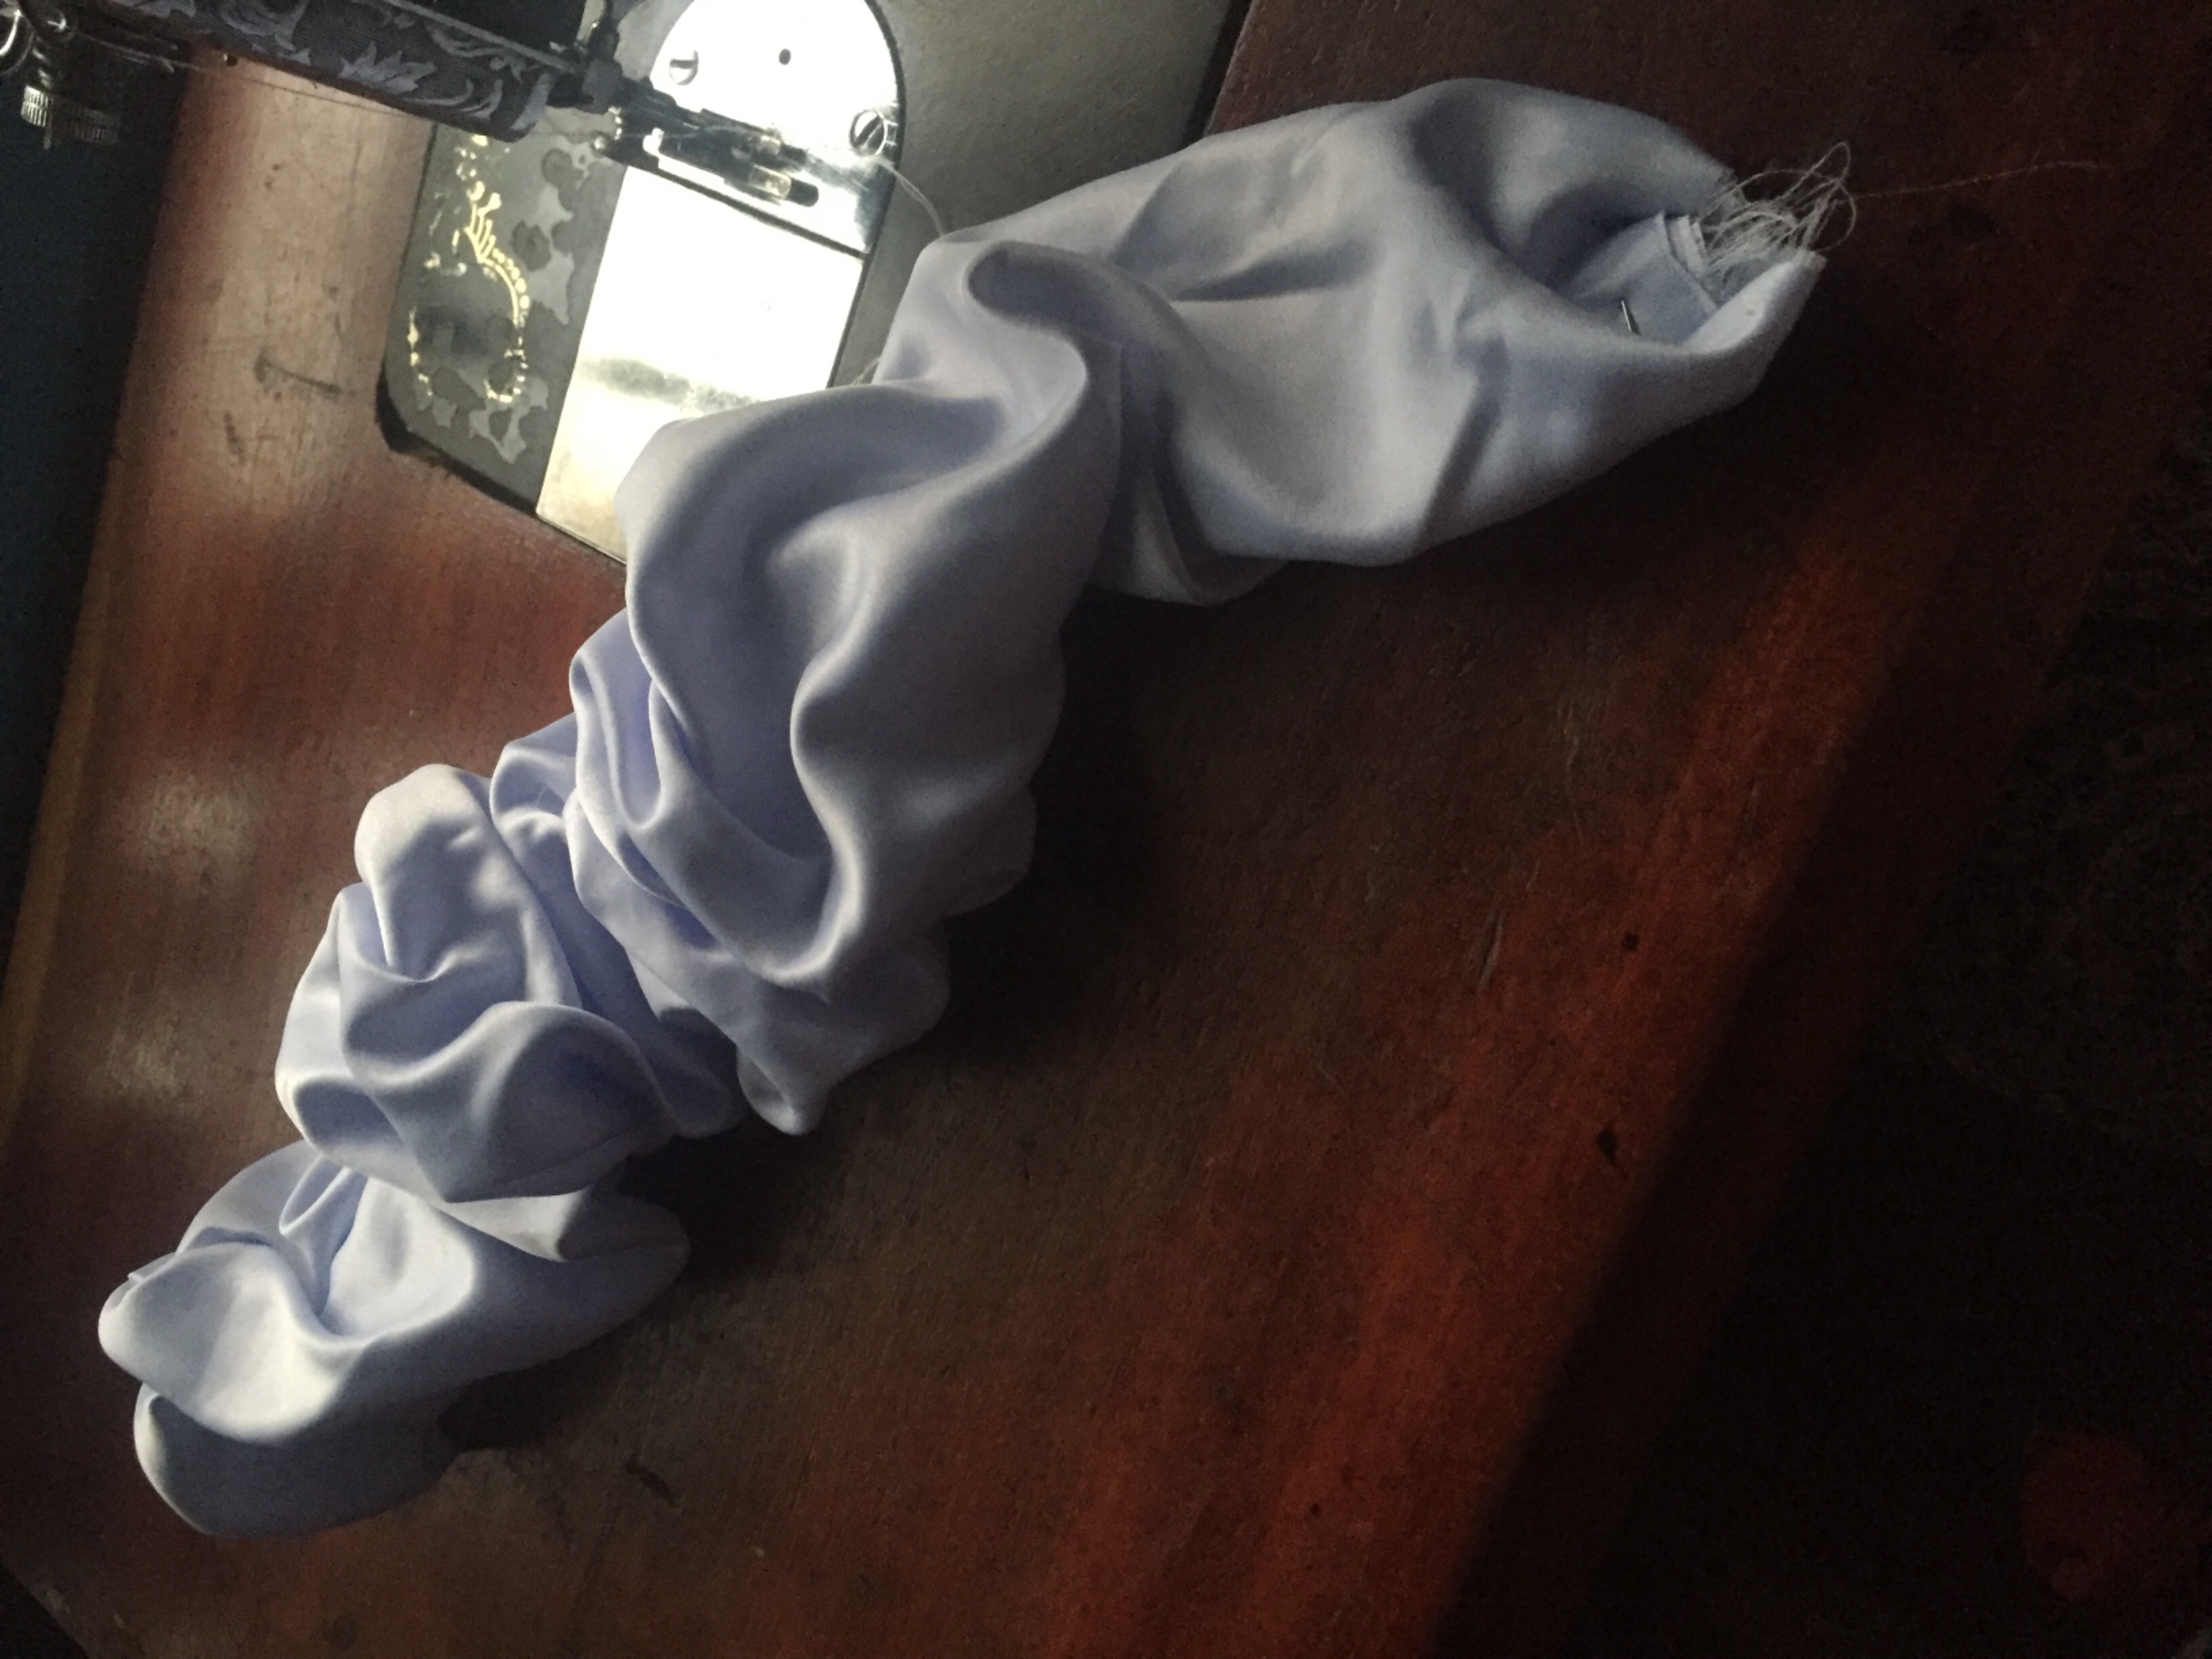
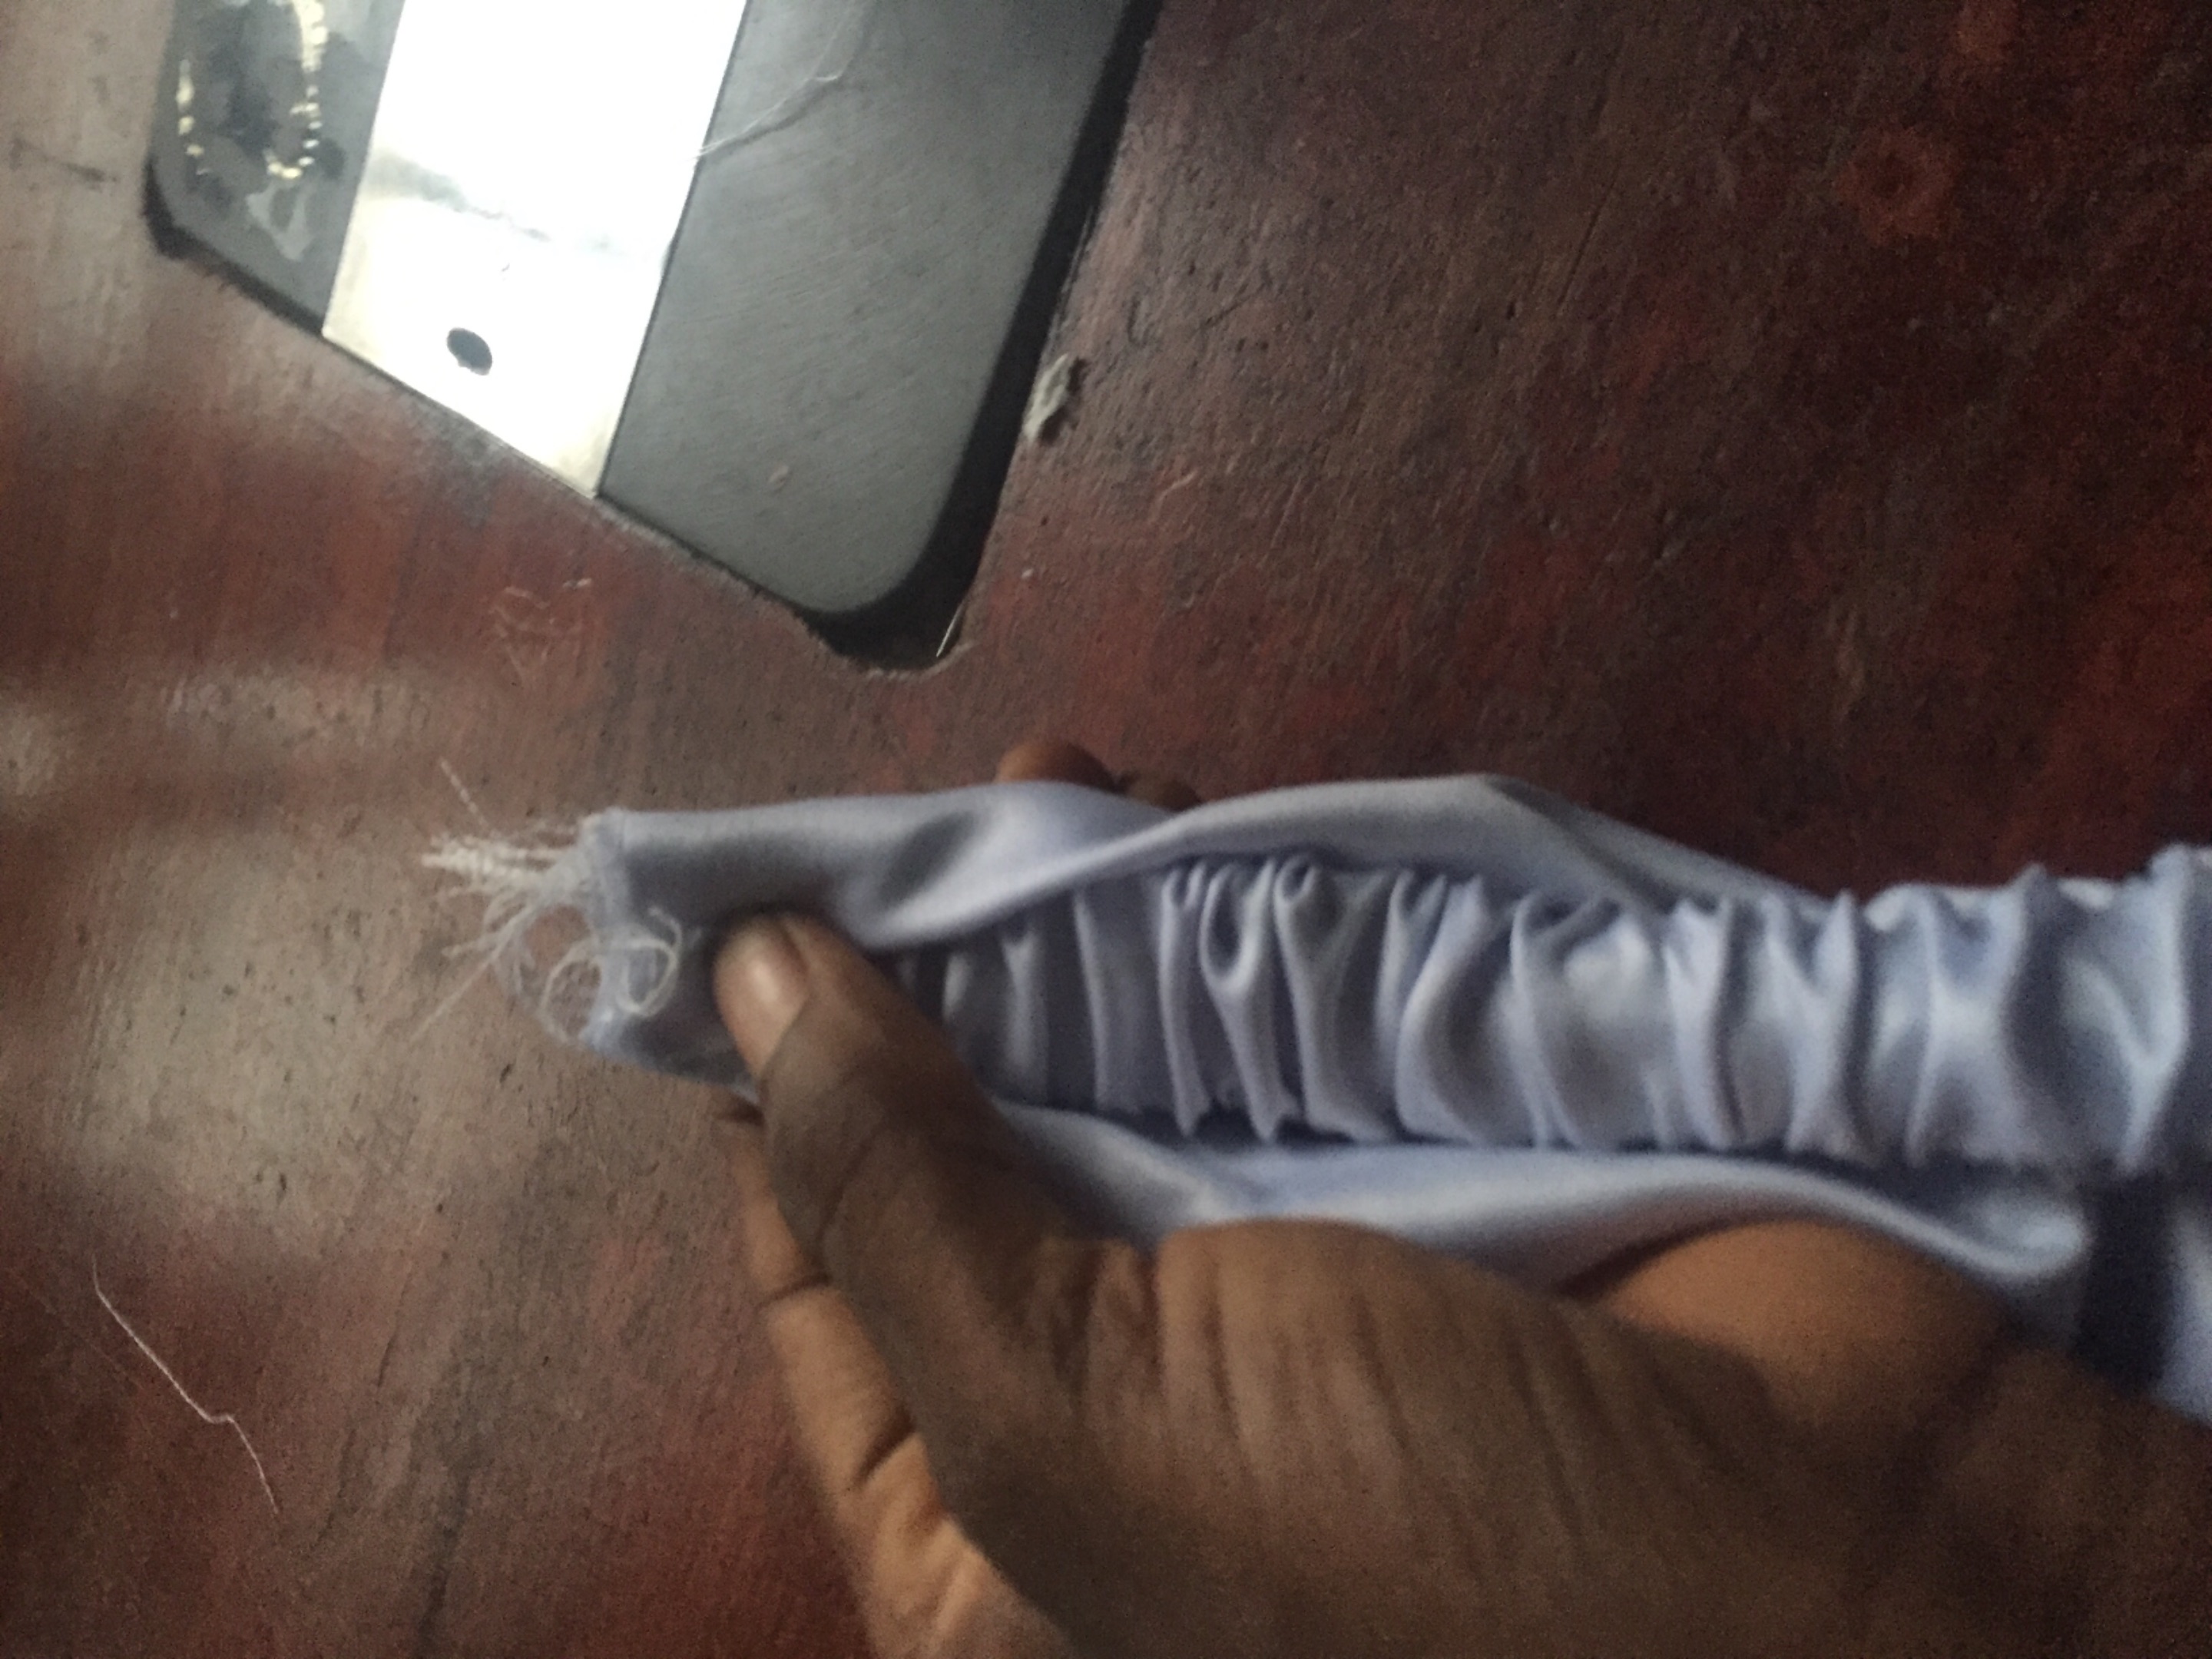
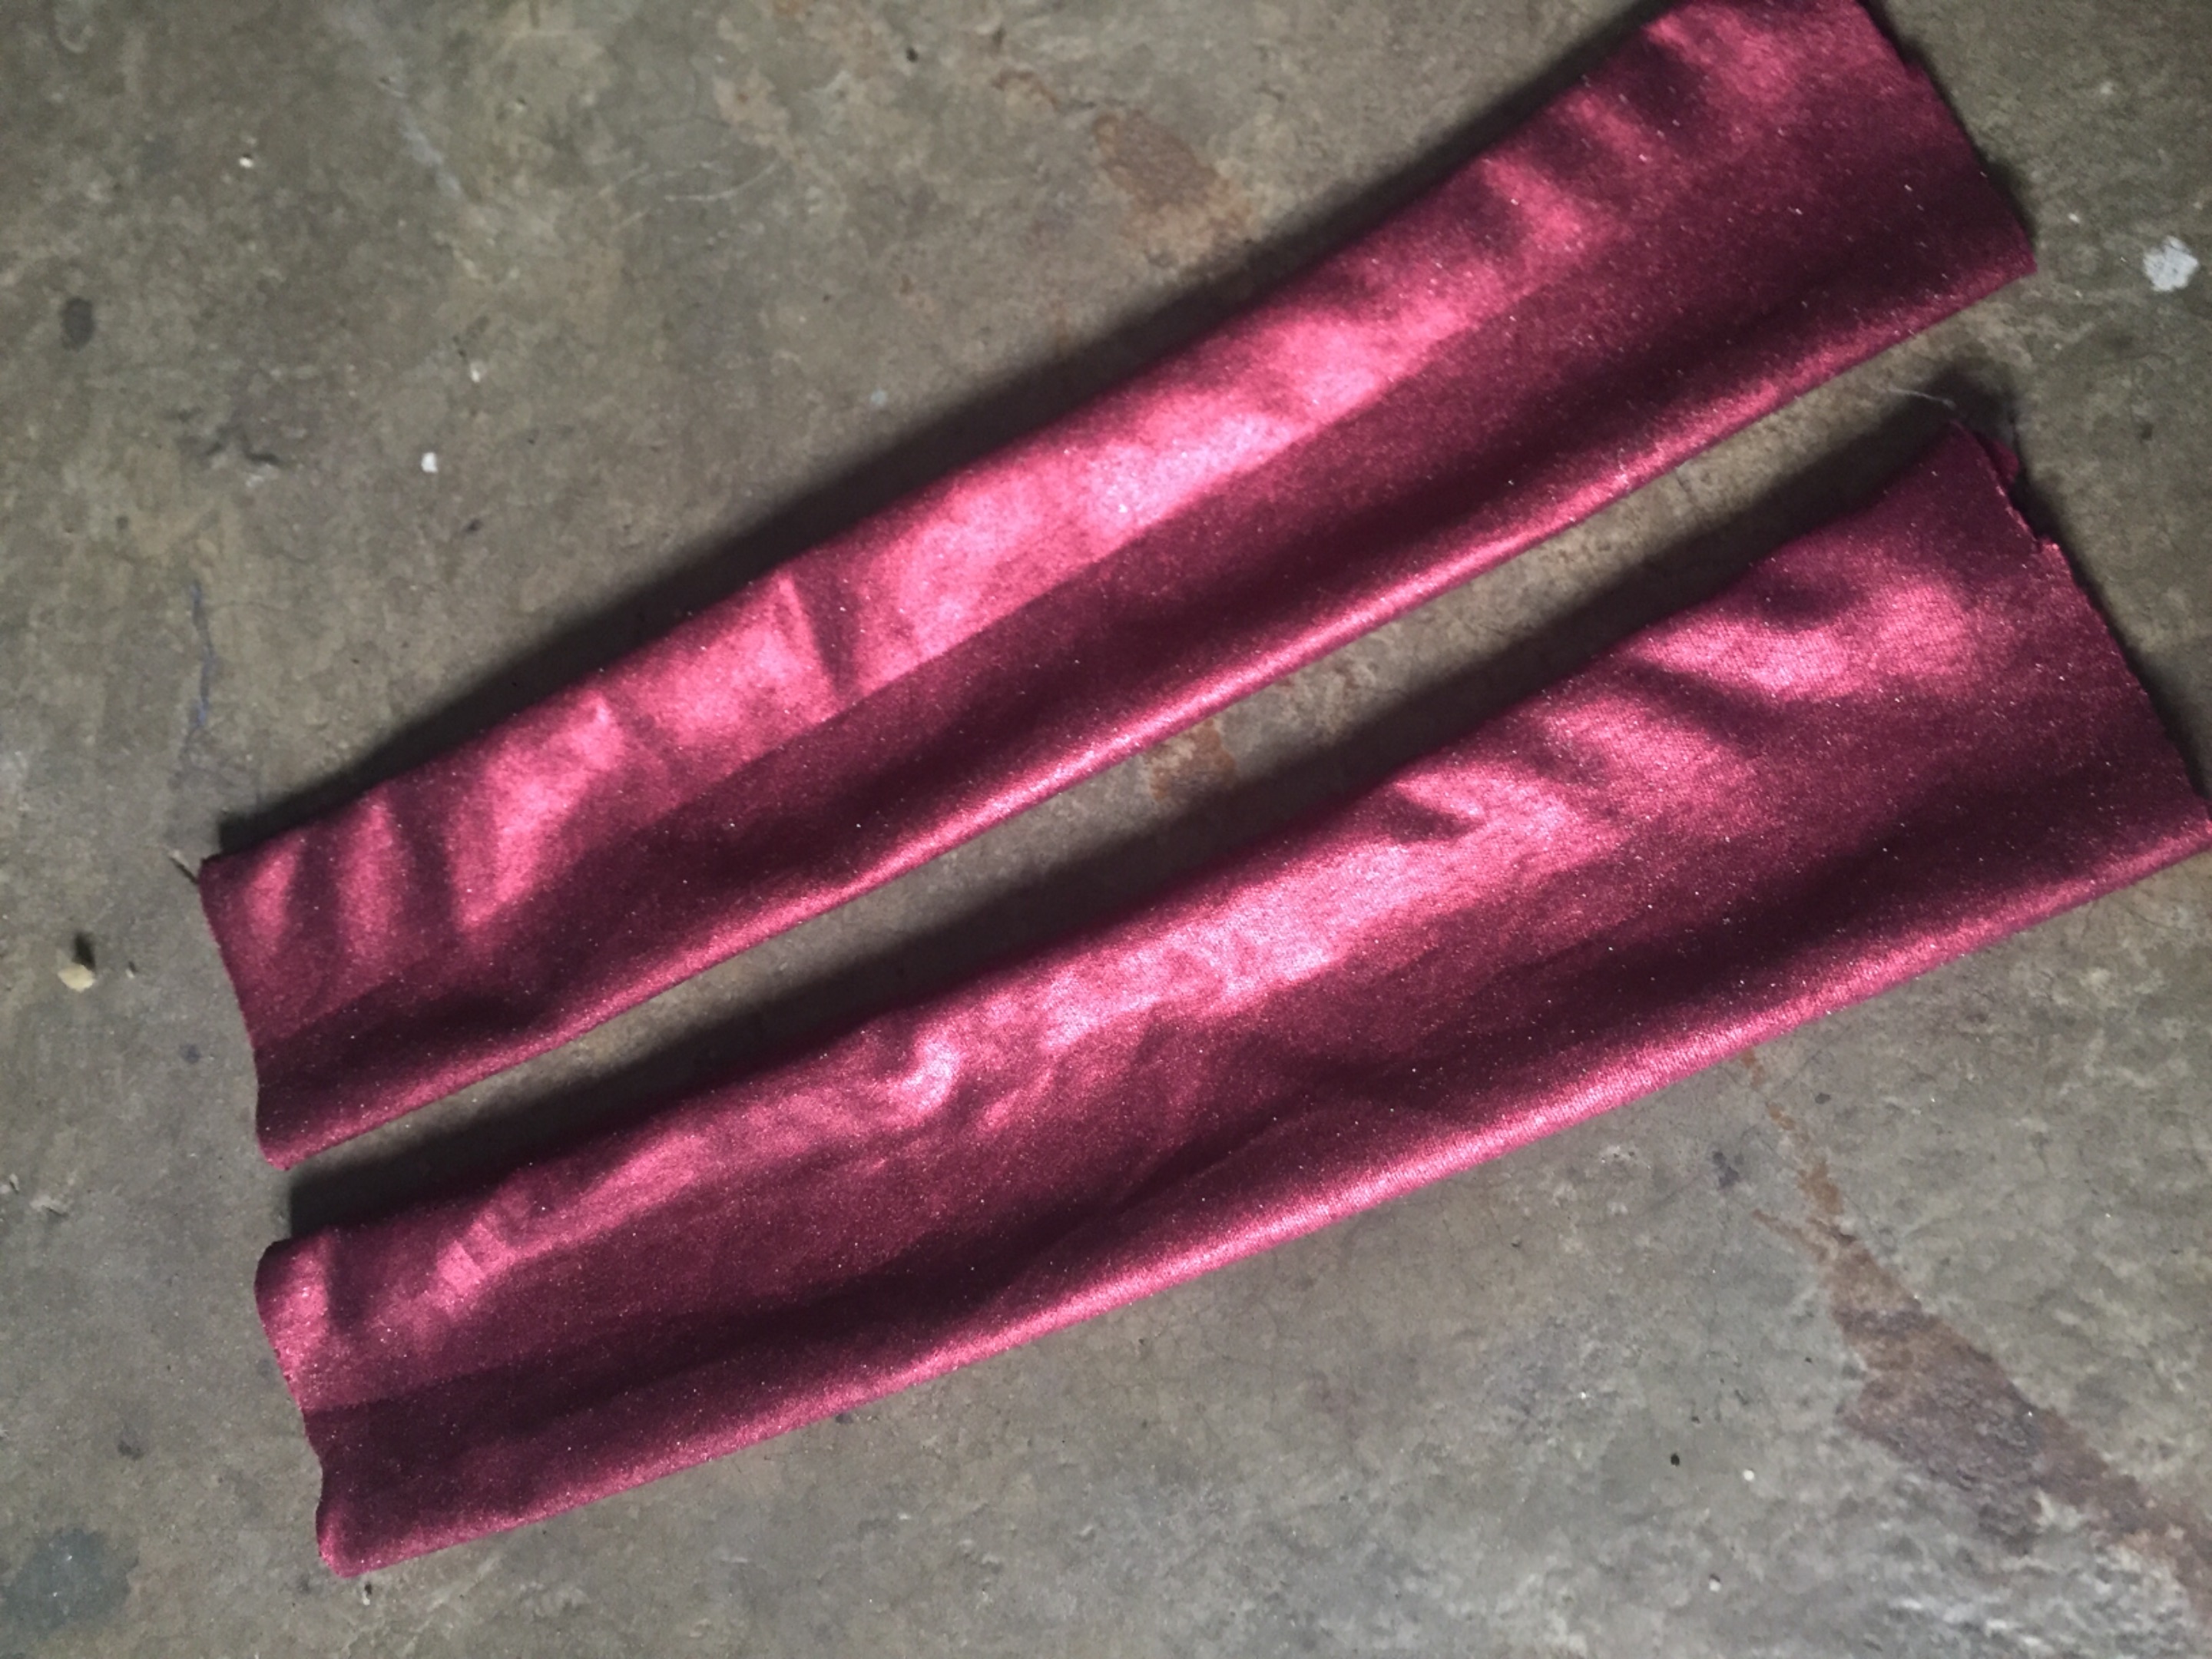
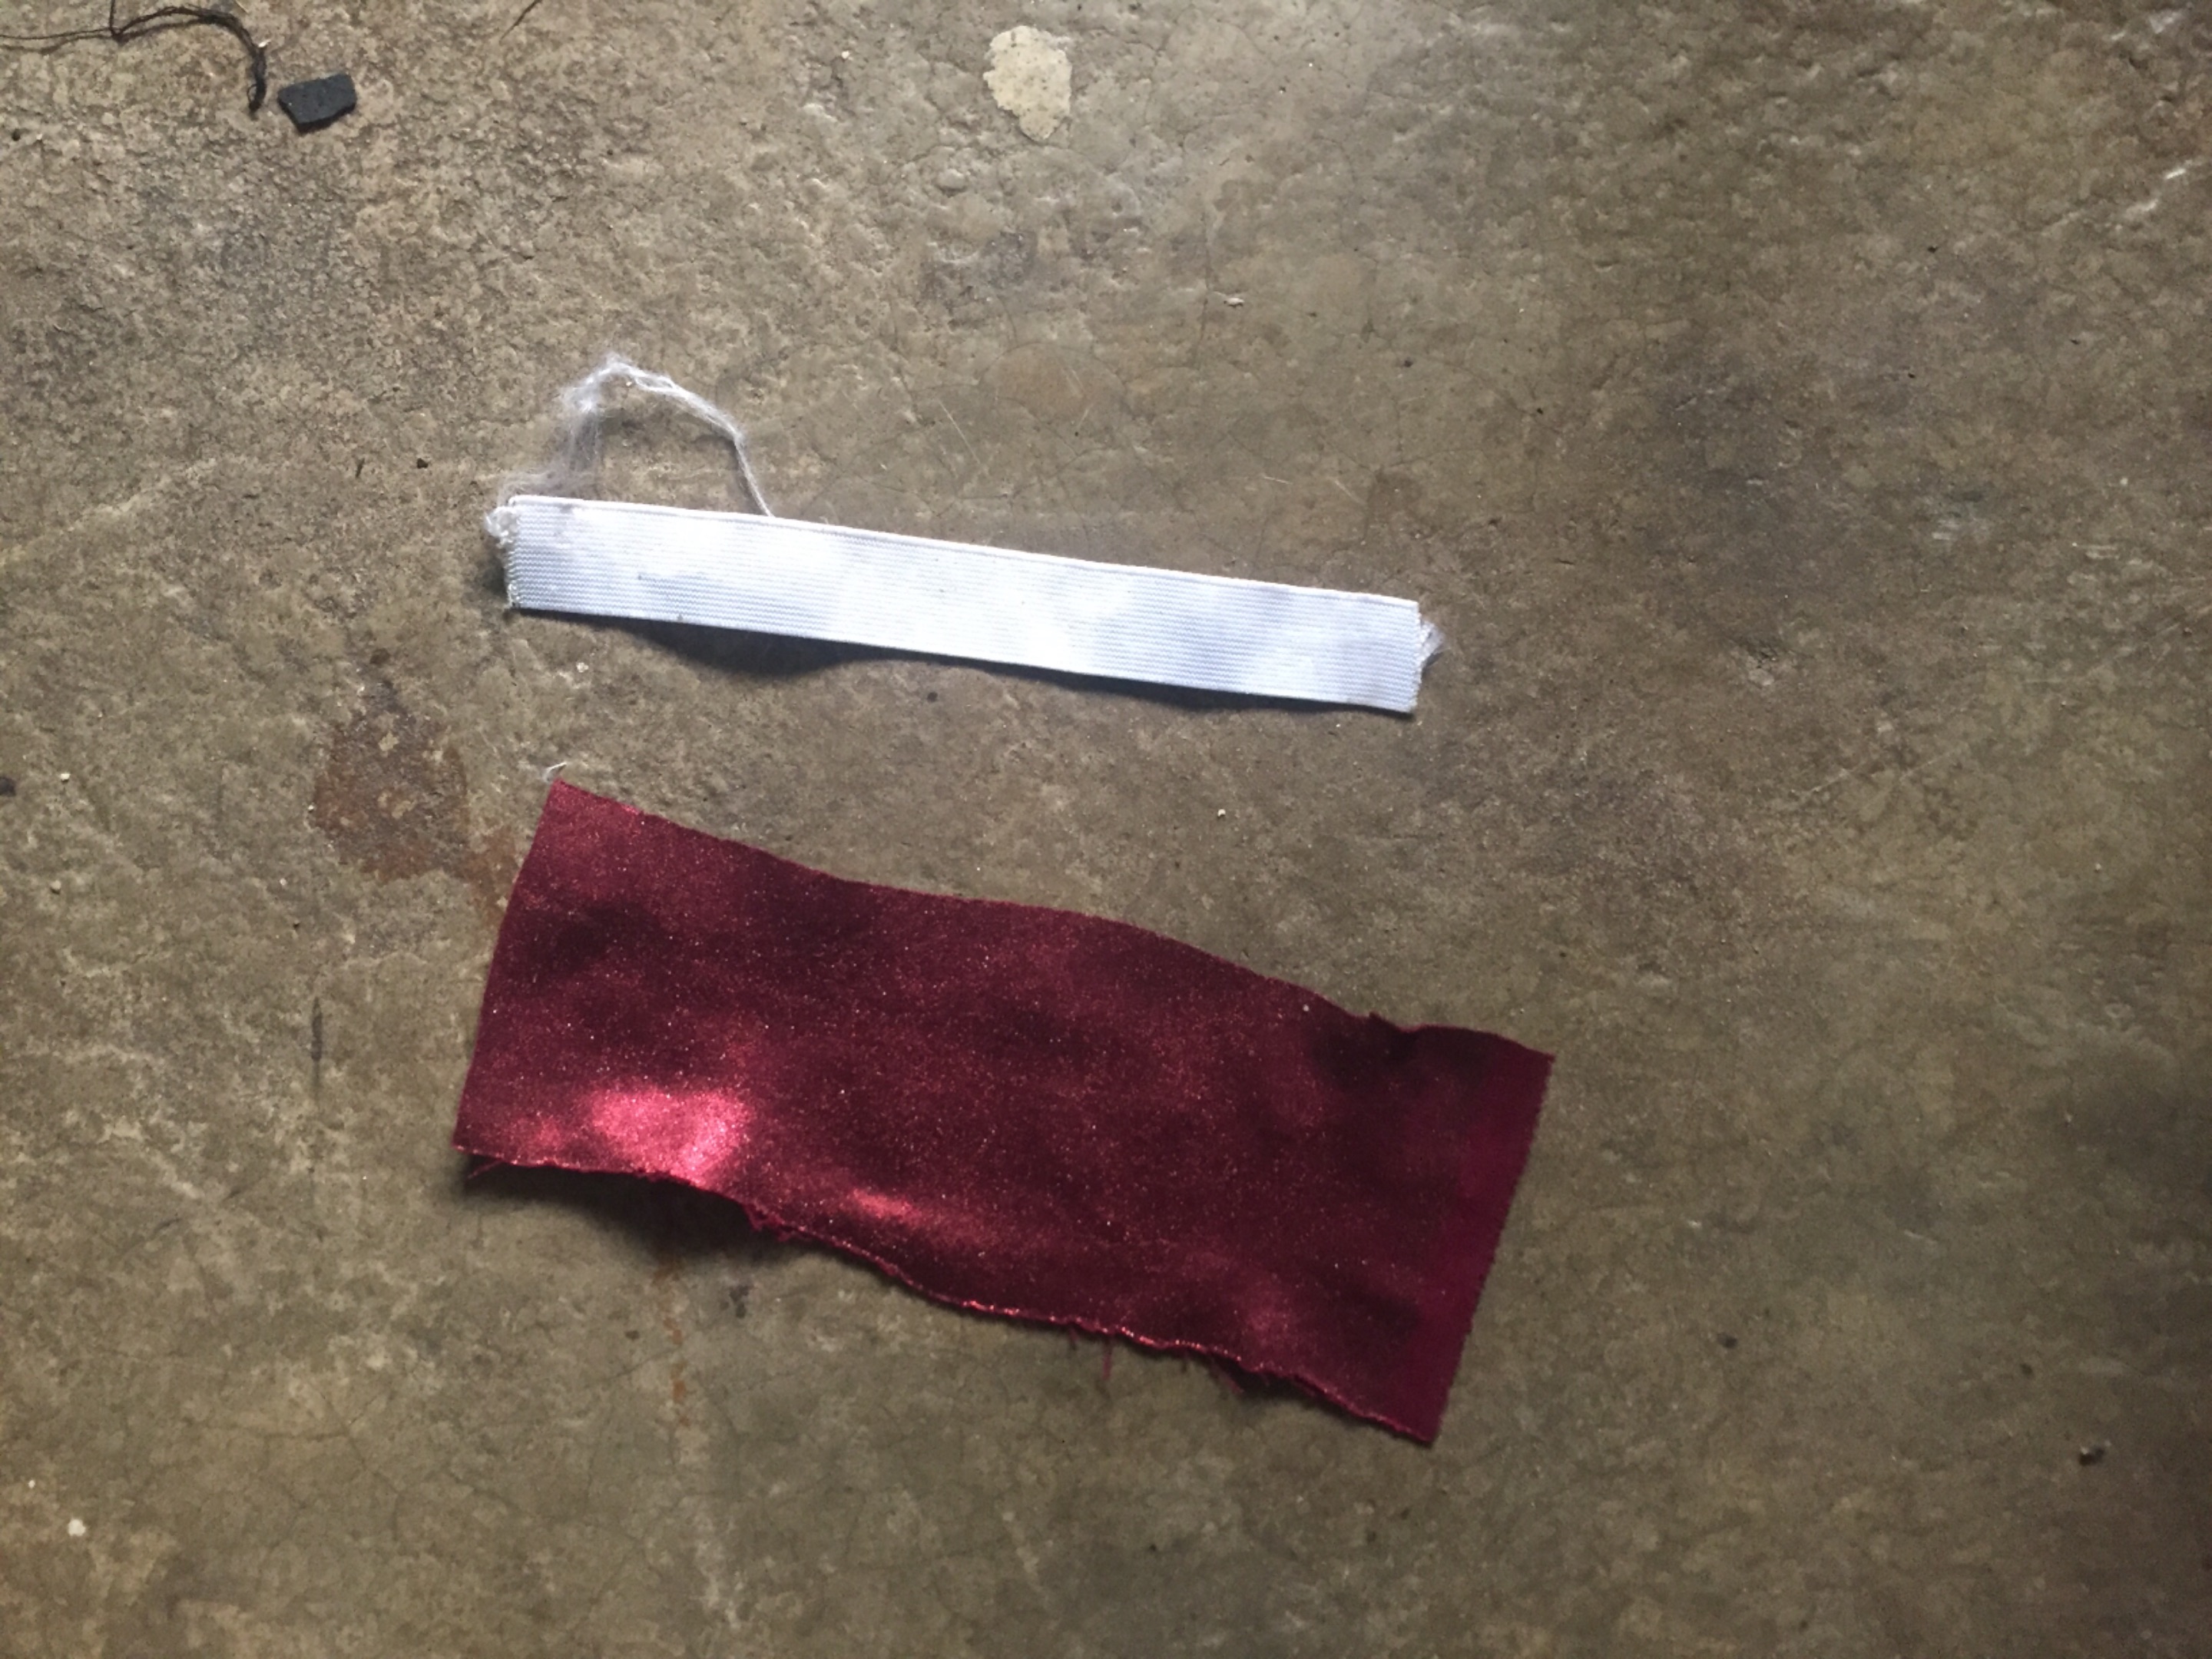
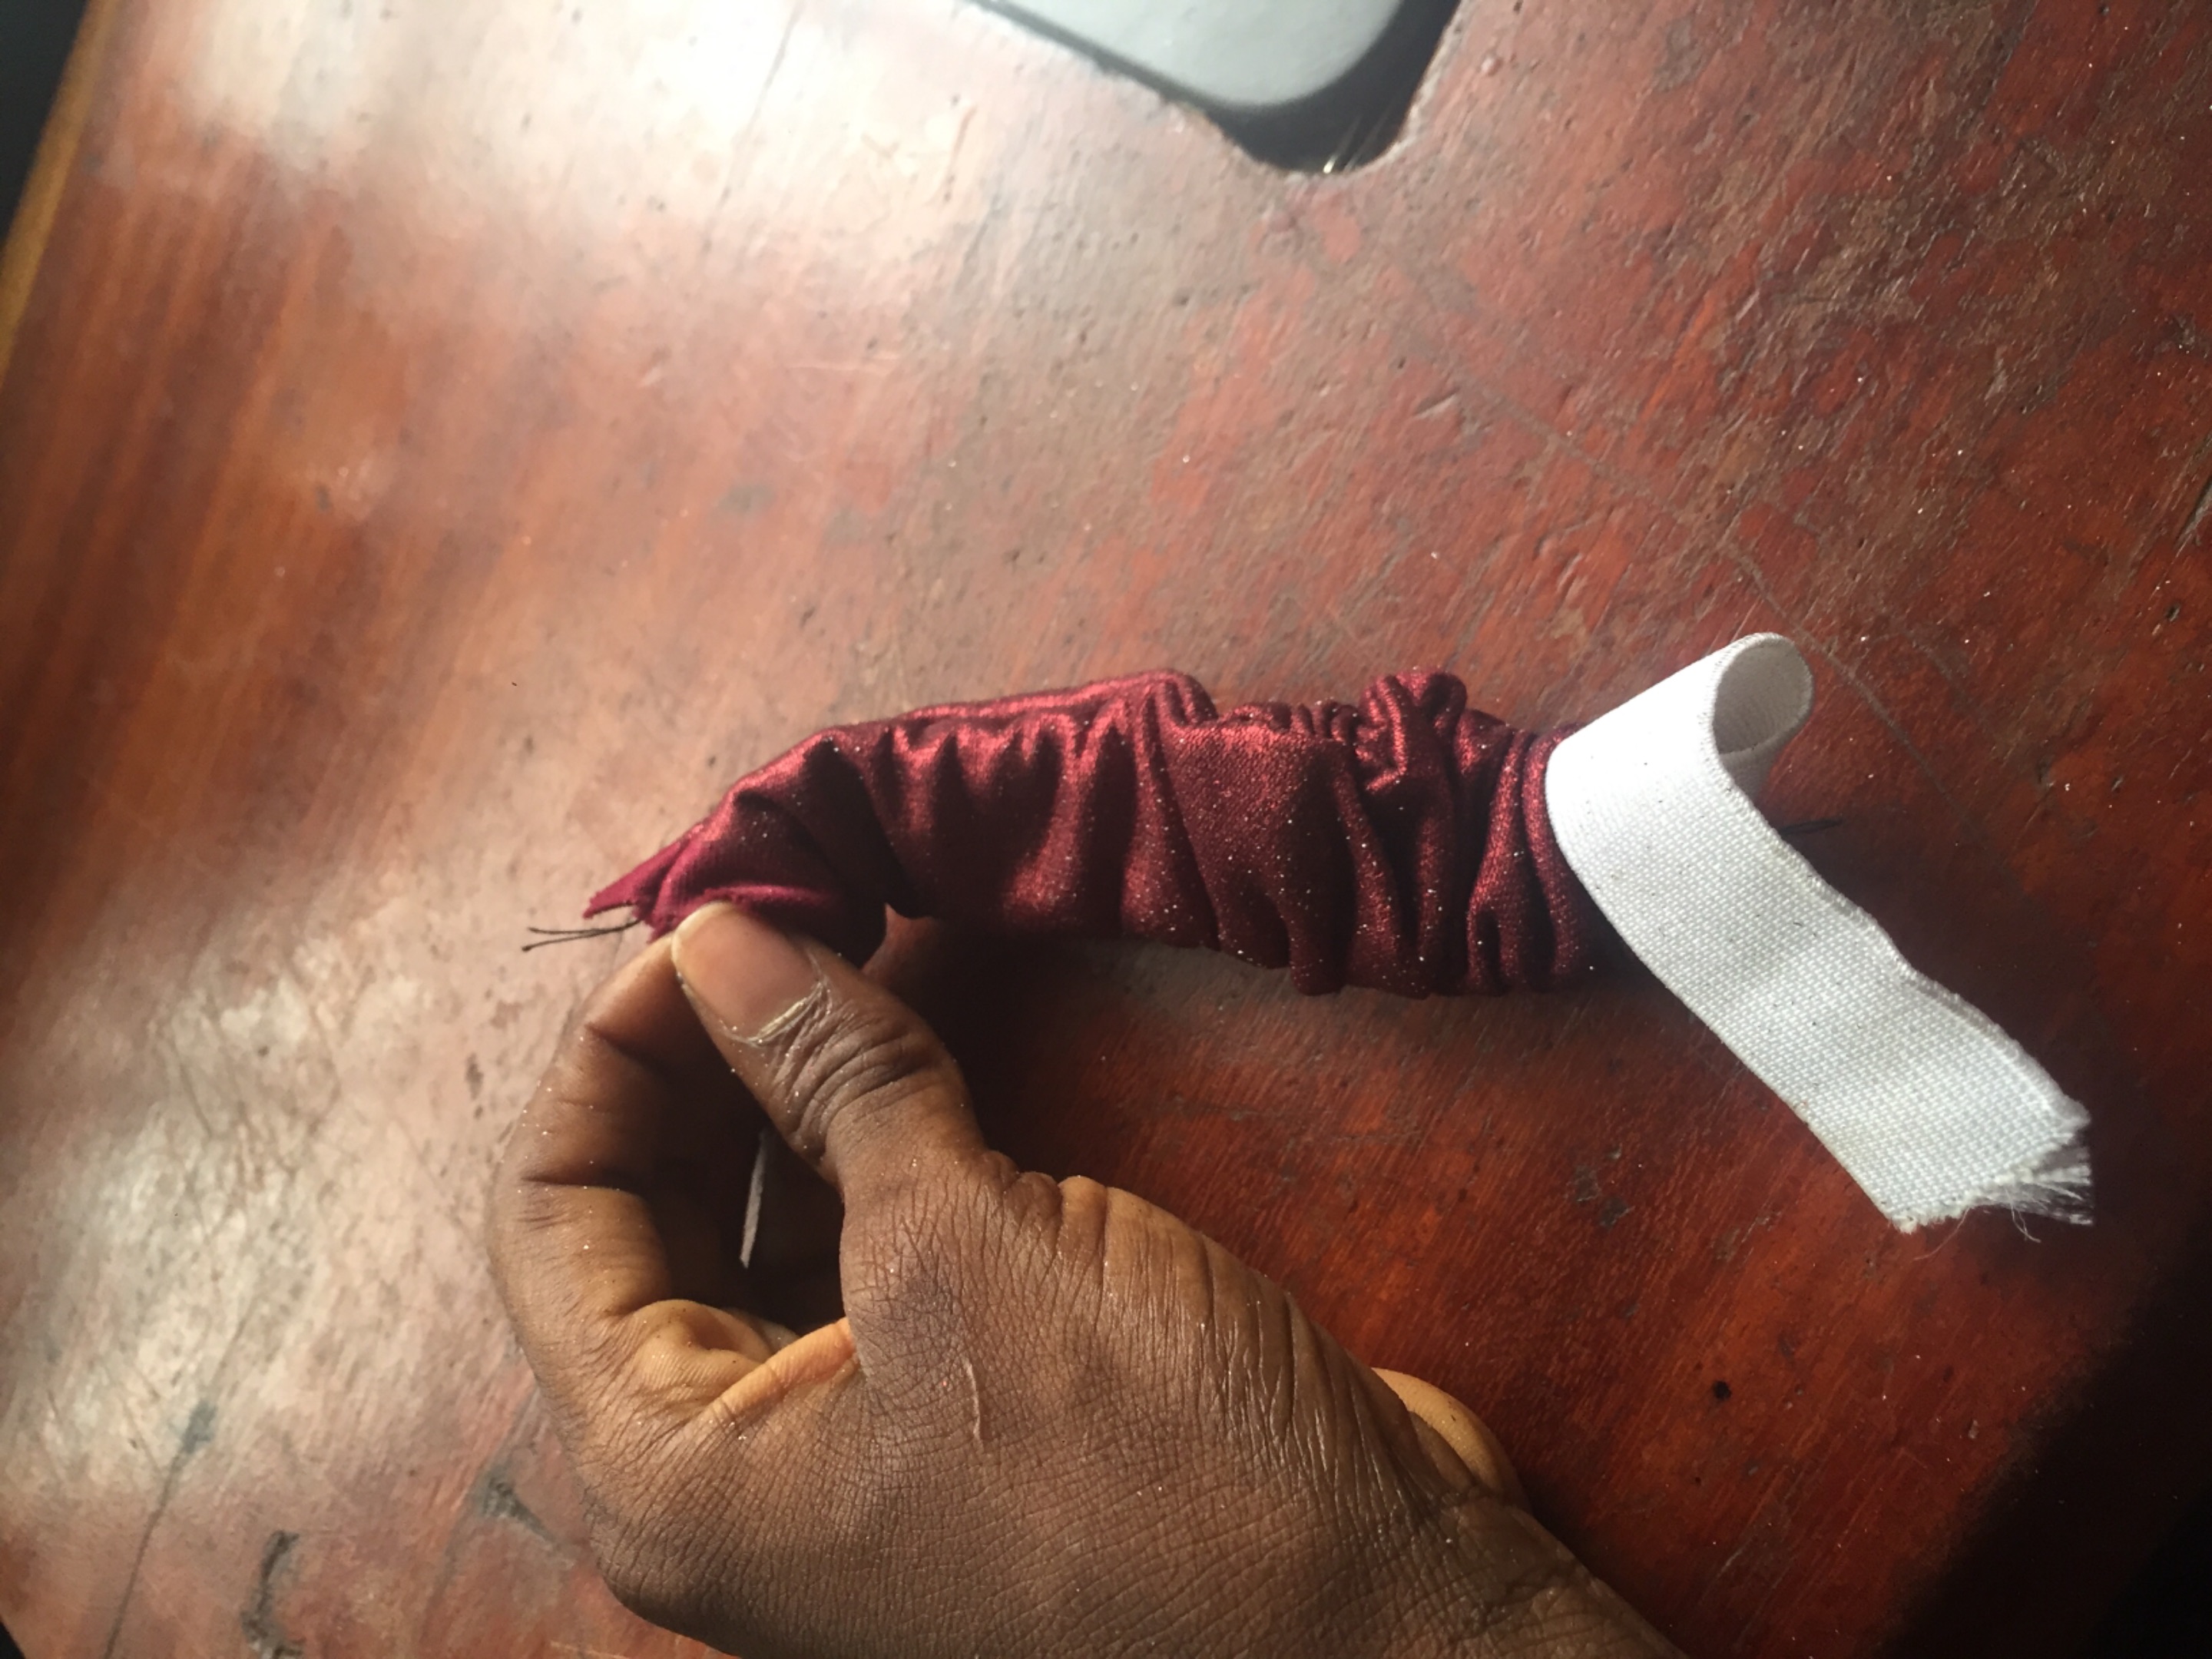
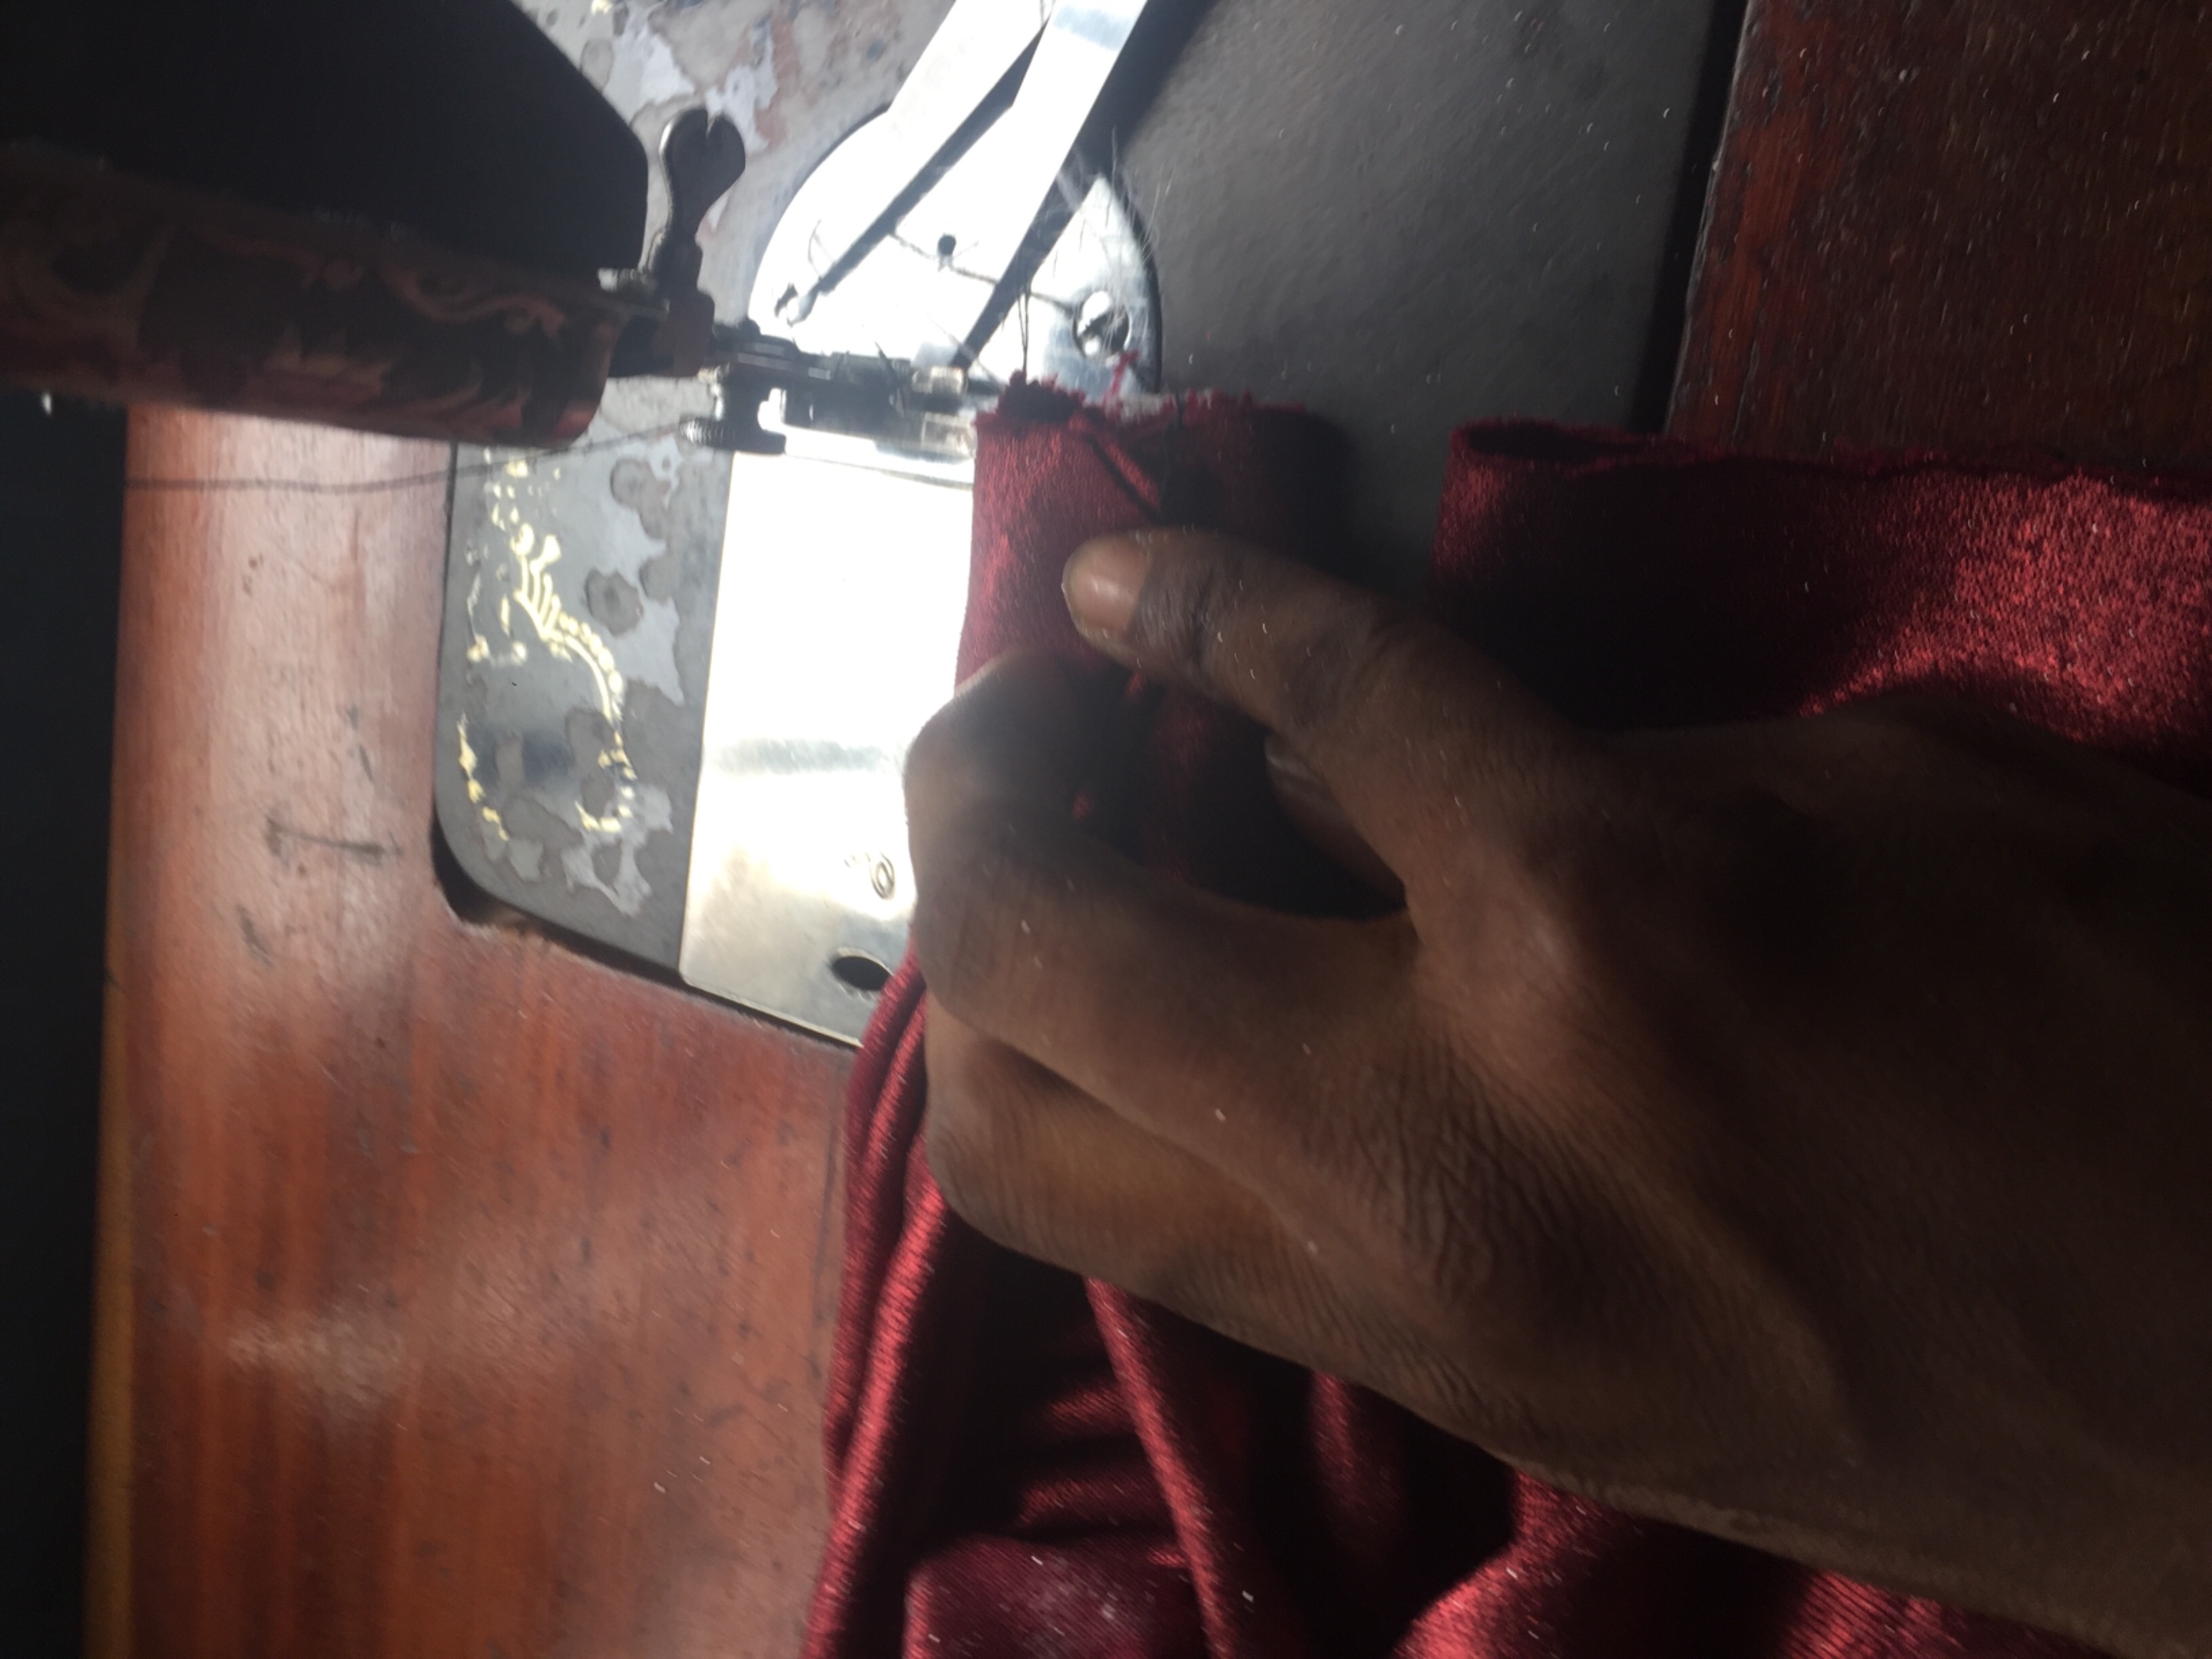
Took it my sewing machine to run straight stitches on the three pieces then I turn it out the first cutout and insert elastic on it and on the second piece I insert the third piece and I pull out after that I attached the piece that has elastic to edge of the second piece.

second headband processing
My sister came to visit me and she insist I must make are headband I don’t have a choice just to do so I check where I use to keep leftover fabric I used for my dress to make her headband
I cut out fabric of 20cm x 50cm .... 2 pcs and sew the side of the 2 pcs and turn out and iron it then after the ironing I took one of pcs and cross it to the other pcs
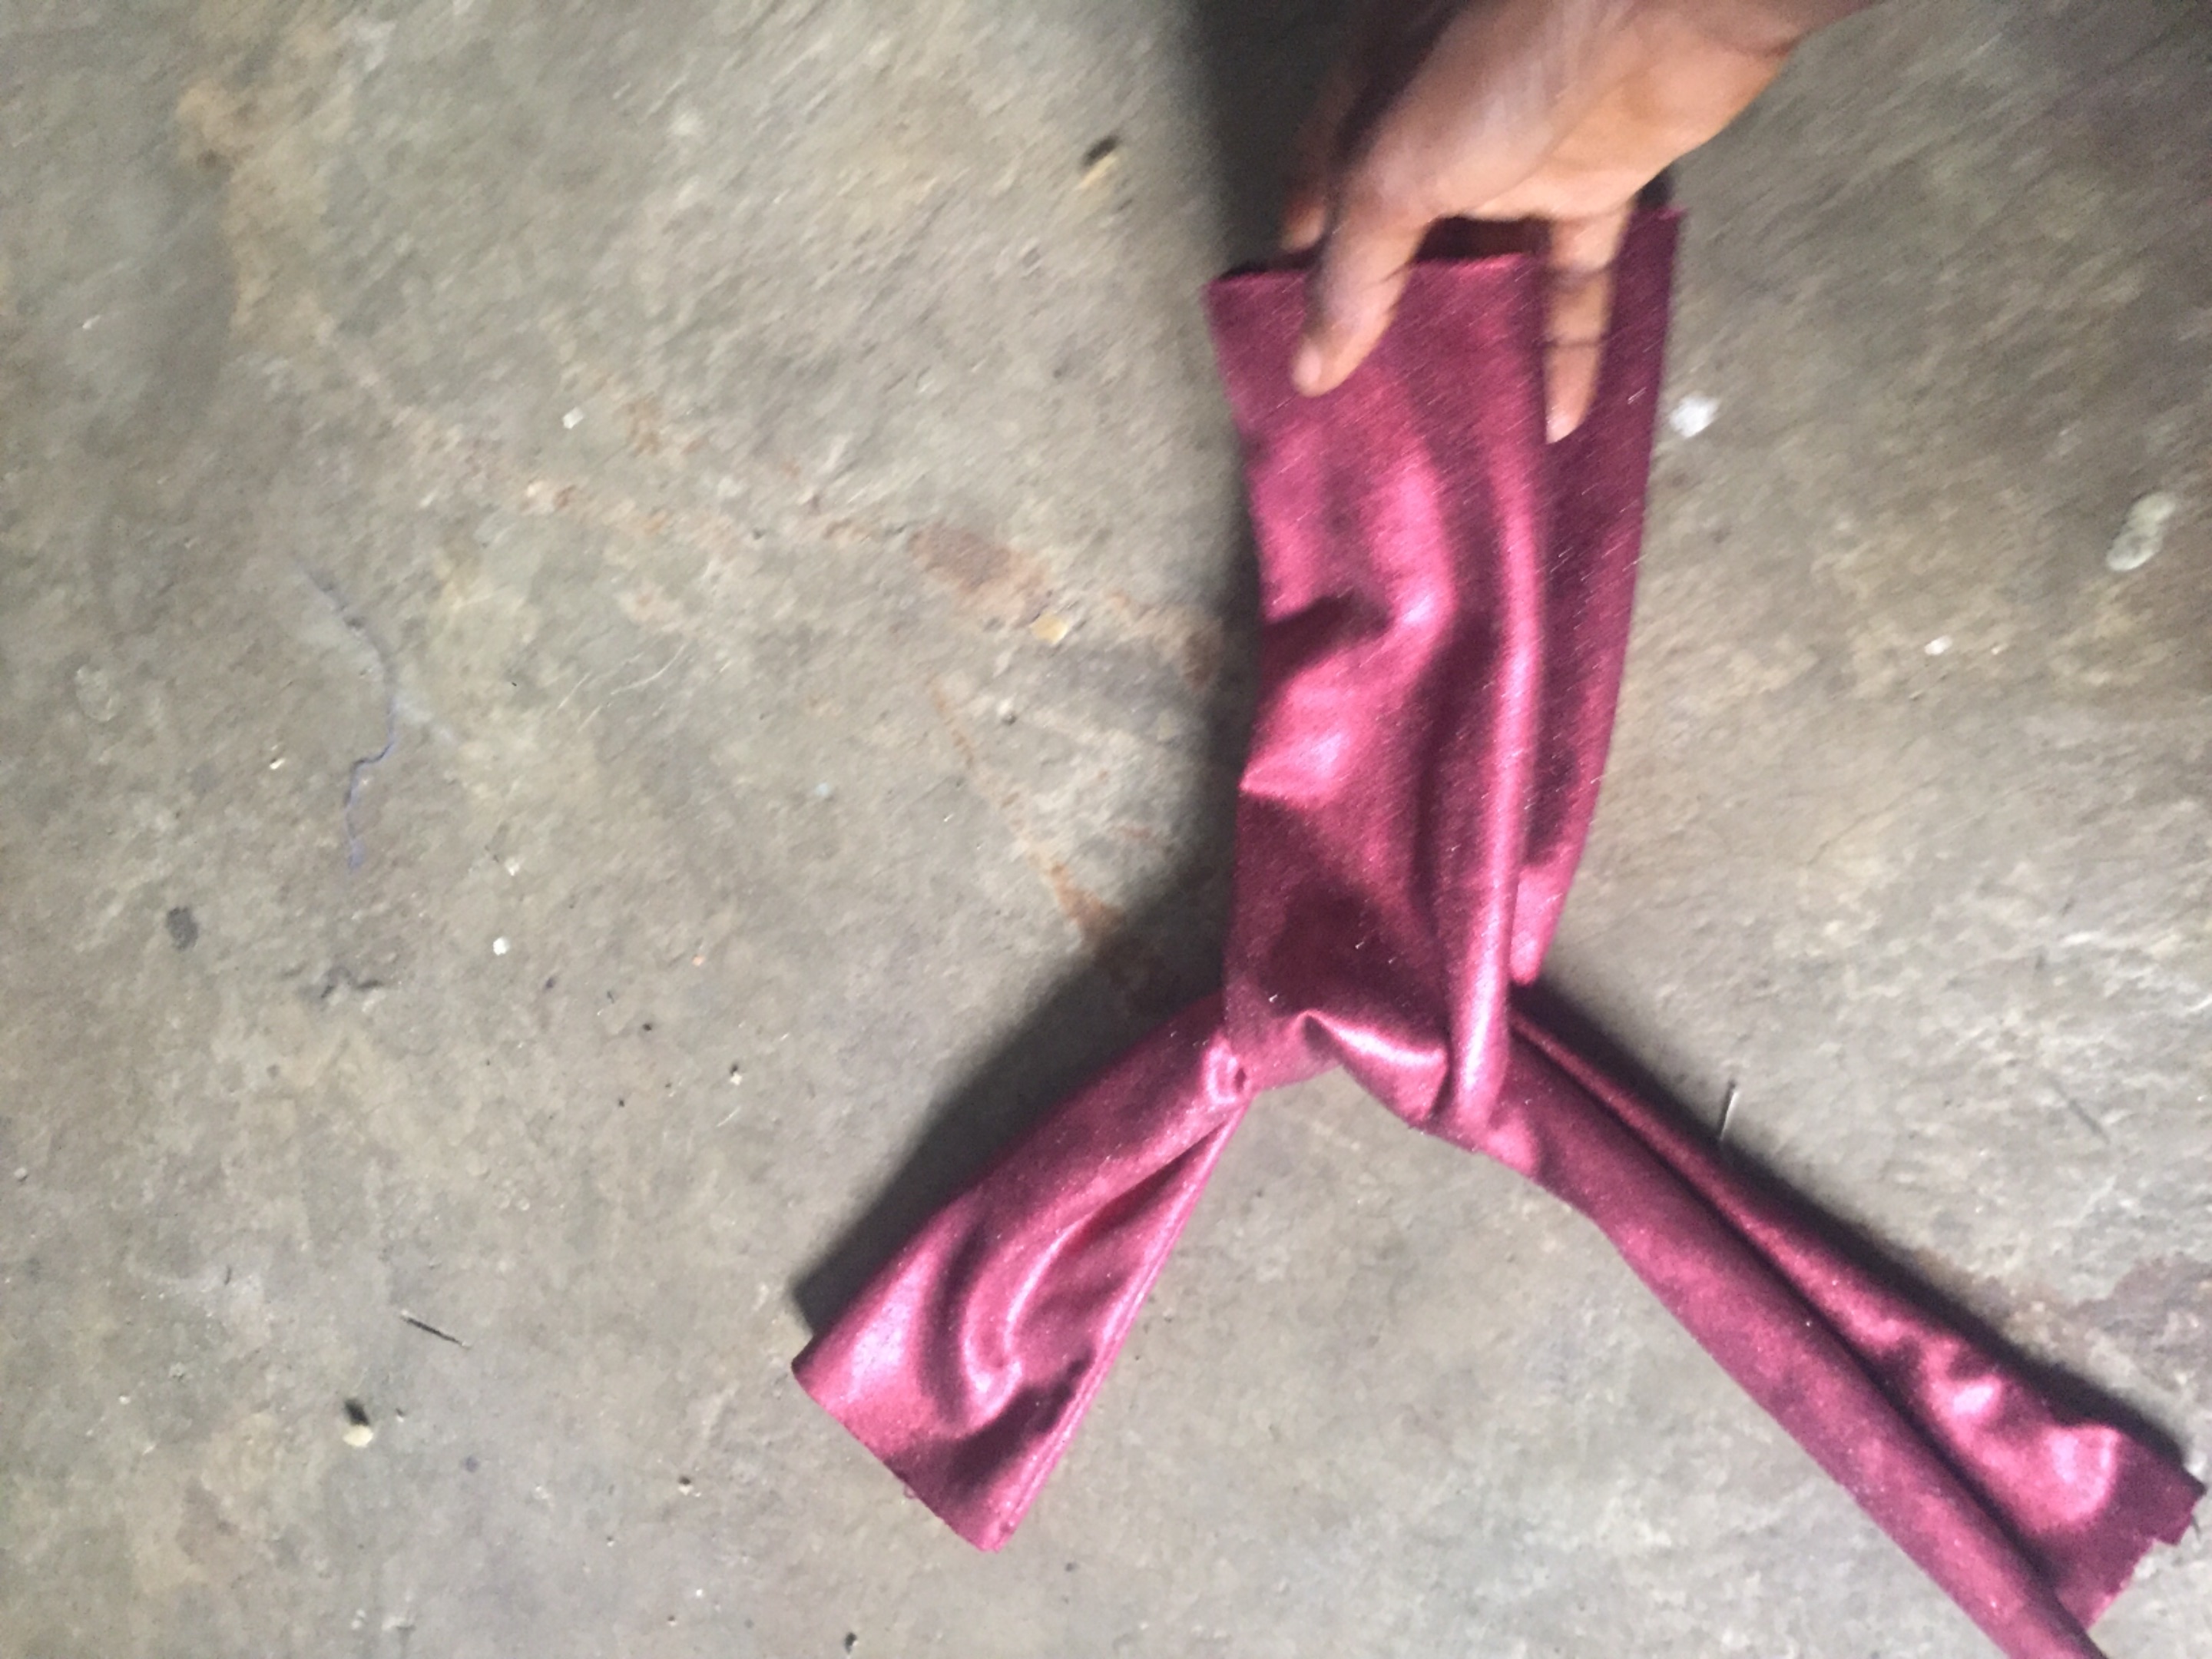
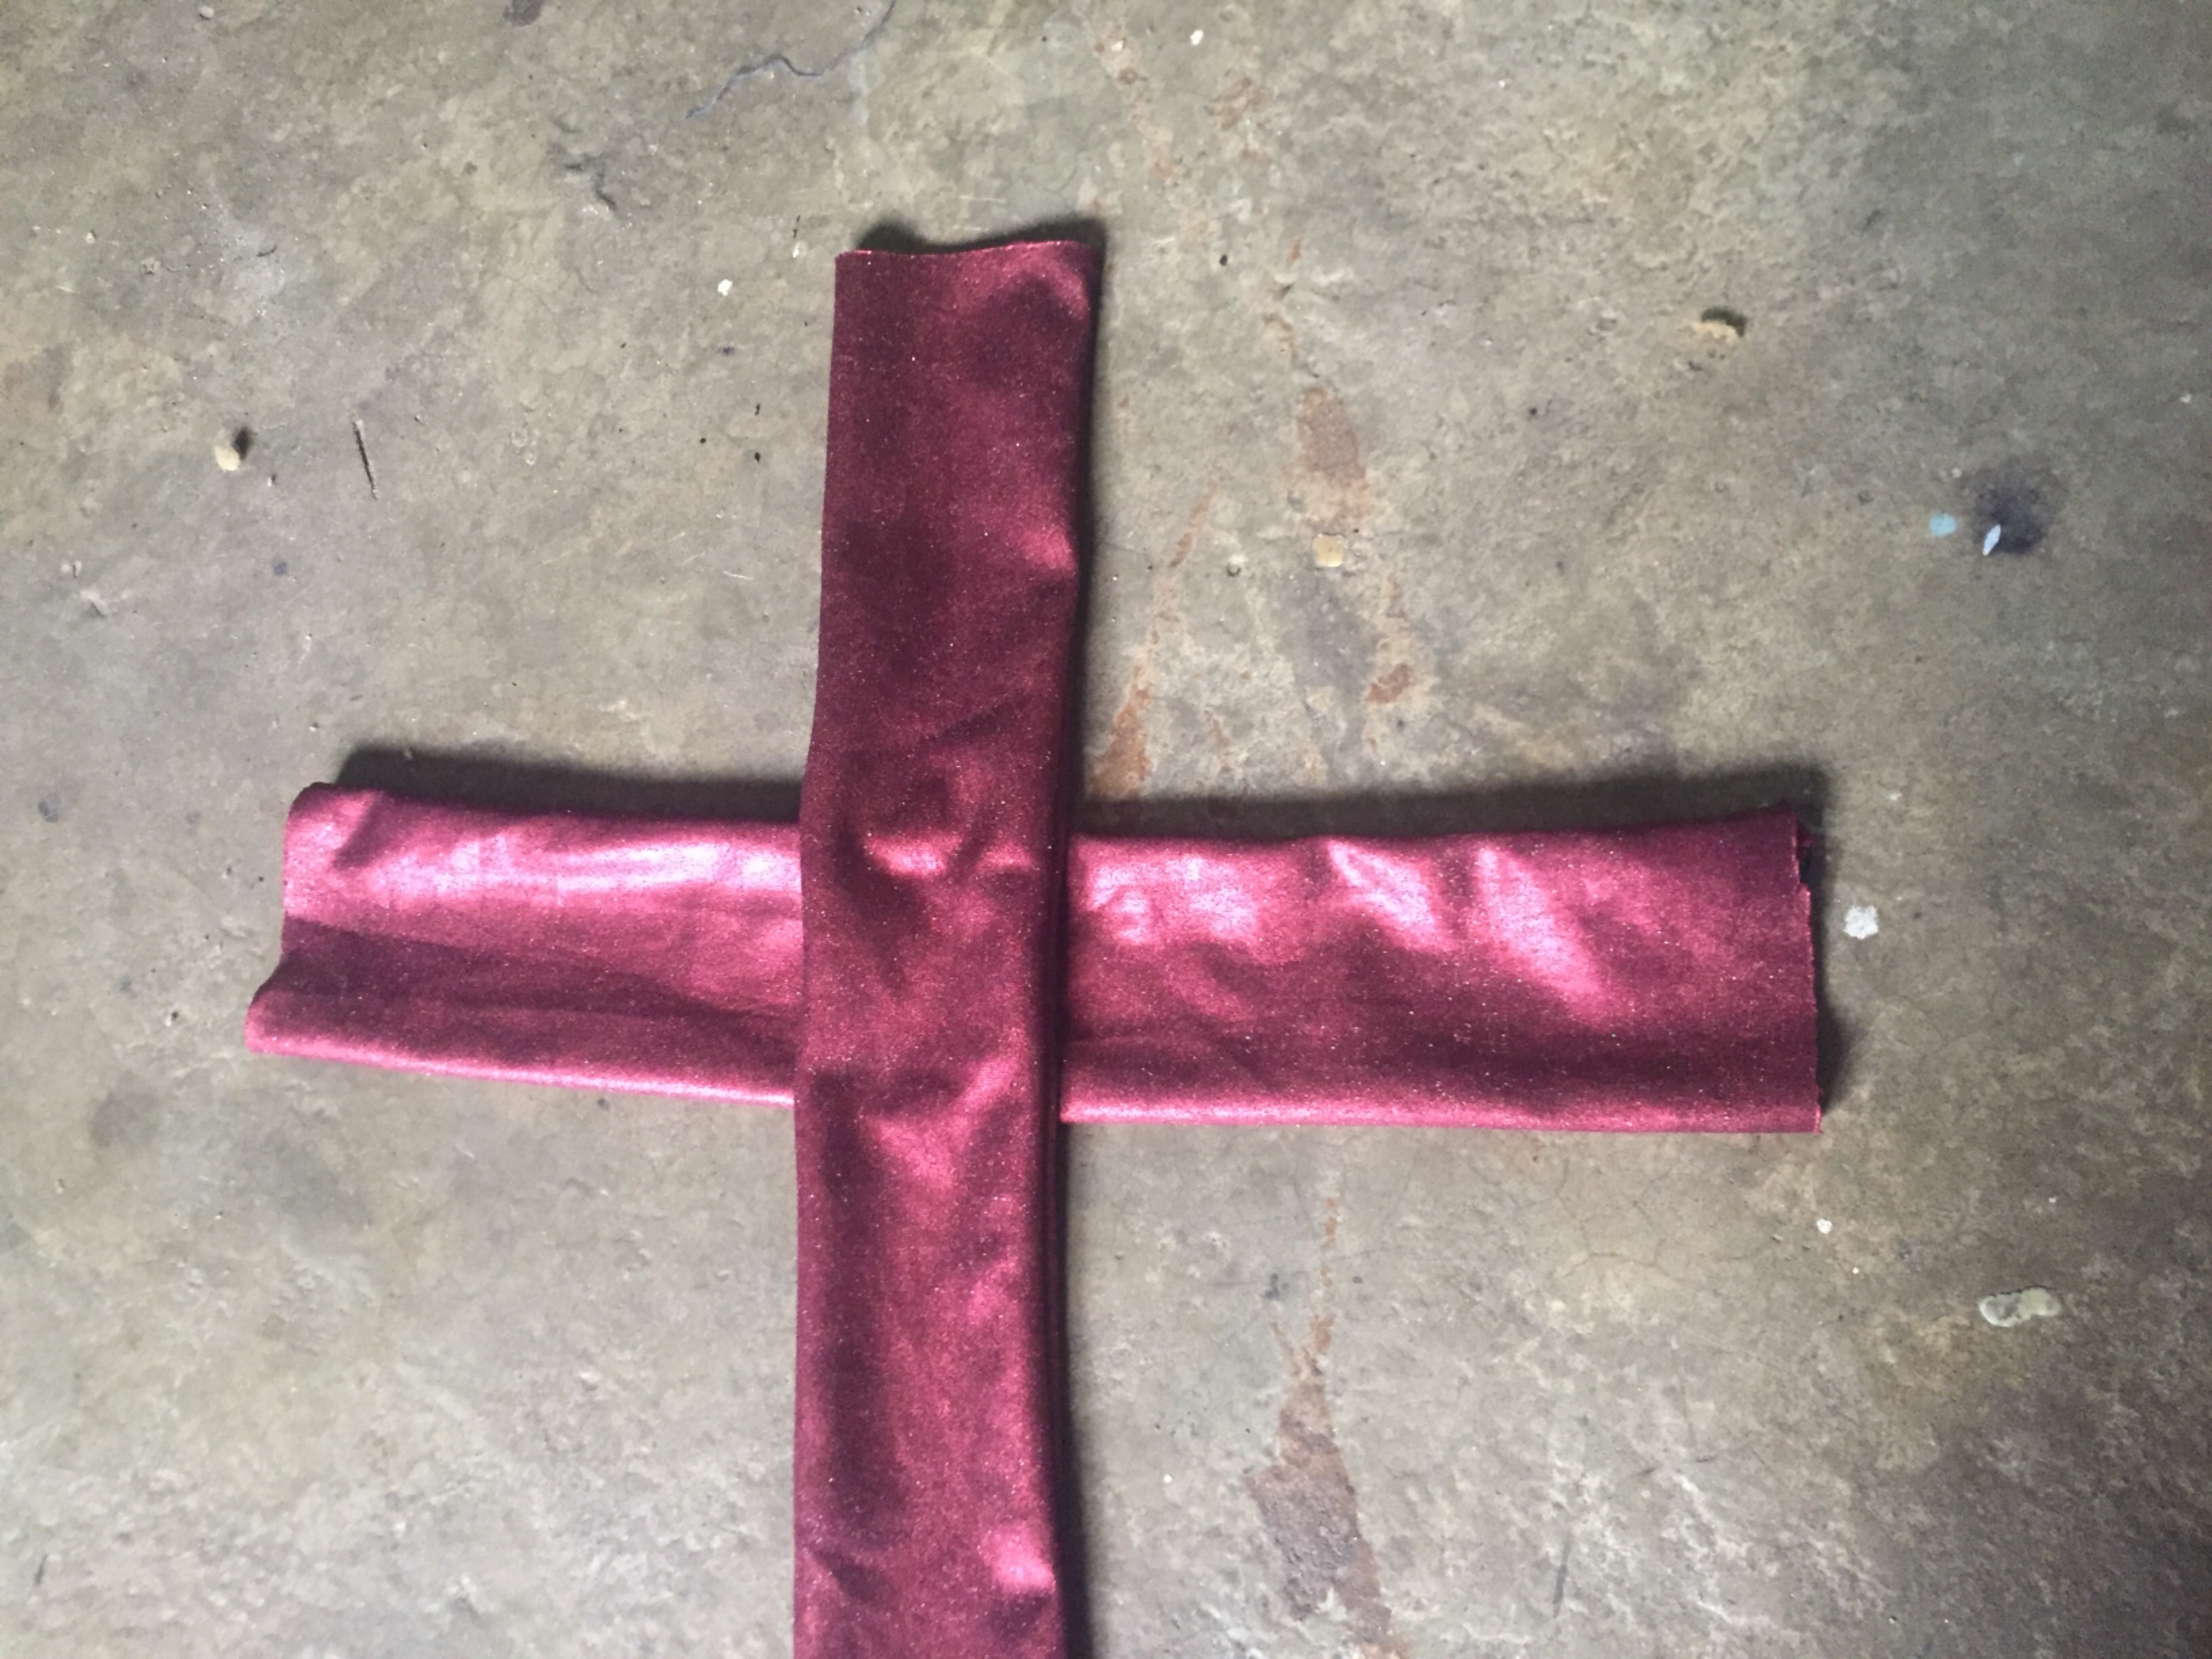
I cut out other pcs of 8cm x 28cm stitch and turn after that input 1inches elastic through the small pcs
The last step I place one of elastic pcs and cross it on and I did same thing to other side
Now the headband is ready