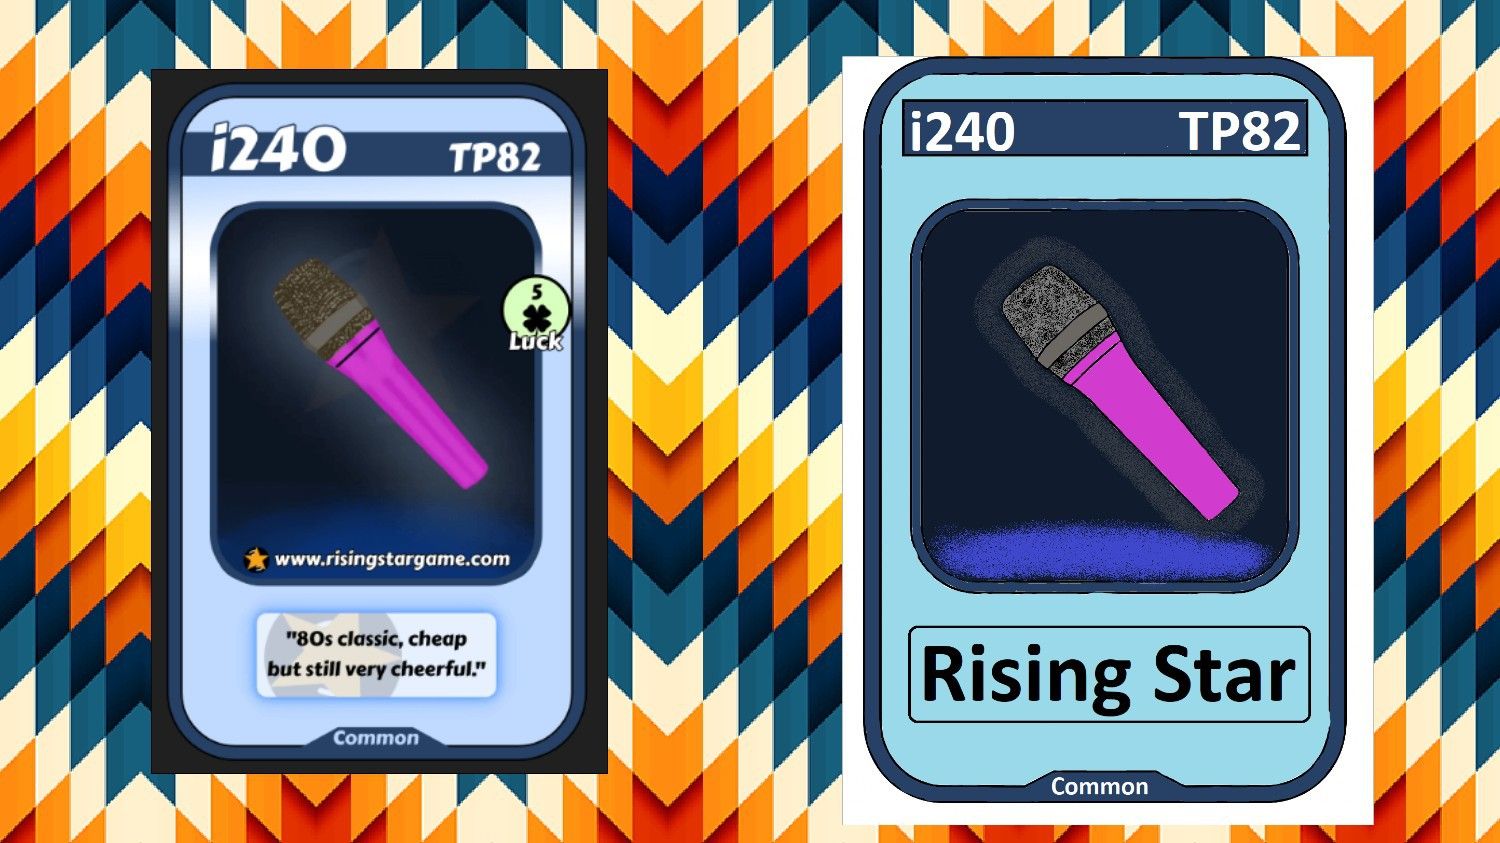
Colleagues, it's a pleasure for me to greet you. Today I'd like to show you my most recent drawing on a new card from the instrument section. For today, I've chosen the i240 TP82. As you can see, it's a microphone with a classic design. It has very pretty colors like purple and pink, in a combination of blue. It's a lot of fun for me, like every day, to show you the process of how I made it, and I hope it's fun for you too.
So, I invite you to see how I made this drawing from start to finish. The initial steps were simple. I made some digital lines to create the frame I'll use on the card. It looks like this:
With that part ready, I then made the microphone, well, at least its silhouette. In this step, I usually only do the outer parts of people or, as in this case, the instrument. I always, or well, almost always, start making microphones from the bottom up, so I always save the most difficult part for last. The edges of the bottom of the microphone are usually somewhat straight in almost all designs, so it's easier to do digitally.
For the details, I only drew the lines that divide the different areas of the microphone. This helps me a lot as a guide to know where to apply each color. It also helps you visualize everything.
In the coloring stage, I started by painting the frame. Then I worked my way inward until everything was complete. I'll tell you that in this drawing, I used a digital spray effect in several areas, such as the areas where sound is captured and around the microphone. That's how it turned out.
In the final step, friends, I included the name of the microphone and some other information, as well as the card category. And that's it. What did you think? See you in the next drawing.