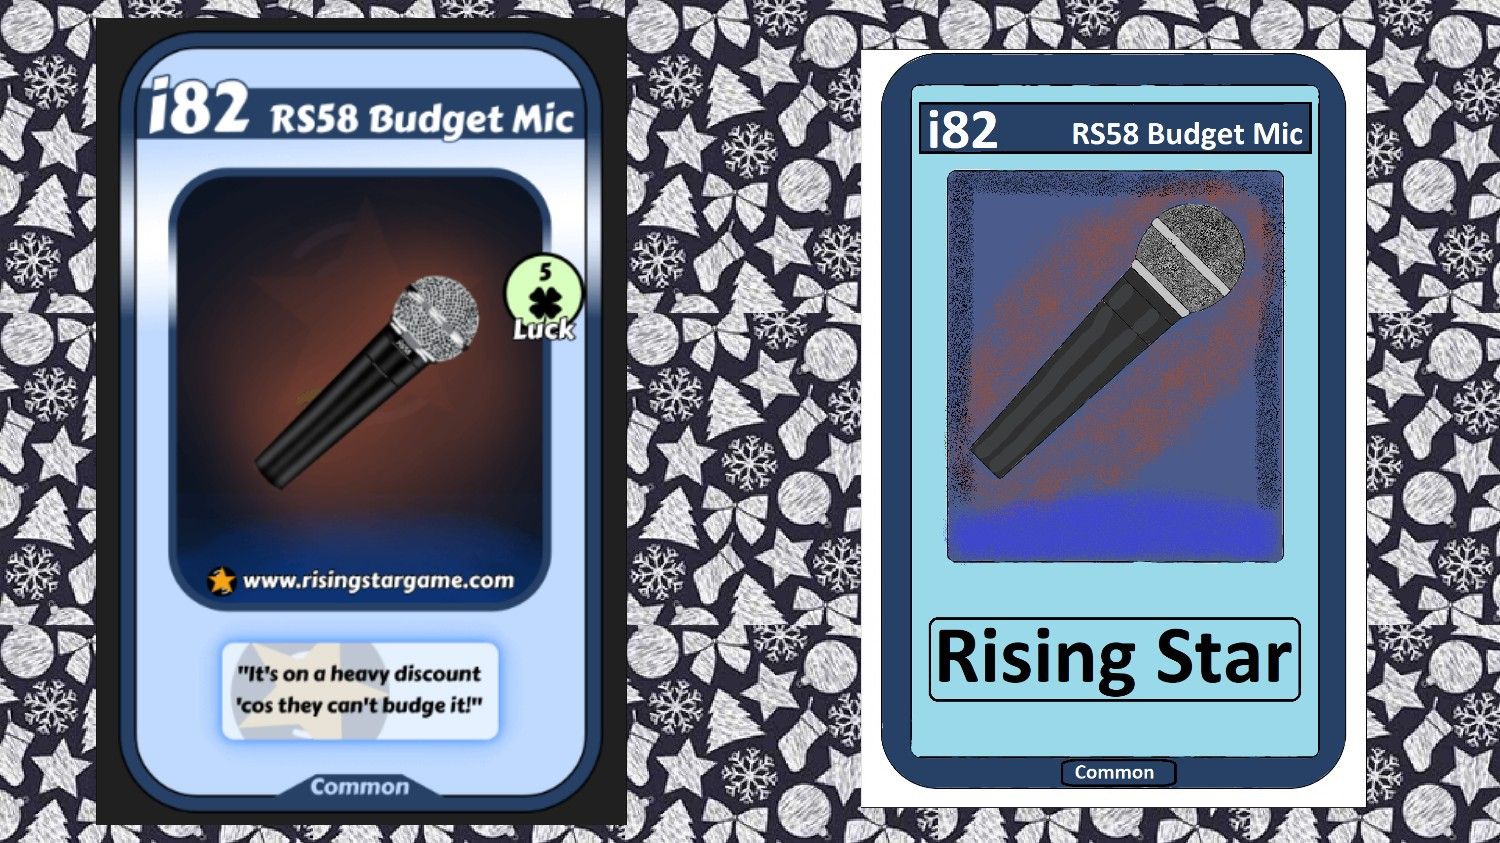
Colleagues, it's a great pleasure for me to be here. Well, today I want to show you my most recent drawing I've done for all of you. In this case, I drew a custom i82 RS58 Budget Mic. As you can see, it's a classic microphone, one we've all seen before. You know, I've used this type of microphone, although I don't know if they have the same name, but I assure you the model is the same. Well, my goal with this post is to show you the process from start to finish of how I made the drawing. It was a lot of fun for me, and I hope it's for you too.
In this case, I started by making the frame. The design I used today is curved on the outside lines and a bit square on the inside. This is another new design I'm trying out today. Yesterday, I showed you a different one.
In the next step, I made the silhouette of the microphone. This part always looks like an ice cream cone to me. I find it really funny. The scoop is the ice cream cone, and the cone is the elongated part. But obviously, we're talking about ice cream. 😅
To make it look like a real microphone, I added more details inside, such as a line dividing the top ball into two parts. And the handle into several parts. This way, you can distinguish each area: the speaking area and the area where you hold the device.
The process of painting the outlines is as follows. In this step, I used several effects, primarily pure colors and spray paint. In the case of the spray paint, I used it mostly on the area closest to the microphone, so I could paint the red color. The microphone ball is also painted with a combination of three colors. One is a pure base color and two are digital spray paint. I'll show you the process.
In the final step, I added the card name at the top, along with the game name. That's it. What did you think? I'll be reading in the comments. See you.