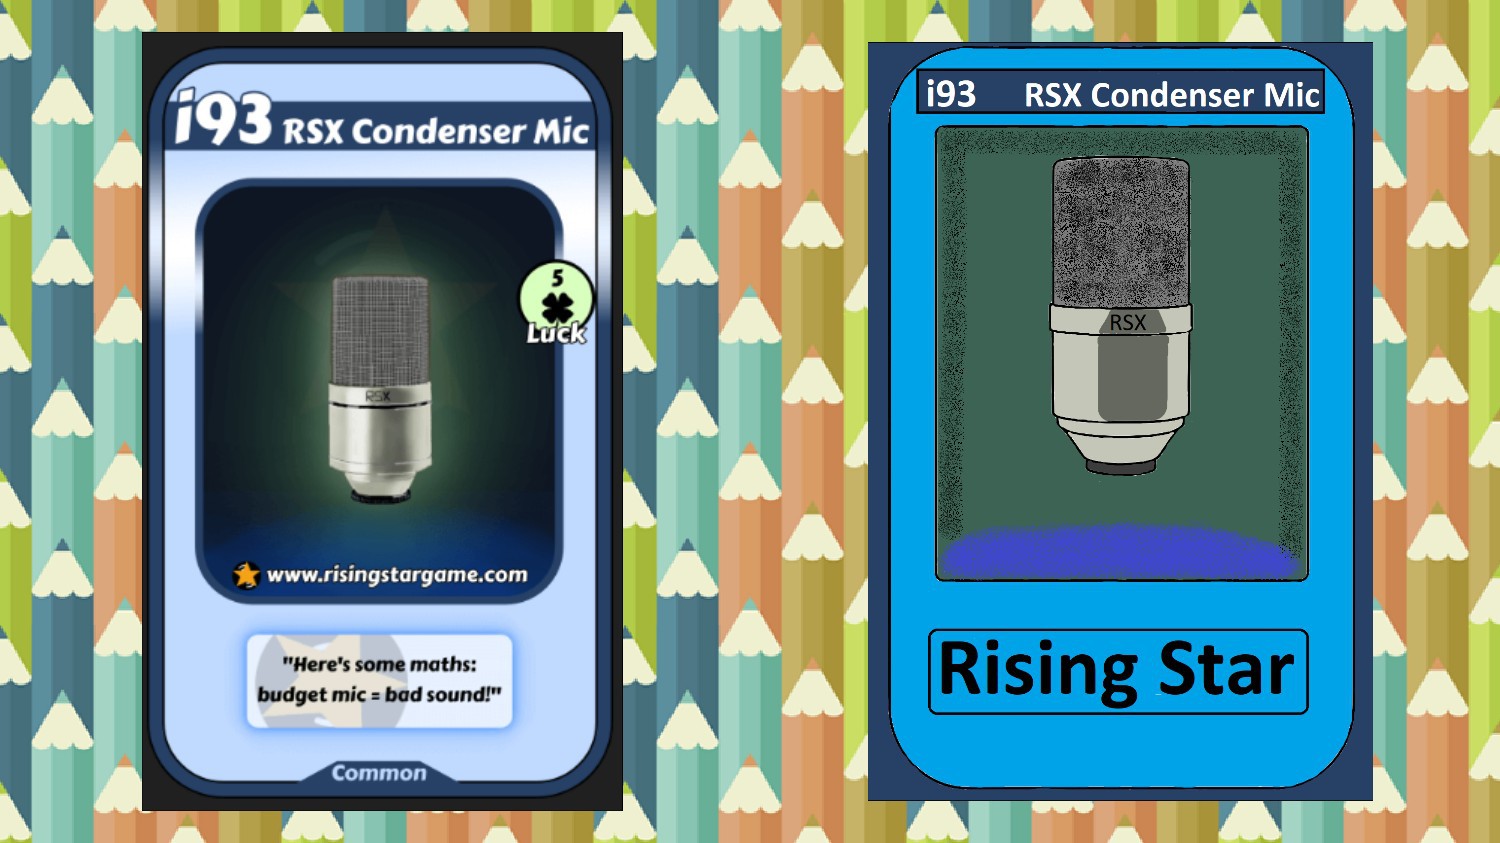
Colleagues and colleagues at Buskeria, I hope you're all well. Today I'm pleased to return to show you my new drawing, dedicated, as usual, to one of the beautiful and fantastic cards in the game. Well, this time I've painted the i93 RSX Condenser Mic card. As you can see, it's a card with very beautiful colors. The microphone design is classic, very common in music studios and radio stations.
So, would you like to see the process of how I painted it from start to finish? Well, from here, from a distance, I heard a "Yes." 😅 Right? Haha. Well, I'll show it to you now. First, I started by designing what would be the frame of the card. This is made up of a square with a line. Plus one inside. That way, both parts of its interior are divided.
That was just the first step. But now comes the second, and one of the most important: designing the microphone. In this case, I used its shape as a guide to create the silhouette. I started by making the top part because it's larger and straighter, making it easier to begin with. Then I made the bottom part. That would be the part that would rest on the table or desk.
In the next stage, I focused on adding some details to make the drawing a little more realistic and resemble the original card. For example, I created the different sections inside. The top part for speaking, the part where I'll later add the device's brand, and the different sections below. All of this was done using lines that divide it.
Now you know where we've arrived, the most visually interesting part. Yes, just as you imagined, it's time to see how I painted everything. The color palette I used is very similar to the original. Although I took the liberty of changing a few things, because that's why it's called fan art. 😅 For the interior background, I used a spray paint effect and a color of my choice. Also, for the microphone, I also spray-painted the speaking part. I'll show you the process.
The final step was to add the card name and the blue bar at the top. I also added the device's brand to the microphone. And that's it. I hope you like it.