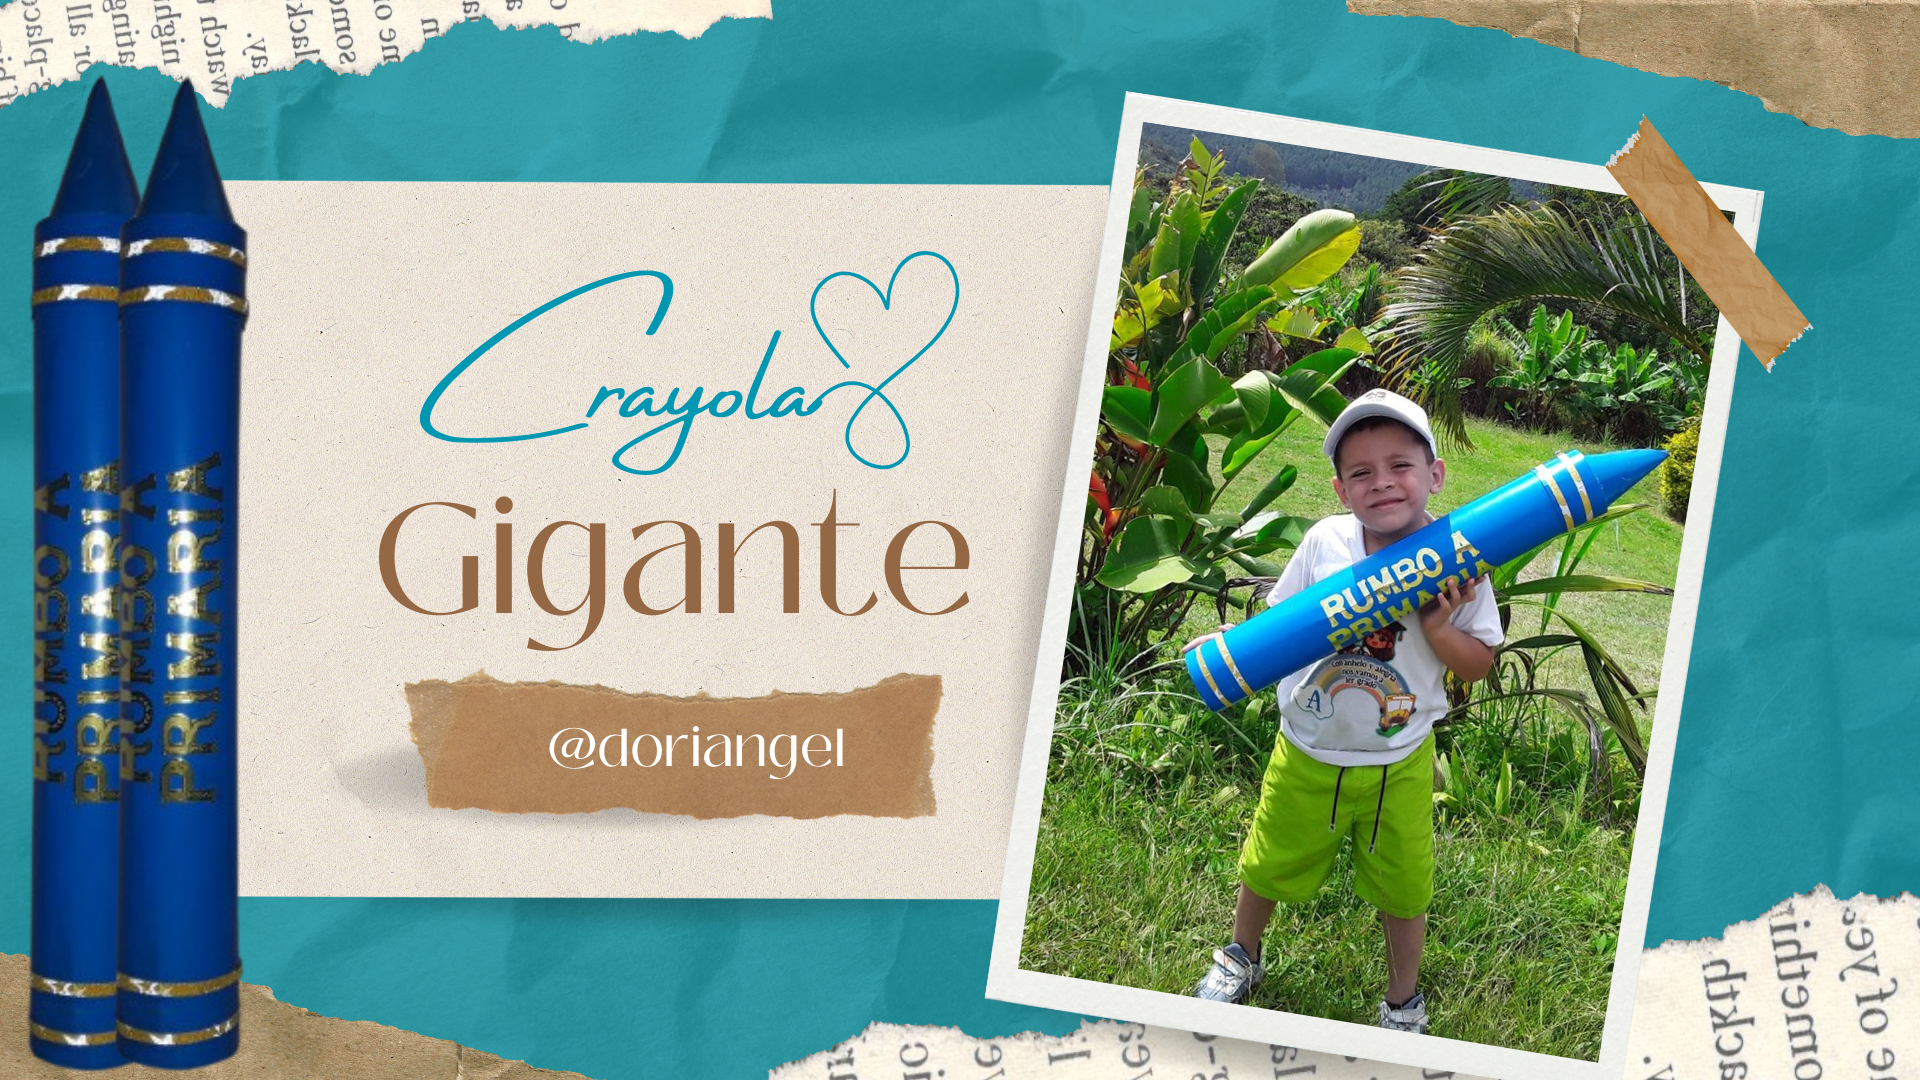
Hola, queridos amigos de Hive Diy. Qué gusto saludarlos nuevamente. En esta oportunidad quiero compartir mi experiencia realizando una crayola gigante. Esta crayola es ideal para decoraciones de eventos escolares y puede ser usada también para decorar ambientes educativos.
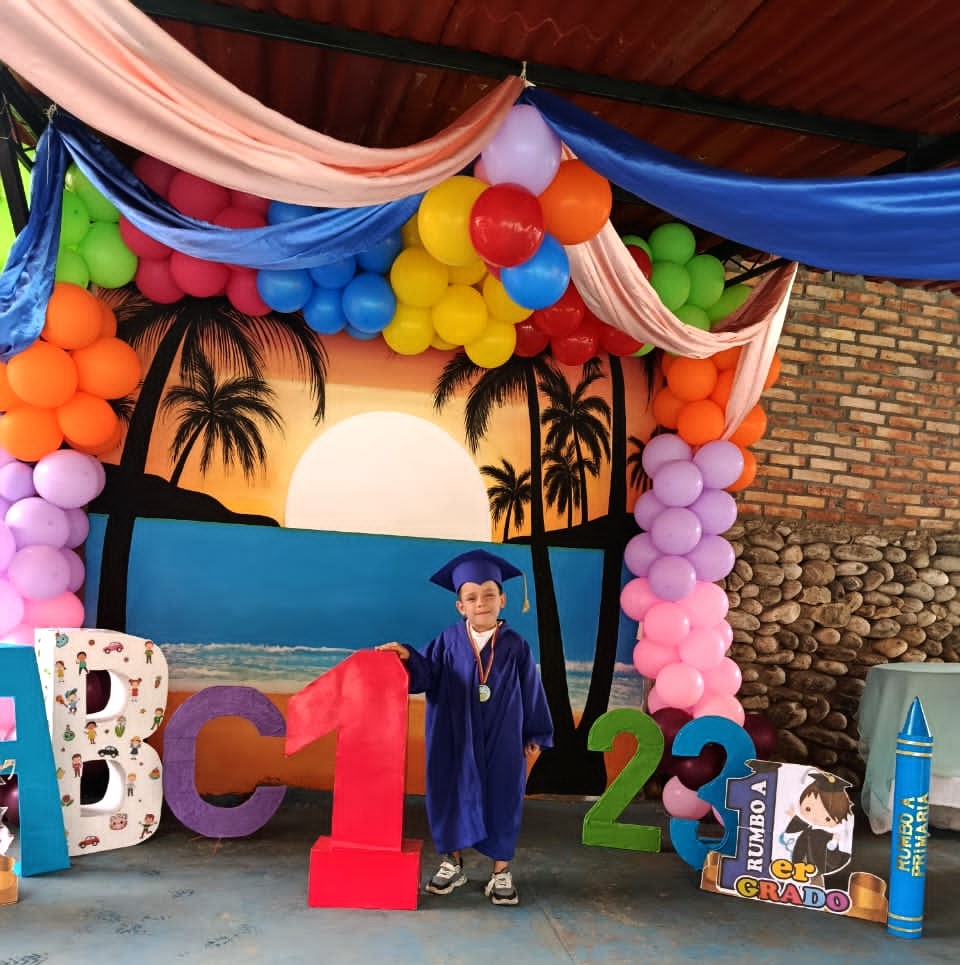
Este fue mi aporte en la decoración del set de fotos en uno de los actos de promoción de mi hijo. Específicamente, para la entrega de medallas a los niños, el cuál fue decorado con globos, letras y números. Al principio tenía muchas dudas, sobre como hacerlo y pensé que sería muy difícil, incluso estaba pensando en invertir más y comprar un tubo PVC o algo parecido para crear un cilindro. Menos mal, no lo hice porque terminó siendo más sencillo de lo que pensé. Estuve viendo varios videos en YouTube y algunos me inspiraron realmente.
Para realizar la crayola usé los siguientes materiales.
- 1 lámina de cartulina doble fax color azul (largo 70 cm).
- 1 cartulina, tamaño carta
- 4 bandejas de anime
- 1 portavaso
- 2 barras de silicón
- Sticker de letras doradas.
- retazos de cartulina color dorado
Procedimiento
El procedimiento es bastante práctico e intuitivo. Cuando compré la cartulina doble fax azul, le pedí al señor de la papelería que me la enrollara en el sentido más largo; generalmente lo hacen al contrario. Esto me ayudó a darle la forma cilíndrica del crayón automáticamente.
El siguiente paso es crear un soporte circular. Para esto usé un portavaso de unos 12 cm, para dibujar varios círculos sobre bandejas de anime. Corte doce círculos en total para crear tres círculos de un buen espesor. Envolví la cartulina en los círculos y corte el excedente. Quería usar un soporte circular de estos en los extremos y en el centro, pero me di cuenta de que el del centro, lejos de ayudarme, deformaba el cilindro, así que decidí quitarlo.
| https://files.peakd.com/file/peakd-hive/doriangel/EpXMSdmeYKuDptvPAhmMSGe6c6qsiVejG2nVx7oAUPqWDwFvzNiUqPzuBvbt2MQjnMR.jpg | https://files.peakd.com/file/peakd-hive/doriangel/EogNPwhC1rnqAsV45HkQeJr3XaLsFWYNbt1nSQGYuEzhy2HoTf6EZcFhQQEhAdNdeKy.jpg |
|---|---|
| https://files.peakd.com/file/peakd-hive/doriangel/EoCgaojwjaqXpHVAQKpknwv3fb1kEkLrsgfYTSVNH4CceCyFtrnBWftukDXAArVPFRy.jpg | https://files.peakd.com/file/peakd-hive/doriangel/EoCh5SQr8UtEQDgcFJe38dBFxaohnhudQtg7pKiszLz3EZoTKPhewqpi6tBo7kQv8AS.jpg |
|---|---|
| https://files.peakd.com/file/peakd-hive/doriangel/23u5XAbV3AGtNSEbgLeW544gjApyk7RrCJMypshaRfHtiGuiwQUWG41CwHukGcnkbMit6.jpg | https://files.peakd.com/file/peakd-hive/doriangel/23wWyBwHDtPL8Vb9aVuUgqXpf11wr3pxYdTnaT1YiLc2hucRQk346tJvc8UiTw8Q5iRgy.jpg |
|---|---|
| https://files.peakd.com/file/peakd-hive/doriangel/23y8me1ABv2GRciuqvTcraVhGBxYVBjUcnfnmydtwrjQg18agYvc63Vay89Nk7xgNj8Q1.jpg | https://files.peakd.com/file/peakd-hive/doriangel/23wgBNxudxtnq5KVMujpKNNv44hVQevfVjAE6icAmyLxJ9CtMF1i4eeGMjoYFEZ4Bh6re.jpg |
|---|---|
Una vez listo el cilindro, el siguiente paso es crear la punta. Para realizar el cono no usé ningunas medidas en específico. Todo fue ensayo y error con una cartulina cuadrada. La enrollé tratando de darle la forma cónica uniendo los extremos. Después de ensayar un rato, repique el proceso con la cartulina azul
| https://files.peakd.com/file/peakd-hive/doriangel/EogEATW1B56RL9BrXLHWavFPWbgvpW1rtB1mBFwooAtyU3ZCFKPRaMKB92TxVQ2itMn.jpg | https://files.peakd.com/file/peakd-hive/doriangel/23wq3qAQ49LwNZy8py8BDtbVa2yNtNGZsDmFhvc1wcXU9hjDYH5fzDGhemUnWbrUUWhhr.jpg |
|---|---|
| https://files.peakd.com/file/peakd-hive/doriangel/23wzxaWzhokQyKiaNrpKkMcRyH1oApHx43MD2rqSXCFhTyirPRKqM1o7VNcbeBCwUGEXF.jpg | https://files.peakd.com/file/peakd-hive/doriangel/23wBfr8FhbvnUjj2C1XWDbgF1nMBjmqTNeeiy3ABacw21rnbLcWGYbgz21c7MwjibPYAY.jpg |
|---|---|
Recorte una tira de 12 cm para resaltar la punta y cubrir los defectos Finalmente decoré. Tenía unos stickers de letras dorados y con ellos realicé la frase rumbo a la primaria Y con tiras de cartulina dorada. Adorne los extremos.
| https://files.peakd.com/file/peakd-hive/doriangel/Eq56mivR4Ttft7yLWD5uqhVpxfoNntBEn7m3cpQUWYSWq7pykbQEt1mkG3wb5EL6m5A.jpg | https://files.peakd.com/file/peakd-hive/doriangel/EogLr4nK4QcUhFaXt8yEqxYXeF4gtaef2hiRCcRTiyBXkr7xZLWoJwf6xeVvPfJmBYP.jpg |
|---|---|
Y listo, tenemos una crayola para decorar el set de cualquier fiesta. Eventos o un salón de clases. Me gustó mucho esta experiencia. Cada manualidad que uno realice deja satisfacción y se convierte en un aprendizaje. Además, me gustó darle uso a las bandejas de anime, casi siempre las guardo, porque el anime es un material muy útil.
| https://files.peakd.com/file/peakd-hive/doriangel/23w2m42fV4qm7AQ8o6JWjEtoZHuN3CWFuhX7fkr1hLCrJxAvxPXQASAf1JkSEgjTH2eSU.jpg | https://files.peakd.com/file/peakd-hive/doriangel/23xehjhLNvZiFZgXVPPHE8STeivab5RFdWM6CeZQ7LhHQVKCFVxQUMoUkQ1hJNJnmsRMB.jpg |
|---|---|
| https://files.peakd.com/file/peakd-hive/doriangel/23w2kgsMkECUTiQupHSxne1BHYma1iC8zMoZJoHRbgz1gfWMyf9xL29ZmE8PkAj6Rmo6Y.jpg | https://files.peakd.com/file/peakd-hive/doriangel/23tbsG2LgxeHhj74Mm4xKkhe27eQFNZcm83NP8neAcEHZb8Lx5RvN1vJQjxaGD5Y1XaeV.jpg |
|---|---|
| https://files.peakd.com/file/peakd-hive/doriangel/241tVBcK2rQNgmyceR8AhjdBnTX58Uj6LZd6QeE7a2WM12d1hSe73wHaP1e4dy82uYt7u.jpg | https://files.peakd.com/file/peakd-hive/doriangel/23yd5wdRaCe2c466g2nv59YLa4f1yaZTP6hNdCuzpdUCdEqXcLkdN5zcYuU8hNK97dx7X.jpg |
|---|---|
| https://files.peakd.com/file/peakd-hive/doriangel/23y8uoMbexxtEjgZo1U5MR9XVZ6GysfPQHBy5C7unMaduS9A7cRZKriVNgdjwjUBEsbTR.jpg | https://files.peakd.com/file/peakd-hive/doriangel/EpCBuUbGDgzFvePotVuNMhvNjCtAAX59WyYNivSRmwuARfiZc3j8KFuona7TCC4npc2.jpg |
|---|---|
| https://files.peakd.com/file/peakd-hive/doriangel/EogLutP8gMTxYGRSFQSJF8UqdKz9RkFLWC9u9ba9x7hKnYKVe7SuQyzJugqPEZpHV3b.jpg | https://files.peakd.com/file/peakd-hive/doriangel/AKbE9LRNqkx3npfxsRp4x16PjTjuPLcvbZX2bYJ7C2VmX8qCPmUBzncsaDfdMX9.gif |
|---|---|
Esta crayola finalmente quedó de 85 cm de alto con un diámetro de 12 cm. El tamaño fue el apropiado para que los niños se tomaran las fotos y disfrutaran este día tan especial. Espero que les guste y les sirva de inspiración para sus creaciones.


Hello, dear friends at Hive Diy. It's great to see you again. This time, I want to share my experience making a giant crayon. This crayon is ideal for decorating school events and can also be used to decorate educational environments.
This was my contribution to decorating the photo set at one of my son's promotional events. Specifically, for the medal ceremony for the children, which was decorated with balloons, letters, and numbers. At first, I had a lot of doubts about how to do it and thought it would be very difficult. I was even thinking of investing more and buying a PVC pipe or something similar to create a cylinder. Luckily, I didn't do it because it ended up being easier than I thought. I watched several videos on YouTube, and some of them really inspired me.
To make the crayon, I used the following materials.
- 1 sheet of blue double-sided fax cardstock (70 cm long).
- 1 sheet of letter-size cardstock
- 4 anime trays
- 1 cup holder
- 2 silicone bars
- Gold letter stickers.
- Scraps of gold cardstock
Procedure
The procedure is quite practical and intuitive. When I bought the blue double fax cardstock, I asked the man at the stationery store to roll it up lengthwise; they usually do it the other way around. This helped me give it the cylindrical shape of a crayon automatically.
The next step is to create a circular support. For this, I used a 12 cm cup holder to draw several circles on anime trays. I cut twelve circles in total to create three circles of a good thickness. I wrapped the cardboard around the circles and cut off the excess. I wanted to use a circular support like this at the ends and in the center, but I realized that the one in the center, far from helping me, deformed the cylinder, so I decided to remove it.
| https://files.peakd.com/file/peakd-hive/doriangel/EpXMSdmeYKuDptvPAhmMSGe6c6qsiVejG2nVx7oAUPqWDwFvzNiUqPzuBvbt2MQjnMR.jpg | https://files.peakd.com/file/peakd-hive/doriangel/EogNPwhC1rnqAsV45HkQeJr3XaLsFWYNbt1nSQGYuEzhy2HoTf6EZcFhQQEhAdNdeKy.jpg |
|---|---|
| https://files.peakd.com/file/peakd-hive/doriangel/EoCgaojwjaqXpHVAQKpknwv3fb1kEkLrsgfYTSVNH4CceCyFtrnBWftukDXAArVPFRy.jpg | https://files.peakd.com/file/peakd-hive/doriangel/EoCh5SQr8UtEQDgcFJe38dBFxaohnhudQtg7pKiszLz3EZoTKPhewqpi6tBo7kQv8AS.jpg |
|---|---|
| https://files.peakd.com/file/peakd-hive/doriangel/23u5XAbV3AGtNSEbgLeW544gjApyk7RrCJMypshaRfHtiGuiwQUWG41CwHukGcnkbMit6.jpg | https://files.peakd.com/file/peakd-hive/doriangel/23wWyBwHDtPL8Vb9aVuUgqXpf11wr3pxYdTnaT1YiLc2hucRQk346tJvc8UiTw8Q5iRgy.jpg |
|---|---|
| https://files.peakd.com/file/peakd-hive/doriangel/23y8me1ABv2GRciuqvTcraVhGBxYVBjUcnfnmydtwrjQg18agYvc63Vay89Nk7xgNj8Q1.jpg | https://files.peakd.com/file/peakd-hive/doriangel/23wgBNxudxtnq5KVMujpKNNv44hVQevfVjAE6icAmyLxJ9CtMF1i4eeGMjoYFEZ4Bh6re.jpg |
|---|---|
Once the cylinder is ready, the next step is to create the tip. I didn't use any specific measurements to make the cone. It was all trial and error with a square piece of cardboard. I rolled it up, trying to give it a conical shape by joining the ends. After practicing for a while, I repeated the process with the blue cardboard.
| https://files.peakd.com/file/peakd-hive/doriangel/EogEATW1B56RL9BrXLHWavFPWbgvpW1rtB1mBFwooAtyU3ZCFKPRaMKB92TxVQ2itMn.jpg | https://files.peakd.com/file/peakd-hive/doriangel/23wq3qAQ49LwNZy8py8BDtbVa2yNtNGZsDmFhvc1wcXU9hjDYH5fzDGhemUnWbrUUWhhr.jpg |
|---|---|
| https://files.peakd.com/file/peakd-hive/doriangel/23wzxaWzhokQyKiaNrpKkMcRyH1oApHx43MD2rqSXCFhTyirPRKqM1o7VNcbeBCwUGEXF.jpg | https://files.peakd.com/file/peakd-hive/doriangel/23wBfr8FhbvnUjj2C1XWDbgF1nMBjmqTNeeiy3ABacw21rnbLcWGYbgz21c7MwjibPYAY.jpg |
|---|---|
Cut a 12 cm strip to highlight the tip and cover any imperfections. Finally, I decorated it. I had some gold letter stickers, which I used to write the phrase “rumbo a la primaria” (on the way to elementary school). And with strips of gold cardstock, I decorated the ends.
| https://files.peakd.com/file/peakd-hive/doriangel/Eq56mivR4Ttft7yLWD5uqhVpxfoNntBEn7m3cpQUWYSWq7pykbQEt1mkG3wb5EL6m5A.jpg | https://files.peakd.com/file/peakd-hive/doriangel/EogLr4nK4QcUhFaXt8yEqxYXeF4gtaef2hiRCcRTiyBXkr7xZLWoJwf6xeVvPfJmBYP.jpg |
|---|---|
And that's it, we have a crayon to decorate any party set, event, or classroom. I really enjoyed this experience. Every craft you make brings satisfaction and becomes a learning experience. I also liked using the anime trays, which I usually save because anime is a very useful material.
| https://files.peakd.com/file/peakd-hive/doriangel/23w2m42fV4qm7AQ8o6JWjEtoZHuN3CWFuhX7fkr1hLCrJxAvxPXQASAf1JkSEgjTH2eSU.jpg | https://files.peakd.com/file/peakd-hive/doriangel/23xehjhLNvZiFZgXVPPHE8STeivab5RFdWM6CeZQ7LhHQVKCFVxQUMoUkQ1hJNJnmsRMB.jpg |
|---|---|
| https://files.peakd.com/file/peakd-hive/doriangel/23w2kgsMkECUTiQupHSxne1BHYma1iC8zMoZJoHRbgz1gfWMyf9xL29ZmE8PkAj6Rmo6Y.jpg | https://files.peakd.com/file/peakd-hive/doriangel/23tbsG2LgxeHhj74Mm4xKkhe27eQFNZcm83NP8neAcEHZb8Lx5RvN1vJQjxaGD5Y1XaeV.jpg |
|---|---|
| https://files.peakd.com/file/peakd-hive/doriangel/241tVBcK2rQNgmyceR8AhjdBnTX58Uj6LZd6QeE7a2WM12d1hSe73wHaP1e4dy82uYt7u.jpg | https://files.peakd.com/file/peakd-hive/doriangel/23yd5wdRaCe2c466g2nv59YLa4f1yaZTP6hNdCuzpdUCdEqXcLkdN5zcYuU8hNK97dx7X.jpg |
|---|---|
| https://files.peakd.com/file/peakd-hive/doriangel/23y8uoMbexxtEjgZo1U5MR9XVZ6GysfPQHBy5C7unMaduS9A7cRZKriVNgdjwjUBEsbTR.jpg | https://files.peakd.com/file/peakd-hive/doriangel/EpCBuUbGDgzFvePotVuNMhvNjCtAAX59WyYNivSRmwuARfiZc3j8KFuona7TCC4npc2.jpg |
|---|---|
| https://files.peakd.com/file/peakd-hive/doriangel/EogLutP8gMTxYGRSFQSJF8UqdKz9RkFLWC9u9ba9x7hKnYKVe7SuQyzJugqPEZpHV3b.jpg | https://files.peakd.com/file/peakd-hive/doriangel/AKbE9LRNqkx3npfxsRp4x16PjTjuPLcvbZX2bYJ7C2VmX8qCPmUBzncsaDfdMX9.gif |
|---|---|
This crayon ended up being 85 cm tall with a diameter of 12 cm. The size was just right for the children to take photos and enjoy this special day. I hope you like it and that it inspires you in your own creations.
Hasta la próxima, un millón de bendiciones a sus familias.
Until next time, a million blessings to your families.