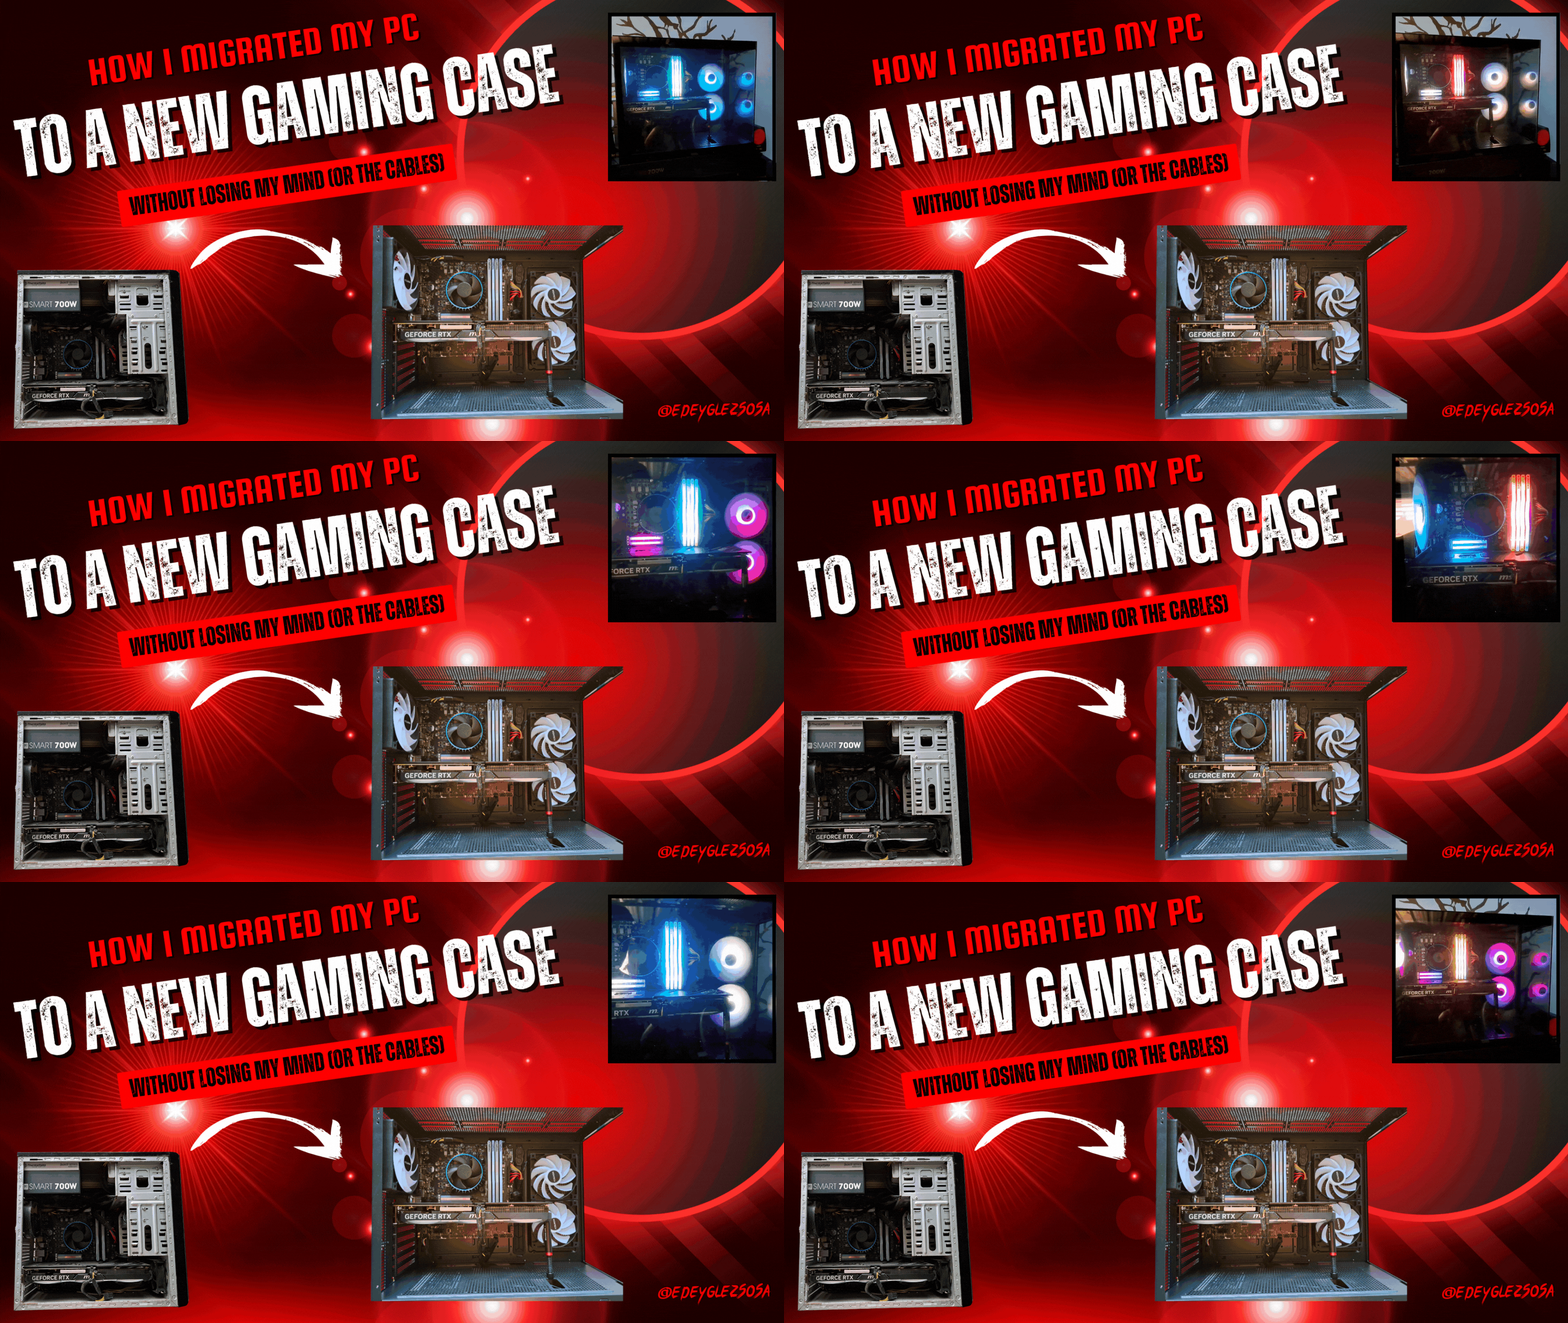
Hello, geek community. A few days ago, I shared the unboxing of my new gaming case with you, so today I'll show you how I migrated all the components from one case to another. You can find the case unboxing here.
Hola, comunidad geek. Hace unos días les compartí el unboxing de mi nuevo gabinete gamer, así que el día de hoy les mostraré cómo fue que migré todos los componentes de un gabinete a otro. El unboxing del gabinete lo podrán encontrar acá.
Antique cabinet // Gabinete antiguo
Before we start assembling, let's take a quick look at my old case so you can see some interesting things about it. The first thing that stands out is that I had to cut part of the disk bay to make room for my graphics card, which didn't fit inside the chassis. At the tip of the card, you can see a fan that almost touches it, and when you see this, you might think that it's misplaced, since there's space for the fan inside the front of the case.
Well, there is actually space, and there is a fan. The thing is, there are two fans there, facing each other, because this case didn't have good airflow and I had problems with temperatures. Speaking of temperatures, at the back of the case there is a larger fan, which is somewhat unusual, as it is a CPU fan, which spins much faster than normal fans, and I had to put it there to extract all the hot air generated by my PC. Having seen all this, I think there is no doubt that I urgently needed a new case.
Antes de empezar con el armado, revisemos un poco mi antiguo gabinete para que vean algunas cosas interesantes sobre él. Lo primero que salta a la vista es que tuve que cortar parte de la bahía de los discos para abrir espacio a mi tarjeta gráfica, la cual no cabía dentro del chasis. En la punta de la tarjeta podrán ver un ventilador que casi hace contacto con ella y al ver esto quizás alguno pensará que está mal puesto, ya que dentro del frontal del gabinete hay espacio para el ventilador.
Bueno, en realidad sí hay espacio y hay un ventilador. La cuestión es que en ese lugar hay dos ventiladores, uno de frente al otro, porque este gabinete no tenía buen flujo de aire y tuve problemas con las temperaturas. Hablando de temperaturas, en la parte trasera del gabinete hay un ventilador más grande, un tanto fuera de lo común, pues es un ventilador de CPU, el cual gira mucho más rápido que los normales y tuve que ponerlo ahí para extraer todo el aire caliente que generaba mi PC. Una vez visto todo esto, creo que no hay dudas de que me urgía un gabinete nuevo.
| https://images.hive.blog/0x0/https://files.peakd.com/file/peakd-hive/edeyglezsosa/EokdcU1wyjYkVFwzobpGtzzJJA7uxuZ1QKcgFSmRMCThiAEdKojqrRCLZvGbWvTjsWB.jpg | https://images.hive.blog/0x0/https://files.peakd.com/file/peakd-hive/edeyglezsosa/EqBcfKWna9giaC1w3npWb9D8iZv1G4Dt84P11rQaFMceJyun4pu3MYjvHx7Hf5faXo8.jpg |
| https://images.hive.blog/0x0/https://files.peakd.com/file/peakd-hive/edeyglezsosa/EppLFv9z4TPZLtrvd4Wn7cCw5krpxtE9t5rE6x5L8HkMSgwFNoyuacHwZrPA8sgvRtJ.jpg | https://images.hive.blog/0x0/https://files.peakd.com/file/peakd-hive/edeyglezsosa/Eos2HKQQE5hhp3QXfsP2EAEpD8SRvwV11VSSgN6xDoUnaxaVvfyjajobdWsc8TnB8Qc.jpg |
Disarmed // Desarmado
The first step is to remove the crown jewel, my MSI RTX 4070 Ventus 3x. To do this, disconnect the power cable and remove the screw that secures it to the chassis. Then, using a non-conductive bristle brush, I cleaned the dust from the graphics card body and fans. (The graphics card is practically new, so it doesn't require maintenance.)
Lo primero será extraer la joya de la corona, mi MSI RTX 4070 Ventus 3x. Para ello, retire el cable de alimentación de la corriente y el tornillo que la sujeta al chasis. Luego, utilizando una brocha de cerdas no conductoras, limpié el polvo del cuerpo de la gráfica y los ventiladores. (La gráfica es prácticamente nueva, así que no requiere mantenimiento.)
| https://images.hive.blog/0x0/https://files.peakd.com/file/peakd-hive/edeyglezsosa/Ep5n9MnNPyBX4RTfea74f3RmMgo2aeJSbSbBmxUdiqKBh71mU42AUdWdnoLdBoynTqK.jpg | https://images.hive.blog/0x0/https://files.peakd.com/file/peakd-hive/edeyglezsosa/Ep7w61G26mTXy57iB161wQF7scgVfCp1bnCN4fDN6PySAniyfLNCuz78UuZhS8XTdtC.jpg |
After the graphics card, I moved on to the motherboard and other components. Since I don't have mechanical disks, I only had to remove the motherboard with the RAM and M.2 disks. Next, I removed the 700W power supply, and then I had all the components ready. I changed the thermal paste on the processor and cleaned the entire motherboard and power supply.
Luego de la gráfica, pasé a la placa y demás componentes. Como no poseo discos mecánicos, solo tuve que sacar la placa madre con las memorias RAM y los discos M.2. Seguidamente, retiré la fuente de 700 W y ya tendría todos los componentes listos. Realicé un cambio de pasta térmica al procesador y limpié toda la placa y la fuente.
| https://images.hive.blog/0x0/https://files.peakd.com/file/peakd-hive/edeyglezsosa/Eq9WAL1pkEbyPwrZN4QzPAthk3Sf7Ja6tc7bekjxNCcN3pnJEsap5f5YbZm62kxYoDW.jpg | https://images.hive.blog/0x0/https://files.peakd.com/file/peakd-hive/edeyglezsosa/EogLMmZu9kFpBiP2AutXTZyx6t4SQvw1J1nMdAPSkHWL6Xbn7c2f9sL1PERg84Fc2kC.jpg |
| https://images.hive.blog/0x0/https://files.peakd.com/file/peakd-hive/edeyglezsosa/EoeDuJVz8umDuYG9yKKgrP3UqEDr4iuXQcnivcH6NbsRmGhjLCi6o3JXoZGuUhG9MLf.jpg | https://images.hive.blog/0x0/https://files.peakd.com/file/peakd-hive/edeyglezsosa/EoiWBHcM8TTMxit554HgirFzgYF63v4uGW17KatA8D8Jdena69CJATvhaa2my3pDWzd.jpg |
Assembly // Armado
Before connecting the motherboard to the new case, I installed the two RAM cards I had plus two new ones I bought. I inserted the metal plate into the chassis slot and screwed the motherboard into place. By the way, this case comes with different screws for each of the hardware components.
Antes de conectar la placa madre al nuevo gabinete, le coloqué las dos tarjetas RAM que tenía más dos nuevas que compré. Inserto la placa metálica en la ranura del chasis y atornillo la placa madre en su lugar. Por cierto, este gabinete trae tornillos diferentes para cada uno de los componentes de hardware.
| https://images.hive.blog/0x0/https://files.peakd.com/file/peakd-hive/edeyglezsosa/EpNpGYRTzgjBwe1vzAdKKZB6ExSoMHrMQ9YrES4TSaFCPKYSTsiUdbQ5cSbPE4nn5kW.jpg | https://images.hive.blog/0x0/https://files.peakd.com/file/peakd-hive/edeyglezsosa/EppLkC68G3SfhZEh31kCuRaPYowt6D2jcWGaBULvzzobhRmNFWunrEbxbKDn1yQ8weu.jpg |
| https://images.hive.blog/0x0/https://files.peakd.com/file/peakd-hive/edeyglezsosa/EoGwspfDcfKiHQpU9hUDxsFXNFUQTBvHtFpBKeKA6BMUtgvBc9smJQackegJsnL1Ry5.jpg | https://images.hive.blog/0x0/https://files.peakd.com/file/peakd-hive/edeyglezsosa/EogLRaDz4NPP8R9pSz54GY9sYRTXXt3mhoRp5HQQKLUg2jqb6VYLxkq8yW3zkmHwcnM.jpg |
Next, I insert the power supply at the bottom of the case and start connecting each of the power sockets to the motherboard. I also take this opportunity to put the ARGB controller in place, connect all the fans in series, and tie all the cables at the back of the case. I would like to do a better job of cable management, but I still need three fans and an AIO cooler, so for now it will stay like this.
A continuación, inserto la fuente en la parte de abajo del gabinete y comienzo a conectar cada una de las tomas de alimentación en la placa madre. Aprovecho también para ubicar el controlador ARGB en su lugar, conectar todos los ventiladores en serie y atar todos los cables en la parte trasera del gabinete. Quisiera hacer una mejor gestión de cables, pero es que aún me faltan 3 ventiladores y una refrigeración AIO, así que por ahora se quedará así.
| https://images.hive.blog/0x0/https://files.peakd.com/file/peakd-hive/edeyglezsosa/Ep5mCfnXJcRqZFgXGRMsCa345DUSQqimUjK4uhendkVwp9XCciCd12amqG4y8Q3rtU2.jpg | https://images.hive.blog/0x0/https://files.peakd.com/file/peakd-hive/edeyglezsosa/Eou7nDyUju3SPx47UPdFfmE1QNDBVdd1xSNgqJwKBn2Ct8iKYeirUAvEsecT6uhh9CK.jpg | https://images.hive.blog/0x0/https://files.peakd.com/file/peakd-hive/edeyglezsosa/Eo6HxfhUXpiJetzubUVmPS1nMBGA6dimKjBshWW1HSgJWiHAhqDRpUFjY8Ev2QNah5L.jpg |
| https://images.hive.blog/0x0/https://files.peakd.com/file/peakd-hive/edeyglezsosa/EpzxfnVLFd2GbDhhcgLsELXMSfzgaq33CkKni3KNSGbUYAkF2NSahLkBarSLXWWAFuR.jpg | https://images.hive.blog/0x0/https://files.peakd.com/file/peakd-hive/edeyglezsosa/Eq5E2CXPWjSY9jvrGmdo9LPyP9qtyj8vpLWDAkX9Bi6NwdAziShzQ9Scy4aug1DAqaN.jpg |
Now it's time to put the graphics card in place, but to do that I have to free up two PCI slots in the case. After putting it in place, press down and listen for the click, then screw the metal tabs to the chassis to keep it from moving. Since I wasn't sure about the graphics card's stability, I added a support foot on the other end. I had bought this support foot a while ago, but since I didn't have space for it, I never got to use it.
Ahora toca colocar la gráfica en su lugar, pero para ello tengo que liberar dos espacios de ranuras PCI en el gabinete. Luego de colocarla, presionar y escuchar el clic, atornillar las aletas metálicas al chasis para evitar que se mueva. Como aún no estaba seguro de la seguridad de la gráfica, le incorporé un pie de apoyo en el otro extremo. Este pie de apoyo lo había comprado hace tiempo, pero como no tenía espacio, nunca lo pude utilizar.
| https://images.hive.blog/0x0/https://files.peakd.com/file/peakd-hive/edeyglezsosa/EoiY44jFXE9uNNZiFtDyjnytsoV9gF5hN6JC9LChzy4FEaZP3dagC5eTSK8akNgTWB1.jpg | https://images.hive.blog/0x0/https://files.peakd.com/file/peakd-hive/edeyglezsosa/EoEo59rSxk5n5mpFuYcZGkZbuBdm1ejvErHTz5zaJJVWmB5x963LceK1tDHeV1Z6NJU.jpg | https://images.hive.blog/0x0/https://files.peakd.com/file/peakd-hive/edeyglezsosa/Eou8HWRtMxcFDGXdUvNSRgQmMAoasGhTAvmhVLXPomsD49xfnnmcEQfbtTKnXoUZ8Wz.jpg |
| https://images.hive.blog/0x0/https://files.peakd.com/file/peakd-hive/edeyglezsosa/EoGwR5dH7vUZzcKsaHpuZiMYQc9SzuUcn3dFKhK2NUbiRXtZVRzcTXmyDmrumNSXZLB.jpg | https://images.hive.blog/0x0/https://files.peakd.com/file/peakd-hive/edeyglezsosa/EoeDsmppJ3yFXGm1p5QLMwNYLpY7SyThfeZFe1kmeUohNsDuKAwQgXuuNGhcqhKBpjM.jpg |
All that remains is to connect the graphics card's power cable, close the cover, and cross your fingers that everything works properly.
Solo queda colocar el cable de alimentación de la gráfica, cerrar la tapa y cruzar los dedos para que todo funcione correctamente.
| https://images.hive.blog/0x0/https://files.peakd.com/file/peakd-hive/edeyglezsosa/EonjXuswDXWkMqWxHpFciNstzLBrvQegczS1hLXDYavELnEwgrK5SgHC9J96udP2SUG.jpg | https://images.hive.blog/0x0/https://files.peakd.com/file/peakd-hive/edeyglezsosa/EpNnMvzqdC1HBadioGQkyLdAsRoMeHuFT95tMvJ1s64eya6zdUGNGDdR8hV34pFtBgk.jpg |
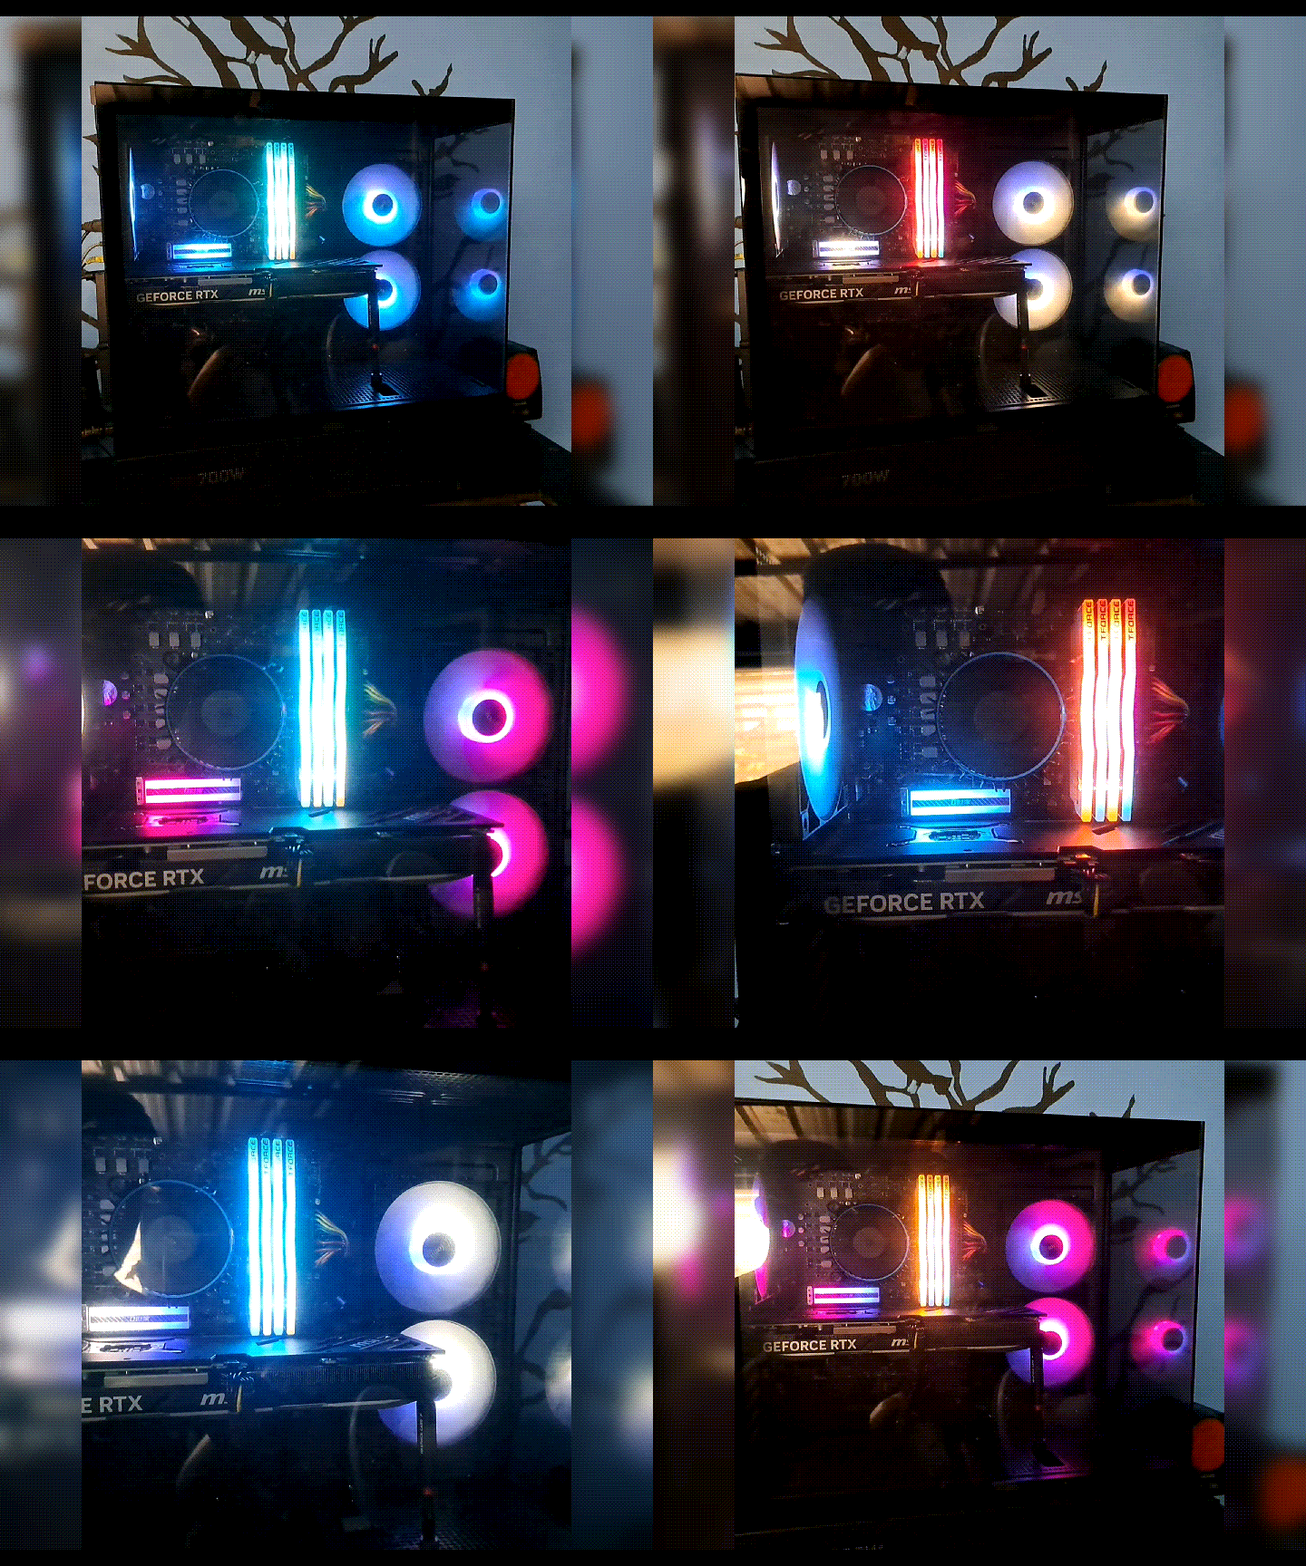
Fortunately, everything was connected correctly, and after pressing the power button, everything began to function properly. A beautiful carnival of colors indicated to me that the assembly had been a success.
Por suerte, para mí todo estaba bien conectado y, tras presionar el botón de encendido, todo comenzó a funcionar correctamente. Un hermoso carnaval de colores me dio a entender que el armado había sido un éxito.

Cover page created in Canva Translated by DeepL
