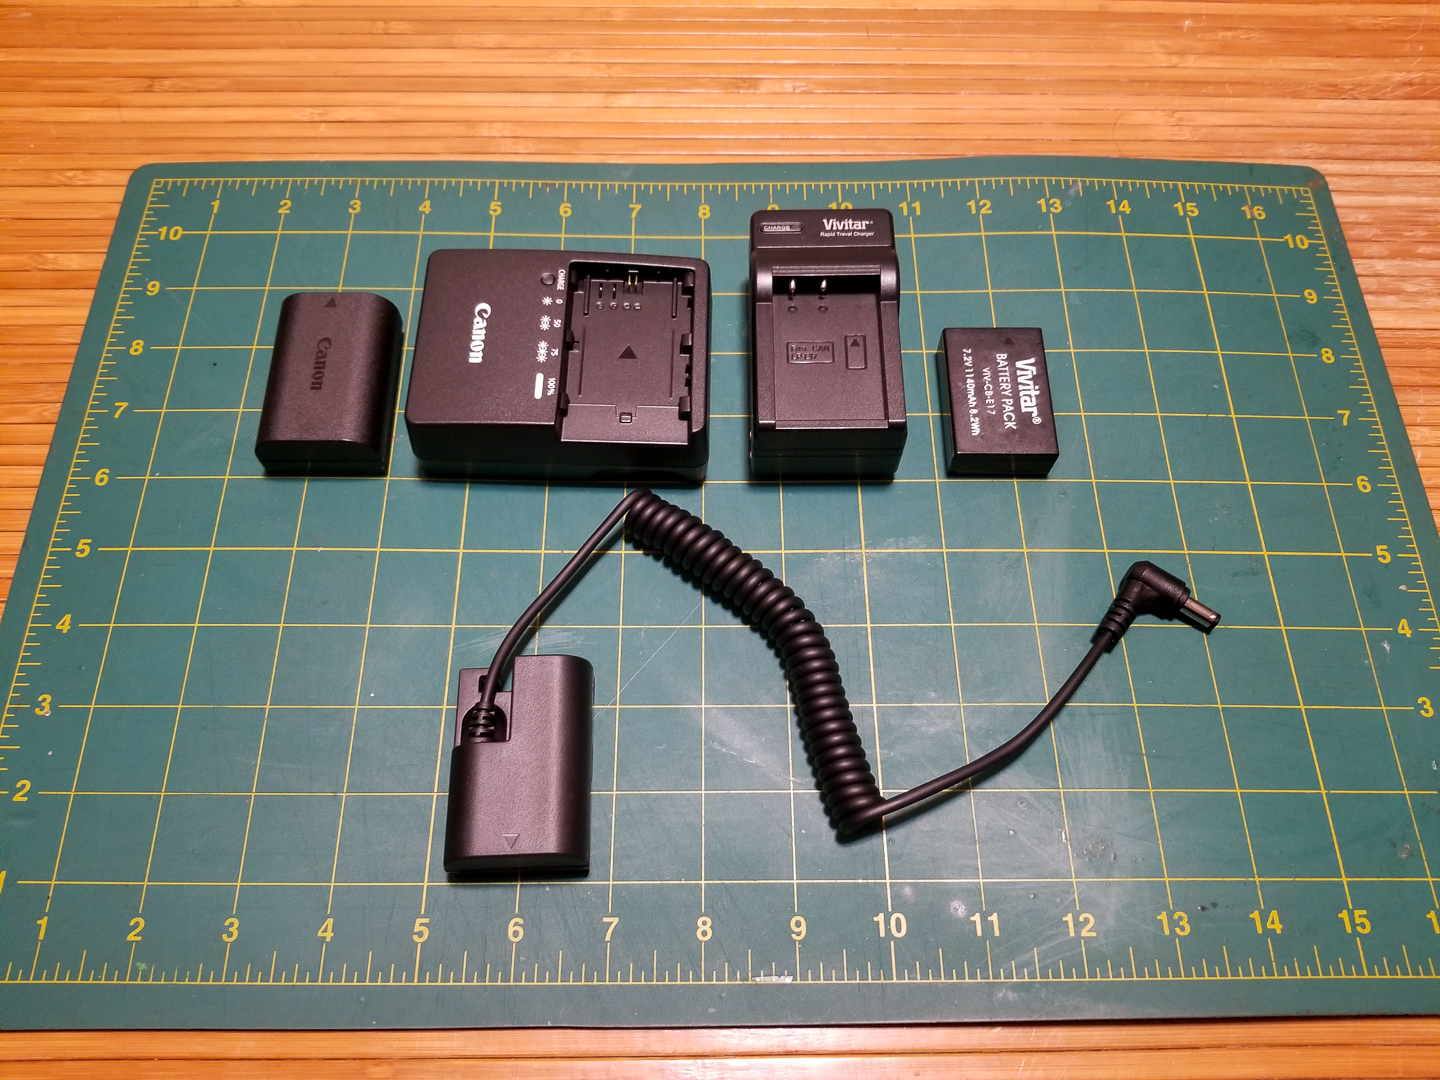
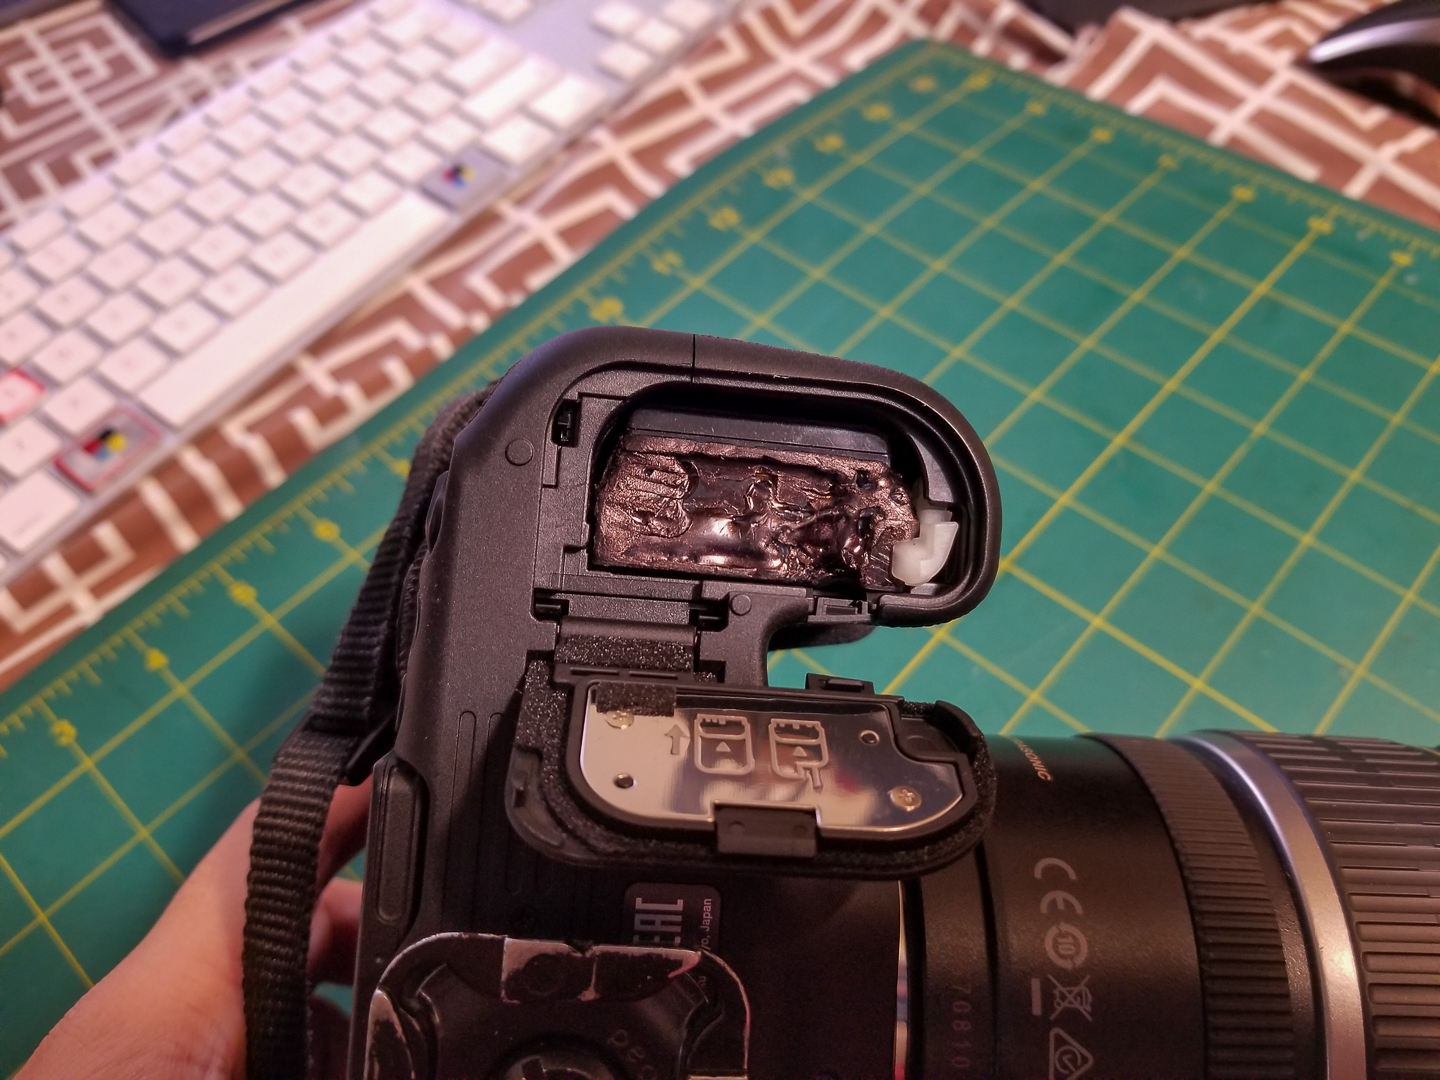
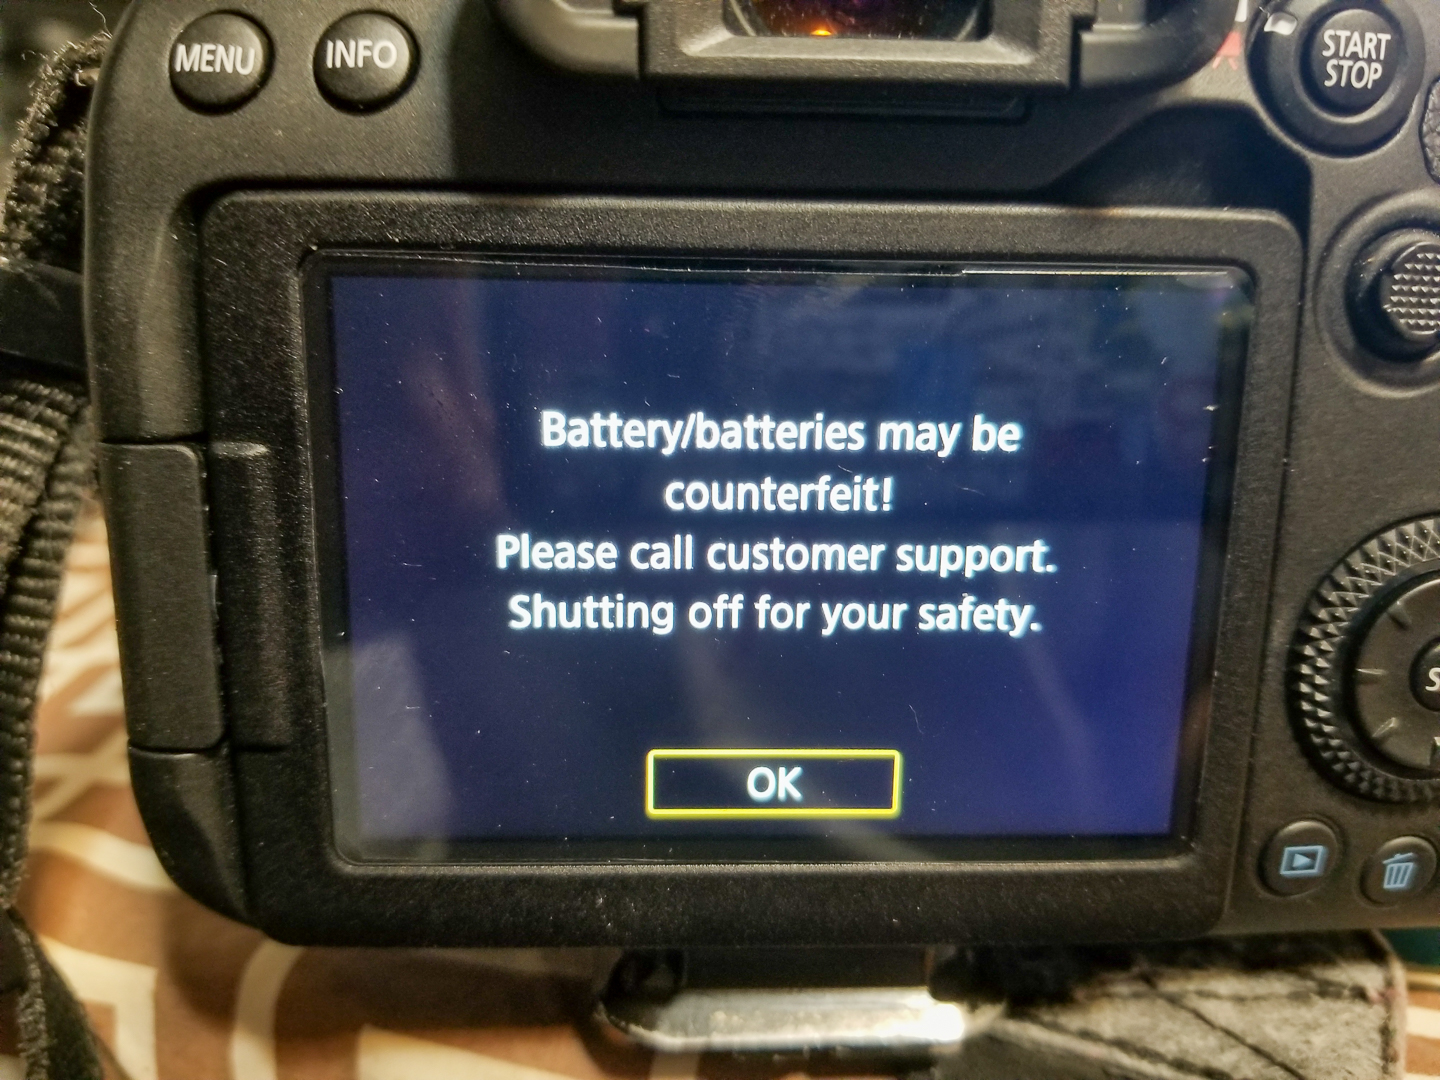
So........... Here I have another personal Frankenstein project I’d like to share with you guys. Recently I decided to make a small upgrade from my entry level camera to an enthusiast camera. Basically I went from 480i to 720p, full frame mirrorless being 1080hd. now one problem that arose was what do I do with the old batteries? Recycling them was an option, but seemed such a waste to let them go when they work perfectly fine, so I came up with this poverty driven idea to reuse them in the new camera, which was snot design to fit this battery. I came up with the idea of creating a cradle that the old battery would sit into which can then be inserted into the new camera, thus tricky it into thinking it has the proper battery.
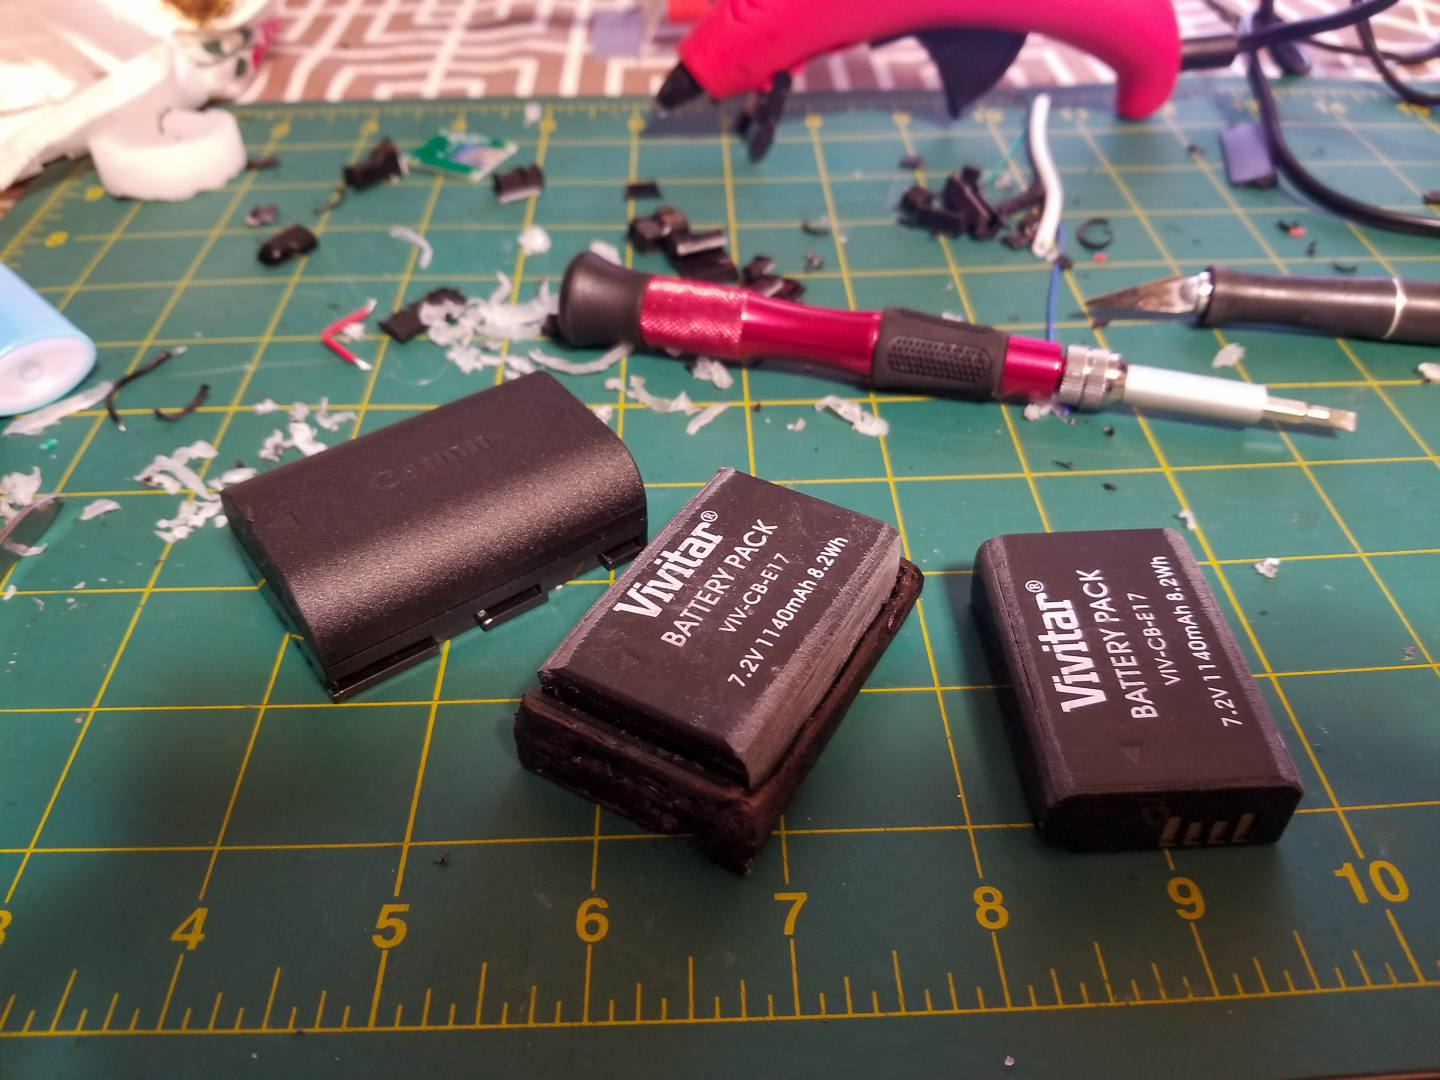
So what you see before you I my idea. Using the dummy battery as a base I will somehow place the face plate of the old battery into the dummy battery. Let this disaster begin.
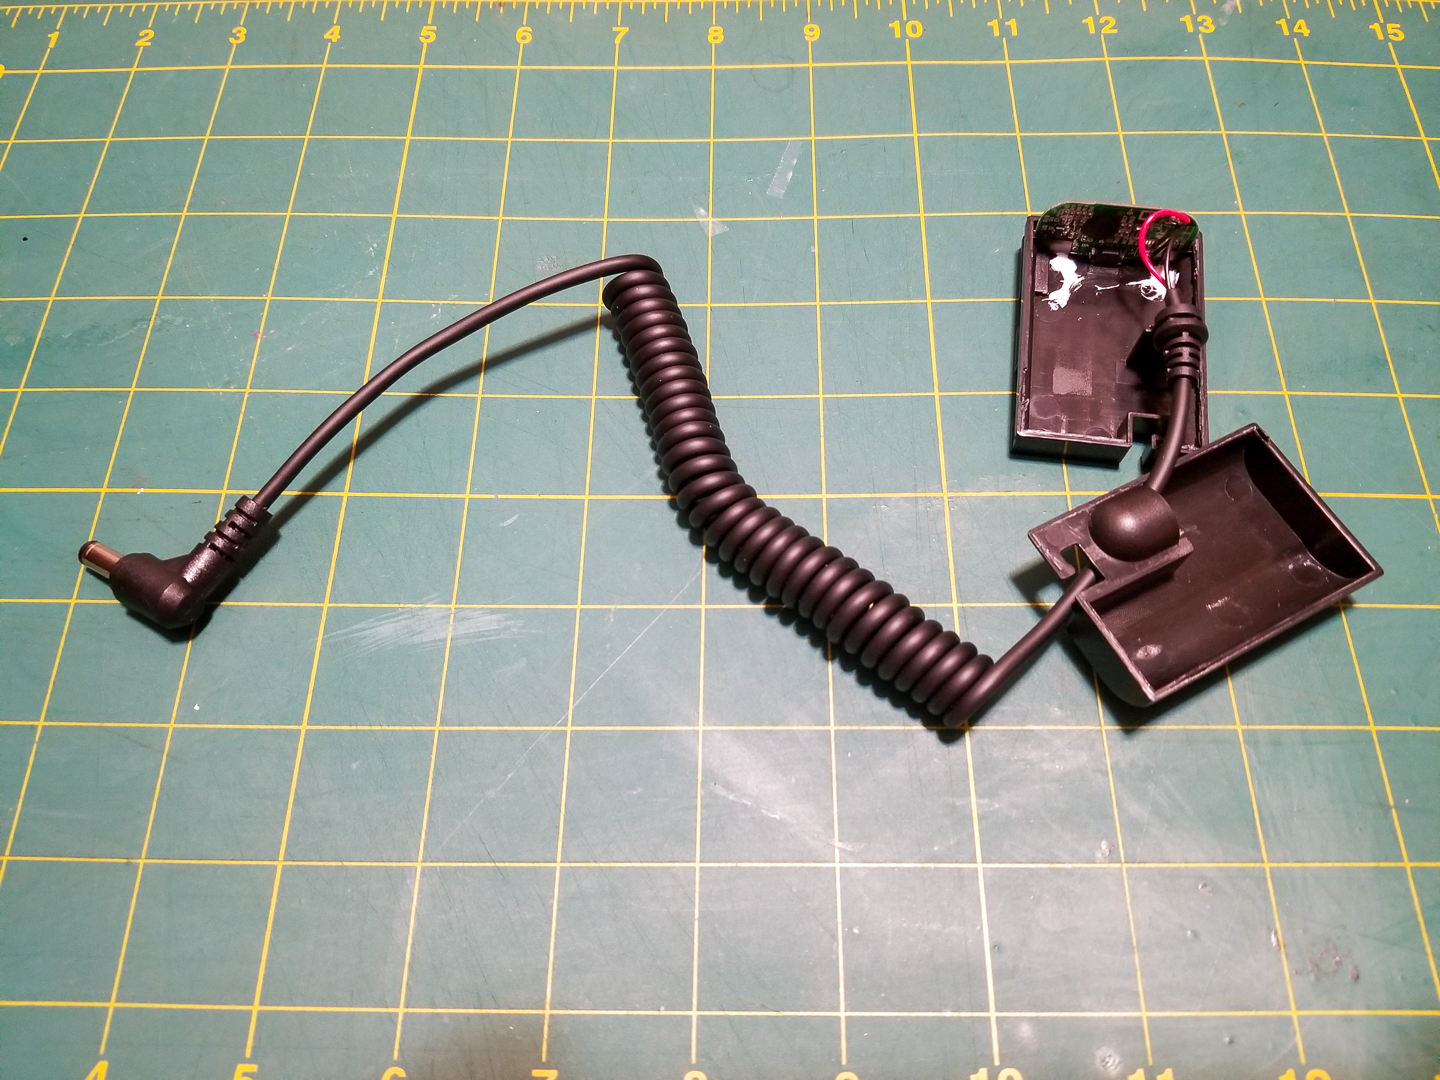
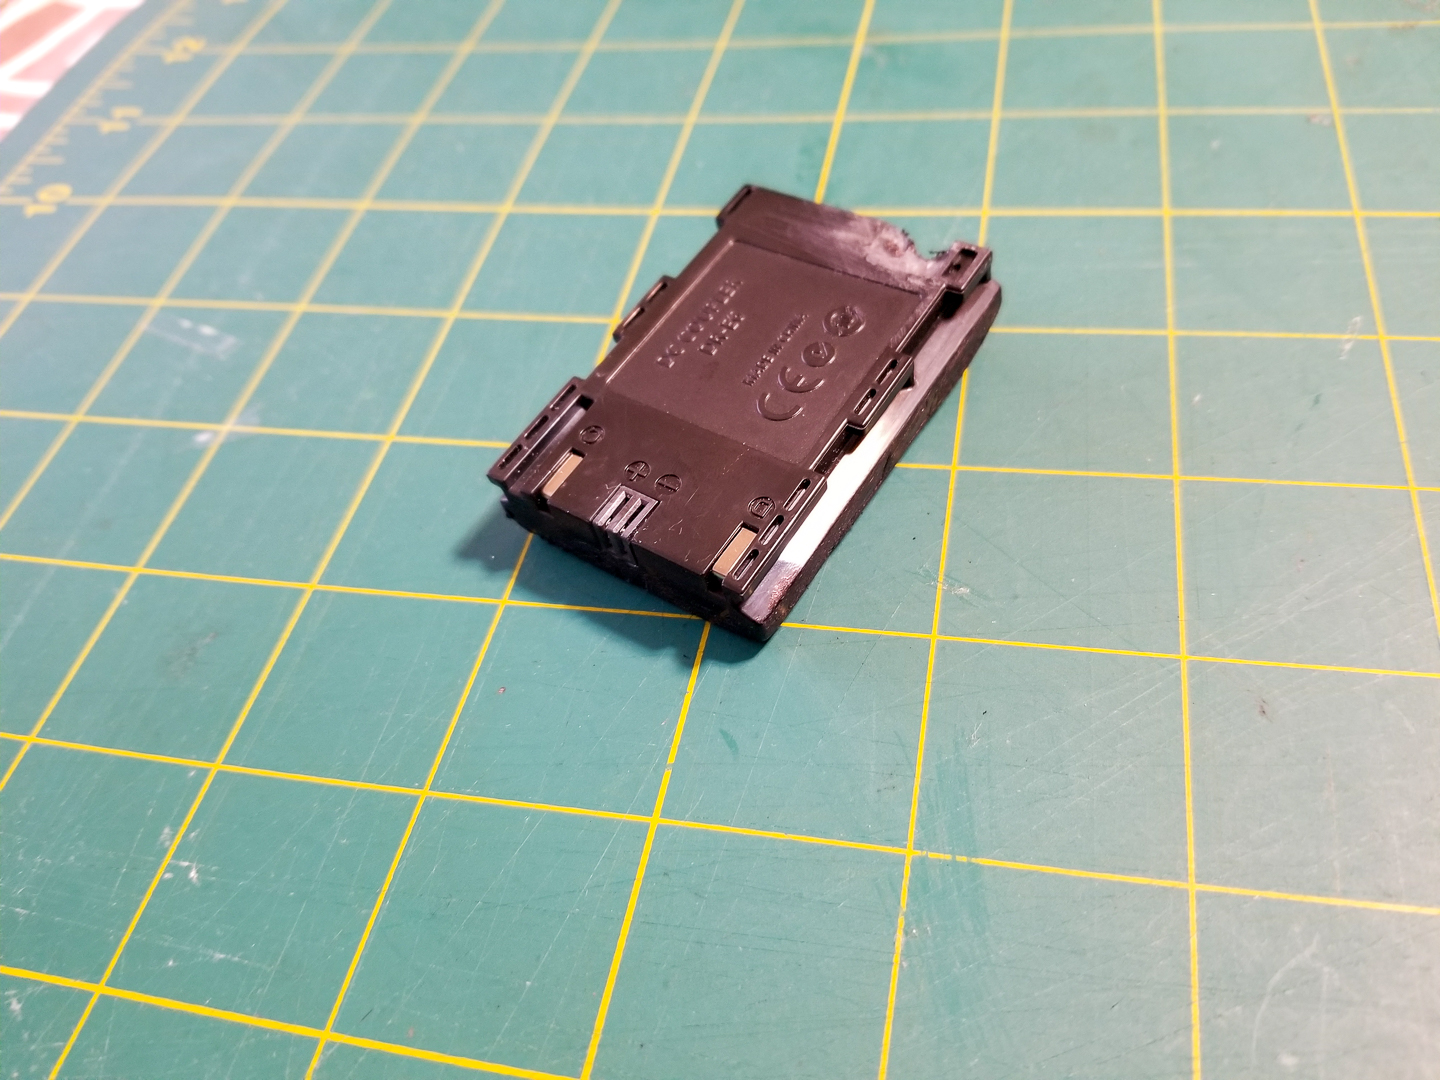
I’ll begin by splitting open the dummy battery to reveal no discernable reason this thing should cost as much as it did. You’ll also notice the simple circuit which does some electricity things and makes the battery full again. I’ll need to make note of which one was positive and which was negative.
![20191112_135746.jpg] (https://cdn.steemitimages.com/DQmdhE6gjgd8Xh26mT3AcF6HaqQ4YxzLouywdpiFN2RhyNp/20191112_135746.jpg)
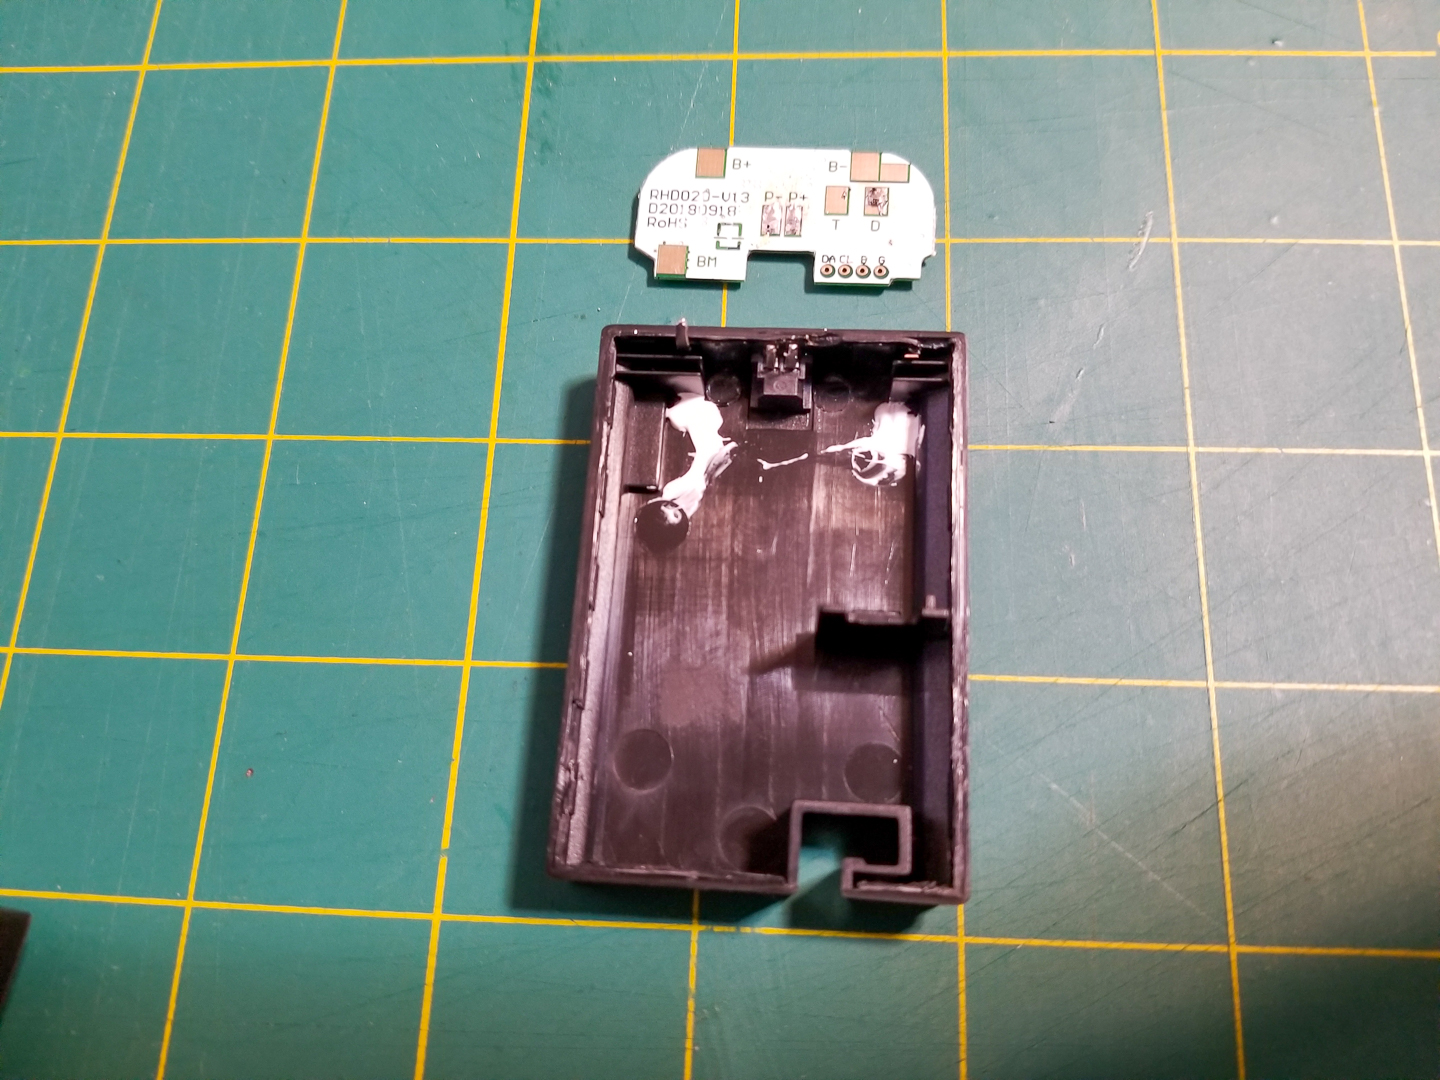
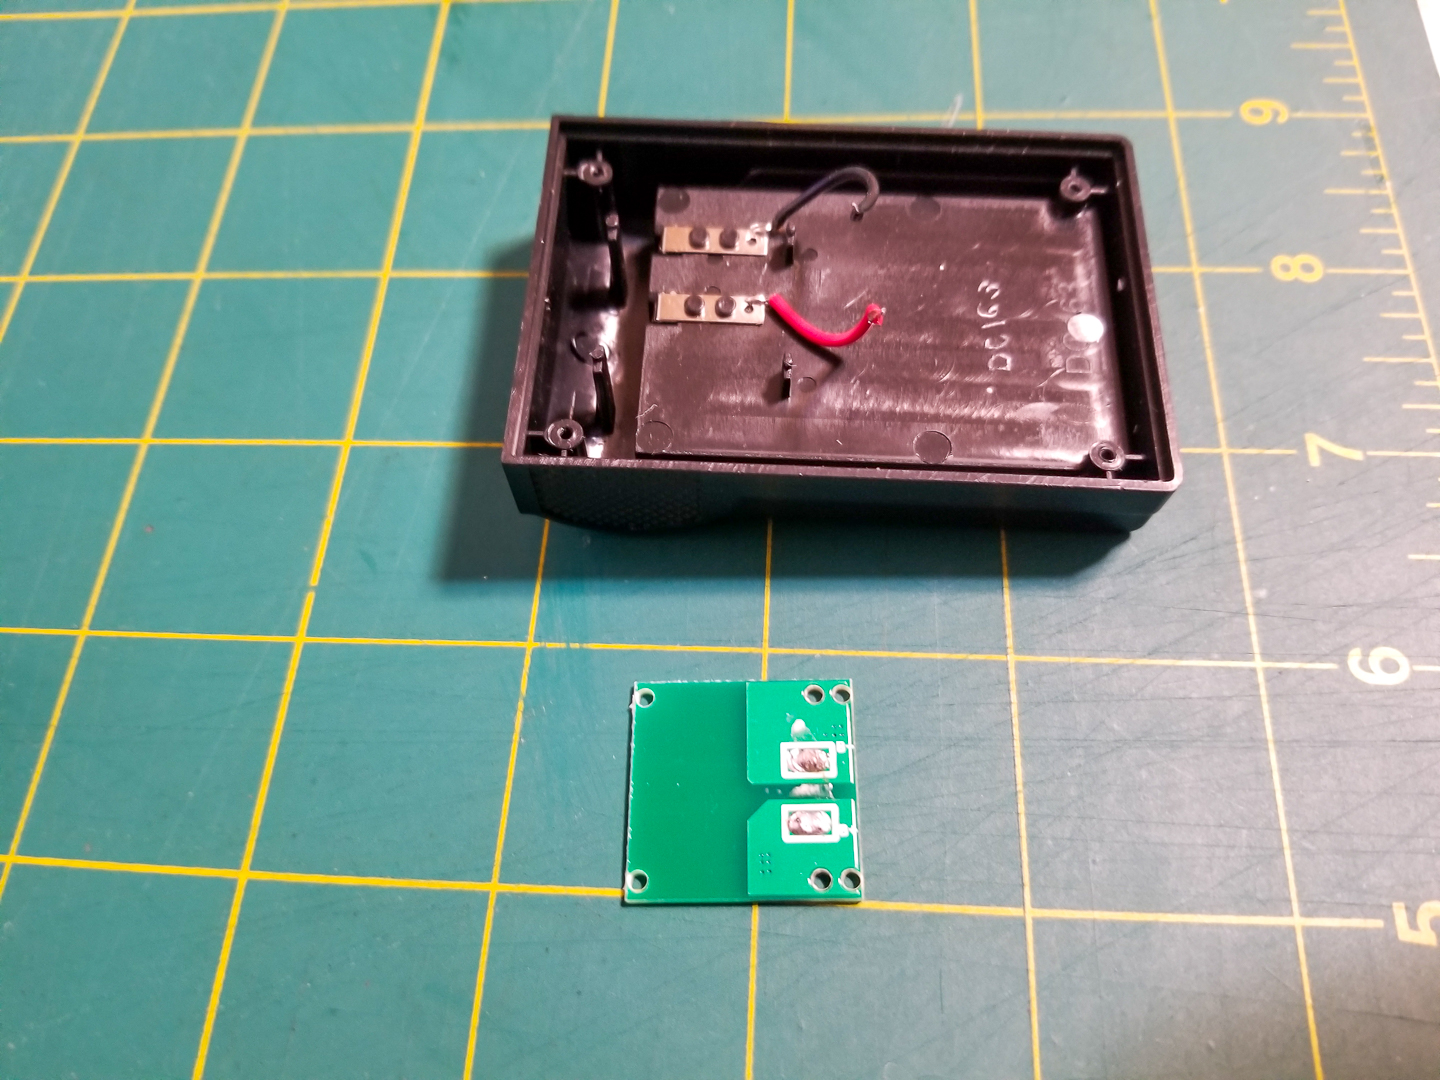
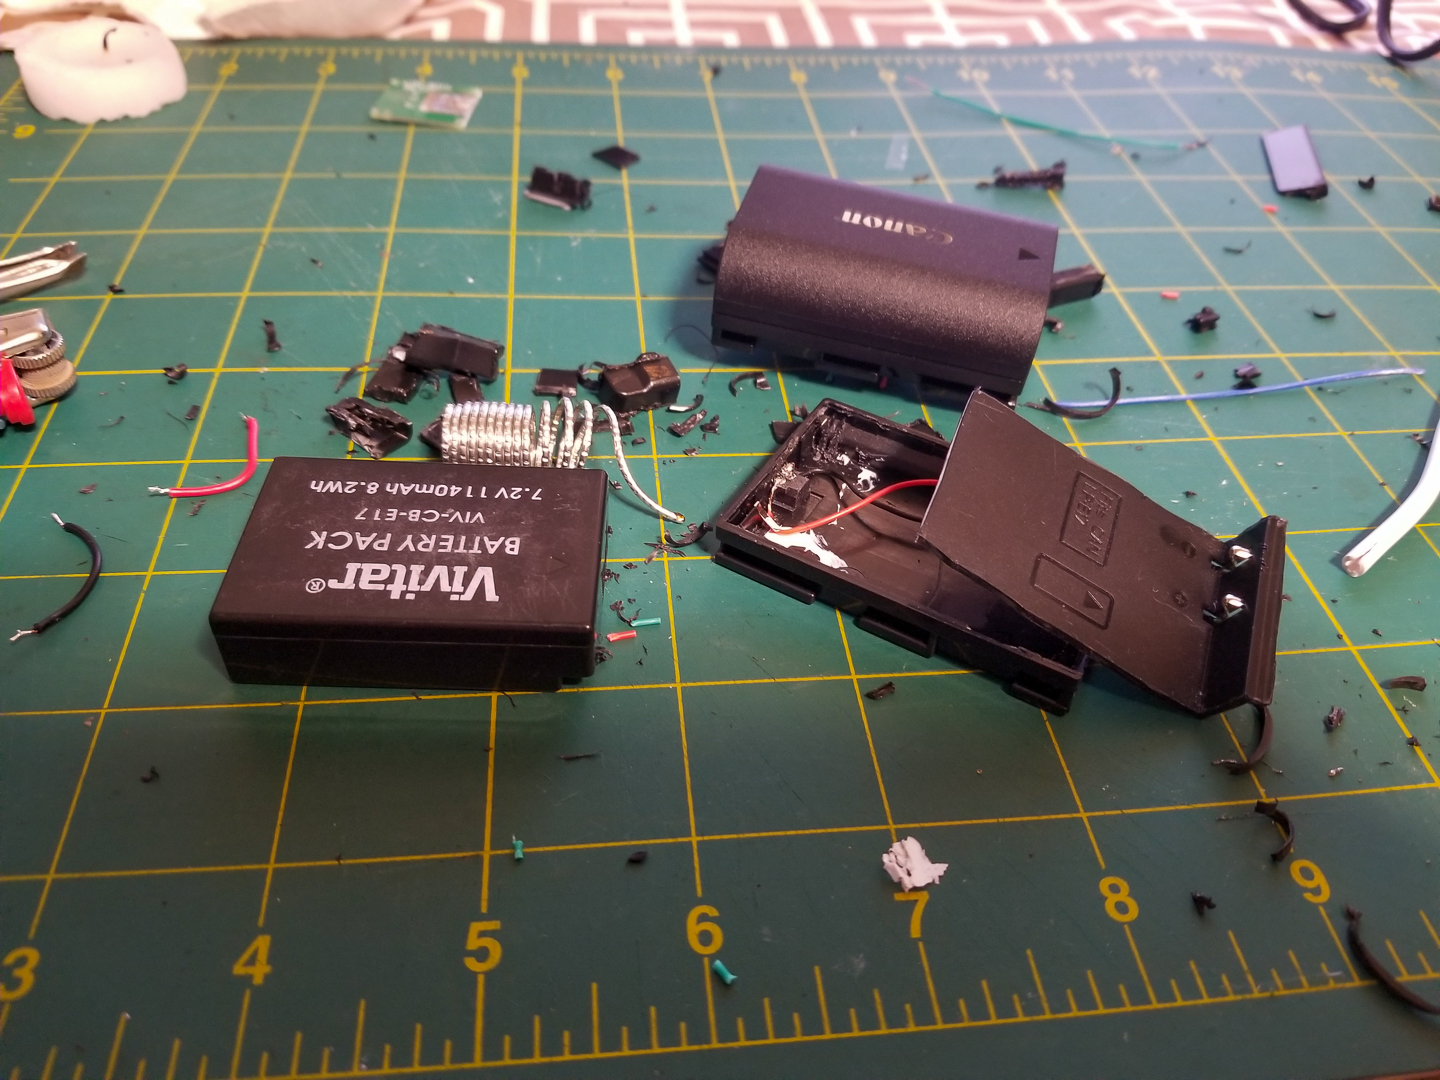
Next I will detach the battery cradling faceplate thing from the charging body. Which also begs for a proper explanation to why it cost as much as it does.
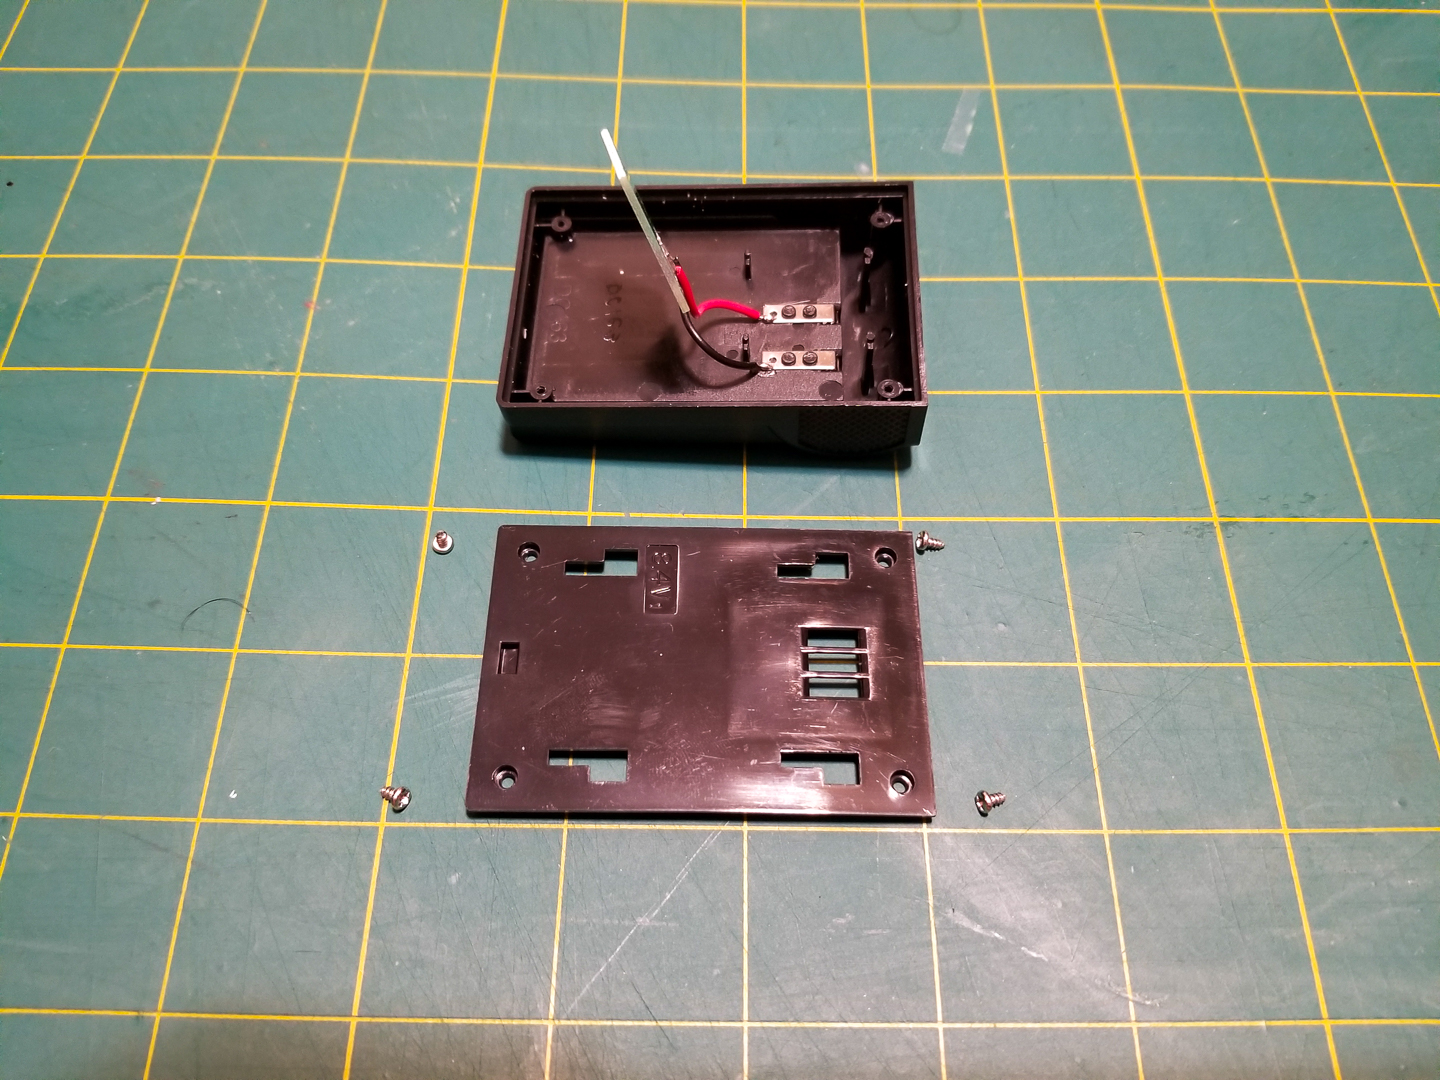
Removing 4 little screws will reveal nothing, its just 2 wires and a circuit board barely bigger than a penny.
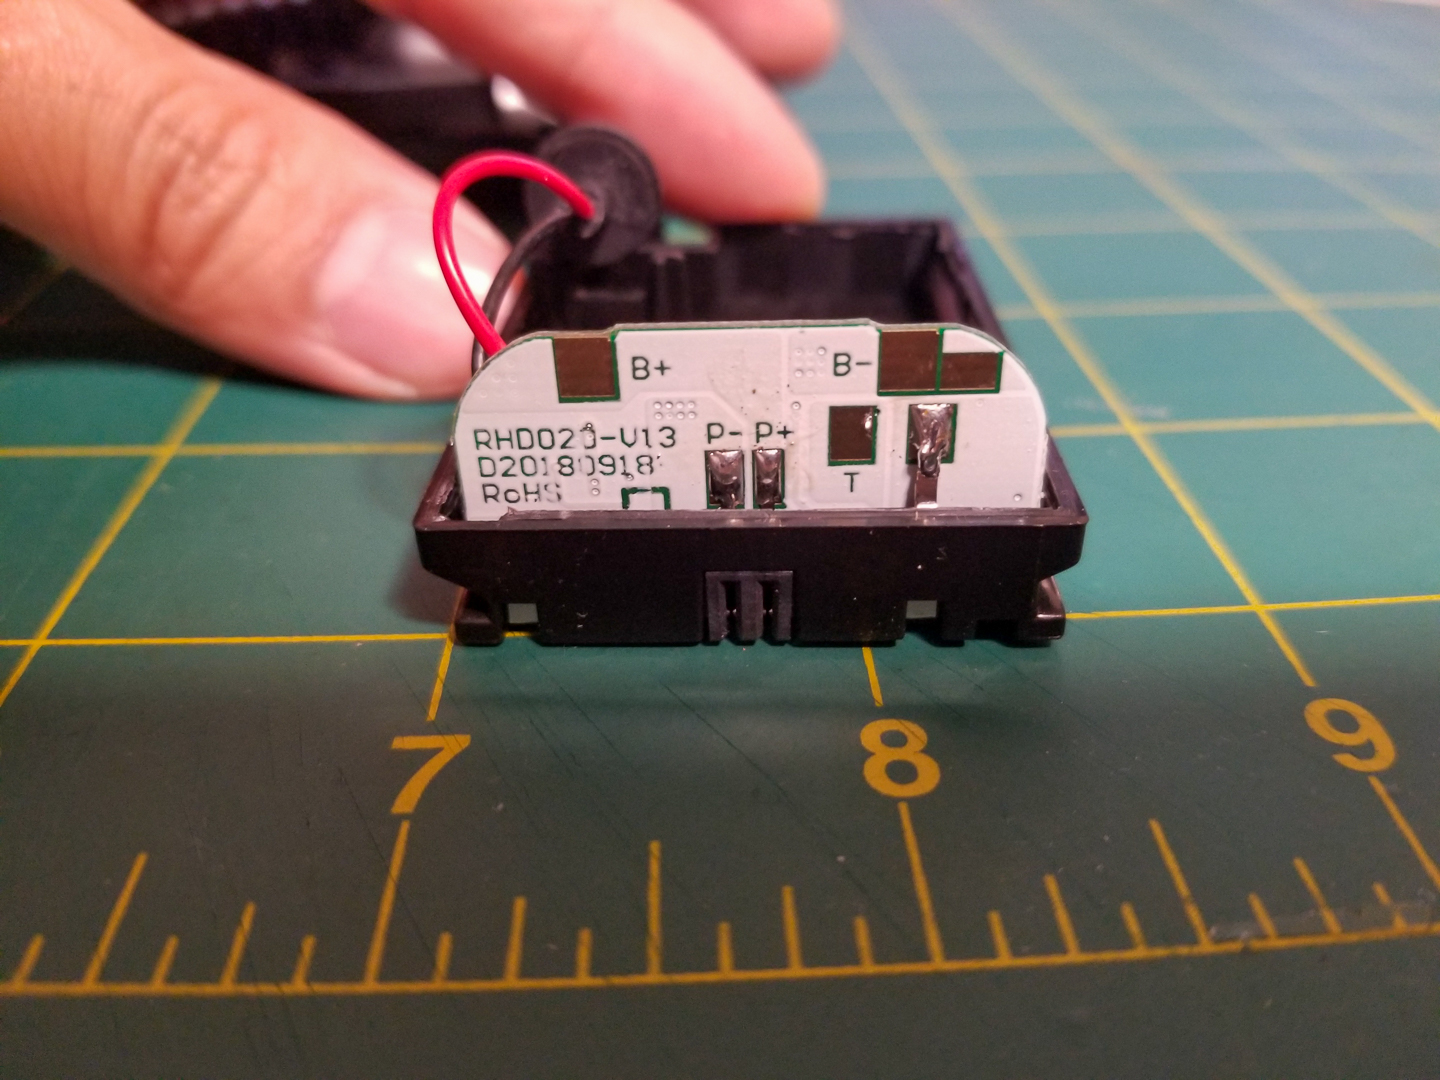

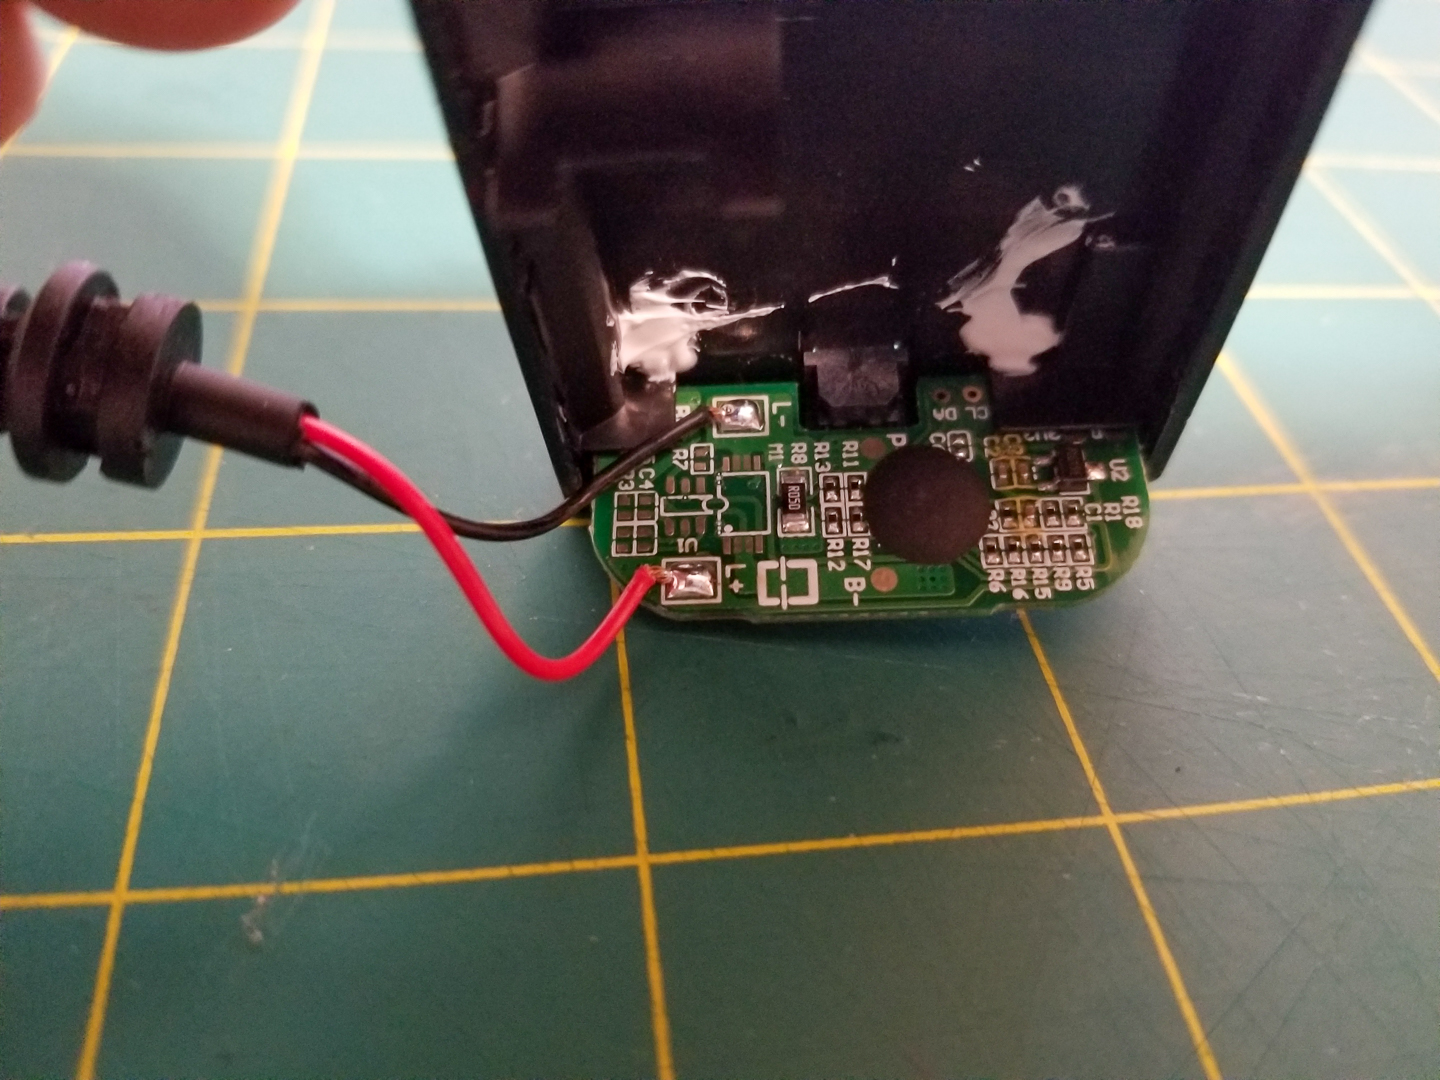
Now I turn my attention back to the dummy battery. The circuit board is much more complex, but I suspect its probably cuz its taking raw power from some source and converting it left right up down and around a few times till it just right for what the camera needs. What that white stuff is I don’t know and I don’t judge or ask questions, also notice the positive and negative wires.
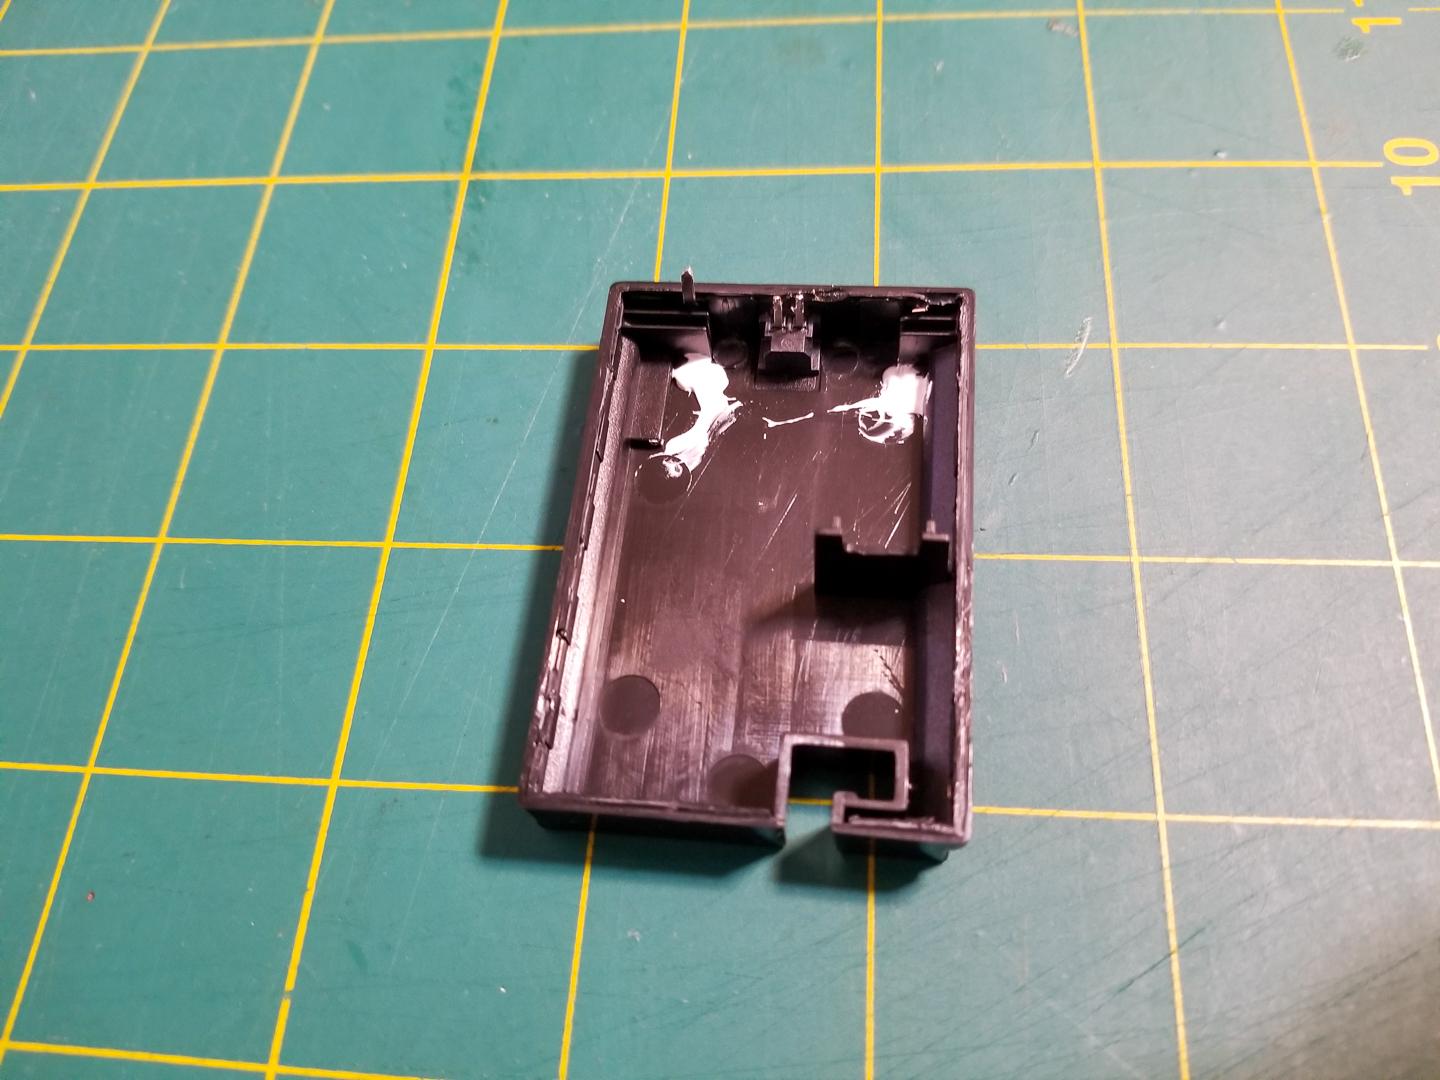
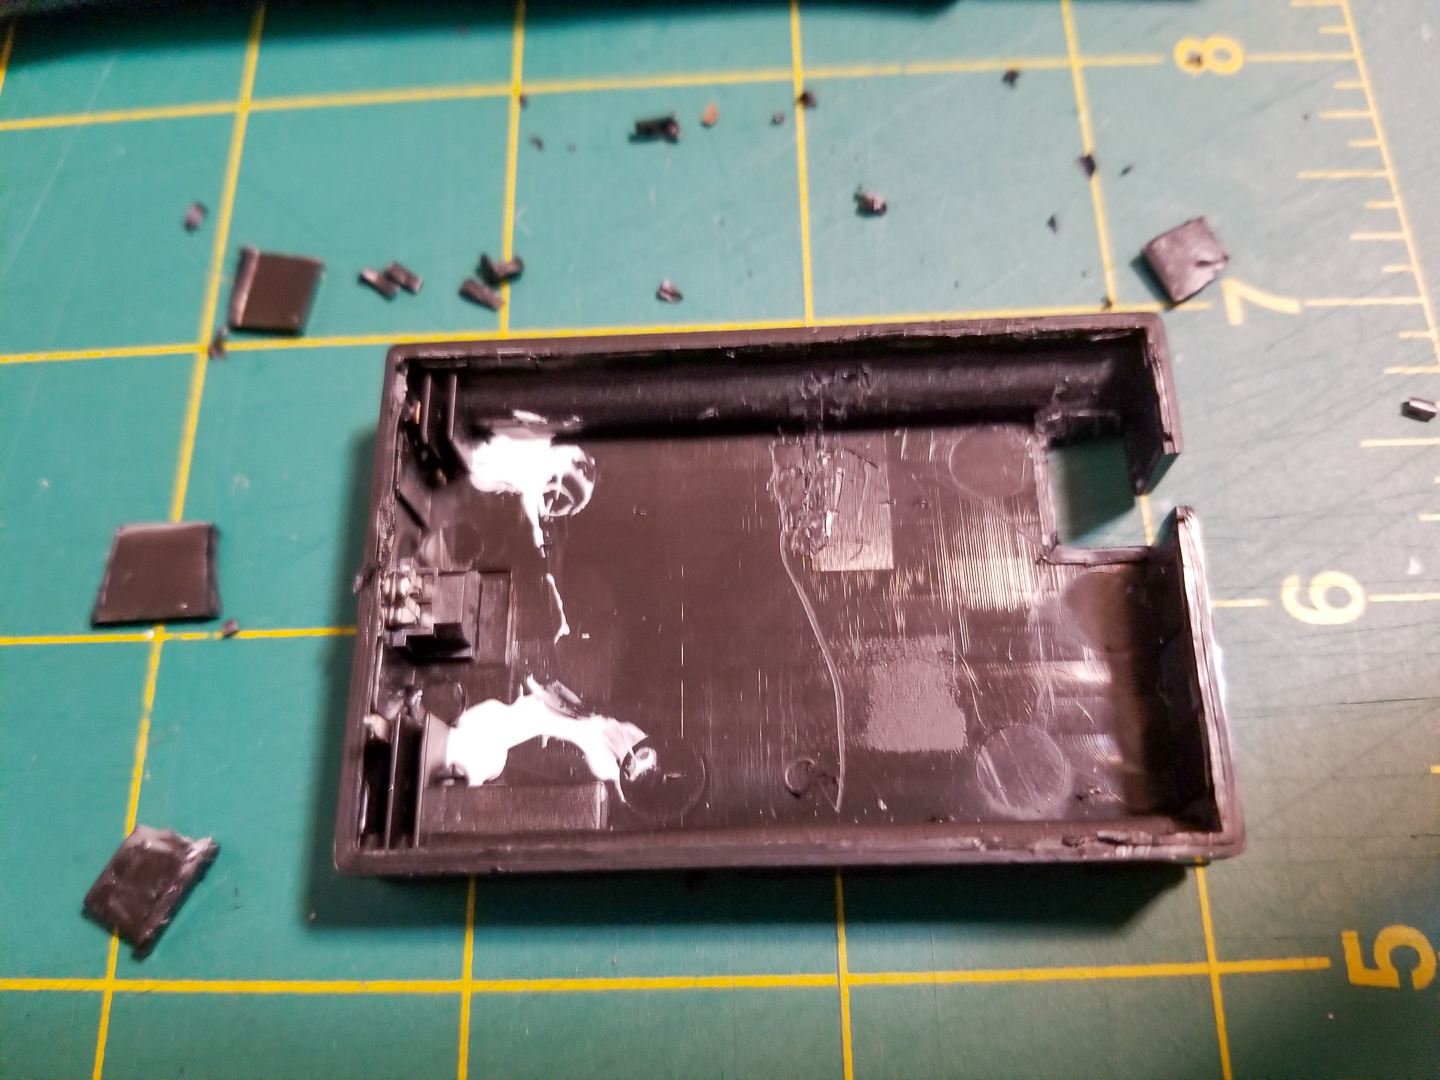
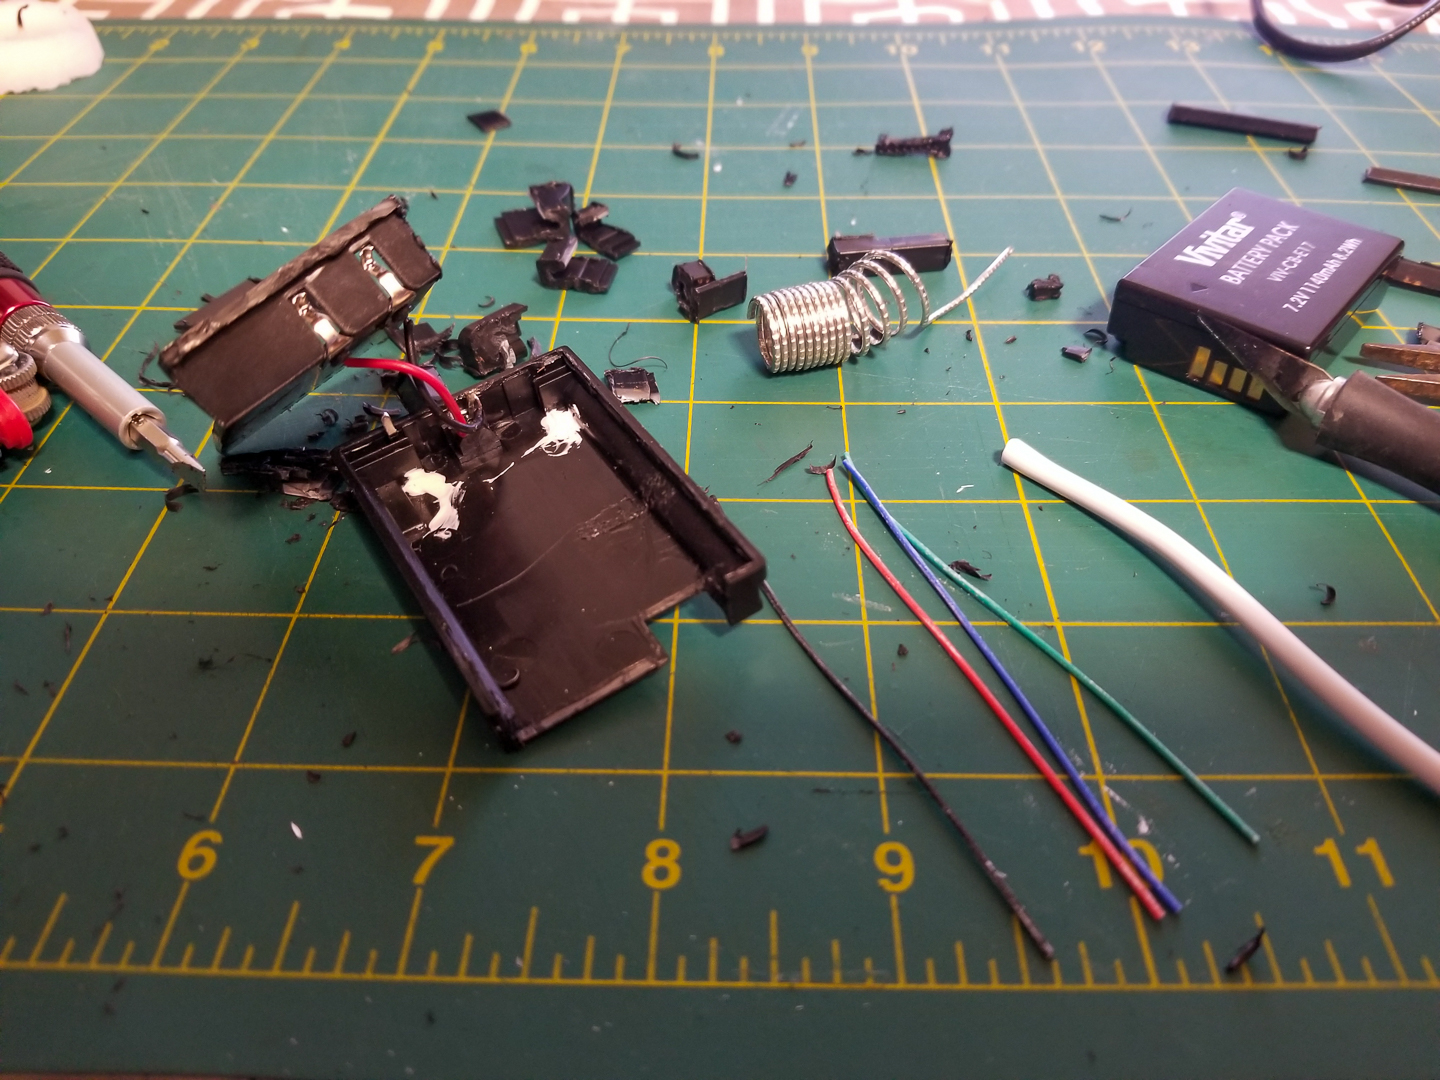
Next step, hollow it out like an unwilling pumpkin before Halloween.
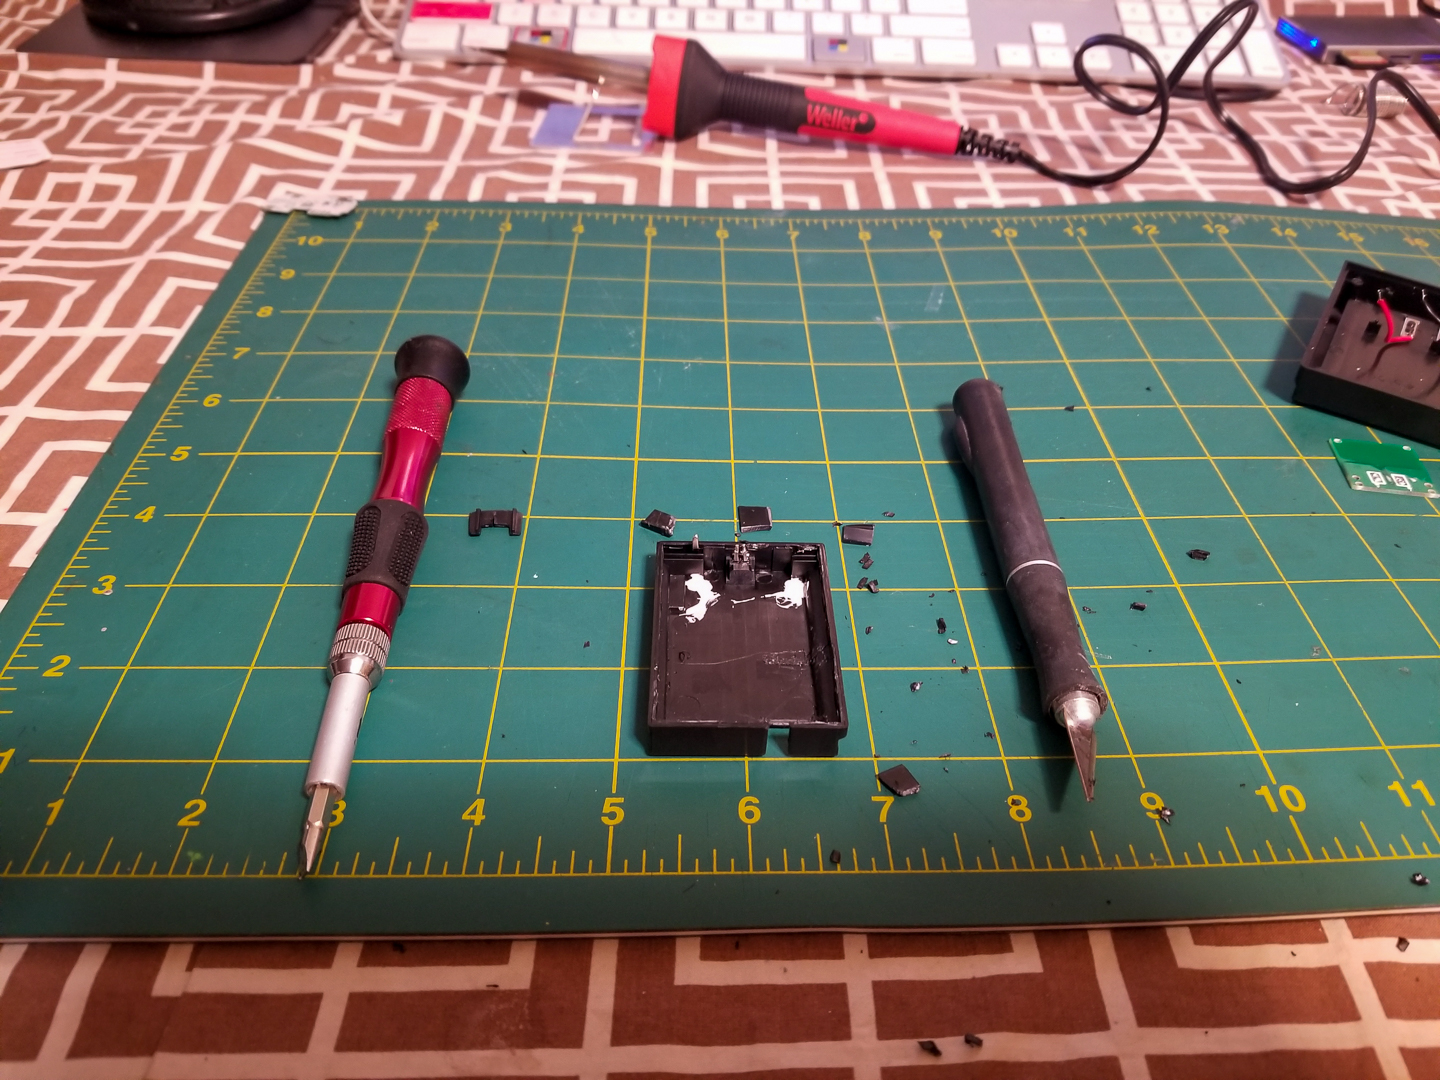


Eventually hard plastic got to be too much to handle for my poor cracked xacto knife. And so what do I do? I turn it into a hot knife, but I don’t actually have one so I have to make do with Mr. Lighter.
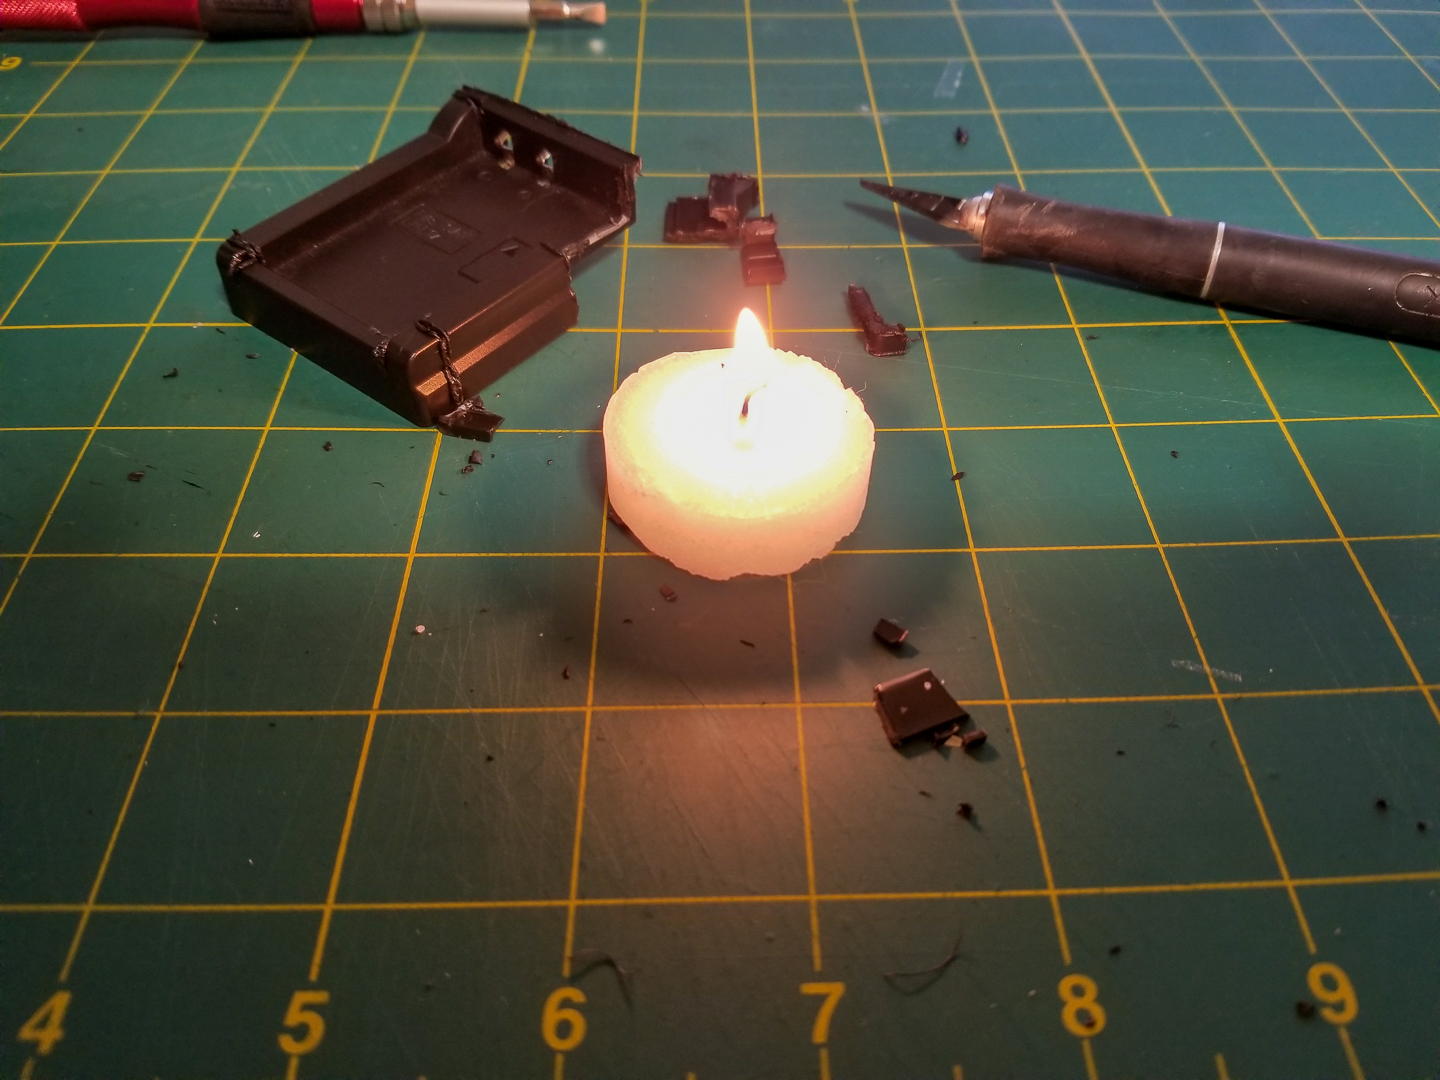
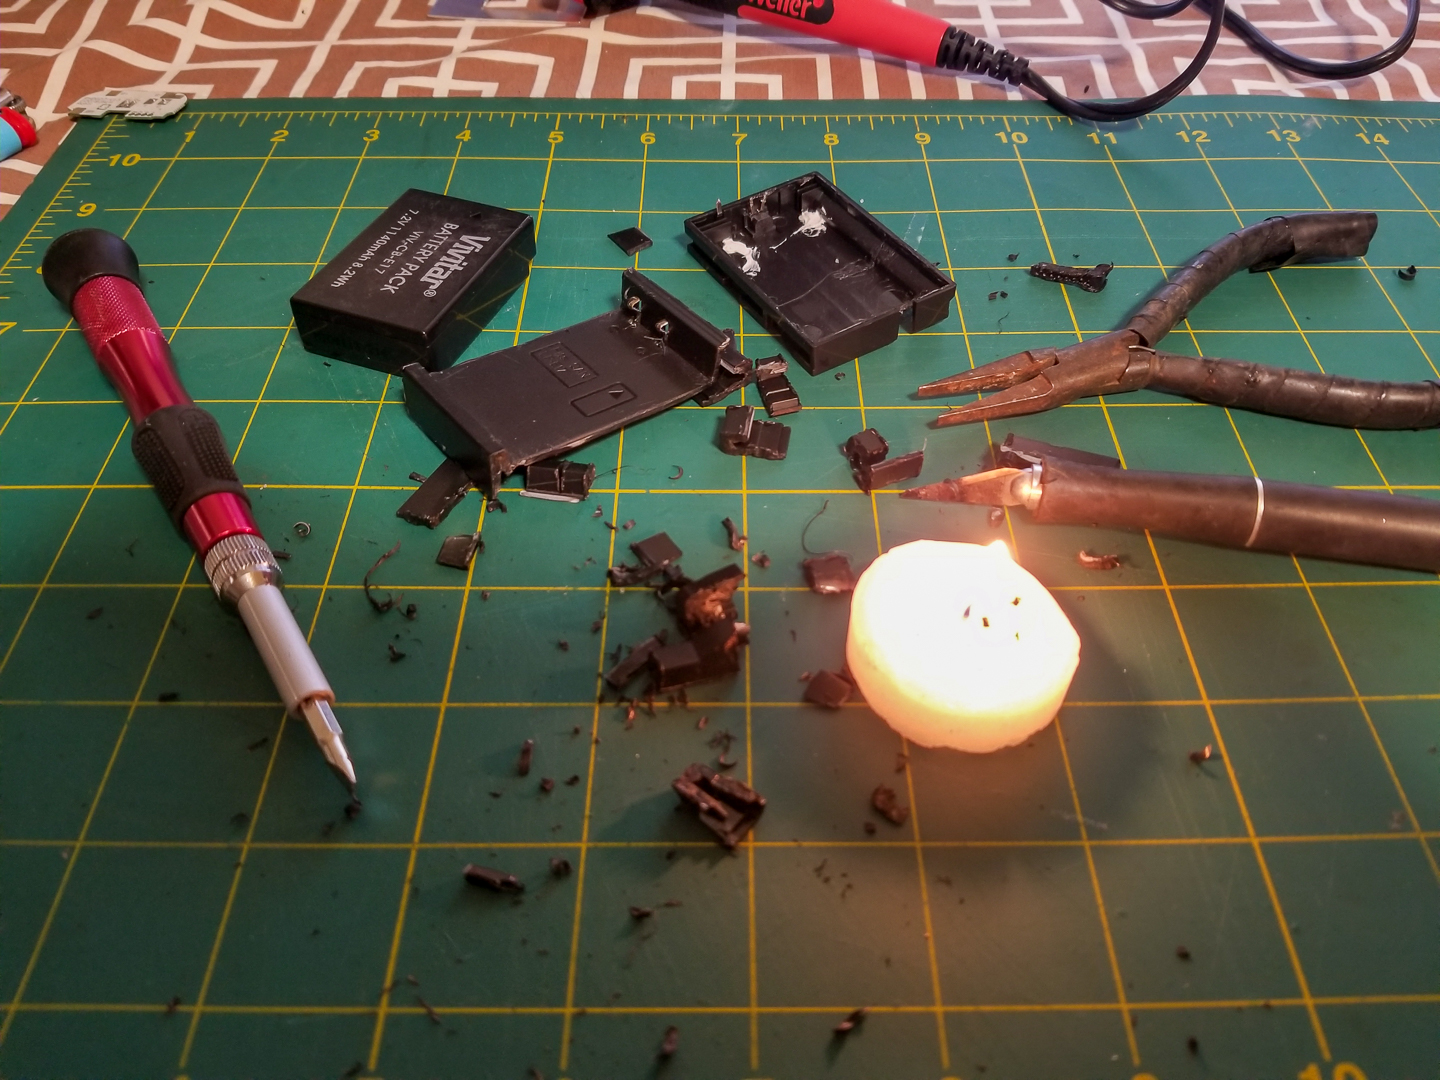
But low and behold, turns out using a little button candle works muchhhhh better. Now I really have a hot knife…. Every 5 seconds.
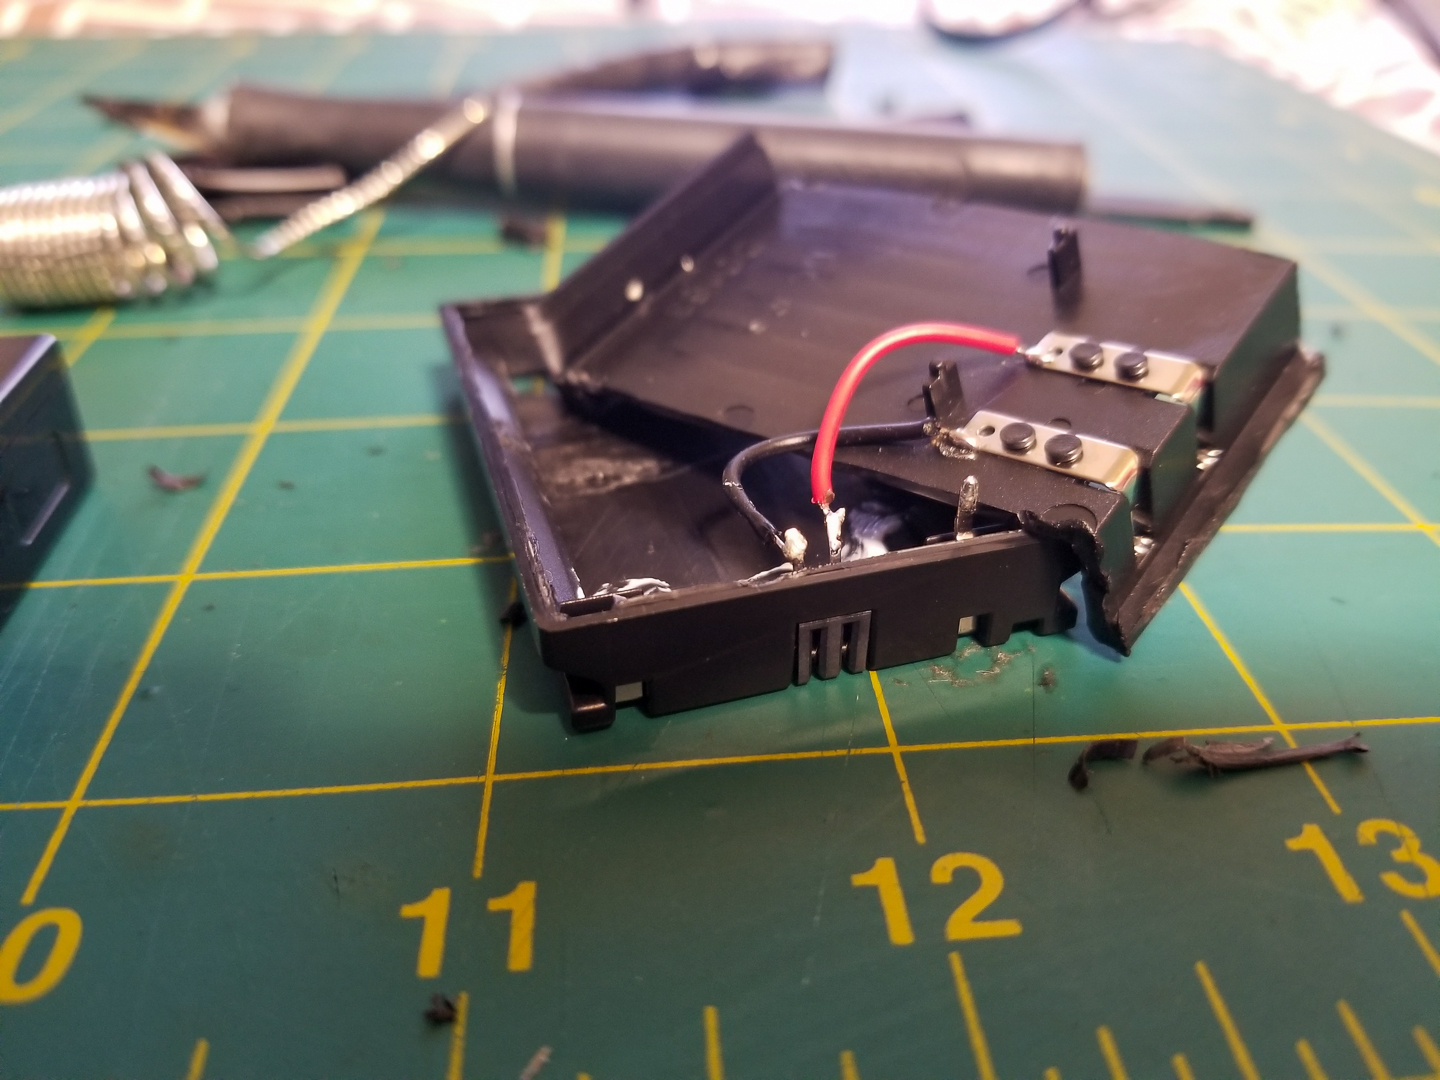
At this point I attached the cables to their respective positions, but low and behold they were too short, so I had to use wires form a separate USB cable, they are literally dime a dozen at this point.
So I had to cut two new wires and solder them onto their proper positions.
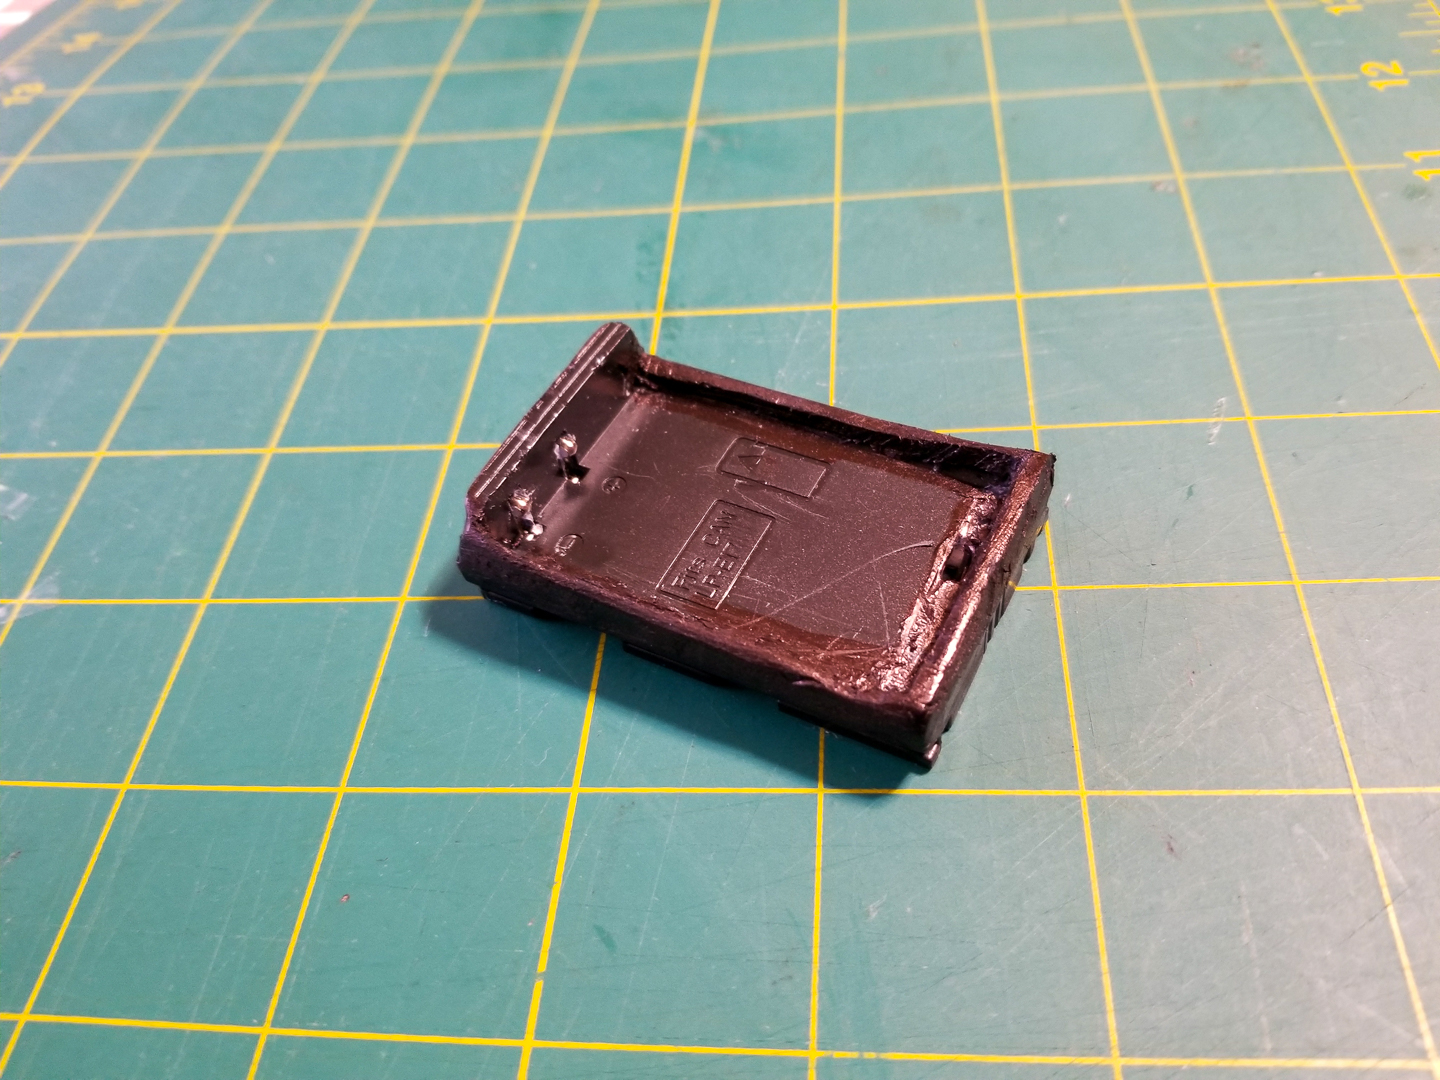
Now that the wires are soldered in and the correct length I begin to make final trimmings and adjustments to my little pet project.
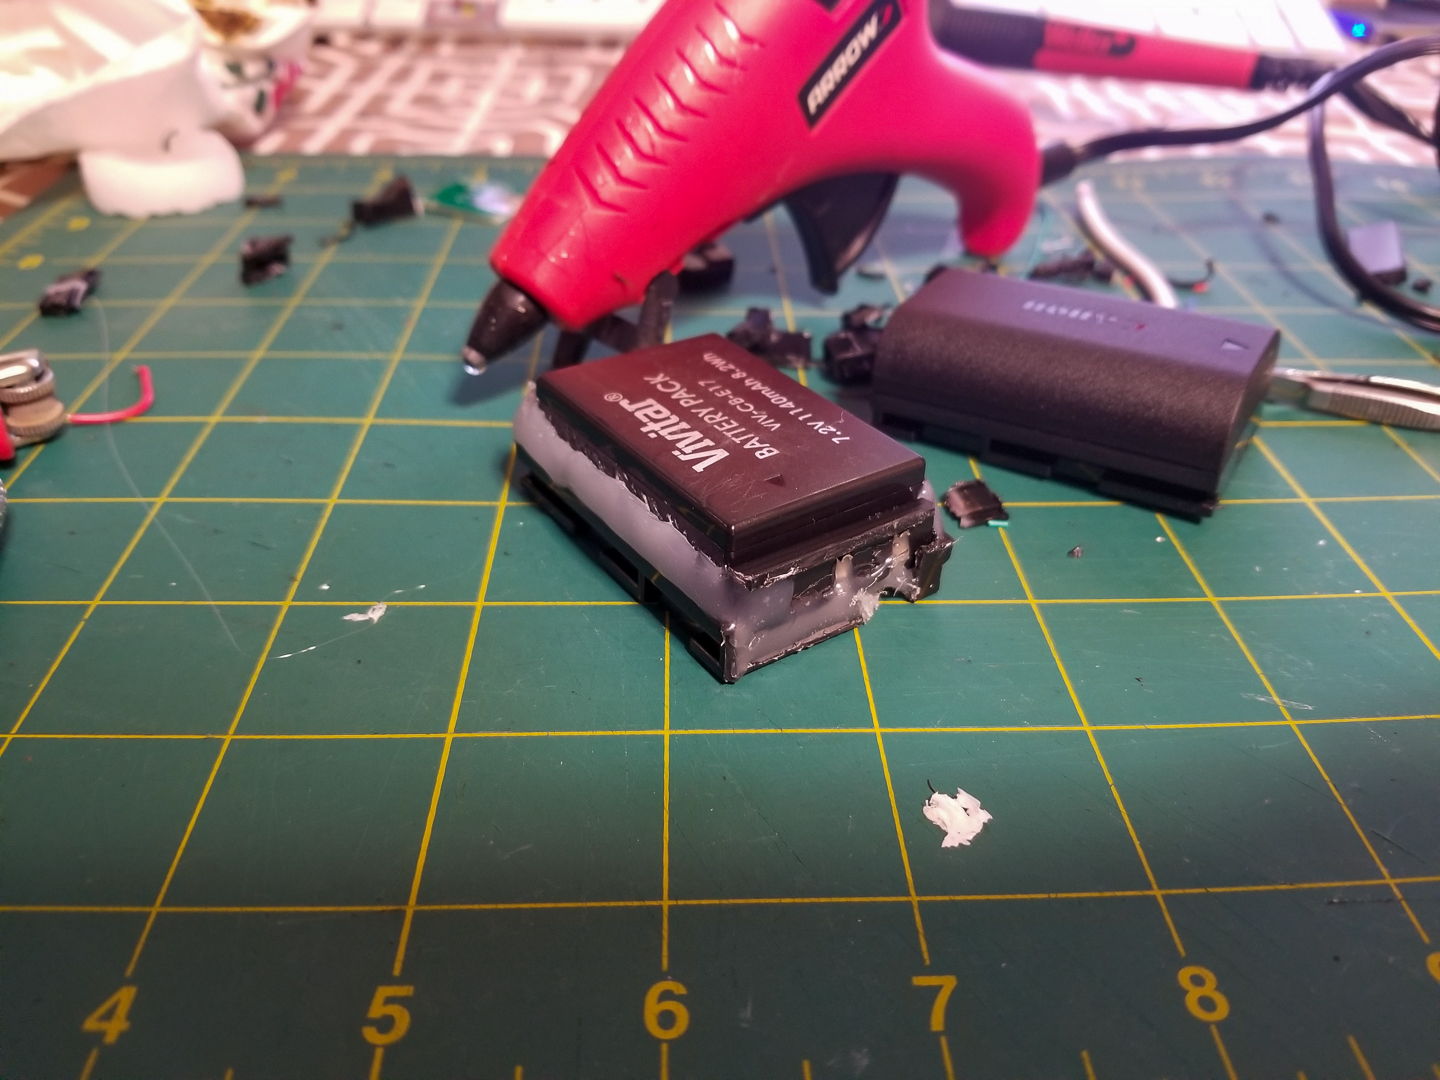
Lemme preface this by saying, I had no idea what made me thing this was a good idea. Cuz in my mind I was thinking, oh, I should use the hot glue gun to fill in the gaps and use as structural reinforcement. STOP right there, I wish I had known wtf I was smoking cuz I’m about to use a hot GLUE gun, a substance and tool meant to stick two things together with great adhesion. Watch me regret this.
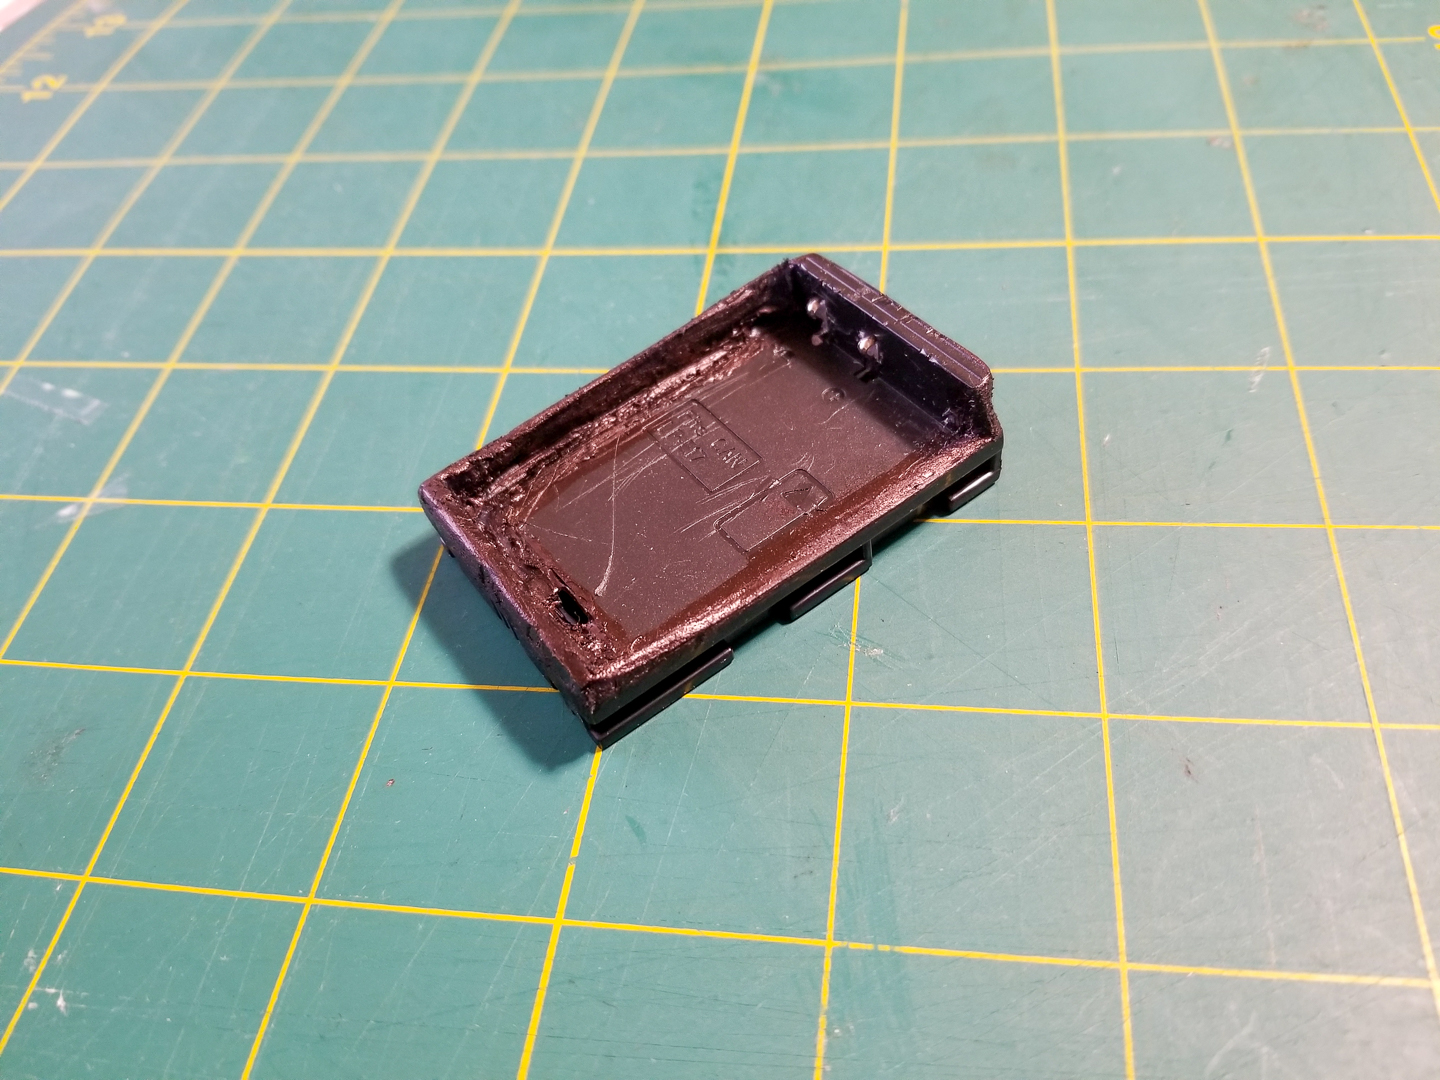
Holyyyyyyyyyyyyy google fuck. I dunno how long I spent cutting away the glue from the side of the battery, but once i got that sucker out I shaped it by cutting it with an xacto knife. (Hey, Xacto knife guys, how about a sponsor…..)

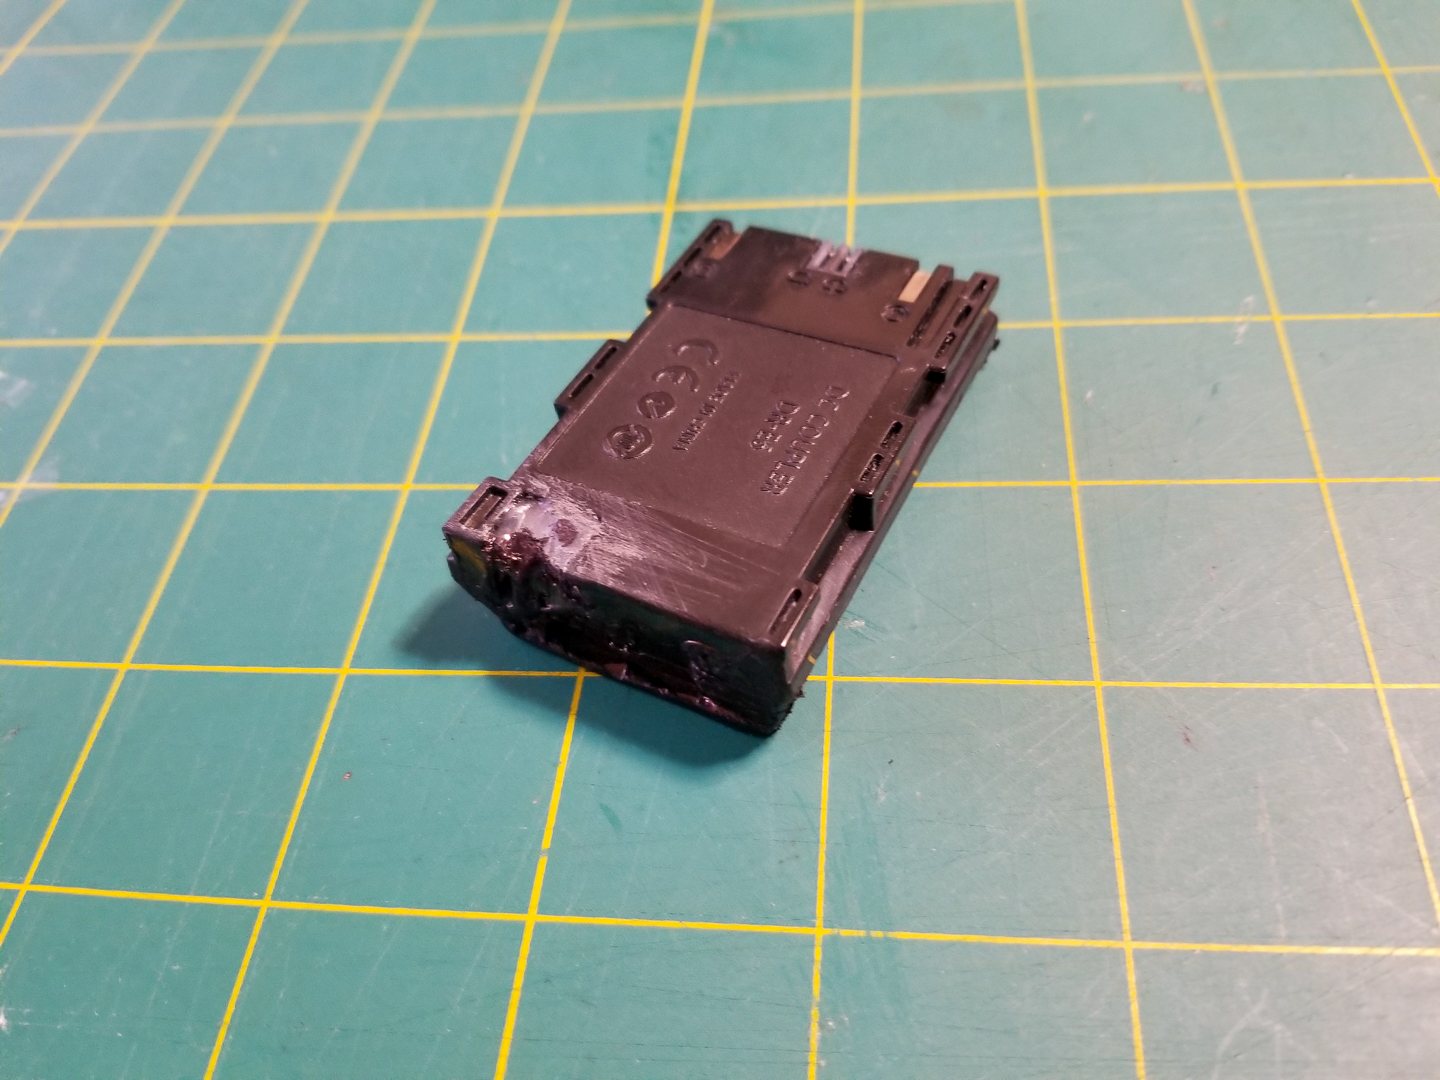
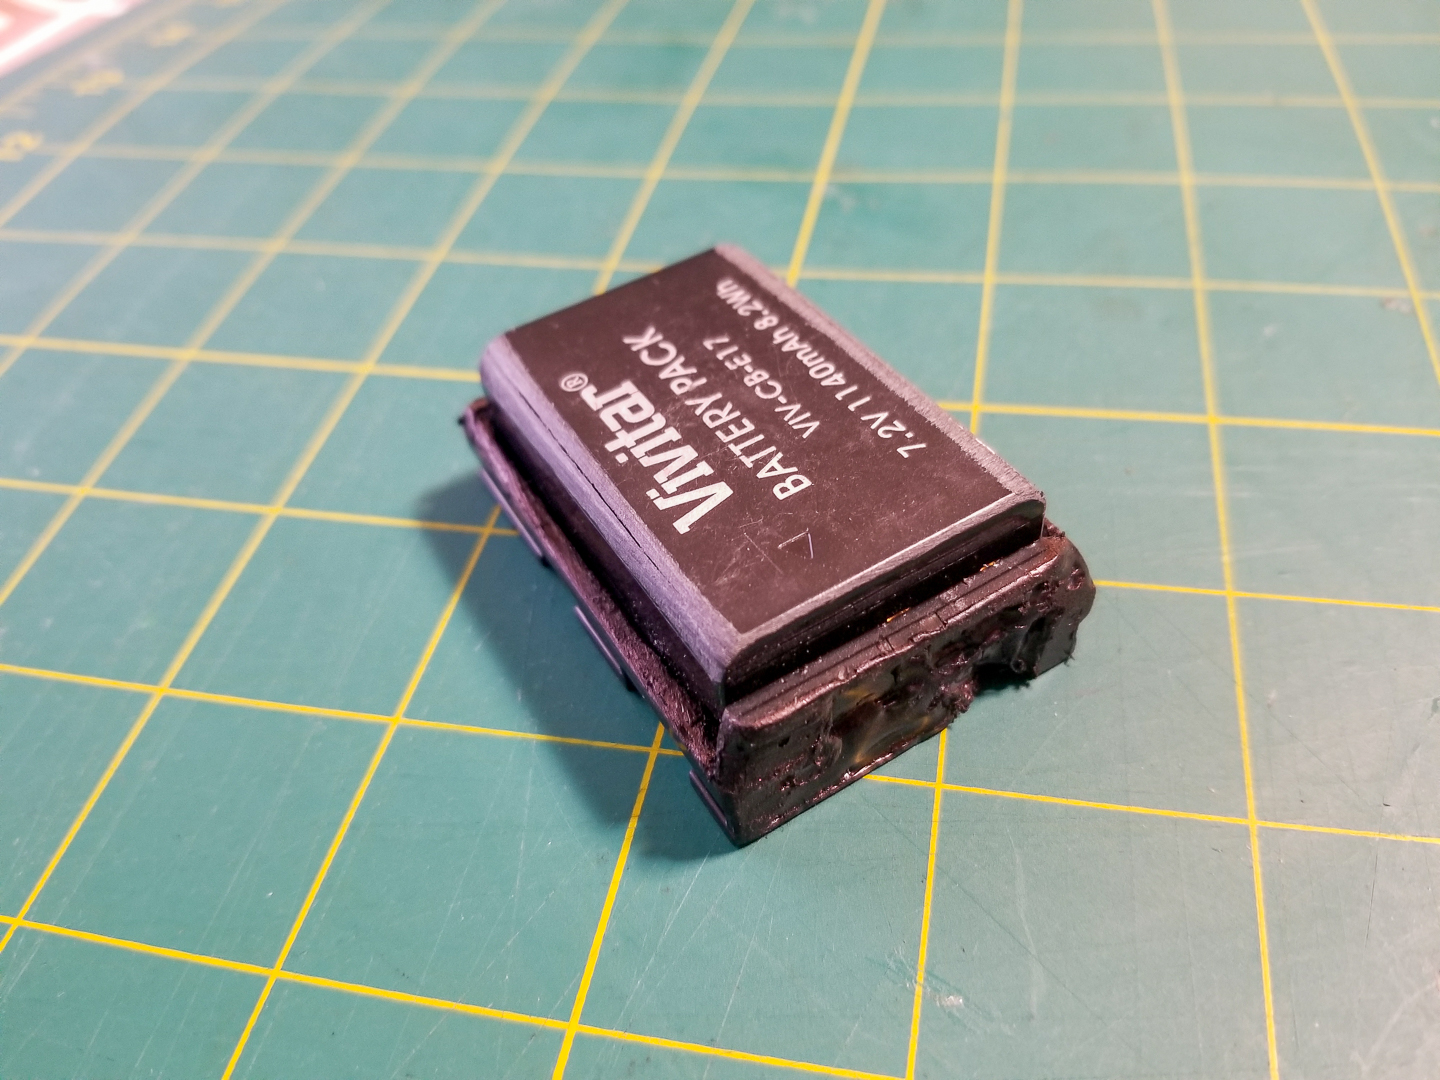

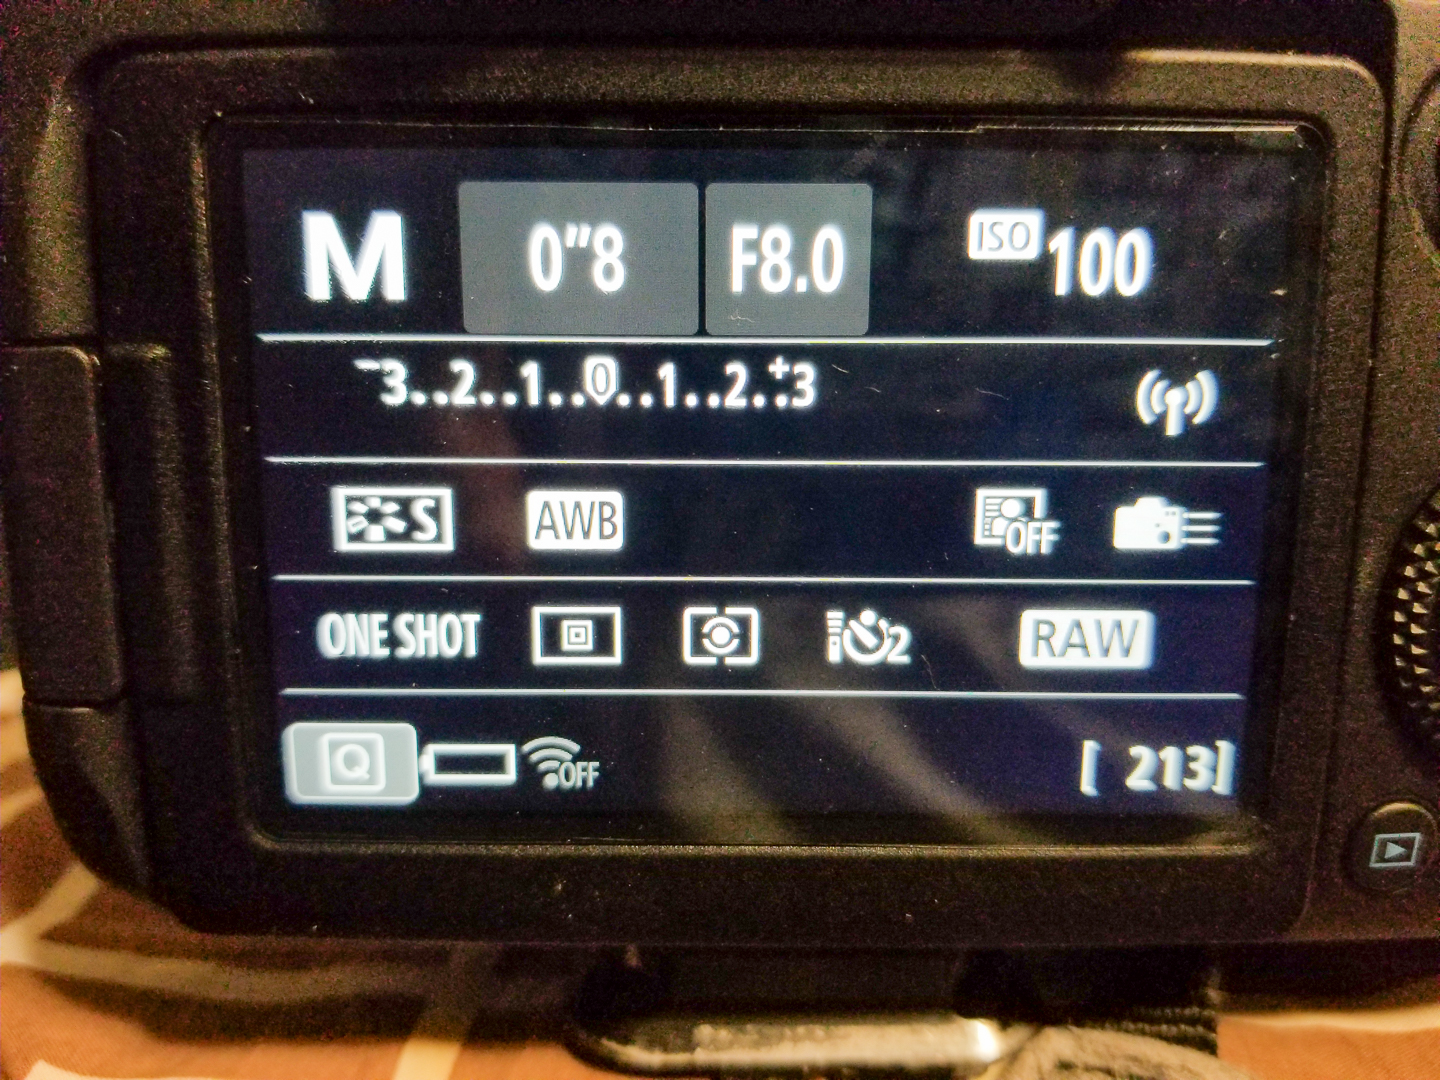
And alas, the completed task, the cradle has been made, more money was spent then saved, lessons were not learned and mistakes repeated yet again, but it works, it works…. And to me that’s all that matters, who knows, maybe this post can generate enough money for me to buy an actual battery, maybe this will inspire someone to 3d print a proper cradle…. And before you ask, no, I don’t have one to my great dismay. But even then, I wouldn’t know how to 3d cad it. I wish I had jumped on the 3d printer bandwagon early on, but the technology early on was abysmal, horrible resolution, but things have gotten much better now, an di think it’s time to dive in. my name is edge, and I hope you enjoyed my little project. Shameless plug please check out my stuff at www.edgewares.net, all the designs are mine, and if you need a freelance photographer, let me know!