***Hola amigos de Hive❤️***
_Les doy la bienvenida a mi blog y feliz día a todos!_
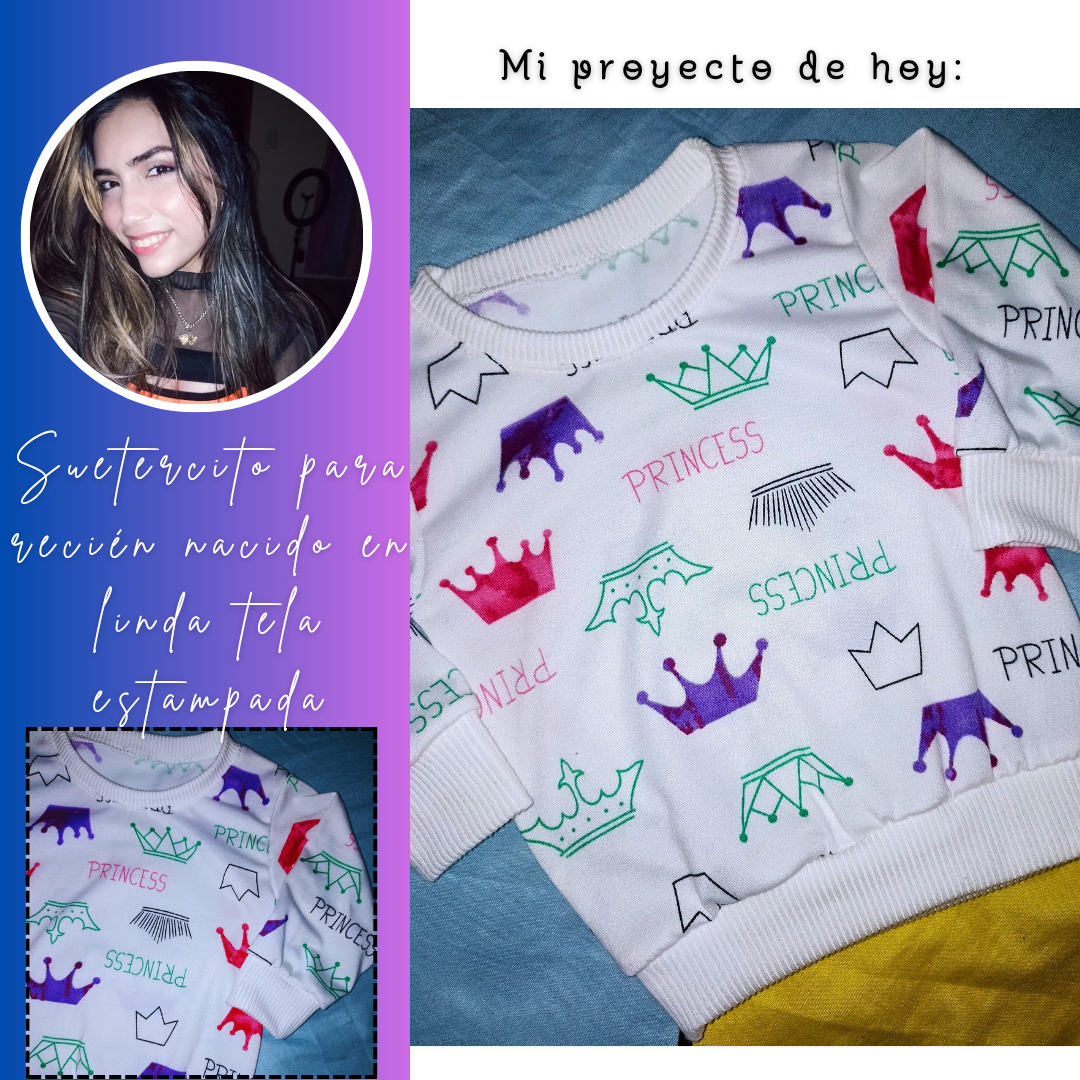
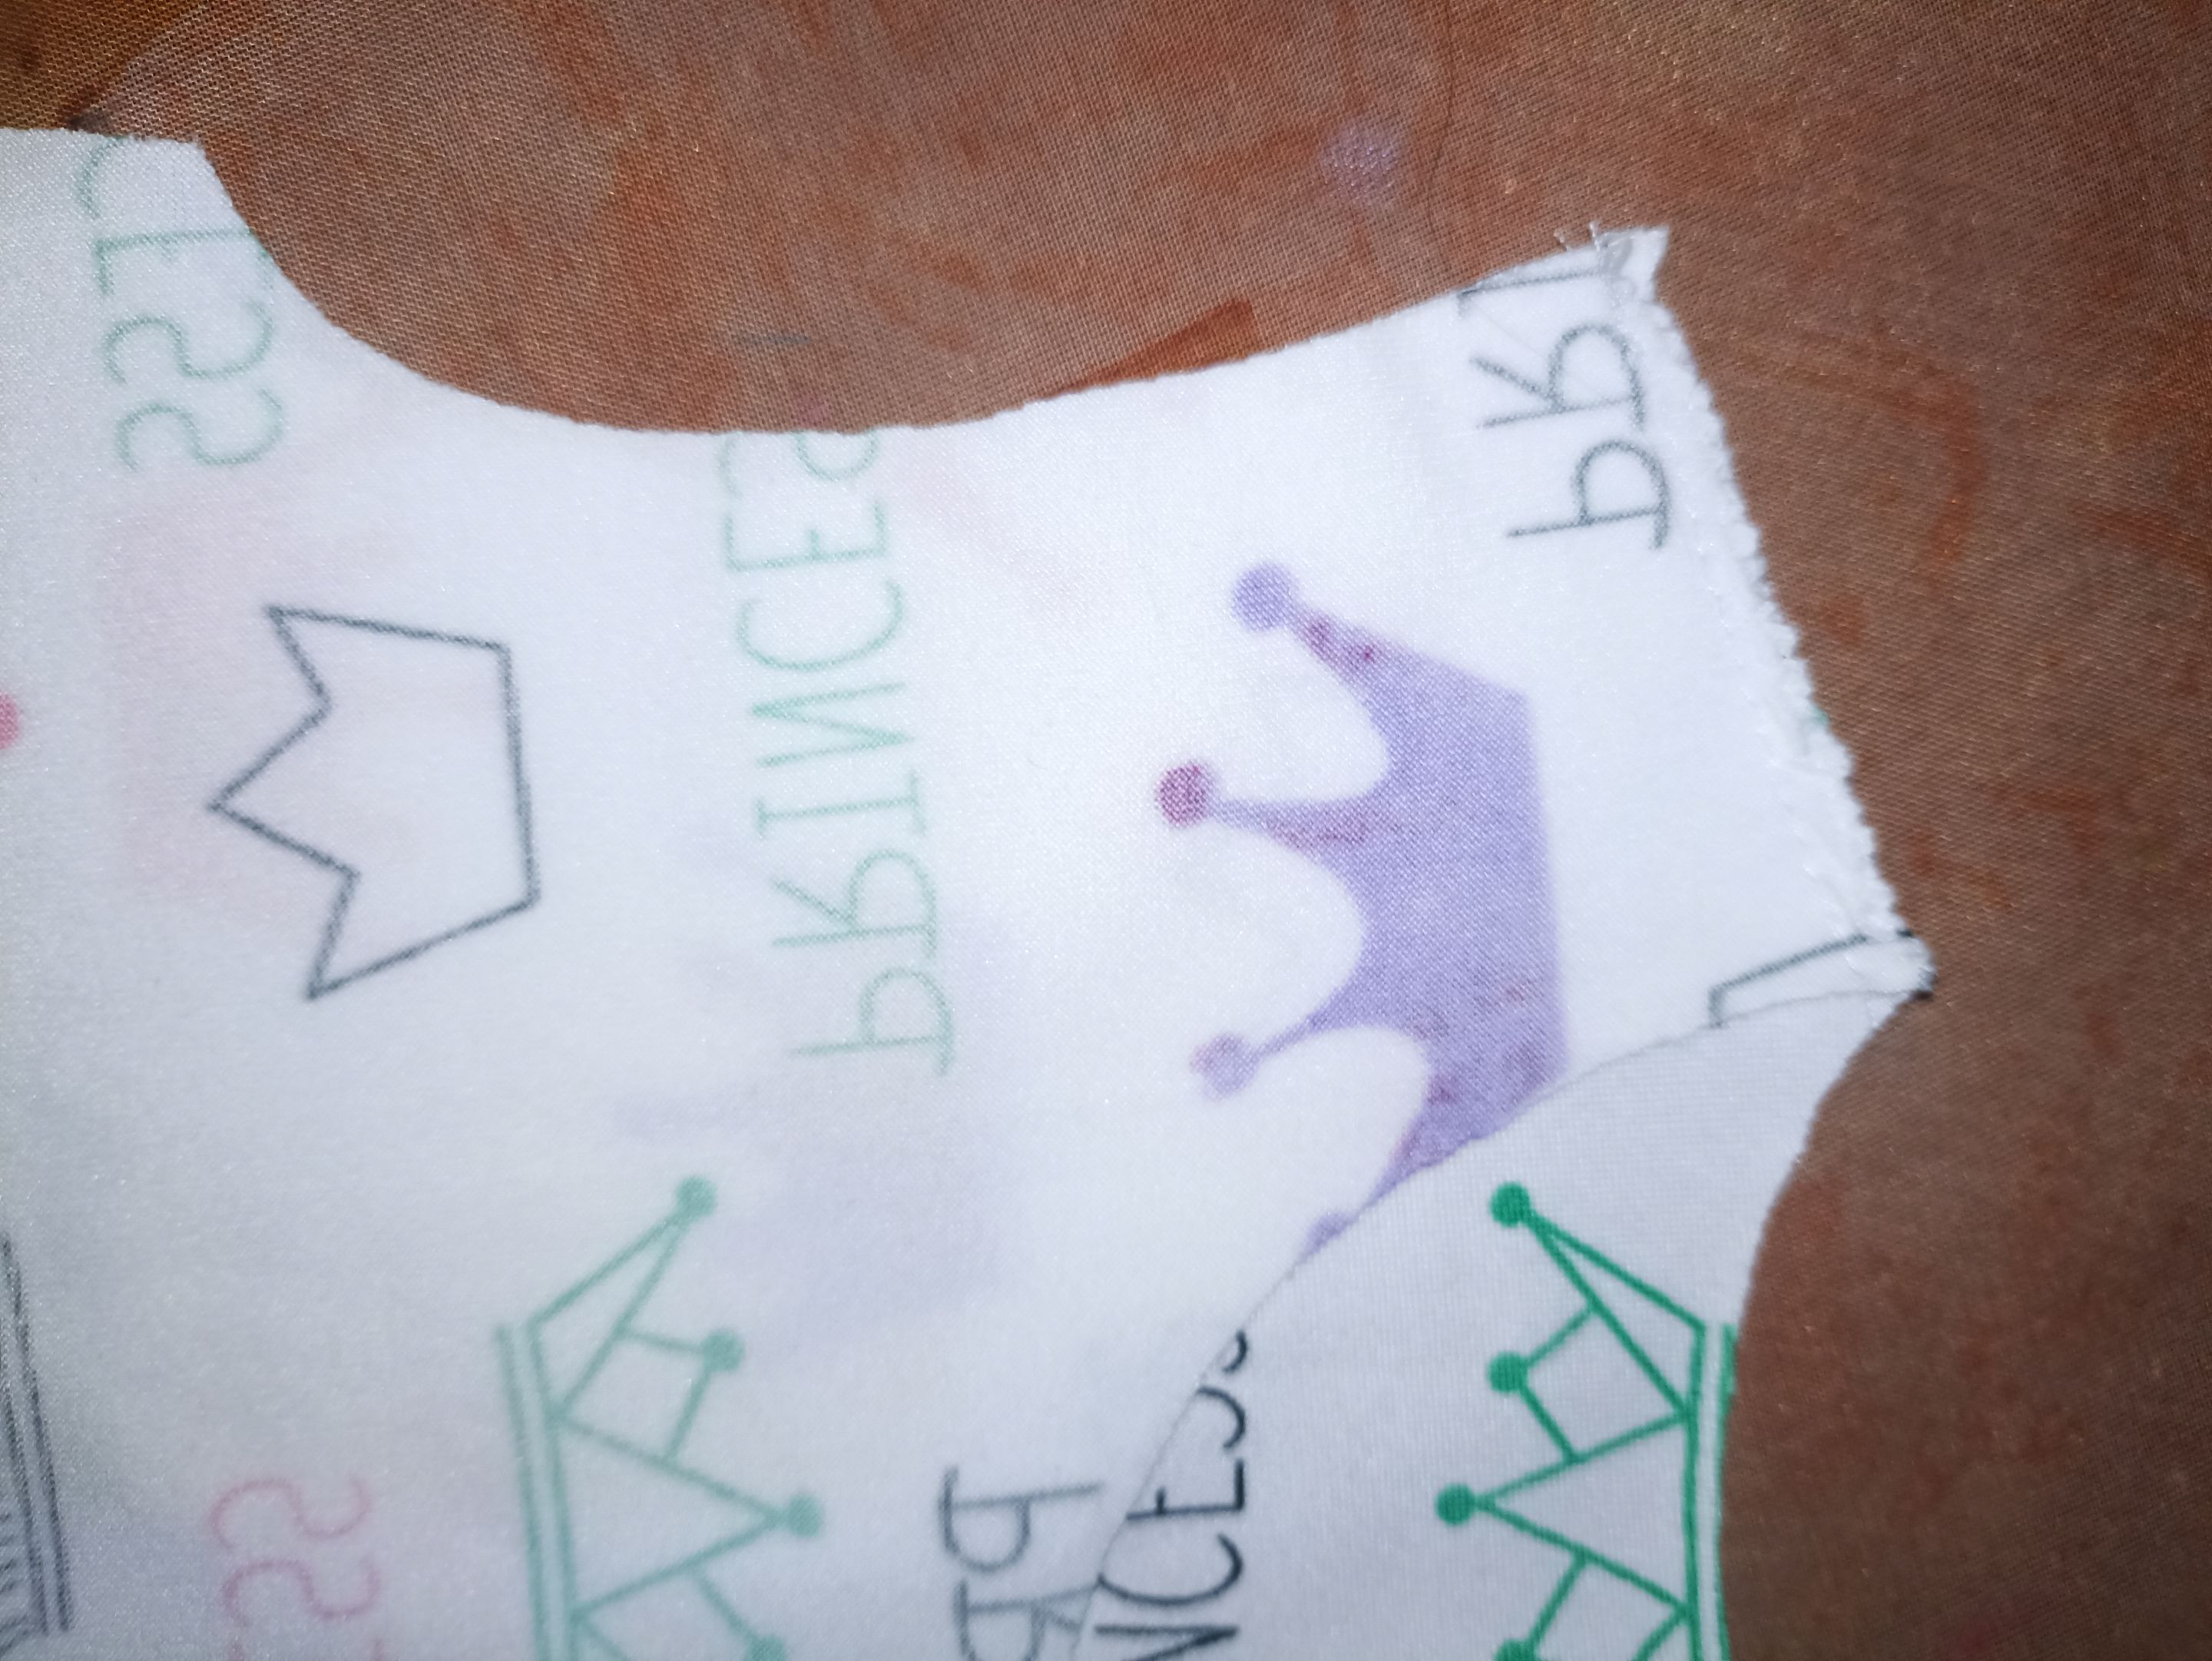
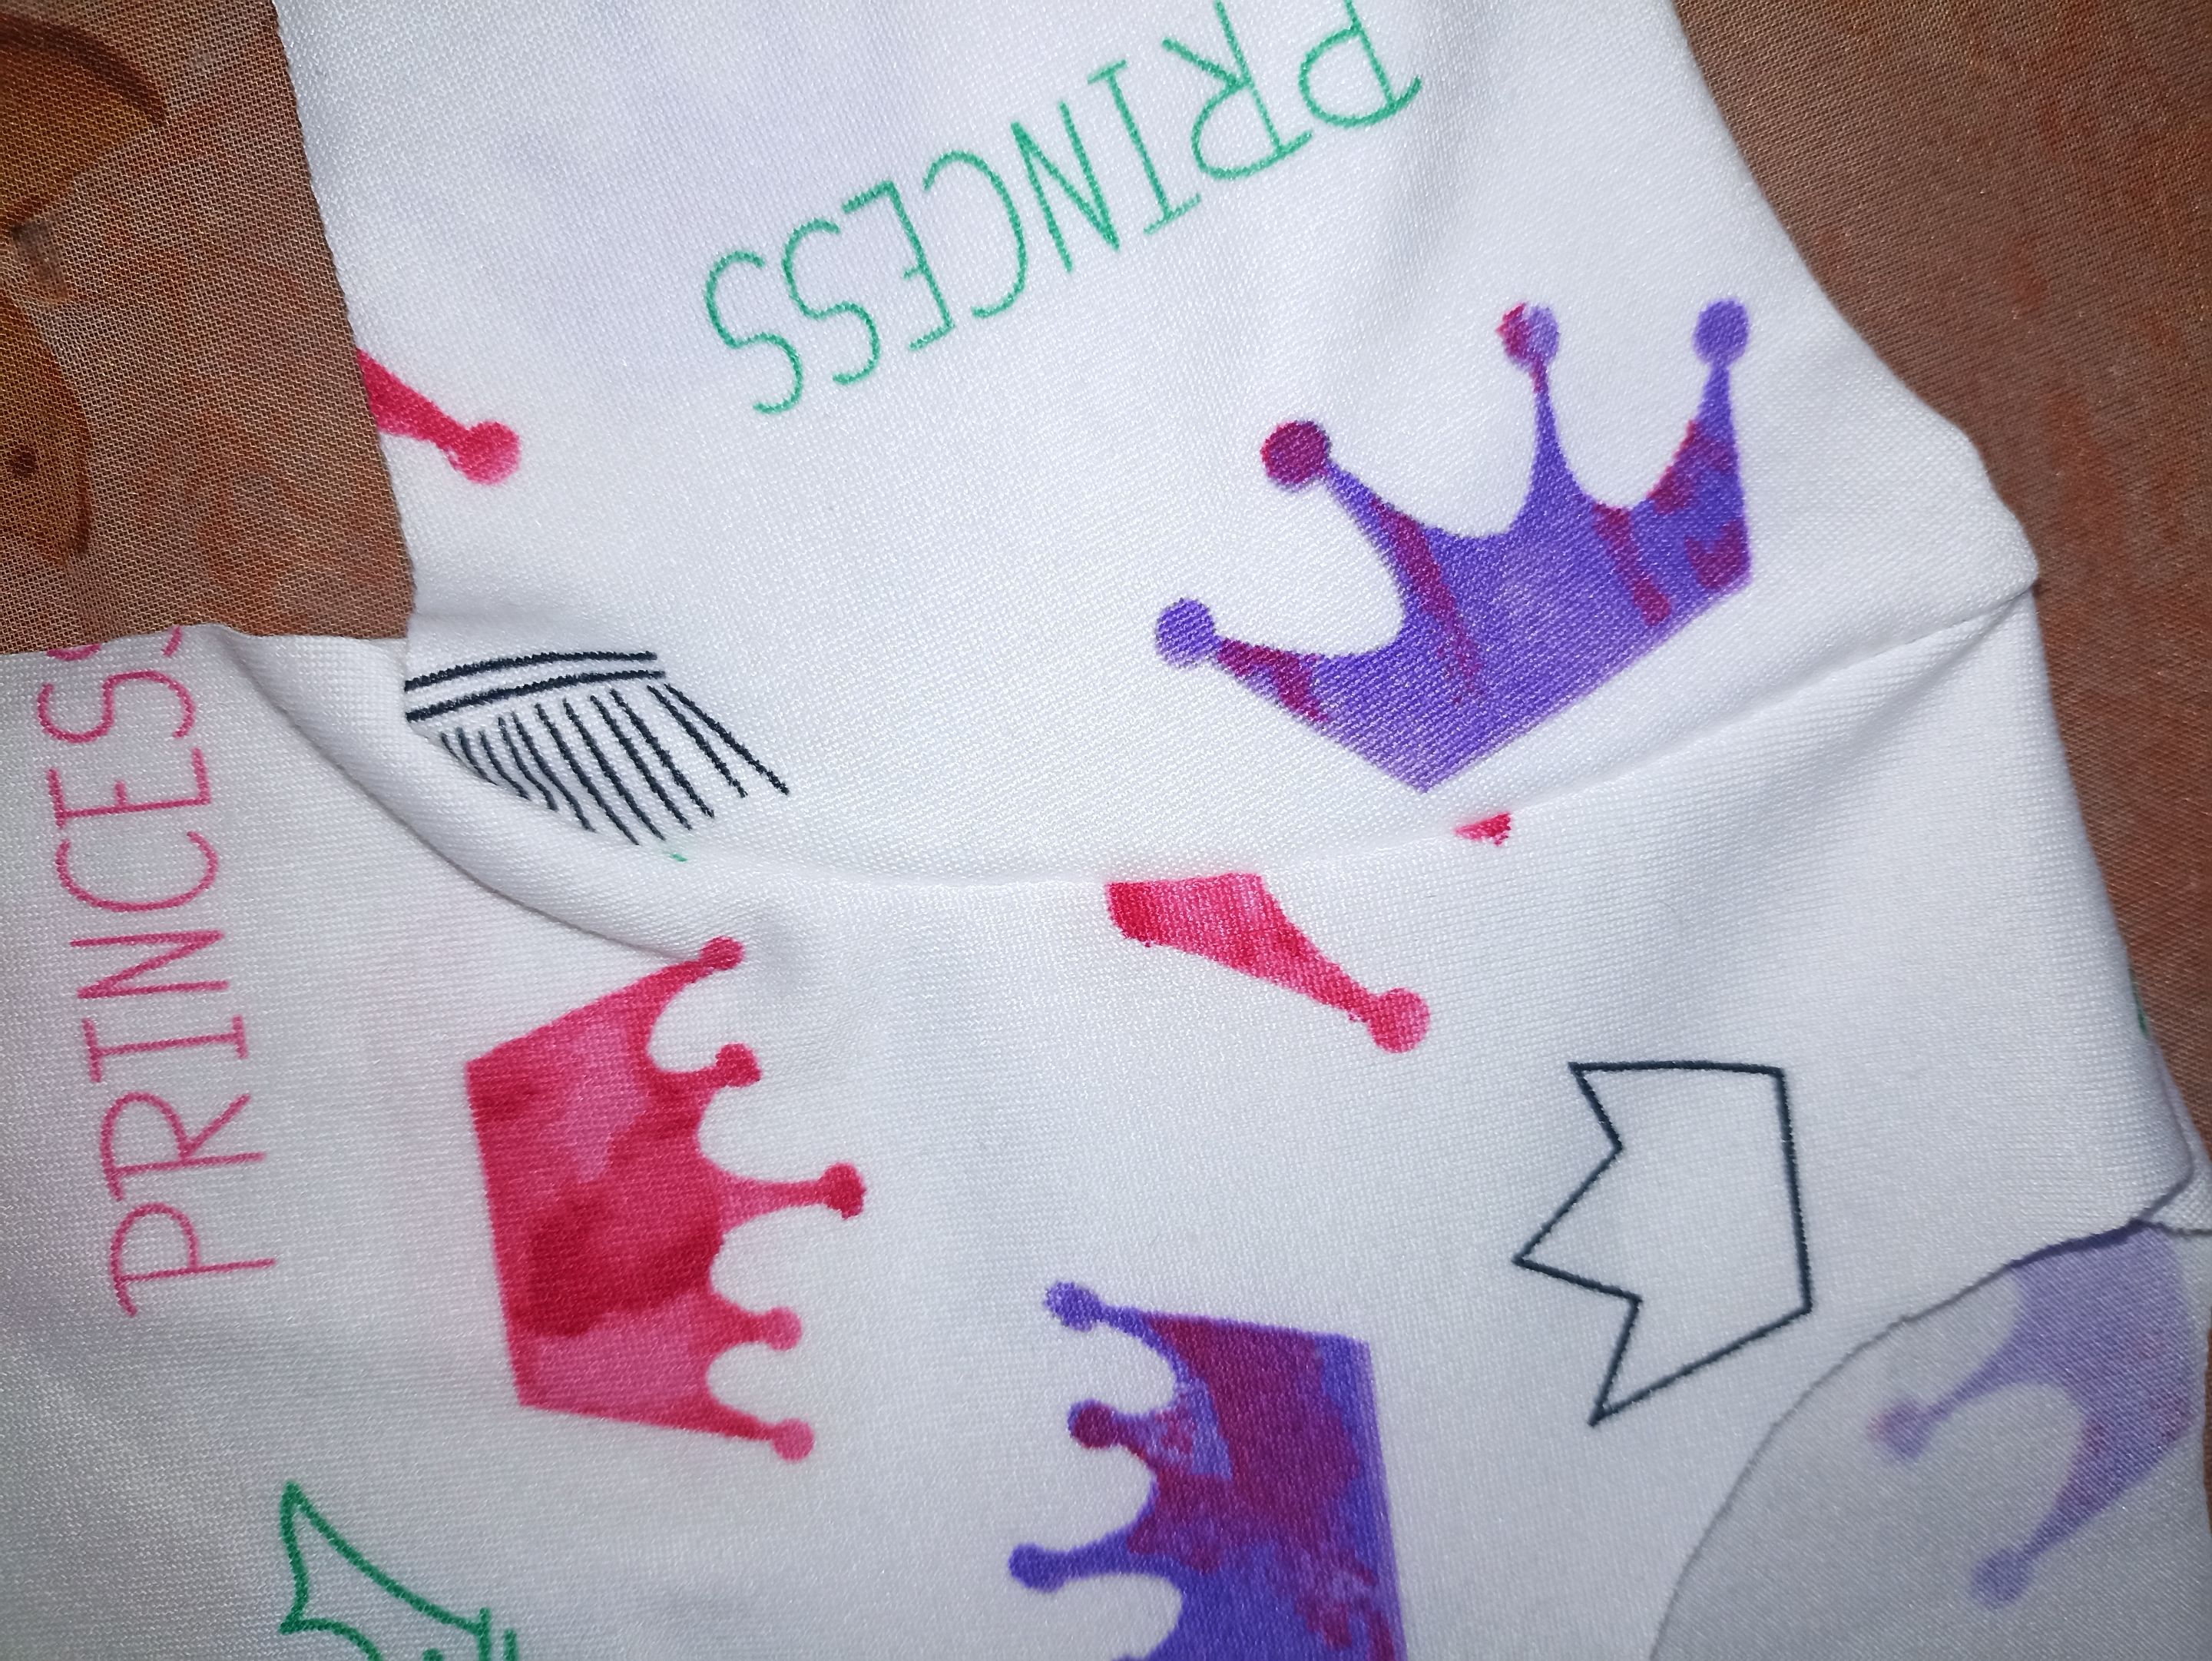
Hoy les quiero compartir un tutorial para realizar un lindo suéter para recién nacido en tela de algodón, es muy sencillo y bastante rápido de hacer, sobre todo por el tamaño que no requiere muchos materiales, con poquita tela ya podemos realizar o fabricar lindos proyectos como este, combinando colores, estampados y tipos de tela con el rin, una tela acanadala que queda muy lindo en el cuello, puños de las mangas y pretina. Así que eso y poco más les estaré compartiendo y espero se animen a realizar sus propias confecciones para los más pequeños de la casa.
> ***Hello friends of Hive❤️***
>I welcome you to my blog and happy day to all!
>Today I want to share a tutorial on how to make a cute cotton sweater for newborns. It's very simple and quick to make, especially because of its size, which doesn't require a lot of materials. With just a little fabric, we can make cute projects like this one, combining colors, patterns, and types of fabric with ribbing, a ribbed fabric that looks very cute on the collar, cuffs, and waistband. So, I'll be sharing that and a little more with you, and I hope you'll be inspired to make your own creations for the little ones in your home.

### 🩷_Materiales • Materials_🩷
- 60 cm de tela de algodón
- 15 cm tela de Rib (acanalada)
- Hilo blanco
- Tijeras
- Patrones de ropita para RN
>- 60 cm of cotton fabric
>- 15 cm of ribbed fabric
>- White thread
>- Scissors
>- Patterns for newborn clothes
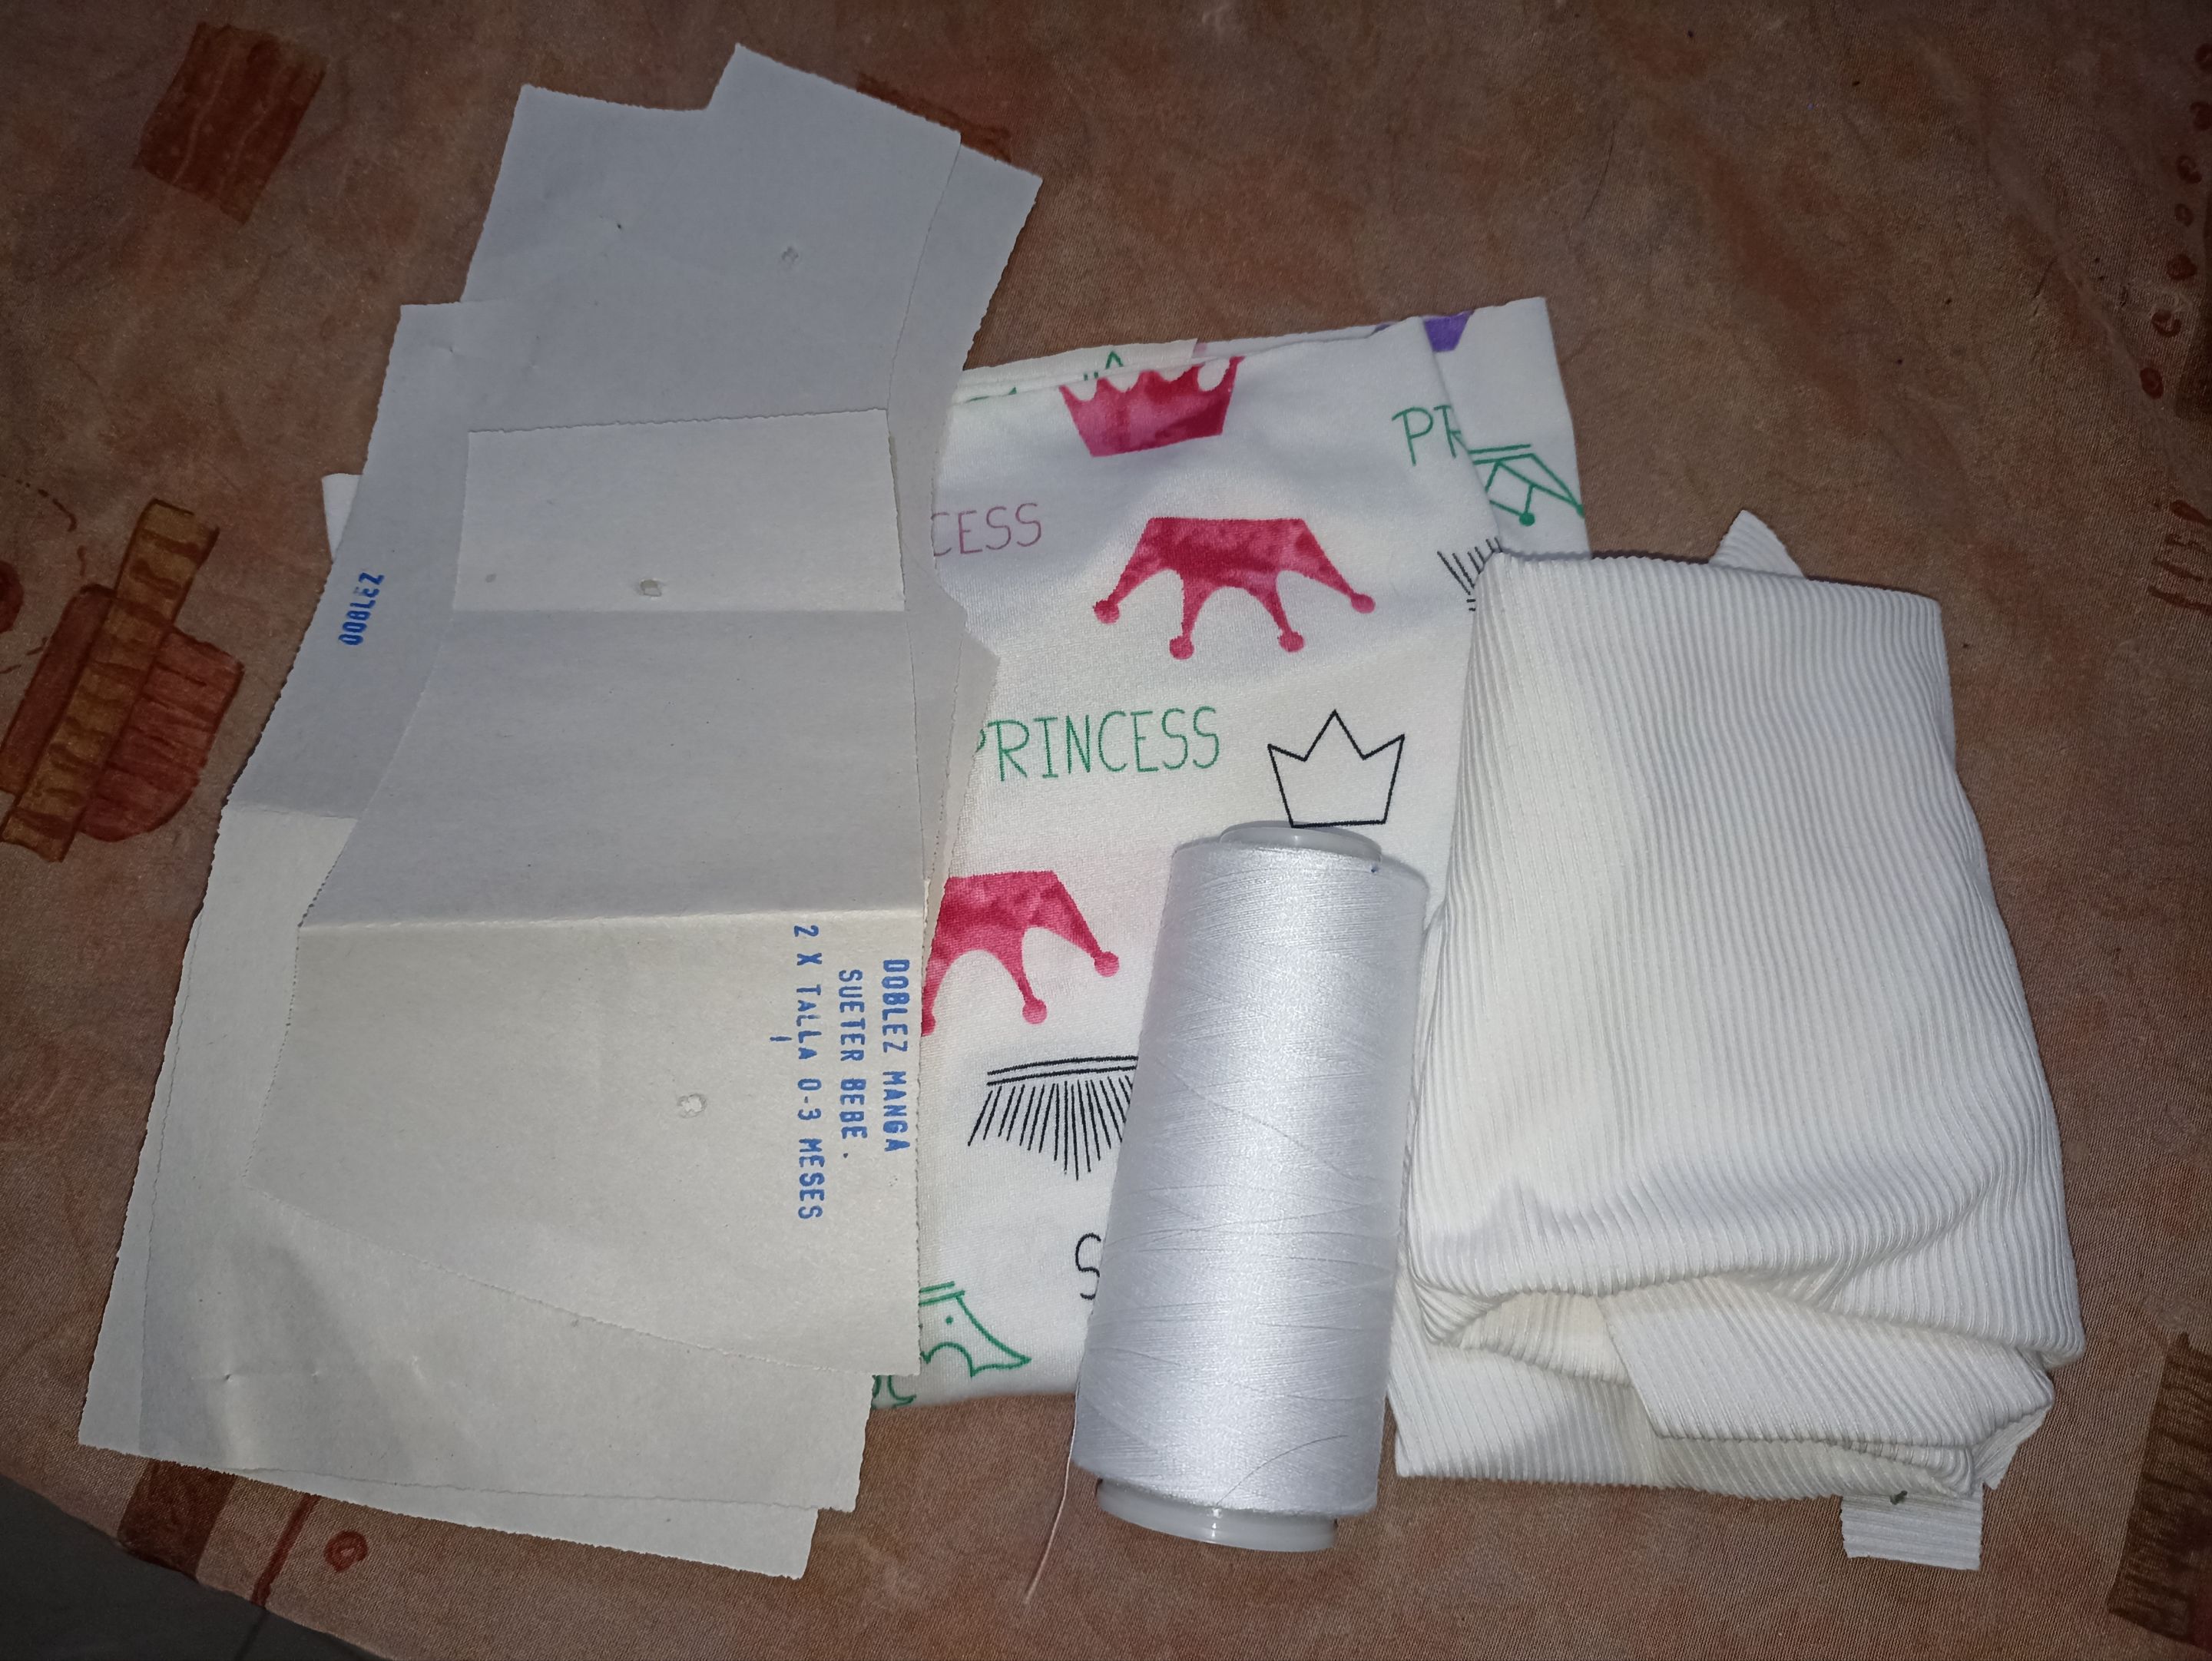


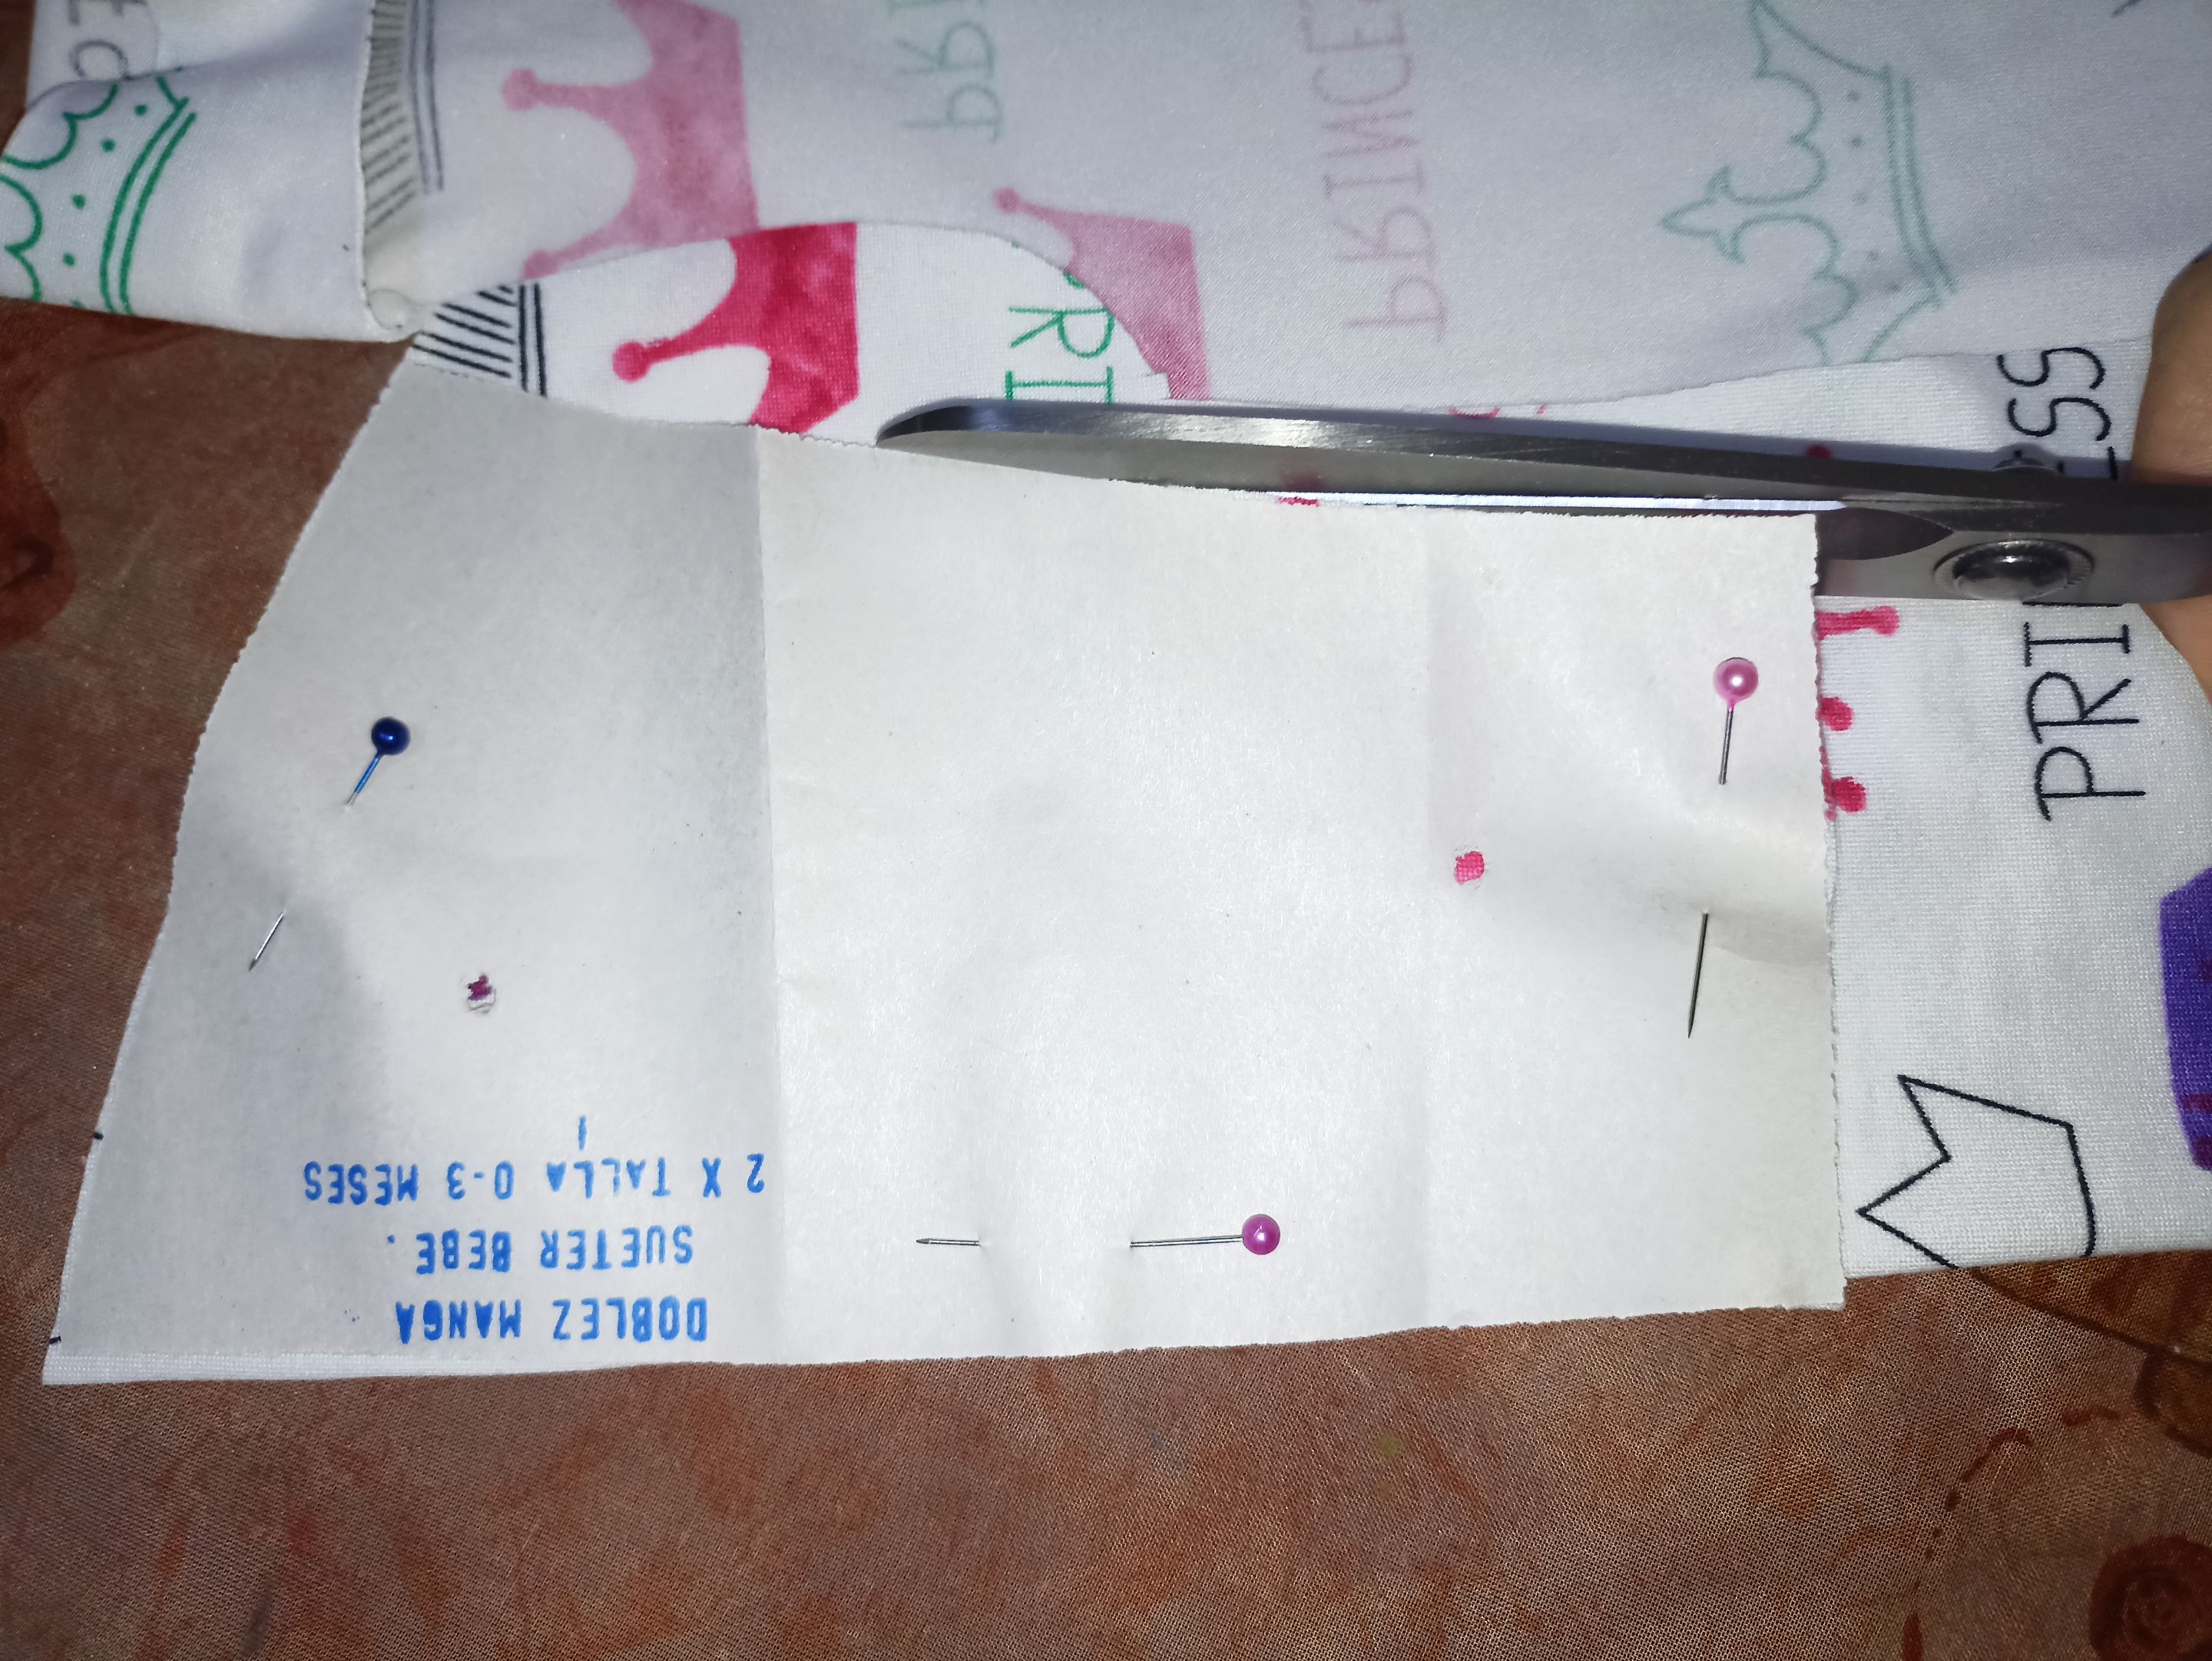
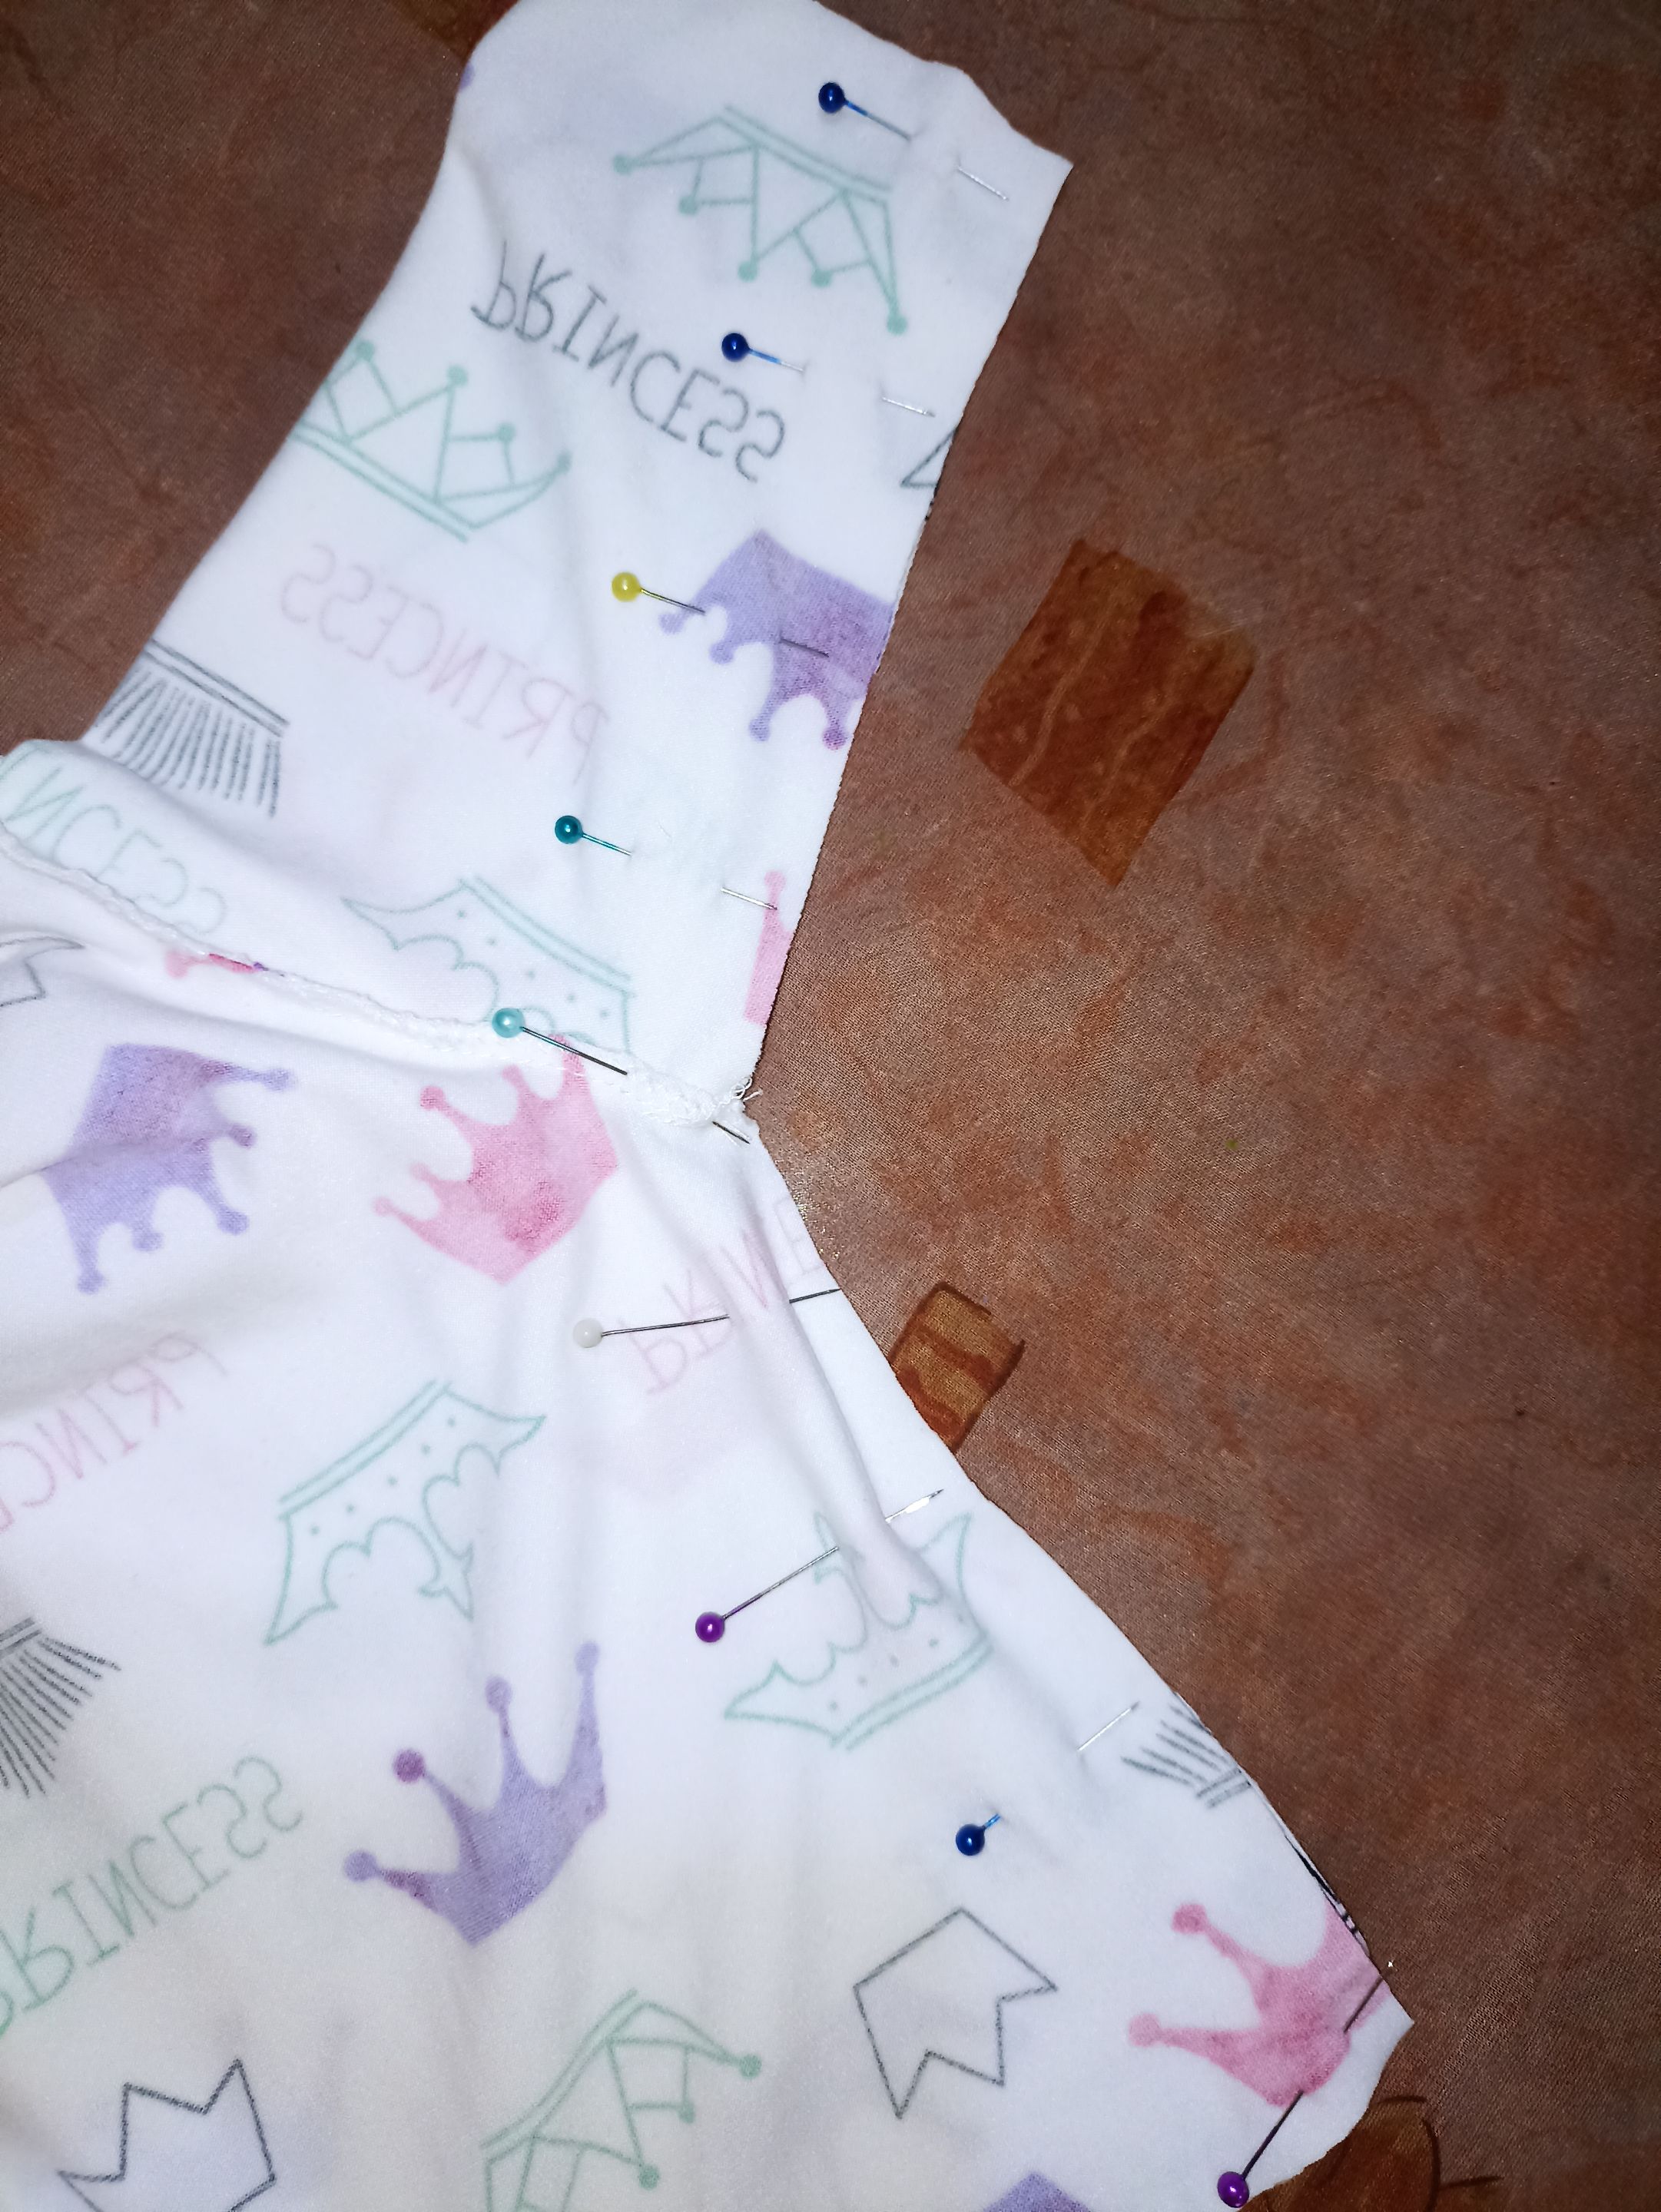
Lo primero que hice fue cortar las piezas de tela con el patrón que tengo específicamente para ropita de recién nacido, en este caso me decidí a realizar un suetercito ya que los bebés en esta etapa necesitan mantenerse abrigados y que mejor que realizar a nuestro gusto su ropita, combinando colores y estampados que más nos guste. Primero empecé cortando las mangas, el cuerpo en tela de algodón, y el cuello, puño y pretina con tela de Rib, como la tela estampada es de fondo blanco me incline en usar rib del mismo color.
>The first thing I did was cut the pieces of fabric using the pattern I have specifically for newborn clothes. In this case, I decided to make a little sweater, since babies at this stage need to stay warm, and what could be better than making their clothes to our liking, combining the colors and patterns we like best? I started by cutting the sleeves and the body out of cotton fabric, and the collar, cuffs, and waistband out of ribbing. Since the patterned fabric has a white background, I chose to use ribbing in the same color.
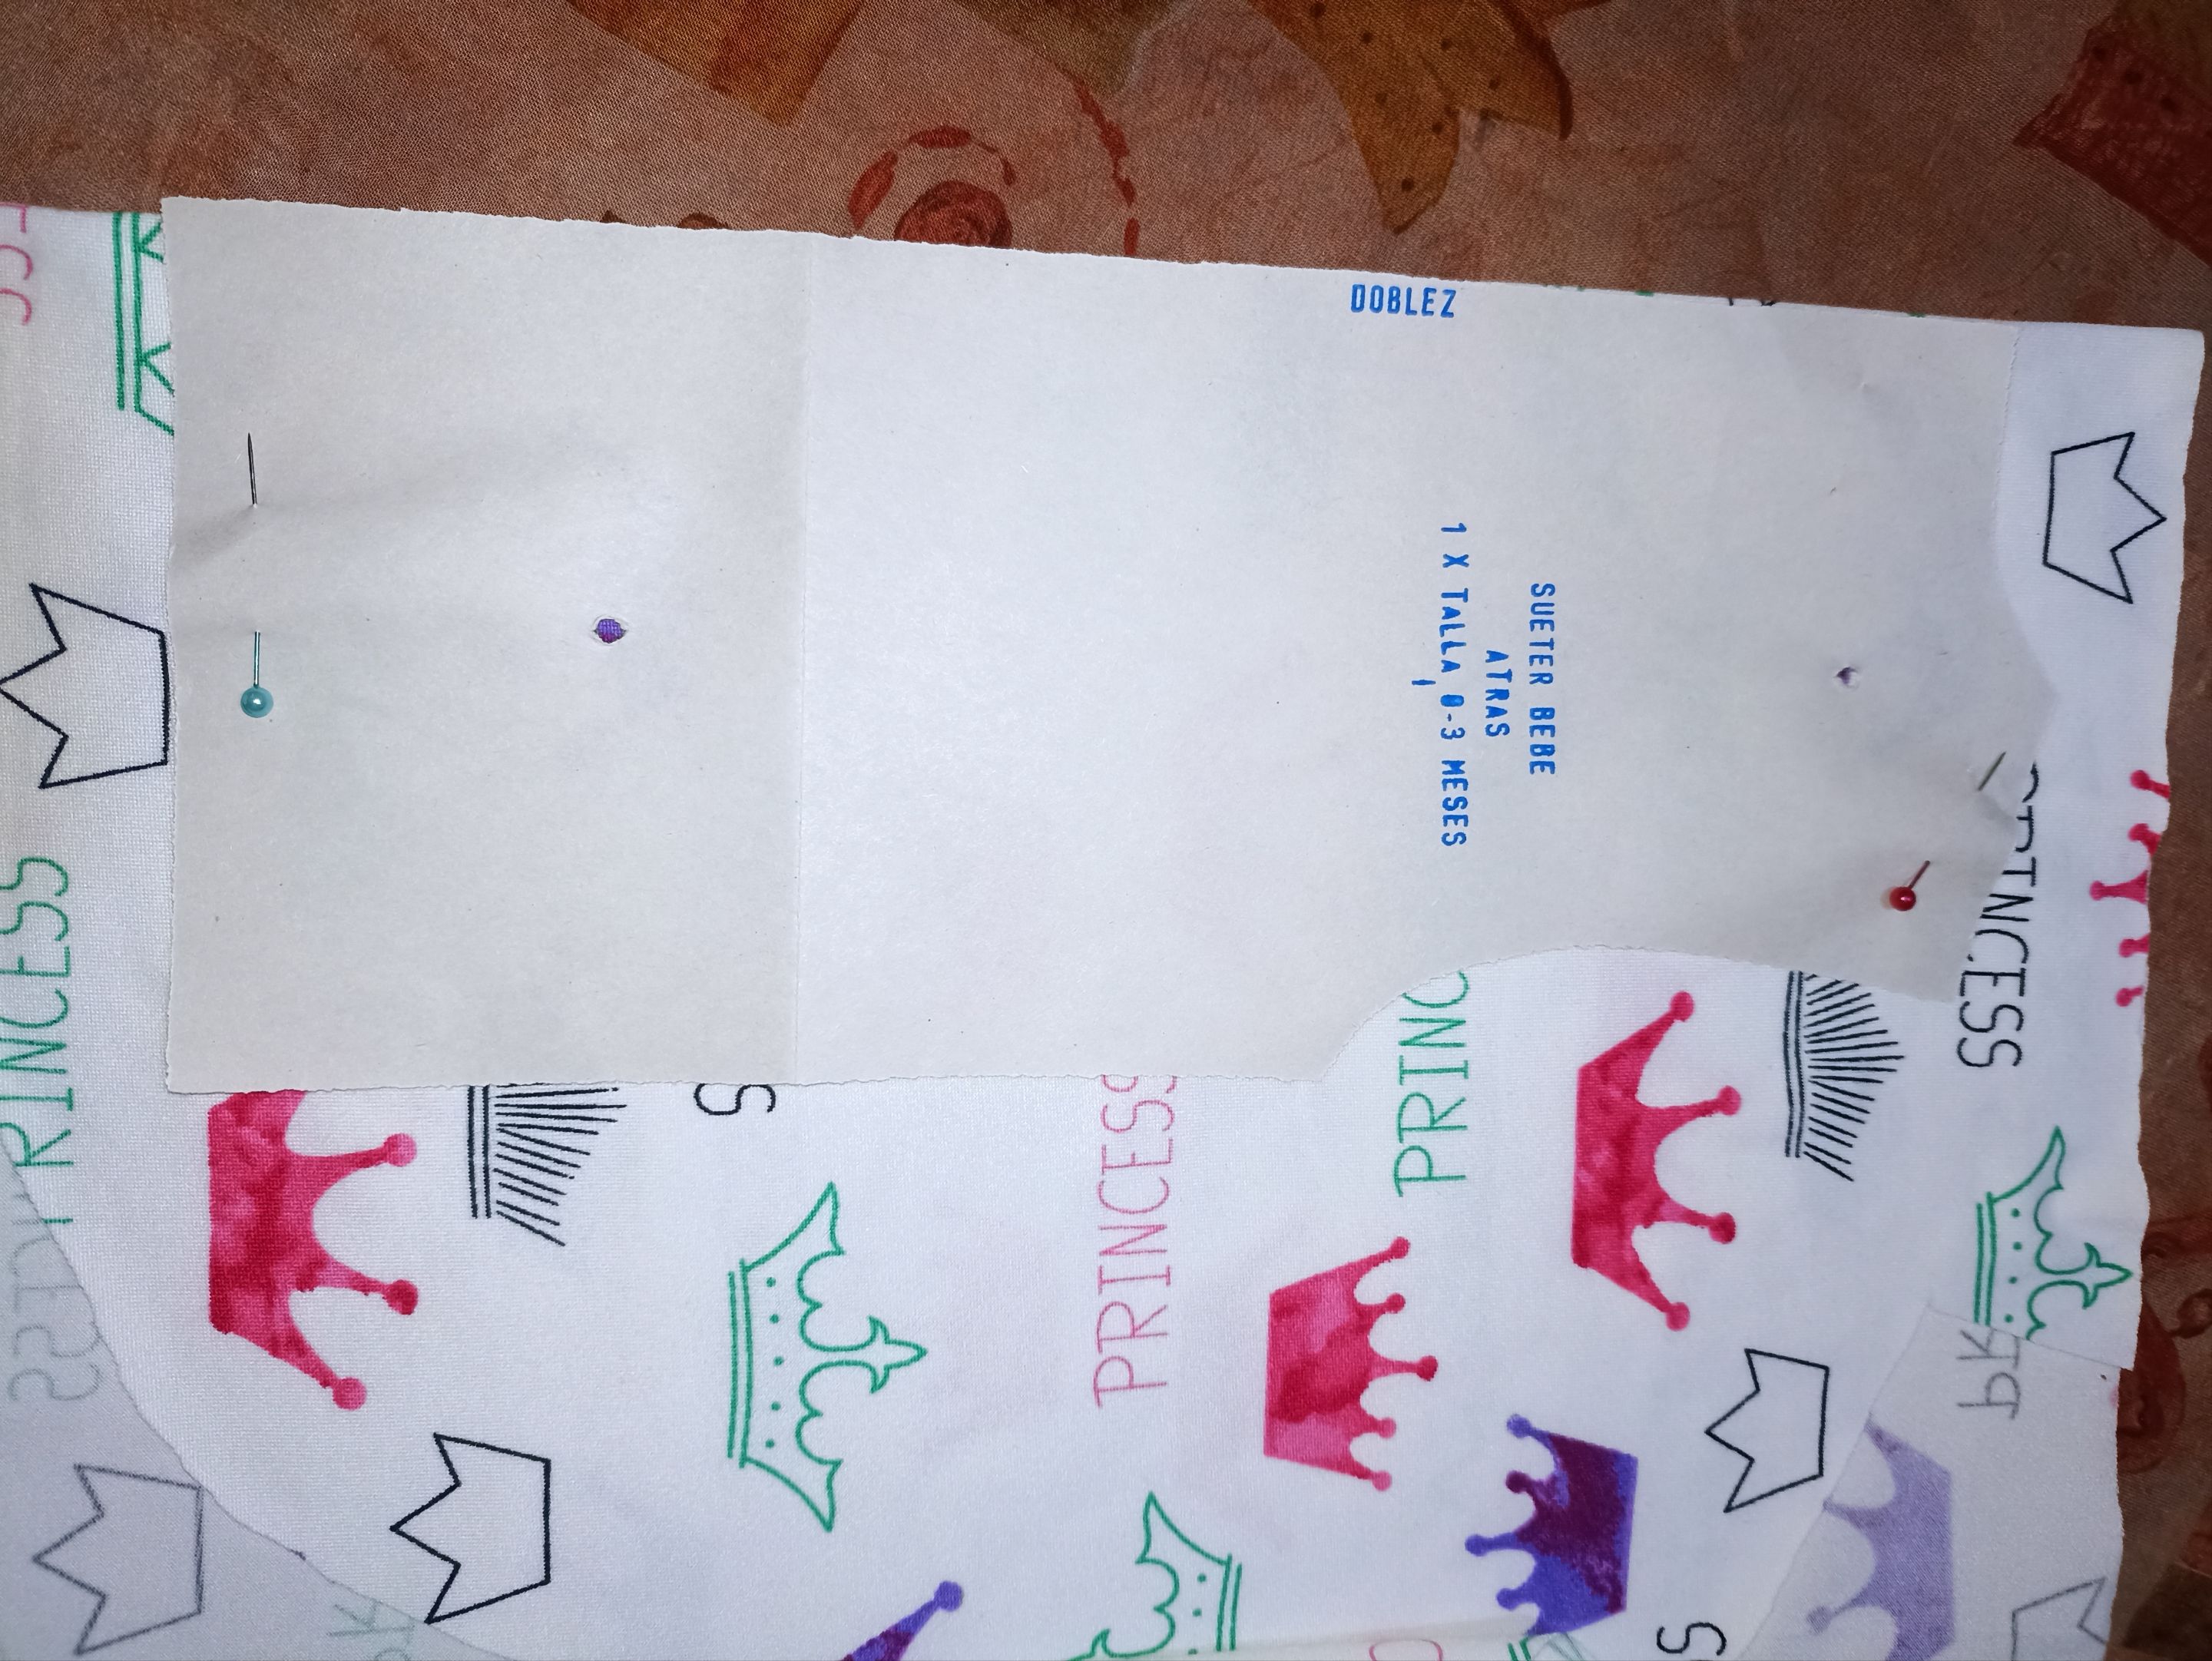

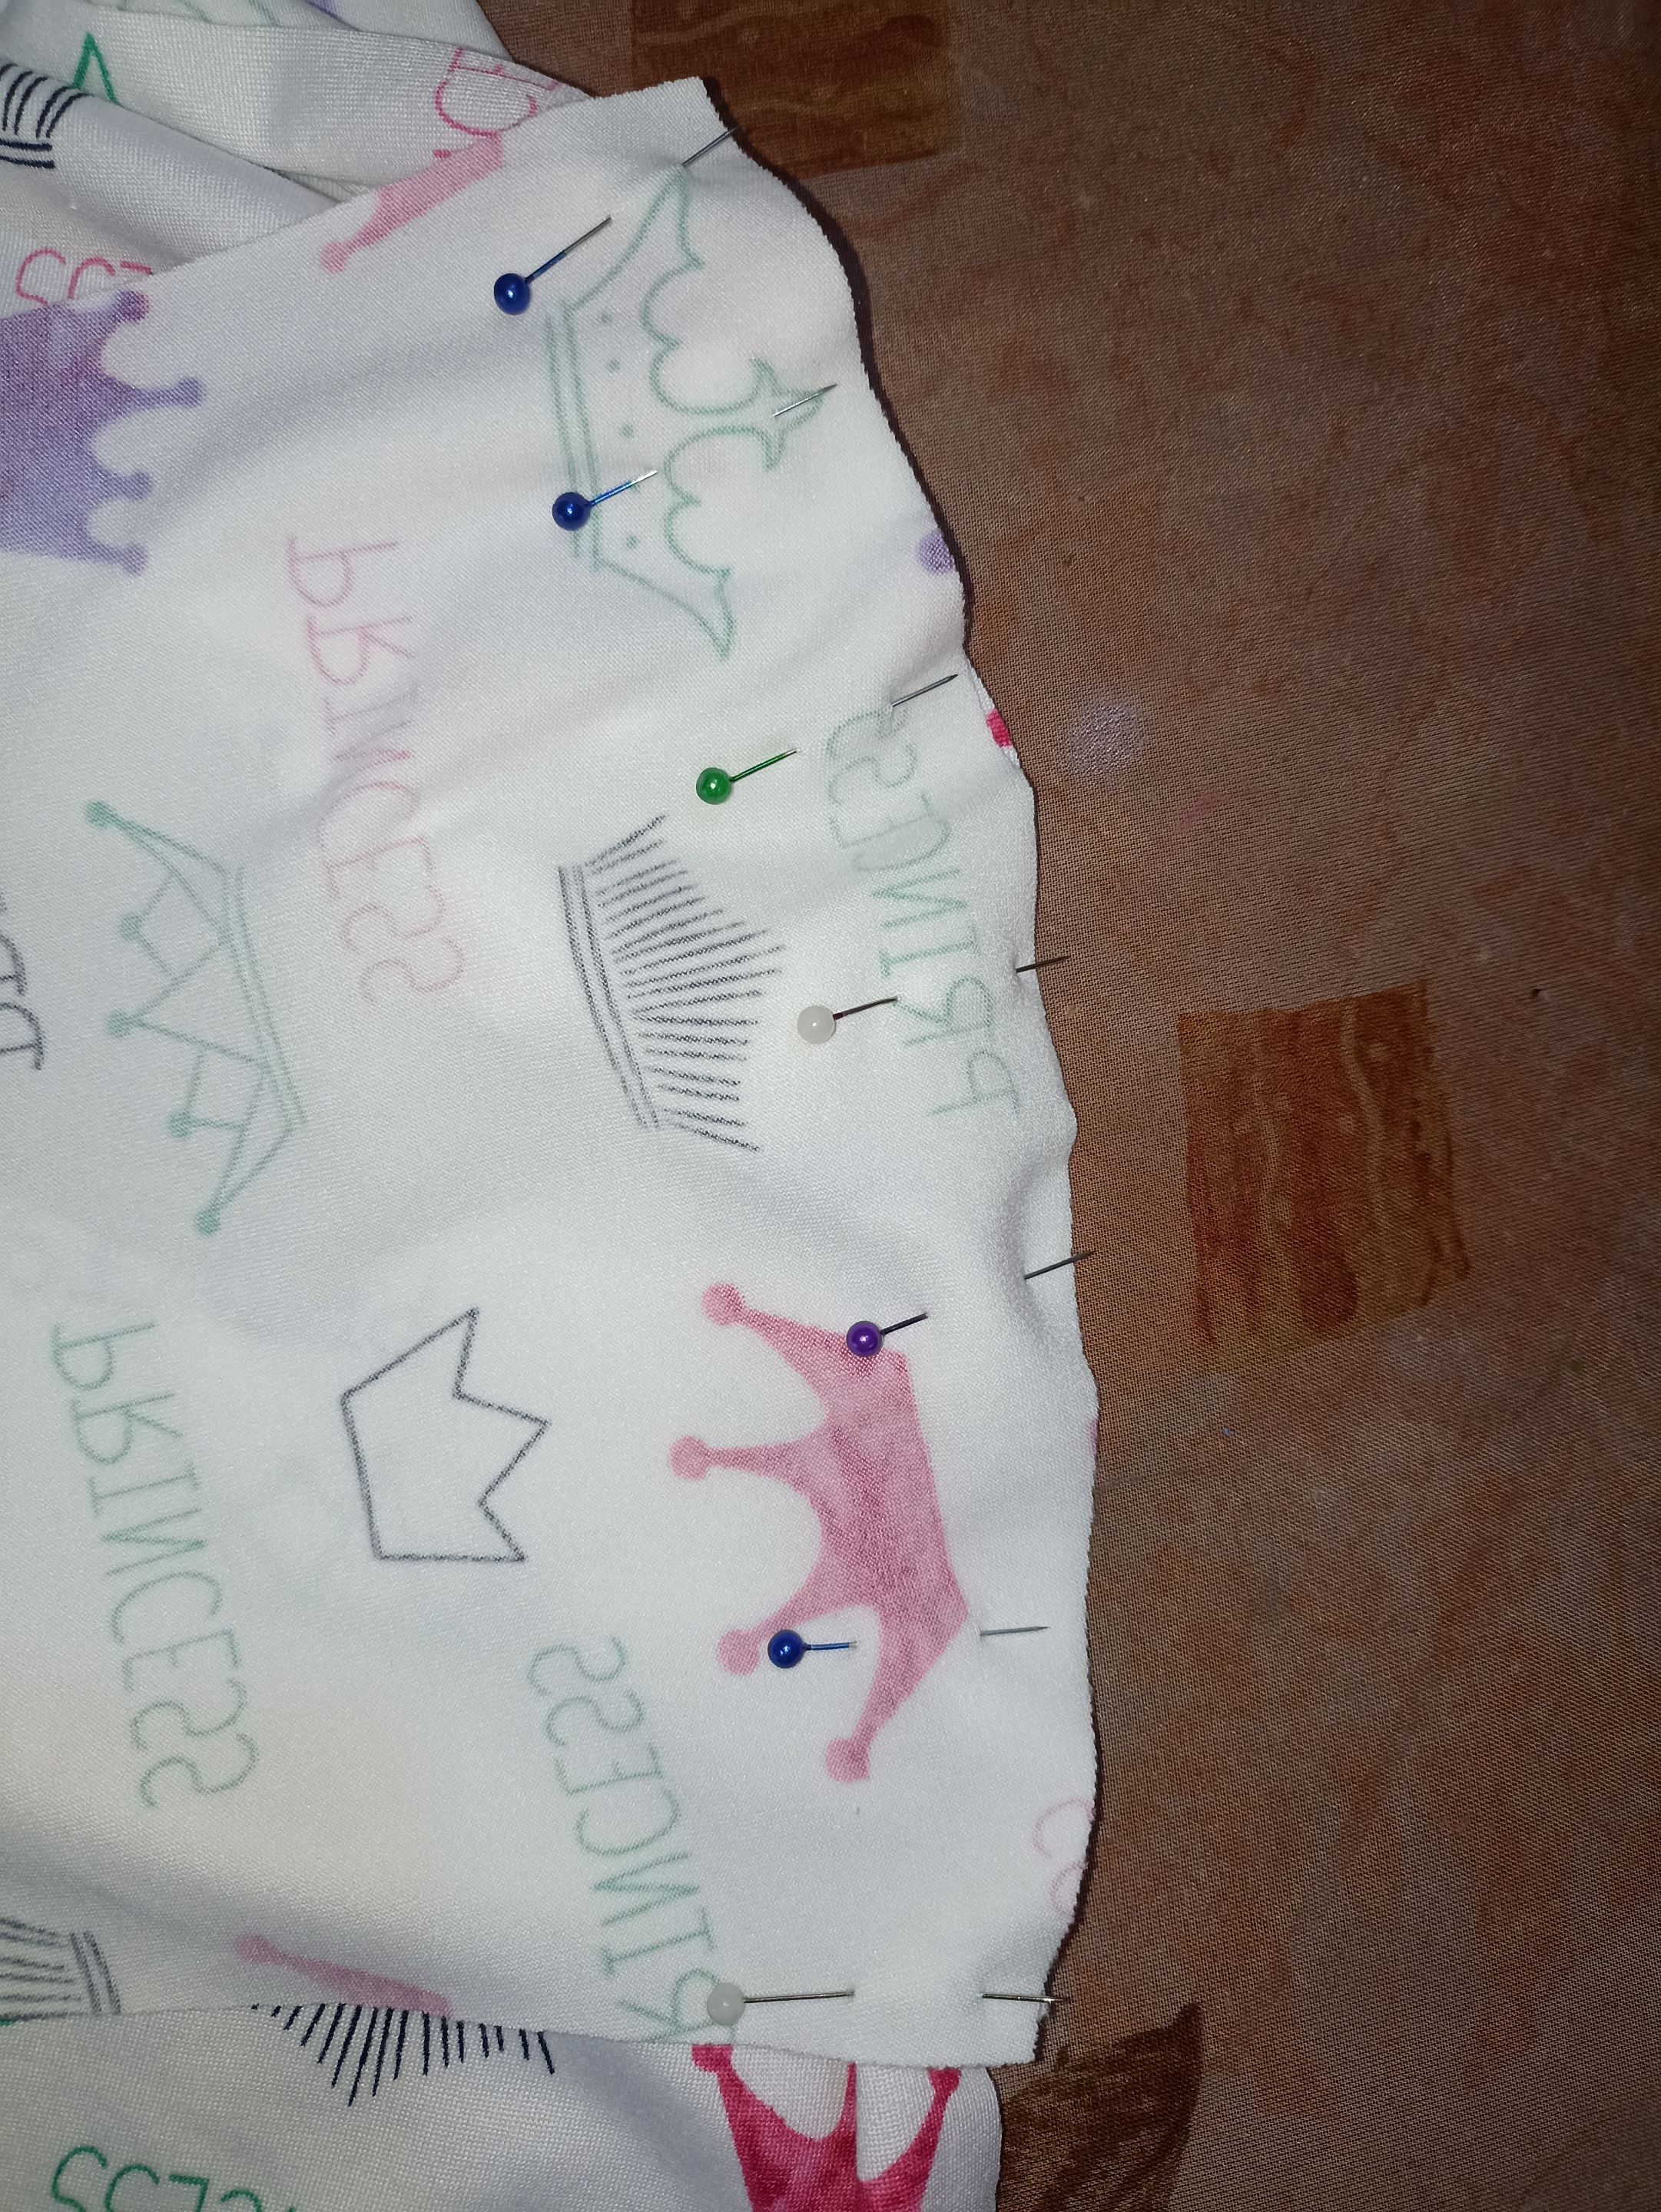
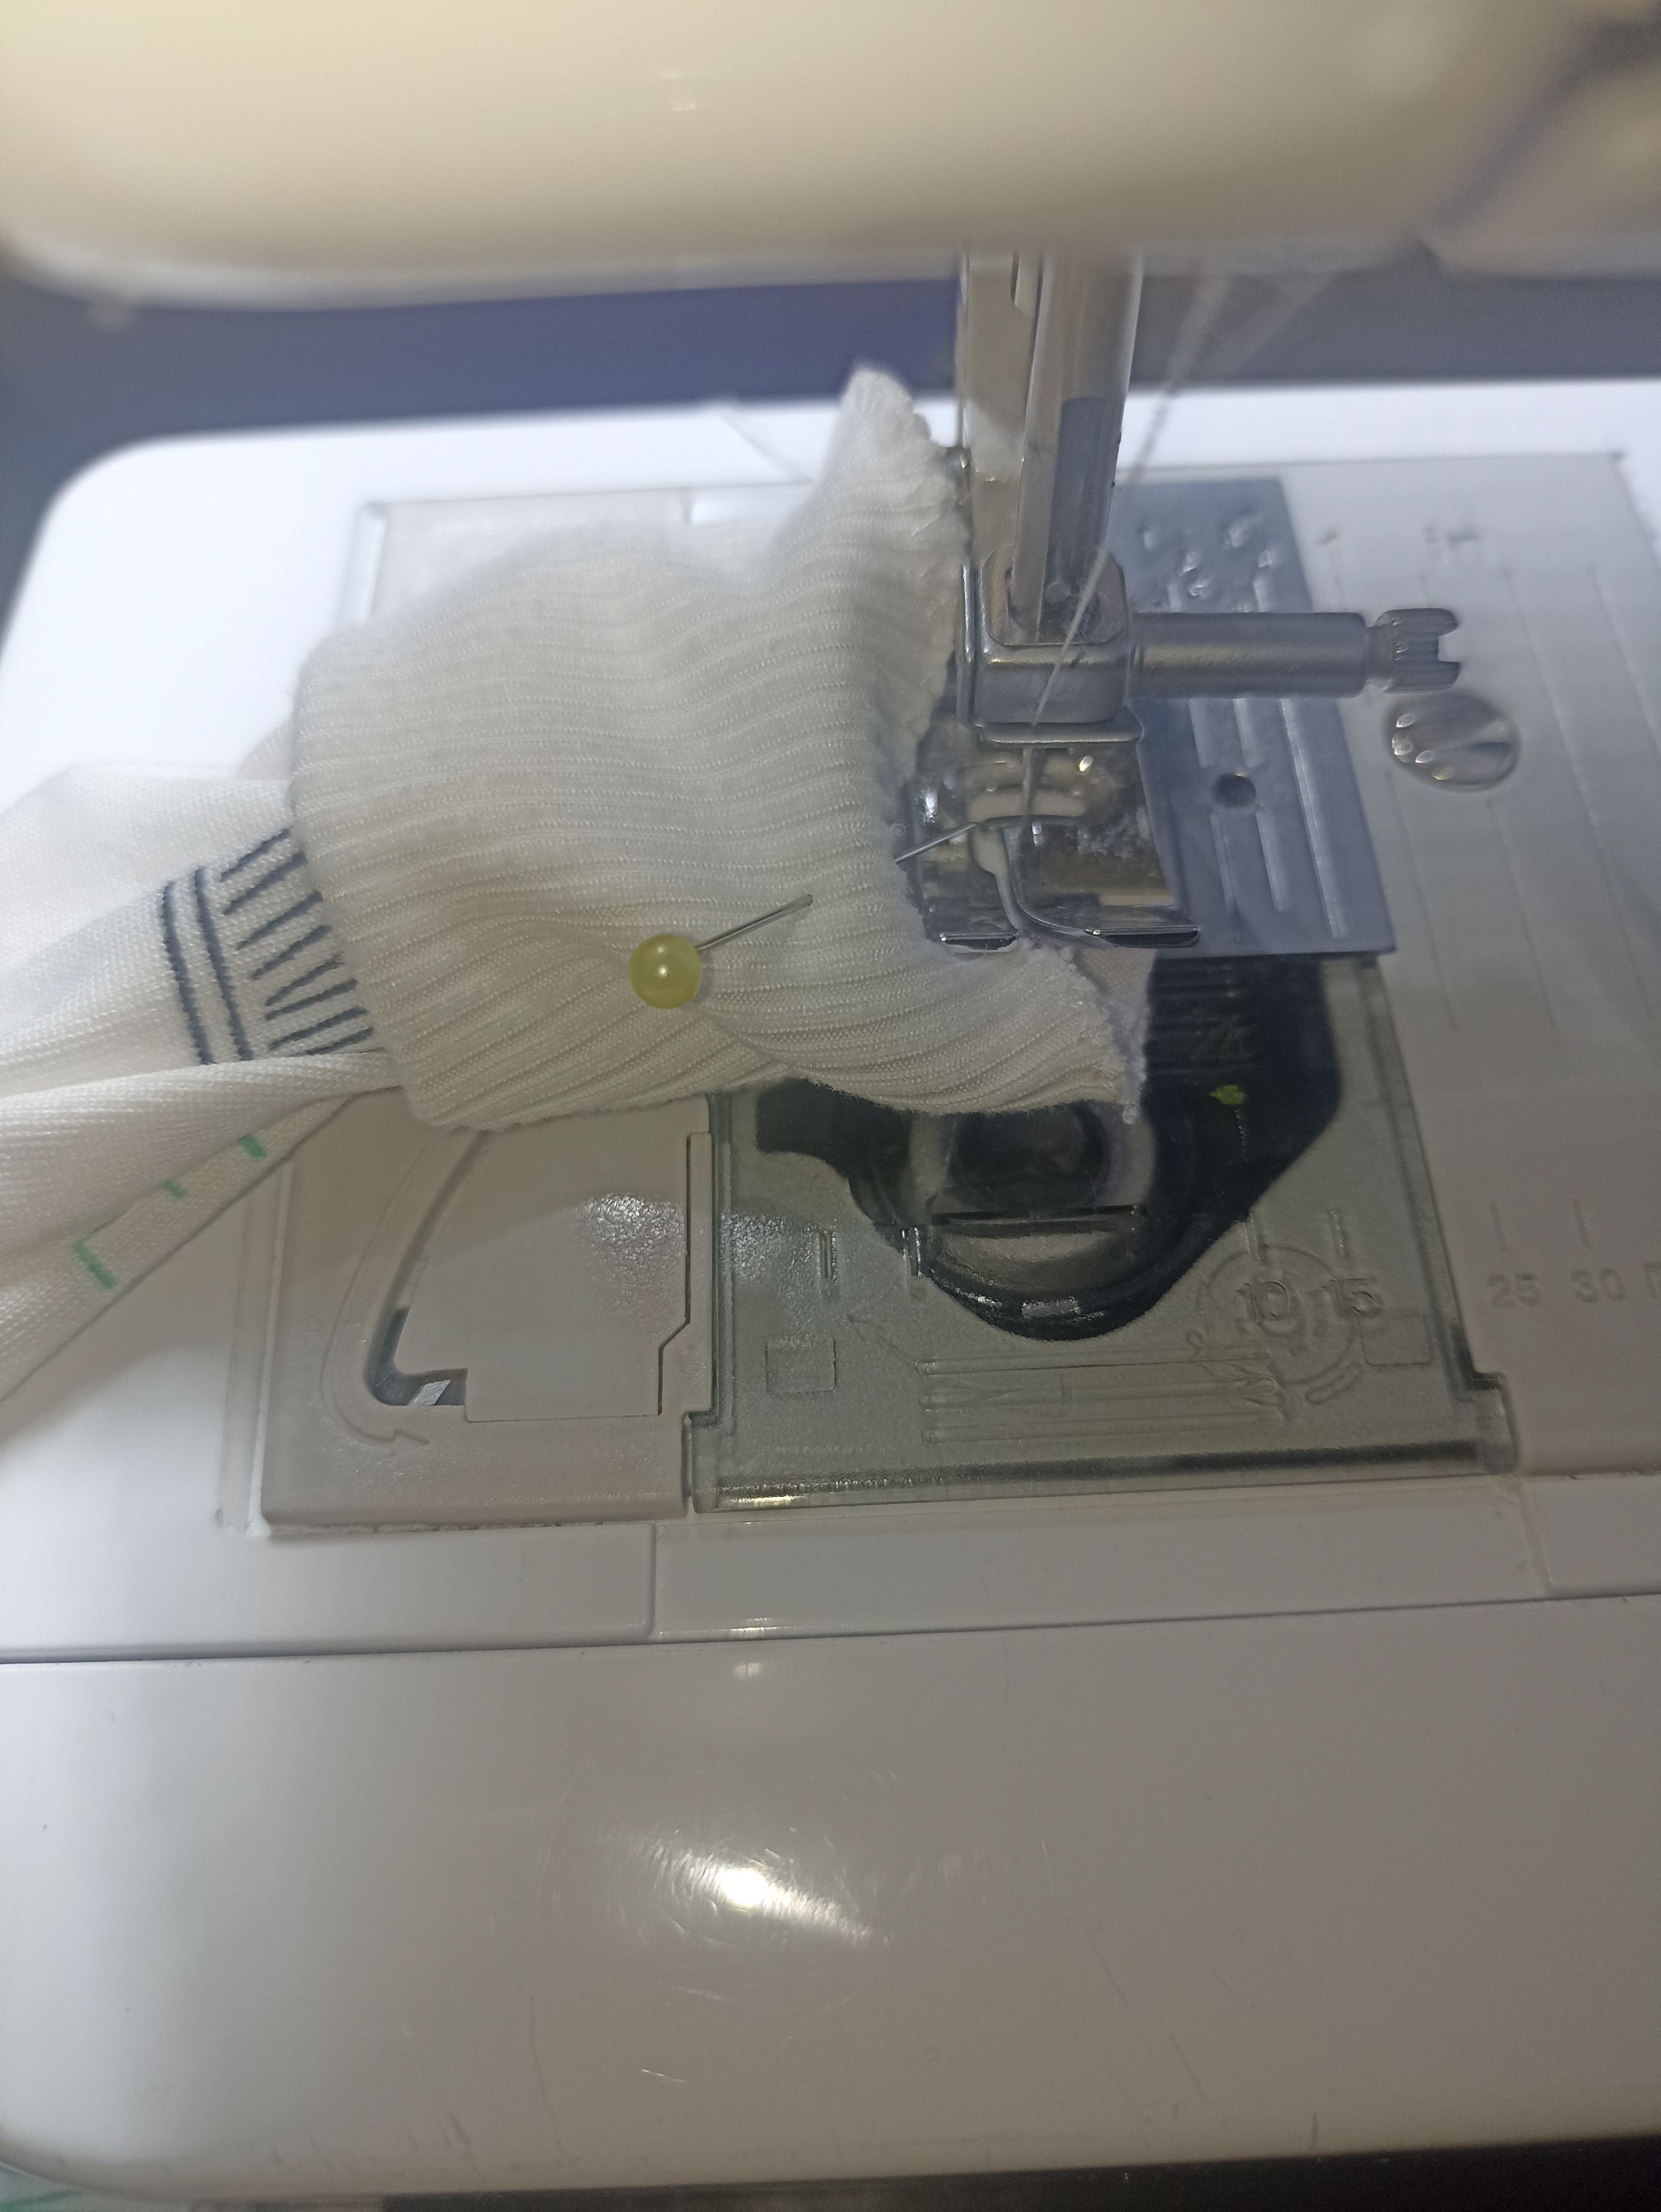
Lo siguiente será sujetar con alfiler las piezas, colocando derecho con derecho y procedemos a coser, primero con costura recta y luego para terminar con un pequeño zig zag.
>The next step is to pin the pieces together, placing them right sides together, and then sew them, first with a straight stitch and then finishing with a small zigzag stitch.

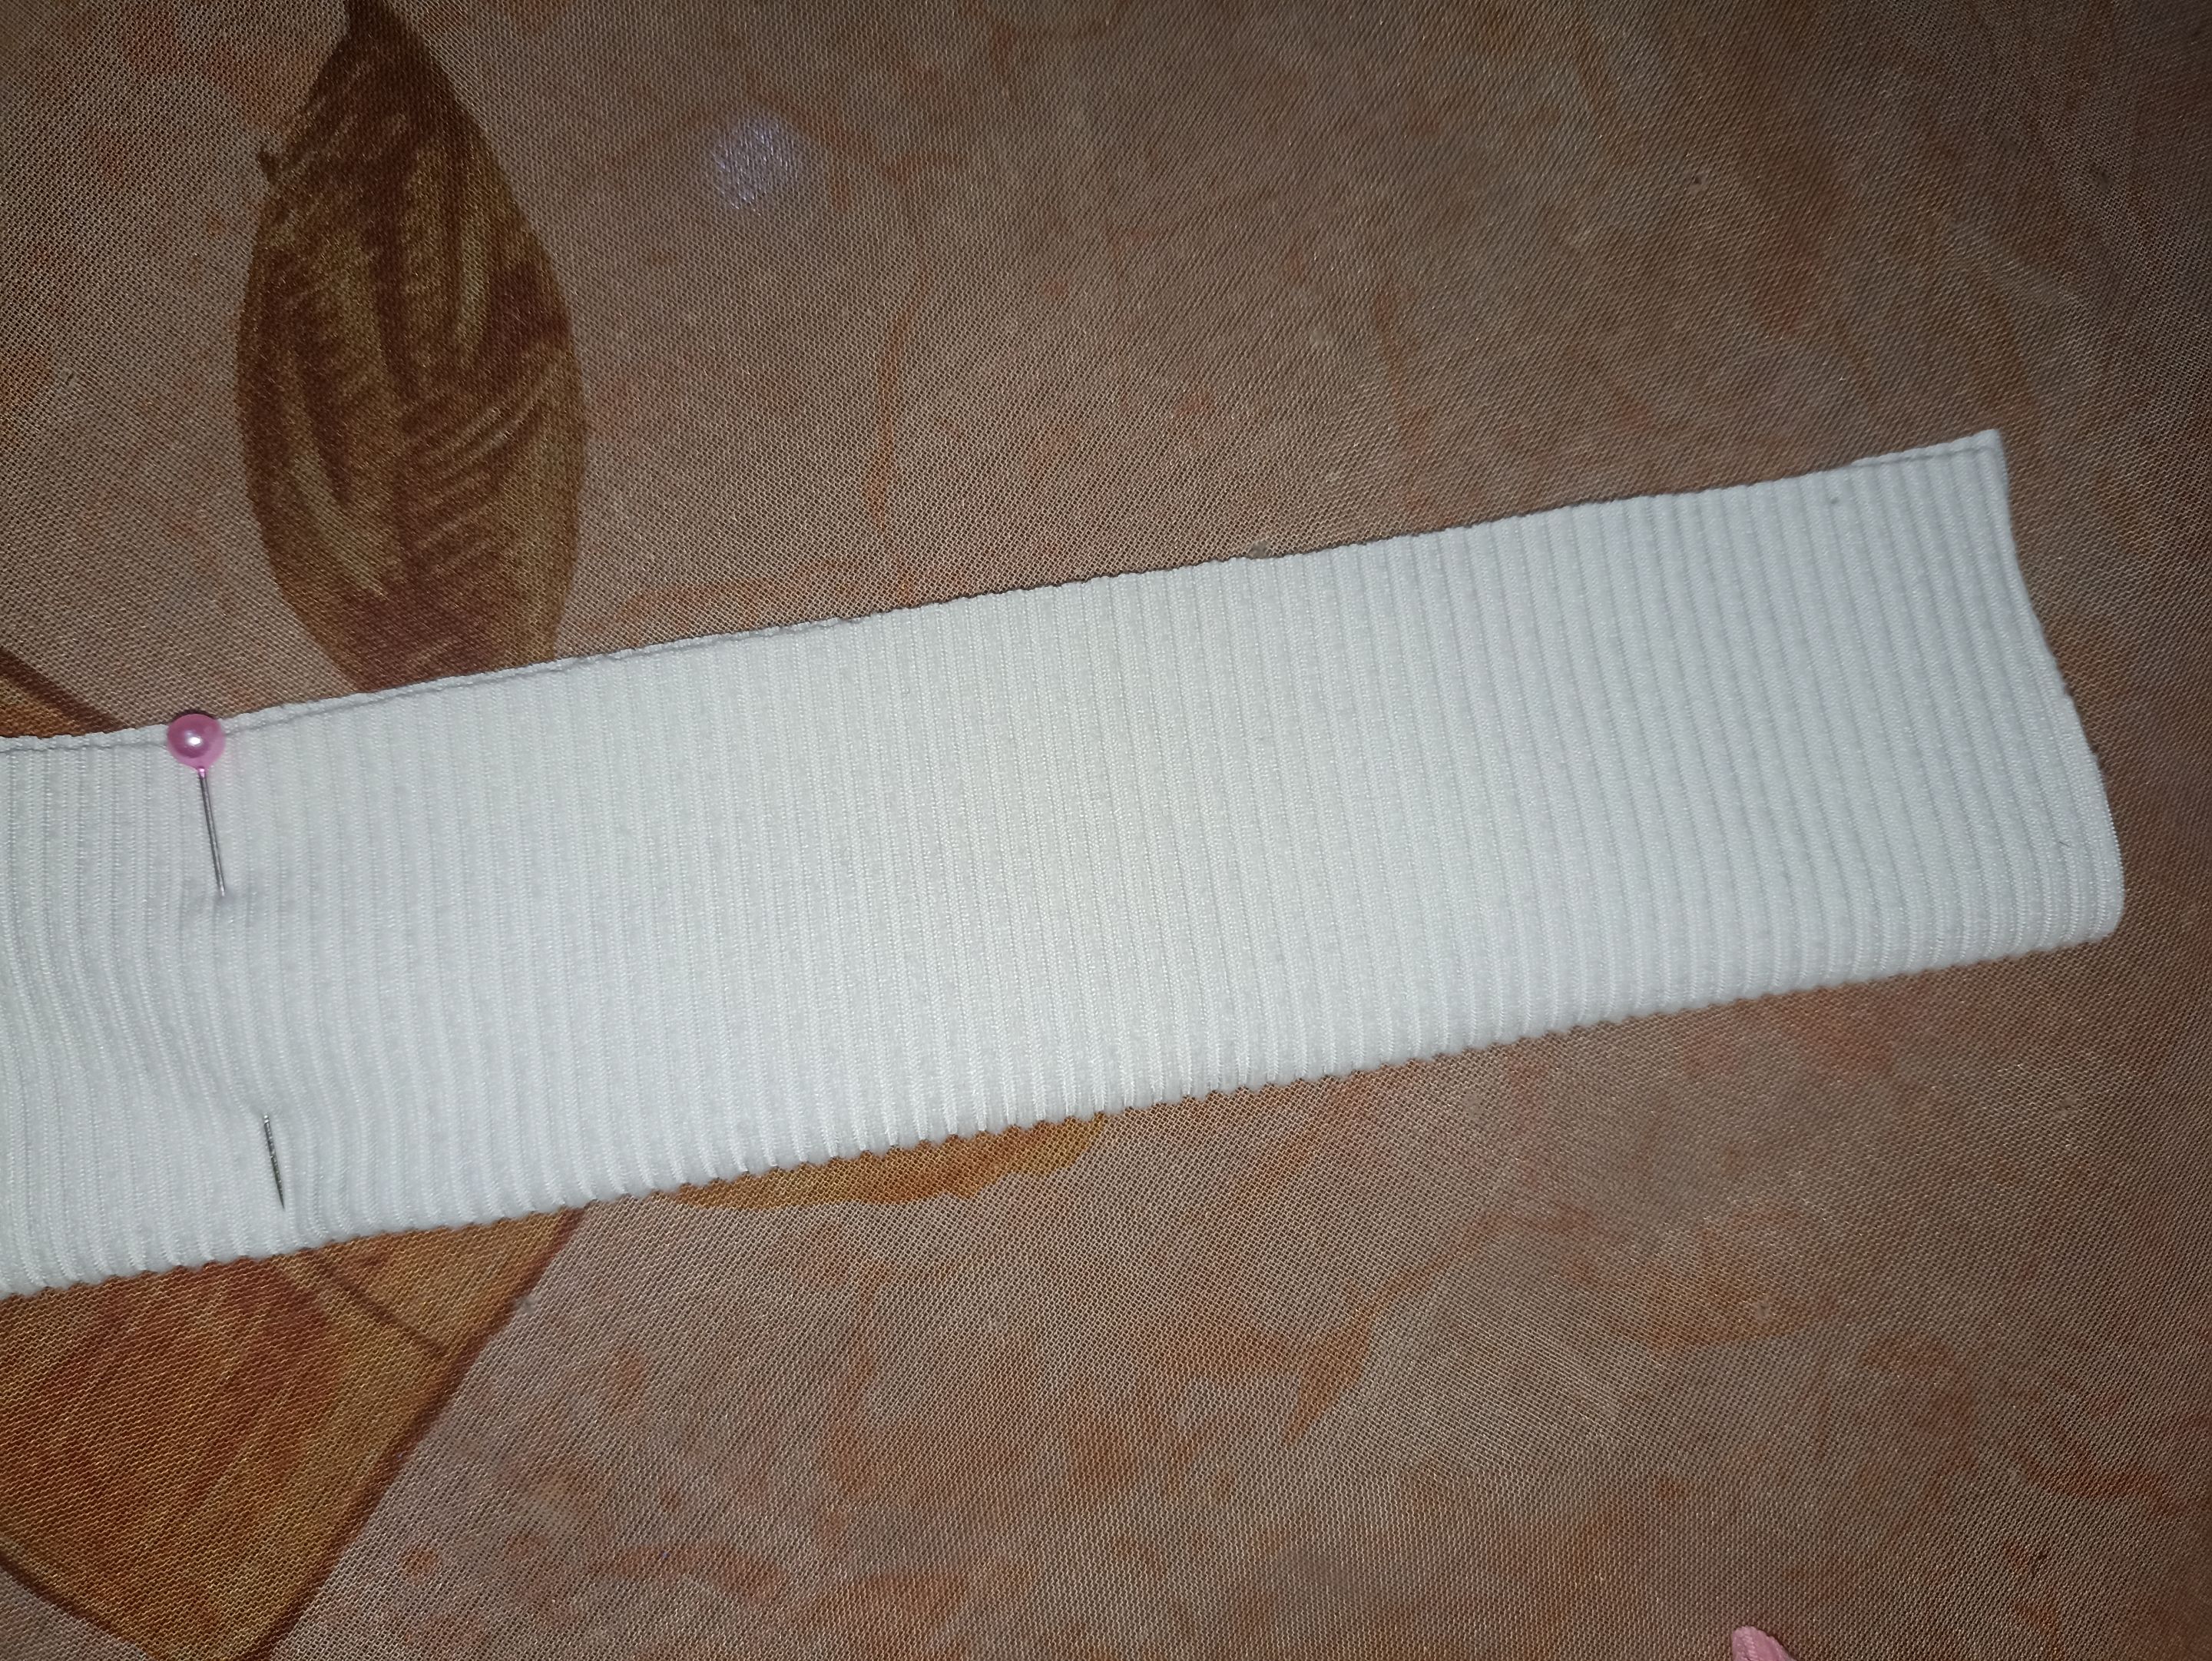
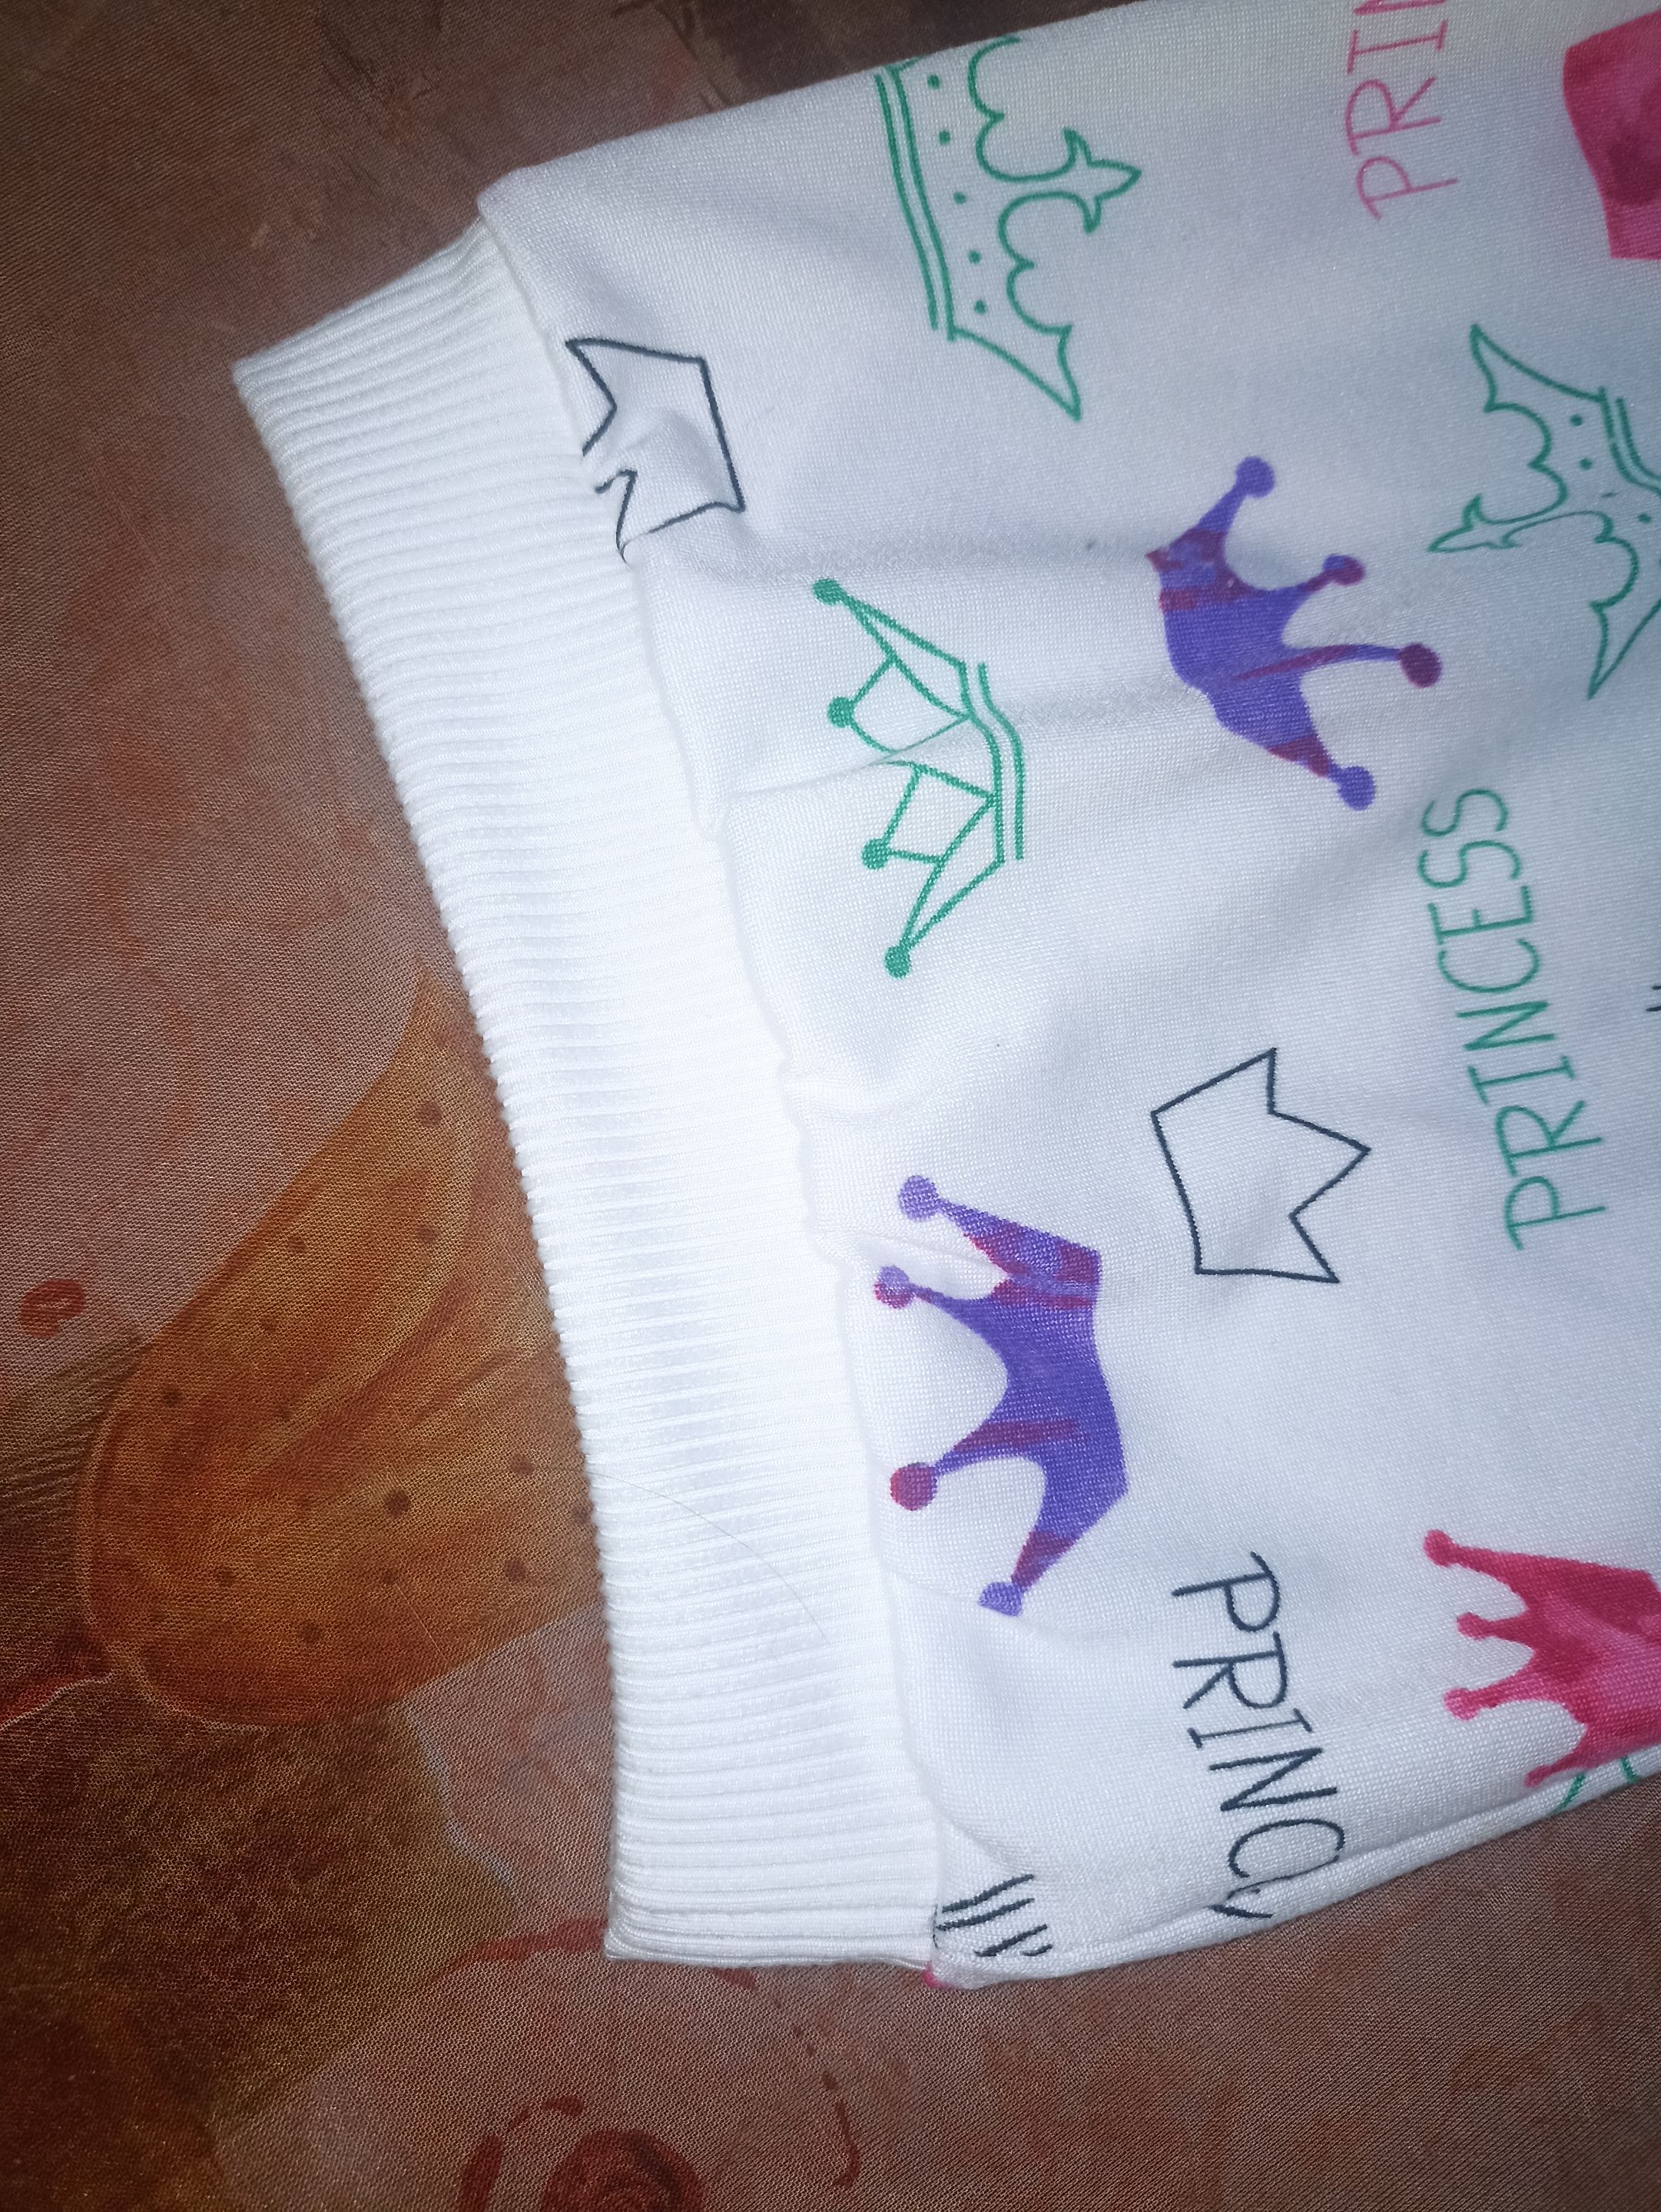
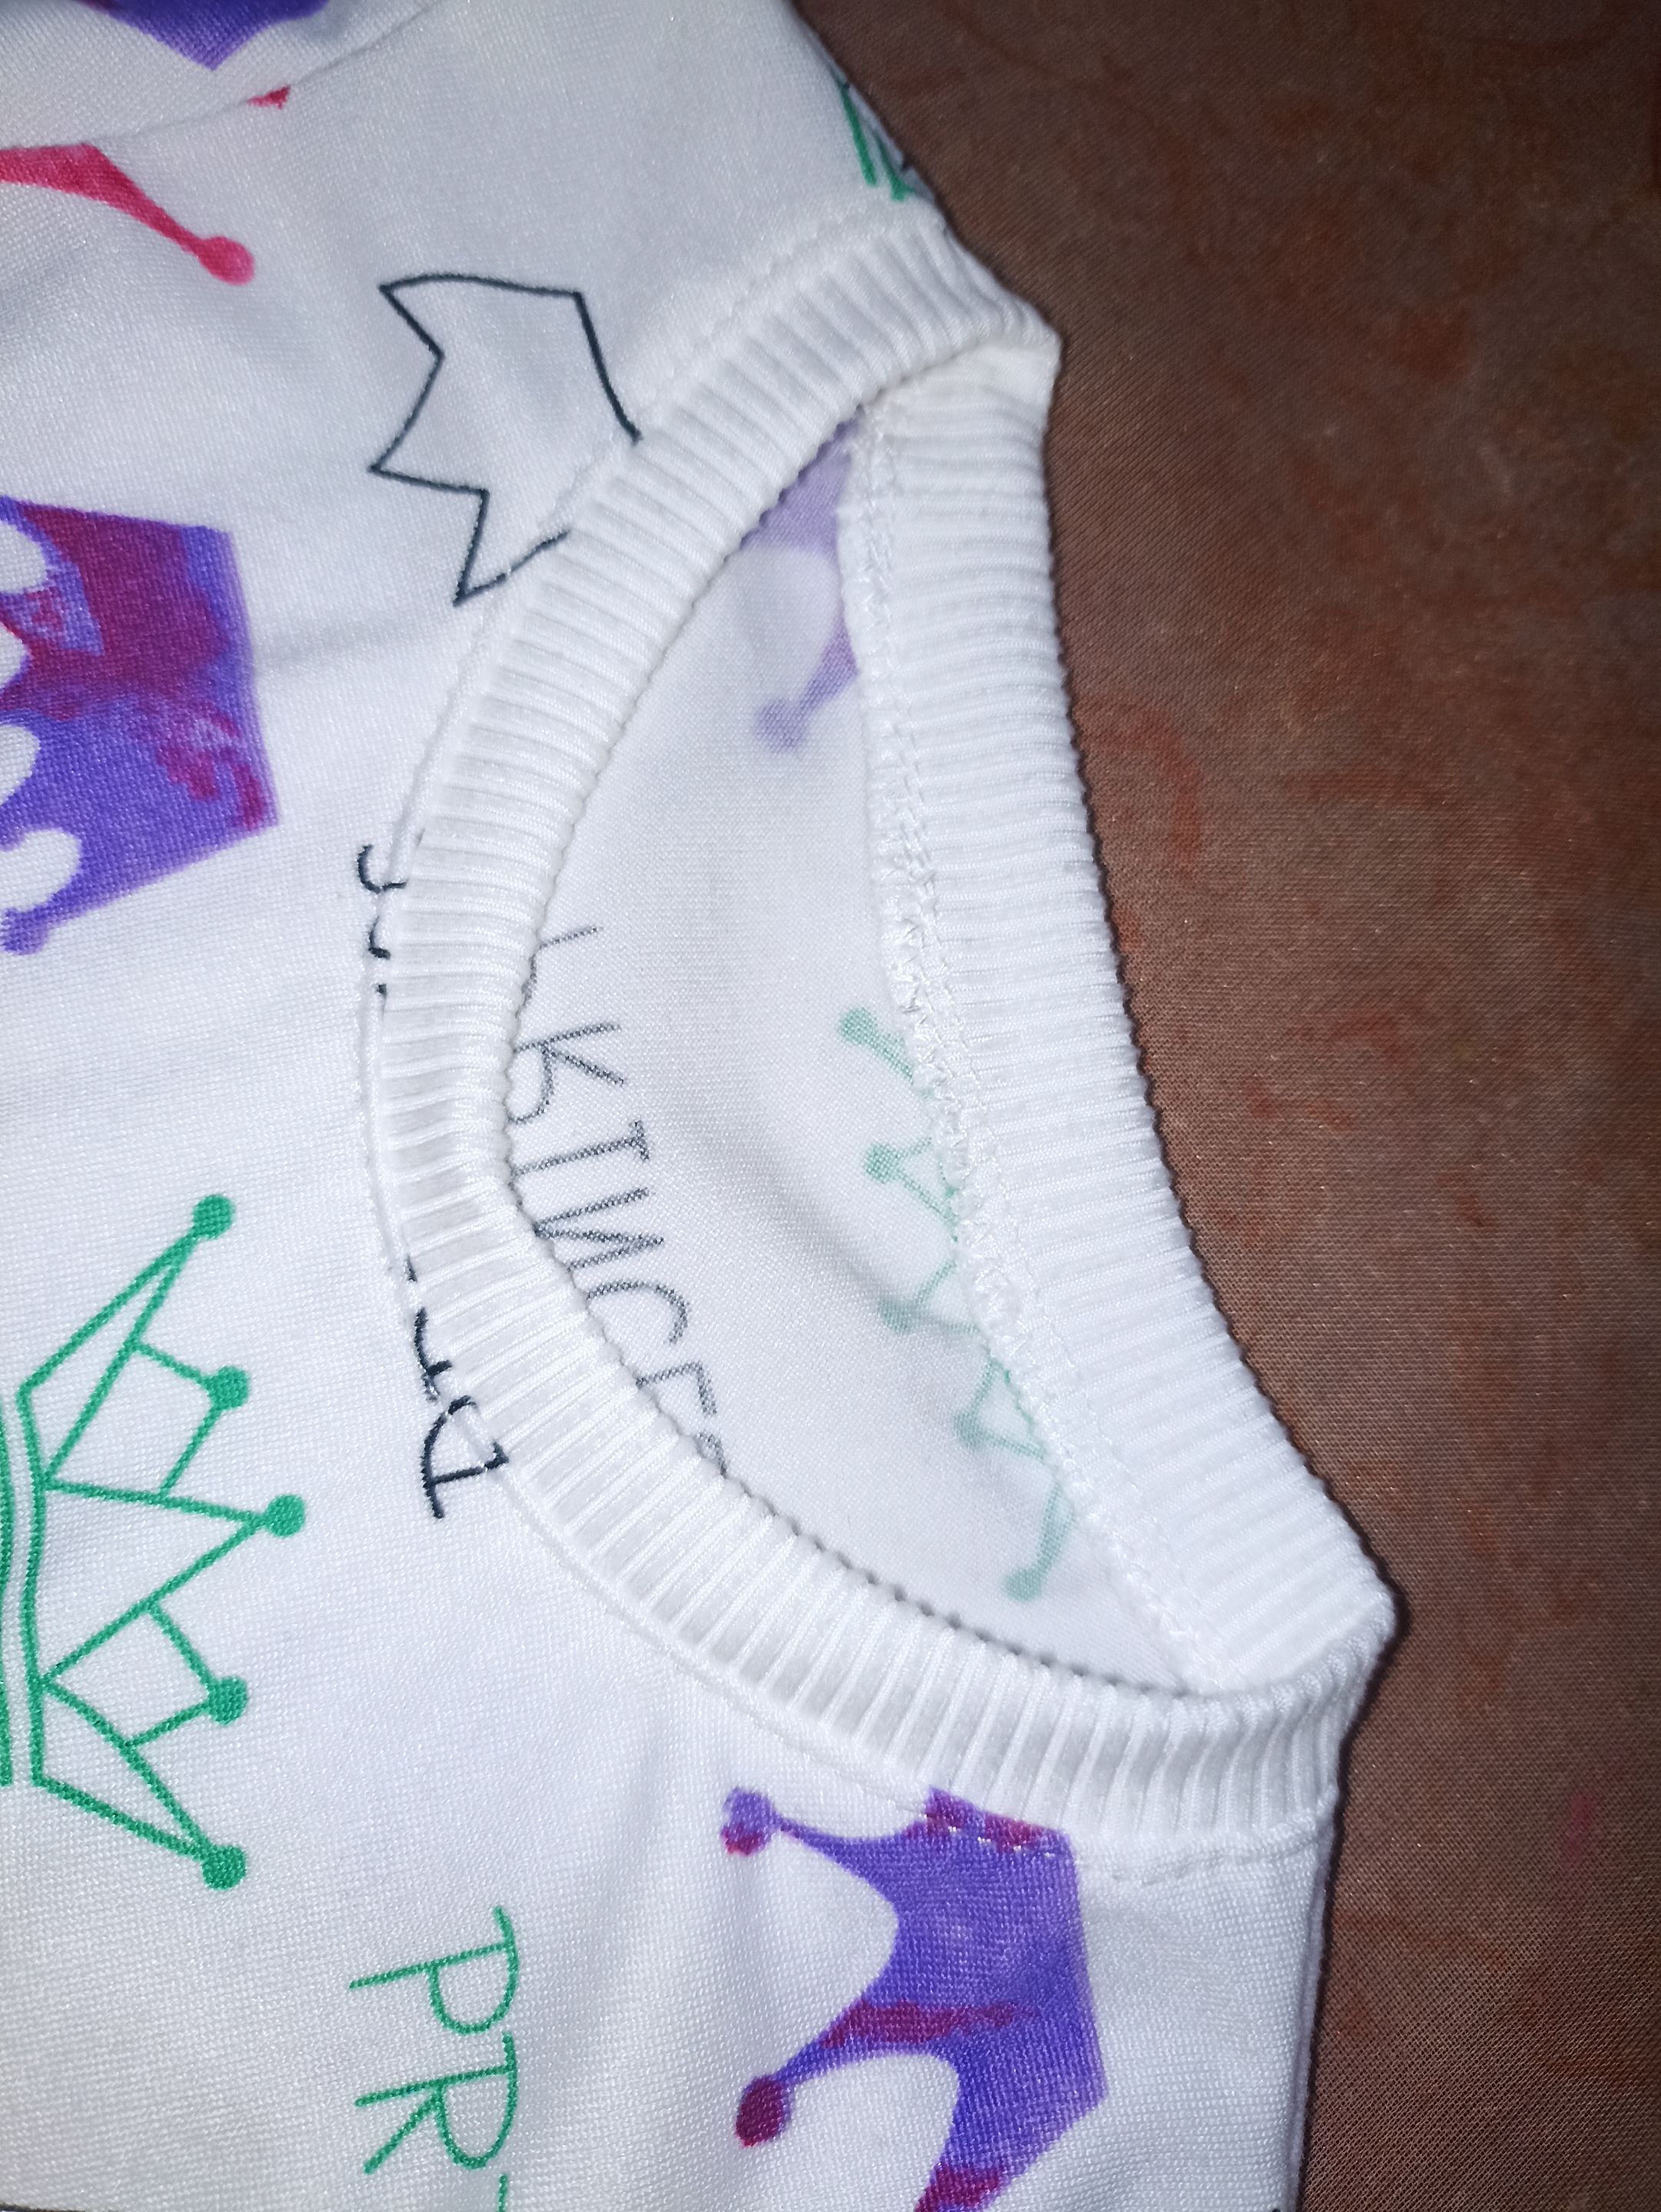
Ya cuando tengamos el cuerpo y las mangas cosidas pasamos al rib, para ello vamos a medir el escote y a esa medida le restamos 3cm y de ancho 4cm para que al doblar al centro quede en 2cm. Para los puños del mismo modo medimos y le restamos 2cm y de ancho 8cm para que al doblarlos al centro quede de 4cm. Cosemos primero con zig zag y luego lo cosemos al cuerpo con recta.
>

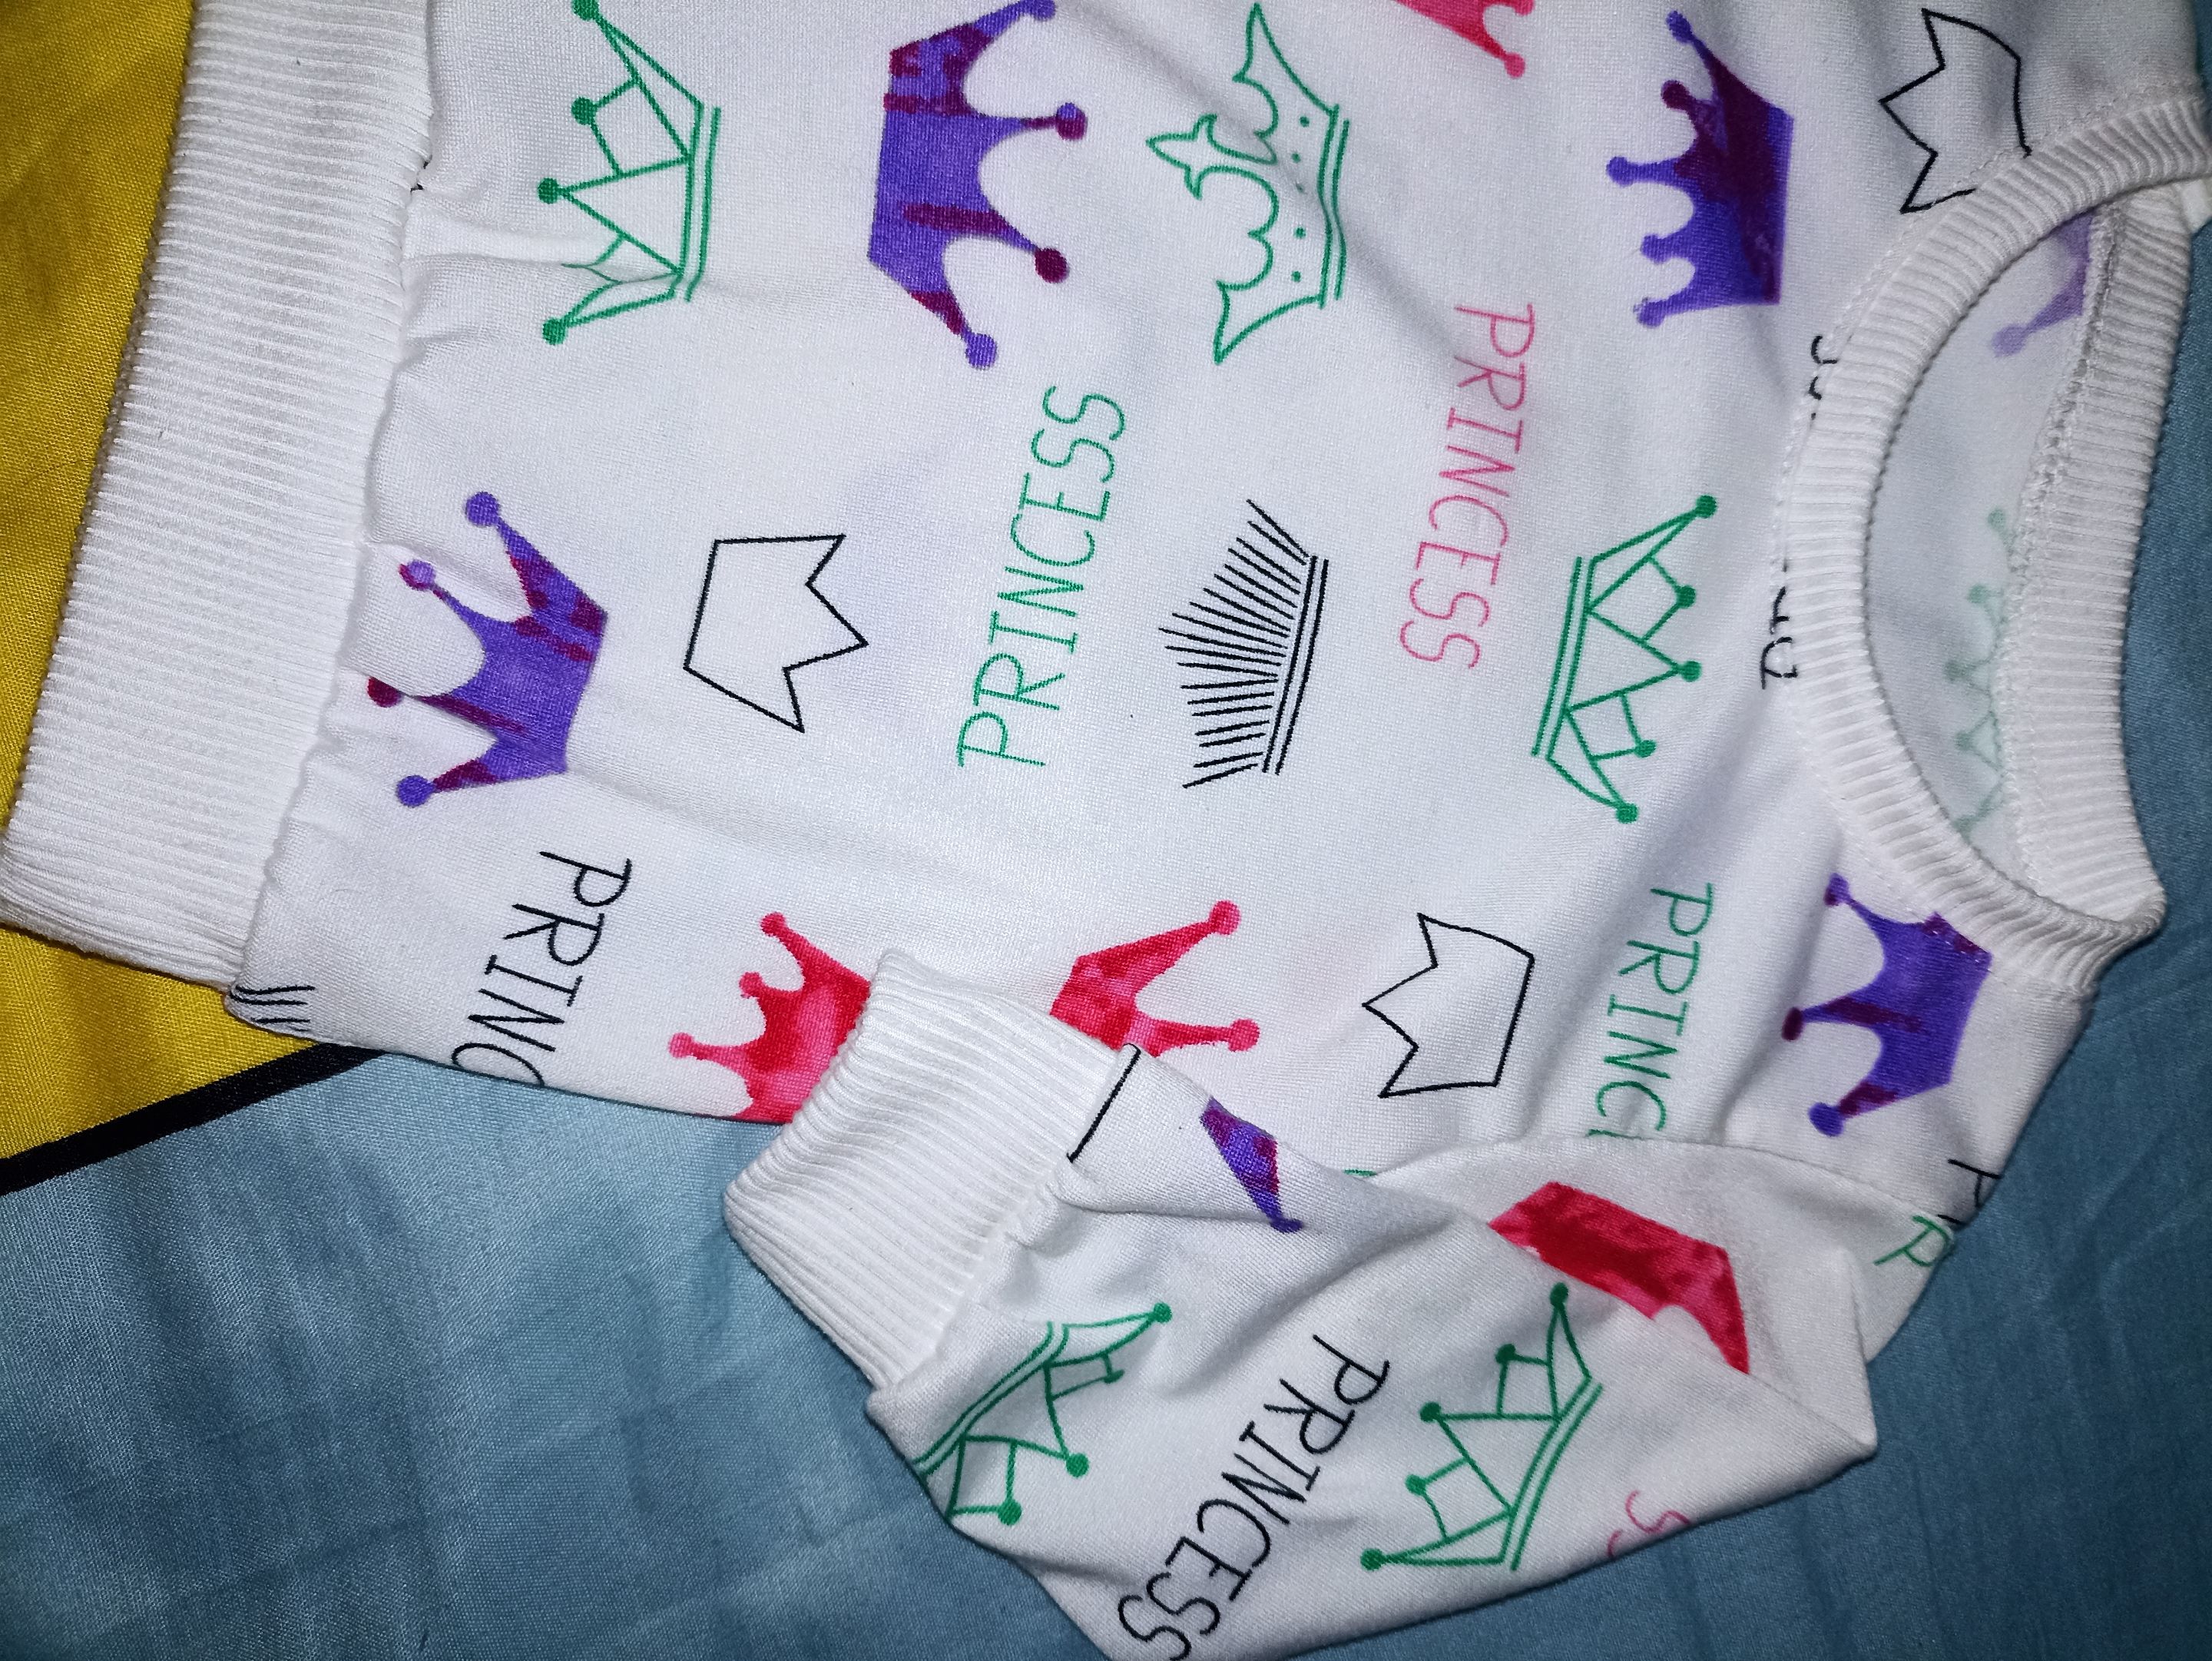
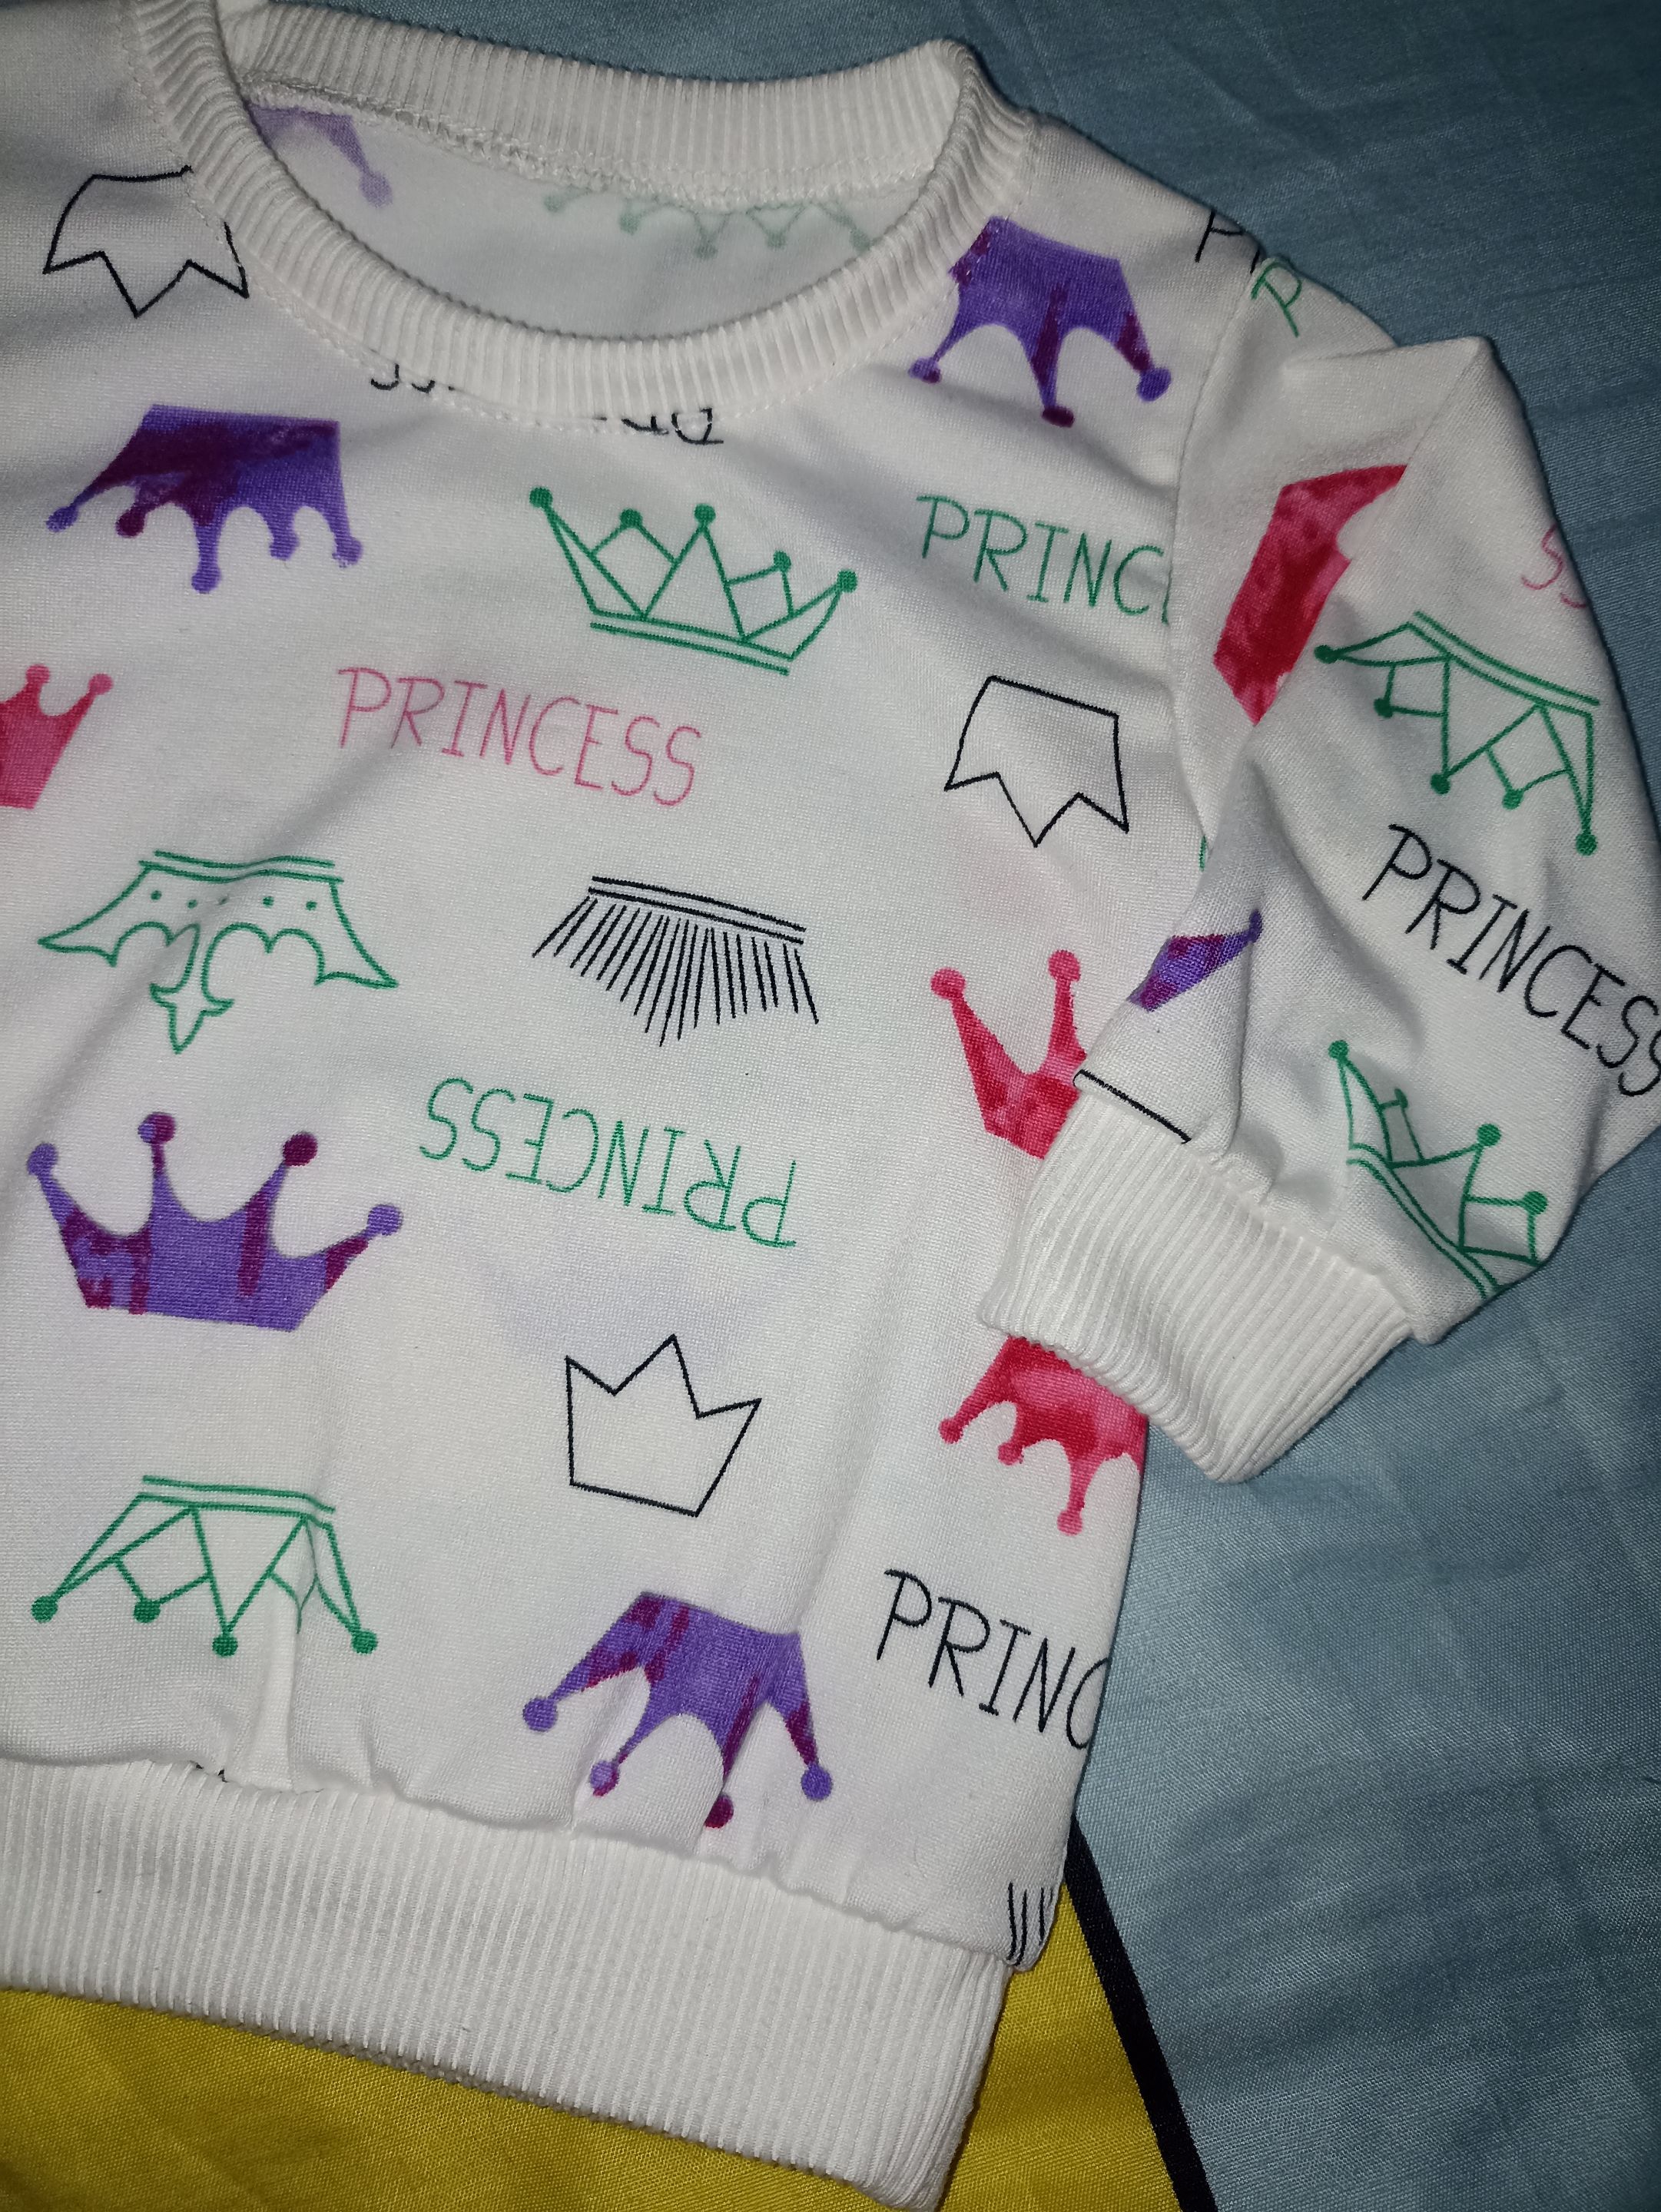
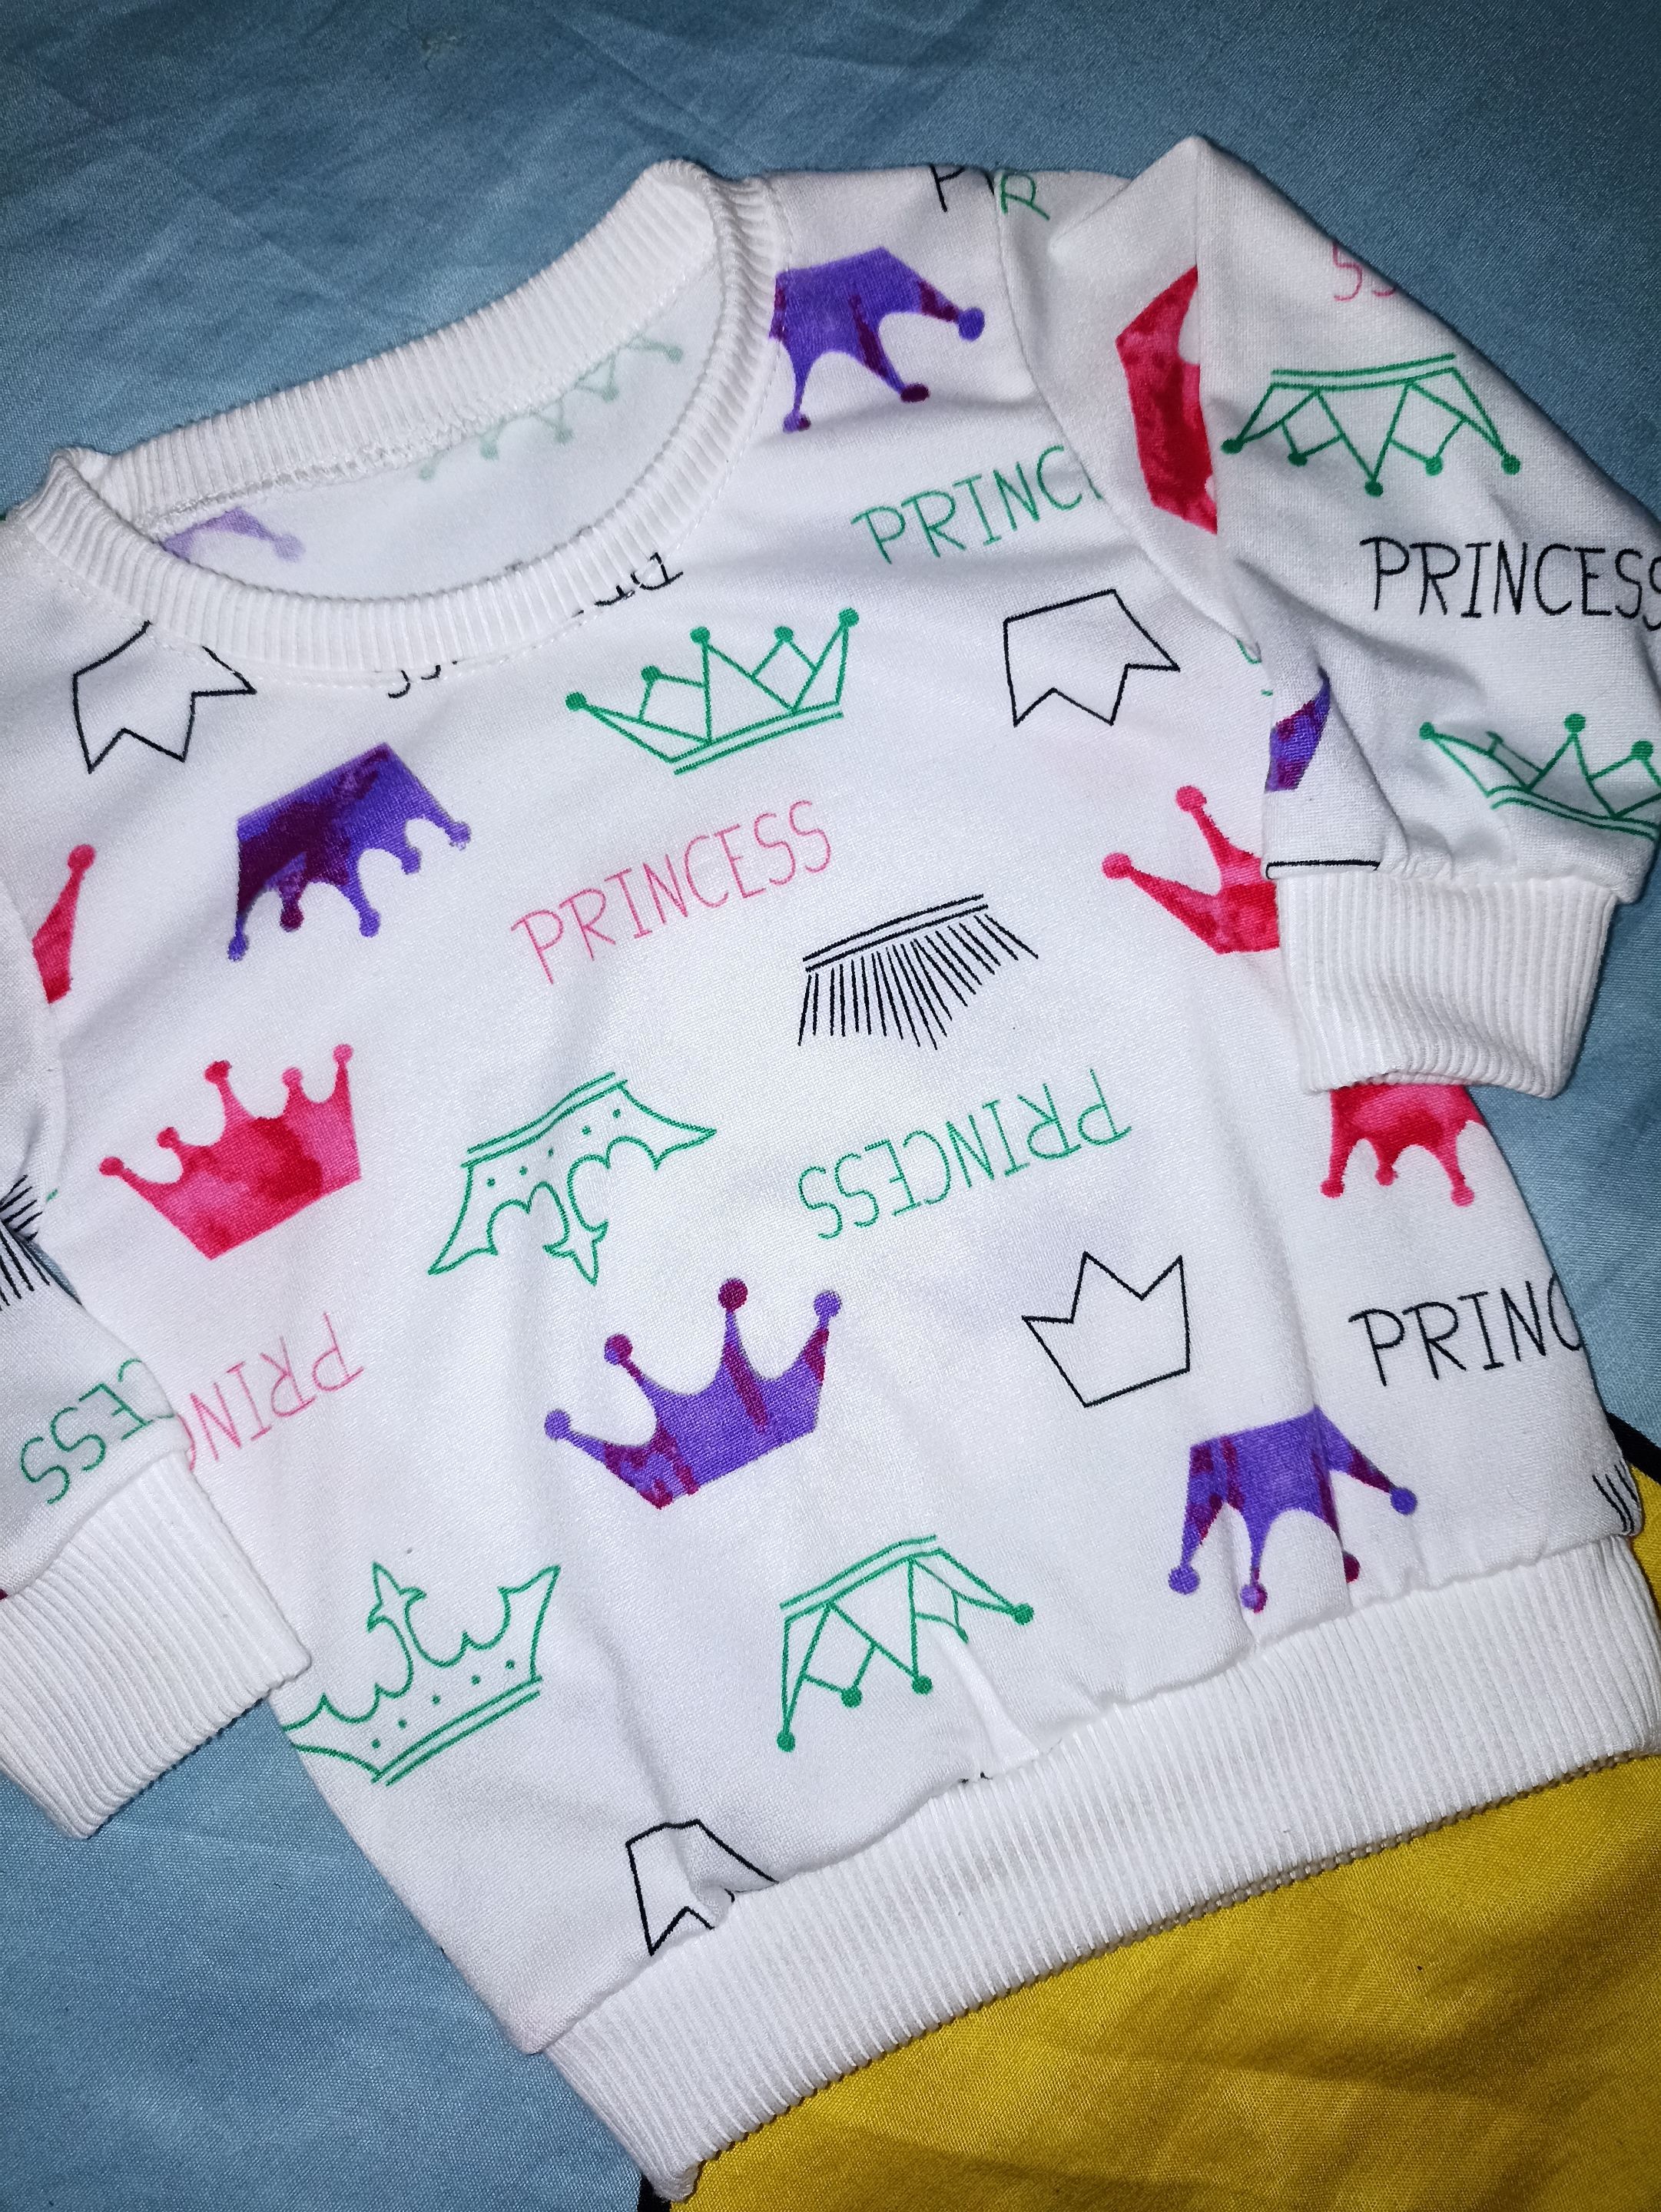
Y aquí les muestro el resultado final de como quedo este lindo proyecto, tan tierno como el bebé que lo llevará puesto 🥰, elaborado de una manera muy sencilla, la base para crear los diseños que más te gusten.
>And here I show you the final result of this beautiful project, as cute as the baby who will wear it 🥰, made in a very simple way, the basis for creating the designs you like best.

_Espero les haya gustado y pronto compartirles más contenido como éste...🤗, con esto me despido deseándoles buen provecho y nos vemos en una próxima oportunidad!!_ ✨♥️
>_I hope you liked it and soon I will share with you more content like this...🤗, with this I say goodbye wishing you bon appetit and see you next time!!!_ ✨♥️

- **_Todo el contenido es de mi autoría y las imágenes son de mi propiedad_**
- **_Cámara: Redmi note 10s_**
- _All content is my own and images are my property_
- _Camera: Redmi note 10s_

Edición y Separador|Editing and Separator
_App PicMonkey - App Picsart - App Canva_
Traductor|Translator
_[DeepL]( https://www.deepl.com/es/translator )_