¡¡Bienvenido a mi Tutorial!!❤️
Welcome to my Tutorial!!❤️
Saludos a esta hermosa comunidad de #gems.
Hoy voy a compartir con todos ustedes una hermosa manualidad que nos va ayudar a mantener el orden en la habitación o cualquier espacio de la casa para no ensuciar y mantener todo en orden. Les hablo de **"Como elaborar una papelera para los más chiquitos de la casa"** con desechos del hogar y foami. También lo pueden utilizar como organizador y obsequio. El objetivo de esta papelera es para que emprendan juntos con sus niños esta hermosa creación y que ellos se distraigan y se animen y aprendan desde pequeño a reciclar para ayudar a mantener el ambiente limpio y equilibrado.
Los materiales los pueden conseguir en casa que tengan de desechos que les haya sobrado y guardado.
Para elaborar esta hermosa papelera utilizamos los siguientes materiales..
>Greetings to this beautiful community of #gems.
Today I am going to share with all of you a beautiful craft that will help us maintain order in the room or any space in the house so as not to dirty and keep everything in order. I'm talking about **"How to make a recycled bin step by step"** with household waste and foami. You can also use it as an organizer and gift. The purpose of this bin is for you to undertake this beautiful creation together with your children and for them to be distracted and encouraged and learn from an early age to recycle to help keep the environment clean and balanced.
The materials can be obtained at home from waste that they have left over and saved.
To make this beautiful litter bin we use the following materials.
**Materiales:**
* Caja de cartón de desecho
* Recortes de tela y blonda de desechos o cualquier camisa que tenga a disposición
* Recortes de foami: rosado, negro, vino tinto y color carne o blanco.
* Acuarela
* Lápiz
* Marcador negro
* Tijera
* Silicon
* Pistola para Silicon
* Patrones de la nariz, mejillas, orejas y paticas
Para decorar:
* 2 pedacitos de collar corrido
* Una flor que tengas sin utilizar
* Un recorte de cinta
>
**Materials:**
* Scrap cardboard box
* Scraps of fabric and lace scraps or any shirt you have available
* Foami cutouts: pink, black, red wine and flesh color or white.
* Watercolor
* Pencil
* black marker
* Scissors
* Silicon
* Silicon Gun
* Patterns of the nose, cheeks, ears and paws
To decorate:
* 2 pieces of run necklace
* A flower that you have unused
* A ribbon cutout
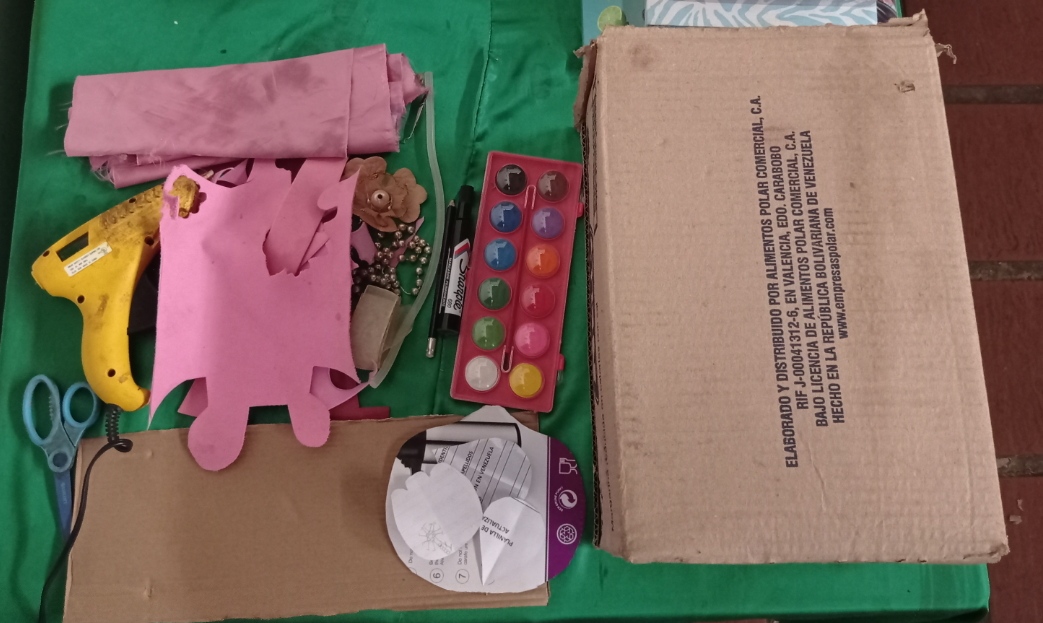 Materiales
Materials
**Procedimiento:**
>**Process:**
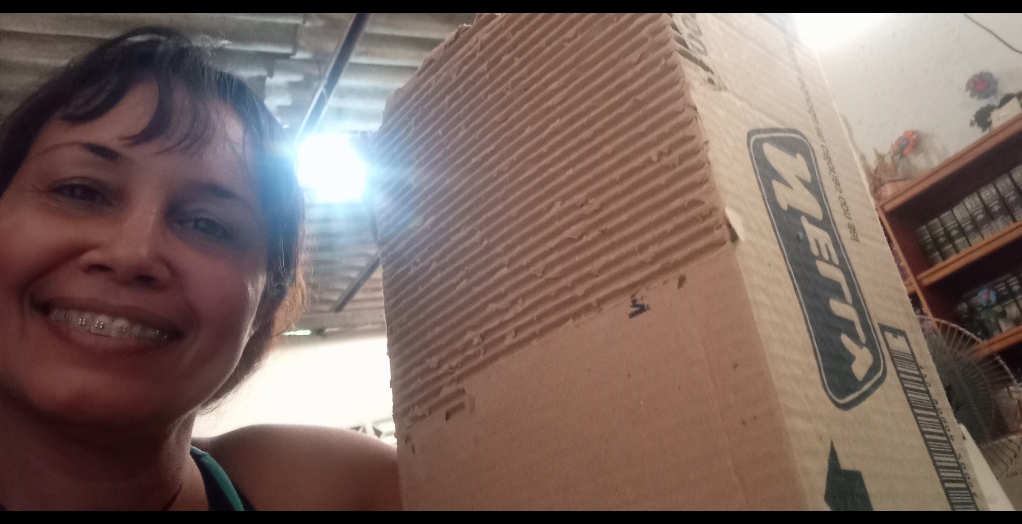
Primeramente le quitamos el papel a la mitad de la caja como se ve en la foto.
>First we remove the paper from the middle of the box as seen in the photo.

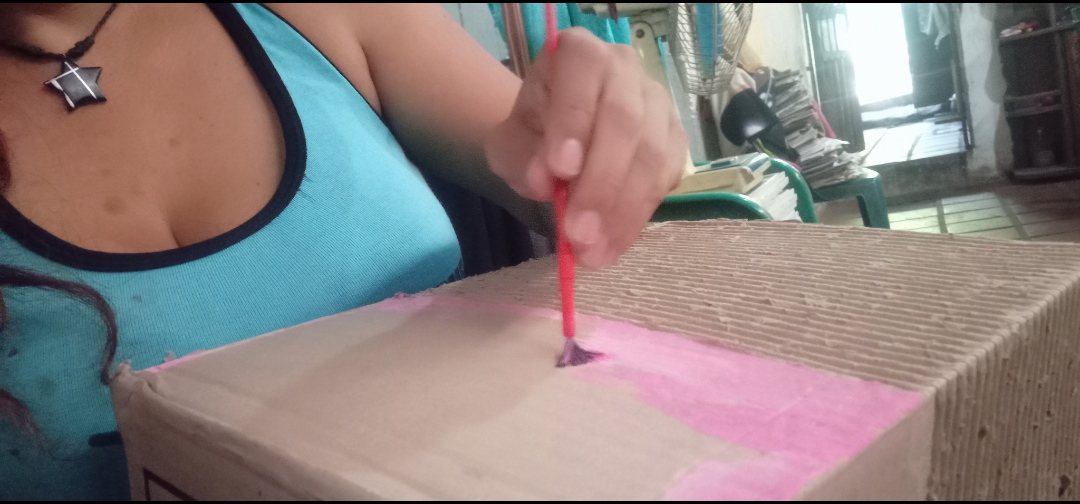
Pintamos en rosado con acuarela la parte baja de atrás de la caja
>We painted in pink with watercolor the lower part of the back of the box
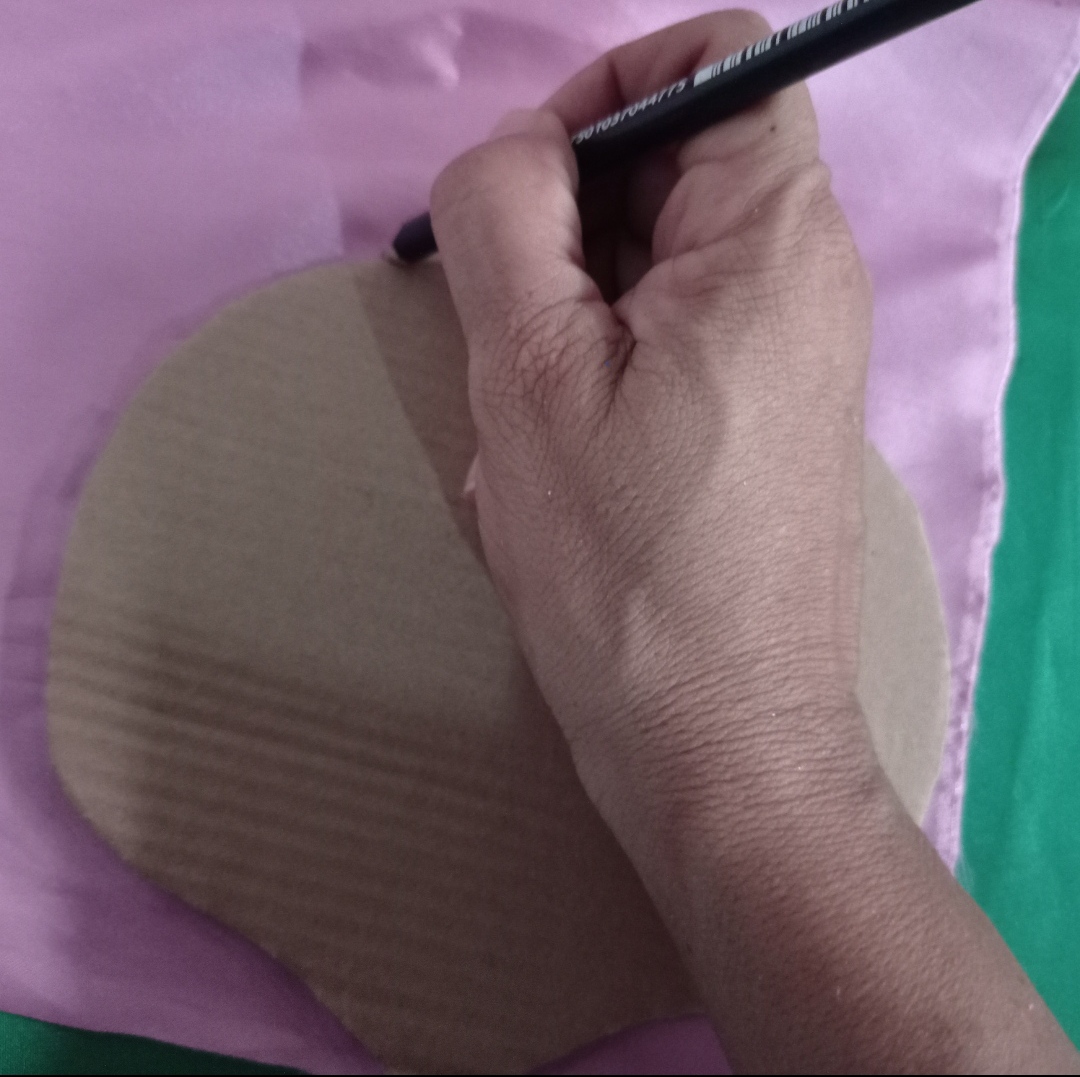
Con los patrones marcamos en el cartón las orejas y las patas del gato. Y después lo sacamos en tela las orejas y la patas en foami
>With the patterns we mark the cat's ears and paws on the cardboard. And then we take it out in cloth, the ears and the legs in foami
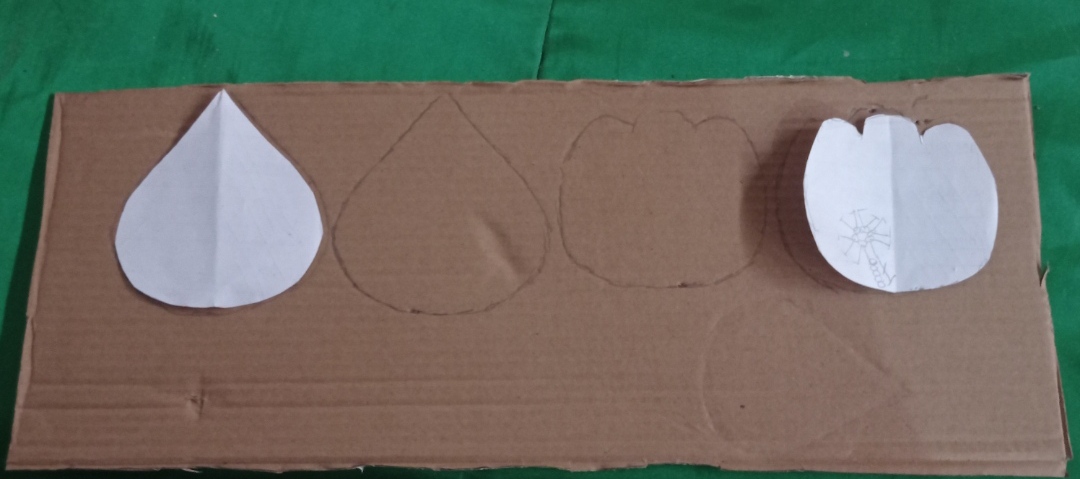
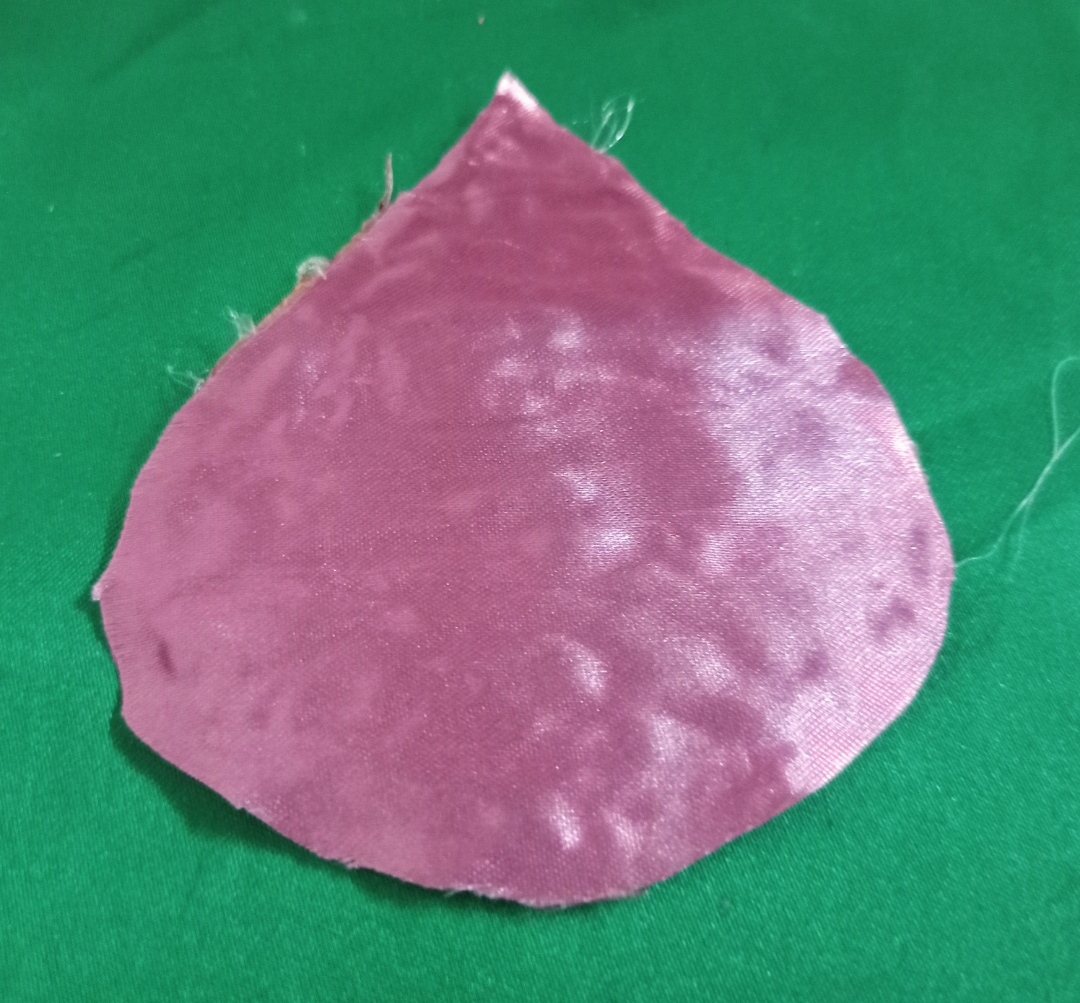
Aqui recortamos la cara
>Here we cut out the face
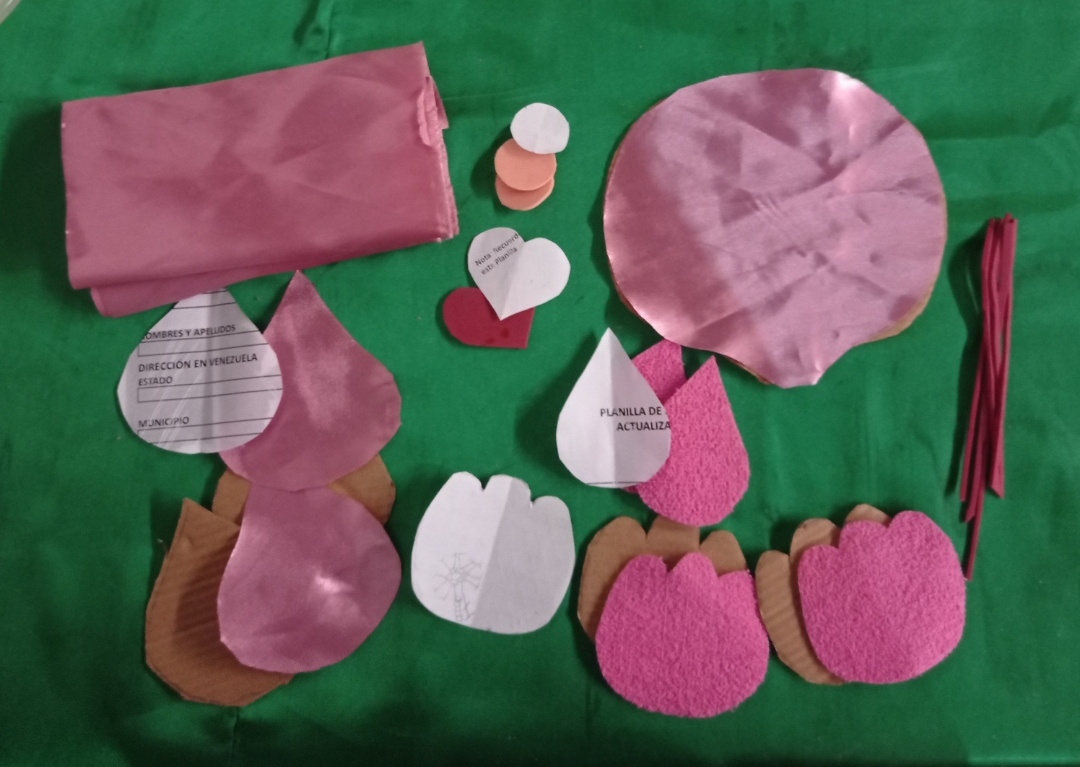
Y aquí tenemos listo todo ya recortados con la tijera
>And here we have everything ready already cut with scissors
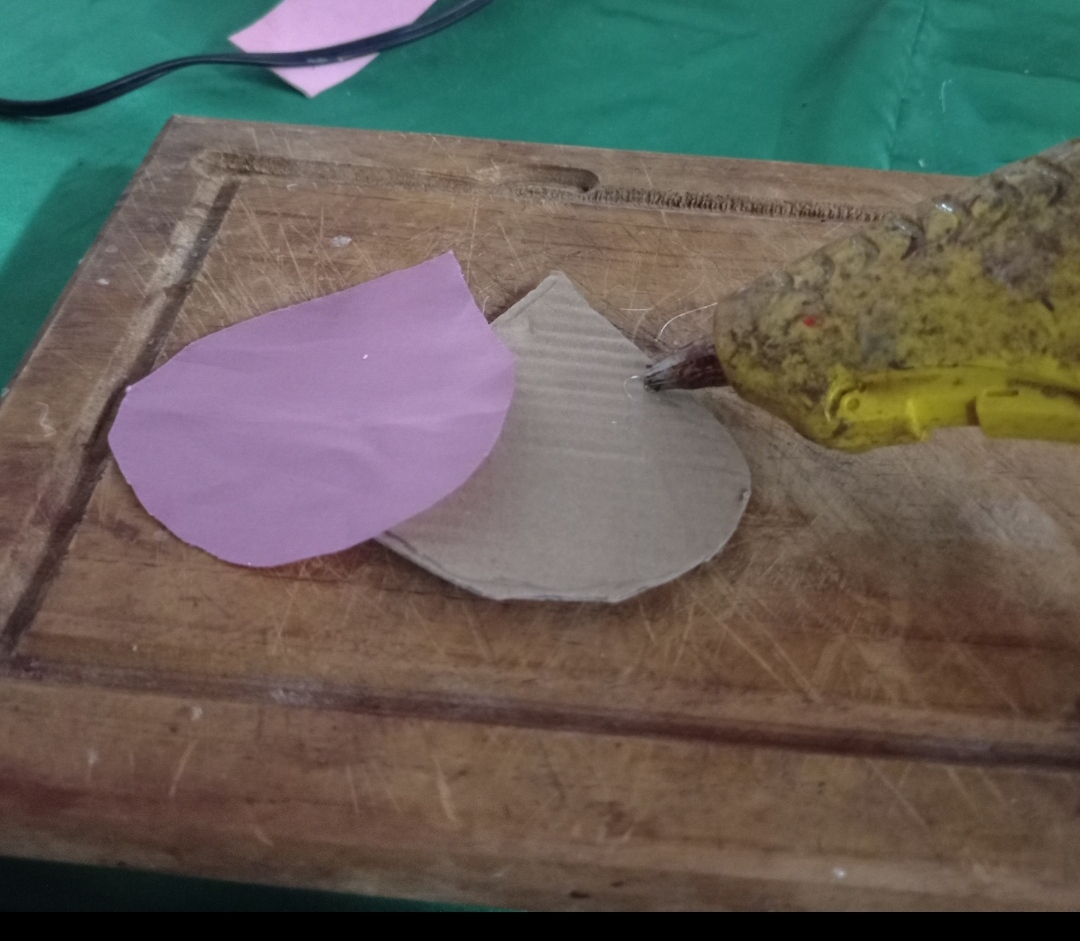
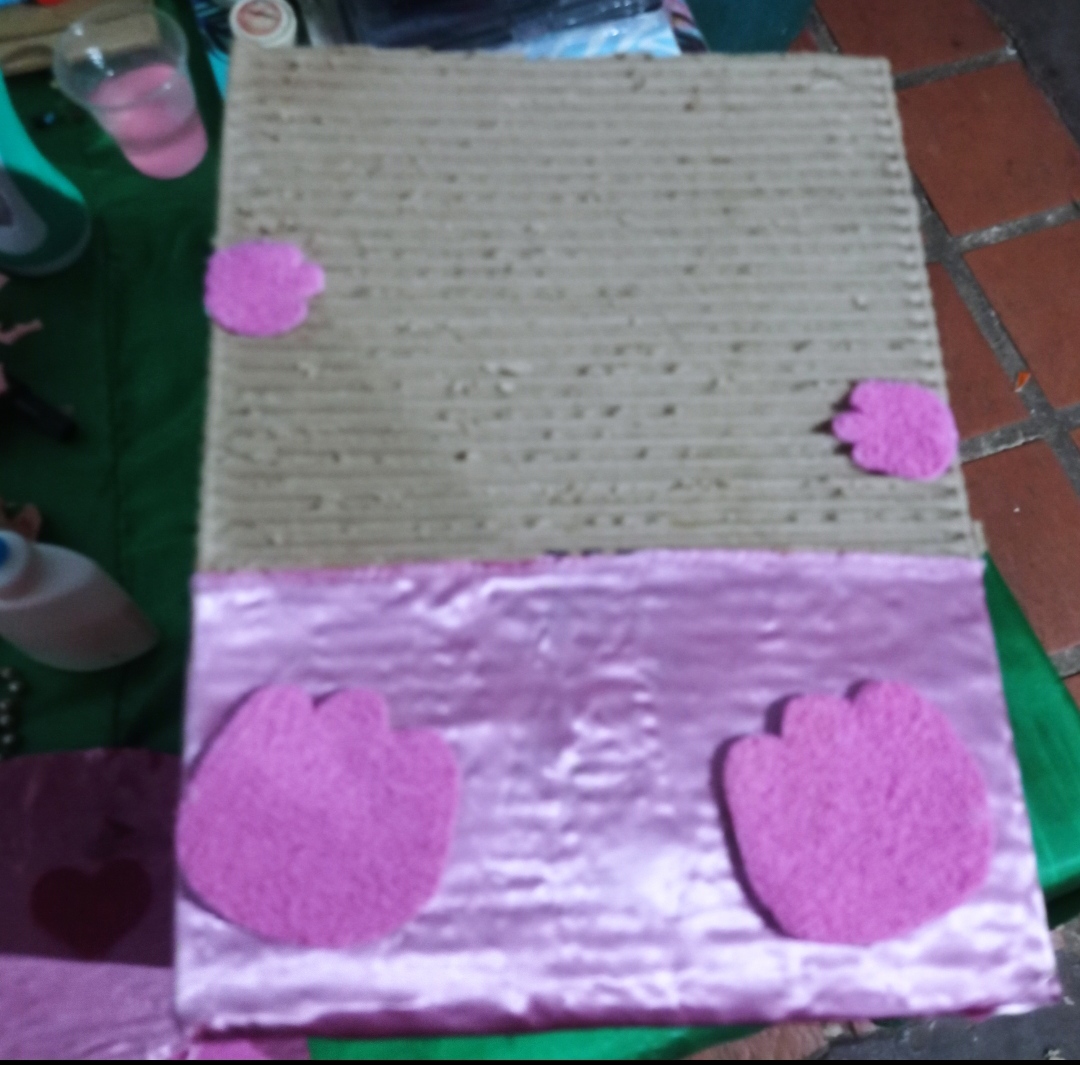
Ahora pegamos las orejas y las patas en el cartón con silicon
>Now we stick the ears and legs on the cardboard with silicone
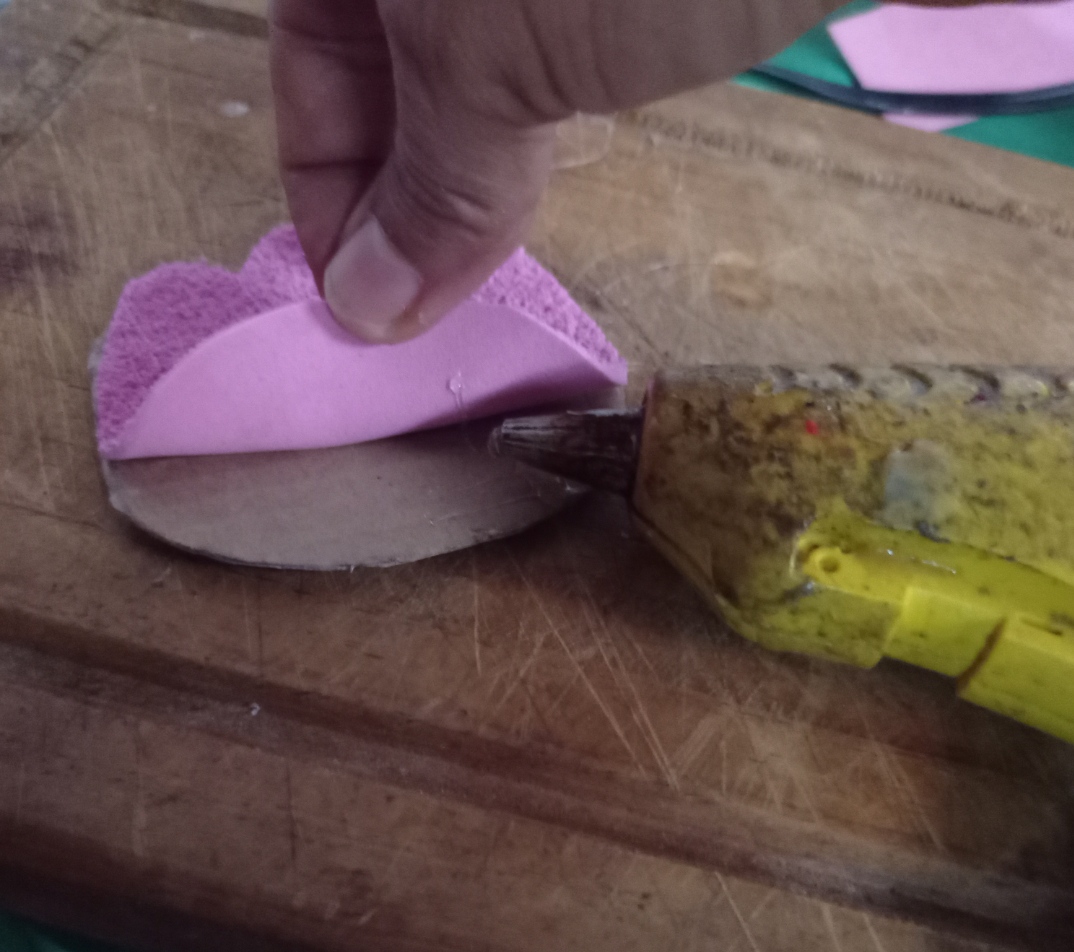
Pegamos la parte interna de la oreja con silicon
>We glue the inner part of the ear with silicone

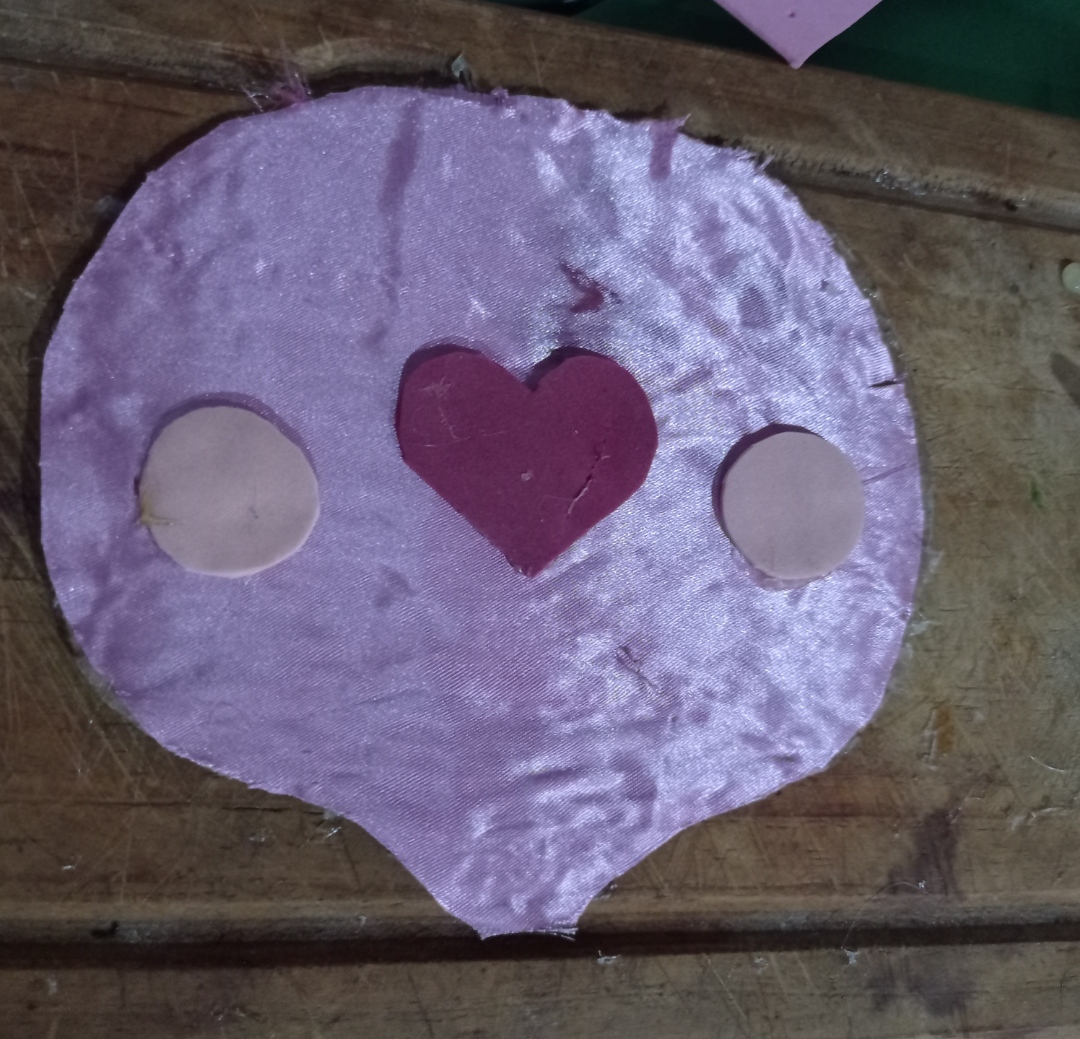
Pegamos la cara y después los cachetes y la naríz
>We glue the face and then the cheeks and the nose
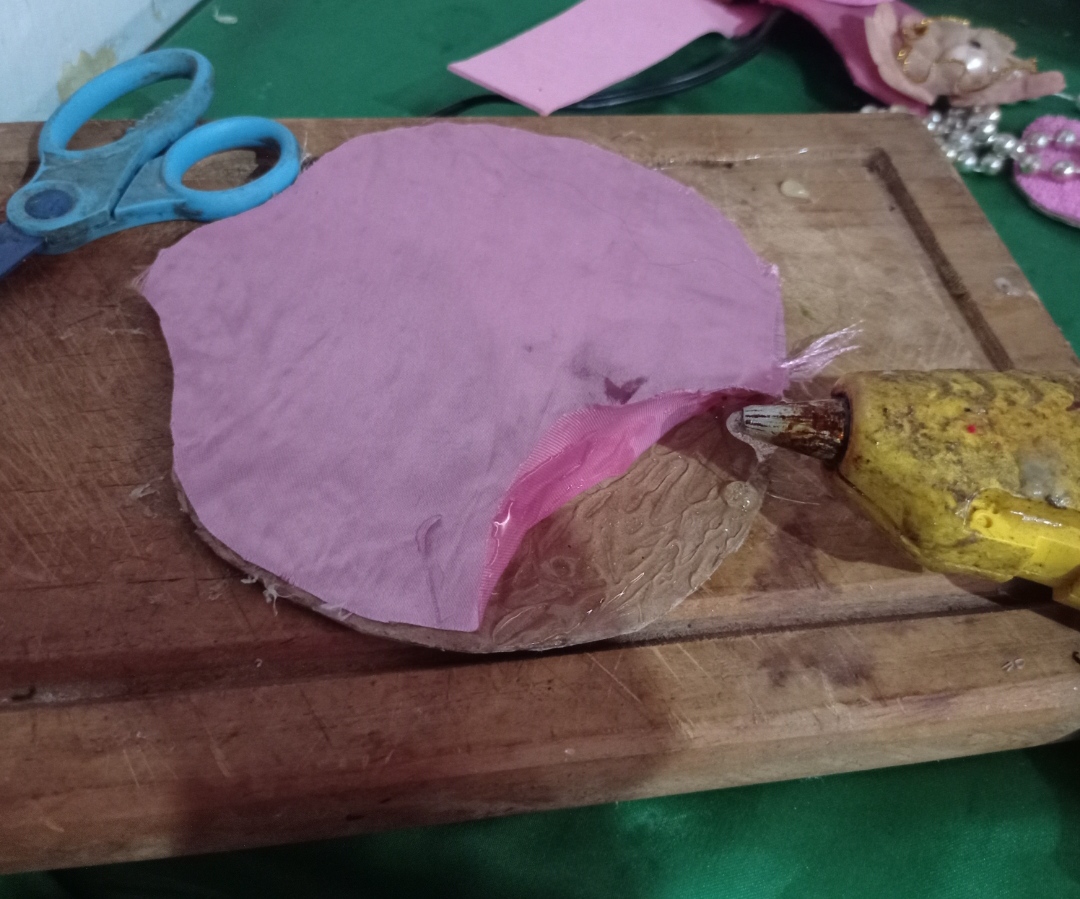
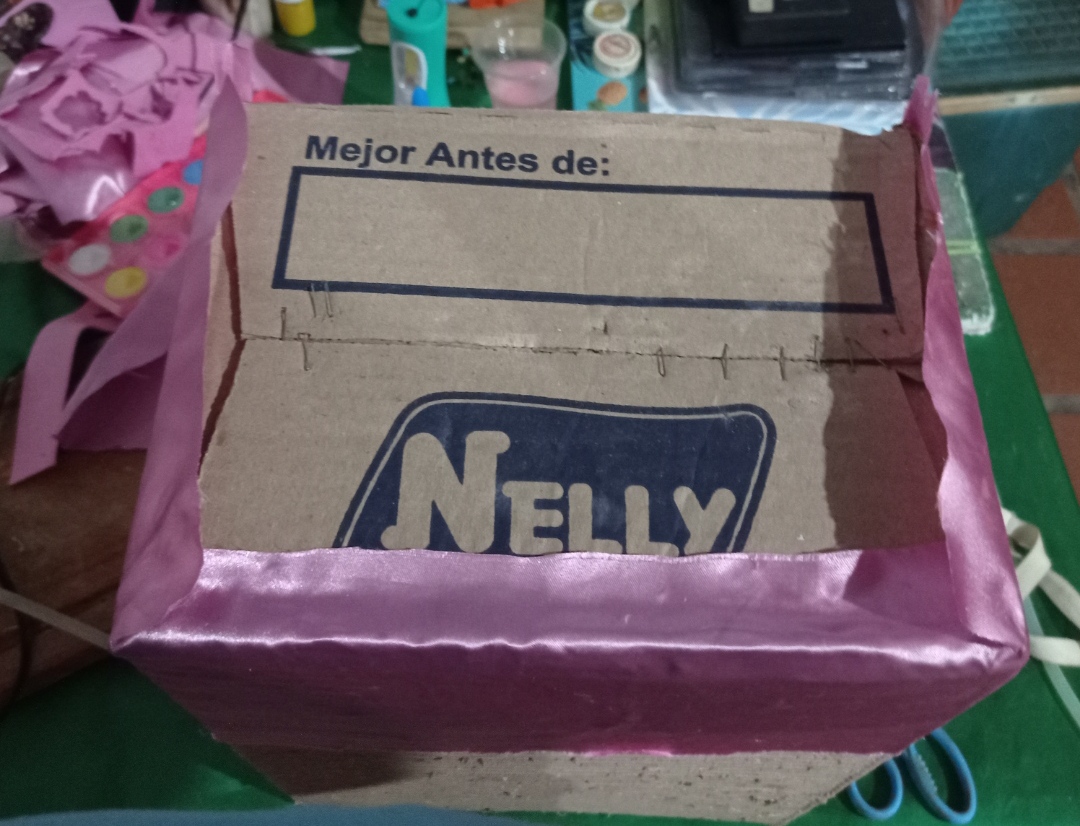
Procedemos a pegar la tela en la parte baja de la caja
>We proceed to glue the fabric on the bottom of the box
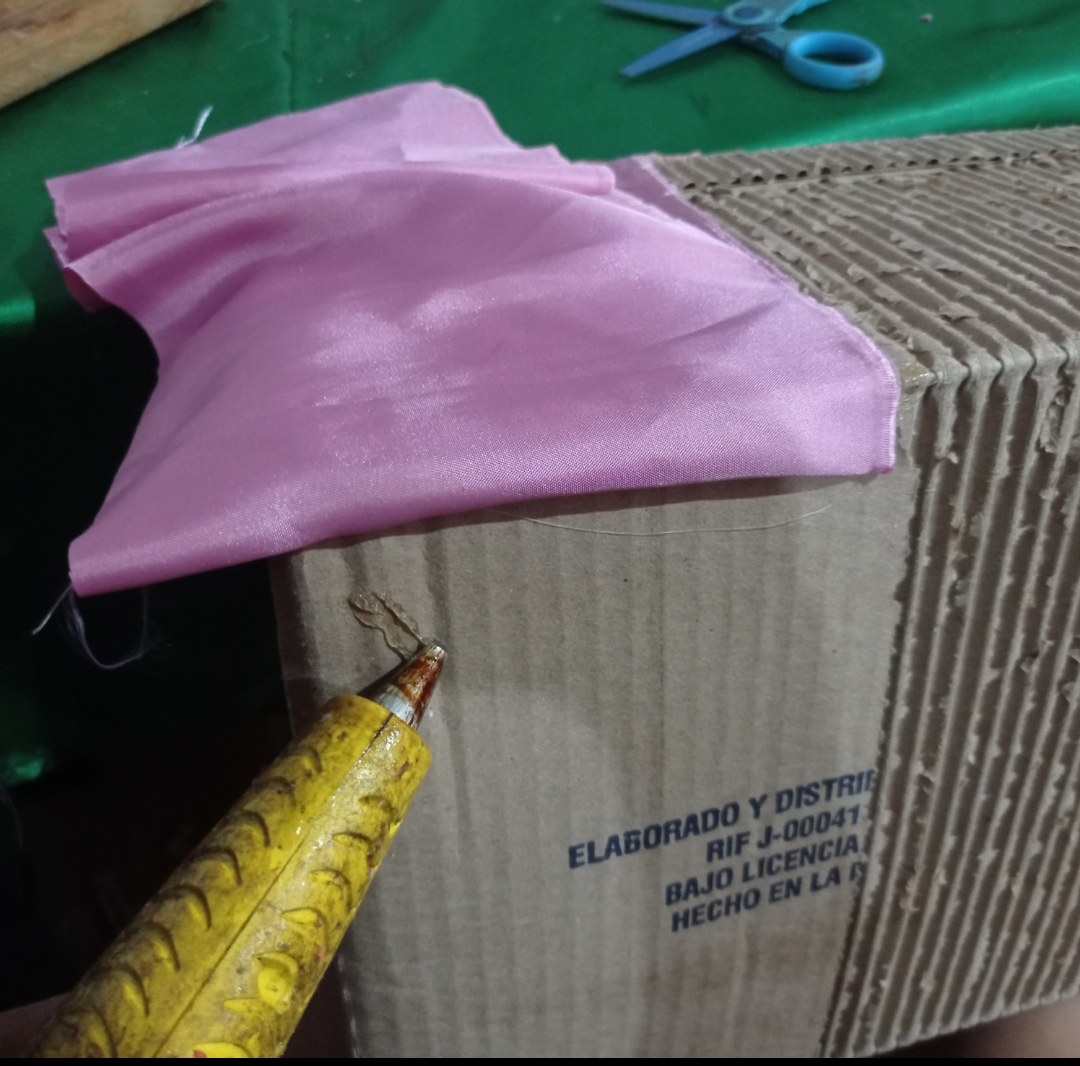
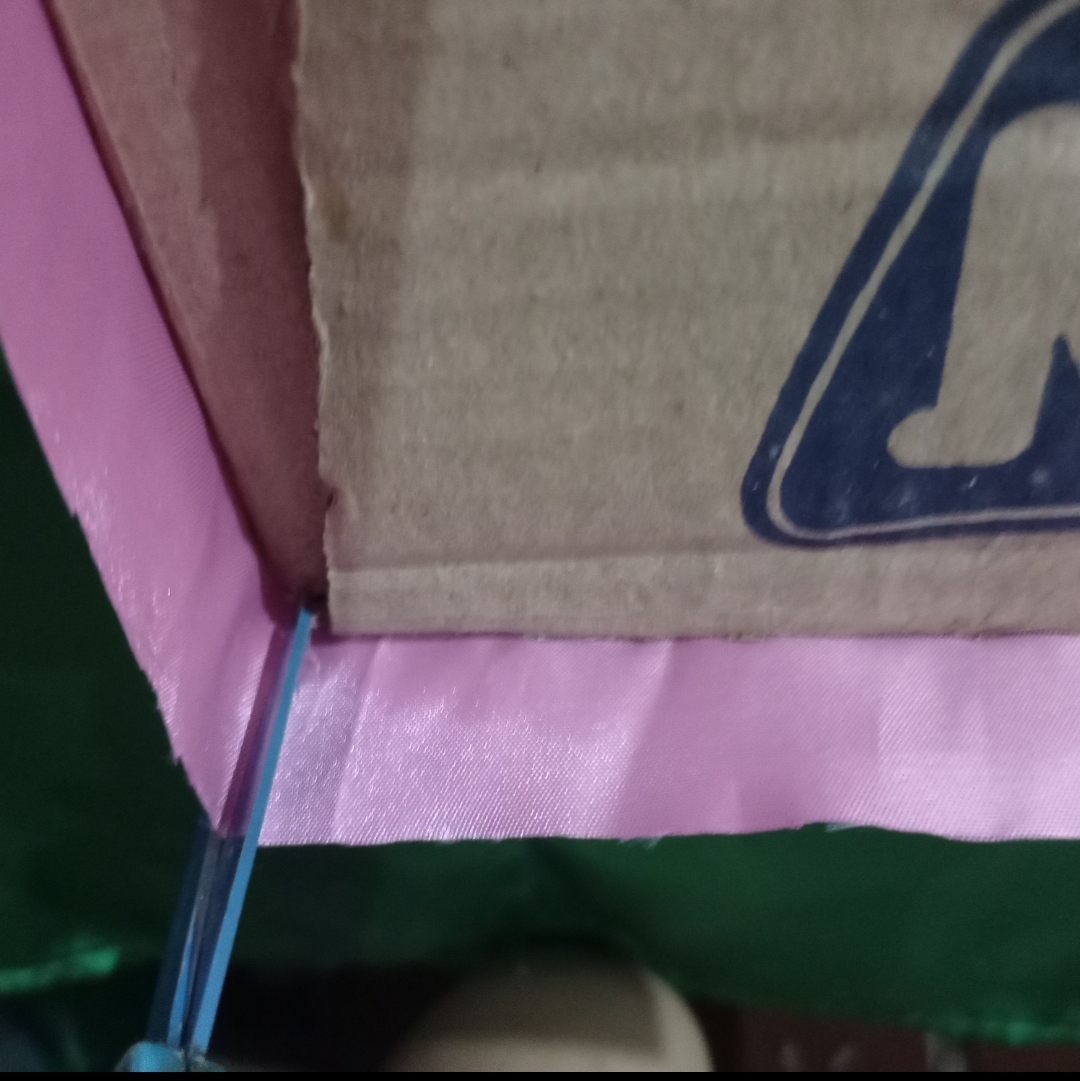
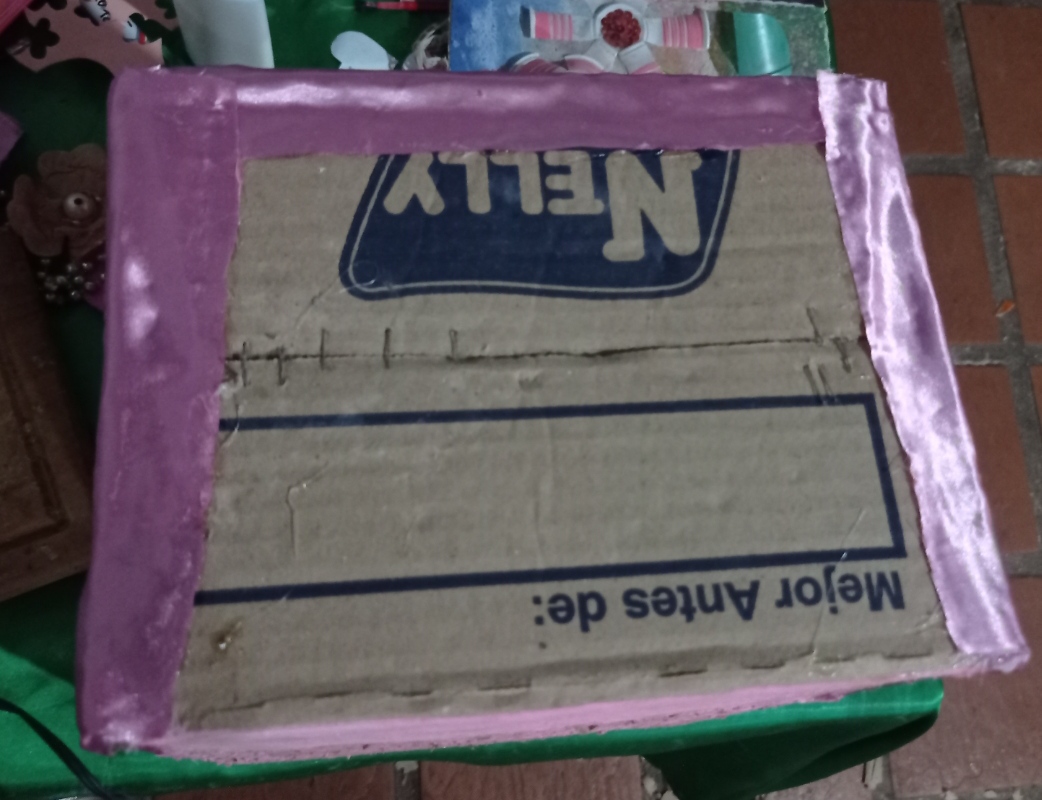
Cortamos y Pegamos los bordes
>Cut and glue the edges
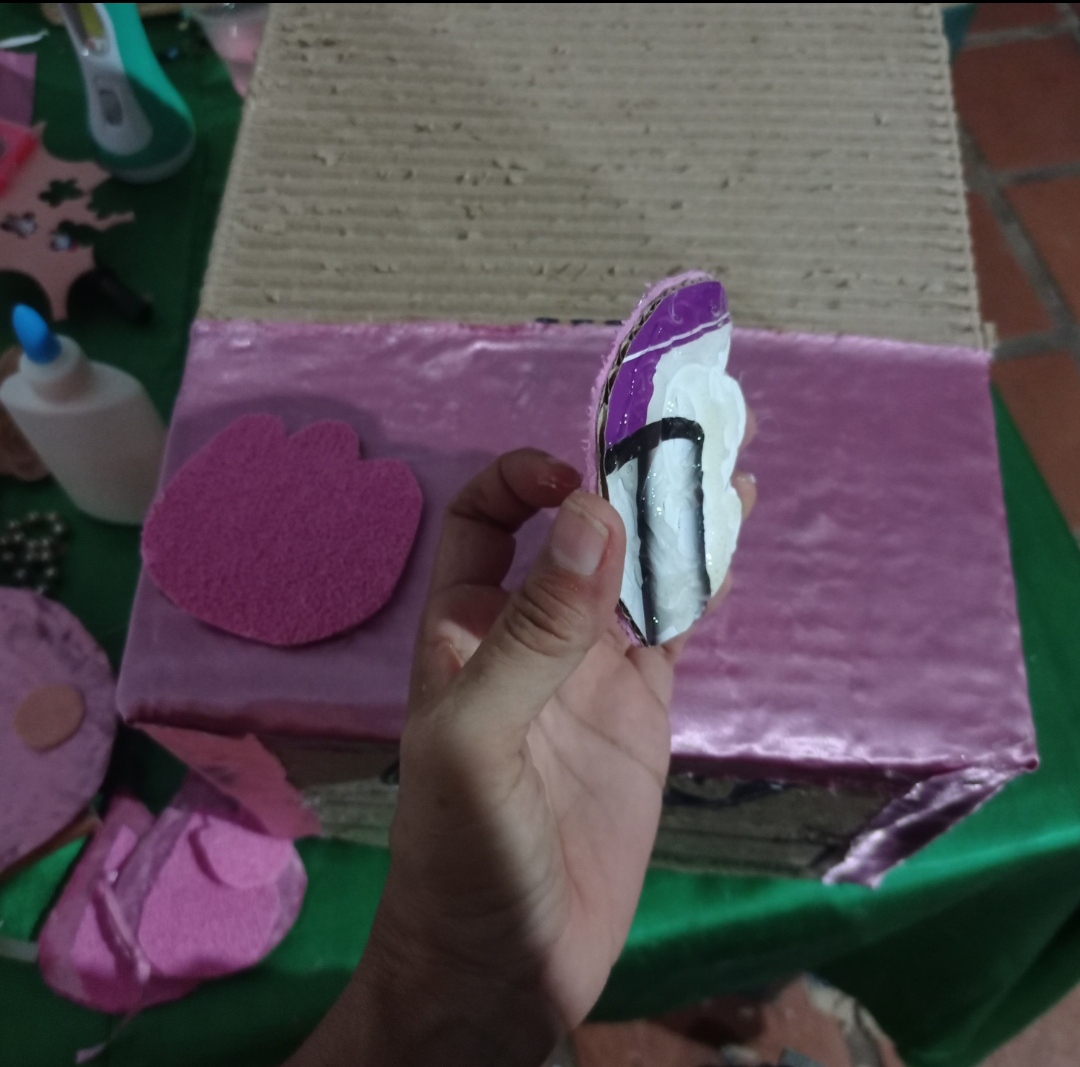
Pegamos con silicon las paticas
> We glue the paws with silicone
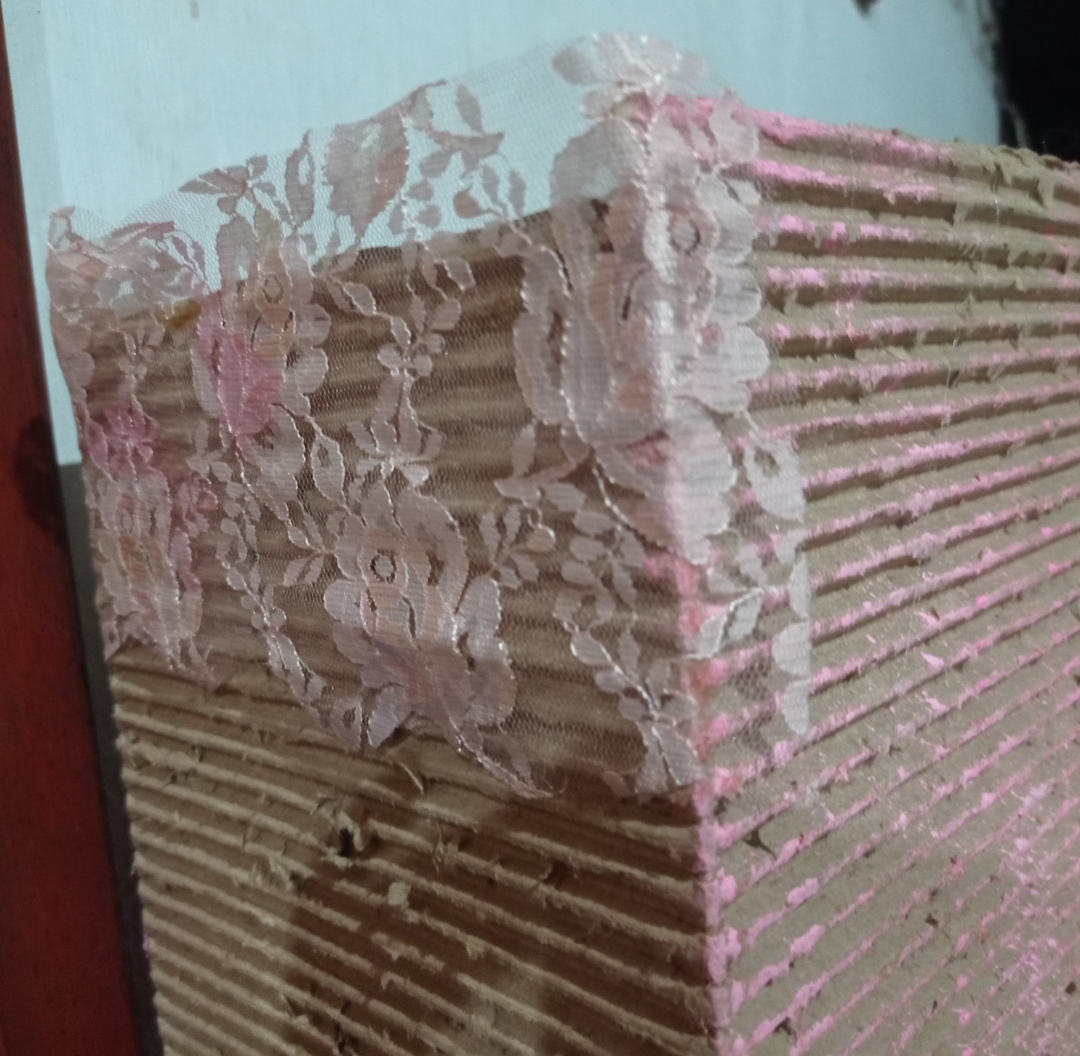
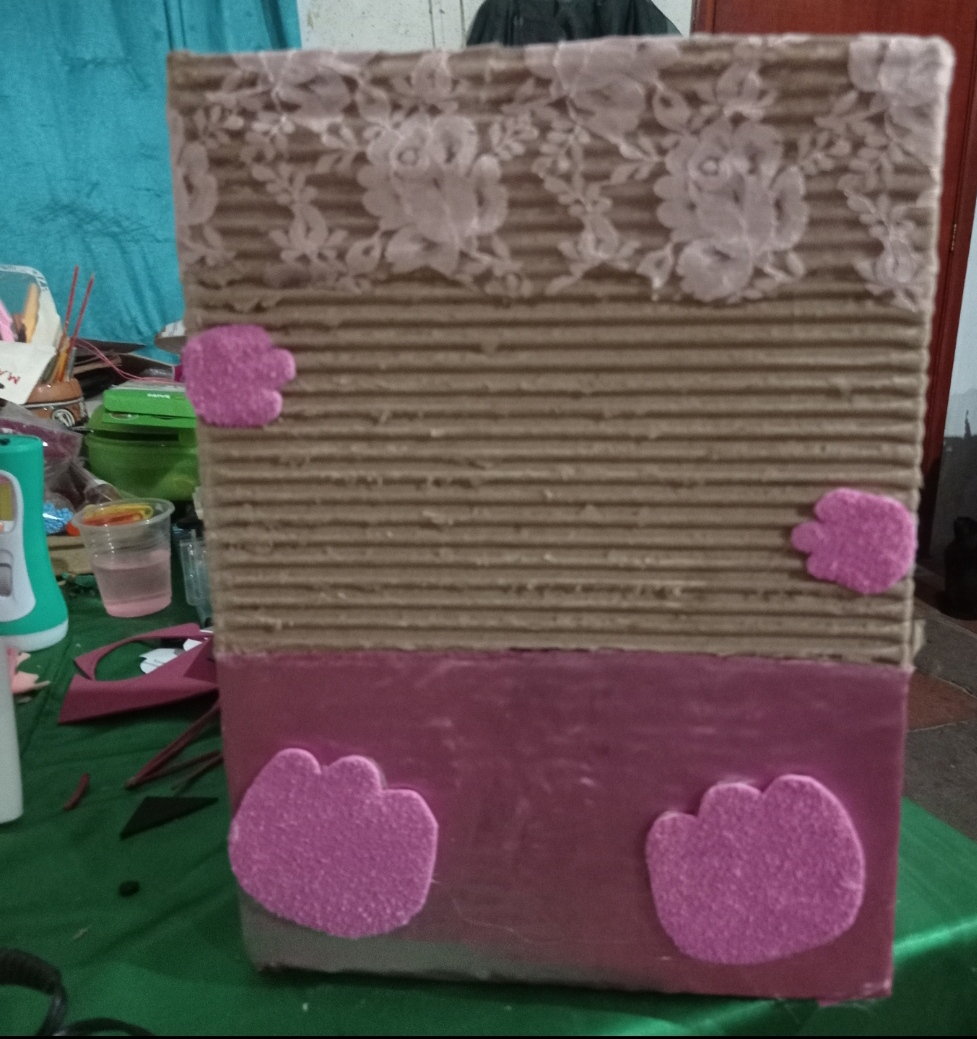
Luego la blonda
>then the lace
Aquí lo tenemos listo
>Here we have it ready
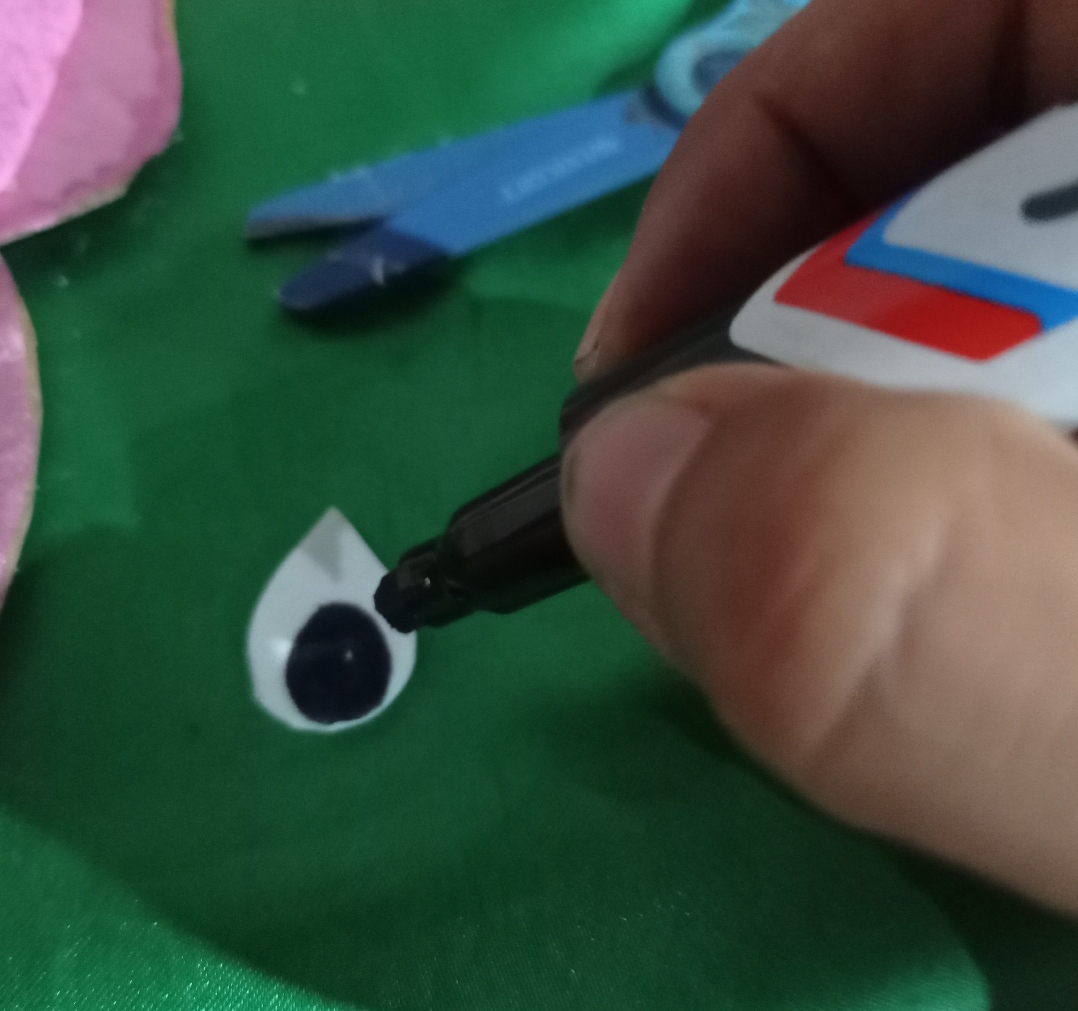
Cortamos una lágrima y le pintamos en negro con marcador la parte de adentro del ojo
>We cut a tear and paint the inside of the eye in black with a marker
Armamos la cabeza pegándole lo que le falta. La boca, los ojos y los bigotes. Luego finalizamos pegándolo en la caja y listo. Decoramos con un lazo, la flor y perla corridas
>We put together the head by gluing what is missing. The mouth, the eyes and the whiskers. Then we finish by sticking it in the box and that's it.
We decorate with a bow, flower and pearl runs
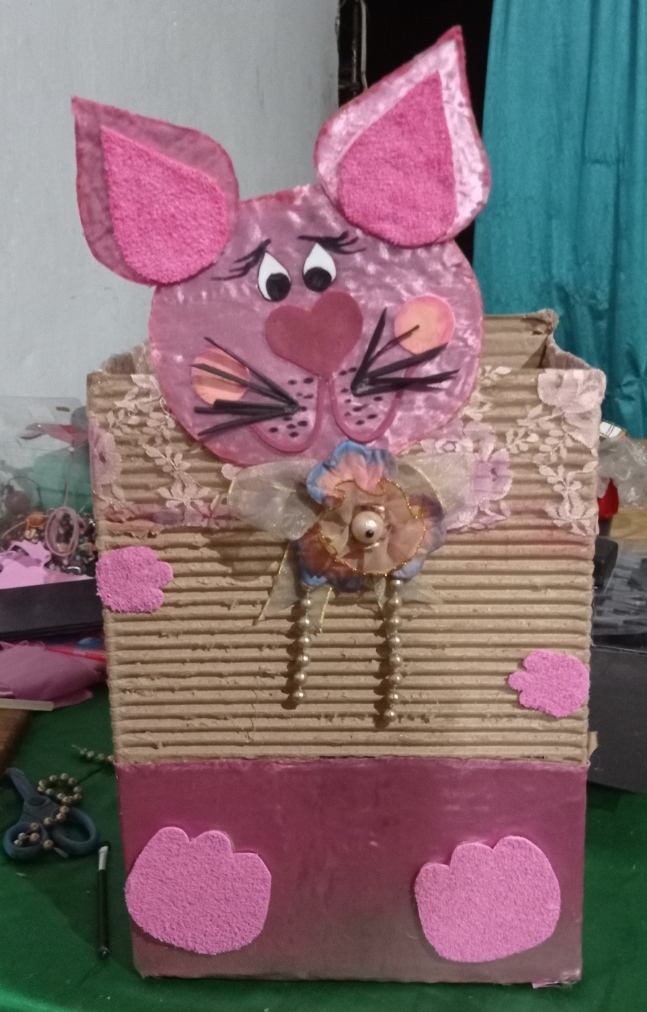
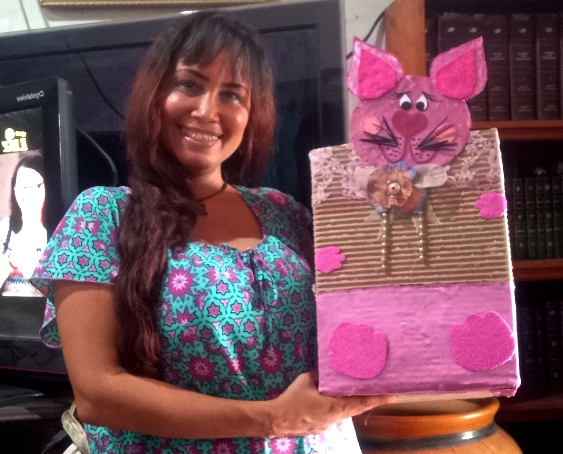
¡¡Mira qué lindo quedó!!
>Look how cute it was!!
# ¿Que les pareció este bello arte?
## Esperaré sus respuestas
># What did you think of this beautiful art?
## I will wait for your answers
Feliz día a todos.🤗
>Happy day to everyone.🤗
Las fotos fueron tomadas con la cámara de mi teléfono Redmi note 9
>The photos were taken with the camera of my phone Redmi note 9
Me alegra que hayan disfrutado de mi Tutorial👏
I'm glad you enjoyed my Tutorial👏
¡Gracias por estar aquí!💞
Thanks for being here! 💞