Back to running some further Amarr Cosmos missions. What I needed was Mane’s Message, but that would take a few missions before I'd get it. Once that is done, you end up being free to run quite a few different ones.
Prefarming
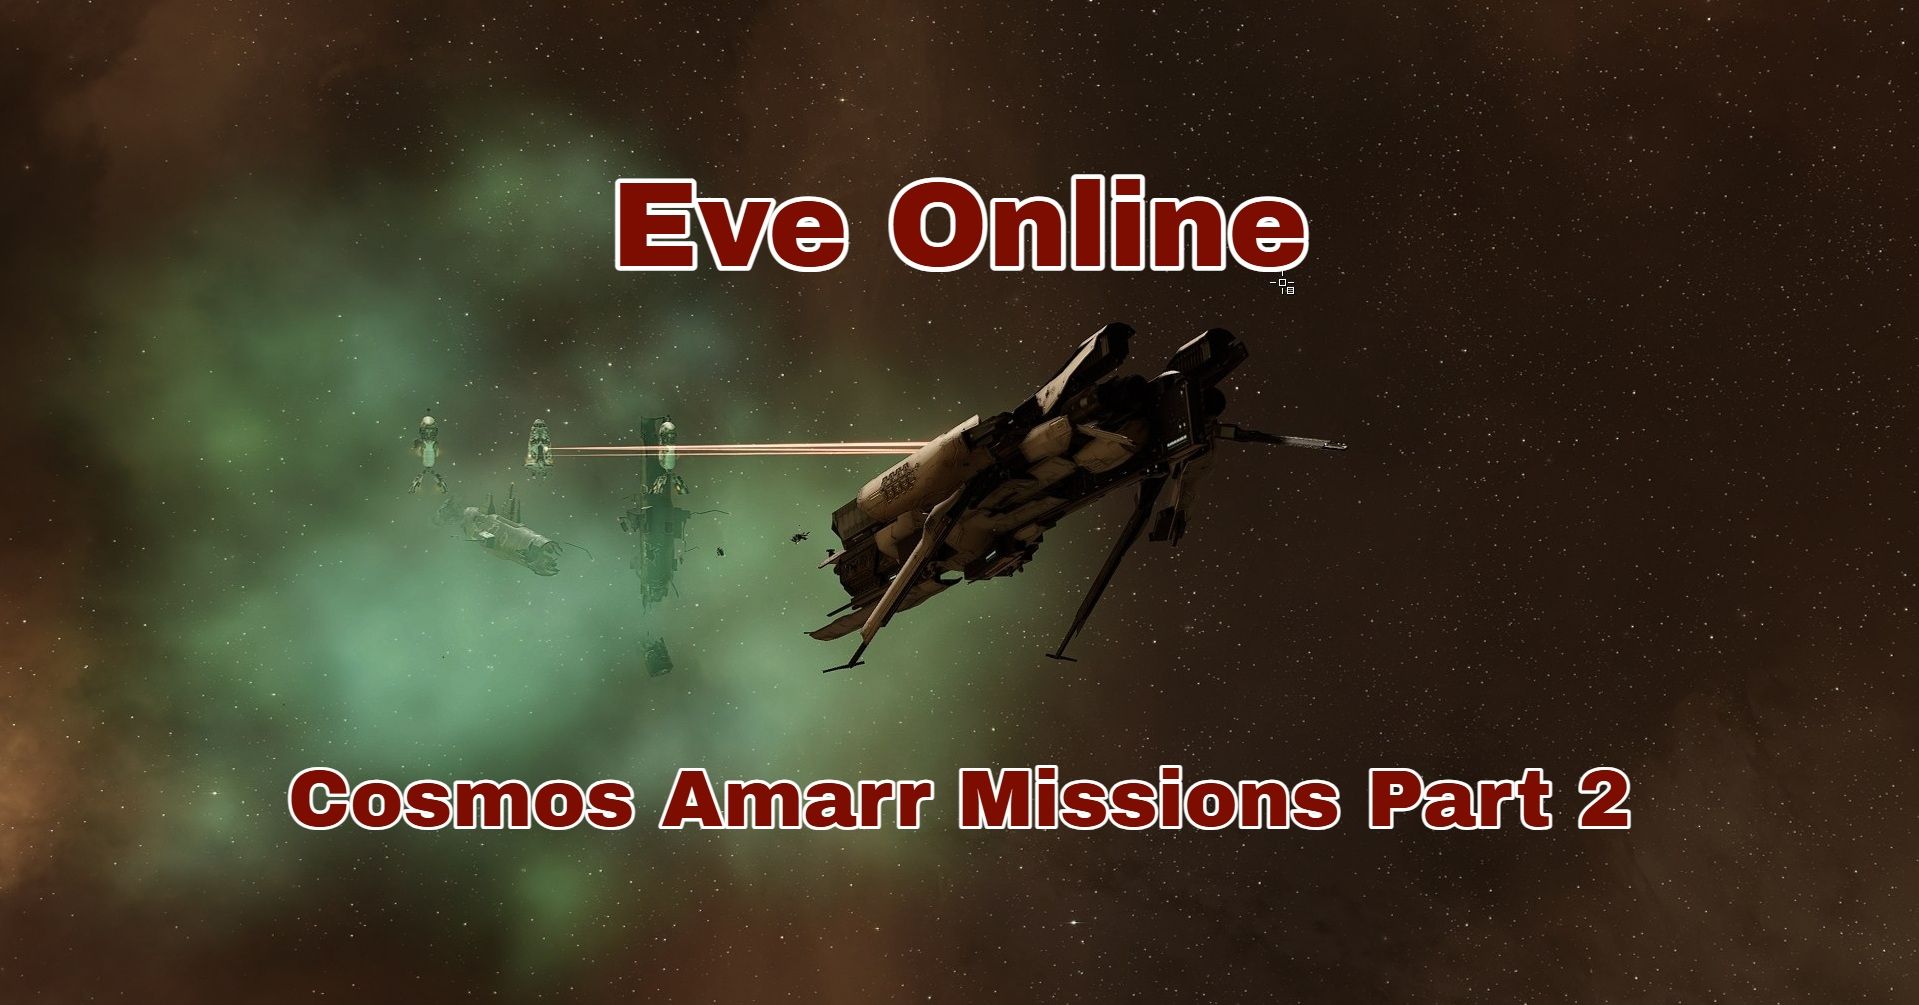
Head over to Contested Amarr Crimson Keep in Garisas. Due to the number of battlecruisers and ships in the three pockets, you will be fighting. Best to bring a battlecruiser of your own.
A couple of the pockets have Blood Factories in them. While you won’t be needing any for now. You do need 5 of them at some point. Since you are here, you might as well pick some up.

In the second pocket is where you will find the container to pick up some Laser Pistols at which are named the same name. Along with another Blood Factory. Kill off the NPCs you land next to first. Then tag a frigate on the far left or right to manage pocket aggression.
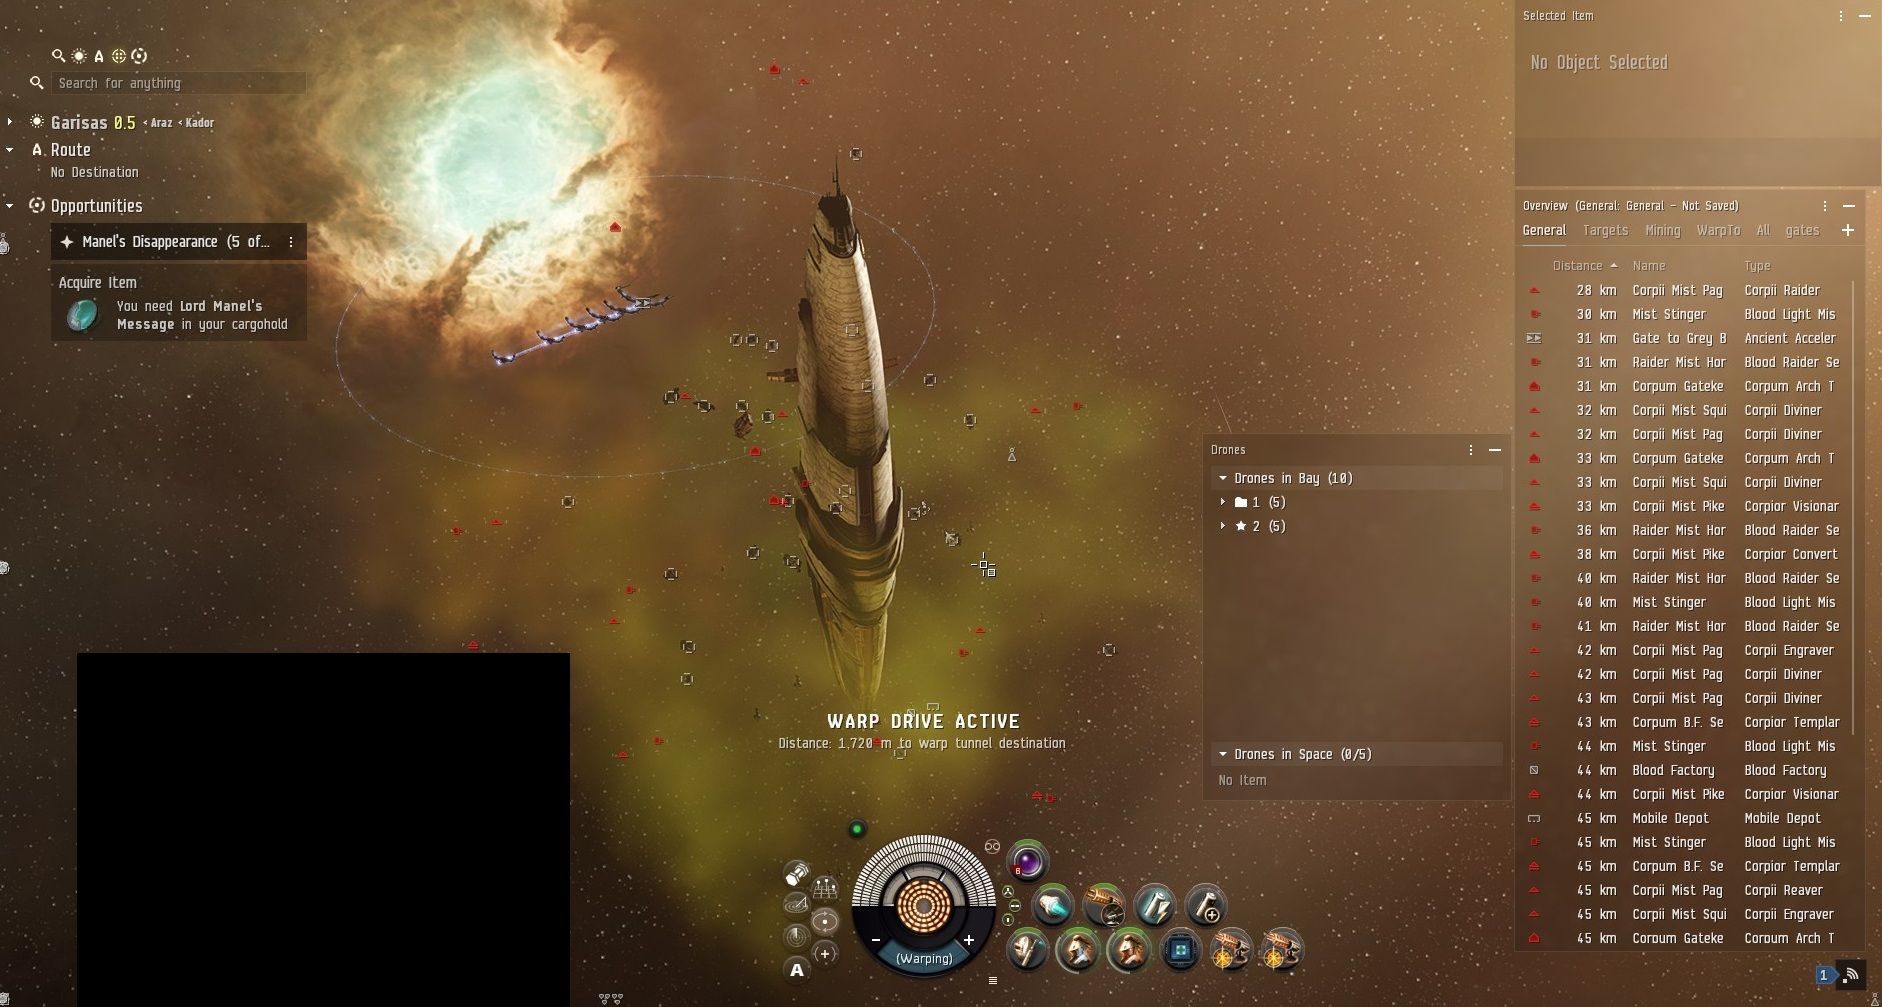
While at this point, you could leave since you now have the Elite Laser Pistols. The final pocket has further Blood Raider Scientists along with an Anema Bluechip (in Rebuilt Asteroid Station) that will be needed much later. Since you are already here, you might as well.
While there are quite a lot of Sentries. You can easily pull range on them and snipe them from a distance. The biggest threat at the four battlecruisers in this final pocket. As long as you are moving, they have a hard time tracking you.
After you clear out the NPCs next to you after landing. You can just tag frigates around the Rebuilt Asteroid. You are mostly just looking to separate the NPCS from the Sentries for an easier time. Then clear the sentries and pick up the loot out of the containers.
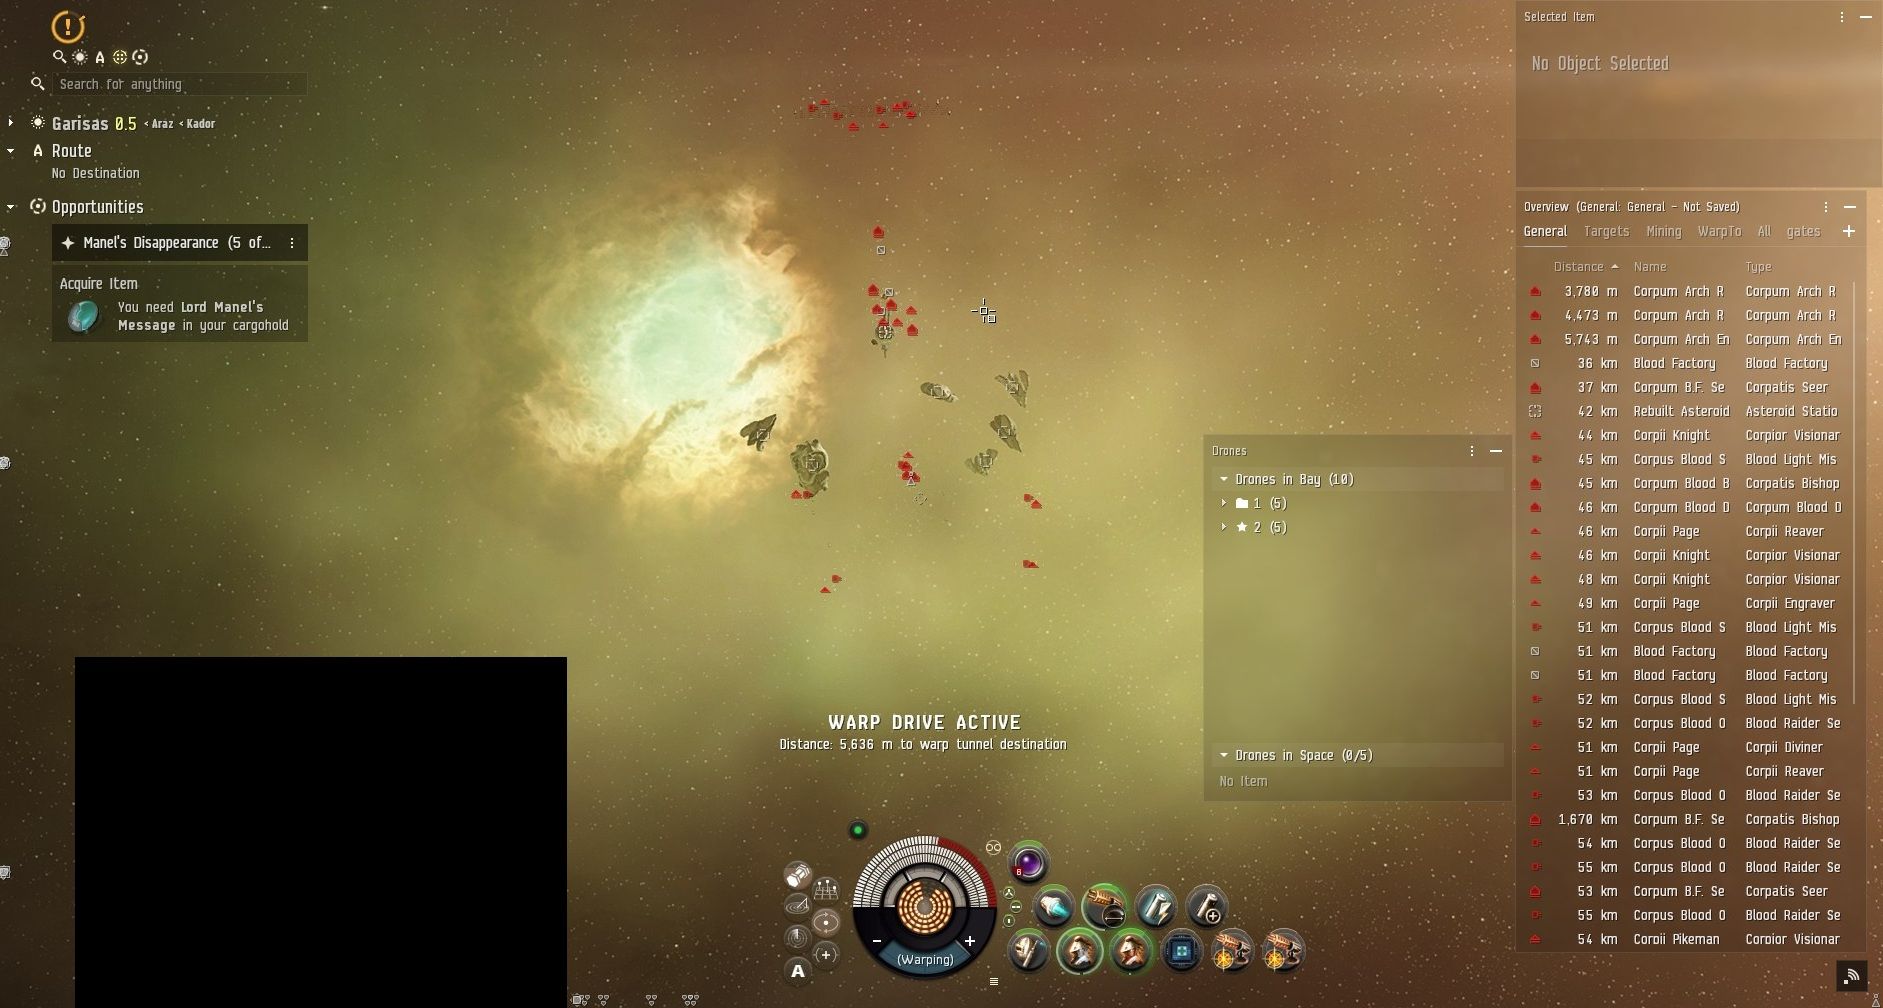
Bartezo Maphante
It was time to head over to Garisas to the Port Maphante beacon. While something smaller than a Battlecruiser can be used, it’s just quicker to have more firepower. As there are some killing missions to be done. Make sure to bring 50 Laser Pistols with you. Along with having at least 200 M3 of cargo free.
The first combat mission yet again has a timer between waves. Thankfully, you only need to wait for one wave. The first wave is just a couple of frigates and cruisers. The second wave is a little harder with destroyers and cruisers. Neither of these should be challenging in most ships.
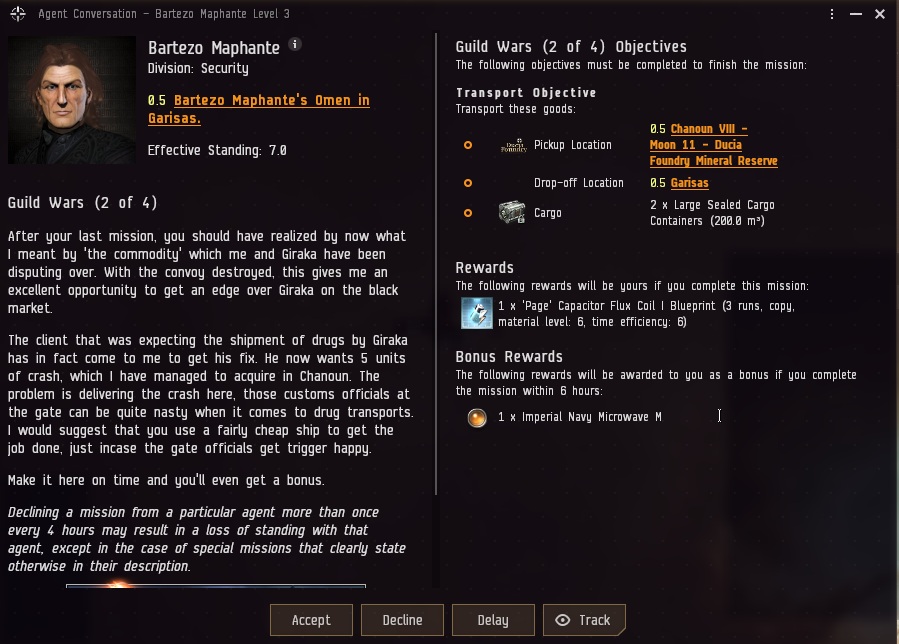
The second mission requires transporting 200 m3 of cargo from a station back to Bartezo Maphante. I only had to go to the next system over and lucked out on getting a rather nice BPC.
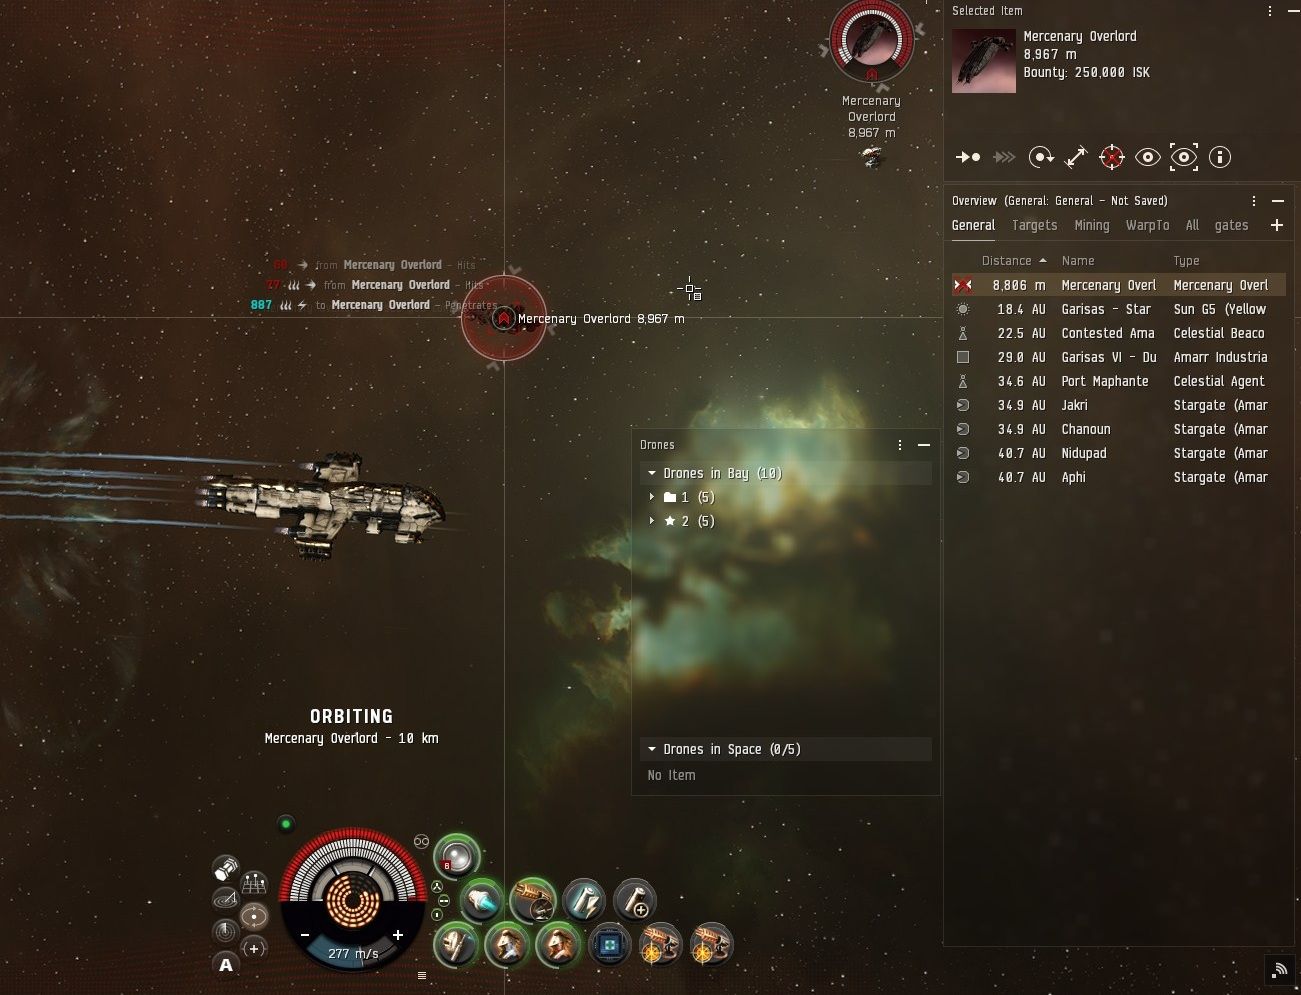
The third mission is yet another combat site with 4 waves. Each wave takes 5 minutes to spawn, with the final wave having a single battleship and three frigates. Every other wave has cruisers or smaller.
The last mission is just turning in those 50 Elite Laser Pistols you looted earlier. You are then given Bertezo’s Message.
Manel Kador
Many of the things you have done now lead up to your ability to gain access to Manel Kador. You will need to be in a combat ship and bring with you the Key to Lord Manel's Mansion and Bertezo’s Message. Then head to the system of Chanoun and into Lord Manel’s Mansion.
Despite Manel Kador being a level 1 mission giver. You have to be clear about where he is. This requires clearing two pockets in the complex. Along the way, you should also be looting 10 Blood Grunt Tags, 5 Blood Lower Tier Tags, and 2 Blood Raider Squad Leaders’ Heads. As they will be required for his missions.
Once you arrive at the final pocket in the complex of Lord Manel’s Mansion. Just do the four turn-in missions for Bartezo’s Message, Blood Grunt Tags, Blood Lower Tier Tags, and finally Blood Raider Squad Leader’s Heads.
After doing all these things, just for level 1 missions. You now have what you wanted a while ago, and that is Lord Mane’s Message. They sure love to make you work for it in the Amarr Cosmos missions.
Odan Poun Part 3
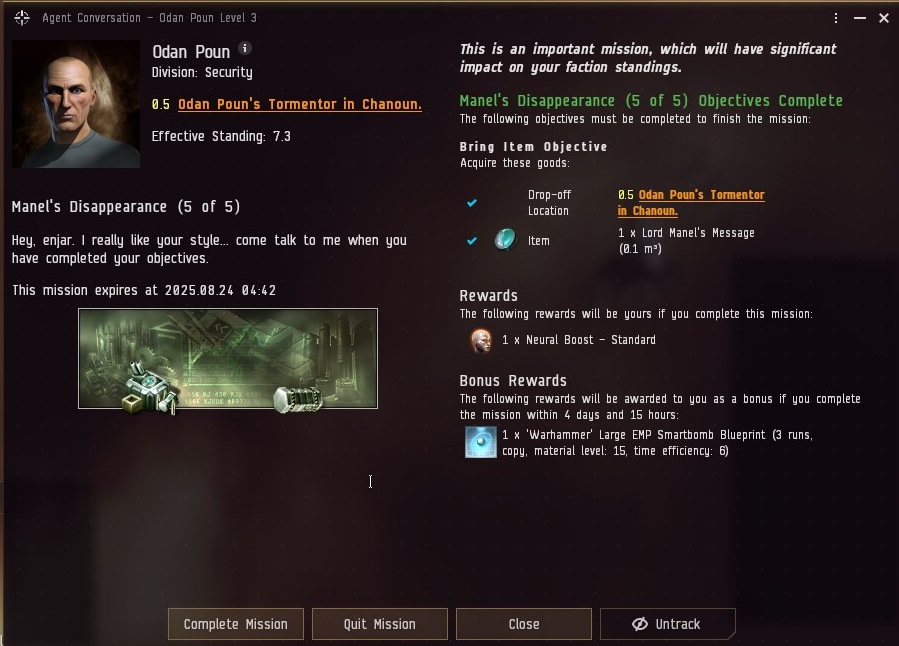
Now you get to fly back to Odan Poun in Chanoun at the Governor’s Audience Chamber beacon. Just so you can turn in Lord Mane’s Message. Hopefully, you got a decent BPC for doing so.
Chari Shakai
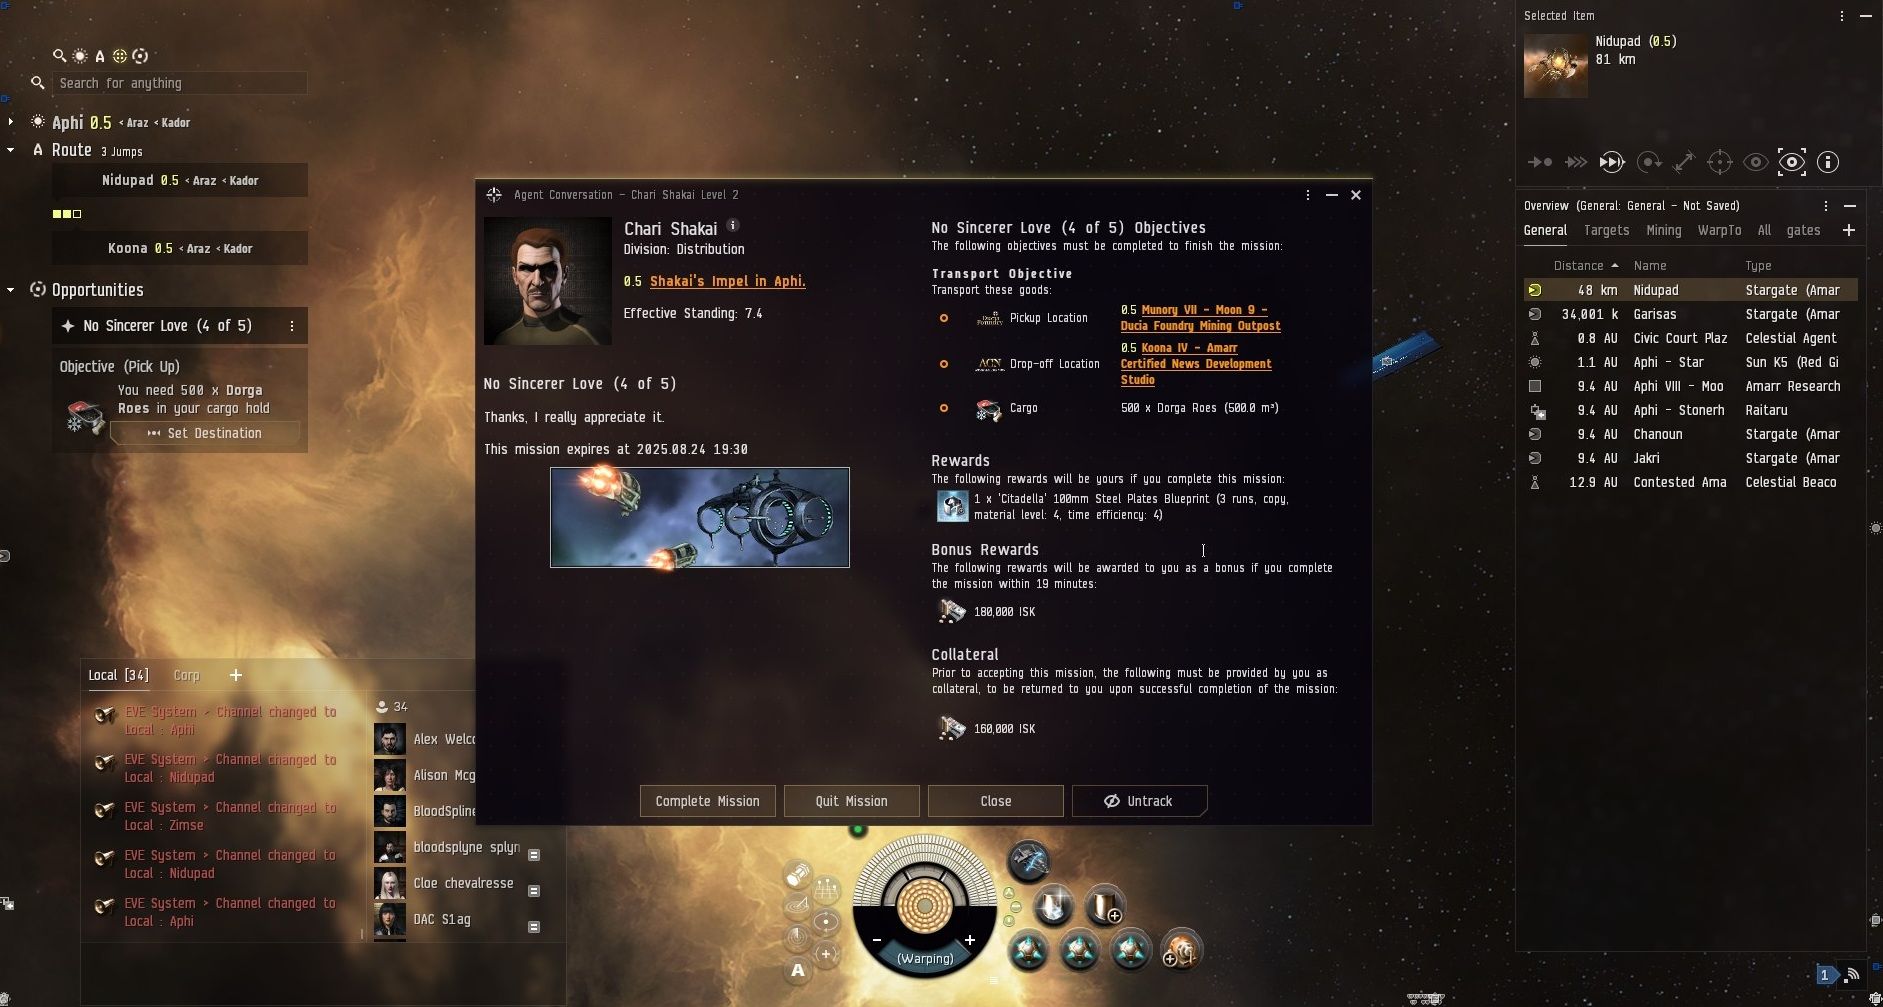
After all of that, it’s time for a few courier missions. You will need 500 m3 of free cargo space to run the next mission set. Chari Shakai can be found in Aphi at the Civic Court Plaza beacon.
At least for me, some of the BPC at the time of writing this that I got from running his five missions would cost more in materials to craft. So, keep an eye out, as that is usually not something you see from these kinds of special blueprints. At least he gives you quite a few BPCs for your time.
Stem Robikar
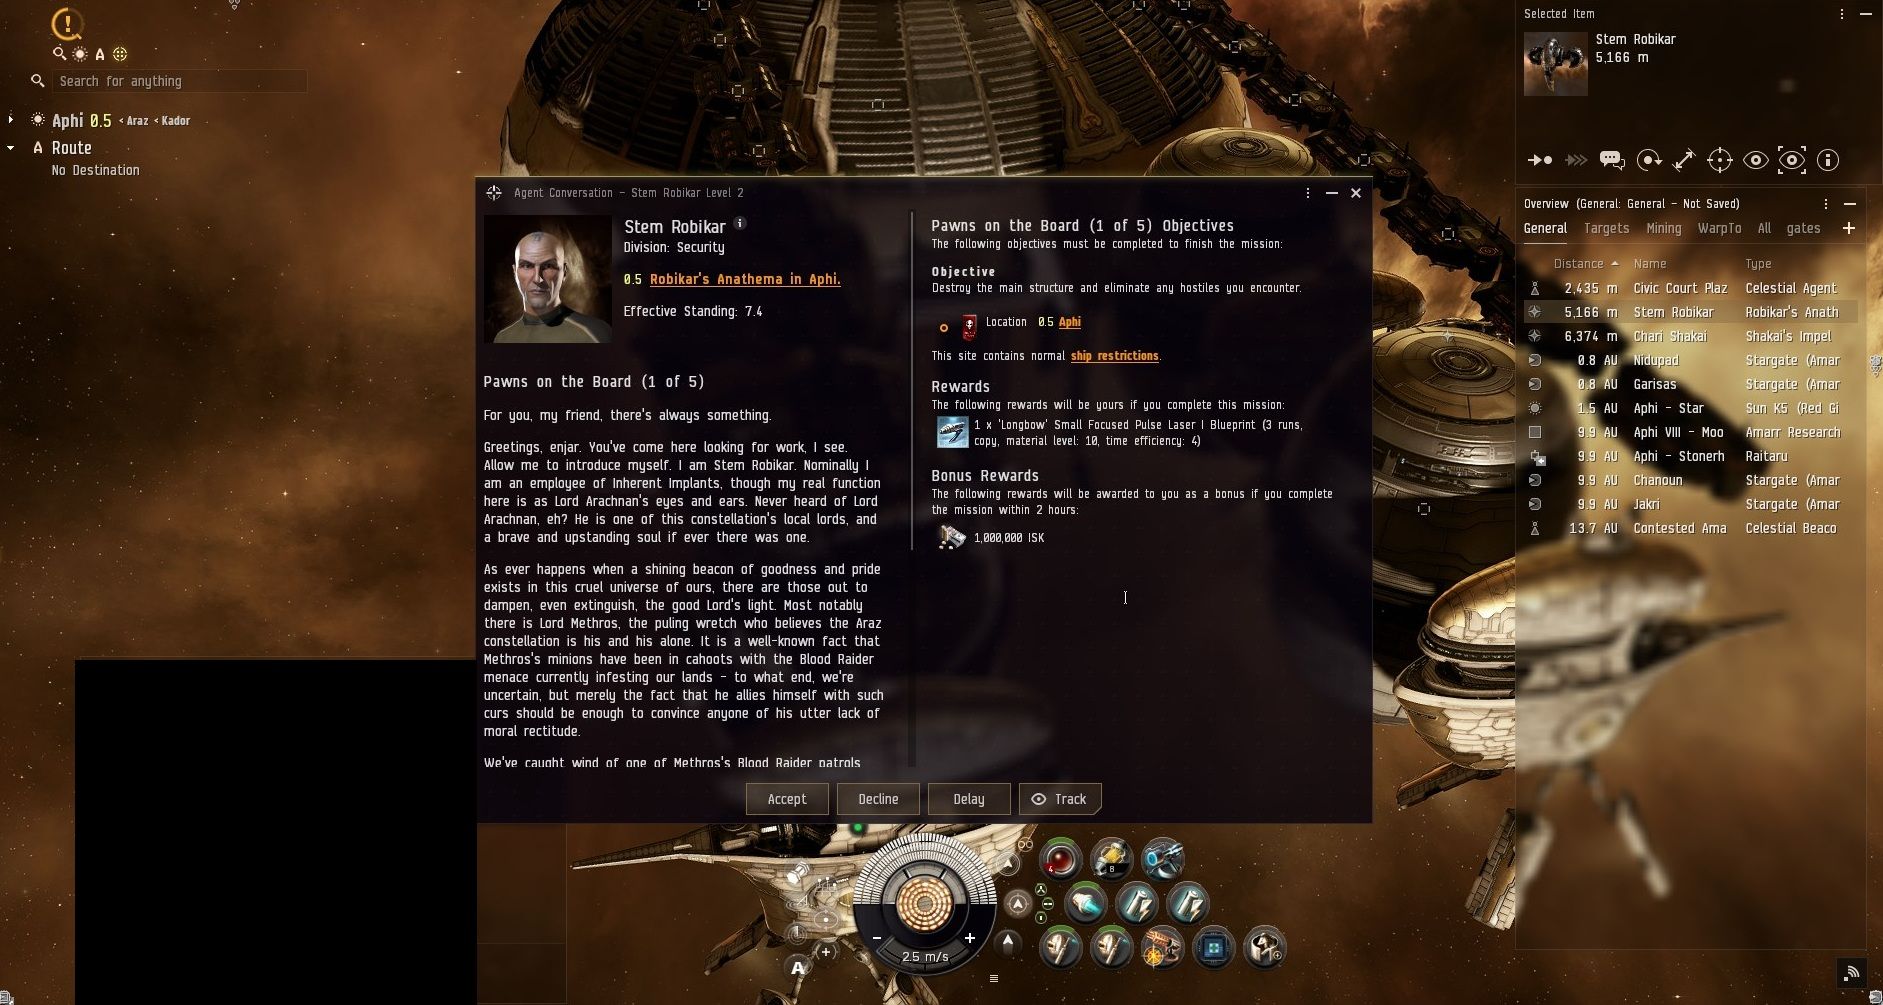
Since you just finished working for Chari Shakai, you might as well start missions from Stem Robikar, who is also at the Civic Court Plaza beacon. Make sure to pick up your spare Dynasty Ring before the second mission, as it’s needed for the turn-in.

While I used a T3 Destoery for the first kill mission. That was a bit of a mistake. Not because of the couple of rats that needed to be taken out. The Blood Raider Main outpost you need to destroy ended up having far more health than I was expecting. So, it took a little while to take it out. Thankfully, there were no waves.
The second mission from Stem Robikar requires you to turn in a Dynasty Ring that you got from killing rats in the asteroid belts earlier.

The last 3 remaining missions are all couriers, with each item only taking up 0.1 m3 of cargo space. In the end, you get Robikar Recommendation.
Final Thoughts
. Disclosure: I might receive in-game rewards.
Screenshots were taken and content was written by @Enjar about Eve Online.