
[Esp]
**¡Saludos comunidad DIY!.**
Hacer bolsitas para presentar tus obsequios es realmente divertido, además que hace el detalle aun más especial.
En mi primera entrega os mostré hacer un modelito muy sencillo y muy chulo, bueno hoy os muestro uno al que le hemos subido un poco el grado de dificultad pero no deja de ser fácil de elaborar.
Usa los materiales que tengas a tu alcance, yo reciclo generalmente de otras manualidades que me van quedando o sencillamente aquellas que ya tienen muchos años las renuevo o tomo sus materiales para hacer otras cosas.
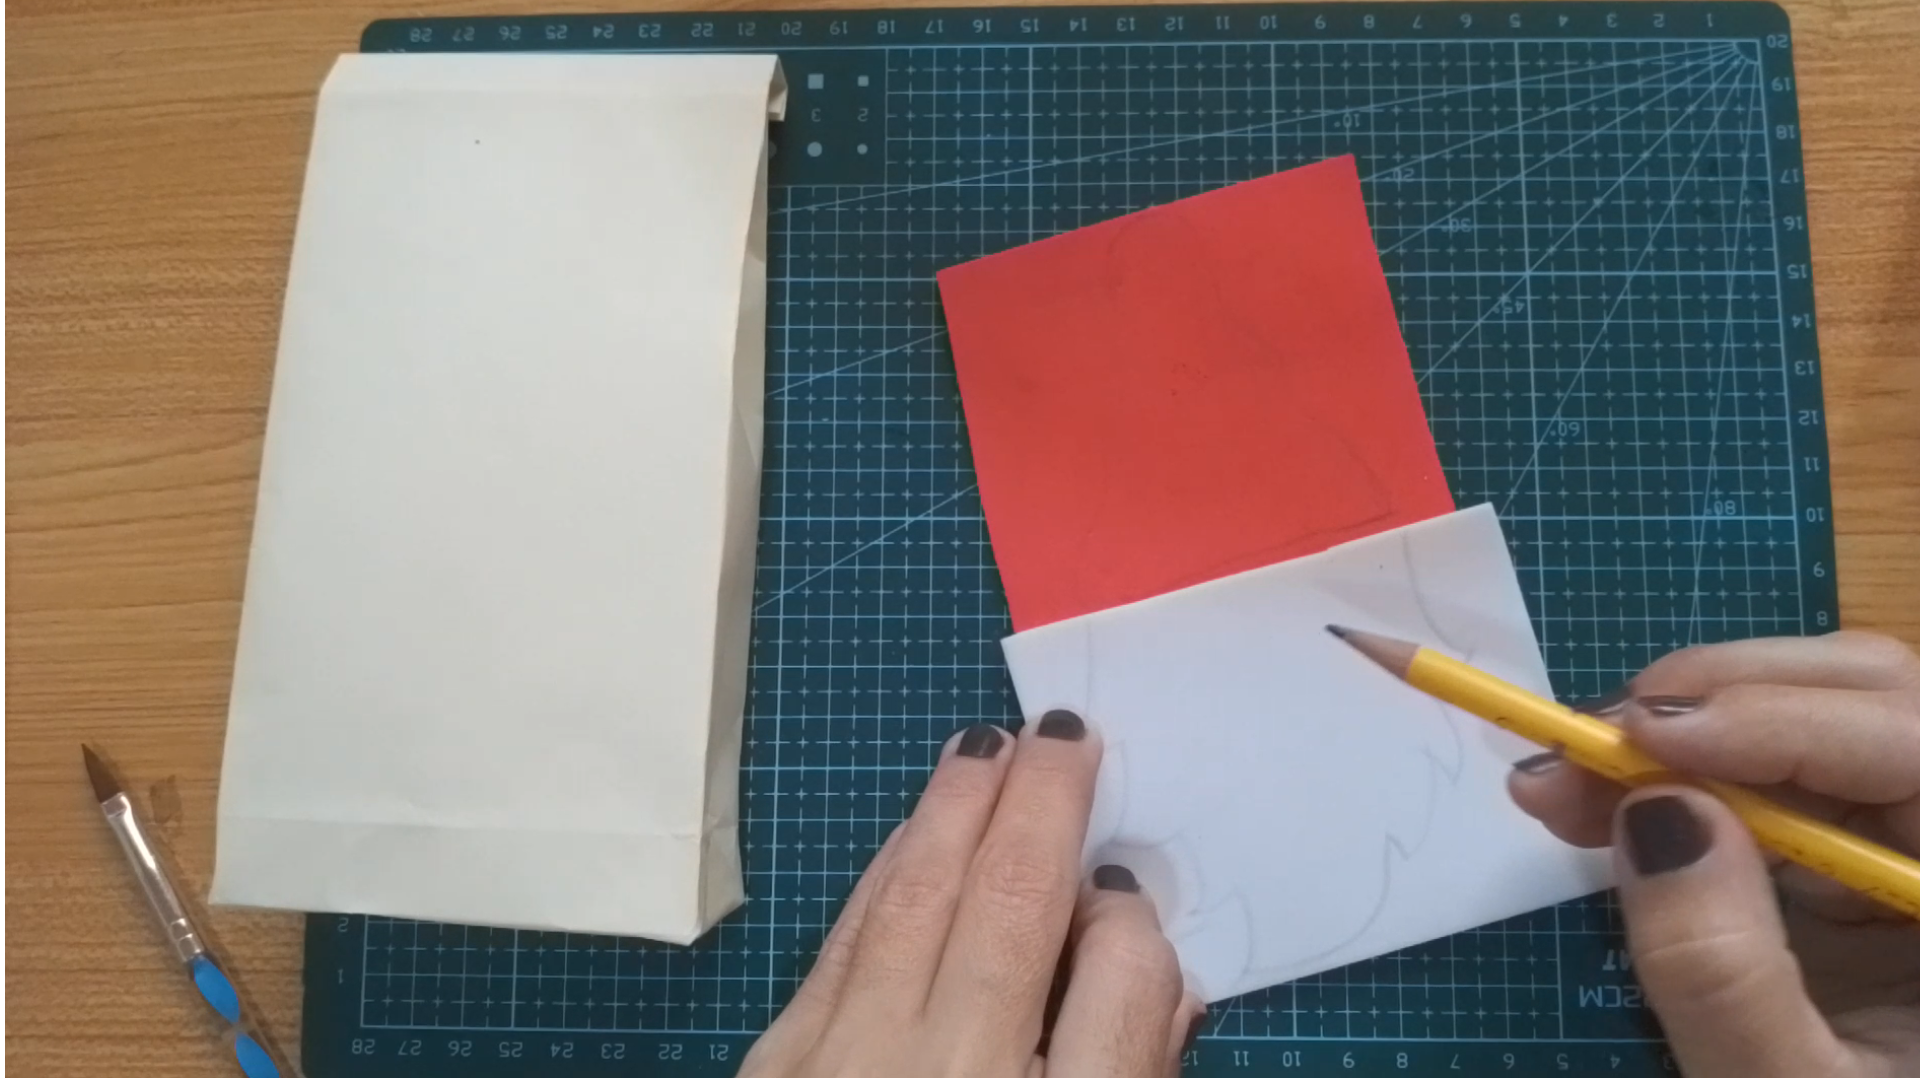
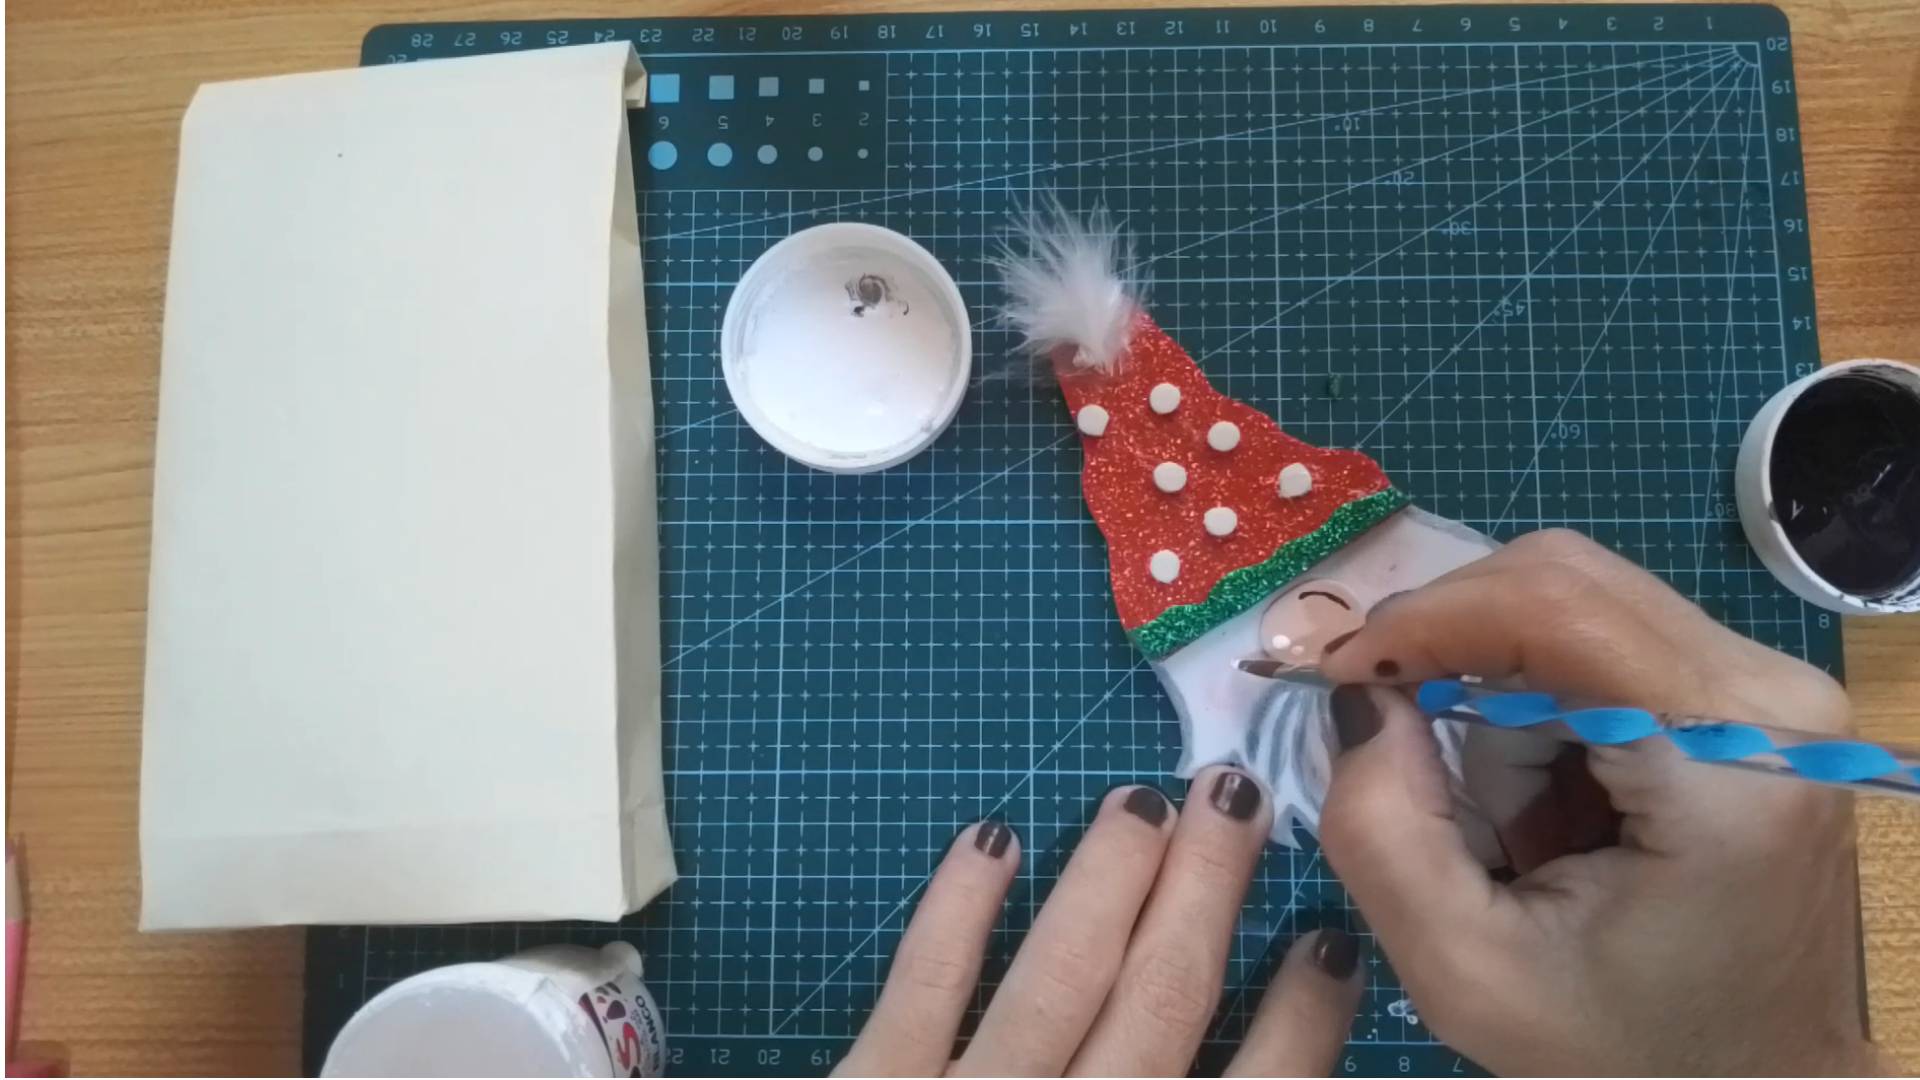
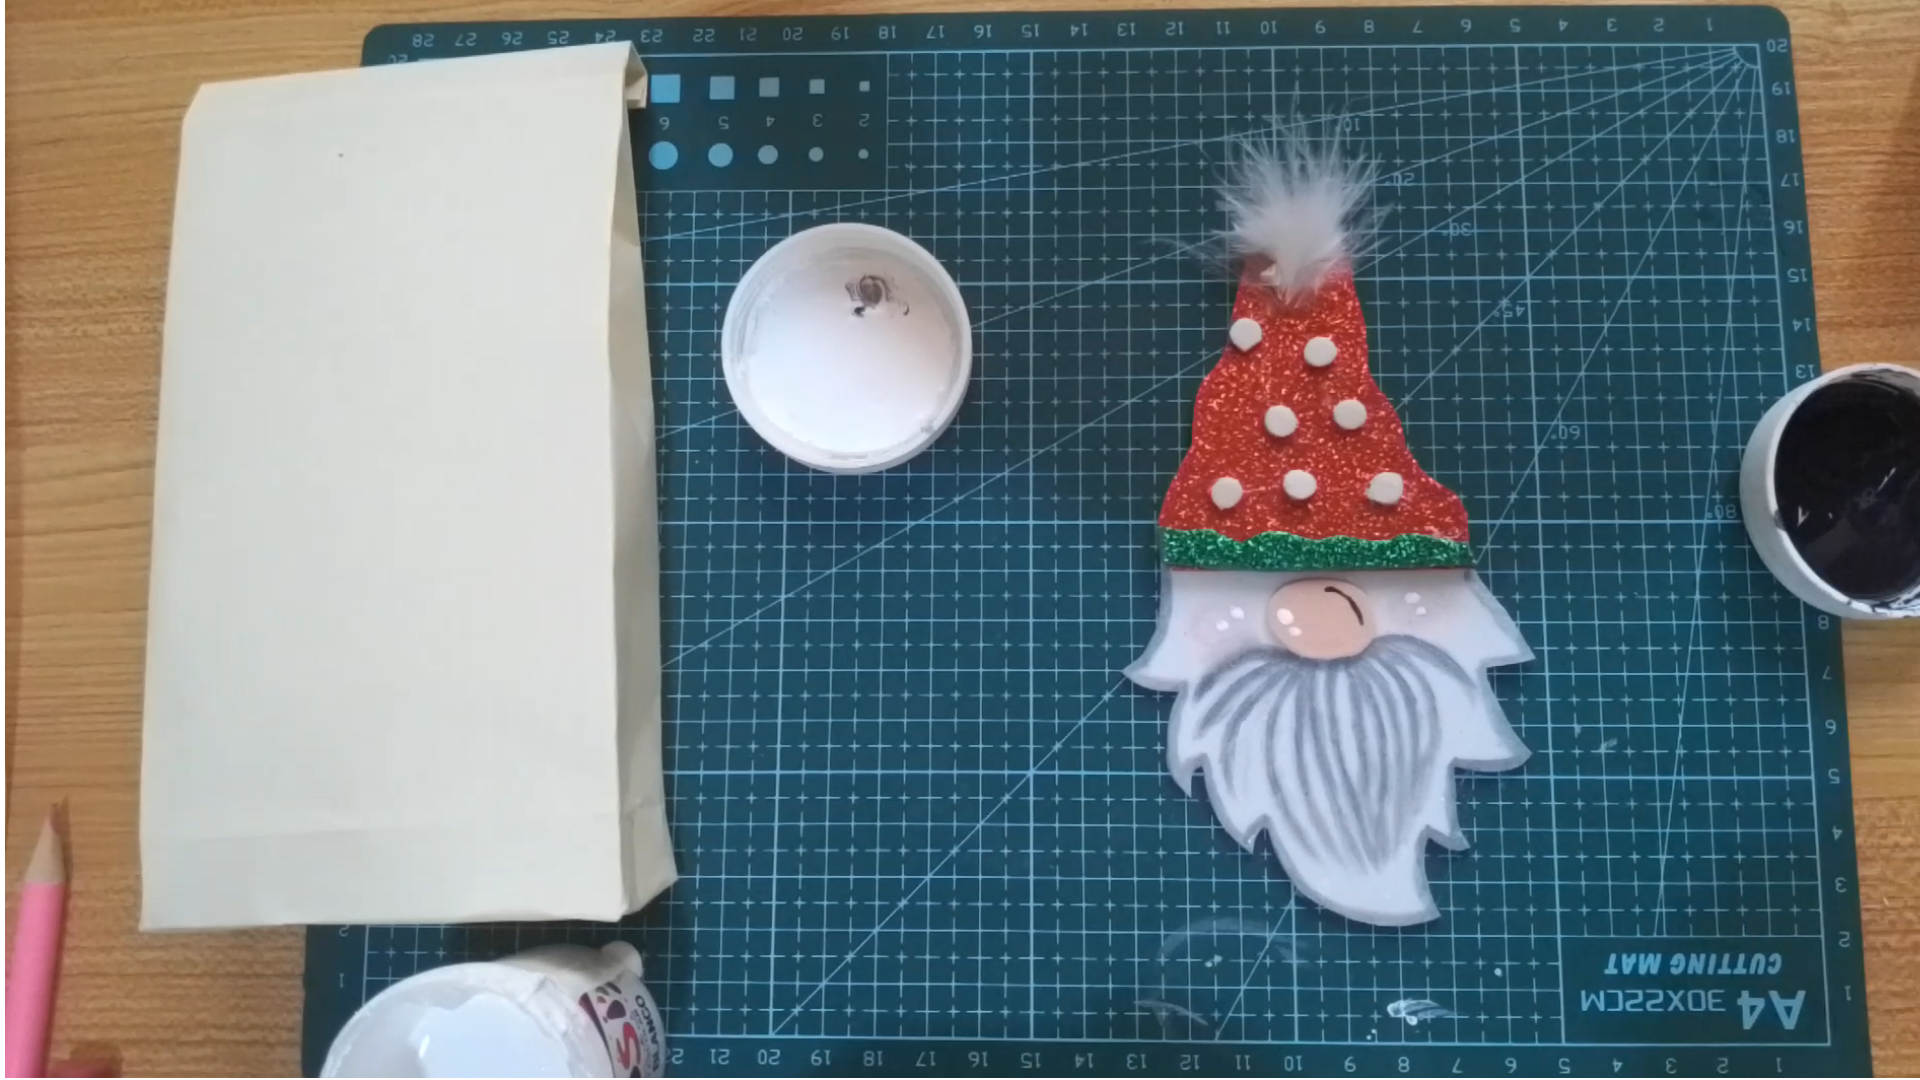
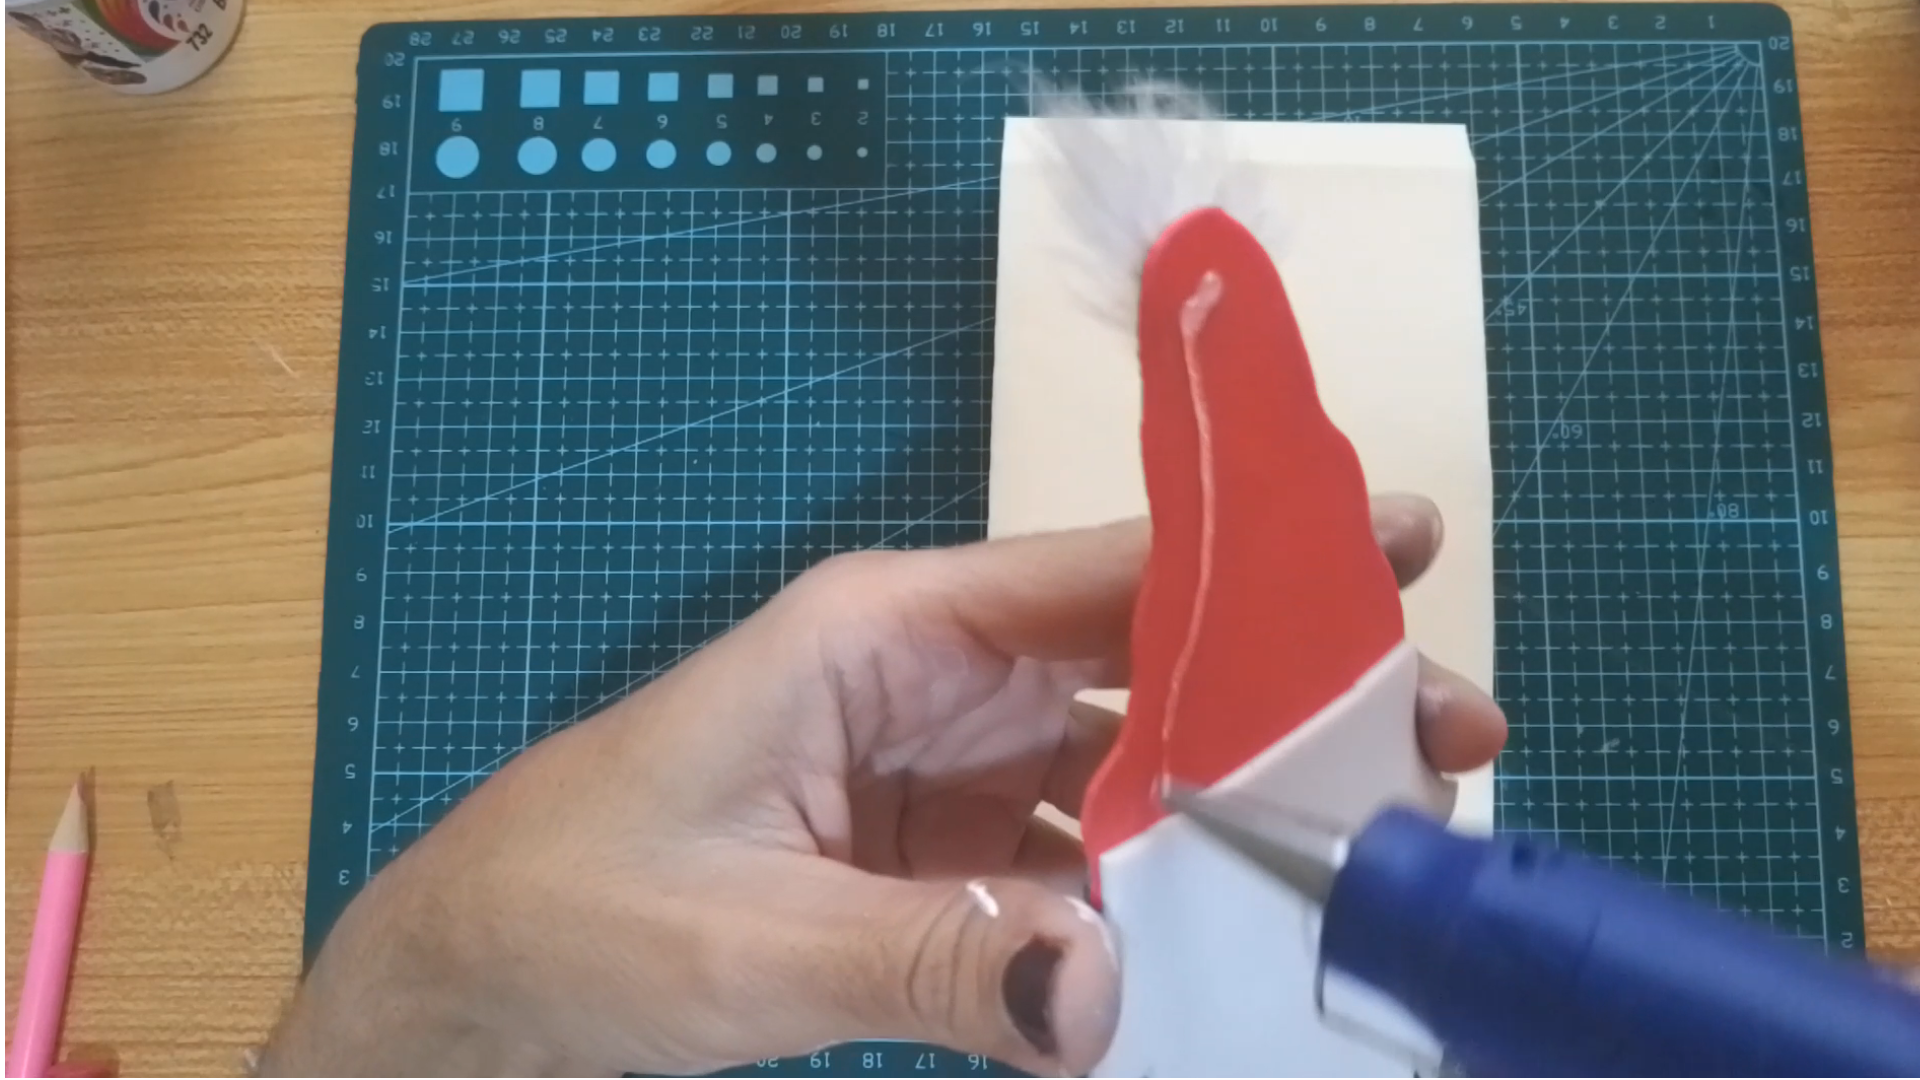
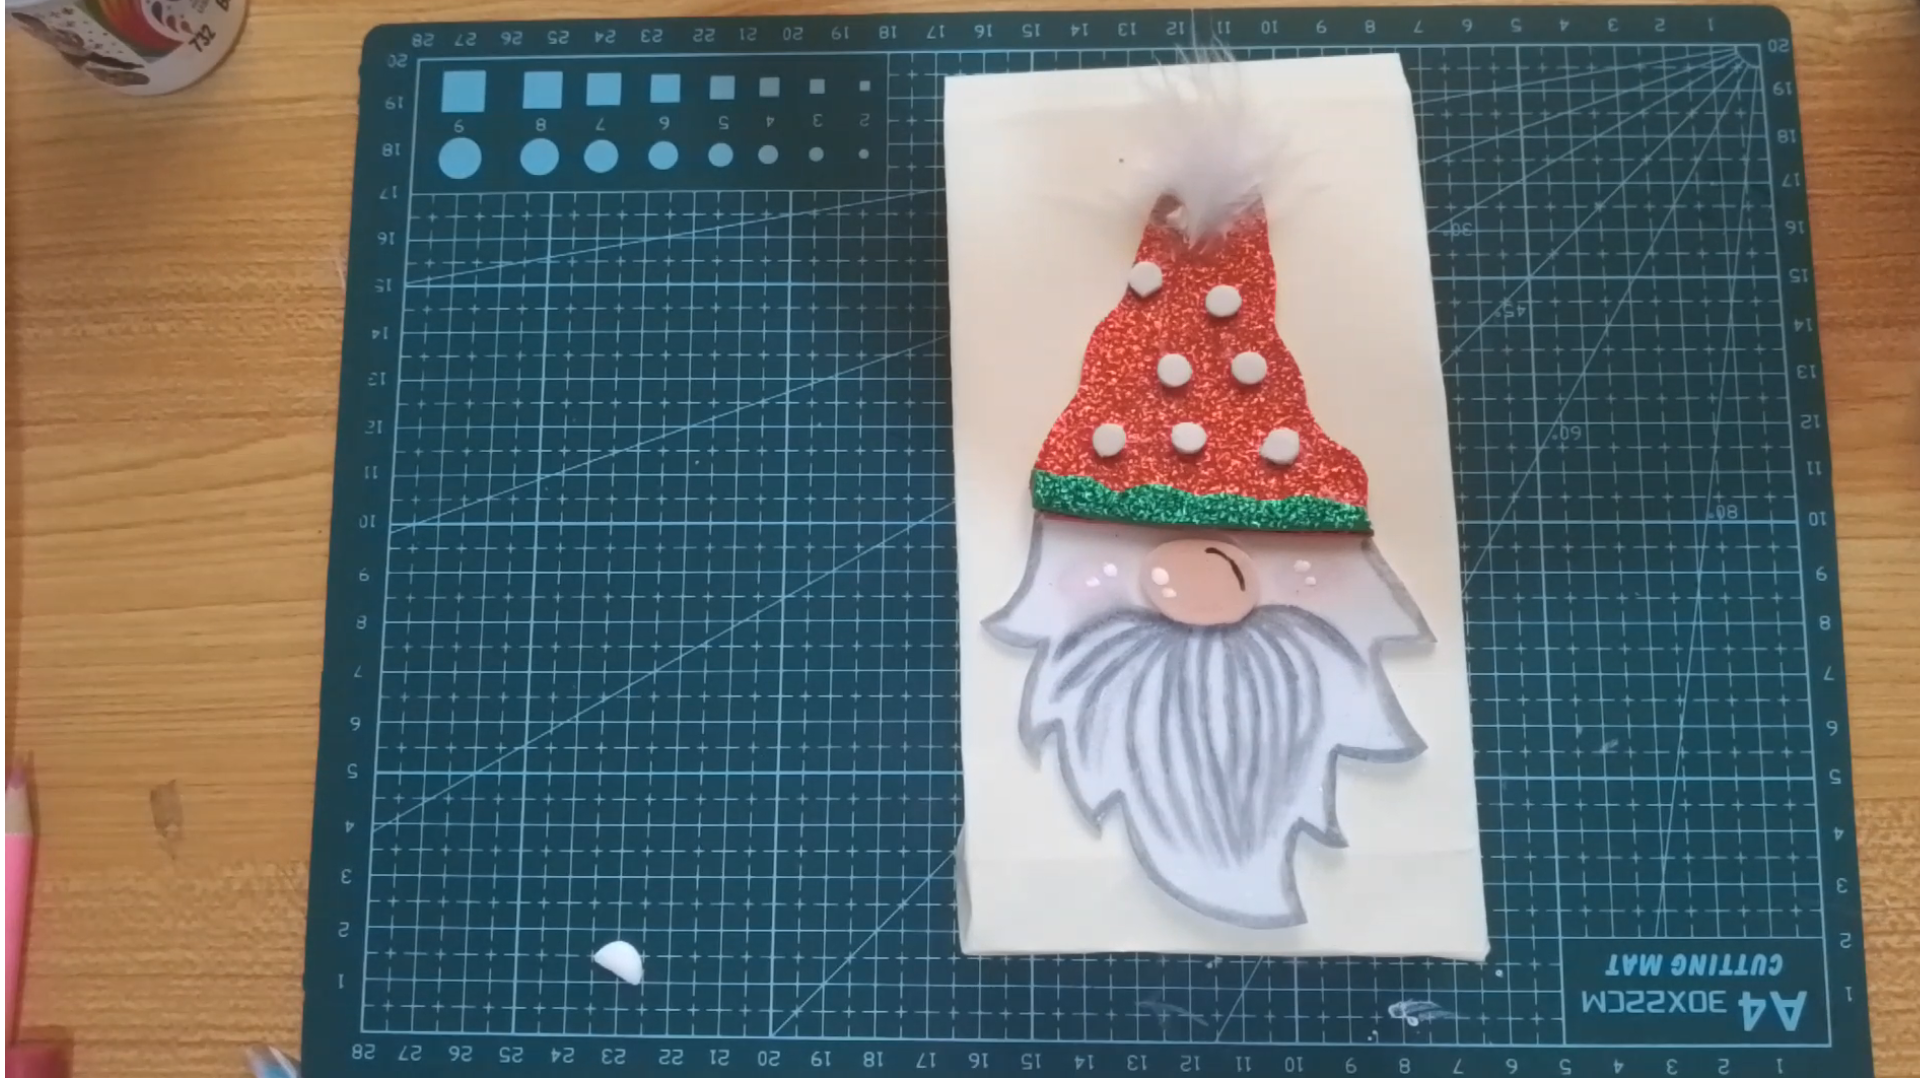
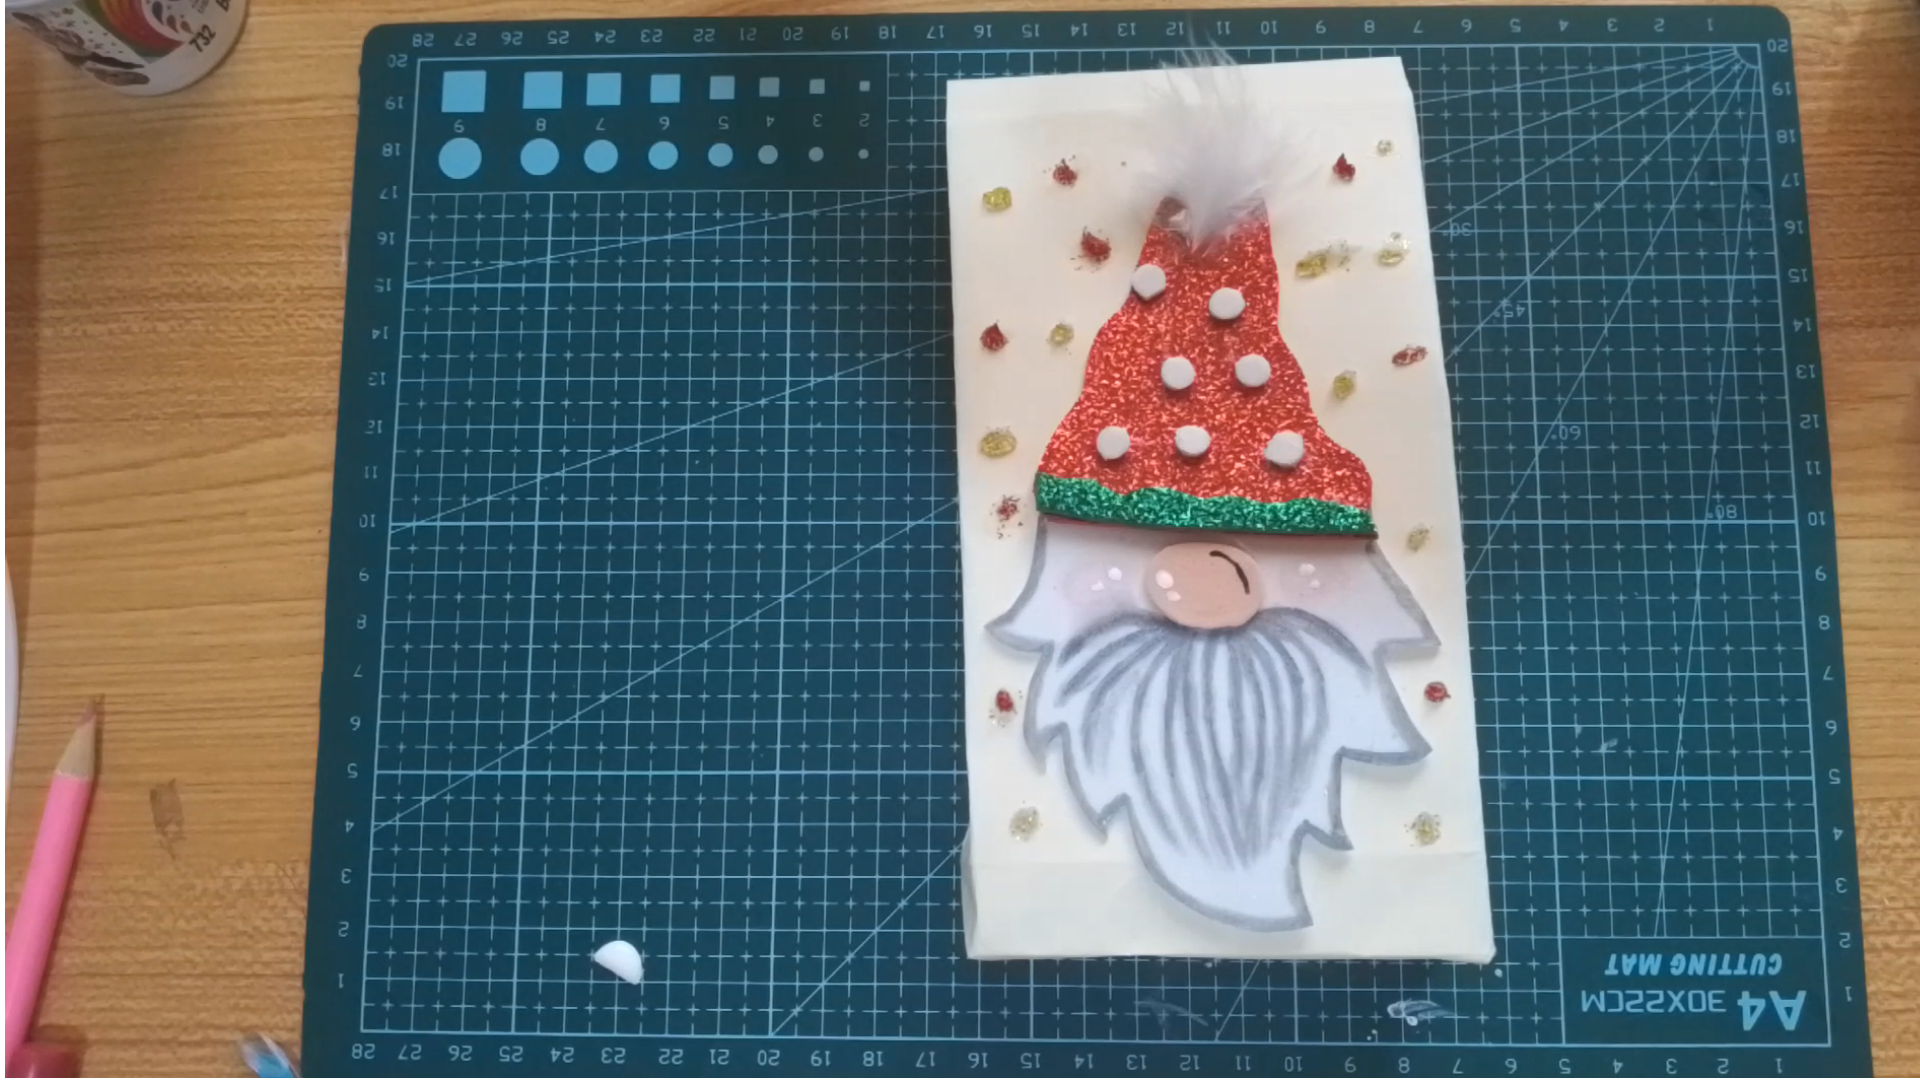
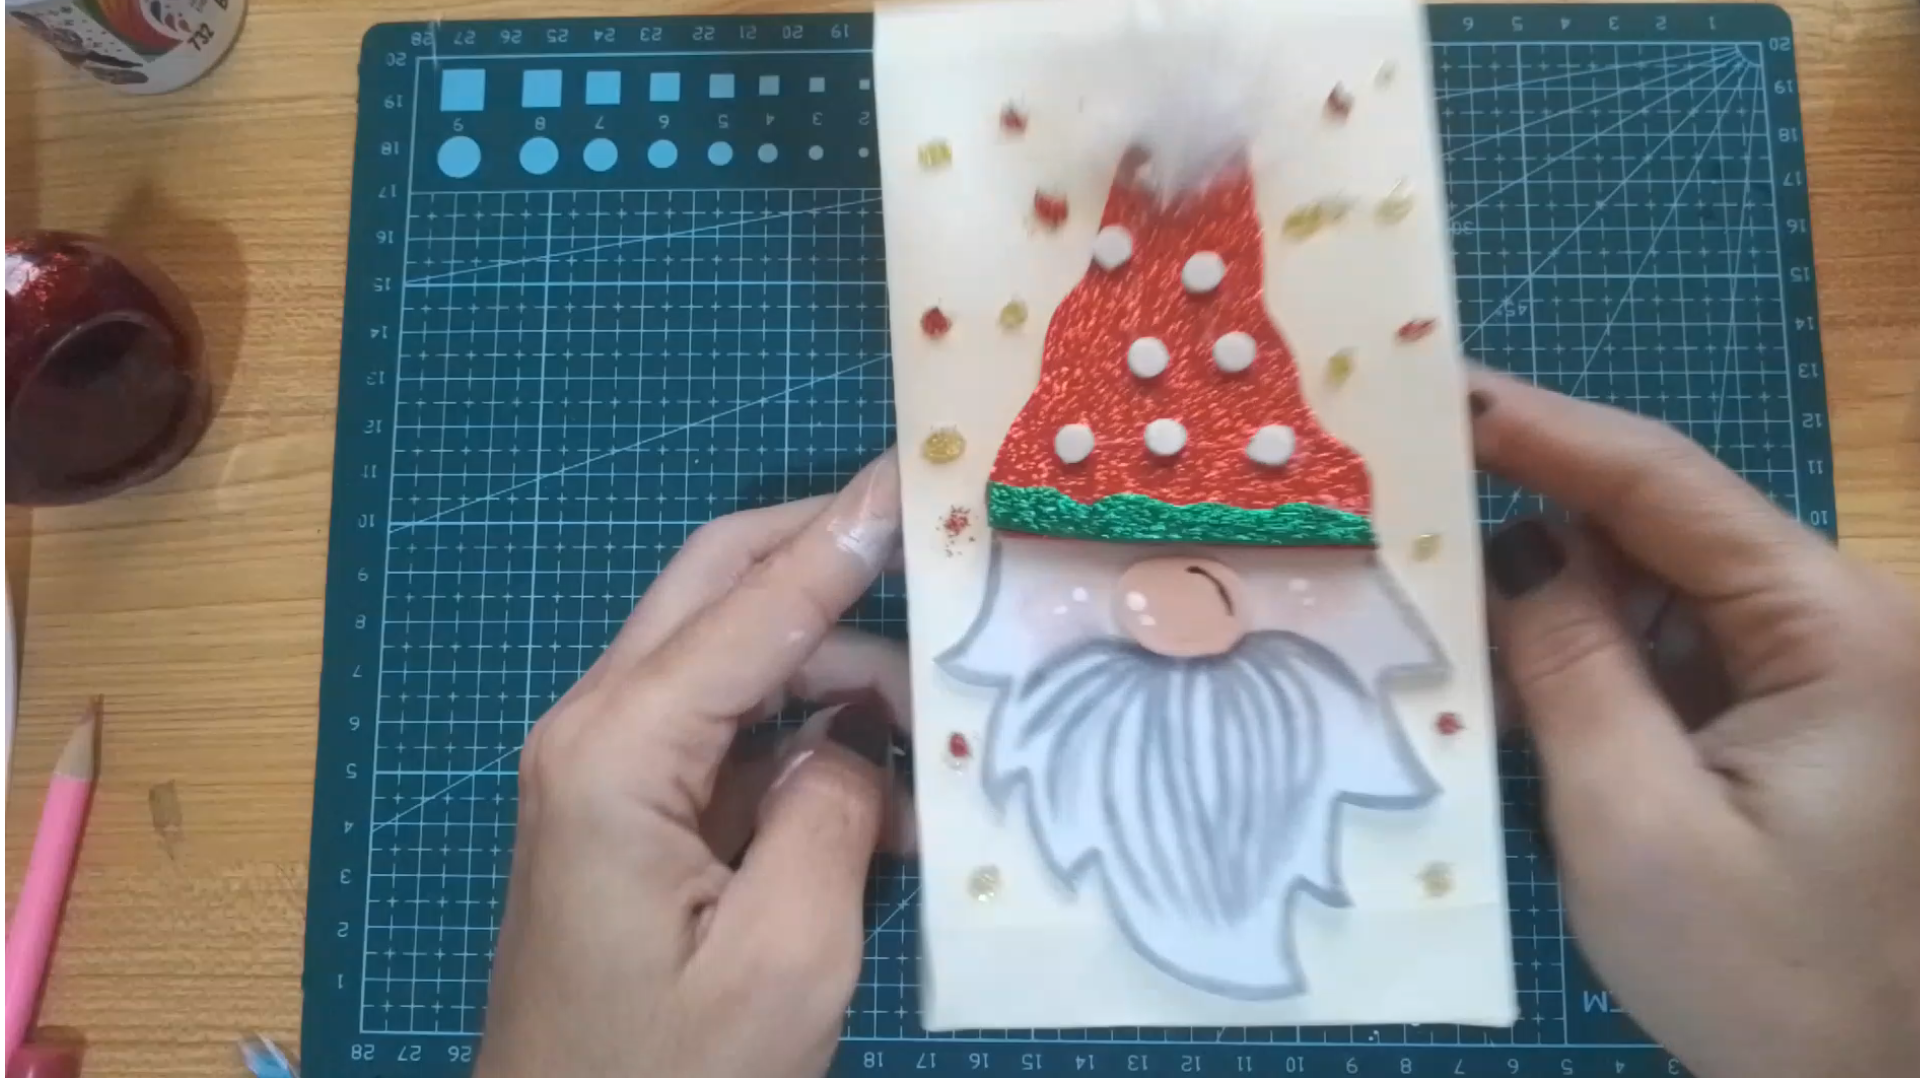
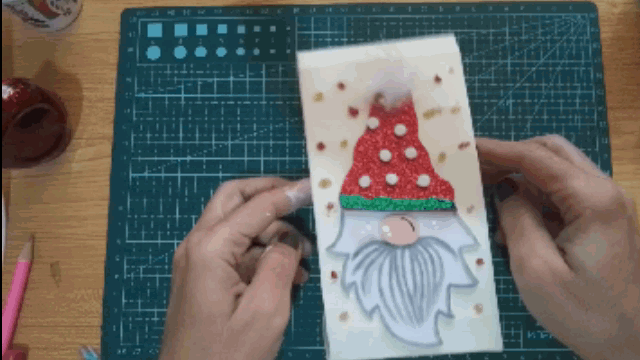
Pedacitos de foami que van quedando, puedes usar cualquier tipo de hoja que tengas, bien sea blanca, de colores, con motivos, papel de regalo, entre otros, el detallito que lo hace lindo y especial es ese ancianito al que todos conocemos como regalón Santa Claus.
No te pierdas mi paso a paso.
>! [English version] > **[Eng]**
**Greetings beautiful community!
Making bags to present your gifts is really fun, plus it makes the detail even more special.
In my first post I showed you how to make a very simple and cool little model, well today I show you one that we have raised the degree of difficulty a little but it is still easy to make.
Use the materials you have at your fingertips, I usually recycle from other crafts that I have left or simply those that are already many years old I renew them or take their materials to make other things.
You can use any type of sheet you have, whether white, colored, with motifs, wrapping paper, among others, the detail that makes it cute and special is that little old man we all know as Santa Claus.
Don't miss my step by step.

[Esp]
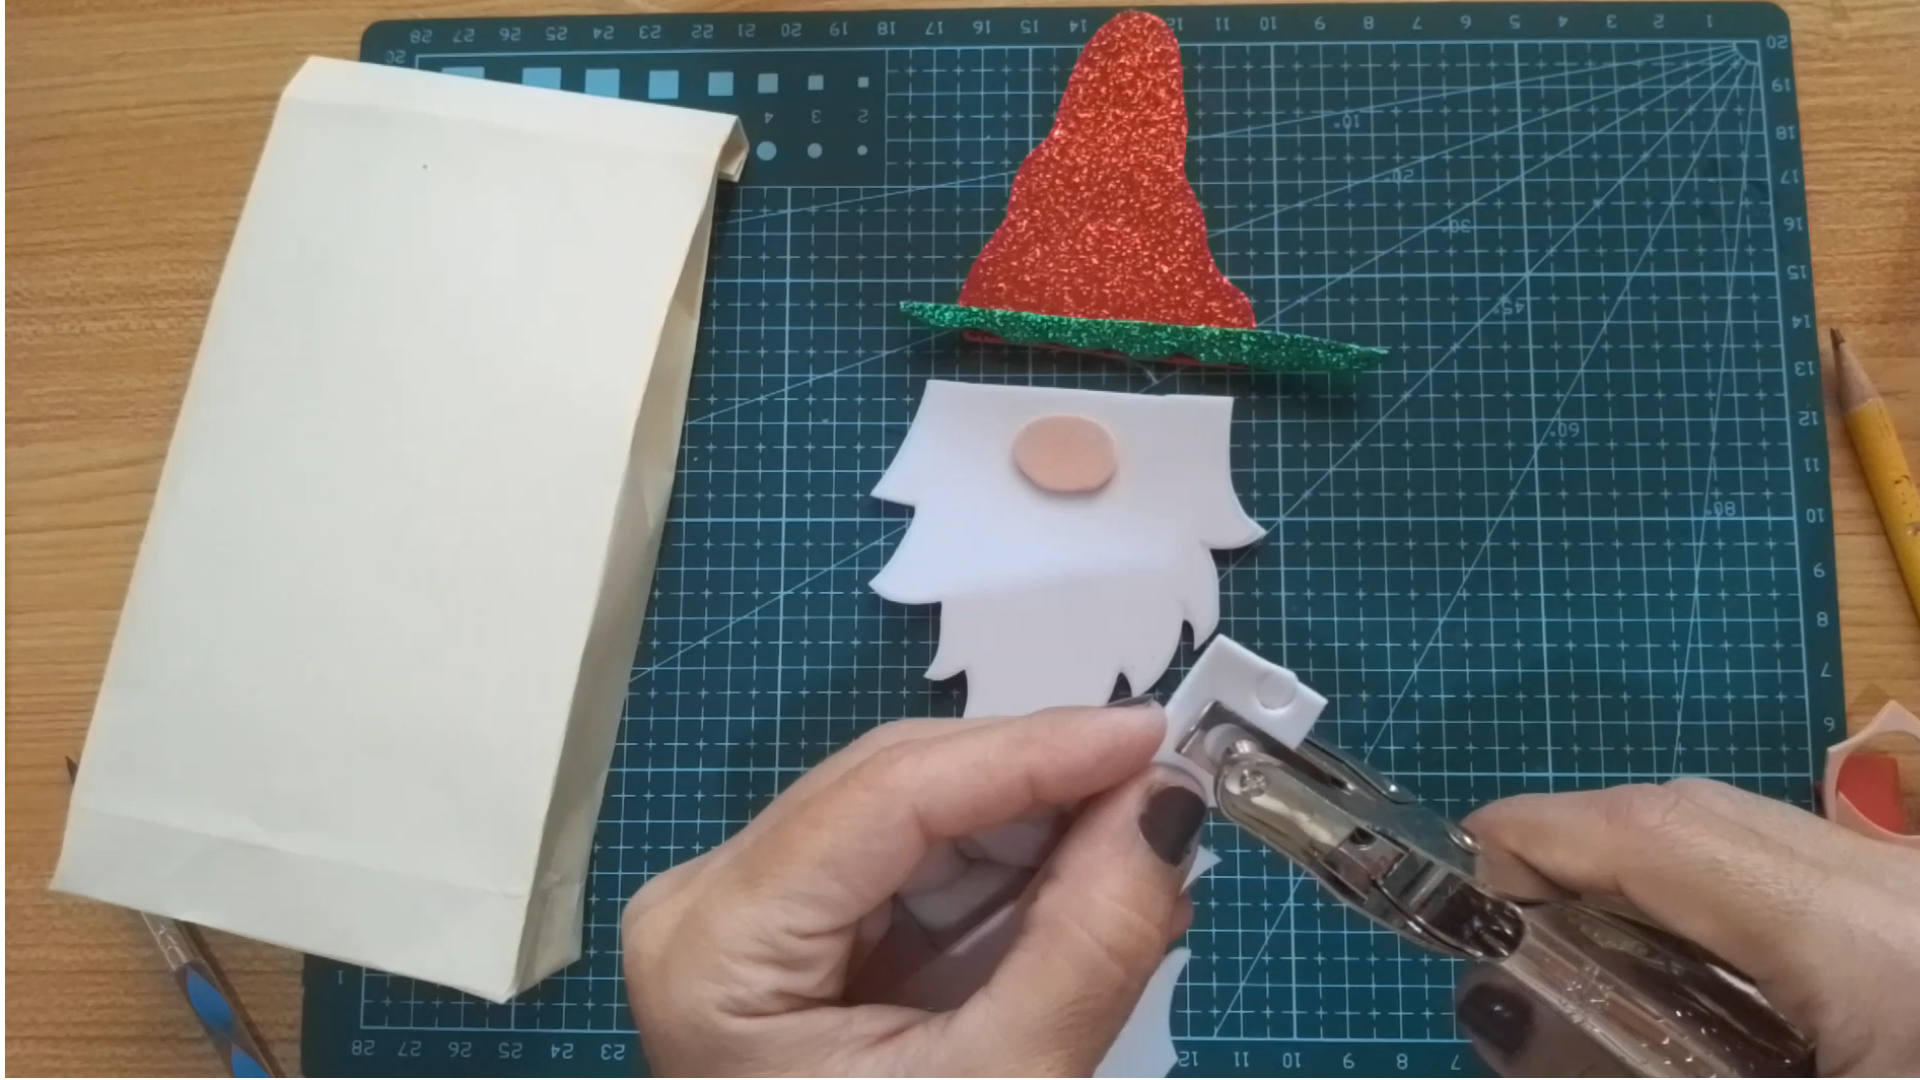
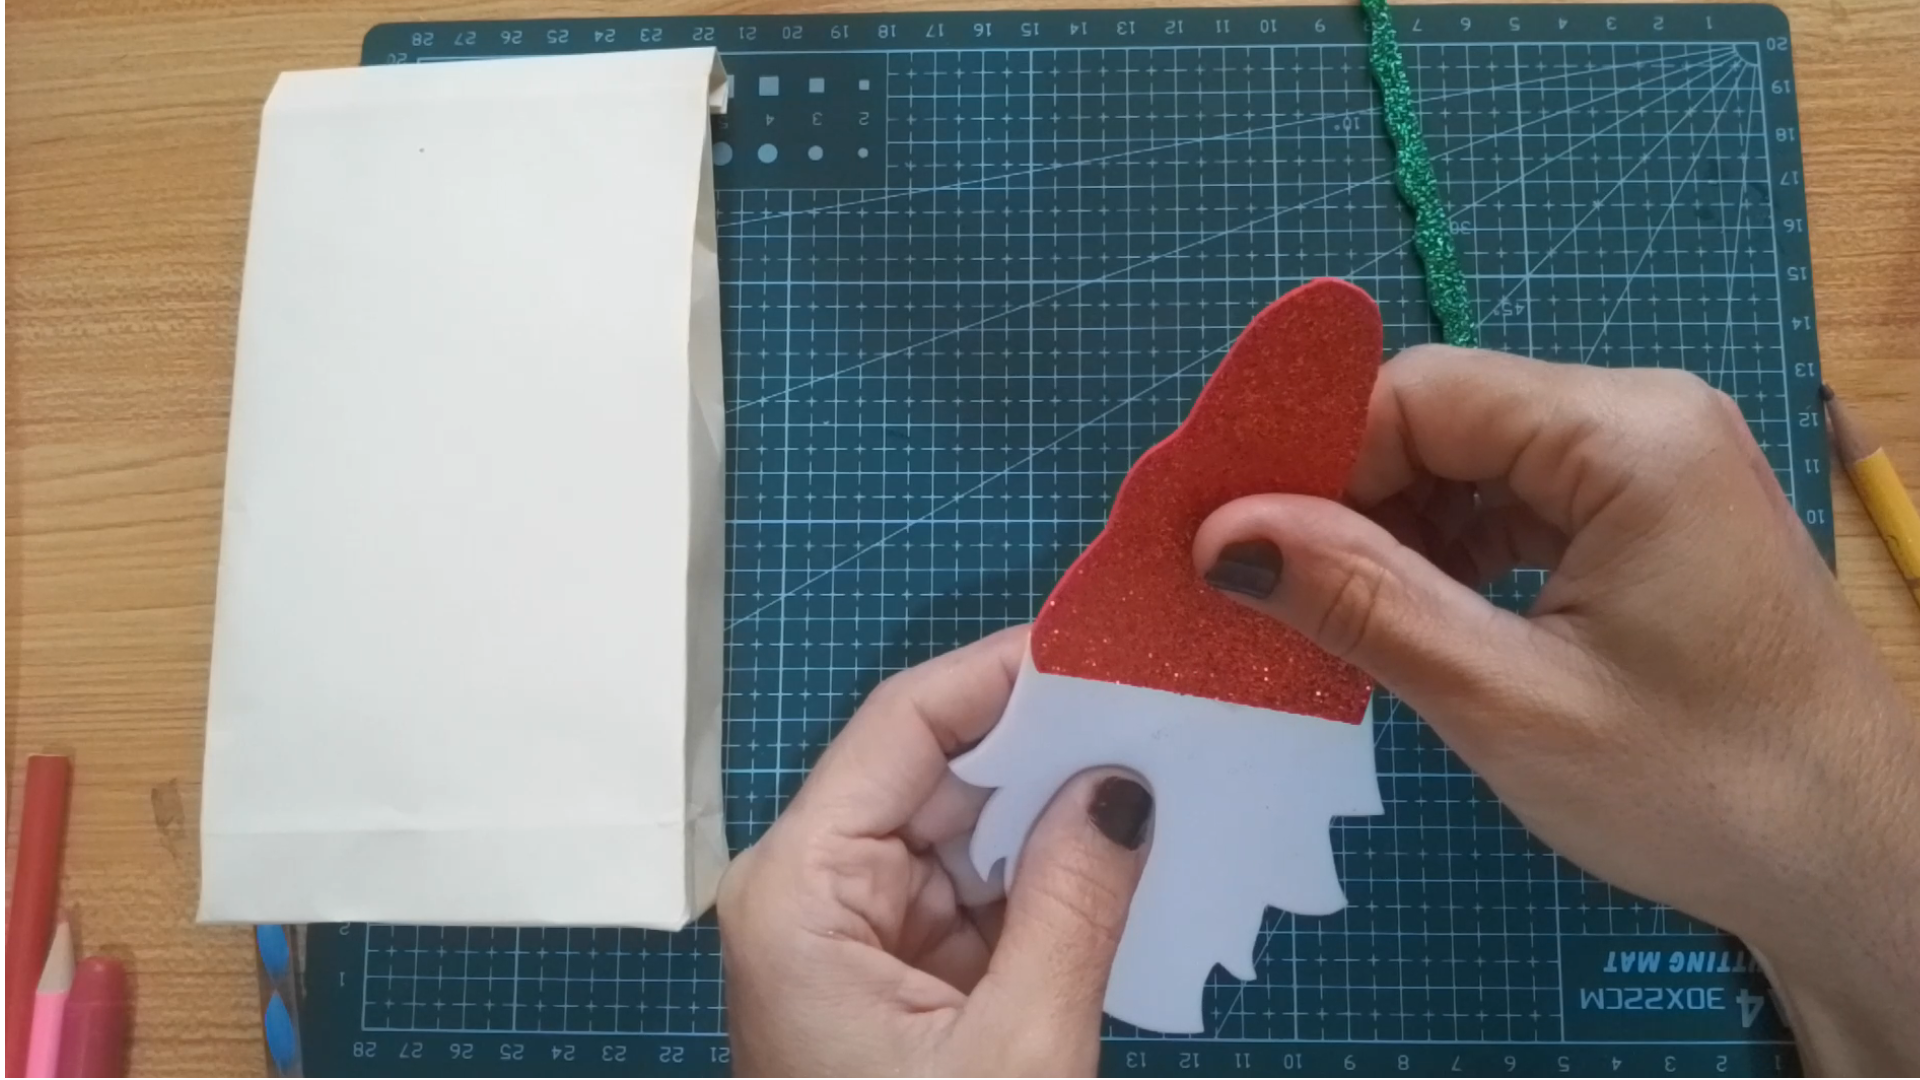
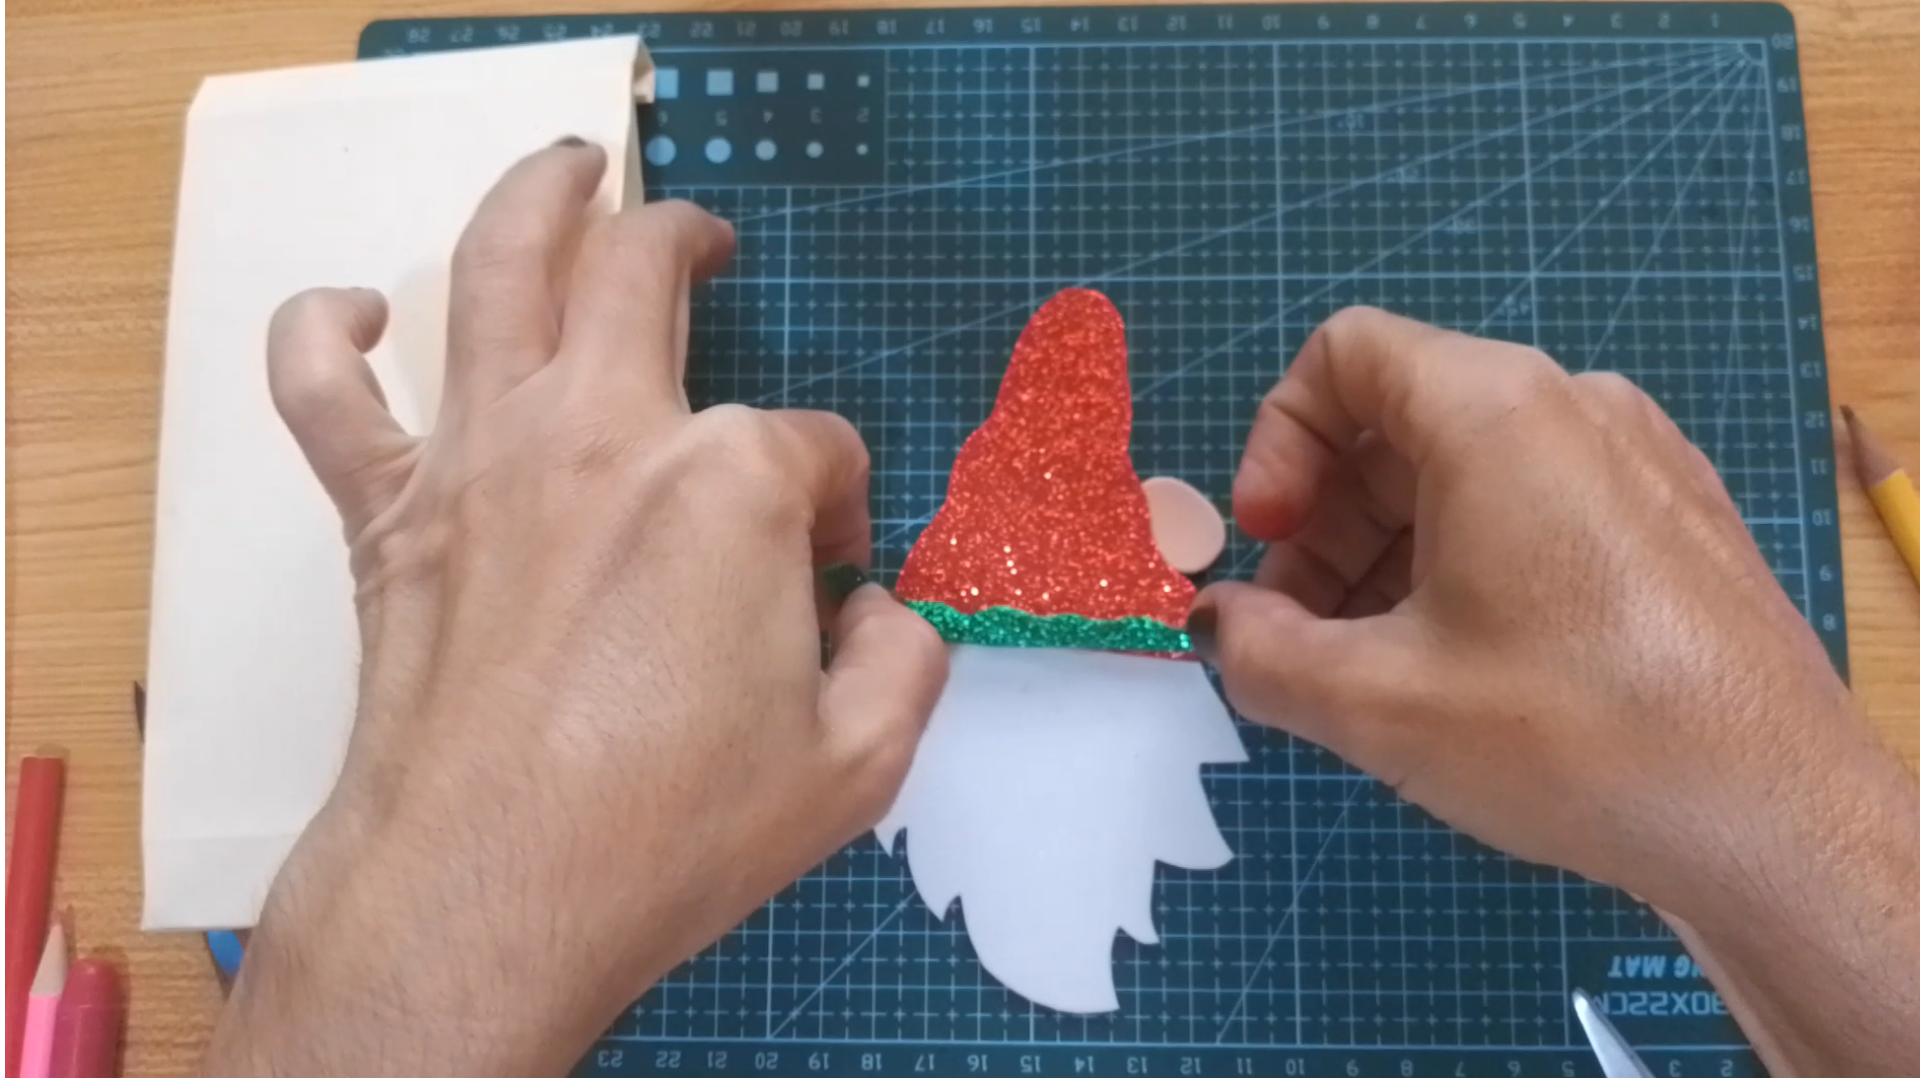
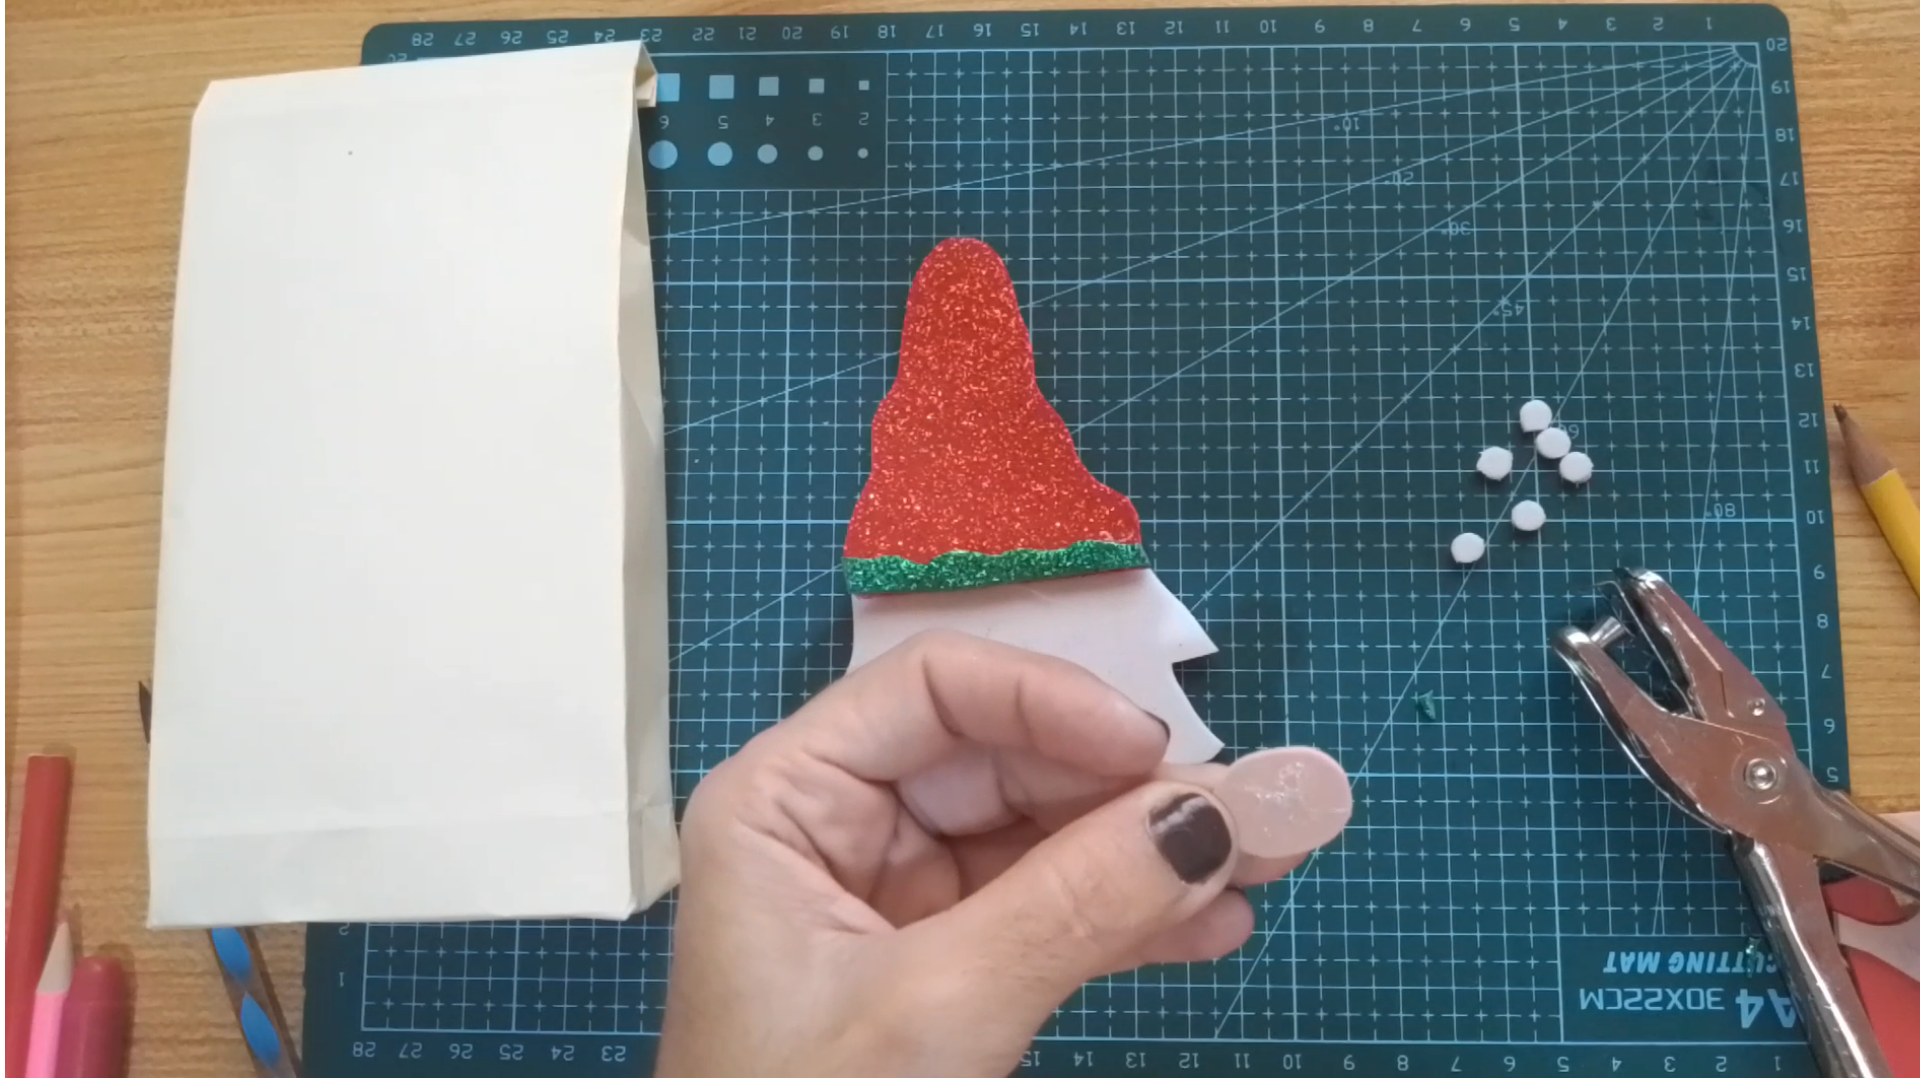
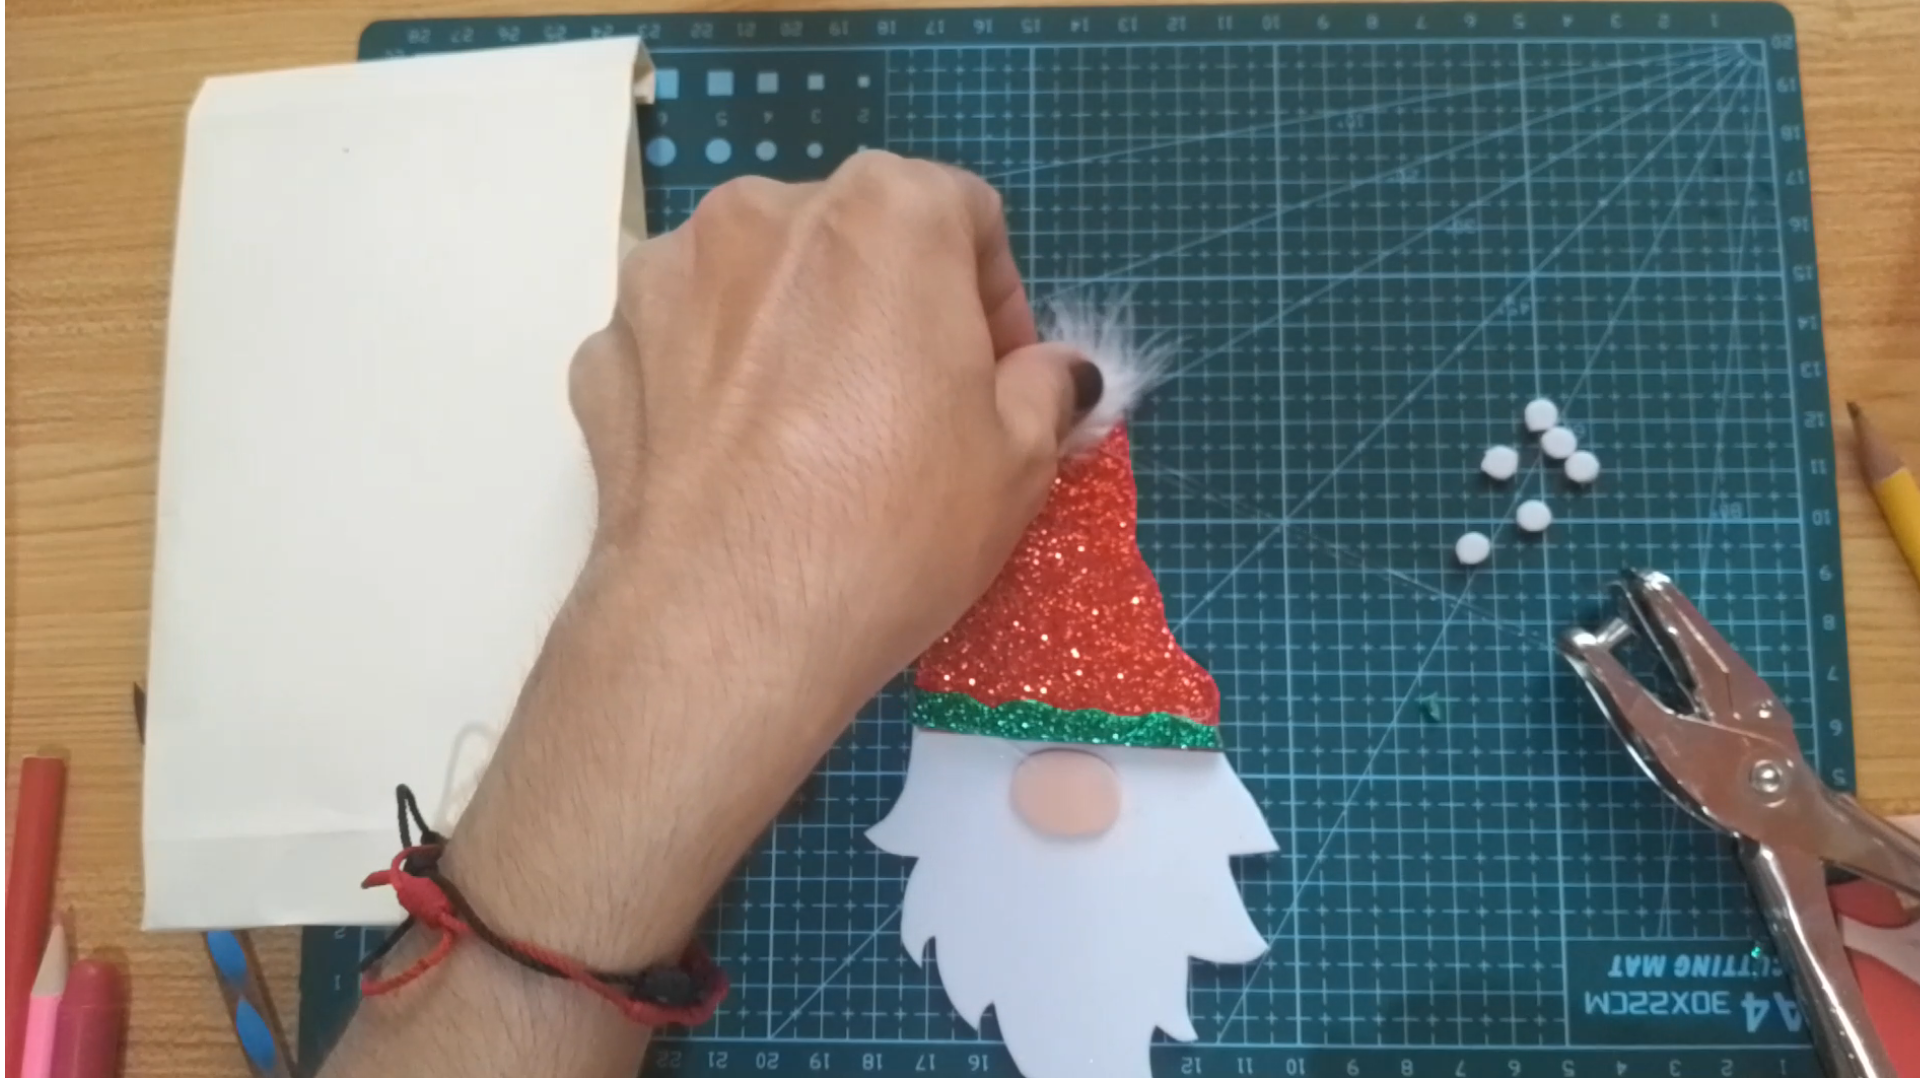
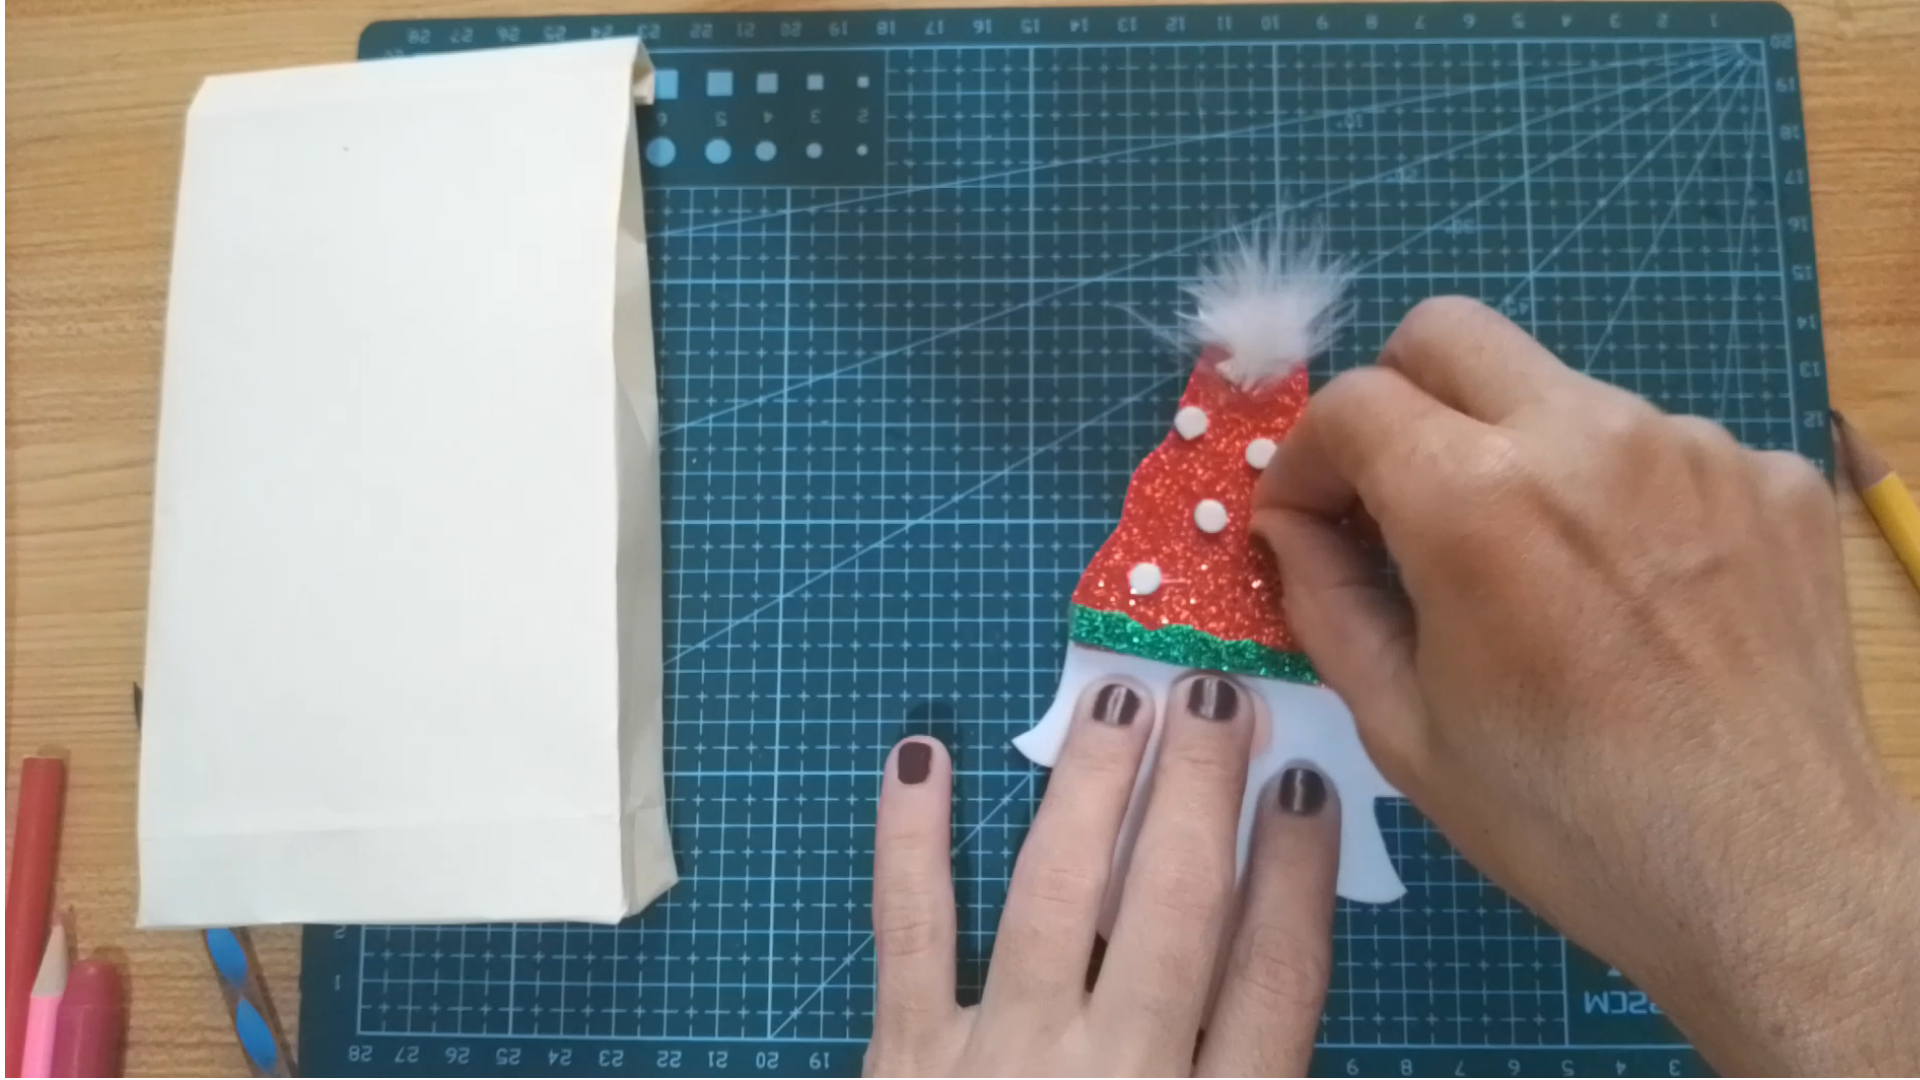
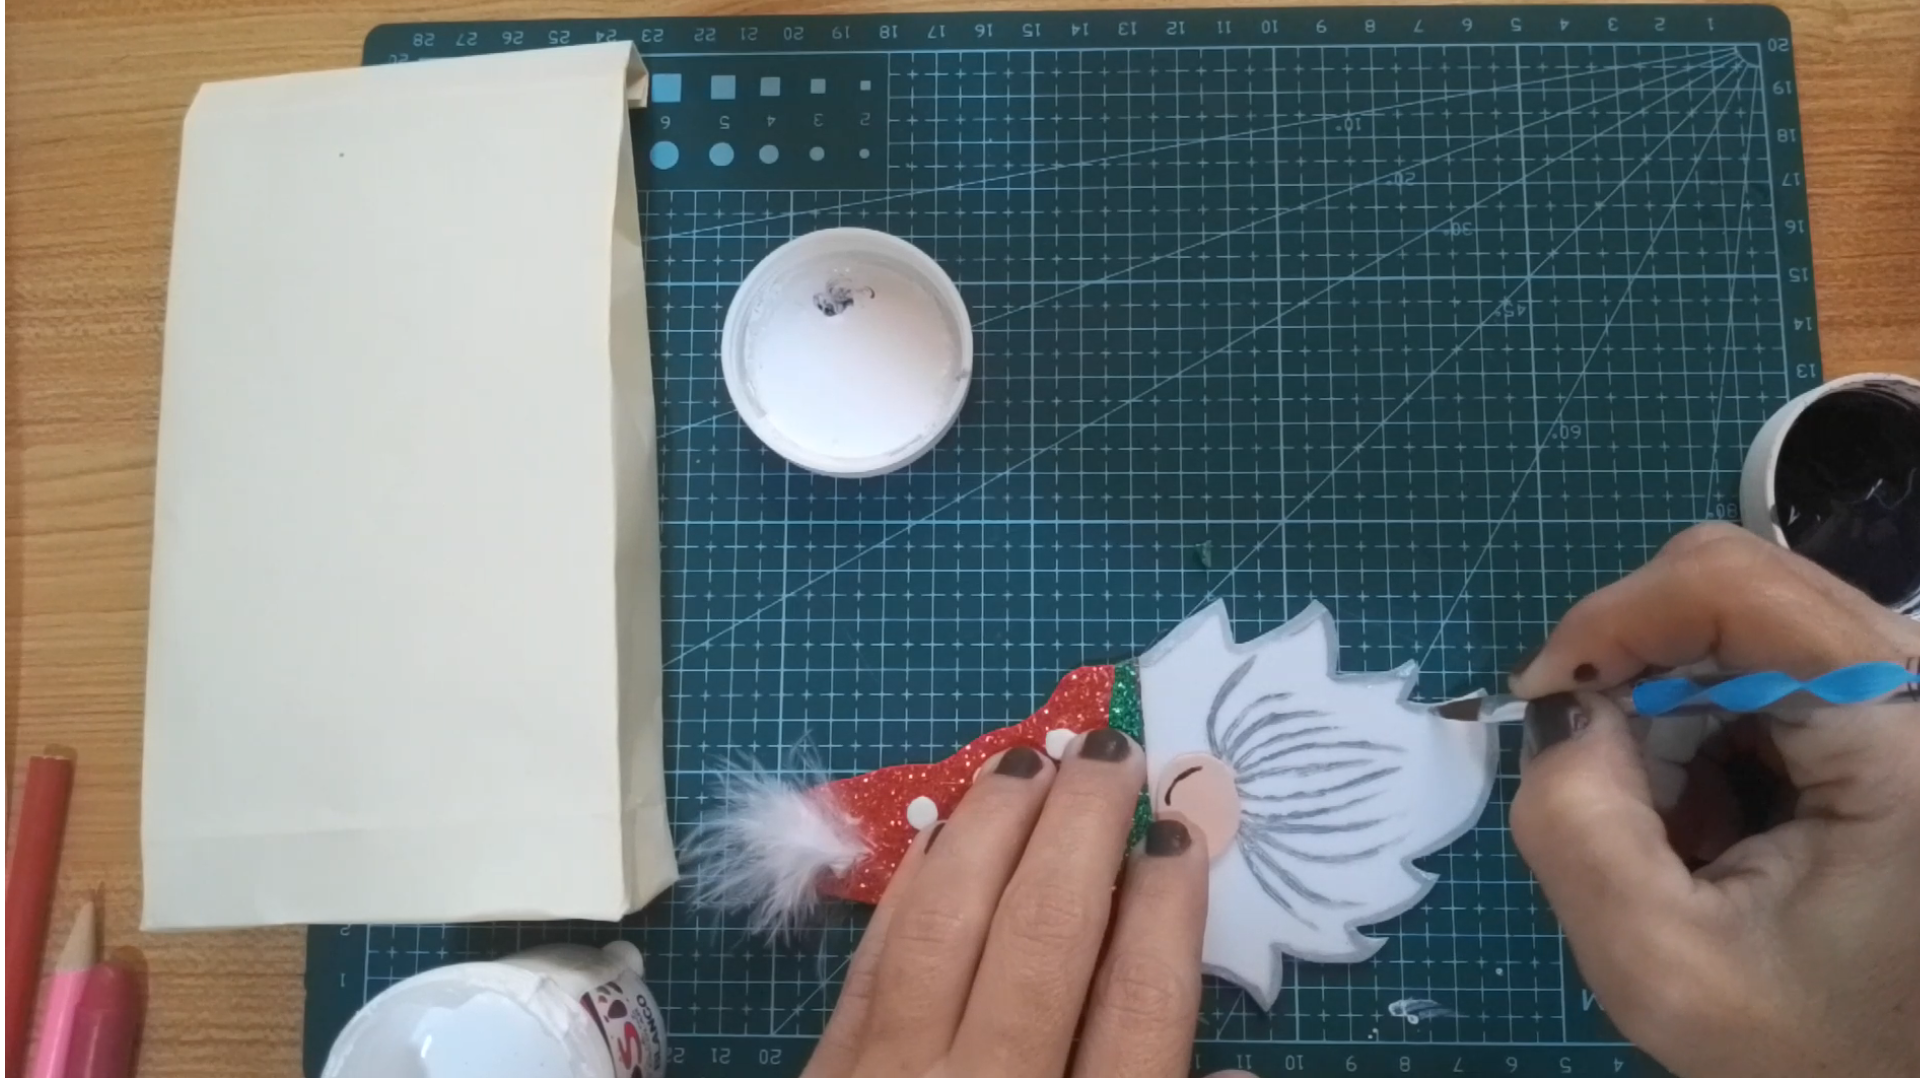
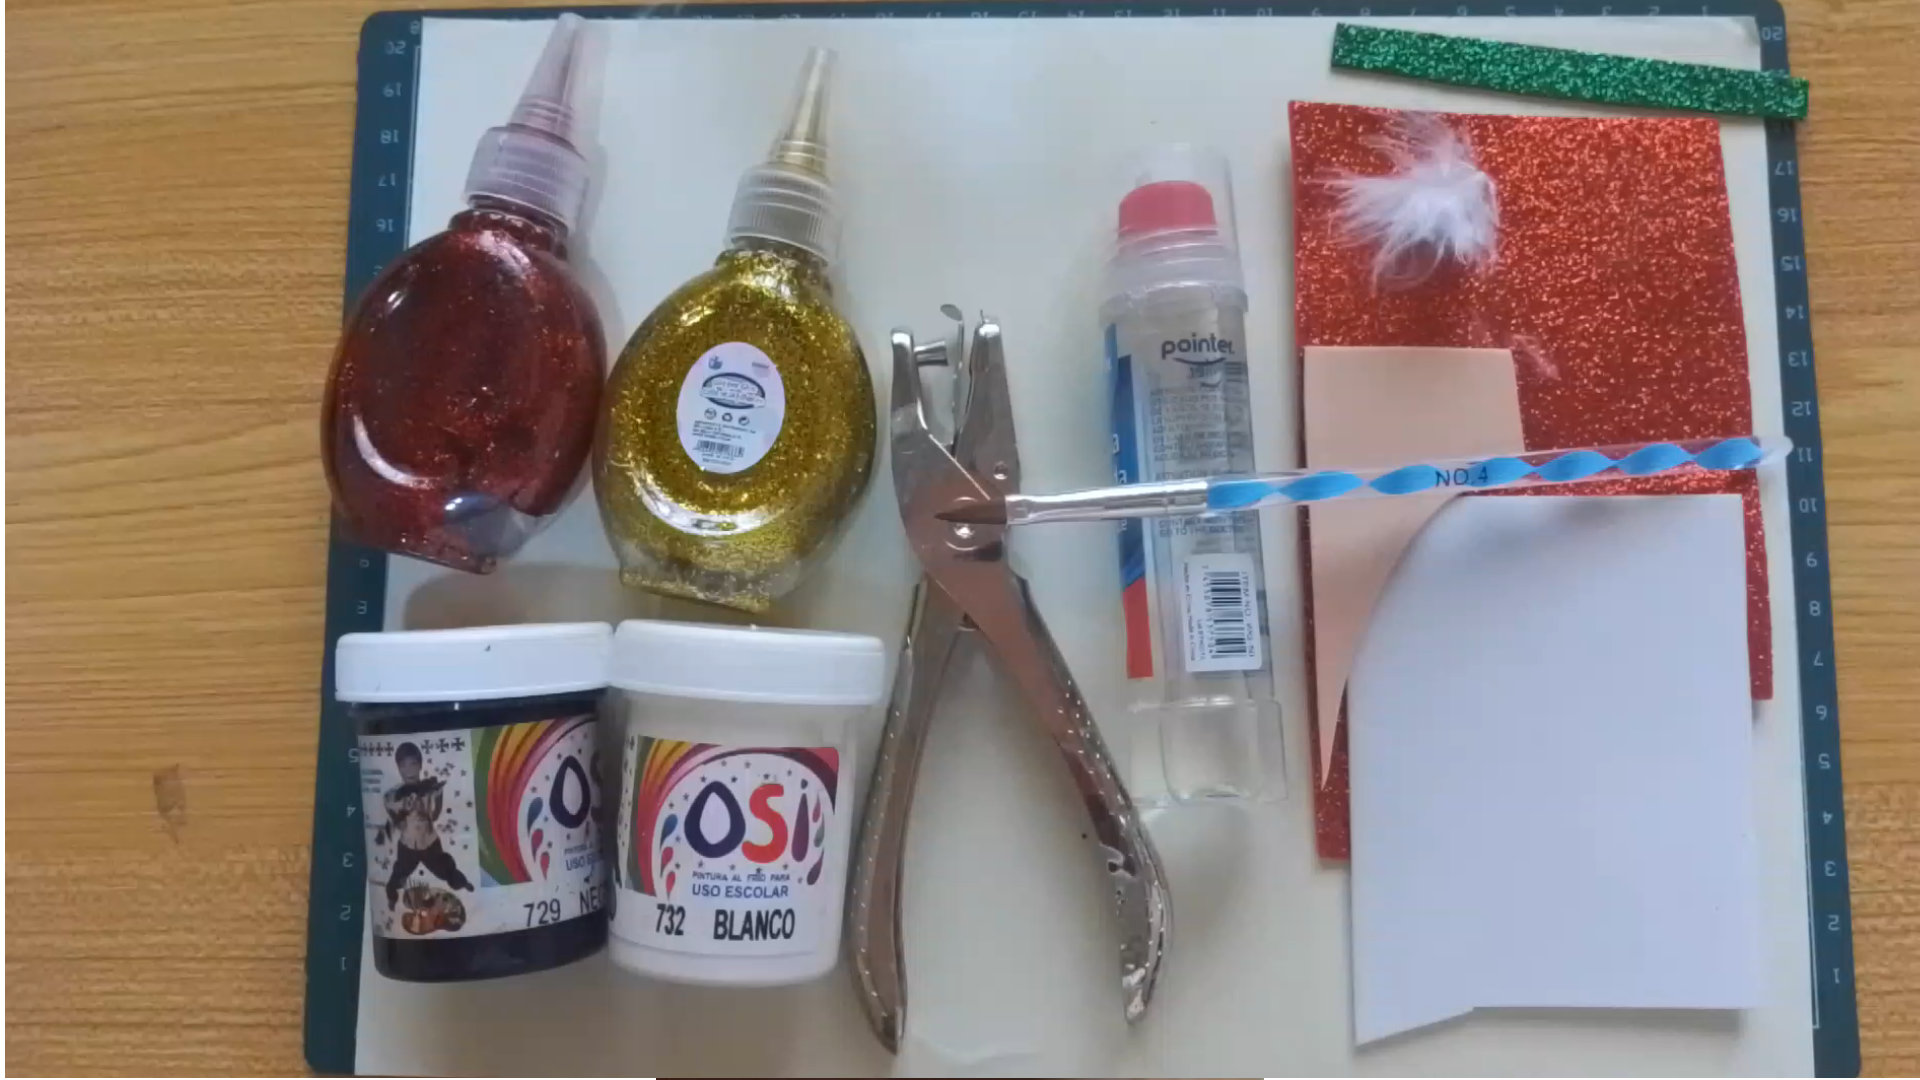
Los materiales que recomiendo usar, son los que tengas a tu alcance yo usé los siguientes: - Papel cualquiera. - Pega, silicón caliente, tijera. - Foami escarchado rojo, verde, foami blanco, color carne. - Pincel, pega, abre huecos. - Bordado líquido rojo y dorado (opcional) - Plumón u otro material afelpado.
>! [English version] > **[Eng]**
- The materials that I recommend to use, are the ones you have at your fingertips, I used the following:
- Any paper.
- Glue, hot silicone, scissors.
- Red, green, white and flesh colored frosted foami.
- Brush, glue, hole openers.
- Red and gold liquid embroidery (optional).
- Marker pen or other plush material.

Step 1️⃣/ Paso 1️⃣
 |
 |
|
 |
 |

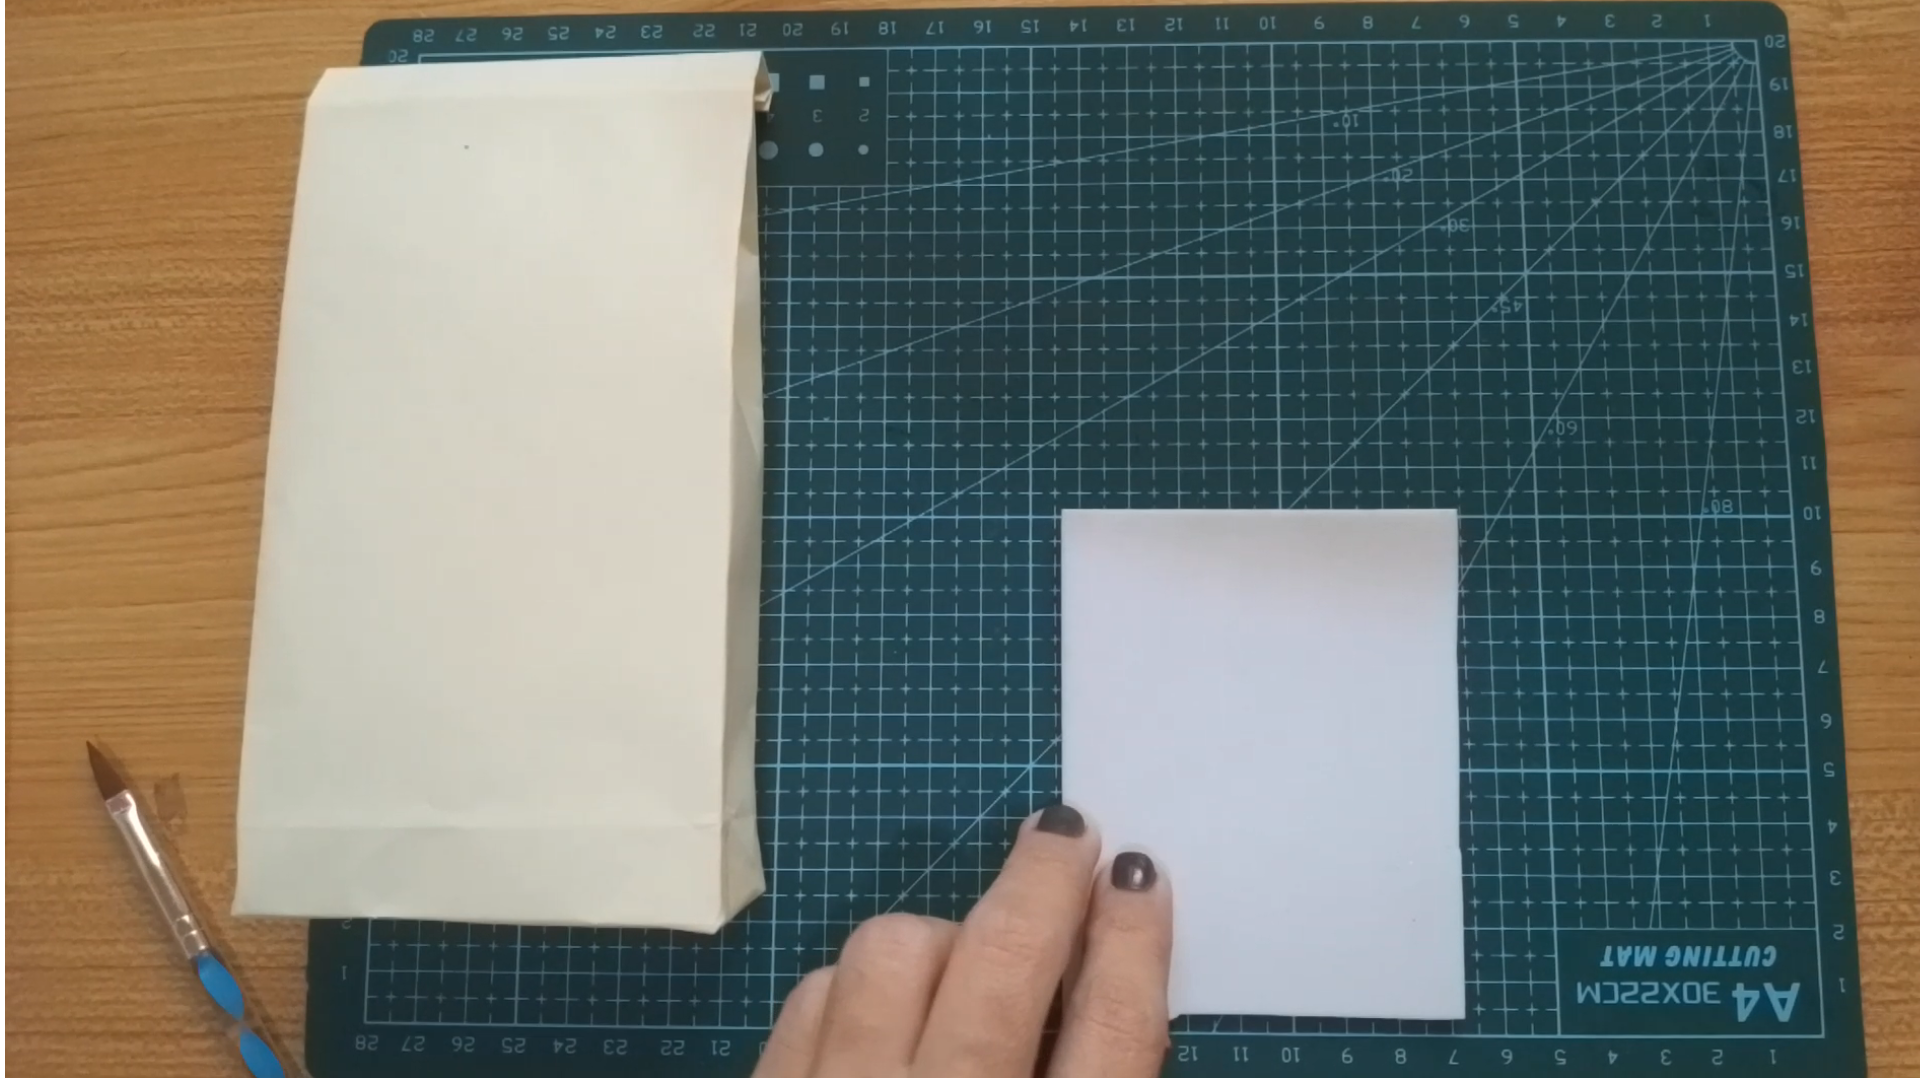
[Esp]
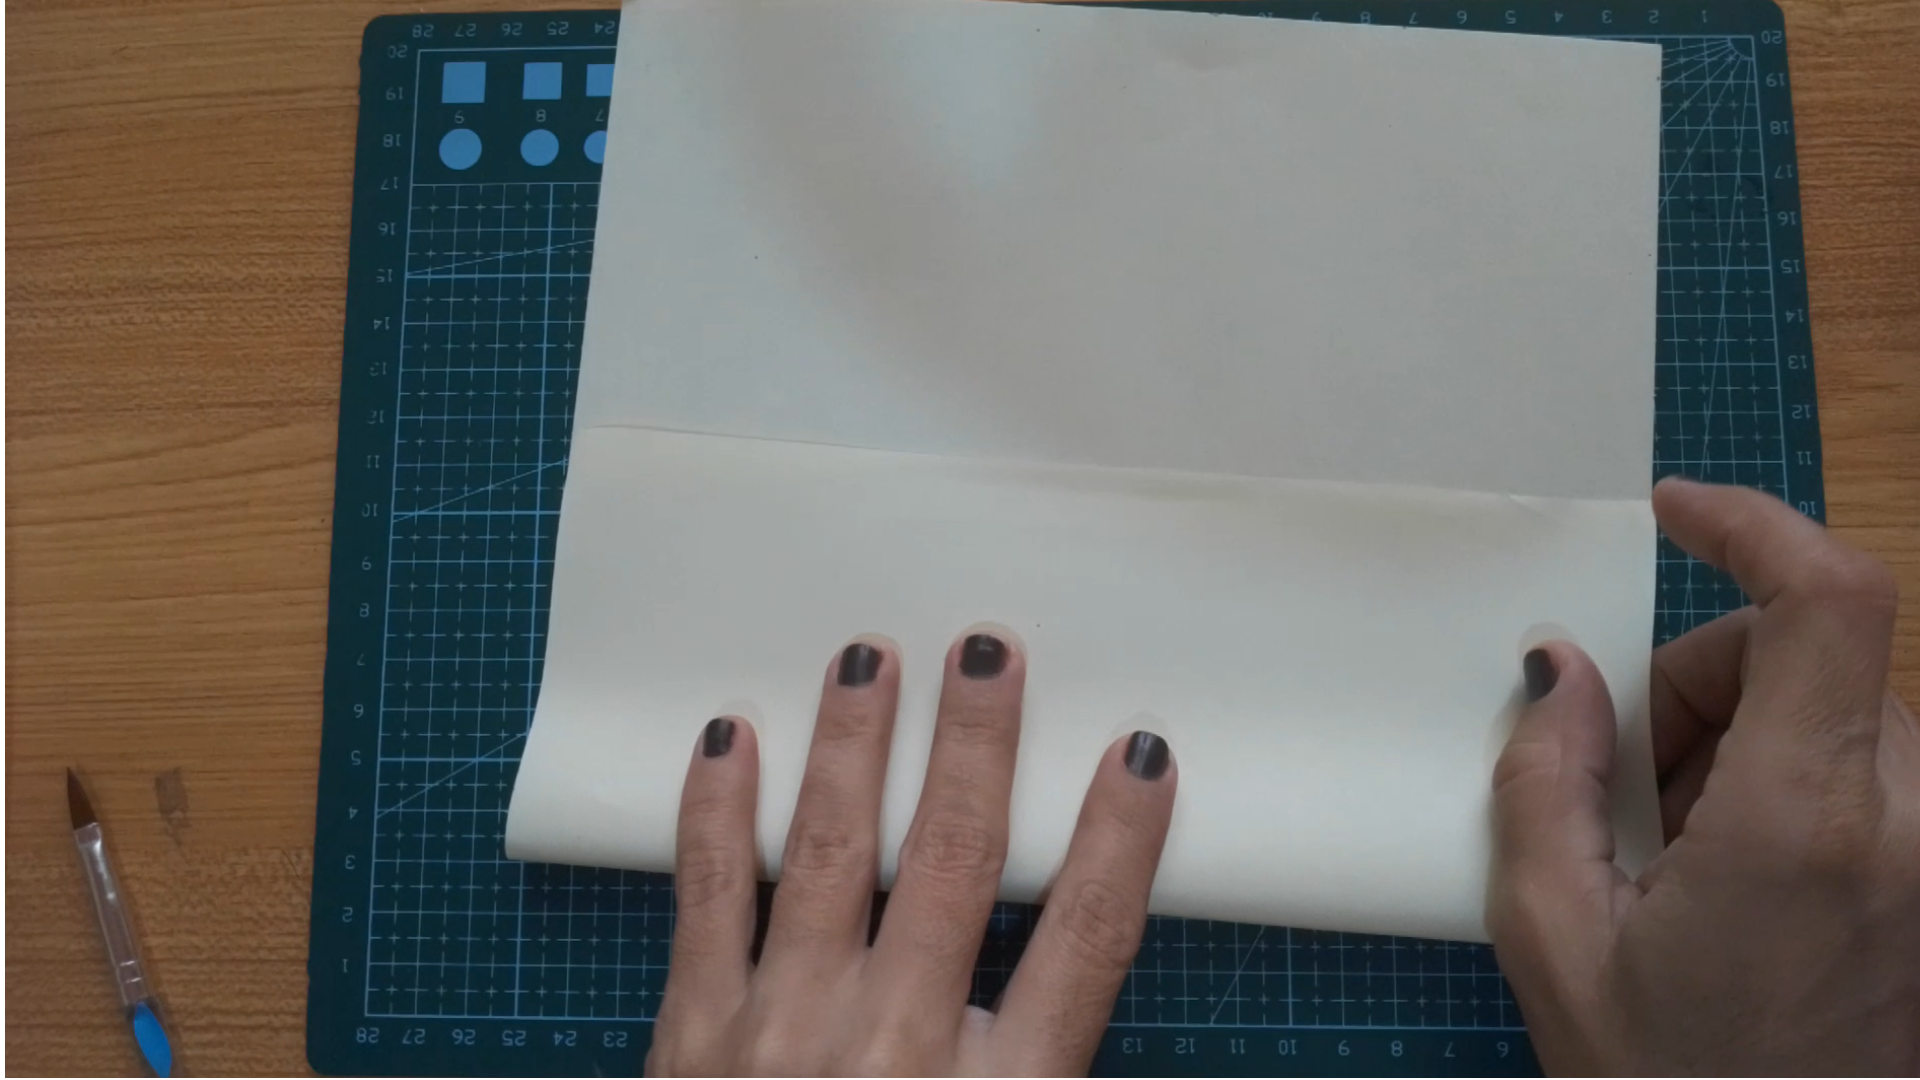
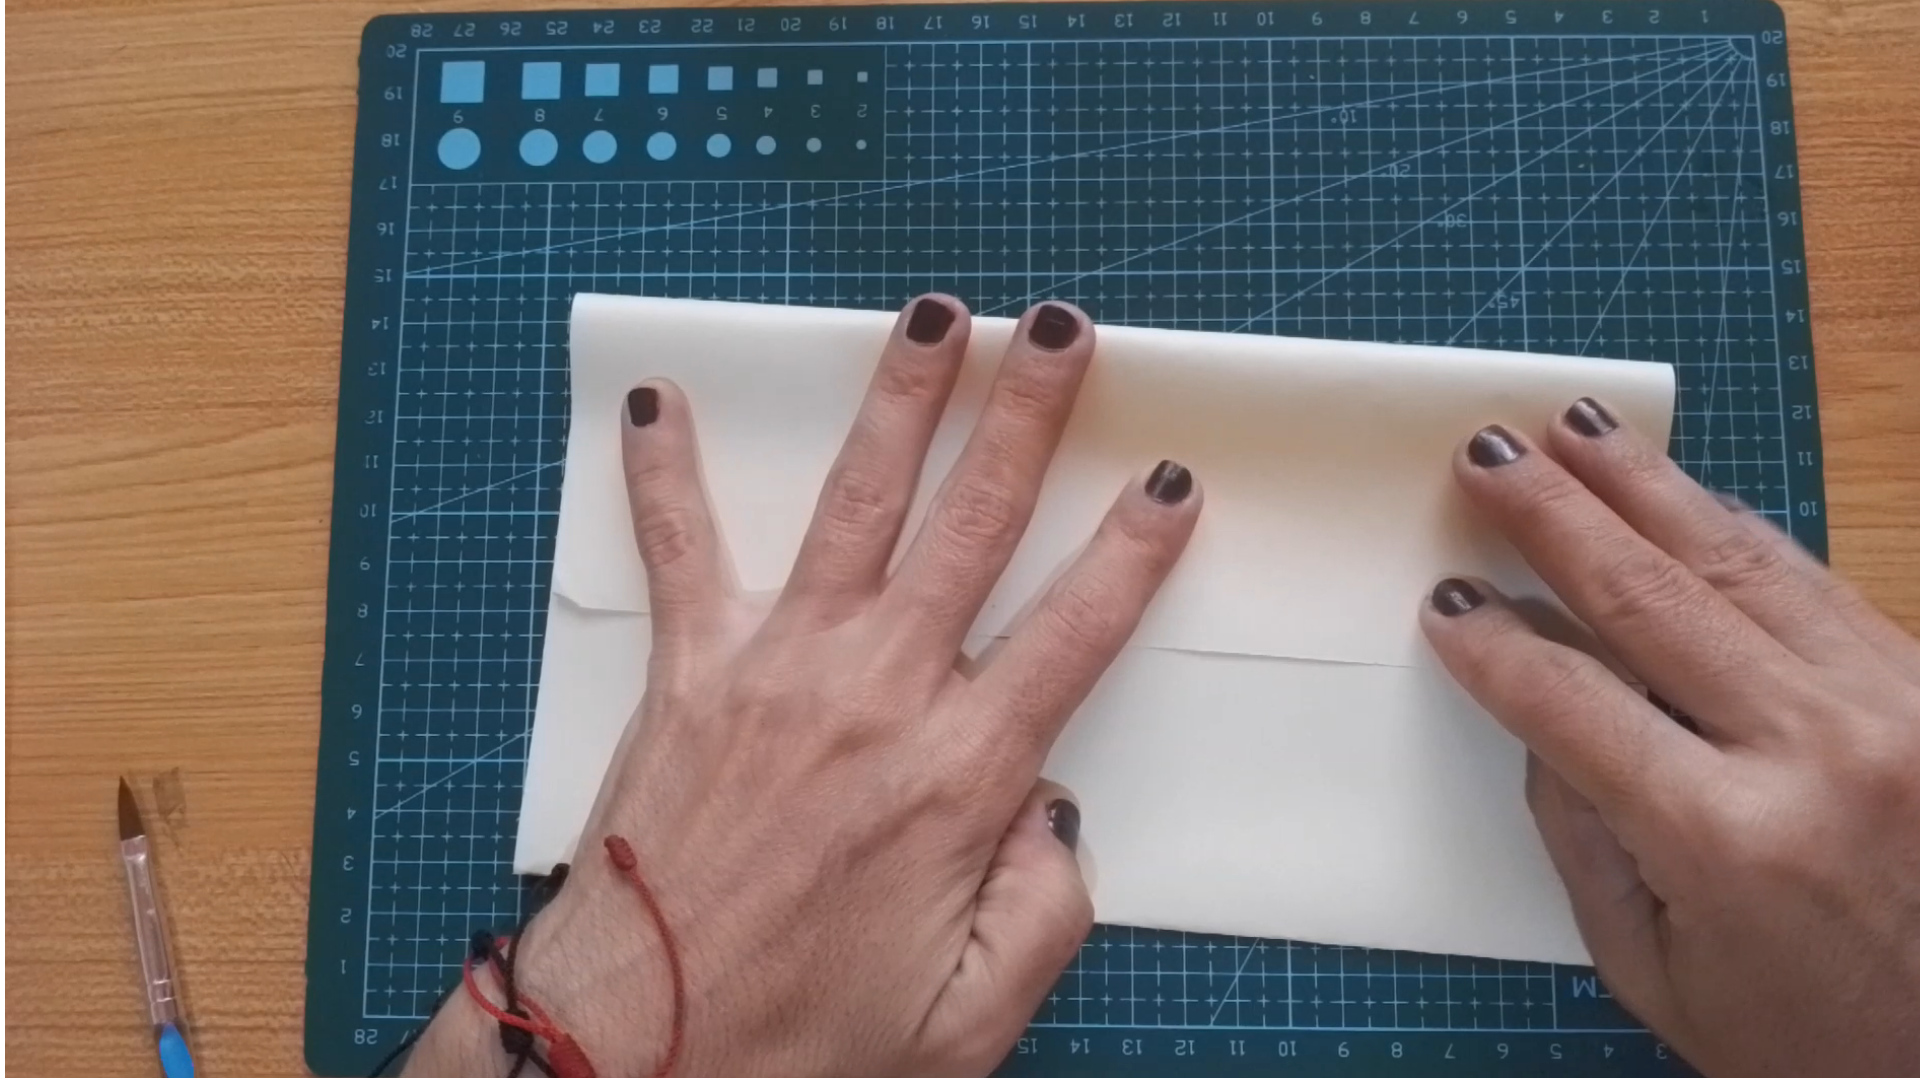
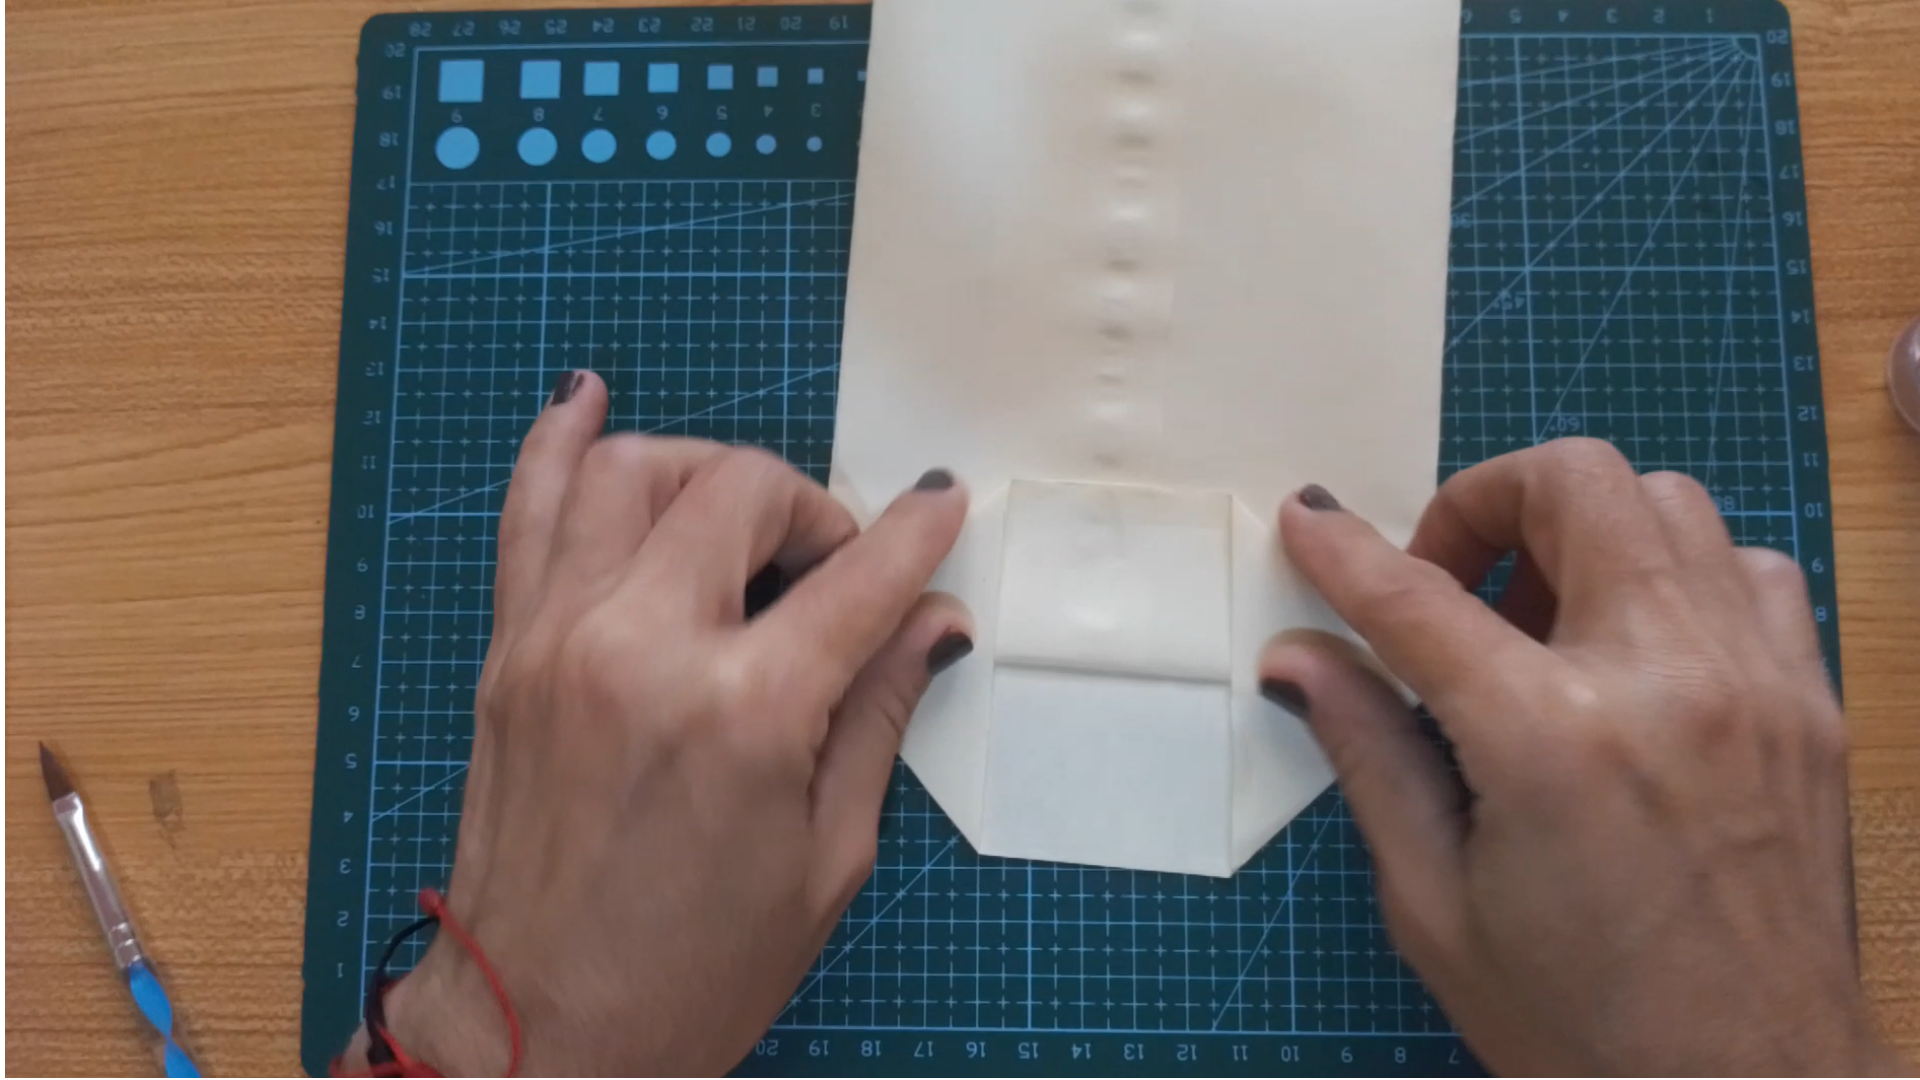
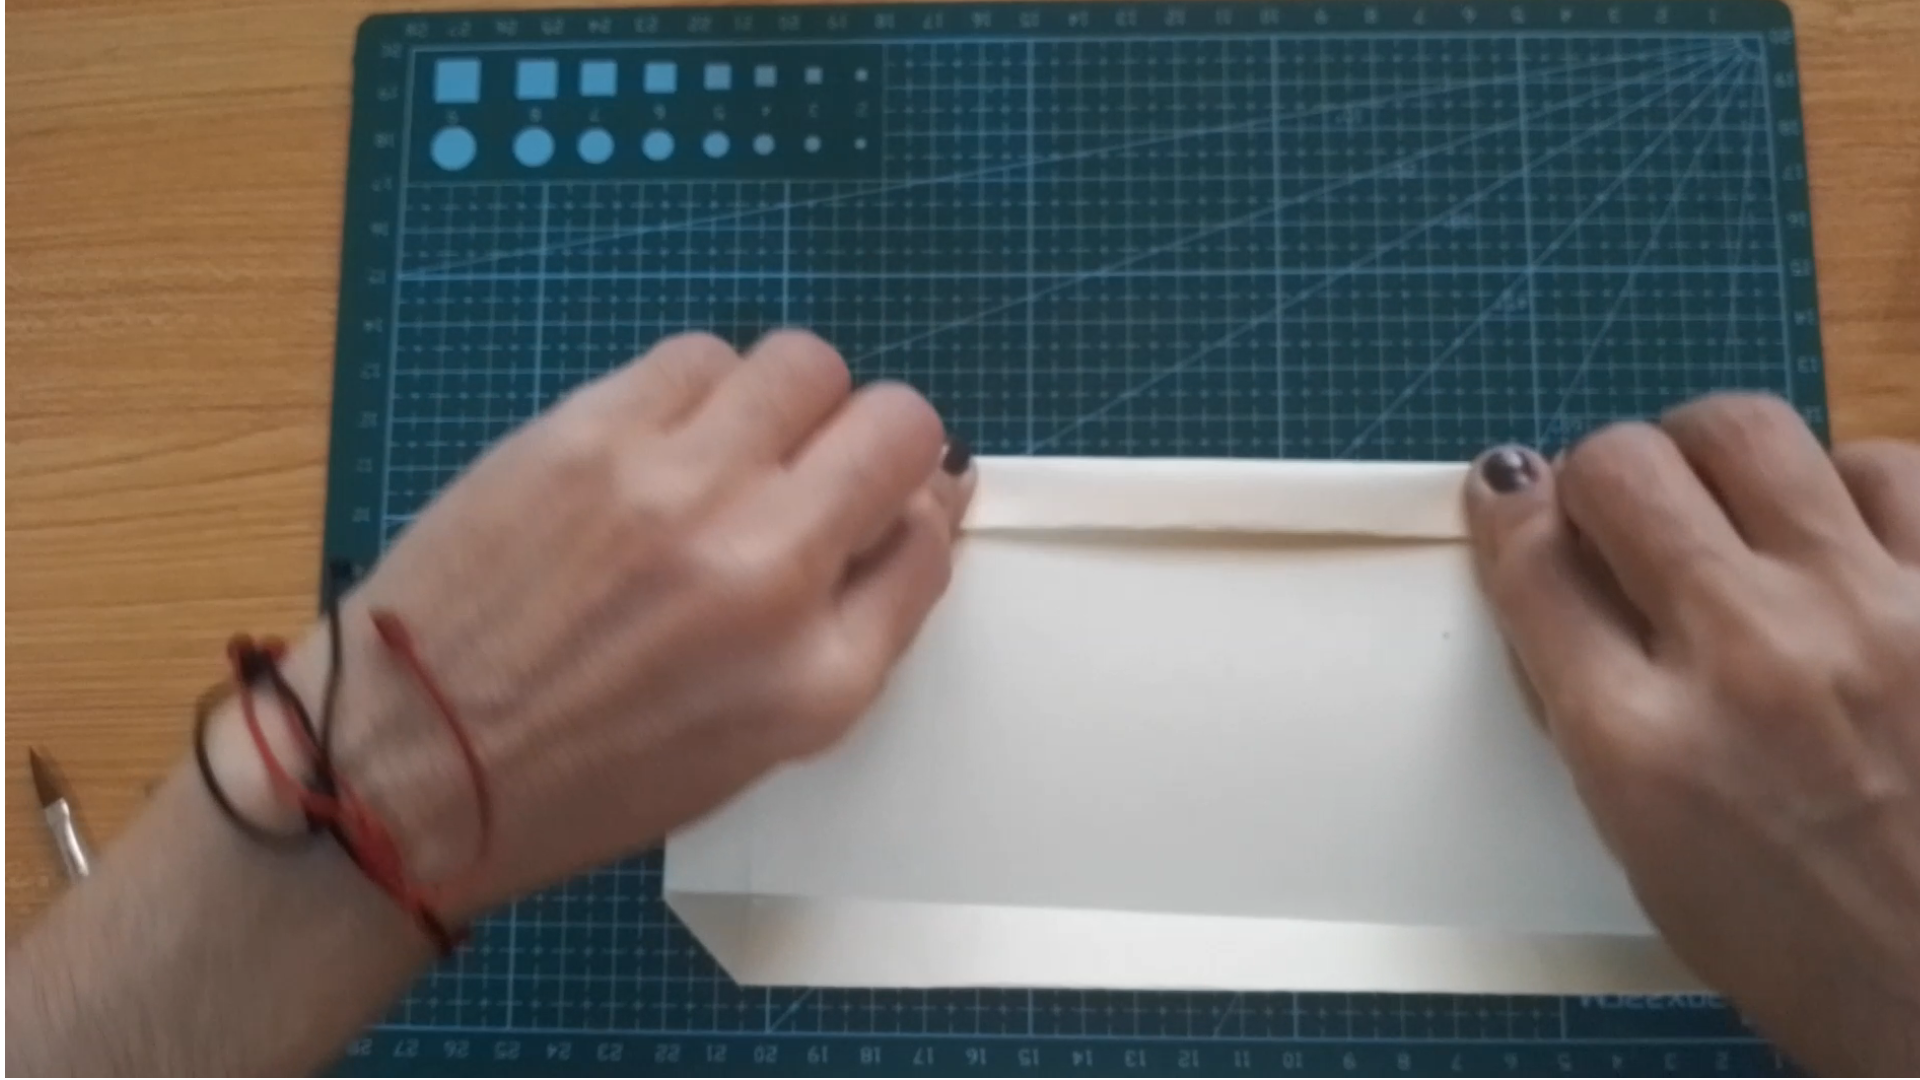
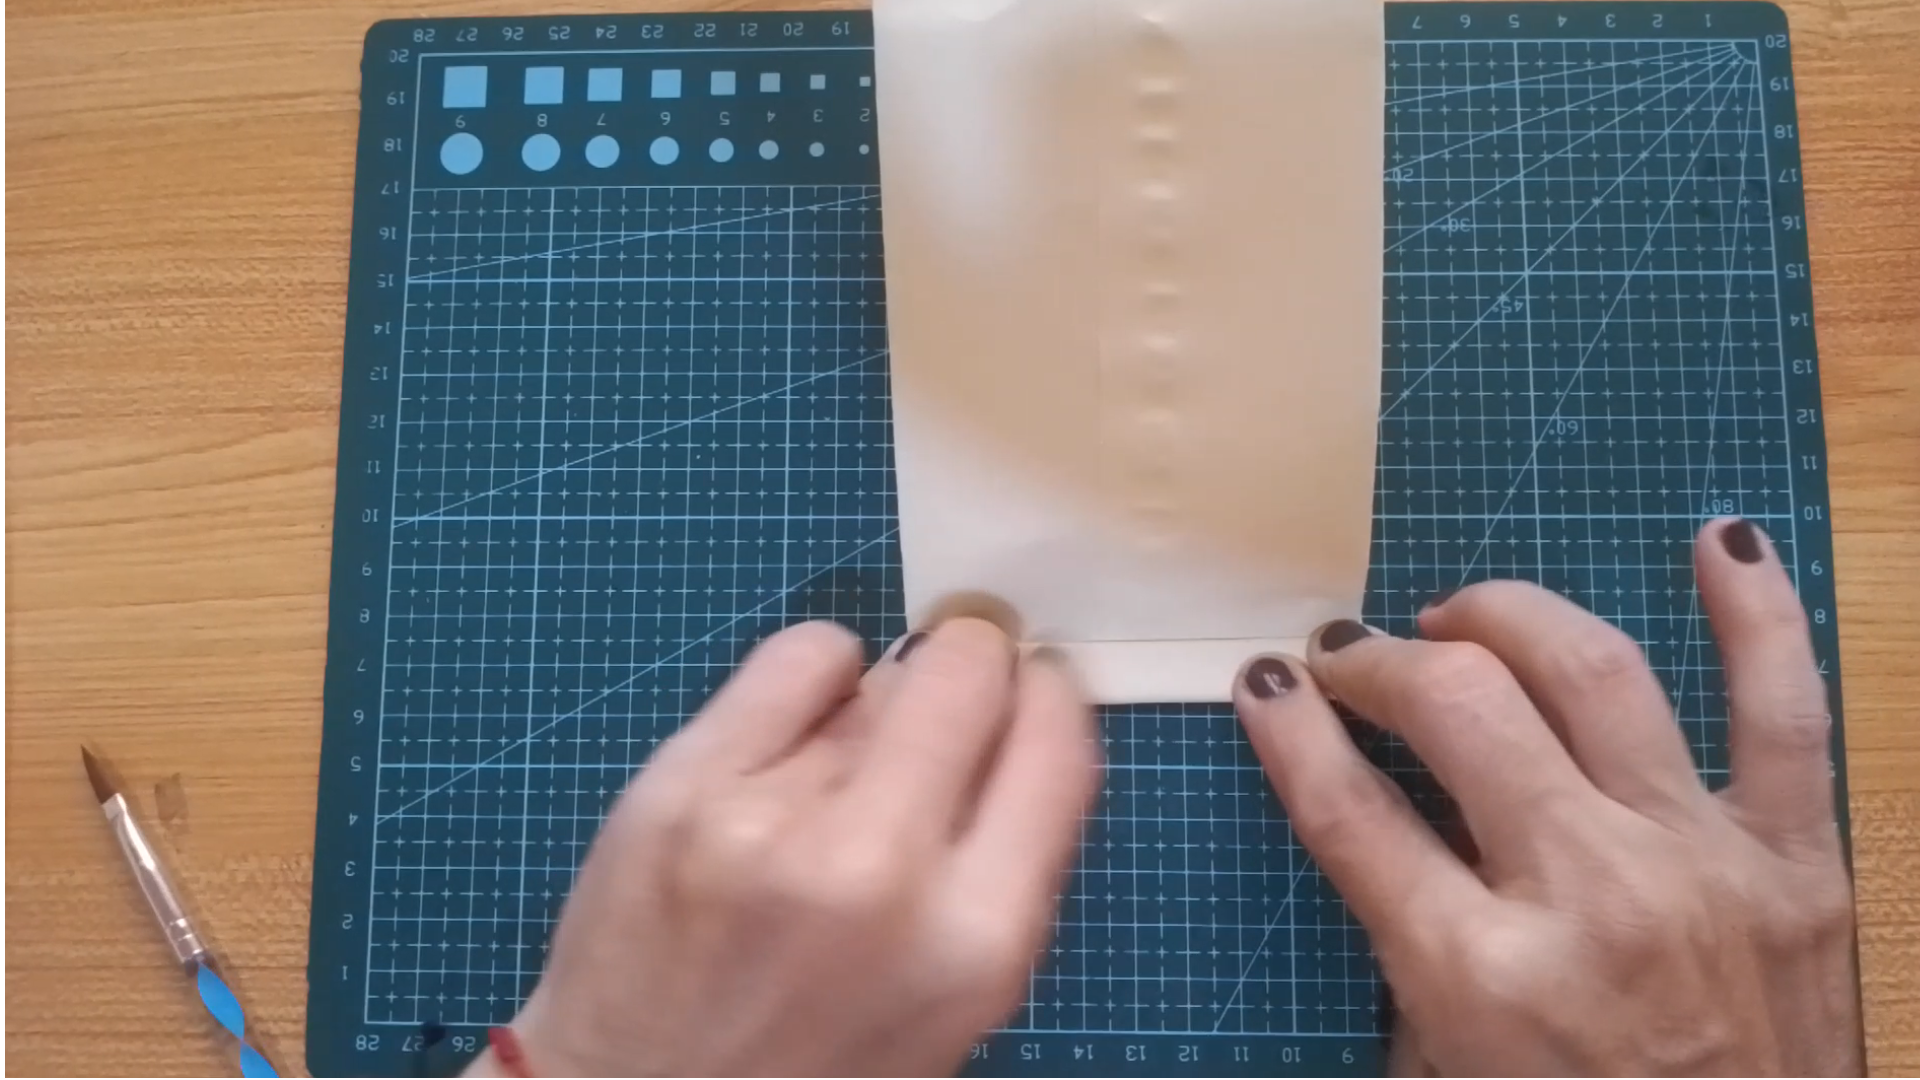
Si usas una hoja tamaño carta sea unicolor, estampada o de colores, dobla una pestaña hasta un poco más de la mitad, luego dobla la otra pestaña, aplica pegamento y une los extremos.
En la parte baja dobla nuevamente una pestaña de aproximadamente 2.5 centímetros. Dobla las esquinas formando un triángulo.
Observa la última imagen, dobla al centro la primera pestaña y luego la otra, aplica un poco de pegamento y une ambas pestañas.
>! [English version] > **[Eng]**
If you are using a letter size sheet, either one-color, printed or colored, fold one flap a little more than halfway, then fold the other flap, apply glue and join the ends.
At the bottom fold again a tab of approximately 2.5 centimeters. Fold the corners forming a triangle.
Look at the last image, fold the first tab to the center and then the other one, apply some glue and join both tabs.
Step 2️⃣/ paso 2️⃣
 |
 |
 |
[Esp]
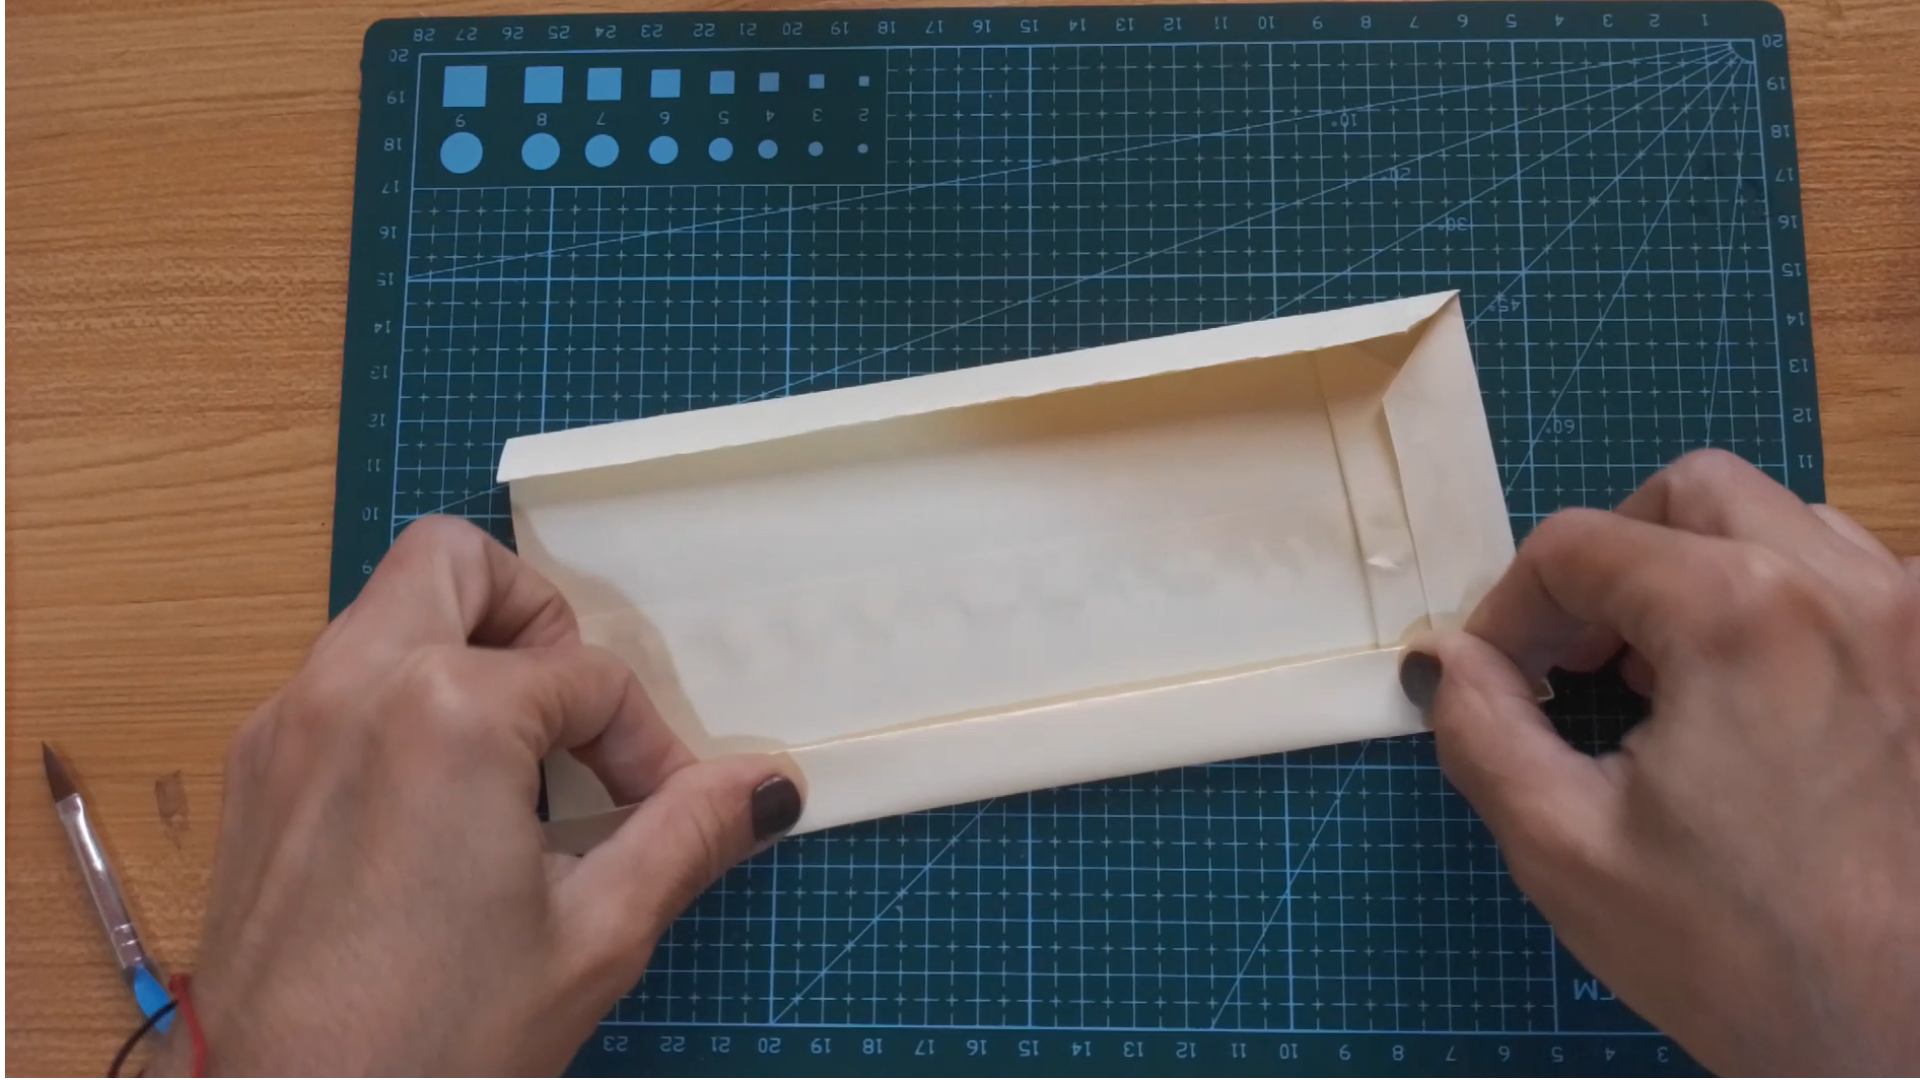
Dobla los laterales hacia adentro y luego vuelve a doblar al lado contrario.
Abre la bolsita y dale forma.
Aplica un dobladillo en la abertura.
>! [English version] > **[Eng]**
Fold the sides inward and then fold again to the opposite side.
Open the pouch and shape it.
Apply a hem at the opening.
>! [English version] > **[Eng]**
Fold the sides inward and then fold again to the opposite side.
Open the pouch and shape it.
Apply a hem at the opening.