
[Esp]
¡Saludos comunidad!
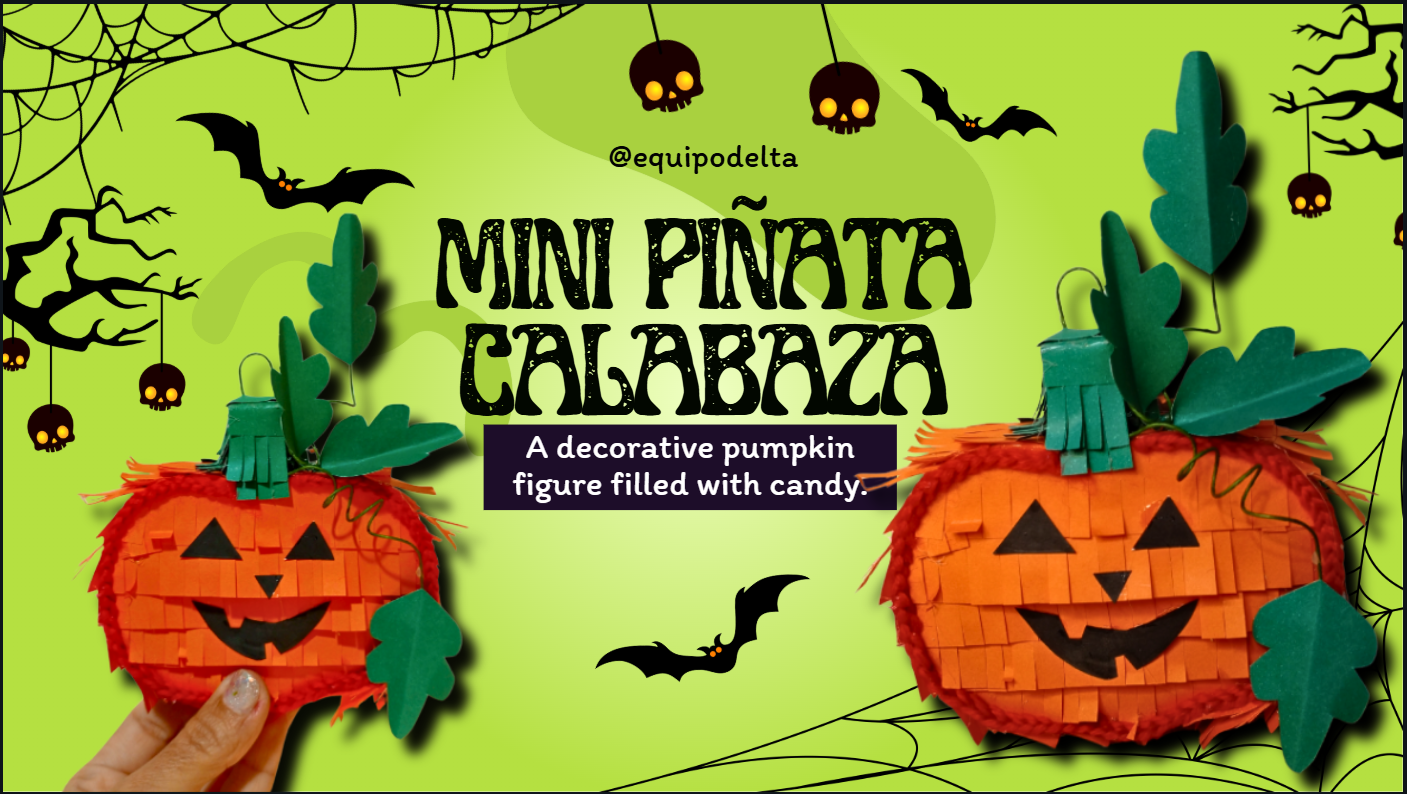
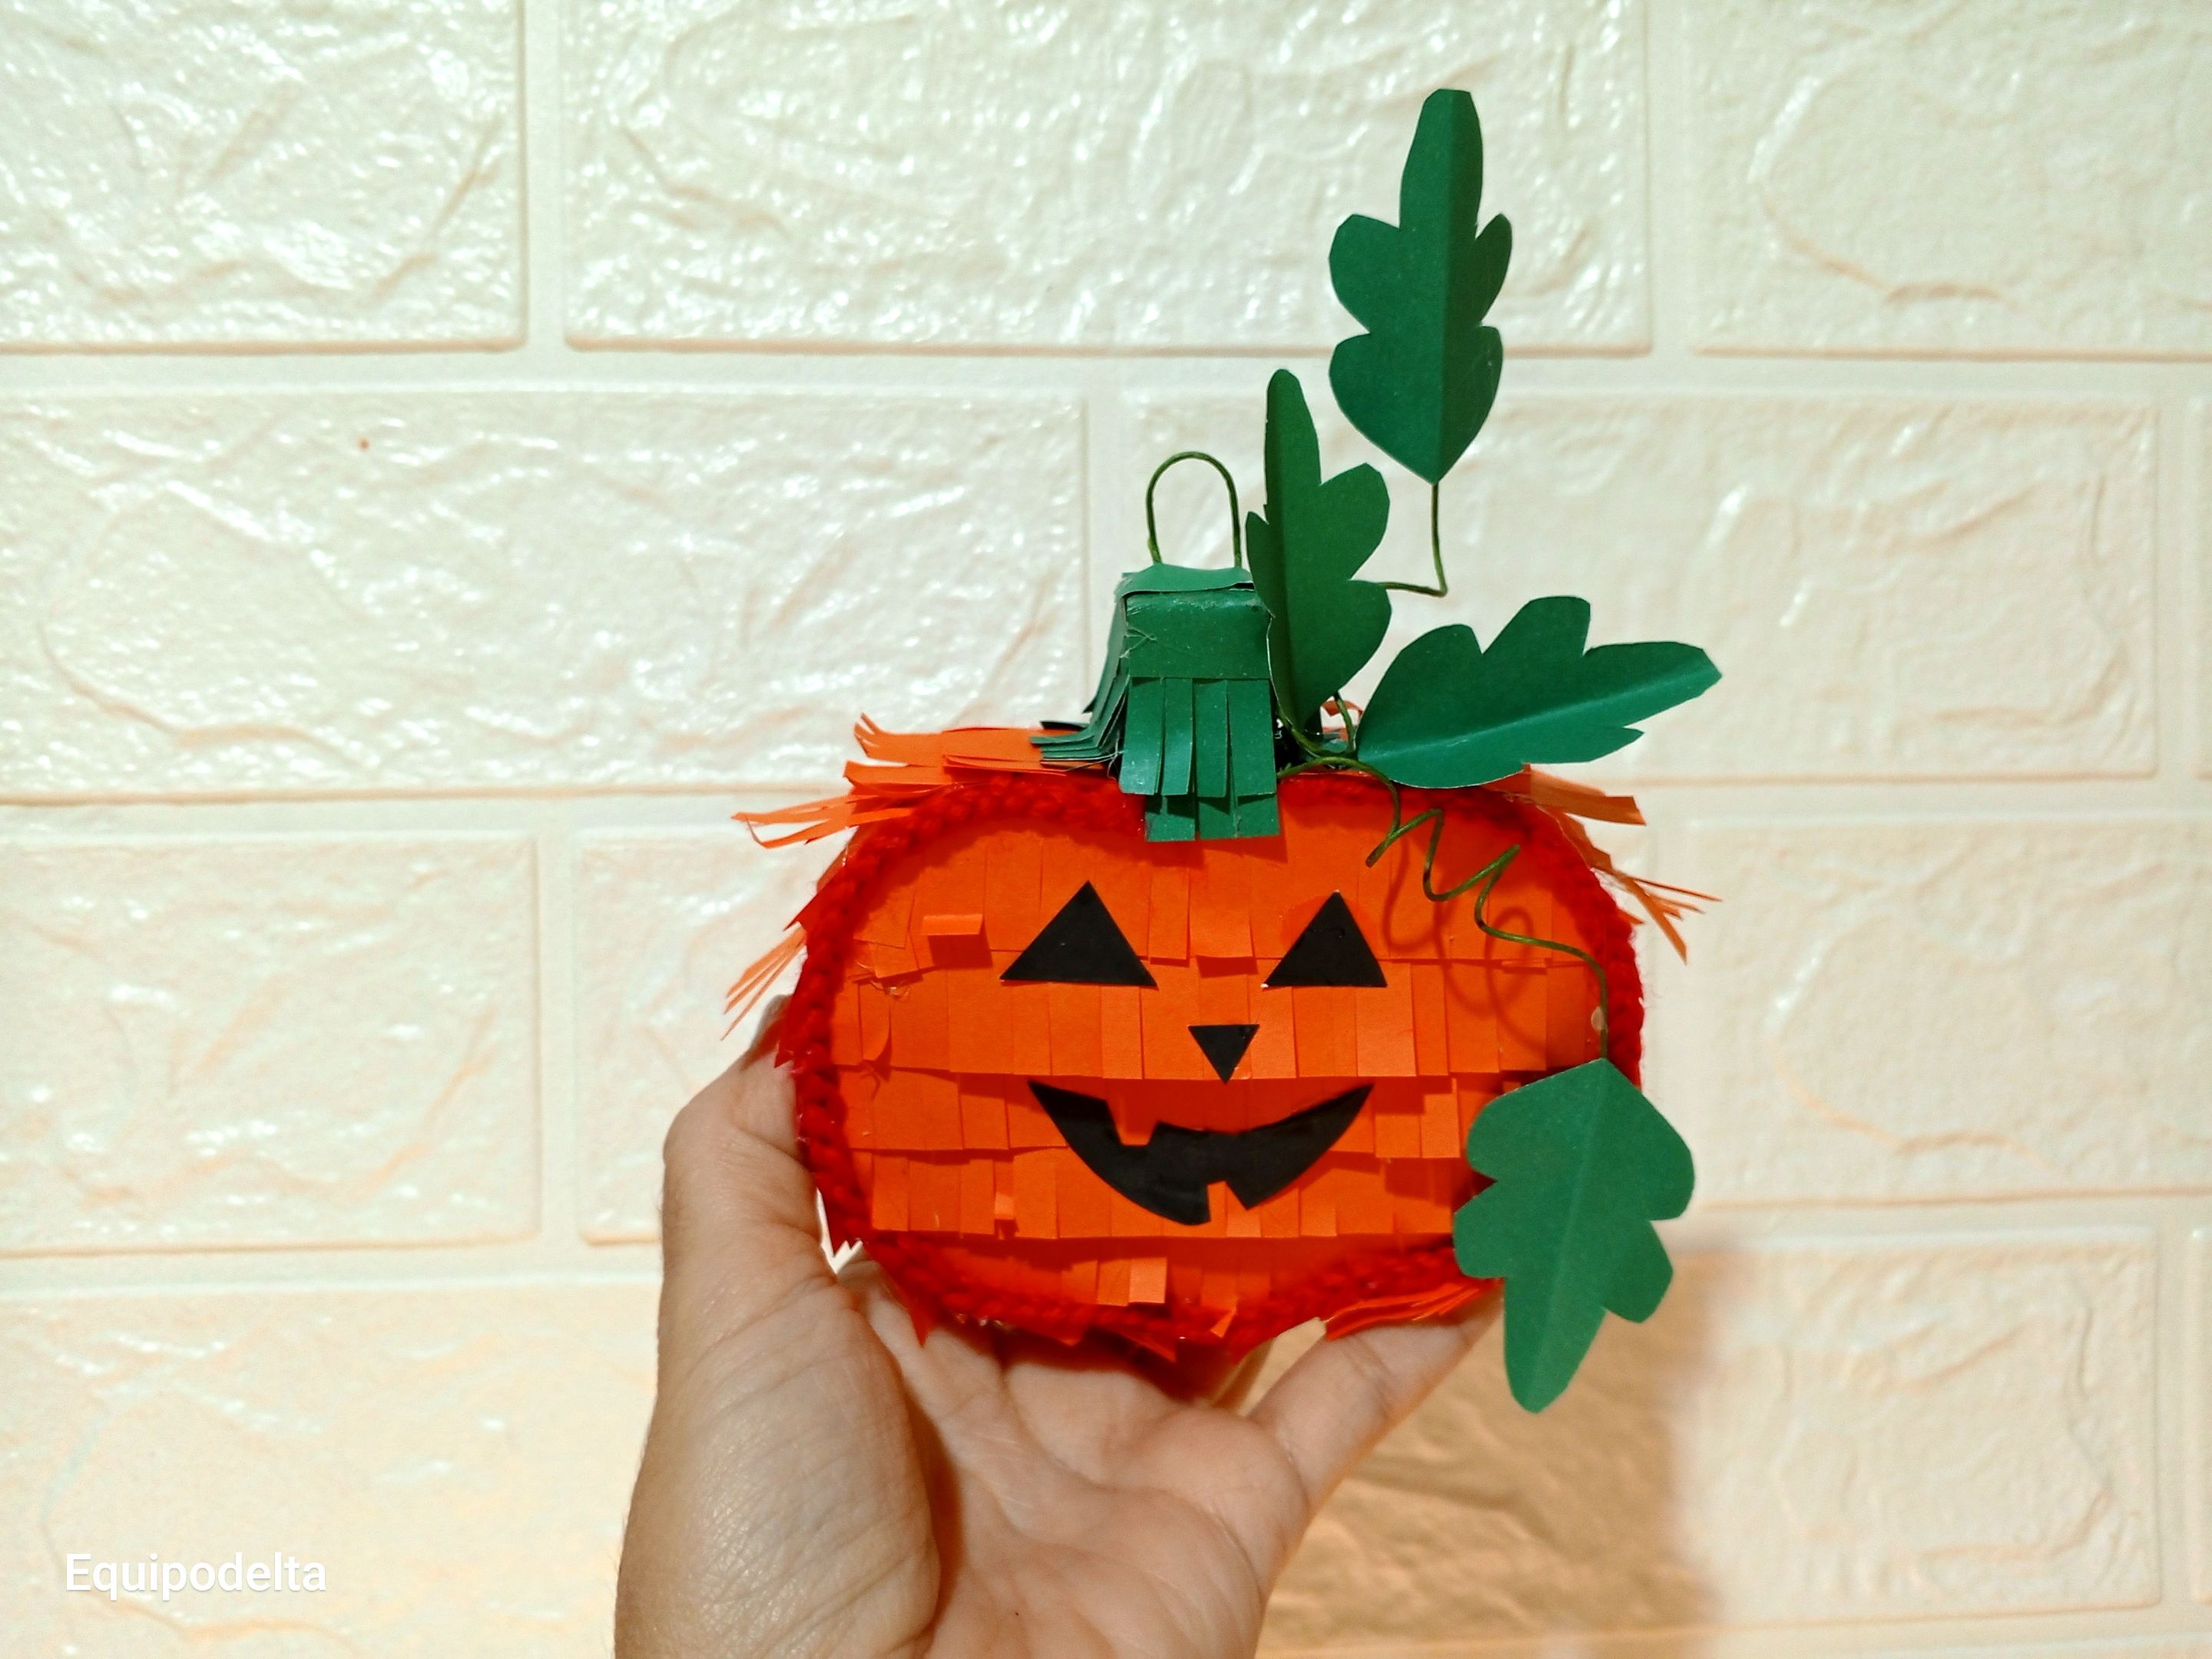
Sigo compartiendo ideas inspiradas en Halloween, esta vez aprovechando la iniciativa de @yennysferm71 quien hizo una adorable mini piñata que [te invito a ver en su post,](https://peakd.com/hive-130560/@yennysferm71/la-mini-pinata-de-jack-skillington-que-necesitas-este-halloween-espeng) las dos nos pusimos de acuerdo en inspirarnos en hacer un mini contenedor de dulces ideal para el popular "dulce o truco" que en mi país le llamamos "cotillón" este lo podemos llenar con dulces, caramelos y ofrecerlo a los invitados para impresionarlos con algo original hecho a mano, con pocos materiales y de bajo costo.
Sorprende a tus amigos, visitas y familiares con este lindo contendor, te invito a usar materiales de reciclaje y lo que tengas disponible a tu alcance como yo.
Espero les guste.
>! [English version]
Greetings community!
I continue sharing ideas inspired by Halloween, this time taking advantage of the initiative of @yennysferm71 who made an adorable mini piñata that I invite you to see in [her post,](https://peakd.com/hive-130560/@yennysferm71/la-mini-pinata-de-jack-skillington-que-necesitas-este-halloween-espeng) we both agreed to be inspired to make a mini candy container ideal for the popular "trick or treat" that in my country we call "cotillion" this we can fill it with candy, candy and offer it to the guests to impress them with something original handmade, with few materials and low cost.
Surprise your friends, visitors and family with this nice container, I invite you to use recycled materials and what you have available at your fingertips like me.
I hope you like it.
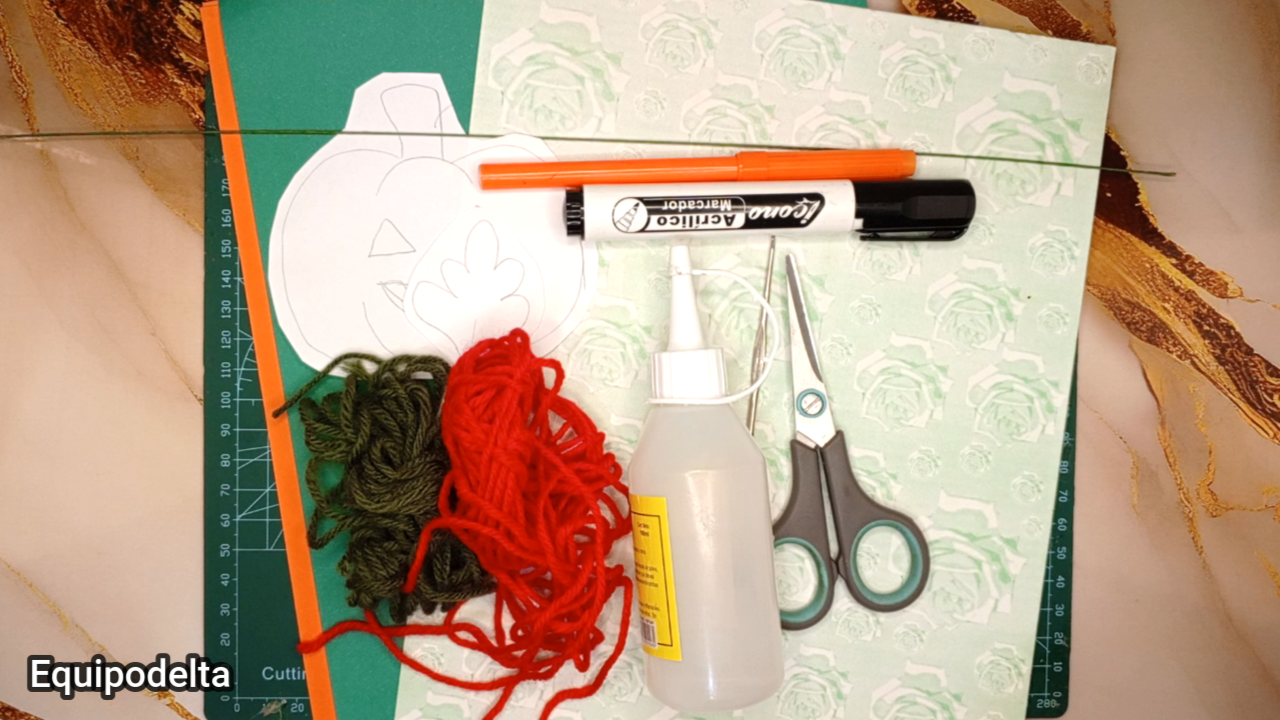
# Materiales / Materials
| Spanish | English | |
| Molde de calabaza con hojas | Pumpkin mold with leaves | |
| Estambre rojo | Red stamen | |
| Tijera | Scissors | |
| Silicón caliente y frío | Hot and cold silicone | |
| Cartulina o cartón delgado | Cardboard or thin cardboard | |
| Aguja de tejer | Knitting needle | |
| Papel color naranja y verde | Orange and green paper | |
| Marcador negro y uno delgado | Black marker and a thin marker | |
| Alambre de floristería | Florist wire |
Paso a paso / Step by Step
Step 1️⃣/ Paso 1️⃣
 |
 |
|
 |
 |
[Esp]
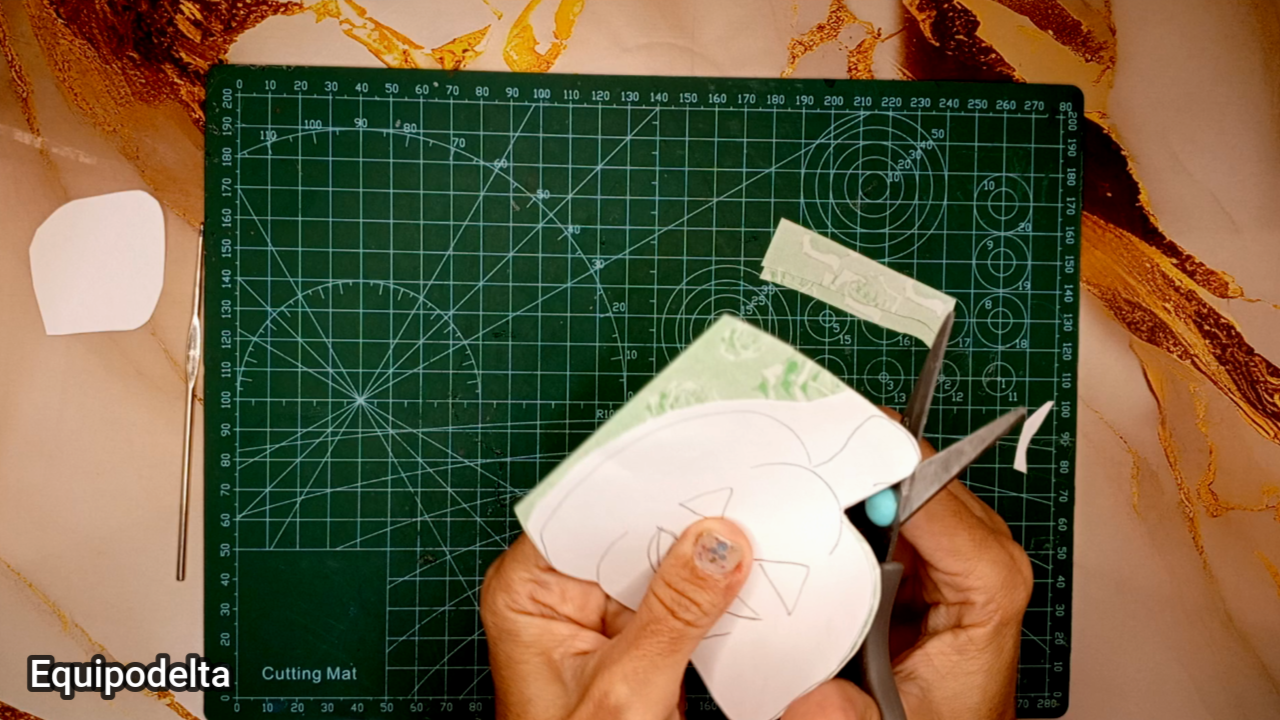
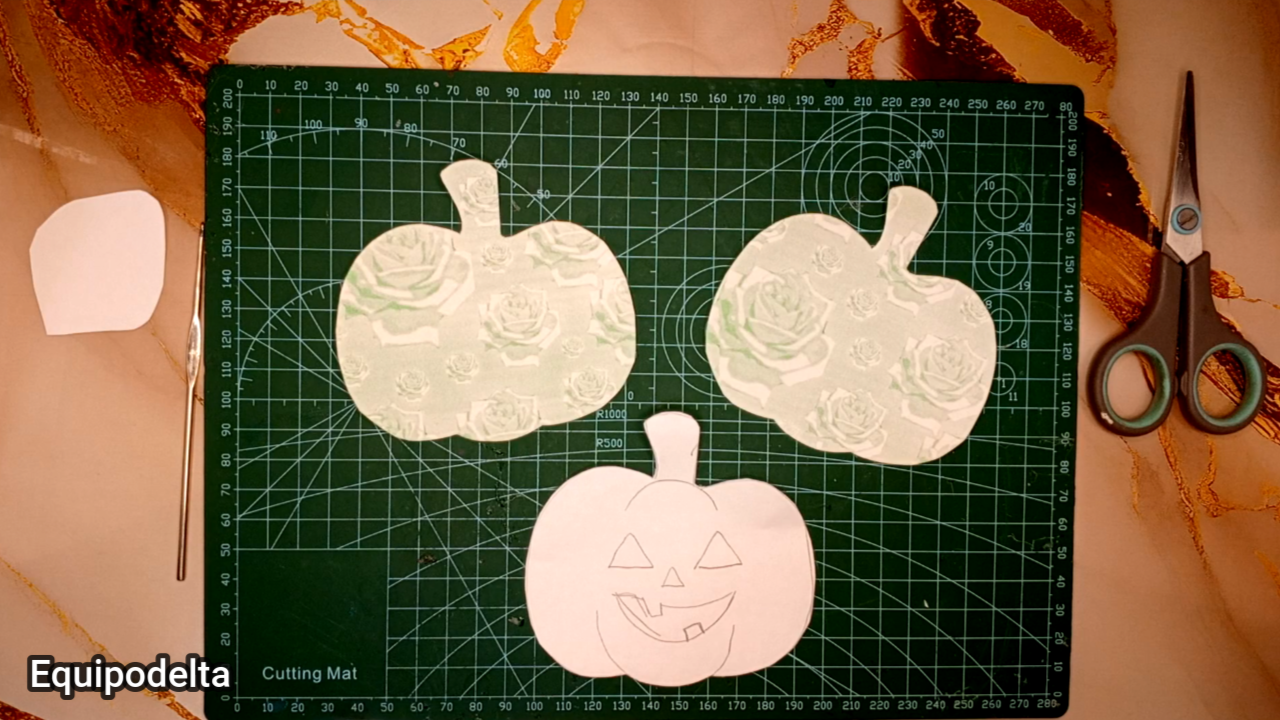
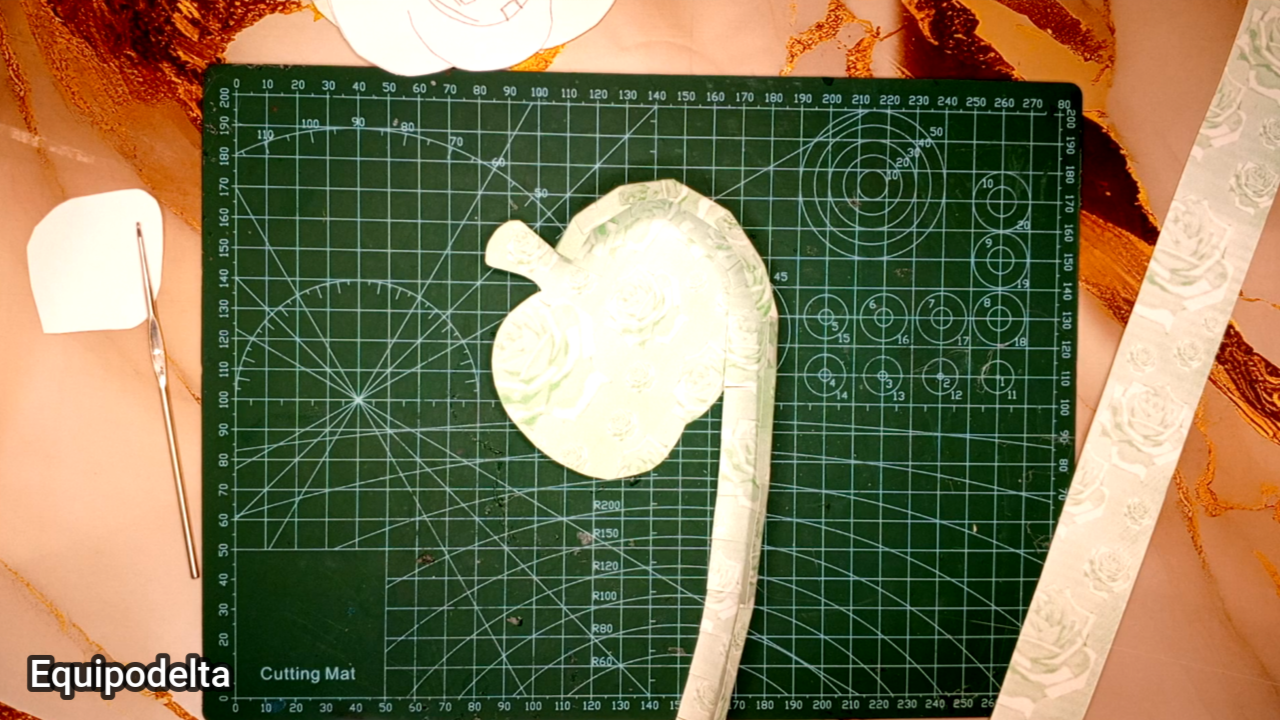
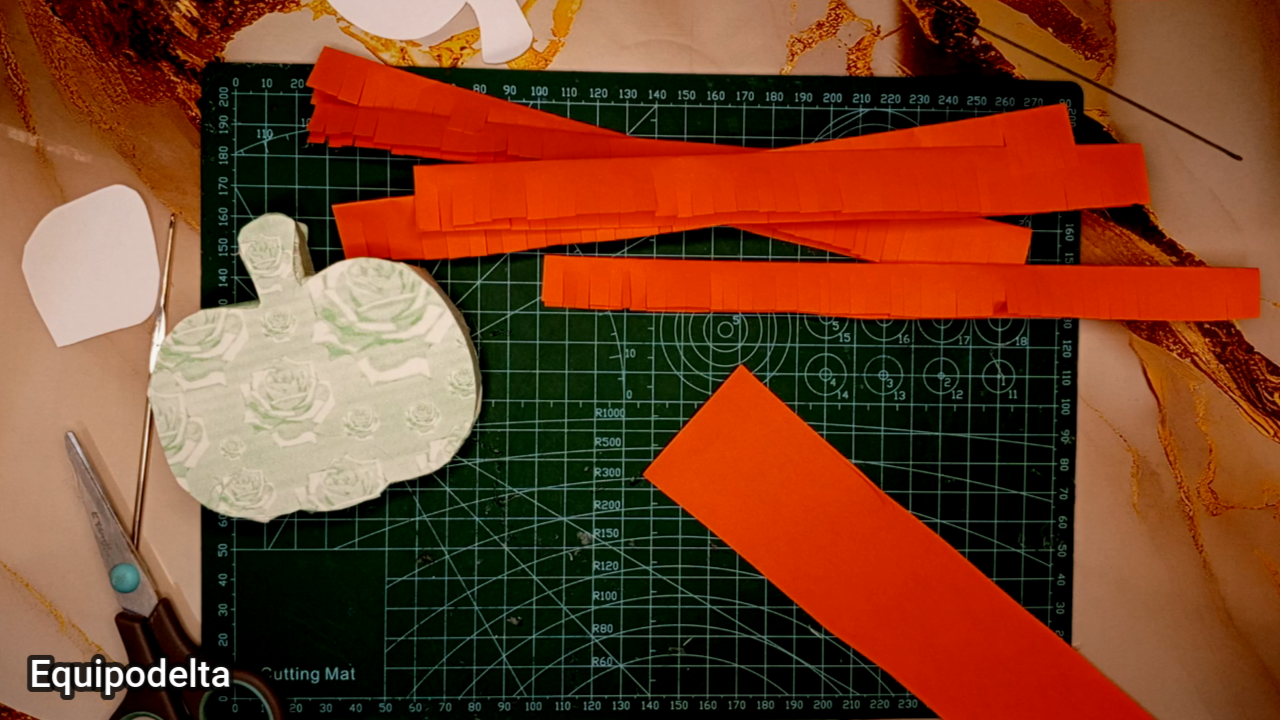
El molde o patrón de la calabaza lo puedes hacer tú dibujando una en una hoja, al igual que las hojas, sino puedes, puedes usar cartillas o buscar imágenes gratuitas libres de autor por internet.
Coloca dos trozos de cartón o cartulina del mismo tamaño uno sobre otro y sobre ellos el molde ahora recorta siguiendo la línea guía con ello tendrás las dos piezas, parte delantera y parte trasera.
Yo usé cartulina porque es más sencillo de manipular y la pieza es muy pequeña.
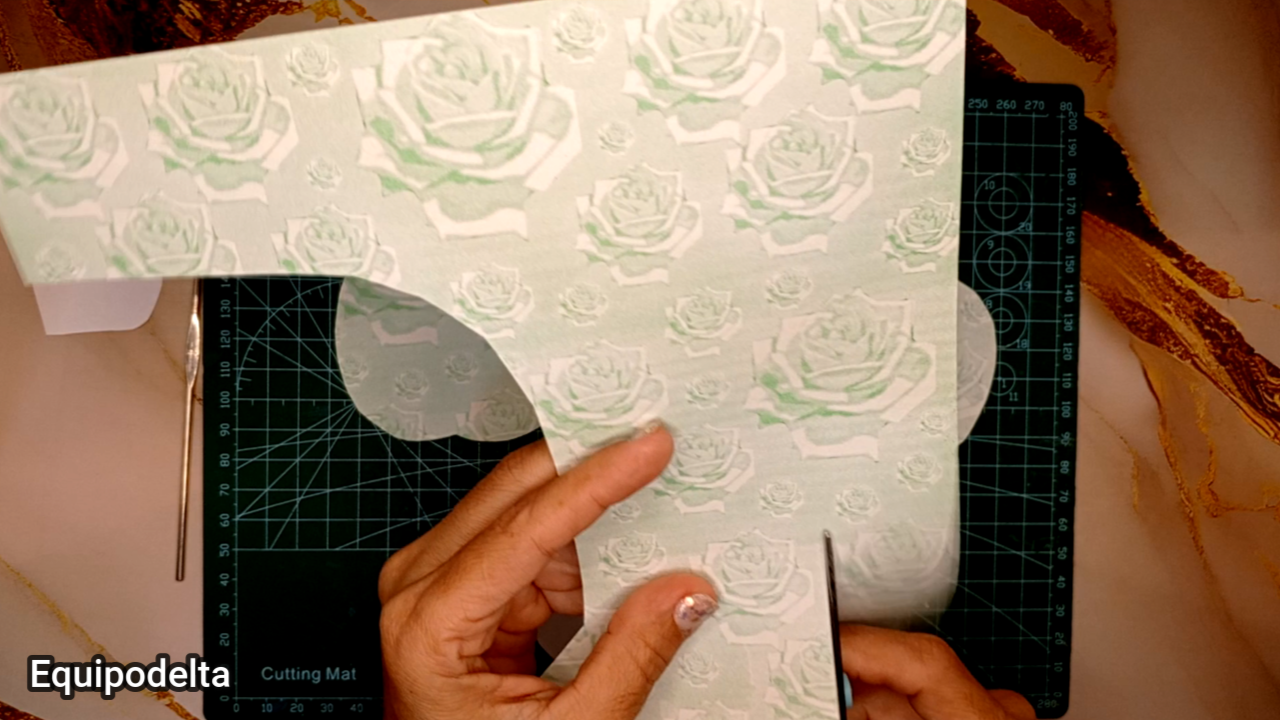
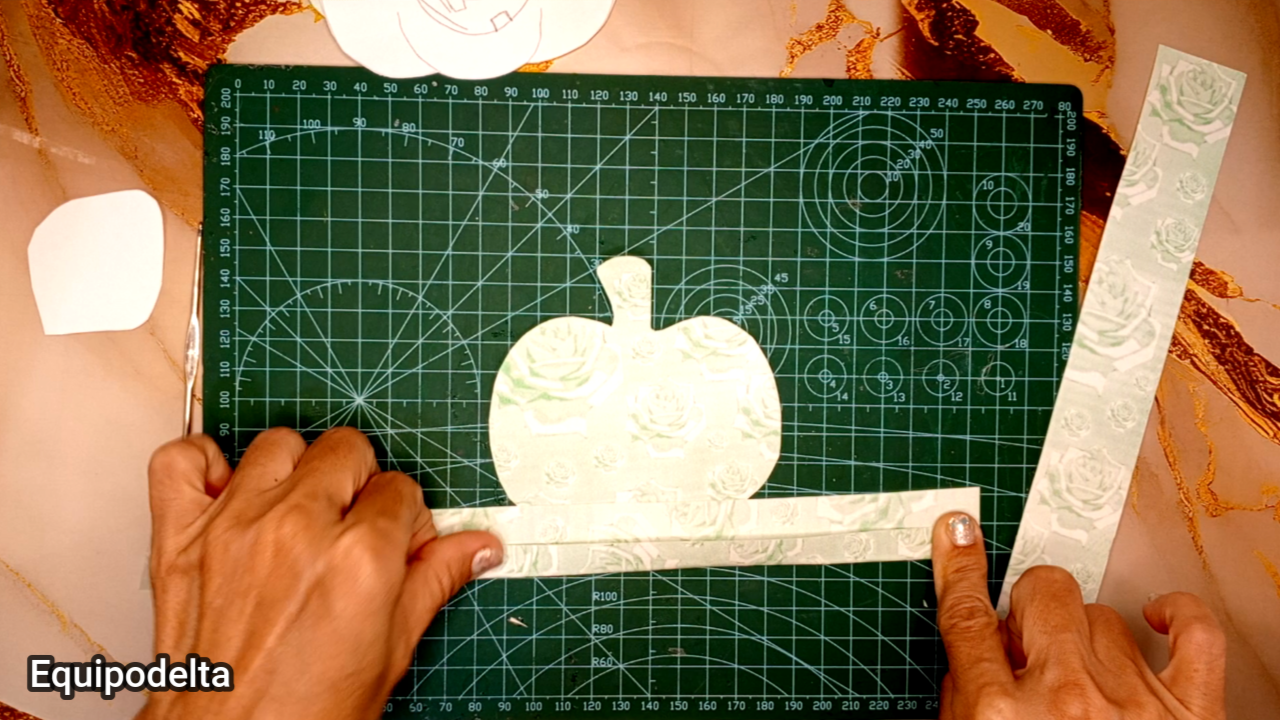
Corta dos trozos de cartulina de 4 centímetros para bordear la calabaza, estos debes hacerlo es un doblez de cada lado por la parte larga de un centímetro hacia a dentro cada lado, cada doblez debes hacerles cortes para que te ayude a darle formas redondeadas.
>! [English version]
You can make the mold or pattern of the pumpkin by drawing one on a sheet, just like the leaves, if you can't, you can use primers or look for free images on the internet.
Place two pieces of cardboard or cardboard of the same size one on top of the other and on them the mold now cut out following the guide line with this you will have the two pieces, front and back.
I used cardboard because it is easier to manipulate and the piece is very small.
Cut two pieces of cardboard of 4 centimeters to border the pumpkin, these you must do it is a fold on each side by the long side of a centimeter inward each side, each fold you must make cuts to help you give rounded shapes.
Step 2️⃣/ paso 2️⃣
 |
 |
|
 |
 |
[Esp]
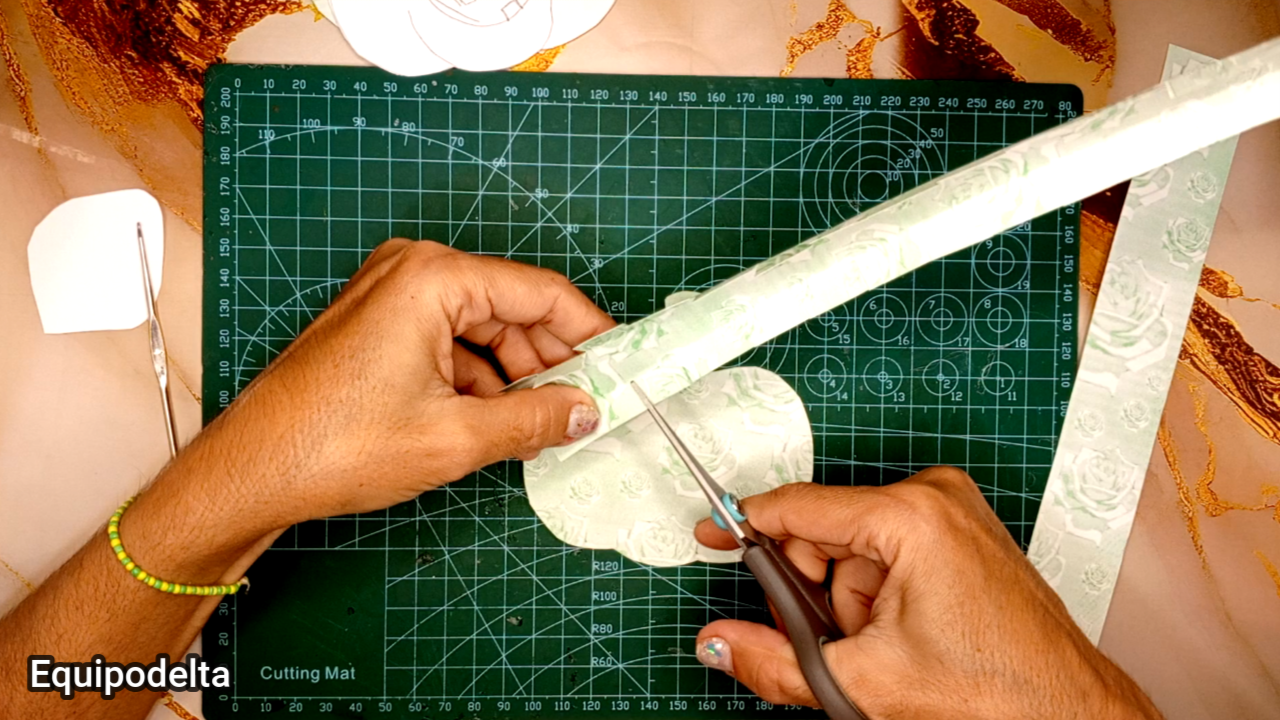
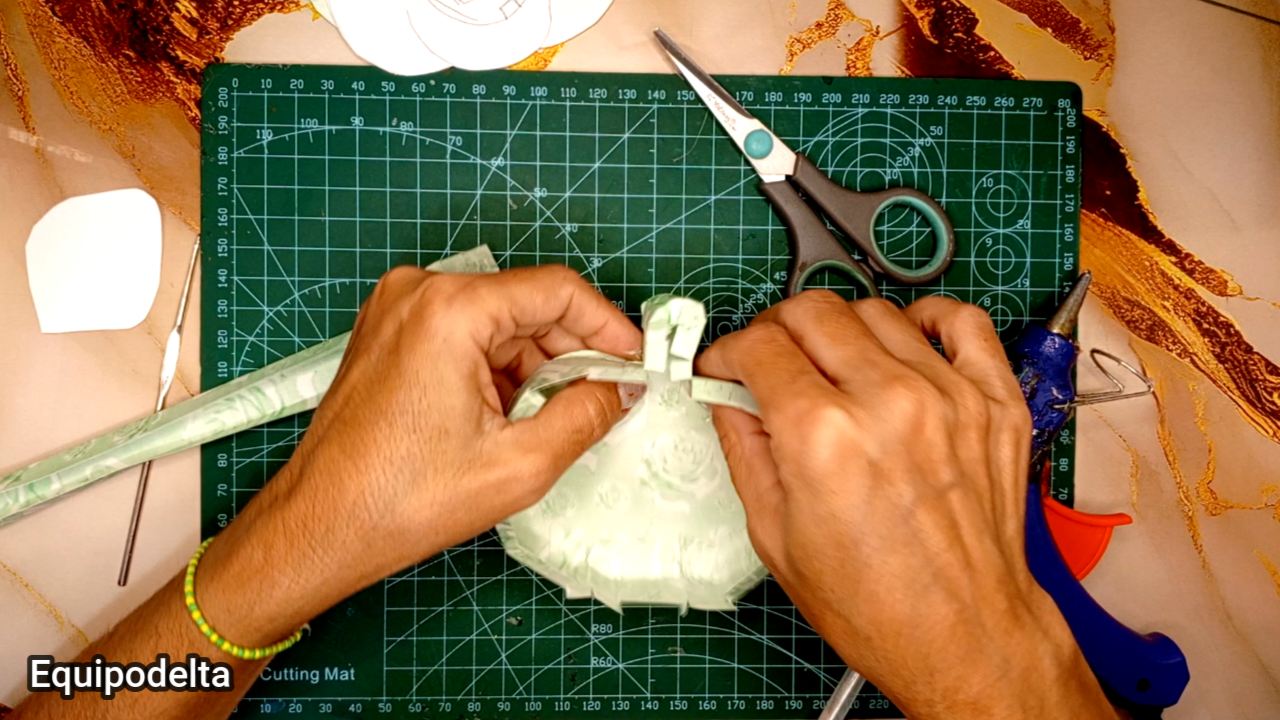
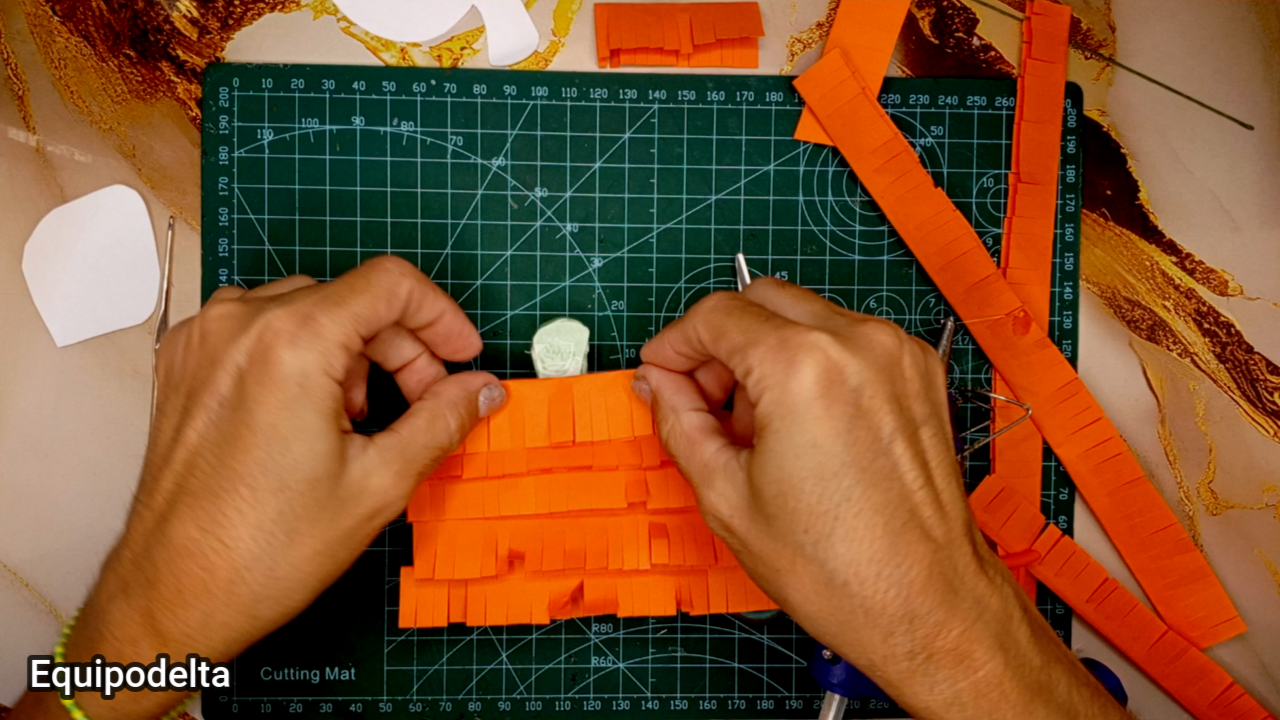
Coloca pegamento en el borde y ve pegando la cinta delgada que hiciste dando forma a la calabaza.
Luego pega la otra capa para cerrarla.
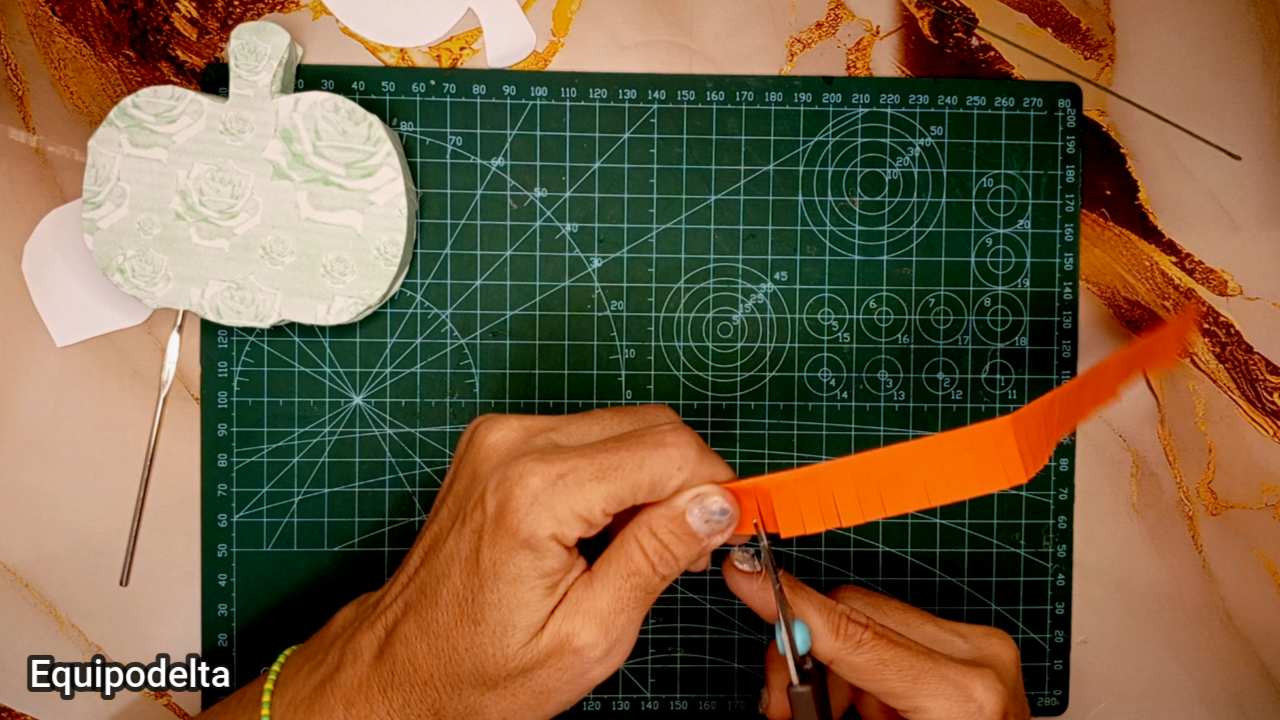
Recorta varias tiras de papel naranja de cuatro centímetros de ancho y realiza varios piquetitos sin llegar al final, recorta las que sean necesarias para forrar toda la calabaza.
>! [English version]
Put glue on the edge and glue the thin ribbon you made to shape the pumpkin.
Then glue the other layer to close it.
Cut several strips of orange paper four centimeters wide and make several small picks without reaching the end, cut out as many as necessary to line the entire pumpkin.
Step 3️⃣/ paso 3️⃣
 |
 |
|
 |
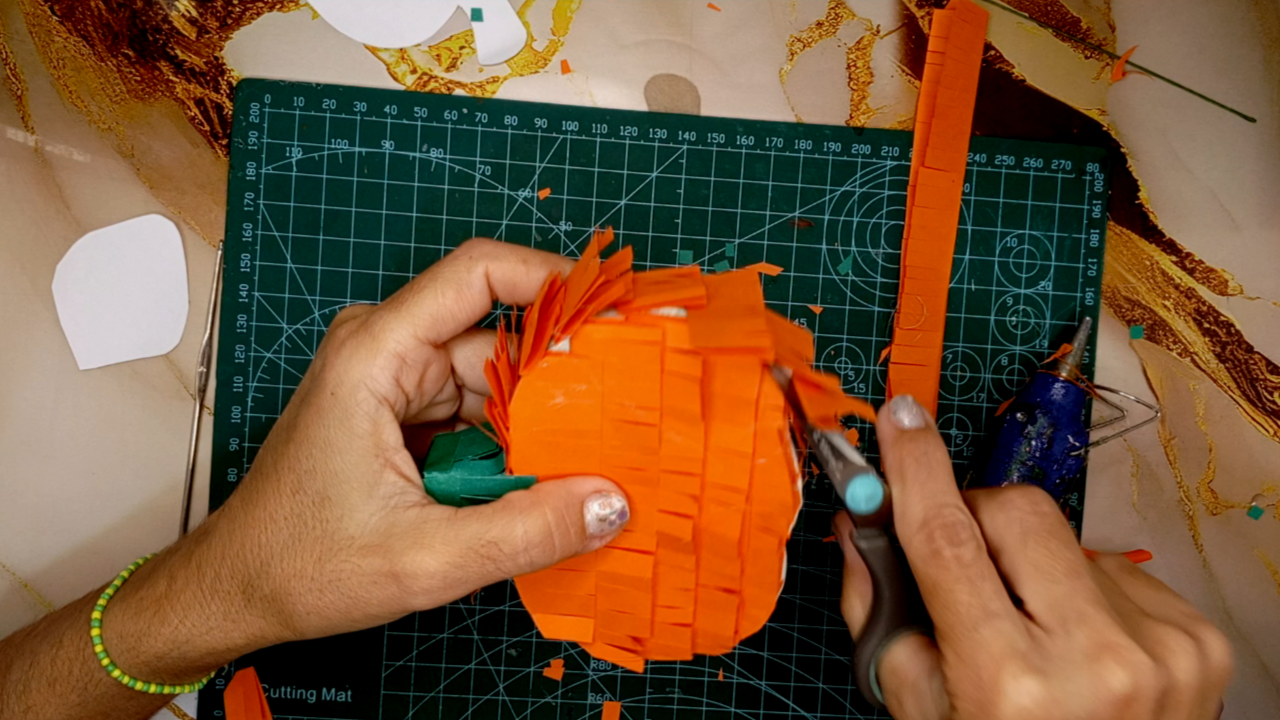 |
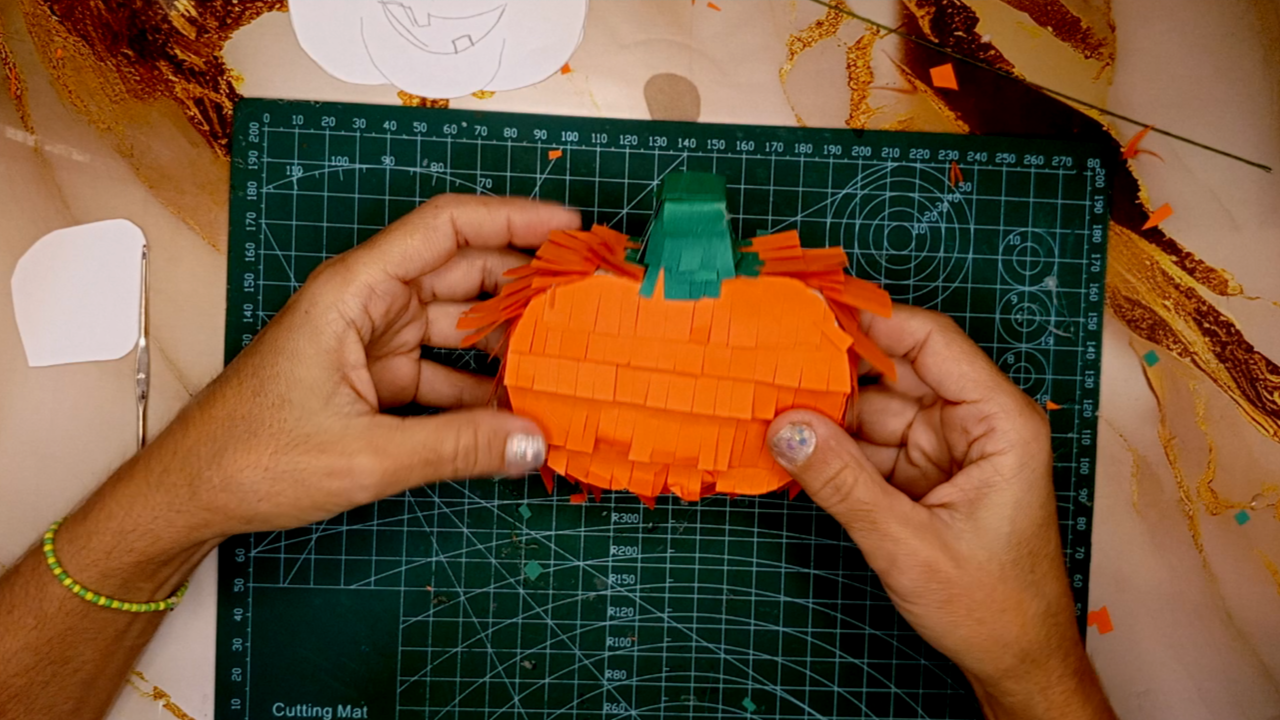
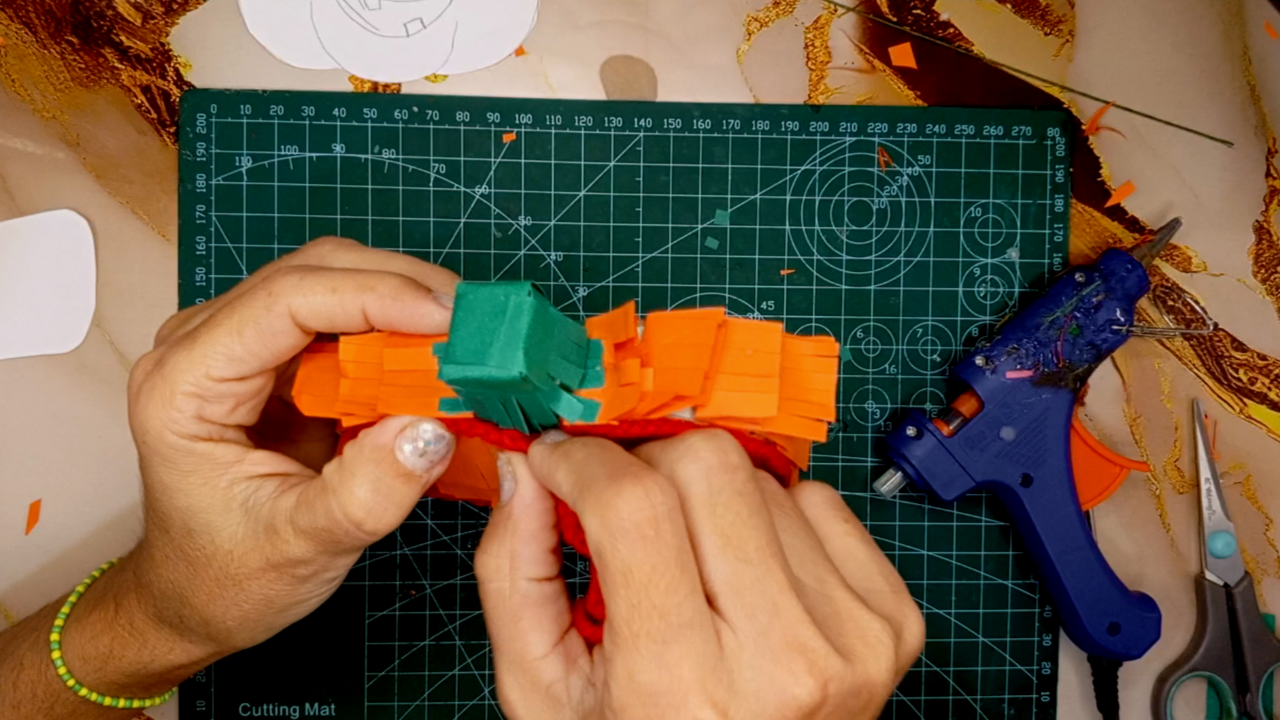
[Esp]
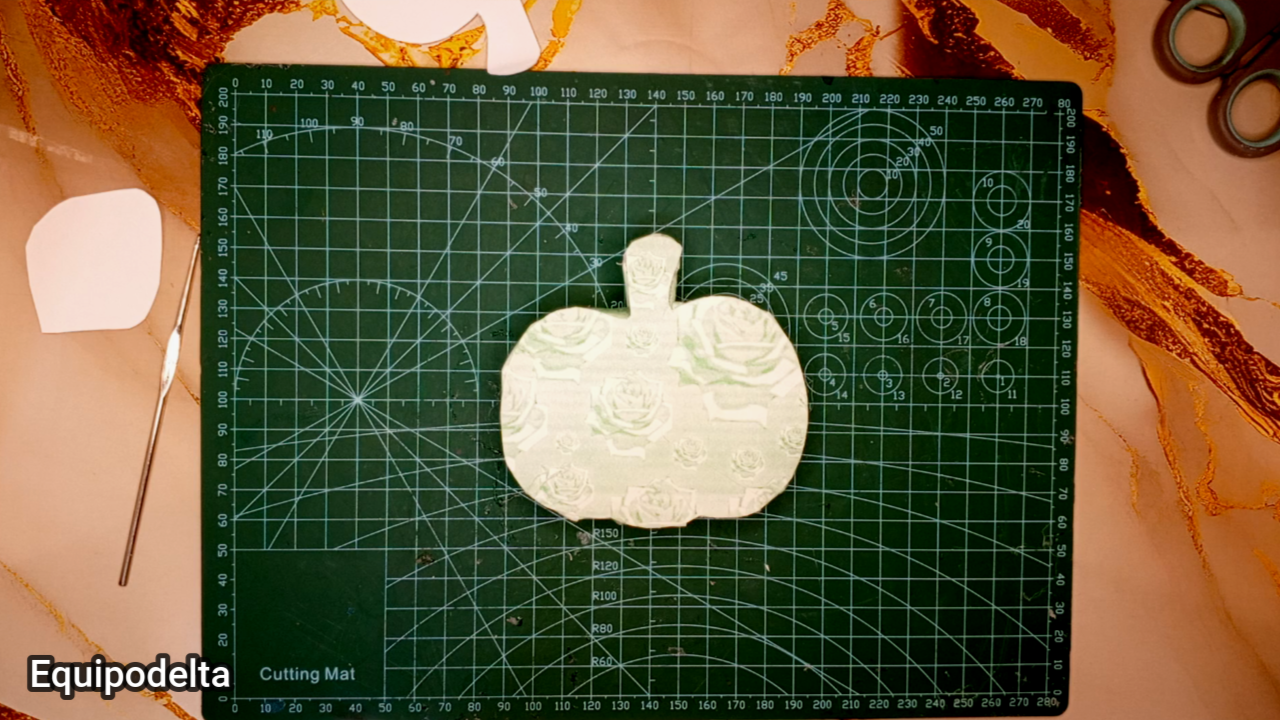
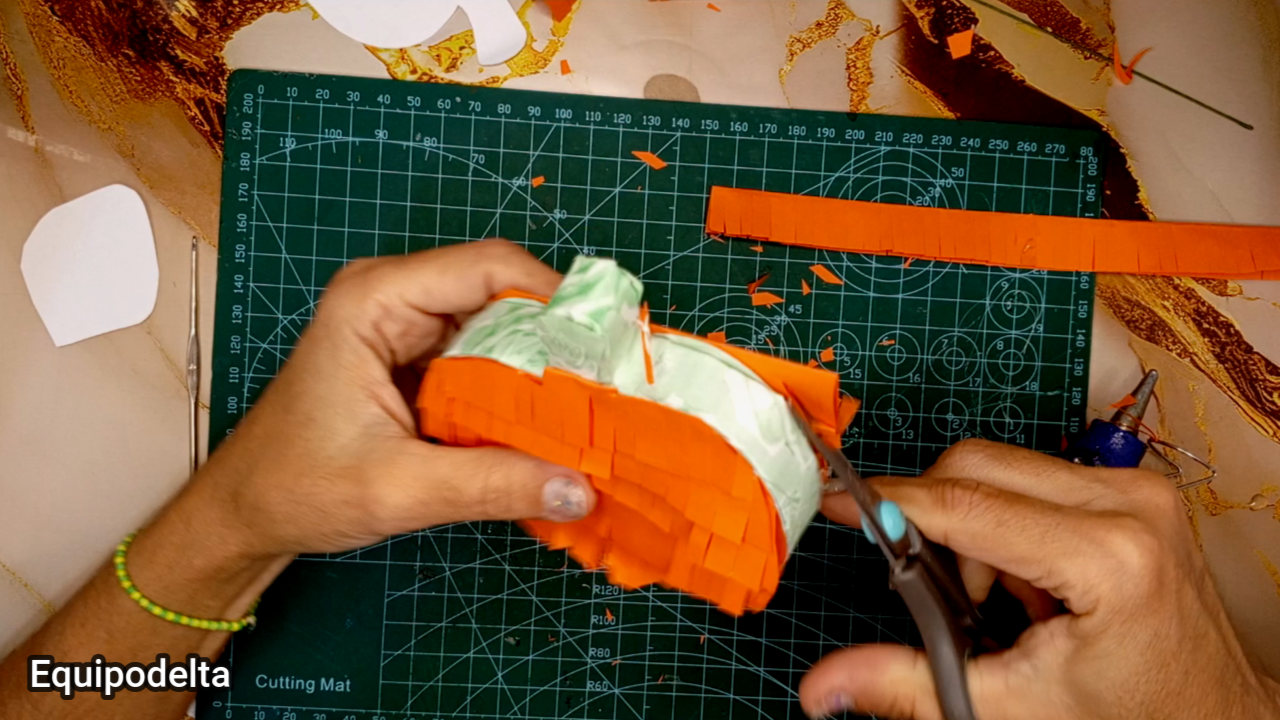
Empieza por pegar las tiras de abajo hacia arriba para forrar la calabaza, recorta el excedente delos bordes y da forma.
Repite el procedimiento del otro lado.
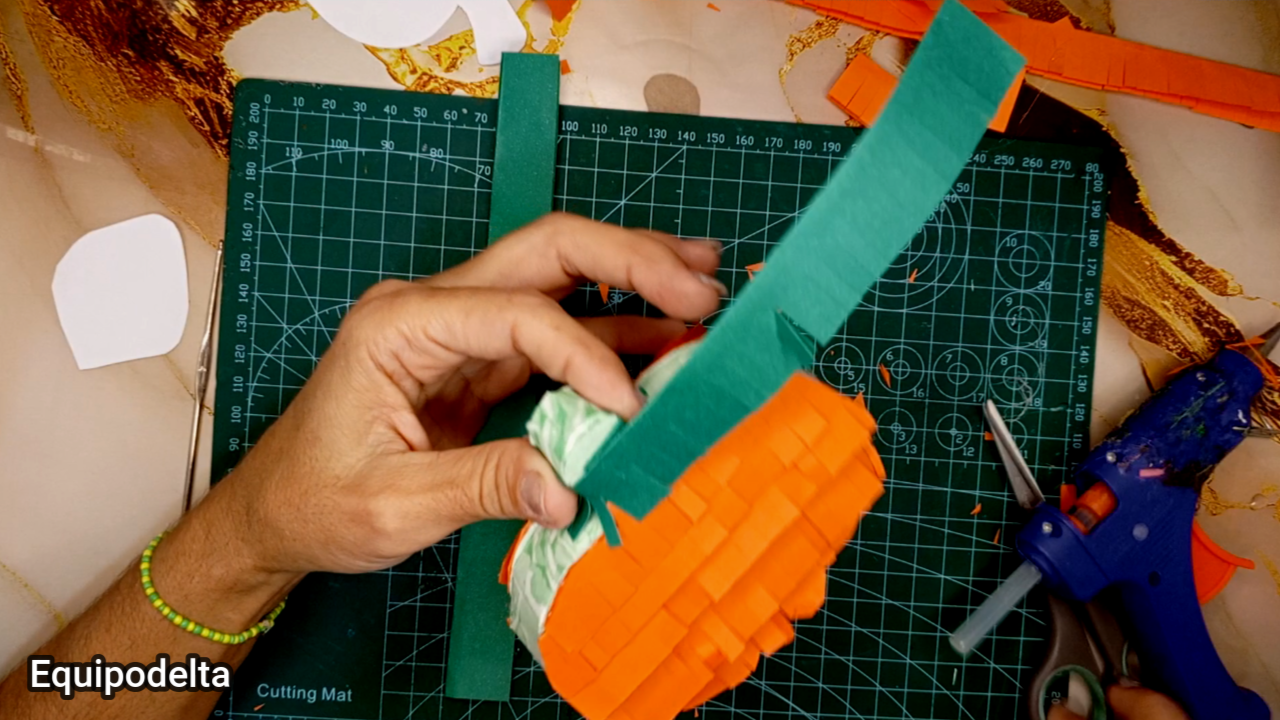
Recorta tiras de papel de color verde de cuatro centímetros de ancho y realiza varios piquetitos sin llegar al final, forra la parte de arriba de la calabaza hasta cubrir y no dejar espacios en blanco.
Con el papel cortado en tiras de color naranja forra los laterales de la calabaza y recorta el papel excedente de los bordes.
>! [English version]
Start by gluing the strips from the bottom up to line the pumpkin, trim the excess from the edges and shape.
Repeat the procedure on the other side.
Cut strips of green paper four centimeters wide and make several small picks without reaching the end, line the top of the pumpkin to cover and leave no blank spaces.
With the paper cut into orange strips, line the sides of the pumpkin and trim the excess paper from the edges.
Step 4️⃣/ paso 4️⃣
 |
 |
|
 |
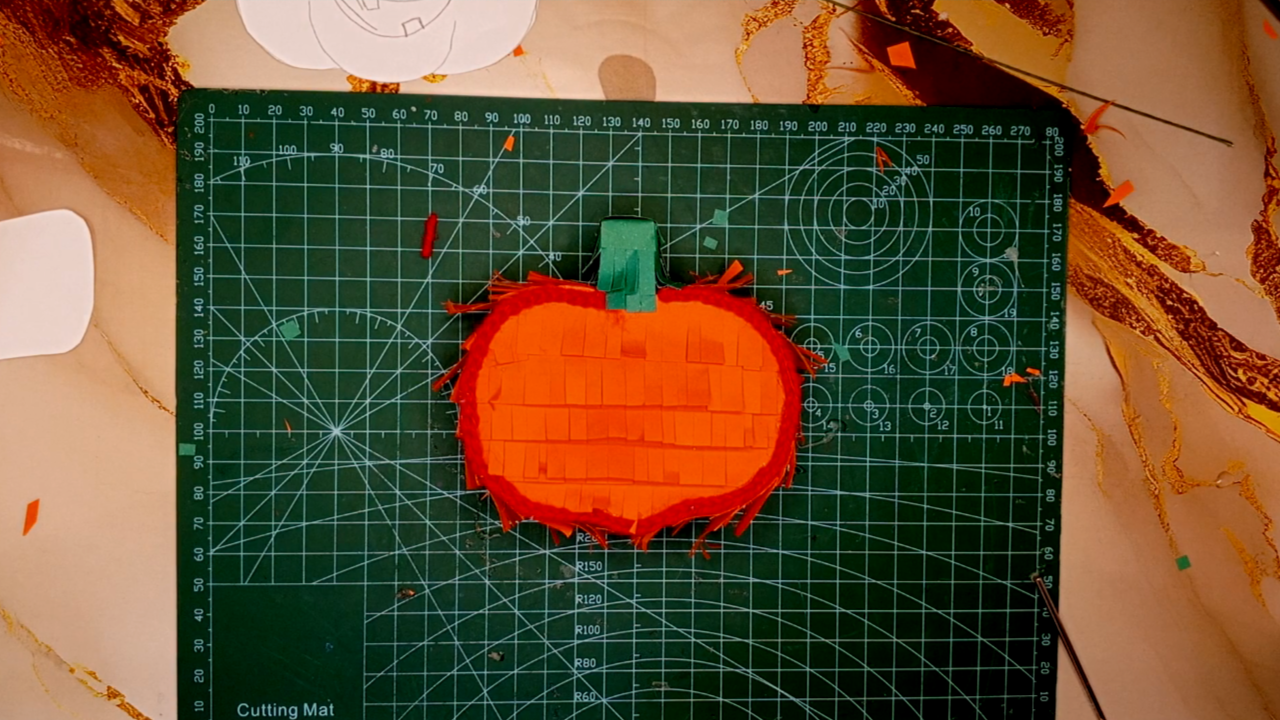 |
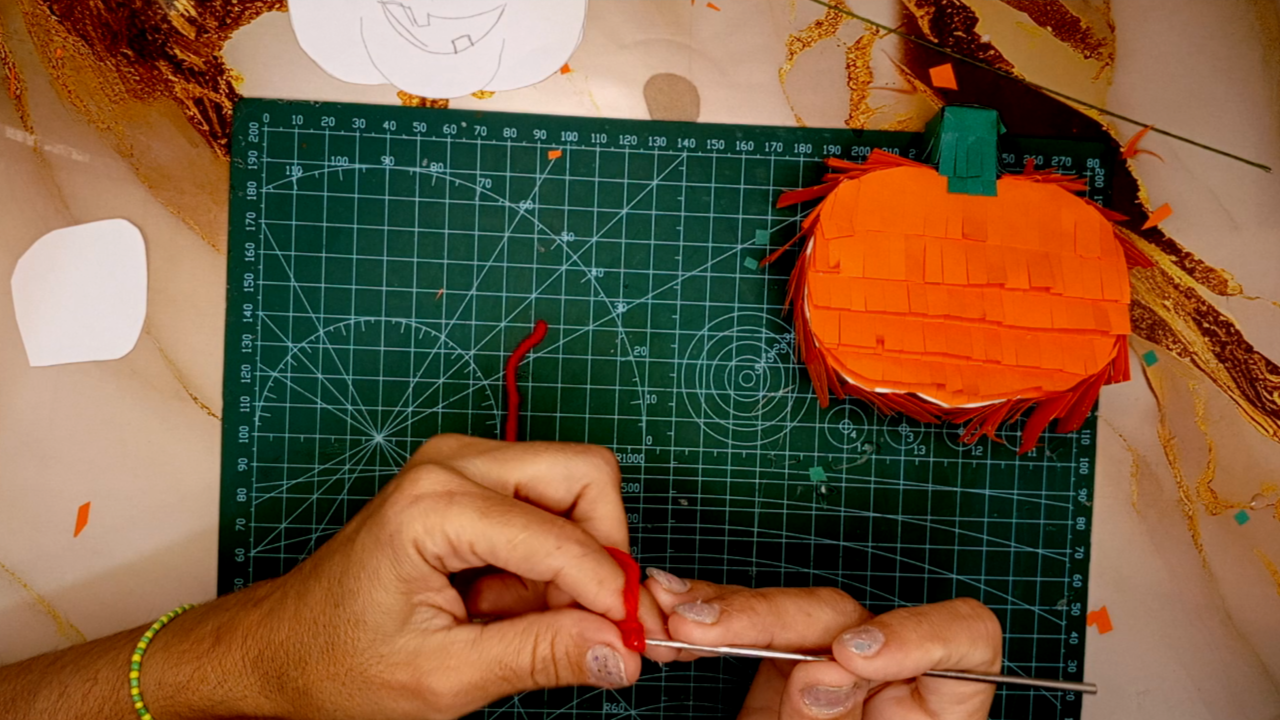
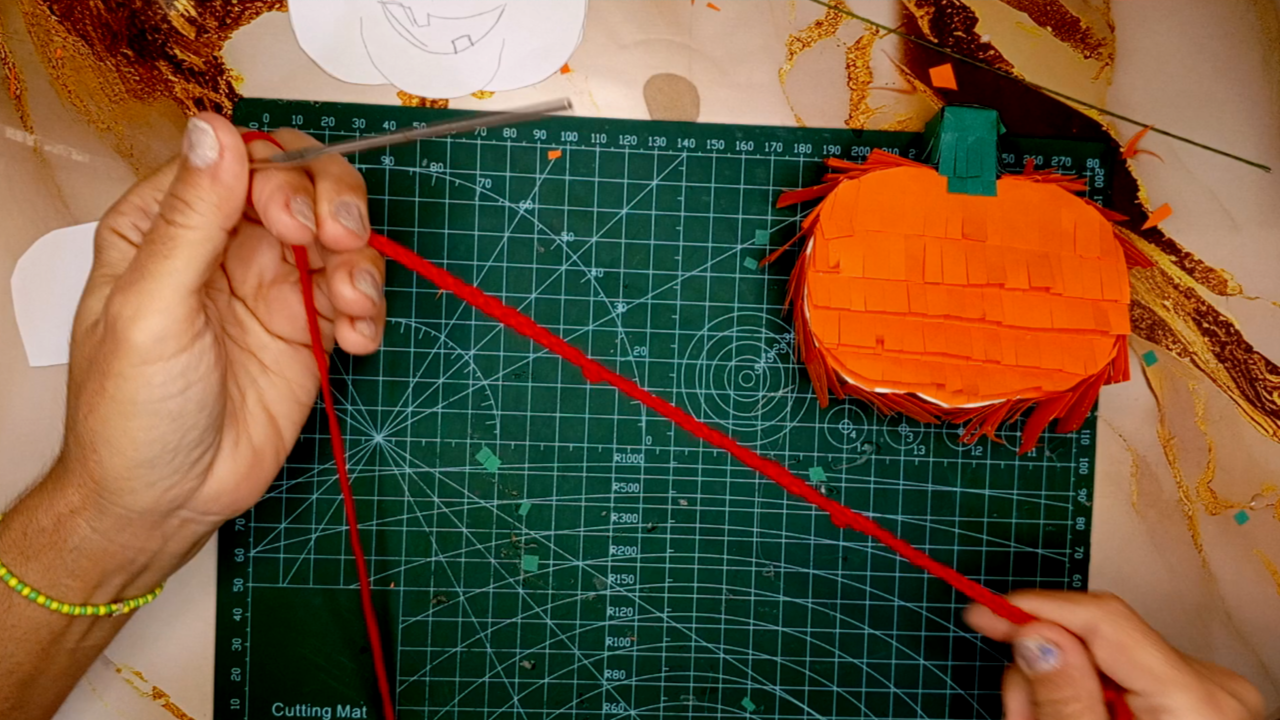
[Esp]
Toma el estambre rojo y teje un cordón de trenzado recto, el largo que necesites para bordear todo el diseño.
Pega el cordón por todo el borde de la calabaza en ambos lados.
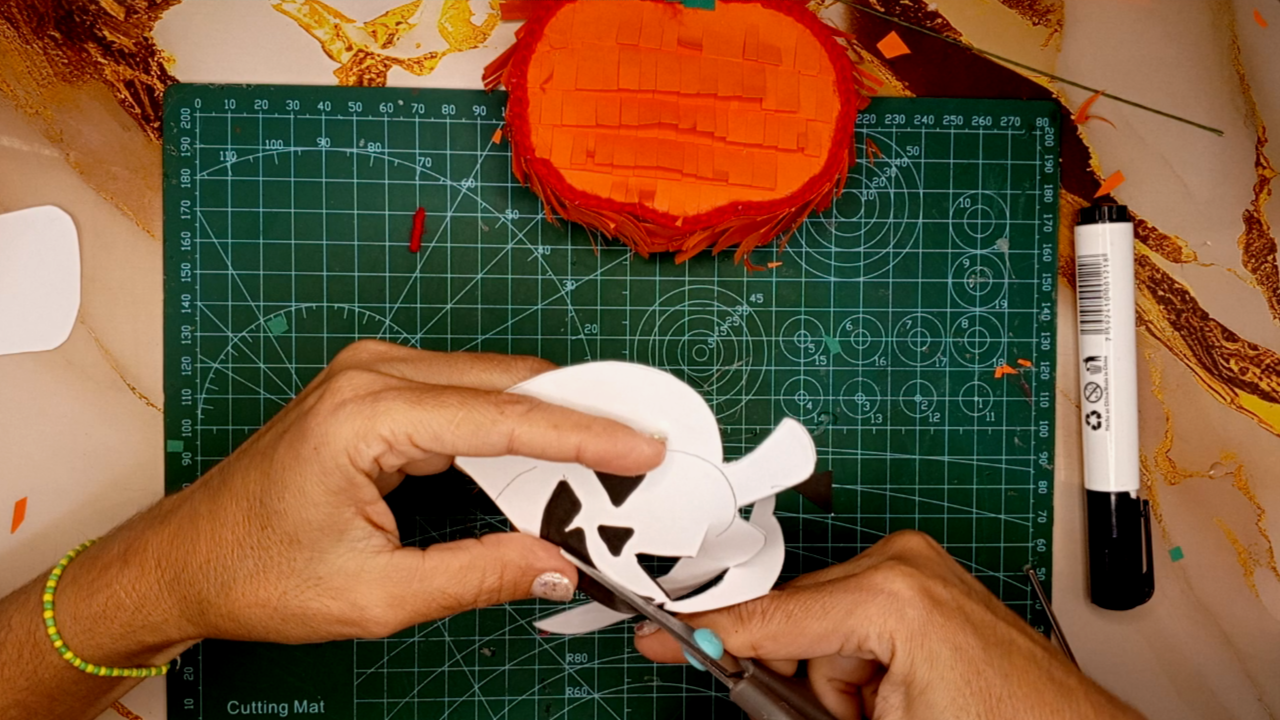
Como no tenía cartulina negra, usé el marcador negro para pintar los ojos, la nariz y la boca luego recorté.
>! [English version]
Take the red yarn and weave a straight braided cord, as long as you need to border the entire design.
Glue the cord all the way around the edge of the pumpkin on both sides.
Since I didn't have black cardstock, I used the black marker to paint the eyes, nose and mouth then cut out.
Step 5️⃣/ paso 5️⃣
 |
 |
 |
 |
 |
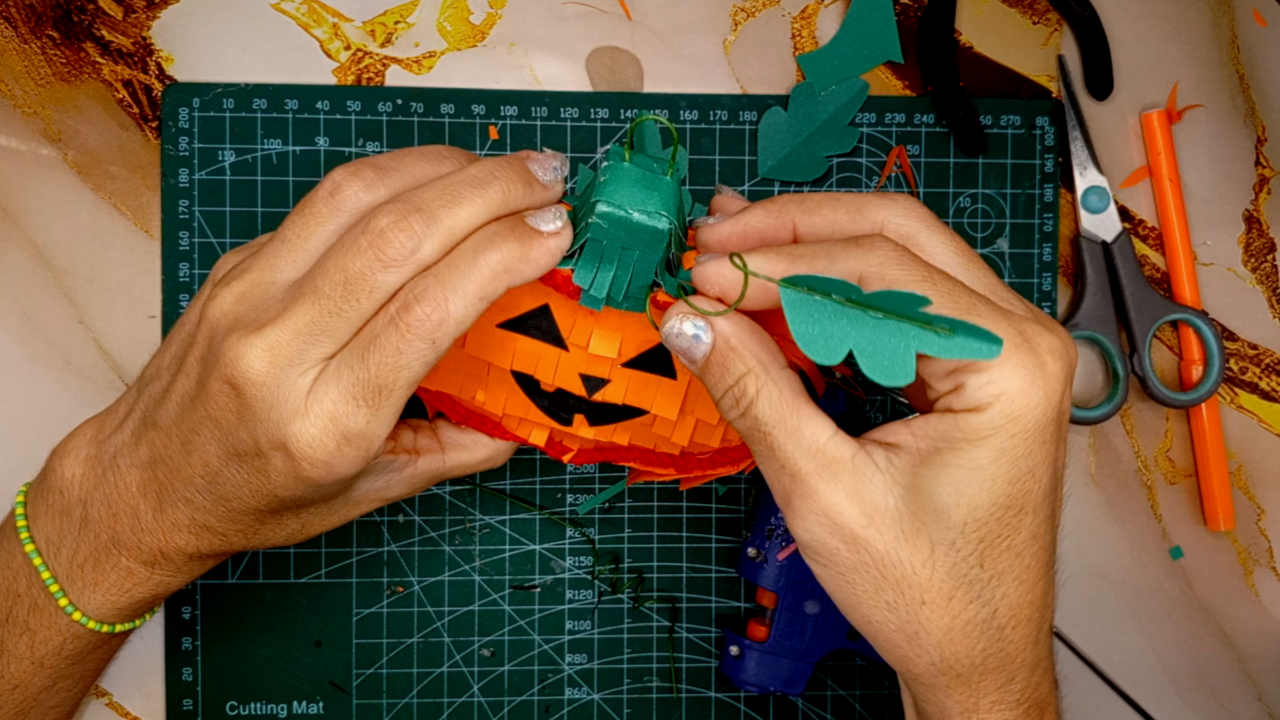 |
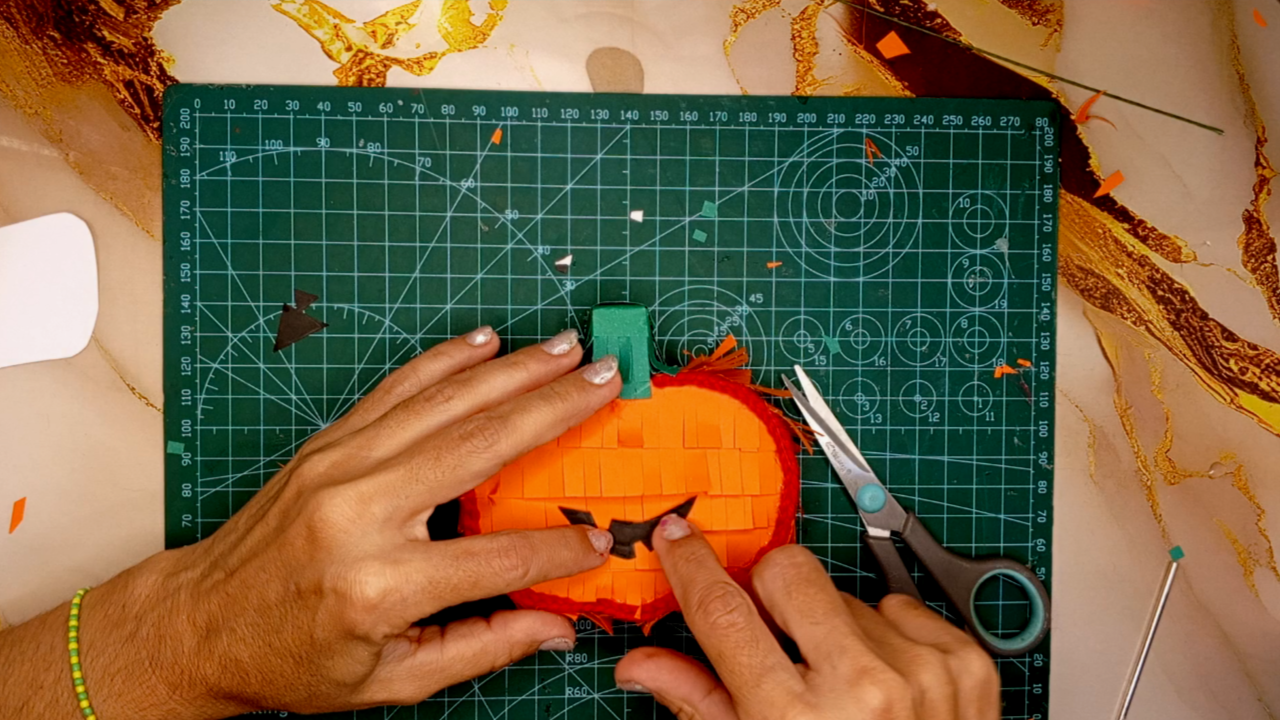
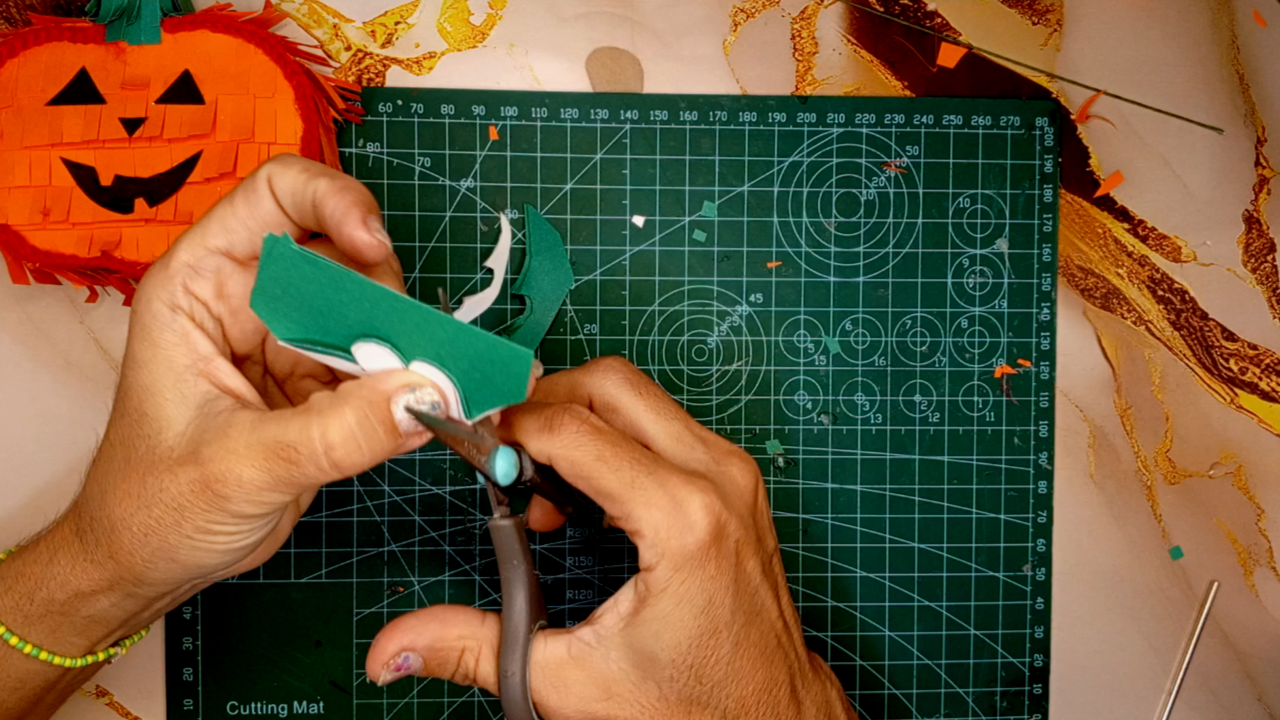
[Esp]
Pega la boquita, los ojos y la nariz en la calabaza.
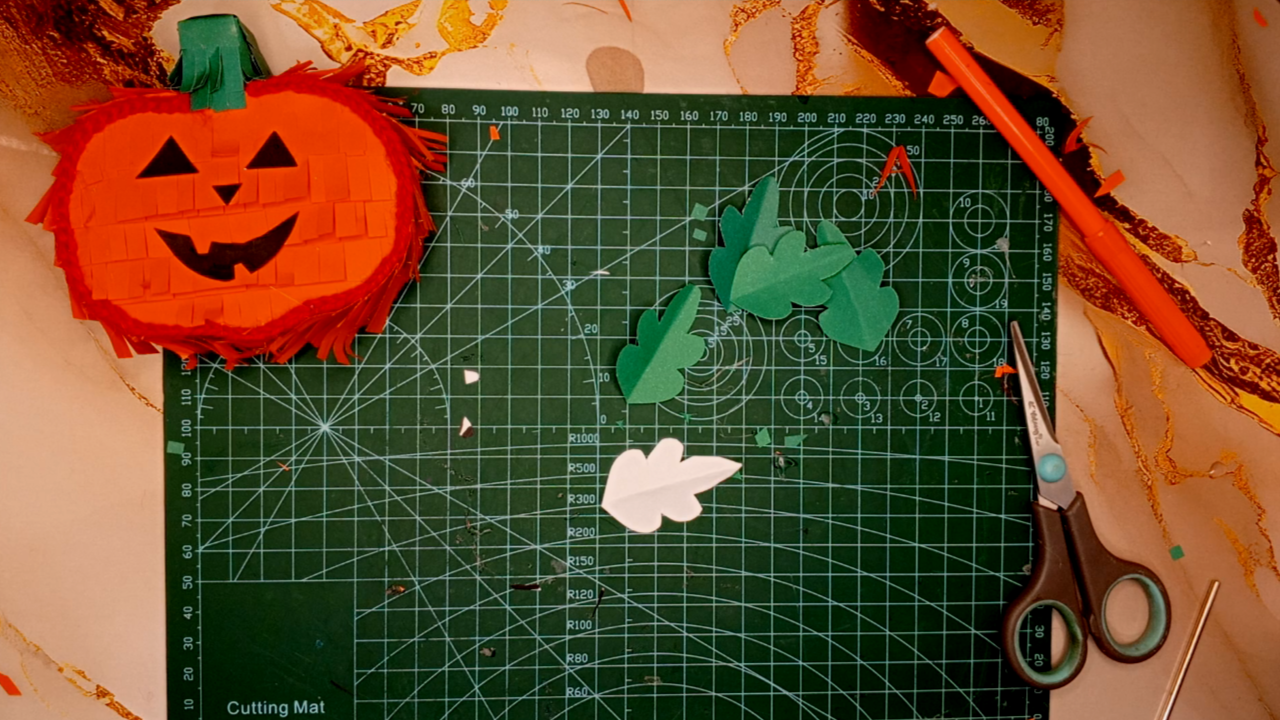
Toma un trozo de papel color verde y recorta 4 formas de hojas usando el molde, dobla la hoja por la mitad.
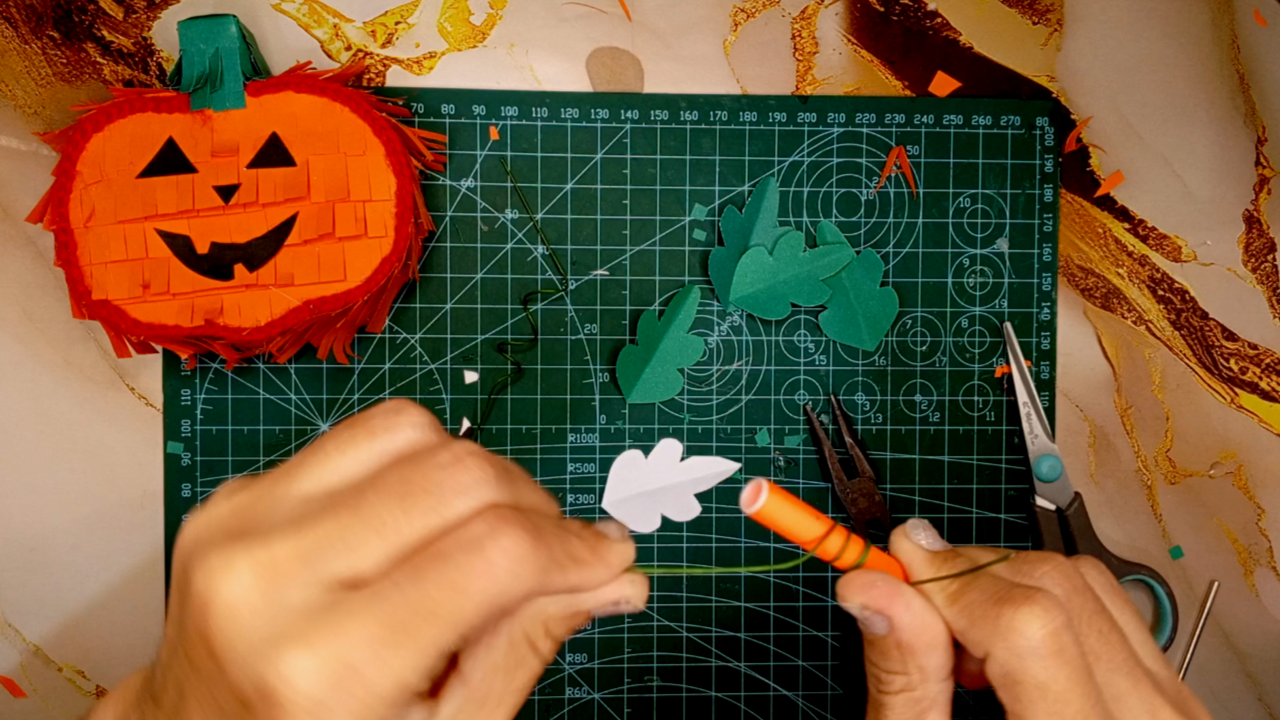
Corta un trozo de alambre floral y con ayuda del marcador enrolla para formar resortes dejando la parte de inicio y del final del alambre libres.
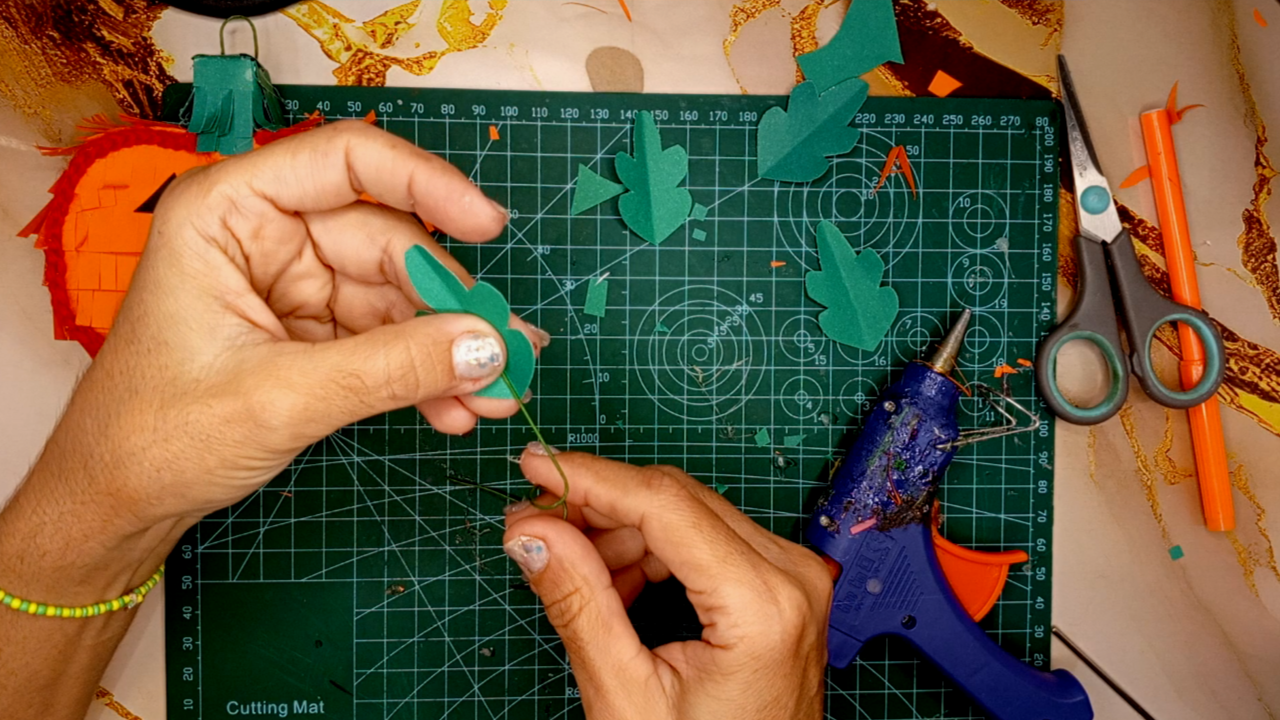
Coloca un poco de pegamento en la punta y pega la hoja por el medio, repite este proceso con la otra hoja.
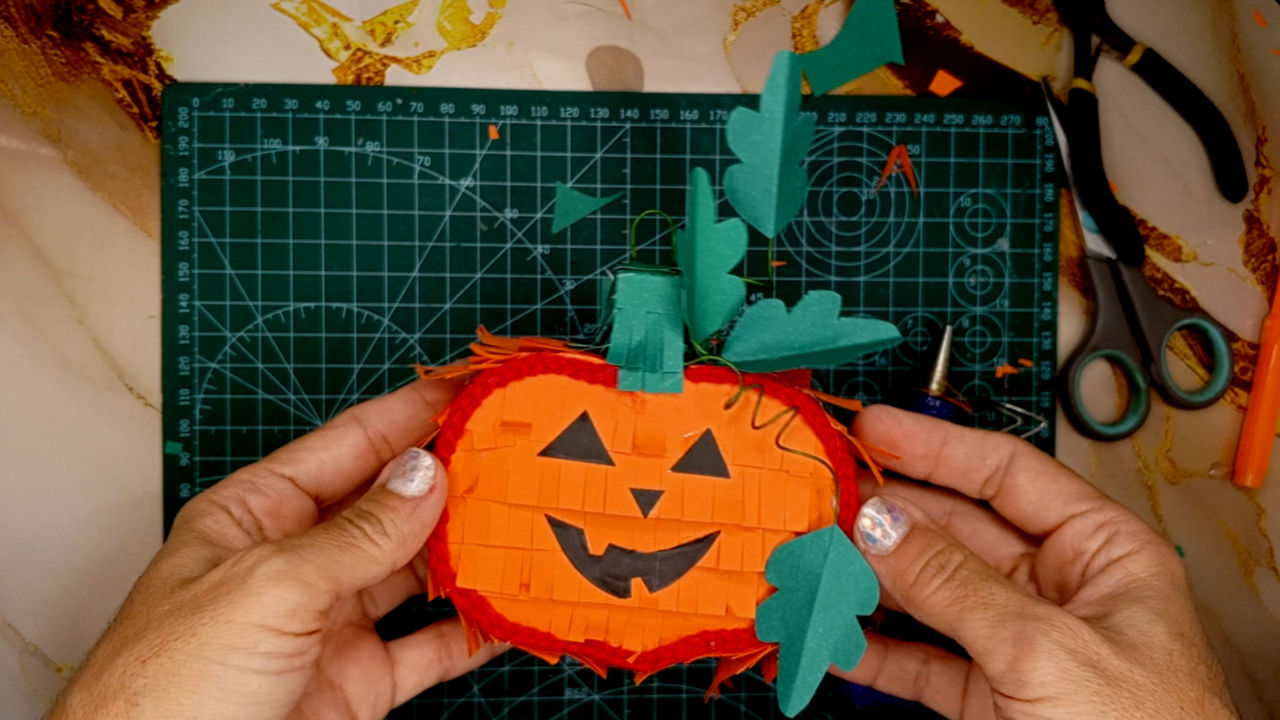
Pega las hojas con el alambre enrollado en la calabaza.
Las otras dos hojitas las pegas en la calabaza en zonas donde veas imperfecciones o simple decoración.
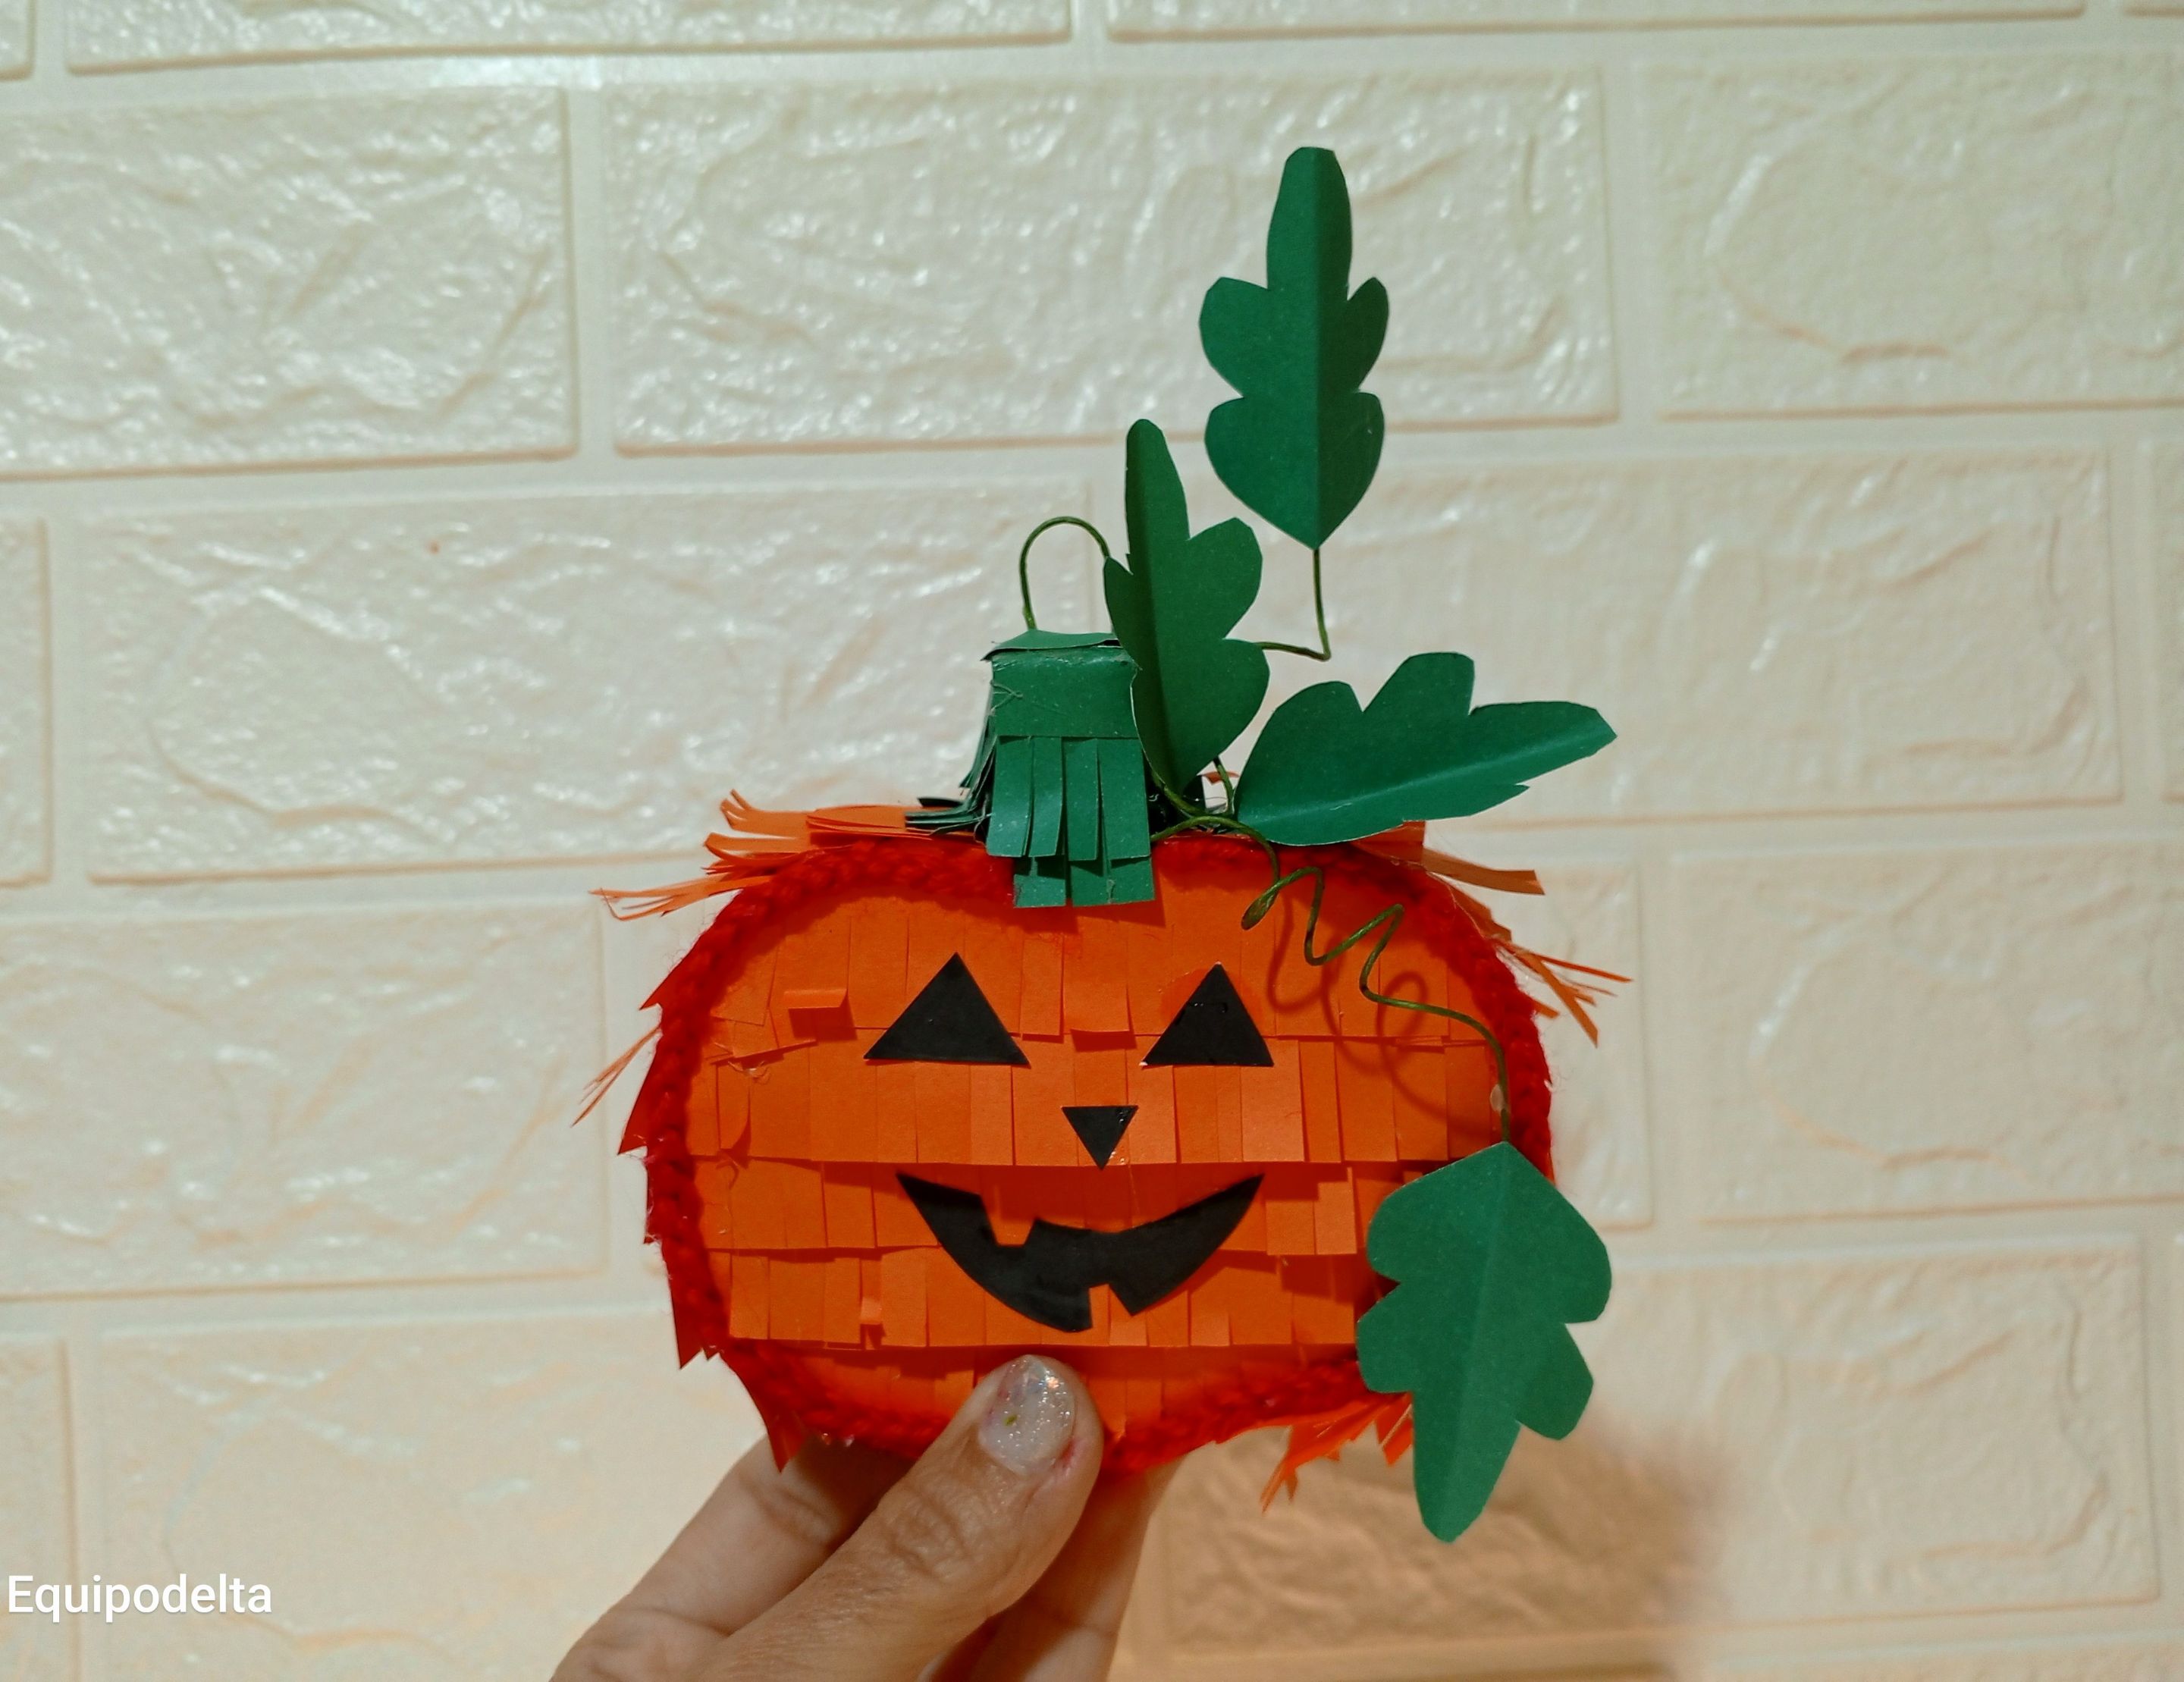
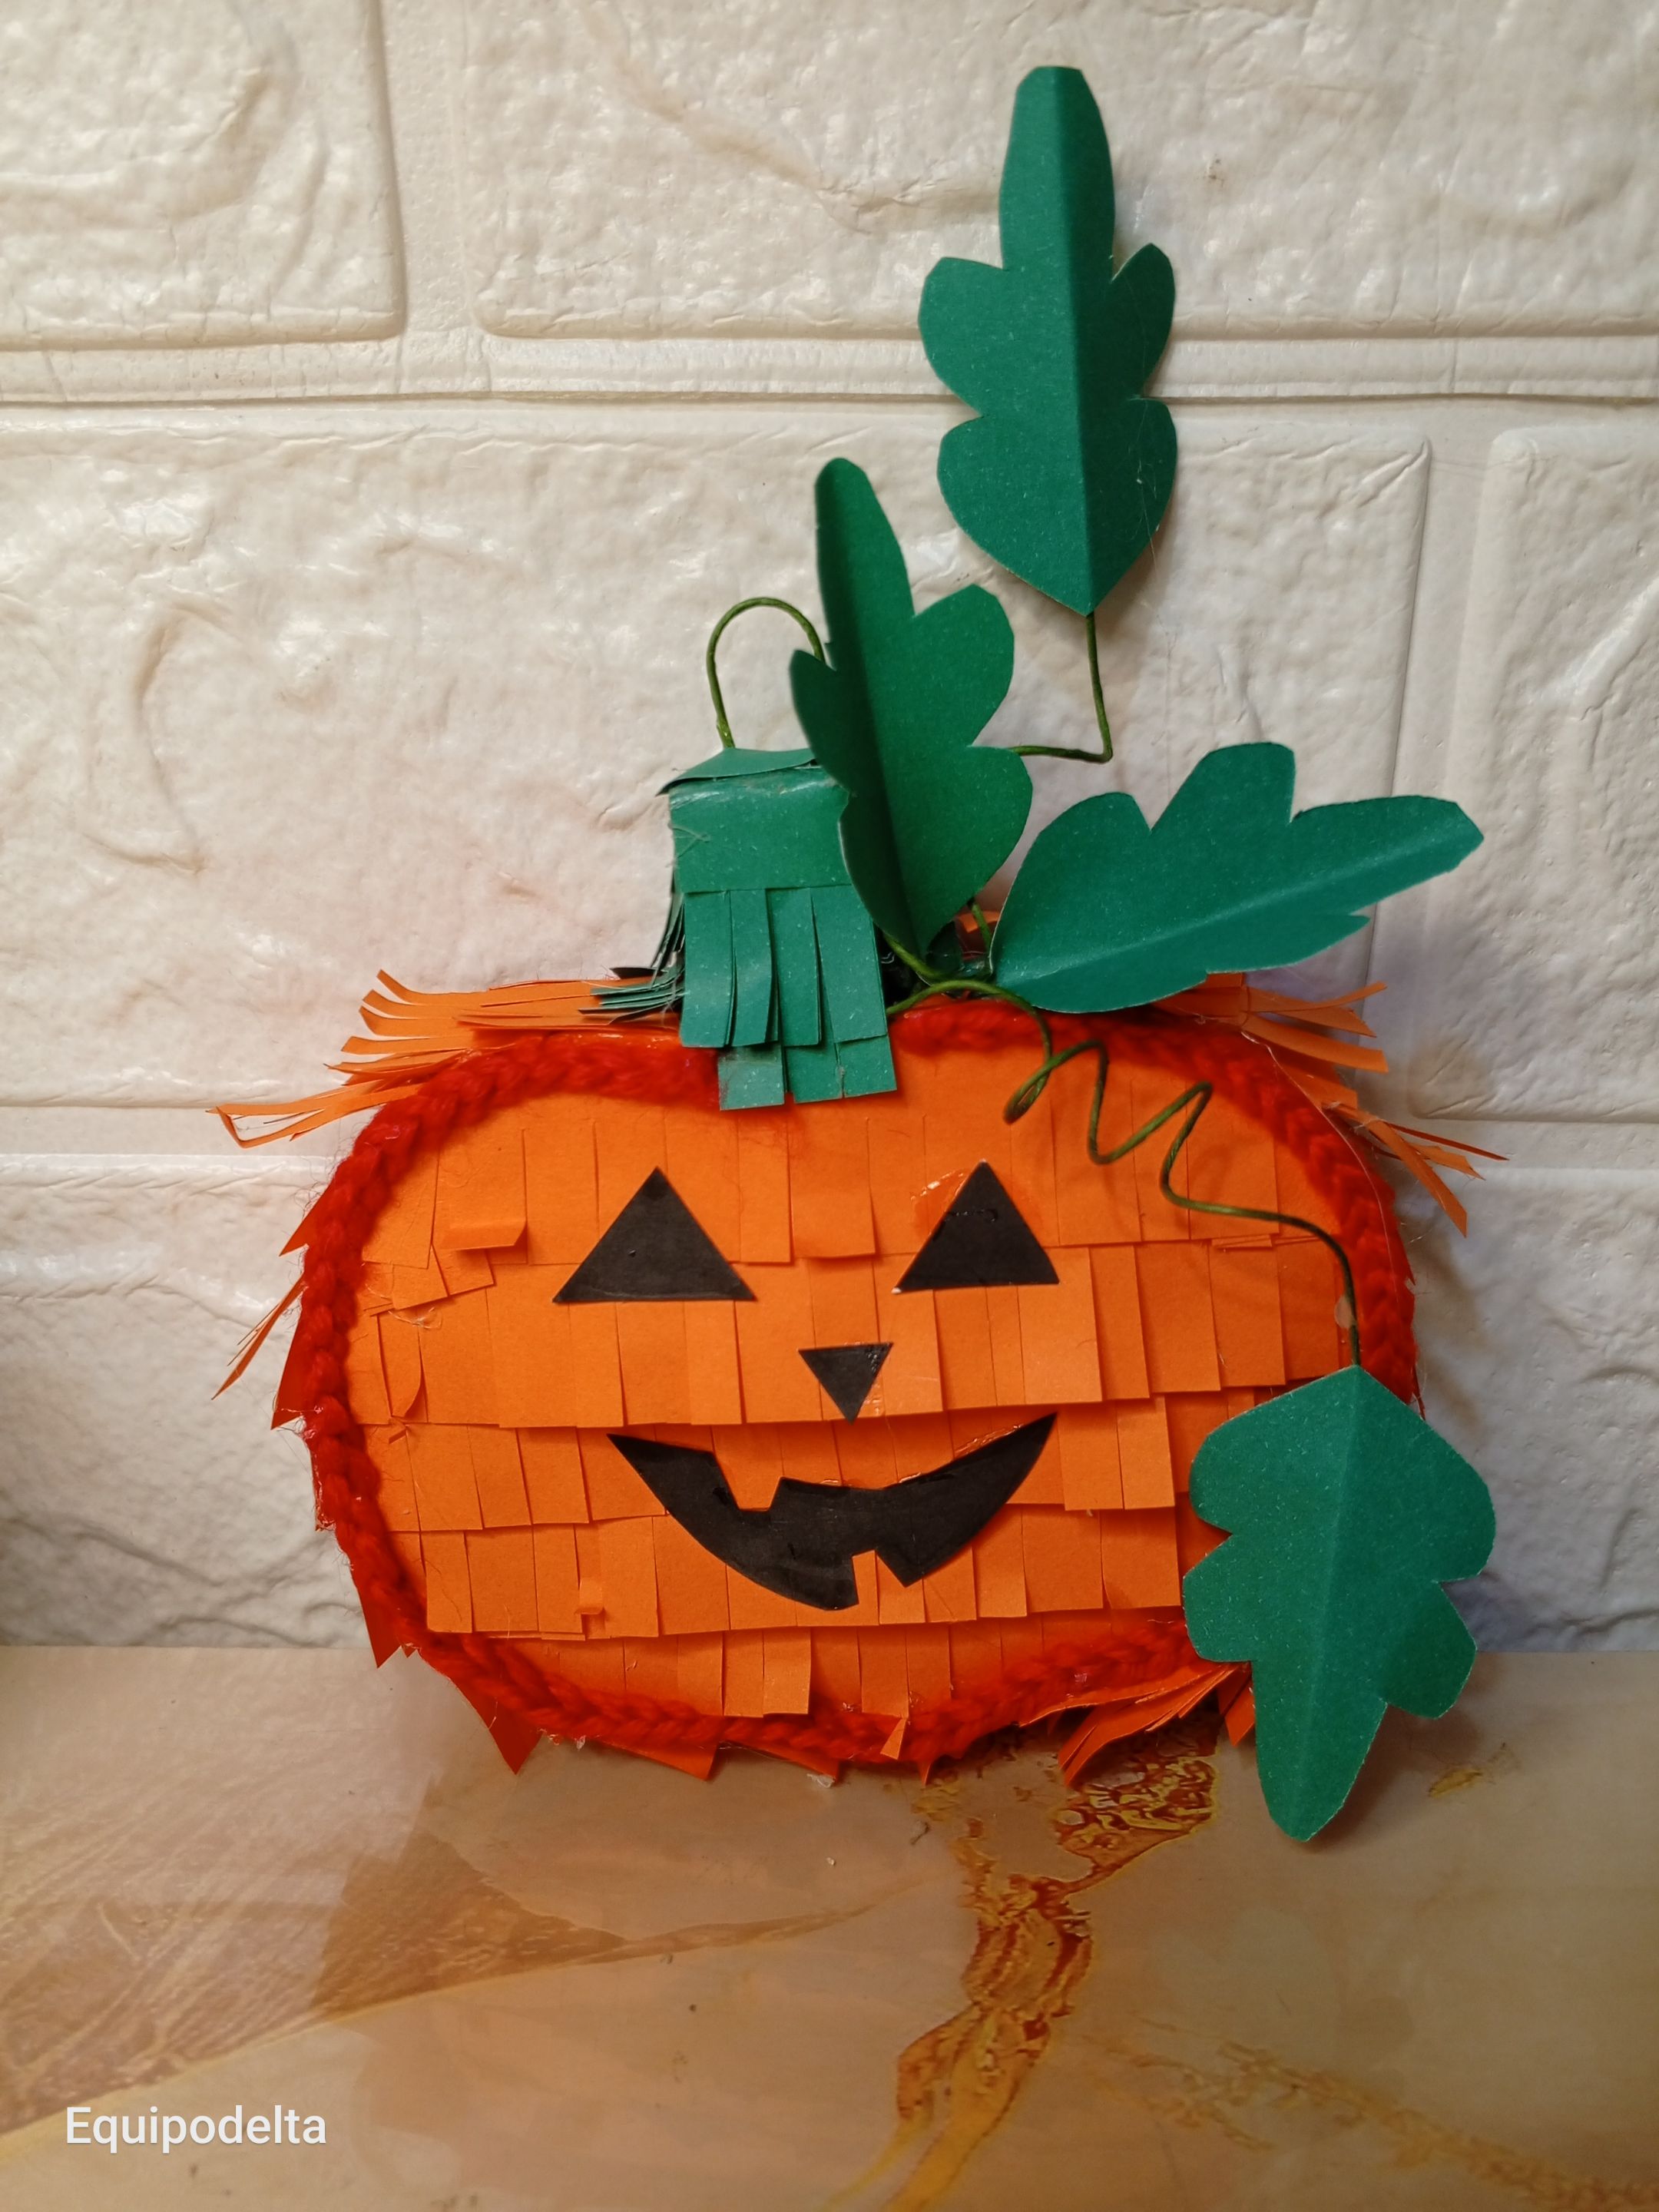
Gracias por tu visita y por tus buenas vibras.
Hecho a mano, hecho con amor.
>! [English version]
Glue the mouth, eyes and nose onto the pumpkin.
Take a piece of green paper and cut out 4 leaf shapes using the mold, fold the leaf in half.
Cut a piece of floral wire and with the help of the marker roll it up to form springs leaving the beginning and the end of the wire free.
Put some glue on the tip and glue the leaf in the middle, repeat this process with the other leaf.
Glue the leaves with the rolled wire to the pumpkin.
The other two leaves you glue on the pumpkin in areas where you see imperfections or simple decoration.
Thank you for your visit and for your good vibes.
Handmade, made with love.


Créditos / Credits
Program: [MediBang Paint Pro.](https://medibangpaint.com/es/pc/) Tablet Huion model 420 [Translated by www.deepl.com/](https://www.deepl.com/) [Canva Editions](https://www.canva.com/)
 💜💜💜
💜💜💜
![]() 👉
👉  👉
👉 ![]() 👉
👉 ![]() 👉
👉  Here / Bríndame un café
