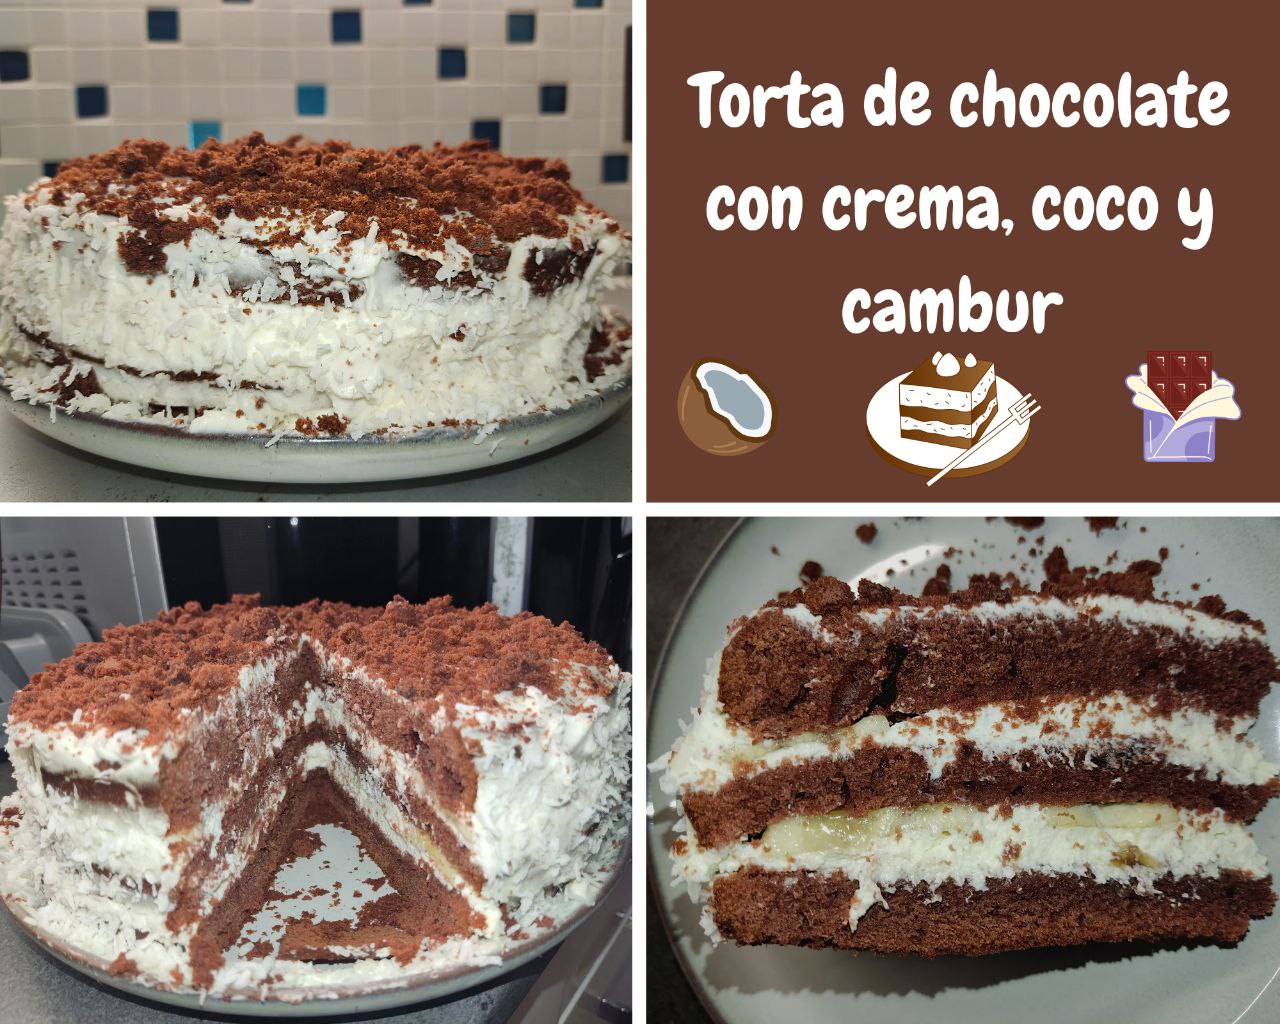
Imagen hecha por mí en Canva // Image made by me in Canva
Preparación / Preparation
Para empezar, tomamos nuestro molde de 21 cm y le ponemos papel de horno en el fondo, además lo engrasamos todo con mantequilla. Seguidamente tomamos una taza y vamos a poner 190 gramos de mantequilla con 245 gramos de azúcar, batimos hasta integrar bien ambos y en seguida vamos a agregar 3 huevos, uno por uno, mientras batimos hasta obtener una consistencia cremosa y también agregamos un poco de esencia de vainilla.
To begin, we take our 21 cm mold and put baking paper in the bottom, and grease it all with butter. Then we take a cup and we will put 190 grams of butter with 245 grams of sugar, beat until both are well integrated and then we will add 3 eggs, one by one, while we beat until we get a creamy consistency and we also add a little vanilla essence.
Ahora vamos con nuestros ingredientes secos, y para esto en otra taza vamos a tamizar 285 gramos de harina de trigo, 2 cucharadas de cacao en polvo, 1 cucharadita de polvo de hornear y otra de bicarbonato de sodio, además 1 pizca de sal. Cuando tengamos todo lo anterior tamizado, vamos a revolver hasta que se integren bien todos los ingredientes y volvemos a tamizar. Luego vamos a agregar poco a poco estos ingredientes secos a nuestra mezcla anterior y batimos.
Now let's go with our dry ingredients, and for this in another cup we are going to sift 285 grams of wheat flour, 2 tablespoons of cocoa powder, 1 teaspoon of baking powder and another of baking soda, plus 1 pinch of salt. When we have all the above sifted, we are going to stir until all the ingredients are well integrated and sift again. Then we are going to add little by little these dry ingredients to our previous mixture and beat.
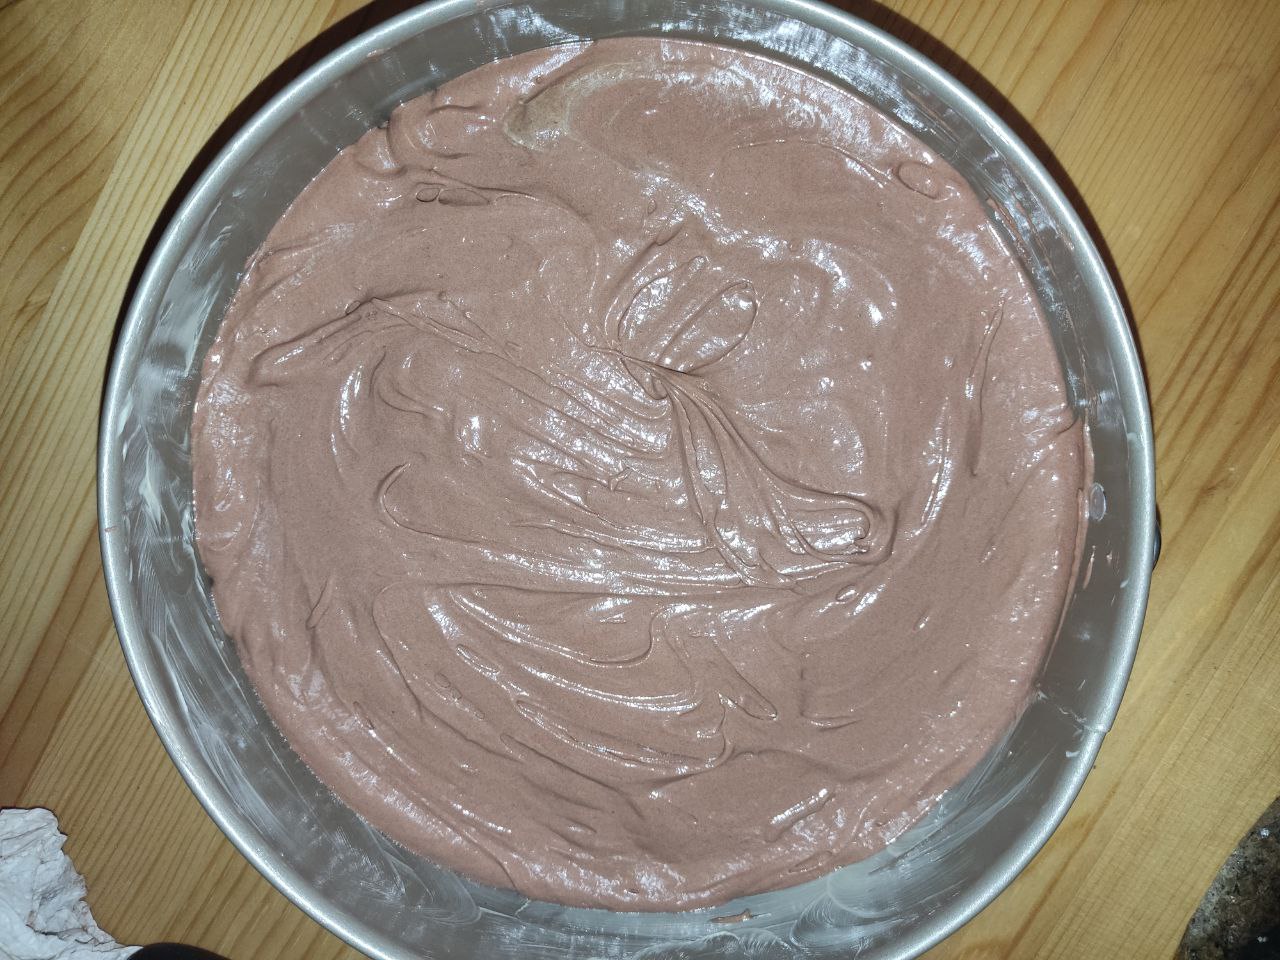
Finalmente vamos a agregar media taza de yogurt natural y un poco del colorante rojo (a mi no me funcionó el colorante porque se suponía que la torta sería una red velvet pero solo hizo la masa más oscura, así que este paso es opcional). Una vez lista nuestra mezcla, llevamos a nuestro molde y luego al horno que anteriormente pusimos a calentar a 160°C. Horneamos por unos 50 minutos o hasta que al introducir el cuchillo este salga limpio.
Finally we are going to add half a cup of natural yogurt and some red coloring (the coloring didn't work for me because the cake was supposed to be a red velvet but it only made the batter darker, so this step is optional). Once our mixture is ready, we take it to our mold and then to the oven that we previously put to heat to 160°C. Bake for about 50 minutes or until a knife comes out clean.
Más tarde, estuvo lista nuestra torta y mientras dejamos enfriar vamos a preparar la crema. Para esto empezamos batiendo nata en una taza, seguidamente le agregamos un poco de azúcar glass y en otra taza vamos a batir queso crema. Cuando nuestras dos mezclas estén batidas, vamos a unirlas y batimos un poco más hasta que se integren bien los ingredientes.
Later, our cake was ready and while we let it cool we are going to prepare the cream. For this we start beating cream in a cup, then we add a little powdered sugar and in another cup we are going to beat cream cheese. When our two mixtures are beaten, we are going to join them and beat a little more until the ingredients are well integrated.
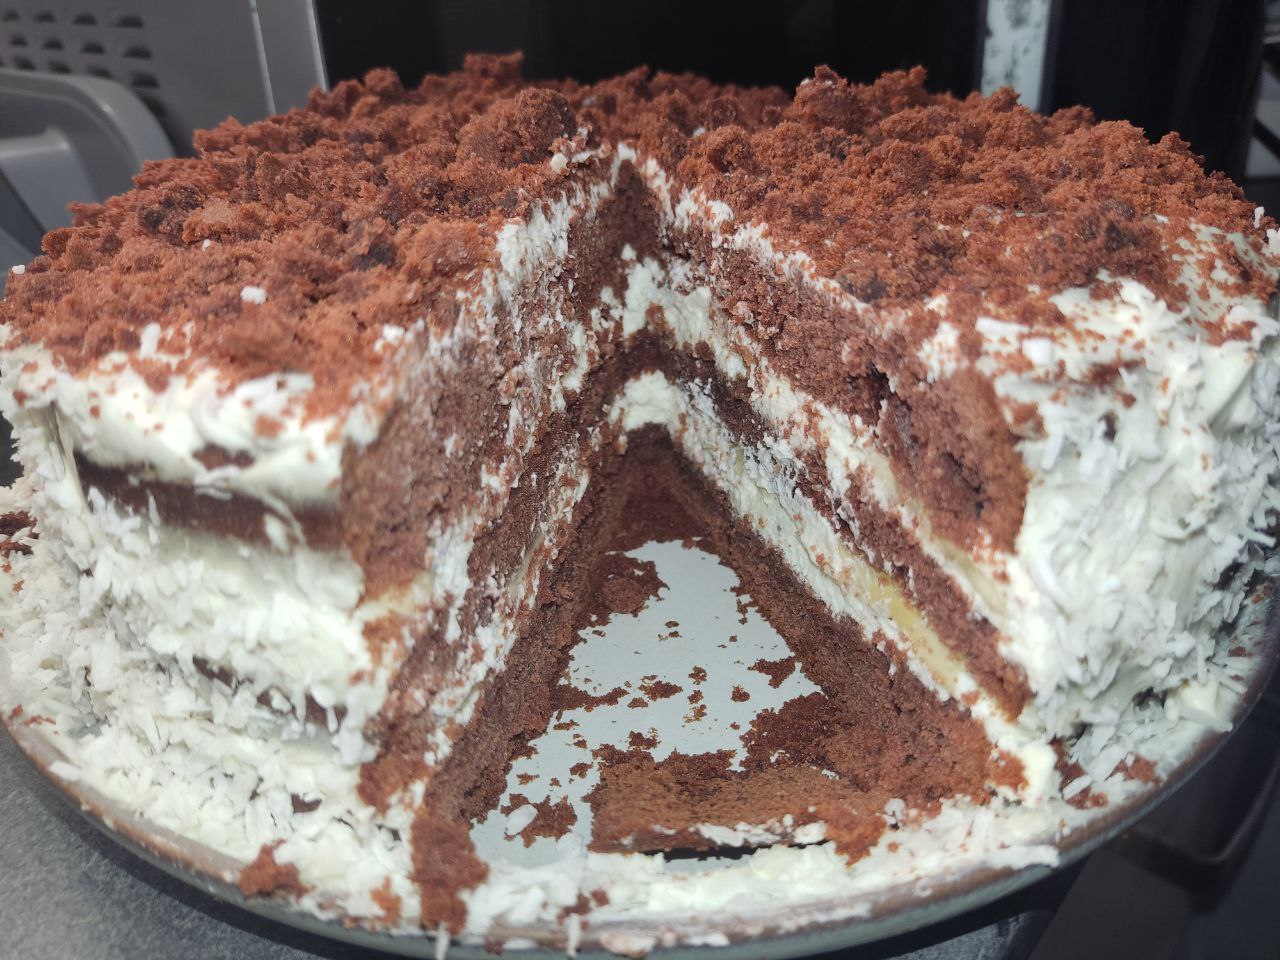
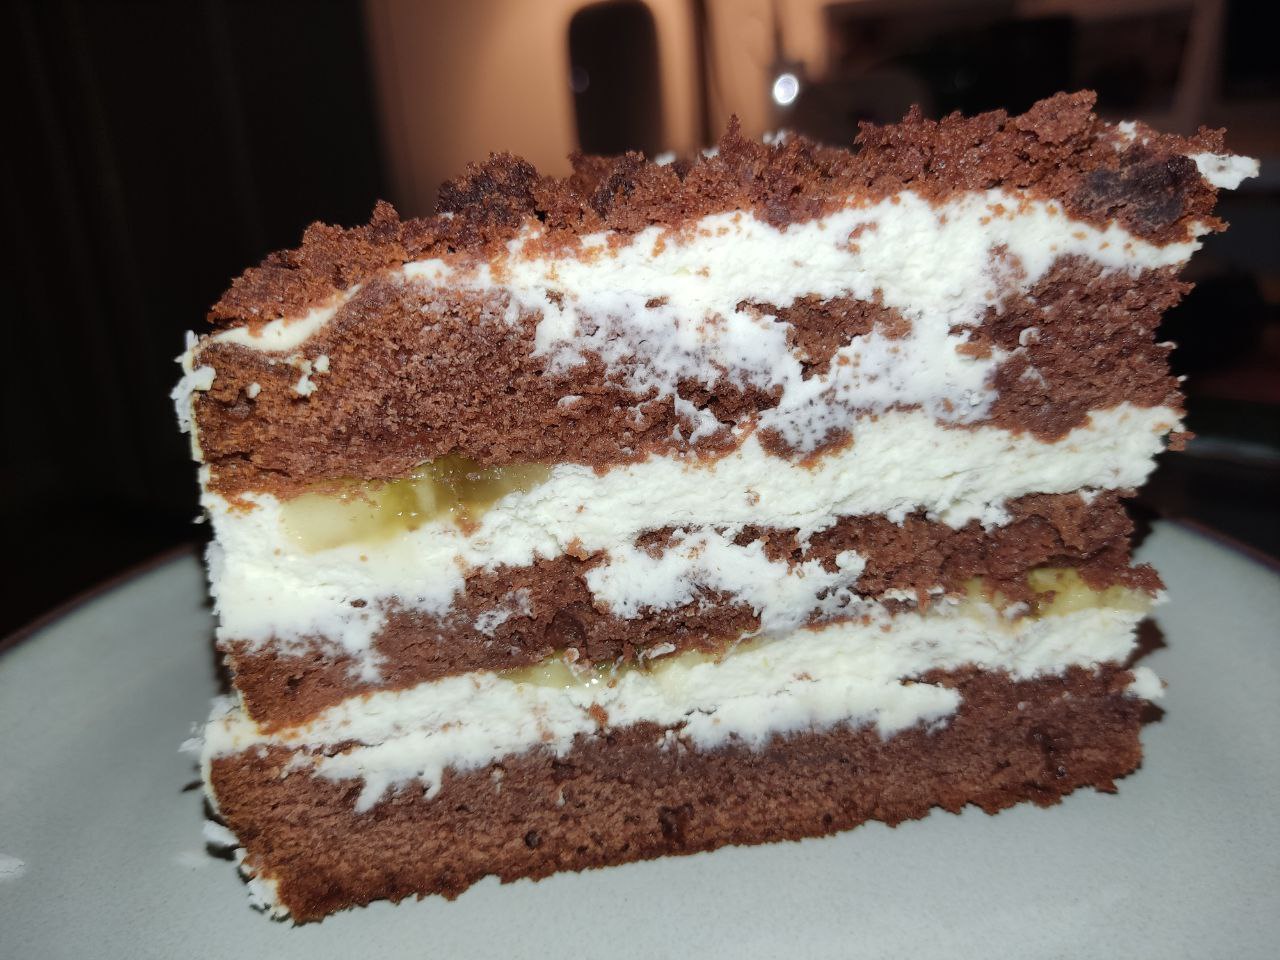
Una vez lista nuestra crema y la torta esté fría, vamos a dividir la torta en dos o tres trozos con la ayuda de un cuchillo (nosotros dividimos en tres), también vamos a quitar y reservar la sobra de arriba para emparejarla. Ahora, en cada capa vamos a agregar crema y también cambur o banana que antes cortamos y le pusimos un poco de limón para conservar más y este no se ponga negro. Así hasta terminar con la última capa para finalmente decorar también toda la torta por arriba y los lados también.
Once our cream is ready and the cake is cold, we are going to divide the cake in two or three pieces with the help of a knife (we divided it in three), we are also going to remove and reserve the leftover on top to even it out. Now, in each layer we are going to add cream and also cambur or banana that before we cut and we put a little lemon to preserve more and this does not turn black. This way until we finish with the last layer to finally decorate the whole cake on the top and sides as well.
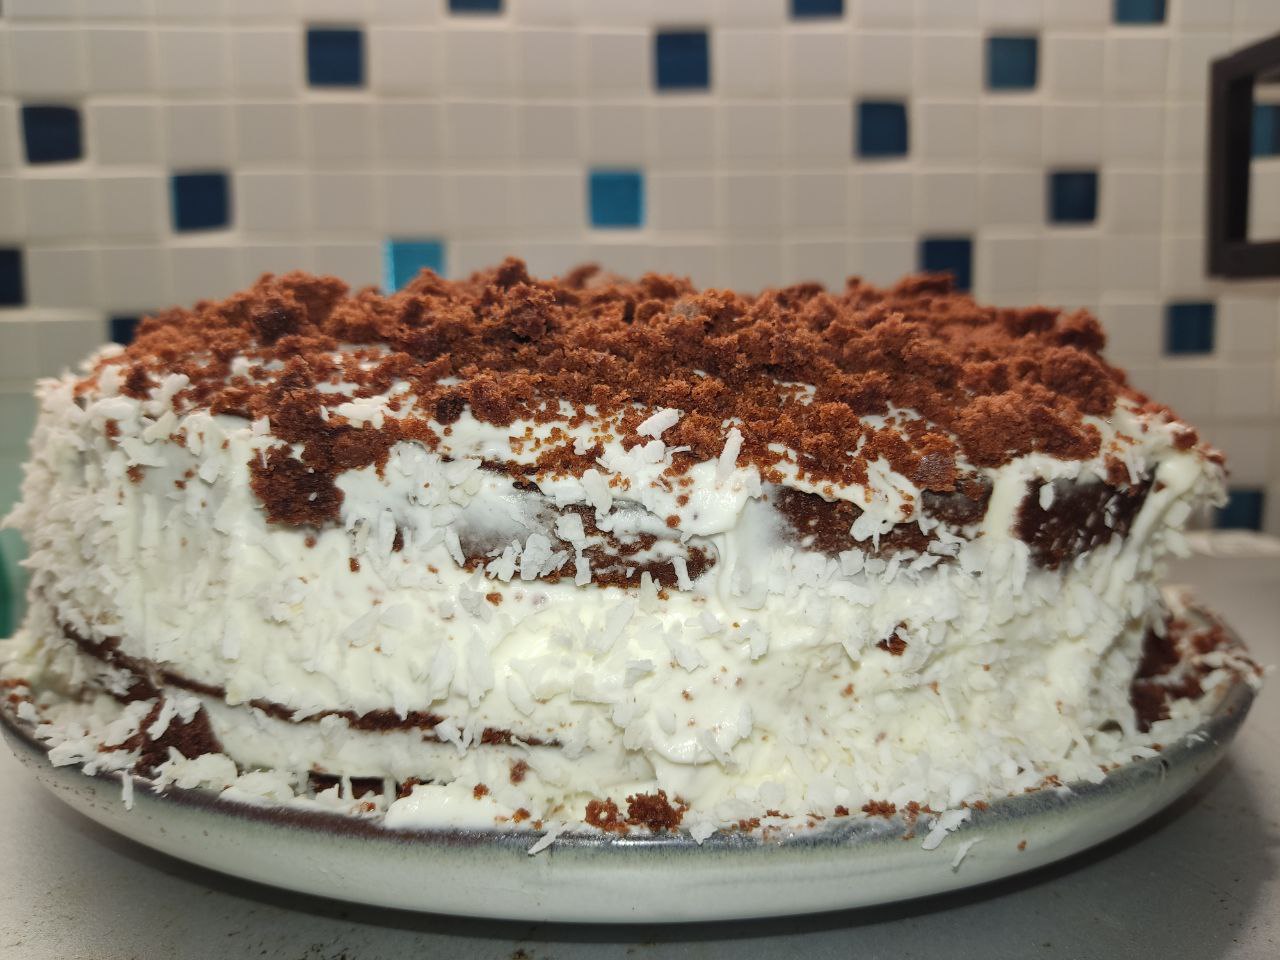
La parte que reservamos, vamos a trocearla para ponersela por encima a la torta para decorar y también le pusimos un poco de coco rallado por los lados para finalmente meter a la nevera. Una vez un poco fría o a su gusto, nuestra torta está lista para probar. Creanme que esta combinación de ingredientes es realmente deliciosa pero ustedes pueden usar los que deseen para decorar. Eso fue todo, espero que les haya gustado. Saludos!
The part we reserved, we are going to chop it up to put it on top of the cake to decorate and we also put a little grated coconut on the sides to finally put it in the fridge. Once a little cool or to your liking, our cake is ready to taste. Believe me this combination of ingredients is really delicious but you can use whatever you want to decorate. That was all, I hope you liked it. Cheers!