I've seen many cookies recipes online and I decided to try out this particular one that's was more intriguing, it is my first time of doing cookies practical, so I decided to share the experience with us. Pardon my manners
A beautiful morning to us creative minds, hope to we are doing well and fine? Journey with me please 😊🤗
Let's start with # the ingredients list
All purpose flour 3 cups Corn flour 3 Tbsp Sugar ½cup of sugar Butter 125g 2 Tsp vanilla extract Chocolate chips (optional) Peanut chunks (optional)
I made sure I make the documentary so much self explanatory
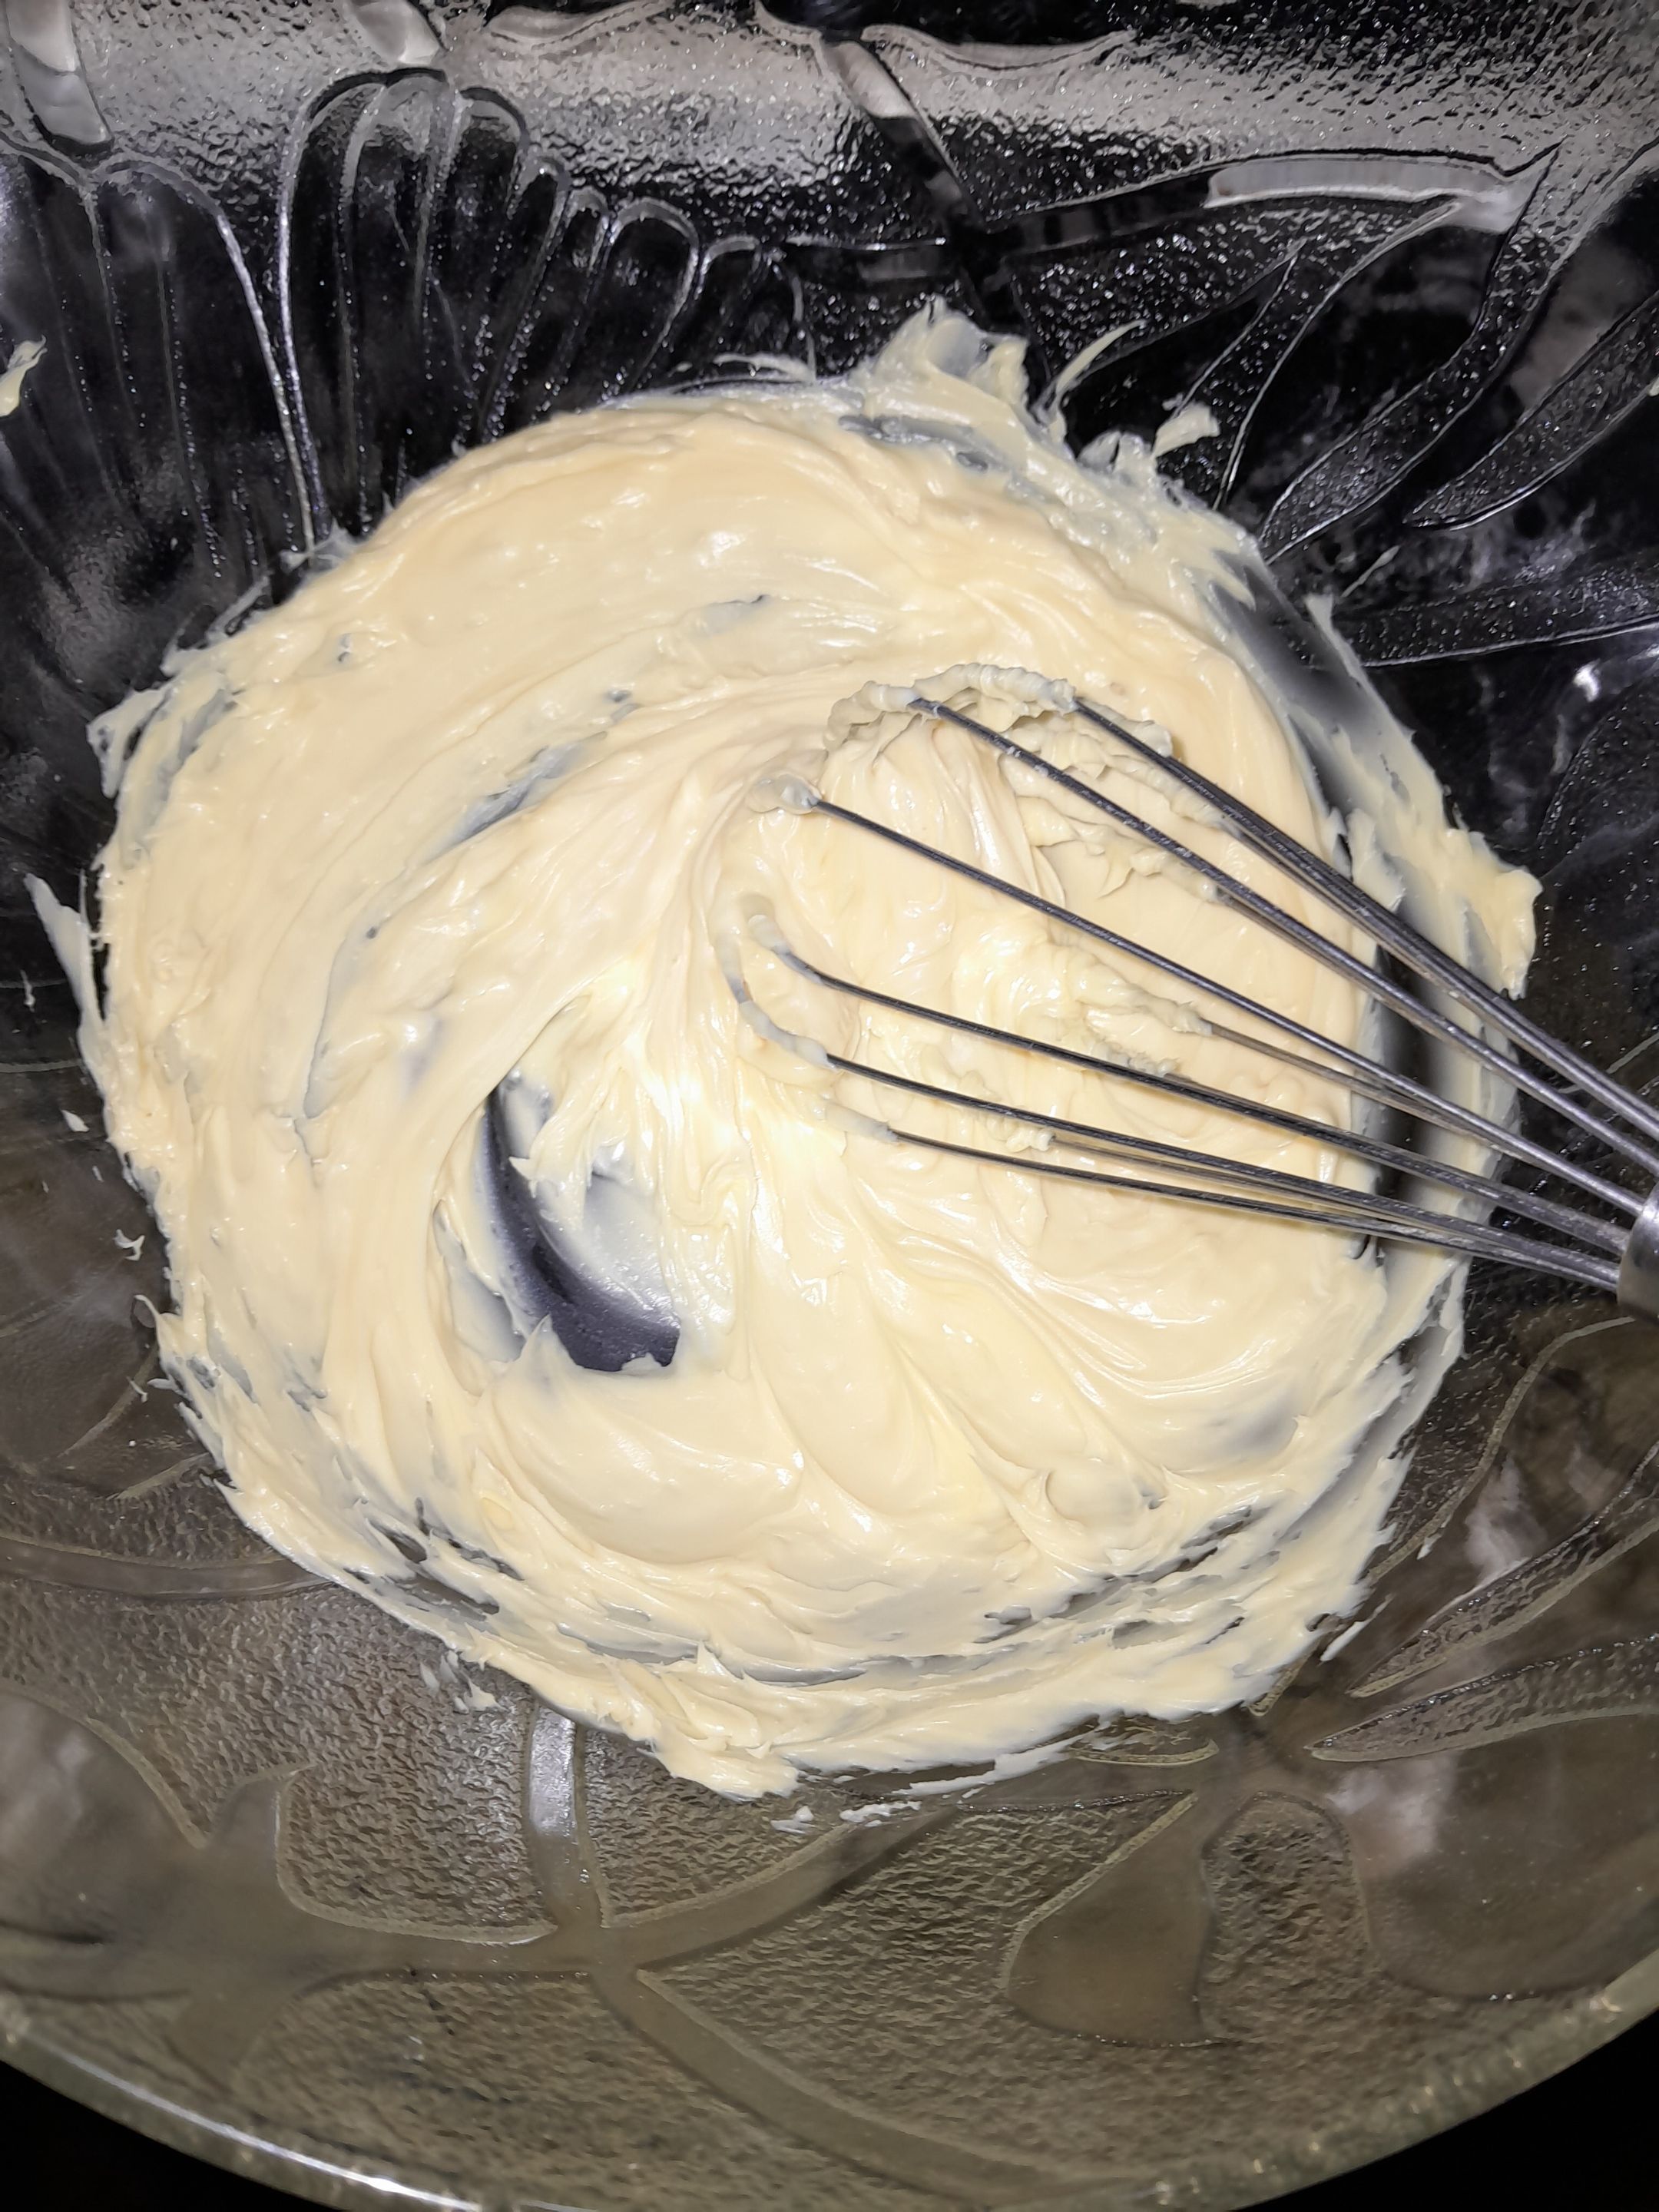 Creaming the butter to bring it to room temperature and also increase volume of the butter
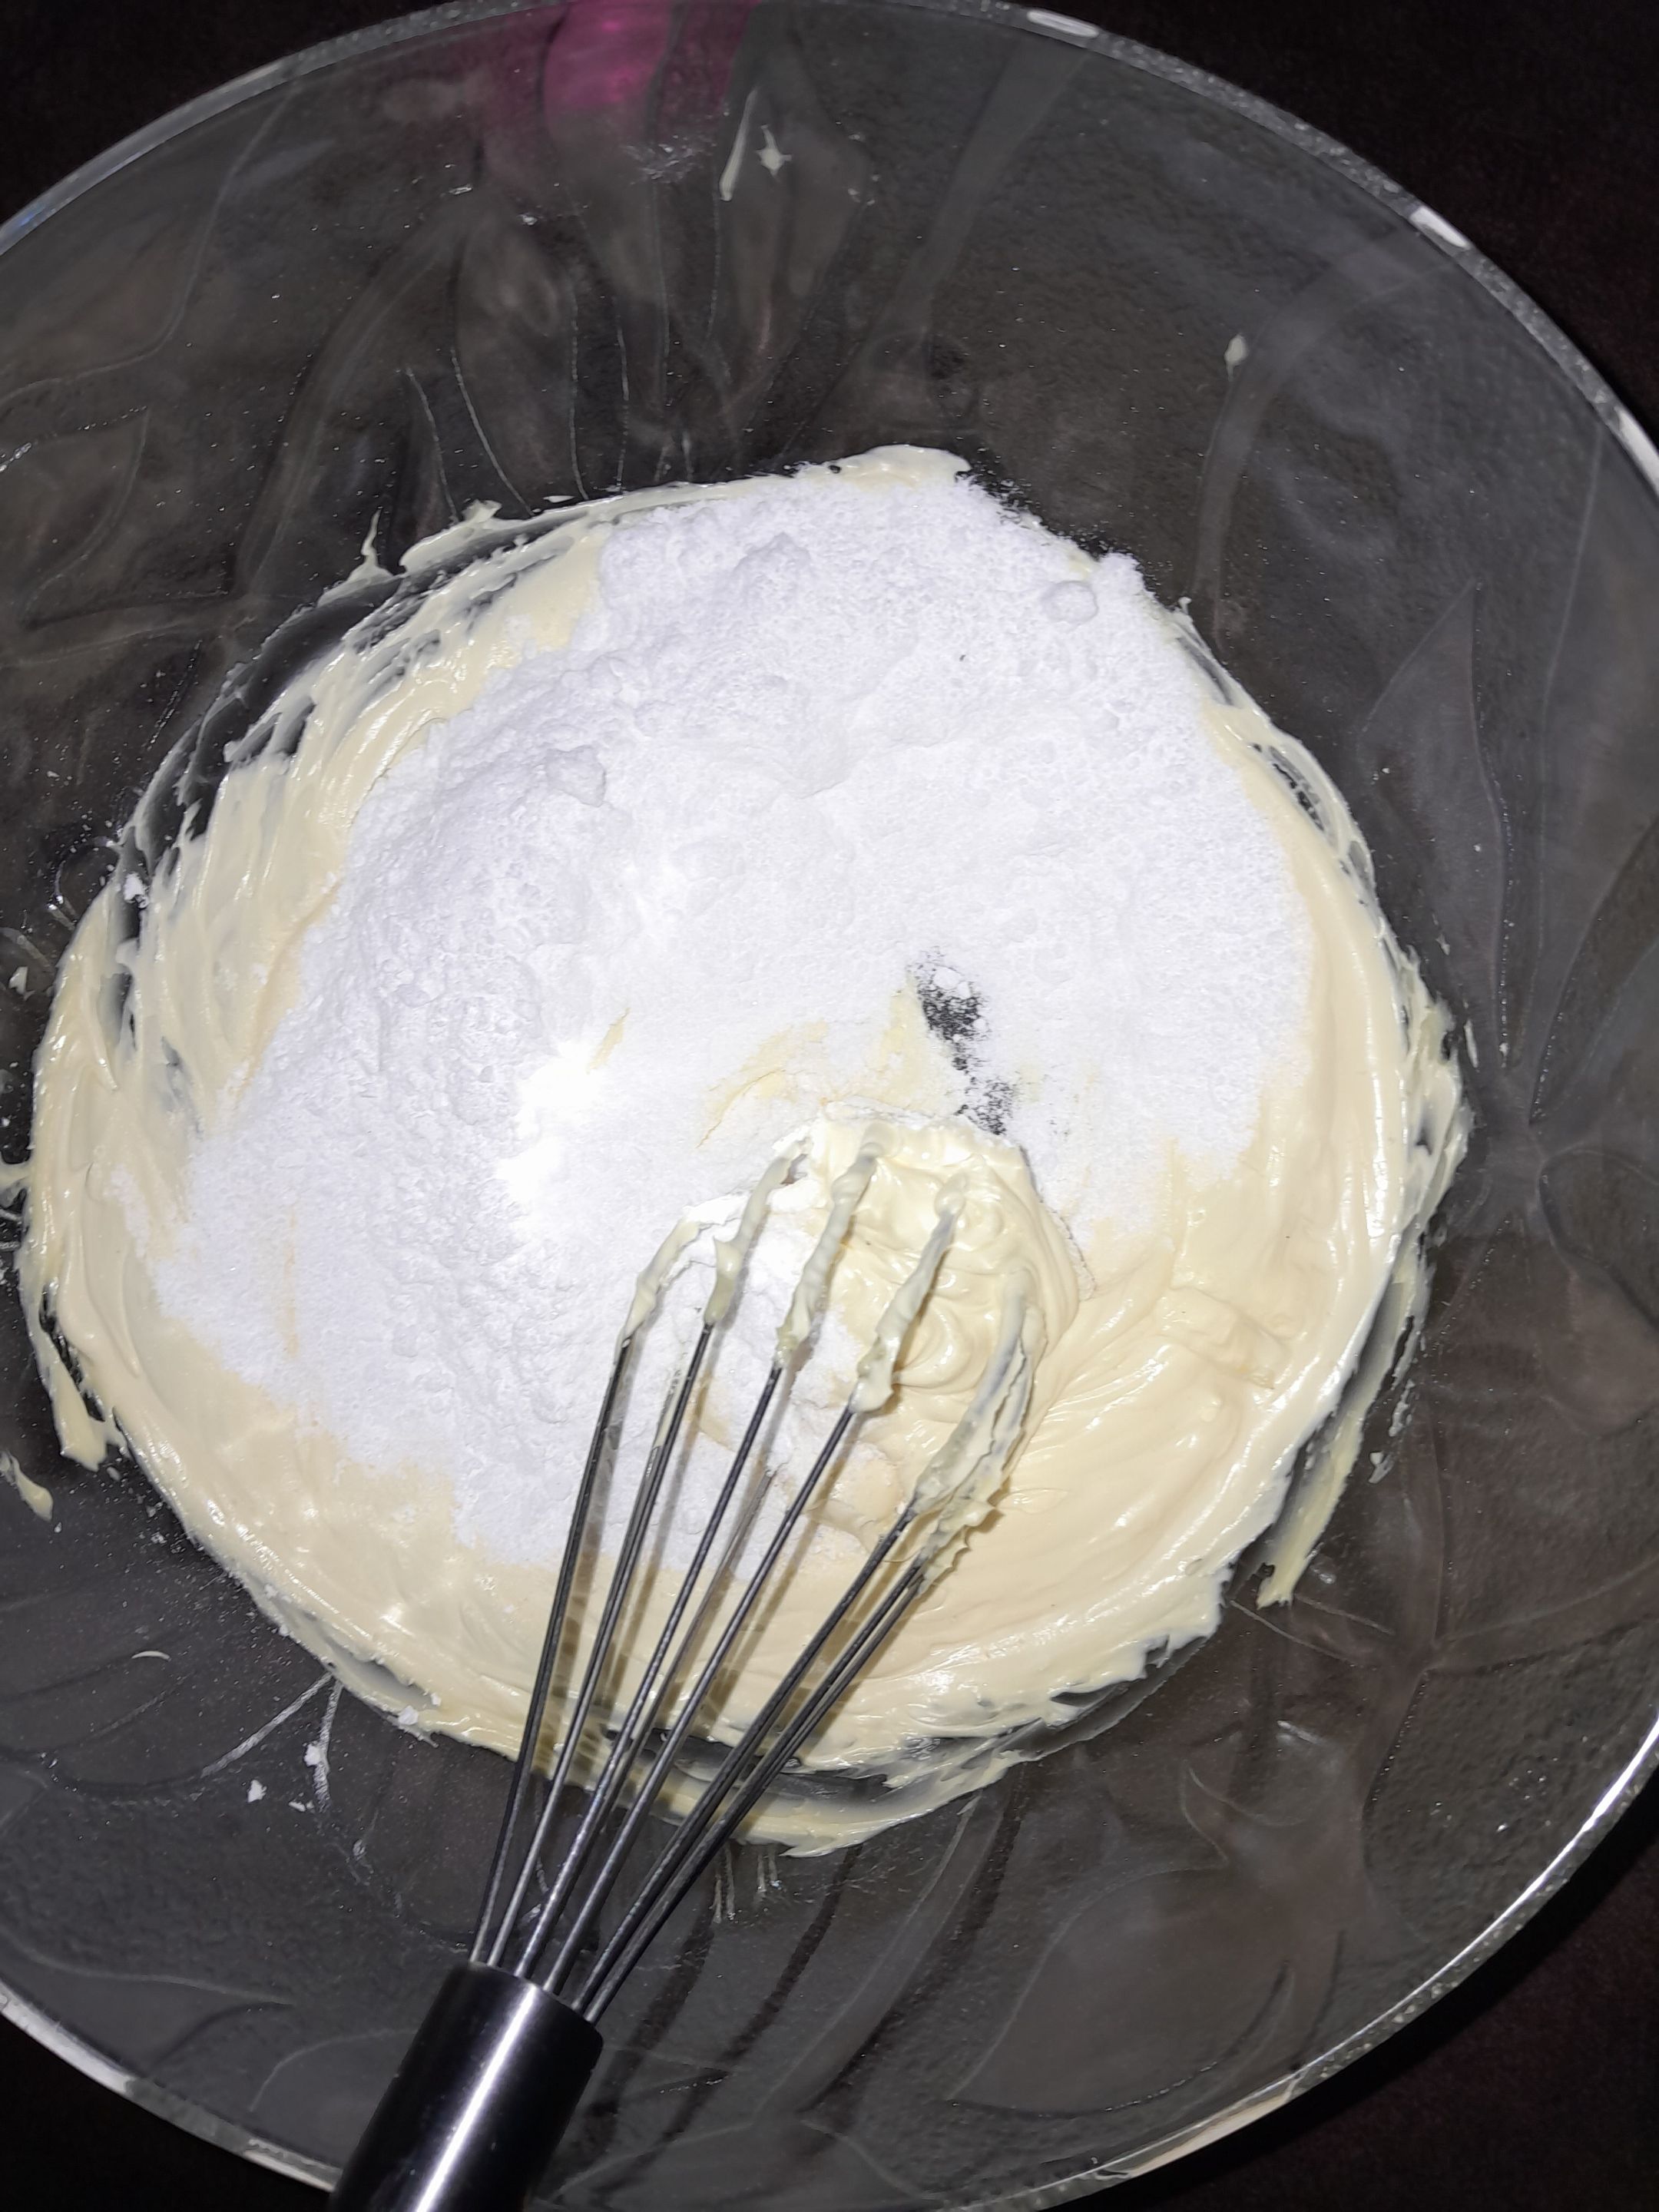
Add the ½cup granulated sugar (u can blend the normal sugar in a blender after measuring the ½cup)
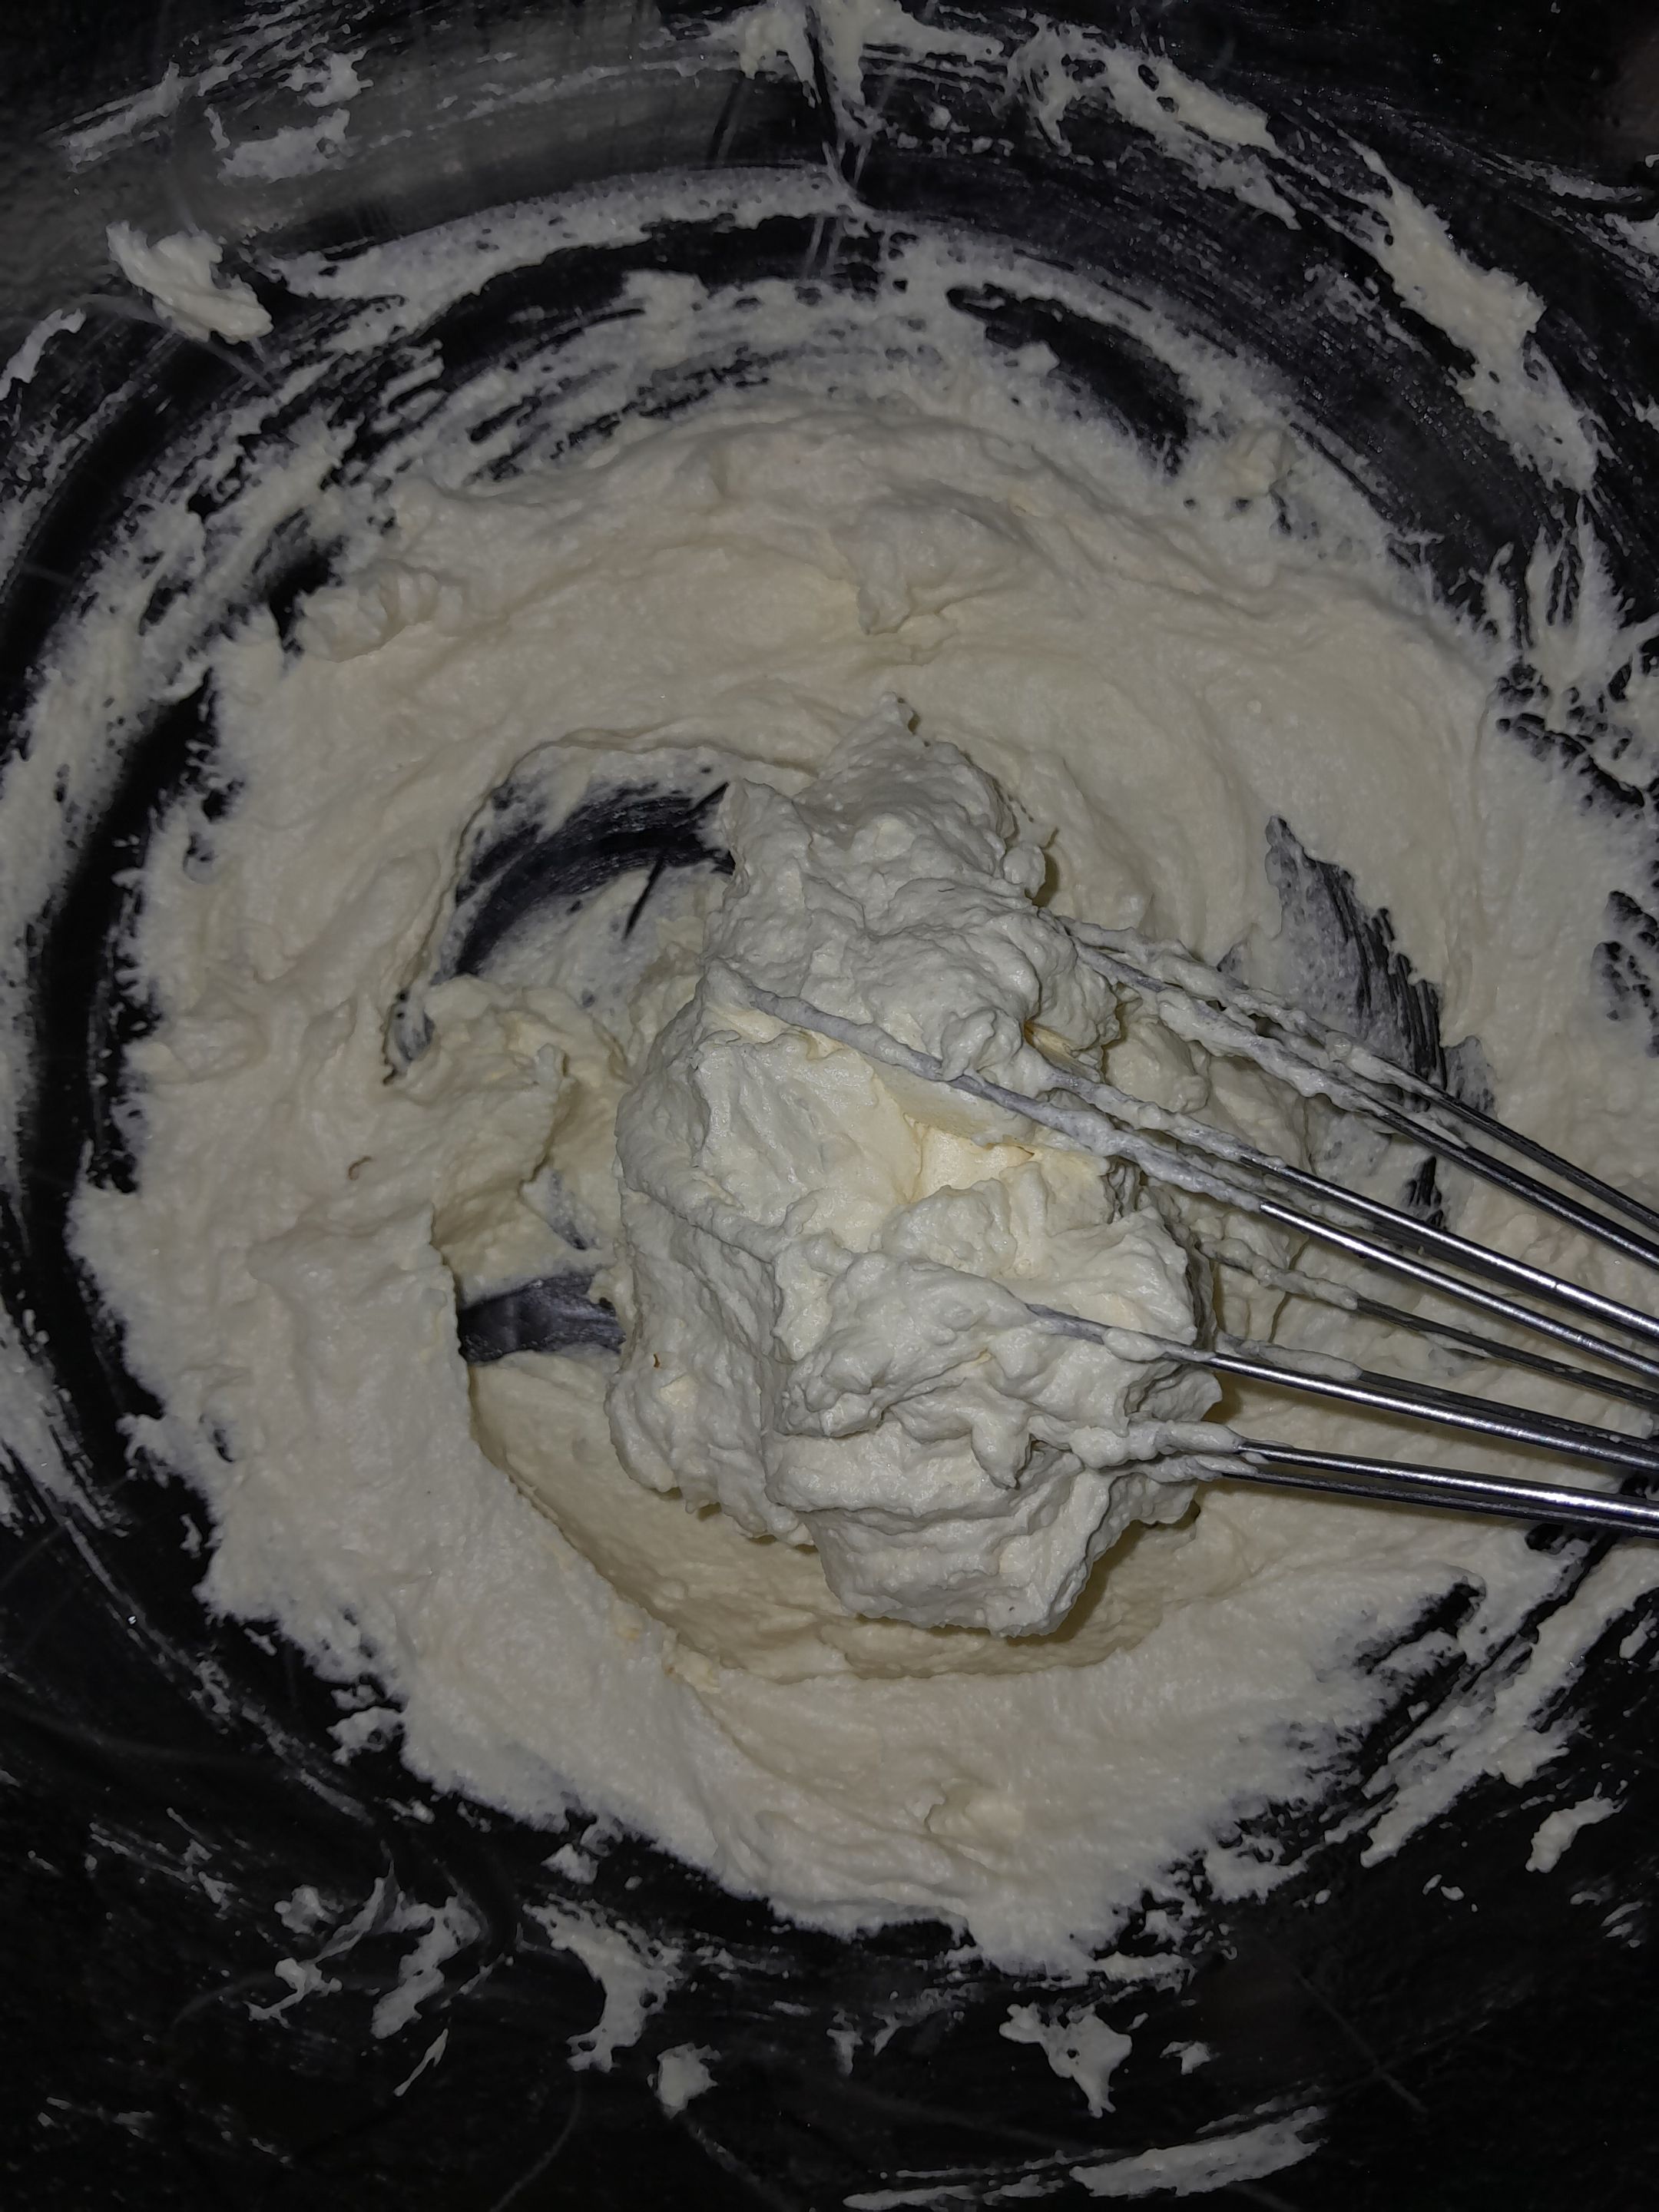
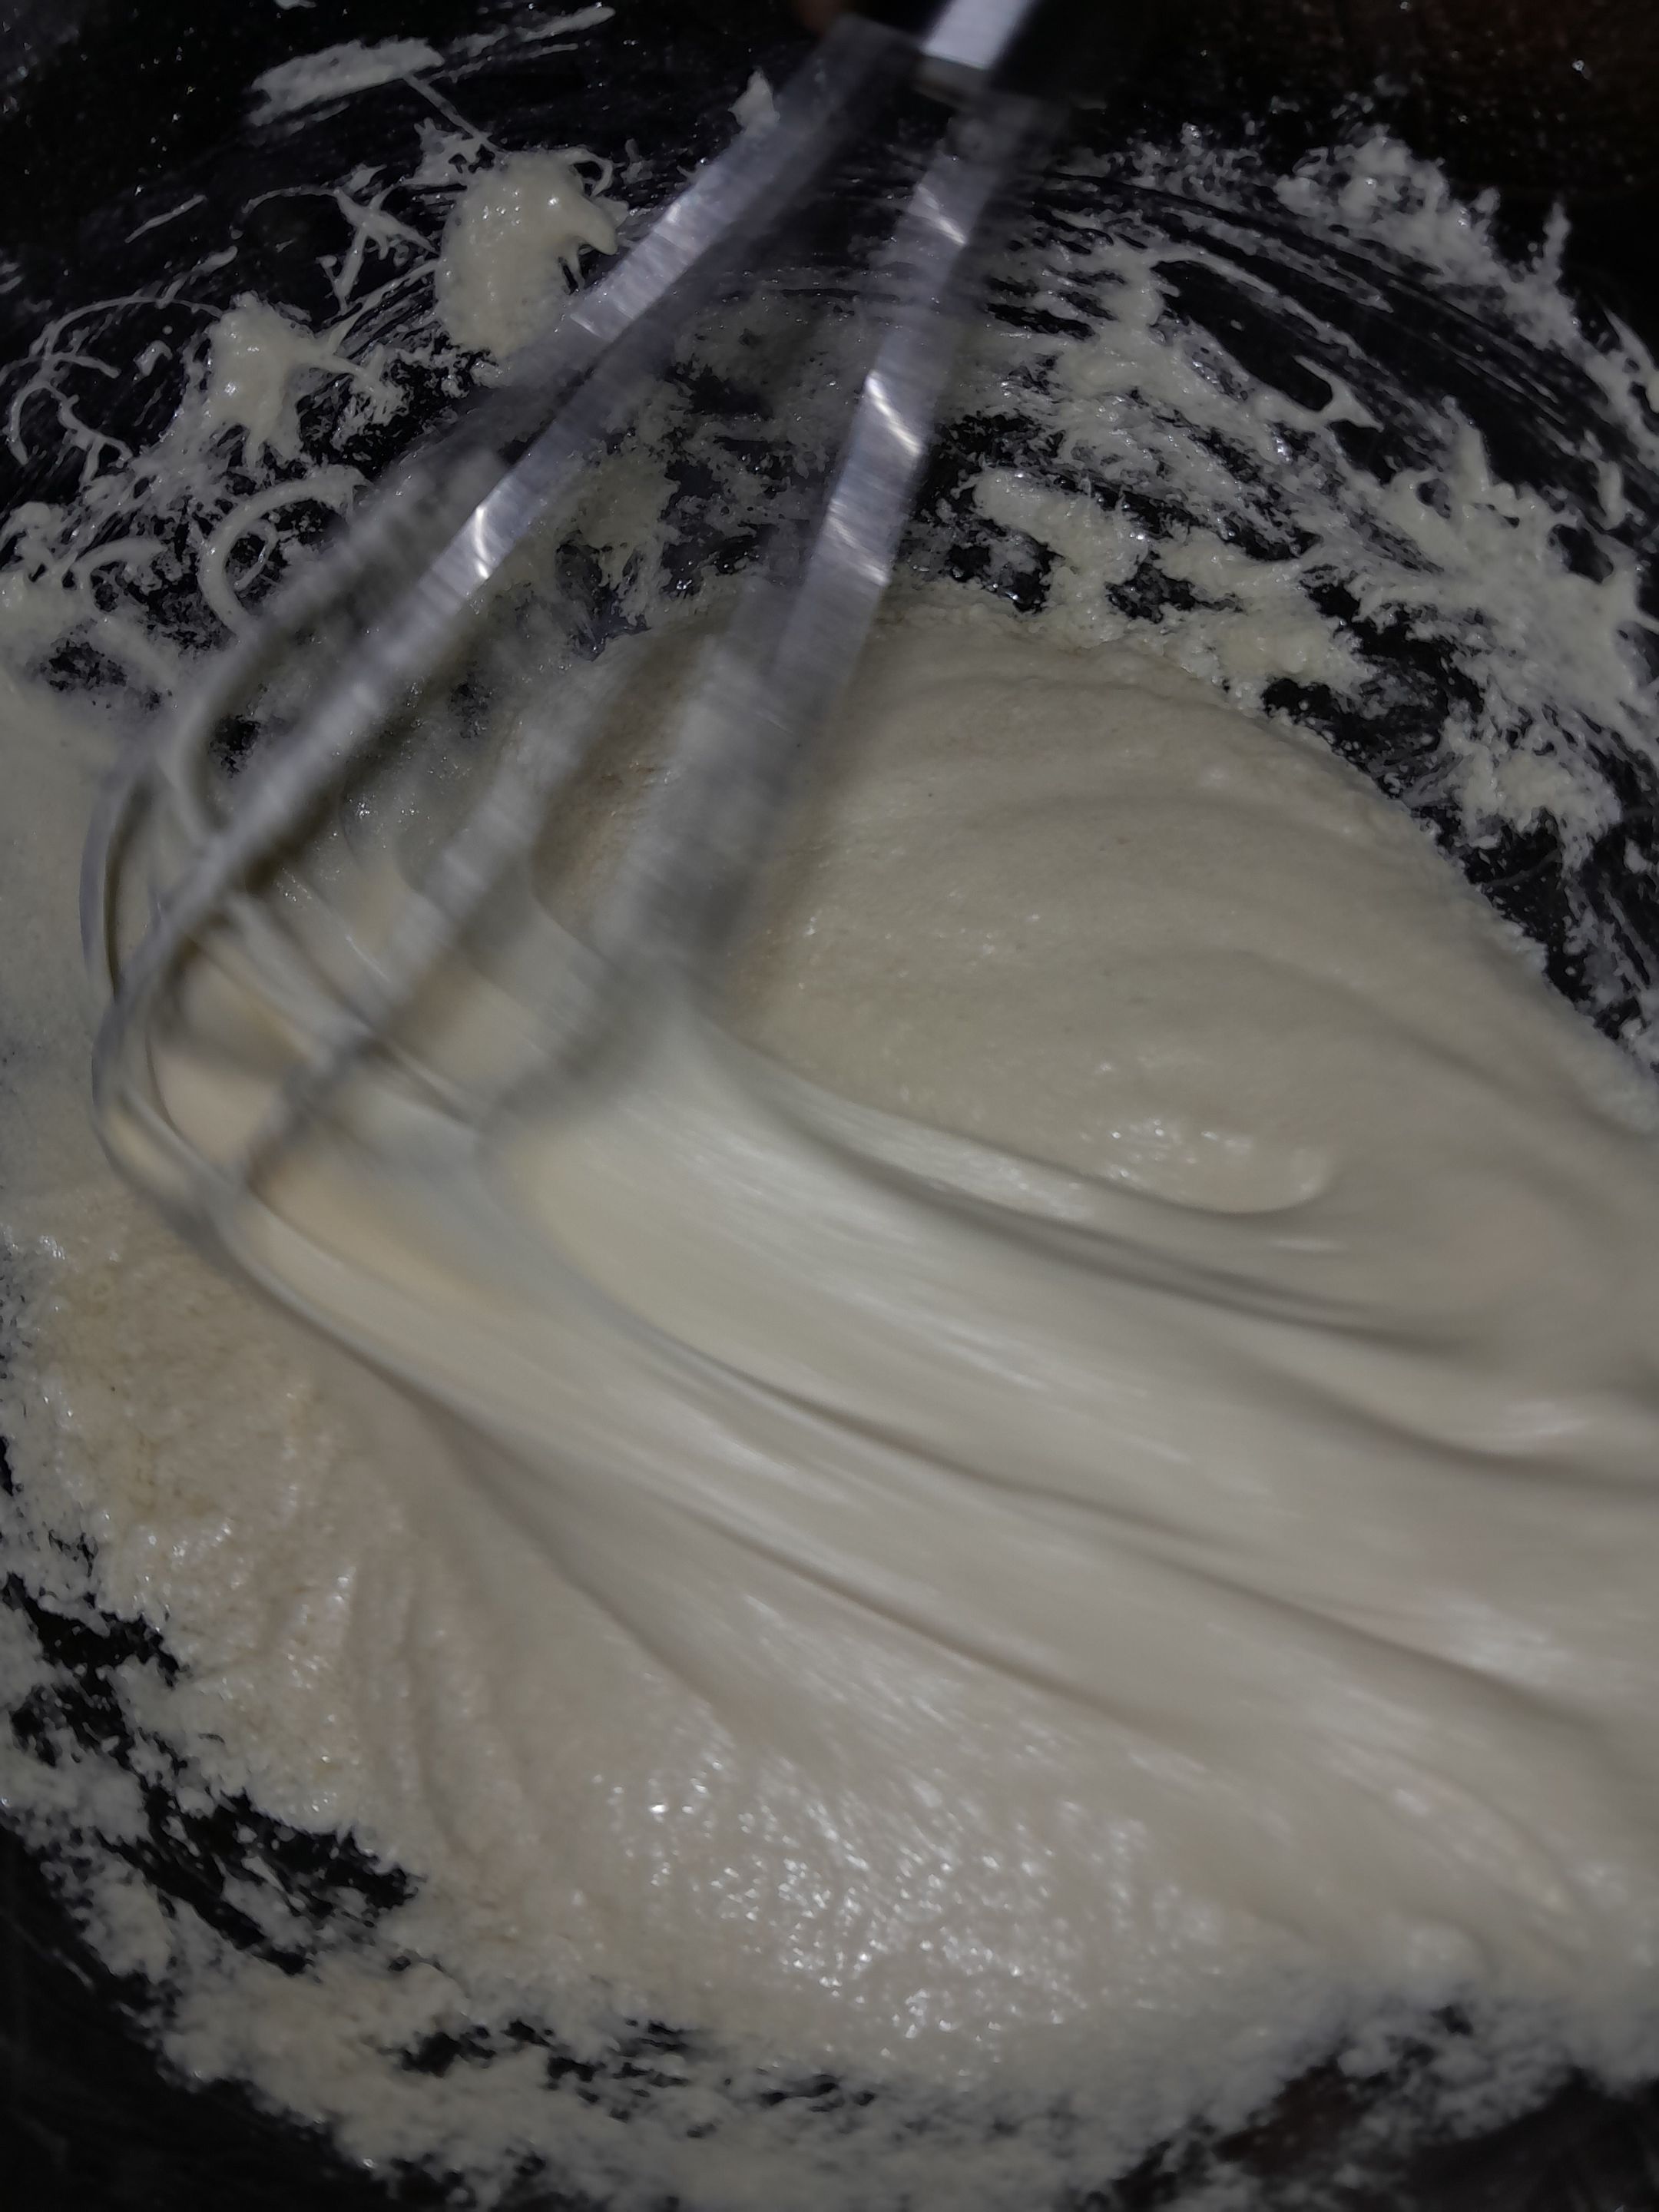
Mix till the sugar is complete incorporated into the butter (like this)
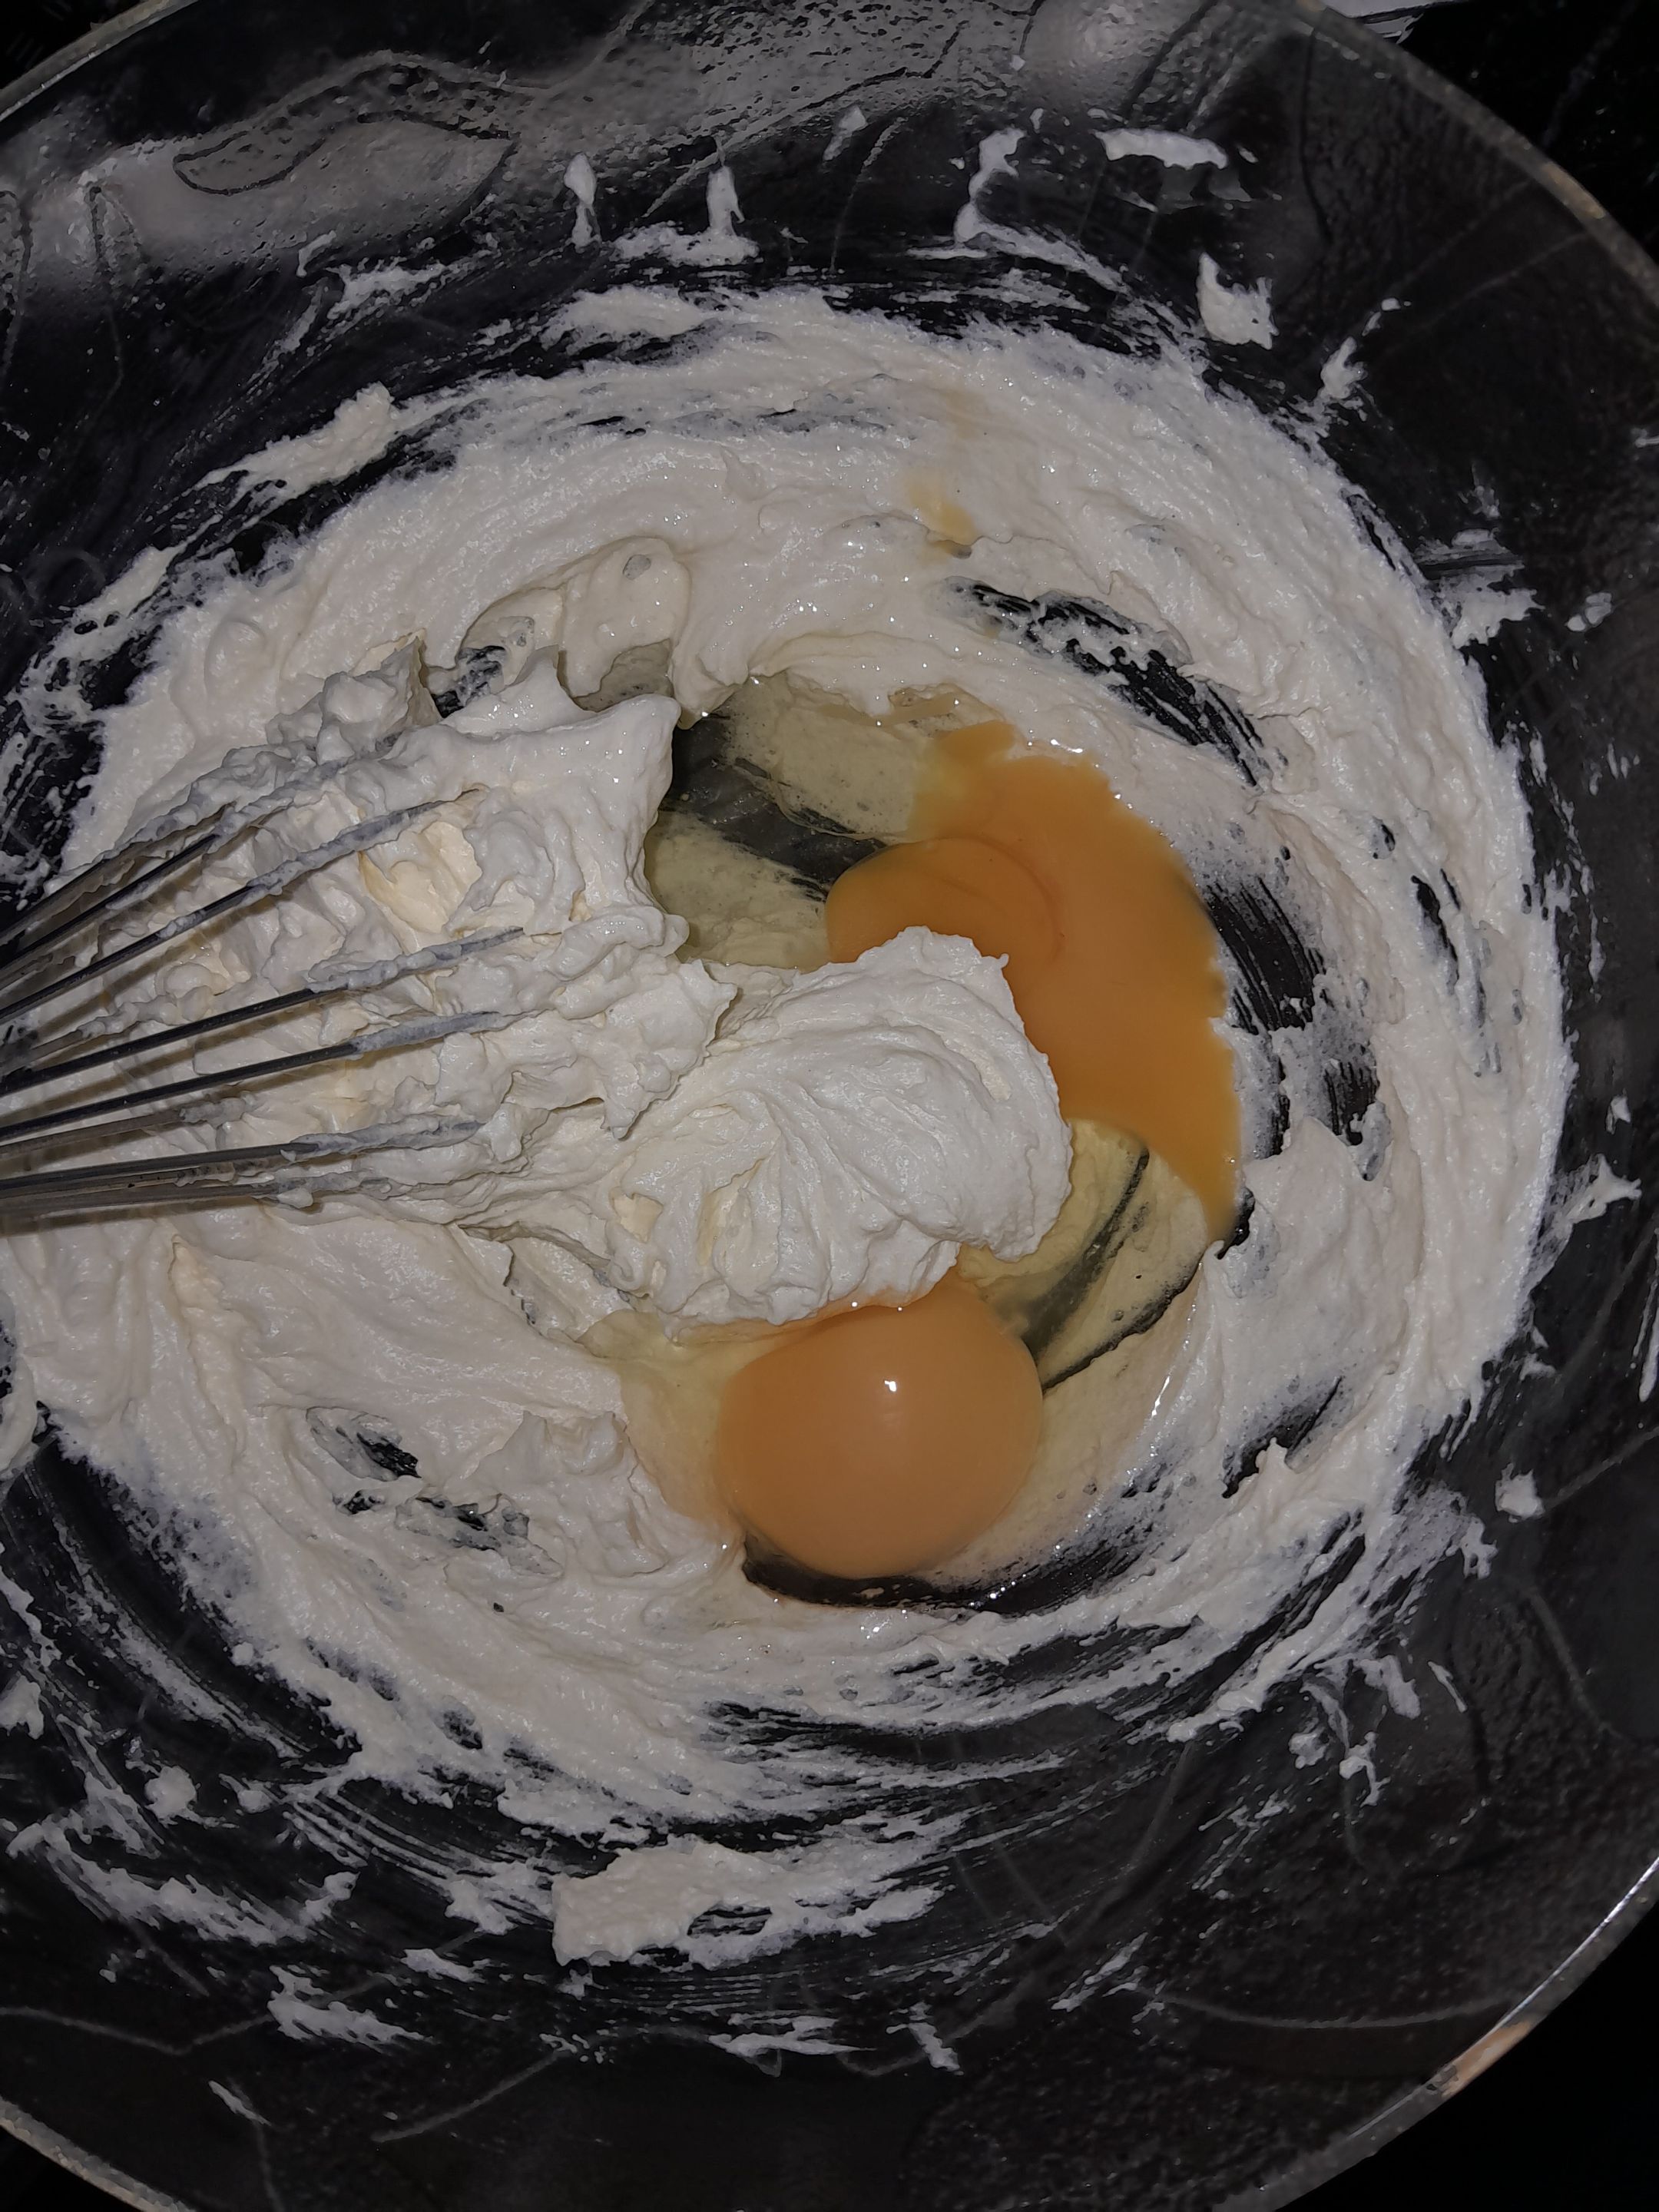
Add 2 large egg yokes(or the whole egg) into the mixture and whisk for a minute on medium speed
Till it incorporates well into the batter
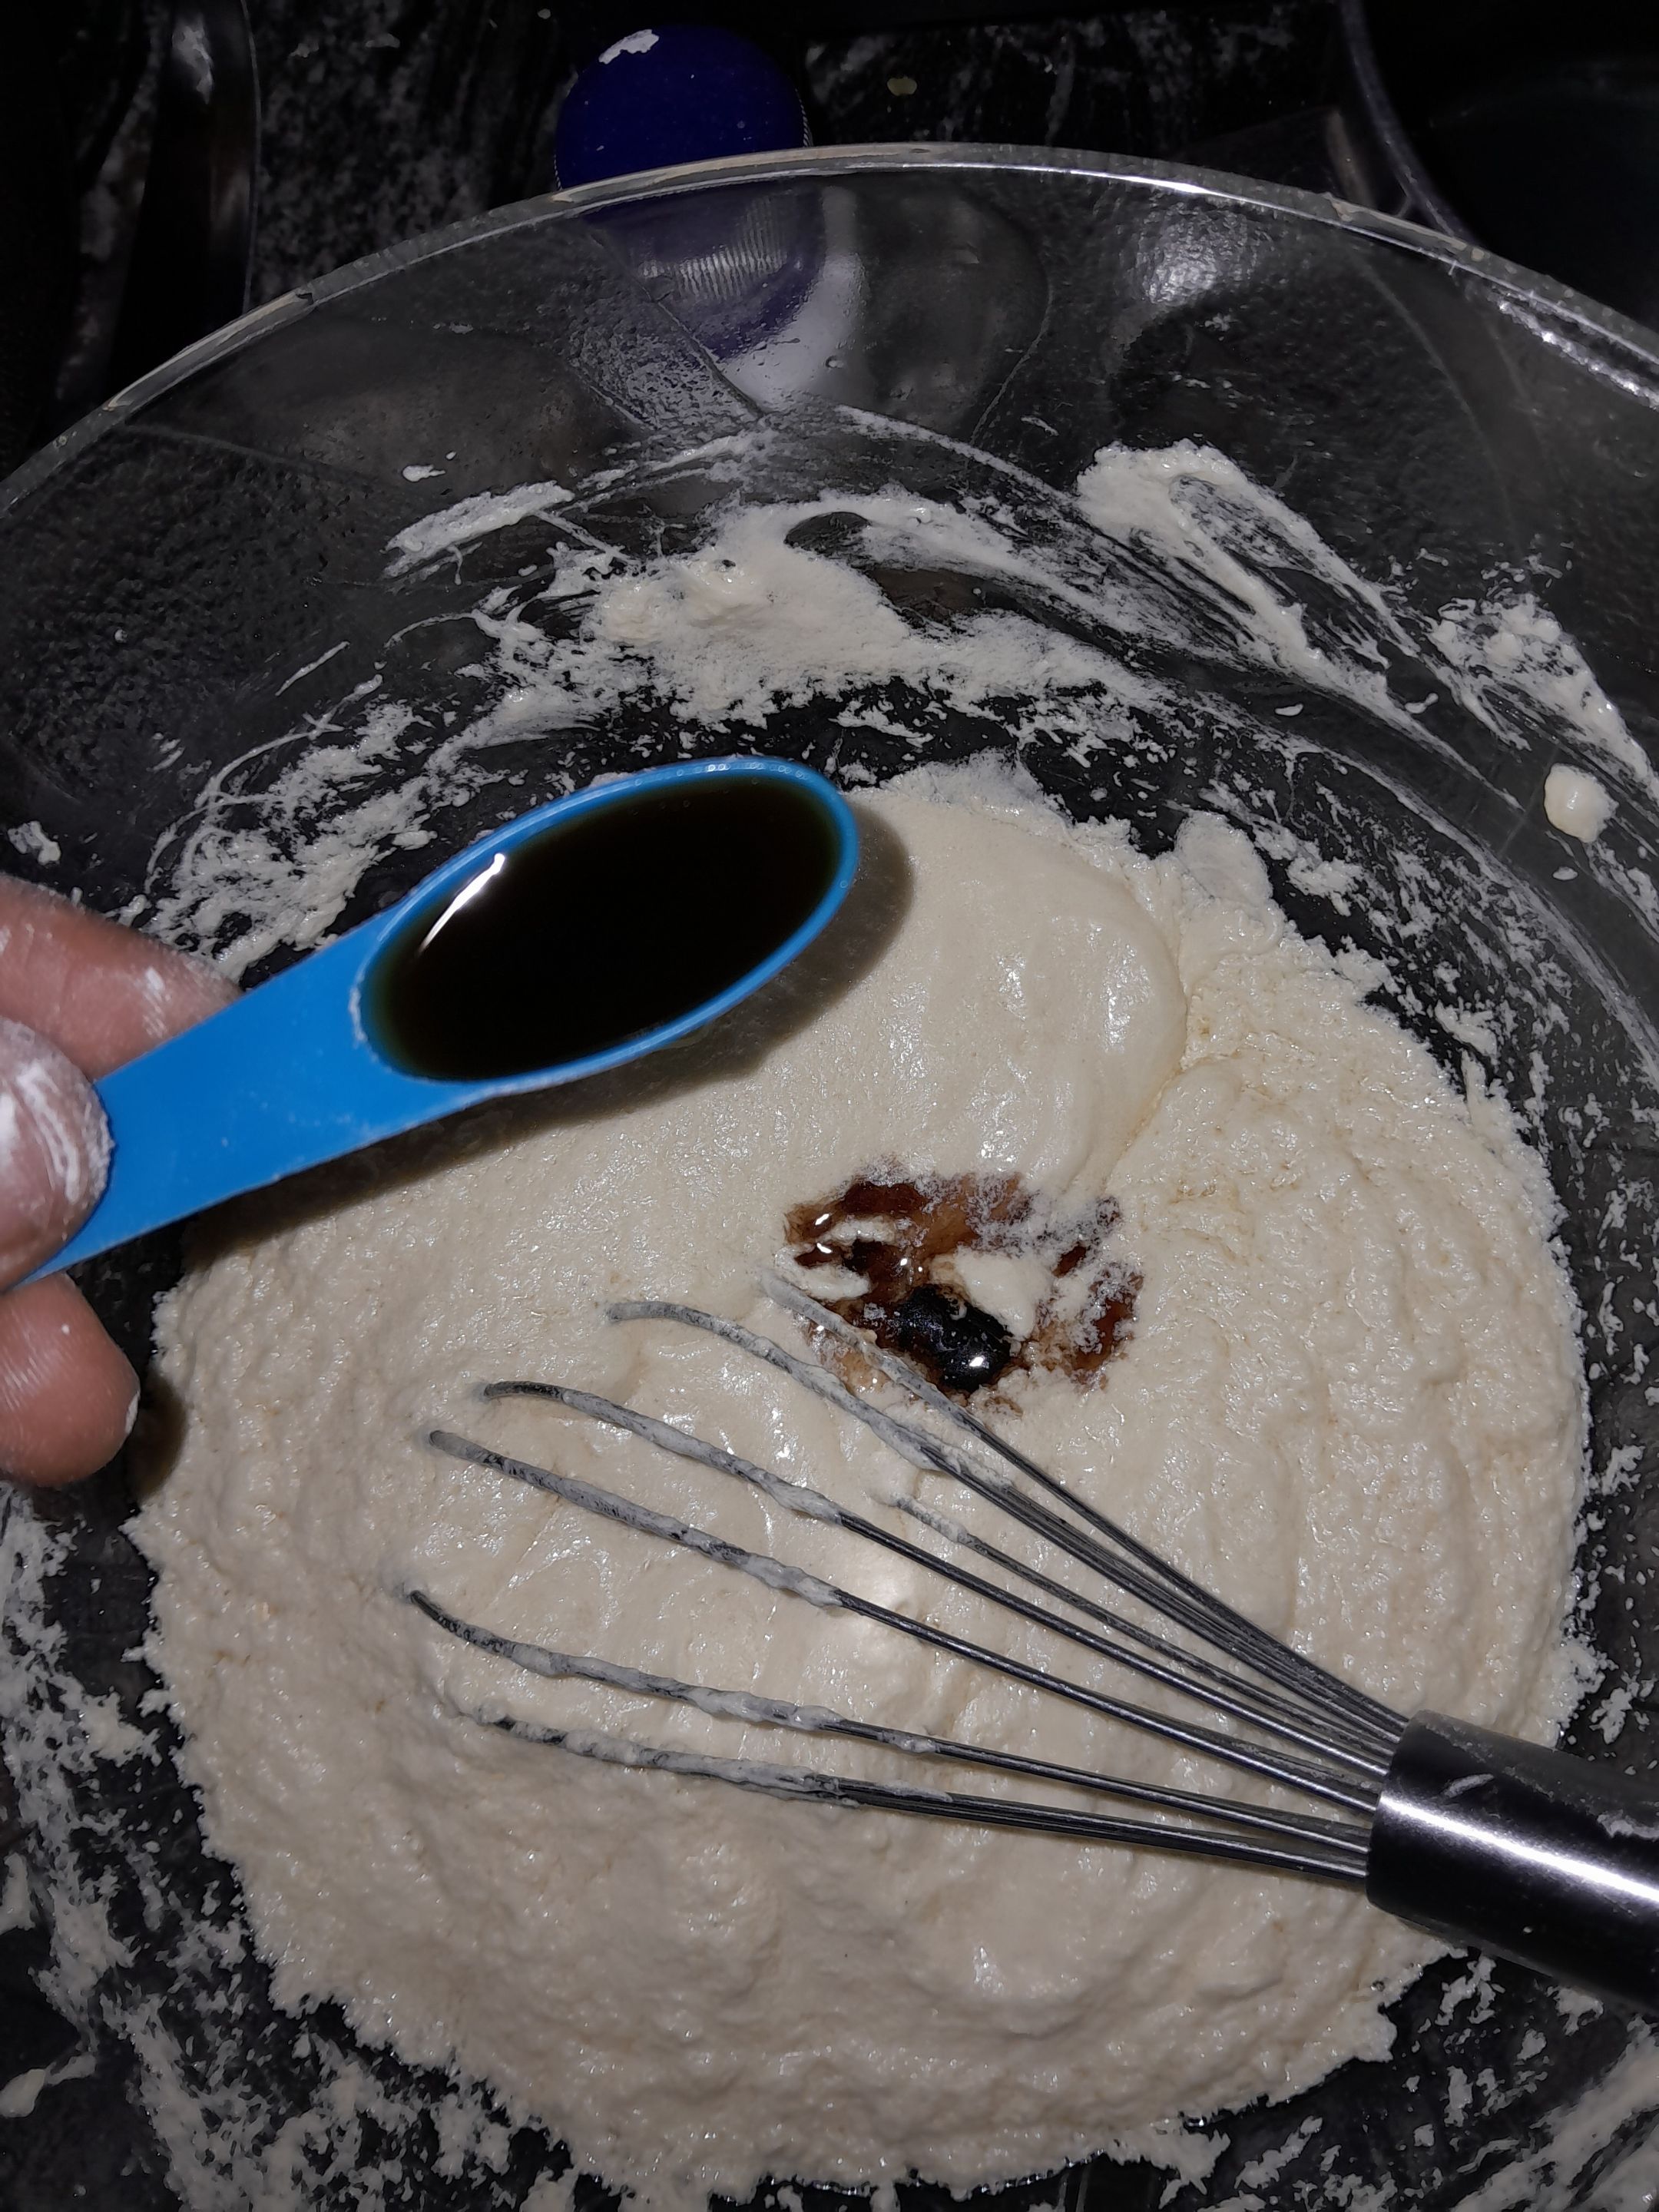
Add flavour extract of choice, I added vanilla to mine then mix.
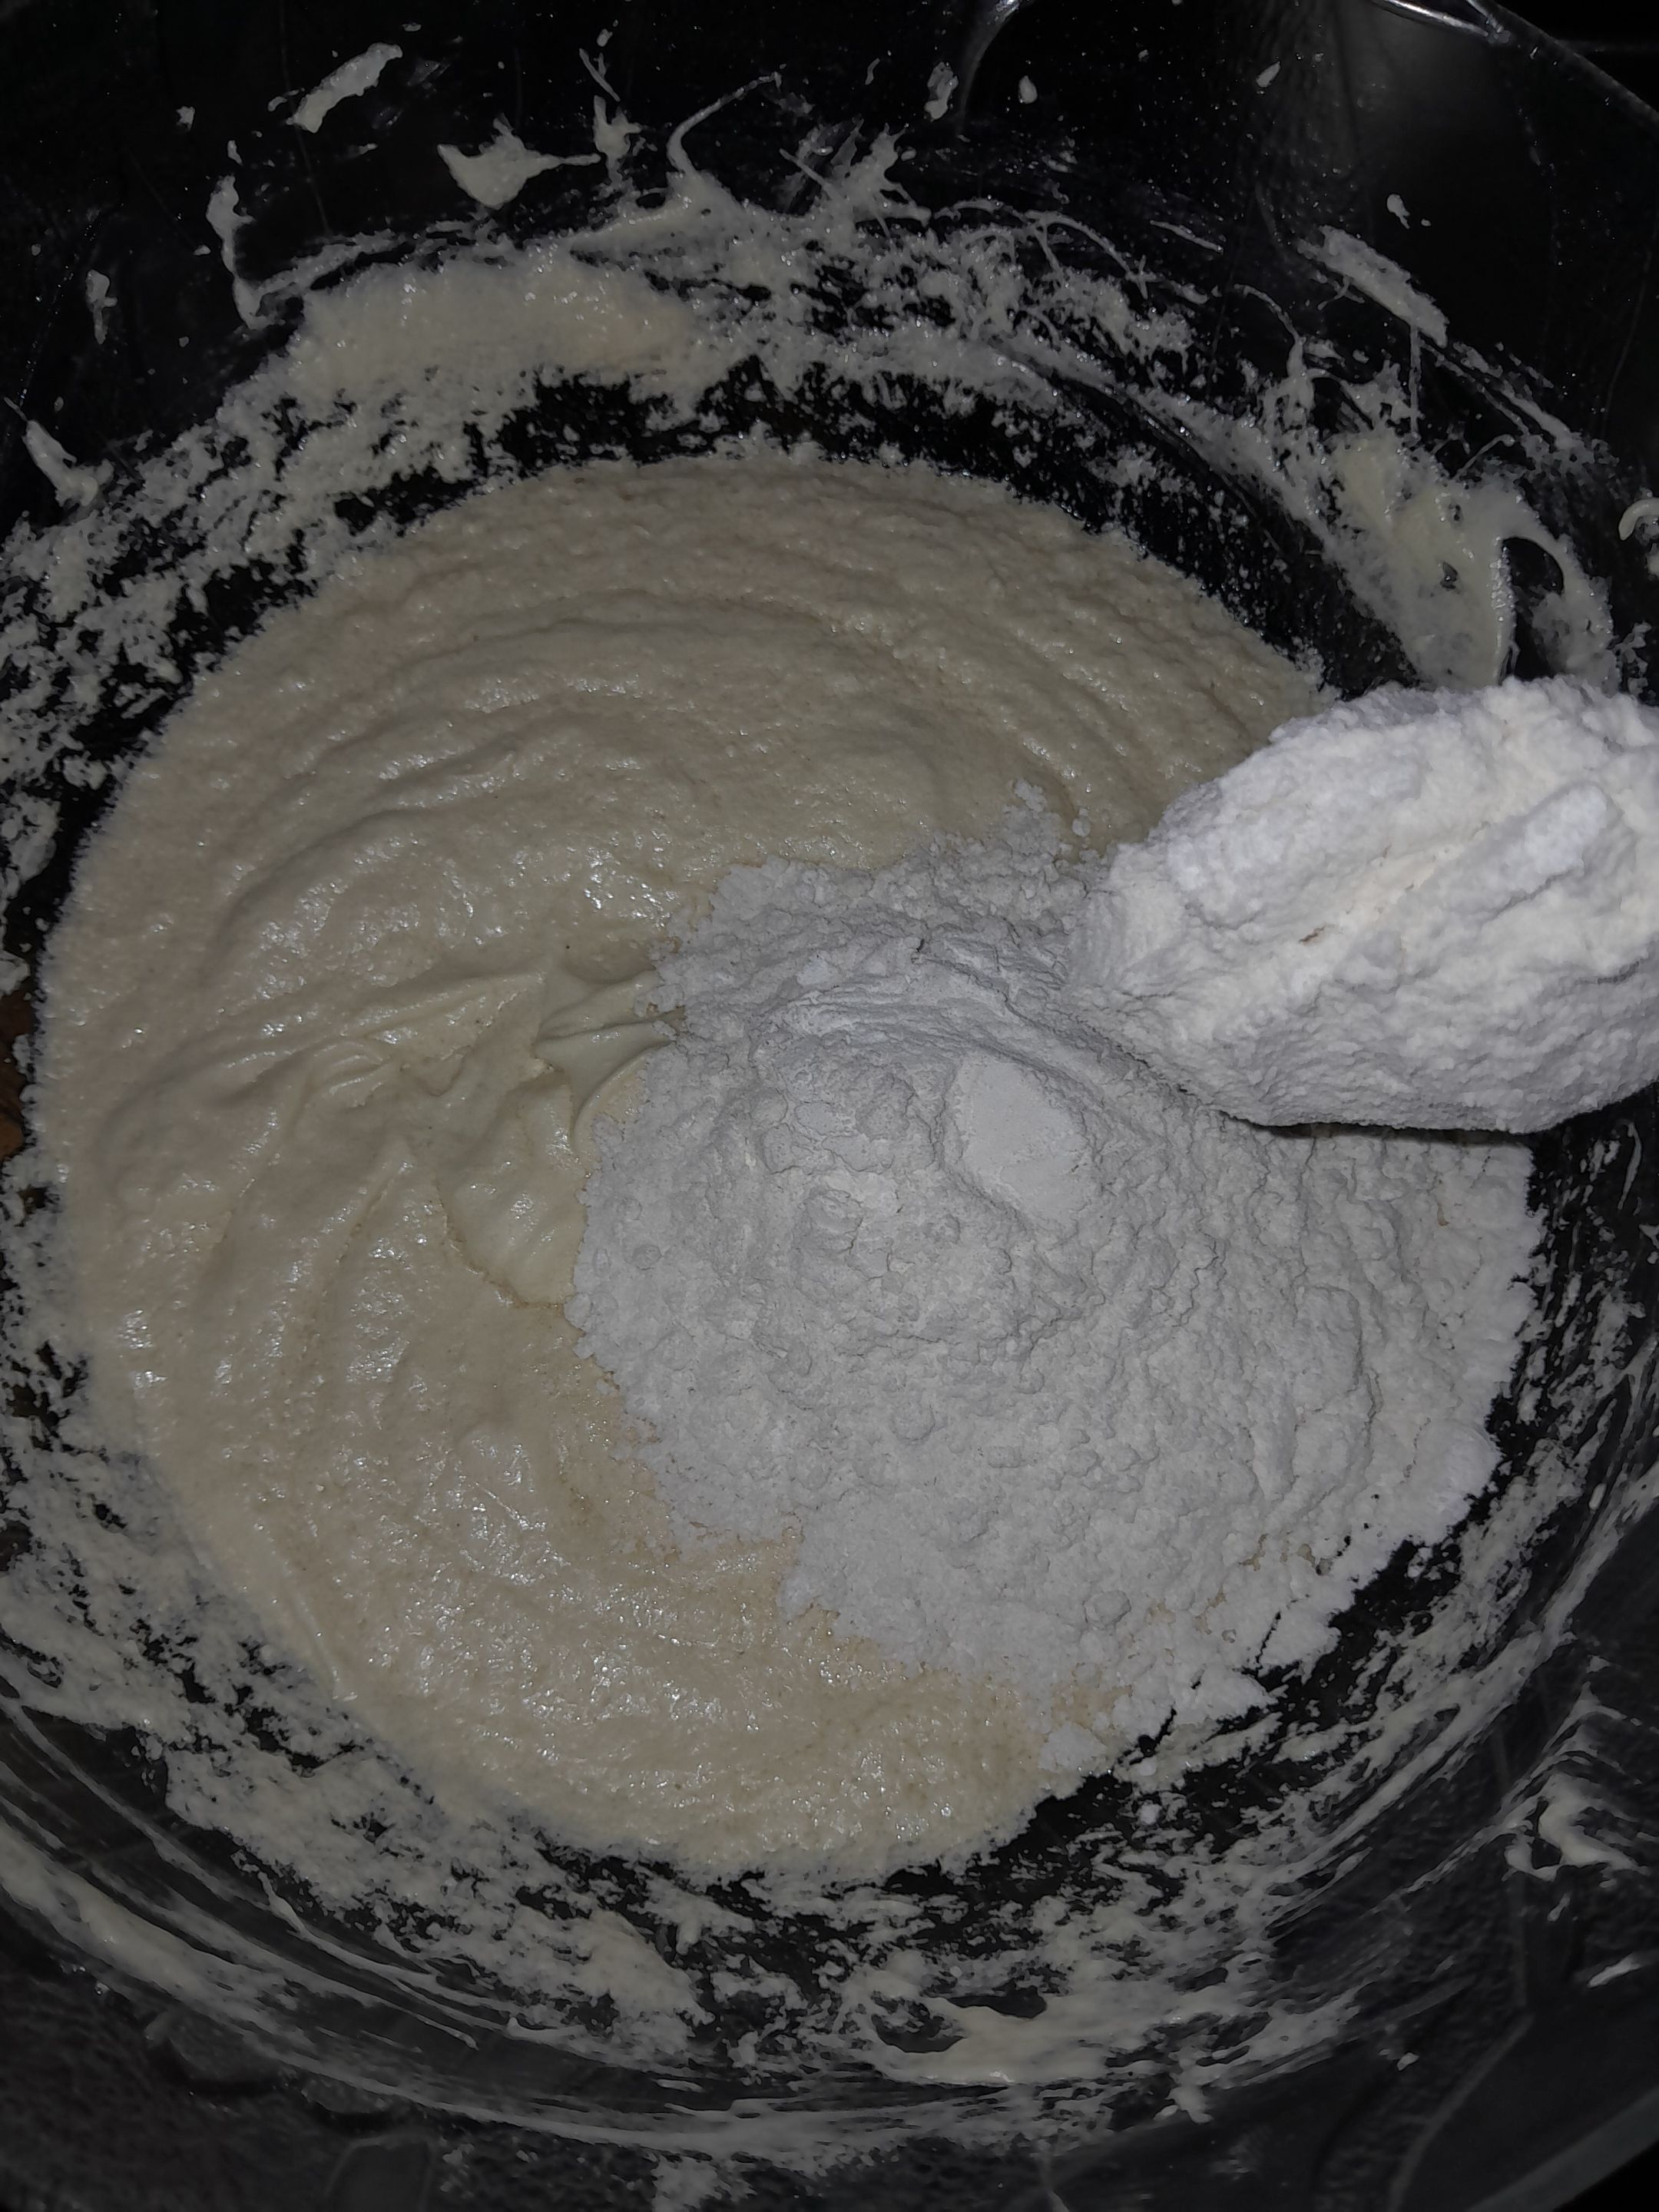
Seive both the plain flour and corn flour together before adding into the egg batter gradually in bits
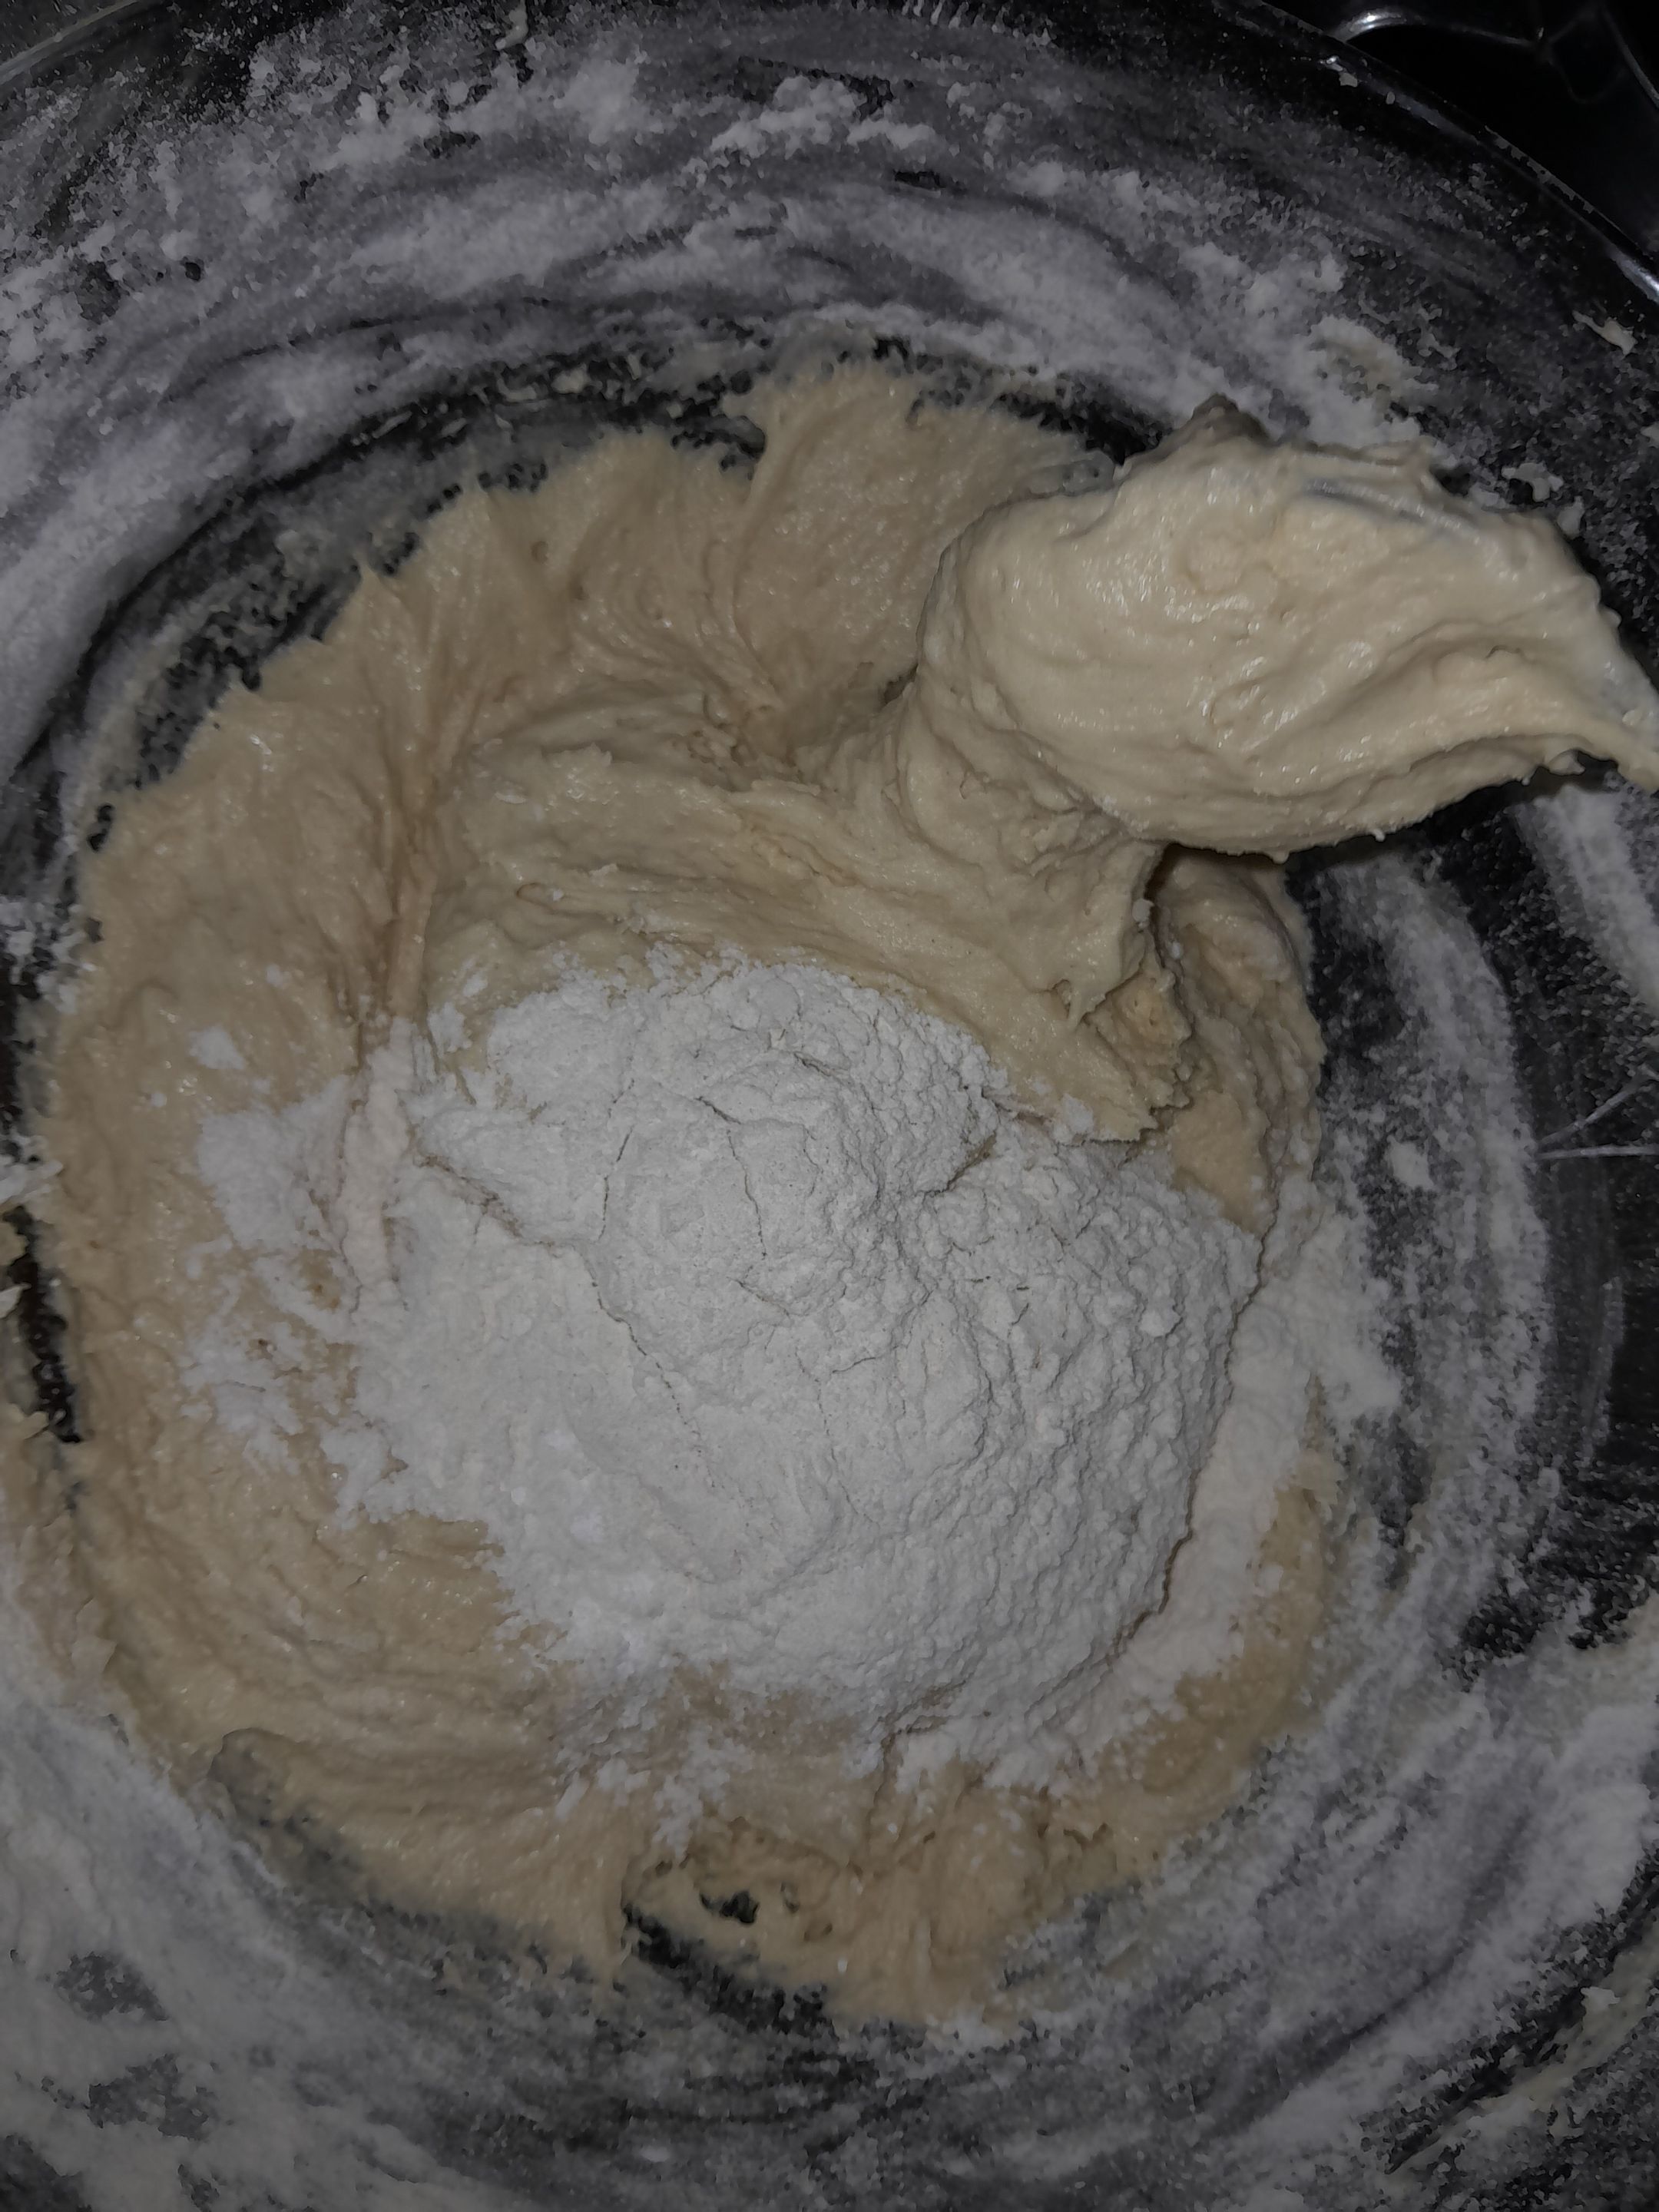
Fold in the flour using a spoon or a spatula
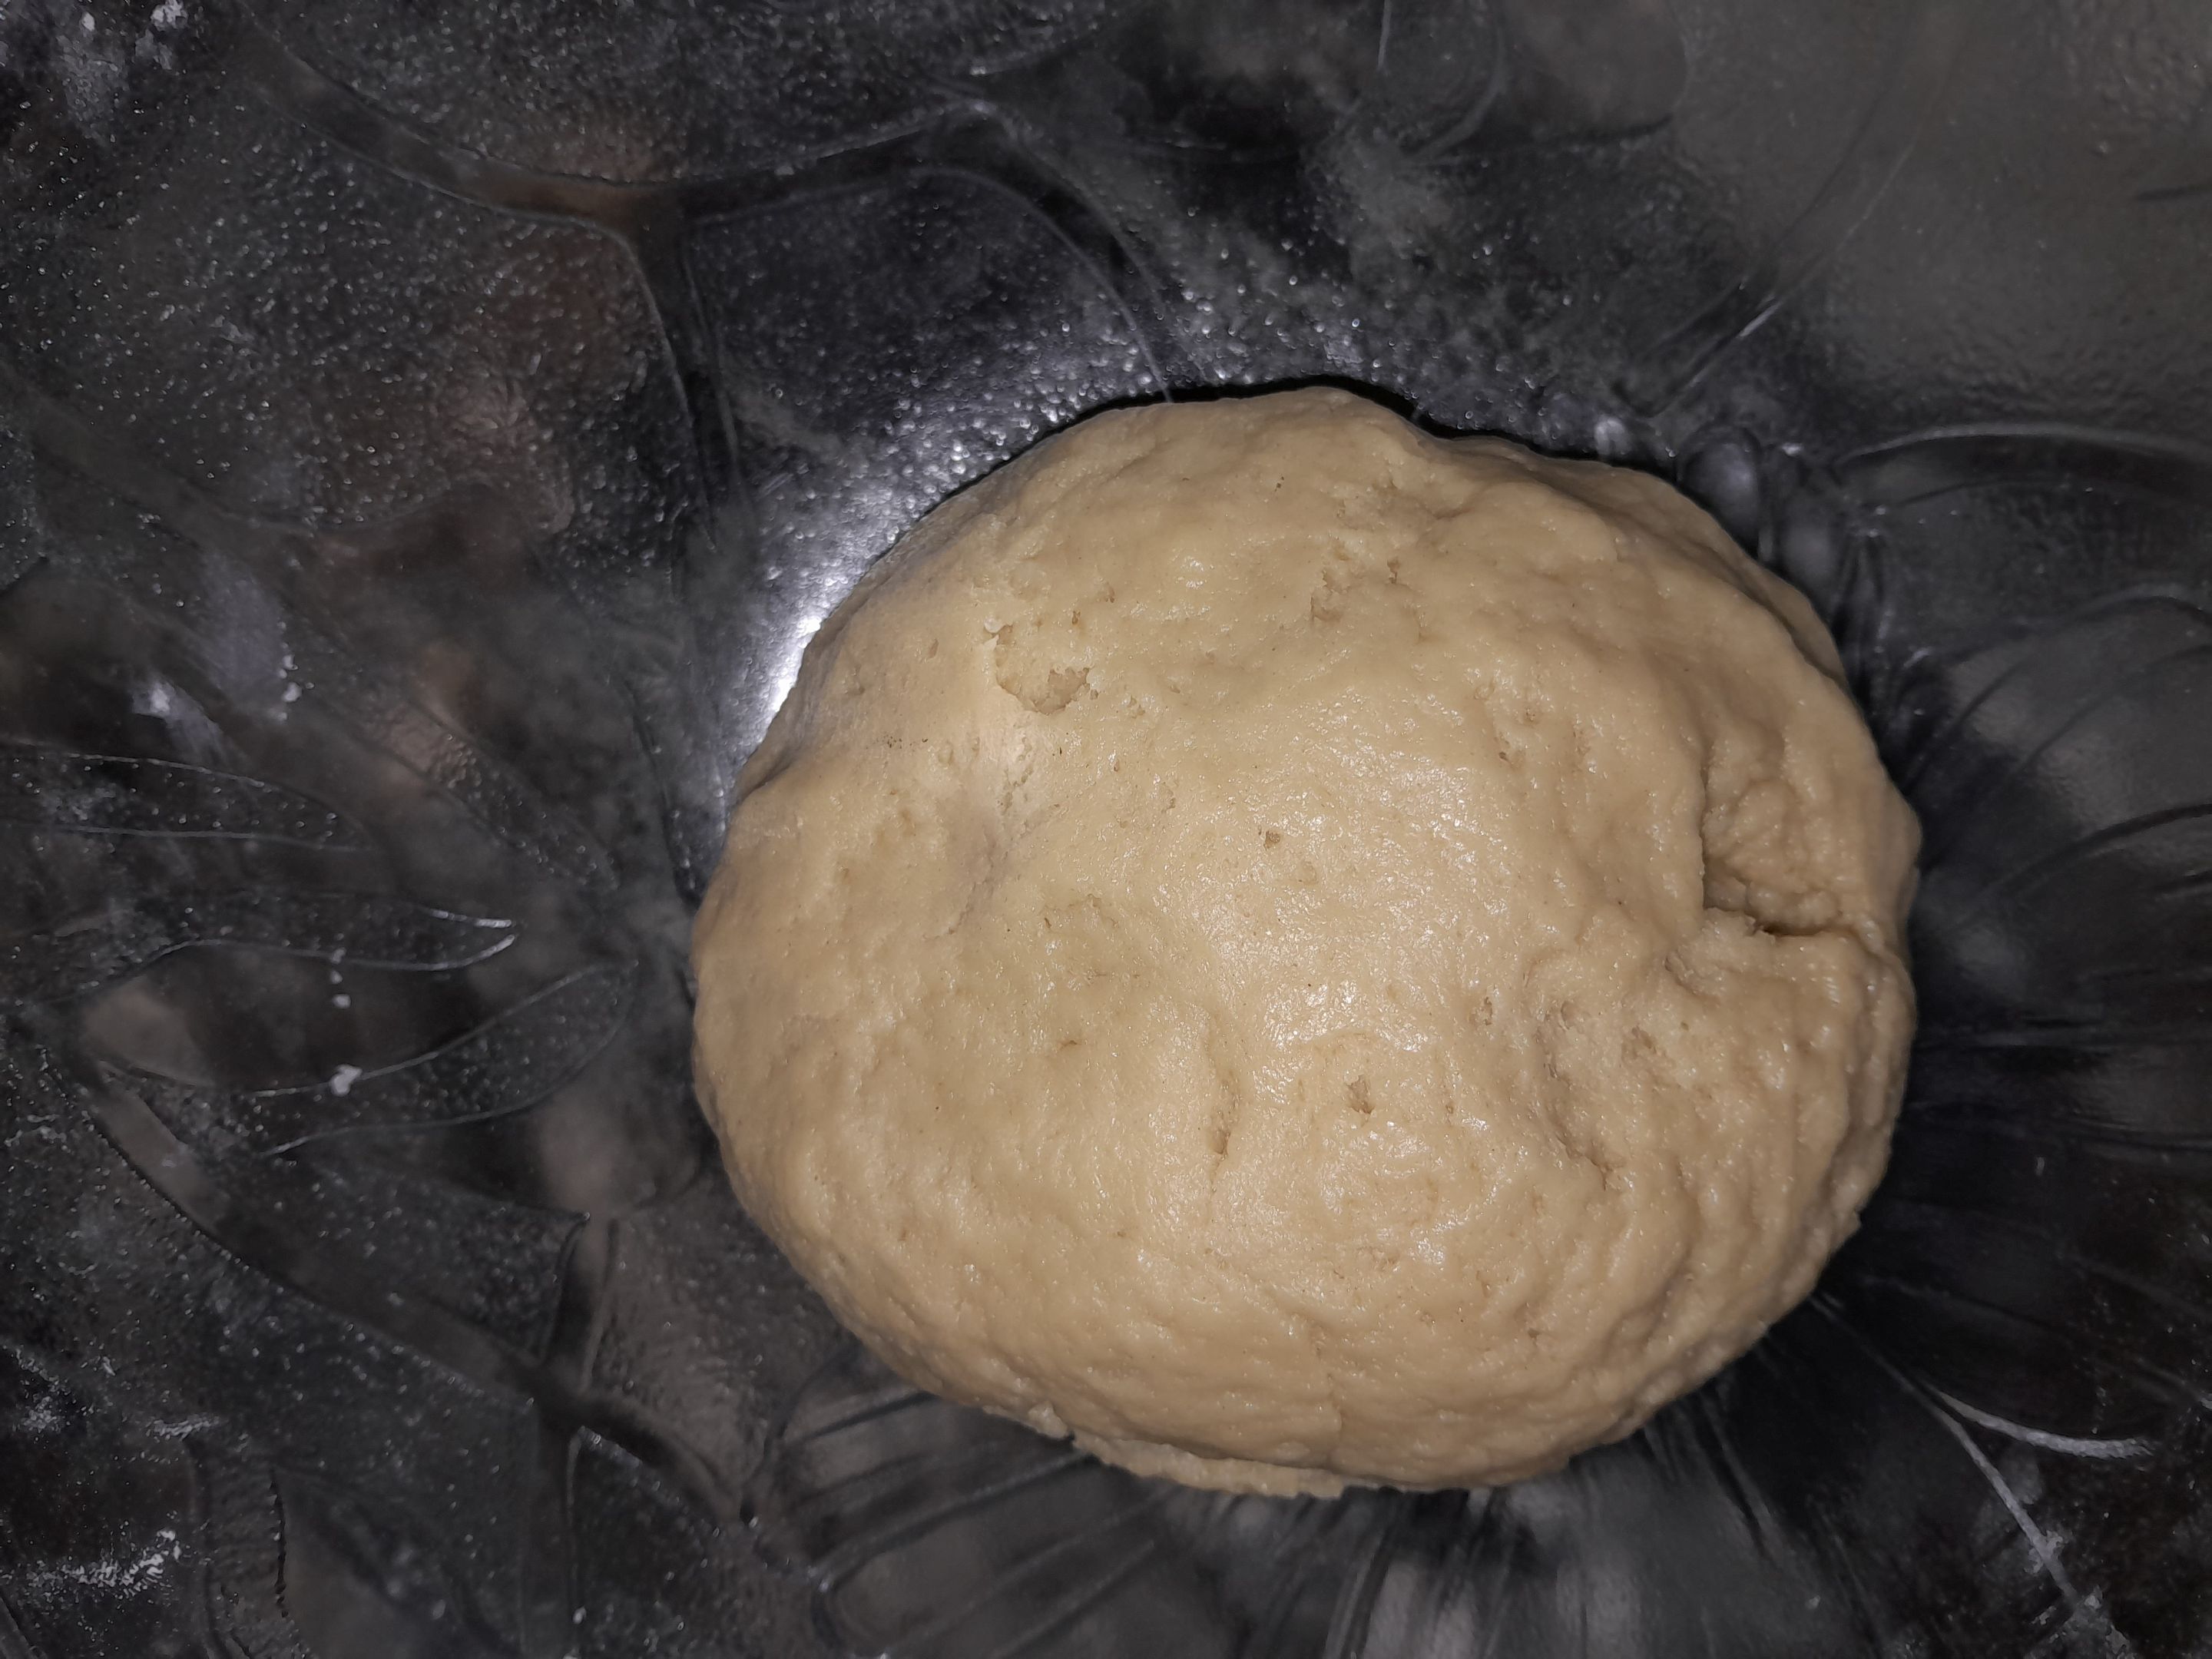
Used my hand to mix it at a point
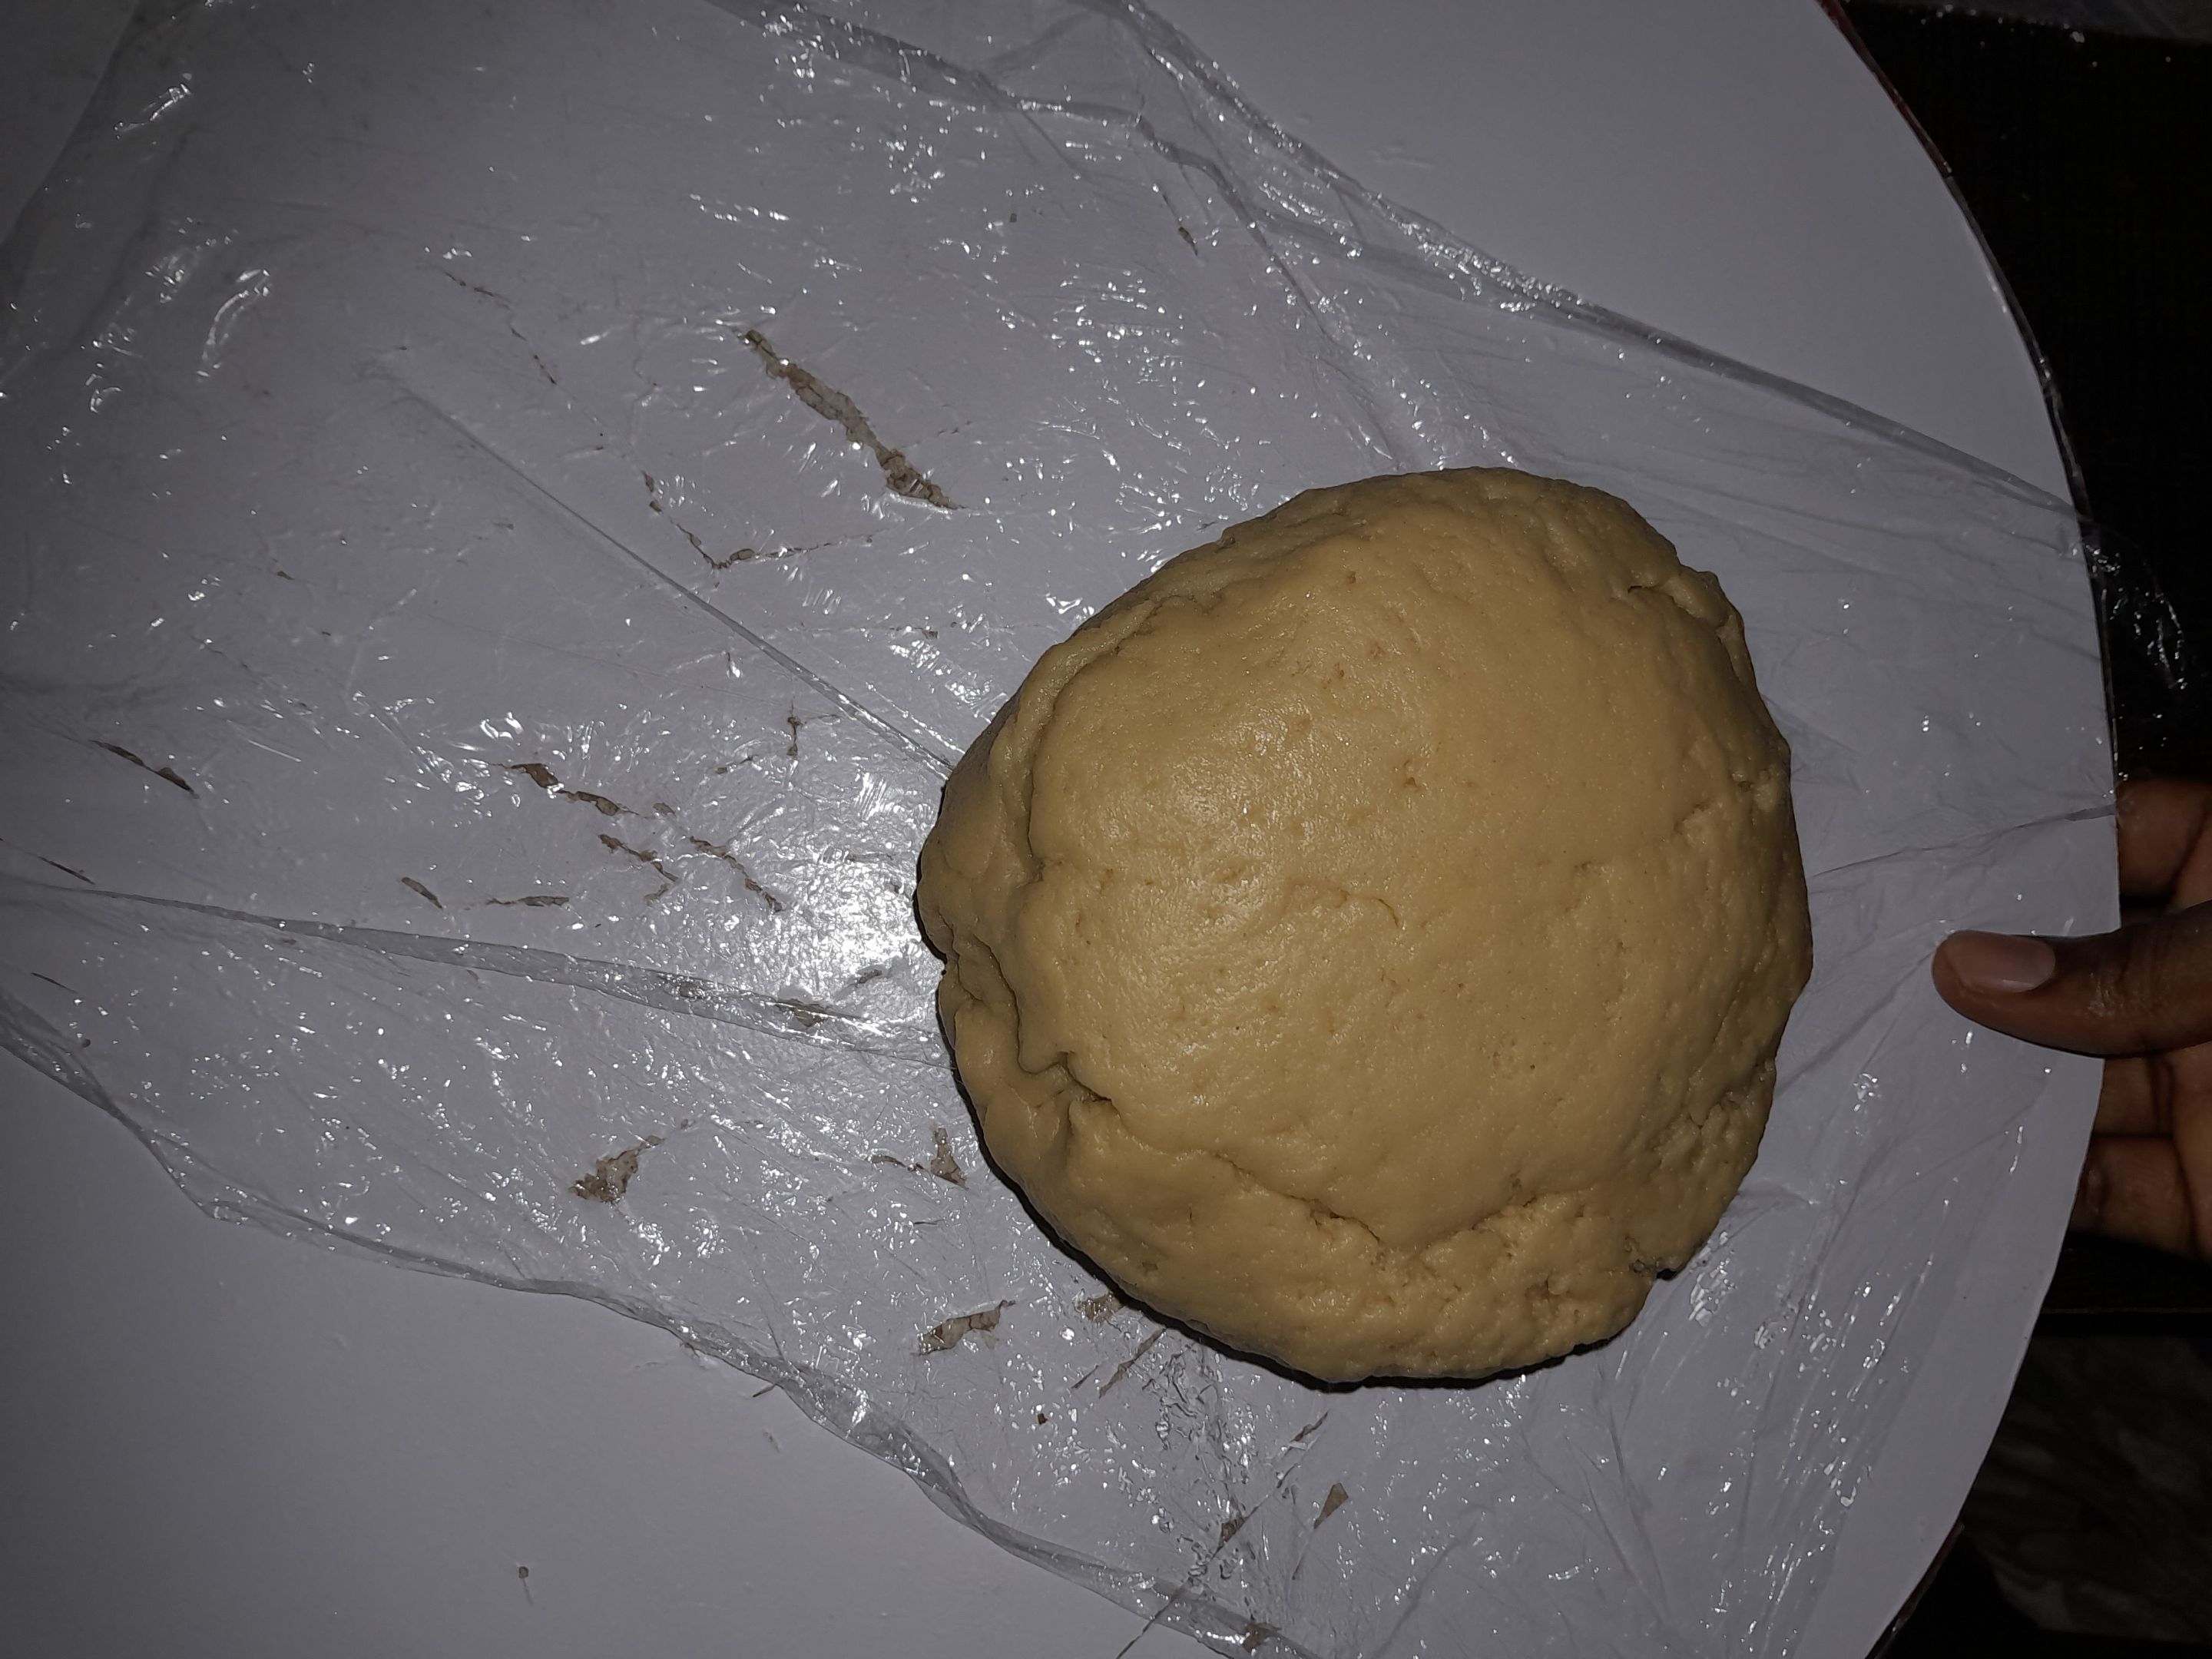
Once everything is incorporated, wrap in a film and placed in a fridge for future use or 30minutes for same day use
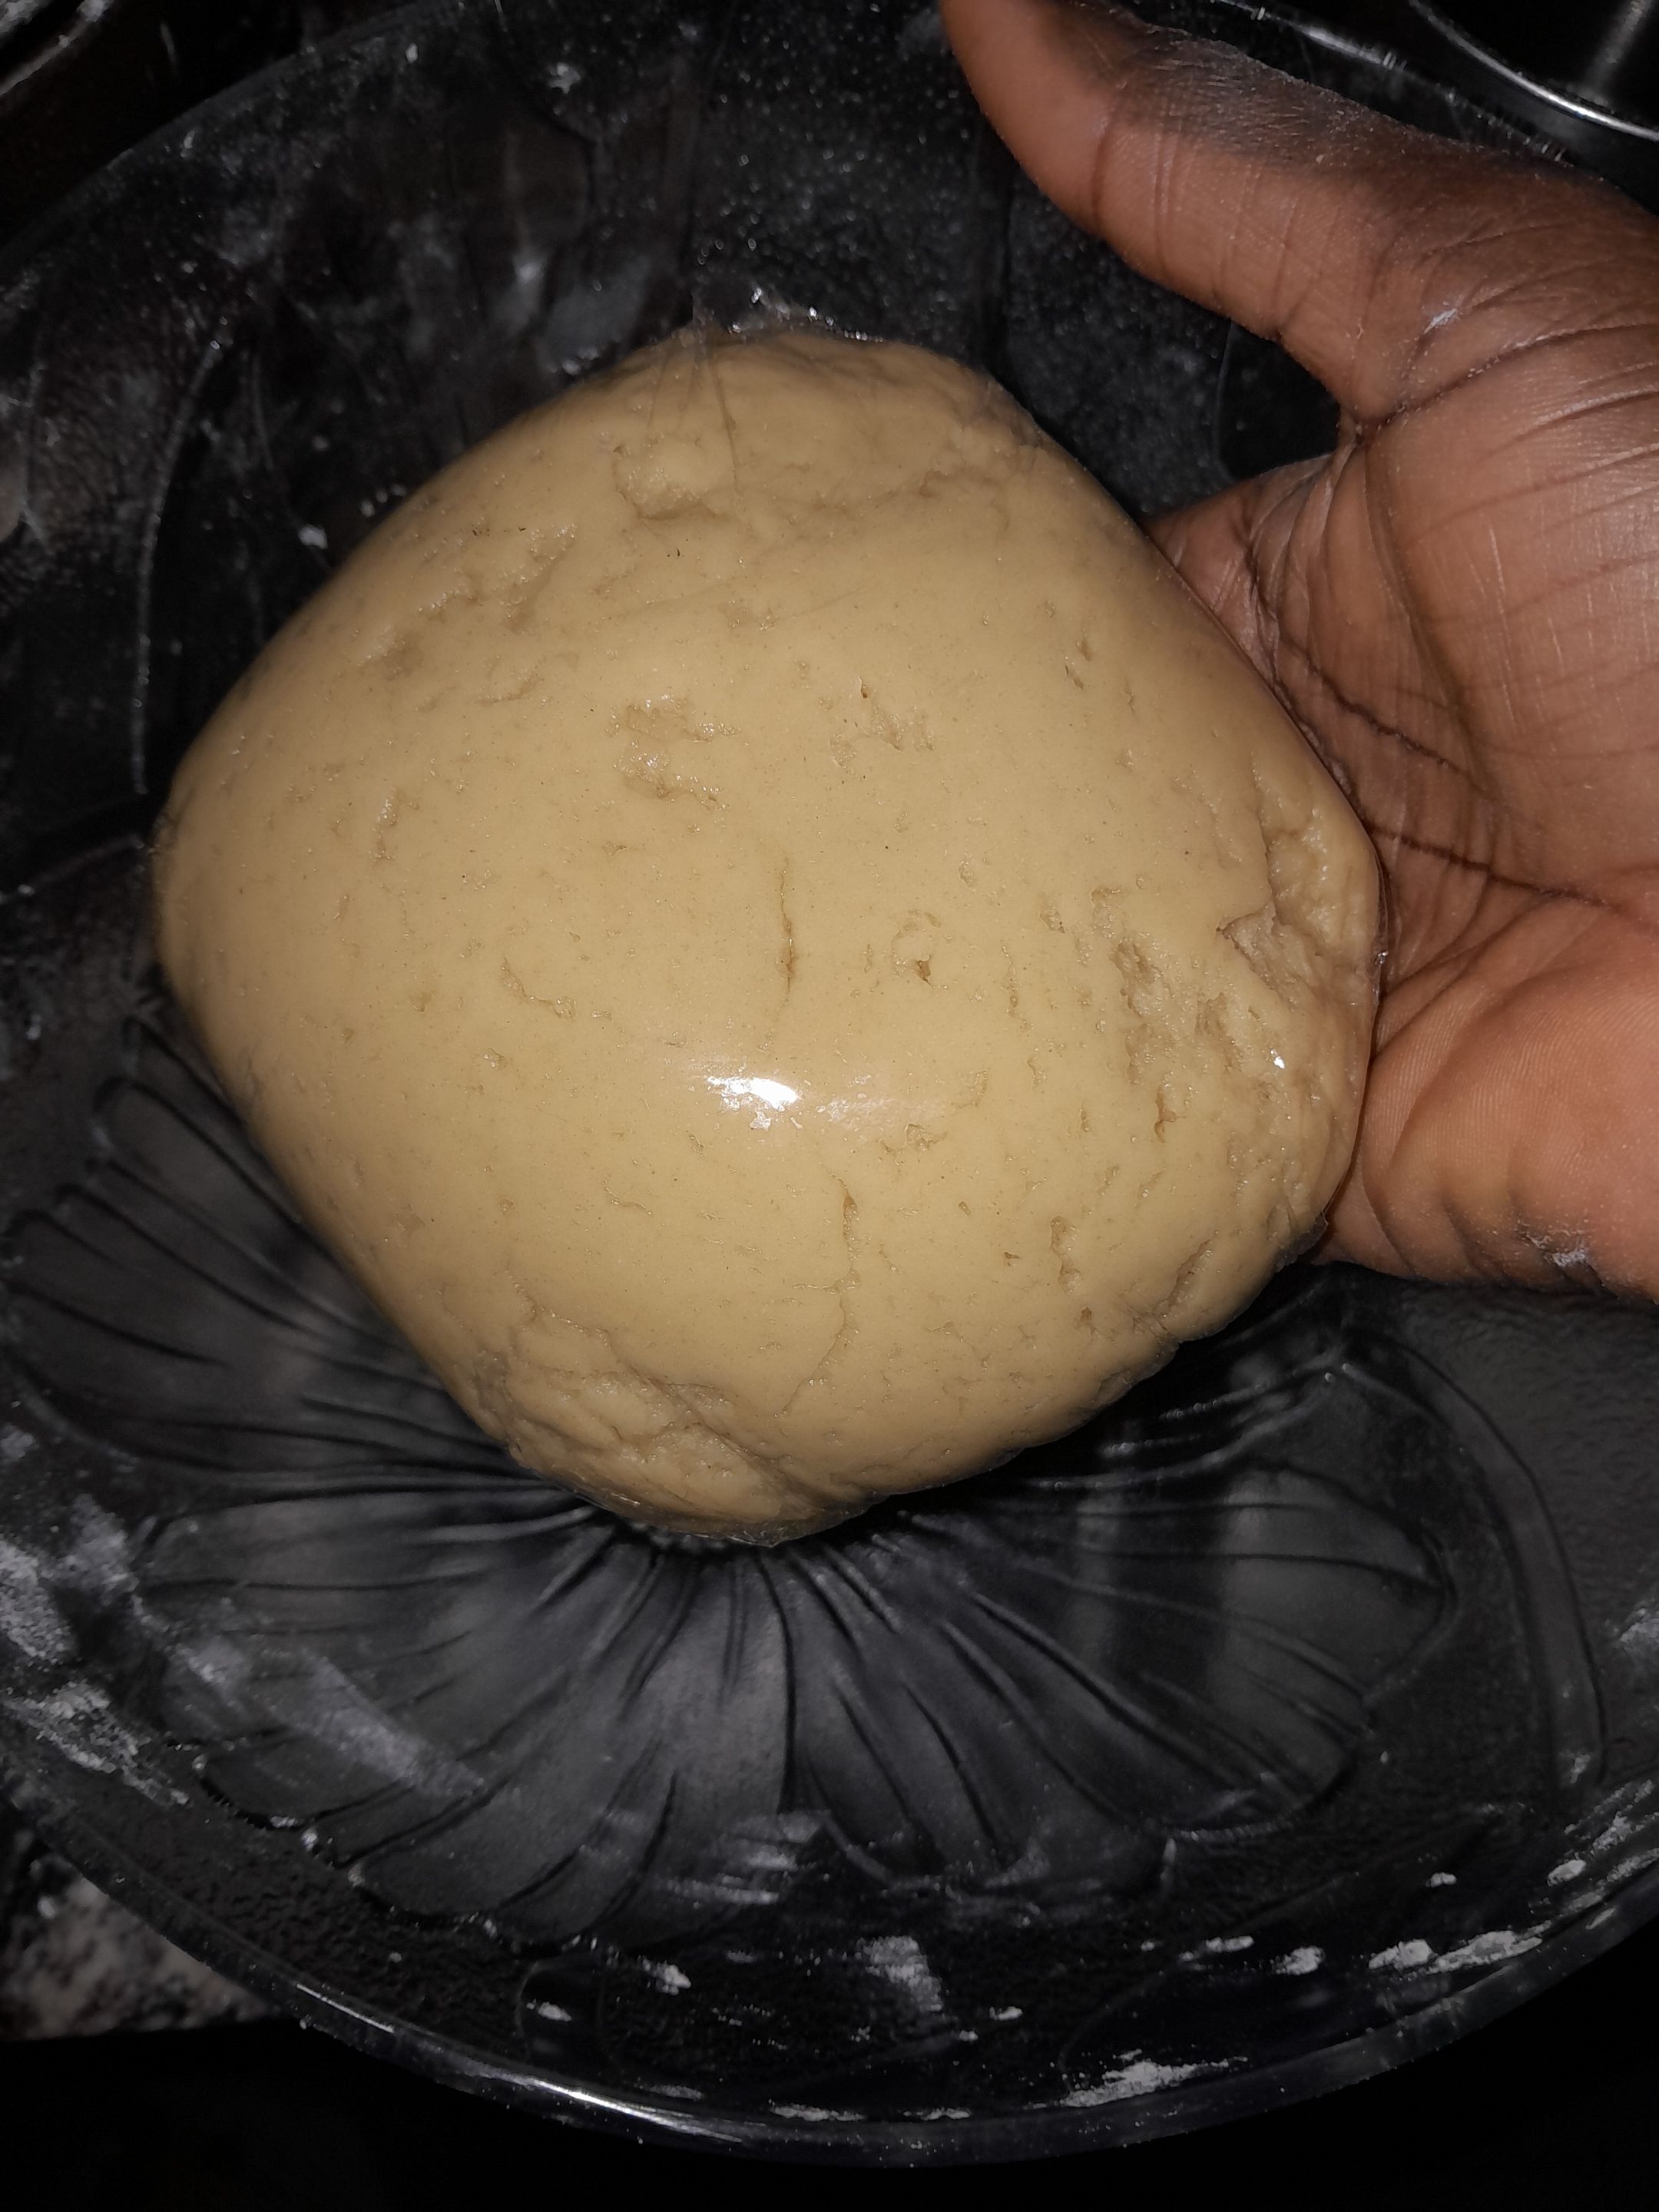
Wrap judiciously.
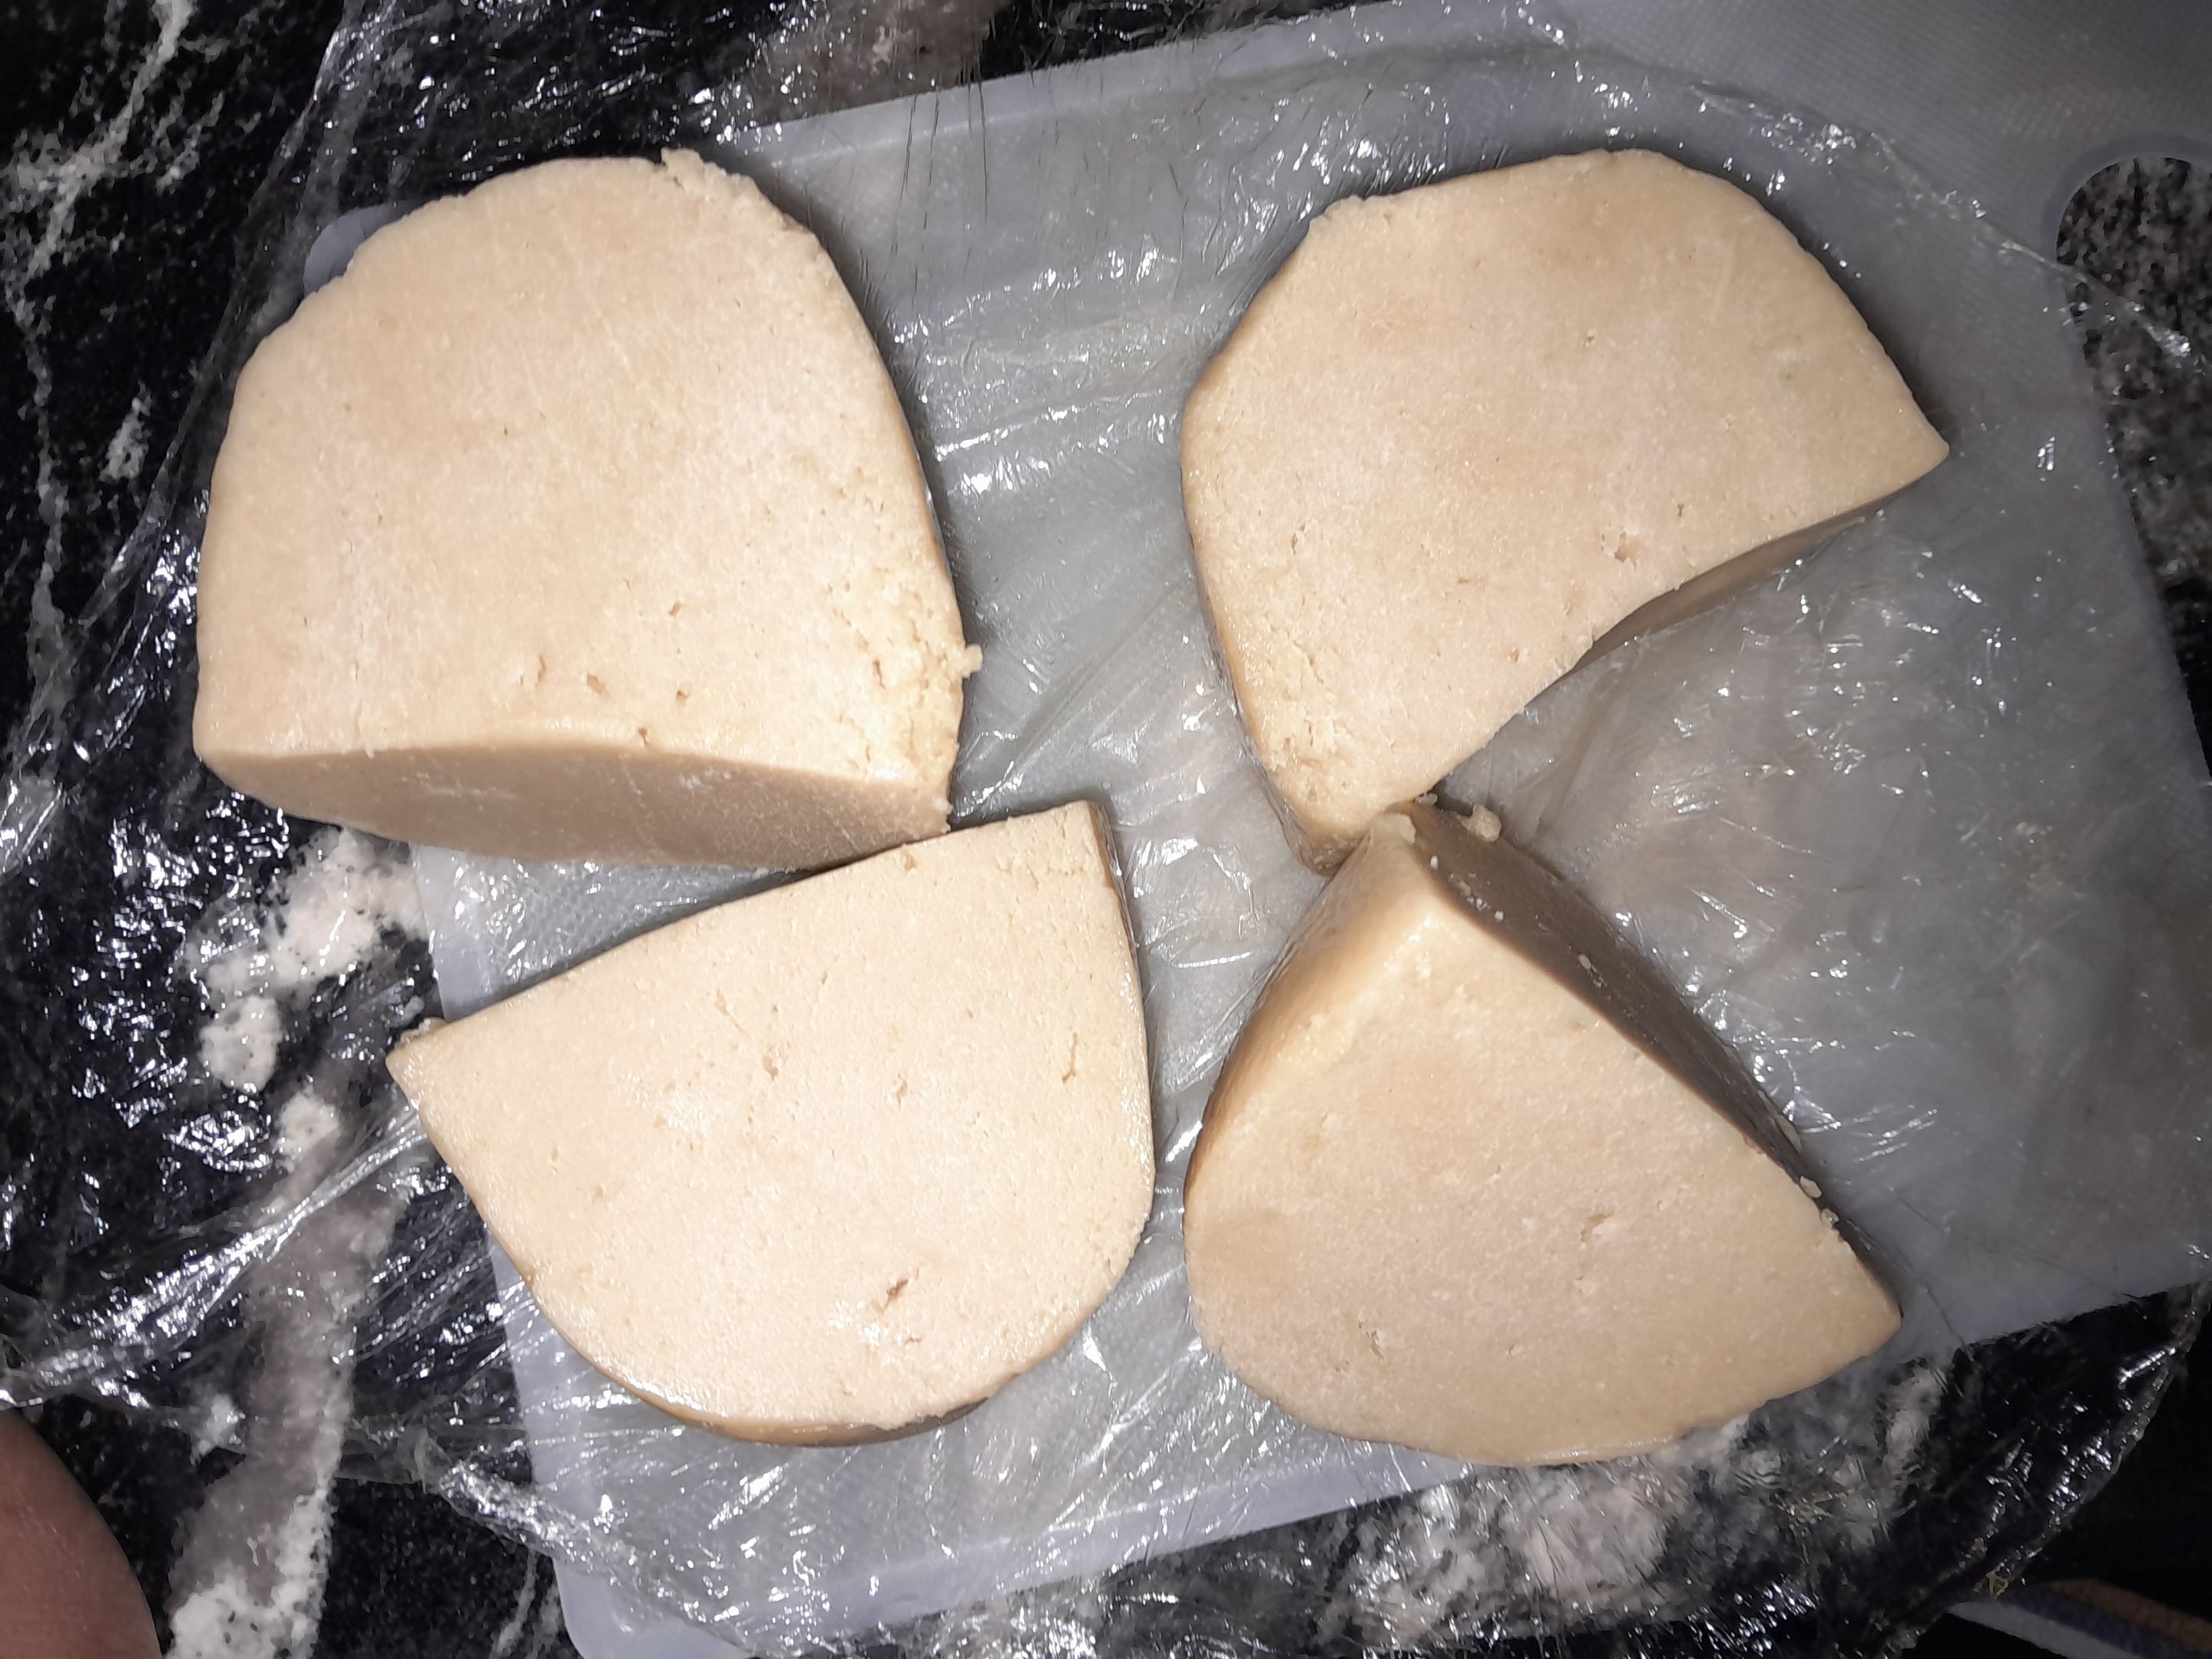
On bake day, I divided the dough into four equal halves.
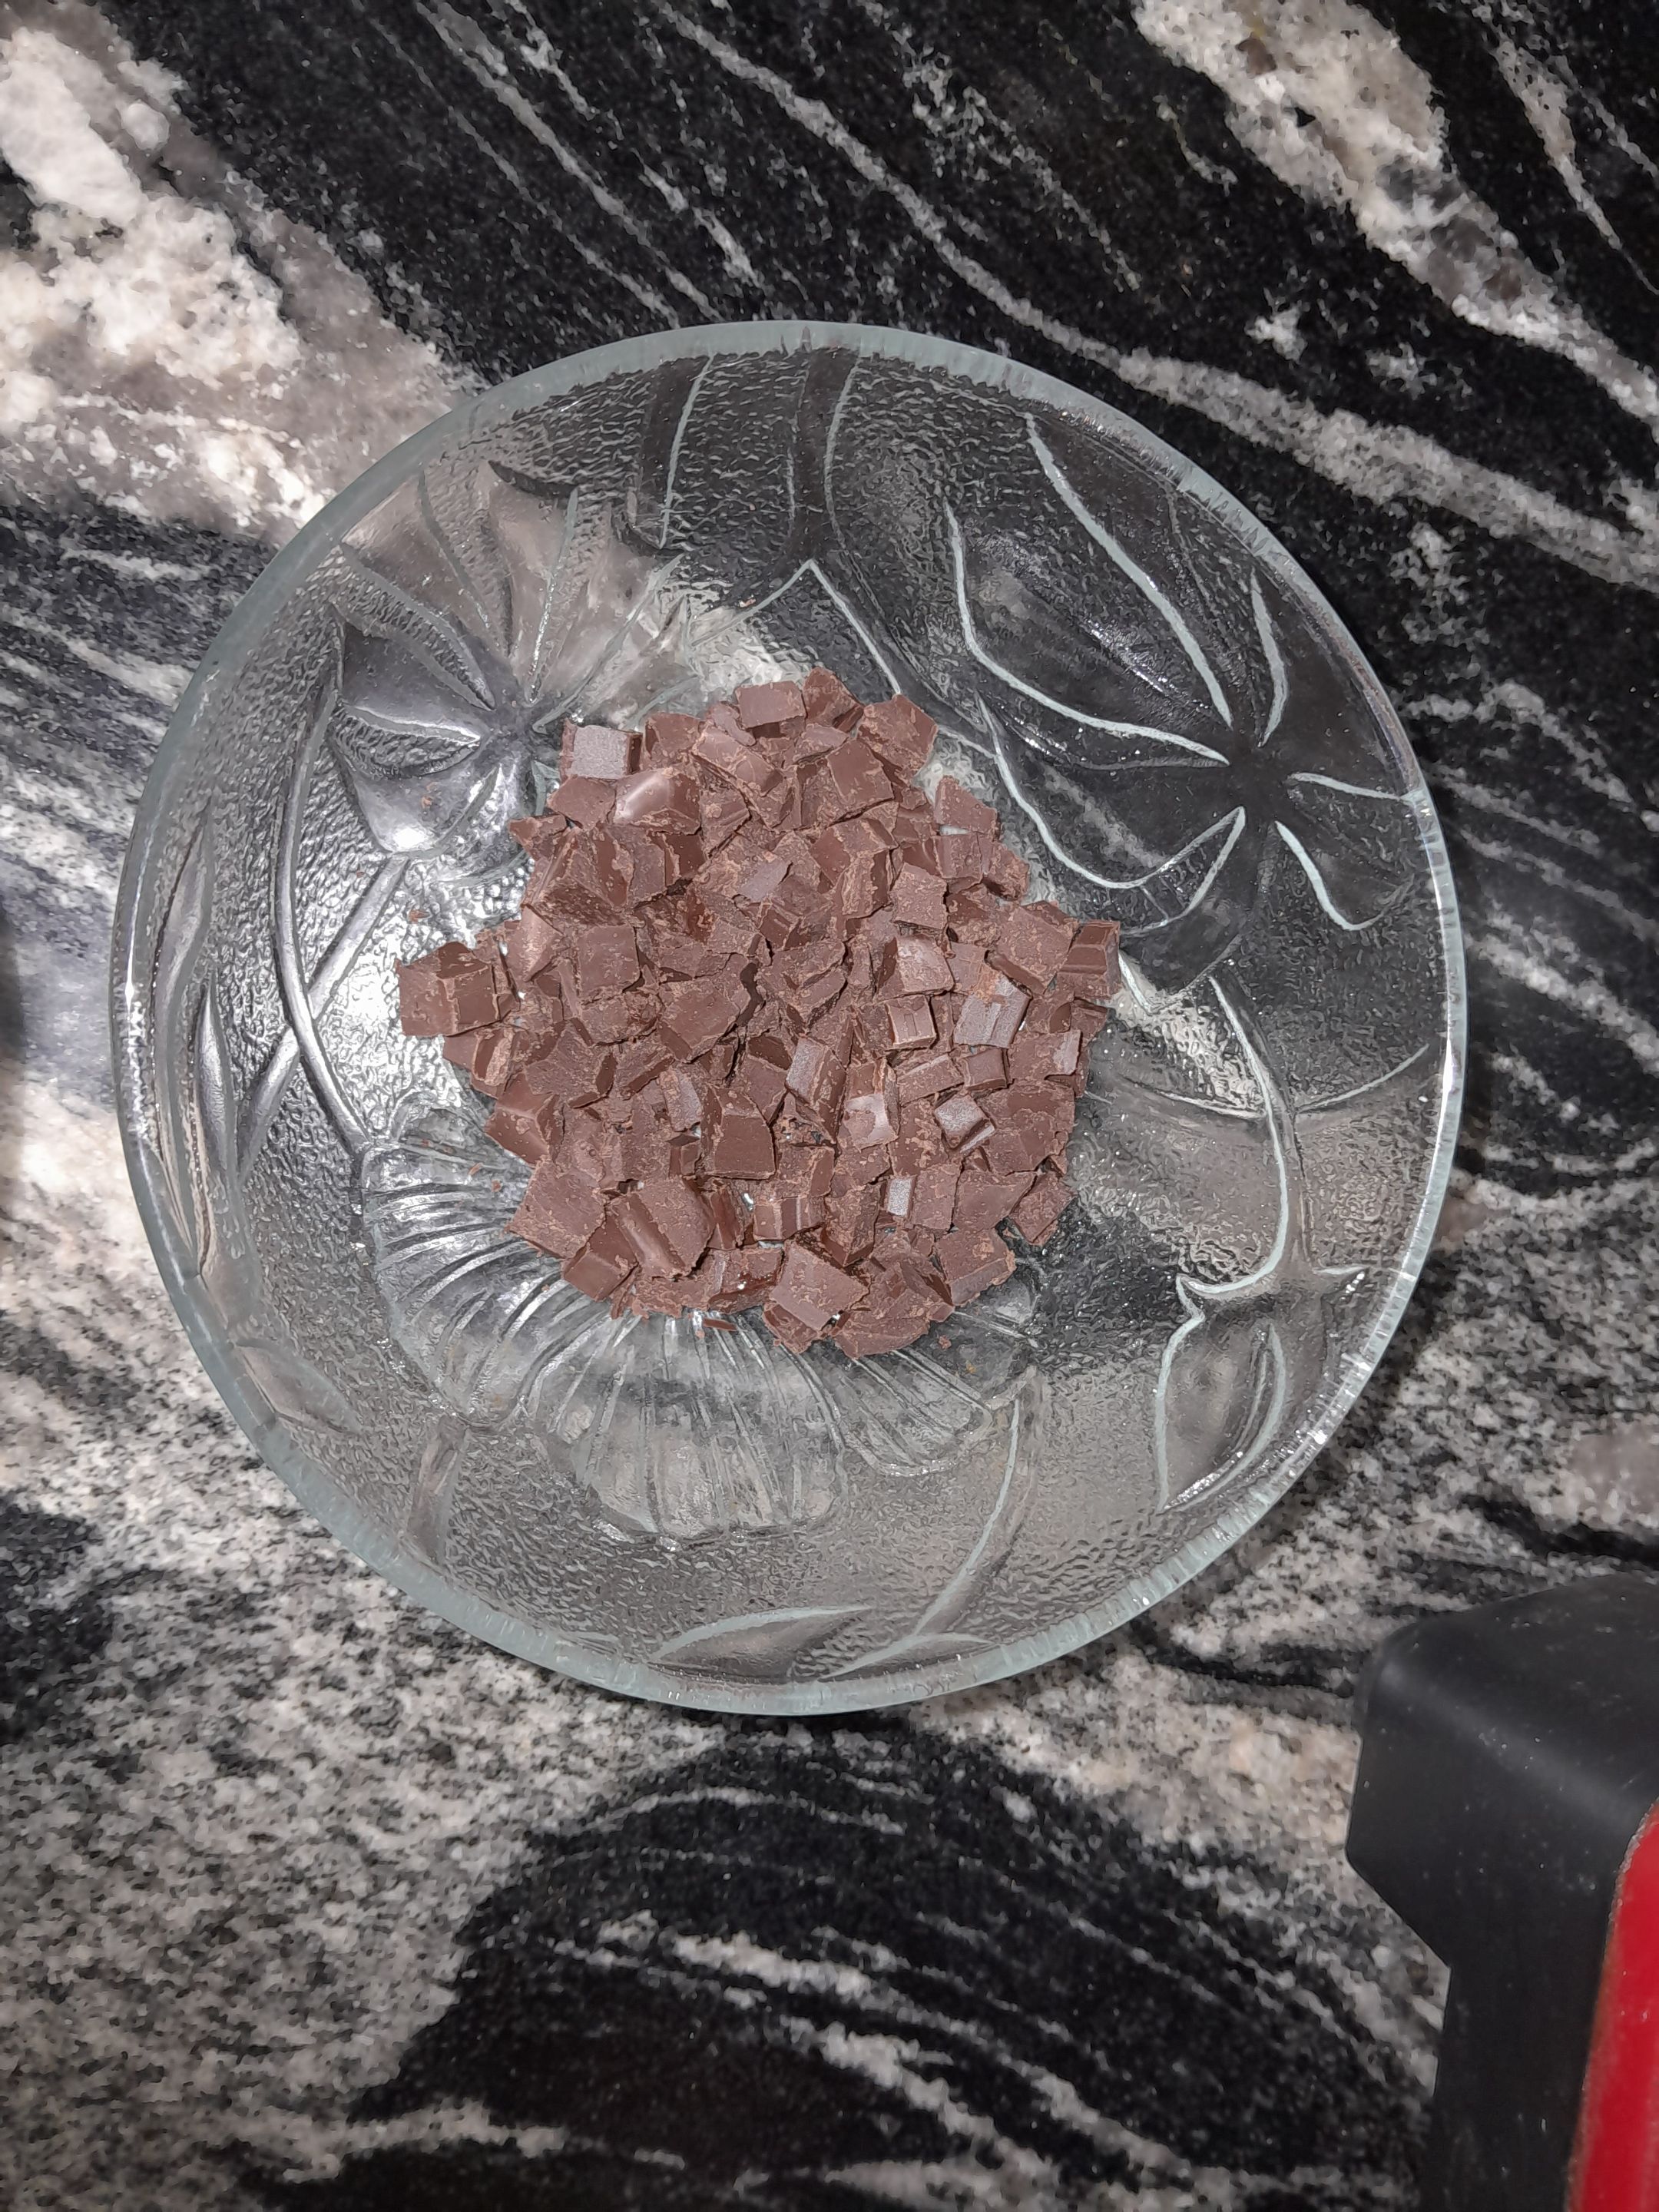
I wanted to try the Chocolate chips cookie with the same recipe so I introduce chocolate into the 2 halves (just for the love of chocolate 🍫 🤗😍) of the dough
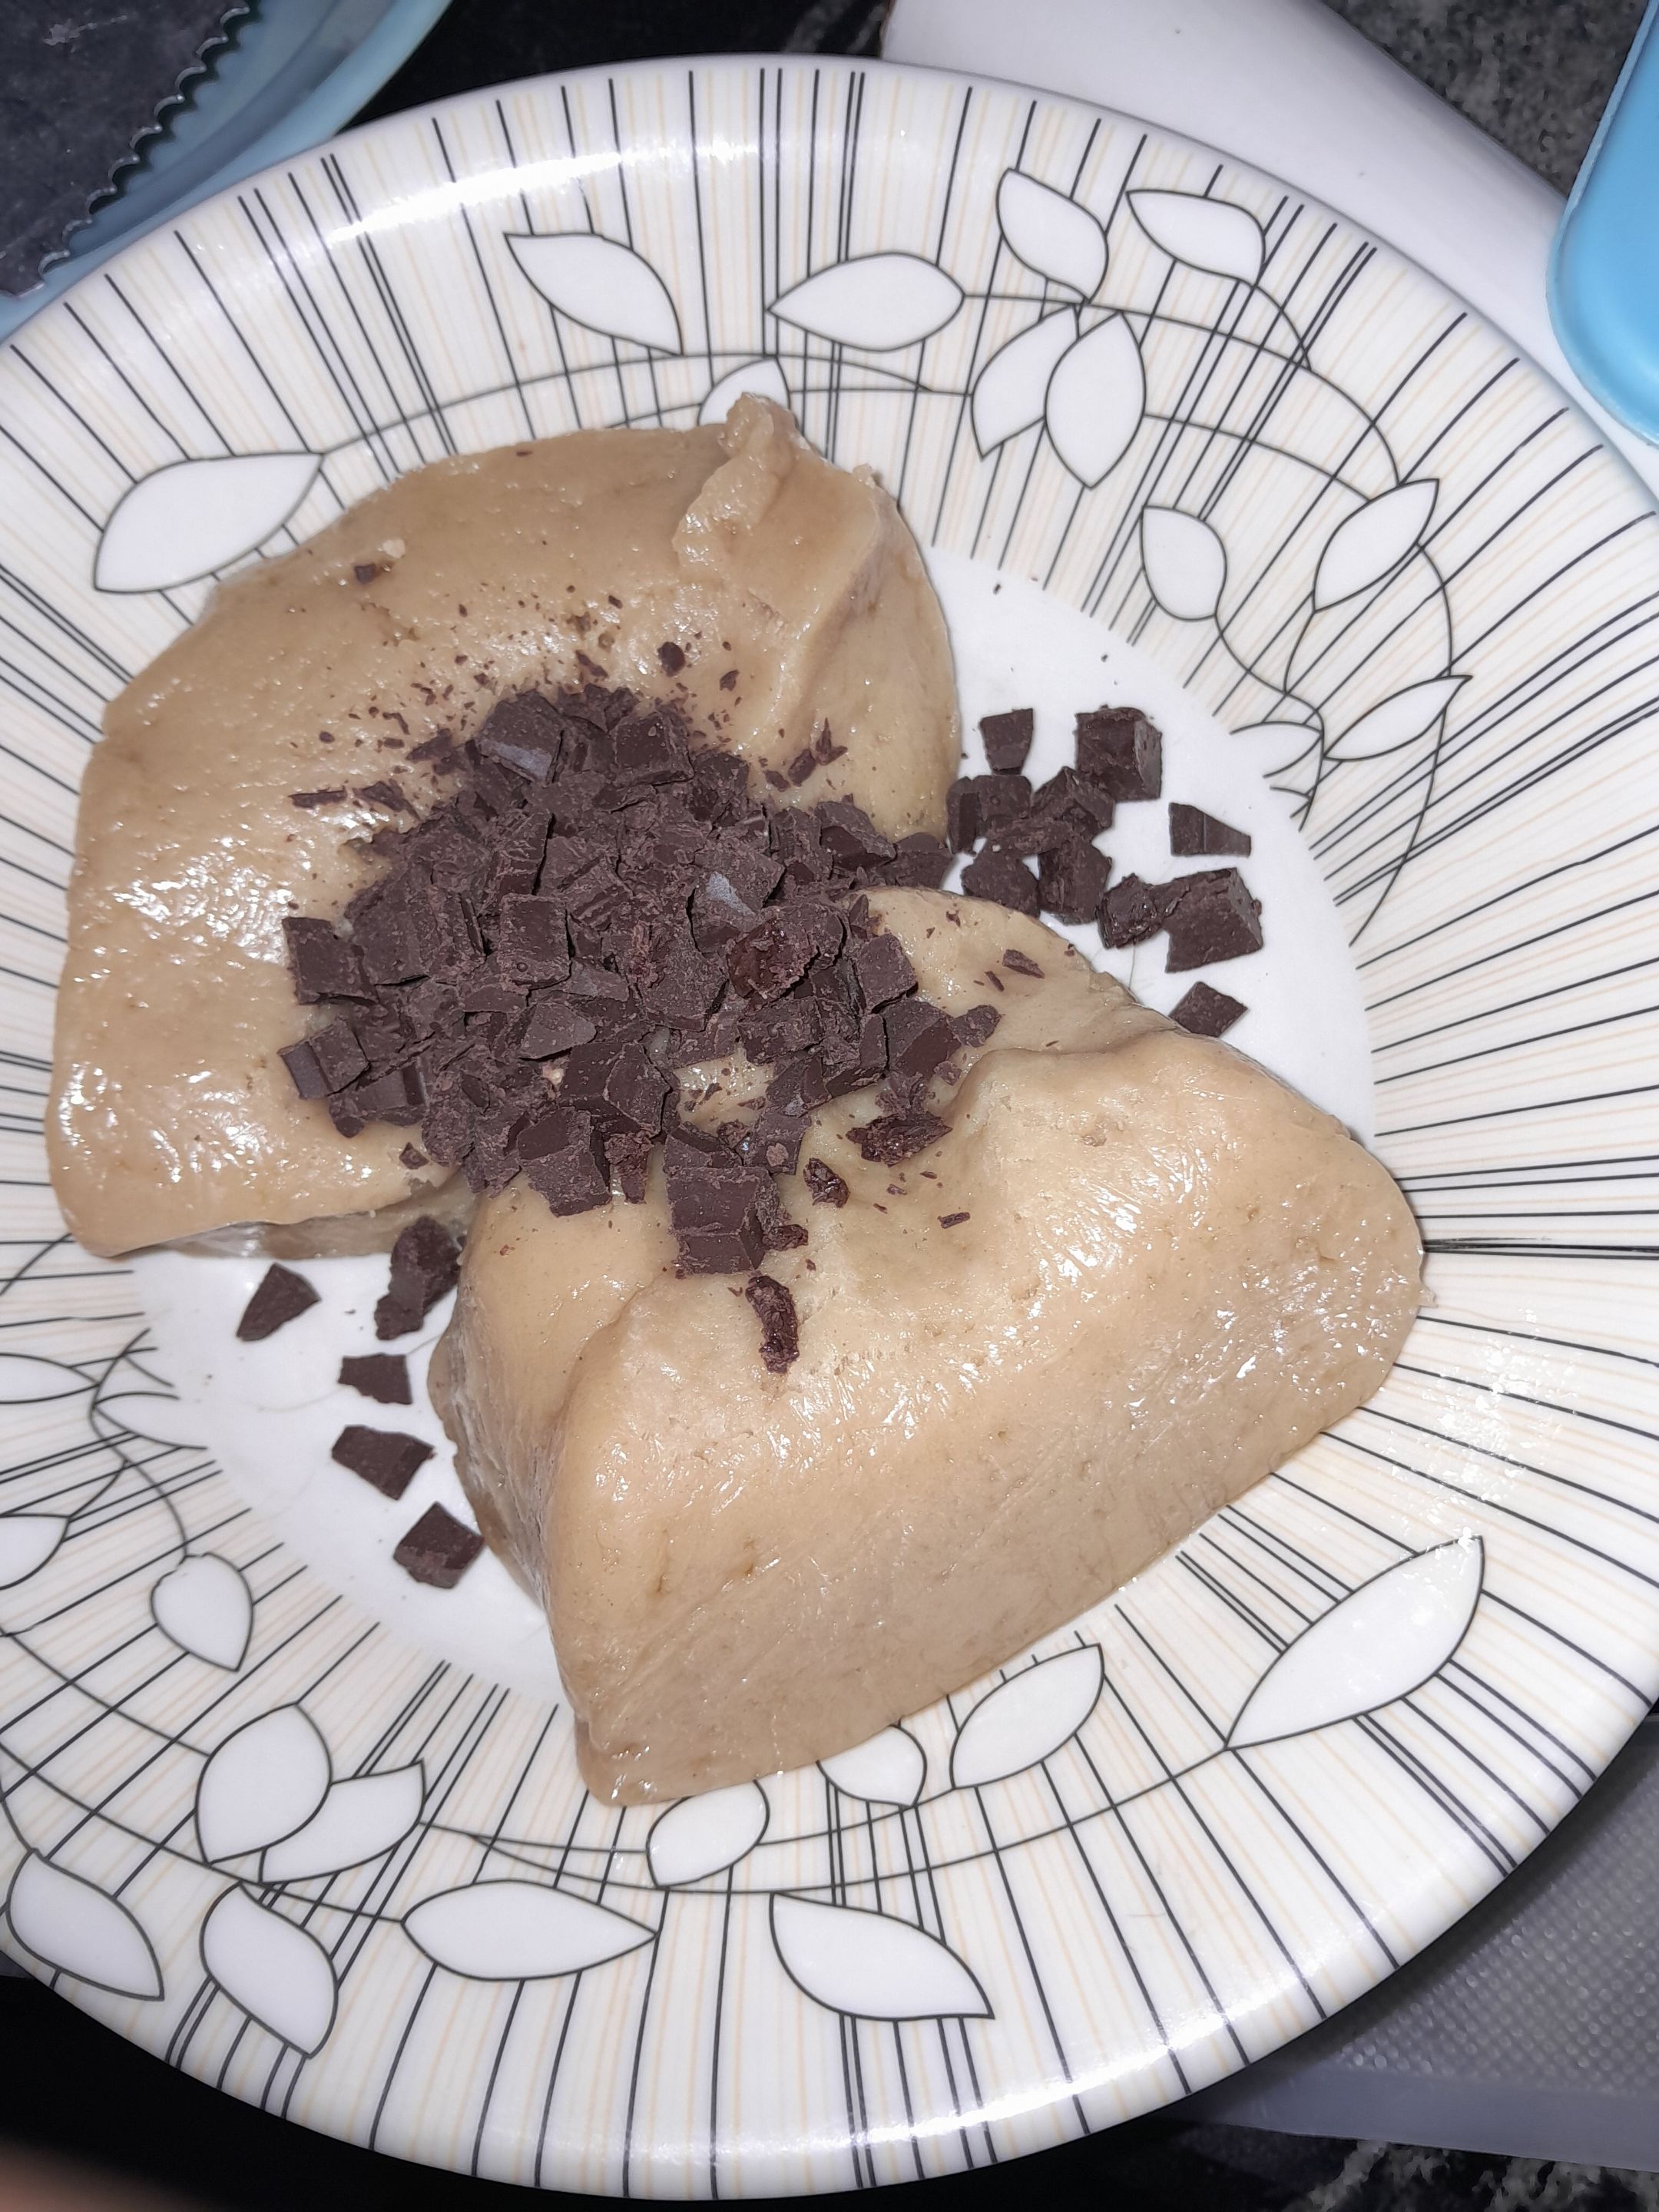
I then mix the chocolates in
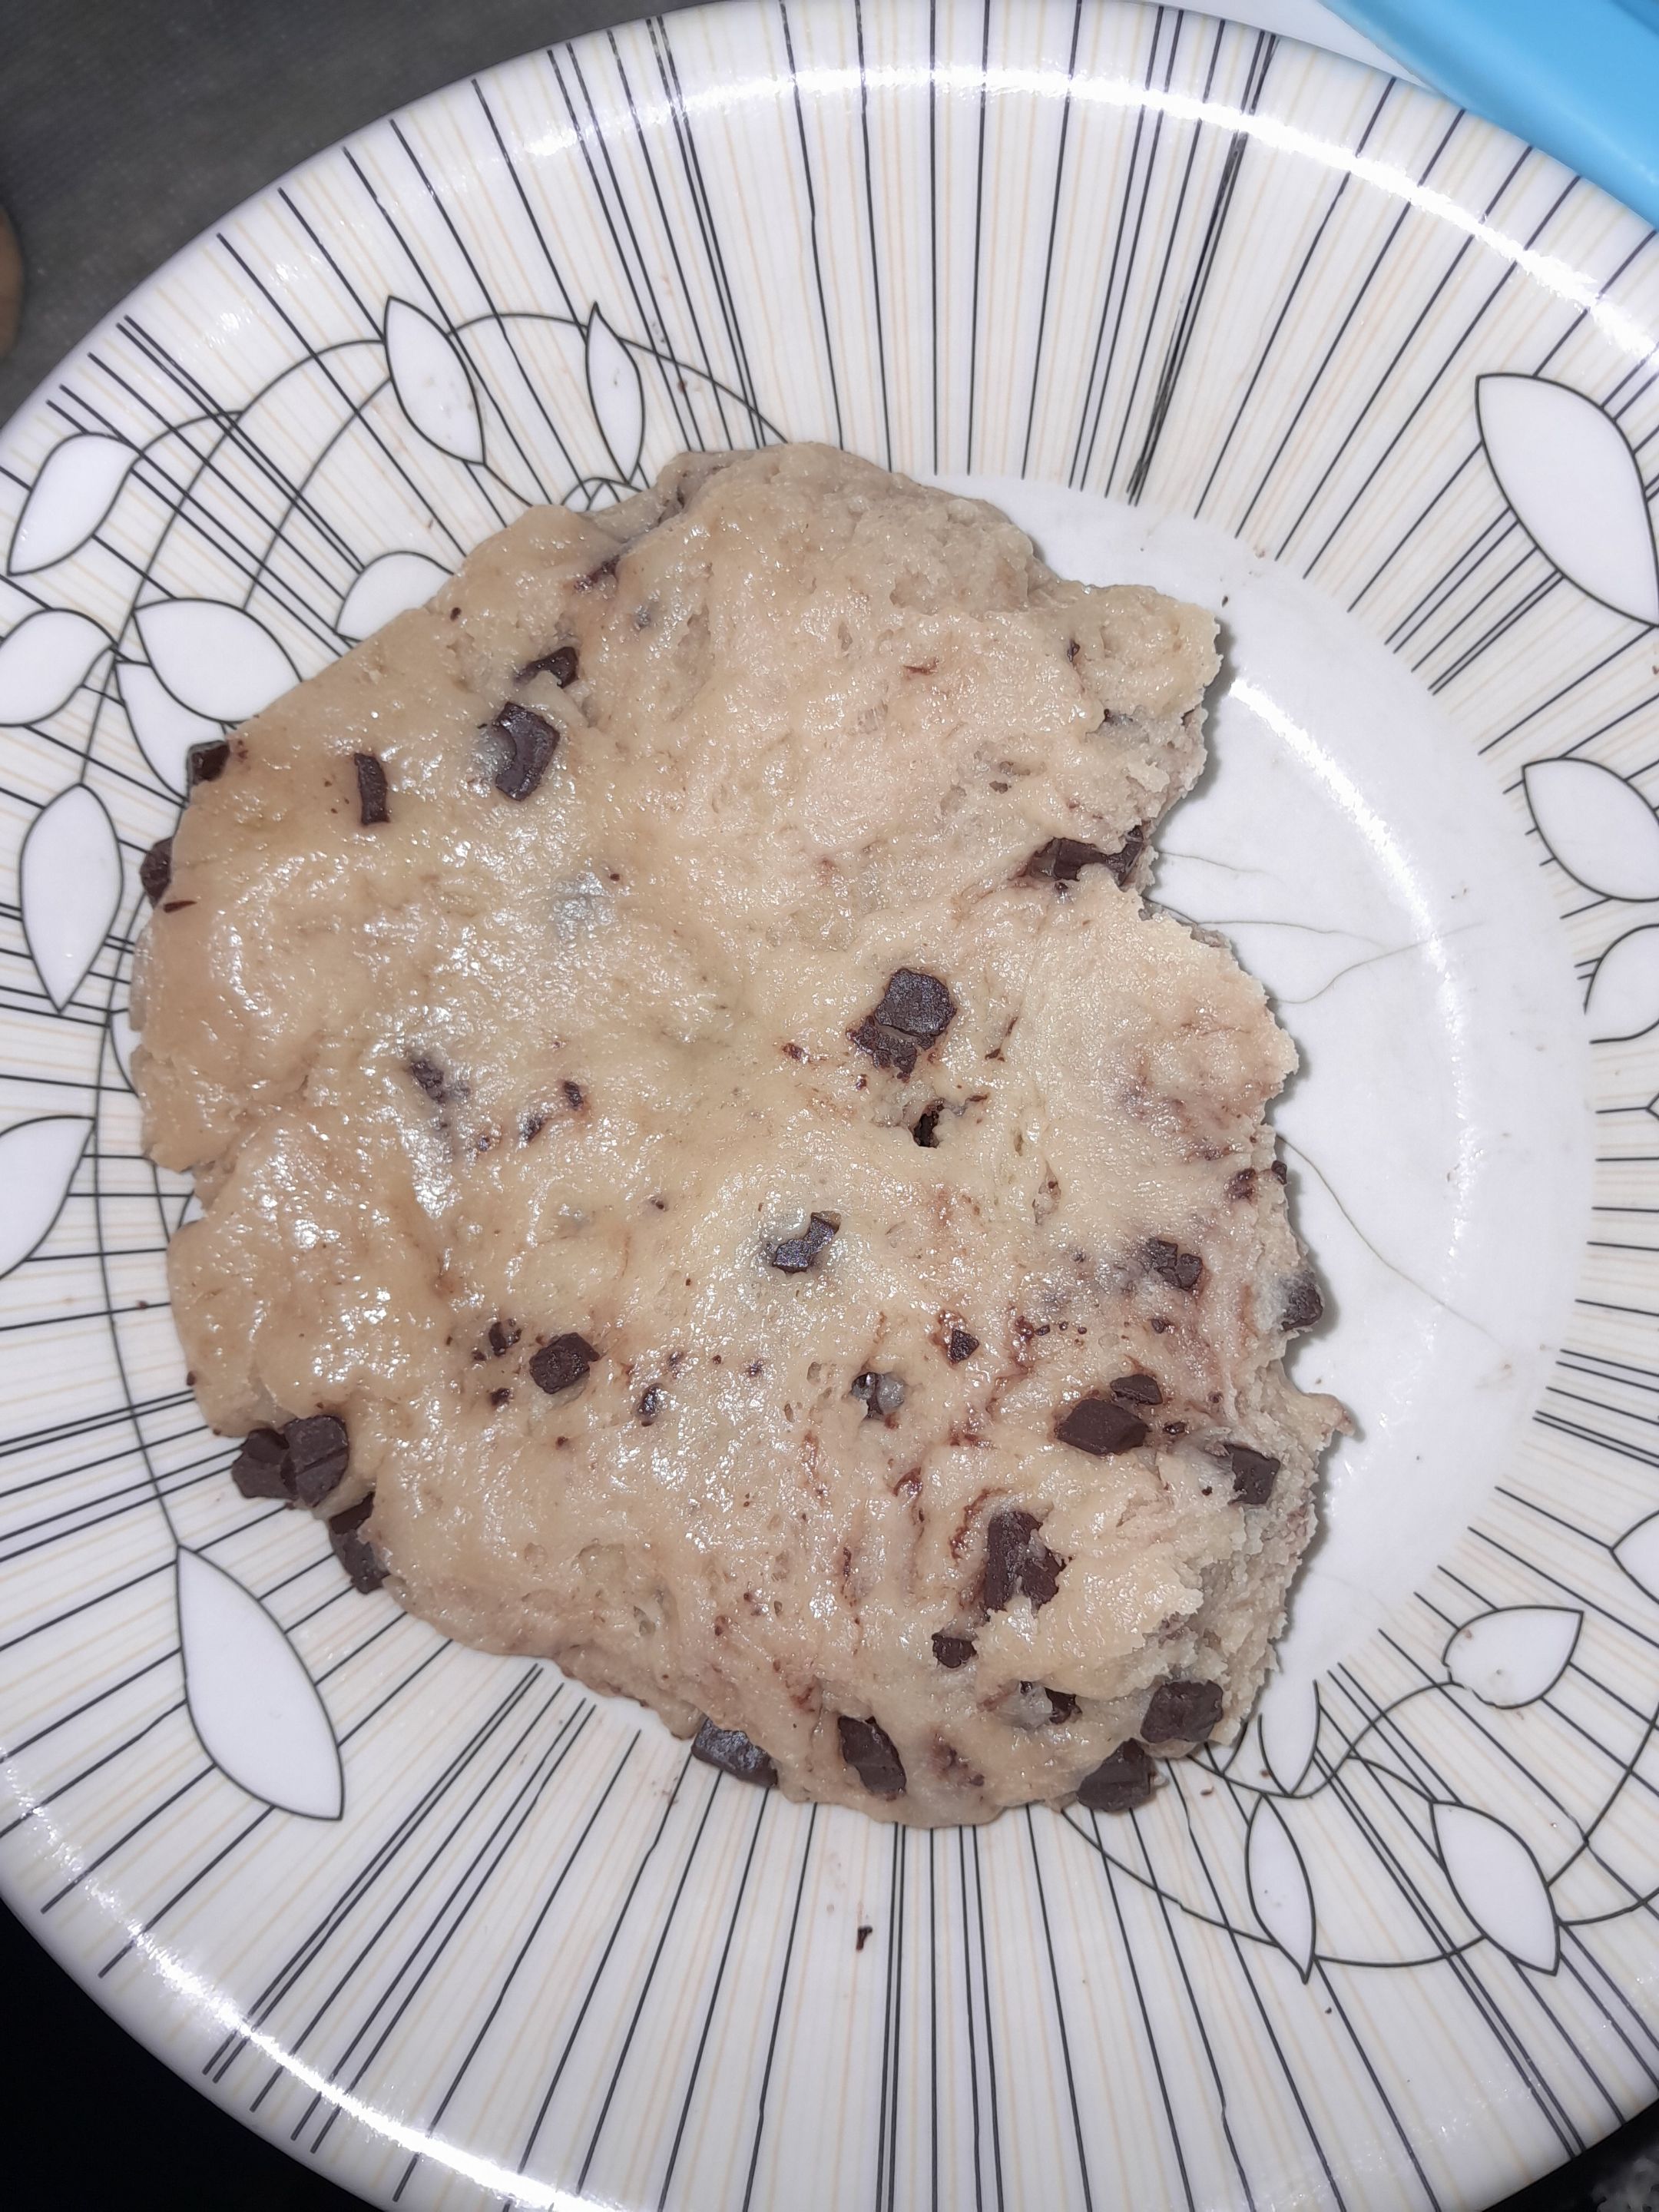
Got this after mixing, then I started piping (though I used free hand here)
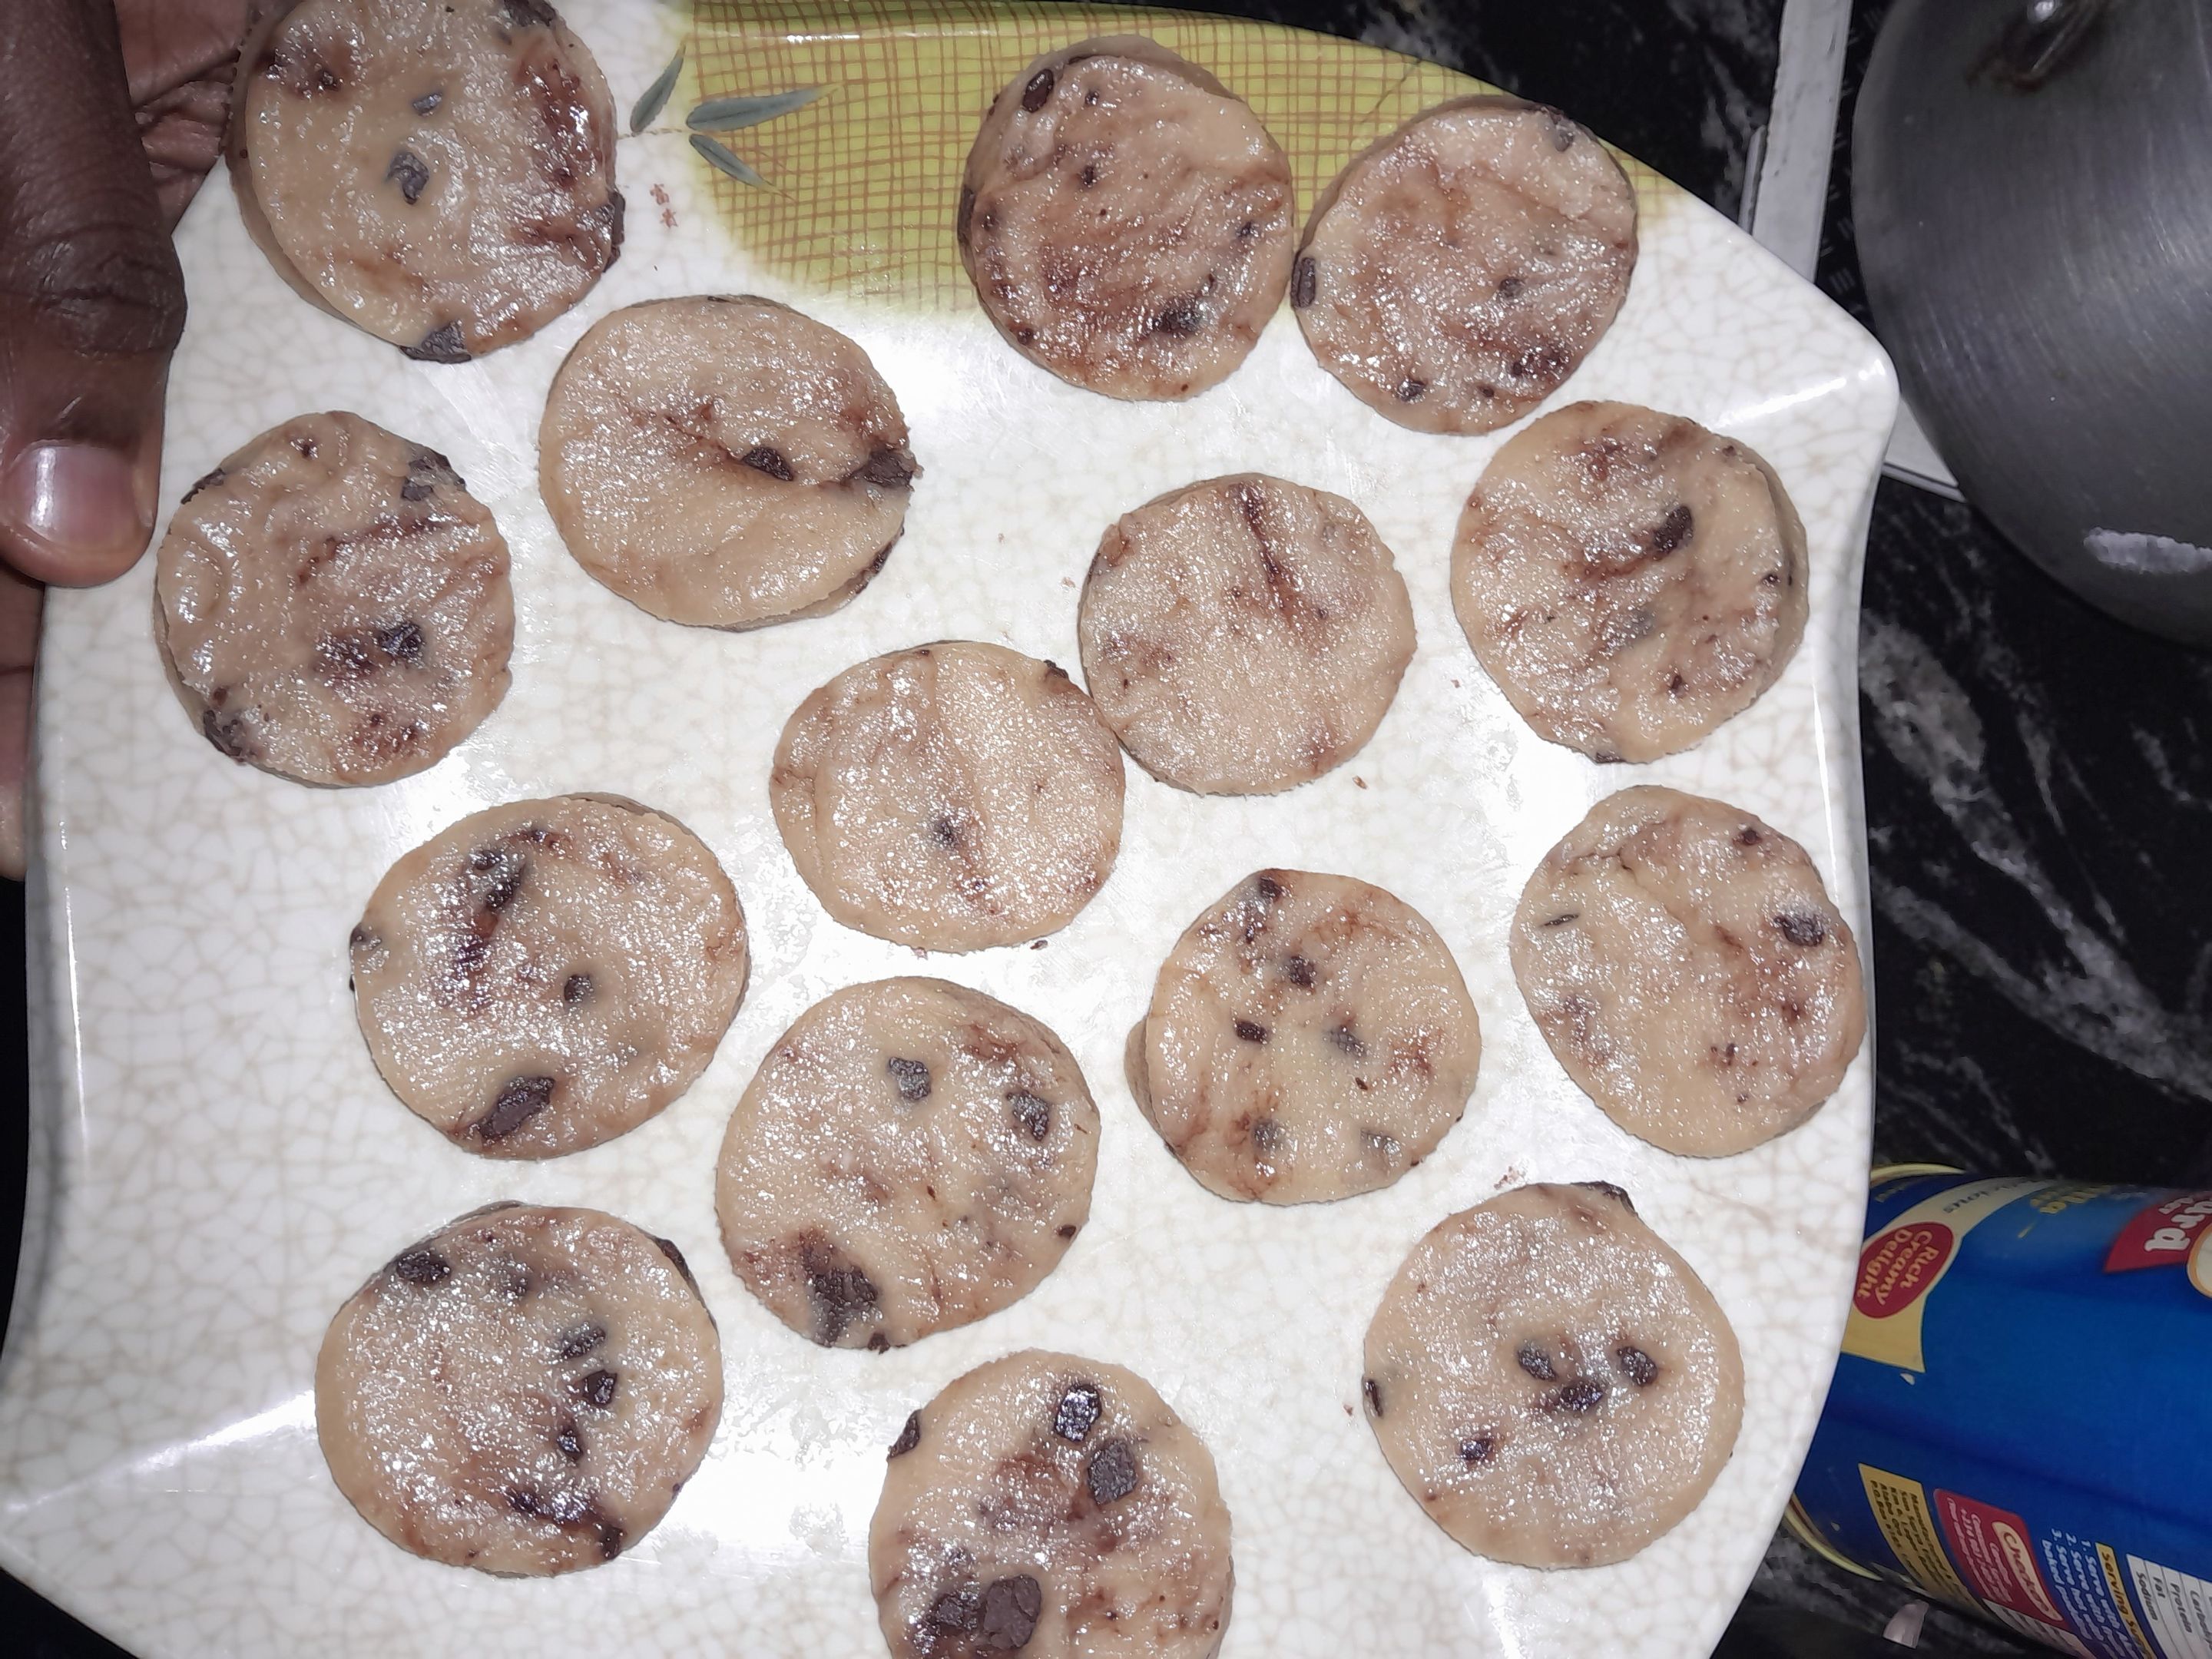
Pardon the shaping, my hands ain't equal 😁😄
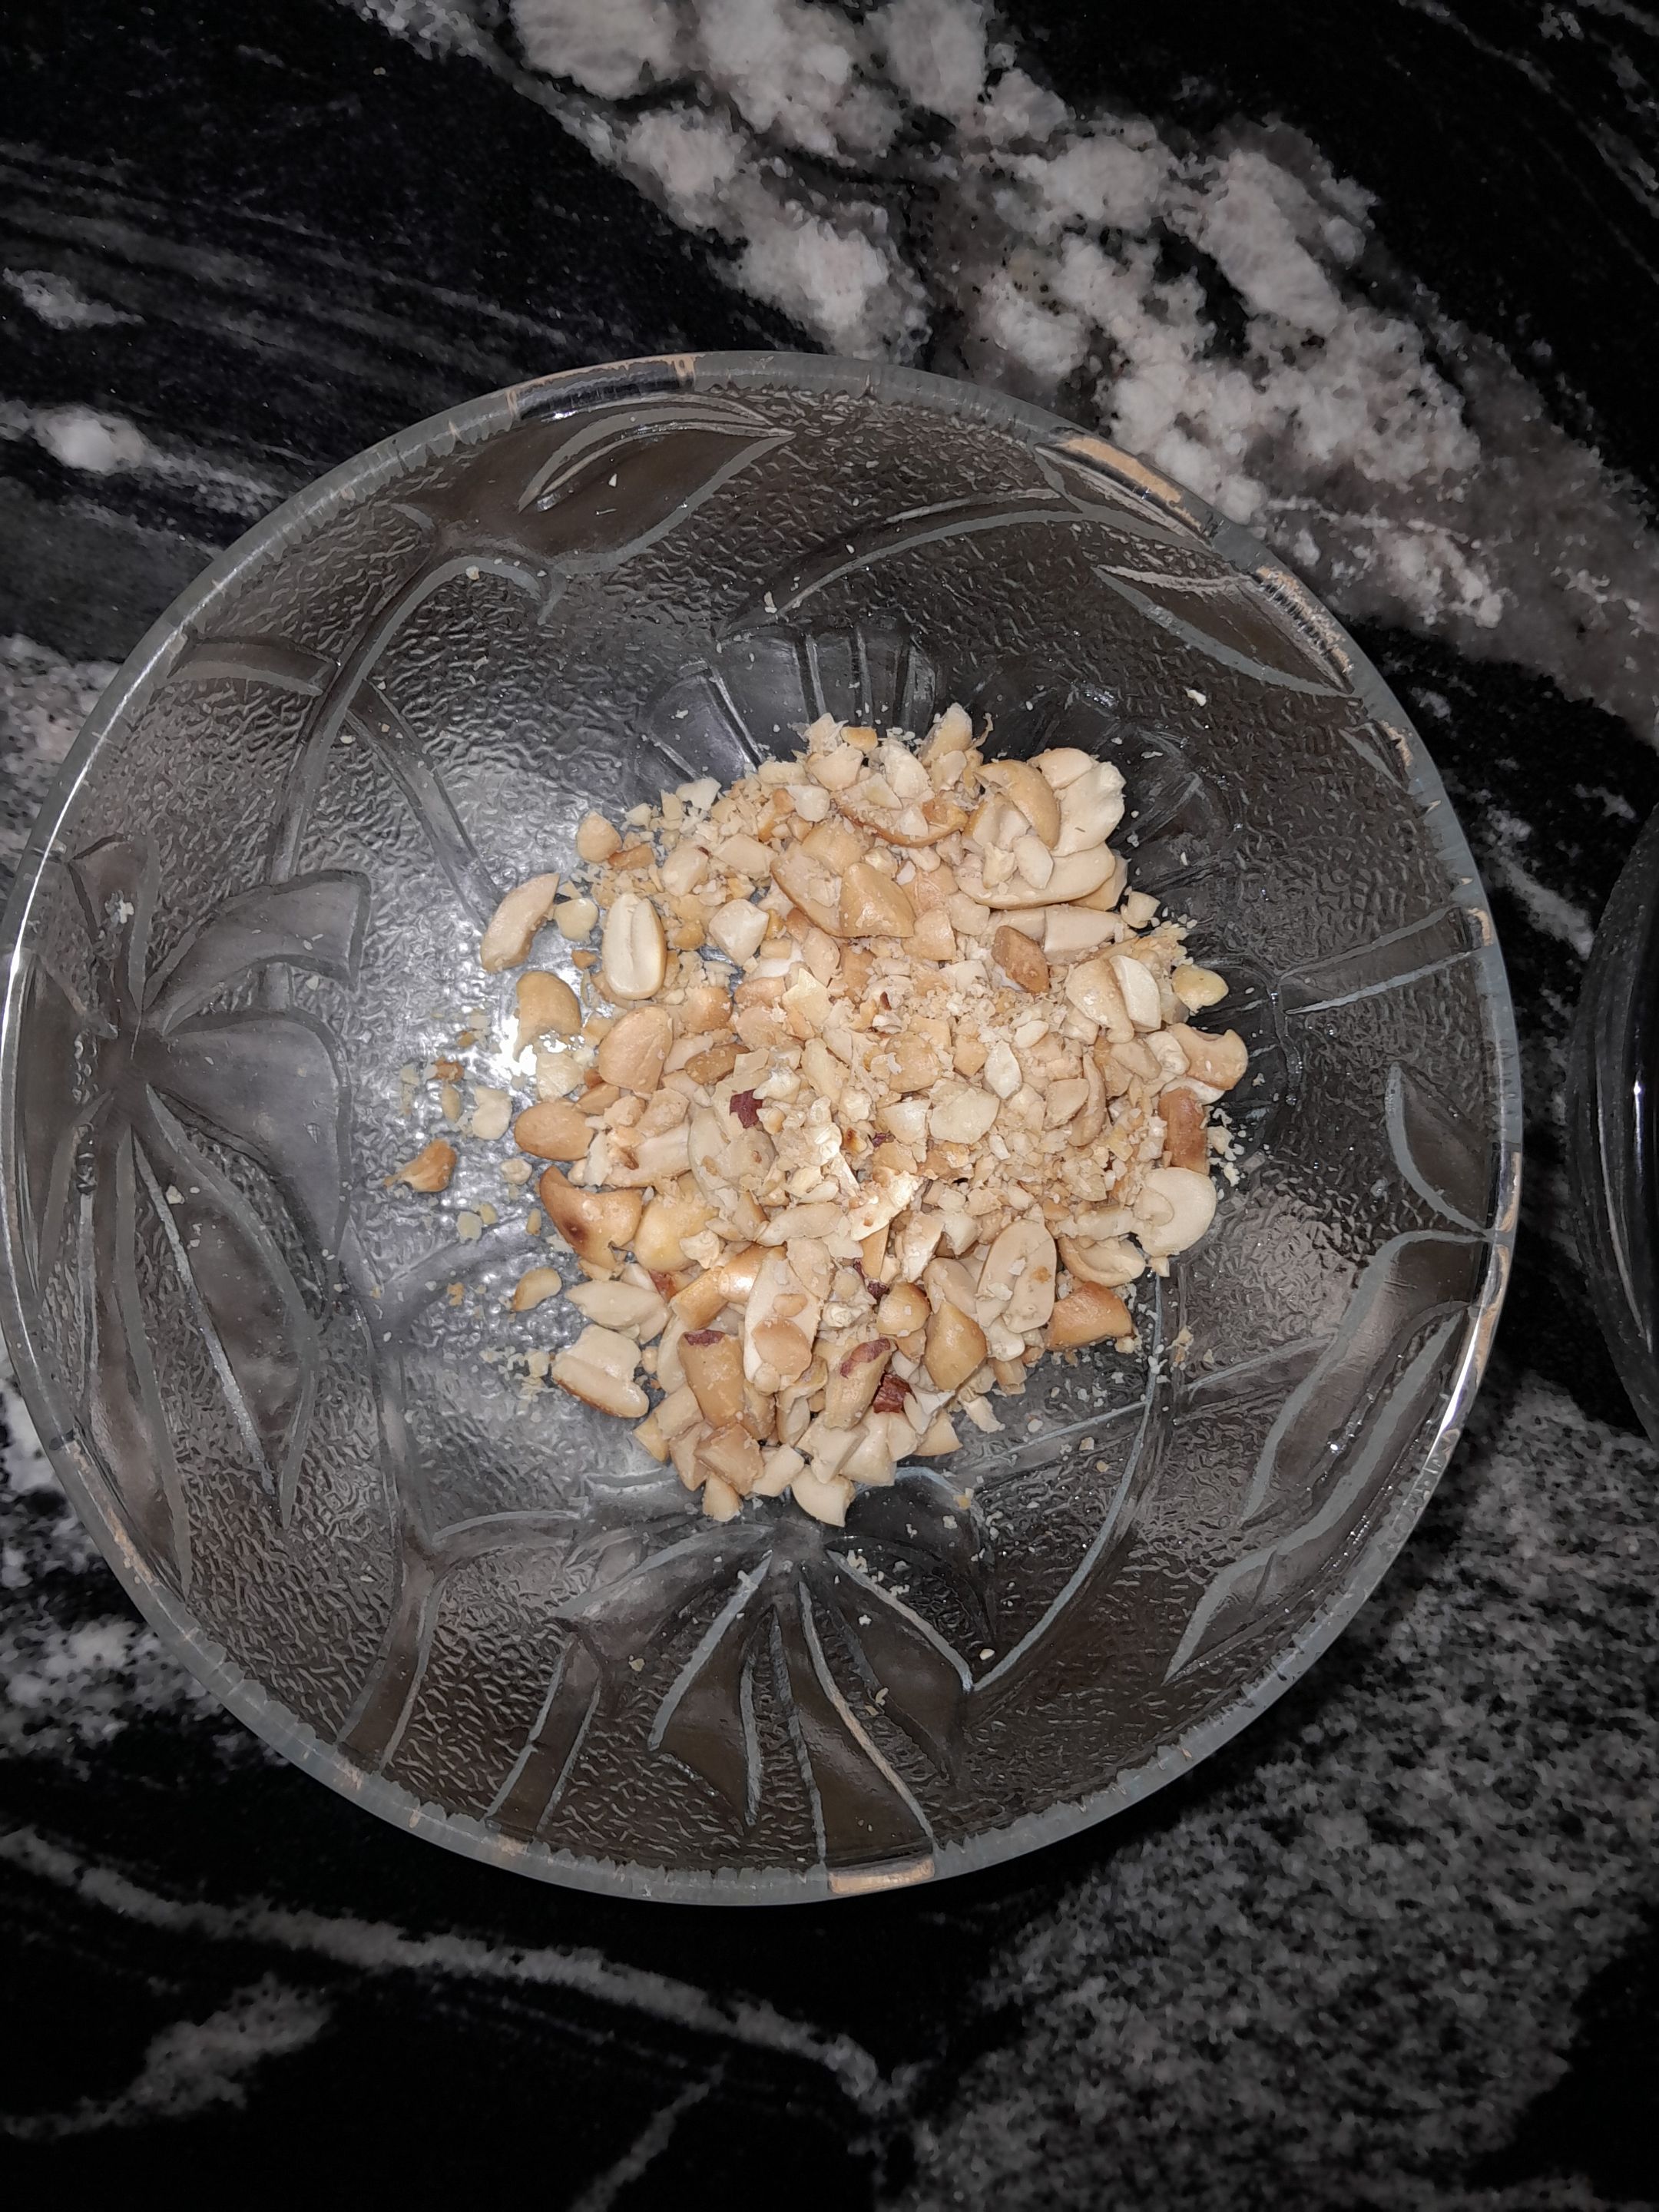
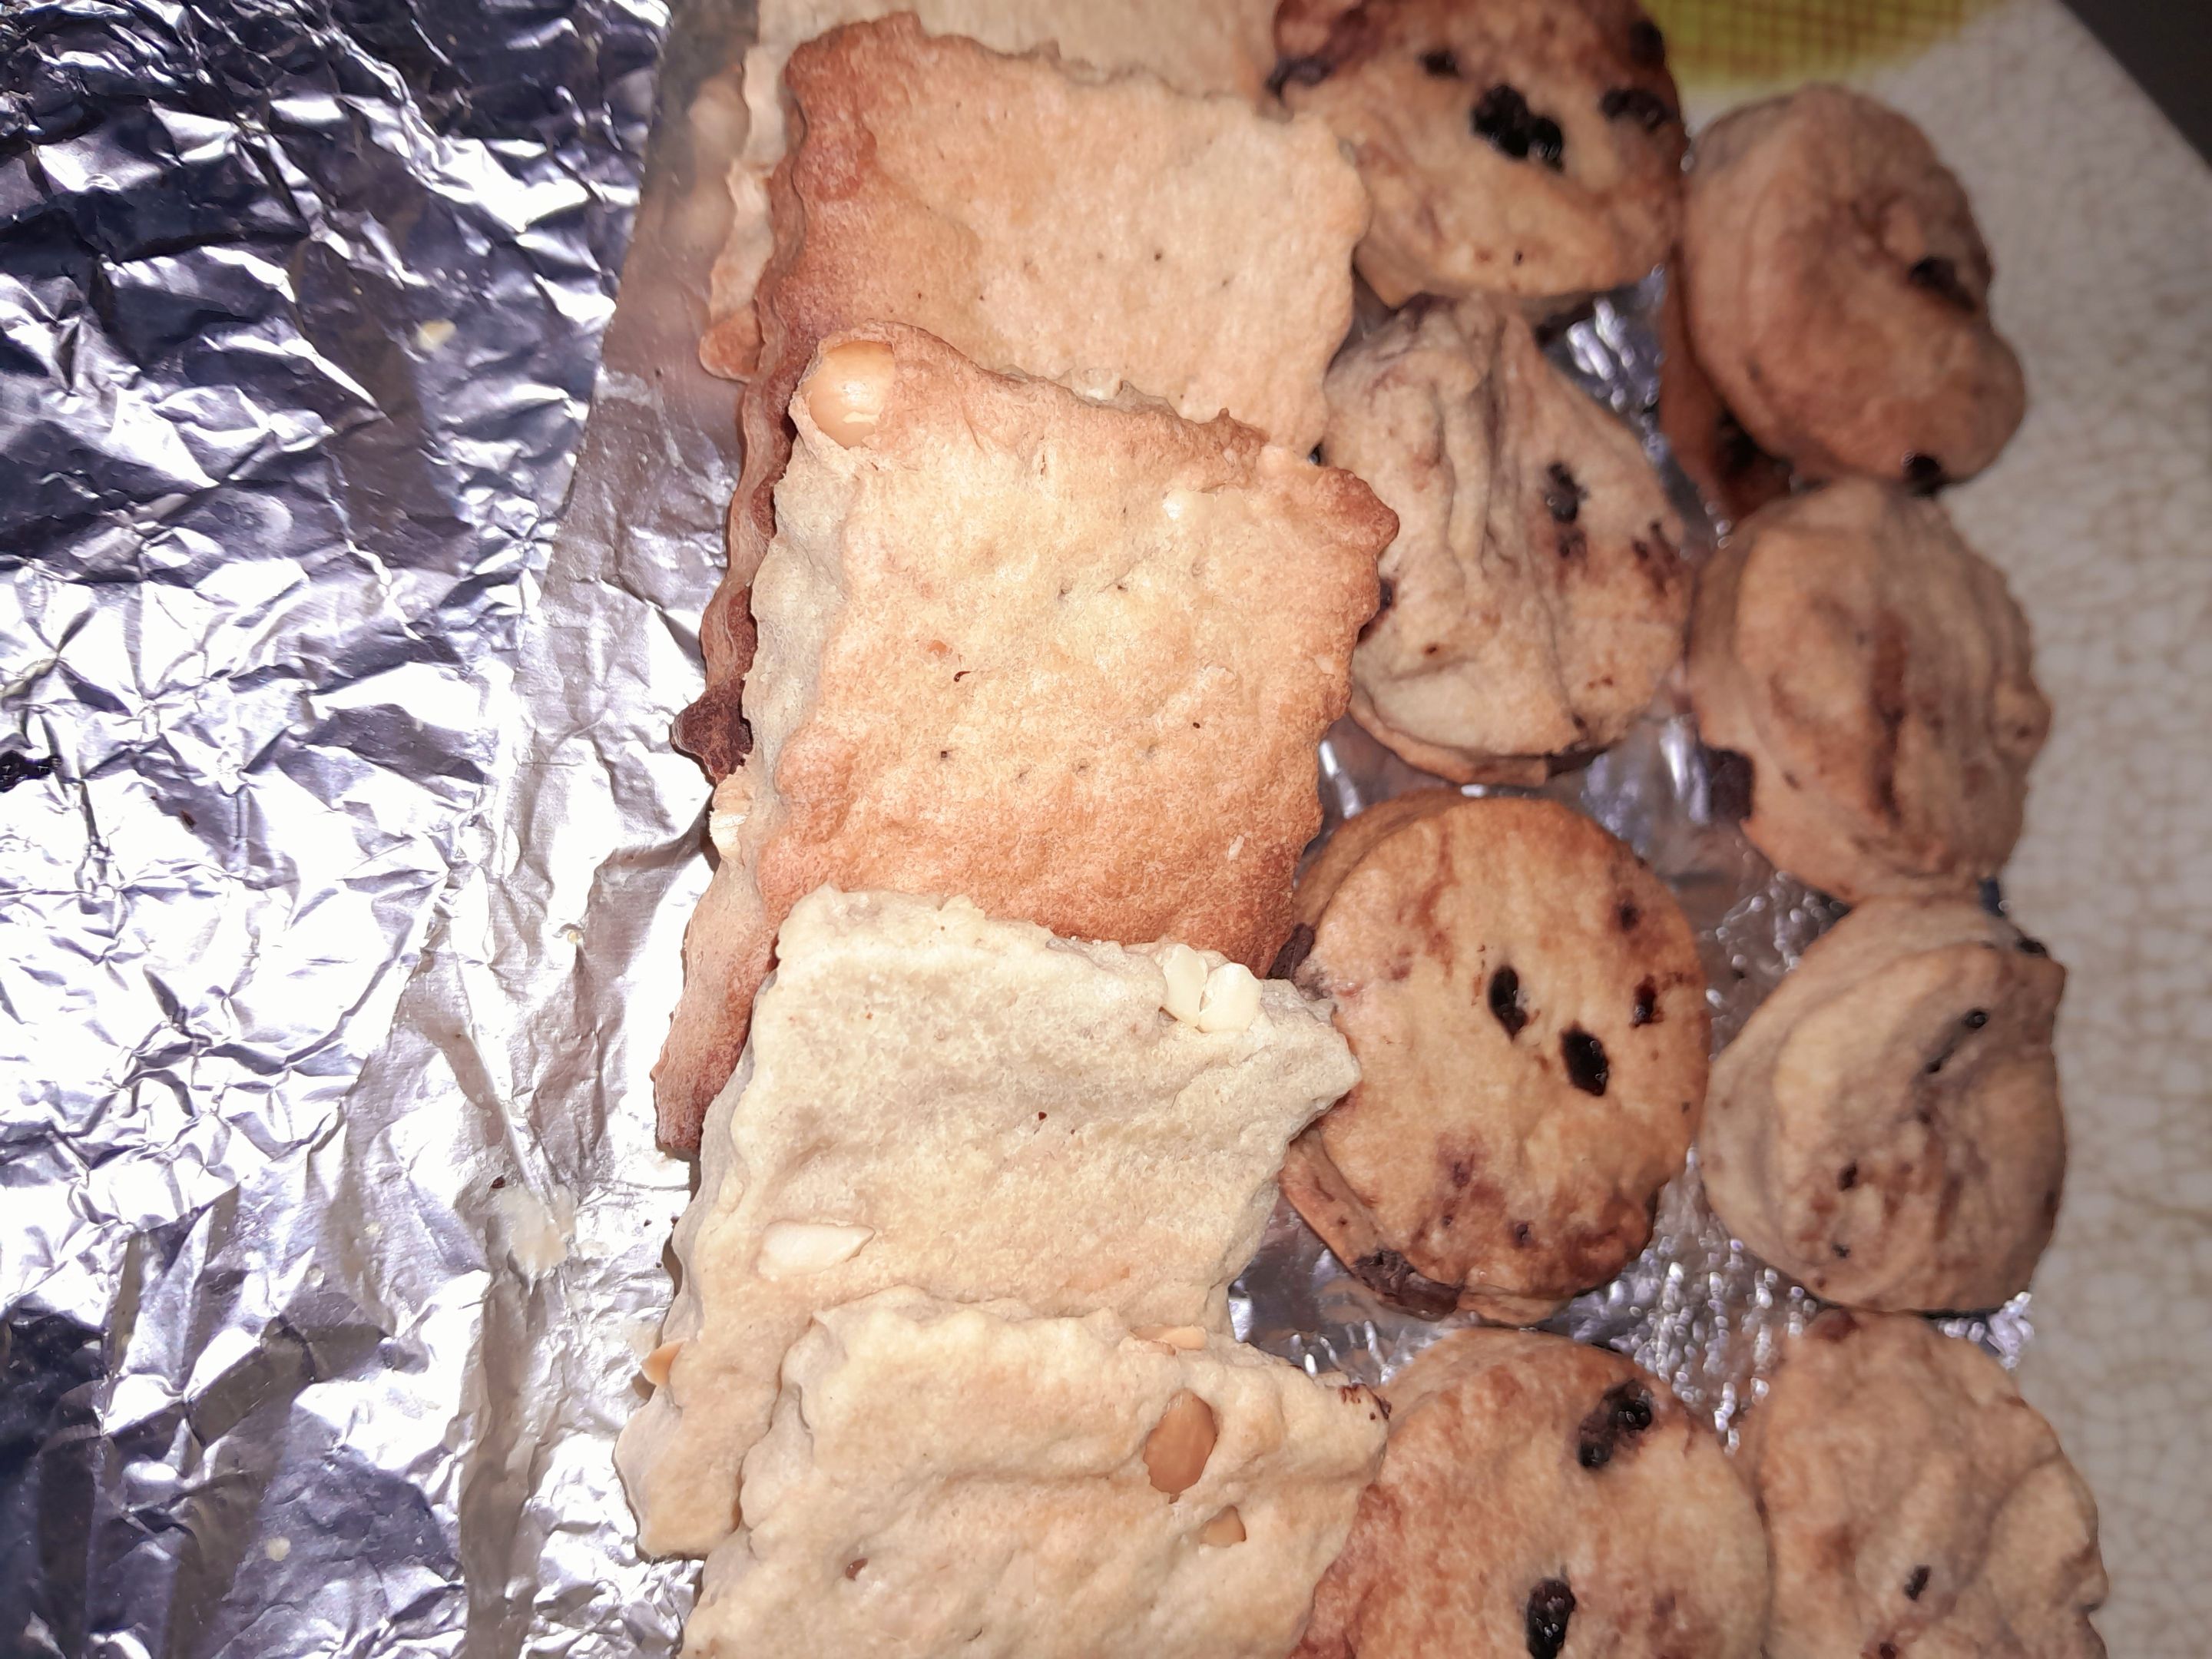
Tried Crushed Peanut too (a little bit of everything right?)
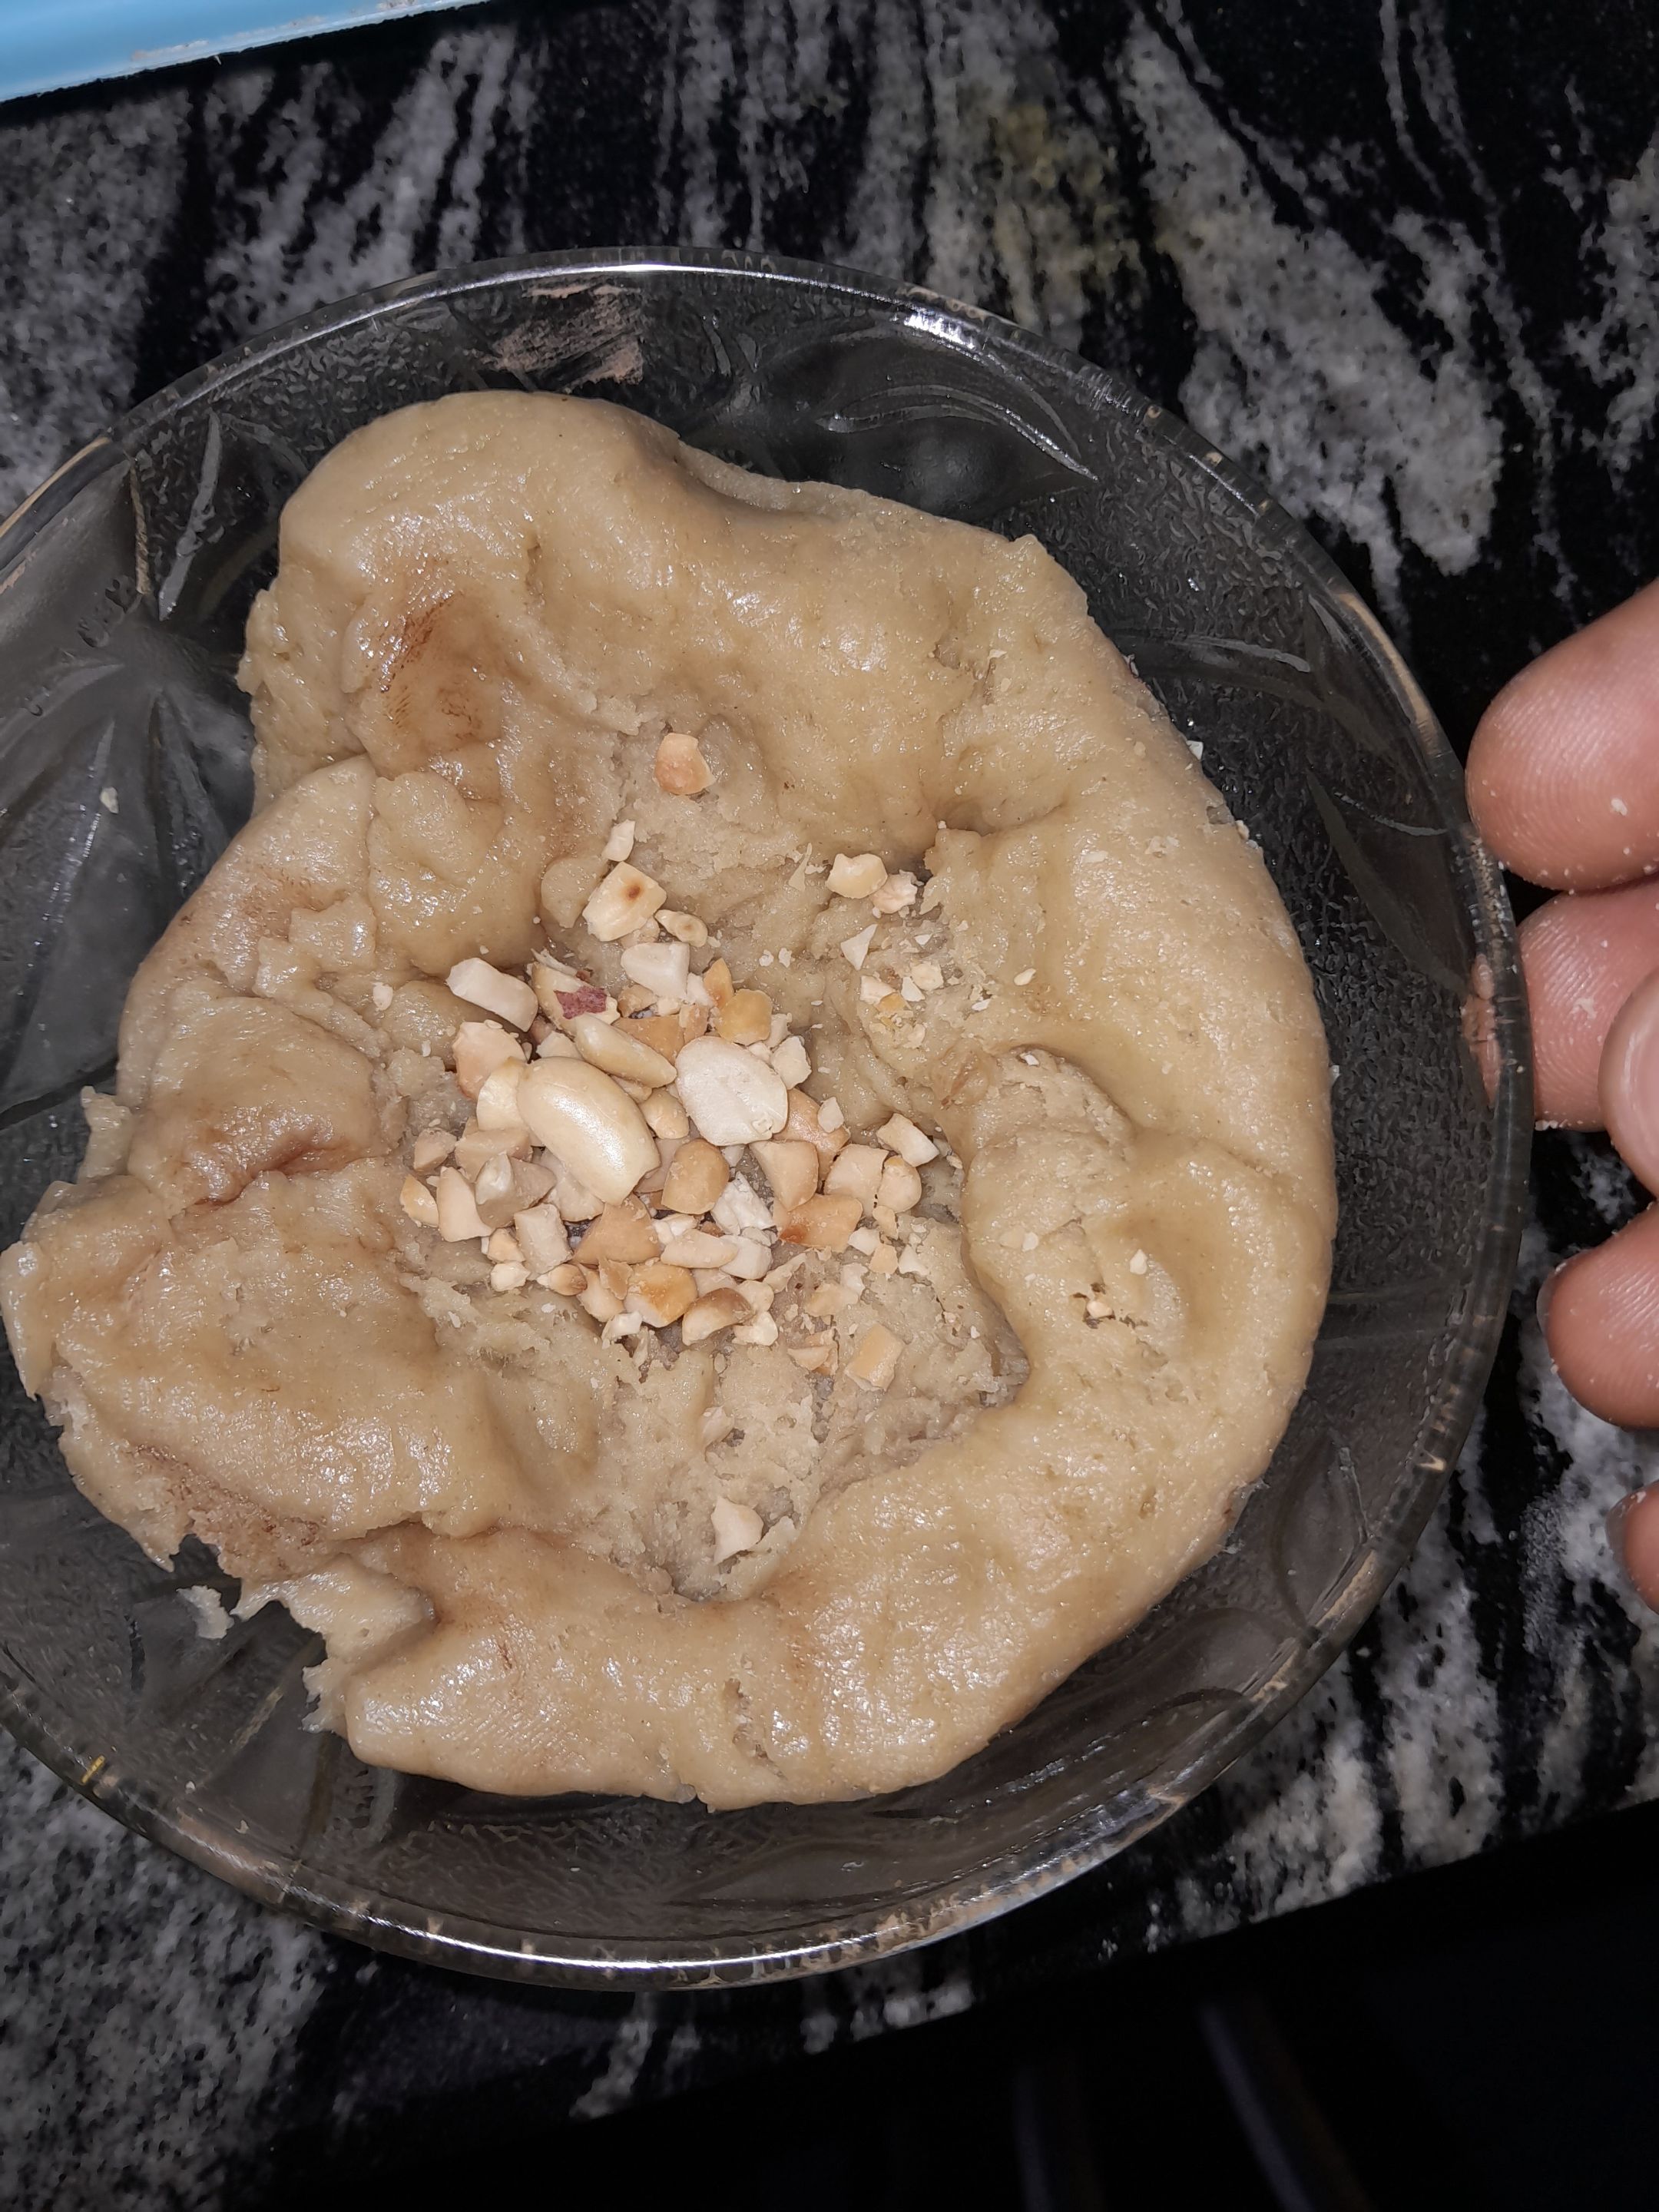
I added peanut to just 1 half of the dough (thought I won't like the outcome buh was surprised it came out very nice)
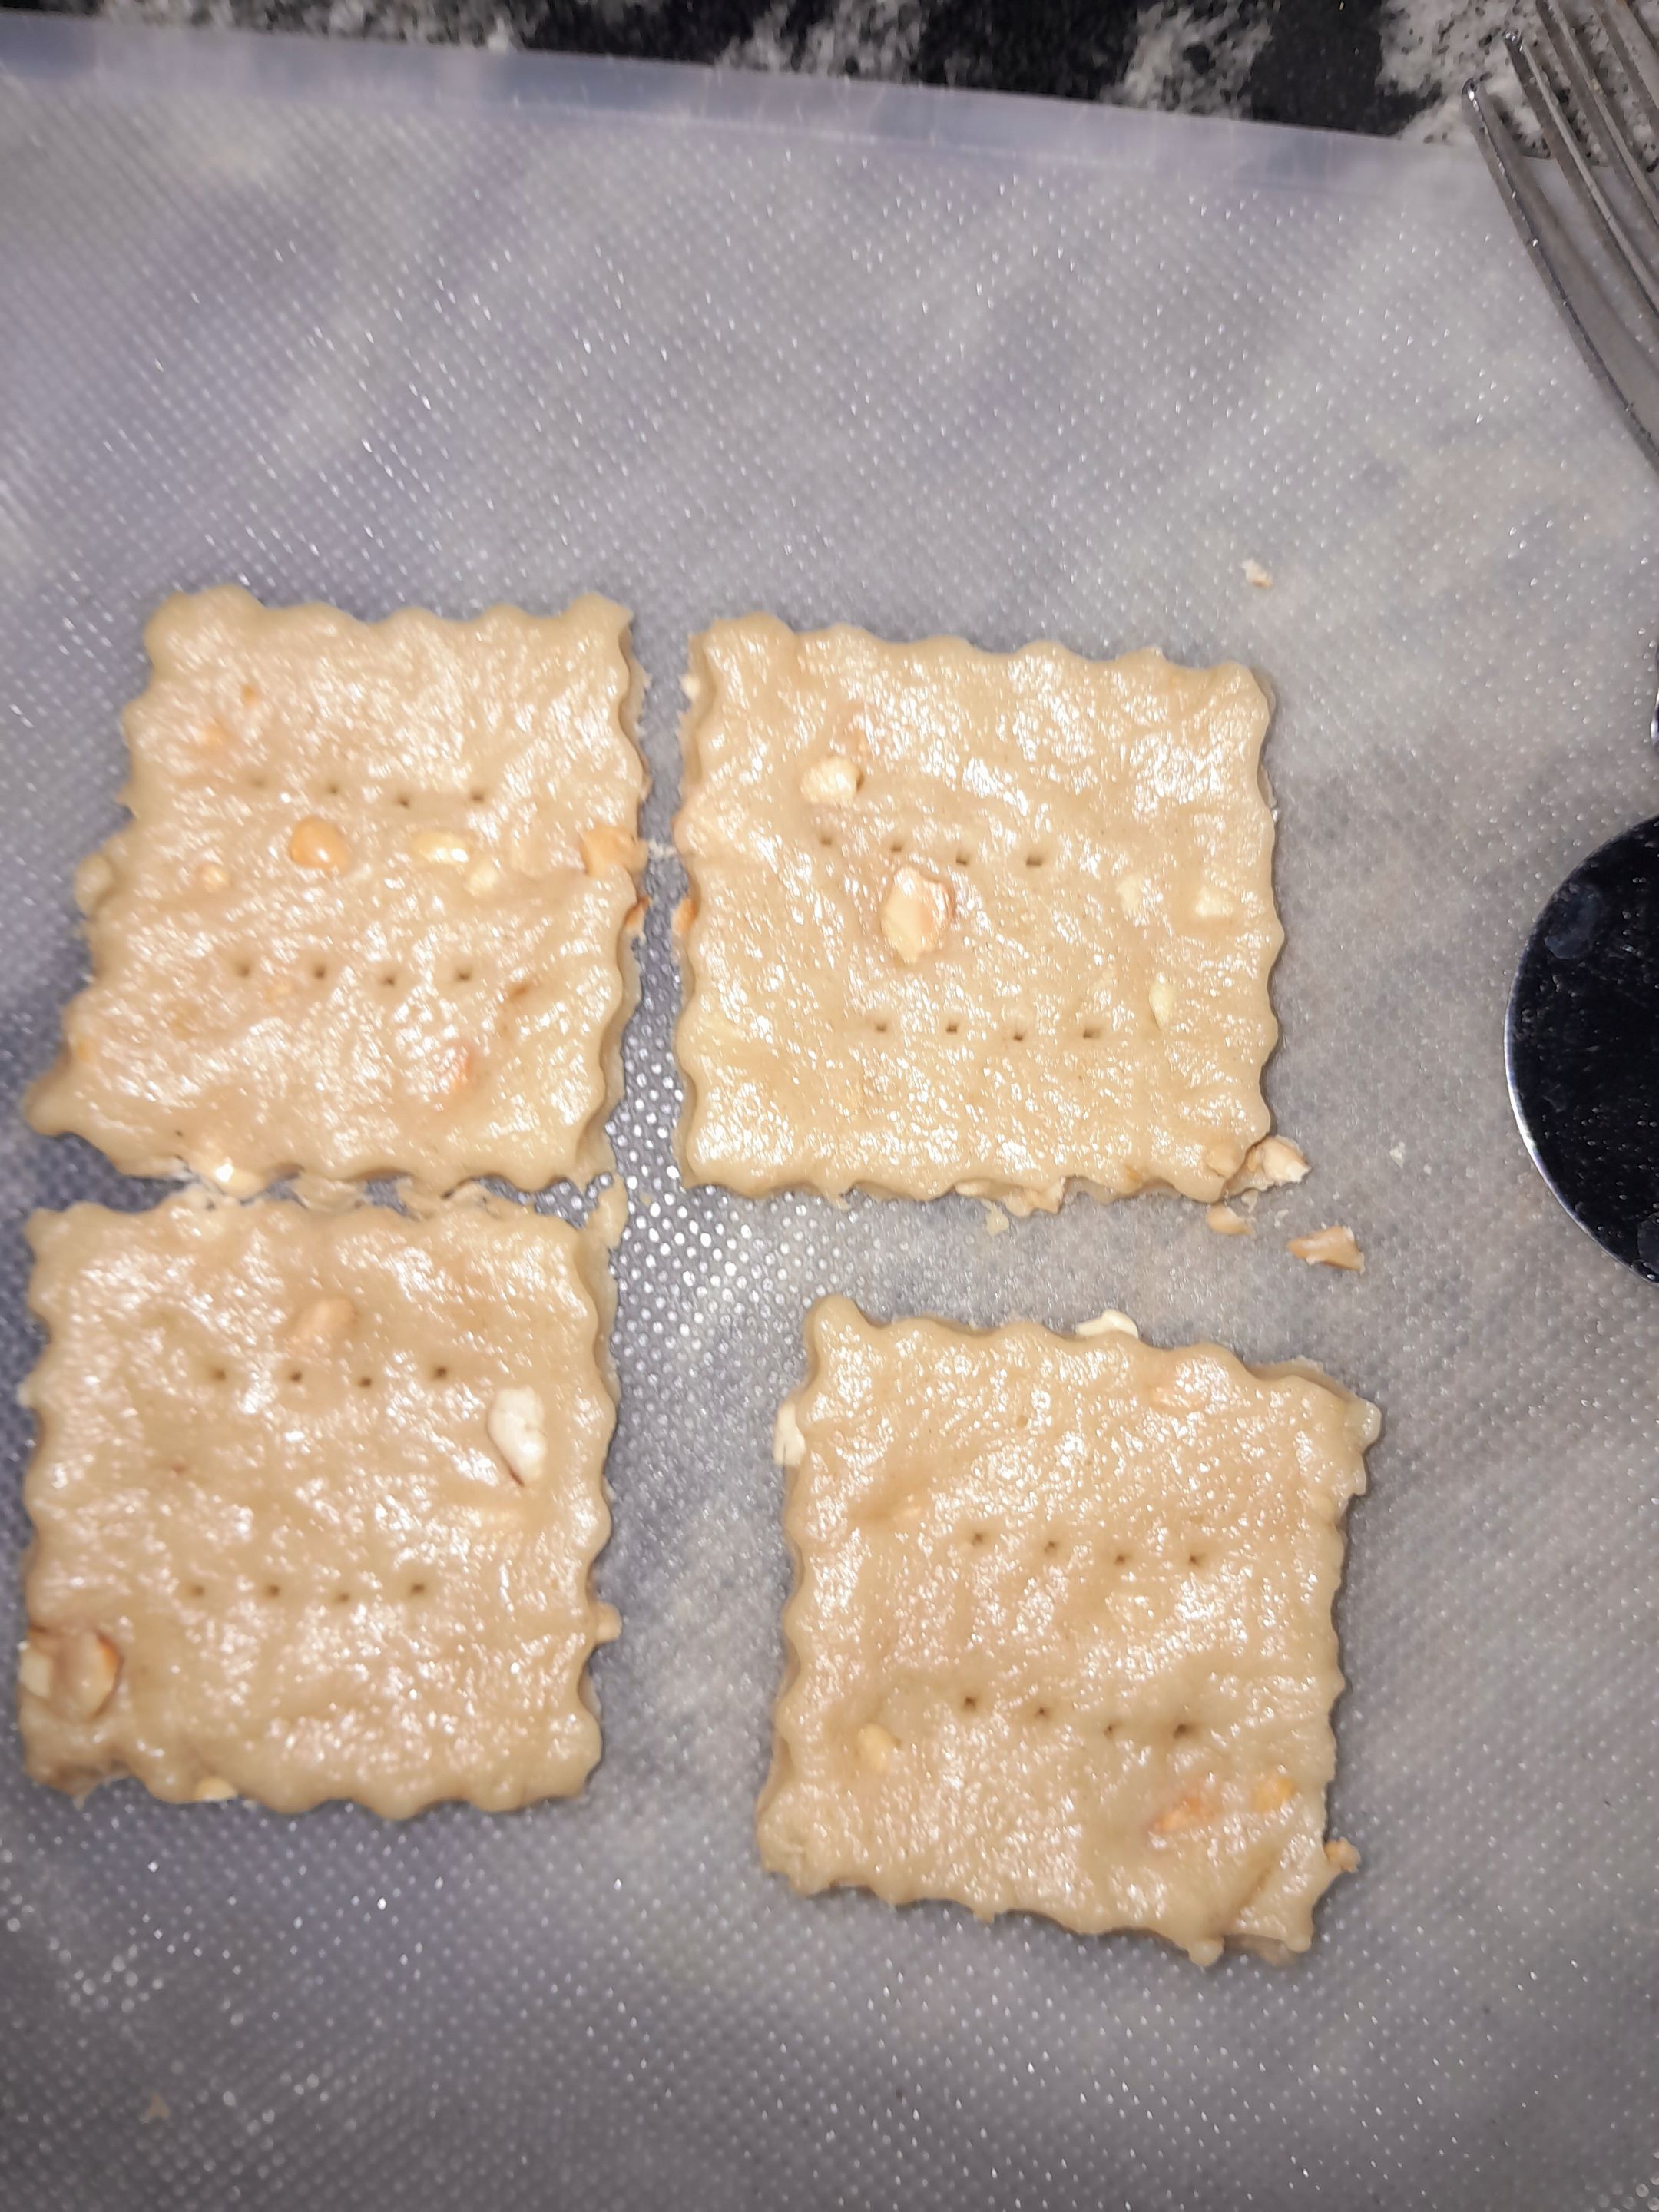
This shape is a little perfect right?😄 I had to use a pie cutter for this😁. And for the last half of the dough I Made it plain cookies, because one of my siblings said he prefers it plain so I humour him cos why not🫠
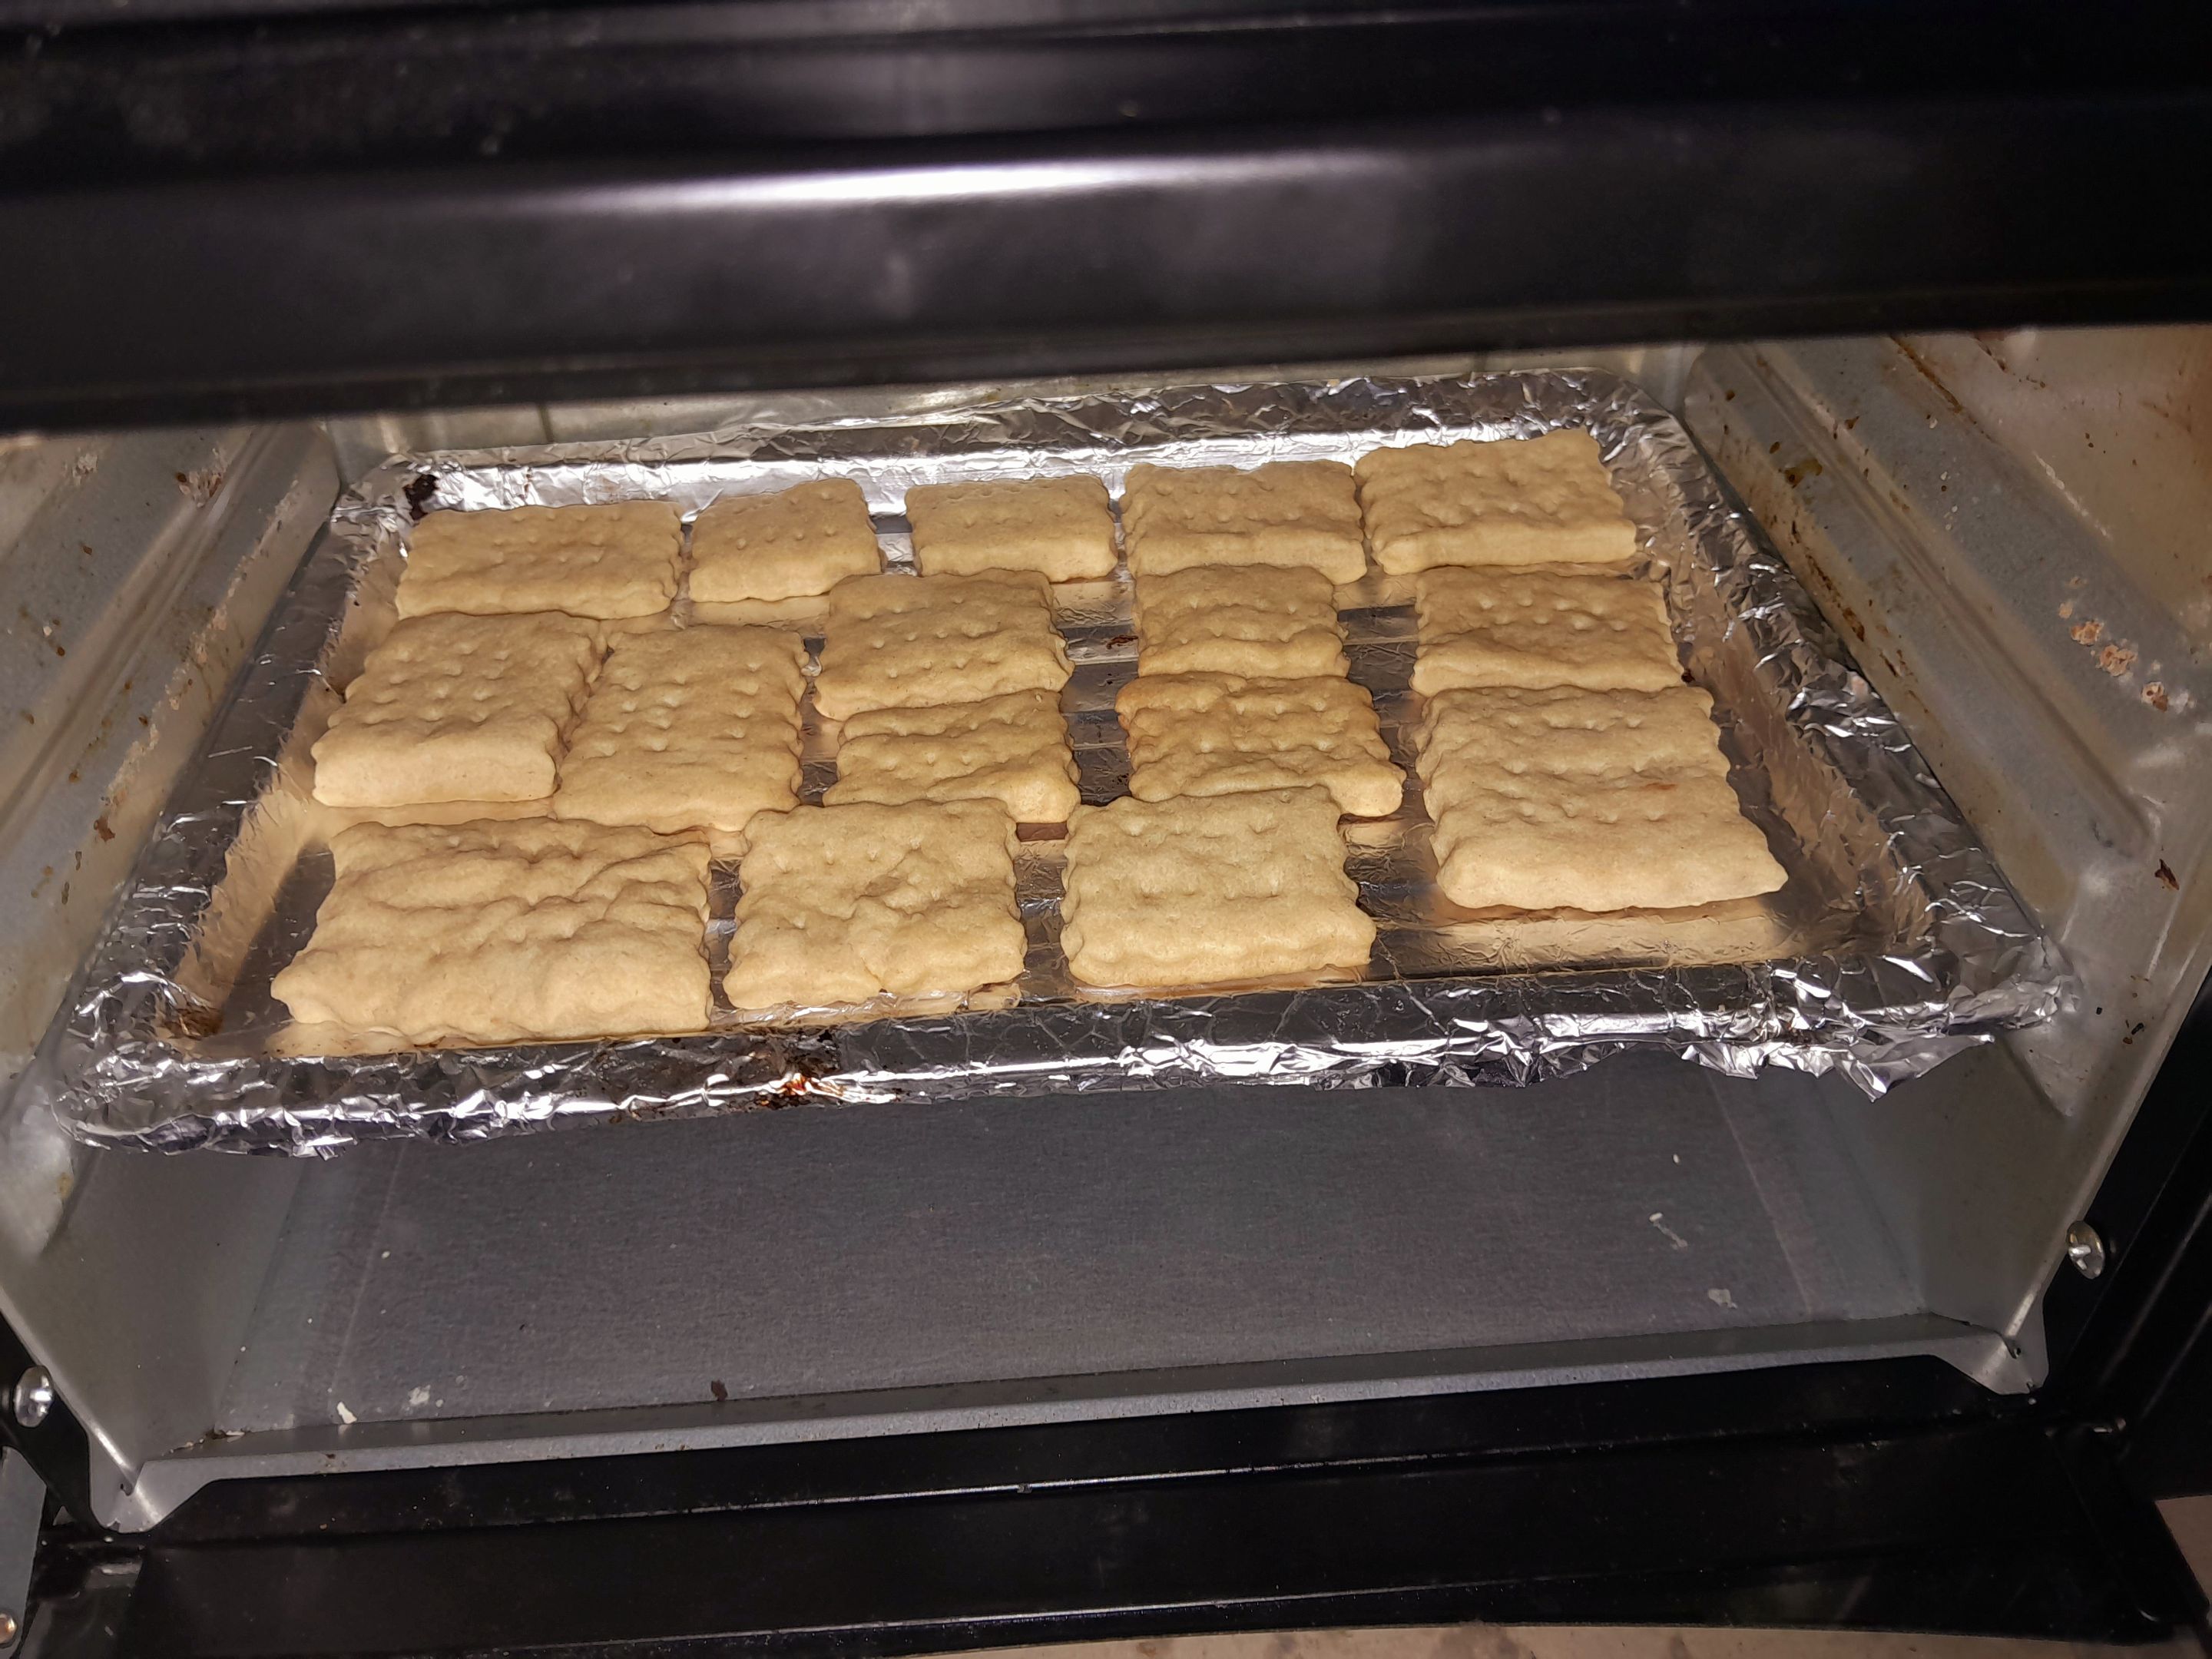
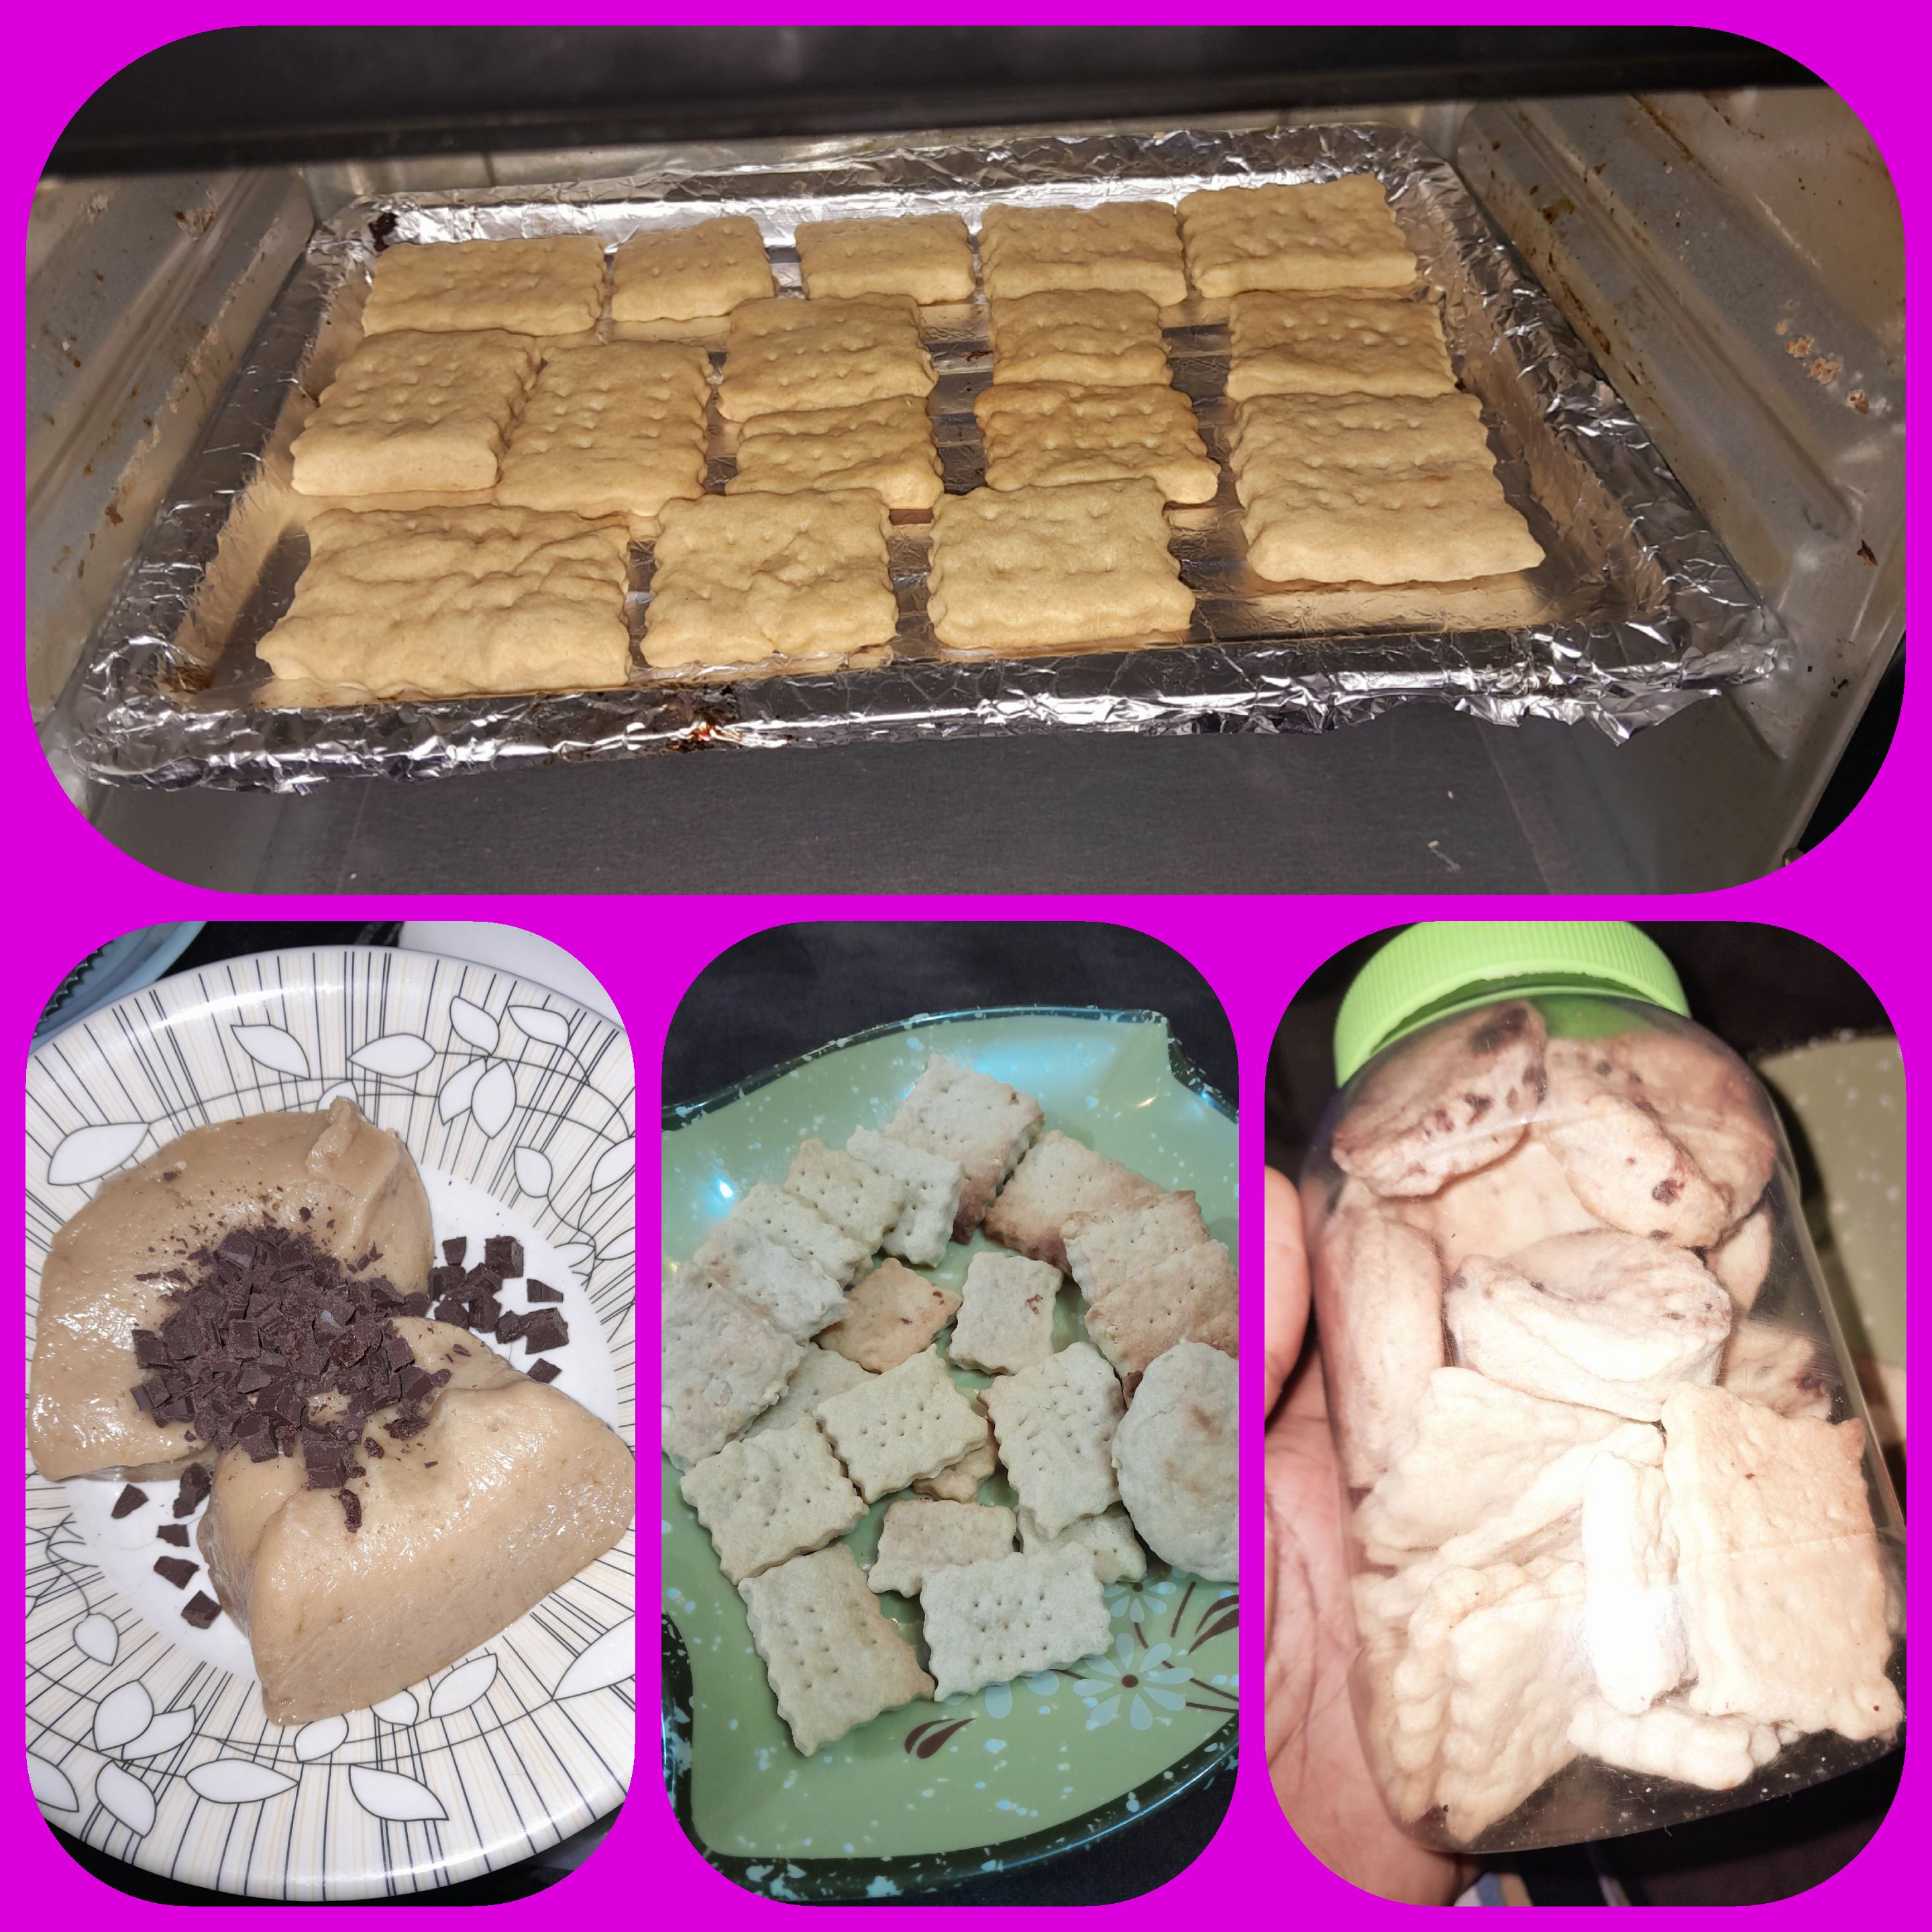
Then in the oven (preheated at 120° for 15minutes)they went.
Was so excited I burnt the first batch (reduce heat to 80/90° after loading the oven, I learnt the hard way, lol)
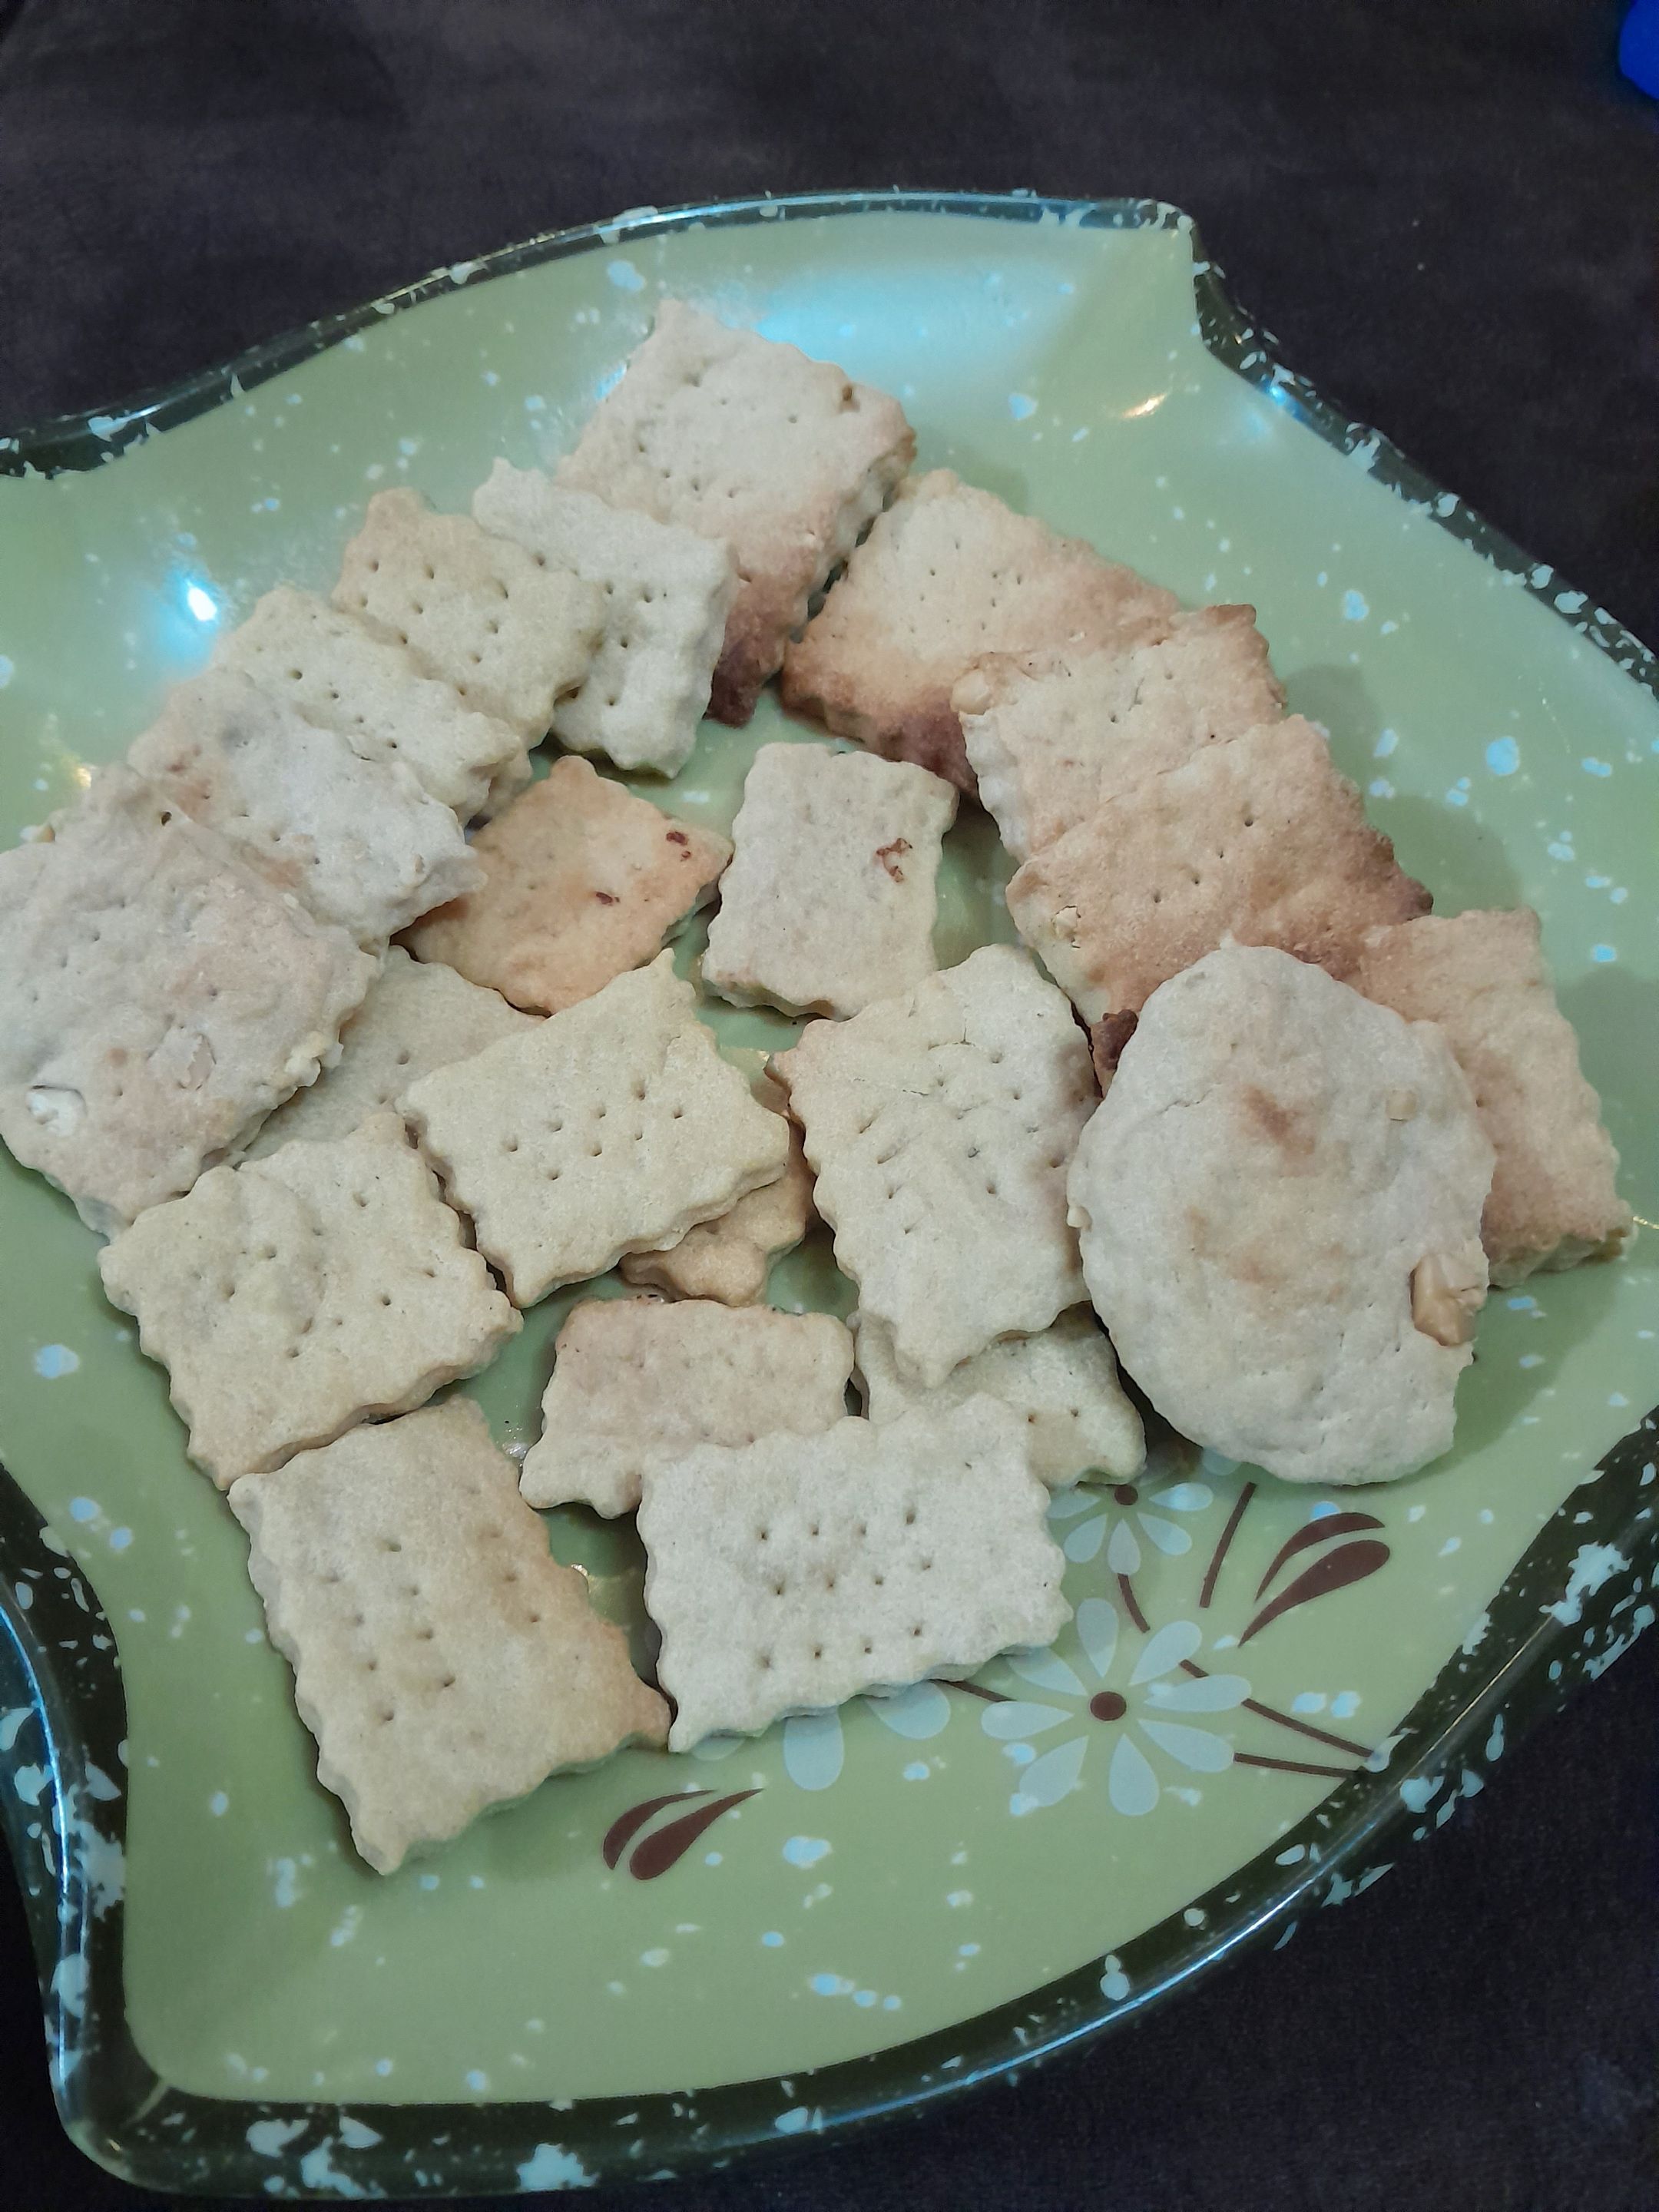
The rest came out fresh and nice (crumbly also). At this point my neighbours knew I was baking something if you get what I mean, the aroma was nerve soothing 🫠😌
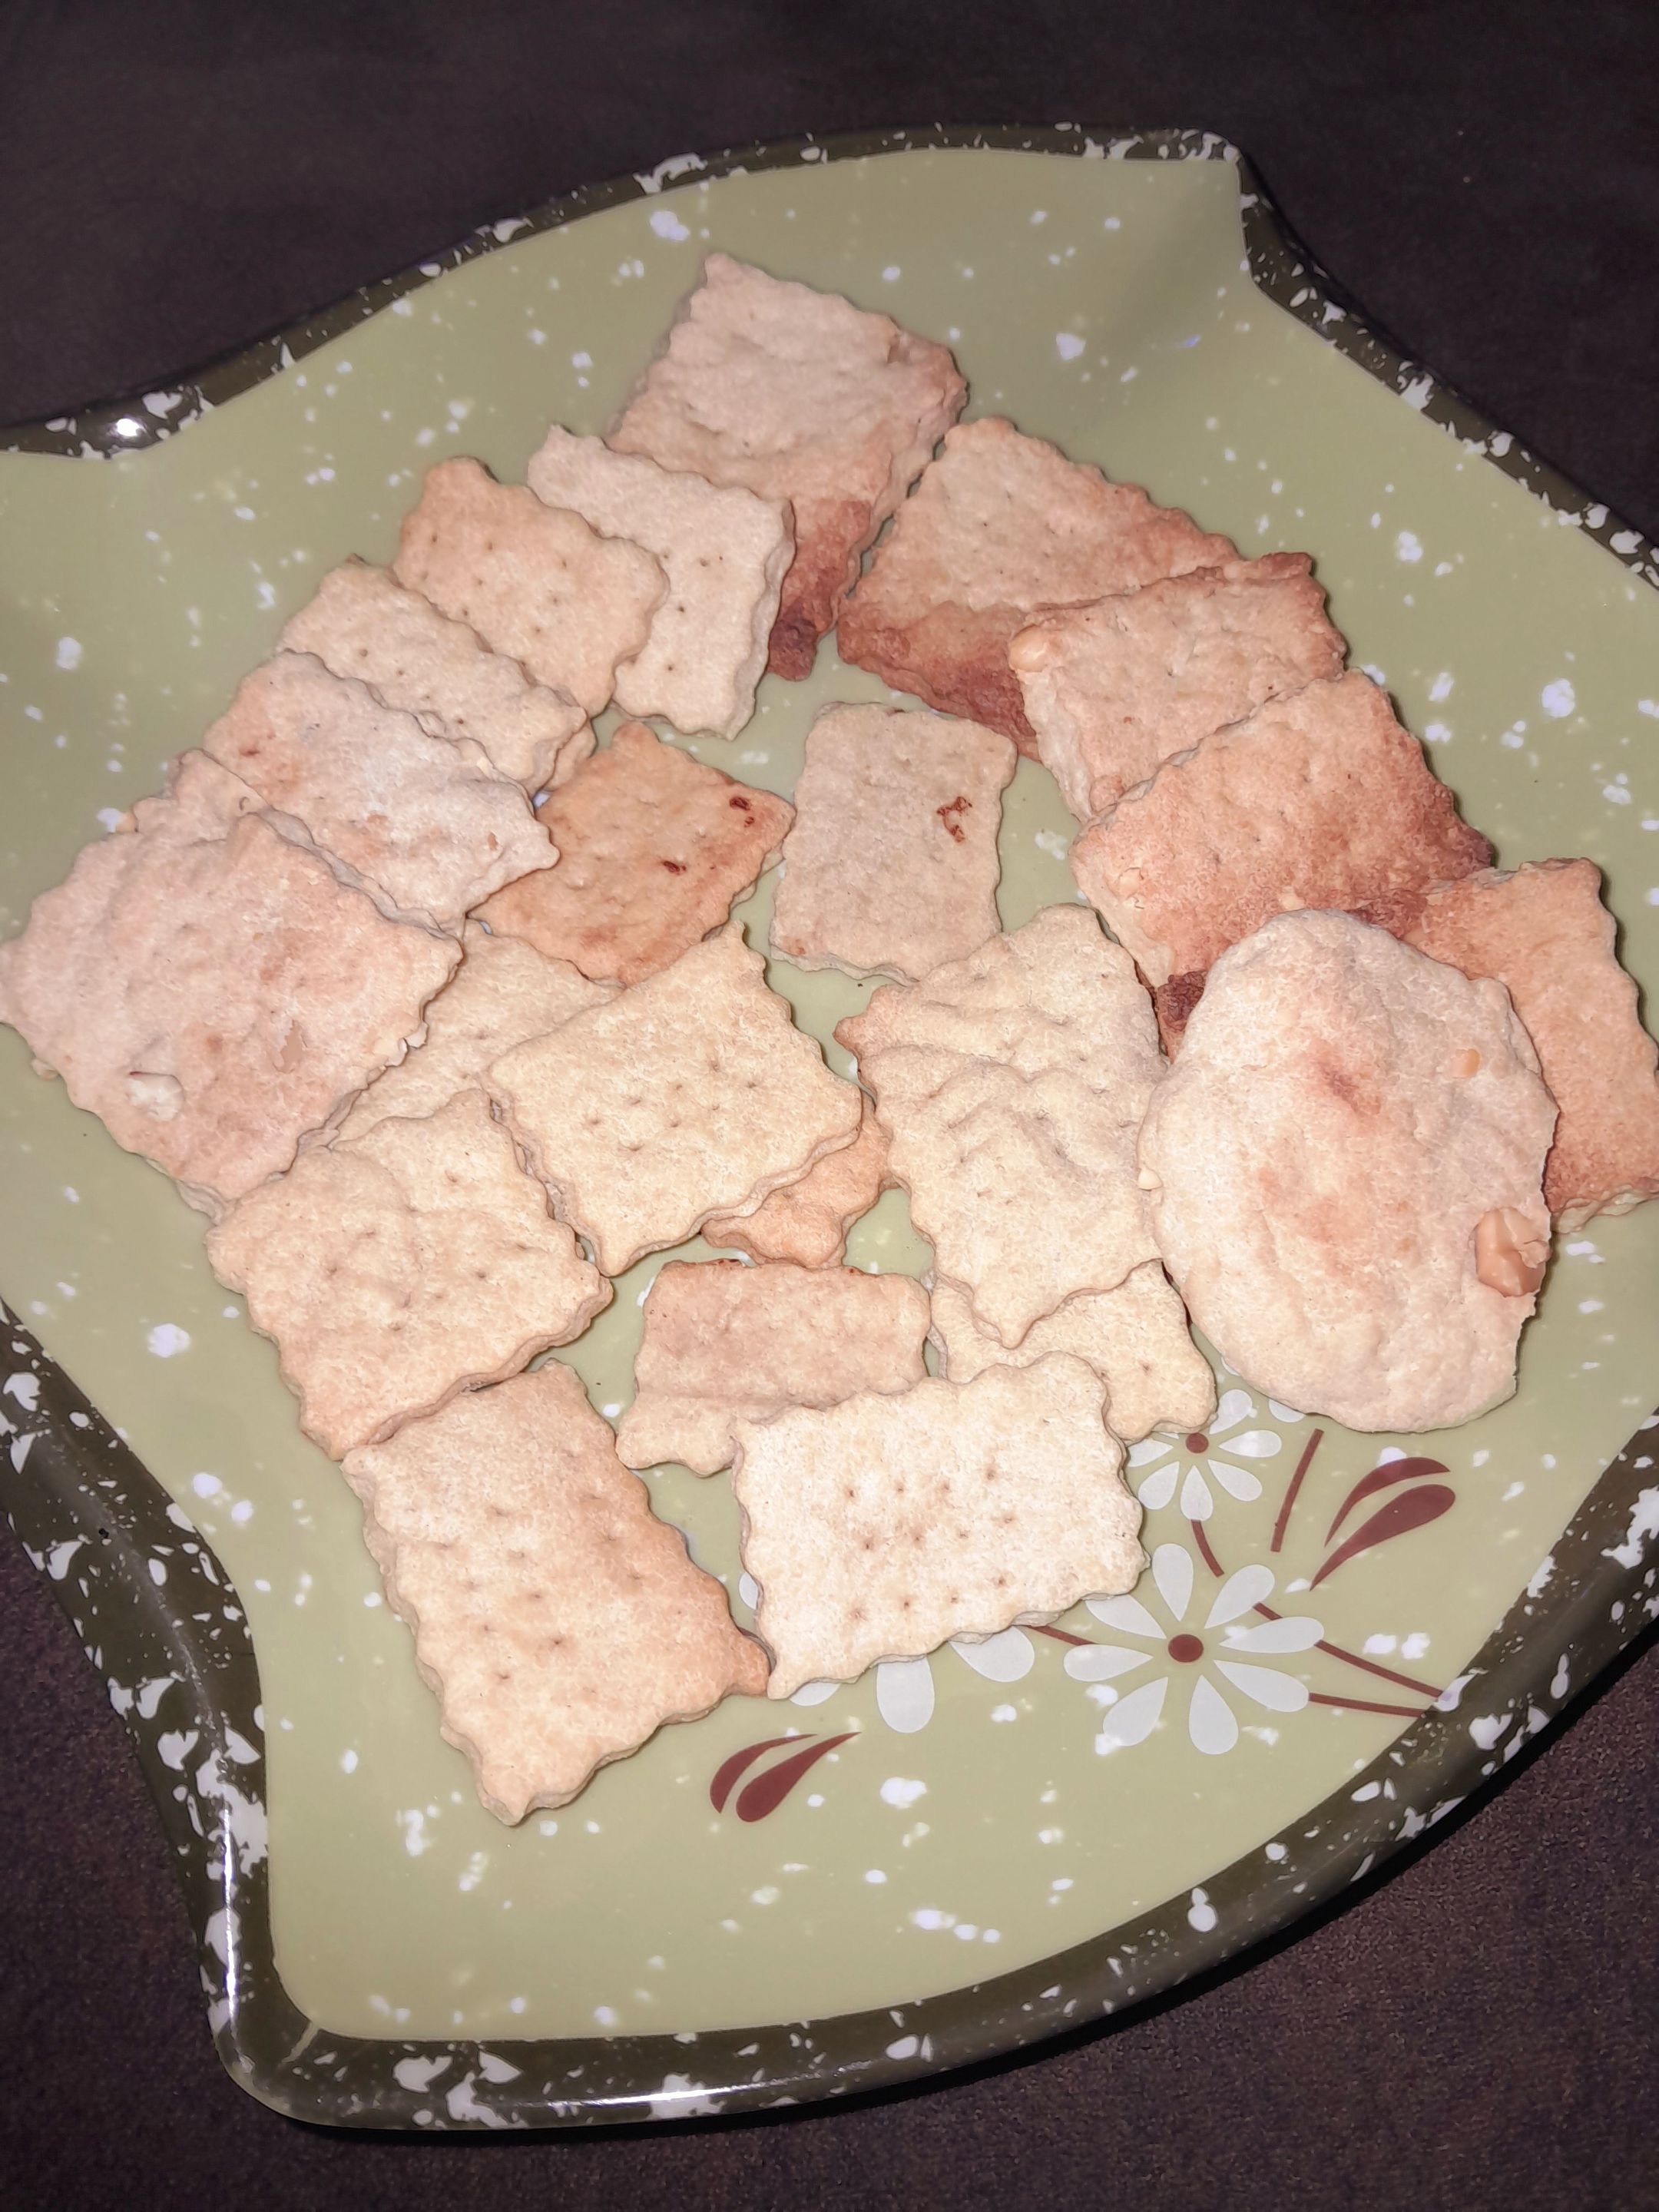
Sight the one I ate almost half of before taking the pictures yeah? No? Look closely 😊
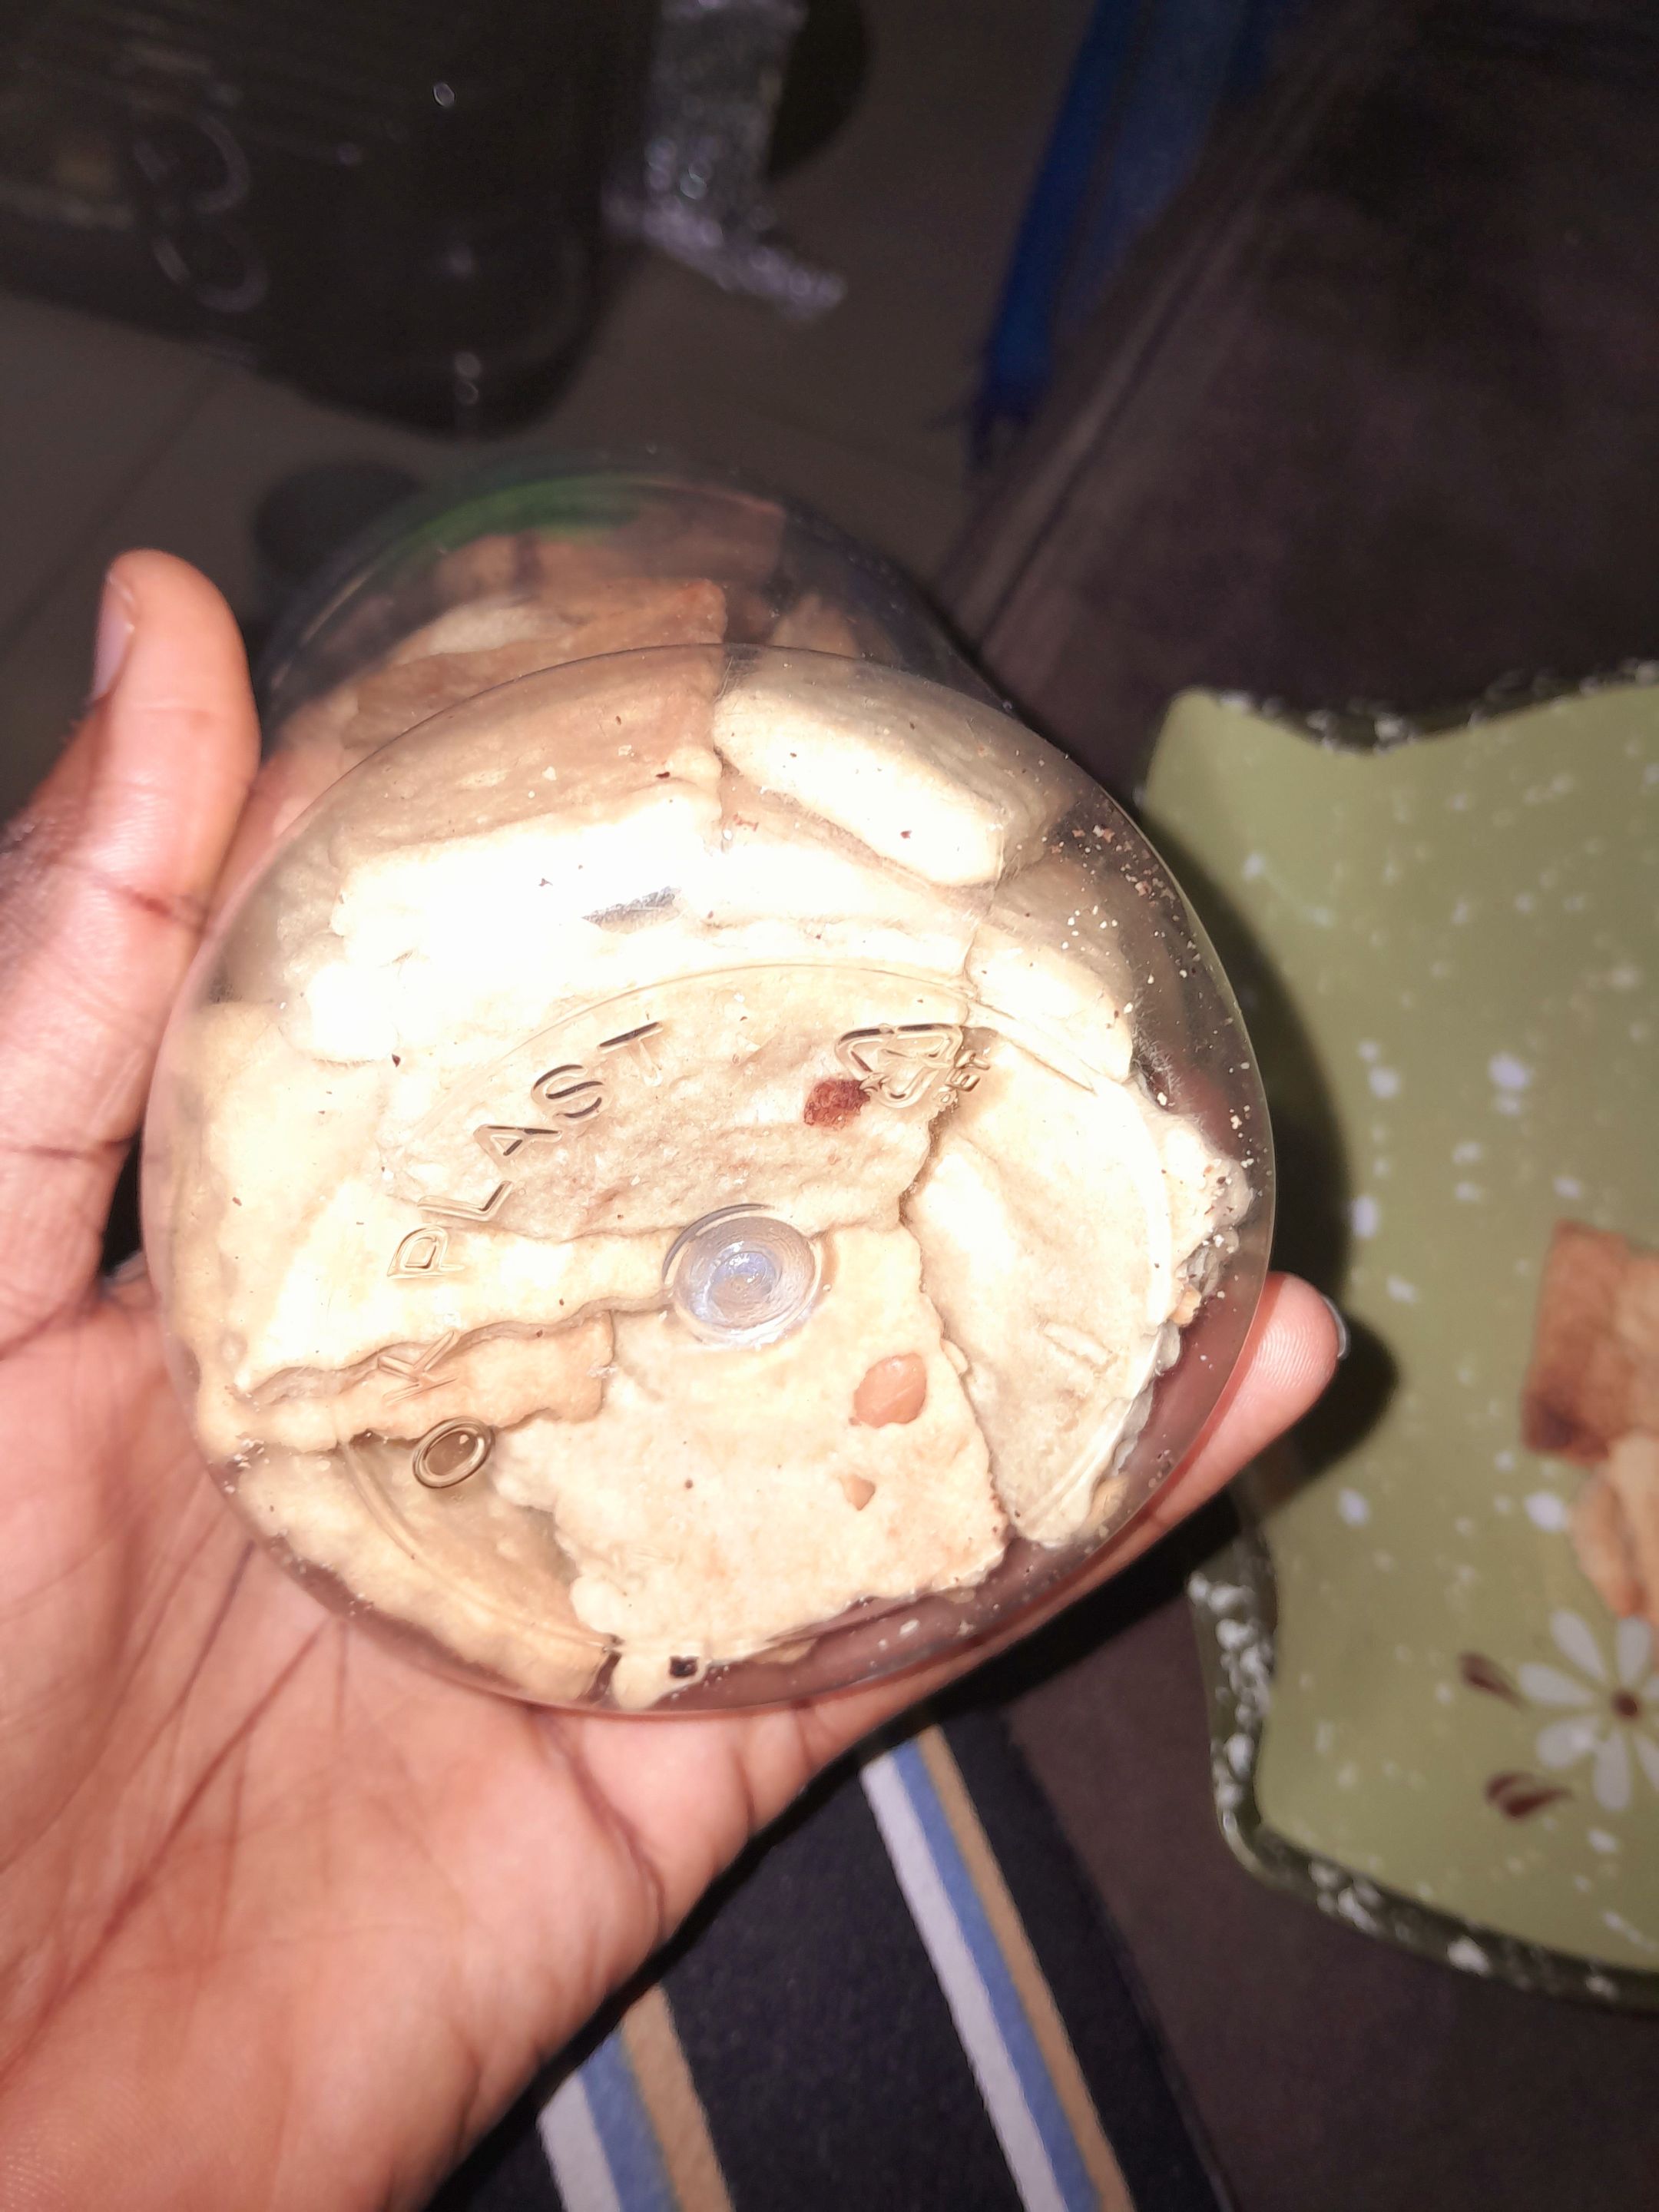
I stored in an airtight container and put it on the shelf (it lastedess than a week FYI😁, it was that tempting 😄) couldn't get enough of it, I'm sure I'll make another batch soonest 😜
I hope we've learnt one or two from my post? And we won't mind to do a practical of our pen yeah? Good, my aim exactly