Hello dear friends, I hope you are all well. I send my greetings to all the artists and artisans in this community who are always up to date with so many beautiful works of art. For my part, this time I want to show you a craft I made simply using cardboard, although I also used some complementary materials. What I want to talk about is a Night Lamp, which serves to illuminate the room with soft light and can be personalized and also add extra accessories. As I said before, I used cardboard, but also a light bulb and a cable with a plug. Here I show you a summary of the creation process until completion. I hope you like it.
Hola queridos amigos, espero se encuentren muy bien, envío mis saludos para todos los artistas y artesanos de esta comunidad que siempre están al día con muchas obras hermosas de creación. Por mi parte, ene sta oportunidad quiero mostrarles un trabajo manual que hice simplemente utilizando cartón, aunque también utilicé algunos materiales complementarios. De lo que quiero hablarles es de una Lámpara de Noche, que sirve para iluminar con luz suave la habitación y la cual puede ser personalizada y también agregarle accesorios extras. Como dije antes utilicé cartón, pero también un bombillo y un cable con su enchufe. Aquí les muestro un resumen de lo que fue el proceso de creación hasta finalizar, espero que les guste.

PROCESS
 |
 |
|
|---|---|---|
 |
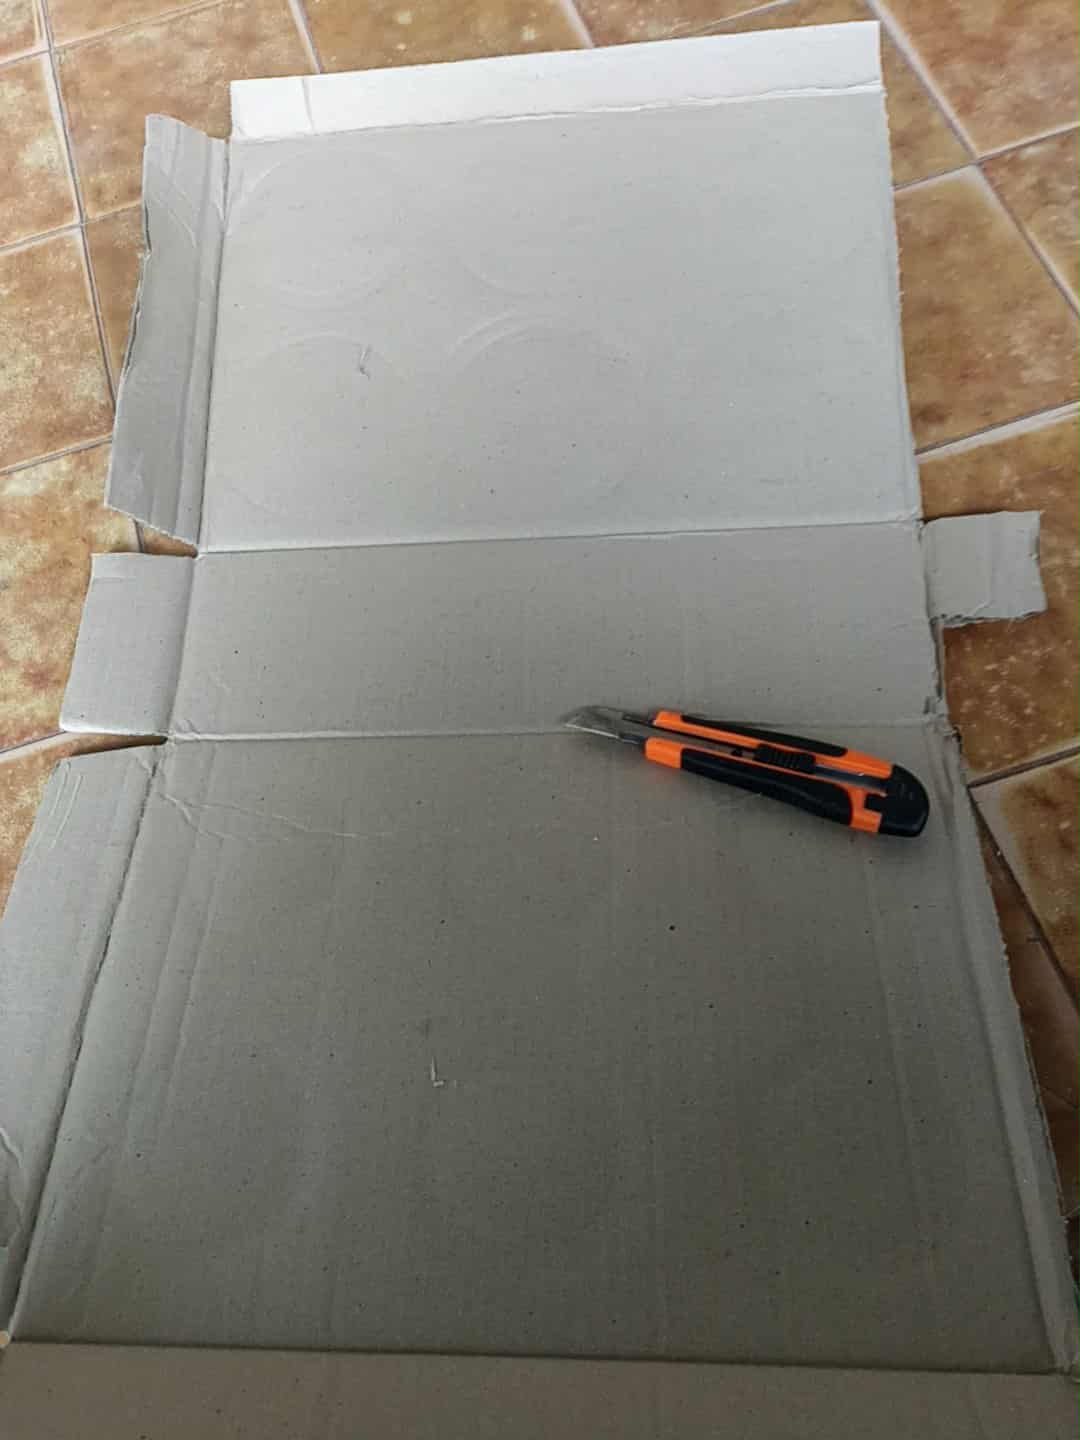 |
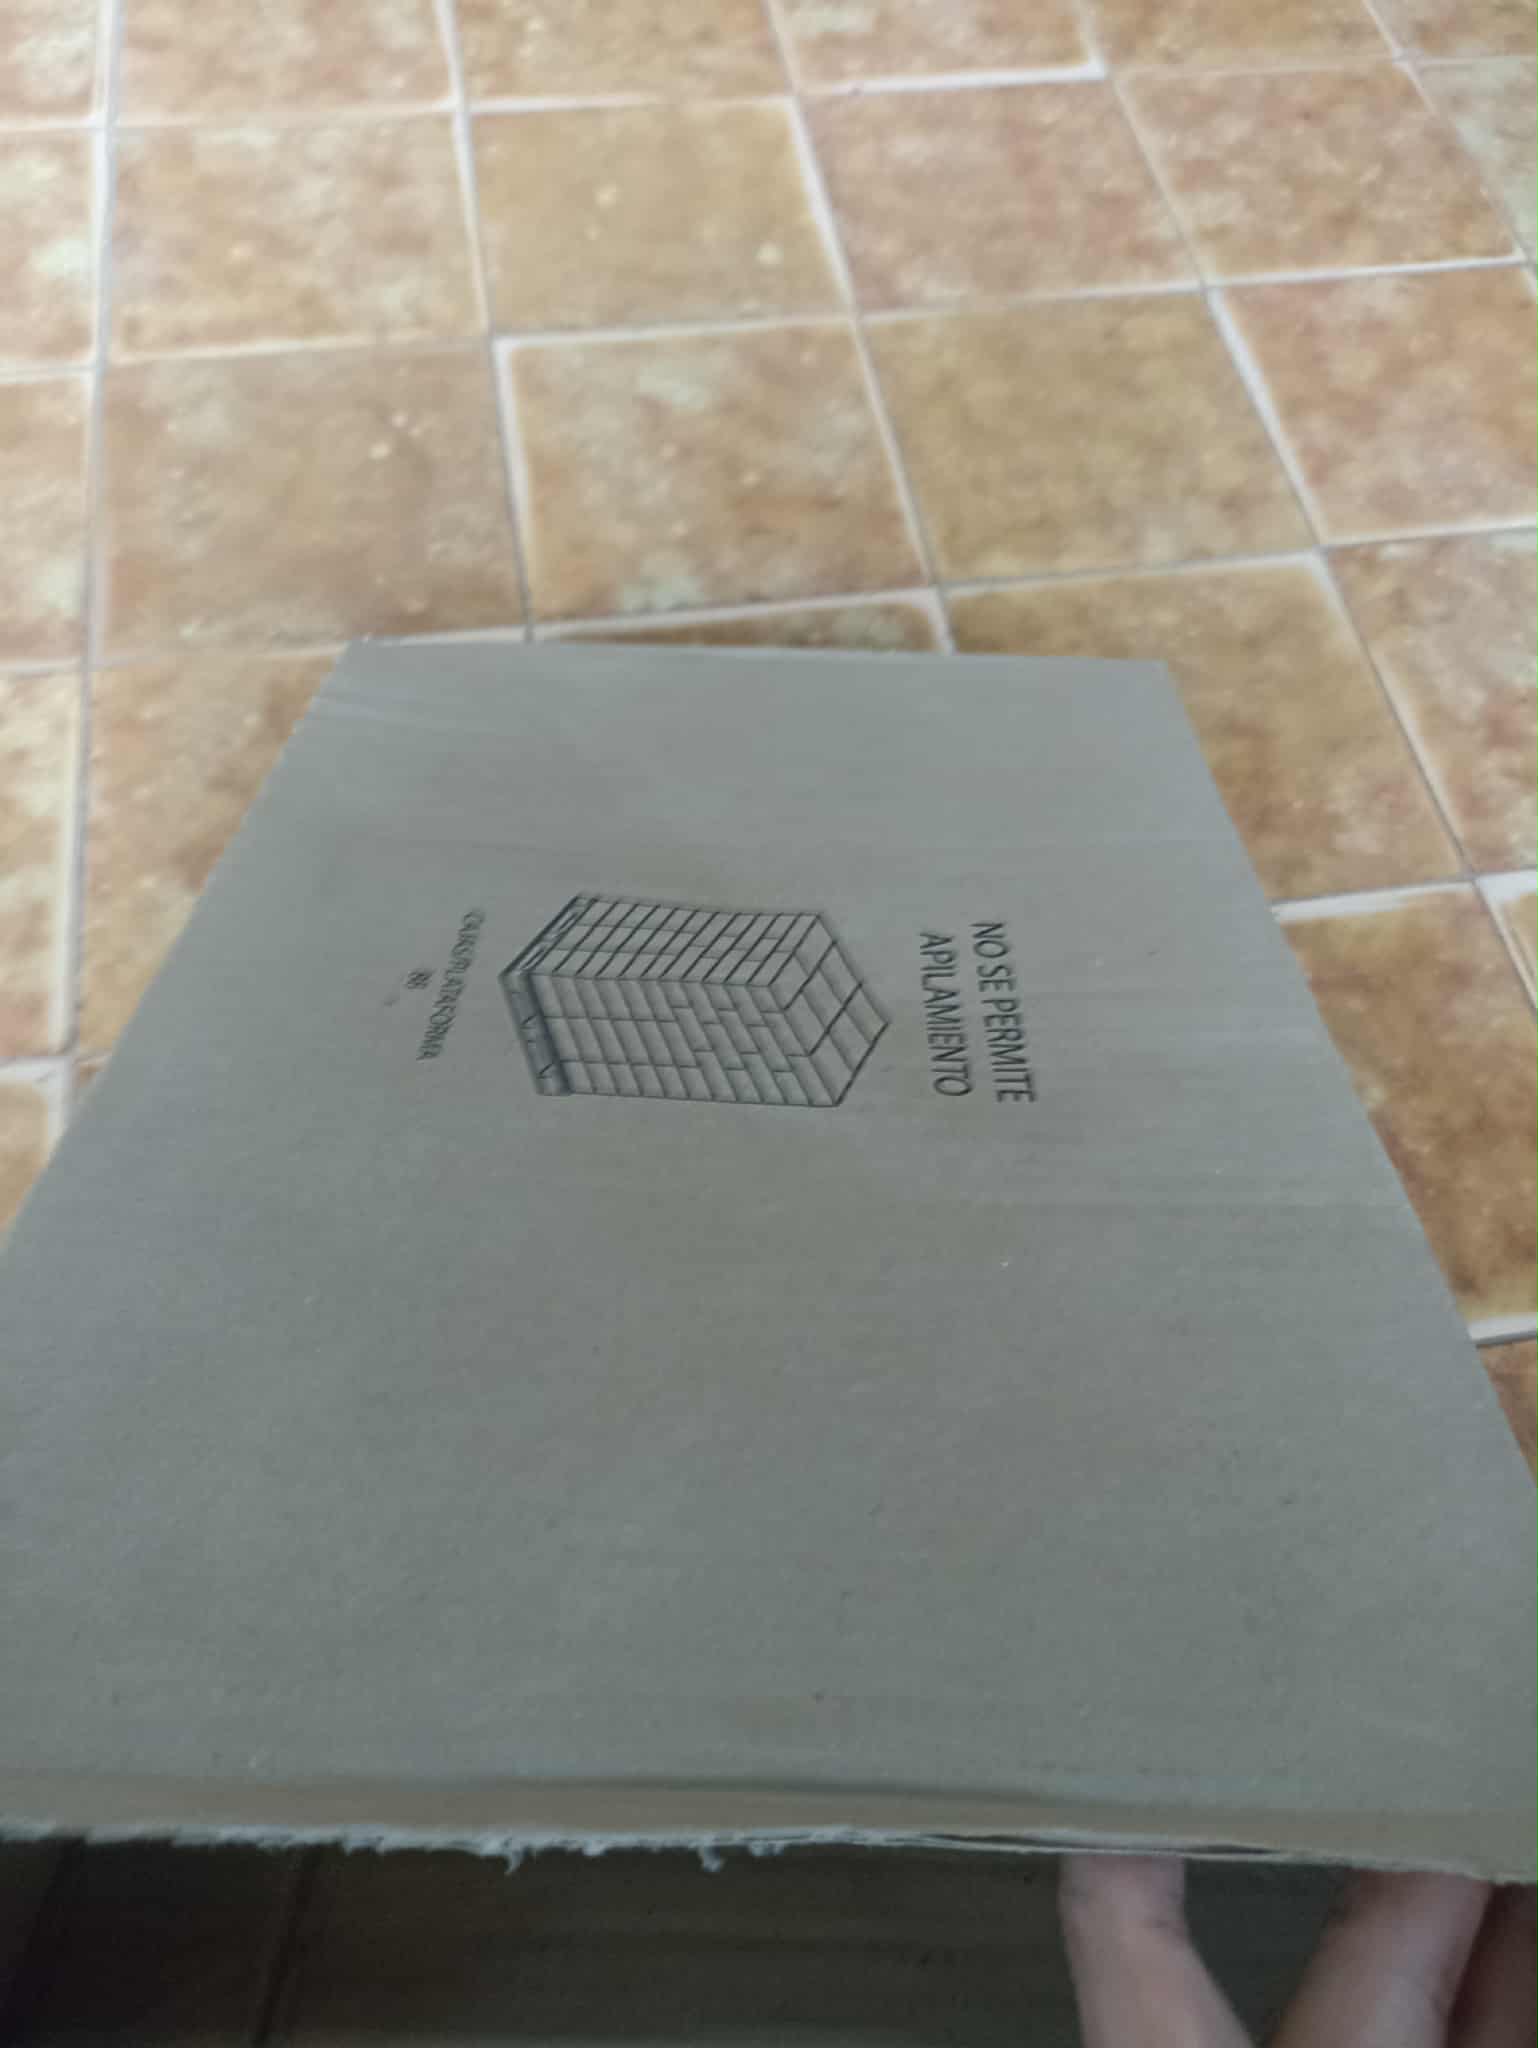
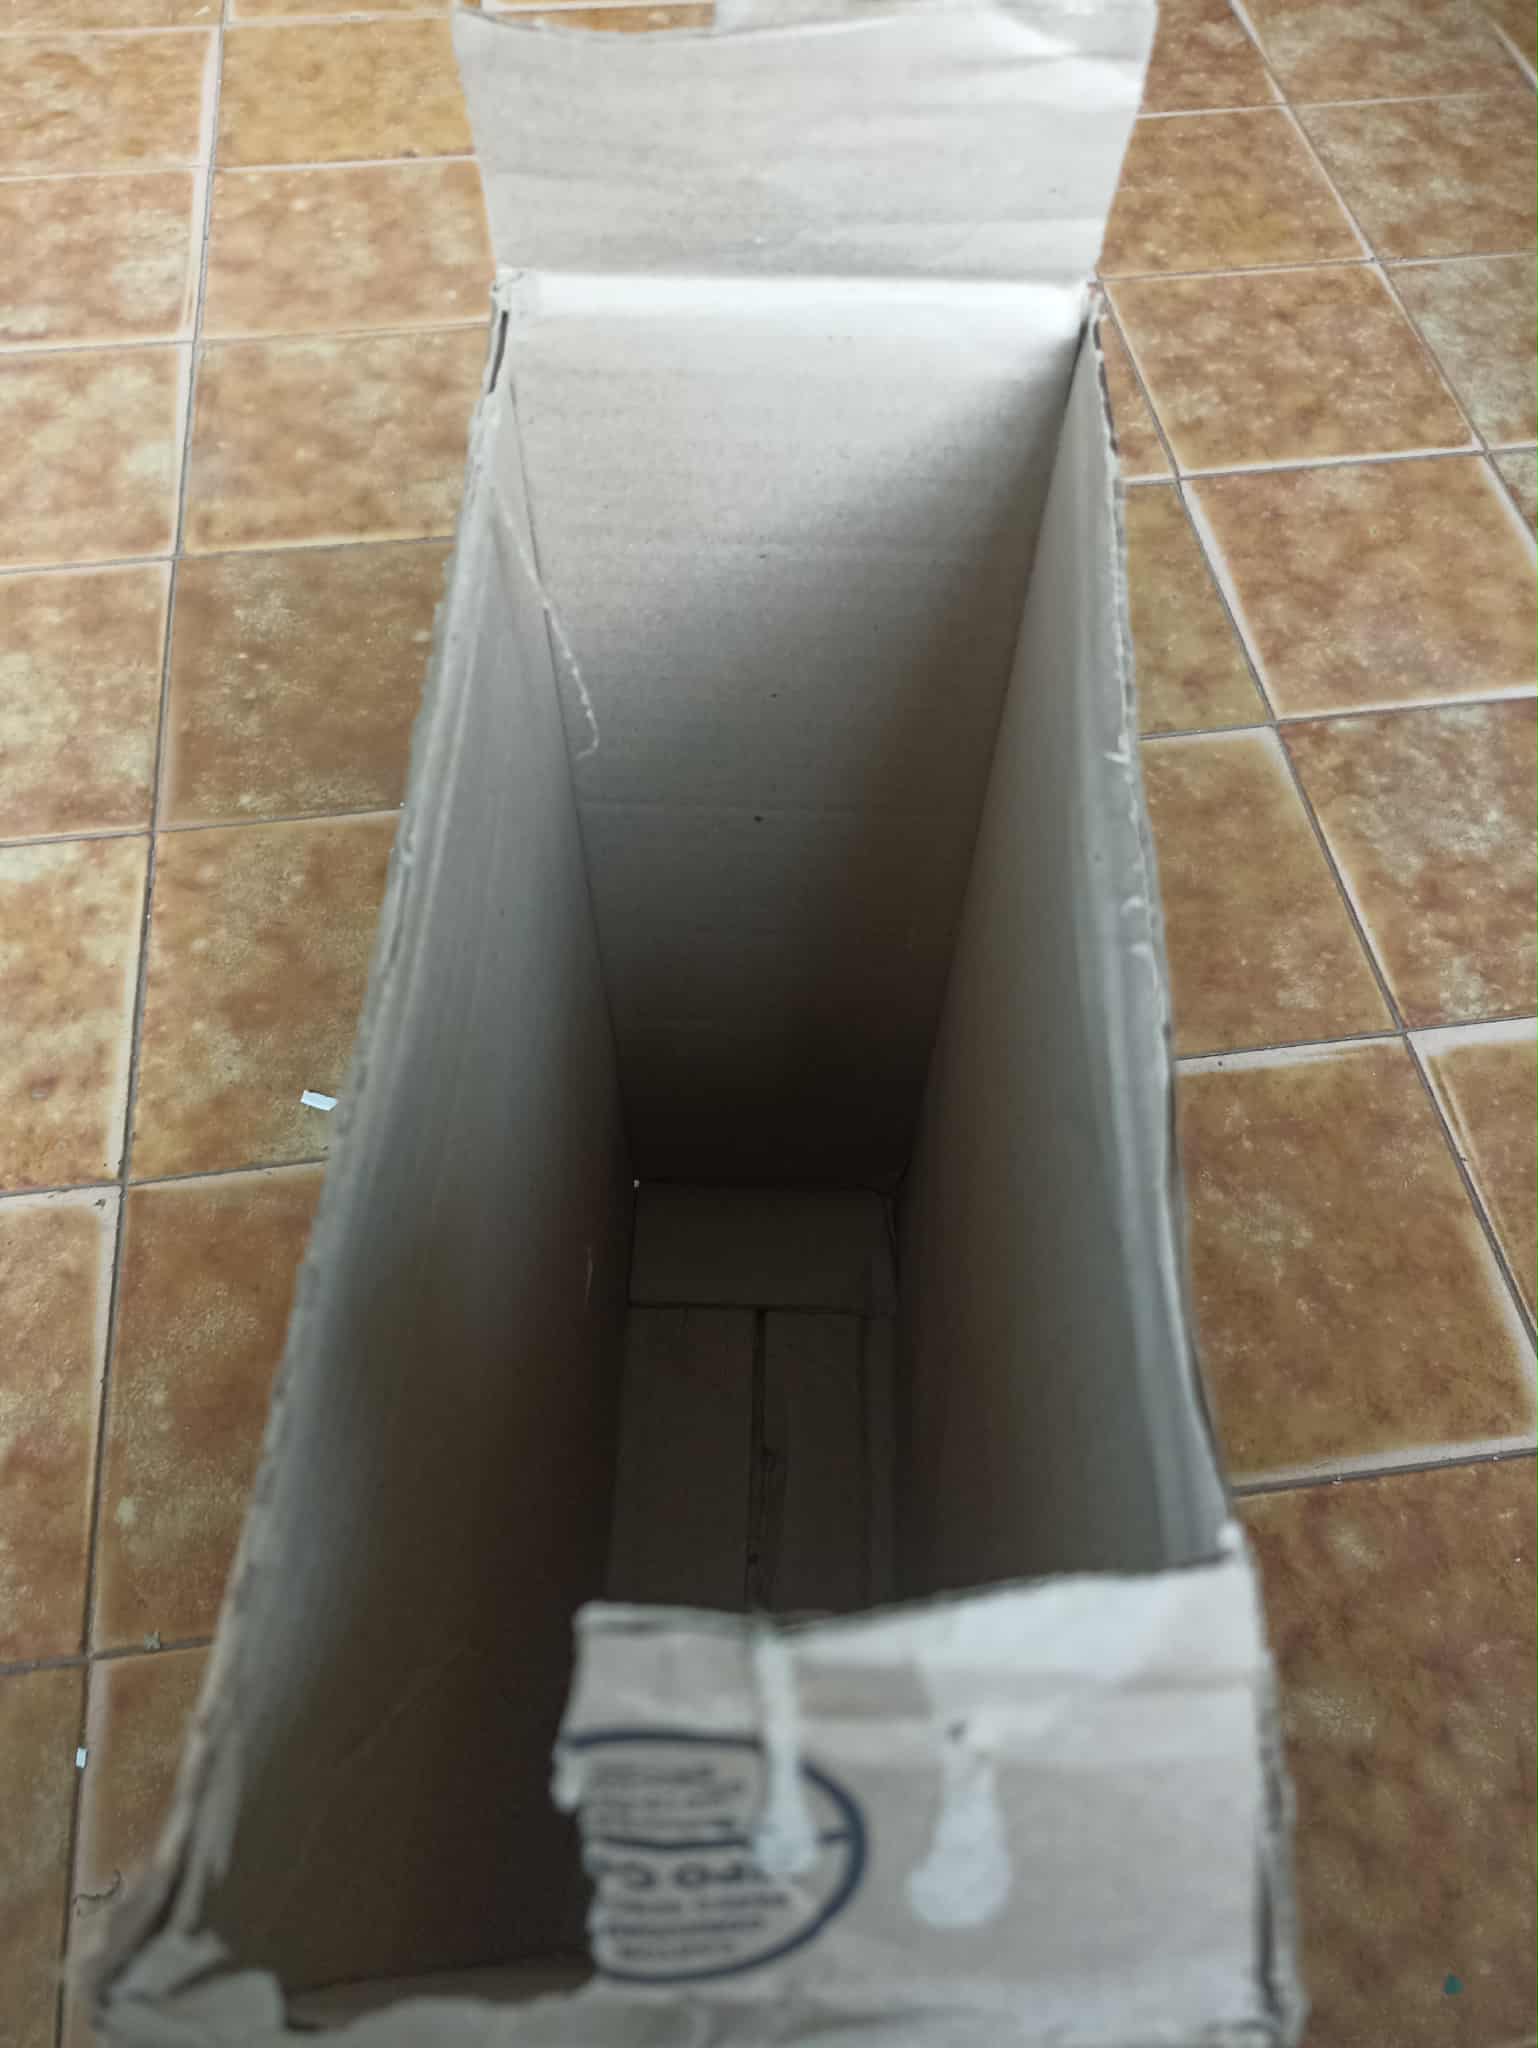
The first step is to find a cardboard box. There are several types. I used a box that had been used to transport food. This type of cardboard is one of the hardest and most durable, which is why I chose it to make the lamp. What I did was clean it very well and then separate it into several parts using a box cutter. I took only one part to make the lamp, saving the rest for later projects.
El primer paso es encontrar una caja de cartón, hay varios tipos, yo utilicé una caja cuyo uso había sido para transportar alimentos, este clase de cartón es uno de los mas duros y resistentes, por eso lo elegí para hacer la lámpara. Lo que hice fue limpiarla muy bien y luego separarla en varias partes utilizando un cúter, tomé solo una parte para hacer la lámpara, el resto lo guardé para posteriores trabajos.
 |
 |
|
|---|---|---|
 |
 |
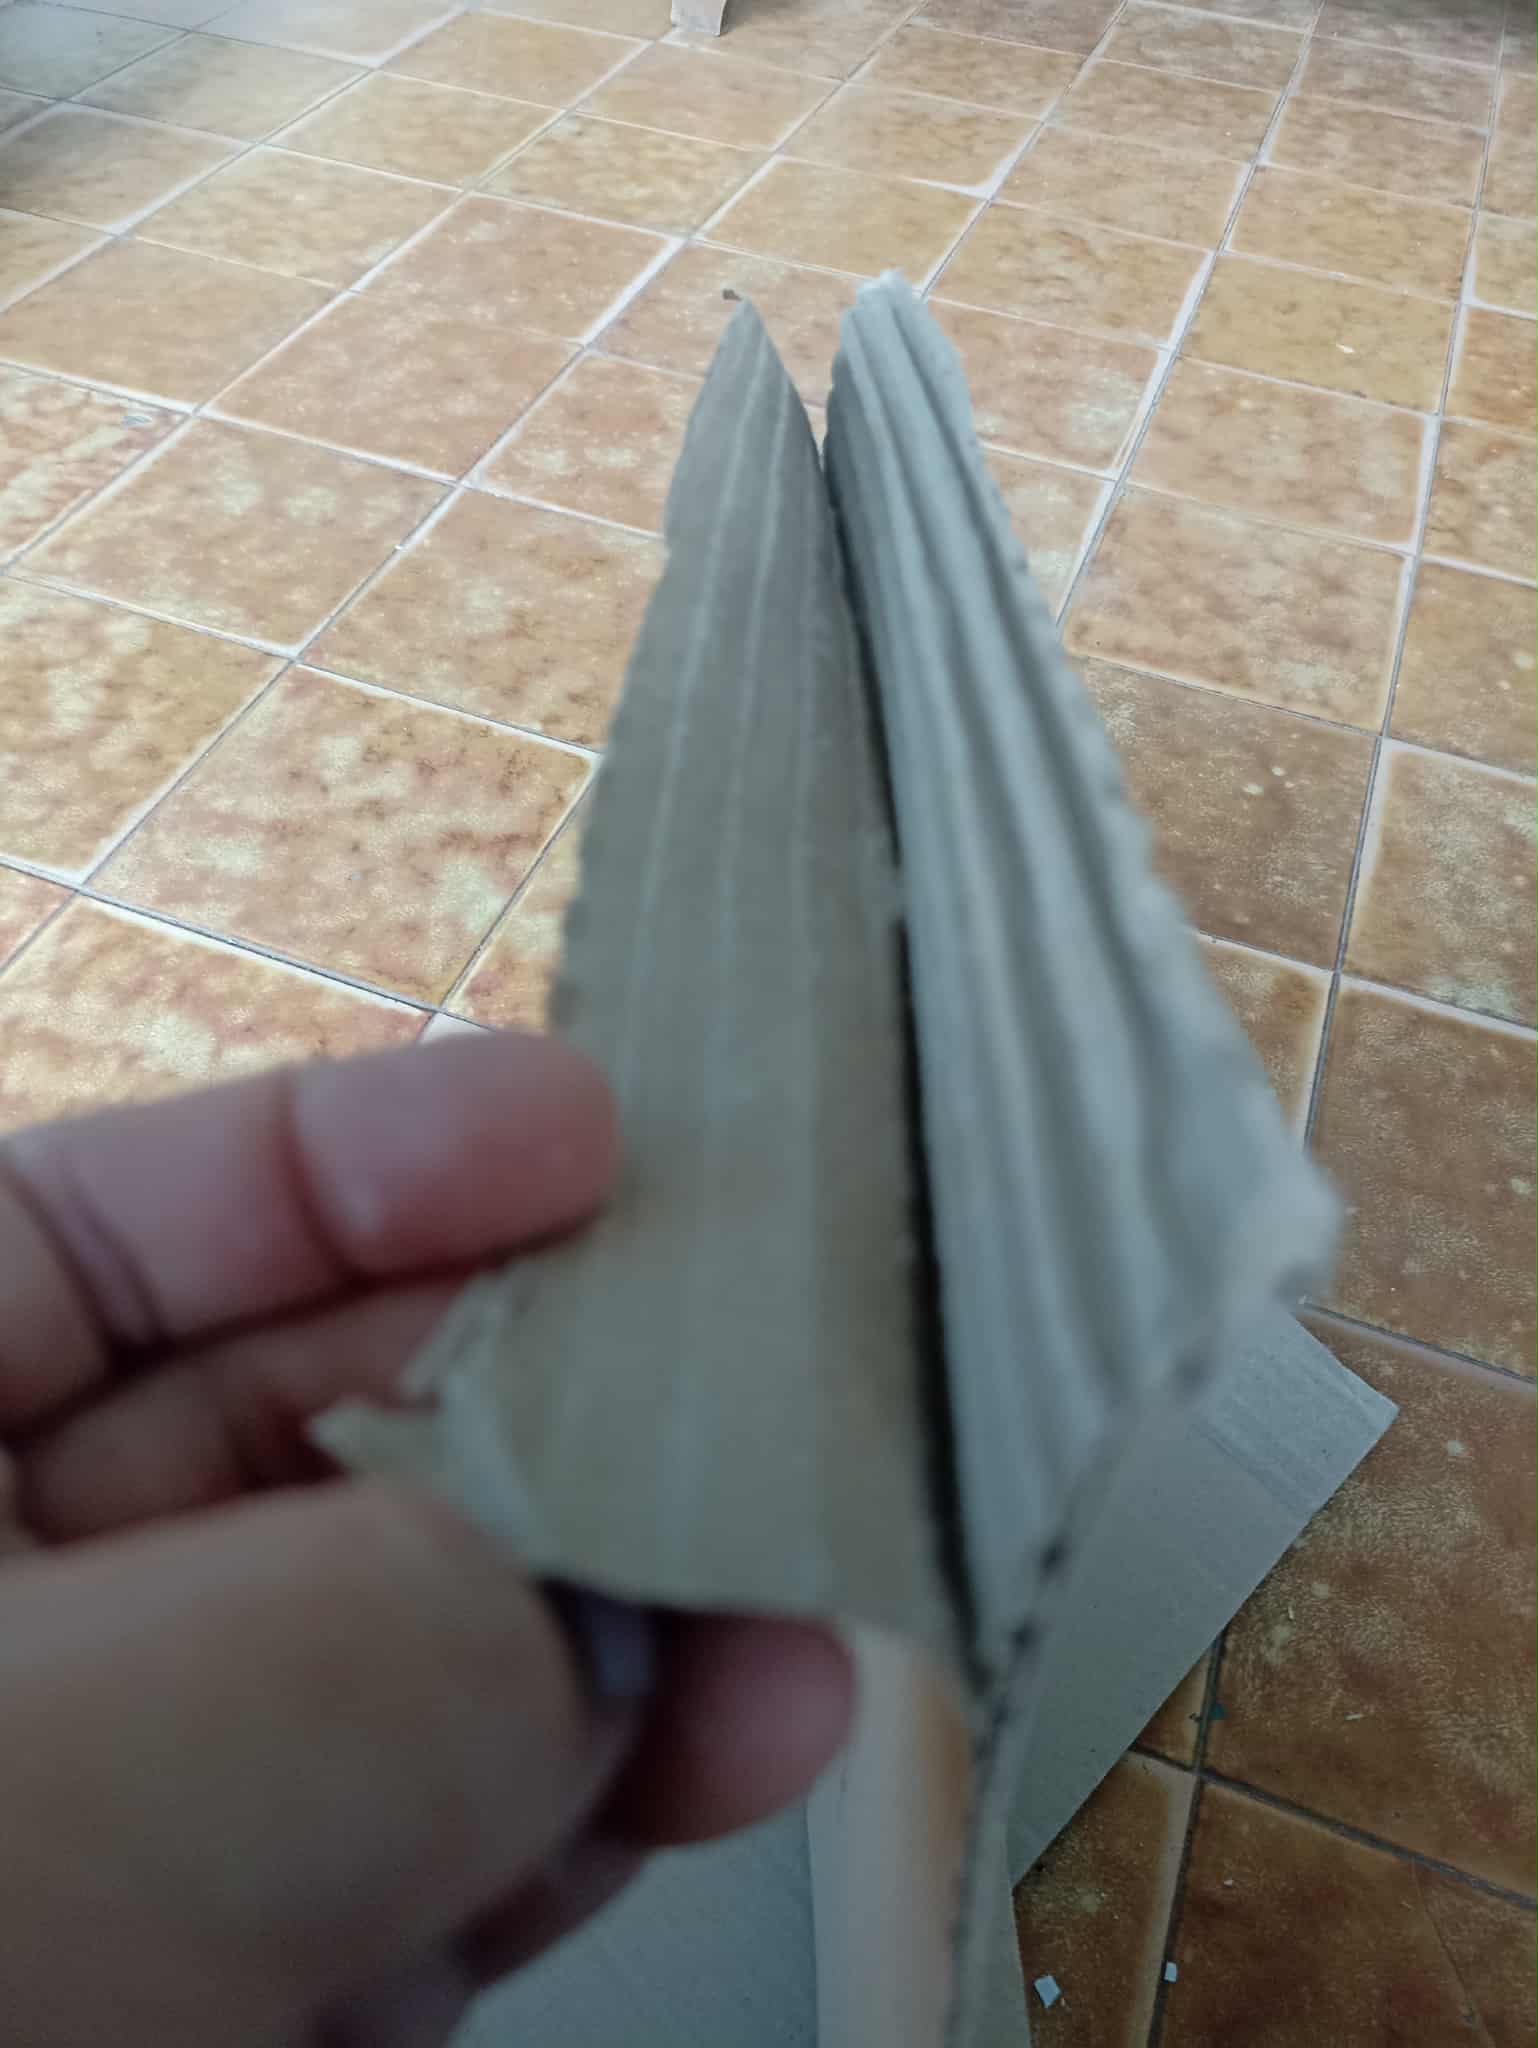
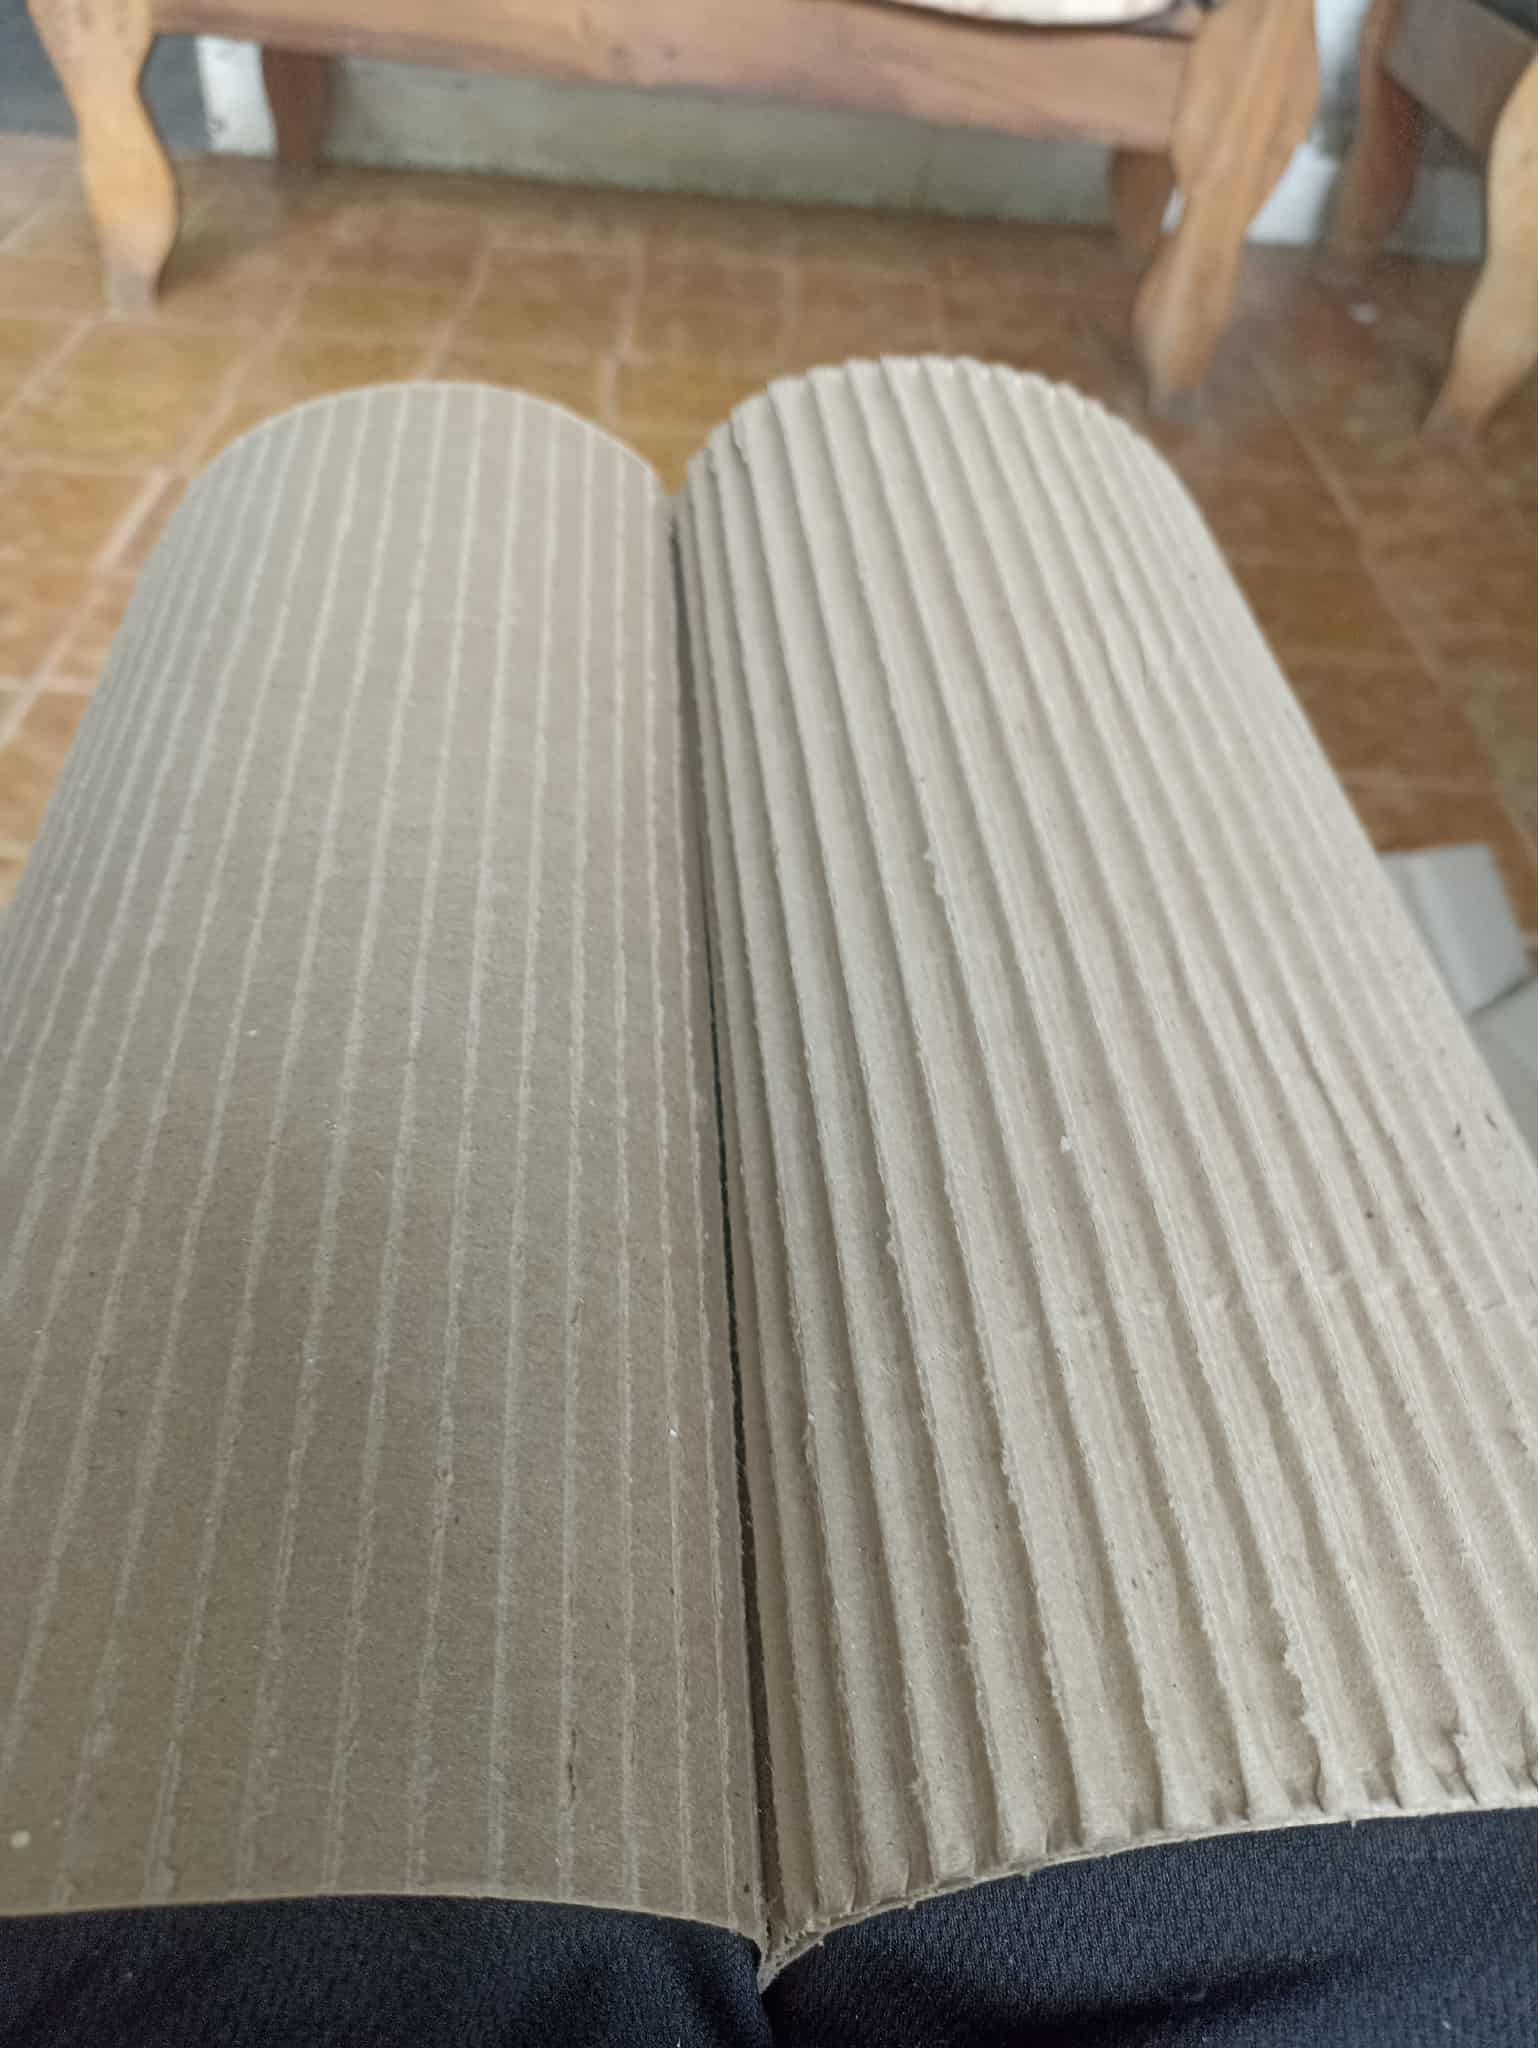
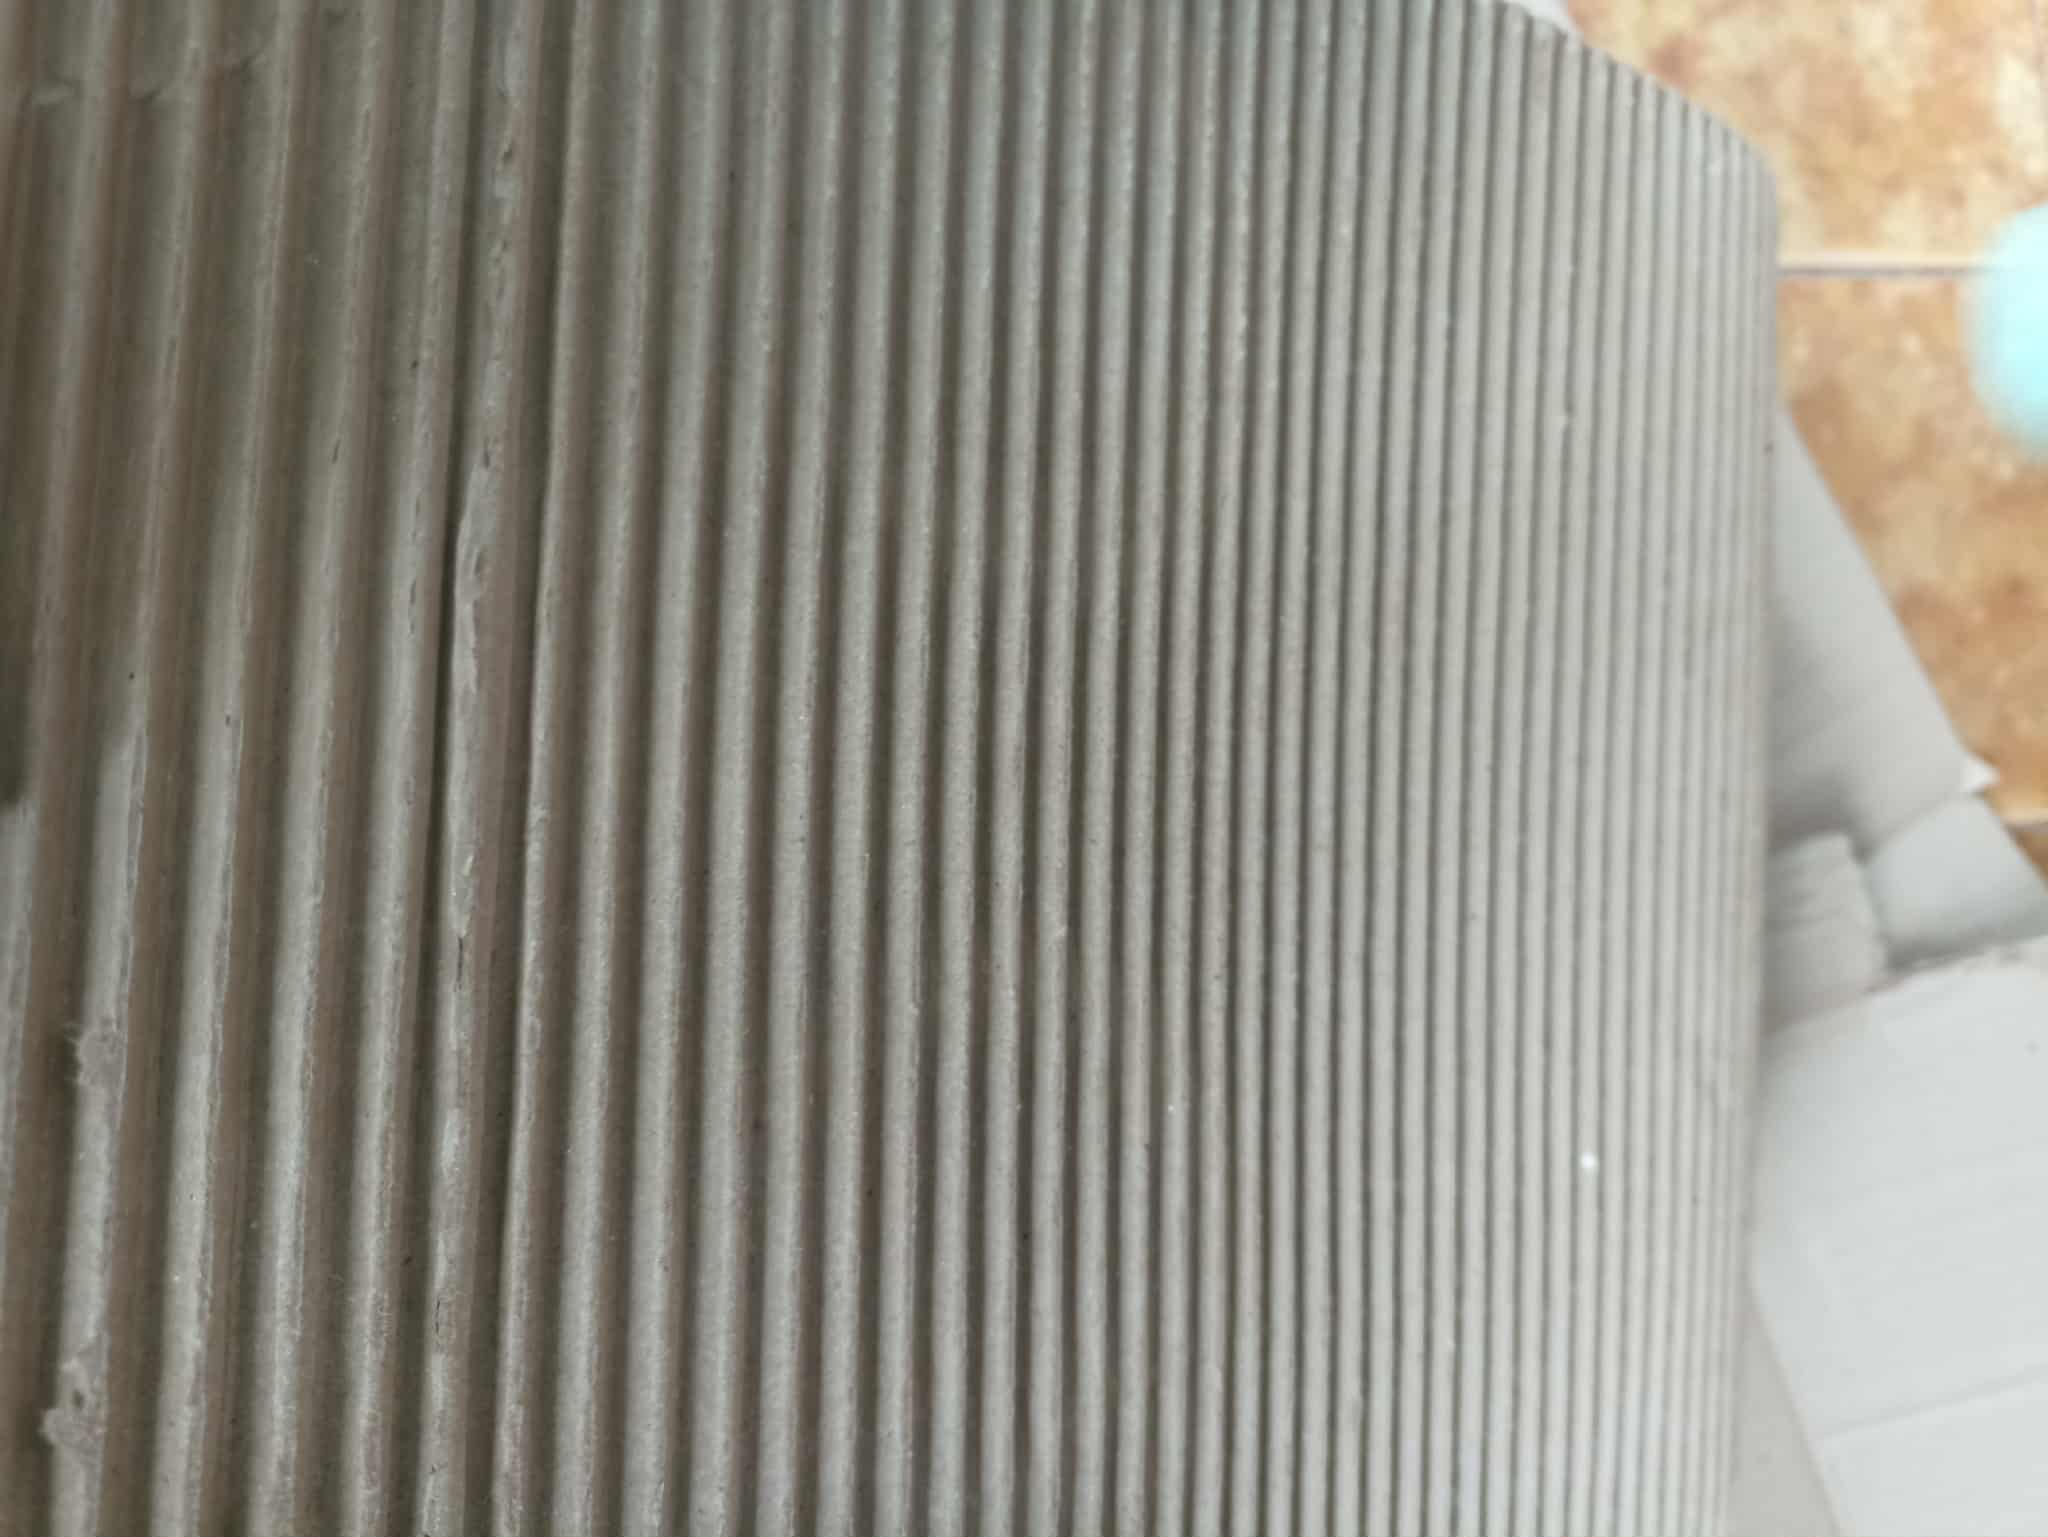
After choosing the cardboard section I was going to use, I set about preparing it. We know that the cardboard is made up of two smooth sheets, while the middle piece is embossed. I need to use that section, so I'll remove only one of the outer smooth sheets. This way, the lamp will have that embossed surface of the cardboard on the front. I'm slowly separating the cardboard very carefully so that it doesn't get damaged.
Después de haber elegido la parte de cartón que iba a utilizar me dispuse a prepararla. Sabemos que el cartón esta compuesto de dos láminas lisas mientras que la pieza que esta en el medio, tiene relieve. Yo necesito utilizar esa parte, por lo que retiraré una sola de las láminas lisas exteriores, así la lámpara tendrá en el frente esa superficie con relieve del cartón. Poco a poco voy separando el cartón con mucho cuidado para que no vaya a estropearse.
 |
 |
|
|---|---|---|
 |
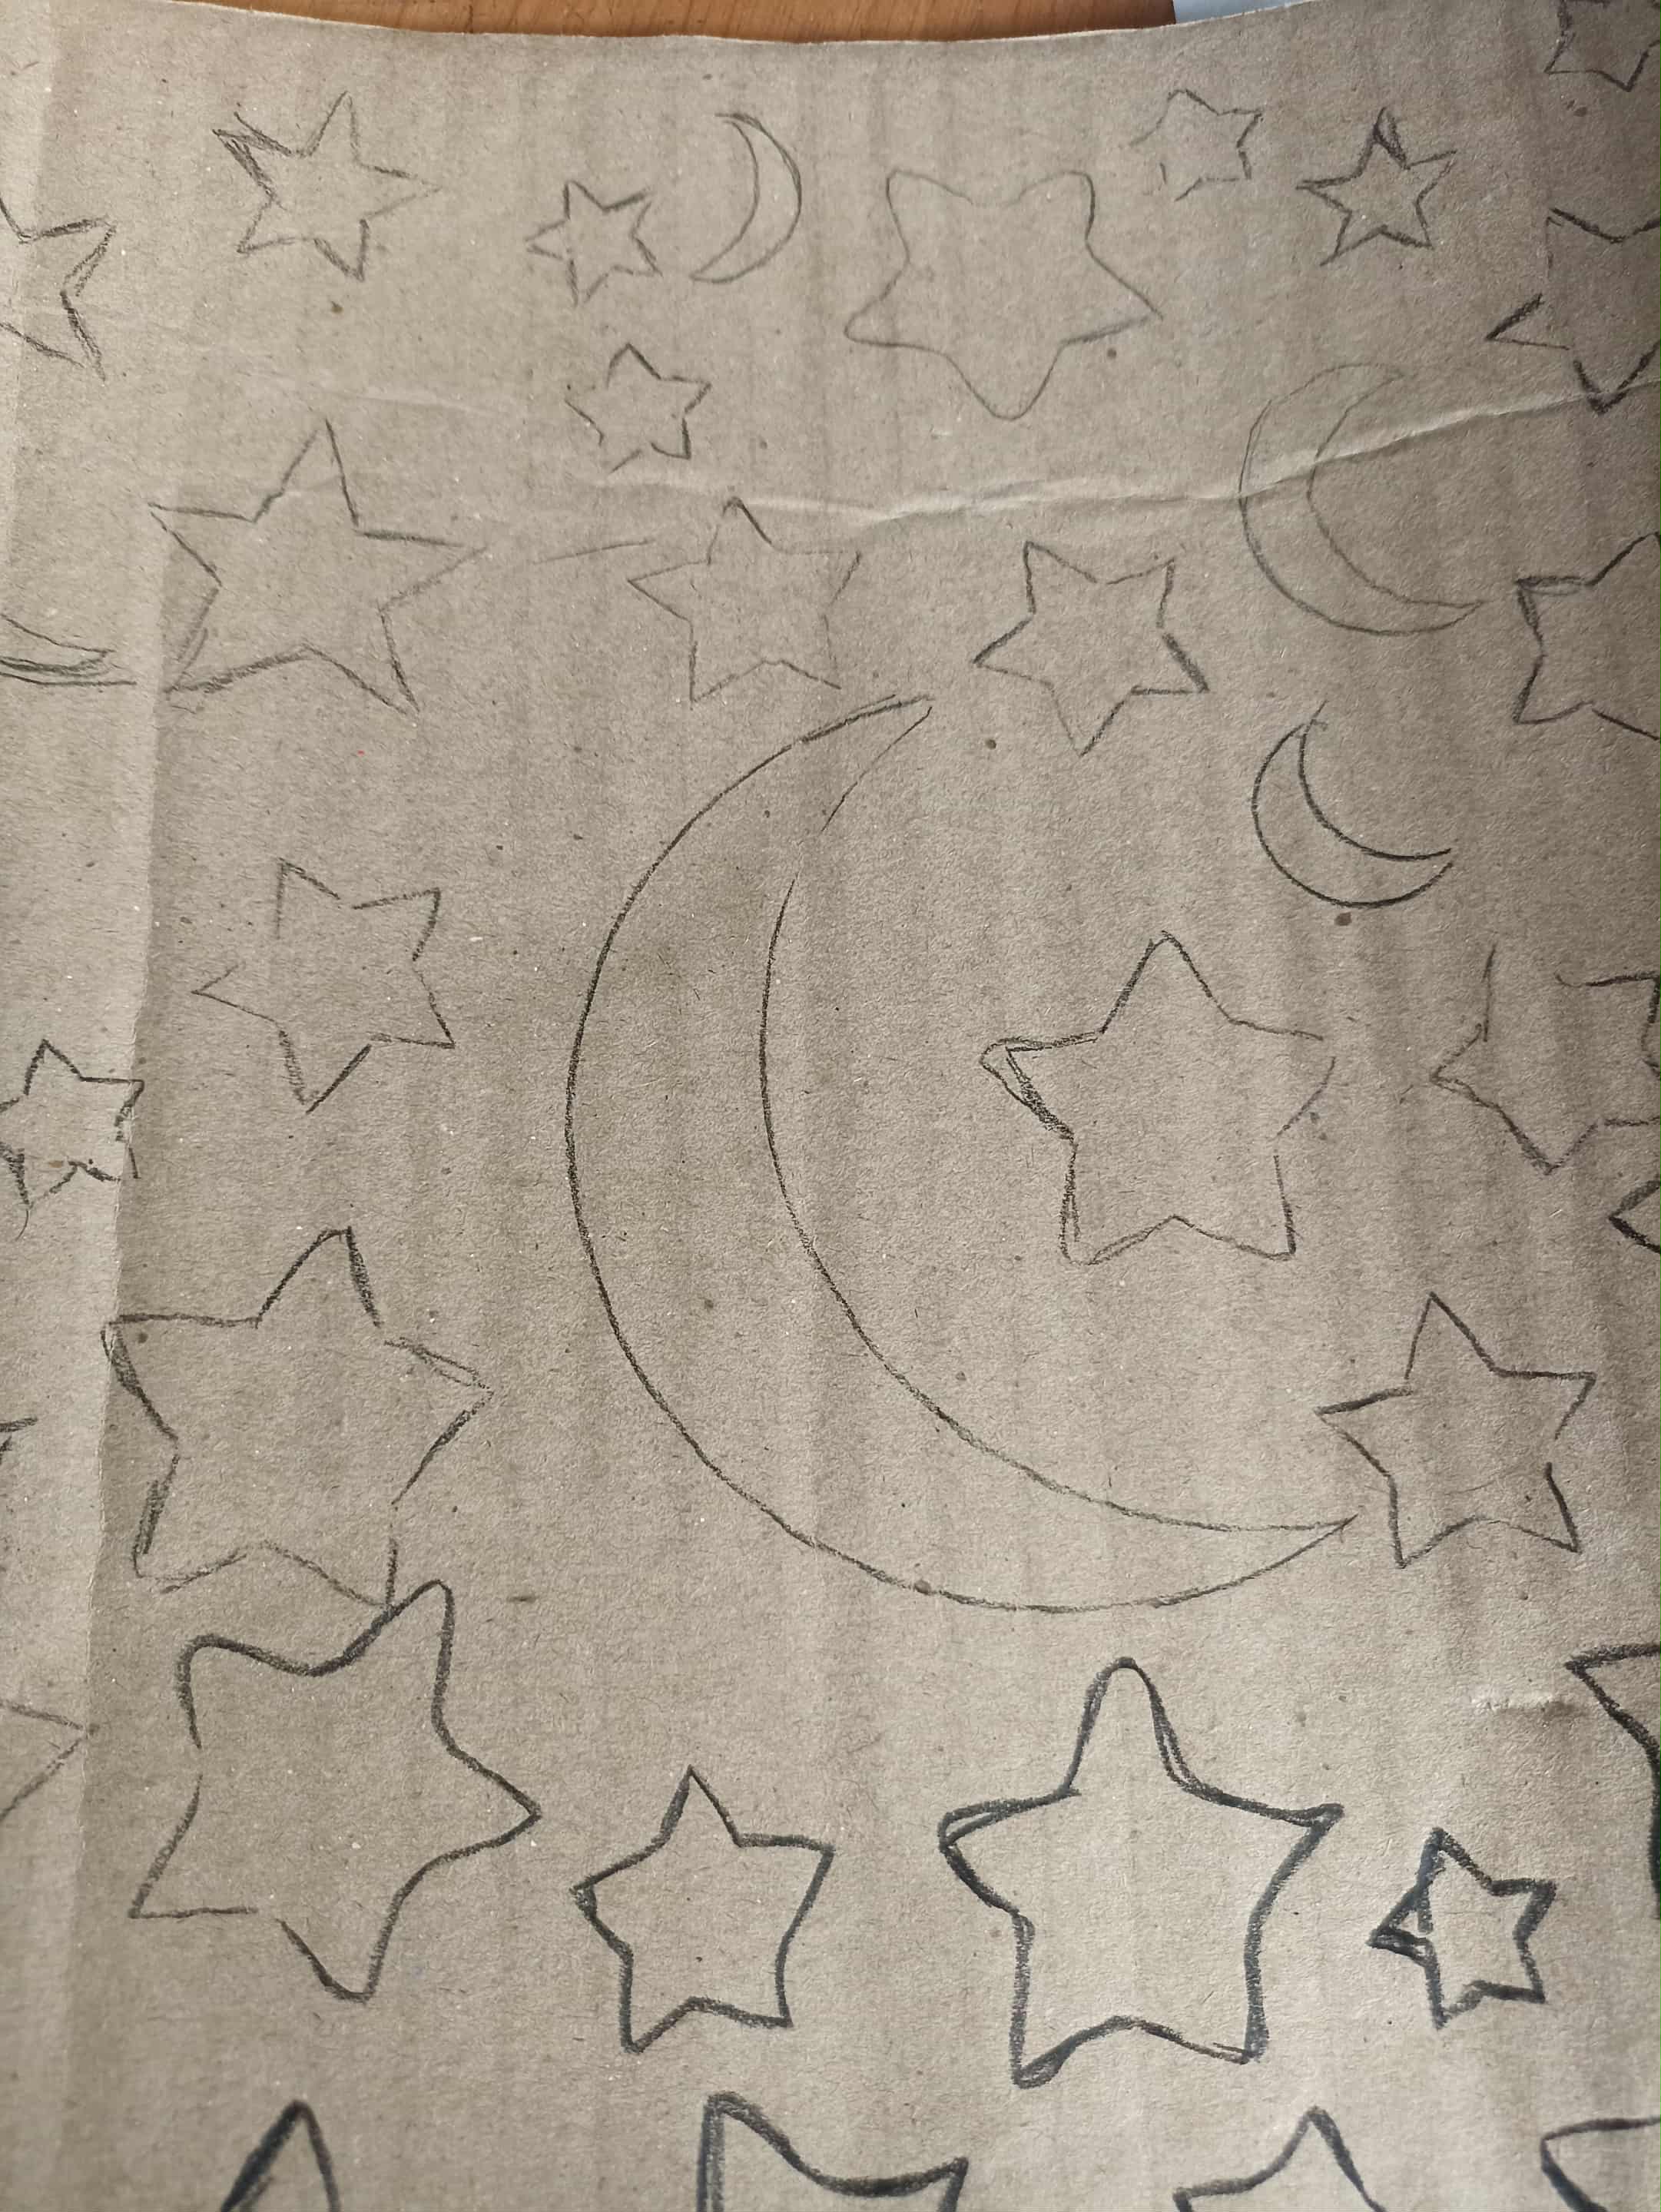 |
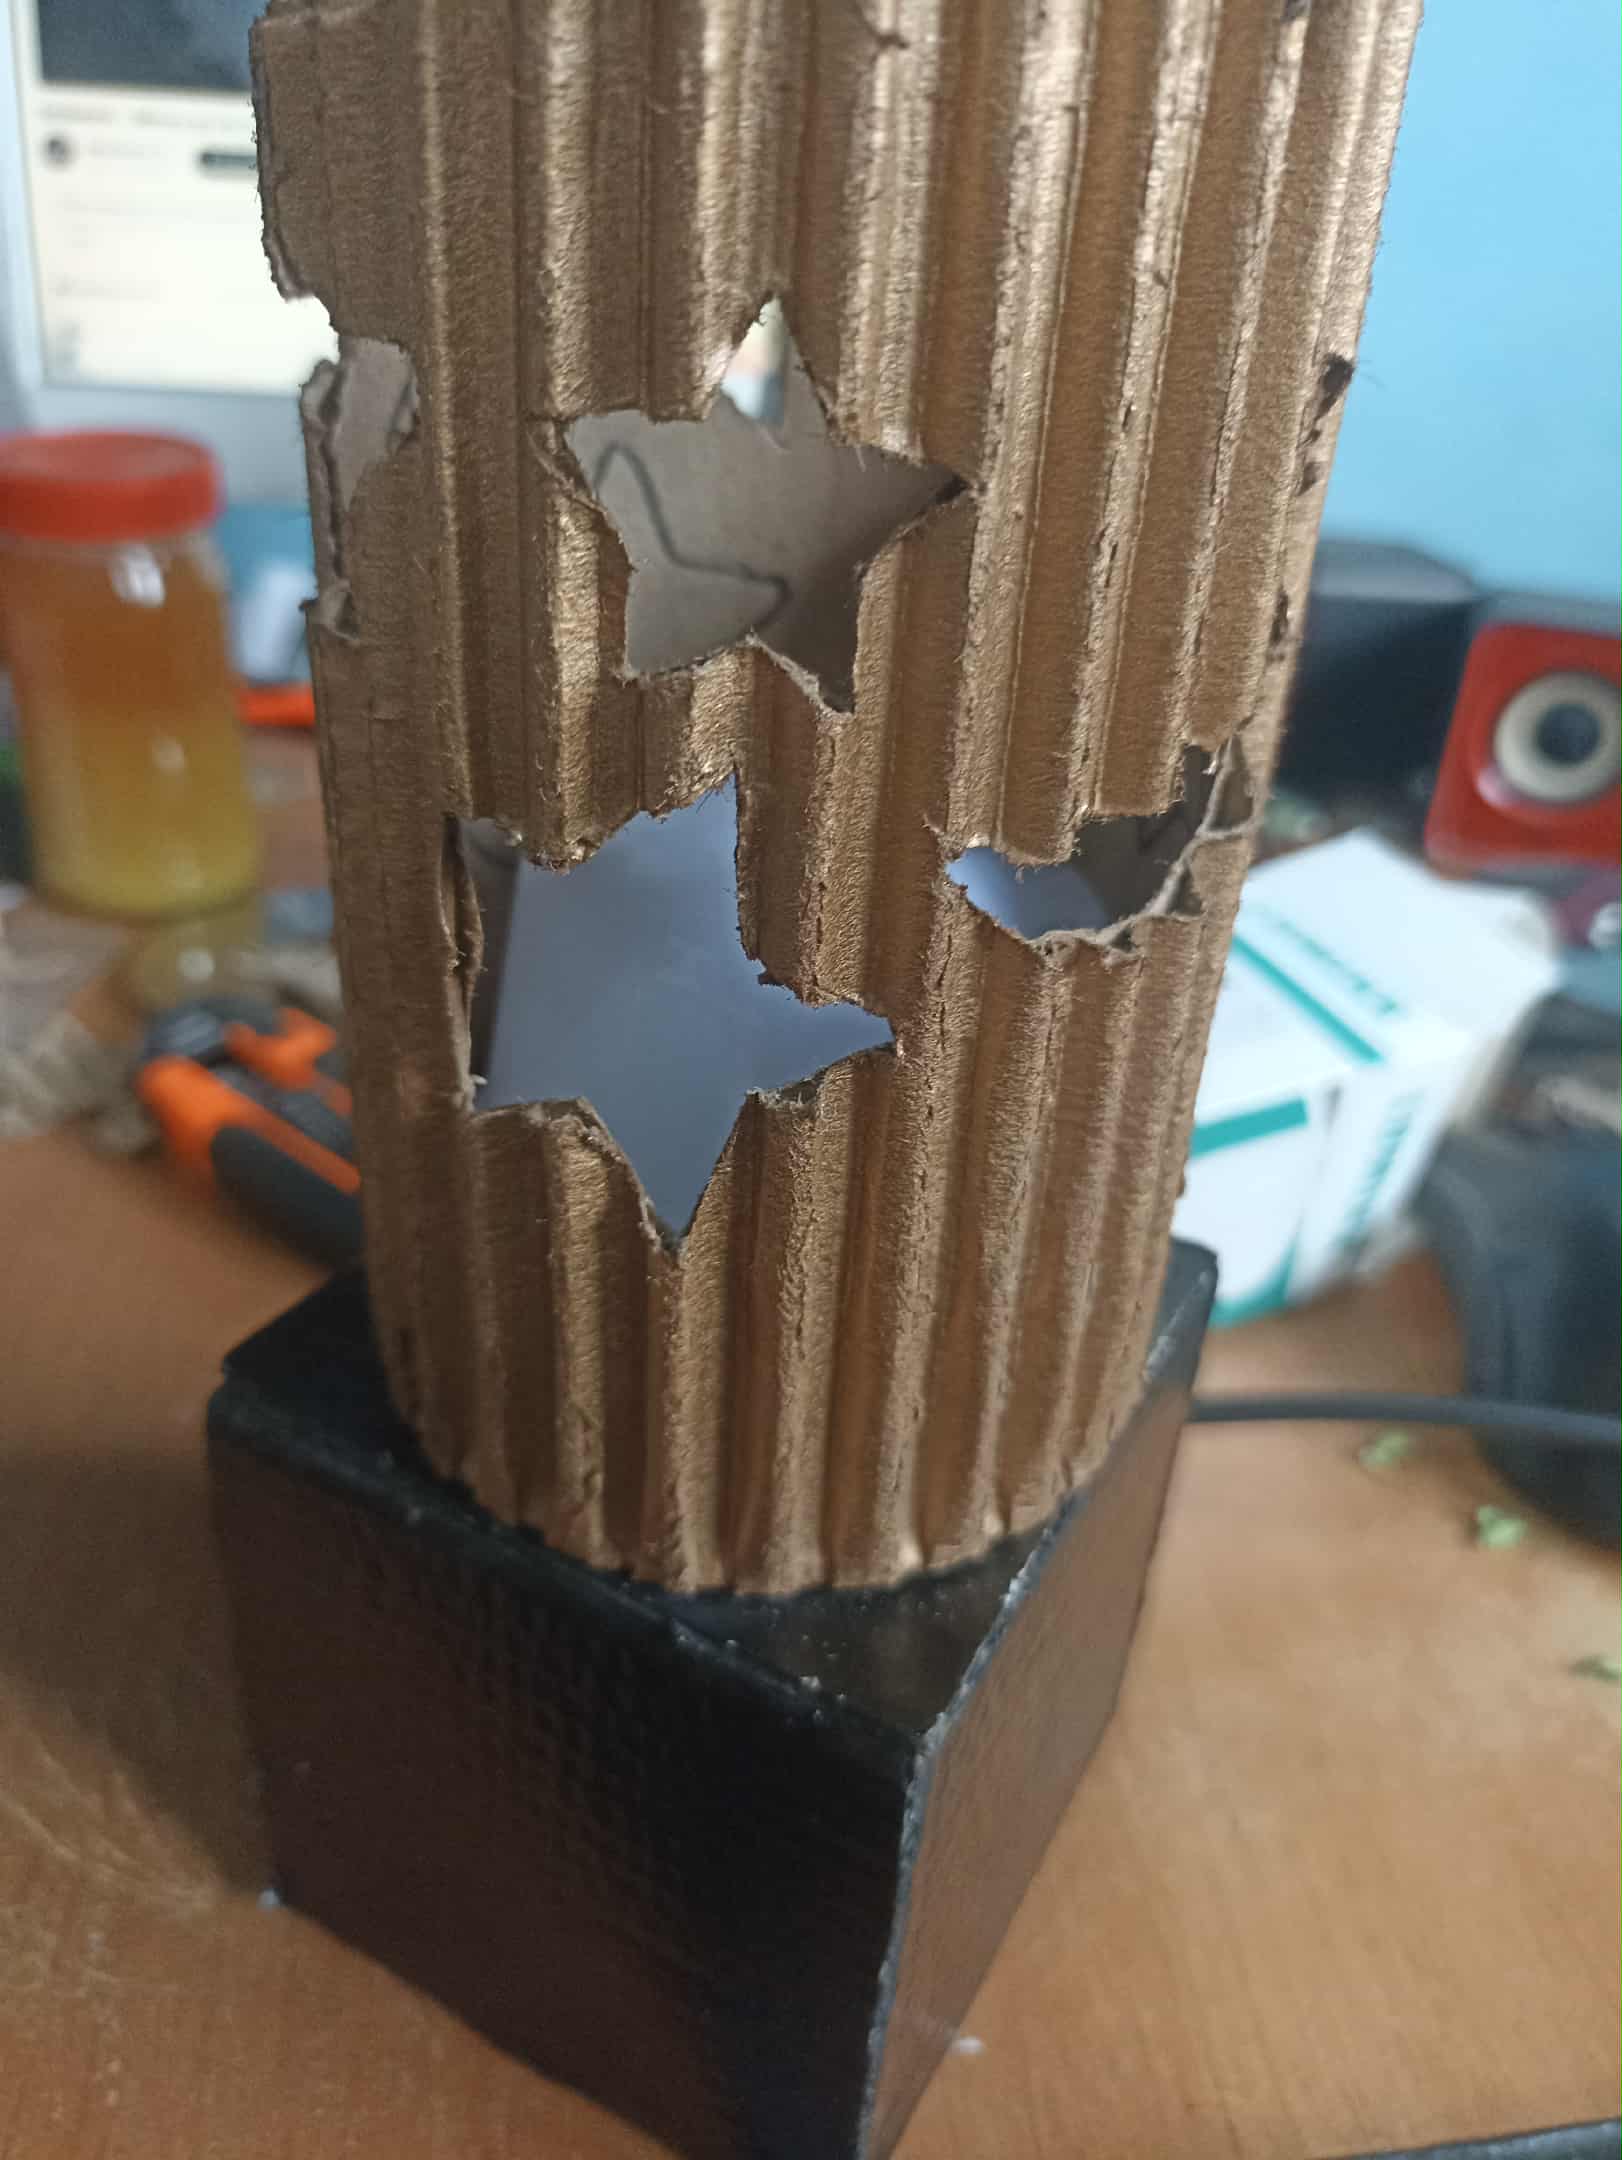
Once the cardboard is ready, I do something very simple, at least for me, and that is to draw many stars of various sizes and also the moon in various sizes. This will be the main decoration of the lamp, since the light will pass through each of these figures.
Una vez ya preparado el cartón, hago algo muy sencillo, al menos para mi jejeje y es dibujar muchas estrellas de varios tamaños y también la luna de tamaños variados. Esta será la decoración principar de la lámpara, ya que la luz pasará a través de cada una de estas figuras.
 |
 |
|
|---|---|---|
 |
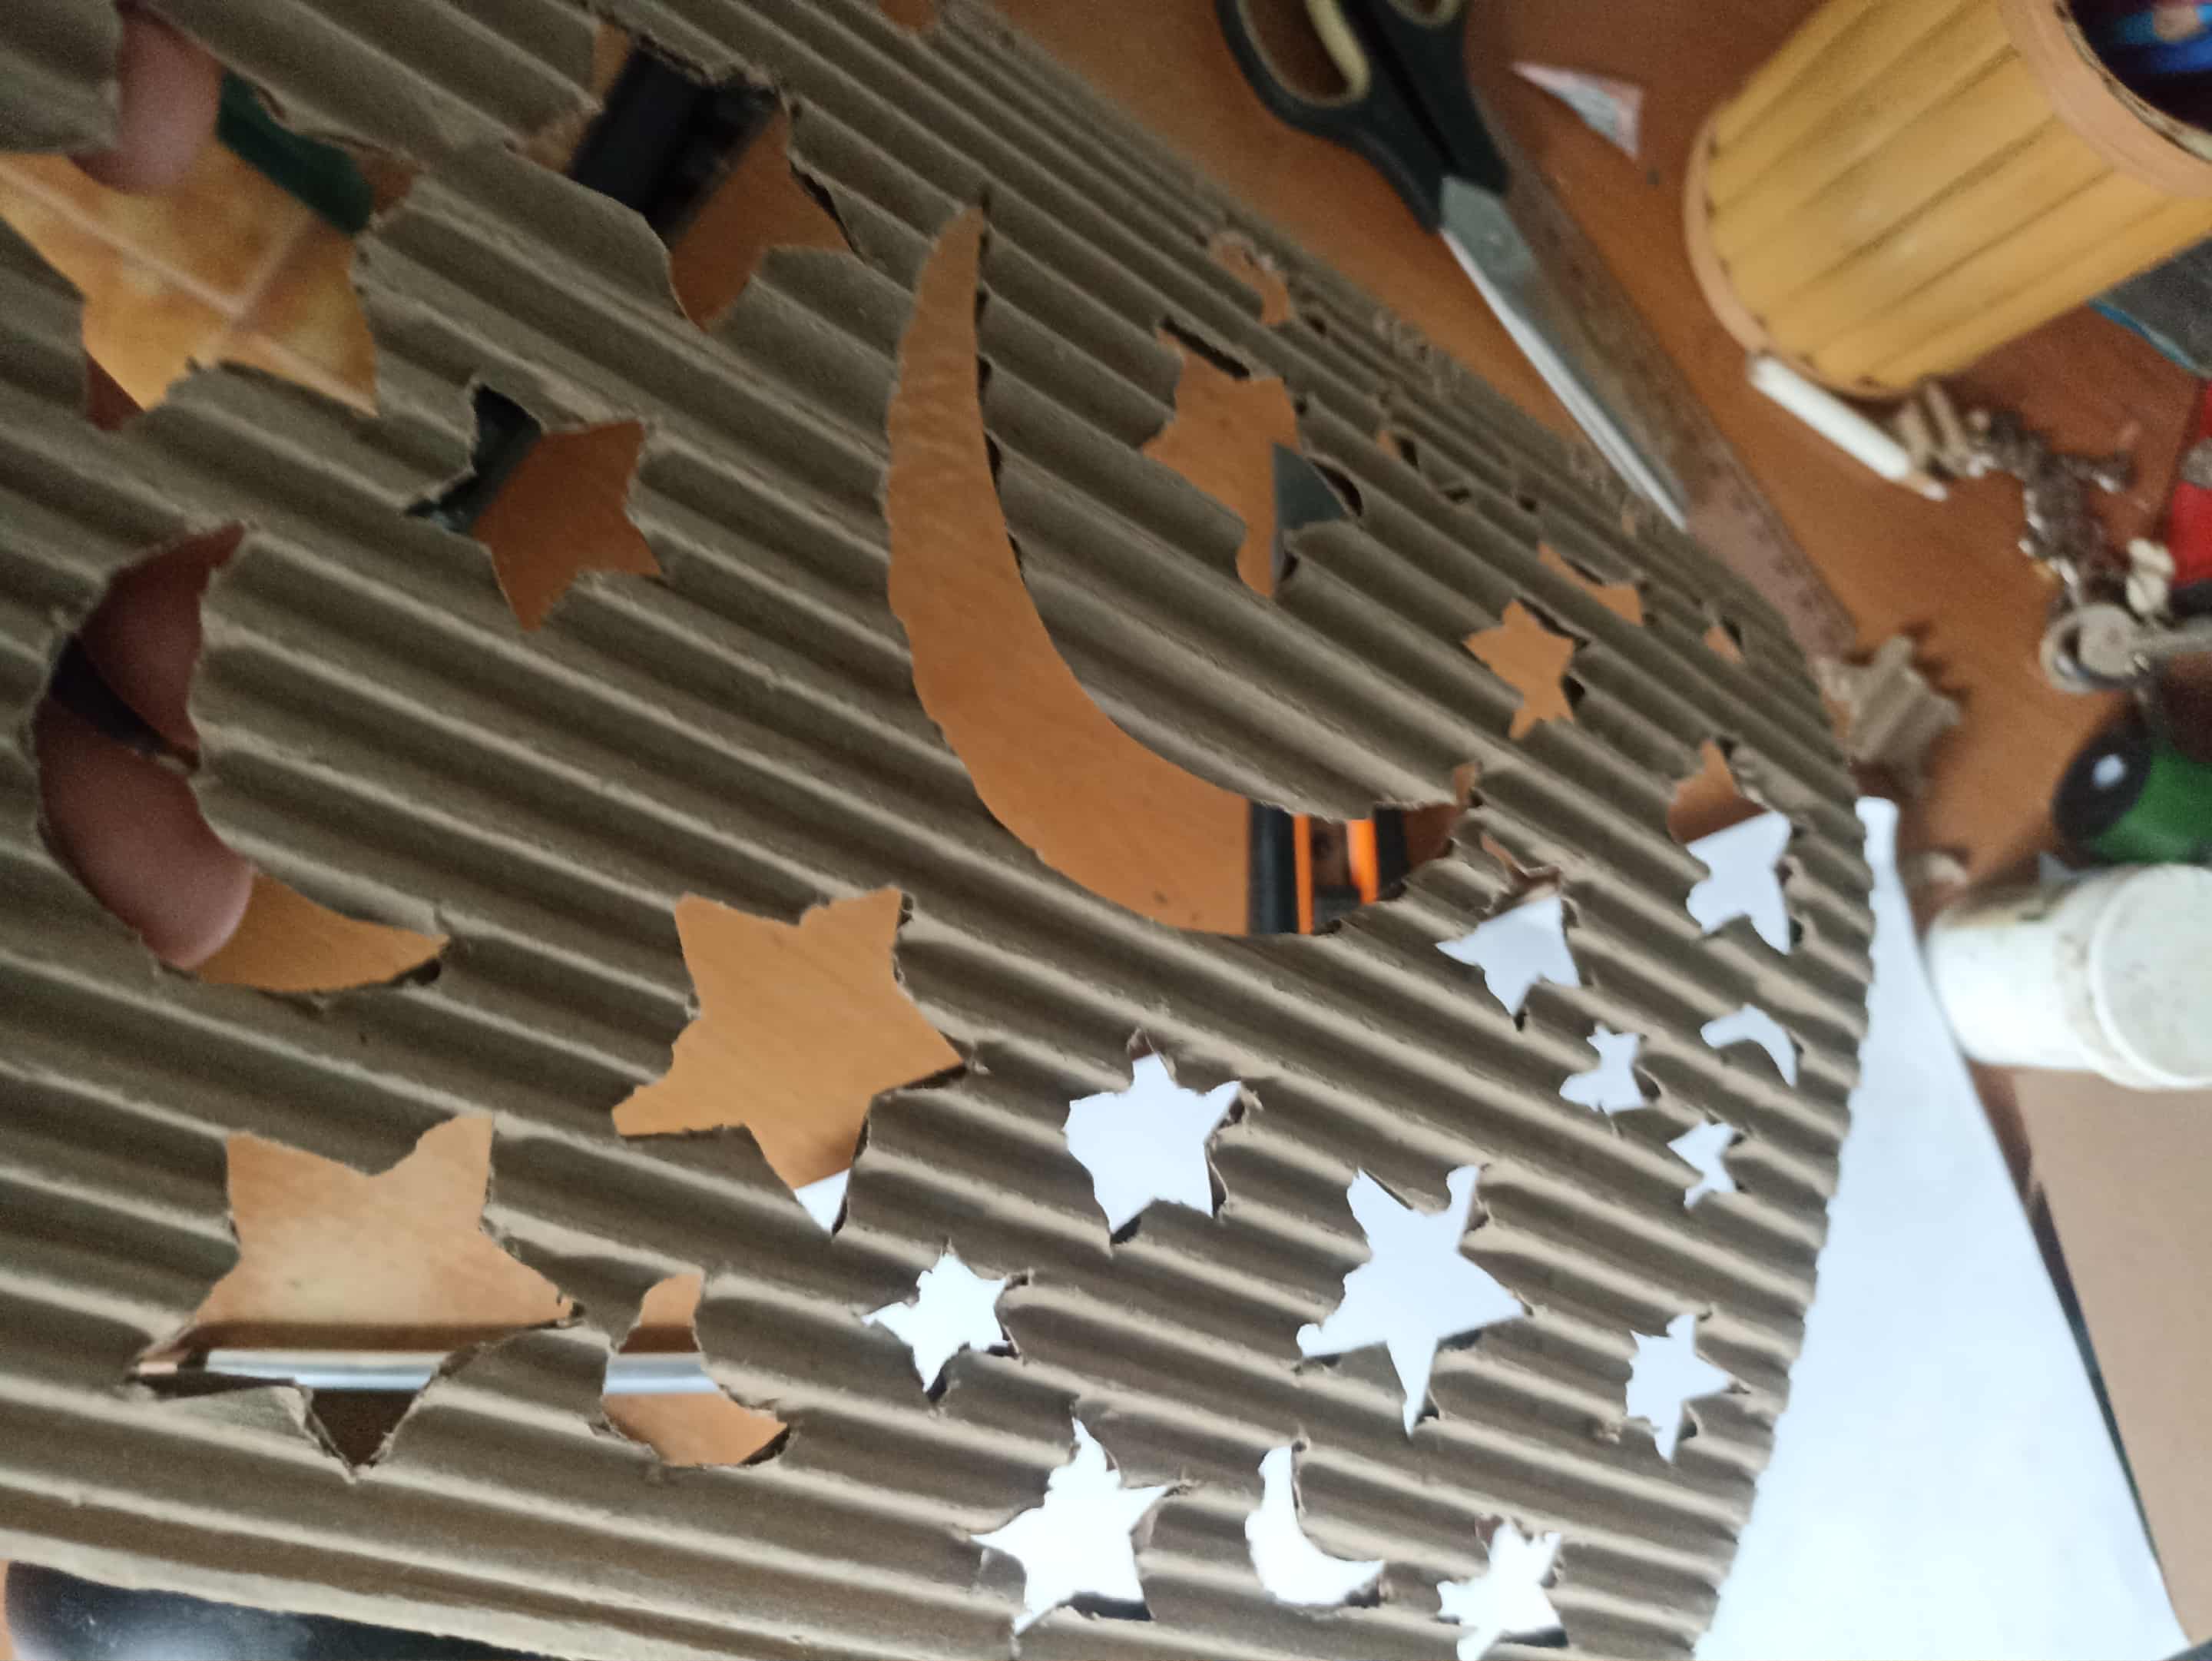 |
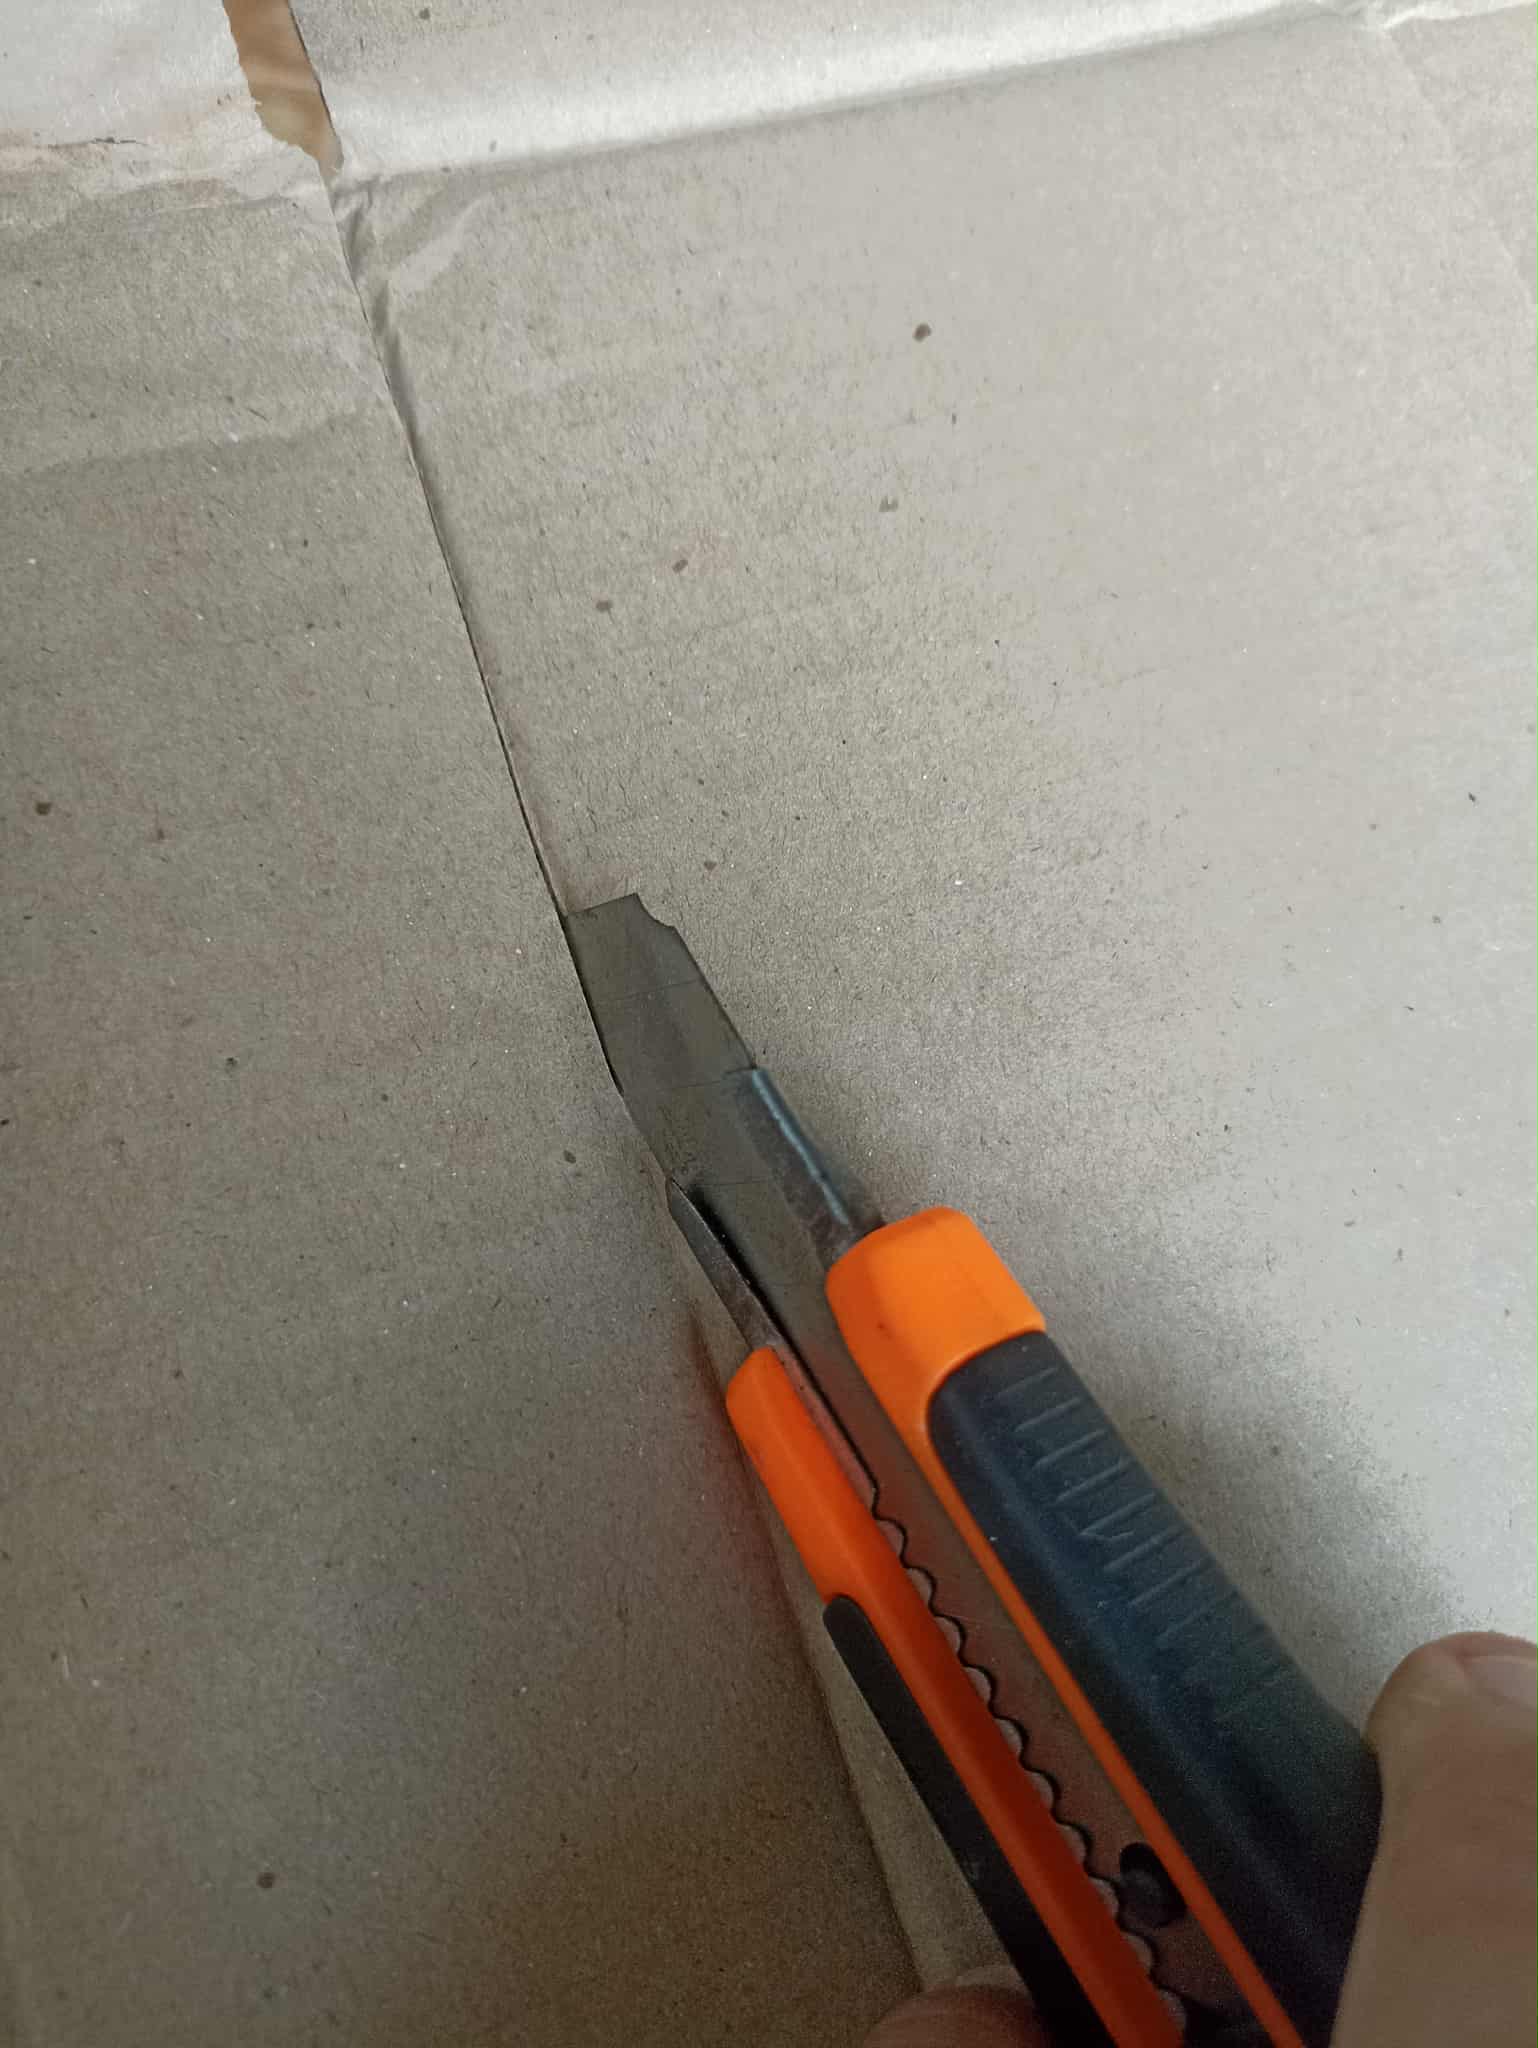
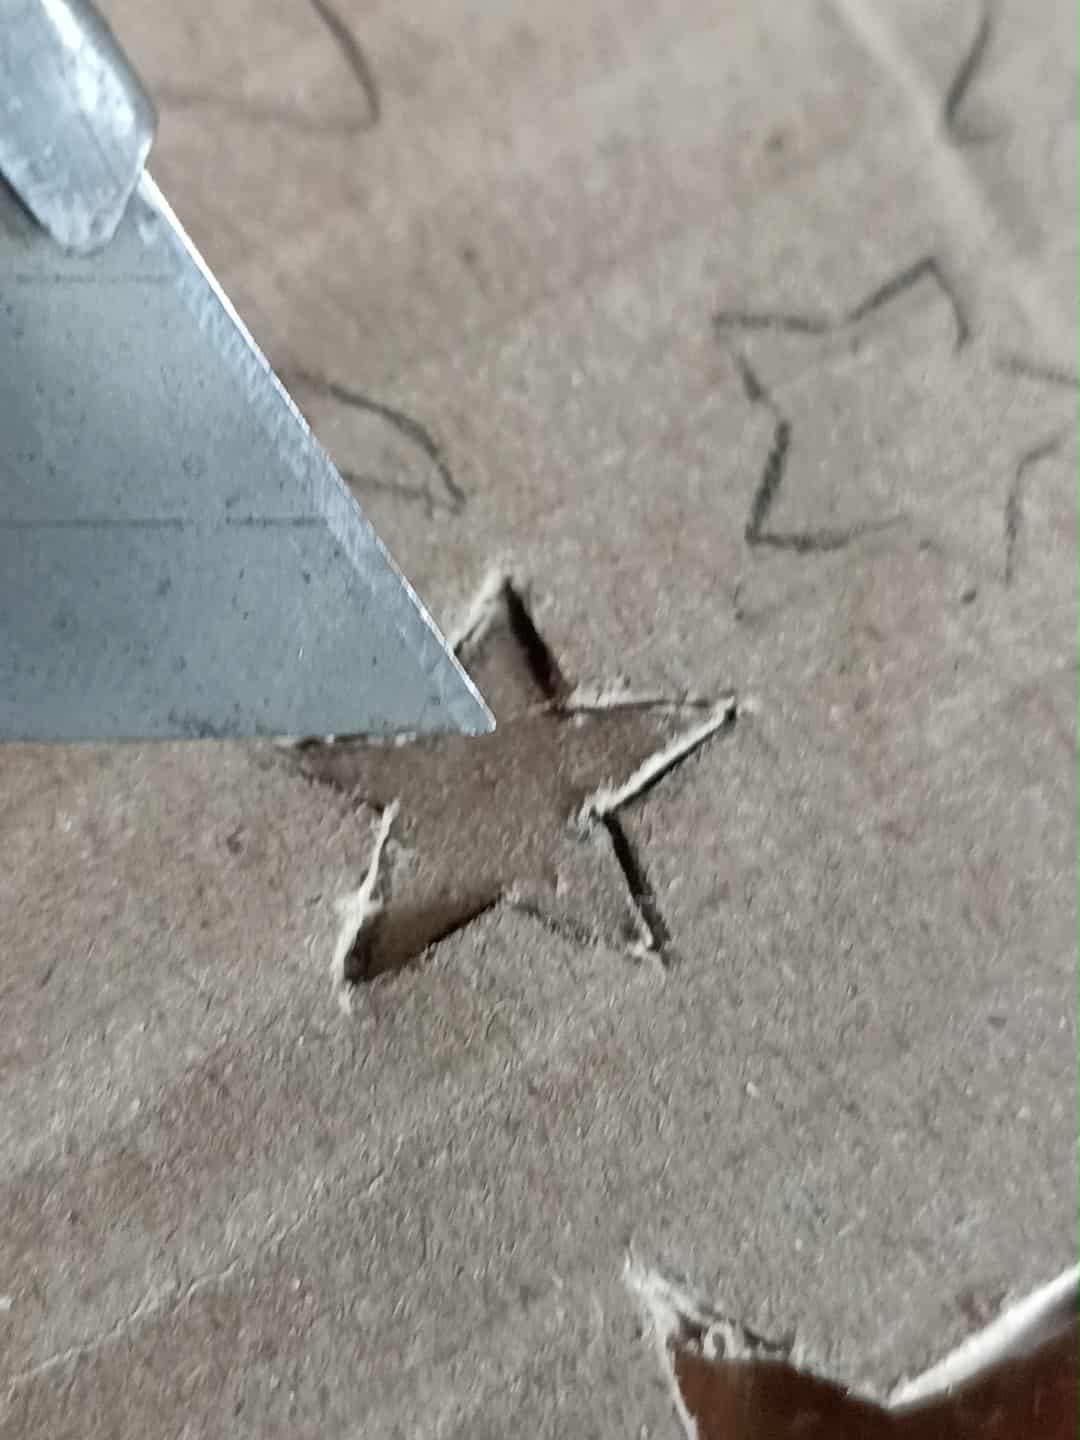
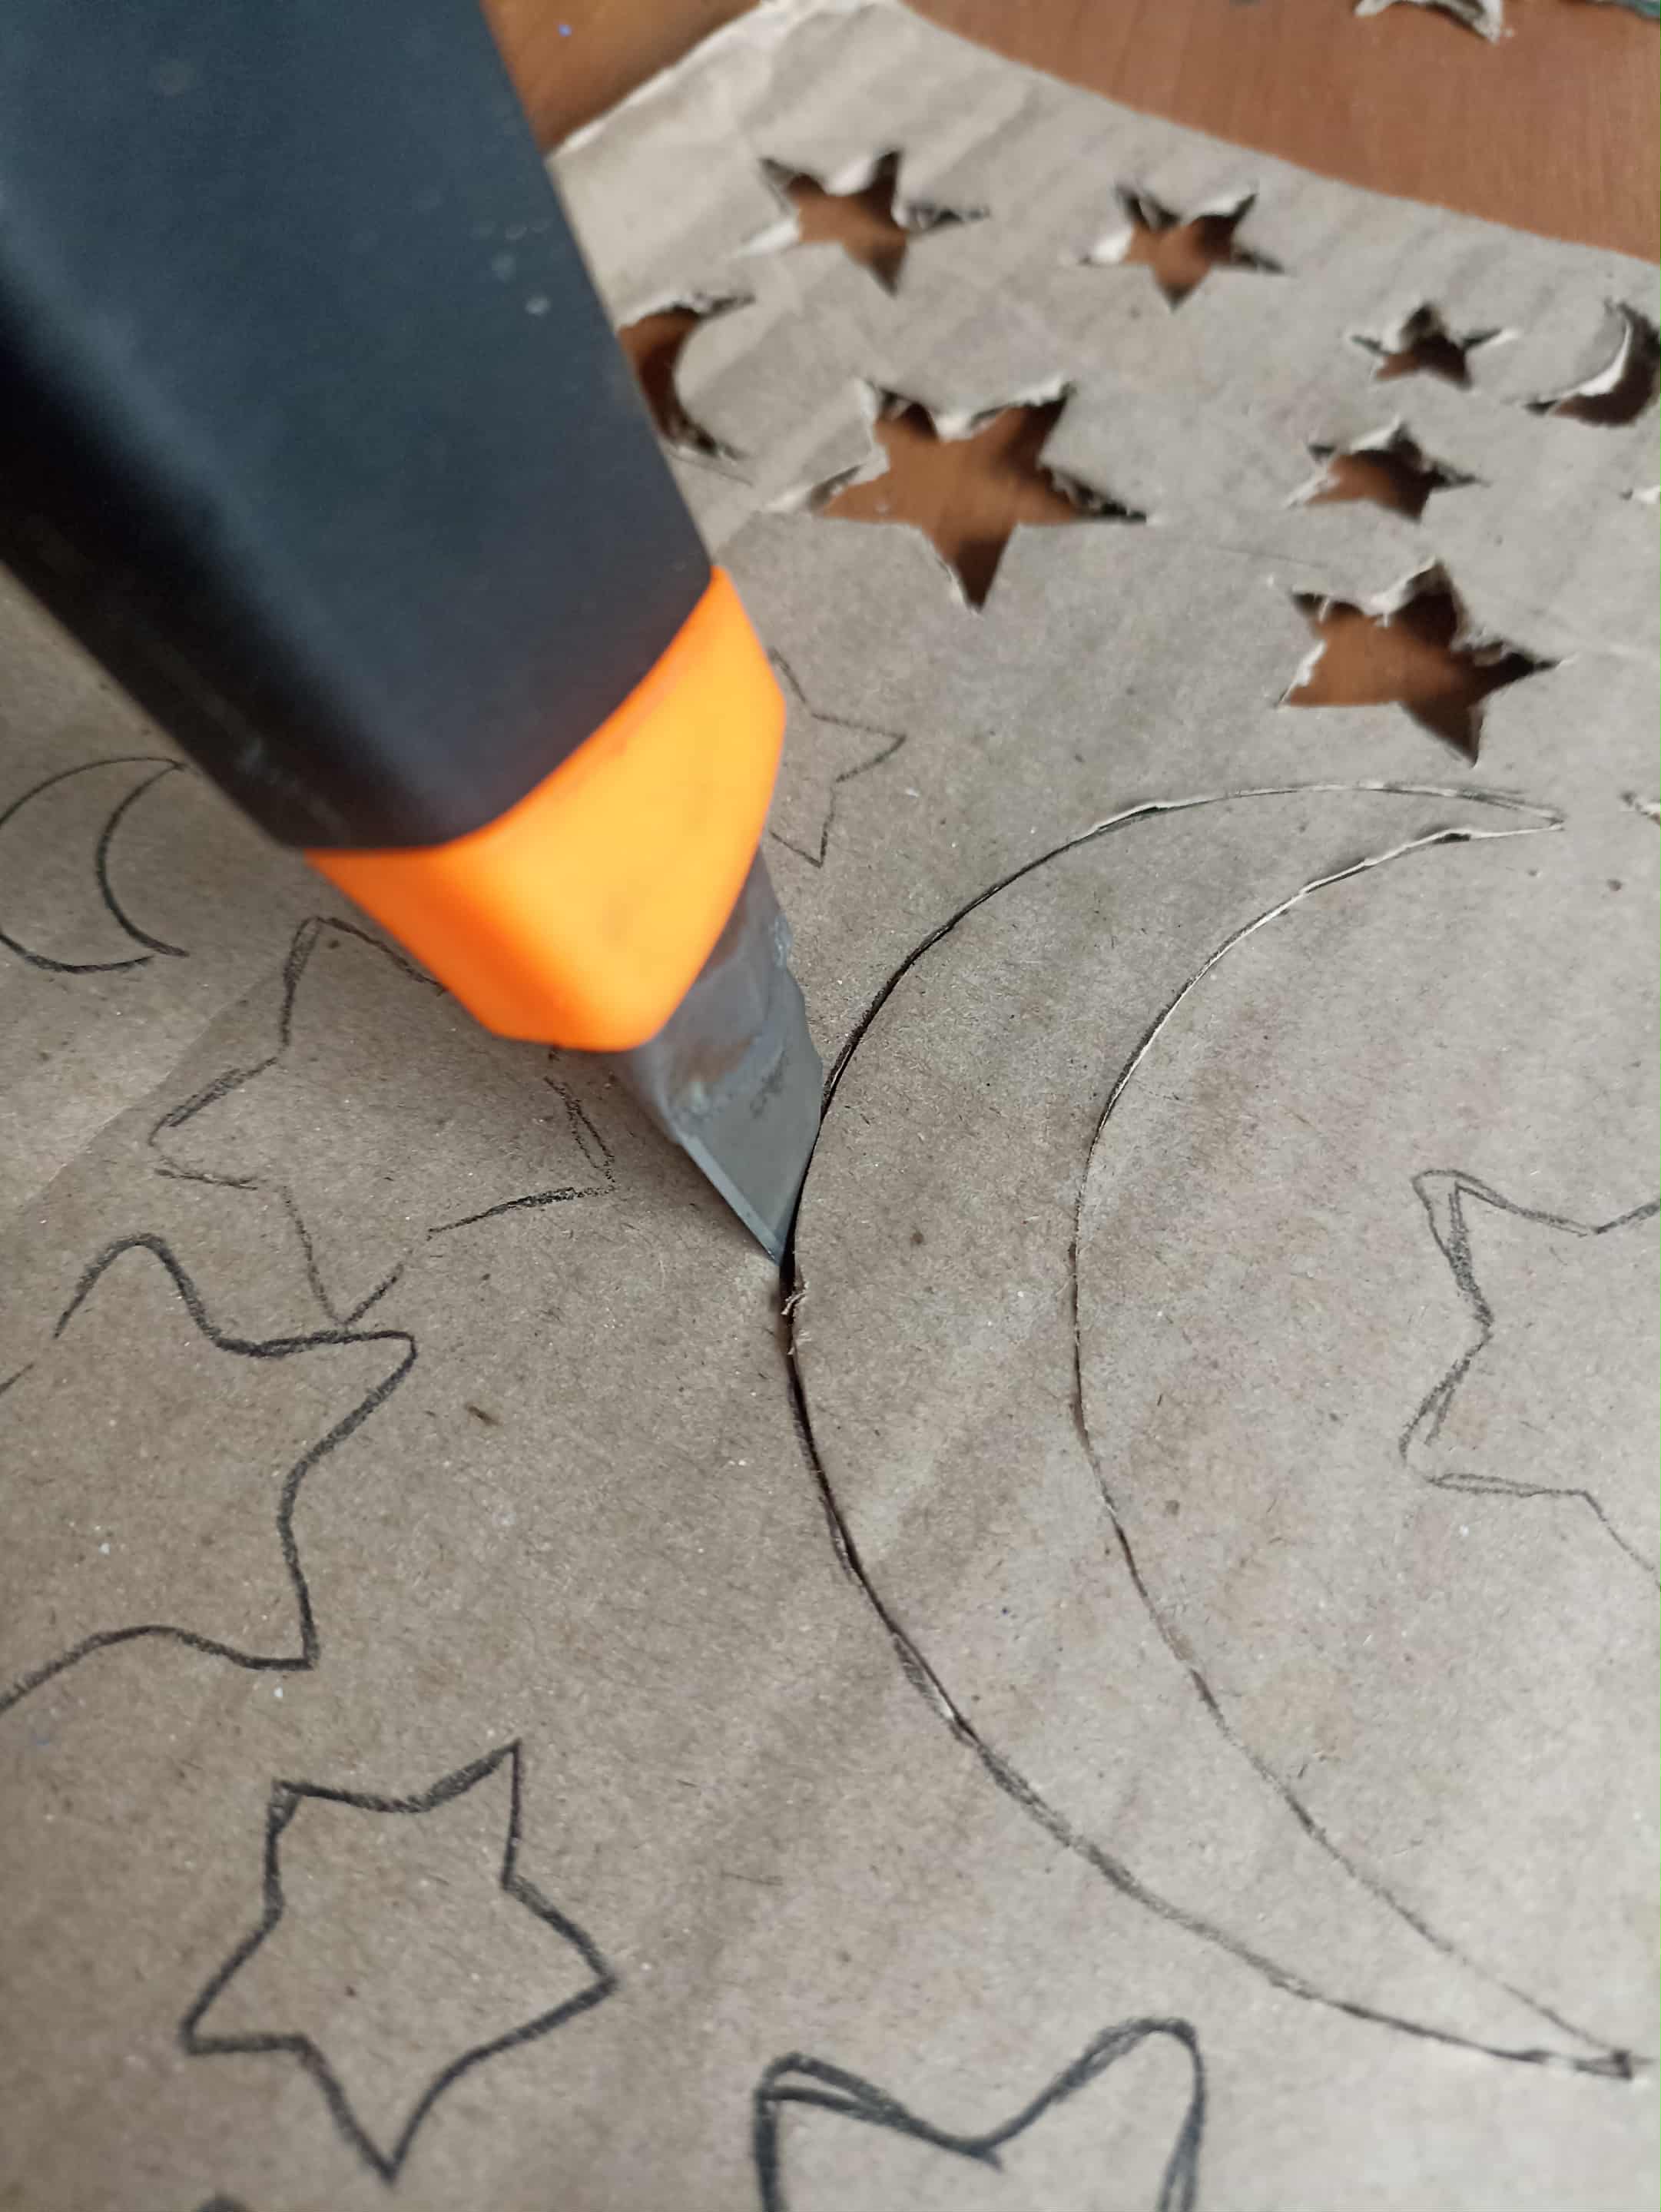
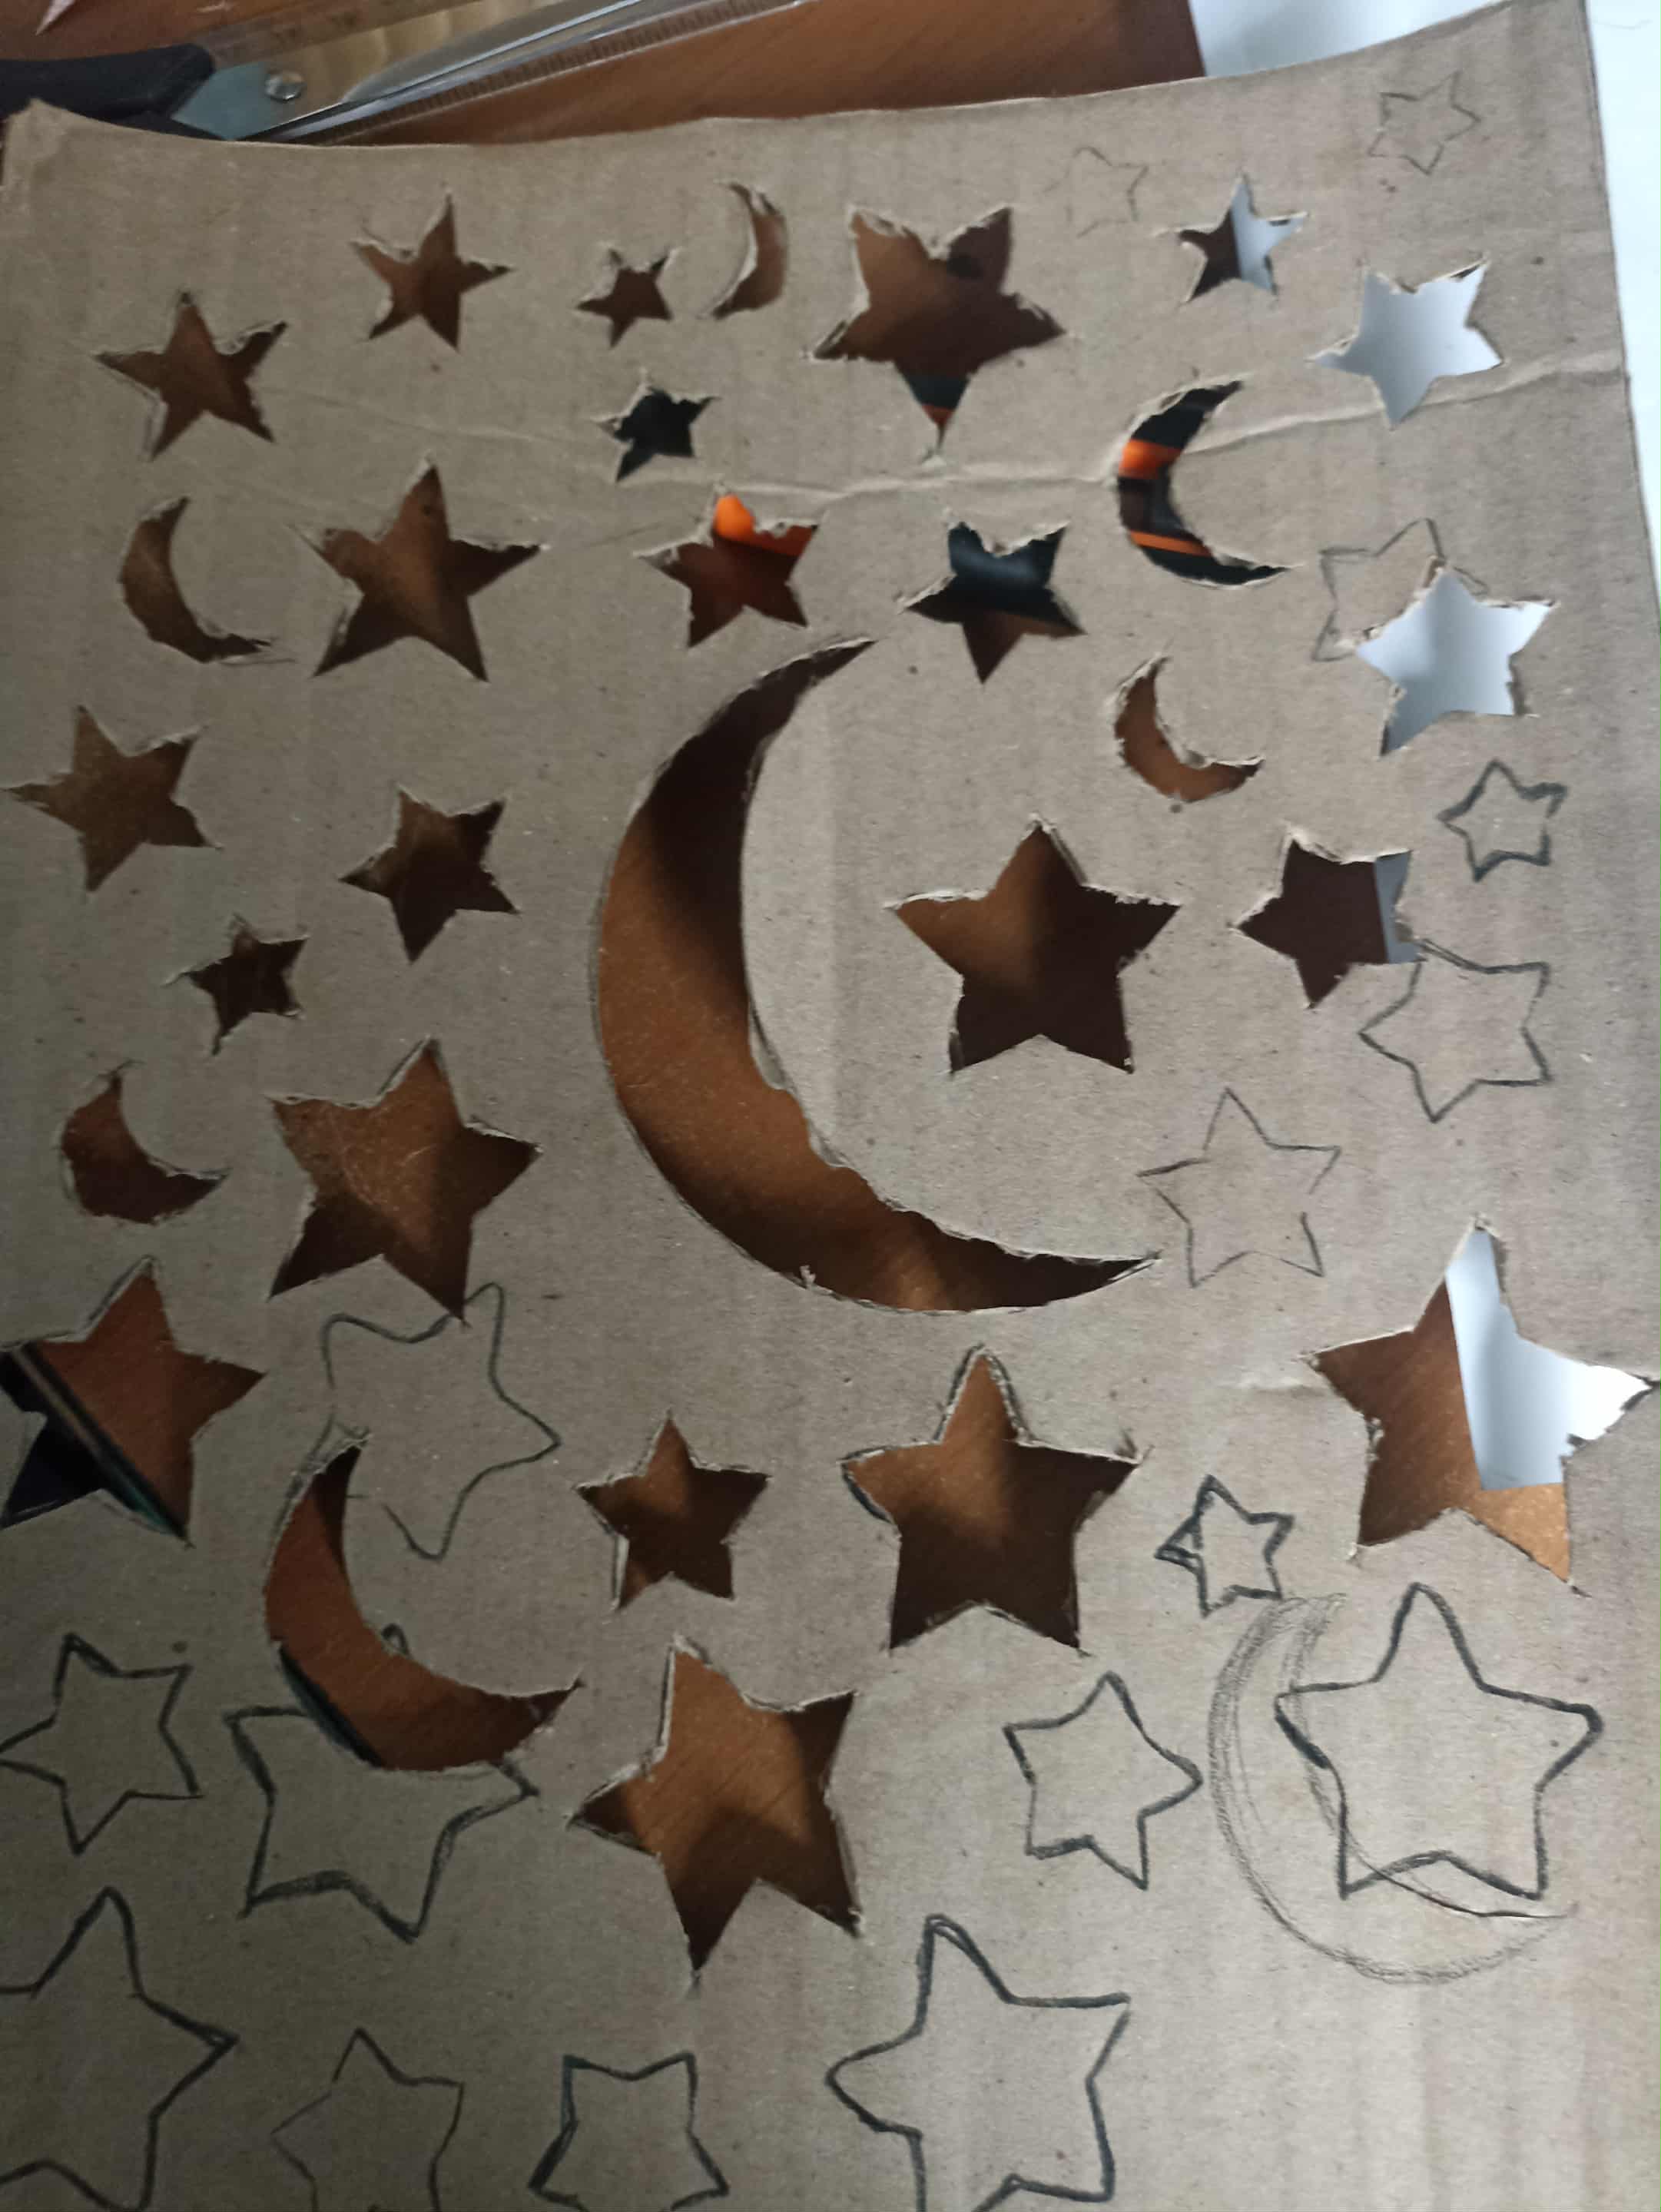
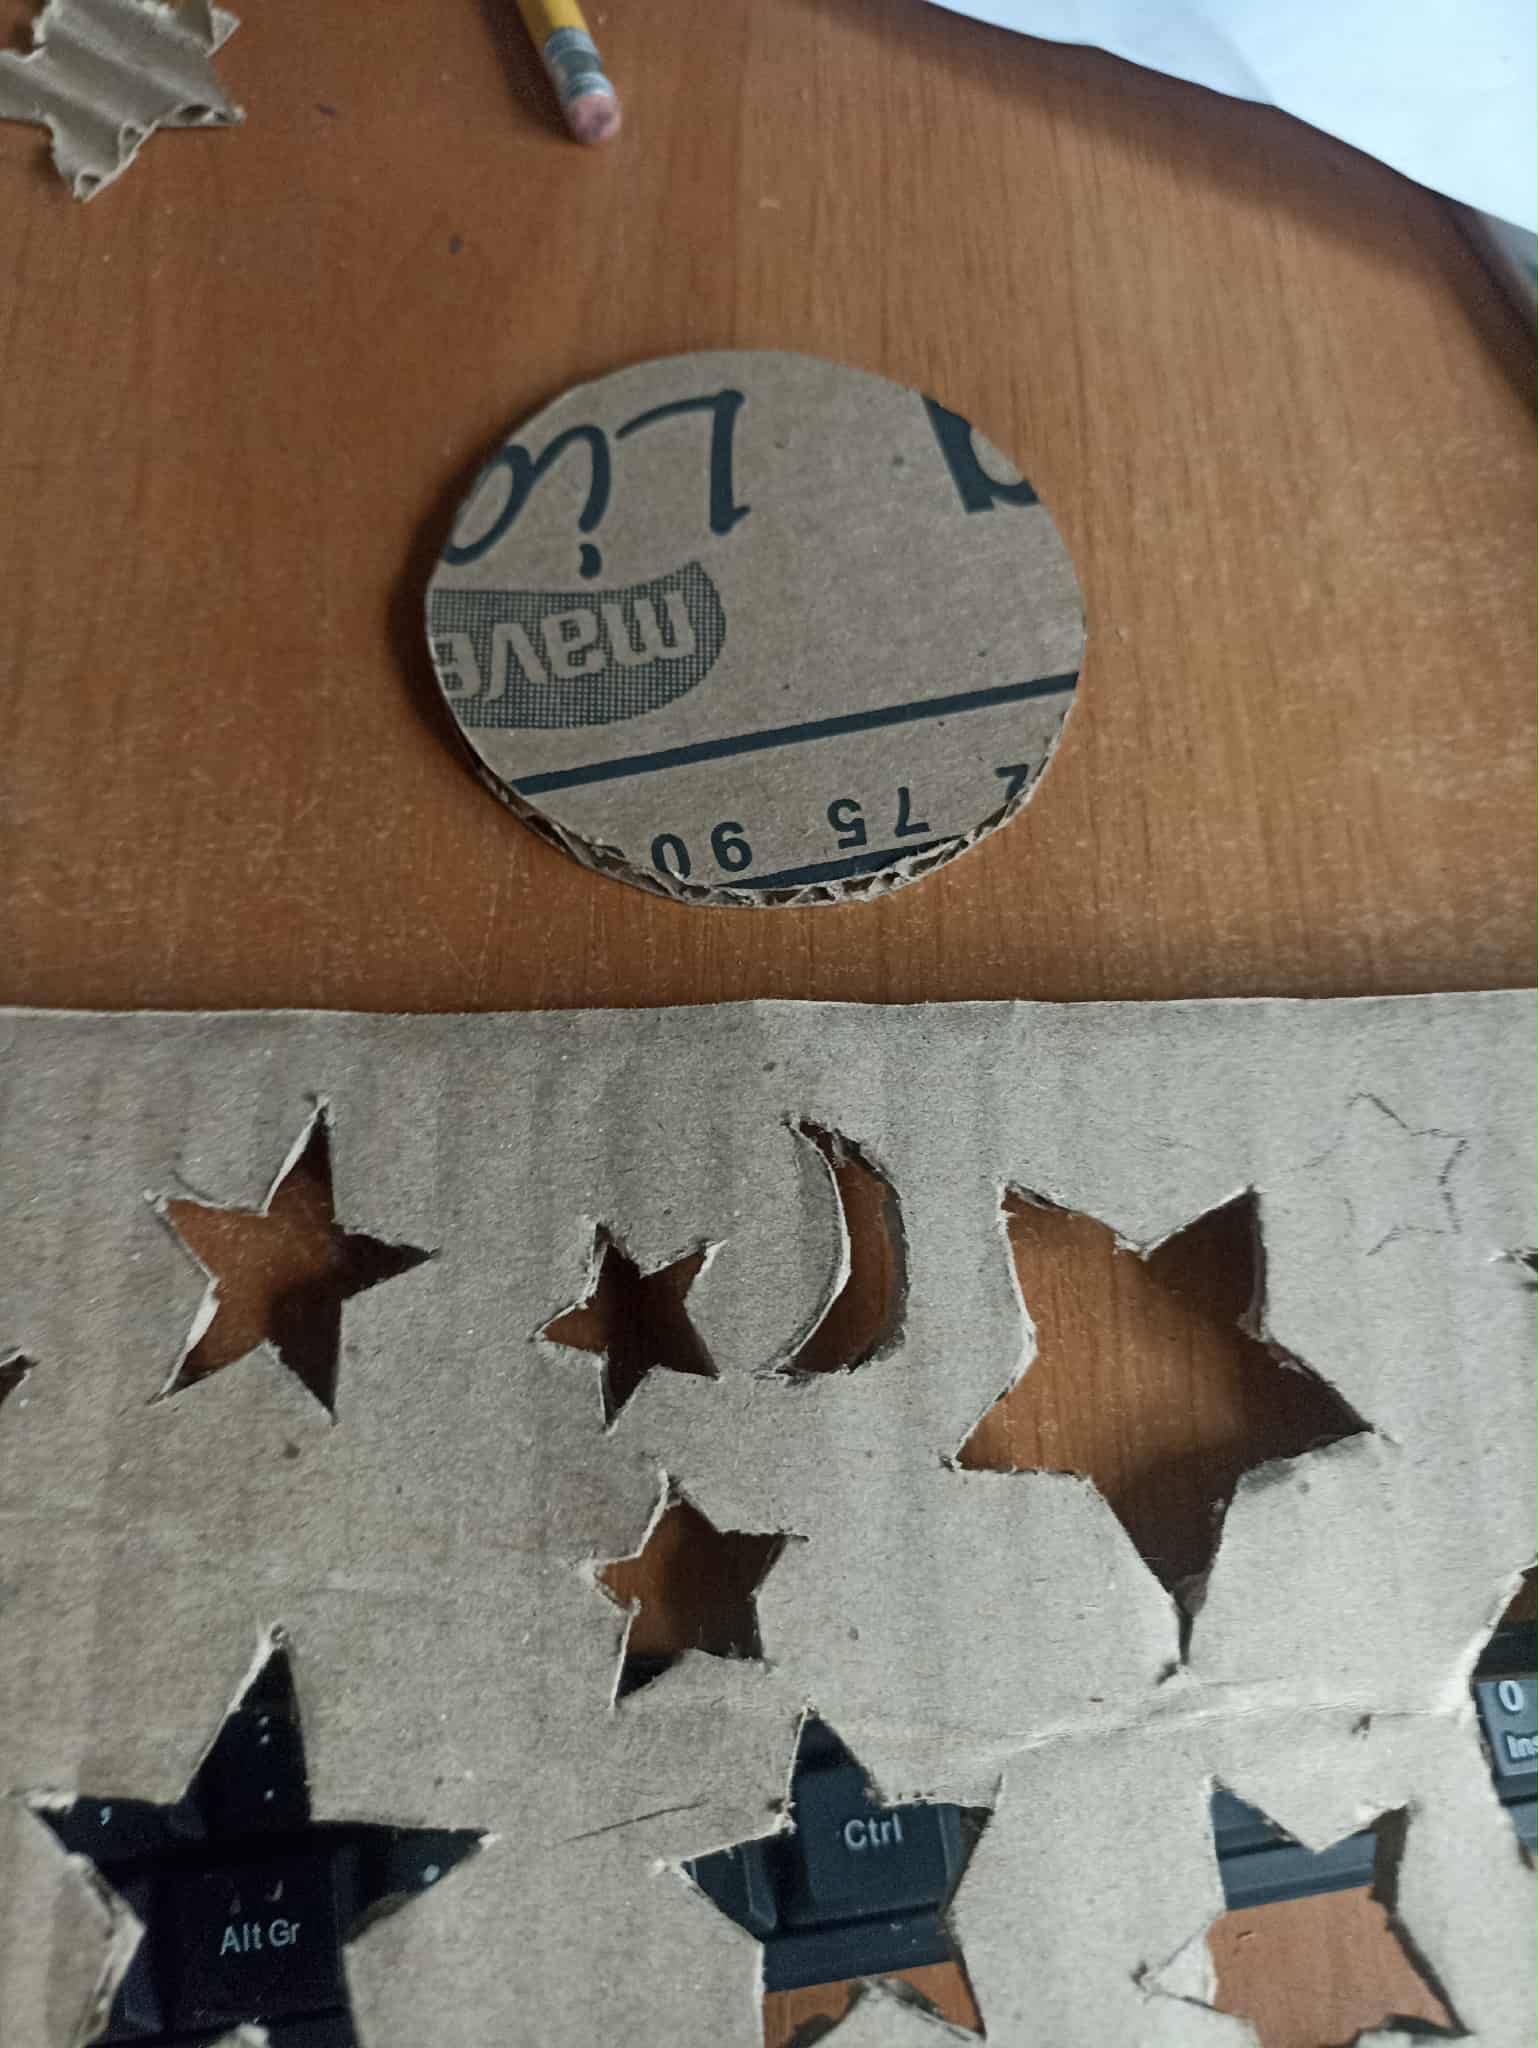
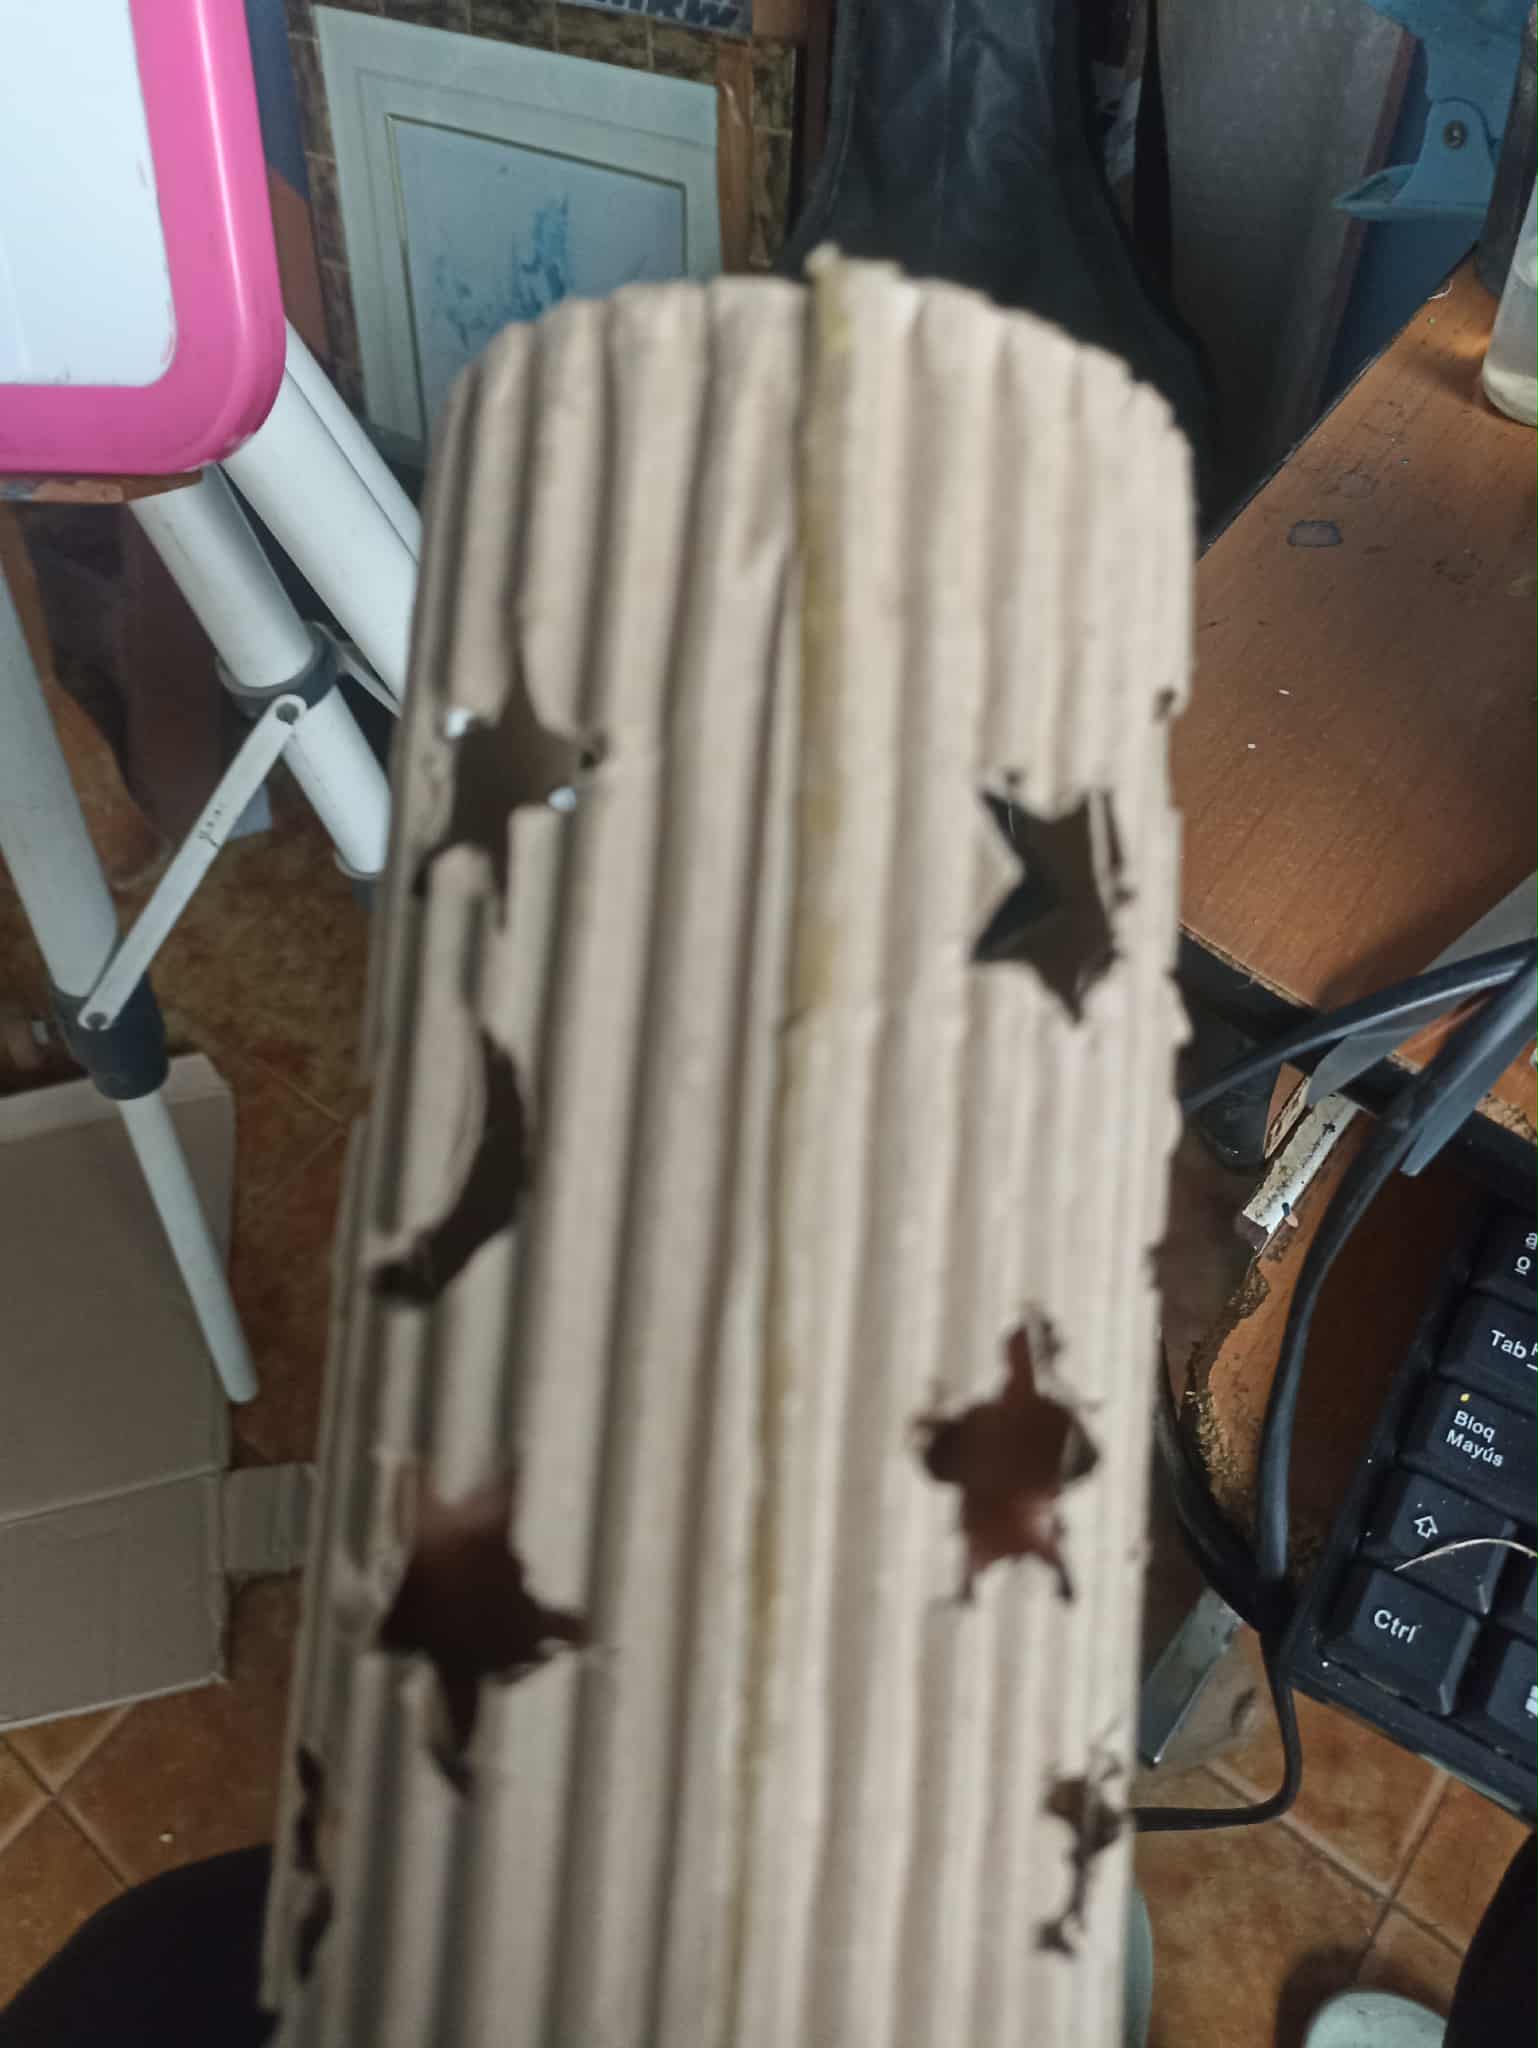
In the next step, it's time to cut out each of the shapes I drew. To make it easier to cut the cardboard, I cut it on the smooth side. This way, the shapes look better and without imperfections. It's not easy to cut the cardboard because sometimes, when you remove it, it tends to cut on the other side, making it very easy to damage. That's why it should be done slowly and with confidence in the cutting tool.
En el siguiente paso toca cortar cada una de las figuras que había dibujado, para que sea más fácil el corte del cartón, lo hago por el lado que esta liso. De esa manera las figuras quedan mejor y sin imperfecciones, no es algo fácil cortar el cartón porque a veces cuando se extrae el cartón suele cortarse por otro lado por lo que estropearlo es muy sencillo, por eso debe hacerse lentamente y confiar en la herramienta cortante.
 |
 |
 |
|---|---|---|
 |
 |
 |
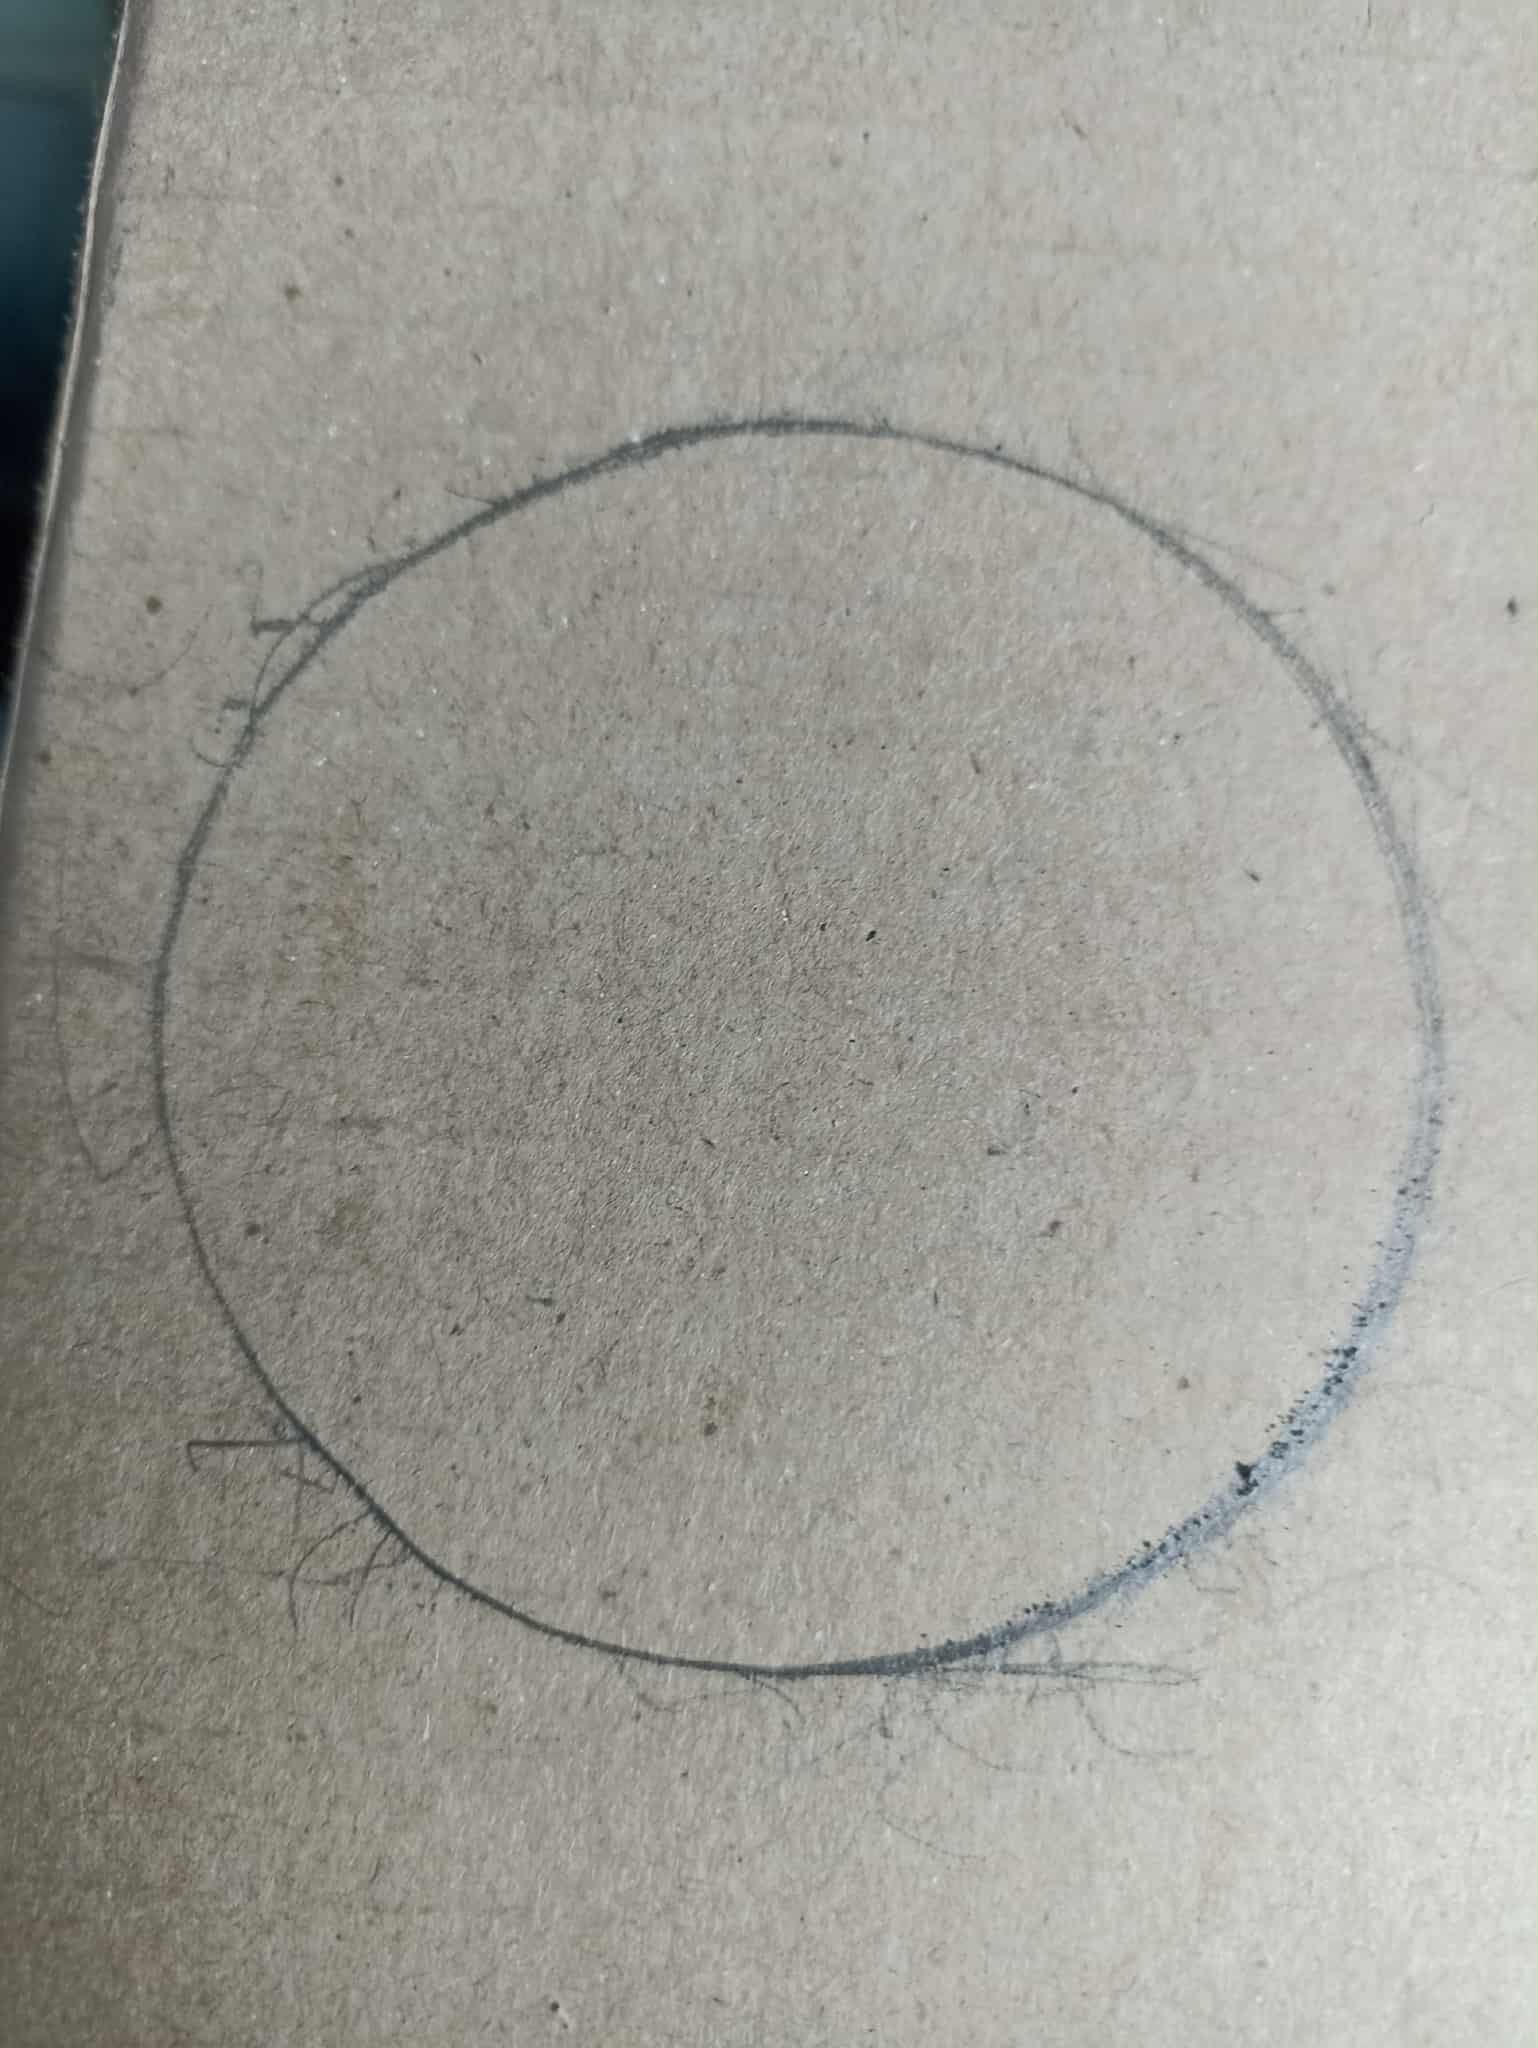
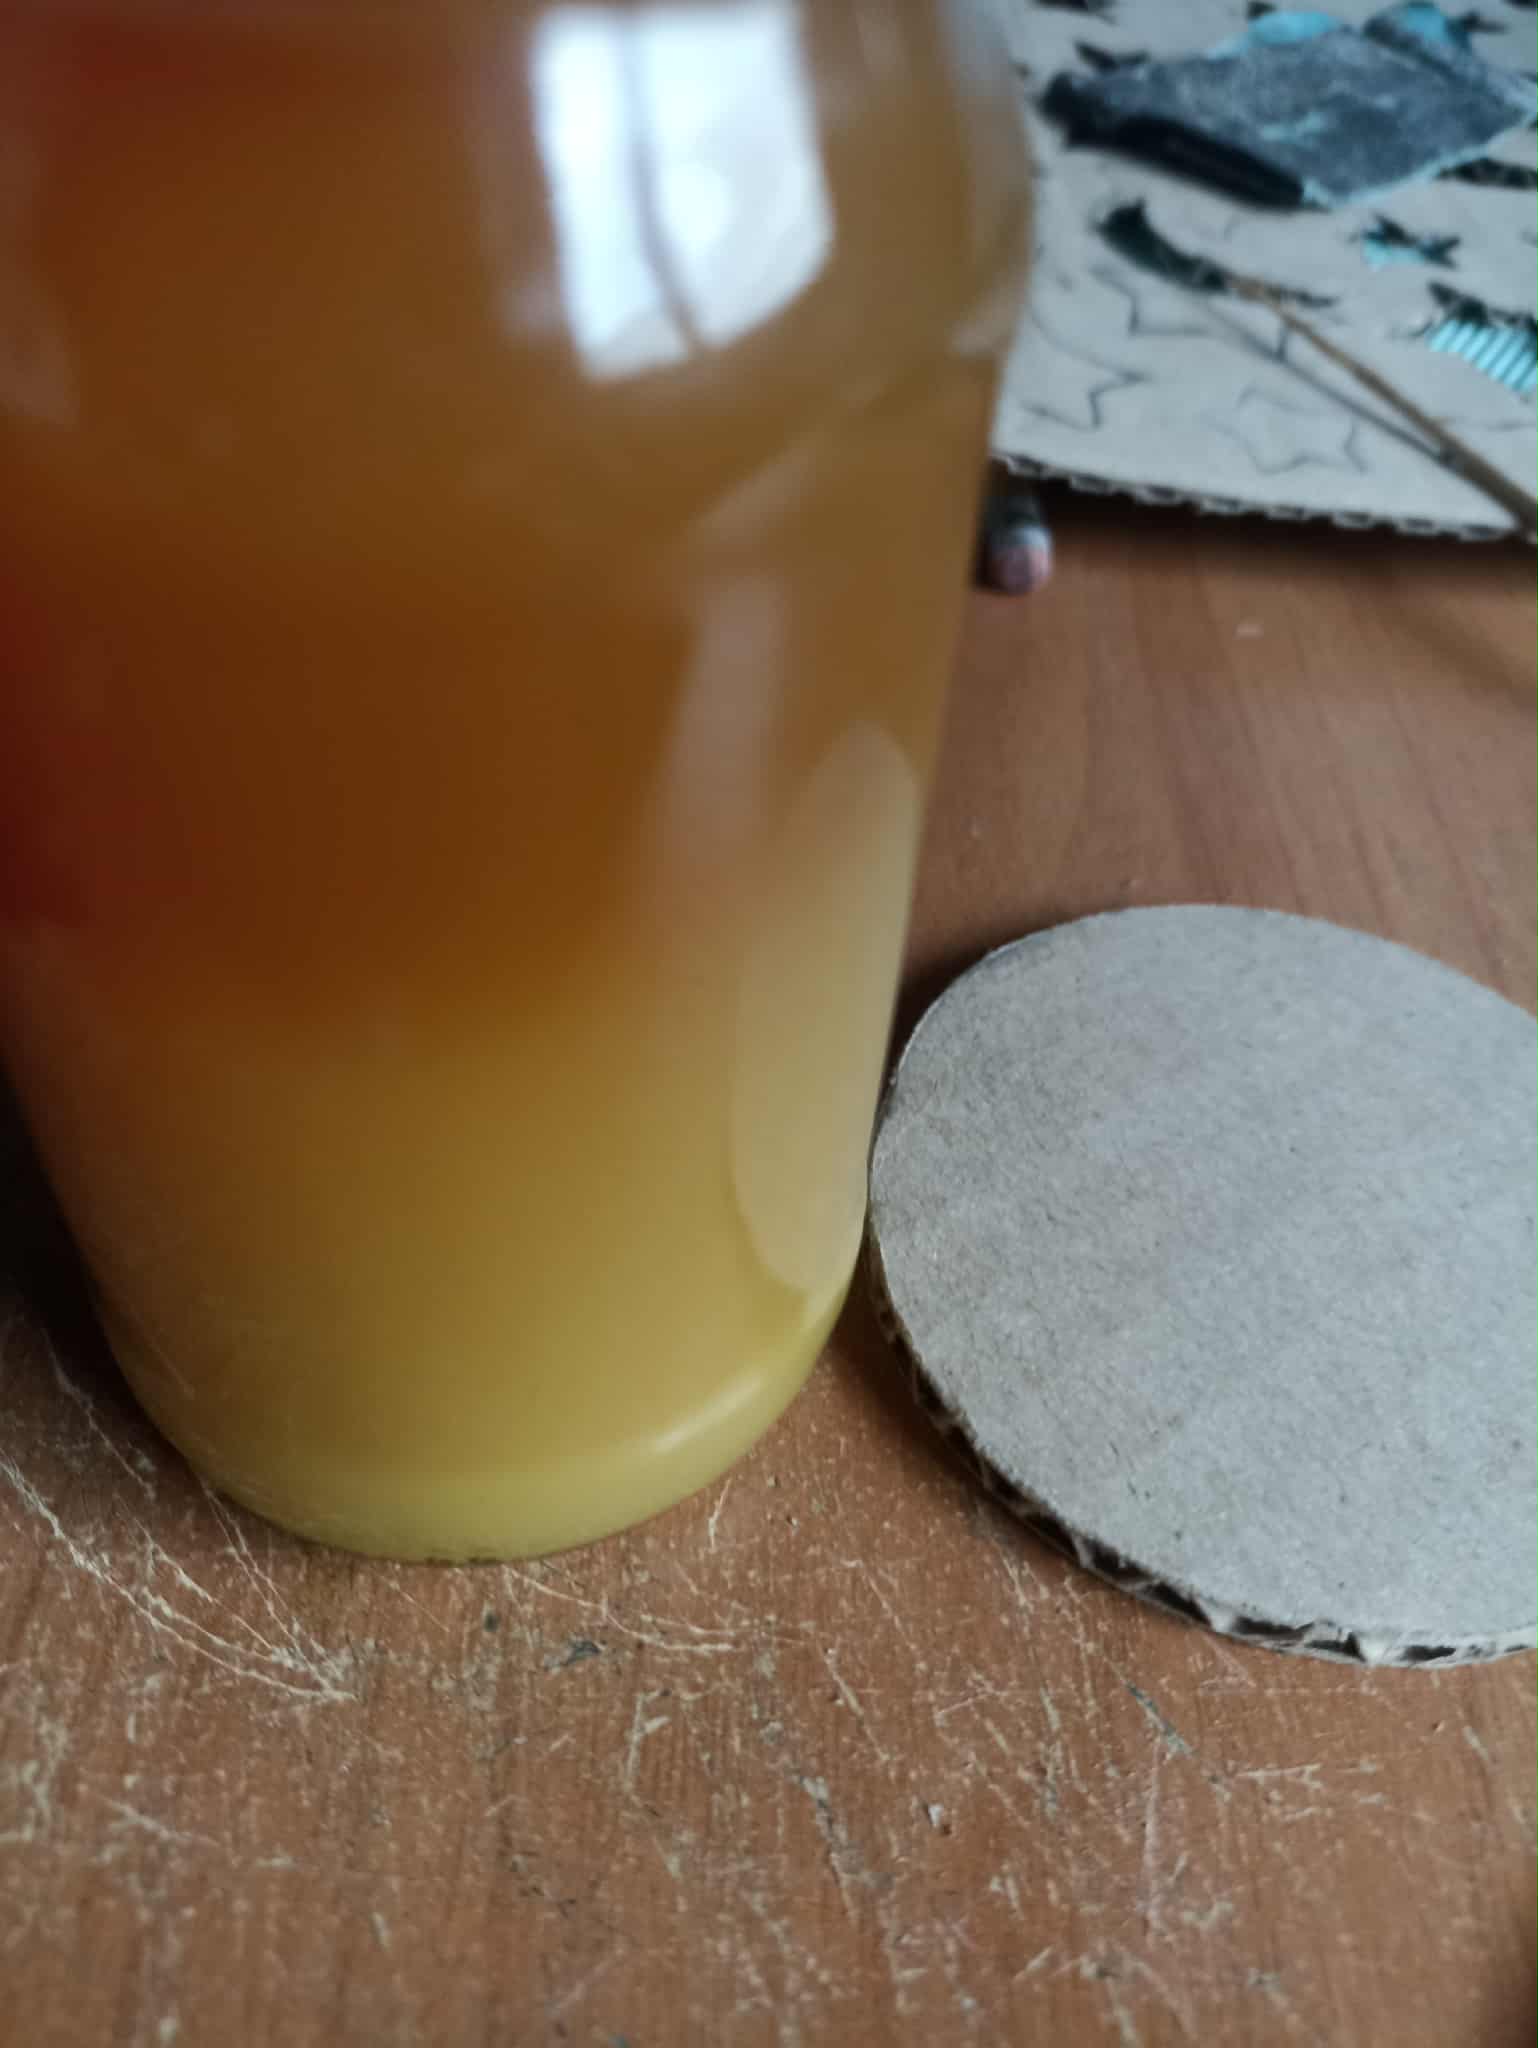
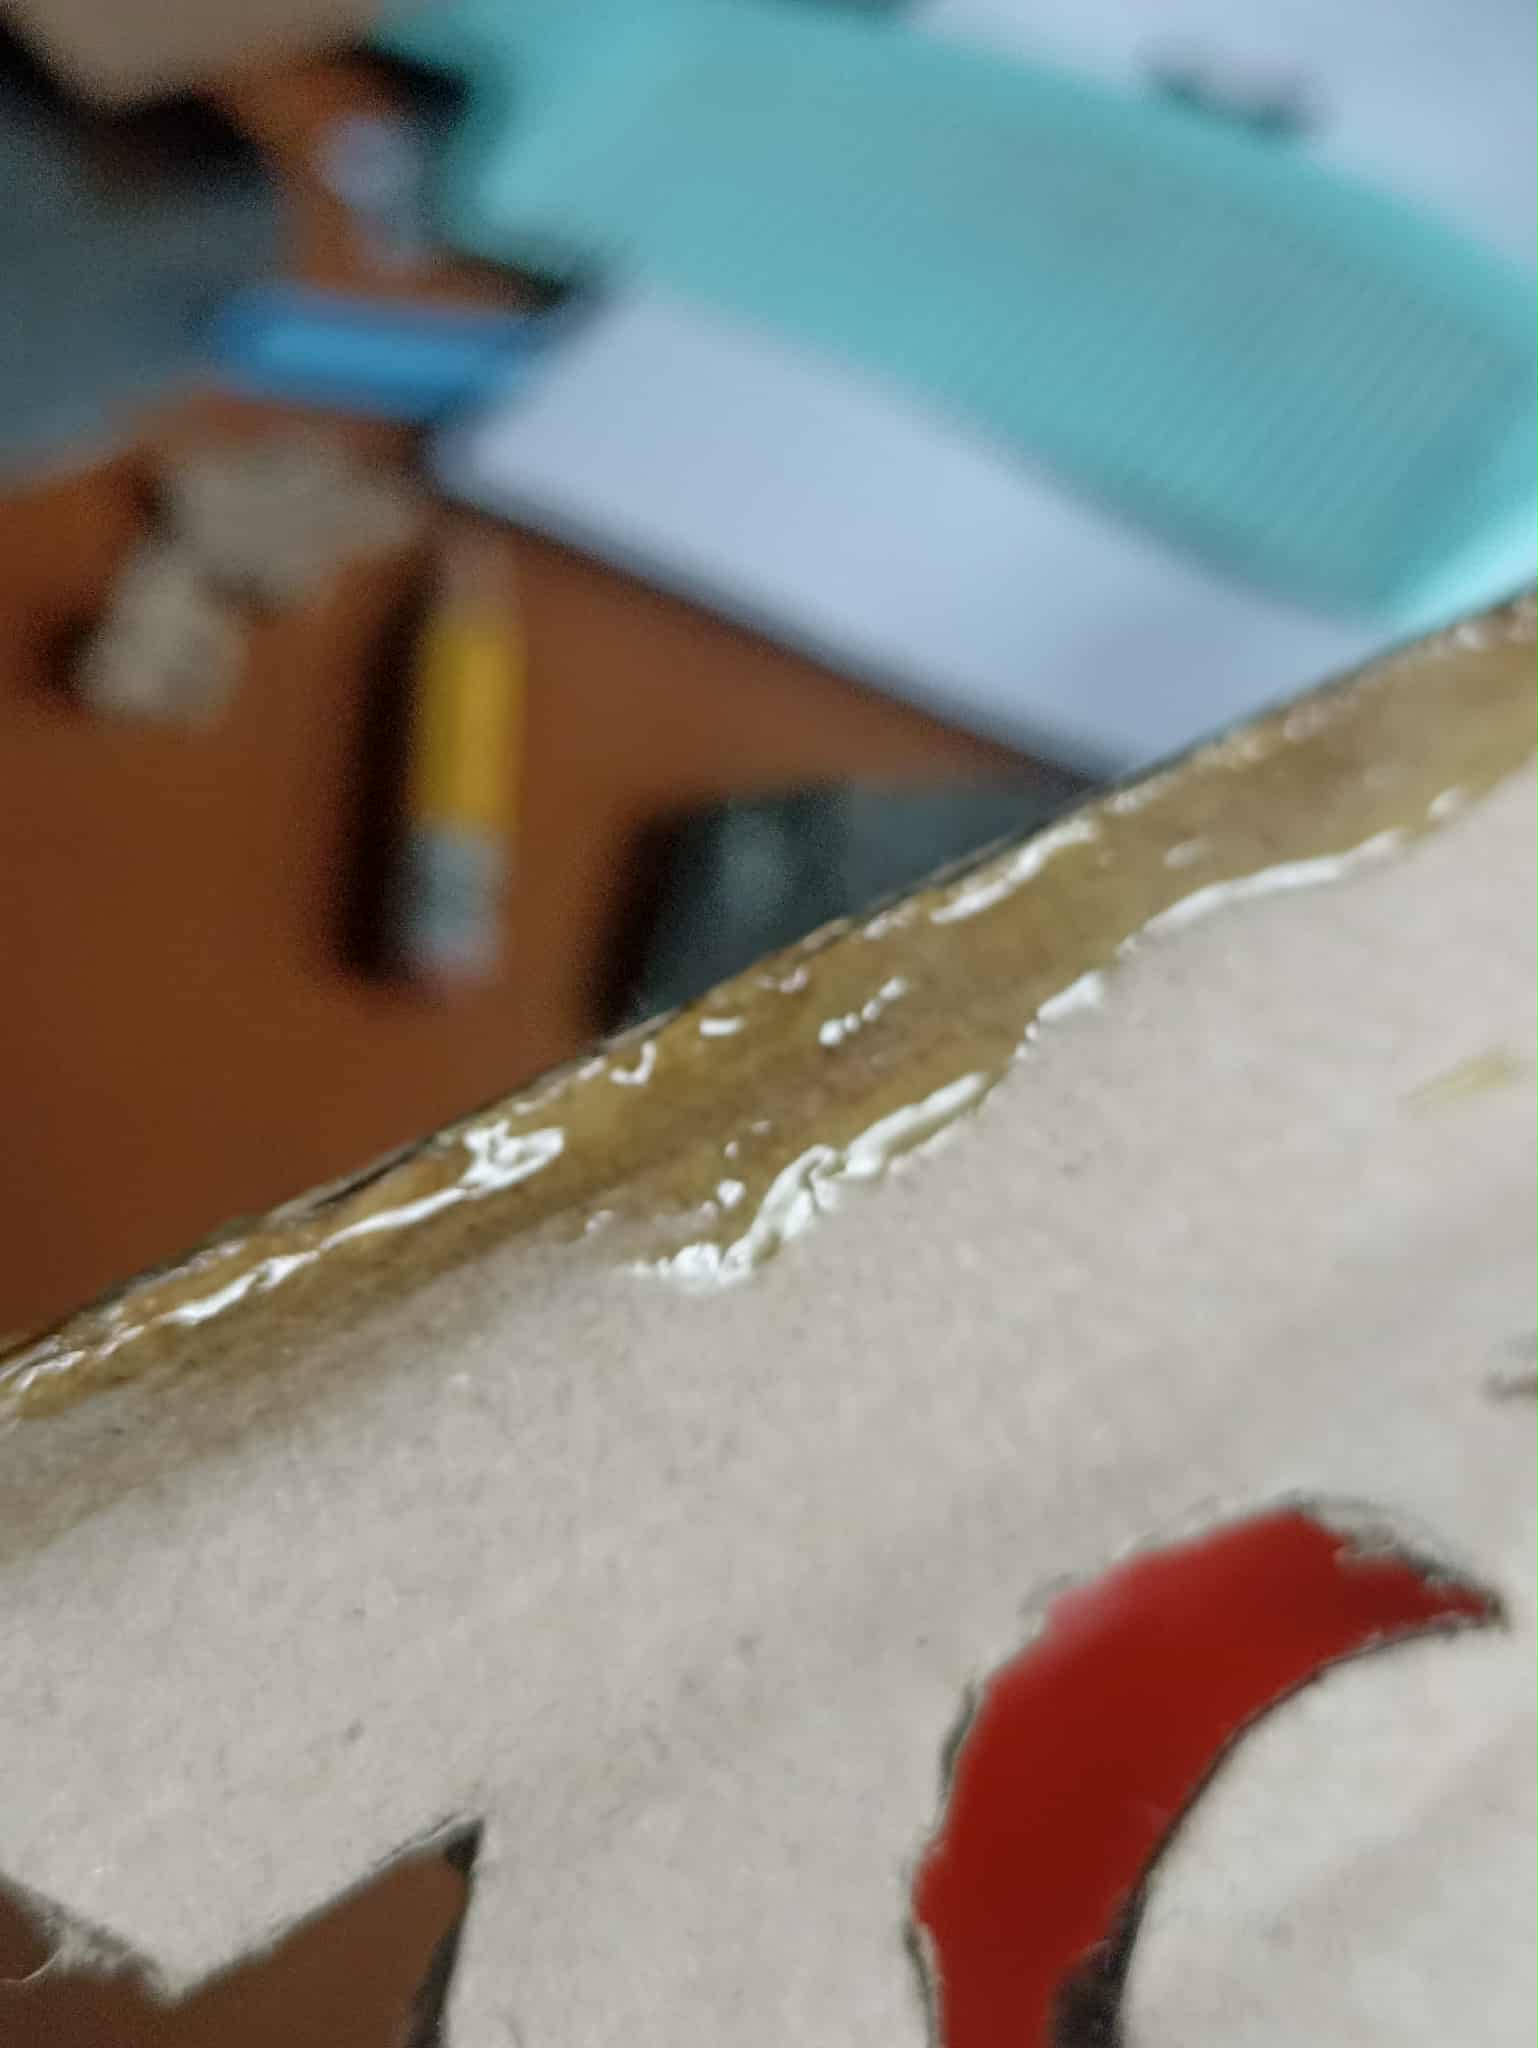
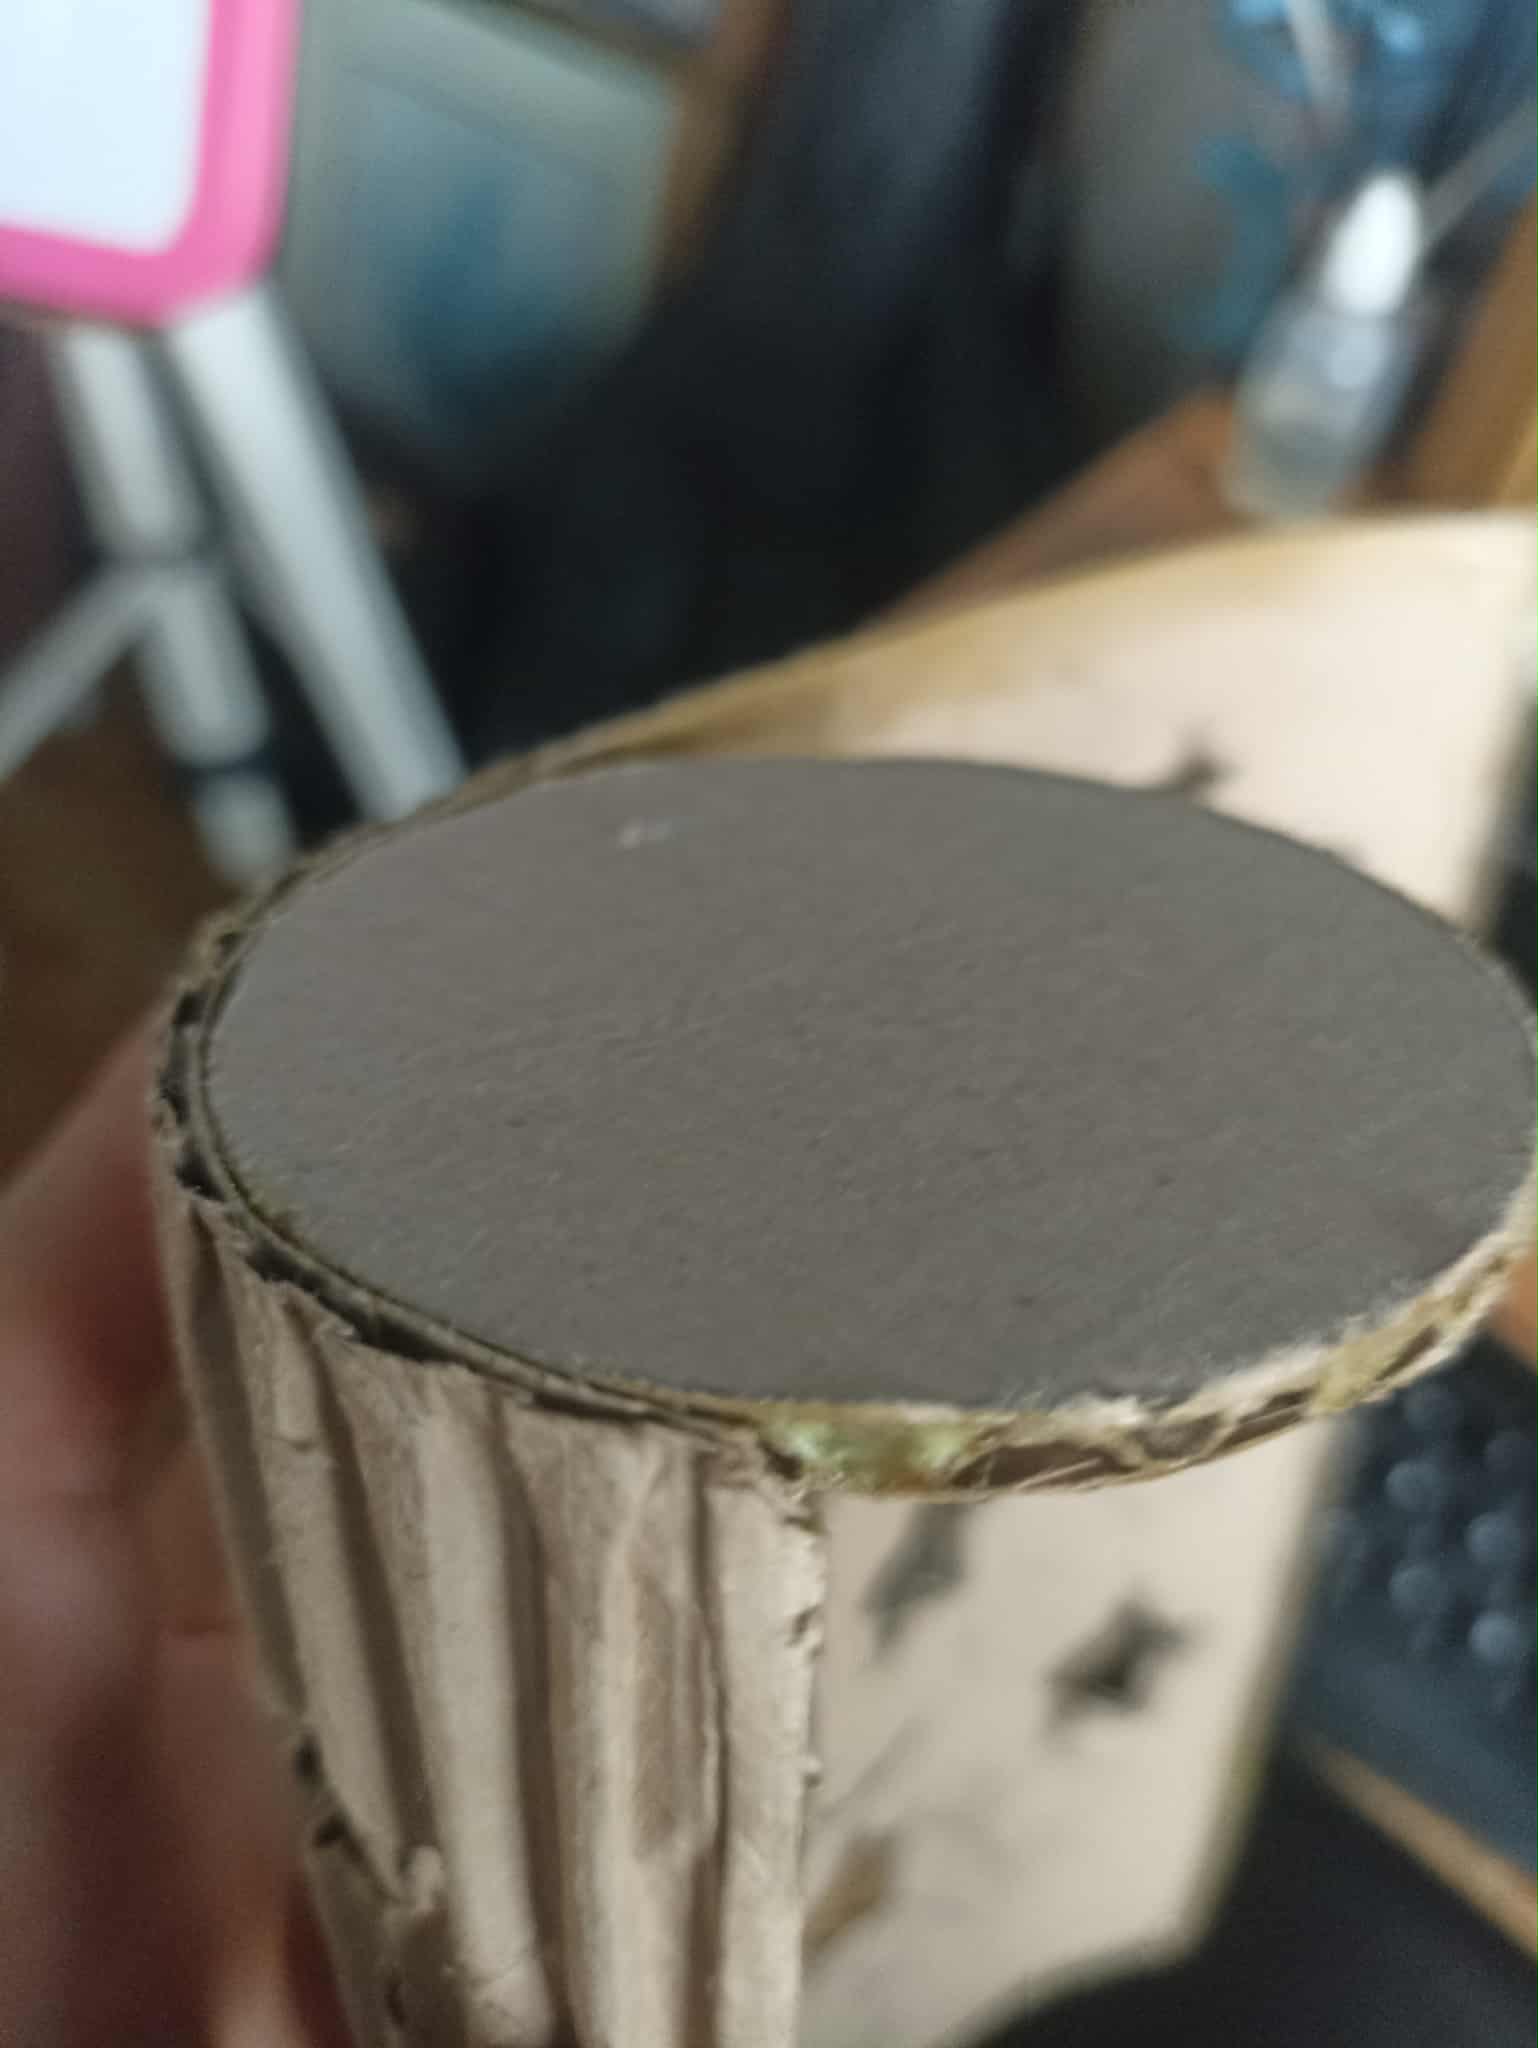
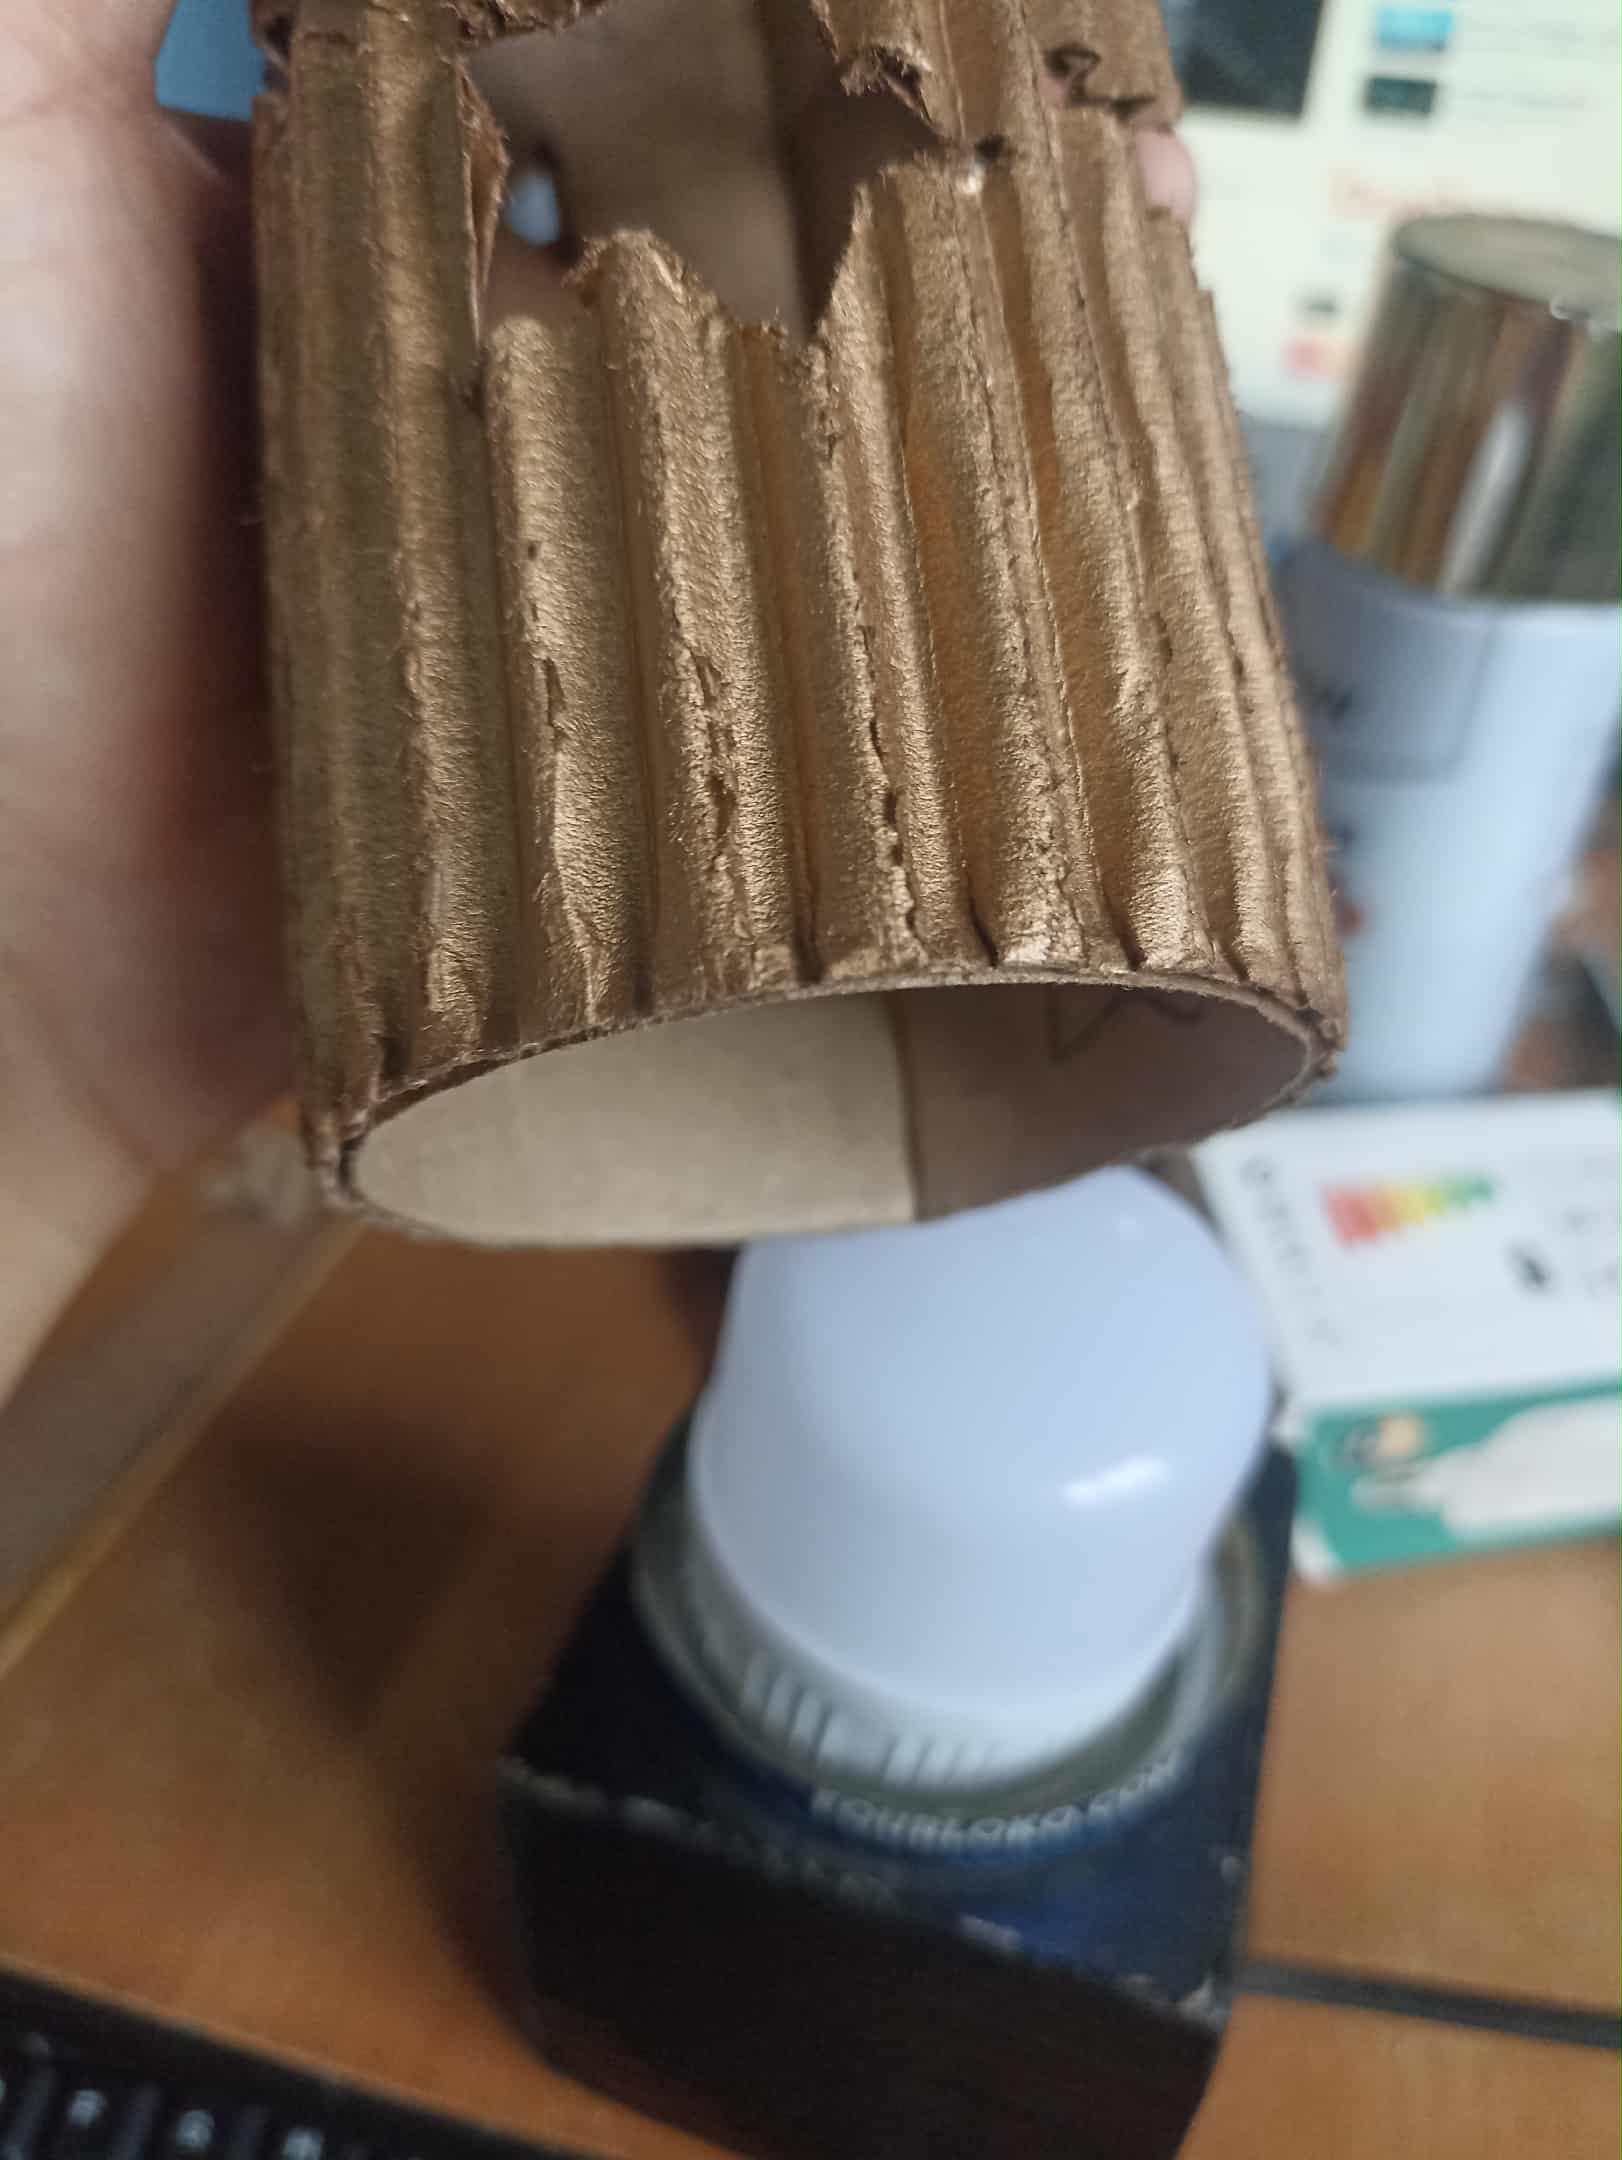
After that, I make a circular piece to use as a roof and seal the cardboard at the top. So, after cutting it, I apply glue along the edges and also glue each end of the cardboard I cut earlier. After letting the glue dry for a few minutes, I slowly and very carefully join the pieces together.
Déspués de eso hago una pieza circular para usarla como techo y así sellar el cartón por la parte superior. Así que luego de cortarlo lo que hago es poner pegamento por los bordes, y también pongo pegamento en cada extremo del cartón que había cortado antes. Después de dejar secar por unos minutos el pegamento, entonces voy uniendo las piezas poco a poco y con mucho cuidado.
 |
 |
|
|---|---|---|
 |
 |
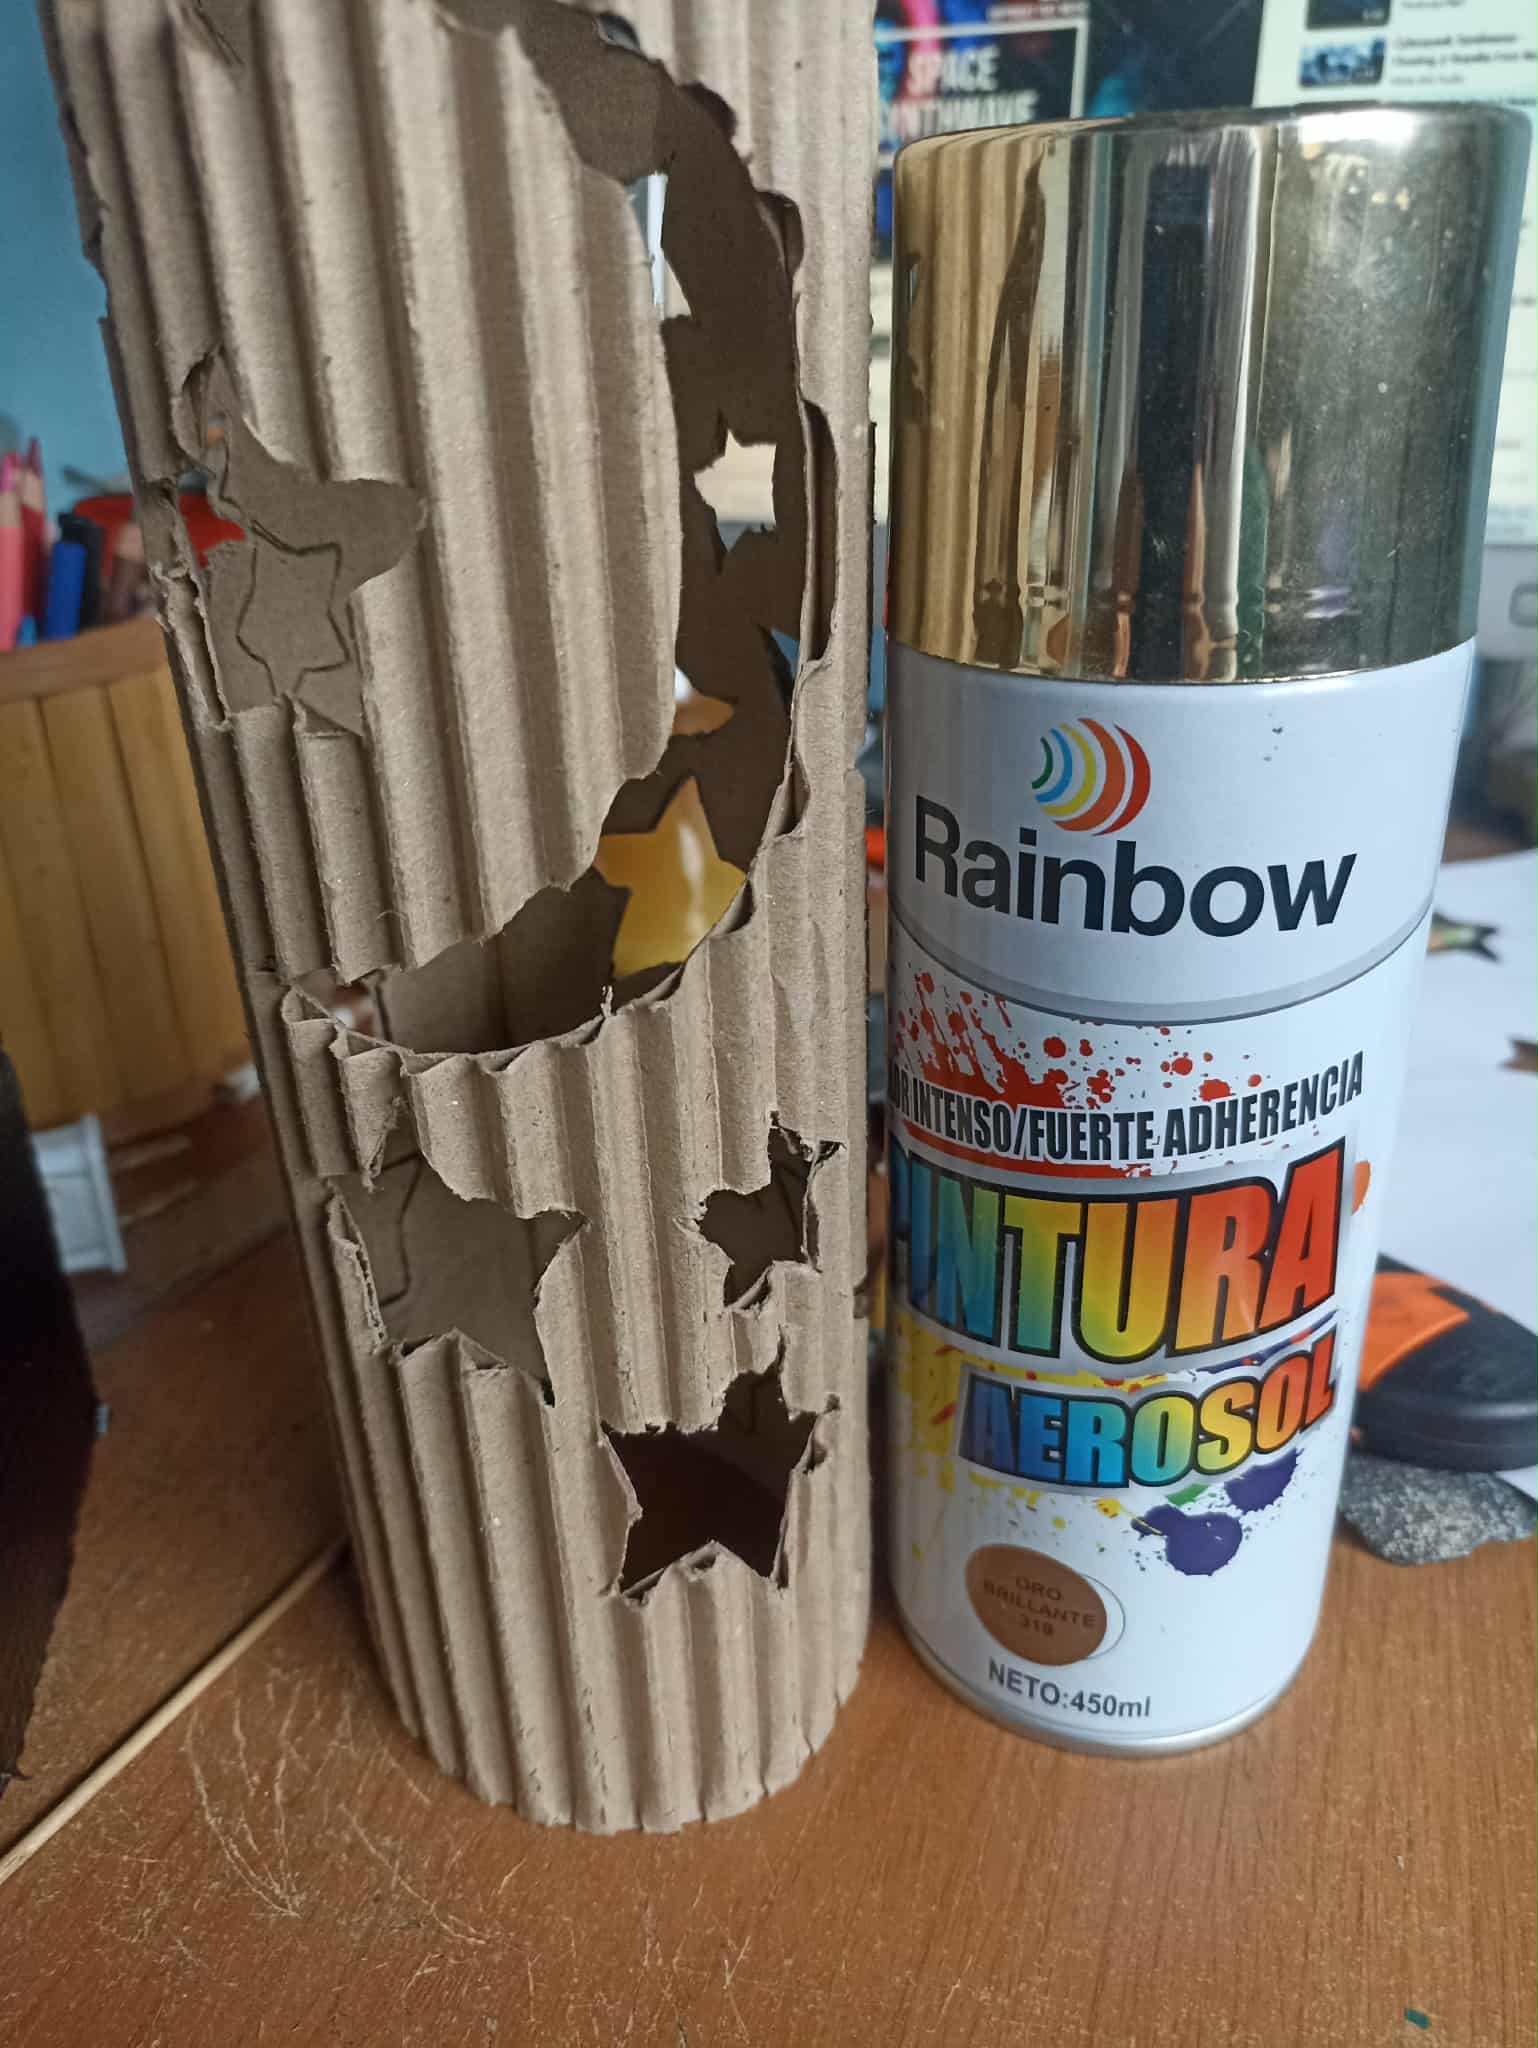
Now, once the cardboard piece is assembled, I apply some paint. I had several shades and colors, but I chose a dark gold color, something similar to bronze, since it's very close to the color of the cardboard but shinier. So I apply two coats of paint and let it air dry.
Ahora una vez que la pieza de cartón está armada le pongo algo de pintura, tenía varios tonos y colores, pero escogí ponerle un color dorado oscuro, algo parecido al bronce, ya que es muy cercano al color del cartón pero más brillante. Así que le pongo dos capas de pinturas y dejo secar al aire libre
 |
 |
 |
|---|---|---|
 |
 |
 |
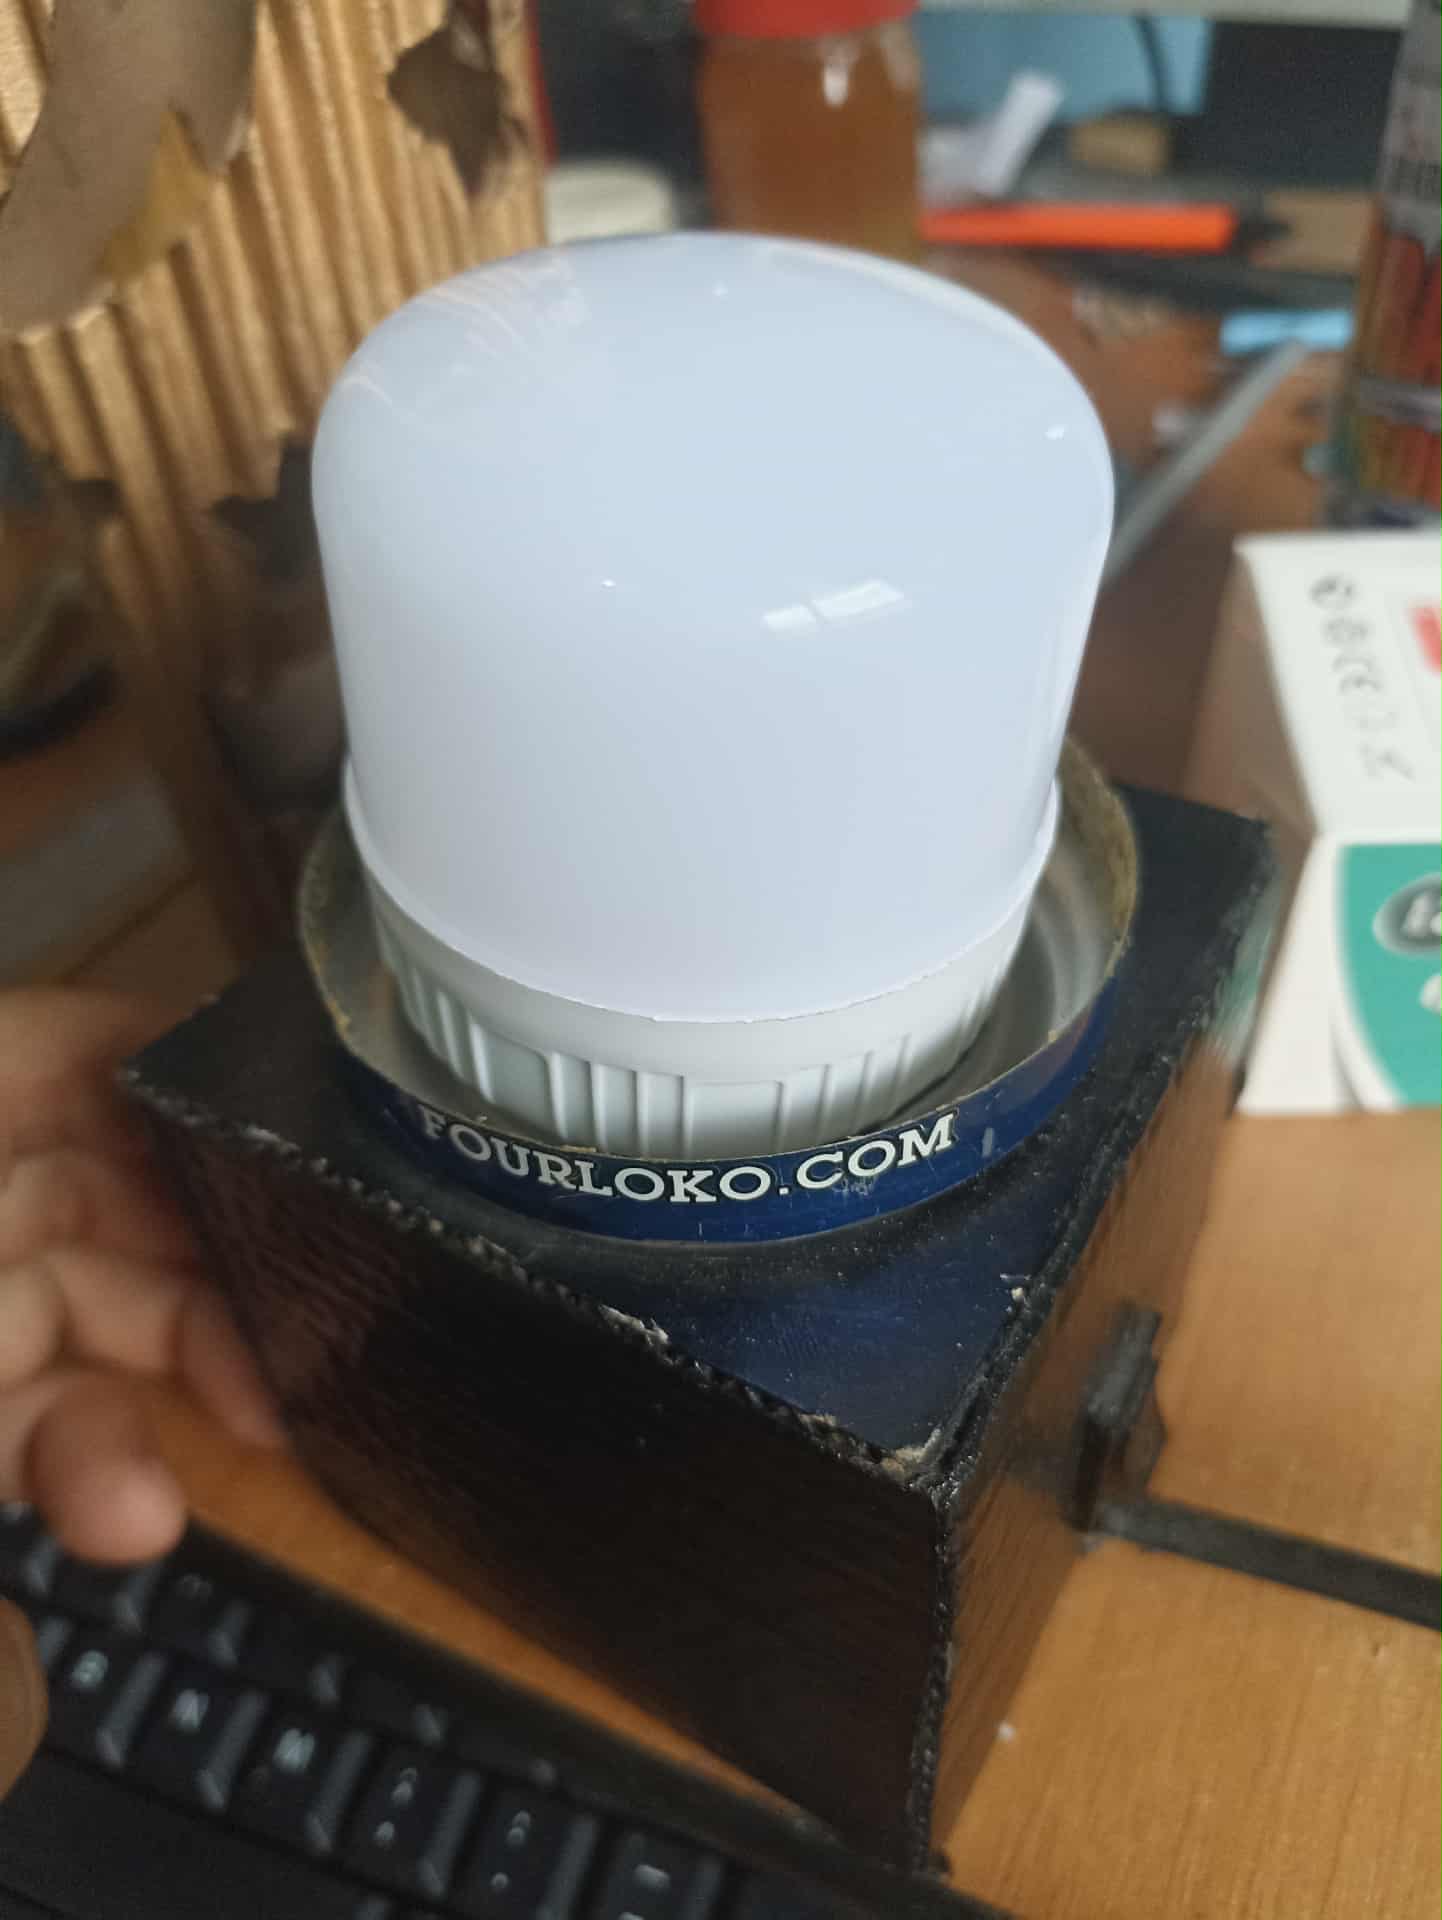
For the lamp base, I make a very simple cardboard box with a hole in the top. The hole is the same size as the diameter of the cardboard piece I just painted. In that hole, I add the base of a can to serve as a base for the light bulb. I add a wire, an on/off switch, and a socket to hold the bulb. For the lamp, I use a 10-watt bulb; it's the lowest wattage, but it lights up well. Before placing the painted piece on the box, I test how the bulb looks lit in the base.
PAra la base de la lámpar ahago una caja de cartón muy simple con un agujero en la parte de arriba, el agujero es del mismo tamaño del diametro de la pieza de cartón que acabo de pintar. En ese agujero agrego la base de una lata que sirva como base para el bombillo, agrego un cable y un interruptor de encendido y apagado y un enchufe donde colocar el bombillo. Para la lámpara utilizo un bombillo de 10 watts, es el m´s bajo pero ilumina bien, y antes de colocar la pieza pintada pruebo como se ve el bombillo encendido en la base.
 |
 |
|
|---|---|---|
 |
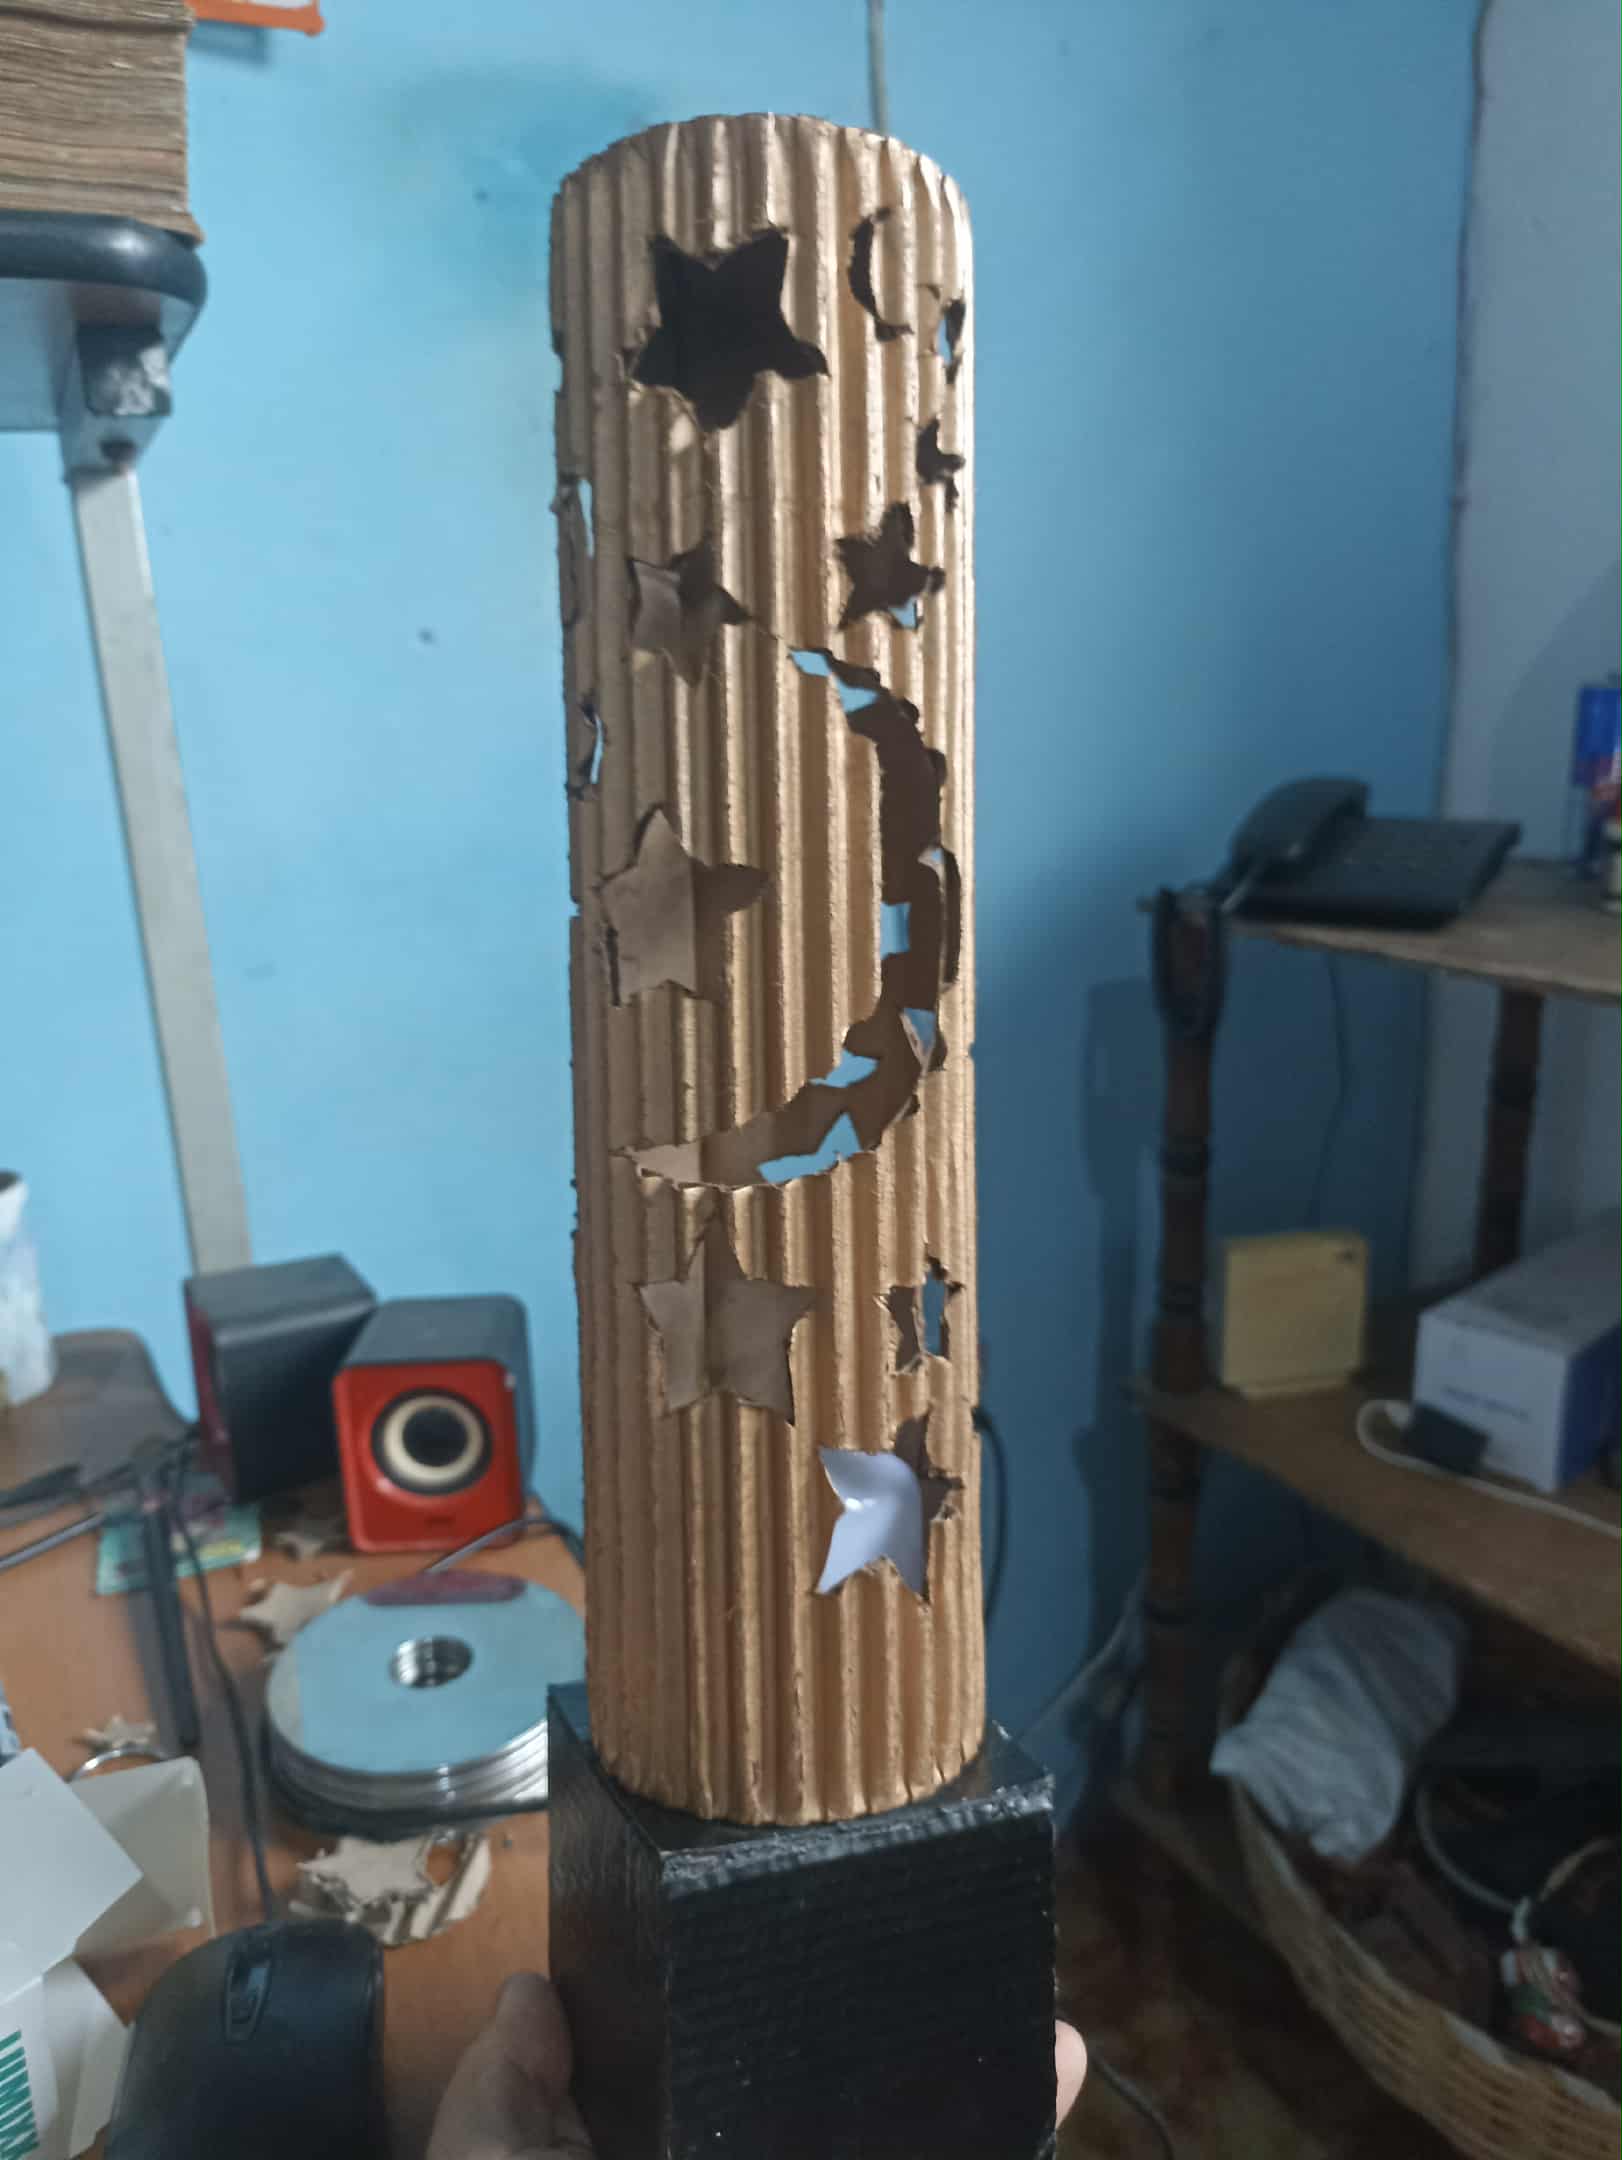 |
Finally, once the piece is dry, all I have to do is join it together. As you can see, it fits easily into the light bulb, leaving room for the light to shine through. I didn't use glue to join them together because when it's time to change the bulb, all I have to do is remove the cardboard.
Por último, ya al estar seca la pieza no hago más que unirla, como pueden ver, entra facilmente en el bombillo y queda espacio para que la luz se pueda apreciar. No puse pegamento para unirlas porque luego cuando toque cambiar de bombillo solamente hay que retirar el cartón.
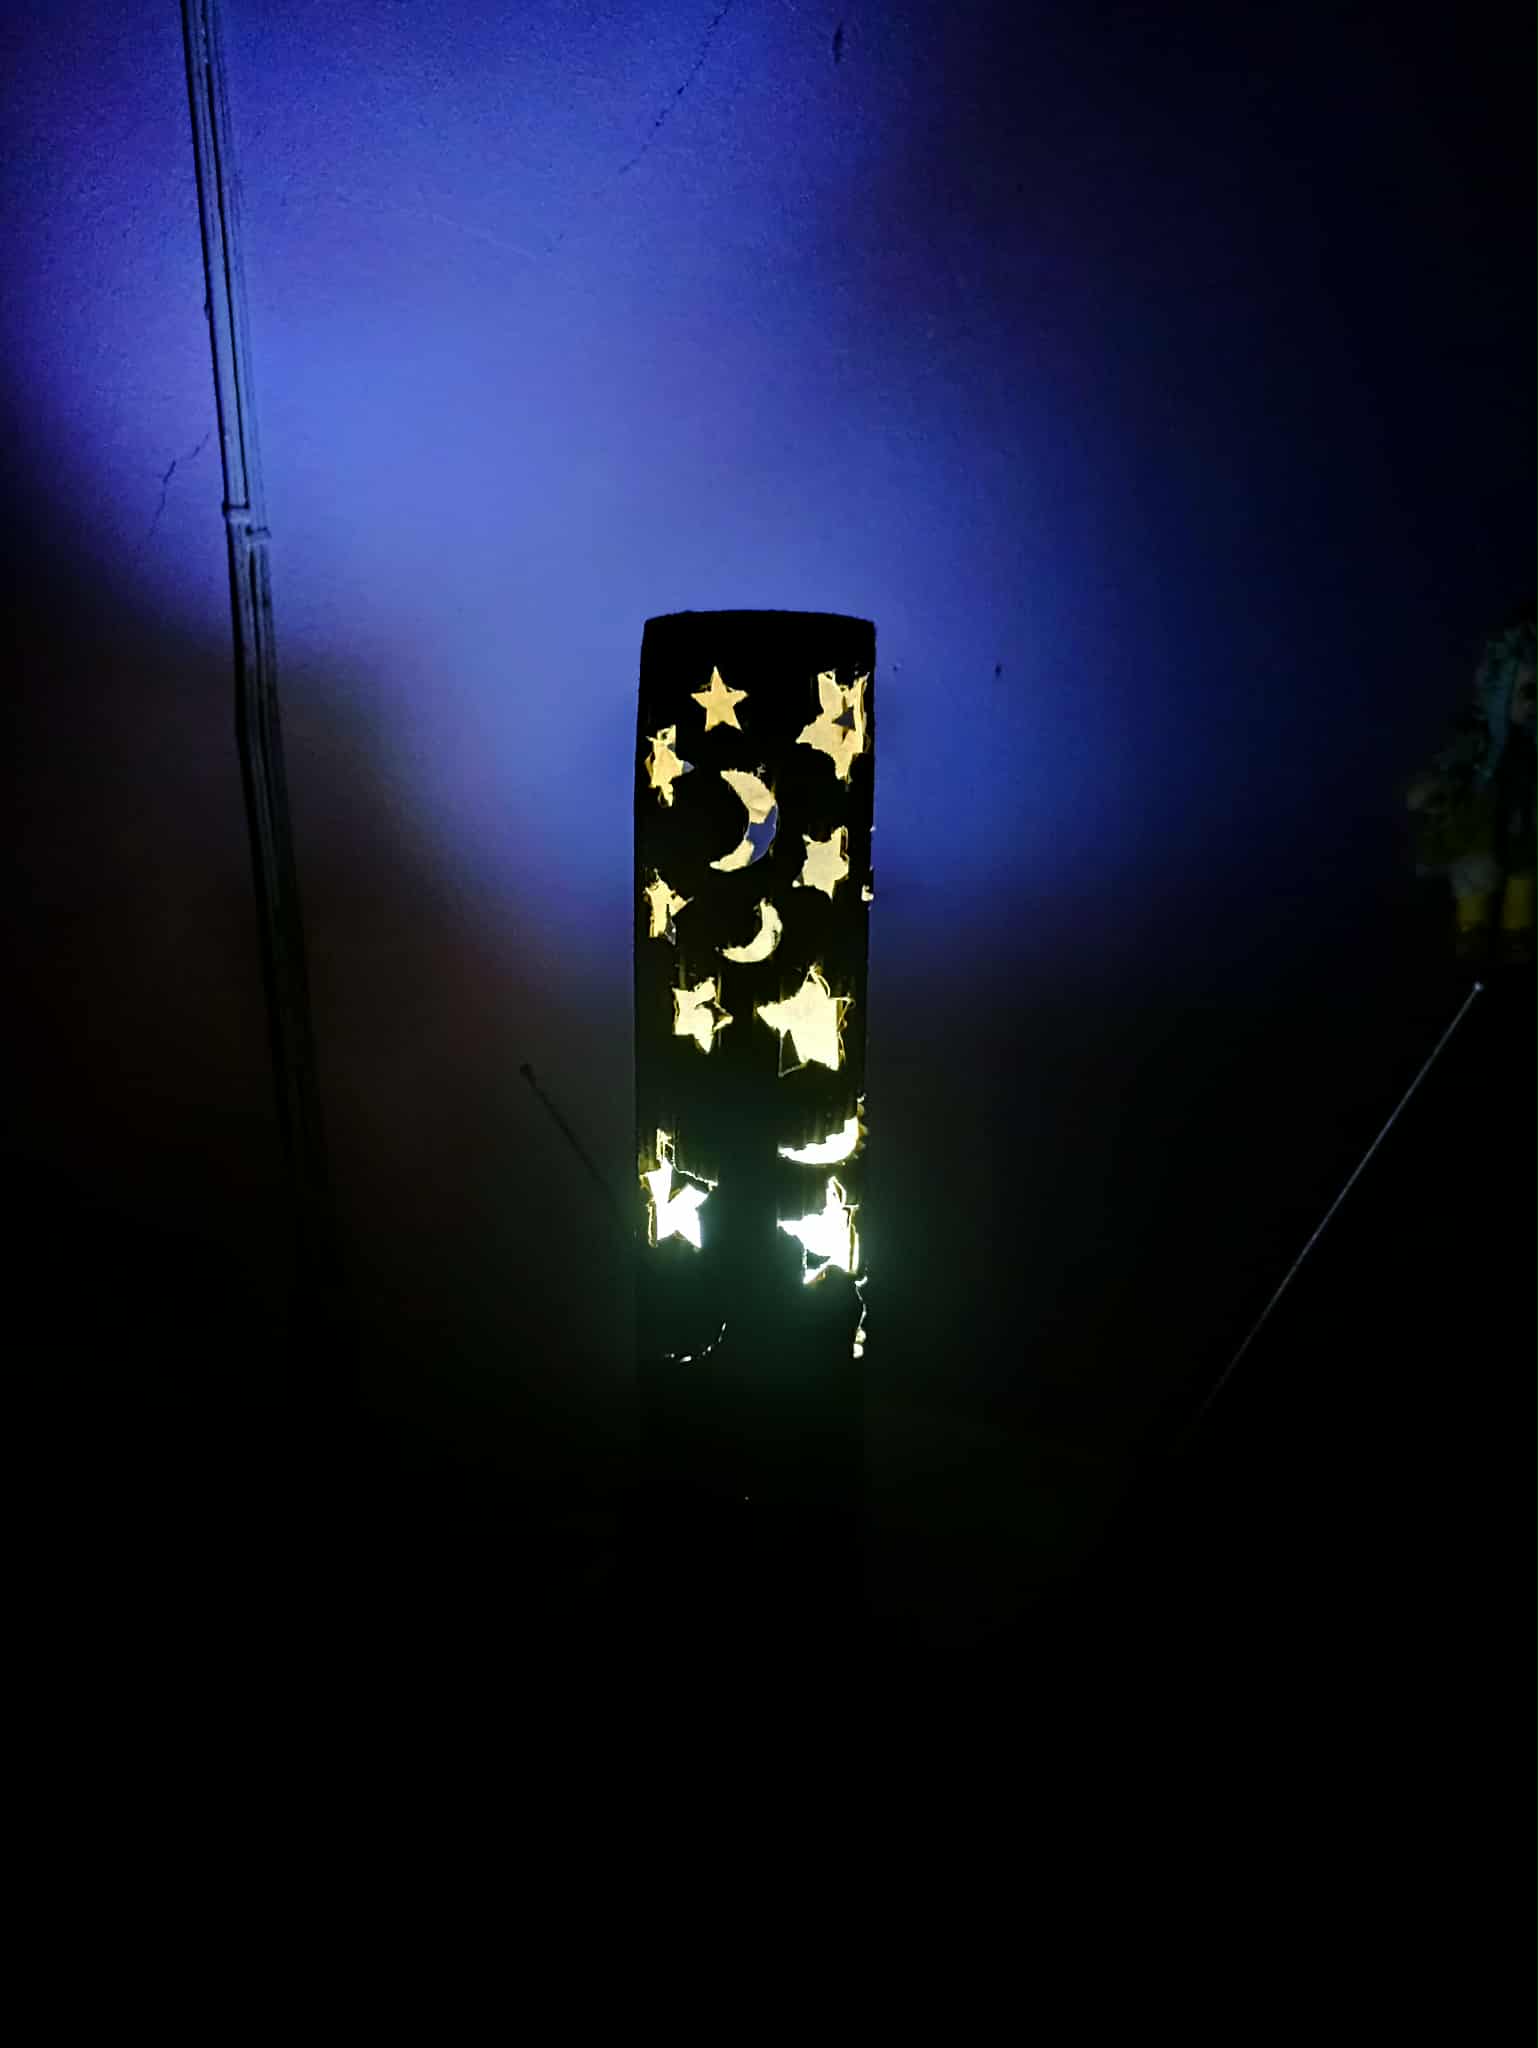
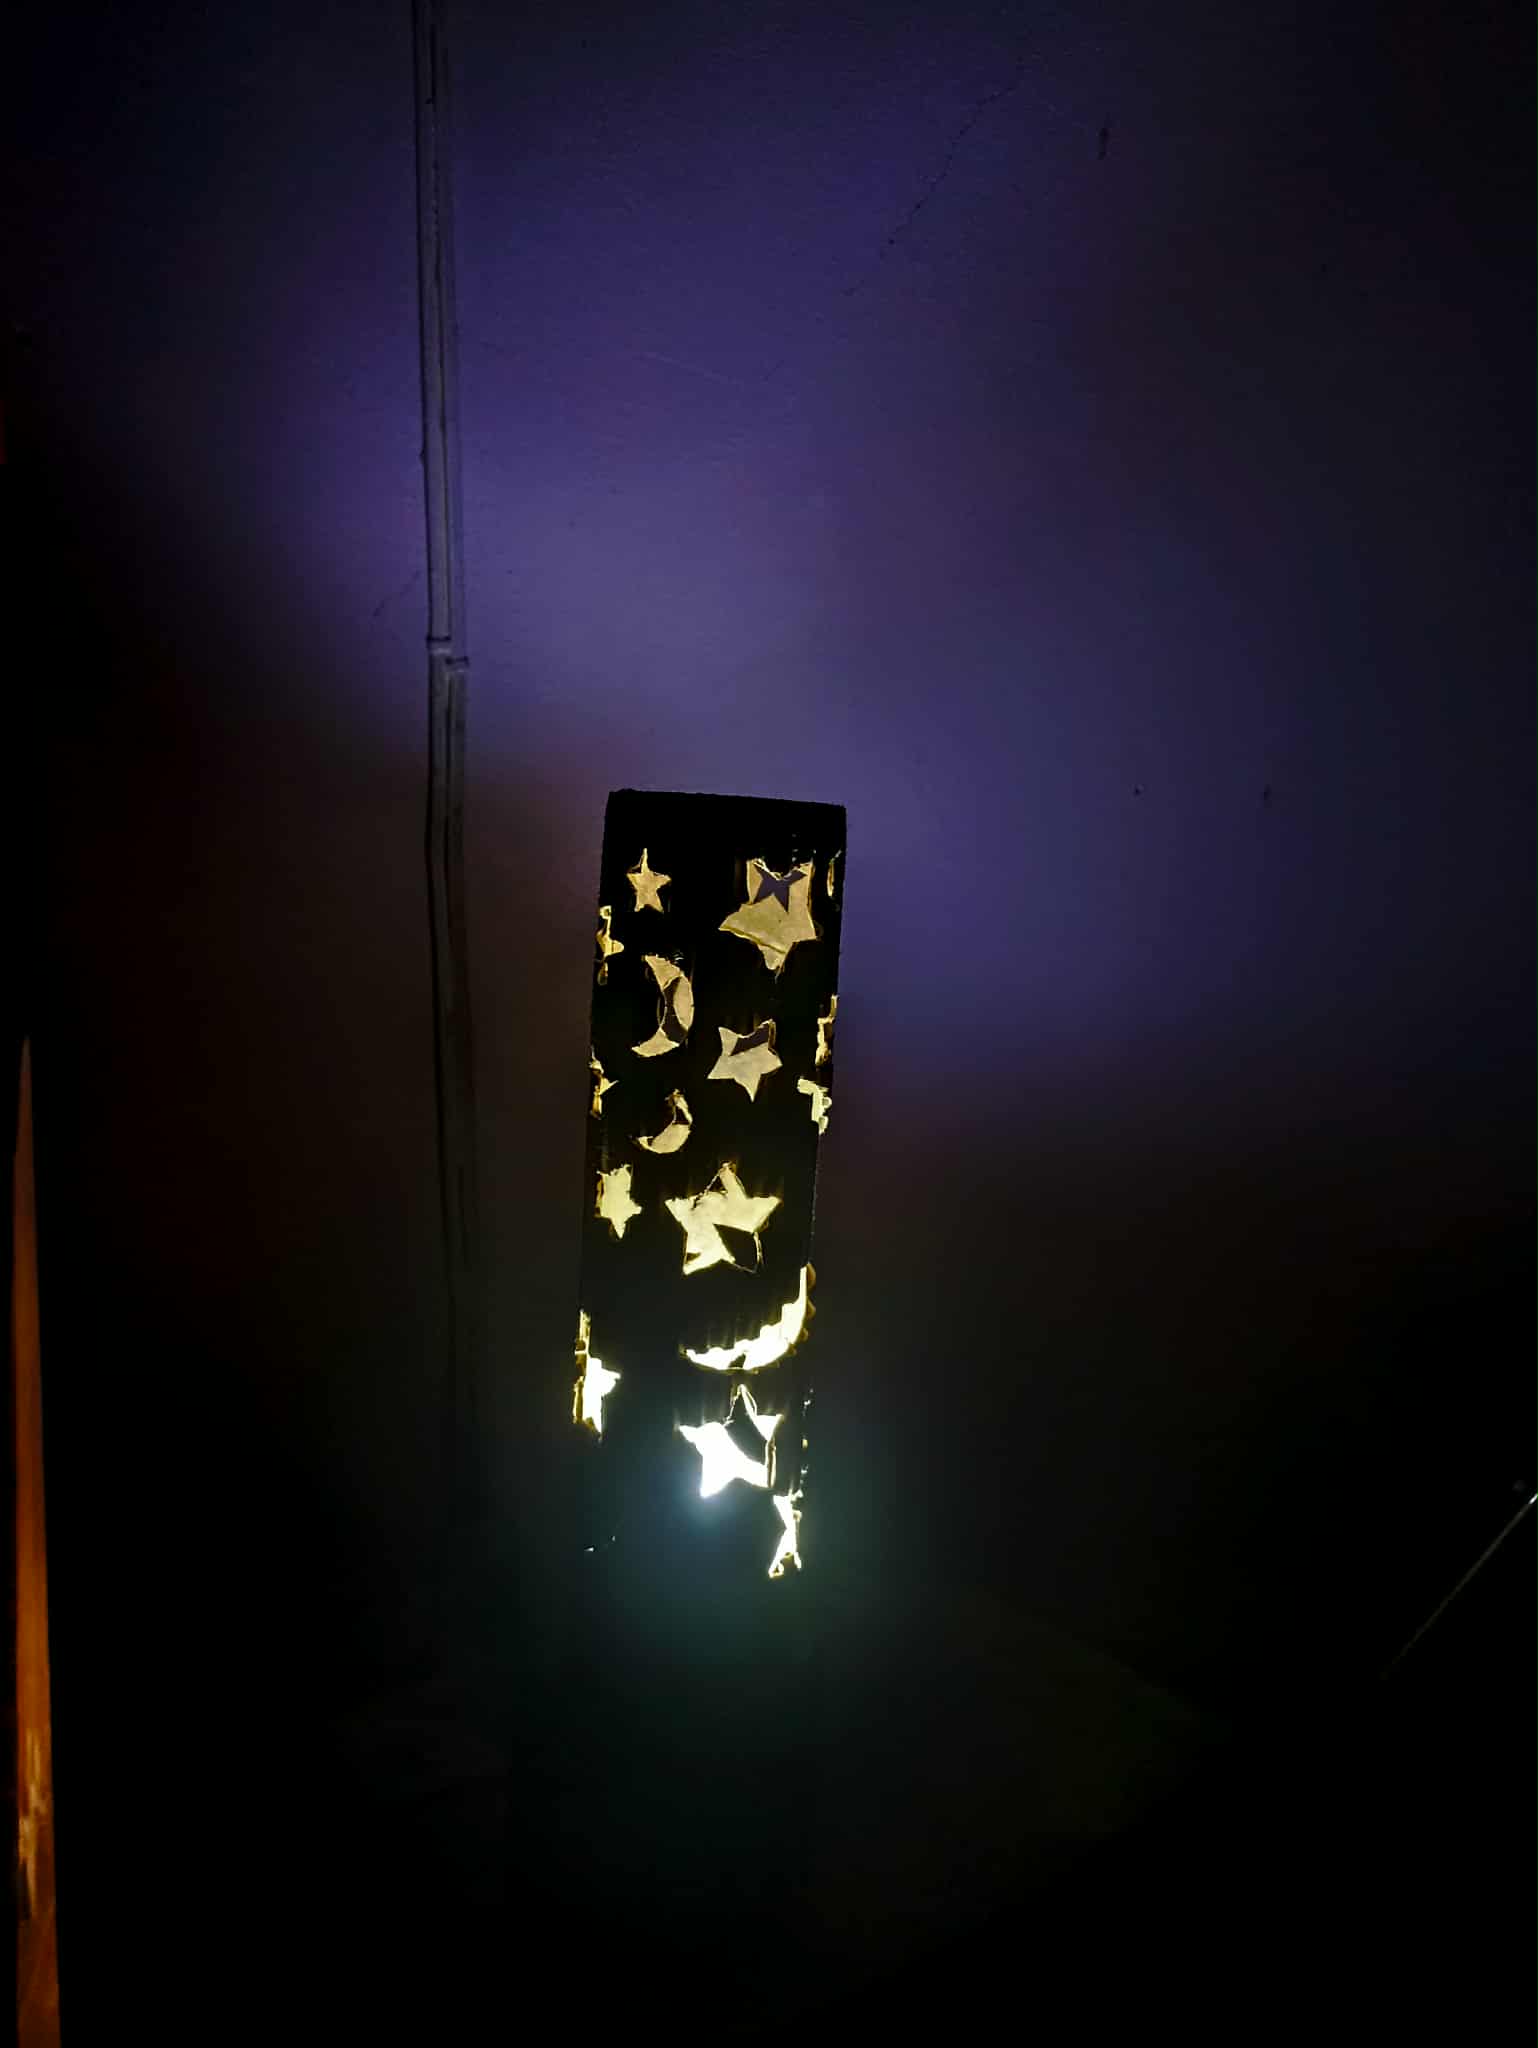
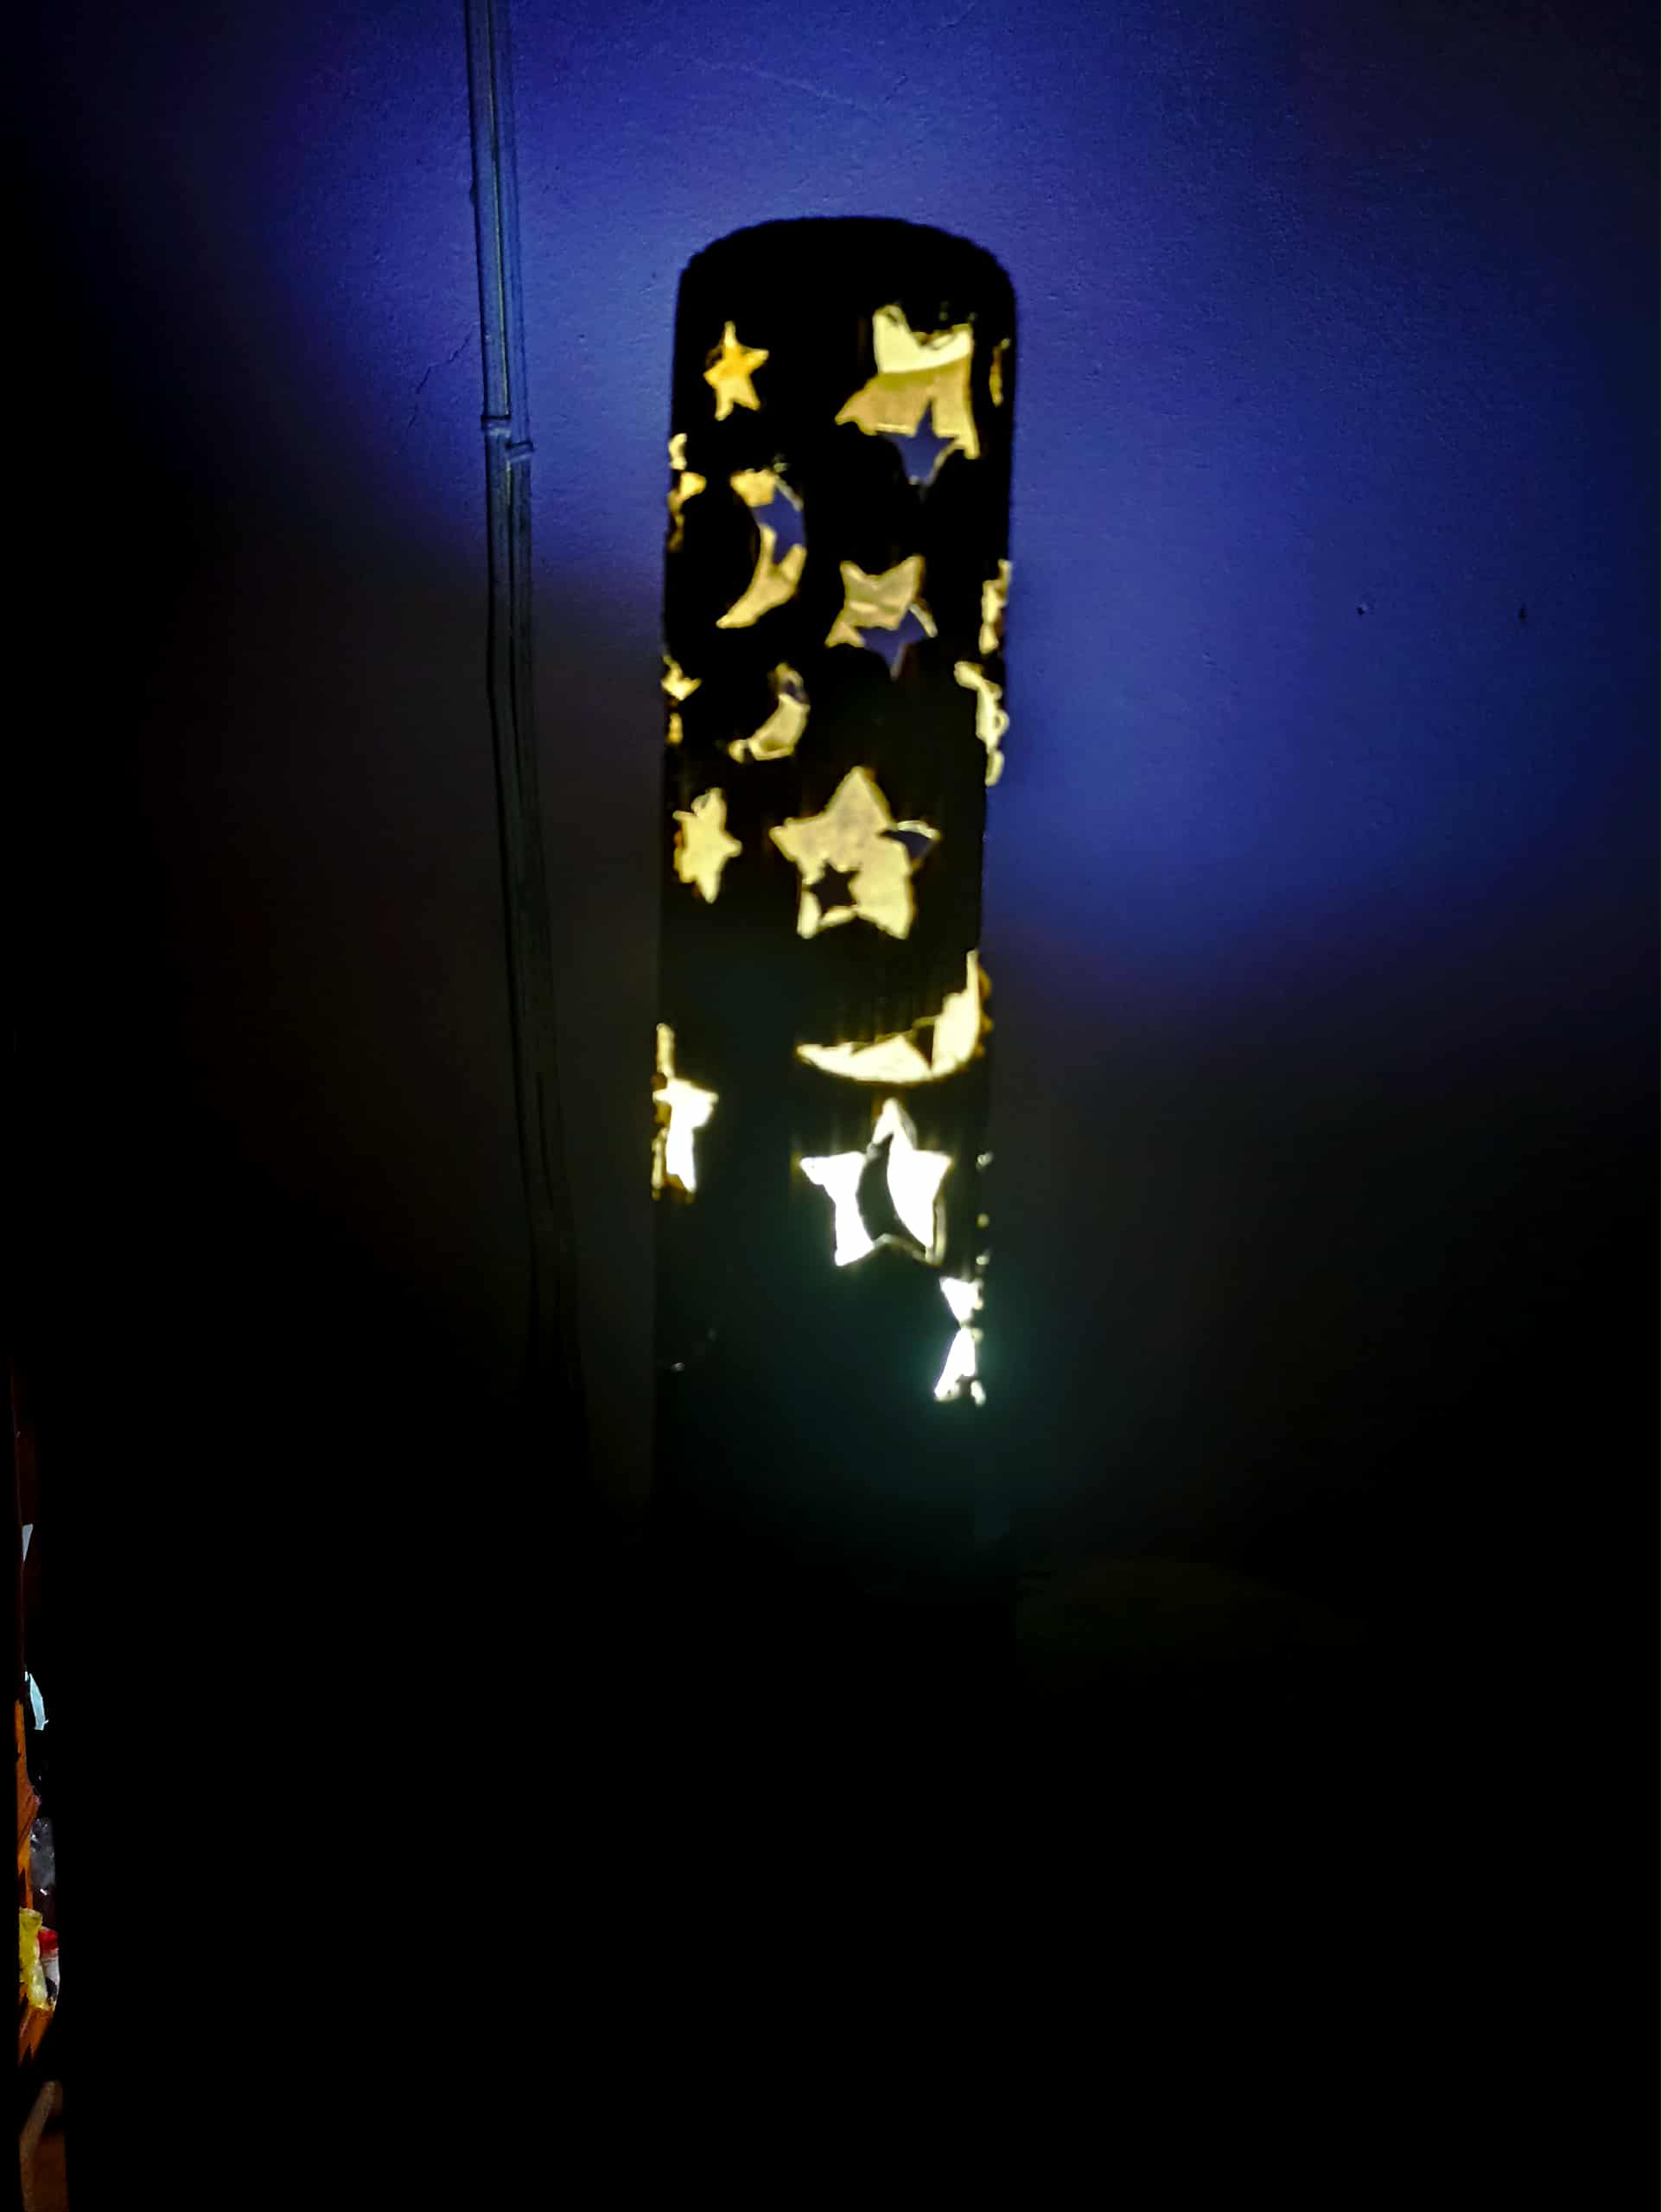
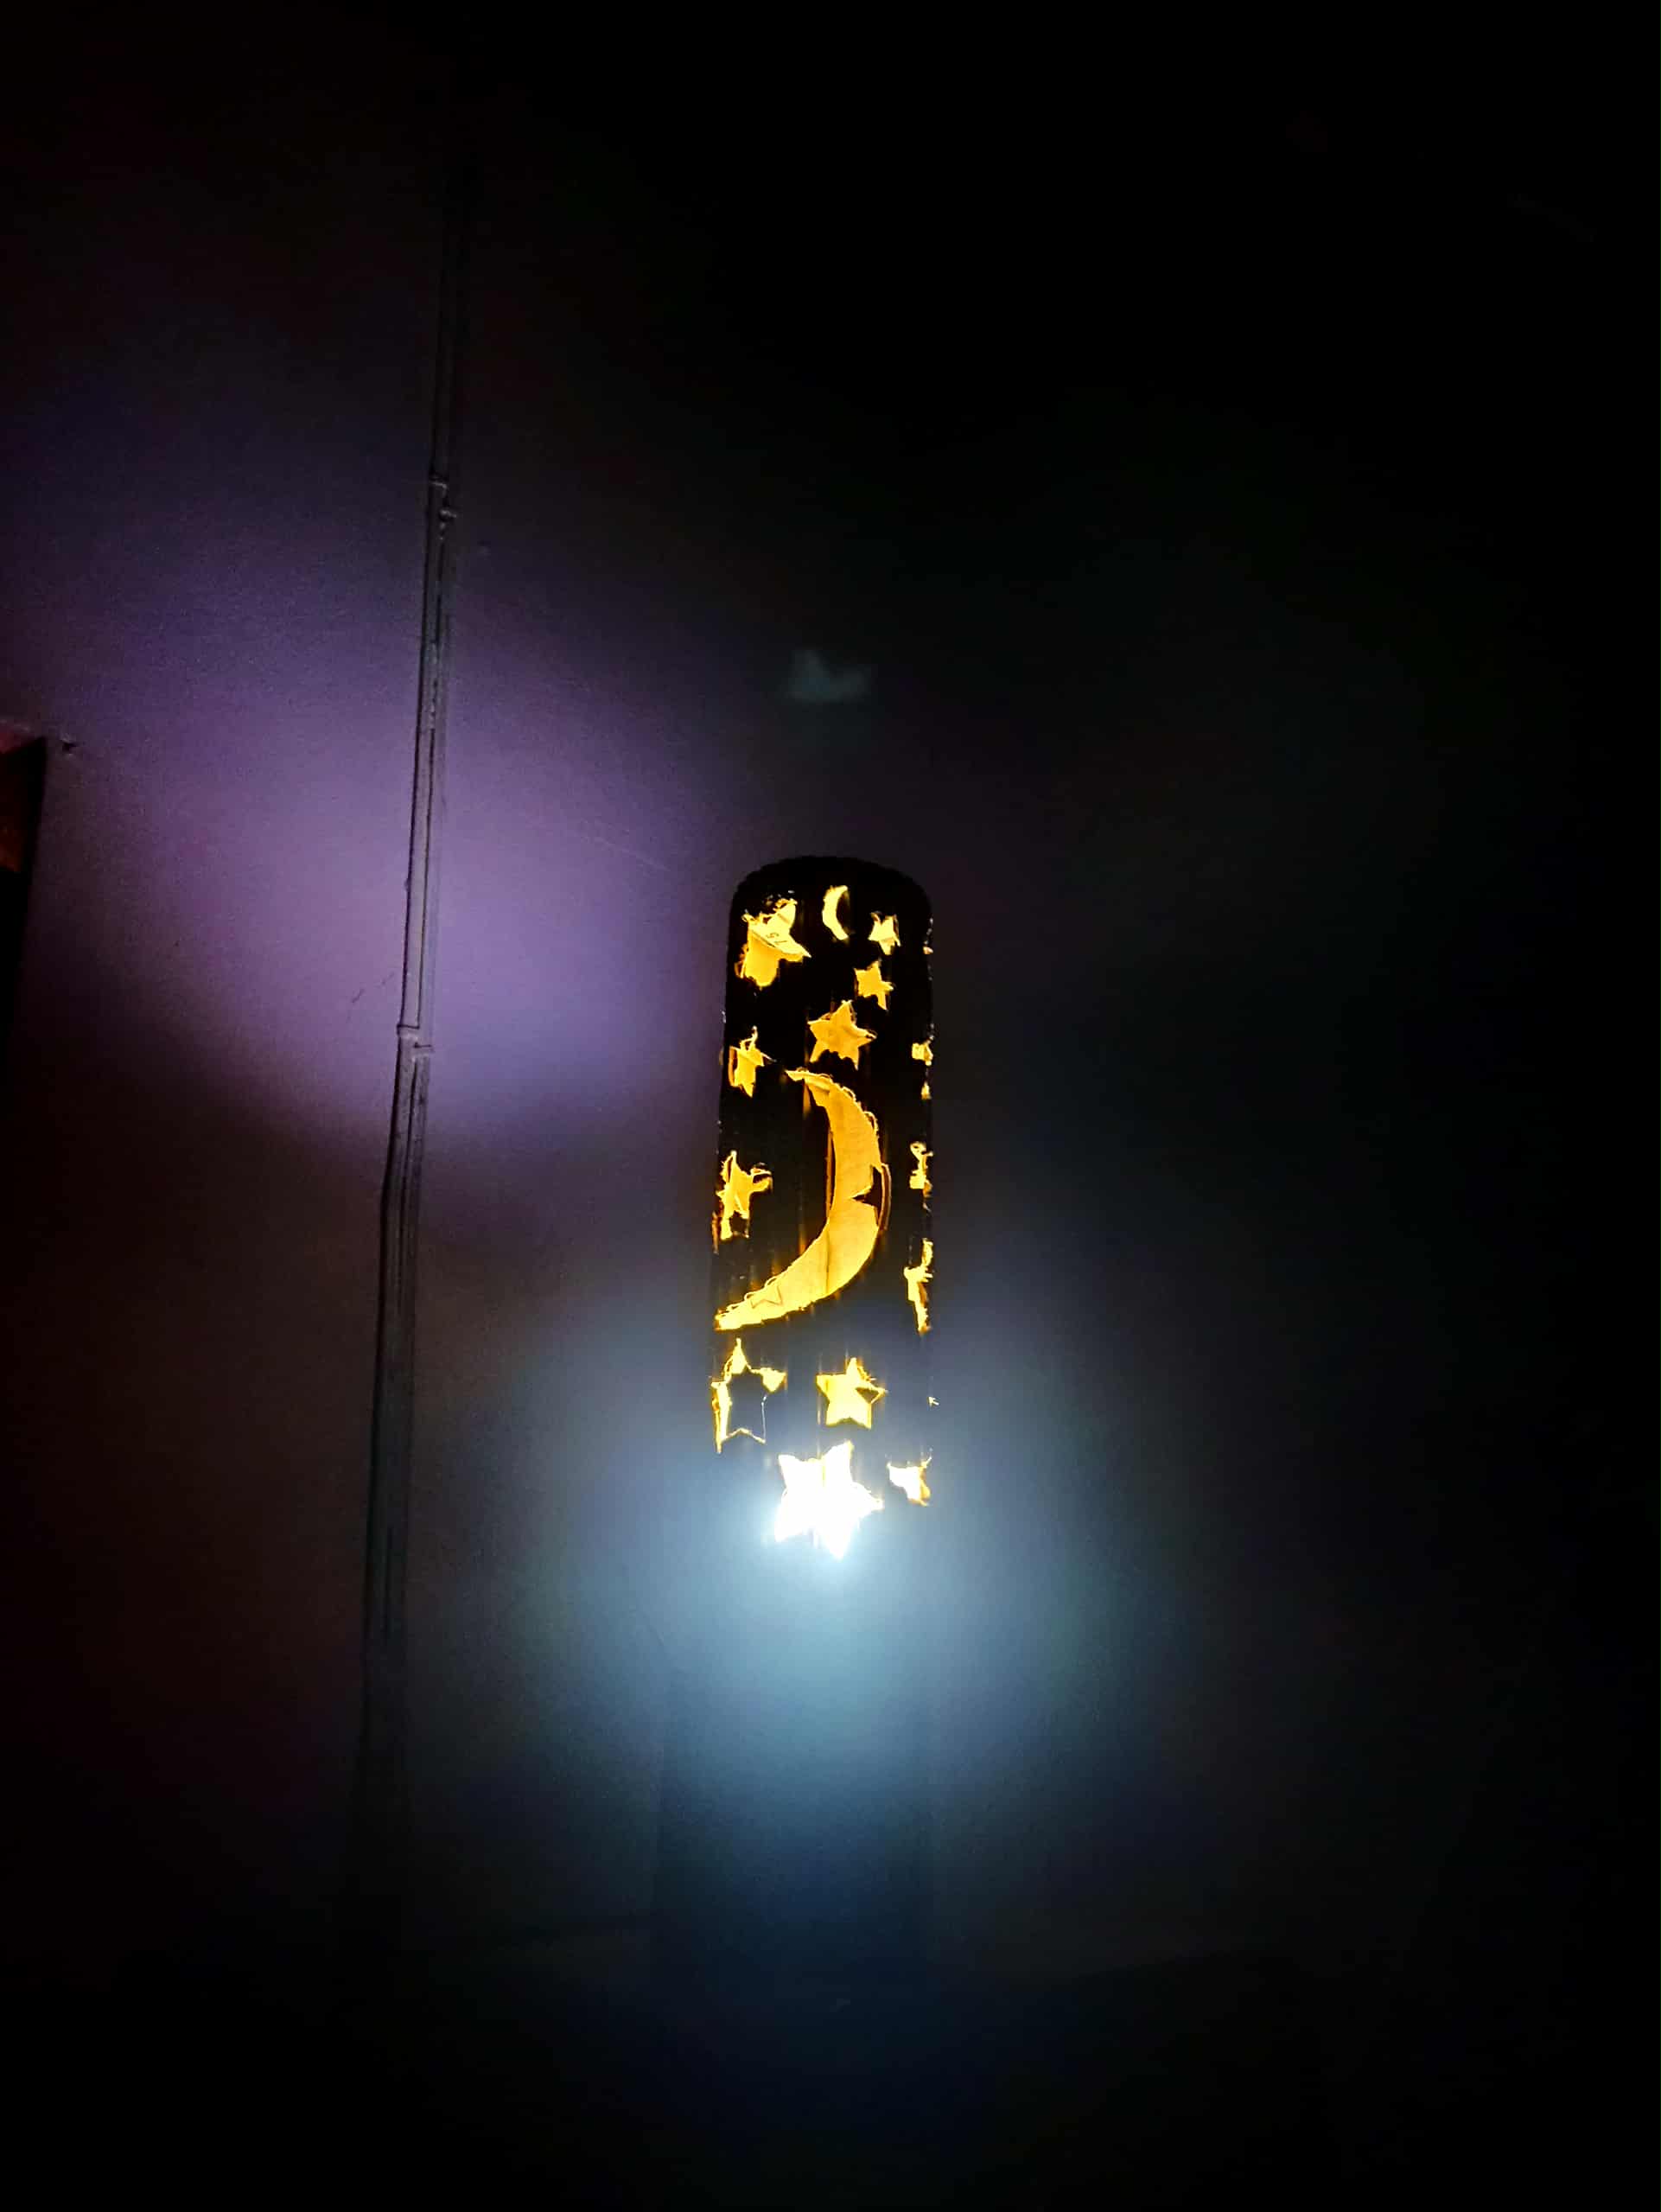
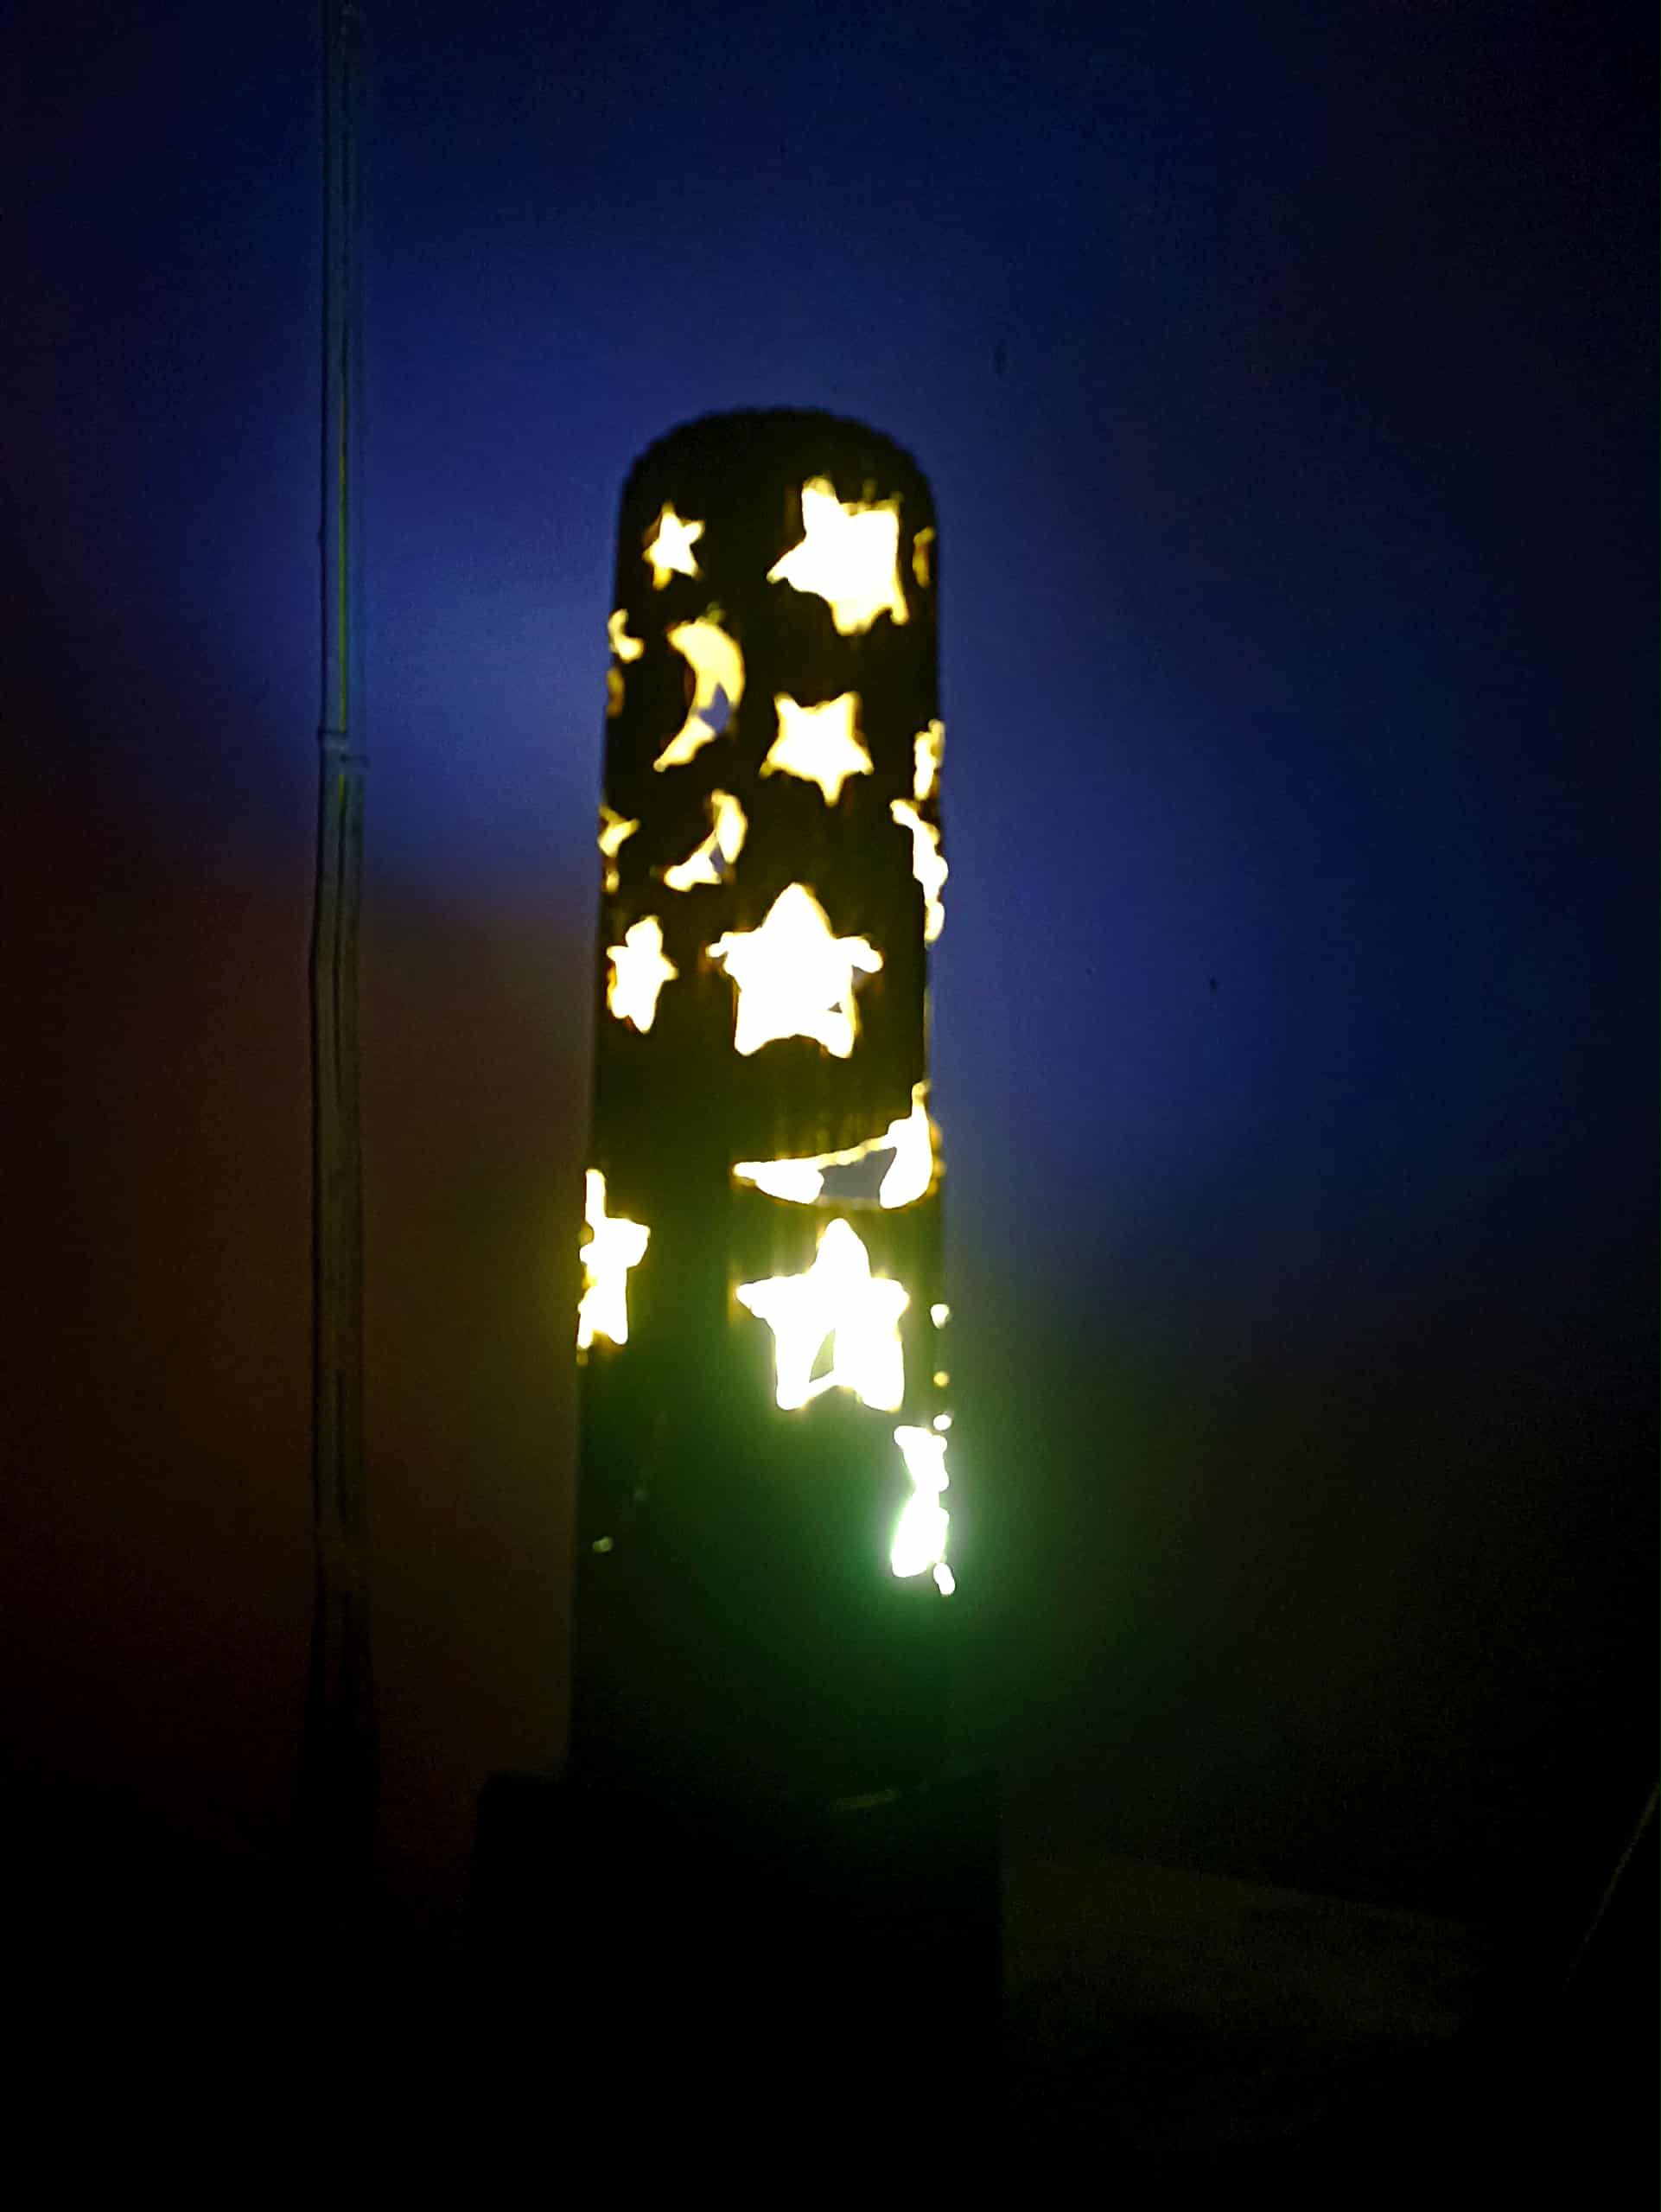
What does it look like in the dark on the map? As you can see, the light is somewhat dim thanks to the small figures I made, so it doesn't interfere with sleep. Another detail that could be added is to put a transparent panel inside in any color, for example, blue or purple. This way, we can reduce the impact of light and sleep even better in a dimly lit room. It's been a pleasure to share my contribution with you. This can be done with other materials and other figures; you can really unleash your creativity. For now, I'll just say goodbye and come back soon with new creative ideas to share. See you soon, friends!
¿Como luce en el carto a oscuras? como pueden ver la luz es algo ténue gracias a las figruas pequeñas que hice, por lo que la luz no impide el sueño. Otro detalle que podría agregarse es poner un panel transparente en el interior del color que se,a por ejemplo azul o también purpura, así podemos reducir el impacto de la luz y dormir aún mejor con la habitación a poca luz. Ha sido un gusto poder compartir mi aporte con ustedes, esto puede hacerse con otros materiales y otras figuras, se puede dar rienda suelta a la creatividad. Por ahora solo me despido y volver pronto con ideas creativas nueva spara compartir, hasta pronto amigos!