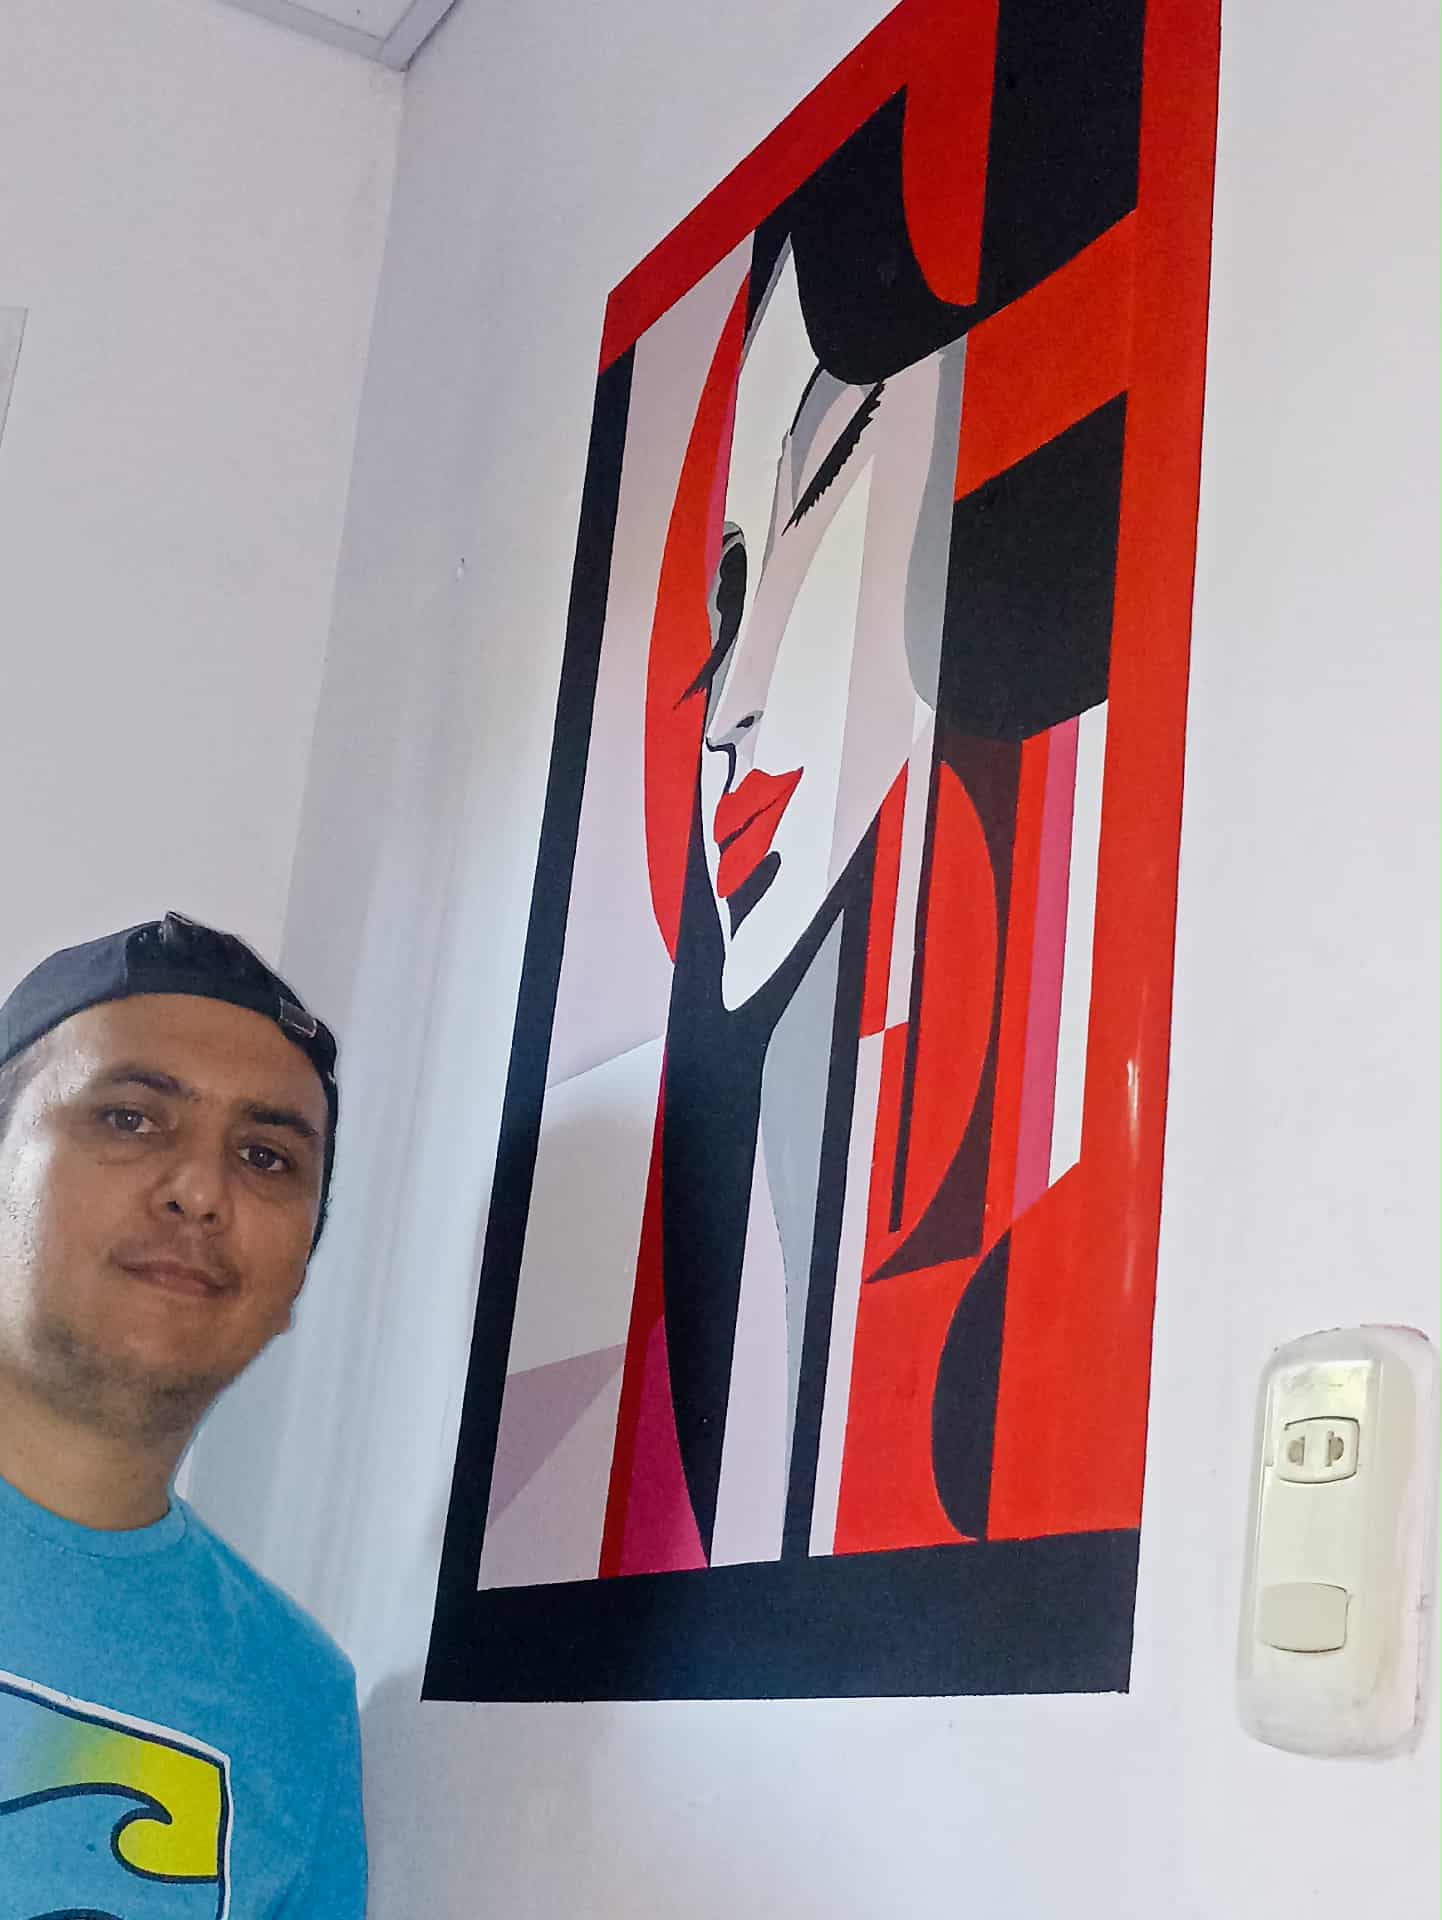
Hello dear friends of Hive DIY, I hope you are all doing well, healthy, and full of creative ideas. This week I got a job: I was commissioned to create an illustration directly on a wall, using nothing but the white concrete surface. I traveled to the location to do it. The painting was to be in a room, and the person who hired me had their own design, which they found online, so I simply put my skills at their disposal. Below, I'll share this experience and a short video showing the process. I hope you enjoy it.
Hola queridos amigos de Hive Diy, espero que se encuentren muy bien, con salud y con muchas ideas creativas. Esta semana me salió un trabajo, me dieron el encargo de hacer una ilustración directamente en una pared, sin utilizar ninguna clase de lienzo más que el concreto blanco de una pared. Para realizarlo me trasladé hasta el lugar, la pintura estaría en una habitación, la persona que me contrató tenía su propio diseño que sacó de internet así que solo puse mis habilidades a su disposición. a continuación les voy a relatar esta experiencia y a parte un video corto donde podrán ver como fue el proceso, espero que les guste.

PROCESS
 |
 |
 |
|---|---|---|
 |
 |
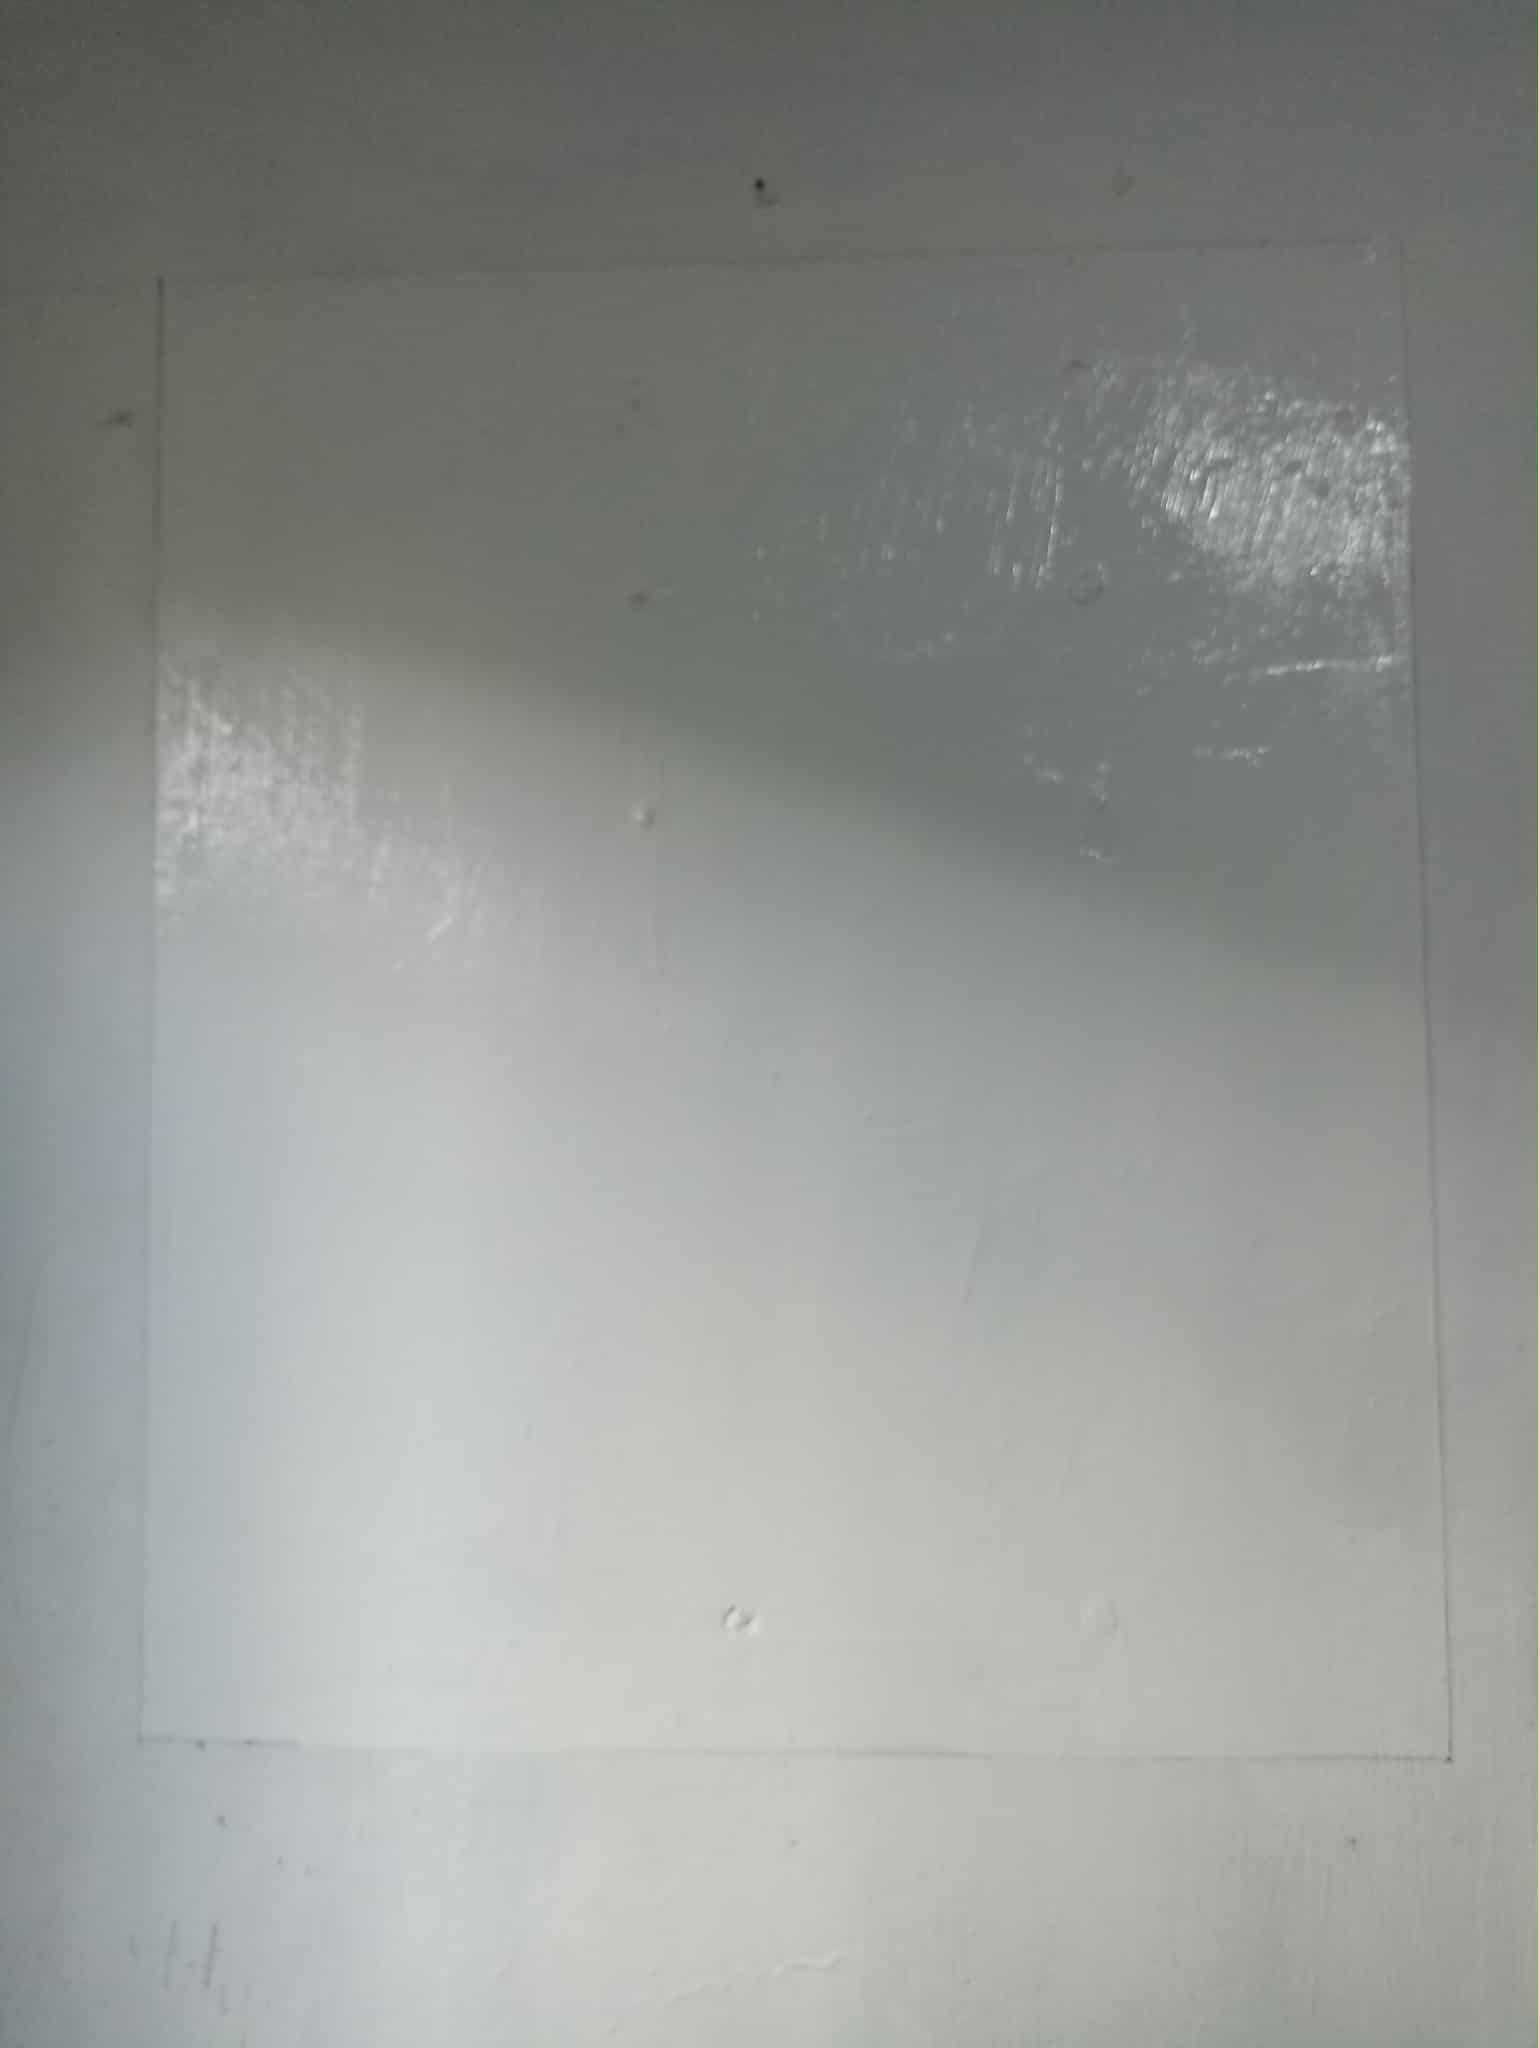 |
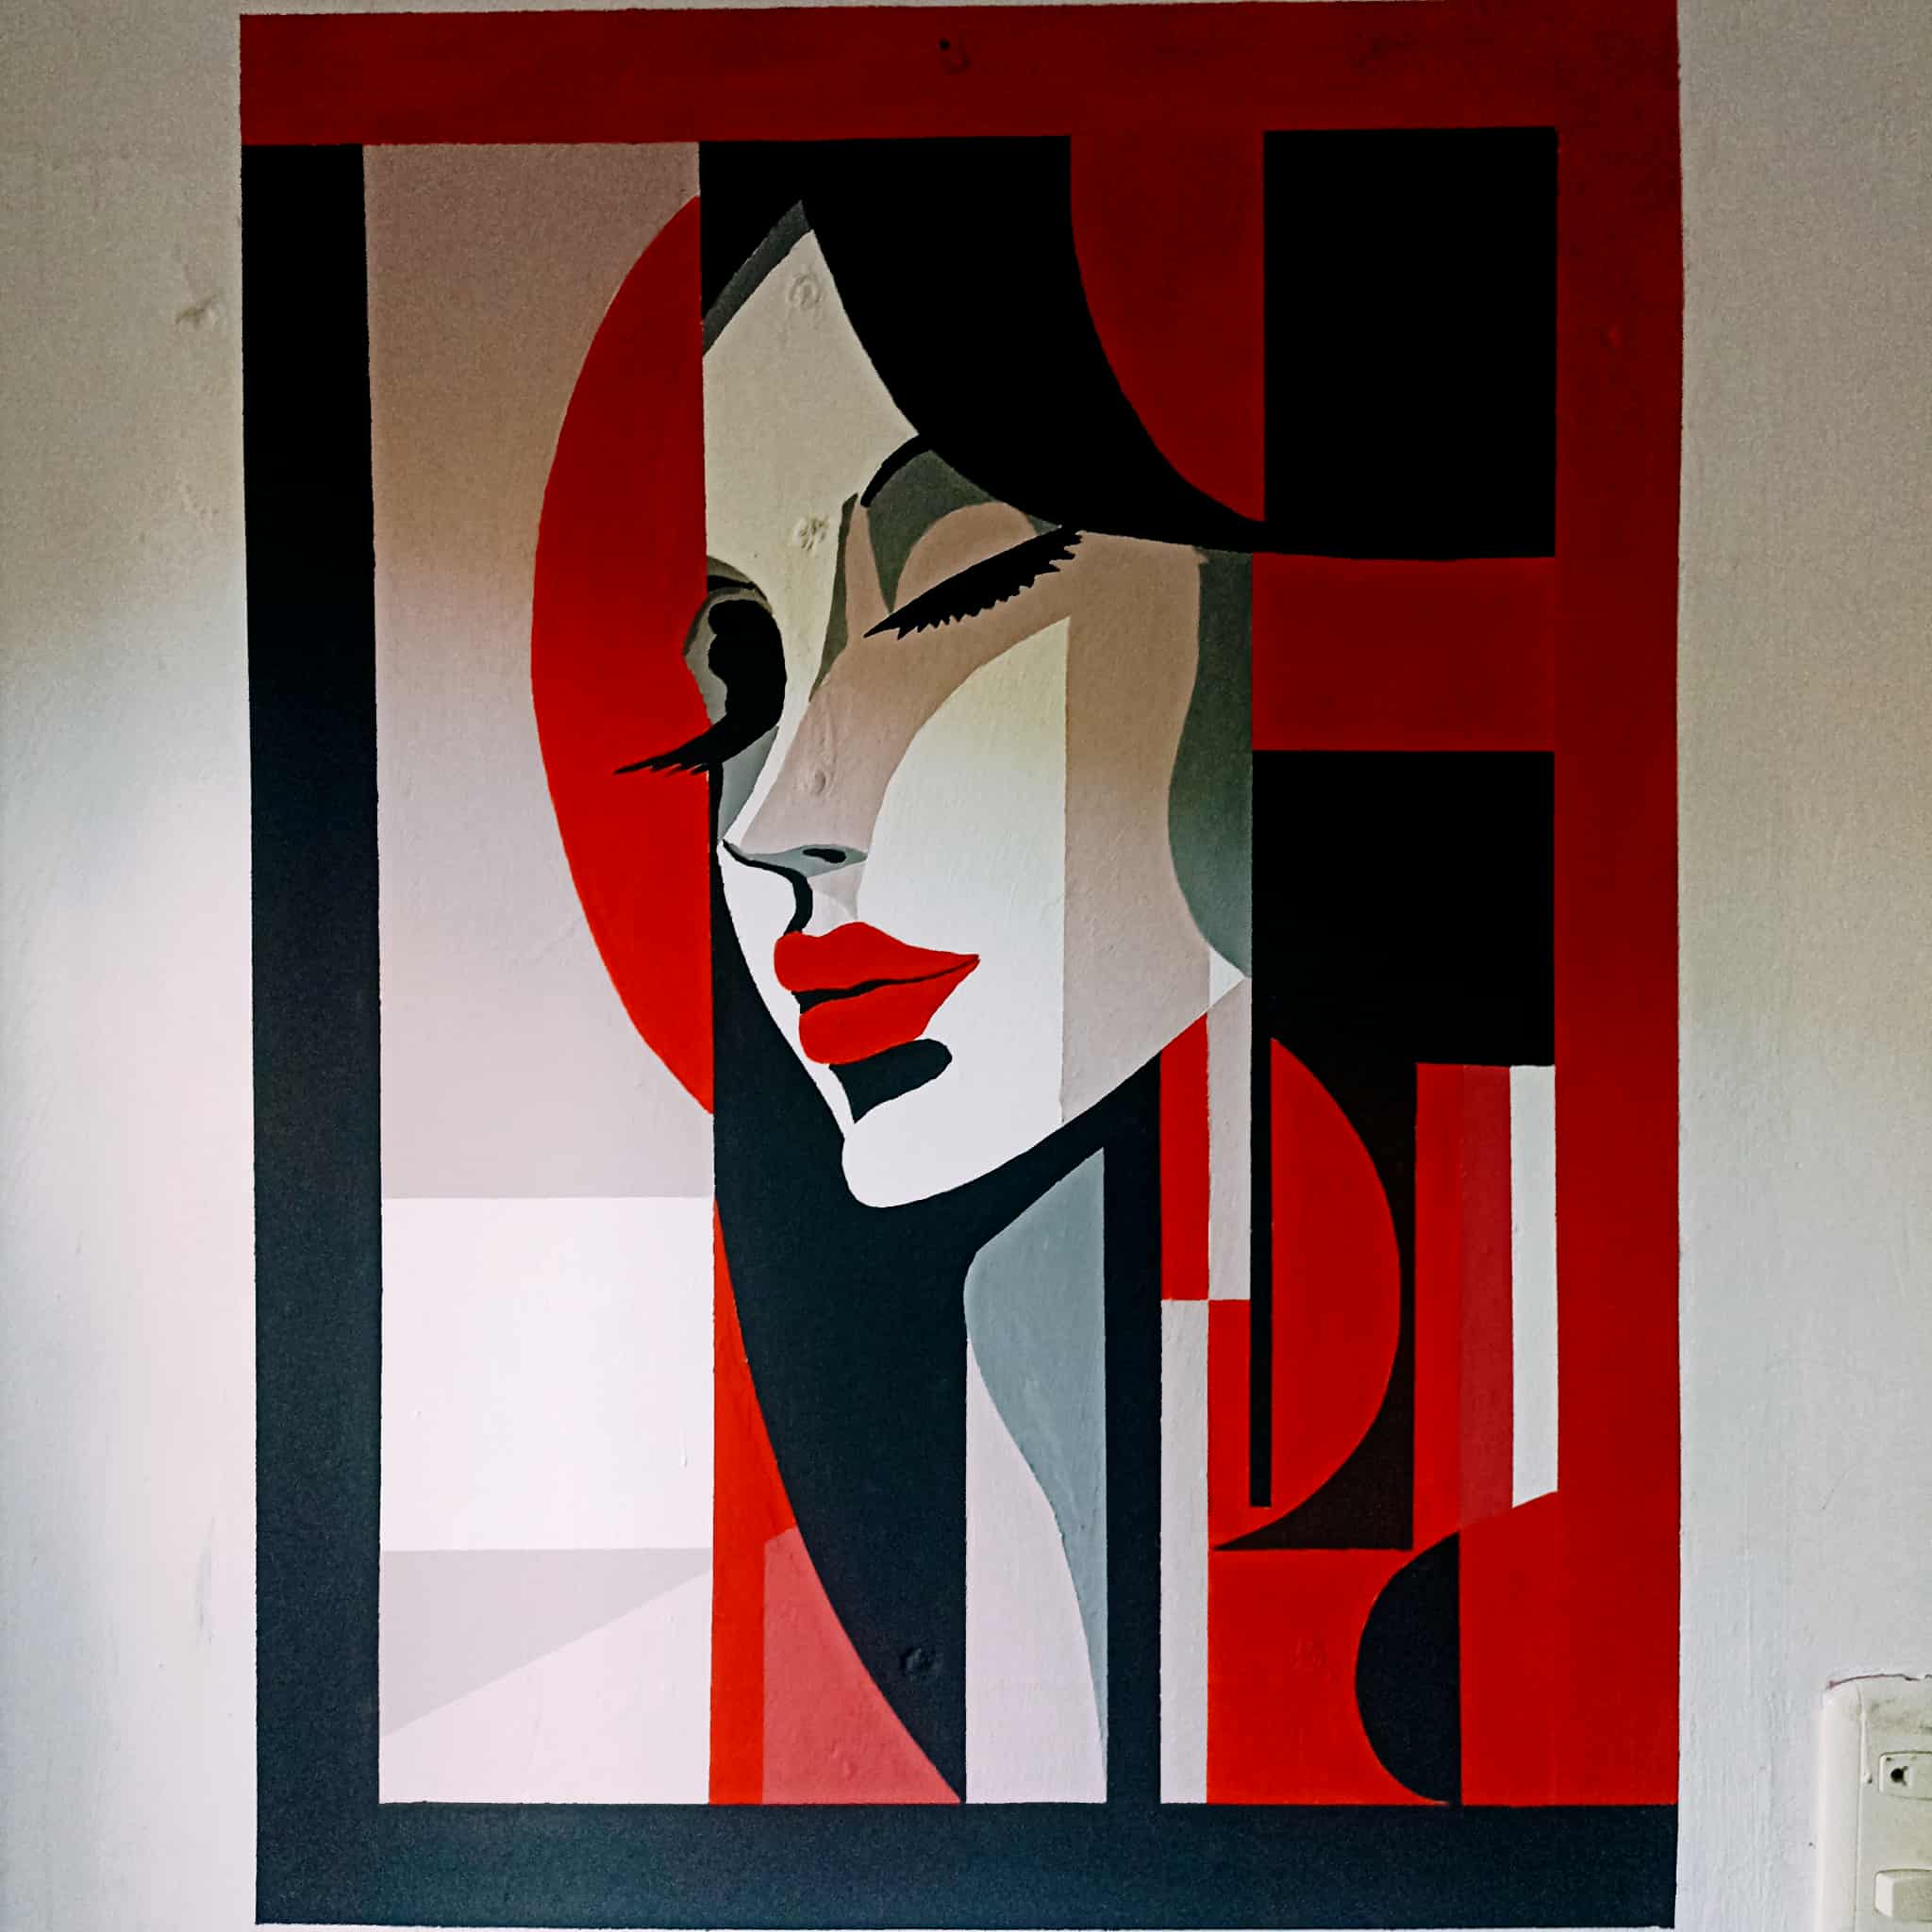
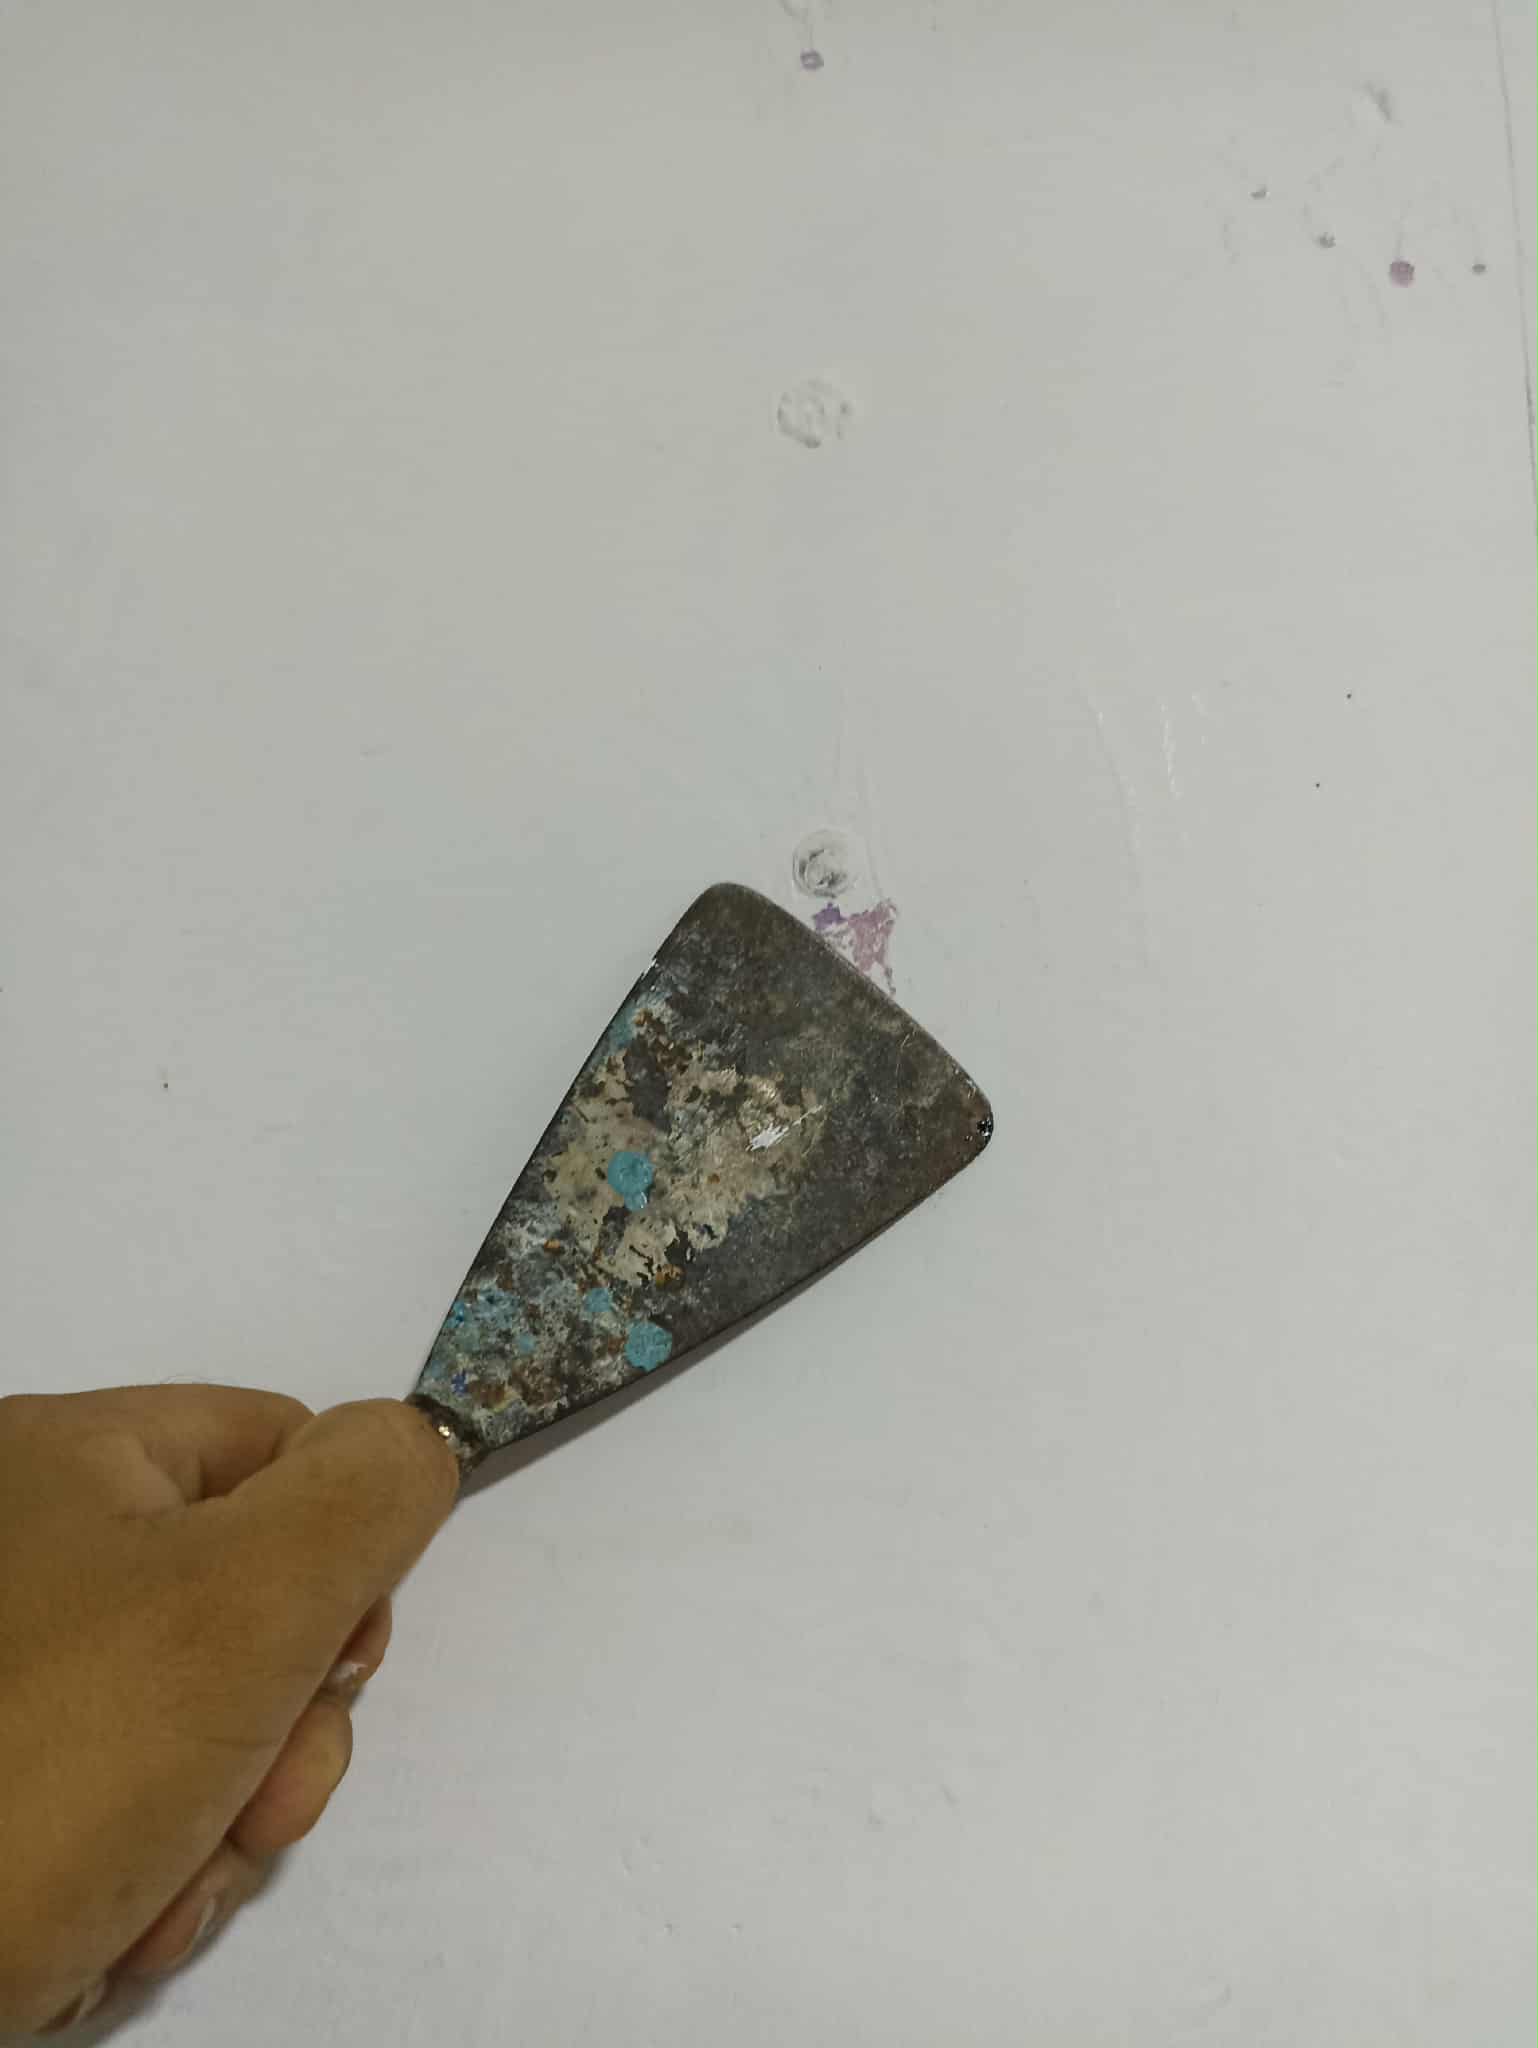
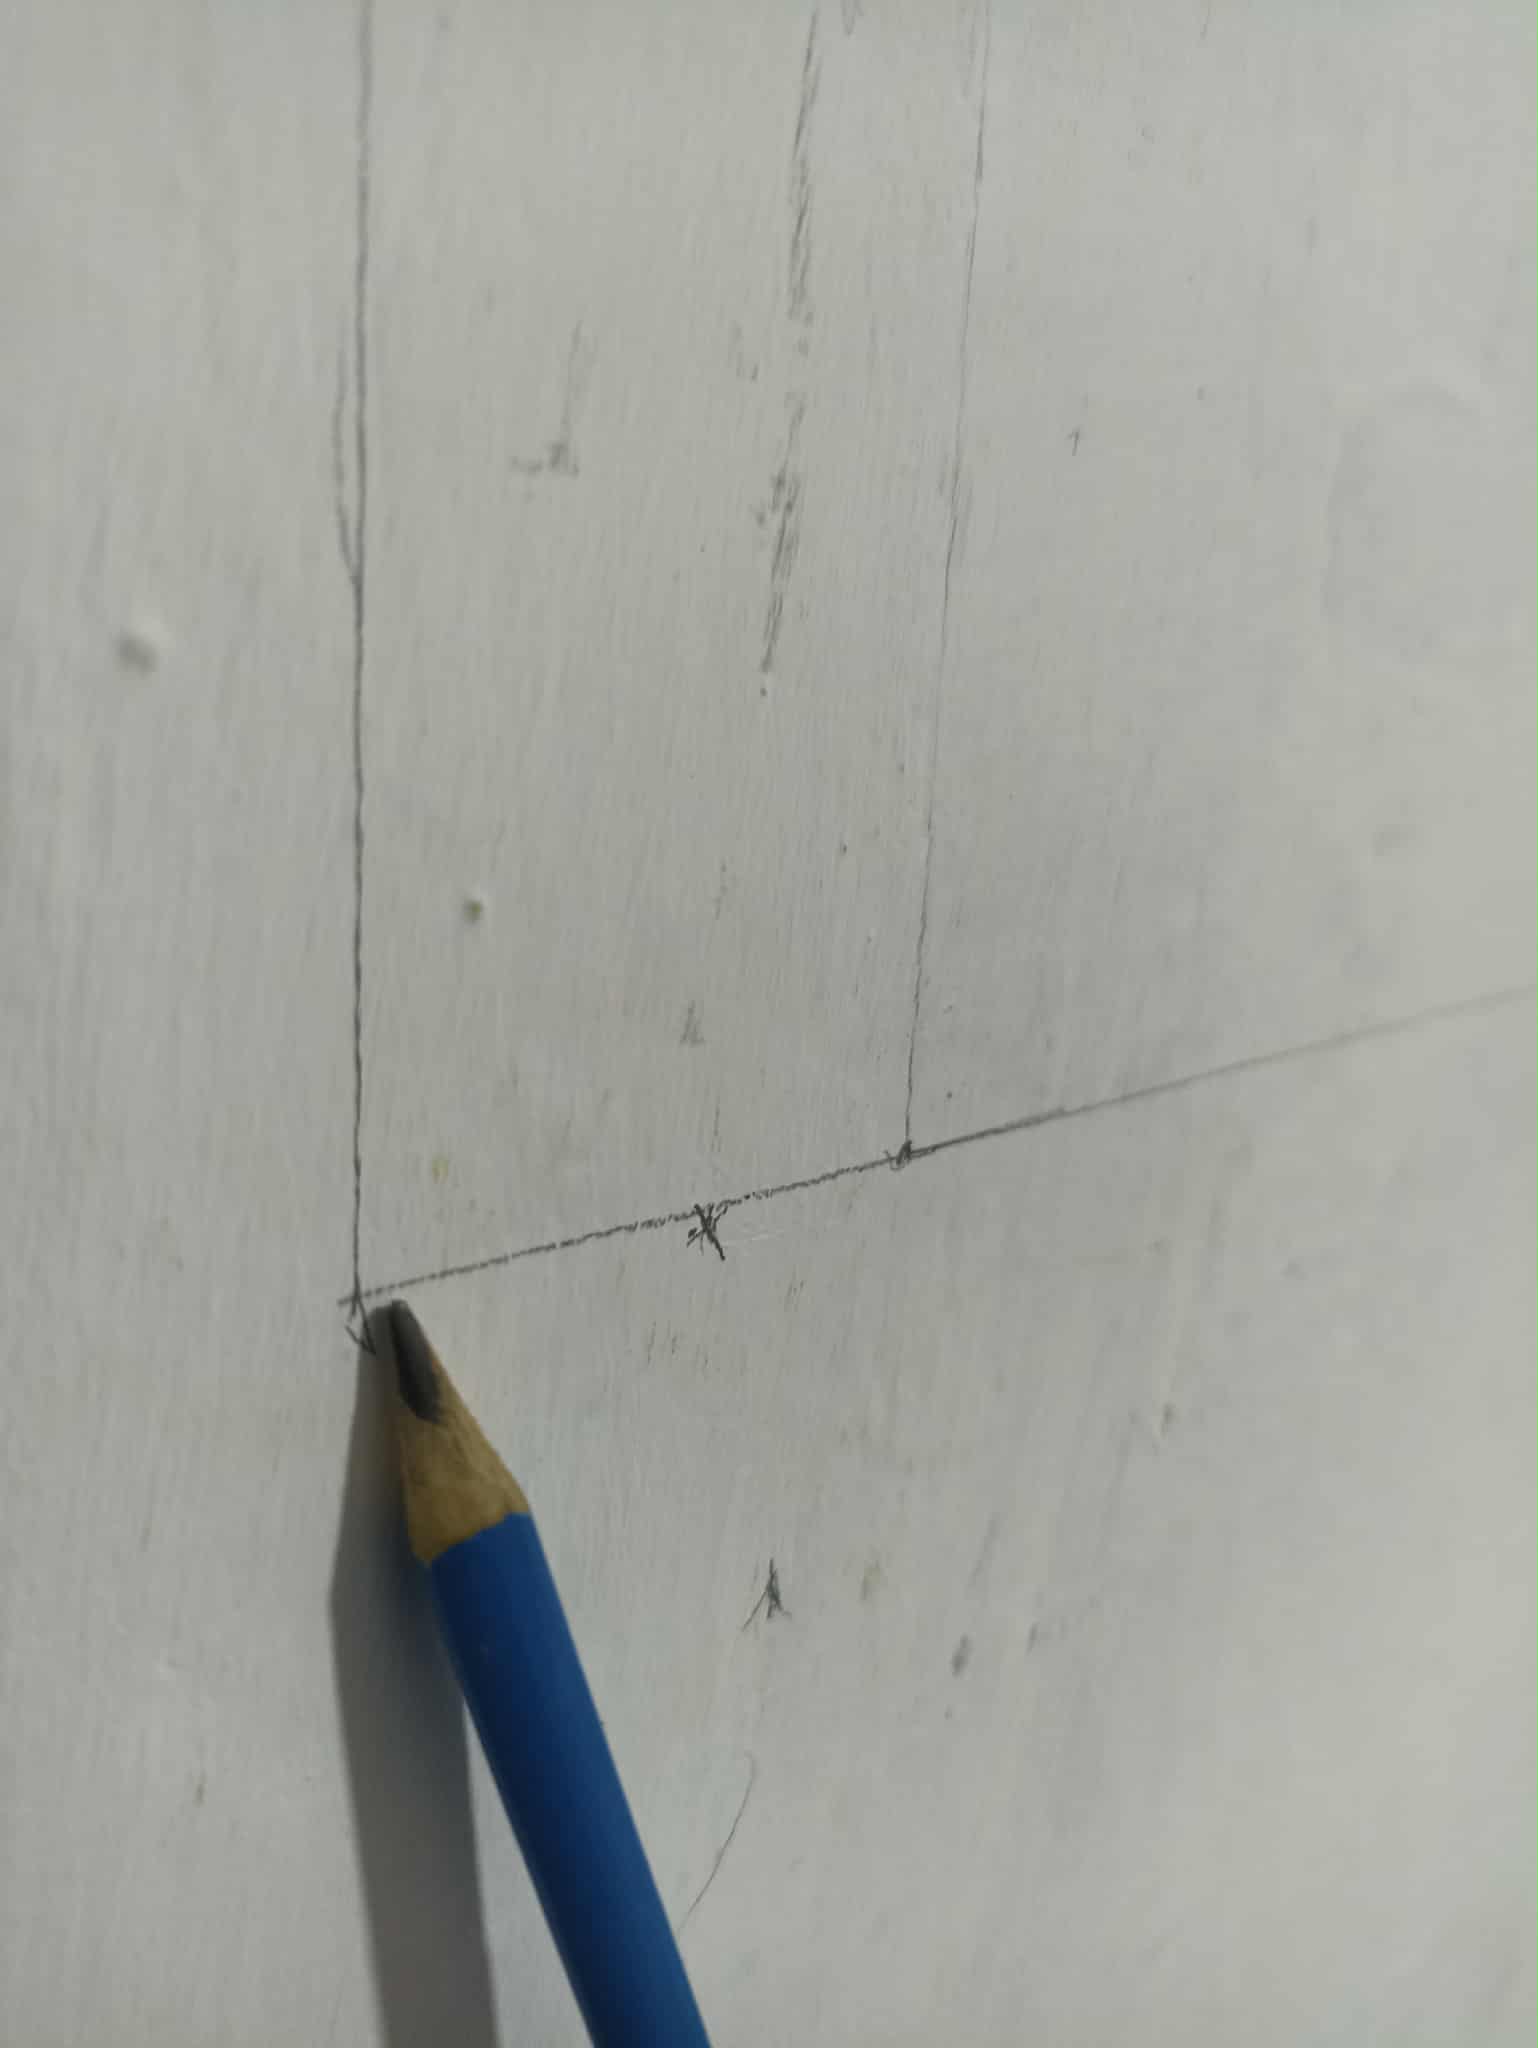
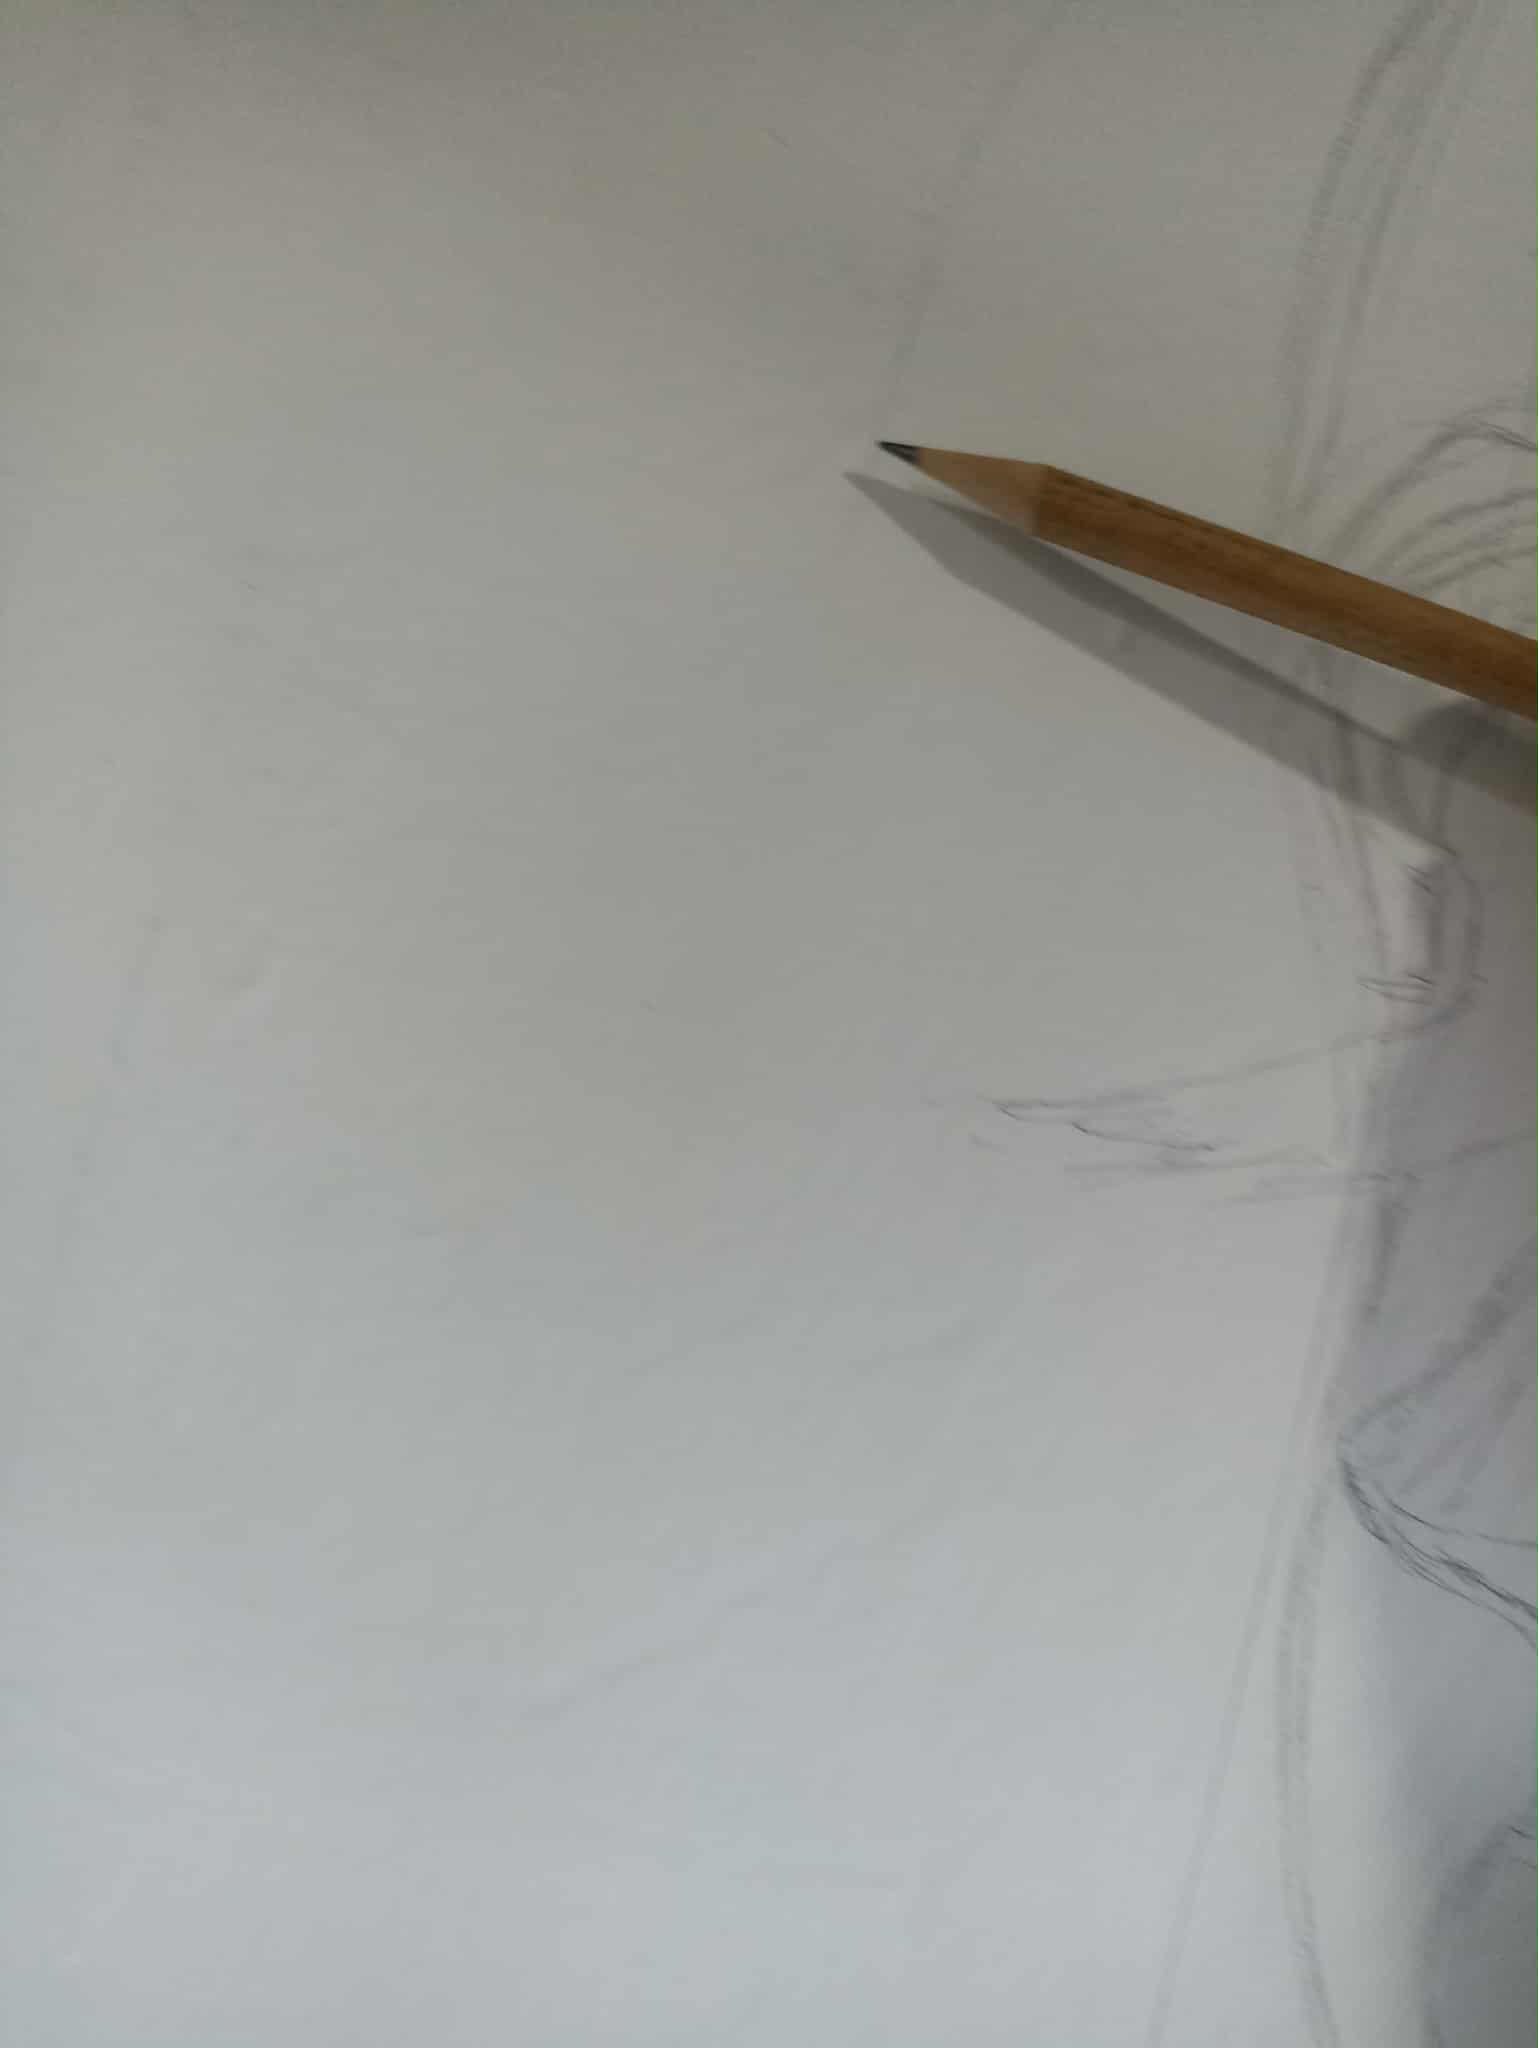
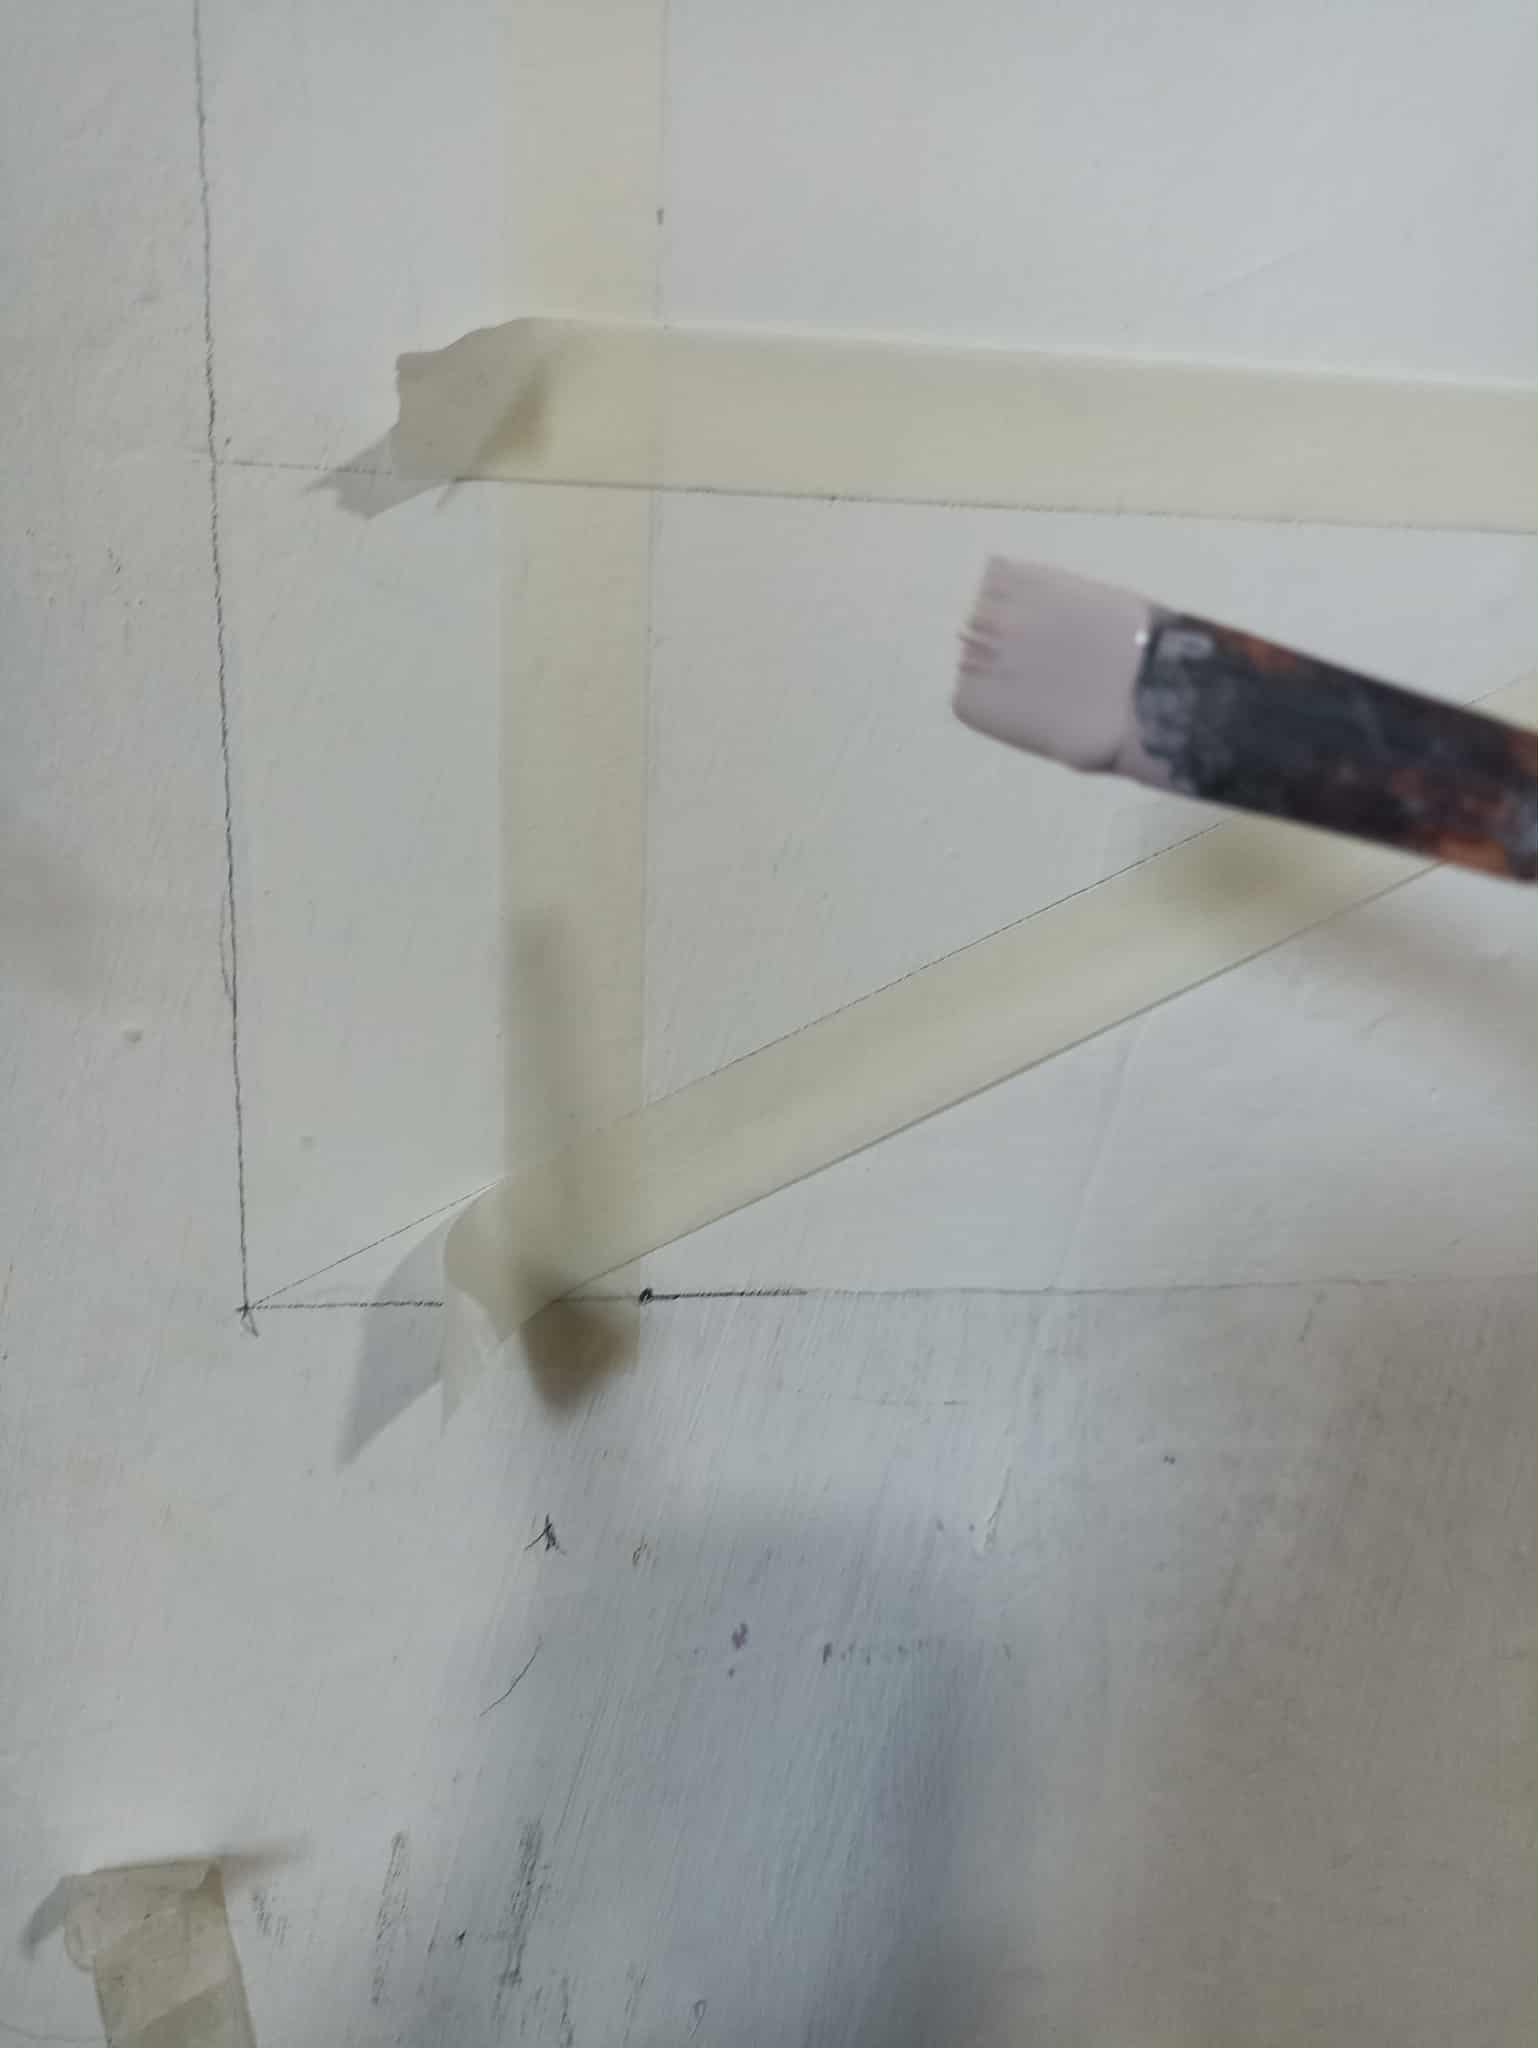
The chosen wall is the one facing the entrance to the room. I took some measurements to find the center and define the space for the painting. However, the wall had some problems, such as old, damaged paint that was peeling off, so I had to scrape the surface with a spatula where necessary. After that, I started painting with white paint to better prepare the surface for the sketch. Once I had taken the measurements, I drew the square where the illustration of the girl would go, and finally, I painted the inside again and let the paint dry completely.
La pared elegida es la que da a la entrada a la habitación, hice algunas medidas para elegir el centro y ahí delimitar el espacio para la pintura. Sin embargo, la pared contaba con algunos inconvenientes, como pintura vieja dañada que se caía a pedazos, por lo que tuve que raspar la superficie con una espátula en los lugares donde fuera necesario, luego de eso comencé a pintar con pintura blanca para preparar mejor el trazo para el boceto. Luego que hice las mediciones hice el cuadrado donde irá la ilustración de la chica, y por último volví a pintar al interior y deje secar muy bien la pintura.
 |
 |
 |
|---|---|---|
 |
 |
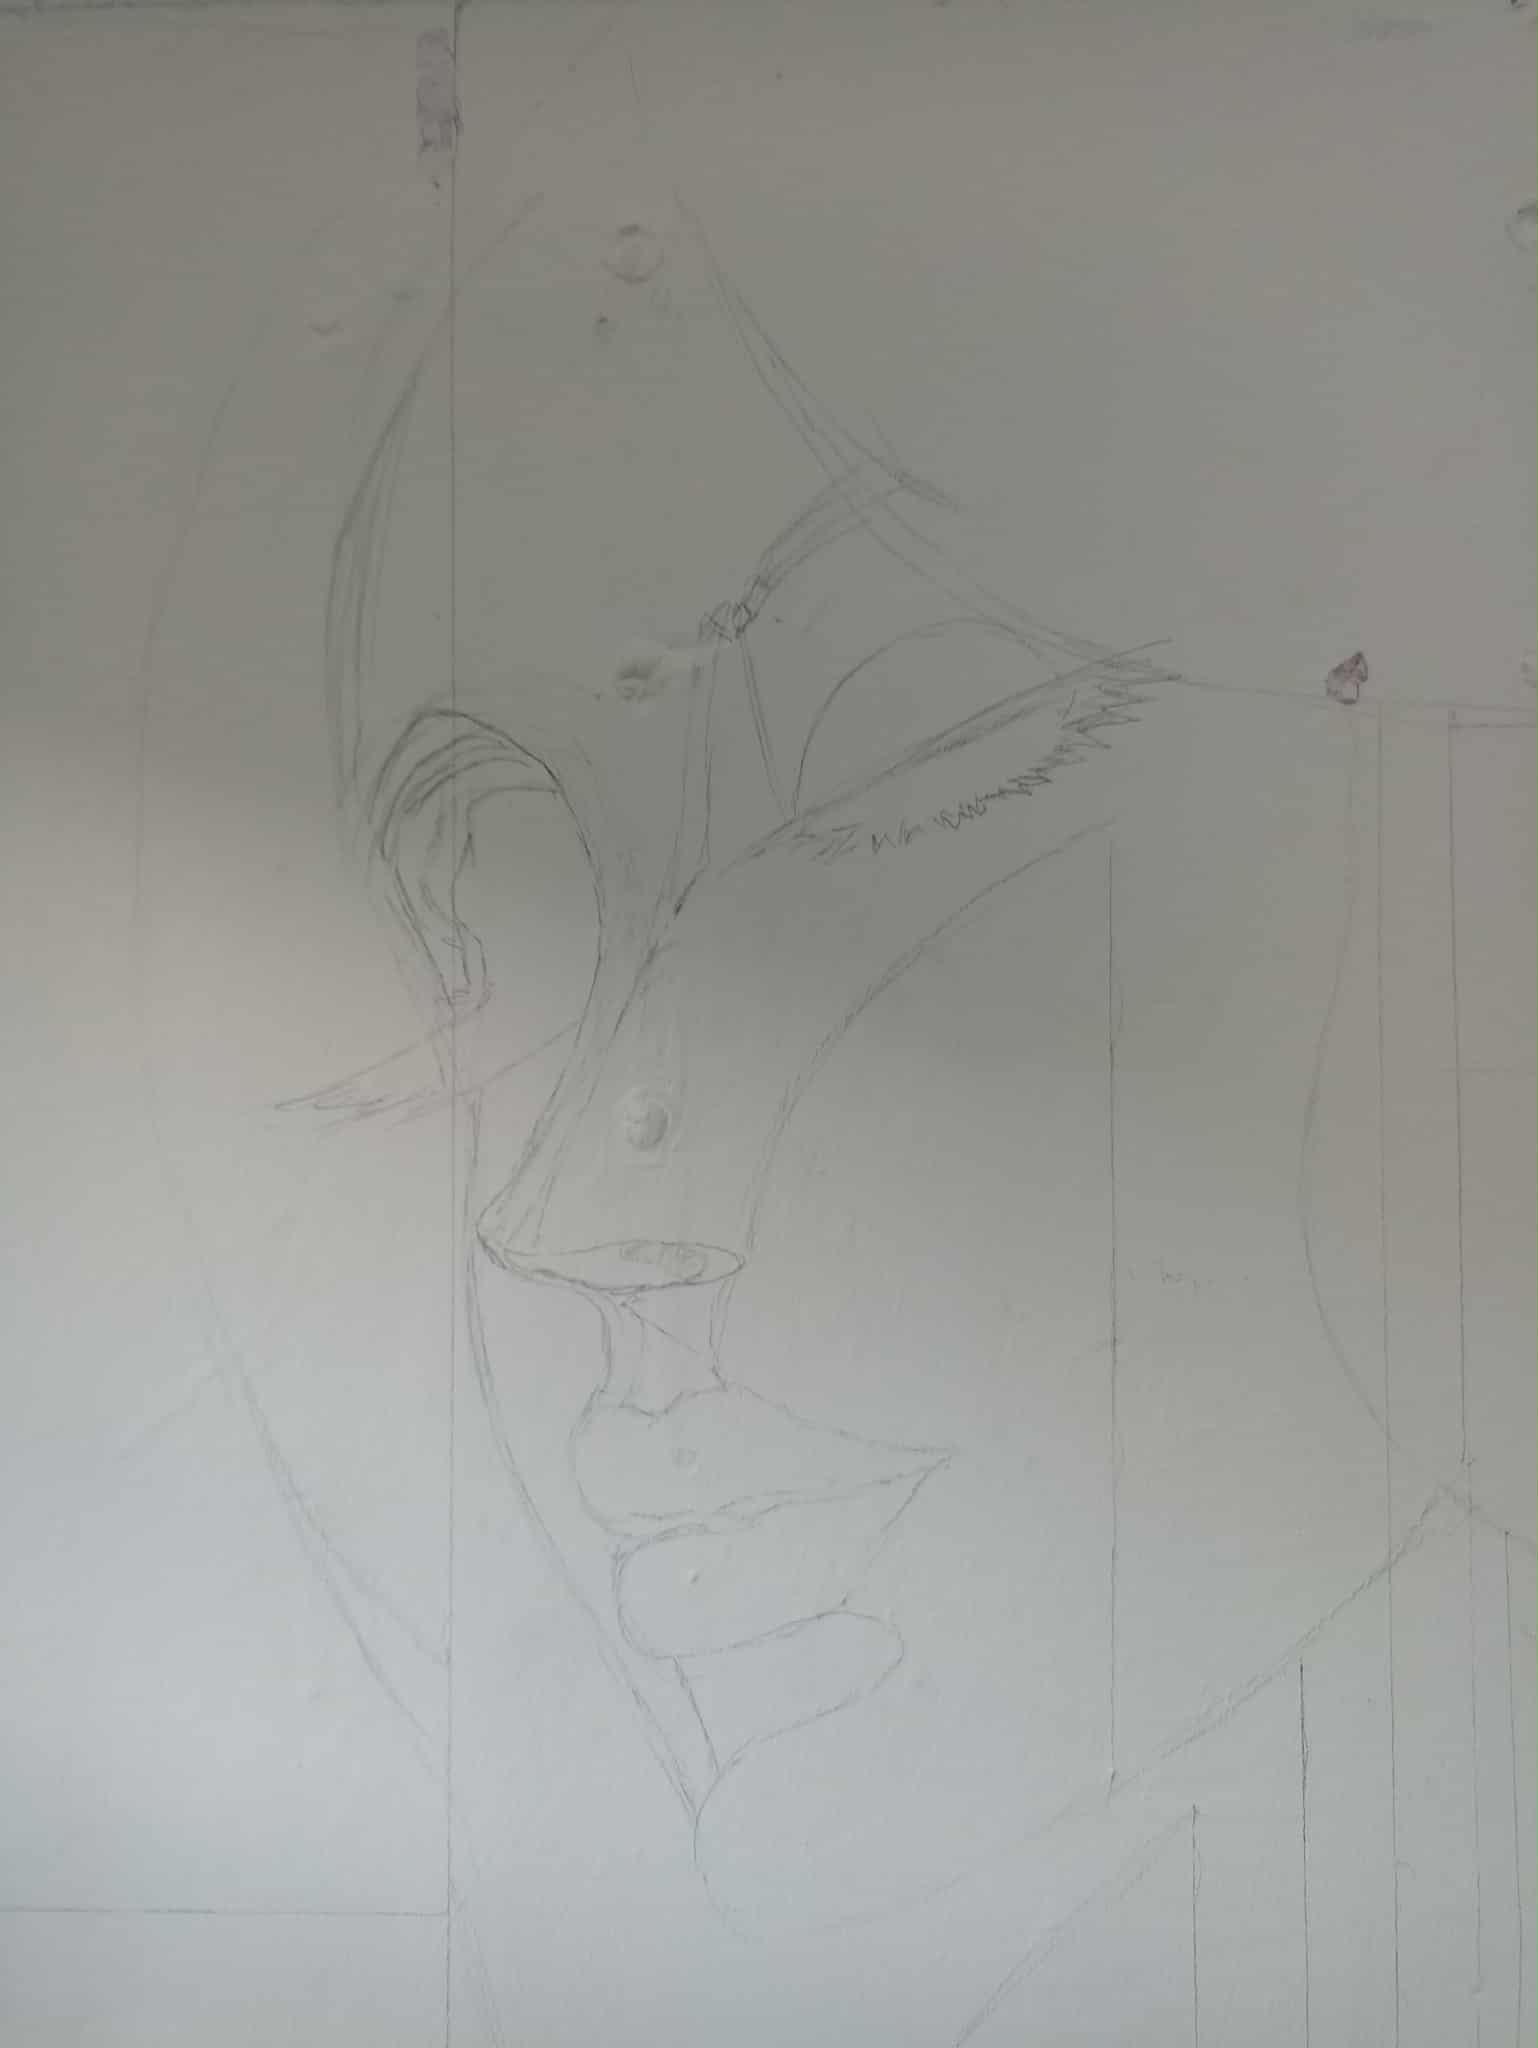 |
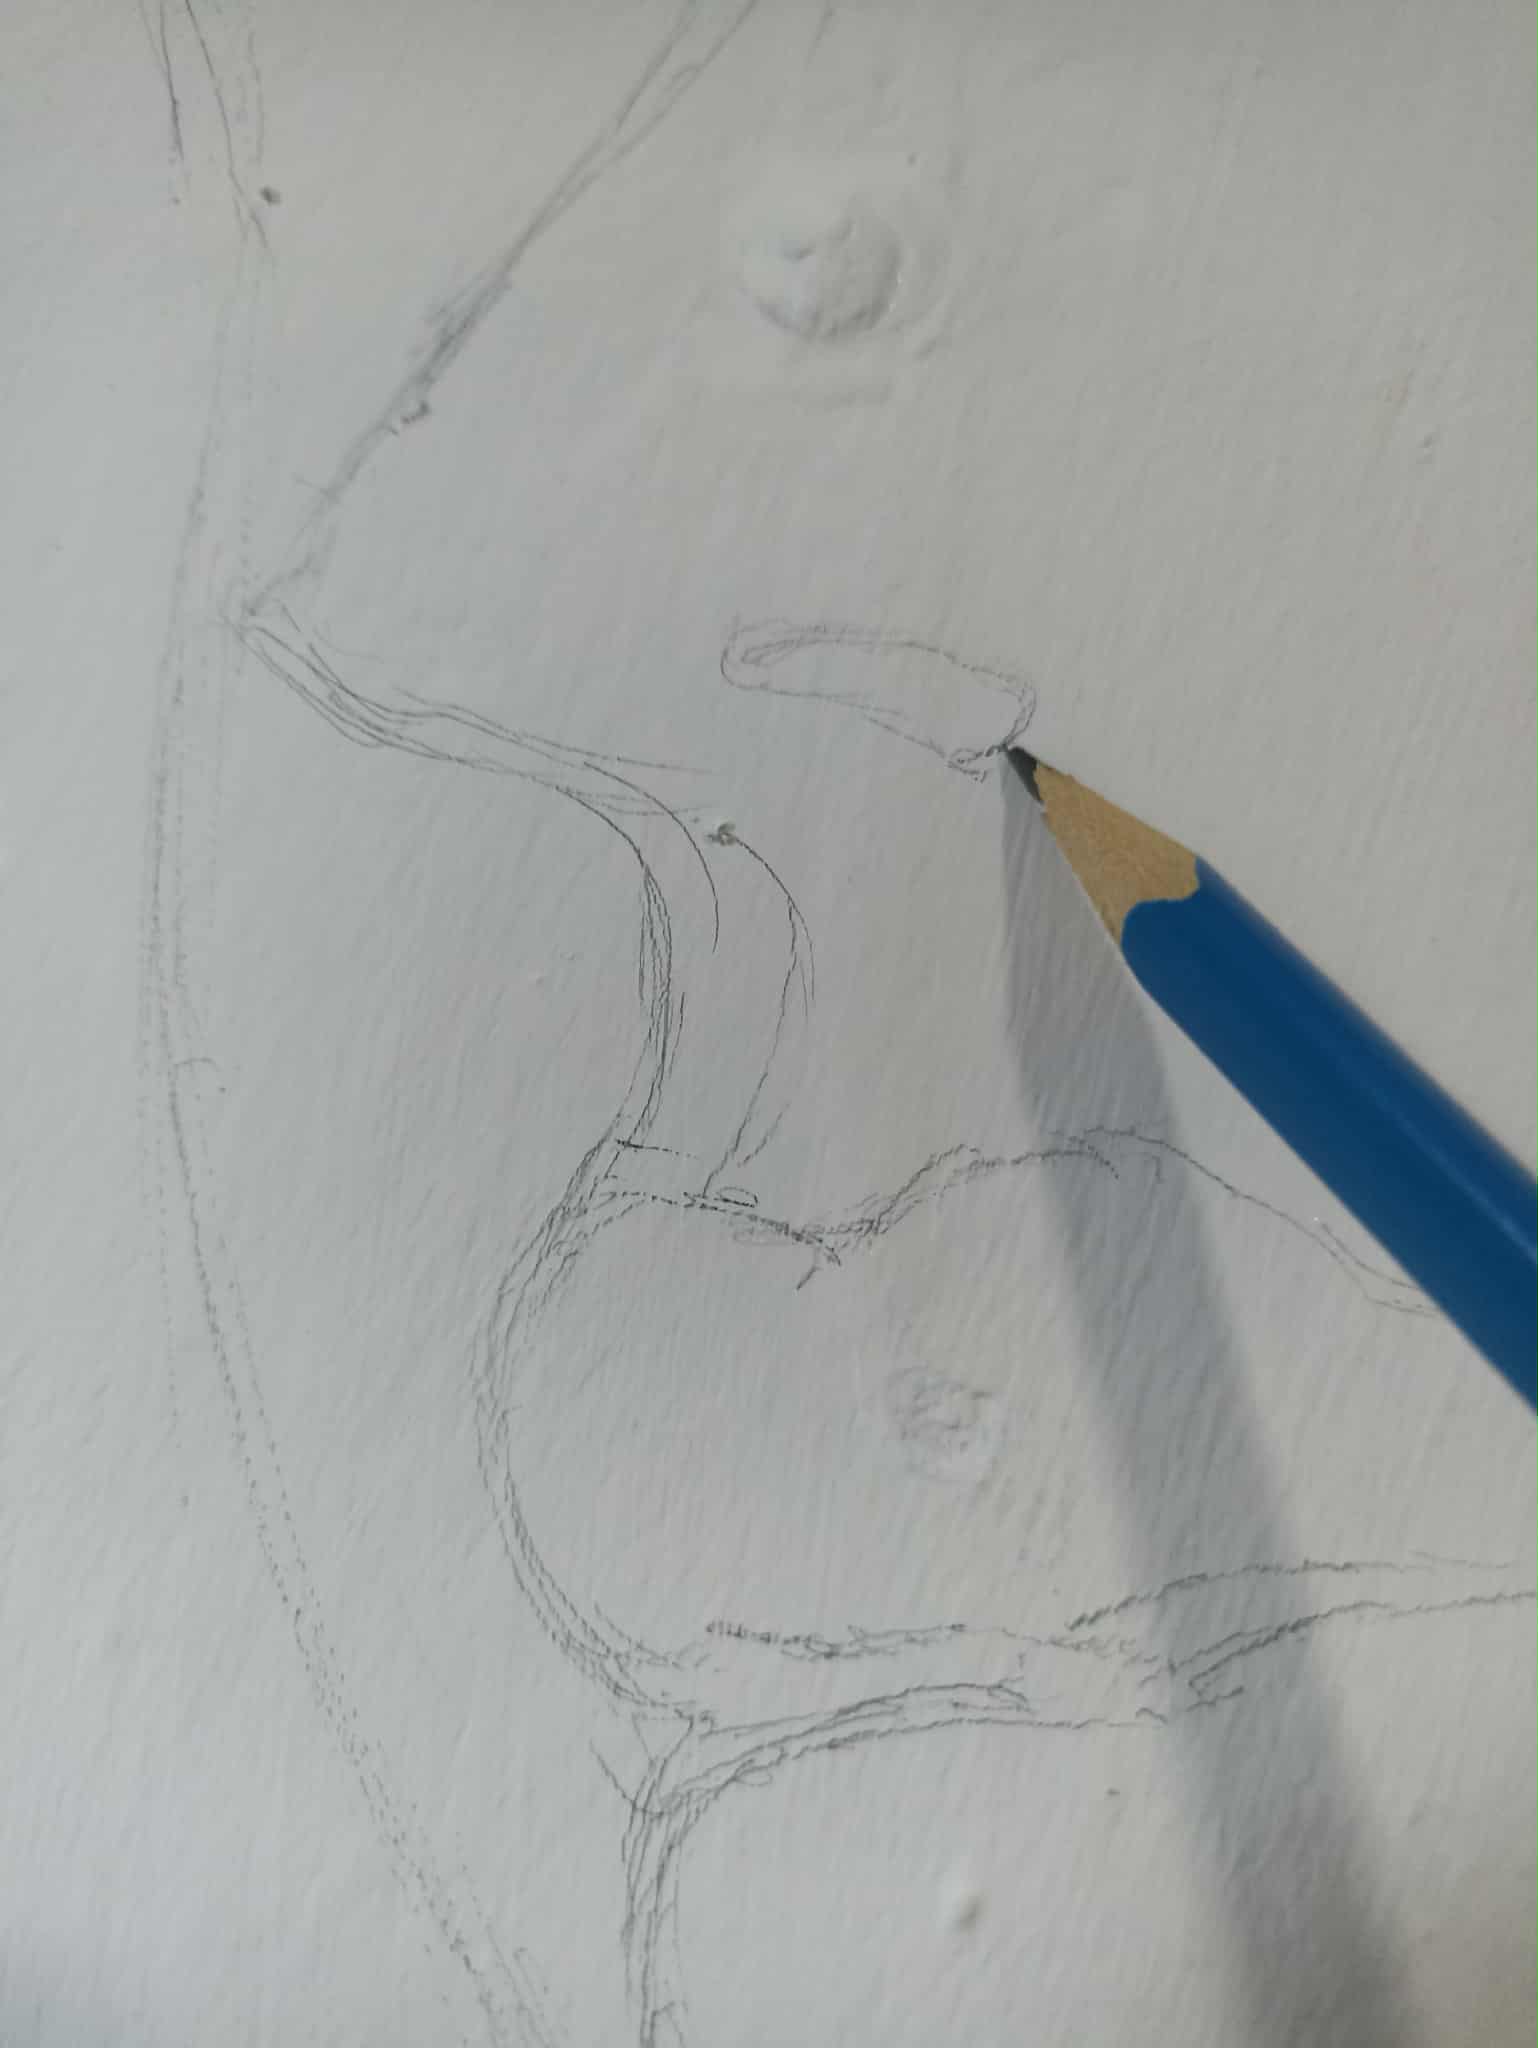
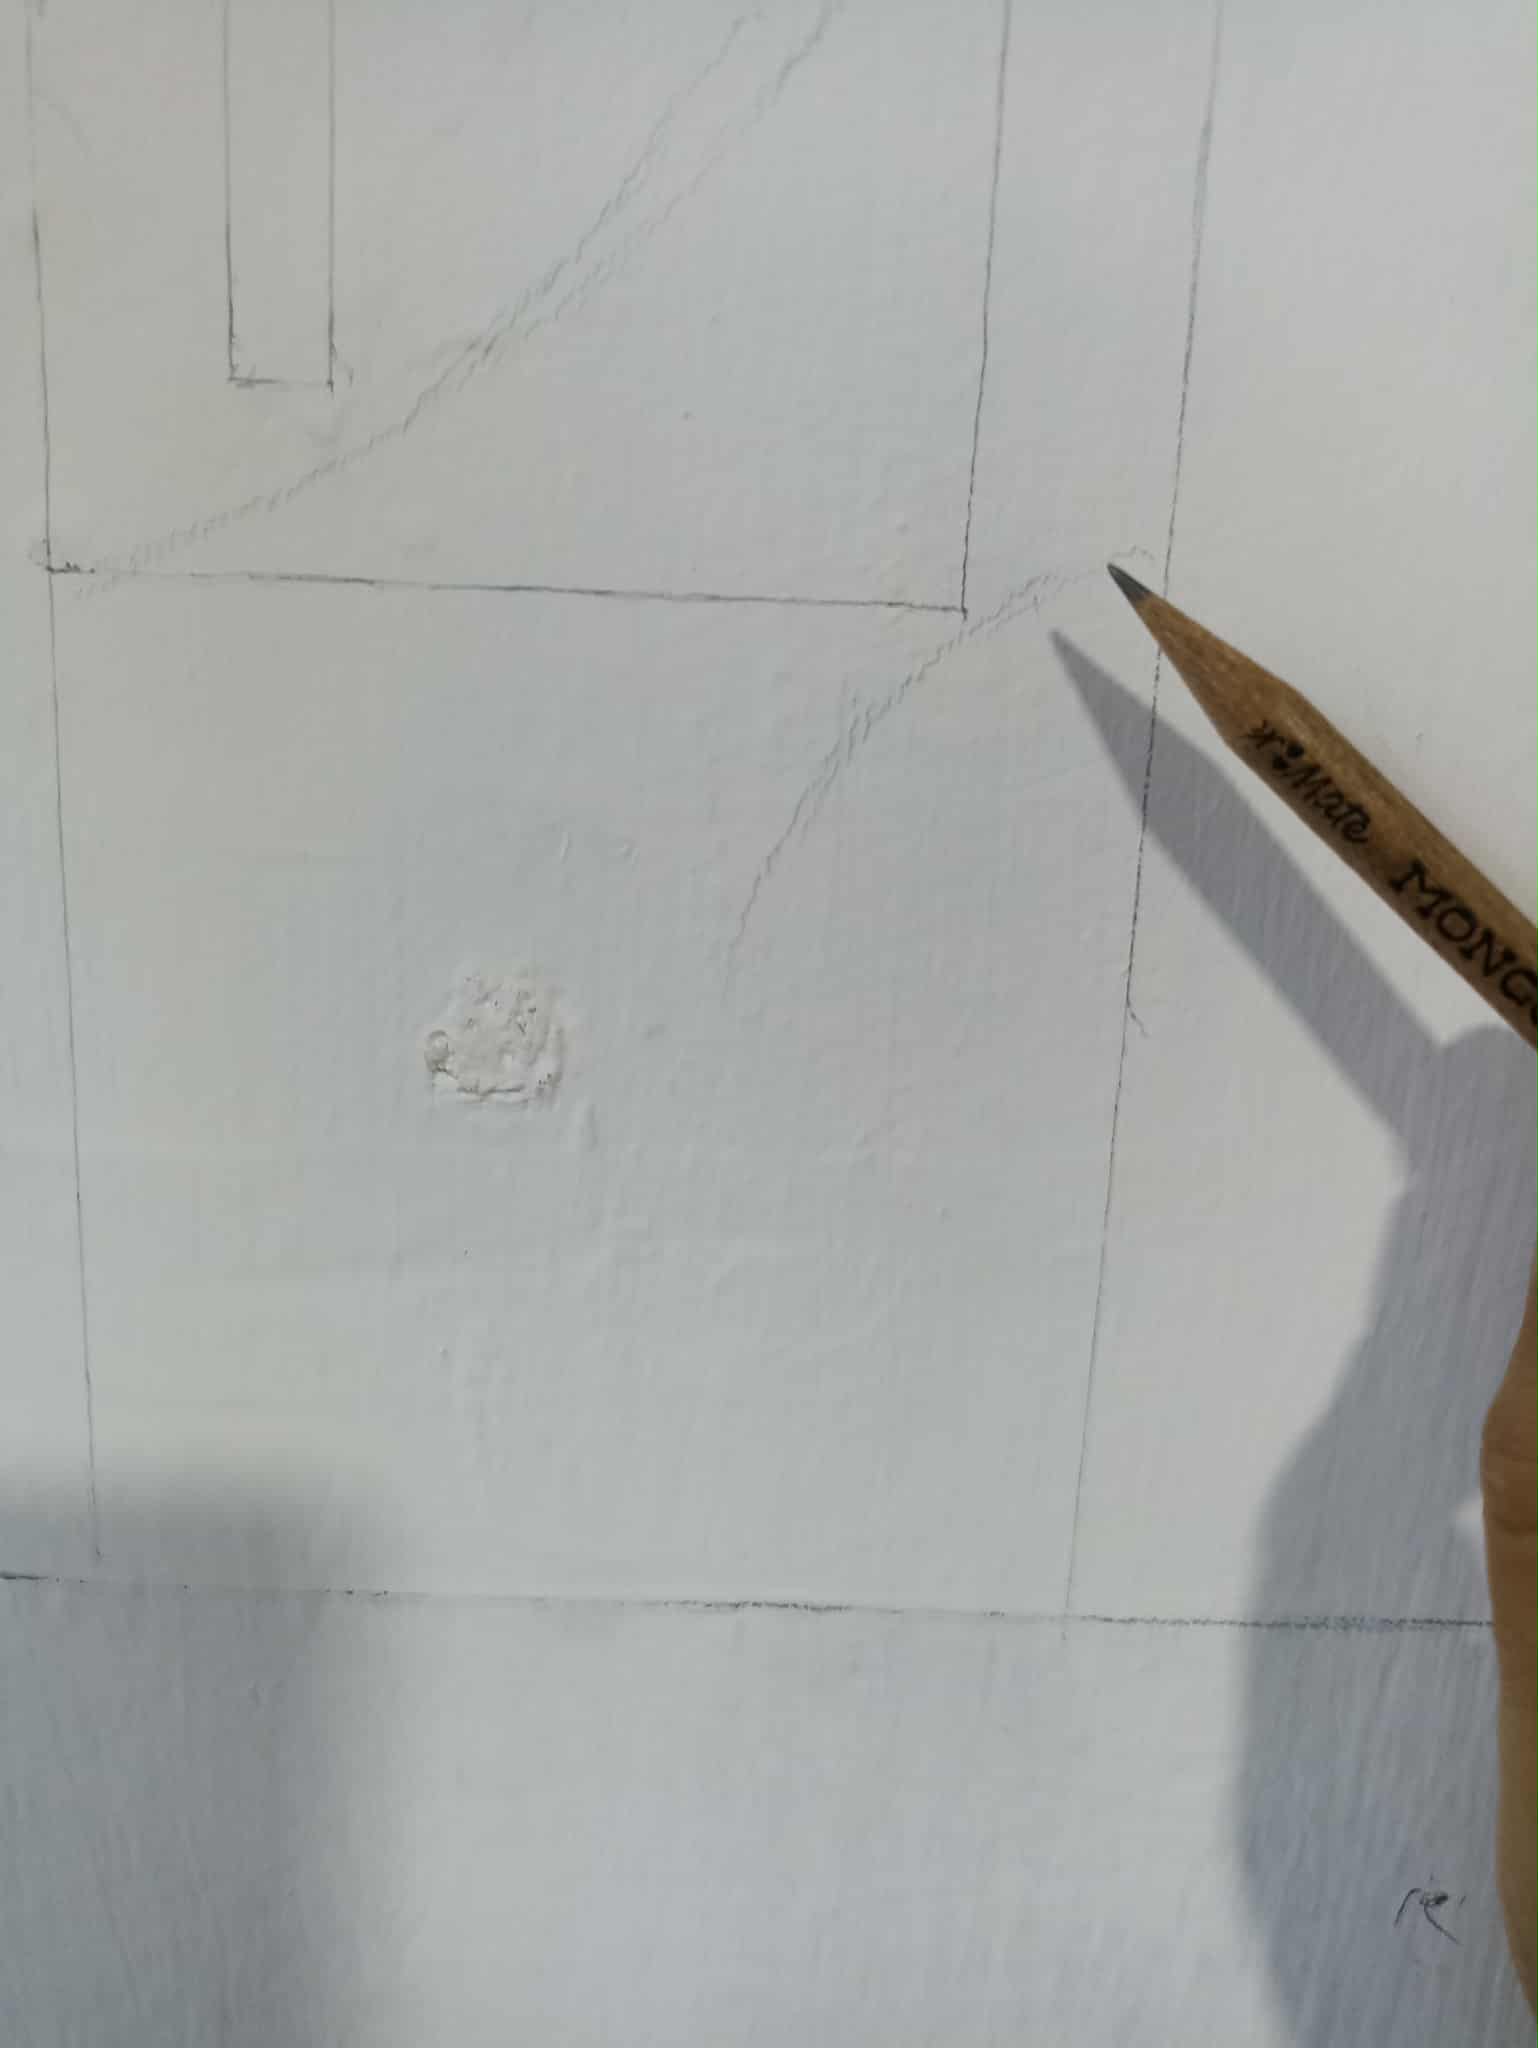
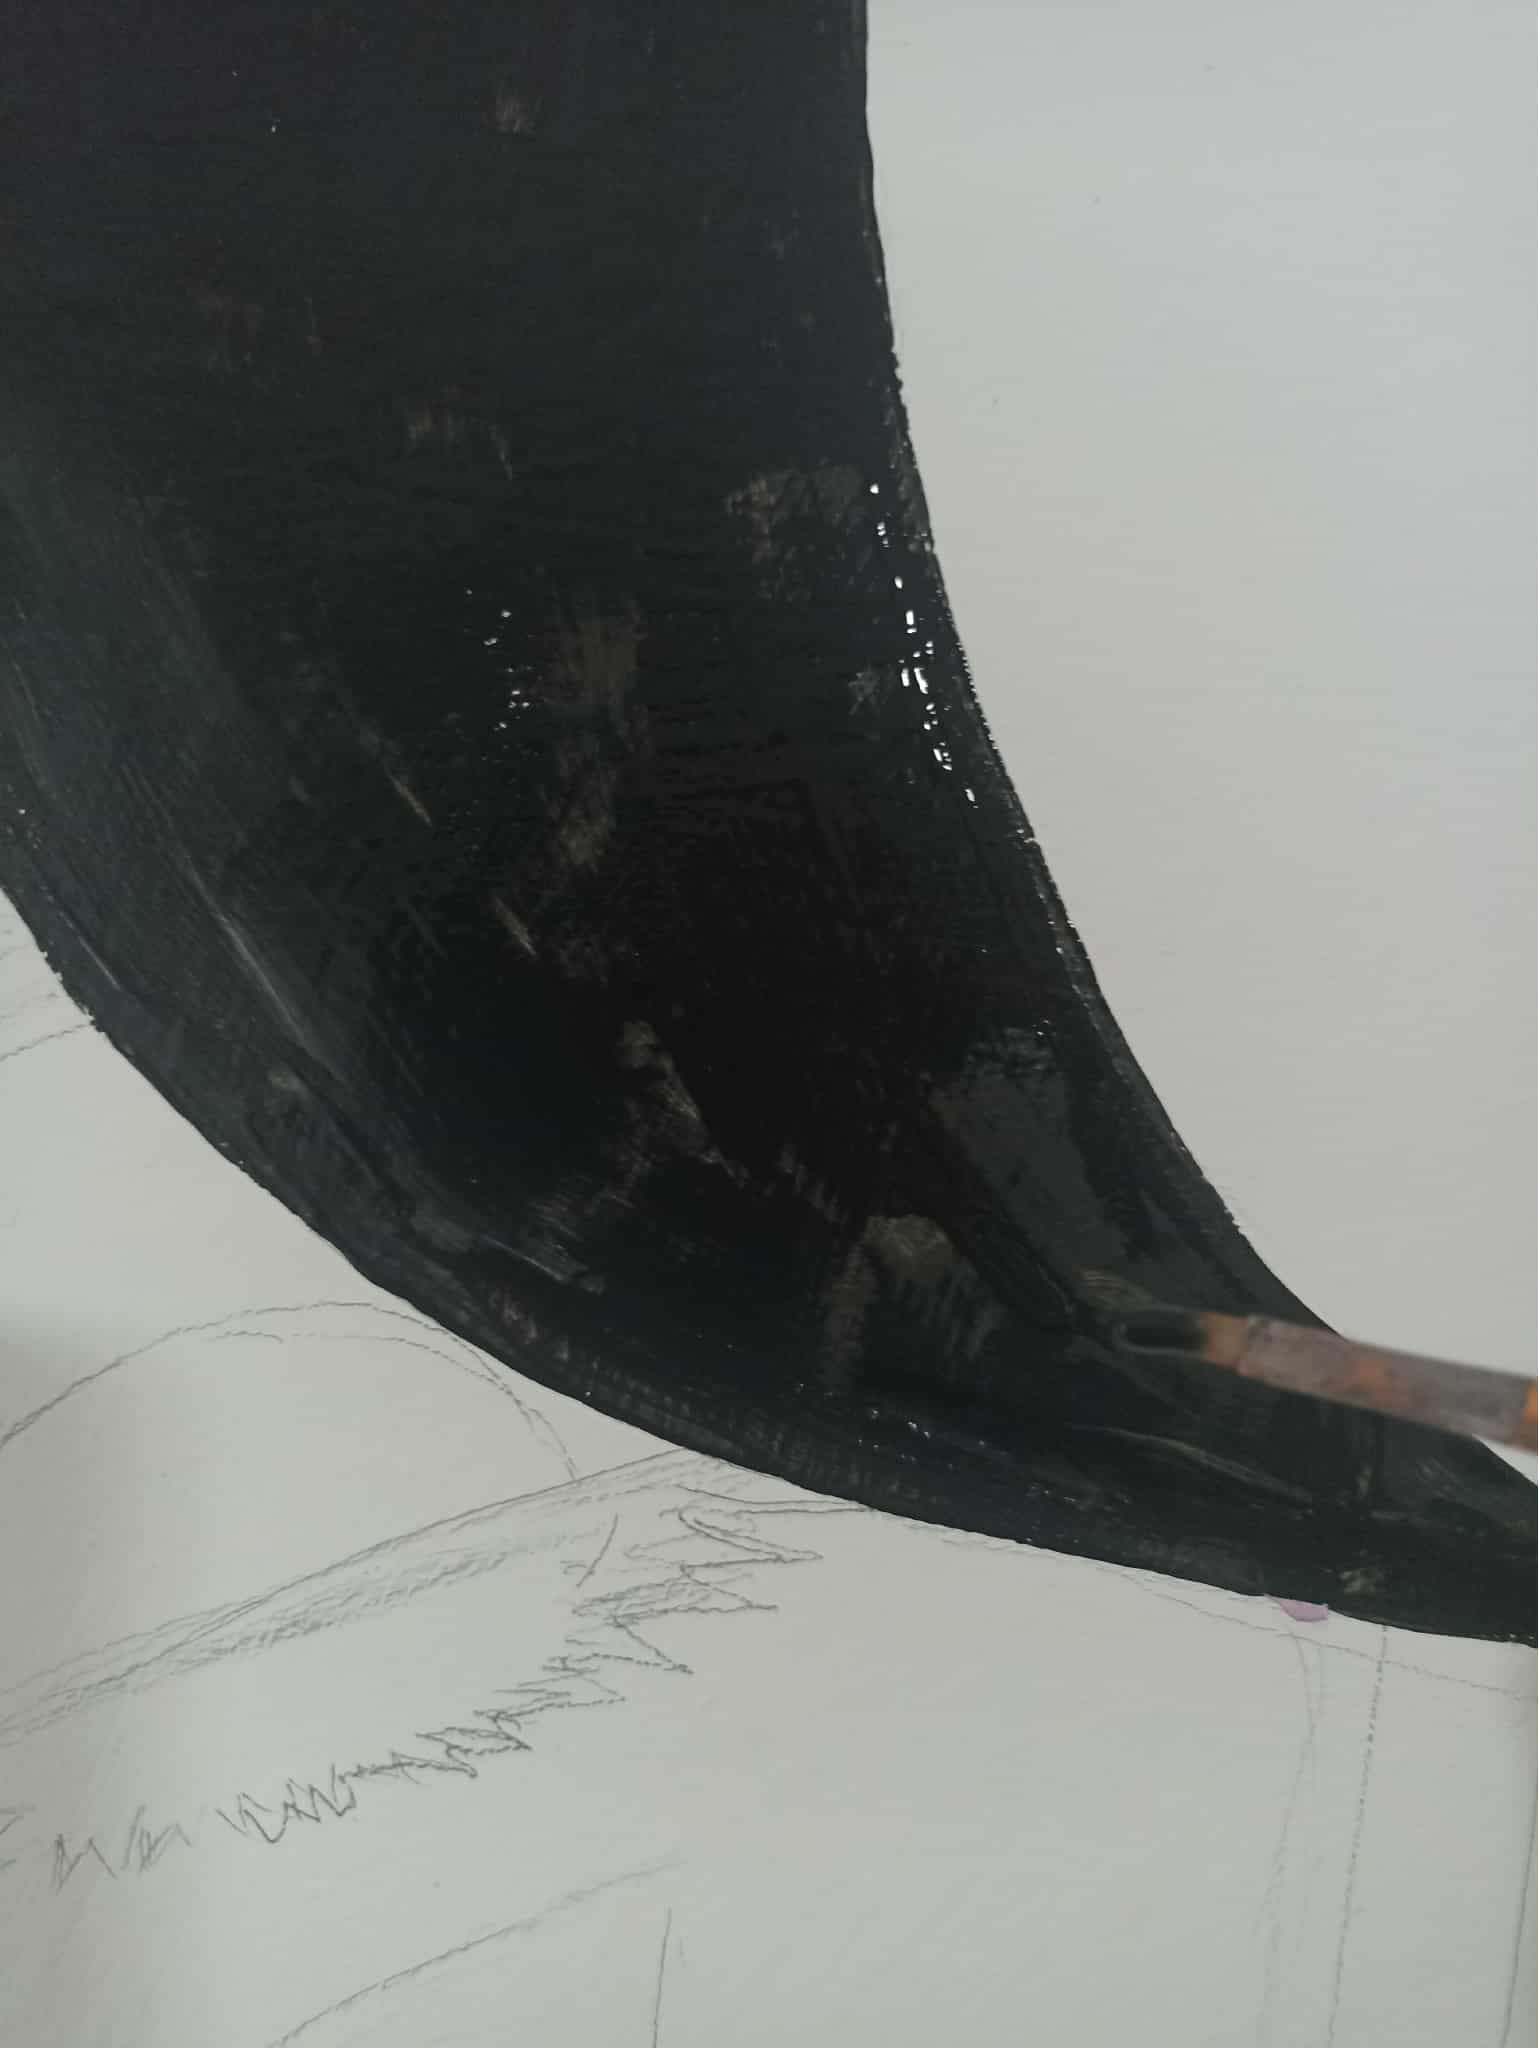
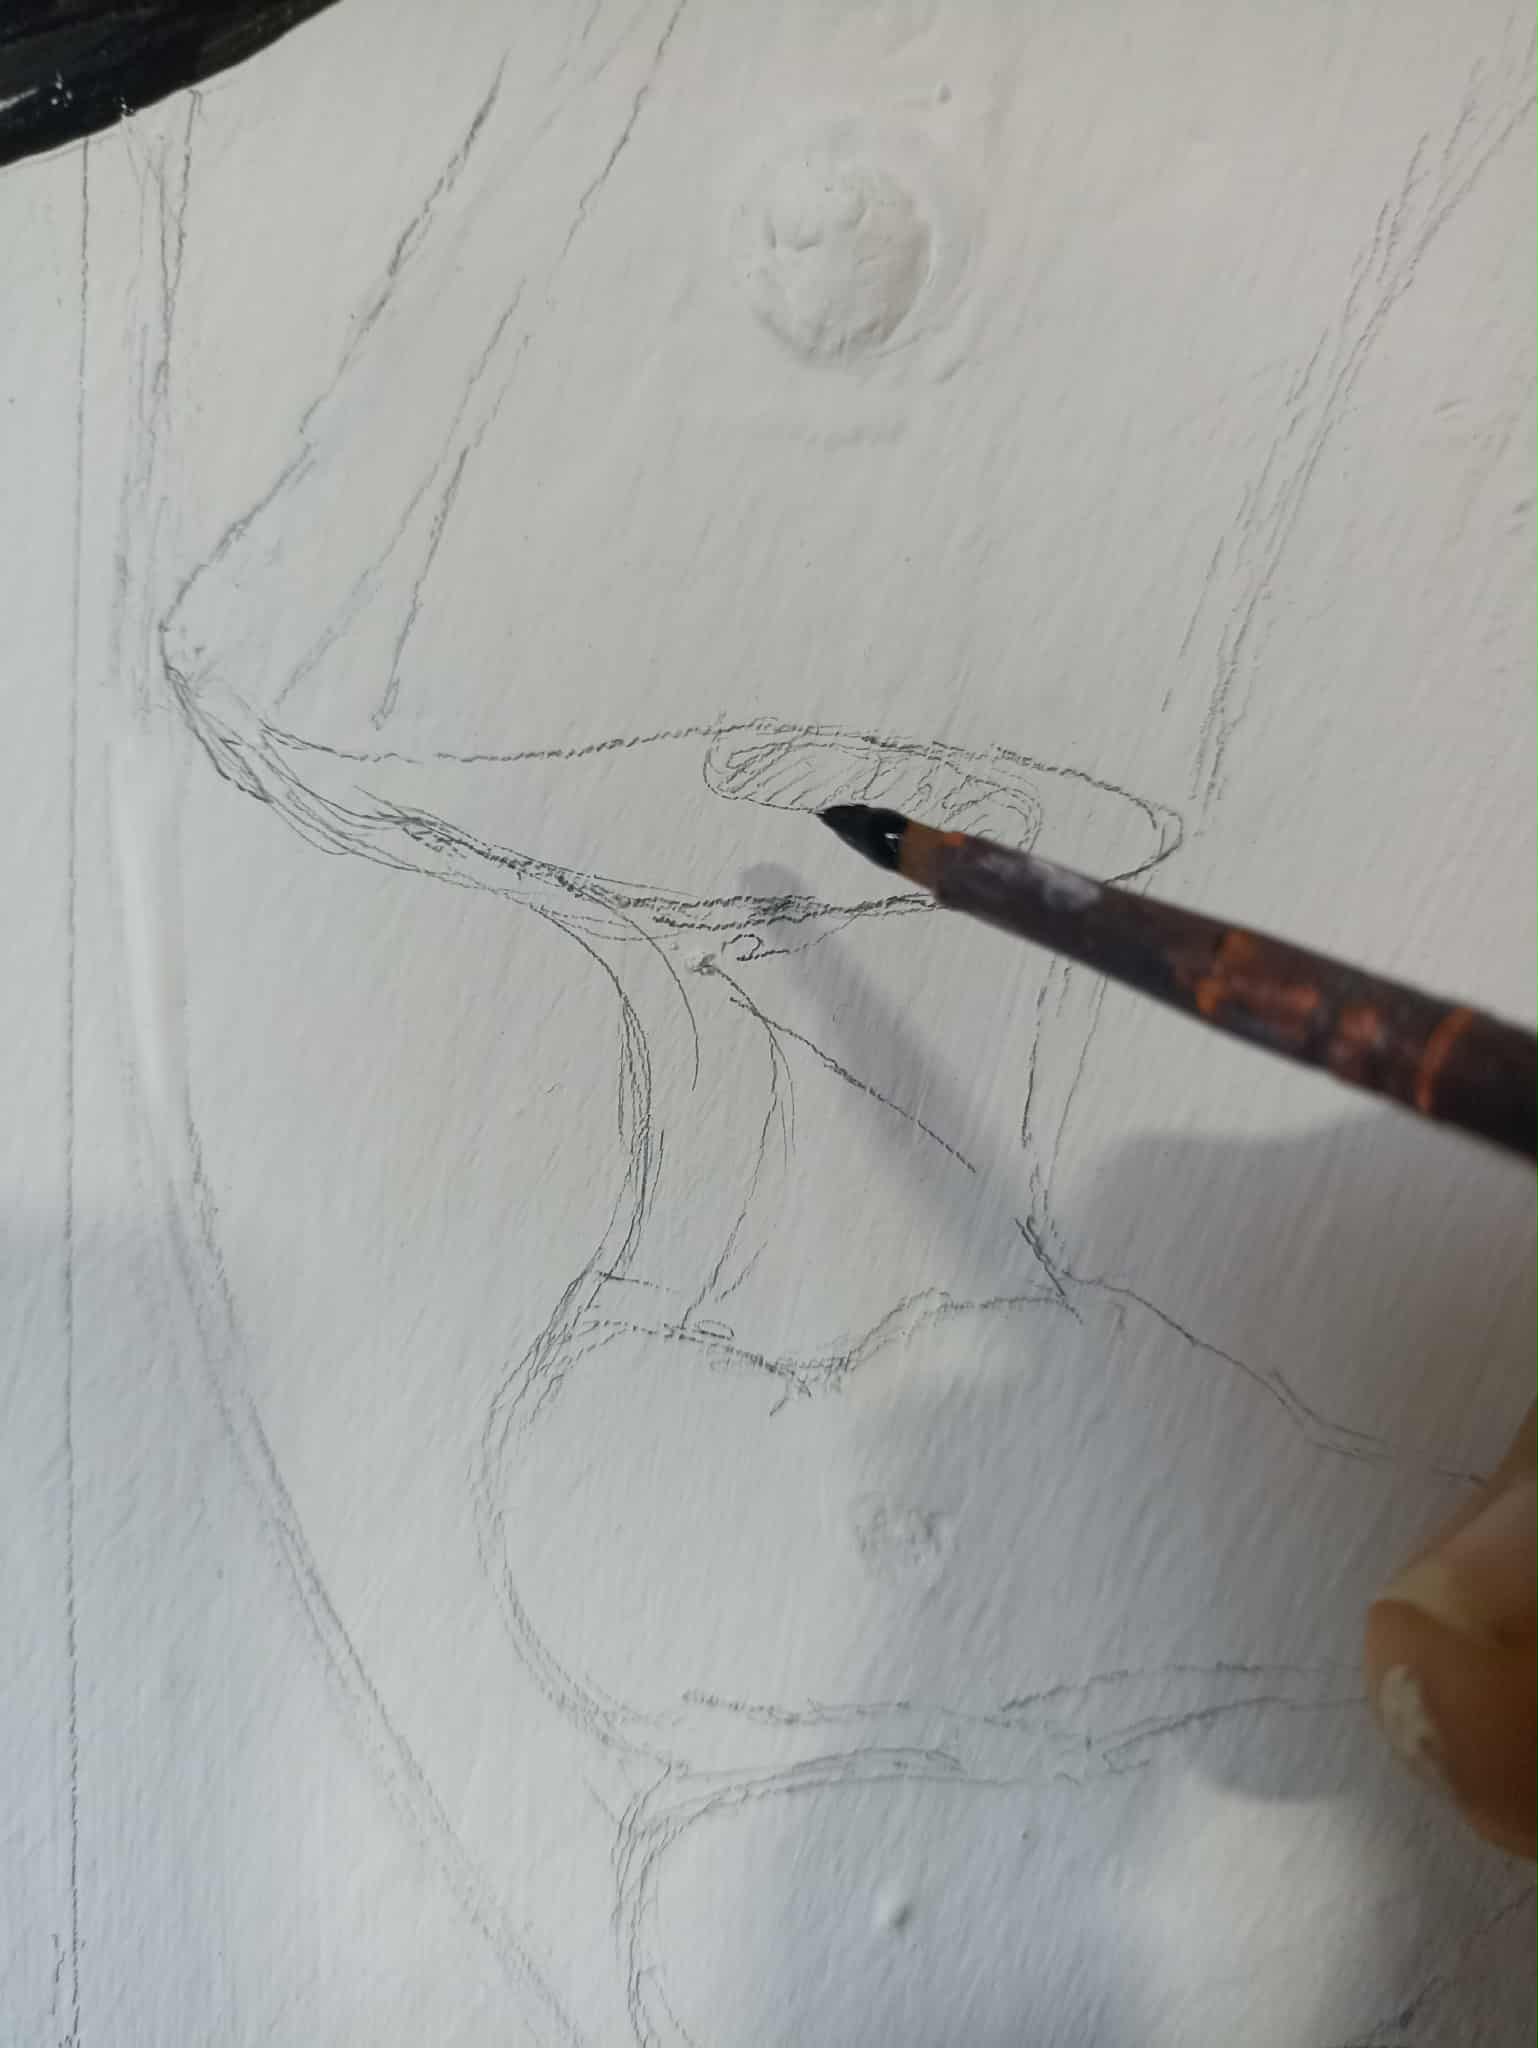
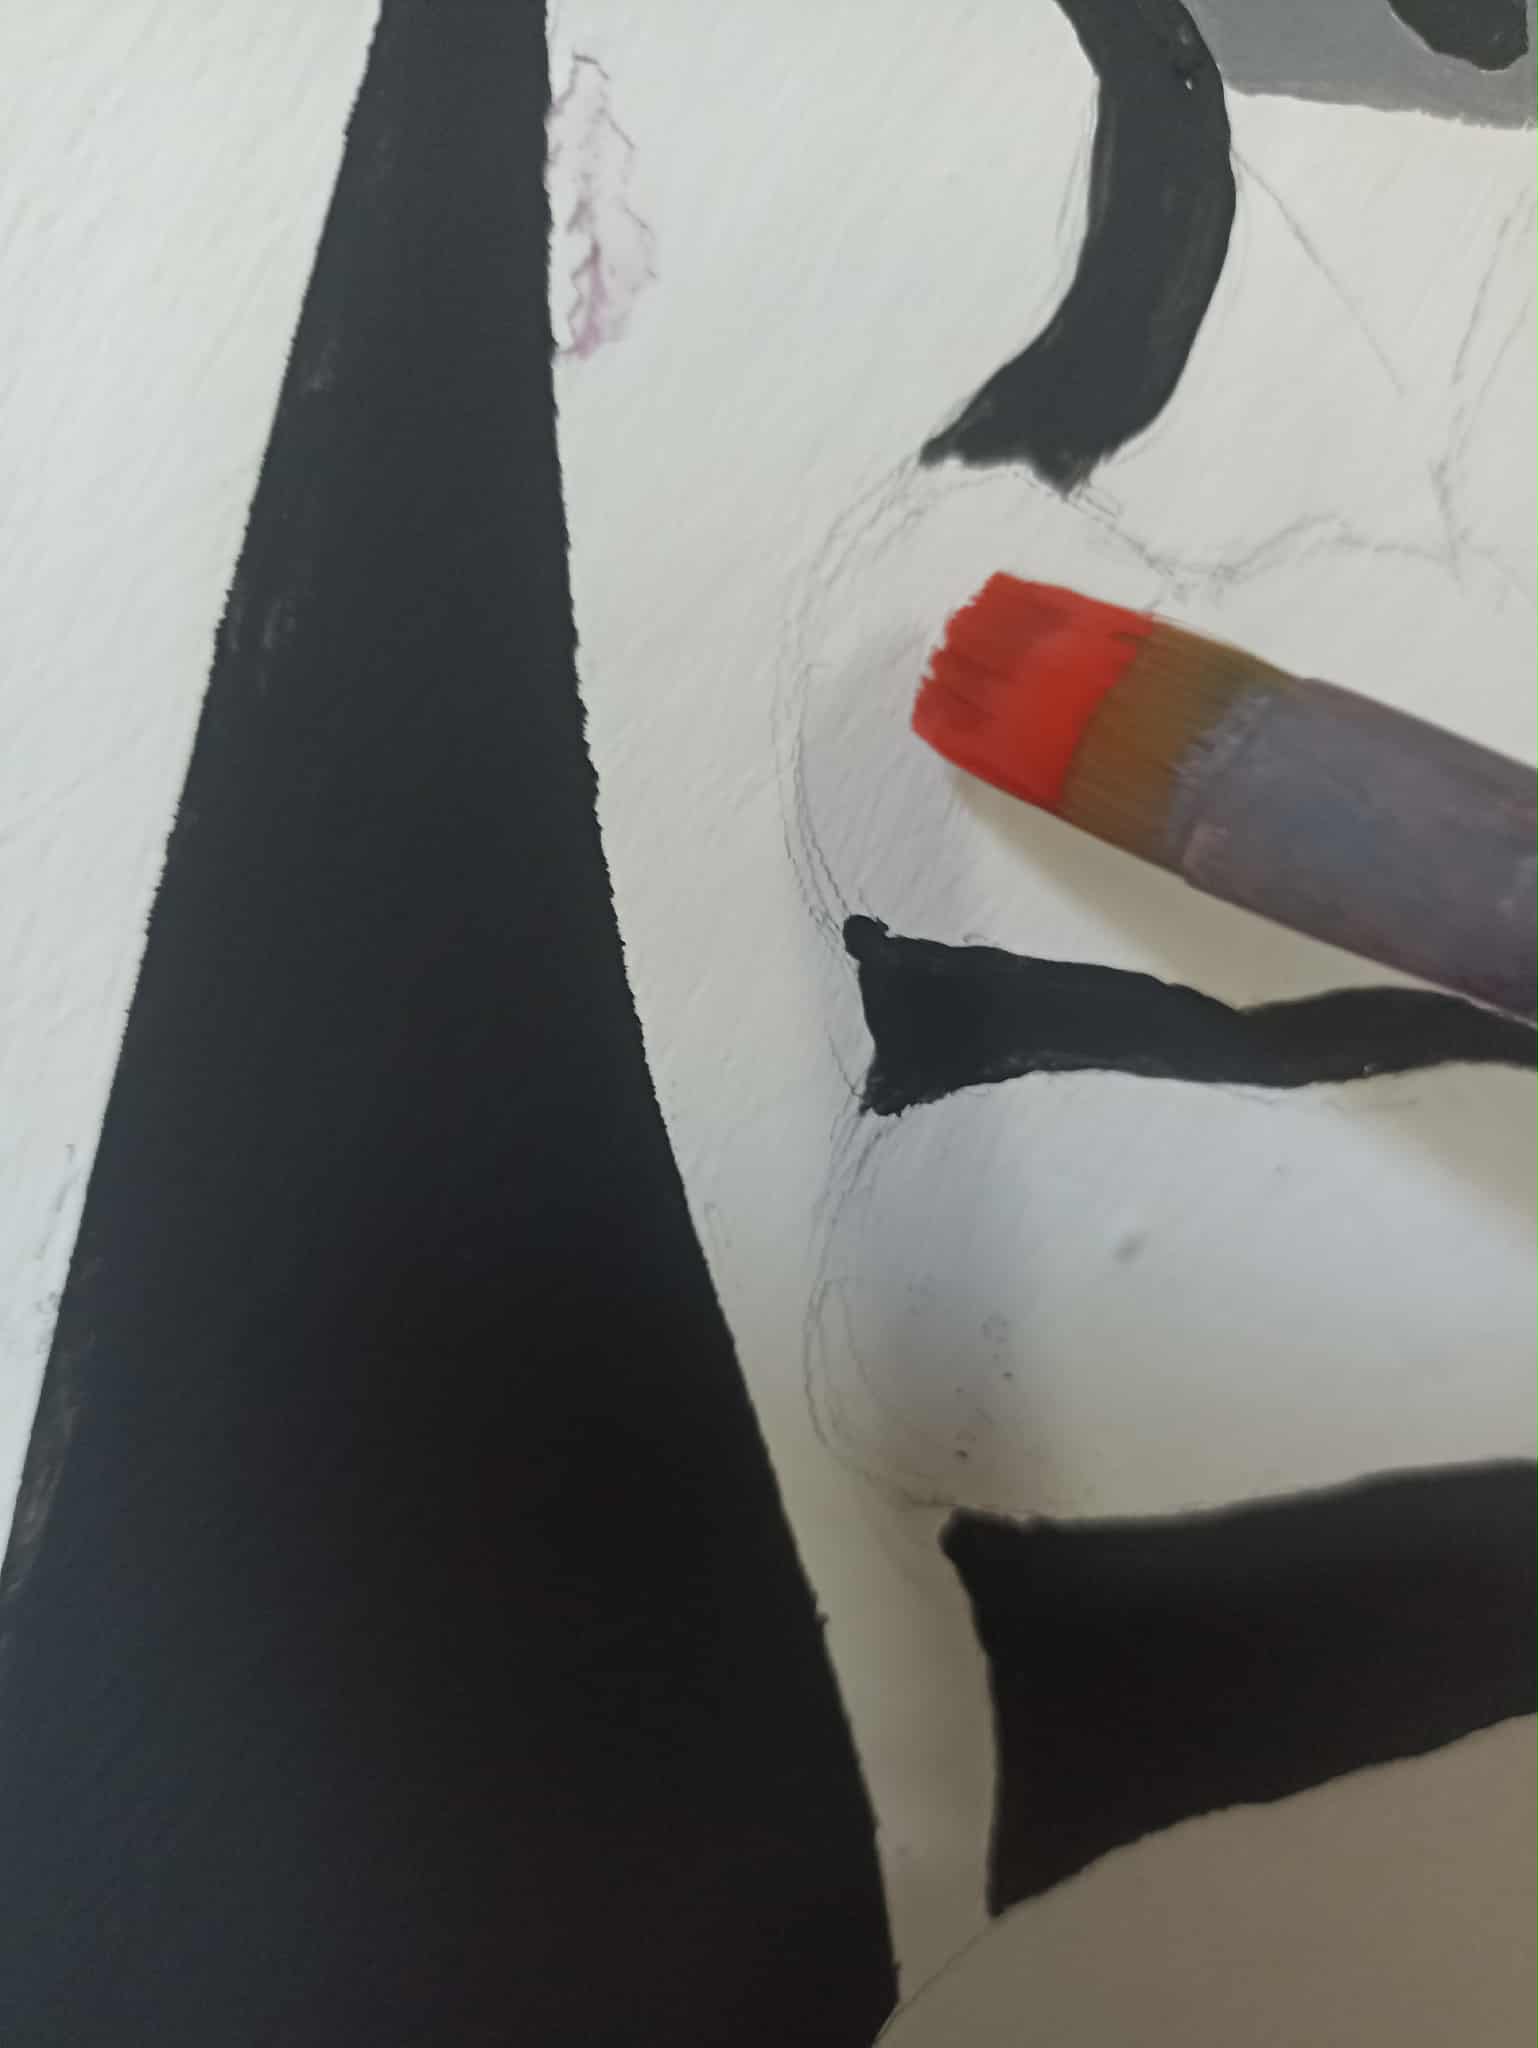
After an hour of painting, I began sketching with a simple pencil. The style of this illustration is somewhat cubist but modern, and it features the silhouette of a pretty girl. Following the image I was given, I gradually began to draw each part. For the lines, I used masking tape; it's the most useful tool when you need to draw lines so close together, and you can also bend the tape to create slightly rounded lines.
Luego de haber pasado 1 hora de que haber pintado, comencé a dibujar el boceto con un simple lápiz, el estilo de esta ilustración es algo así como cubista pero moderna, donde puede apreciarse la silueta de una linda chica. Así que poco a poco siguiendo la imagen que me dieron comencé a hacer cada una de las partes. Para las líneas utilicé cinta adhesiva, es lo más útil en estos casos cuando se necesita hacer líneas tan seguidas, y también la cinta se pued curvar para hacer líneas algo redondeadas.
 |
 |
 |
|---|---|---|
 |
 |
 |
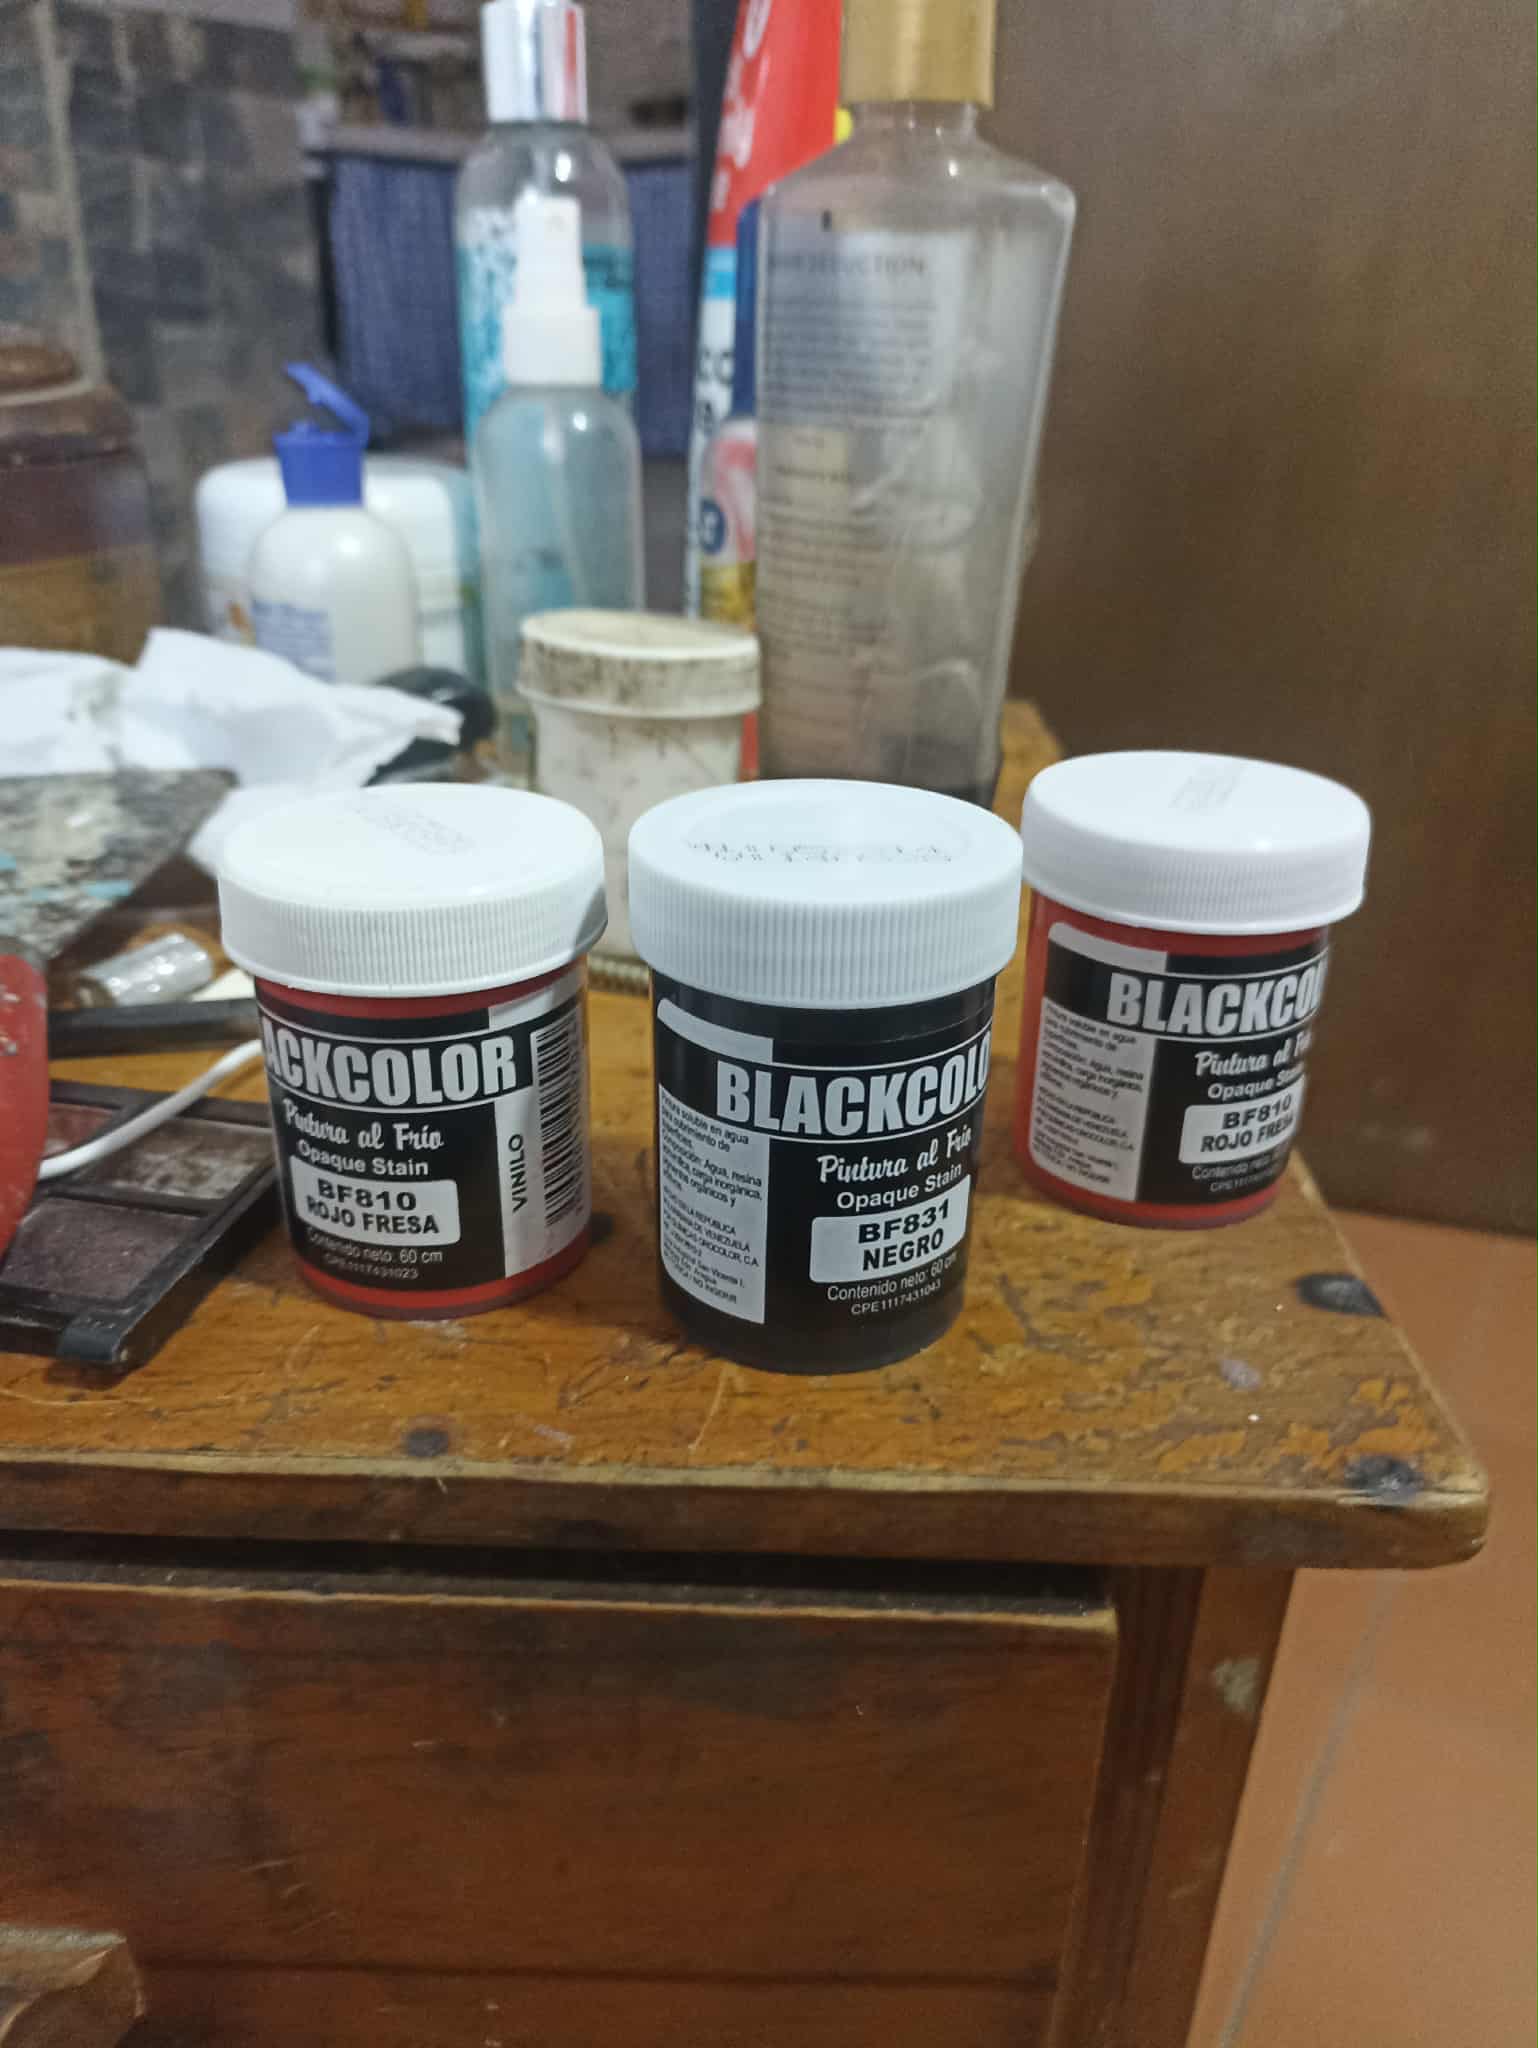
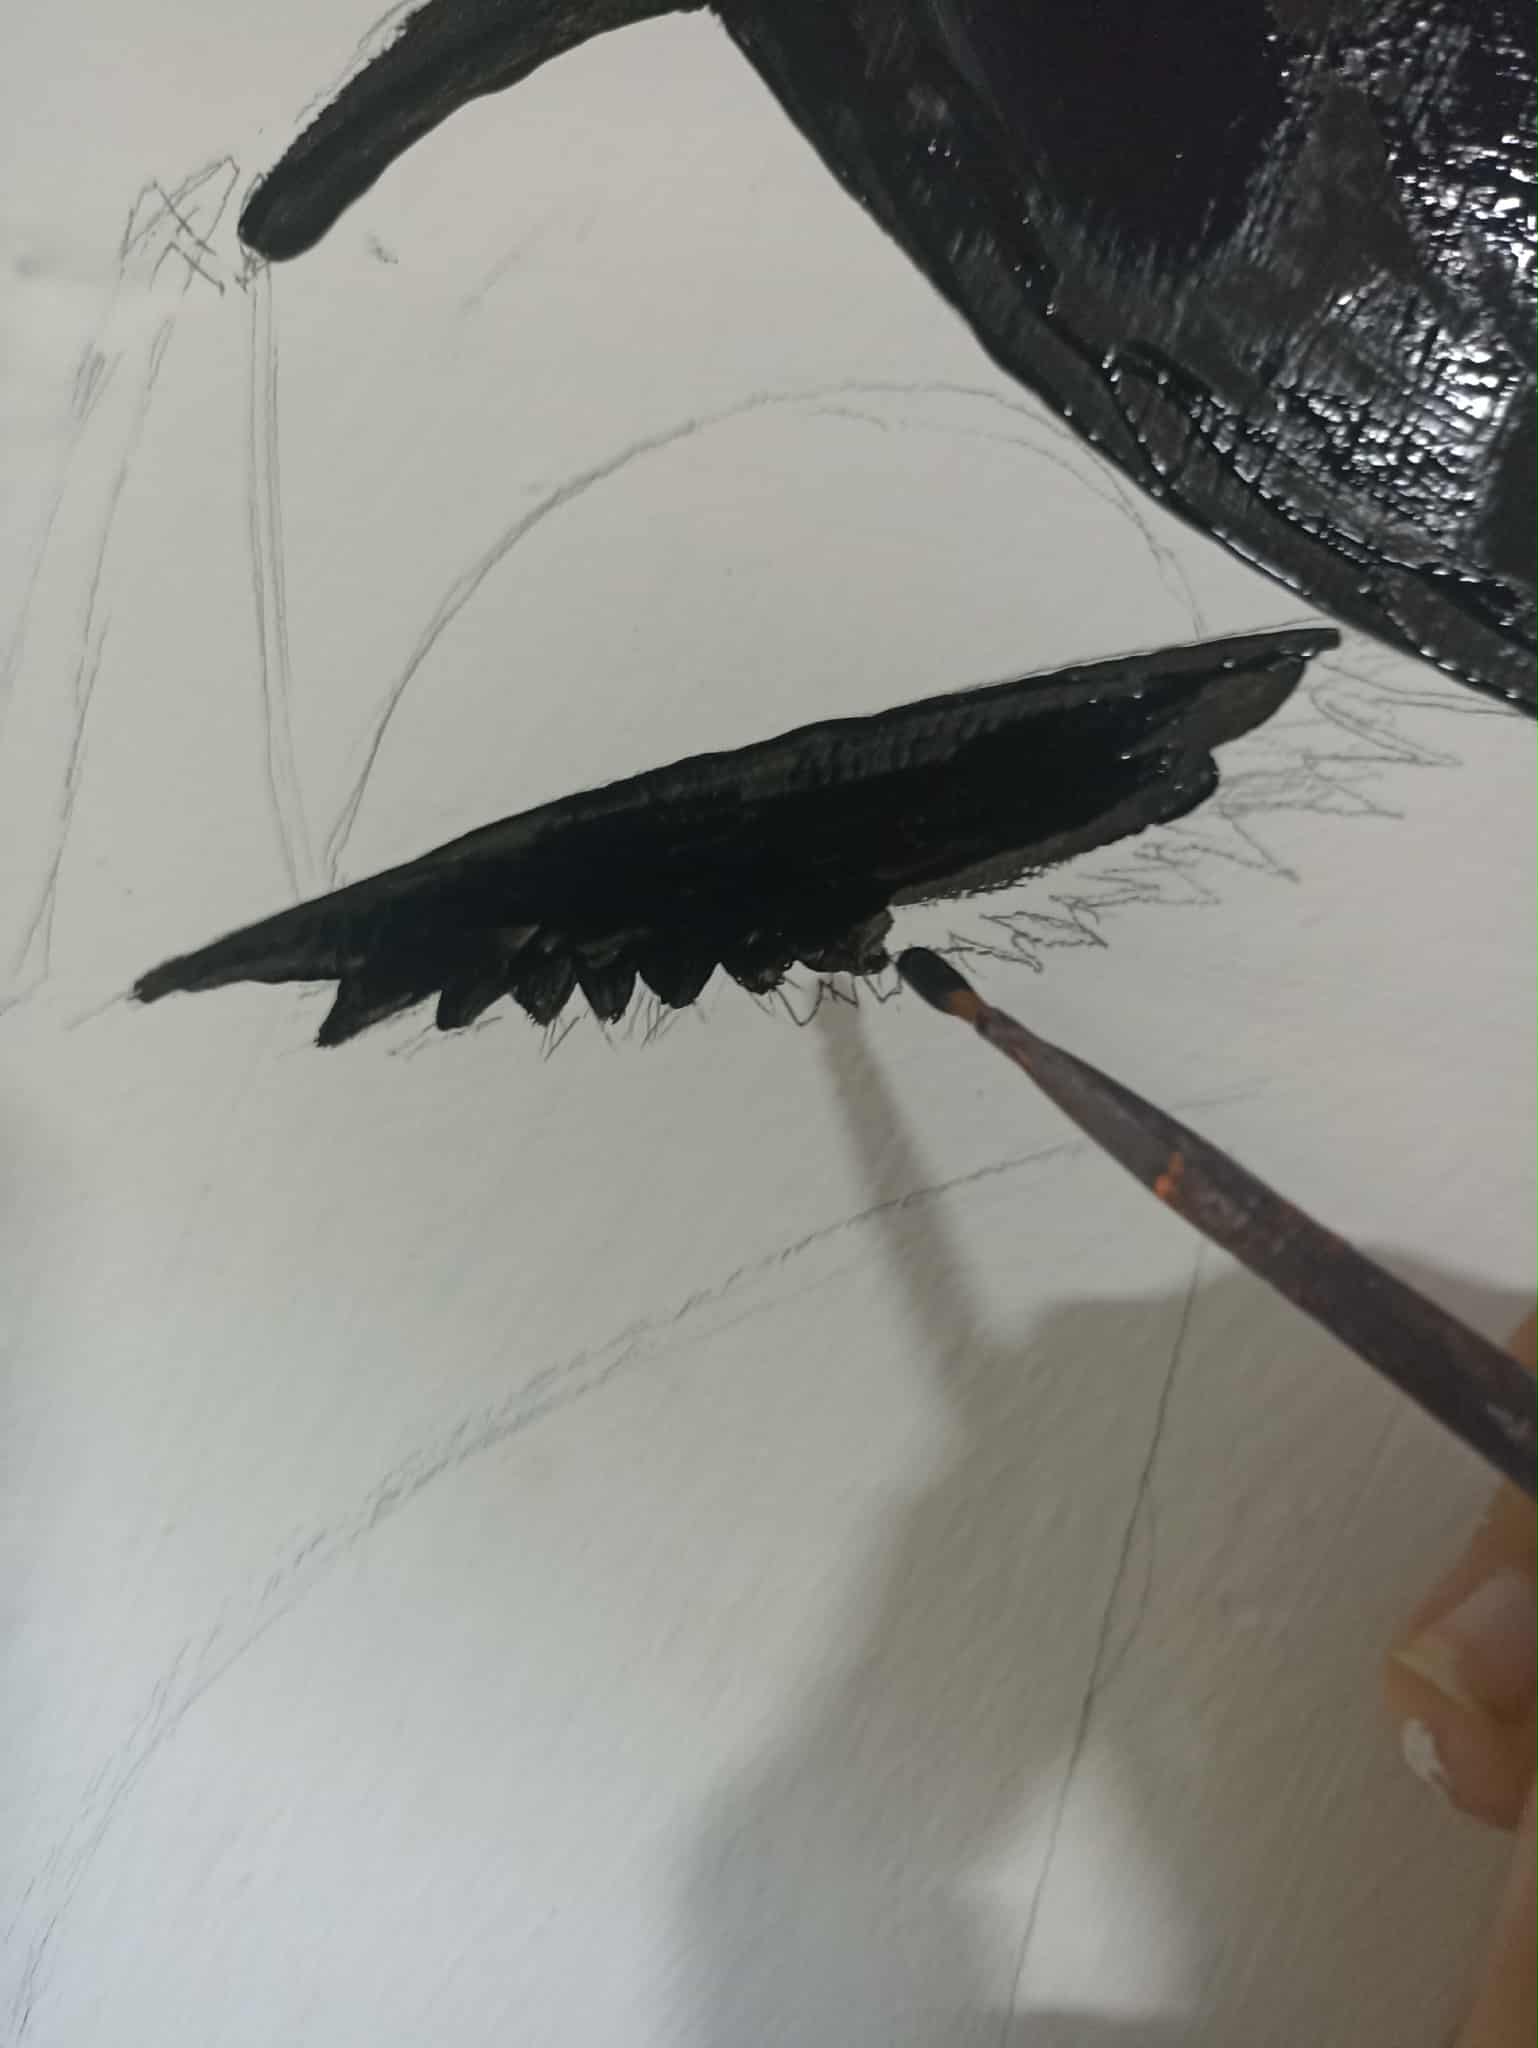
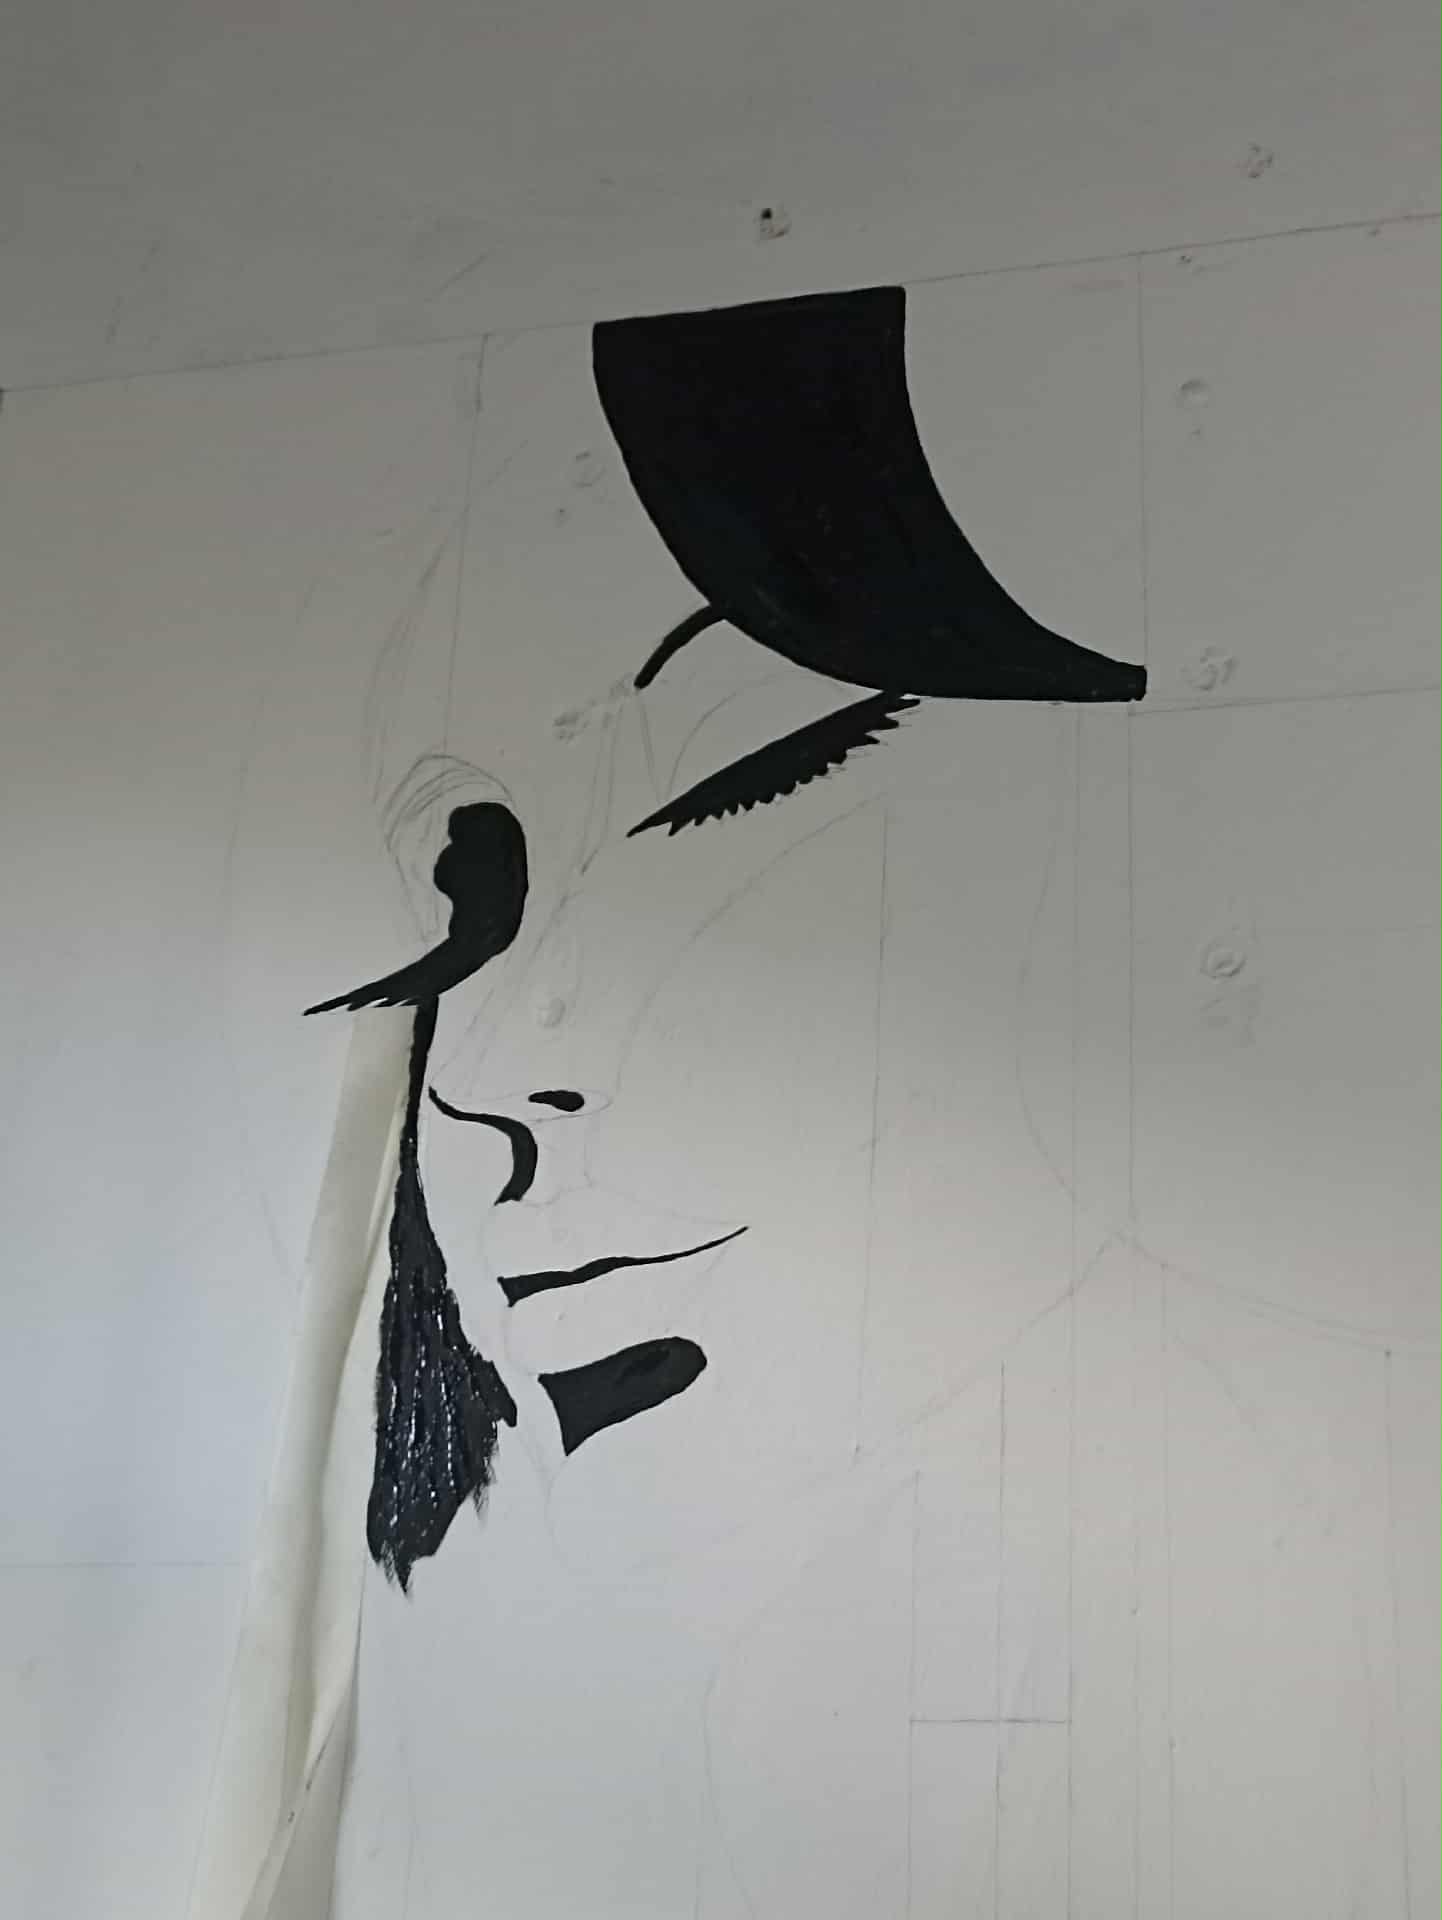
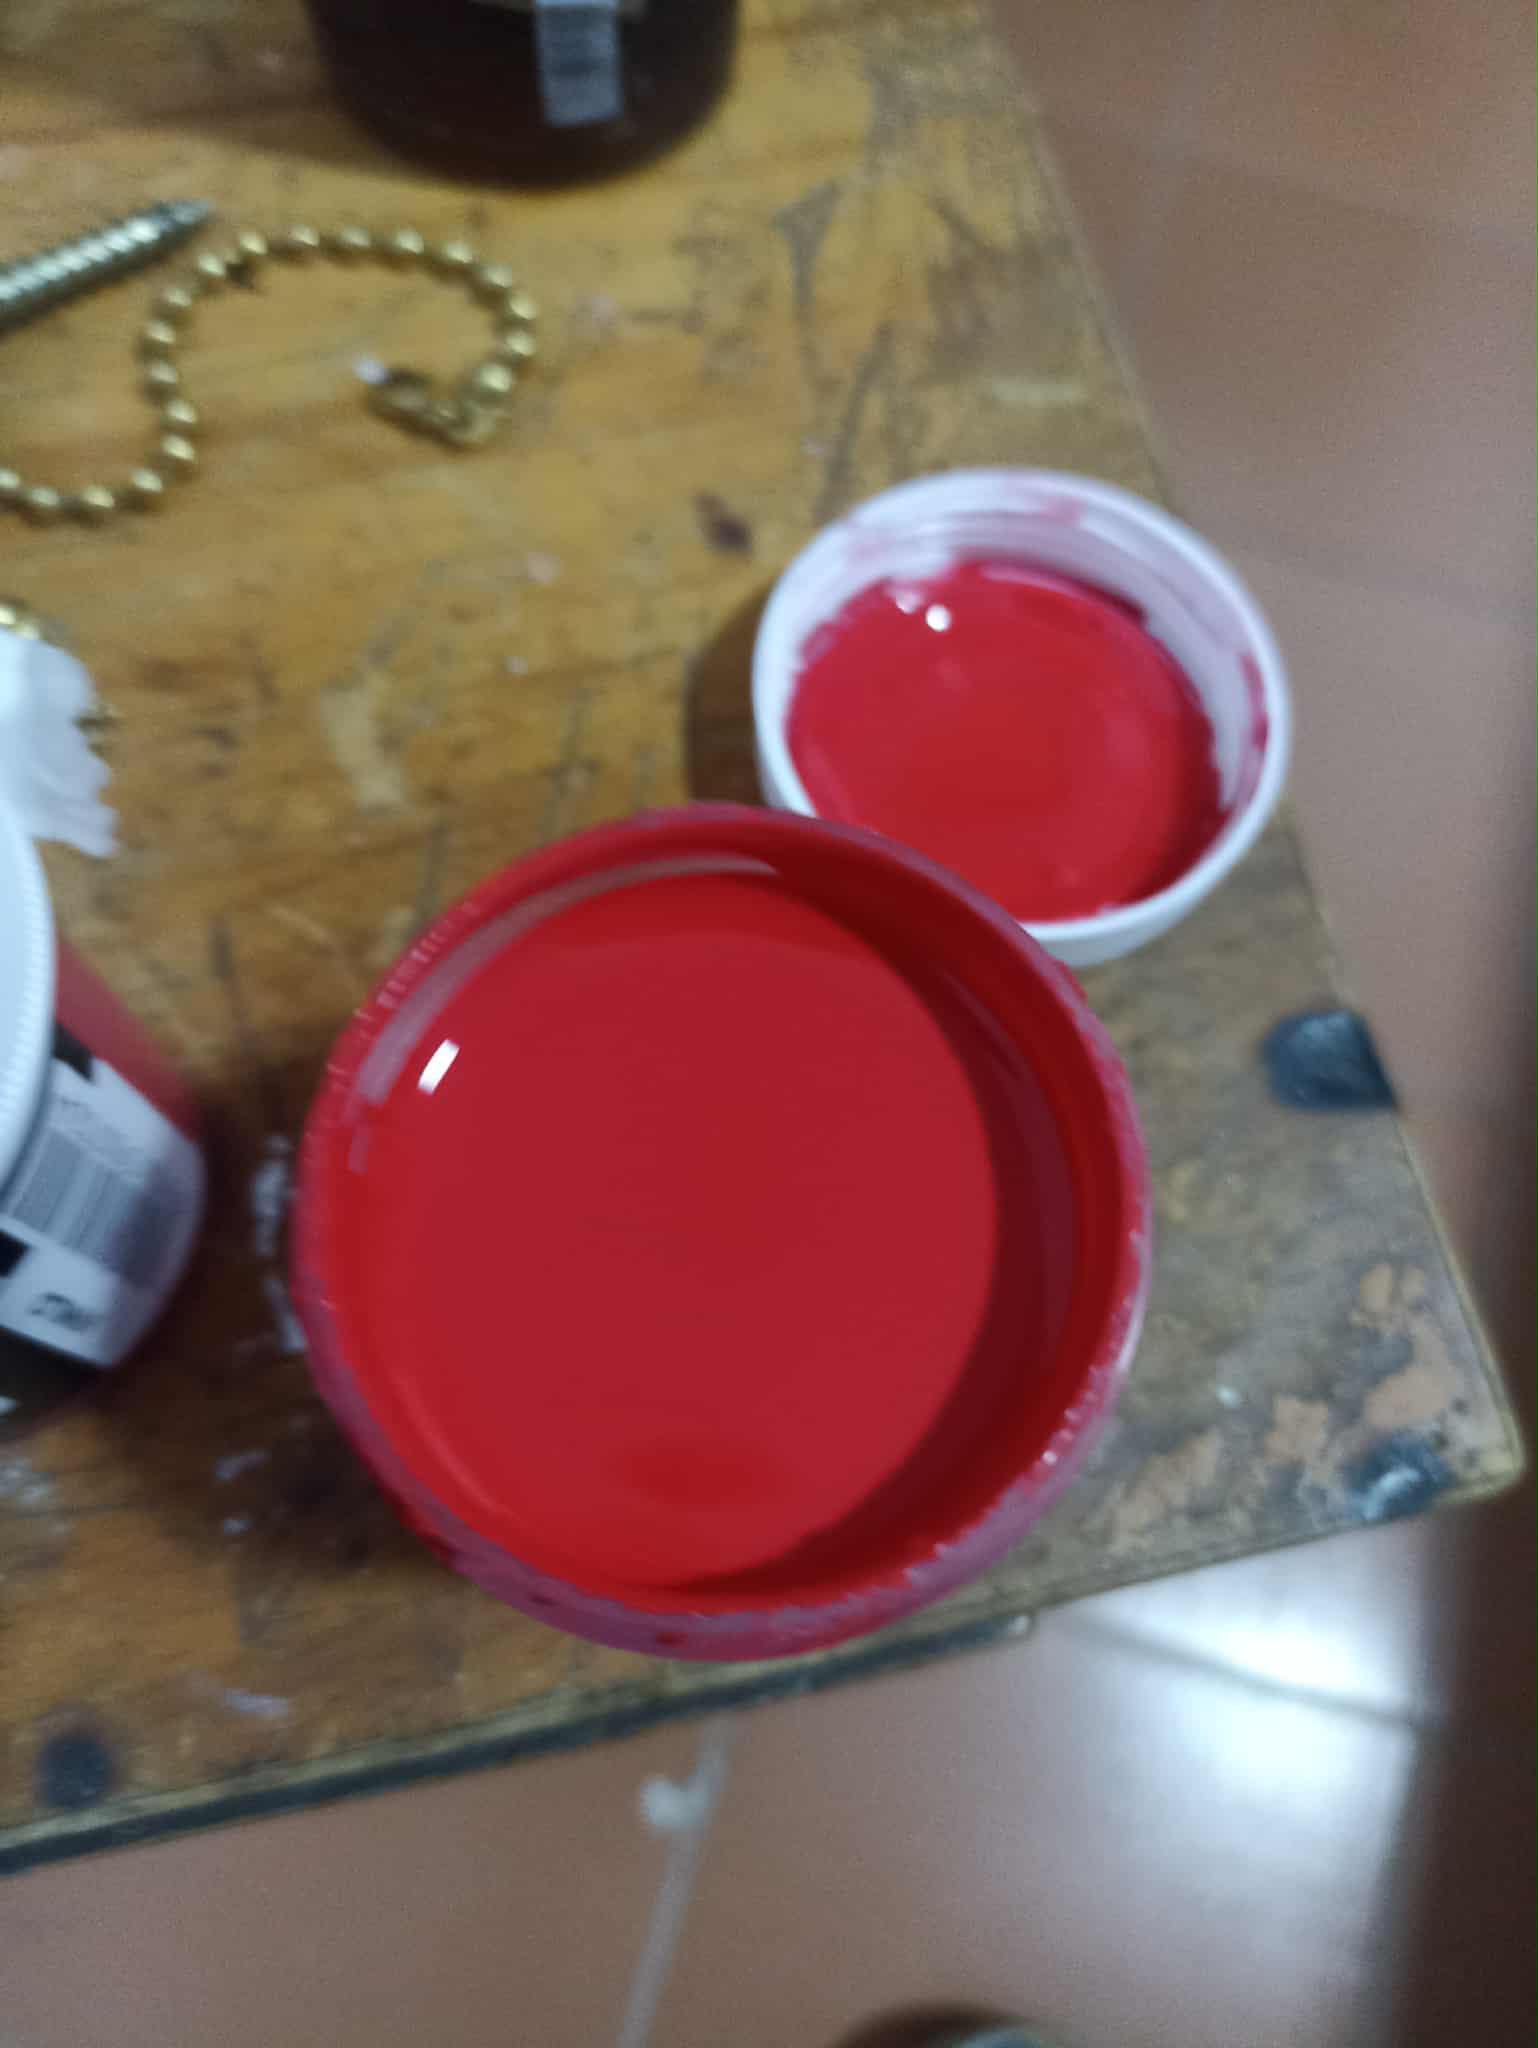
For this illustration, I don't use acrylic paint. Instead, I use cold-process paint, which has beautiful pigments and dries very quickly, providing good coverage. I start with the parts of the drawing that are painted black, outlining the eyes, shadows, lips, and part of the hair. After letting the paint dry completely, I remove the masking tape, and if there's anything wrong, I simply correct it.
Para esta ilustración no utilizo pintura acrílica, en luagr de eos utilizo pintura al frío, que tiene pigmentos hermoso y a su vez seca muy rapido, tiene buen cubrimiento. Commienzo con las partes del dibujo que tienen pintura negra, así voy delineando los ojos, sombras, los labios y parte de su cabello. Después de dejar secar bien la pintura voy retirando la cinta adhesiva y si hay alguna parte que ha quedado mal simplemente le hago la correción.
 |
 |
 |
|---|---|---|
 |
 |
 |
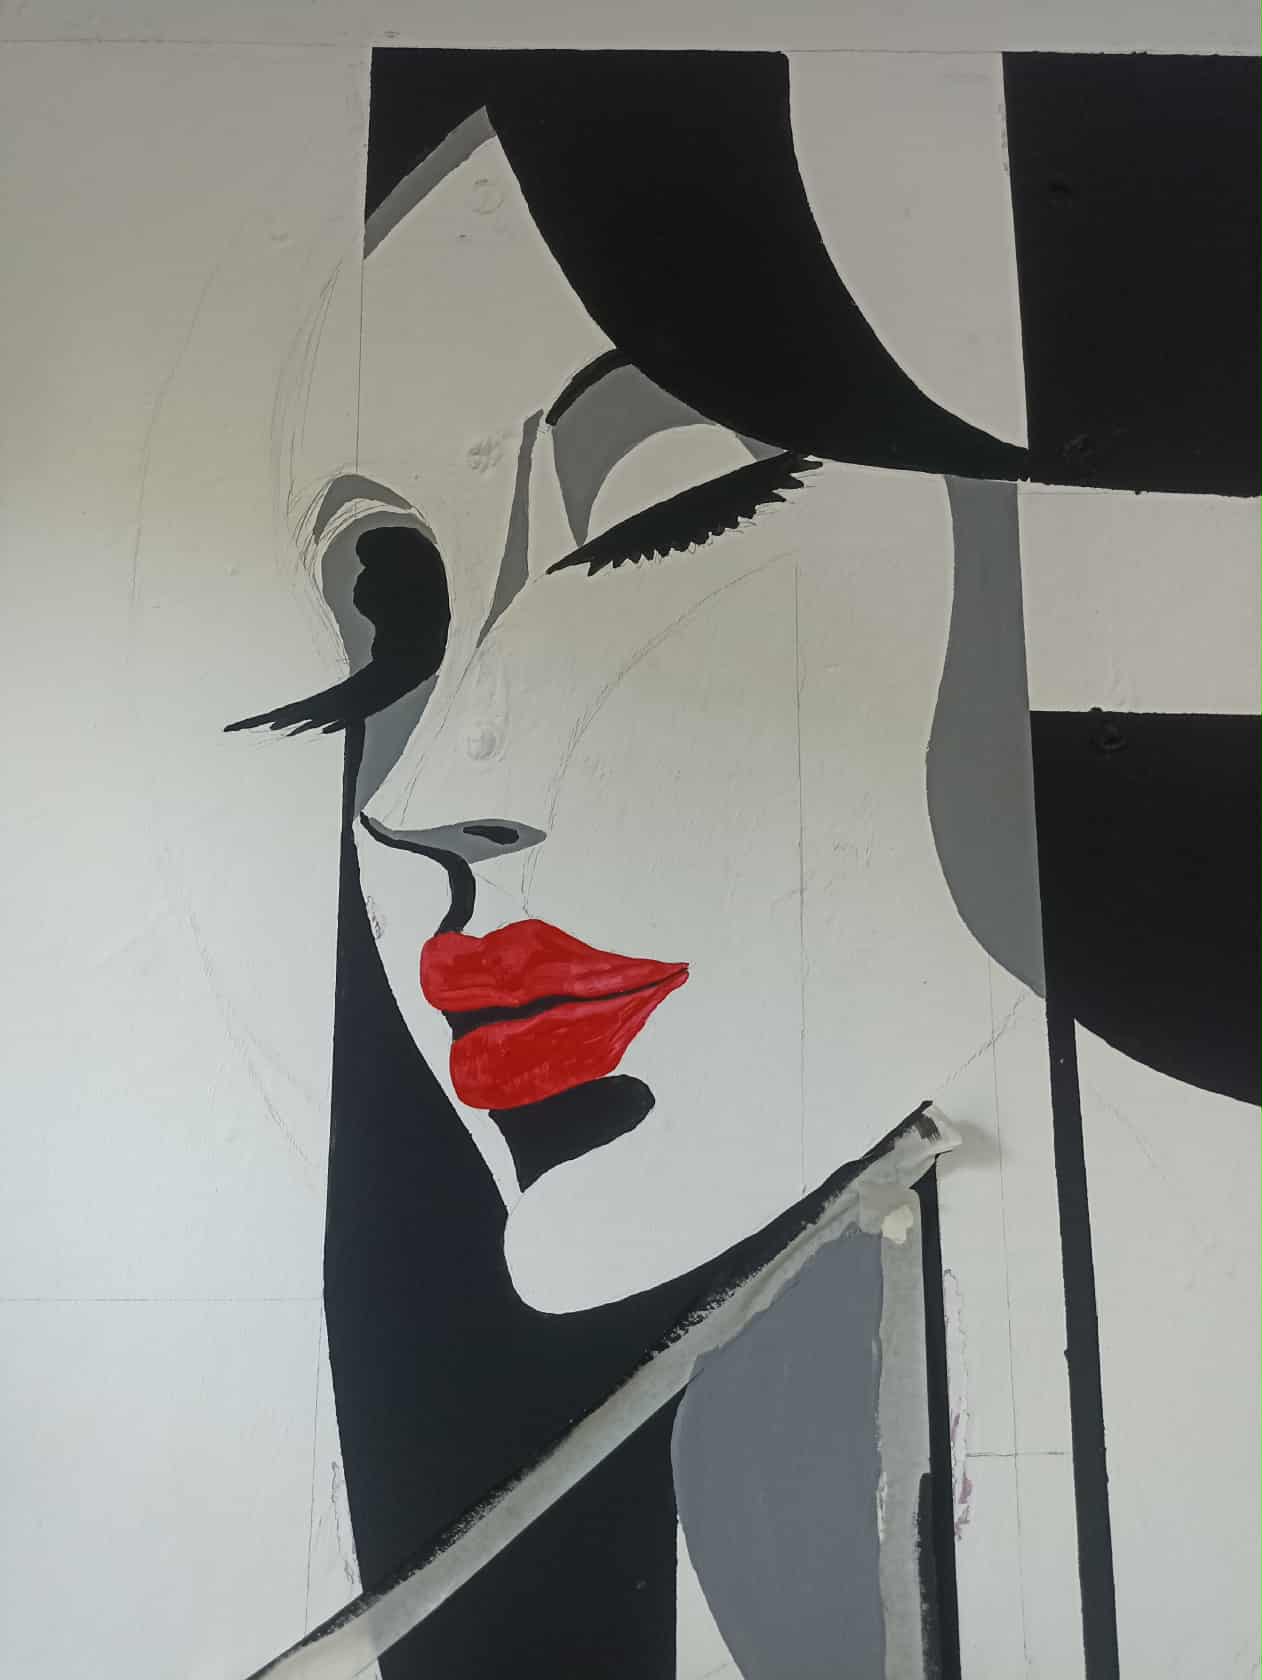
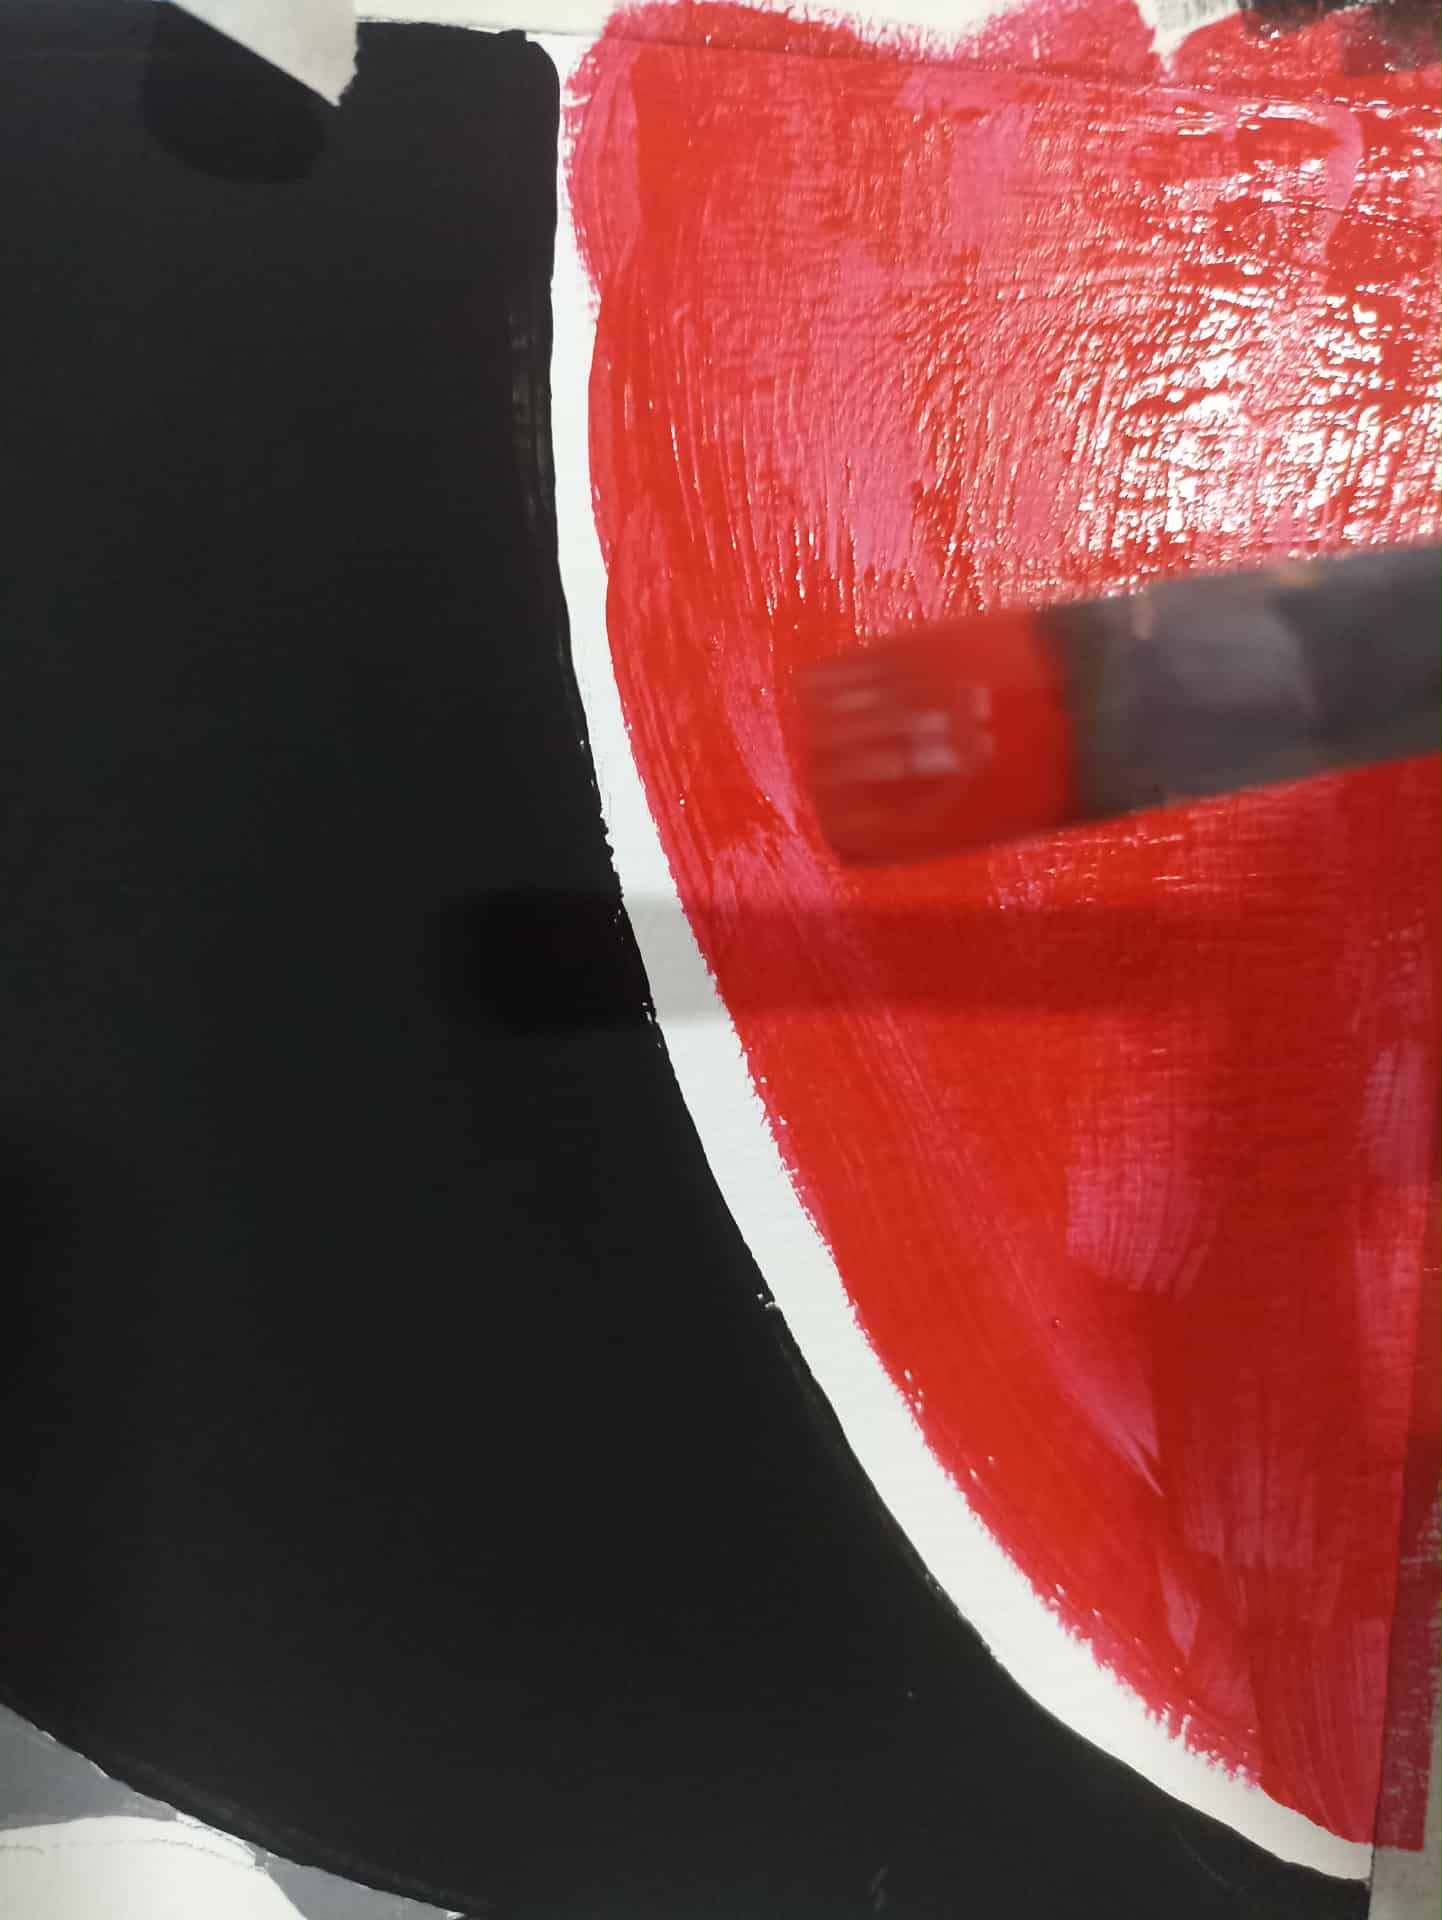
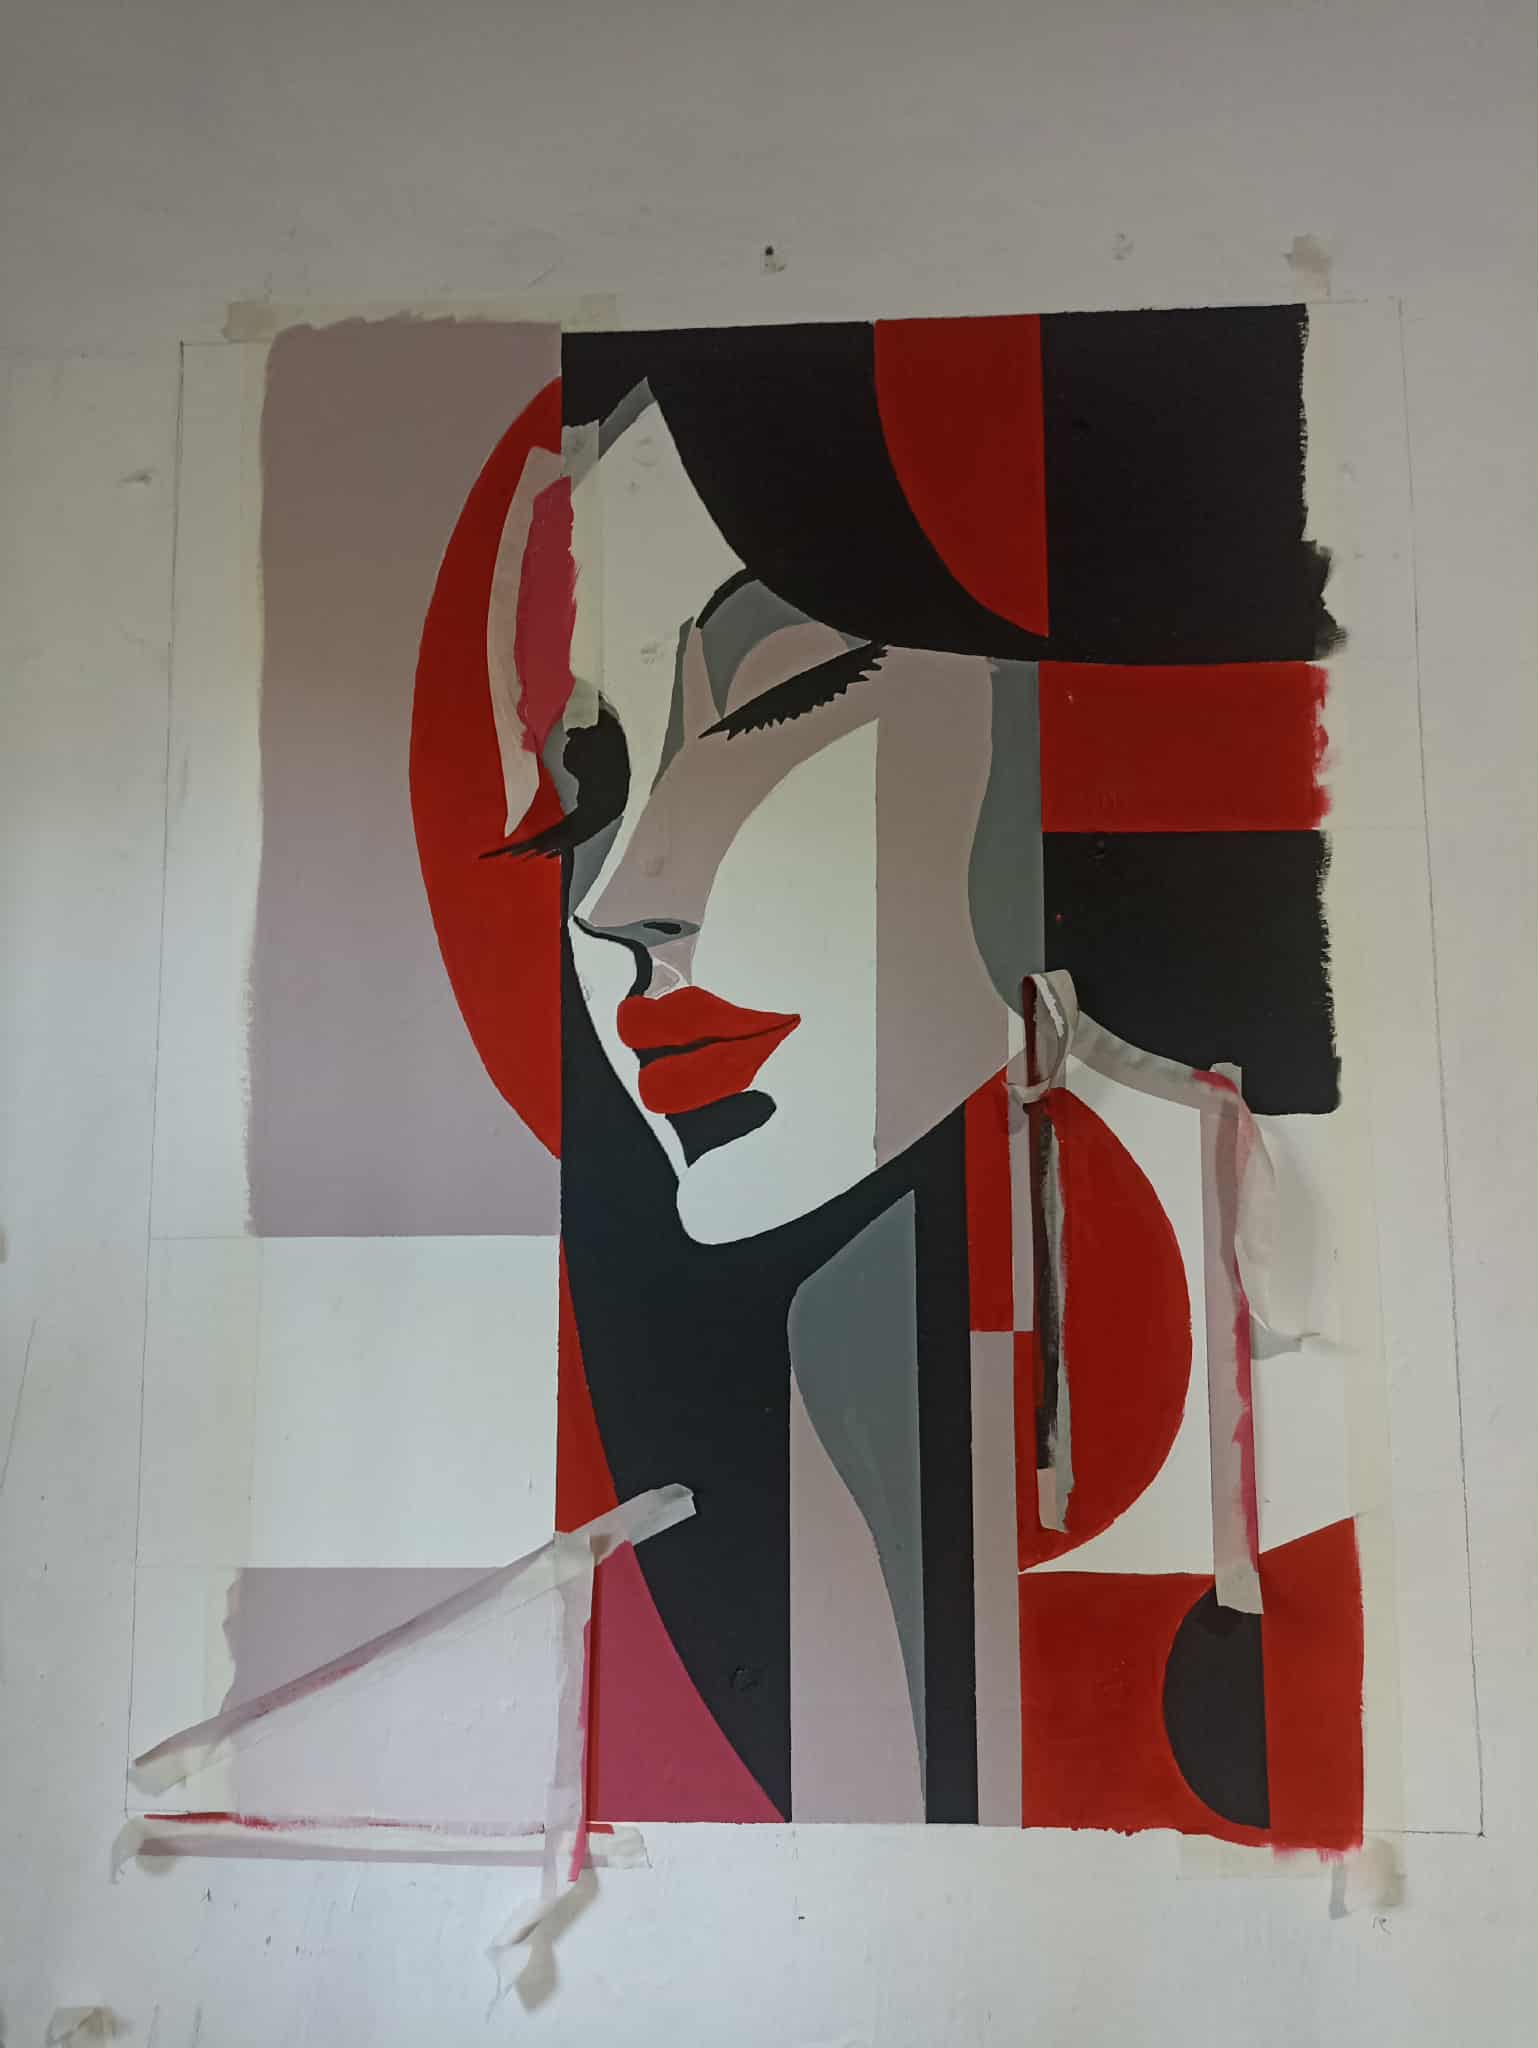
Next, I began painting with the color red. This style is truly comprehensive and minimalist, because just by looking at the black paint I had already applied, the drawing was defined and could be completed. But when I added the red to those lips, life came to life. In the same way, I applied the red paint to the other areas, and this beautiful girl gradually took on a more polished appearance.
Seguidamente inicié a pintar con el color rojo, la verdad que este estilo es muy completo y minimalista, porque al observar solamente la pintura negra que había colocado, ya el dibujo tenía una definición y podía concluirse. Pero al poner el colro rojo en esos labios la vida llego, así de la misma amnera fuí poniendo en las demás zonas la pintura roja y esta bella chica iba teniendo una mejor presentación.
 |
 |
 |
|---|---|---|
 |
 |
 |
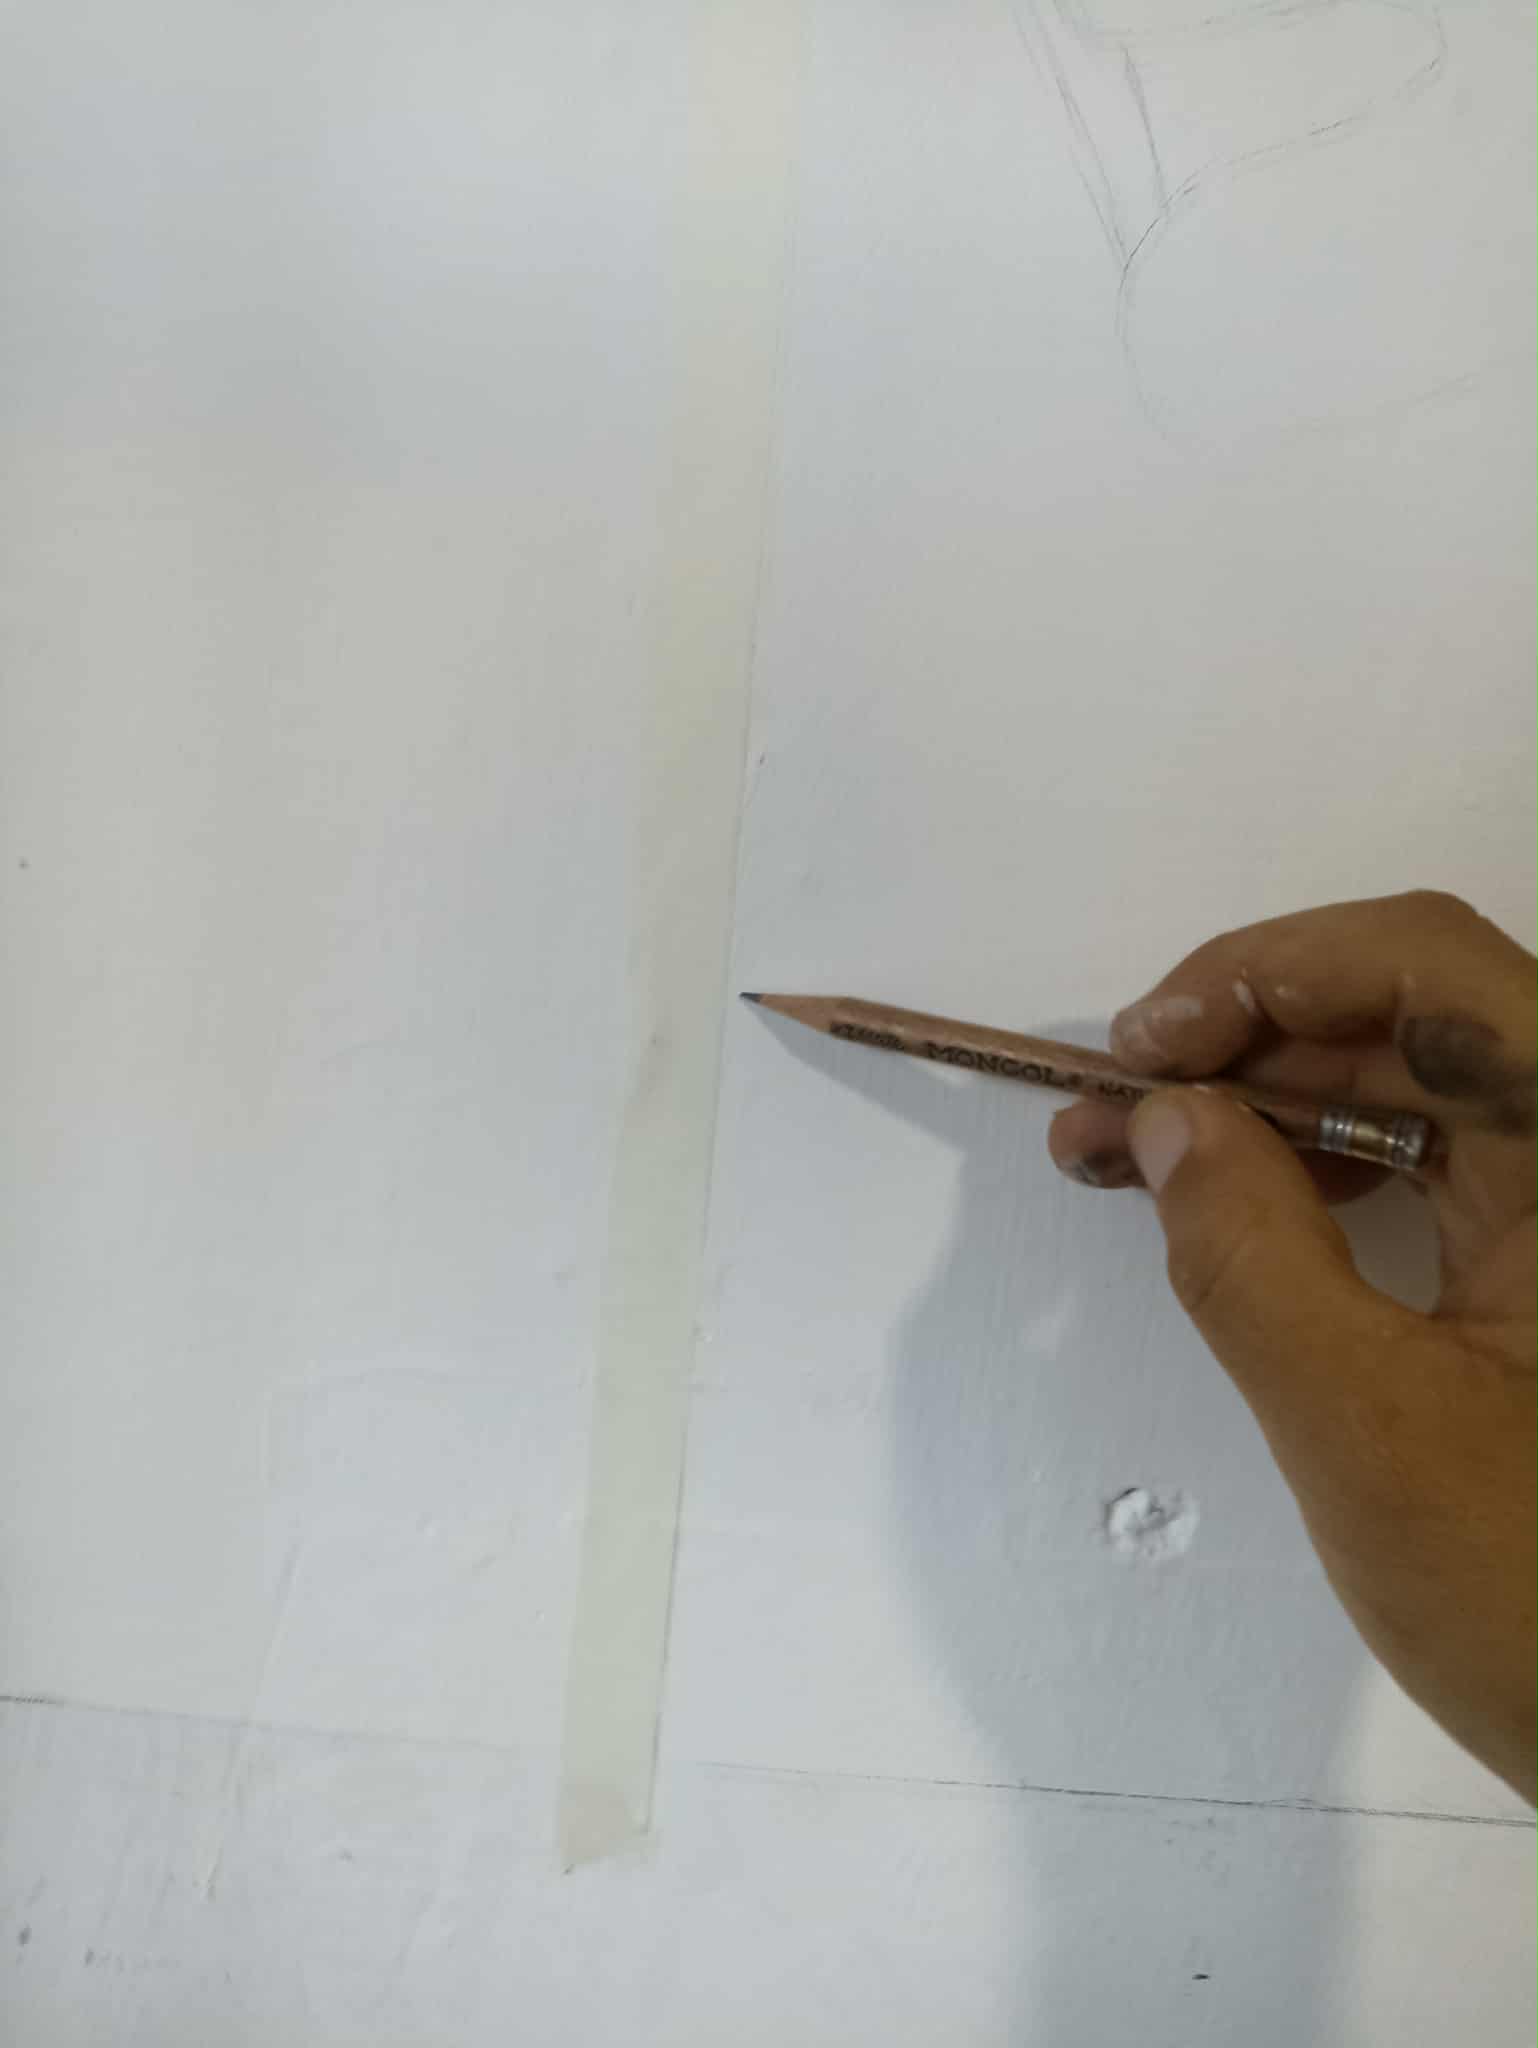
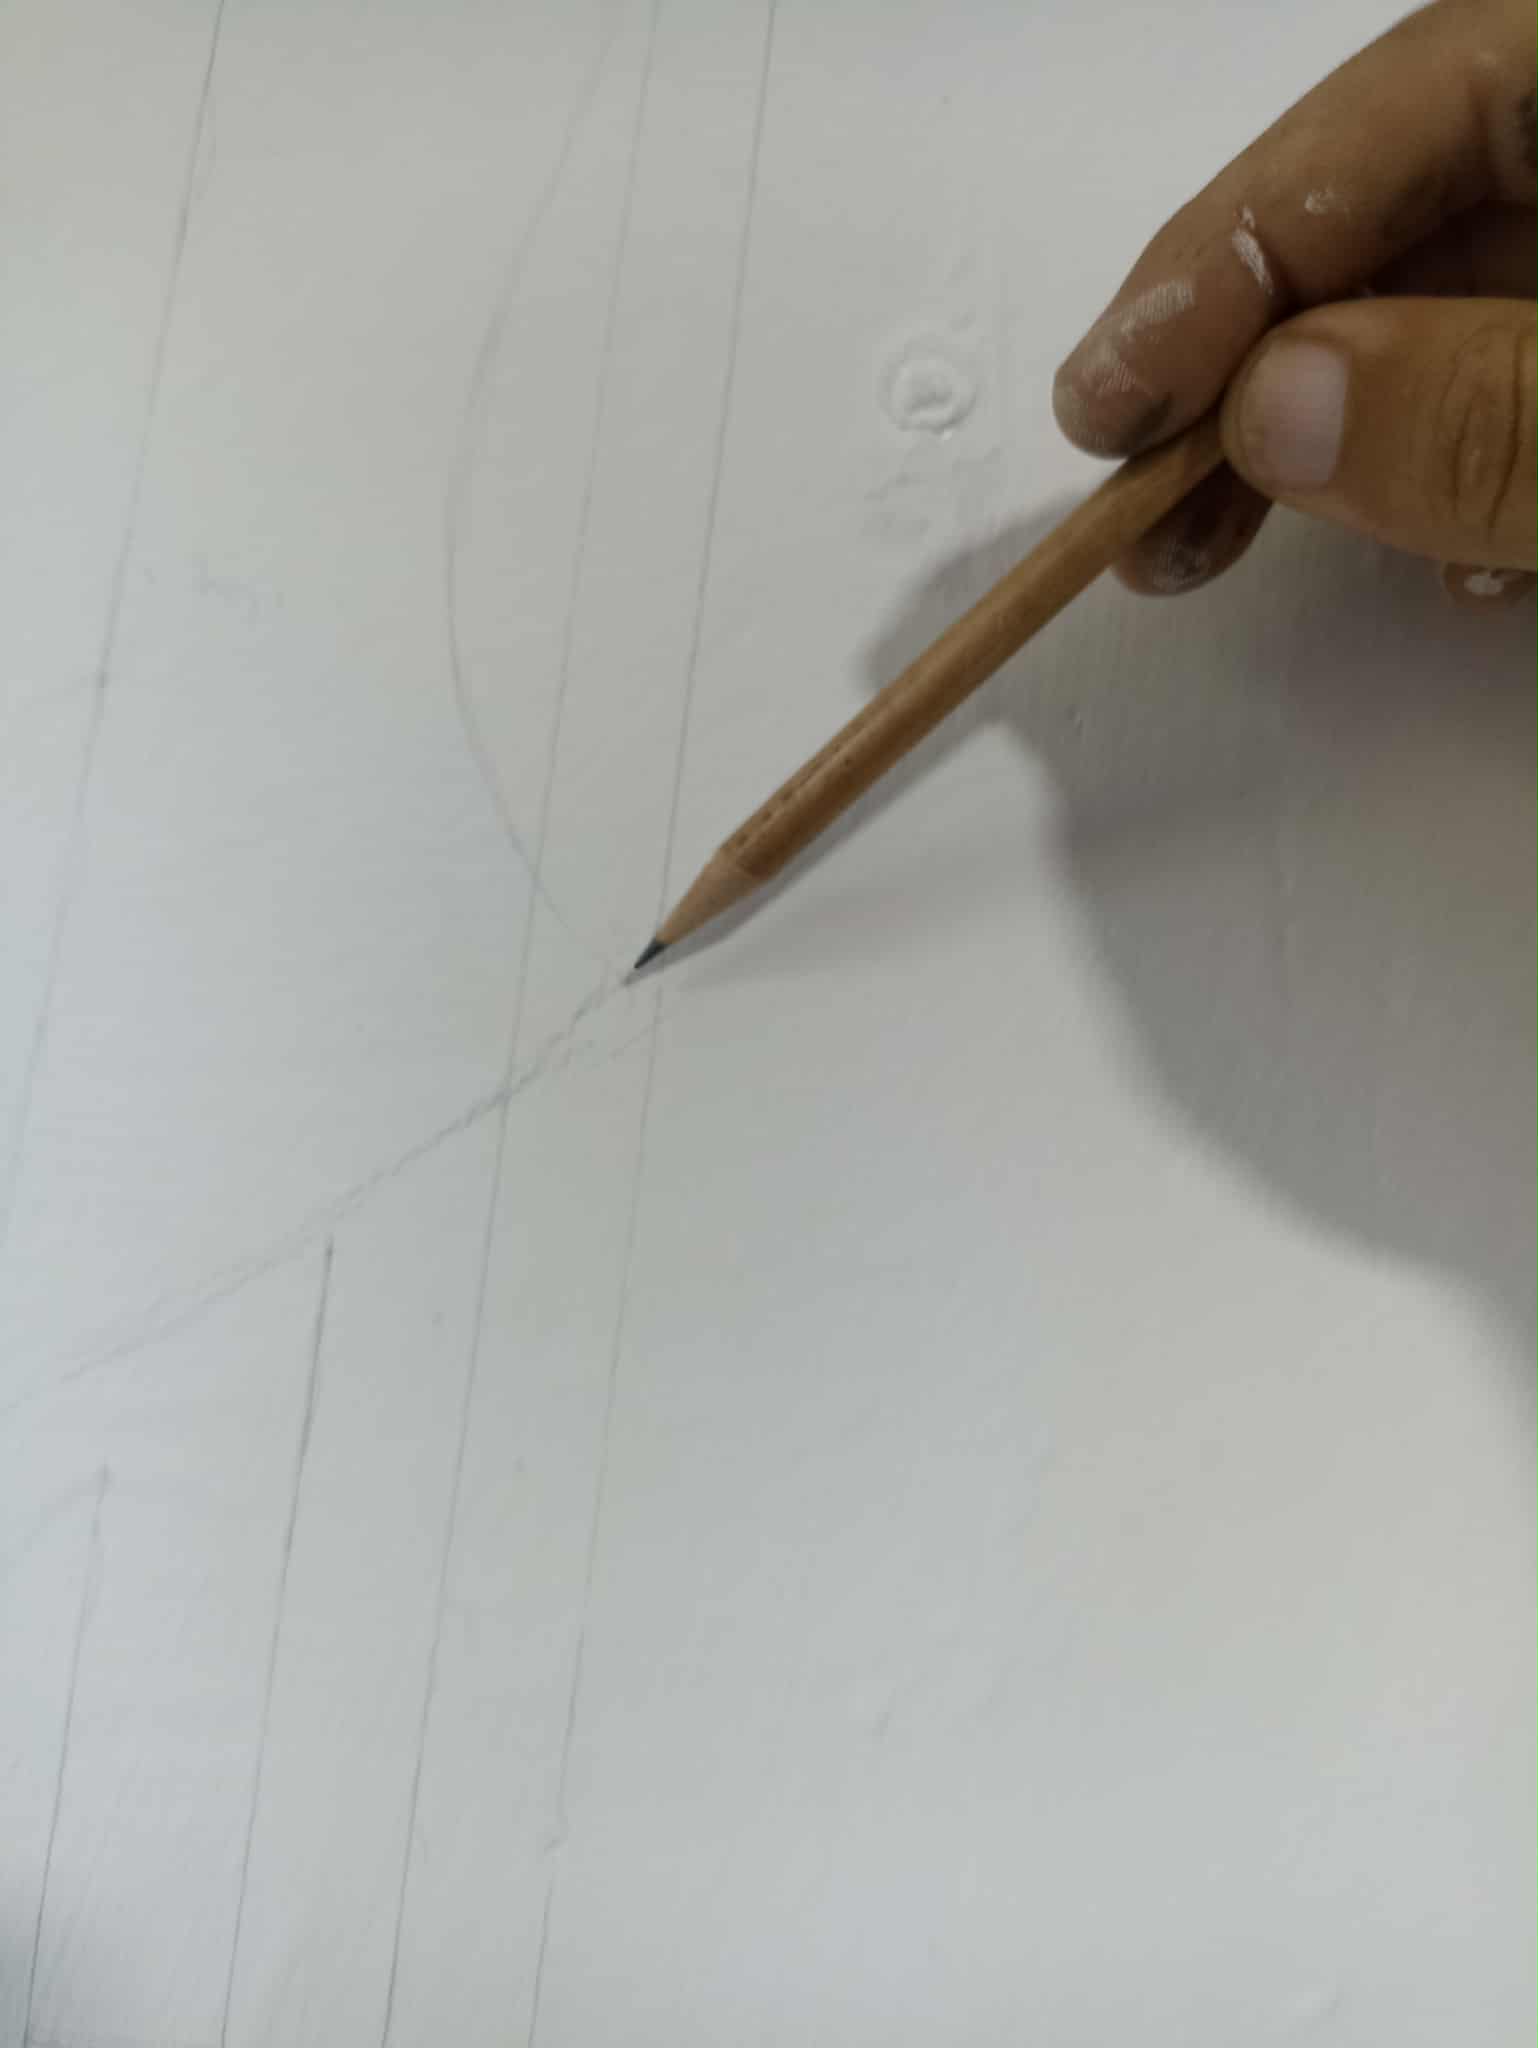
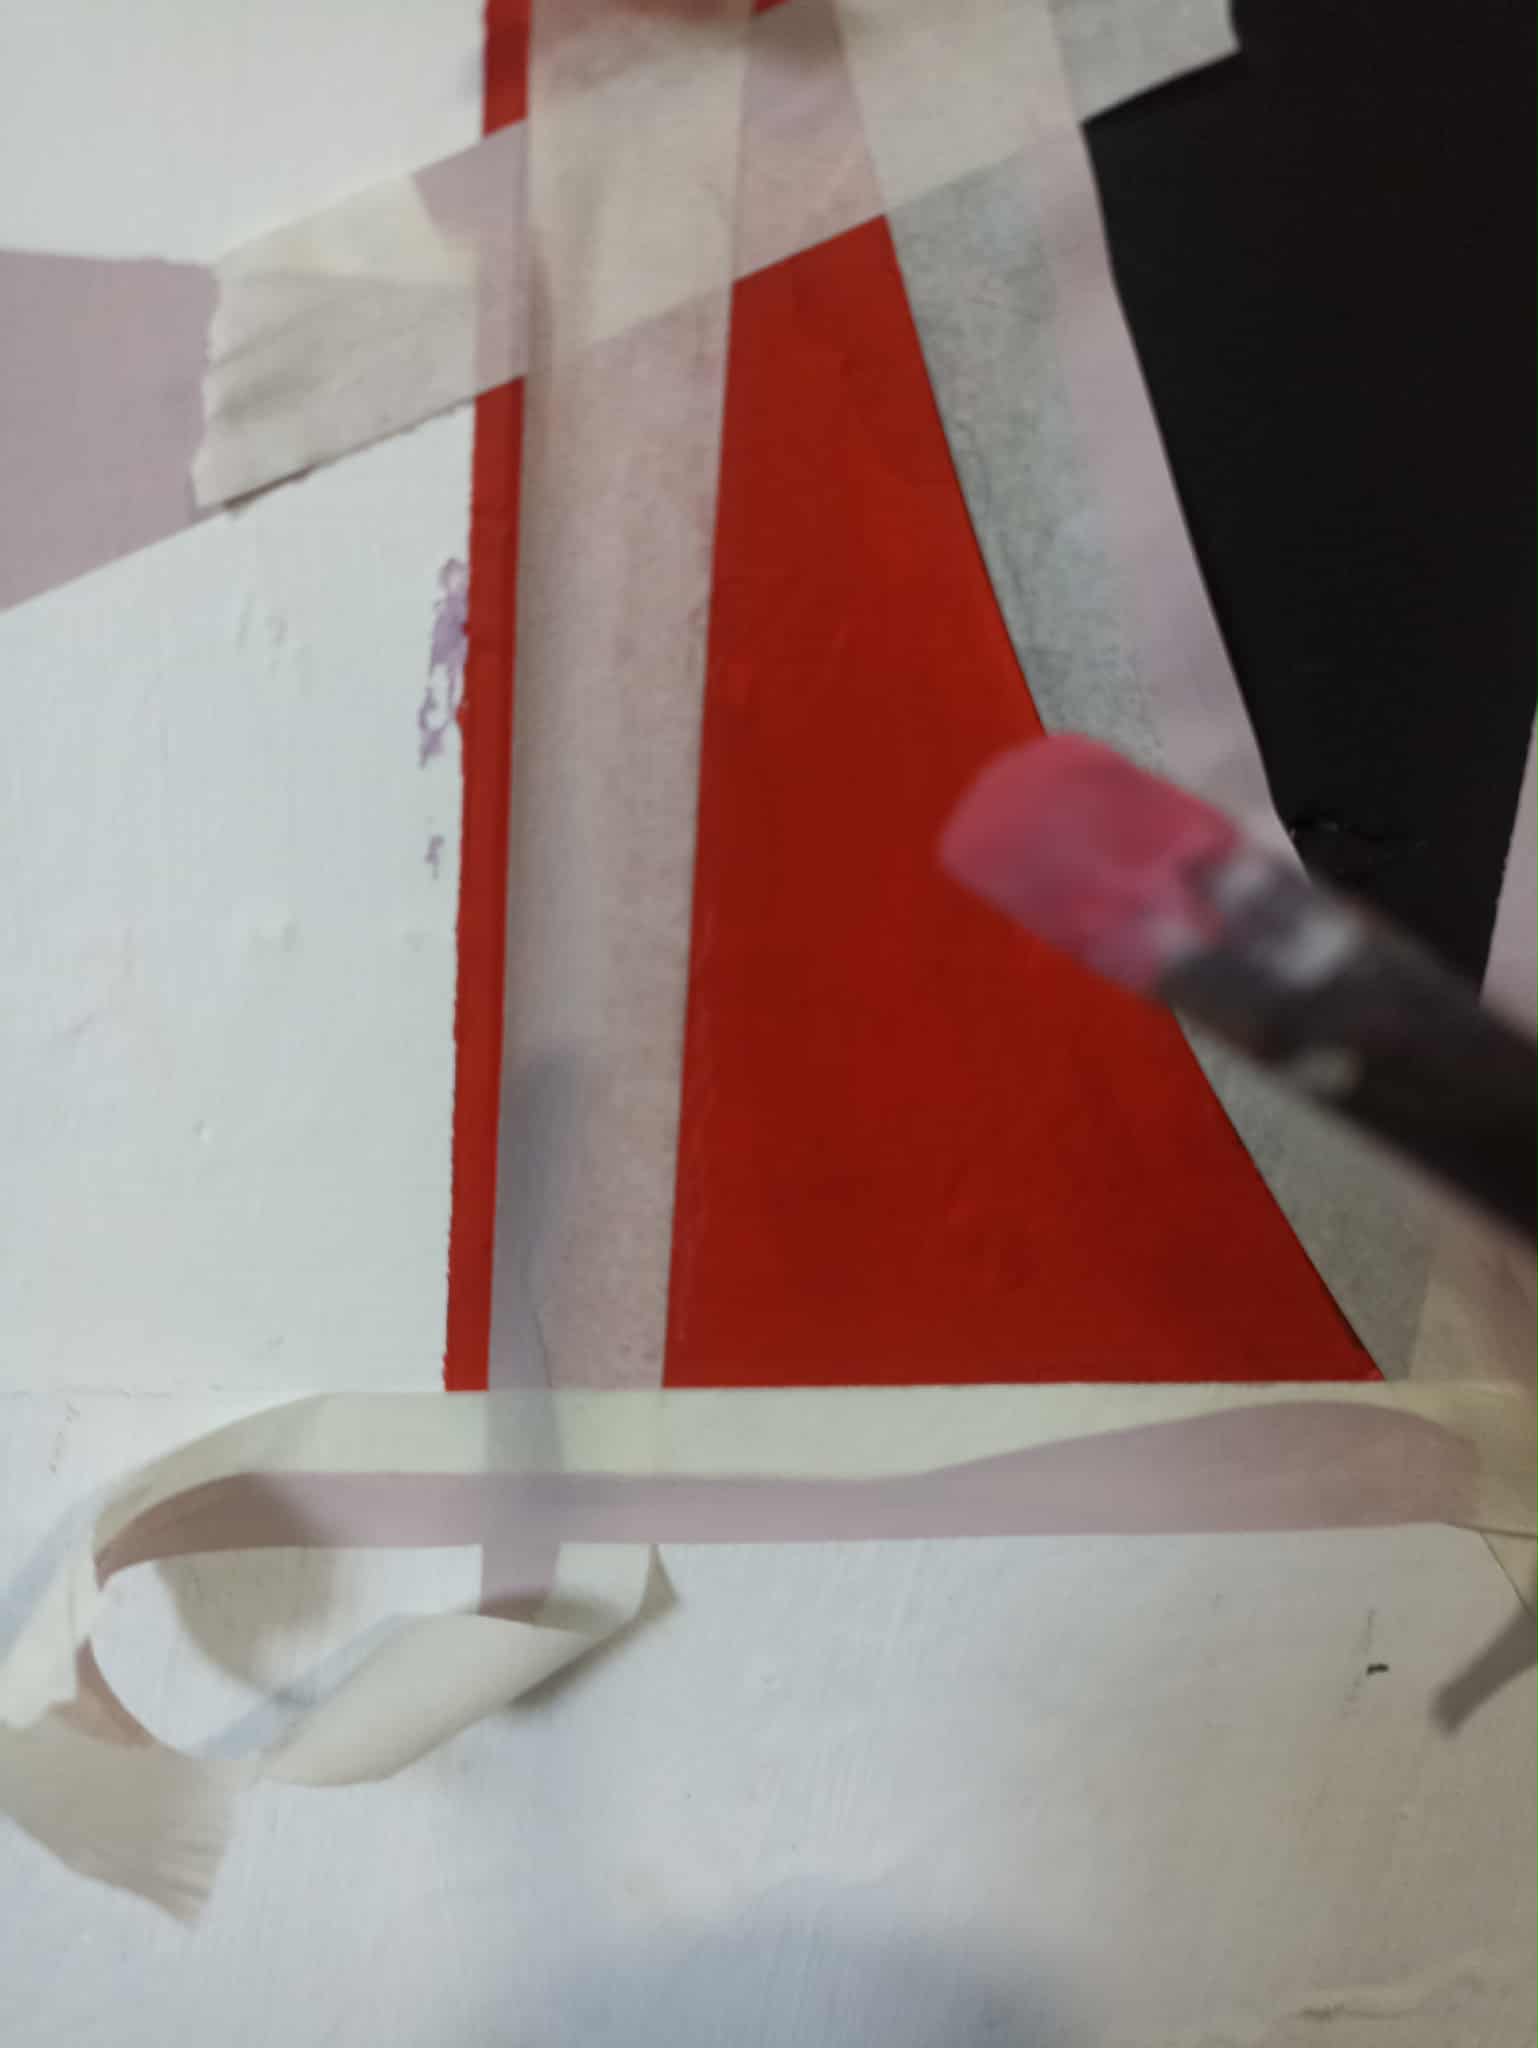
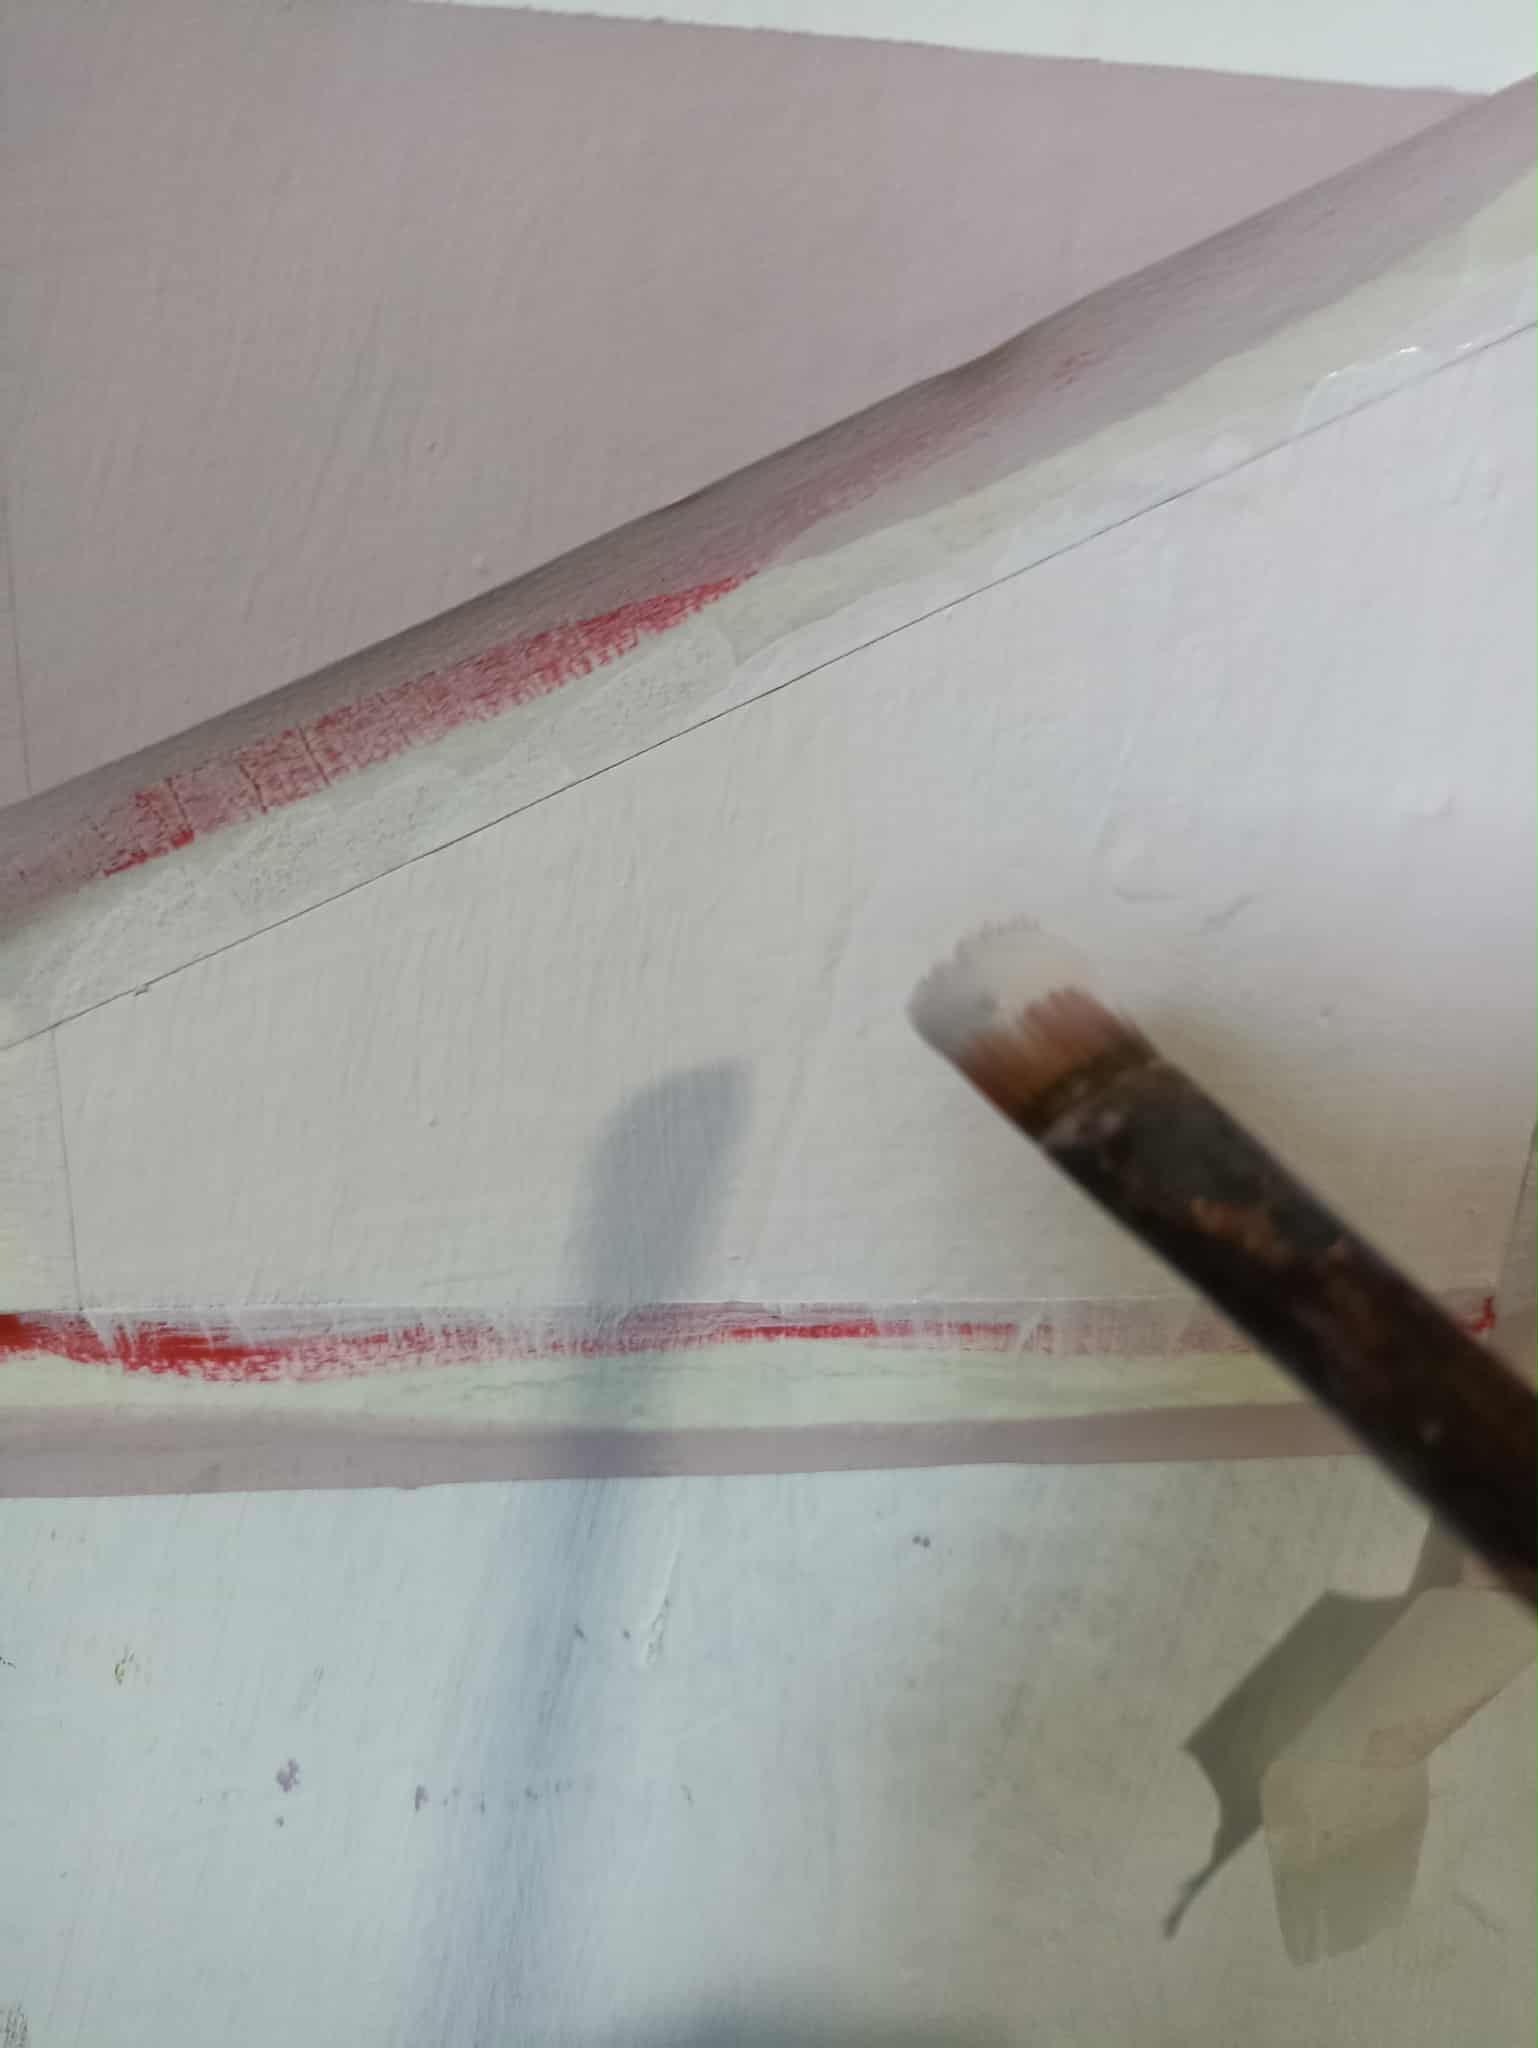
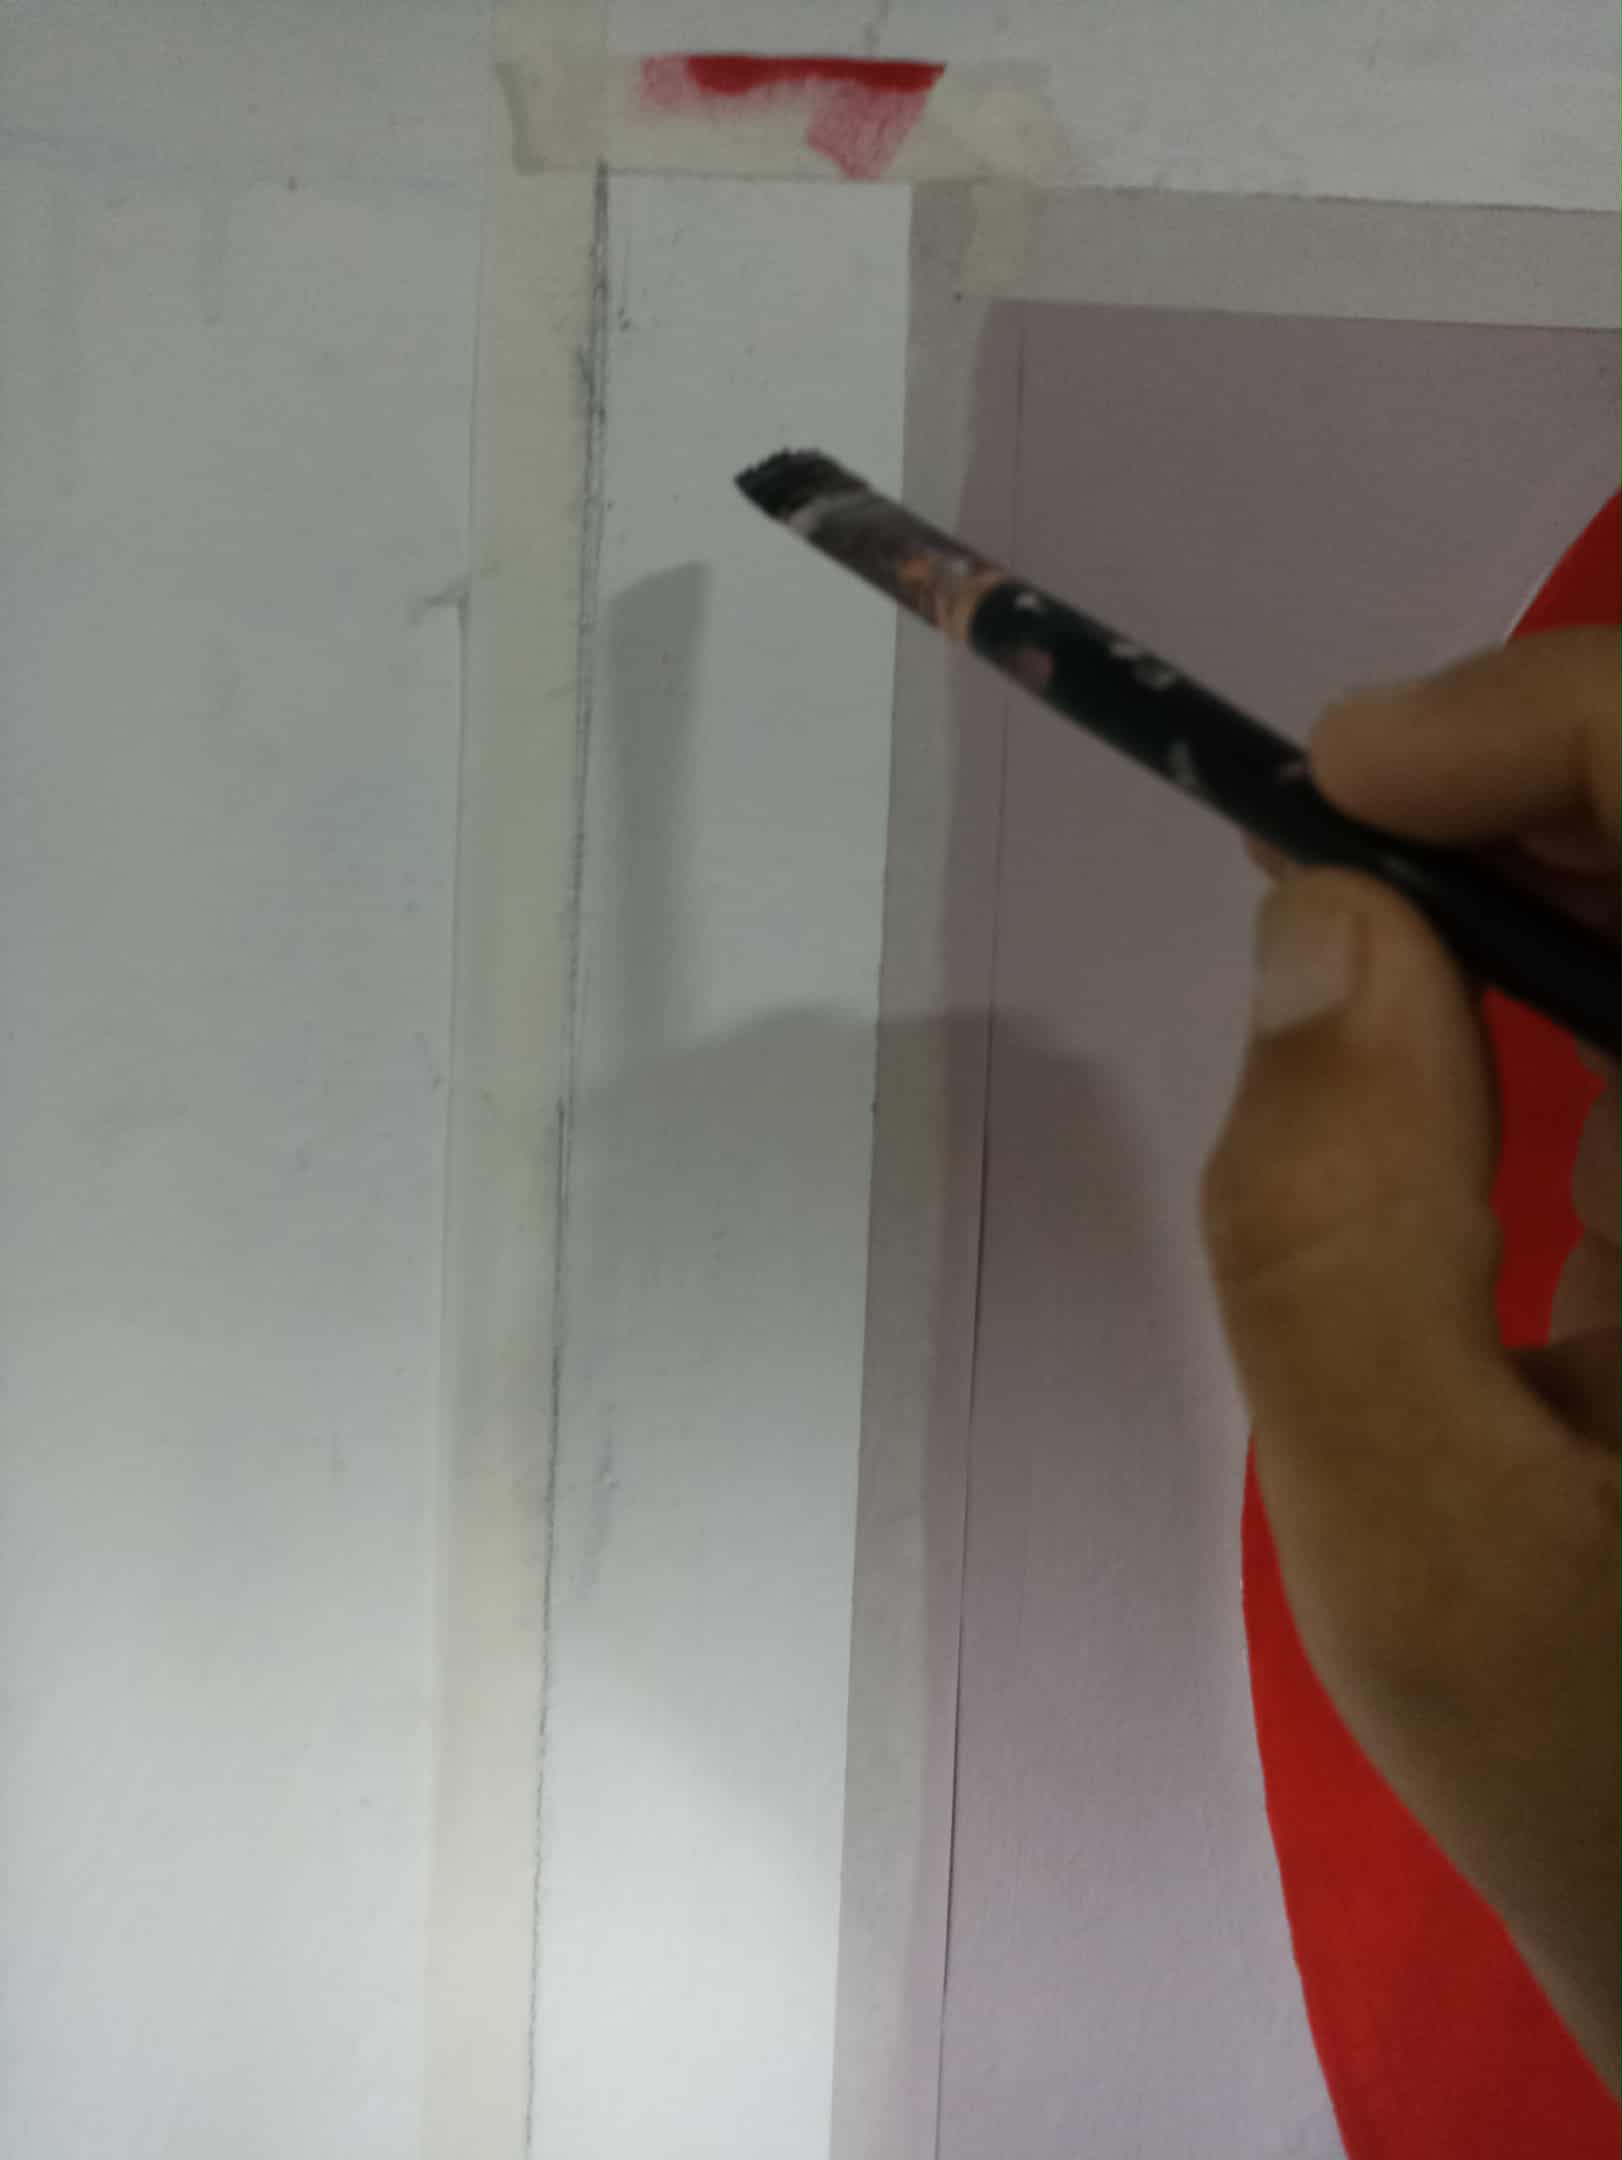
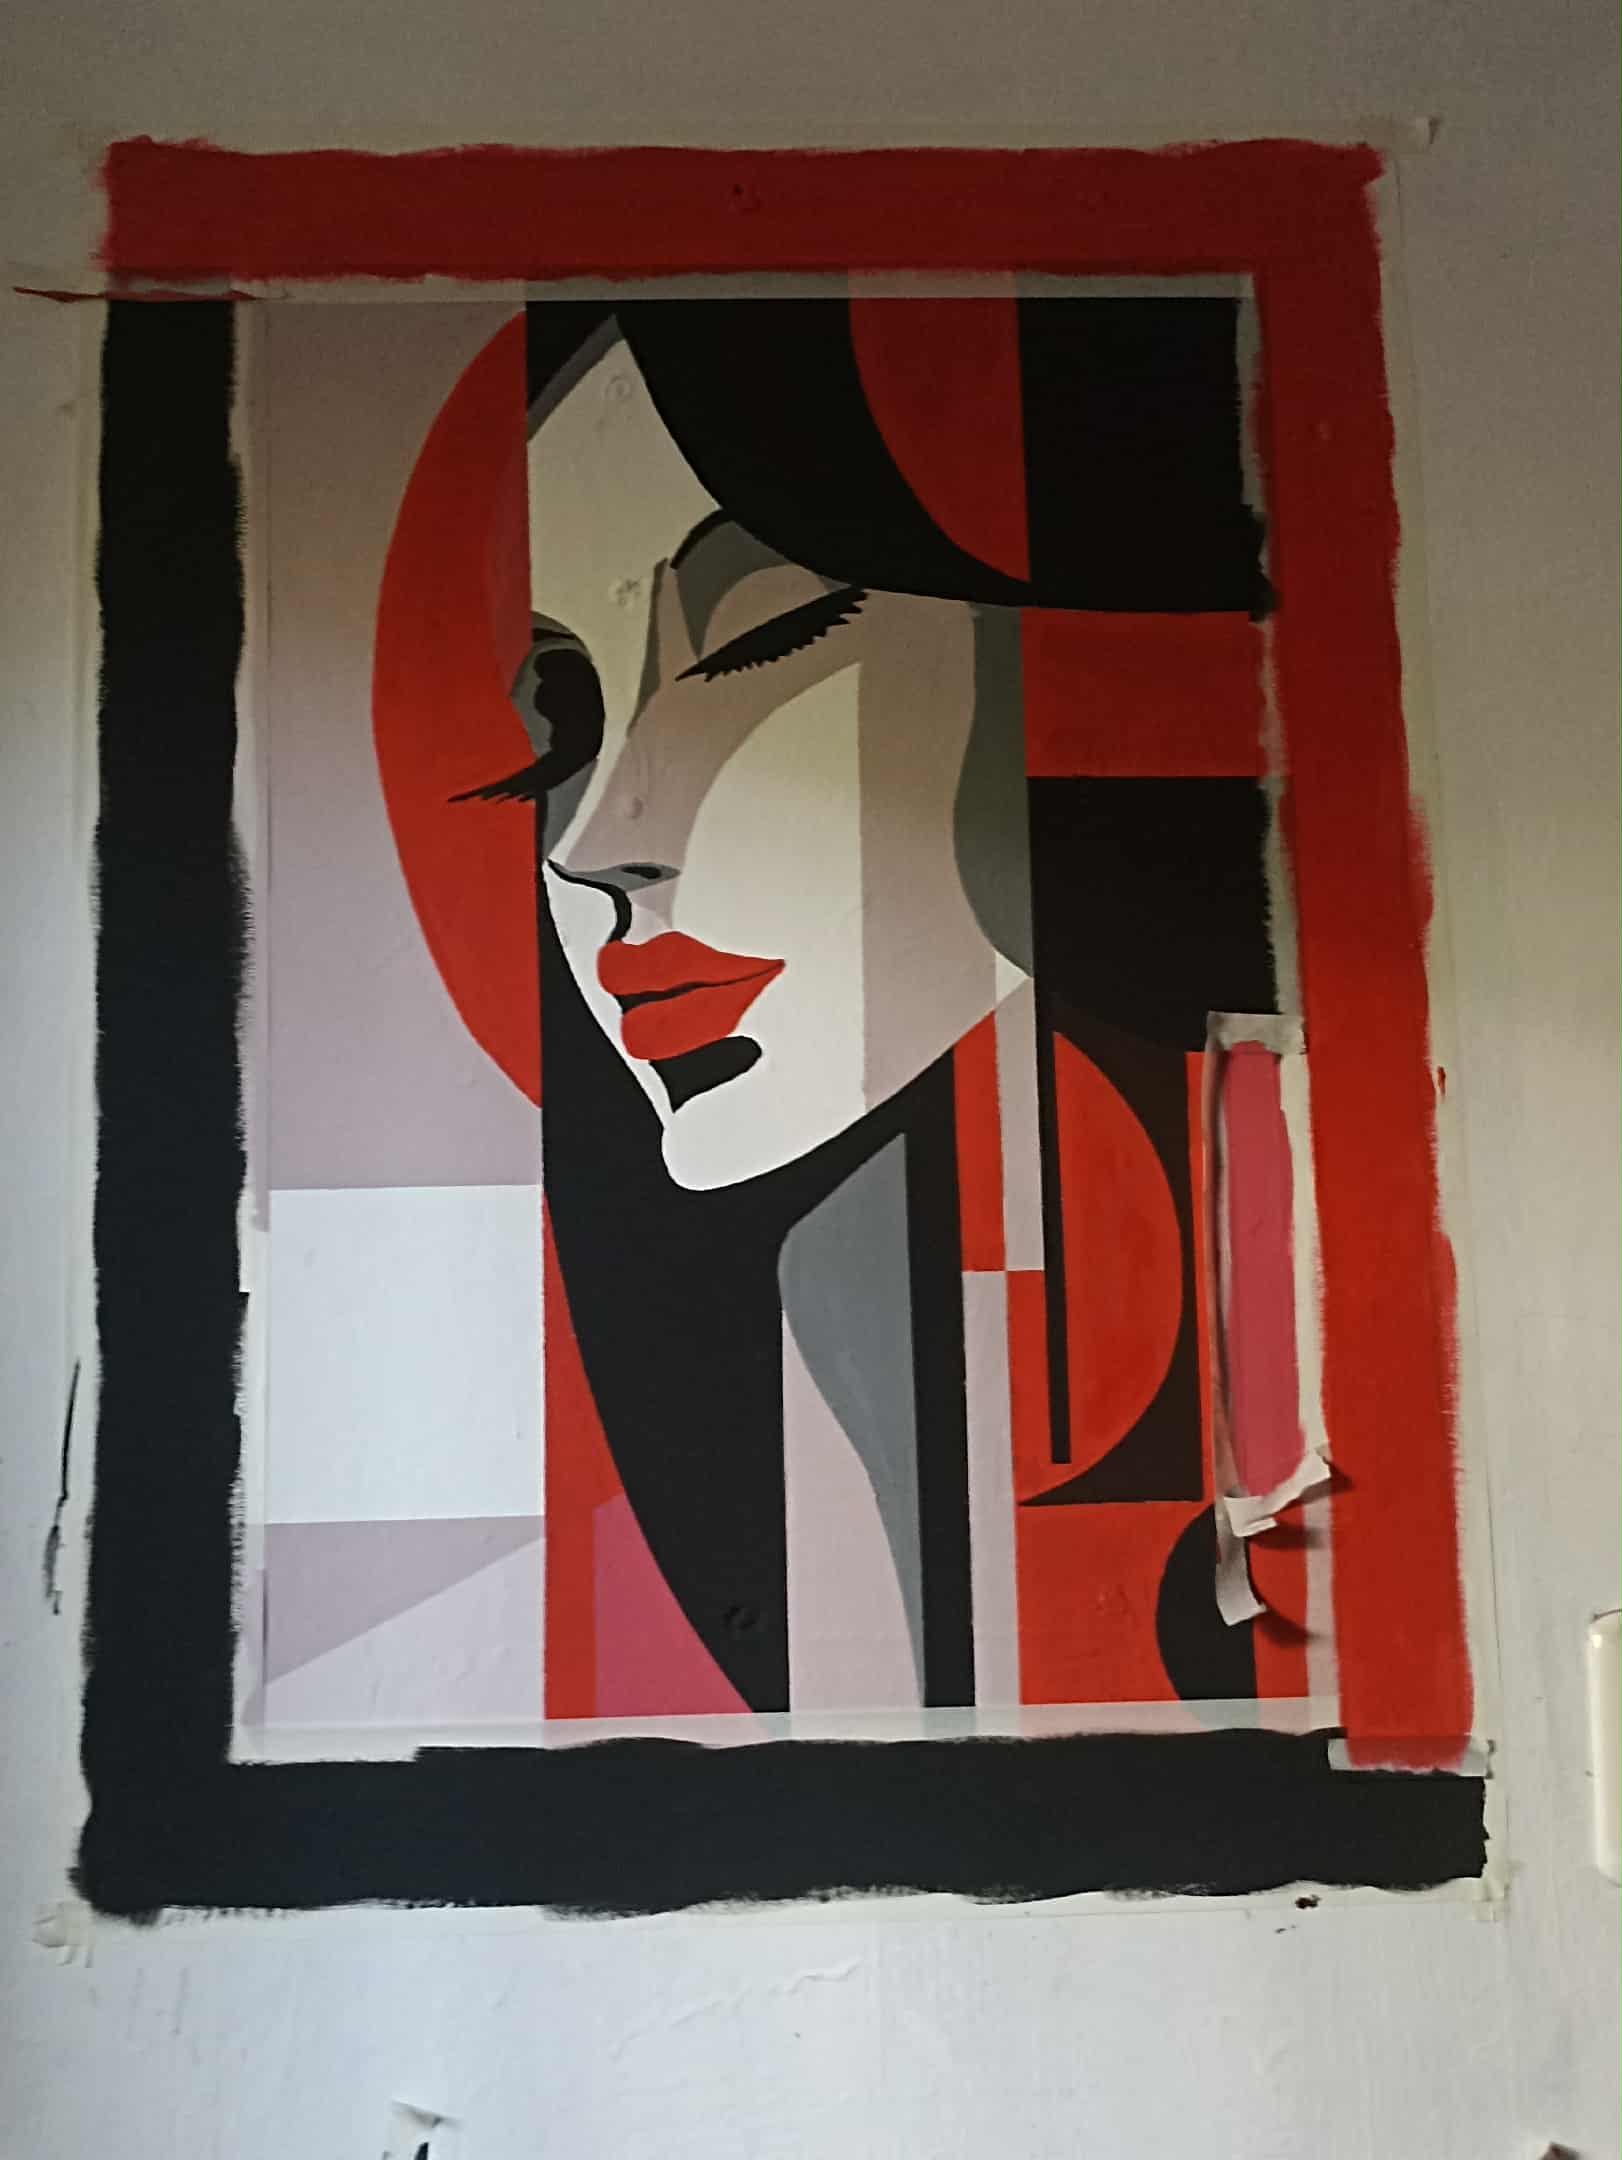
After that, I added contrast with gray near the black, and I replaced the red with lilac and purple. You can see to the right of the girl how the geometric shapes are more intricate. Thanks to the masking tape, the lines are perfect, with no separation between colors, except in a few very slight cases. On the outside of the drawing, that is, on the borders, I drew lines 4 centimeters apart and put masking tape on each line. I did this to define the painting and see what else could be added.
Luego de eso fui agregando contraste con color gris cerca del color negro, y del color rojo puse color lila y también púrpura. Pueden observar a la derecha de la chica como las figuras geomérticas son más intrincadas. Gracias a la cinta adhesiva las líneas quedan perfectas, sin separación entre colores, solo en algunos casos muy leves. En la parte exterior del dibujo, es decir en los límites hice unas líneas de 4 centímetros de distancia y en cada línea puse cinta adhesiva, esto lo hcie para delimitar la pintrua y ver que más se podría agregar.
 |
 |
 |
|---|---|---|
 |
 |
 |
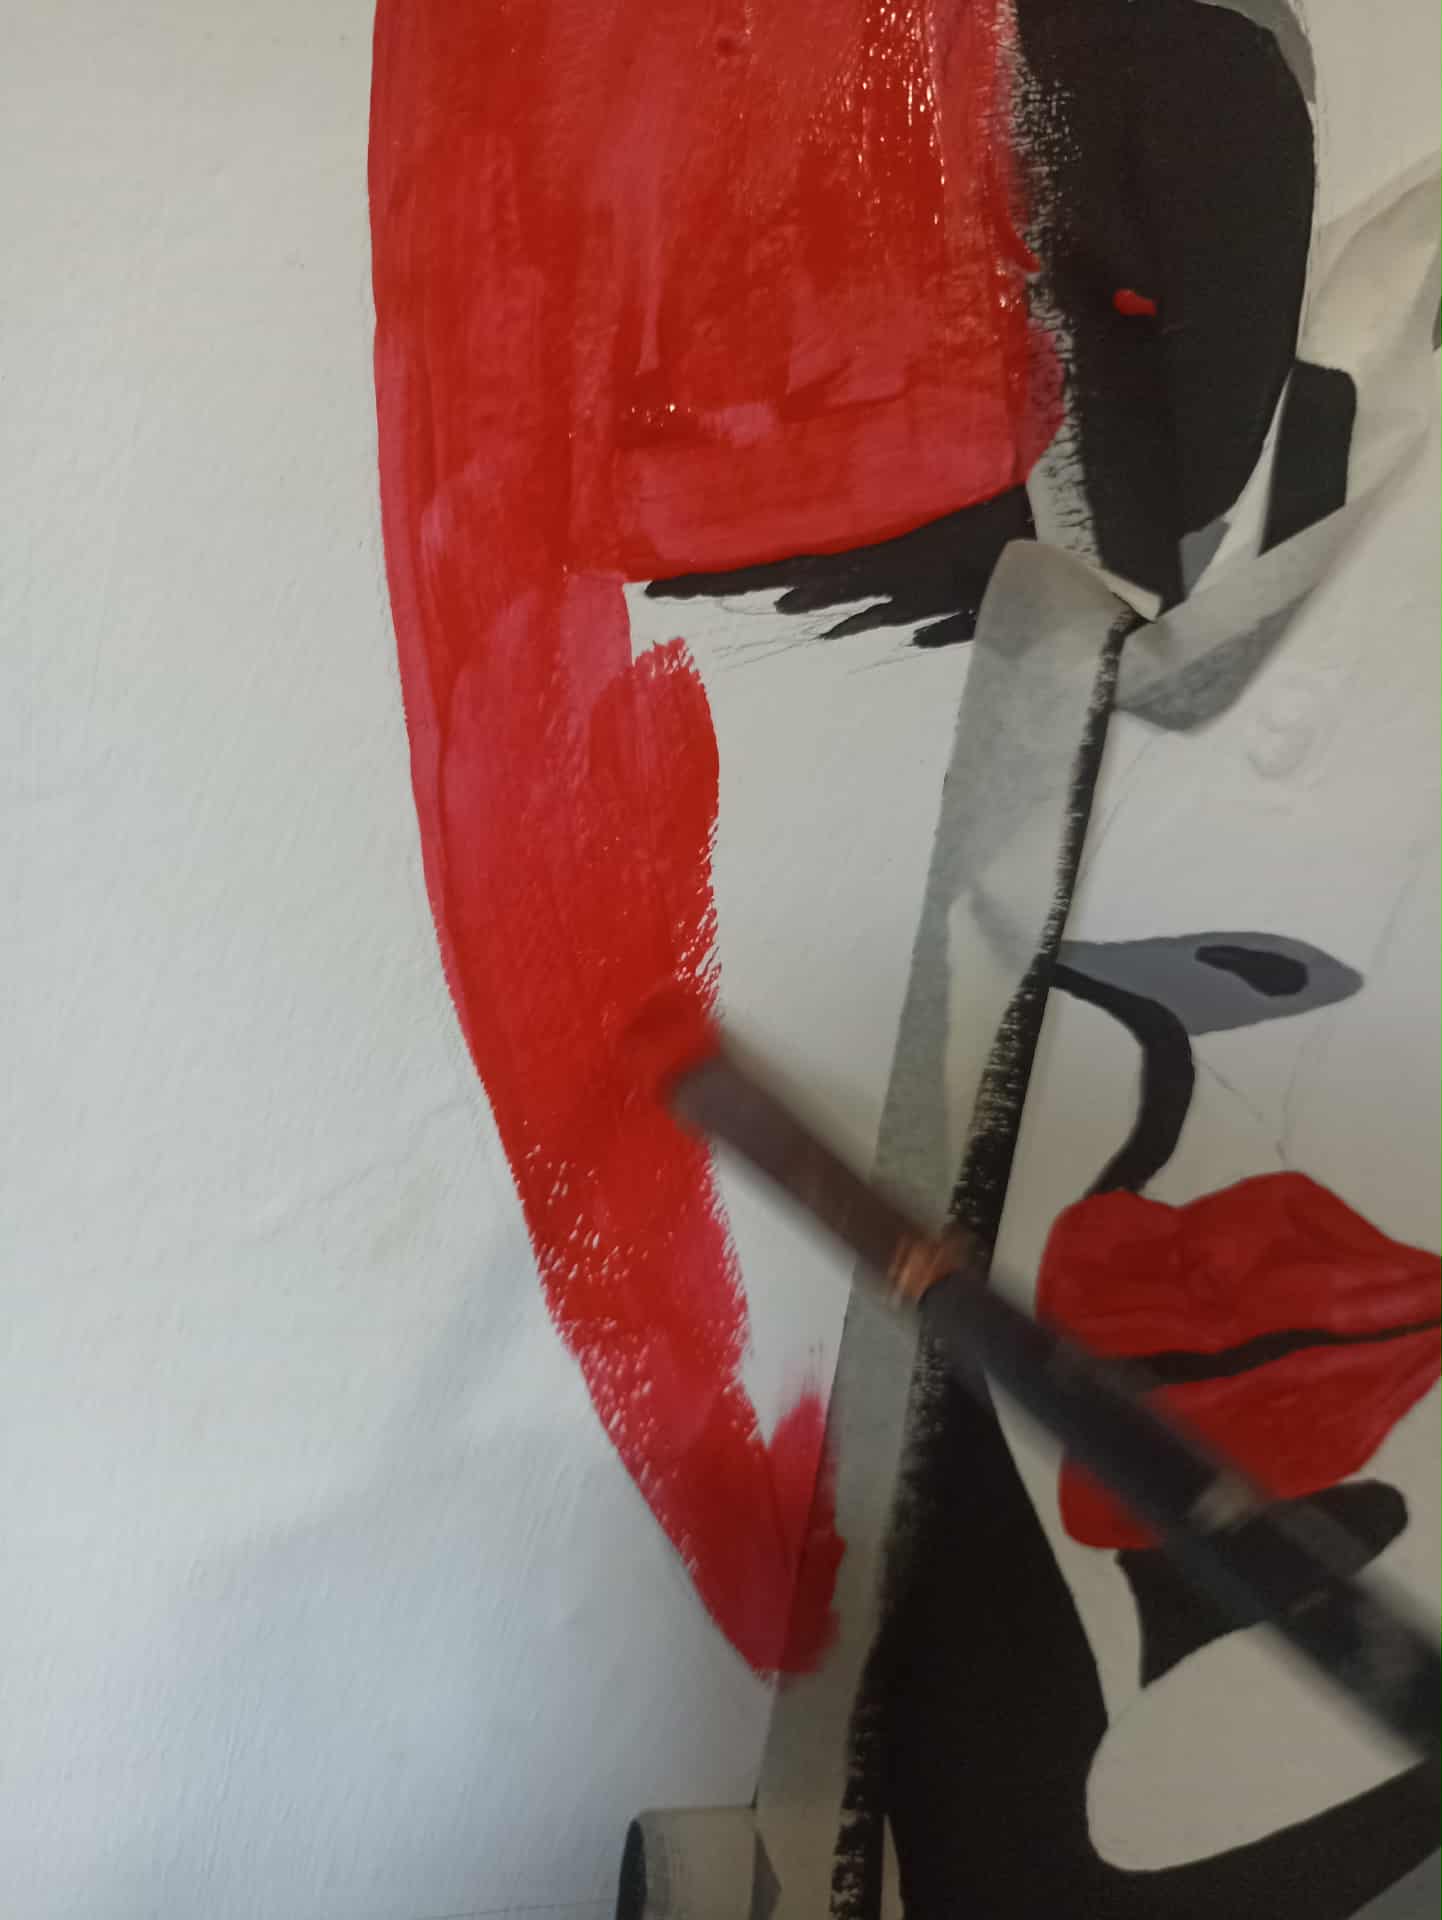
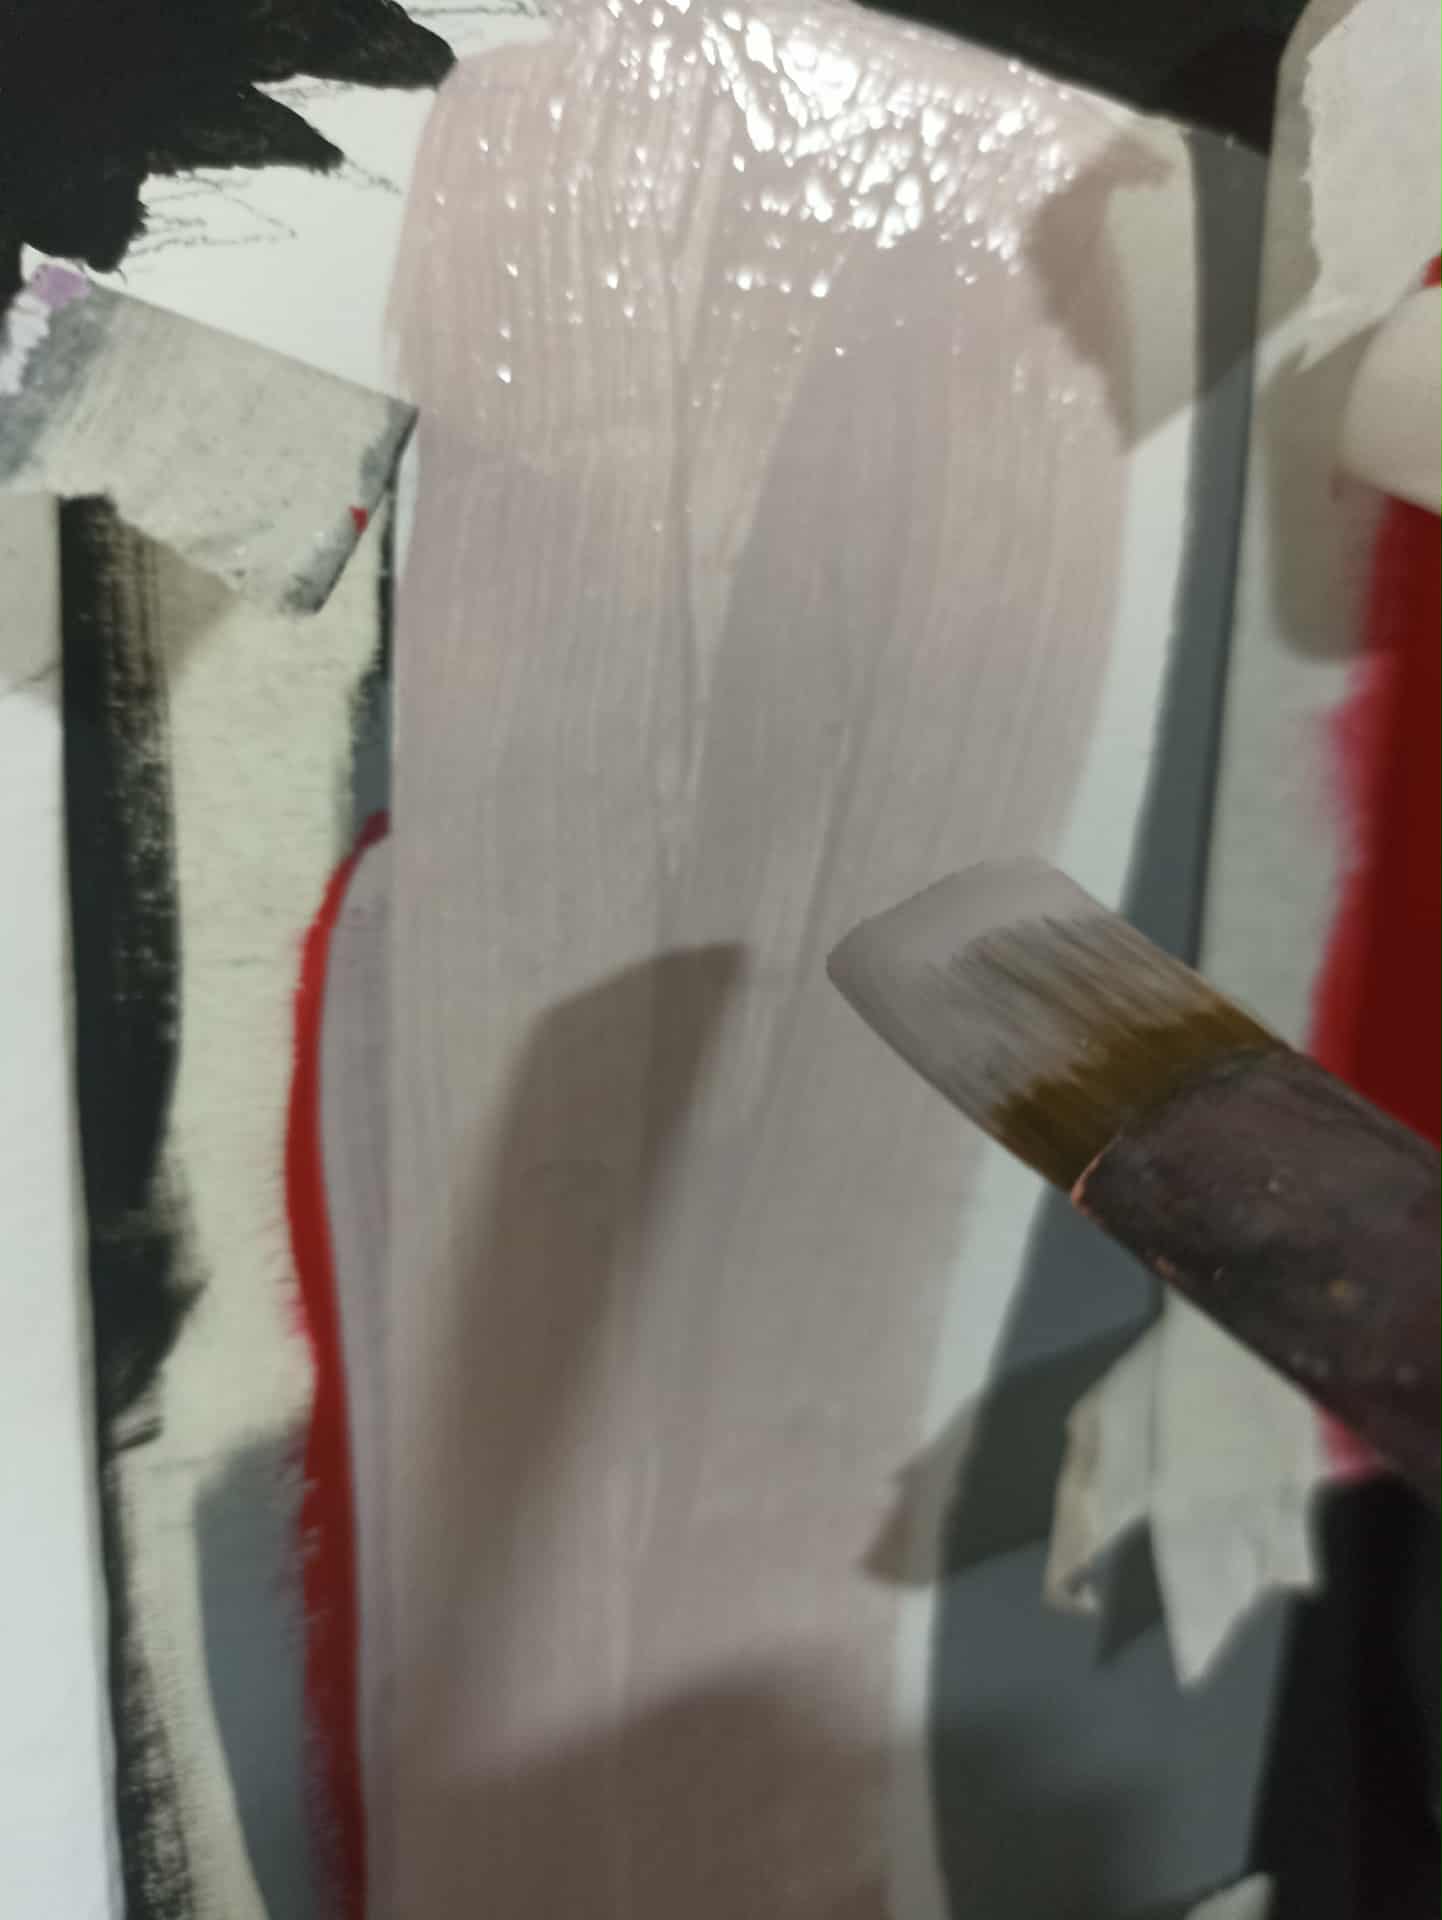
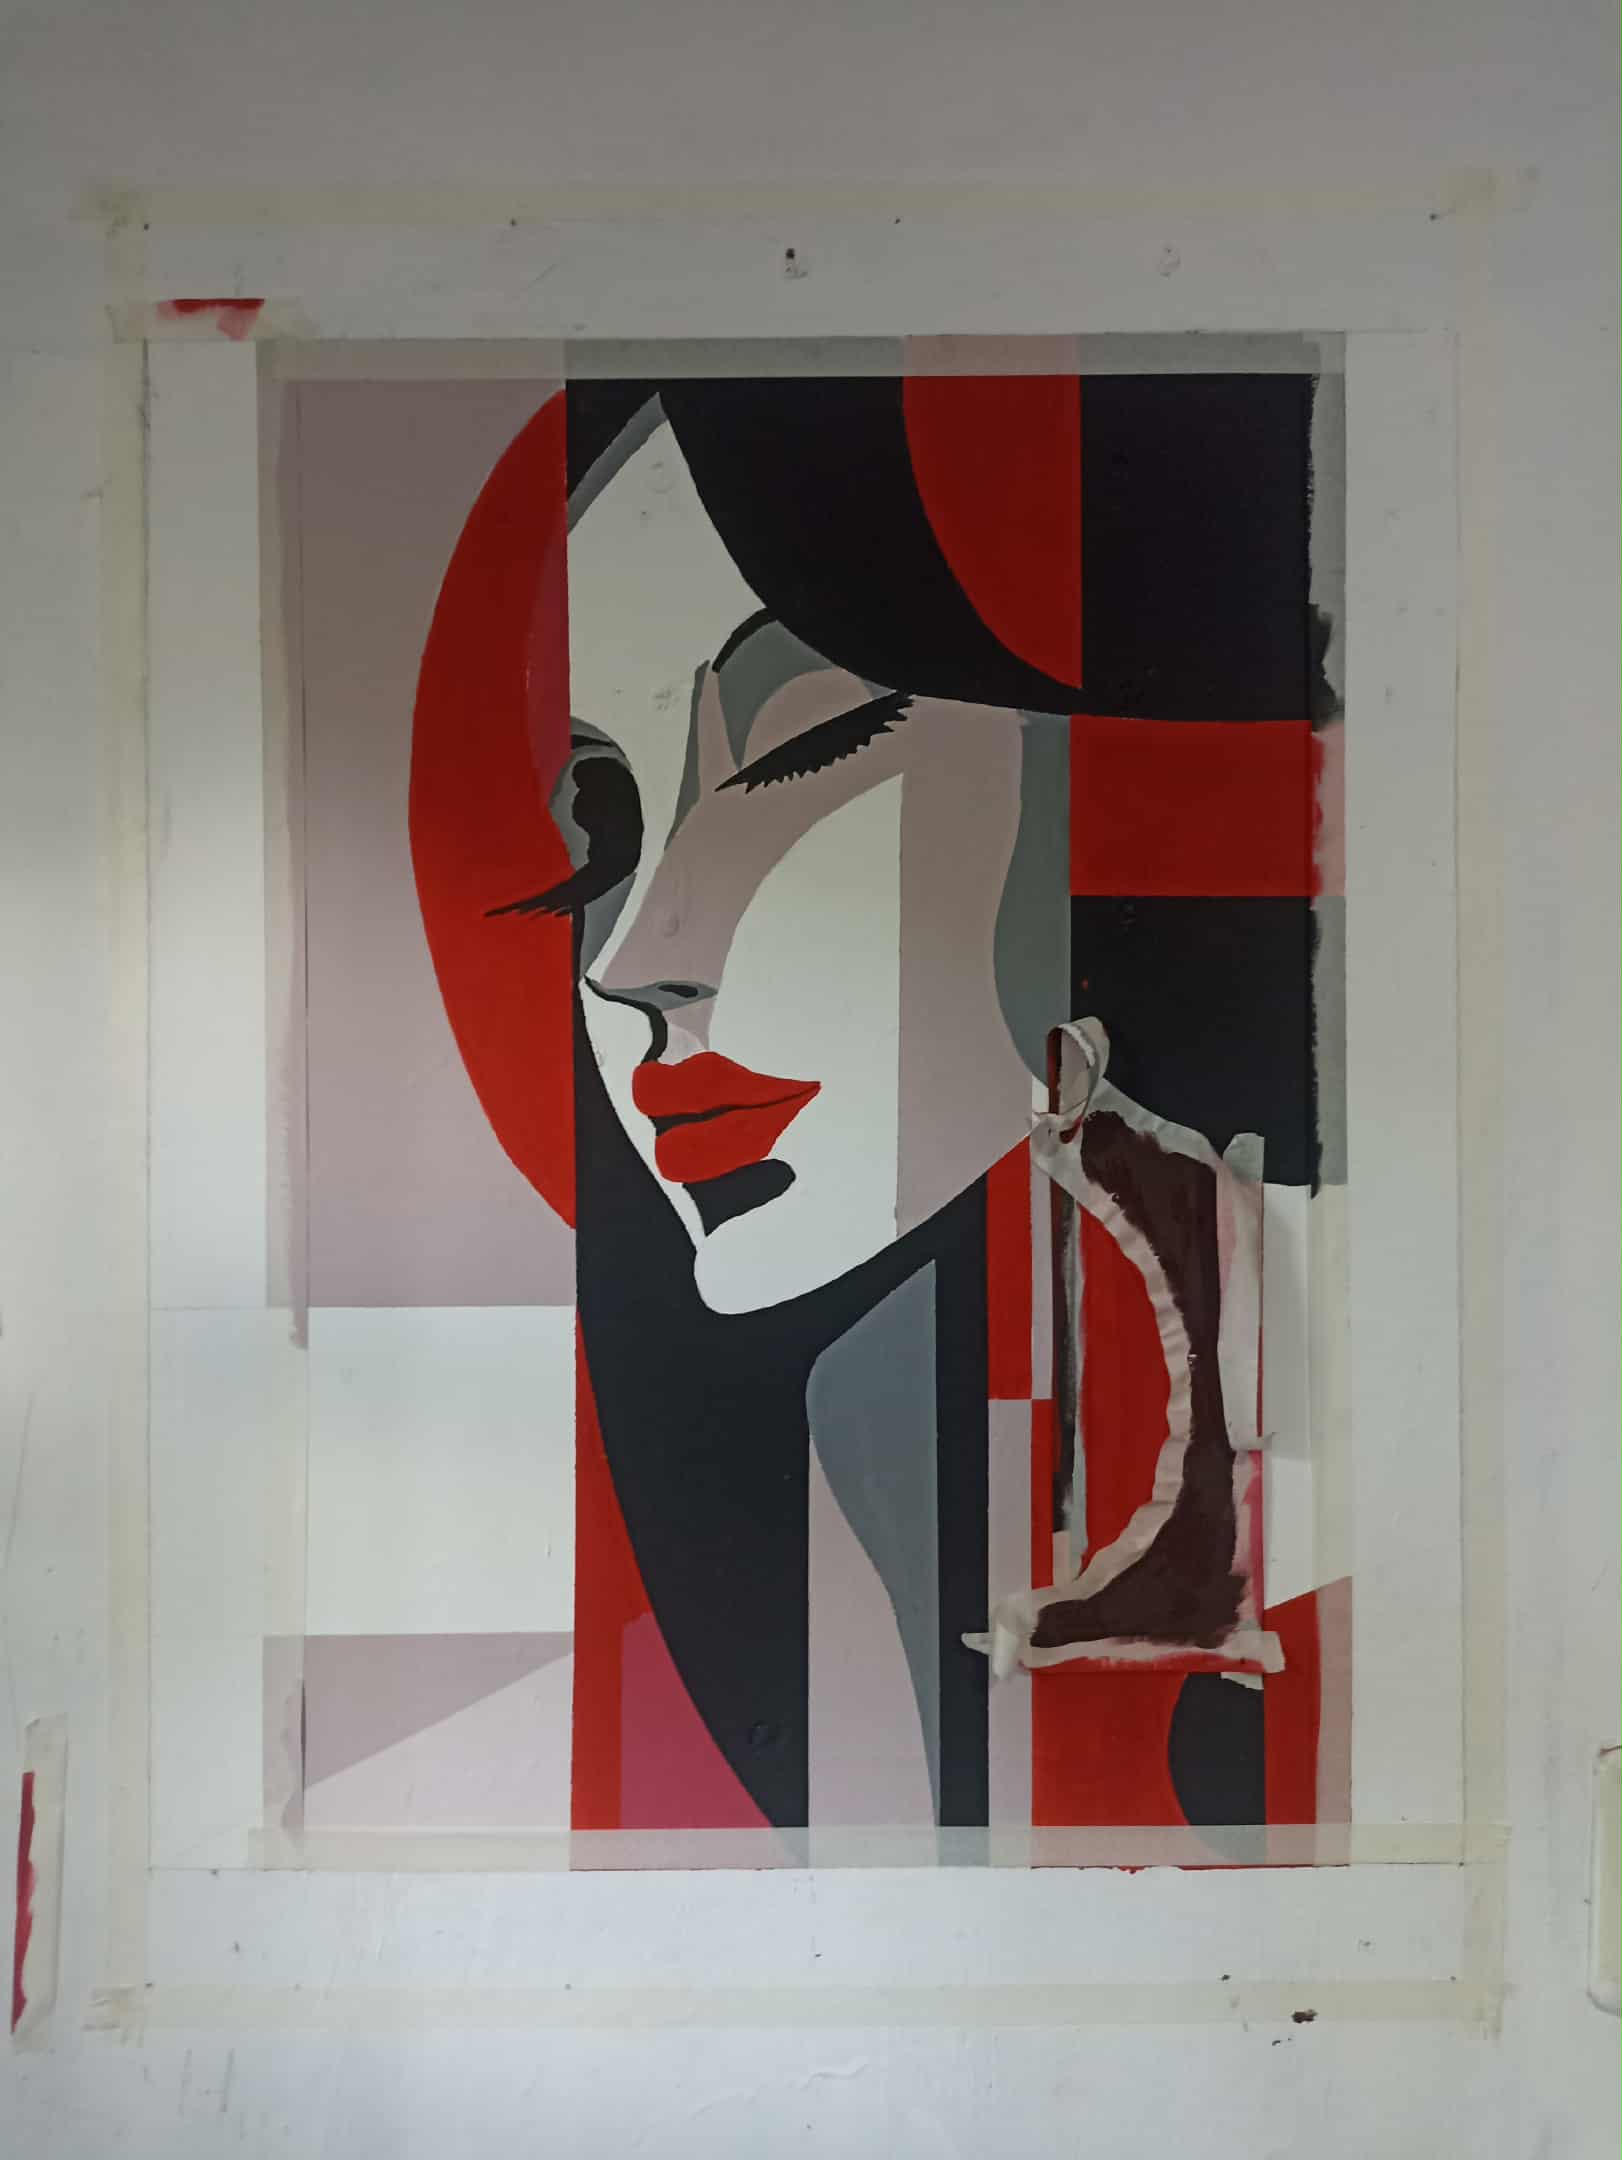
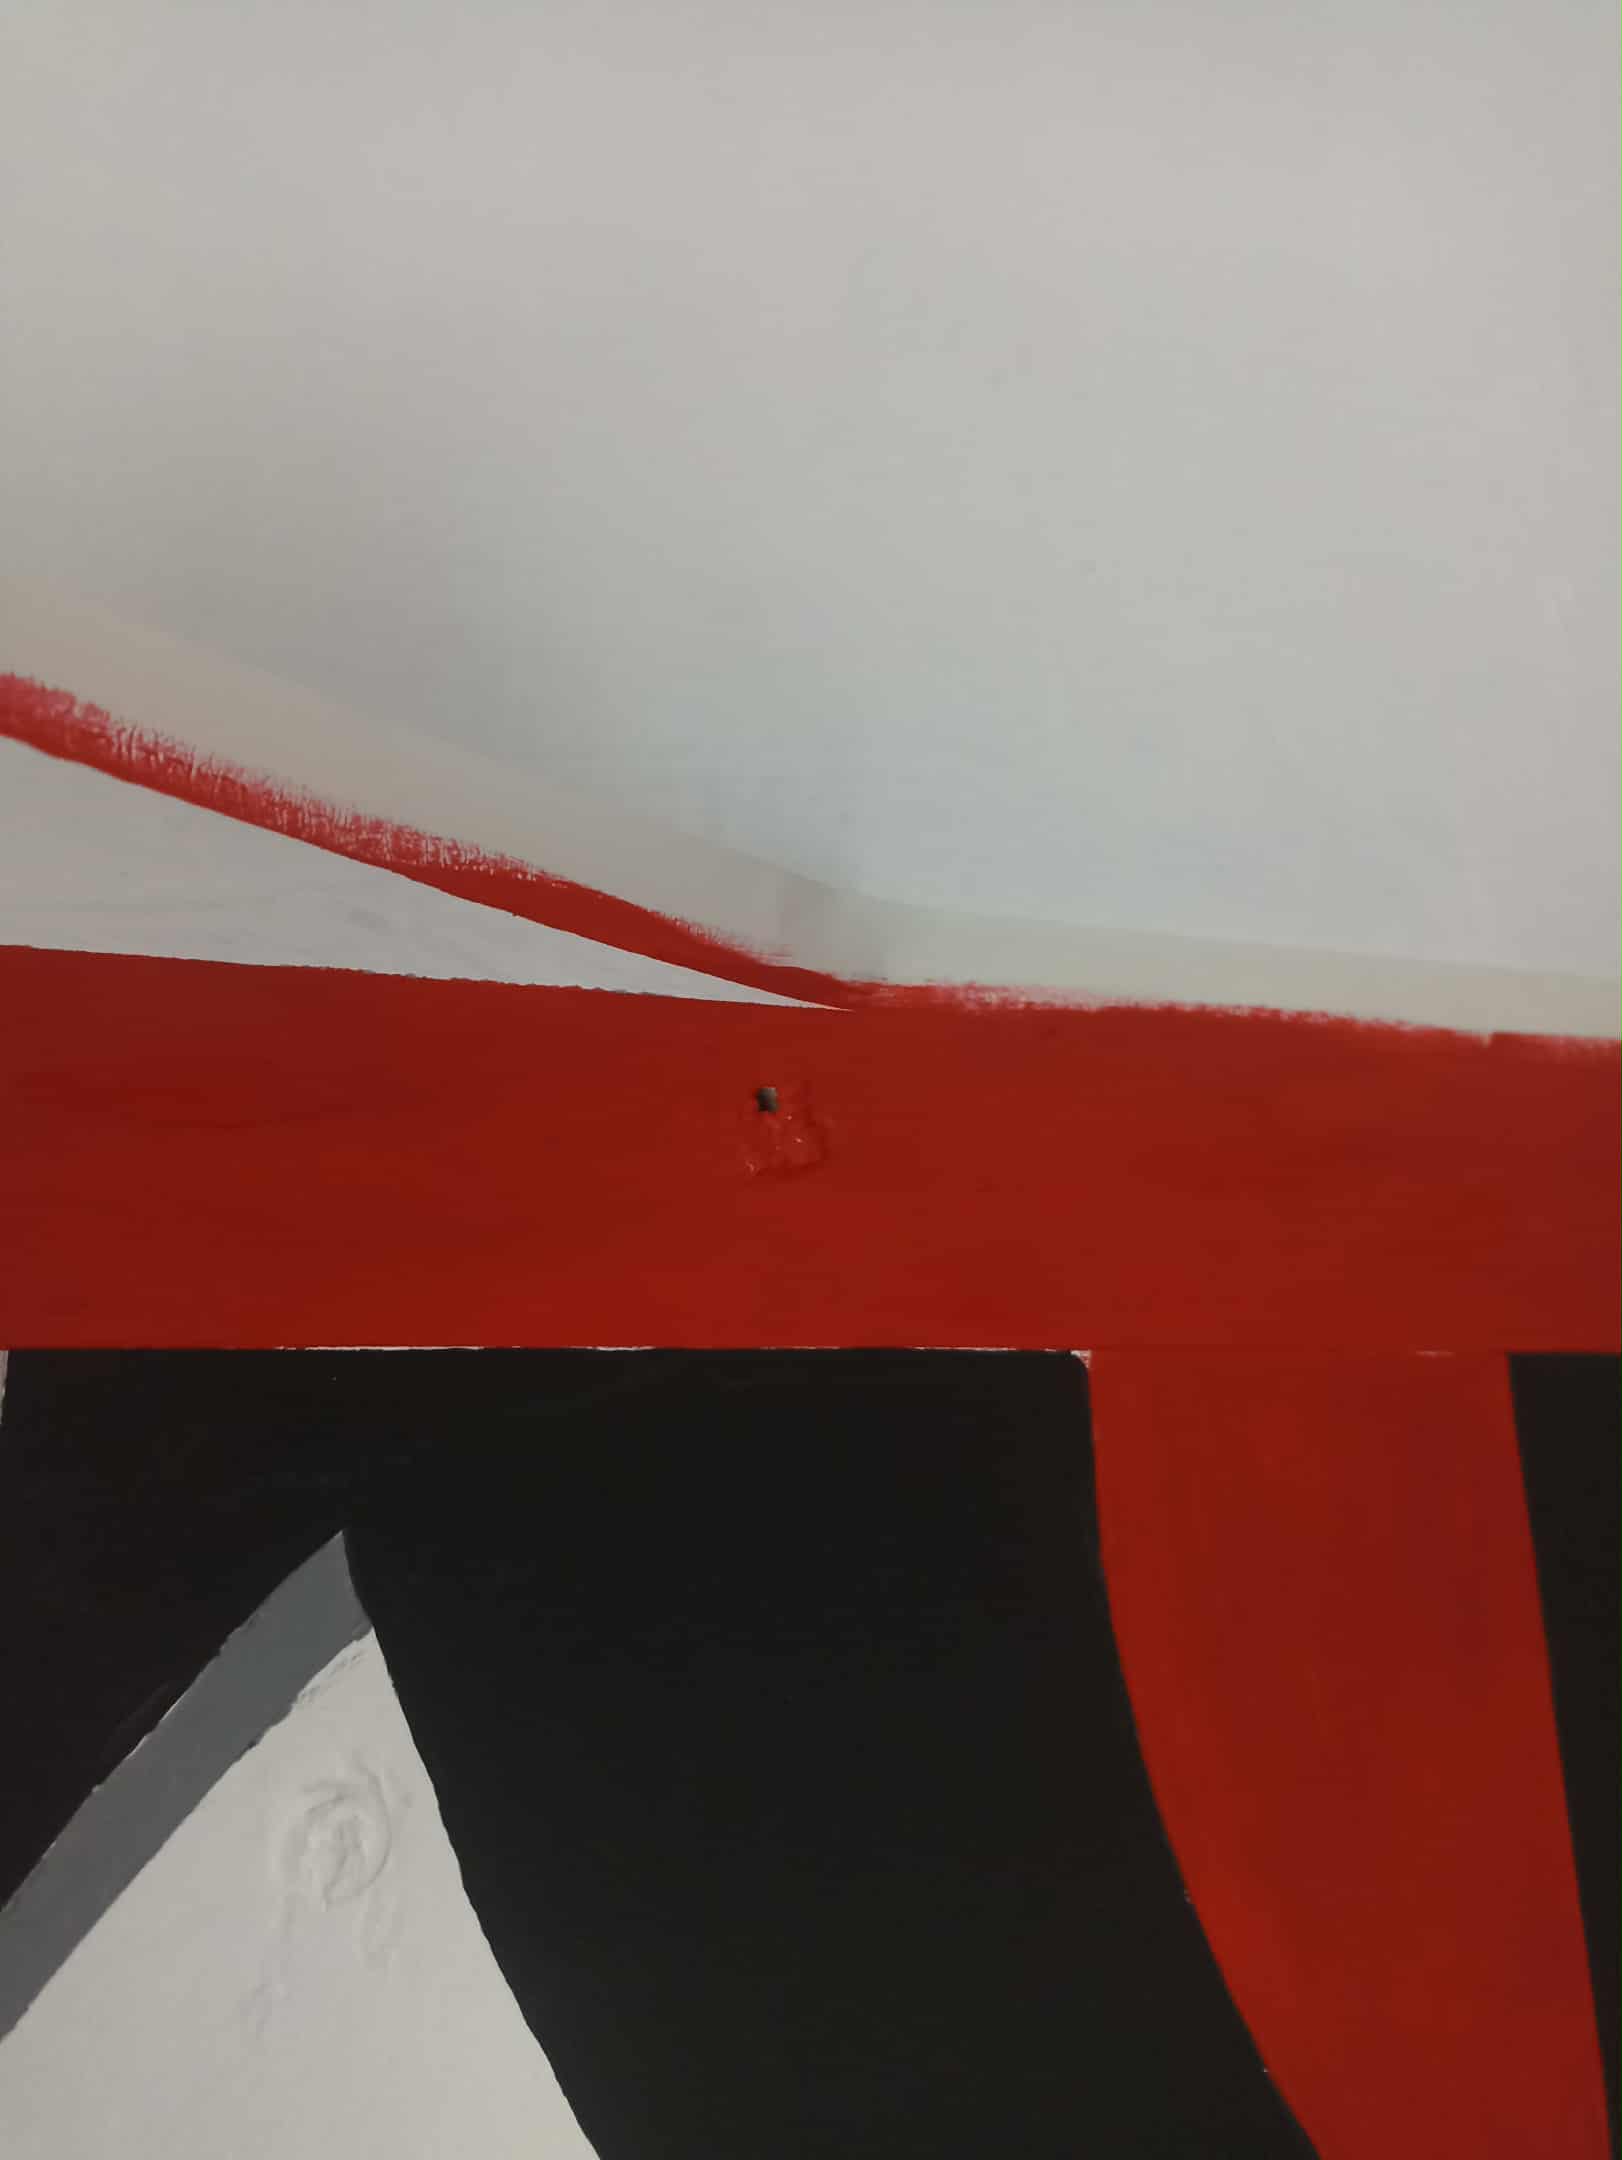
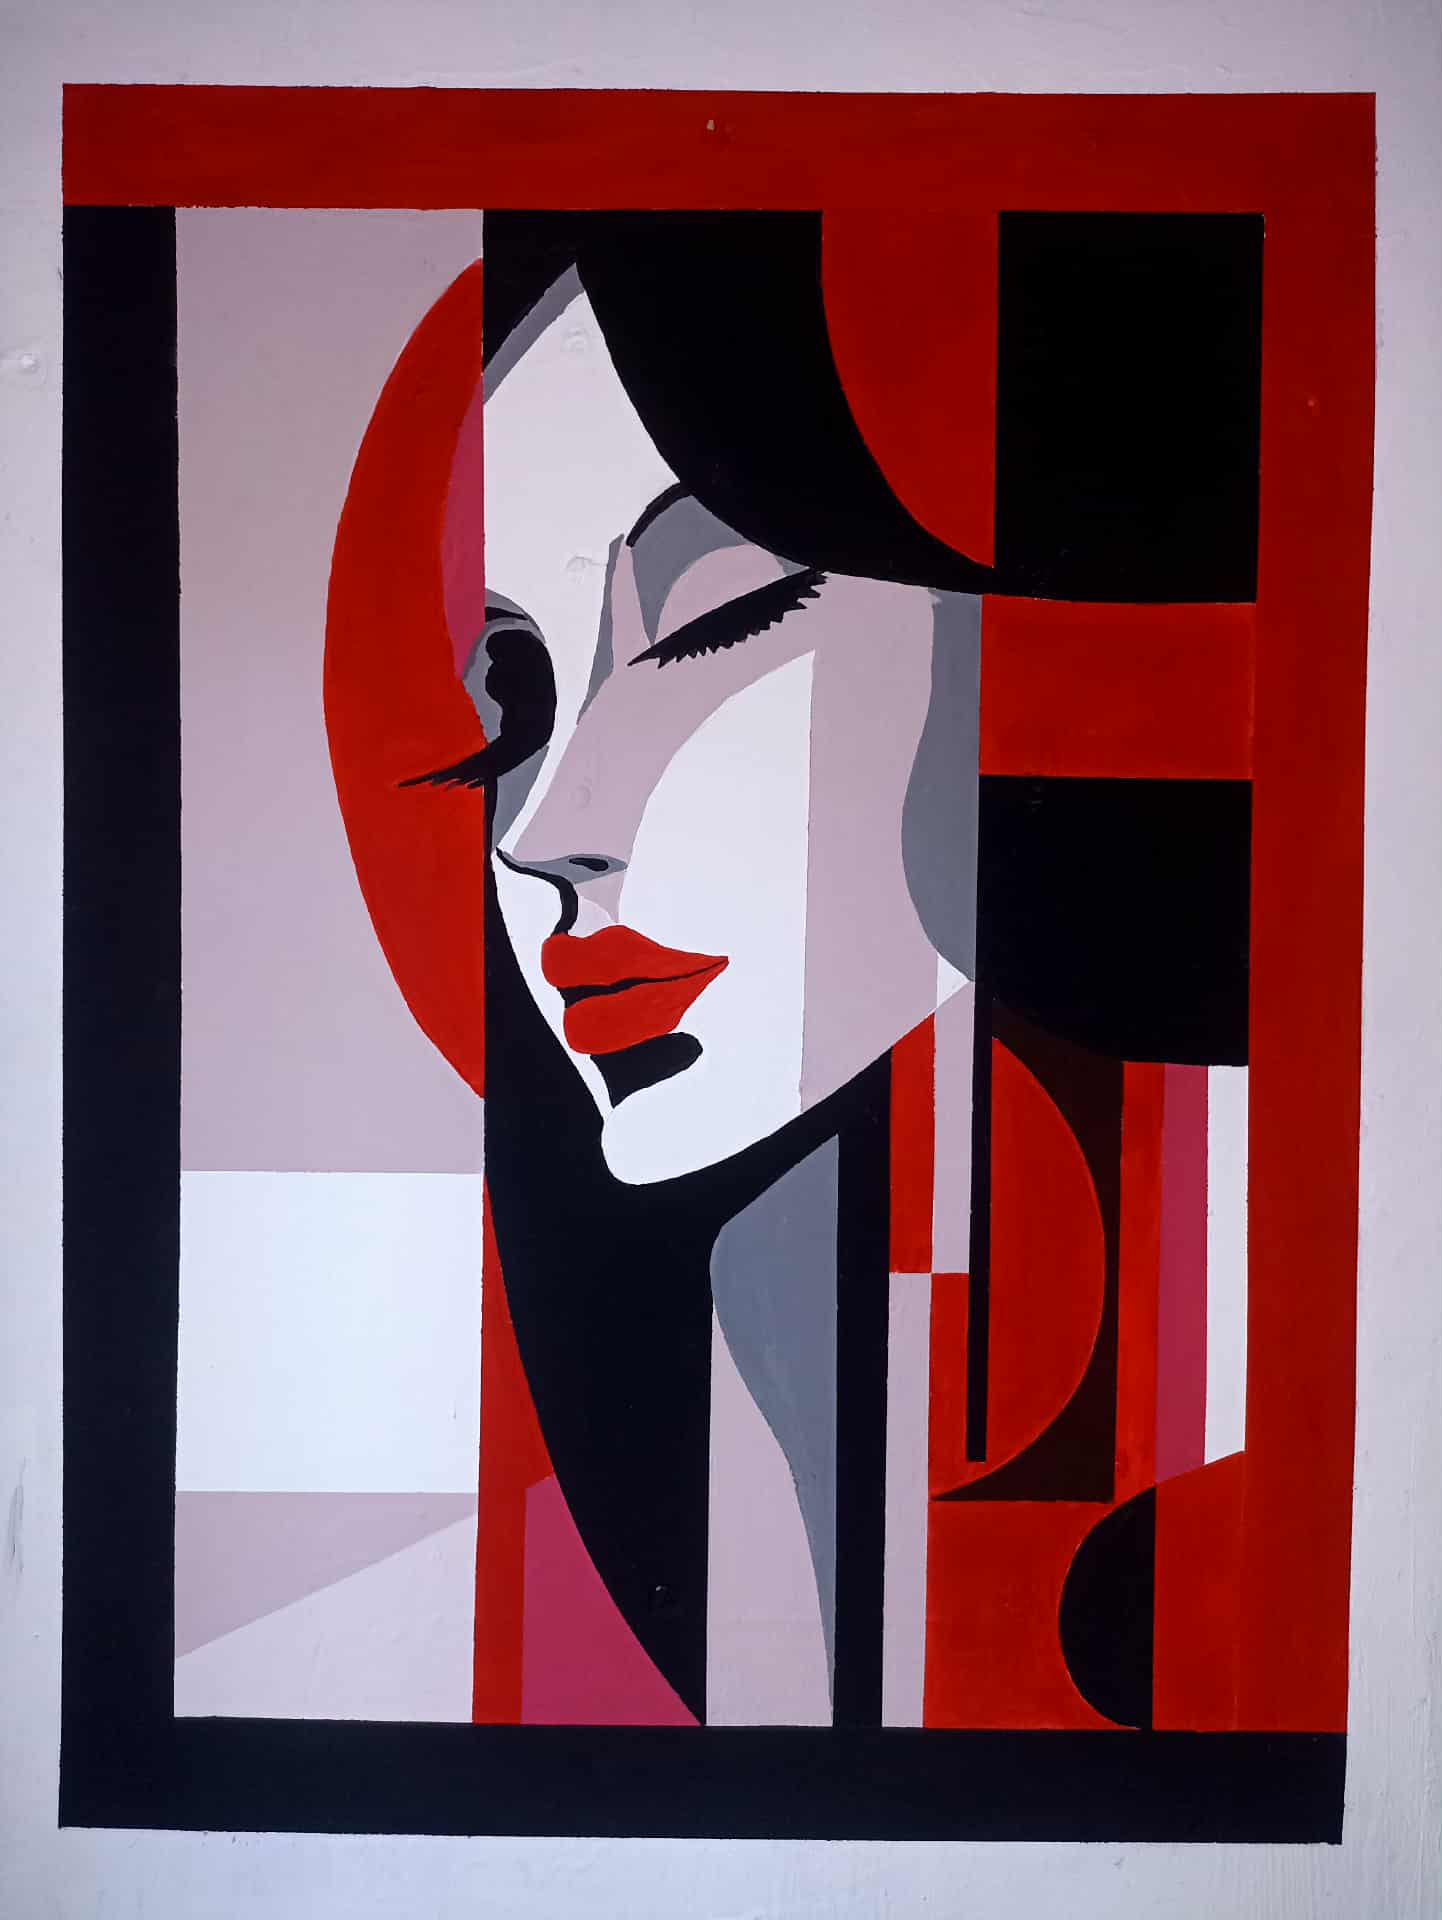
I used the 5-centimeter lines I had previously drawn to create a frame for the illustration, painting one part black and the other red. I painted both sections in the shape of a capital L, then removed the tape I had used for the lines, reviewed the drawing, and fixed a few minor details. And that was it!
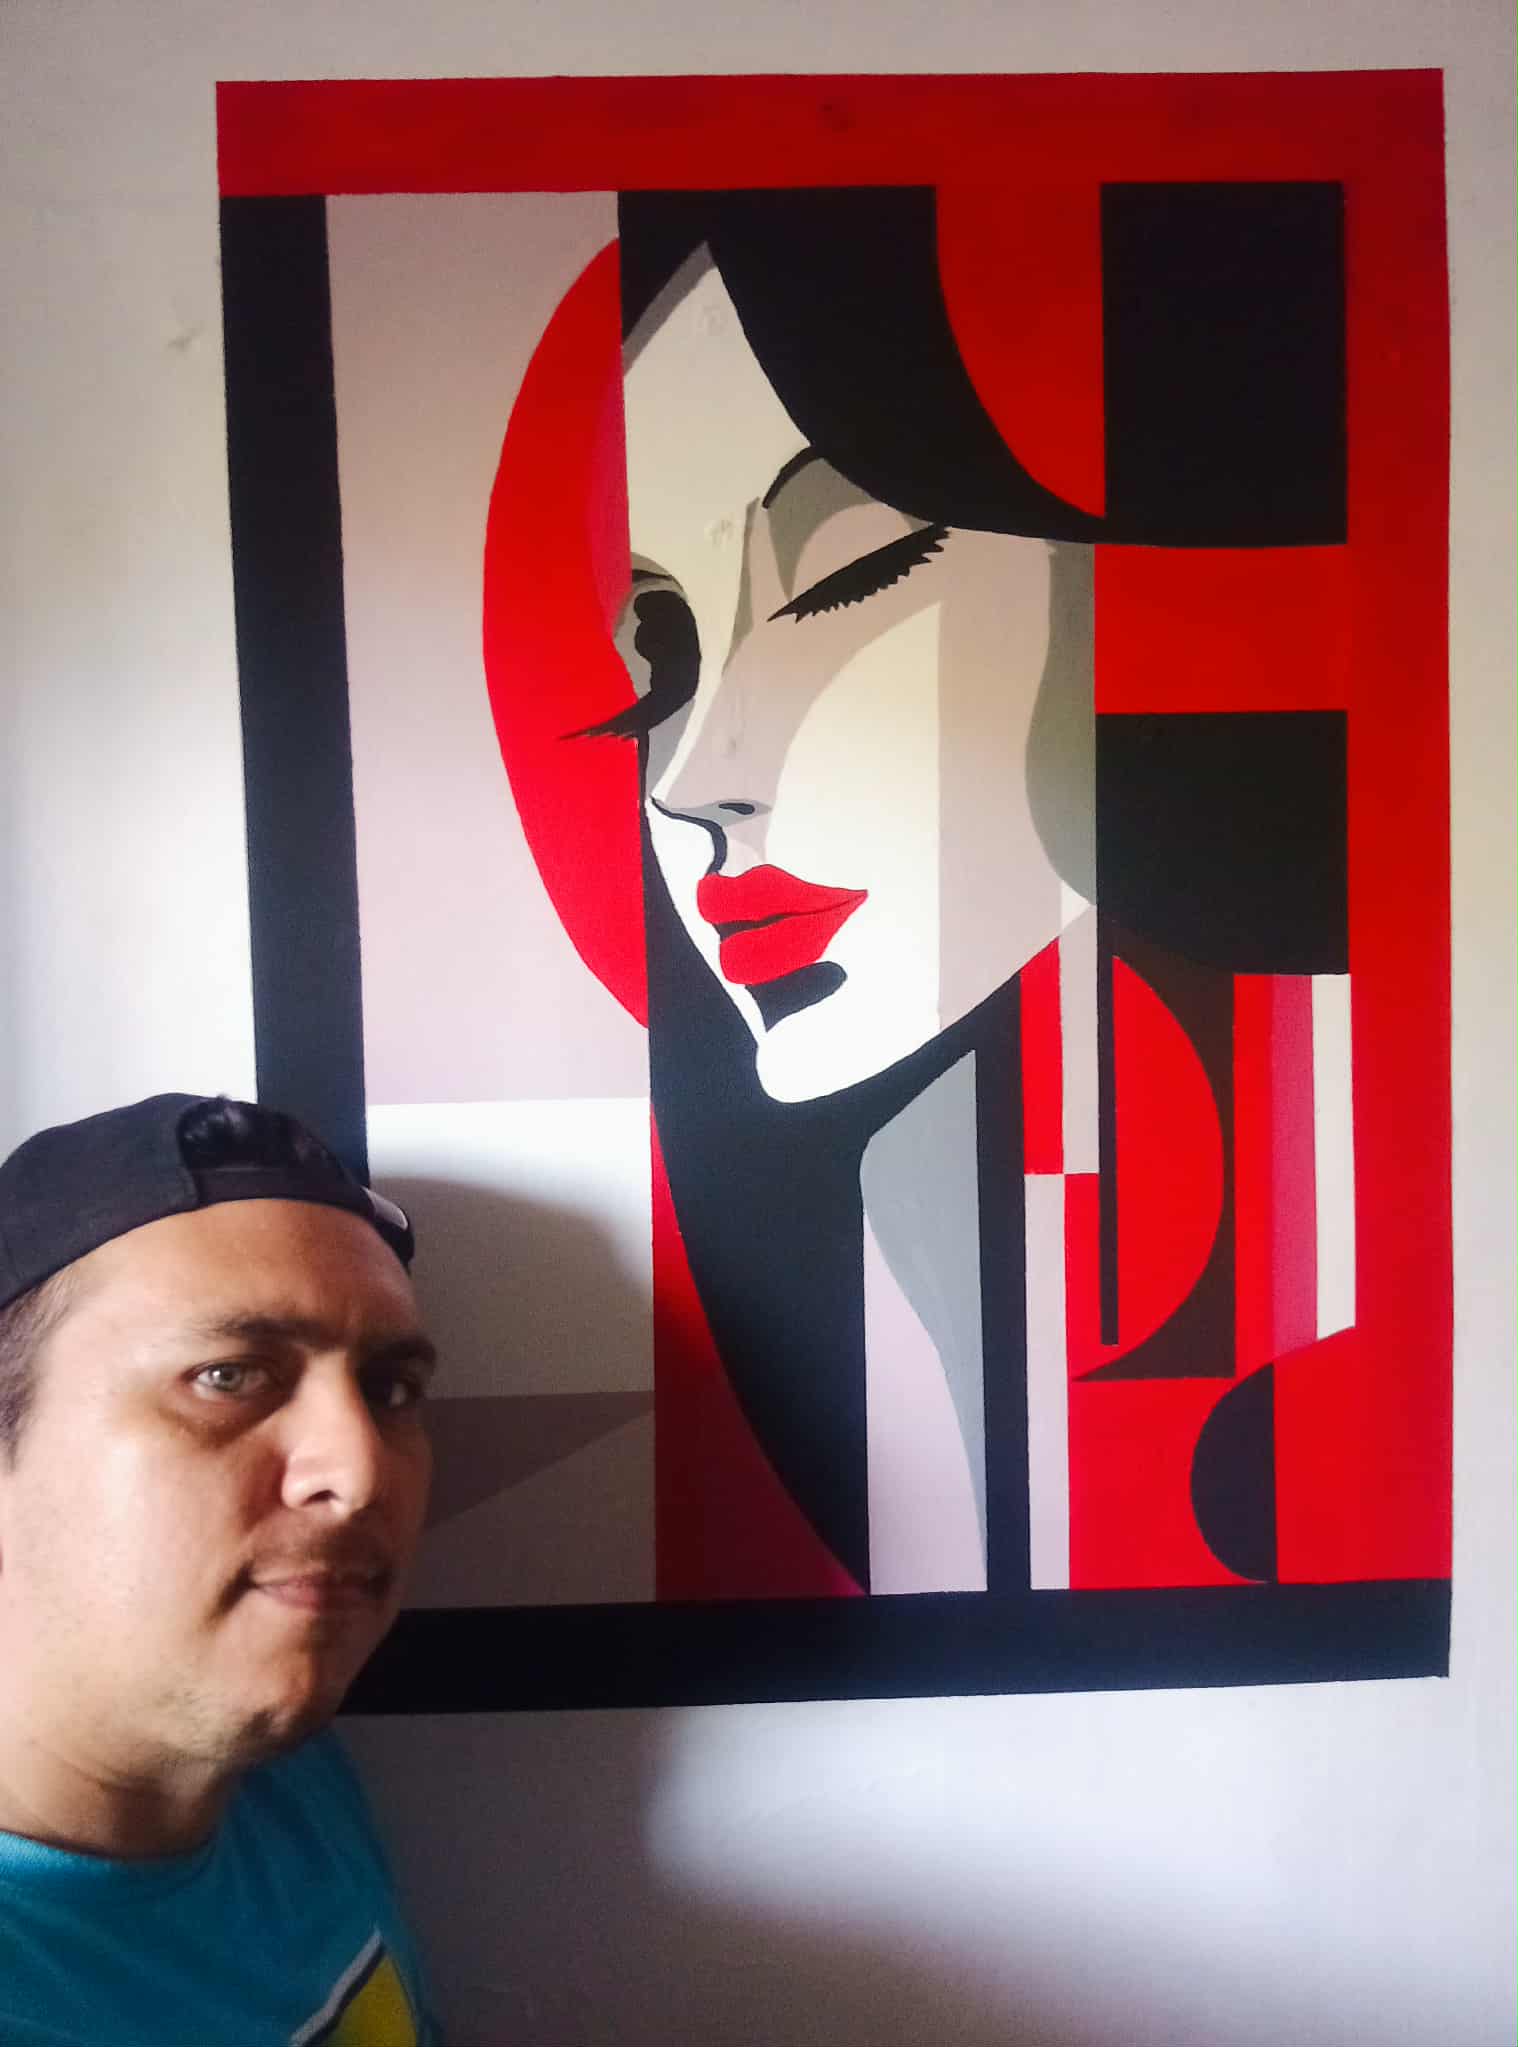
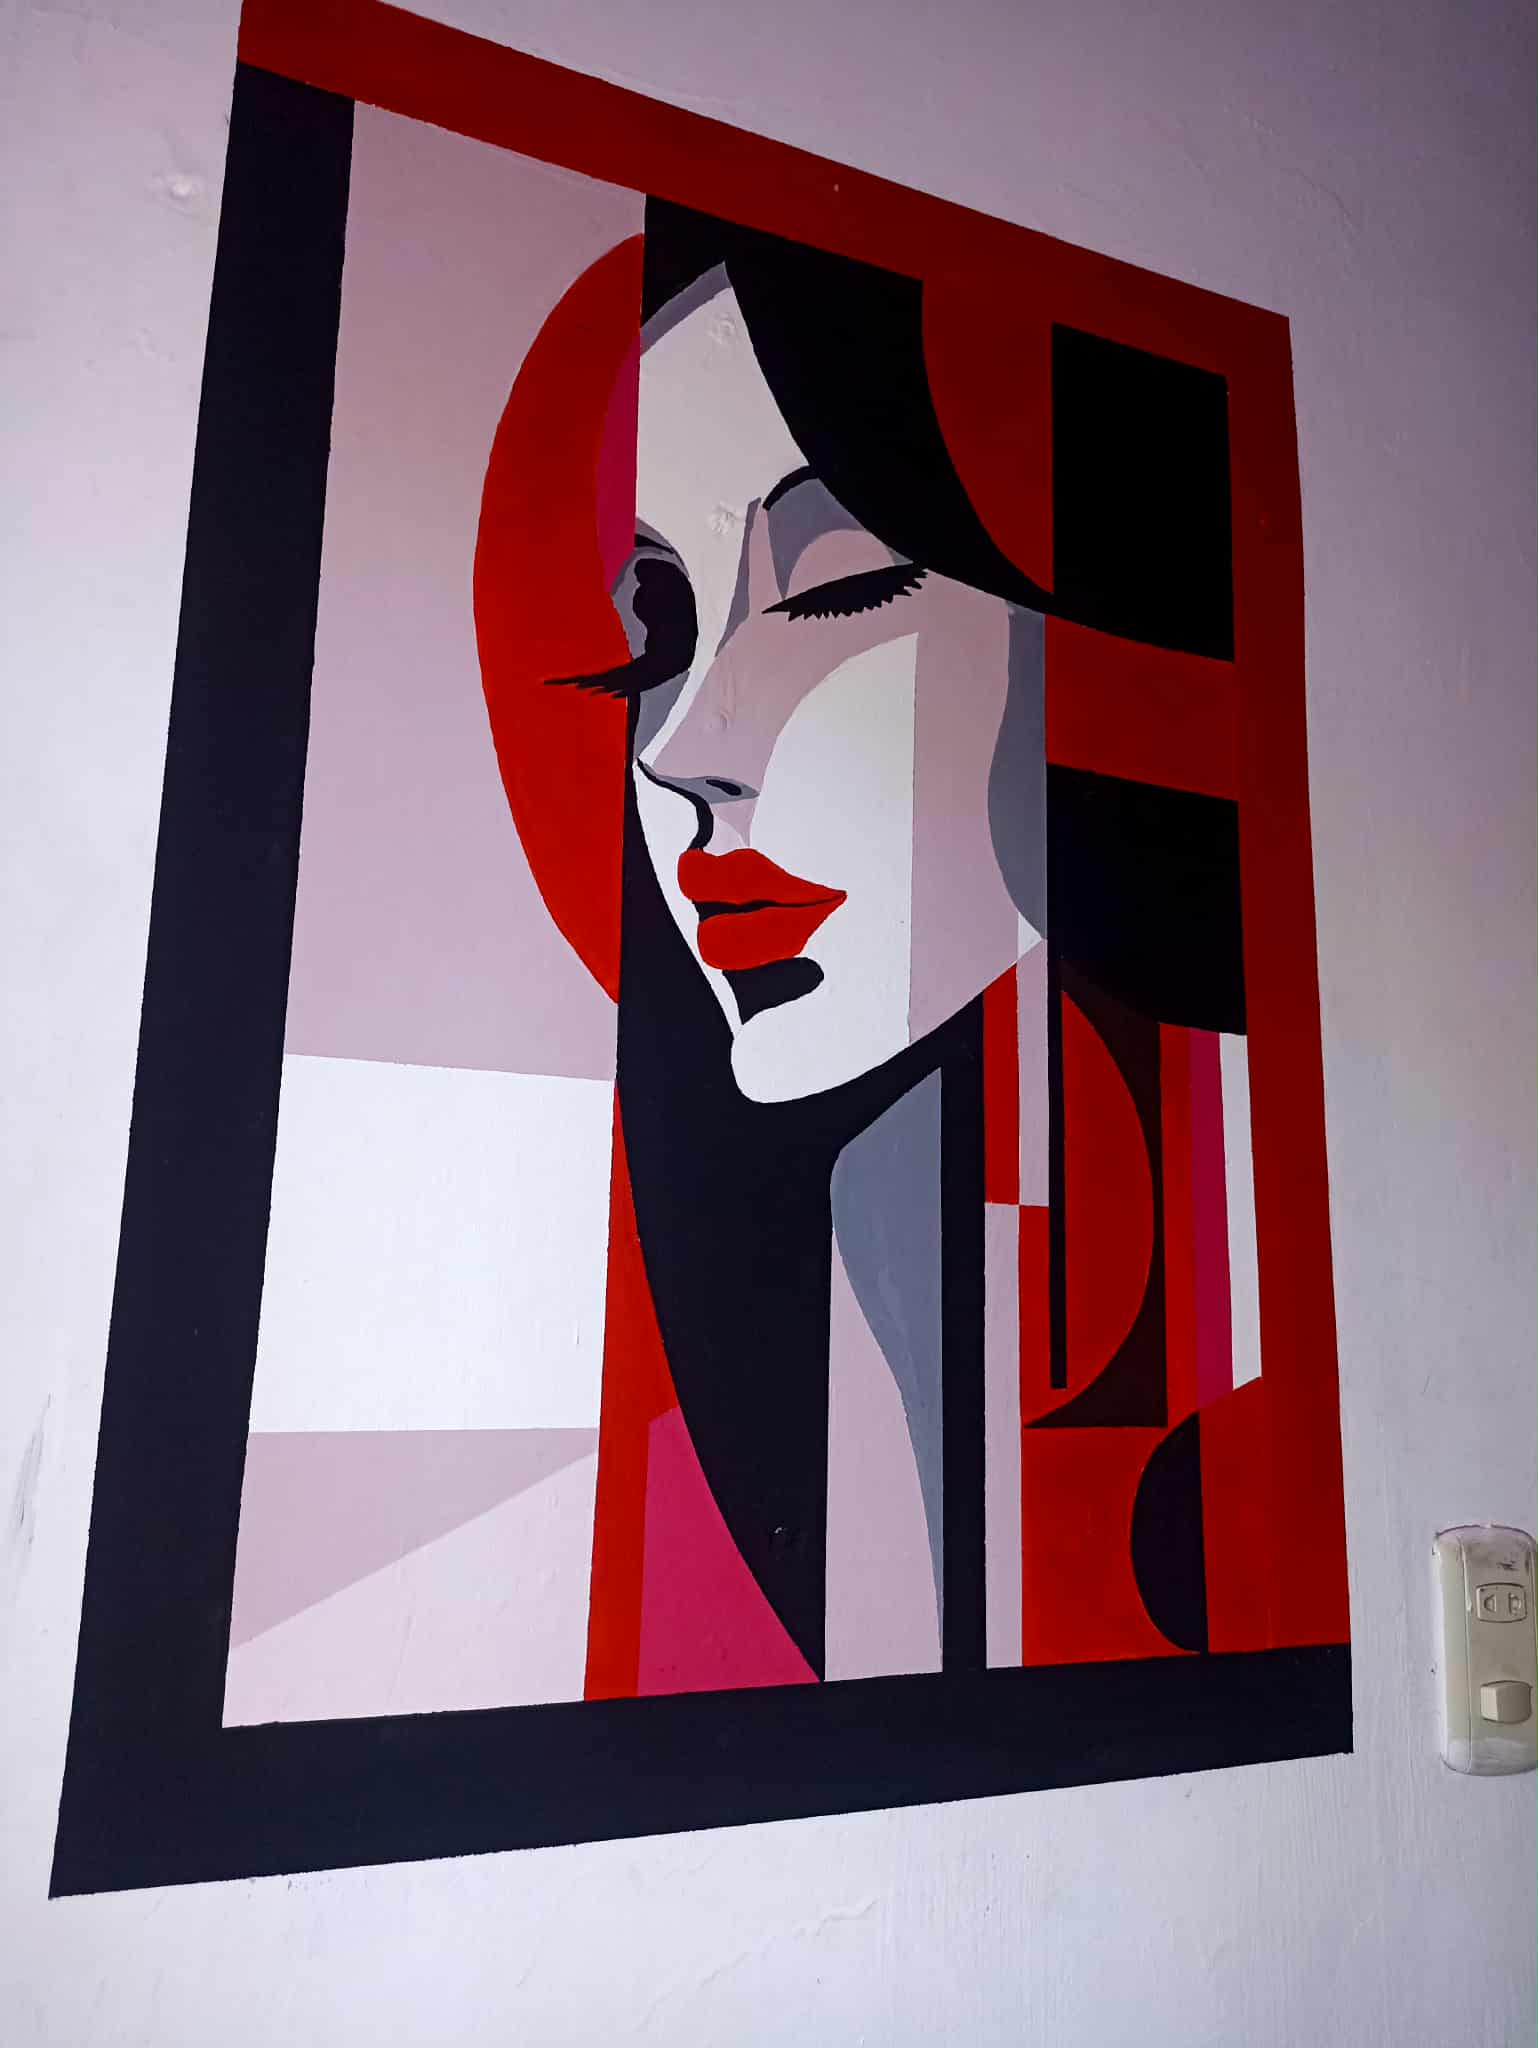
Las líneas de 5 centímetros que había realizado anteriormente las utilicé para hacer un marco para la ilustración, así que de una parte pinté de color negro y la otra parte de color rojo. Ambas zonas las pinté con forma de L mayúscula, luego fui retirando la cinta adhesiva que había colocado para las líneas, revisé el dibujo y arreglé algunos pequeños detalles y así quedó finalizado.


Sin título63.jpg (https://files.peakd.com/file/peakd-hive/fixie/23tvitSsCWy1Cuf6SGunyCDJcVY4eDPoP454Zsf3HmVc3kAYcjsU7Sk8RHNhsnkmgGPom.jpg)
Editing and video tools:
- InShot App
- Redmi 10 Note S
Music Without copyright Music
▶️ 3Speak