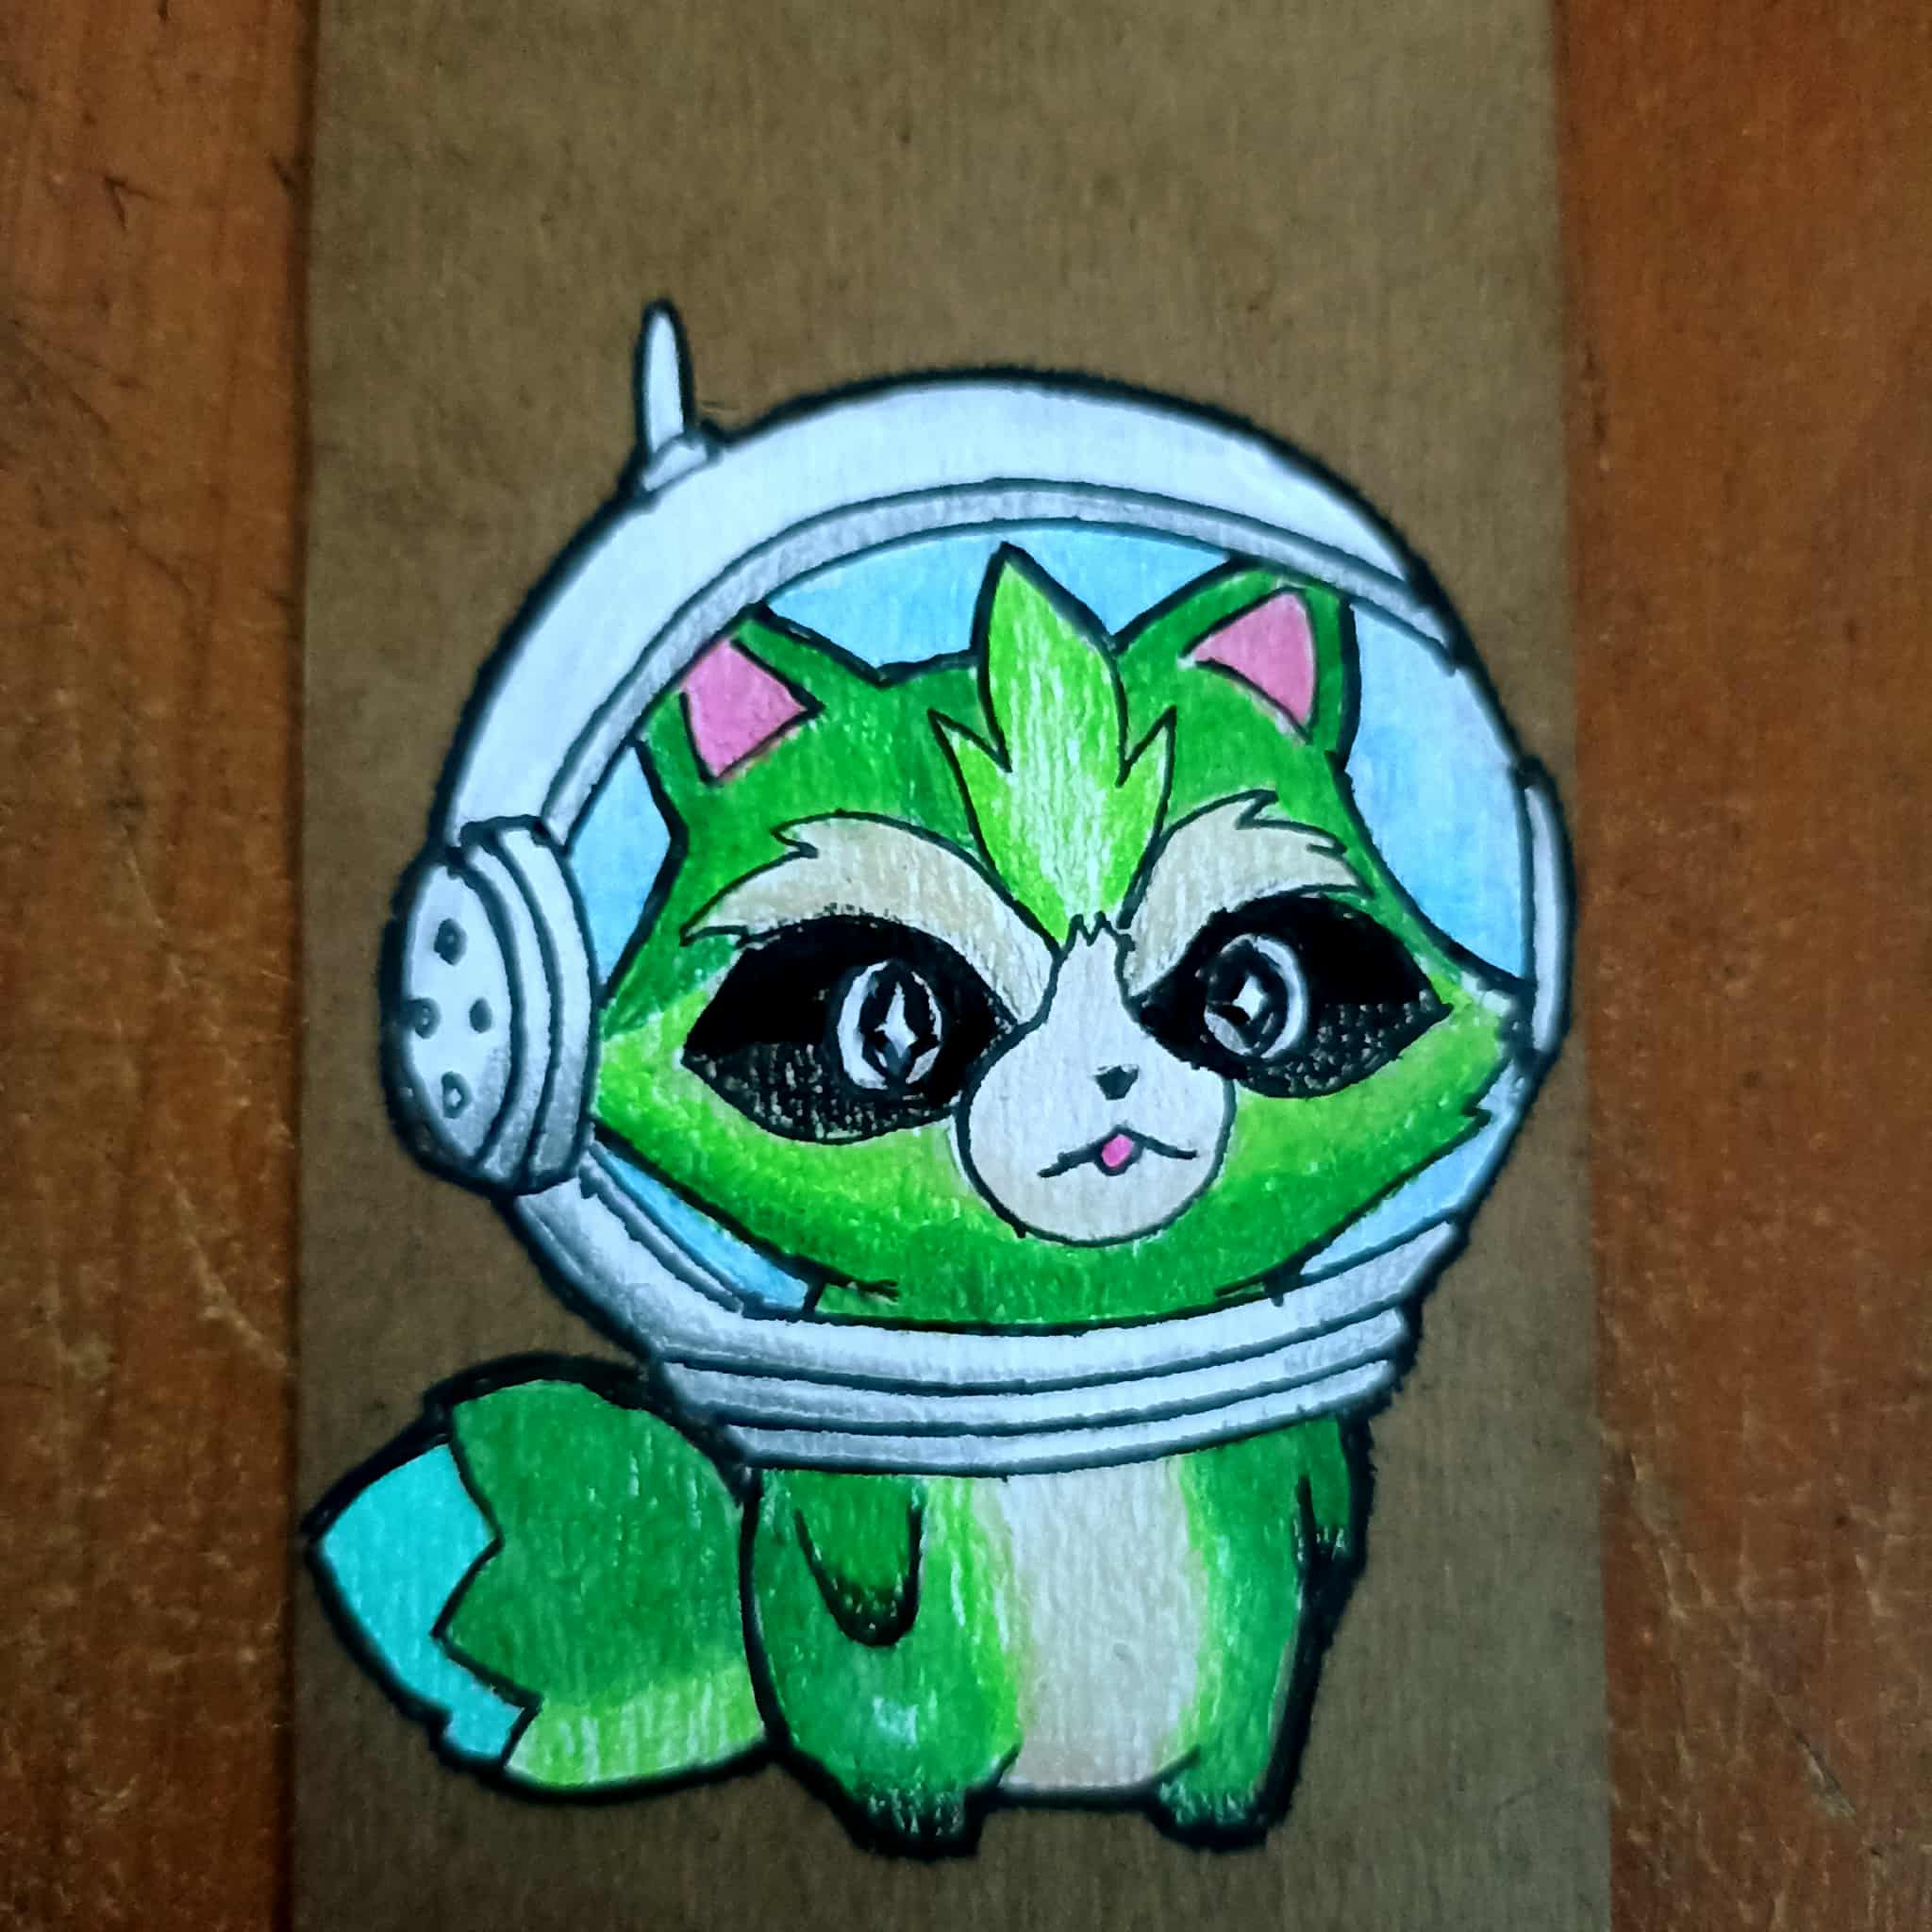
Hello dear friends of Holozing, I hope you're all doing well. I appreciate the support for my drawing last week, and also because my work was mentioned in the content post. Thank you so much. Today I want to share with you a chibi-style drawing I made of our friend Wrackoo wearing an astronaut helmet. I always enjoy creating this type of work. The goal of this drawing was to design something that could be used for a sticker and then put on a t-shirt. I think it would look really cool. Here's a quick look at how I did it. Let's get started!
Hola queridos amigos de Holozing, espero que se encuentren muy bien, agradezco el apoyo a mi dibujo de la semana pasada y también porque mi trabajo fue mencionado en la publicación del contenido, de verdad muchas gracias. Hoy quiero compartir con ustedes un dibujo que hice en estilo Chibi de nuestro amigo Wrackoo con un casco de astronauta, siempre me gusta hacer este tipo de creaciones. el objetivo de este dibujo fue diseñar algo que pueda servir para un sticker y luego ponerlo en una franela, creo que se vería muy genial. Aquí te muestro brevemente como lo hice, comencemos!

PROCESS
 |
 |
|
|---|---|---|
 |
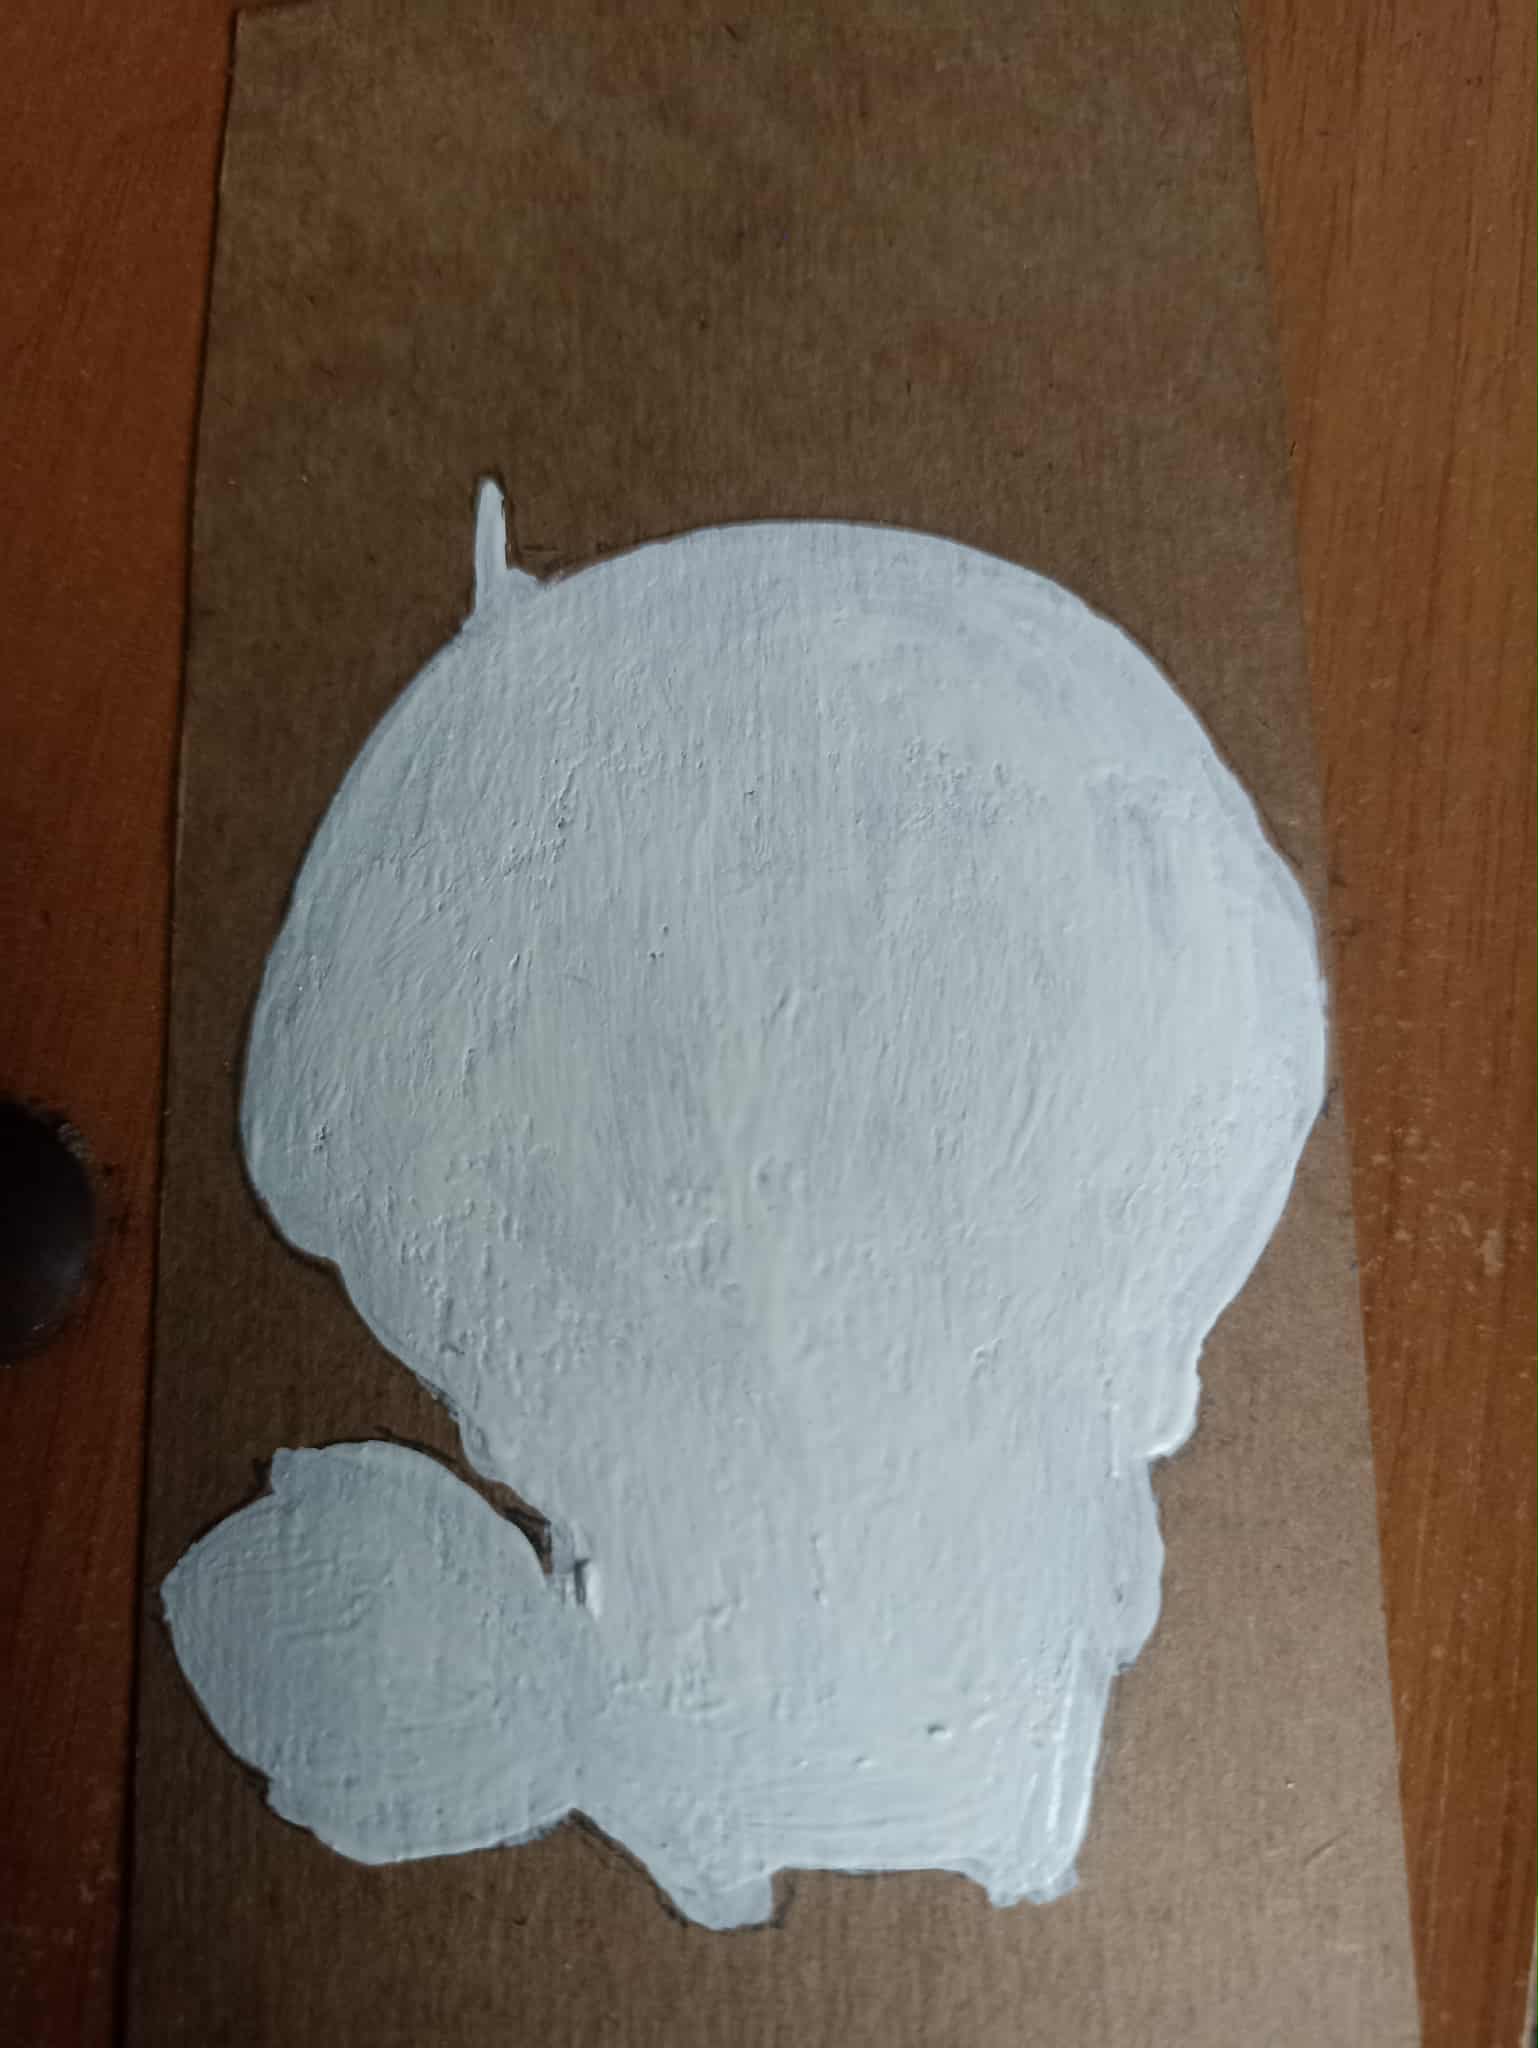 |
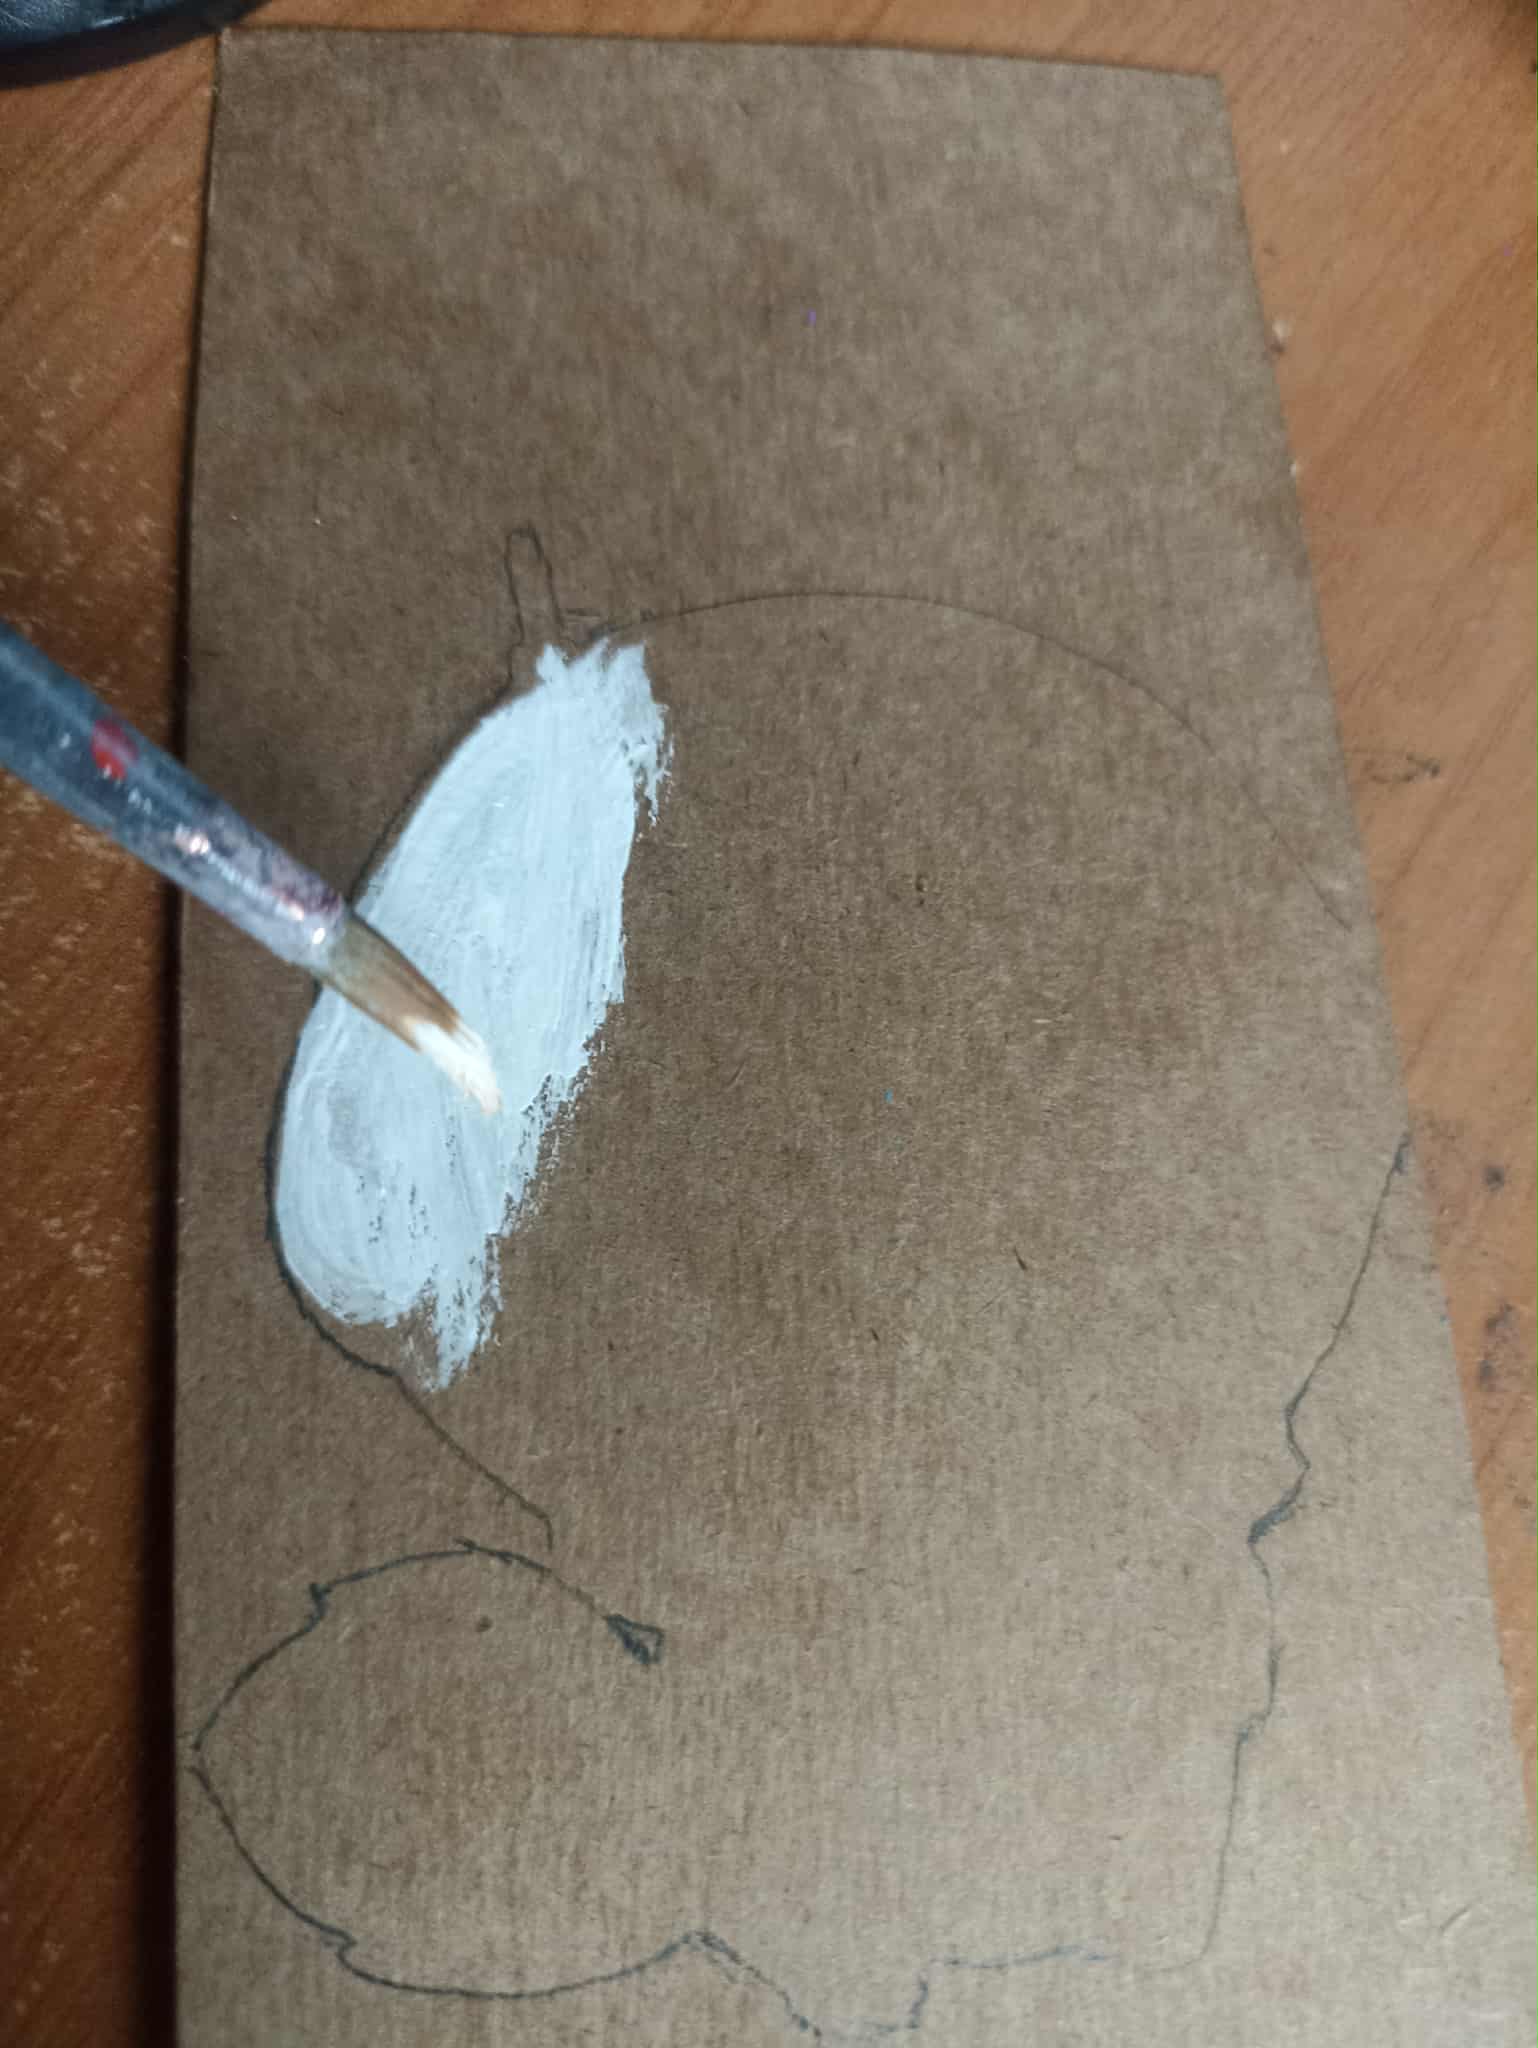
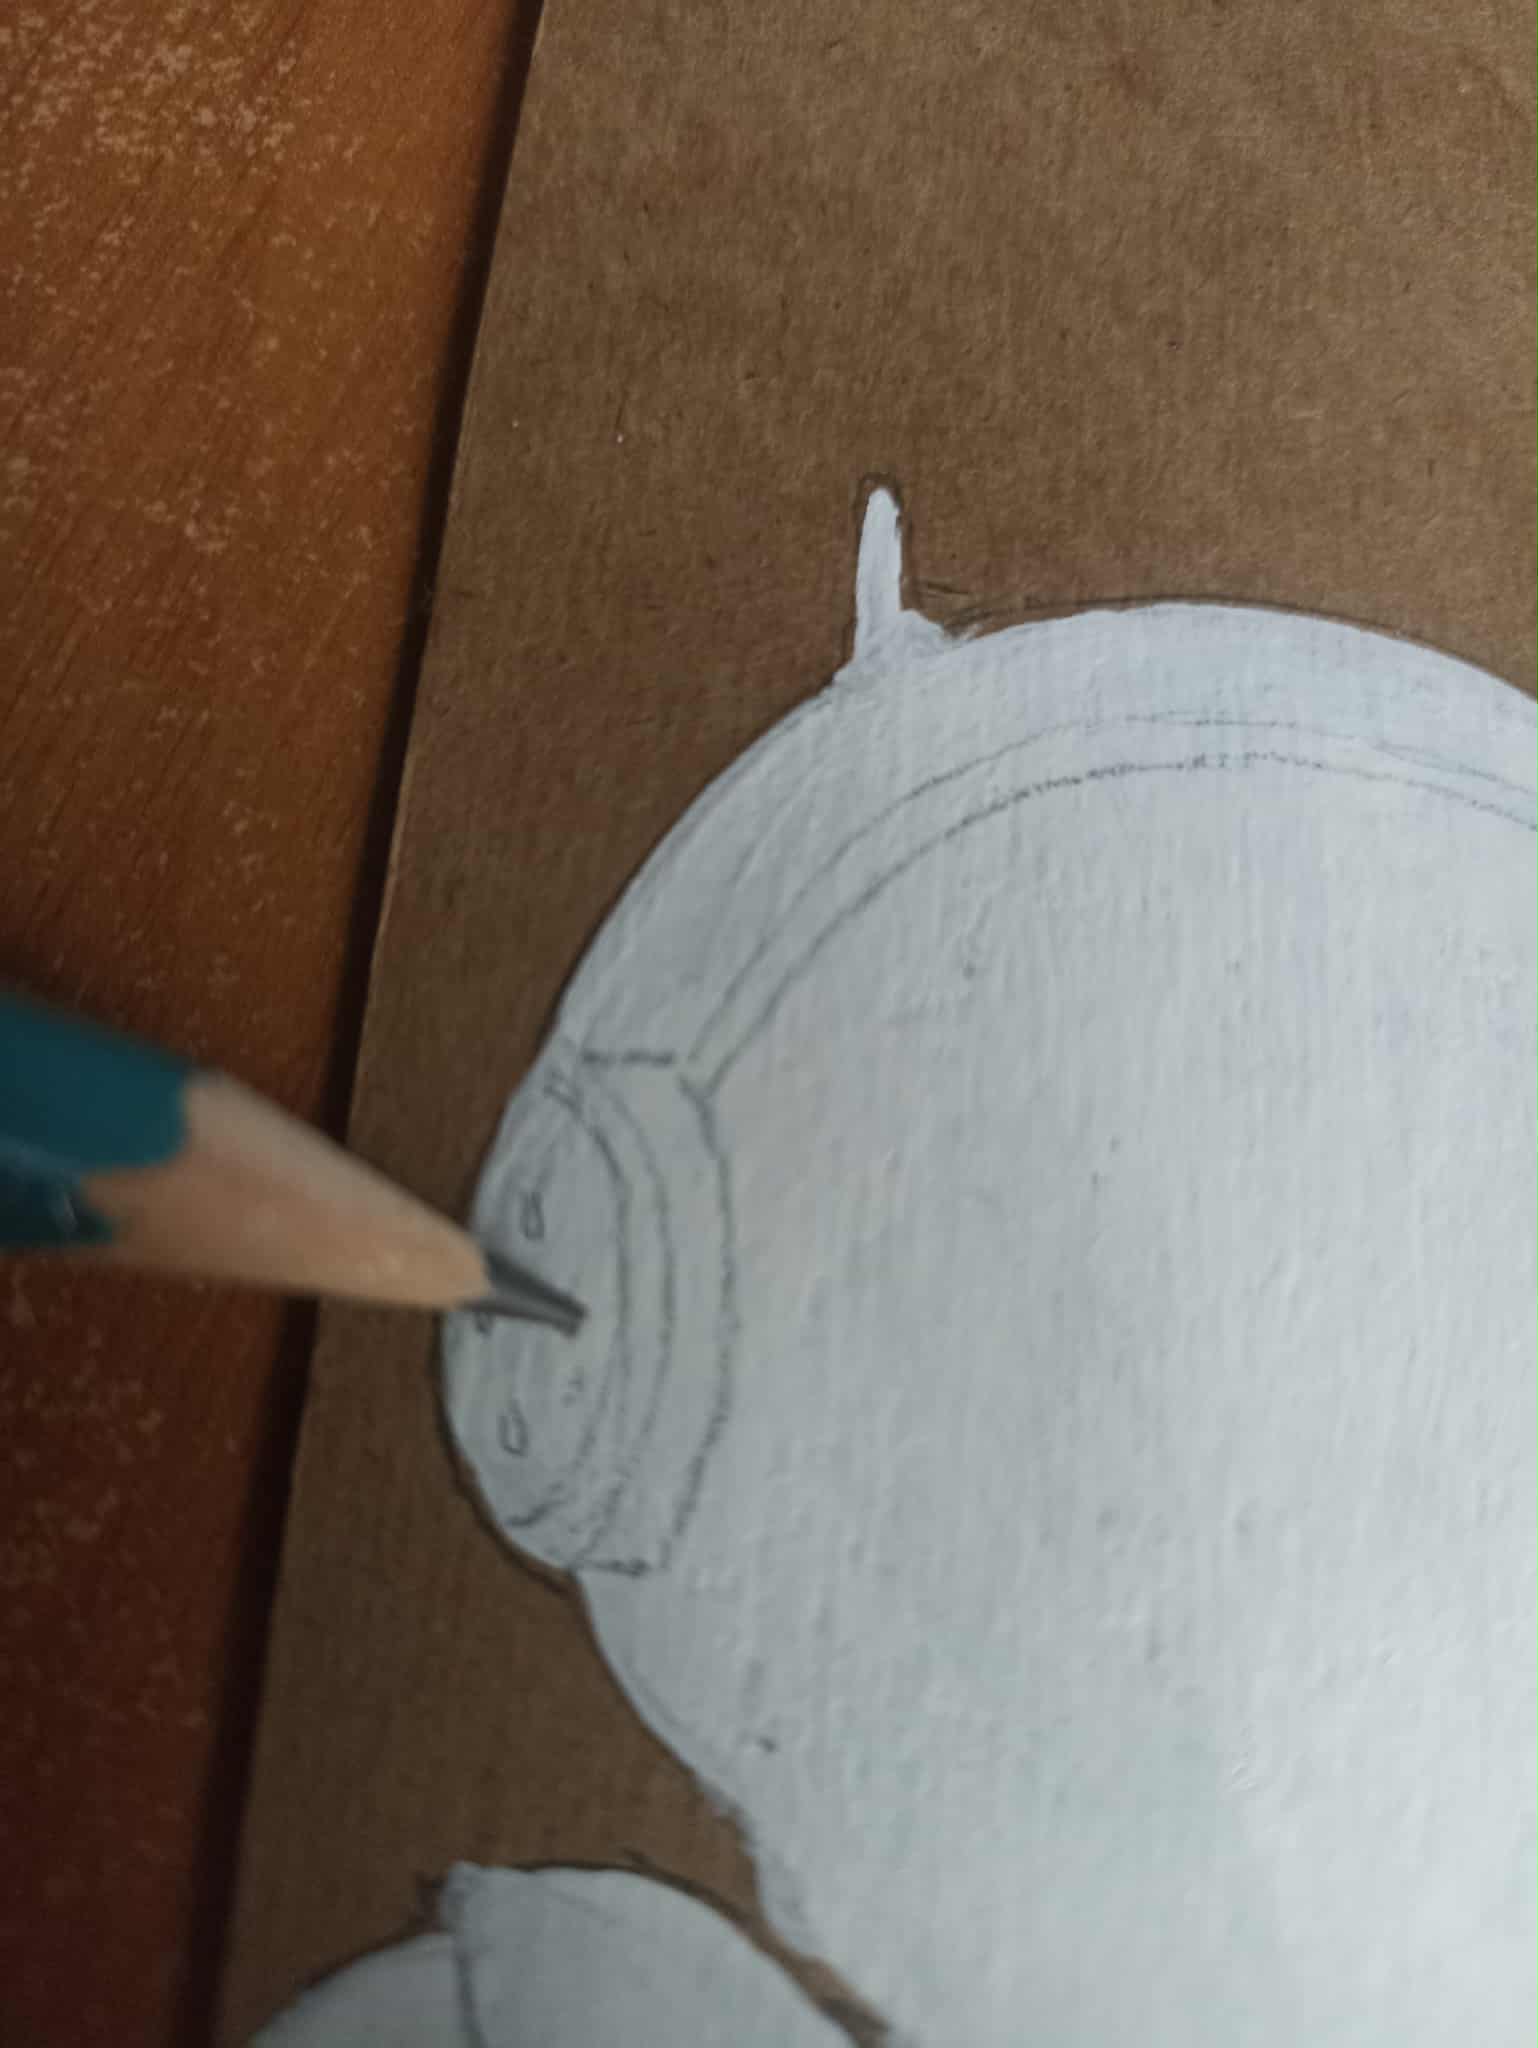
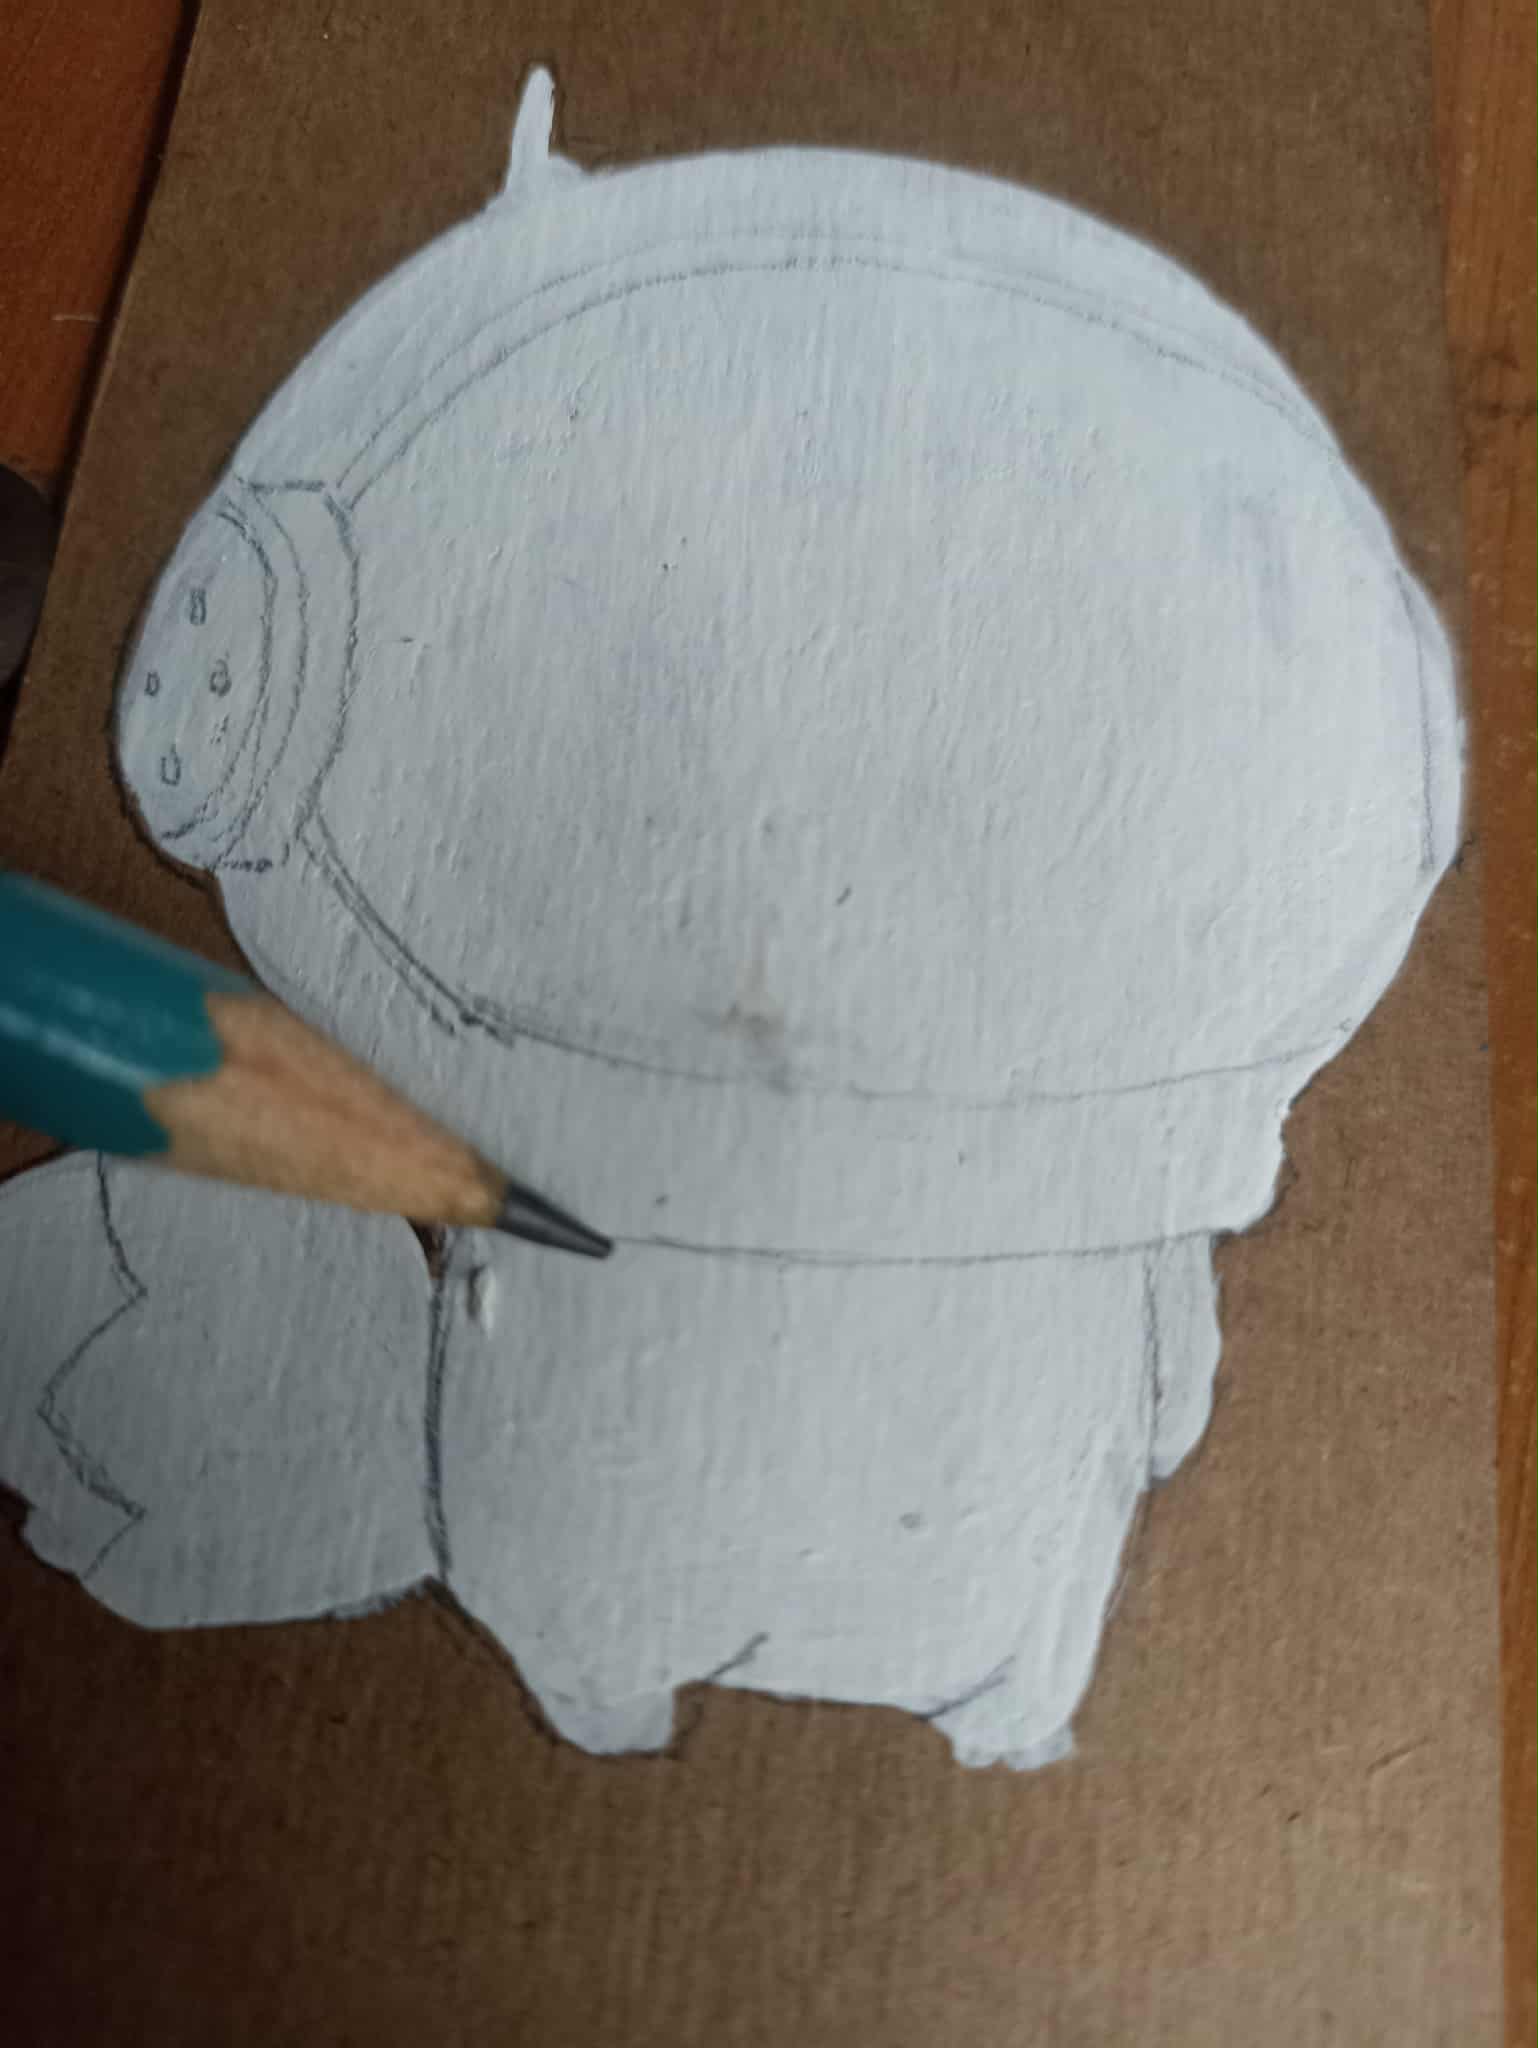
This time I used dark brown cardstock. It's not a large piece, but just enough to make it look like a sticker. First, I made the silhouette, but only around the edges. The goal is to then paint the inner area white, then draw the face and hands, and add colored pencils to each section.
Esta vez utilicé cartulina de color café oscuro, tampoco es una gran pieza sino lo necesario para el propósito de que quede como un sticker. En primer lugar hice la silueta pero solo en los bordes, el objetivo es luego pintar de color blanco la zona interior y así luego dibujar las partes del rostro y manos y poner lápiz de color parte por parte.
 |
 |
|
|---|---|---|
 |
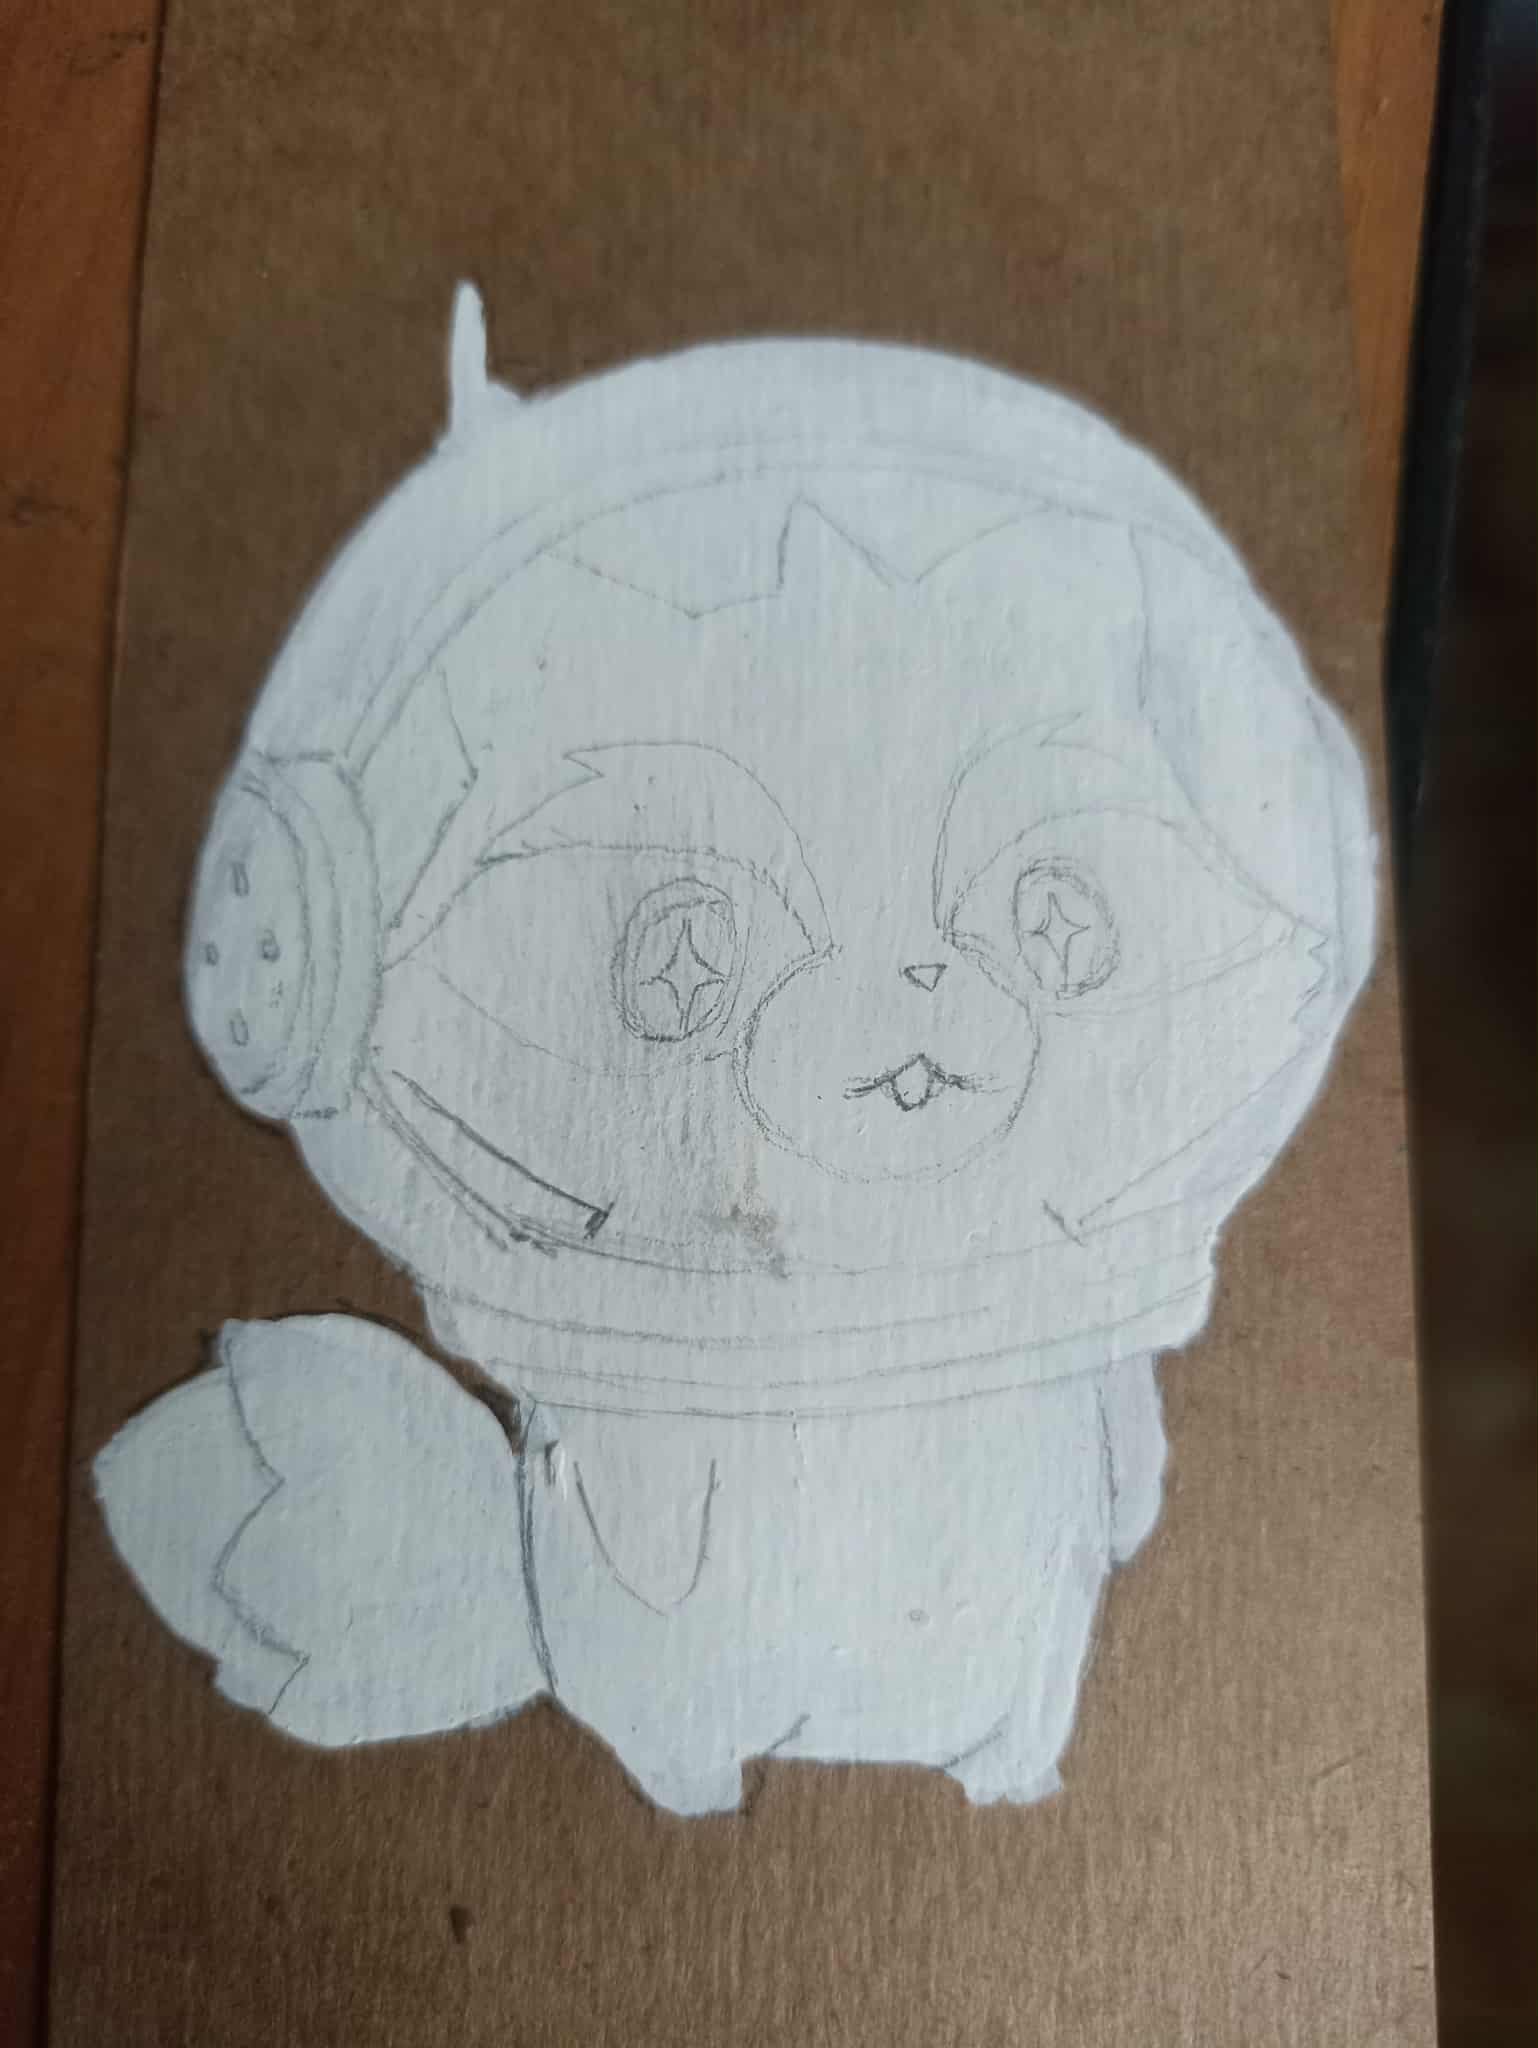 |
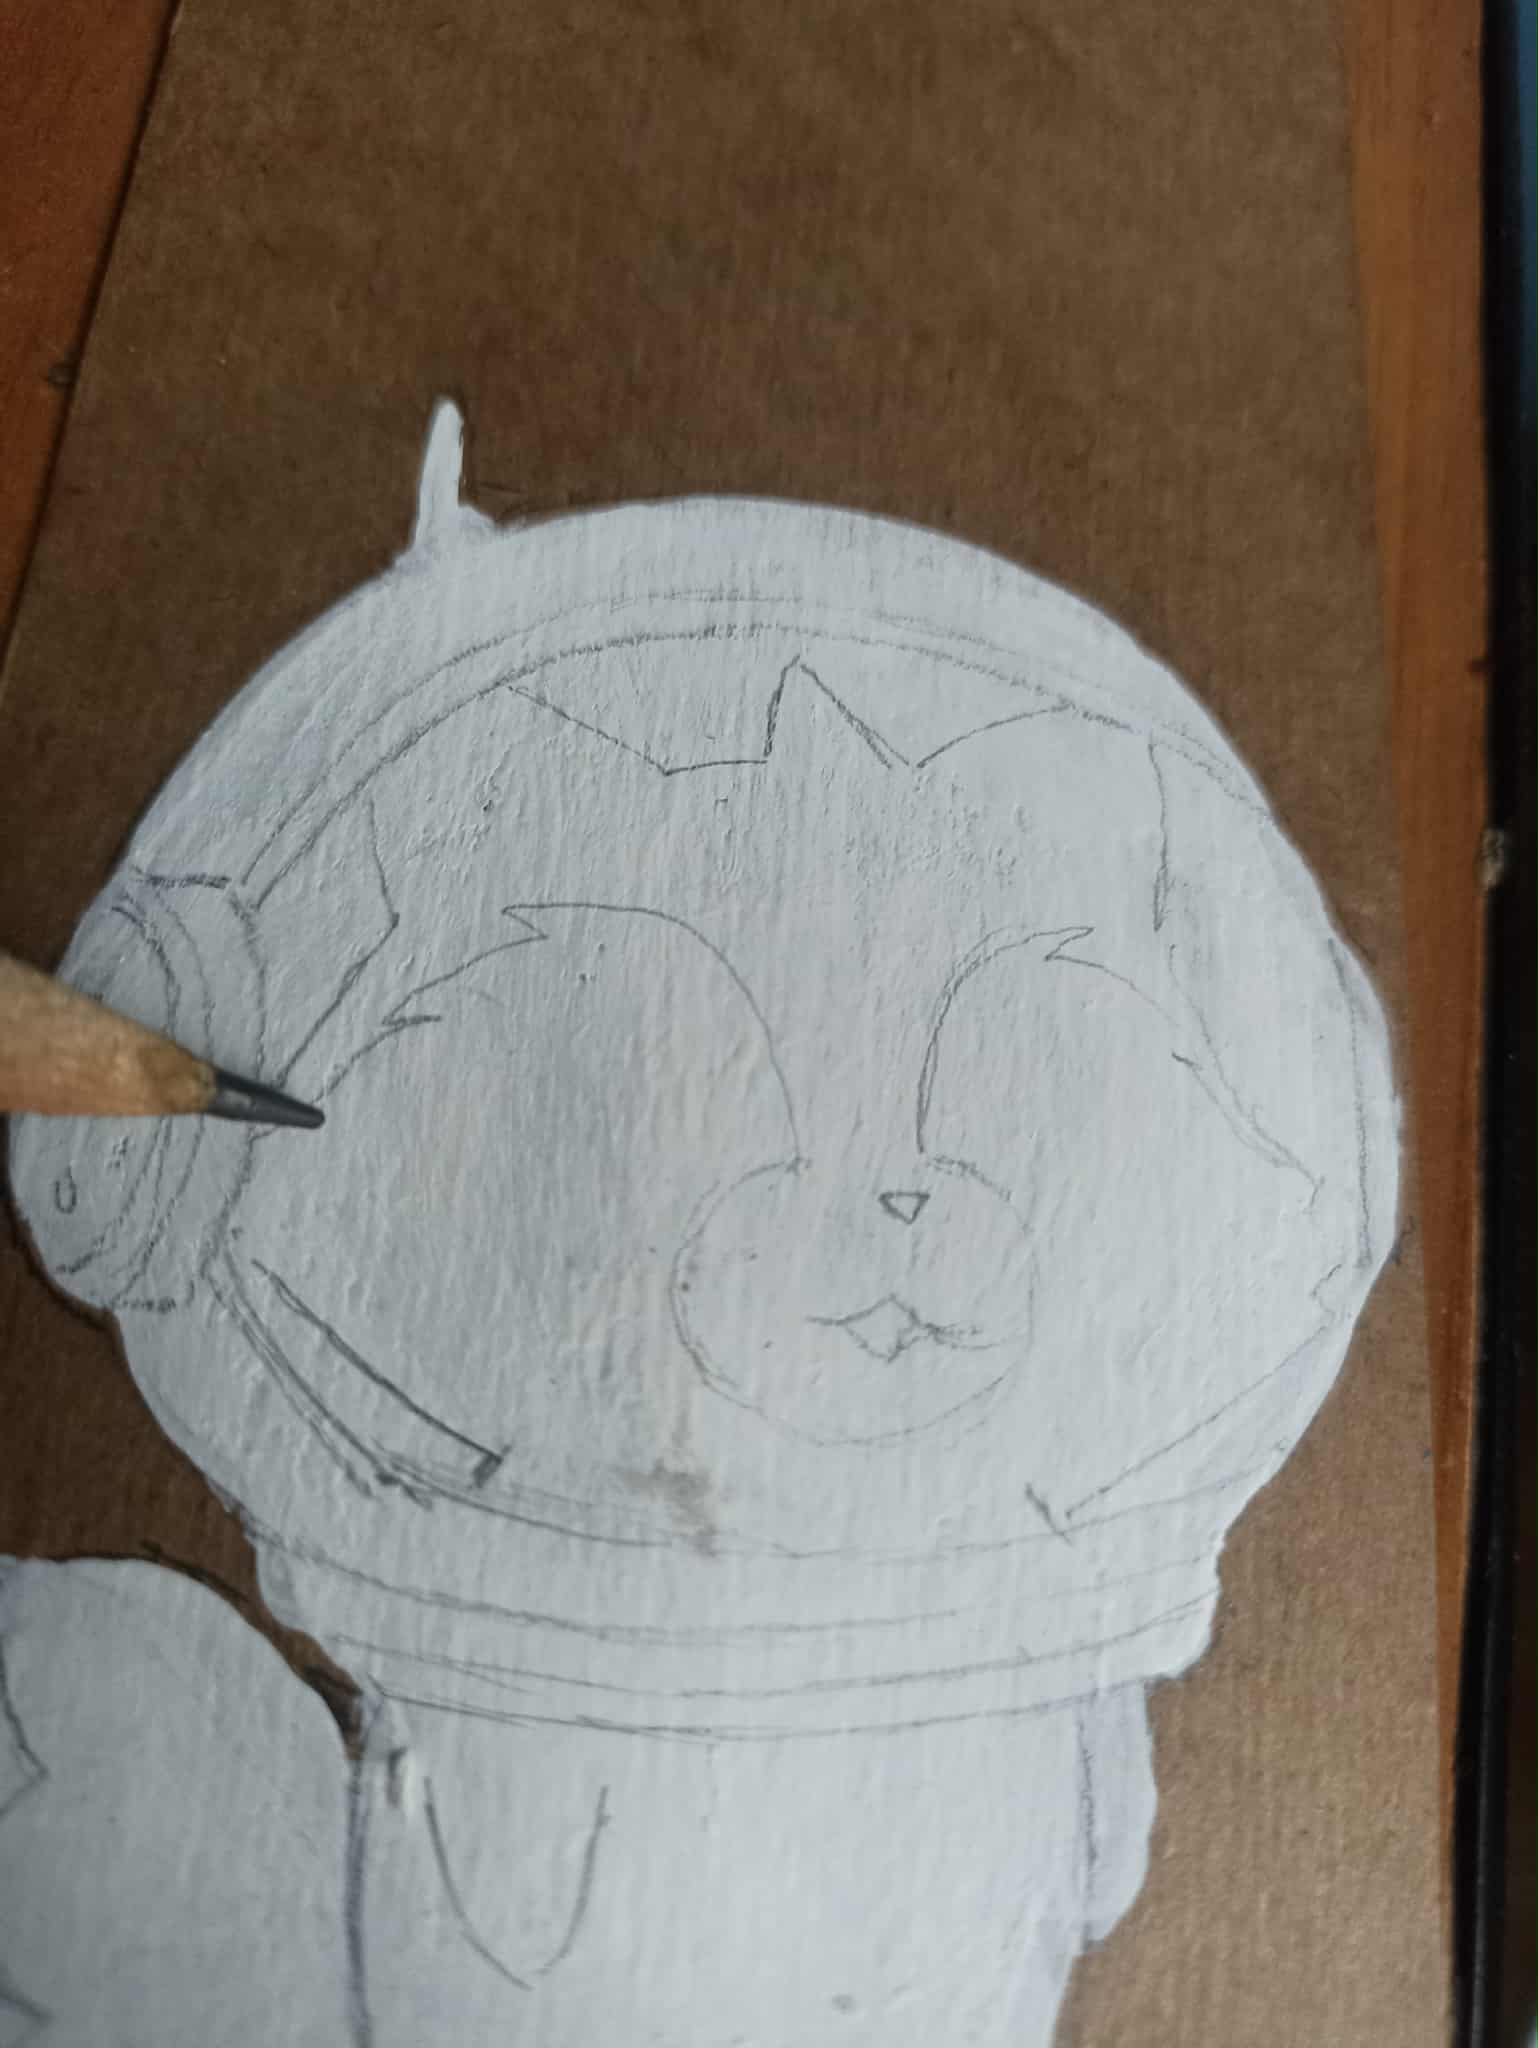
After the paint has dried, I begin drawing the interior, shaping the astronaut's helmet, which takes up a large part of the entire drawing. Then I gradually add the face, making slight changes to it to create a chibi style without losing the character's essence.
Luego de que la pintura haya secado comienzo a dibujar la parte interior, le voy dando forma al casco de astronauta el cual ocupa un gran espacio de todo el dibujo. Después voy haciendo poco a poco el rostro al cual voy dando ligeros cambios para poder hacerlo en estilo Chibi pero sin que pierda la esencia del personaje.
 |
 |
|
|---|---|---|
 |
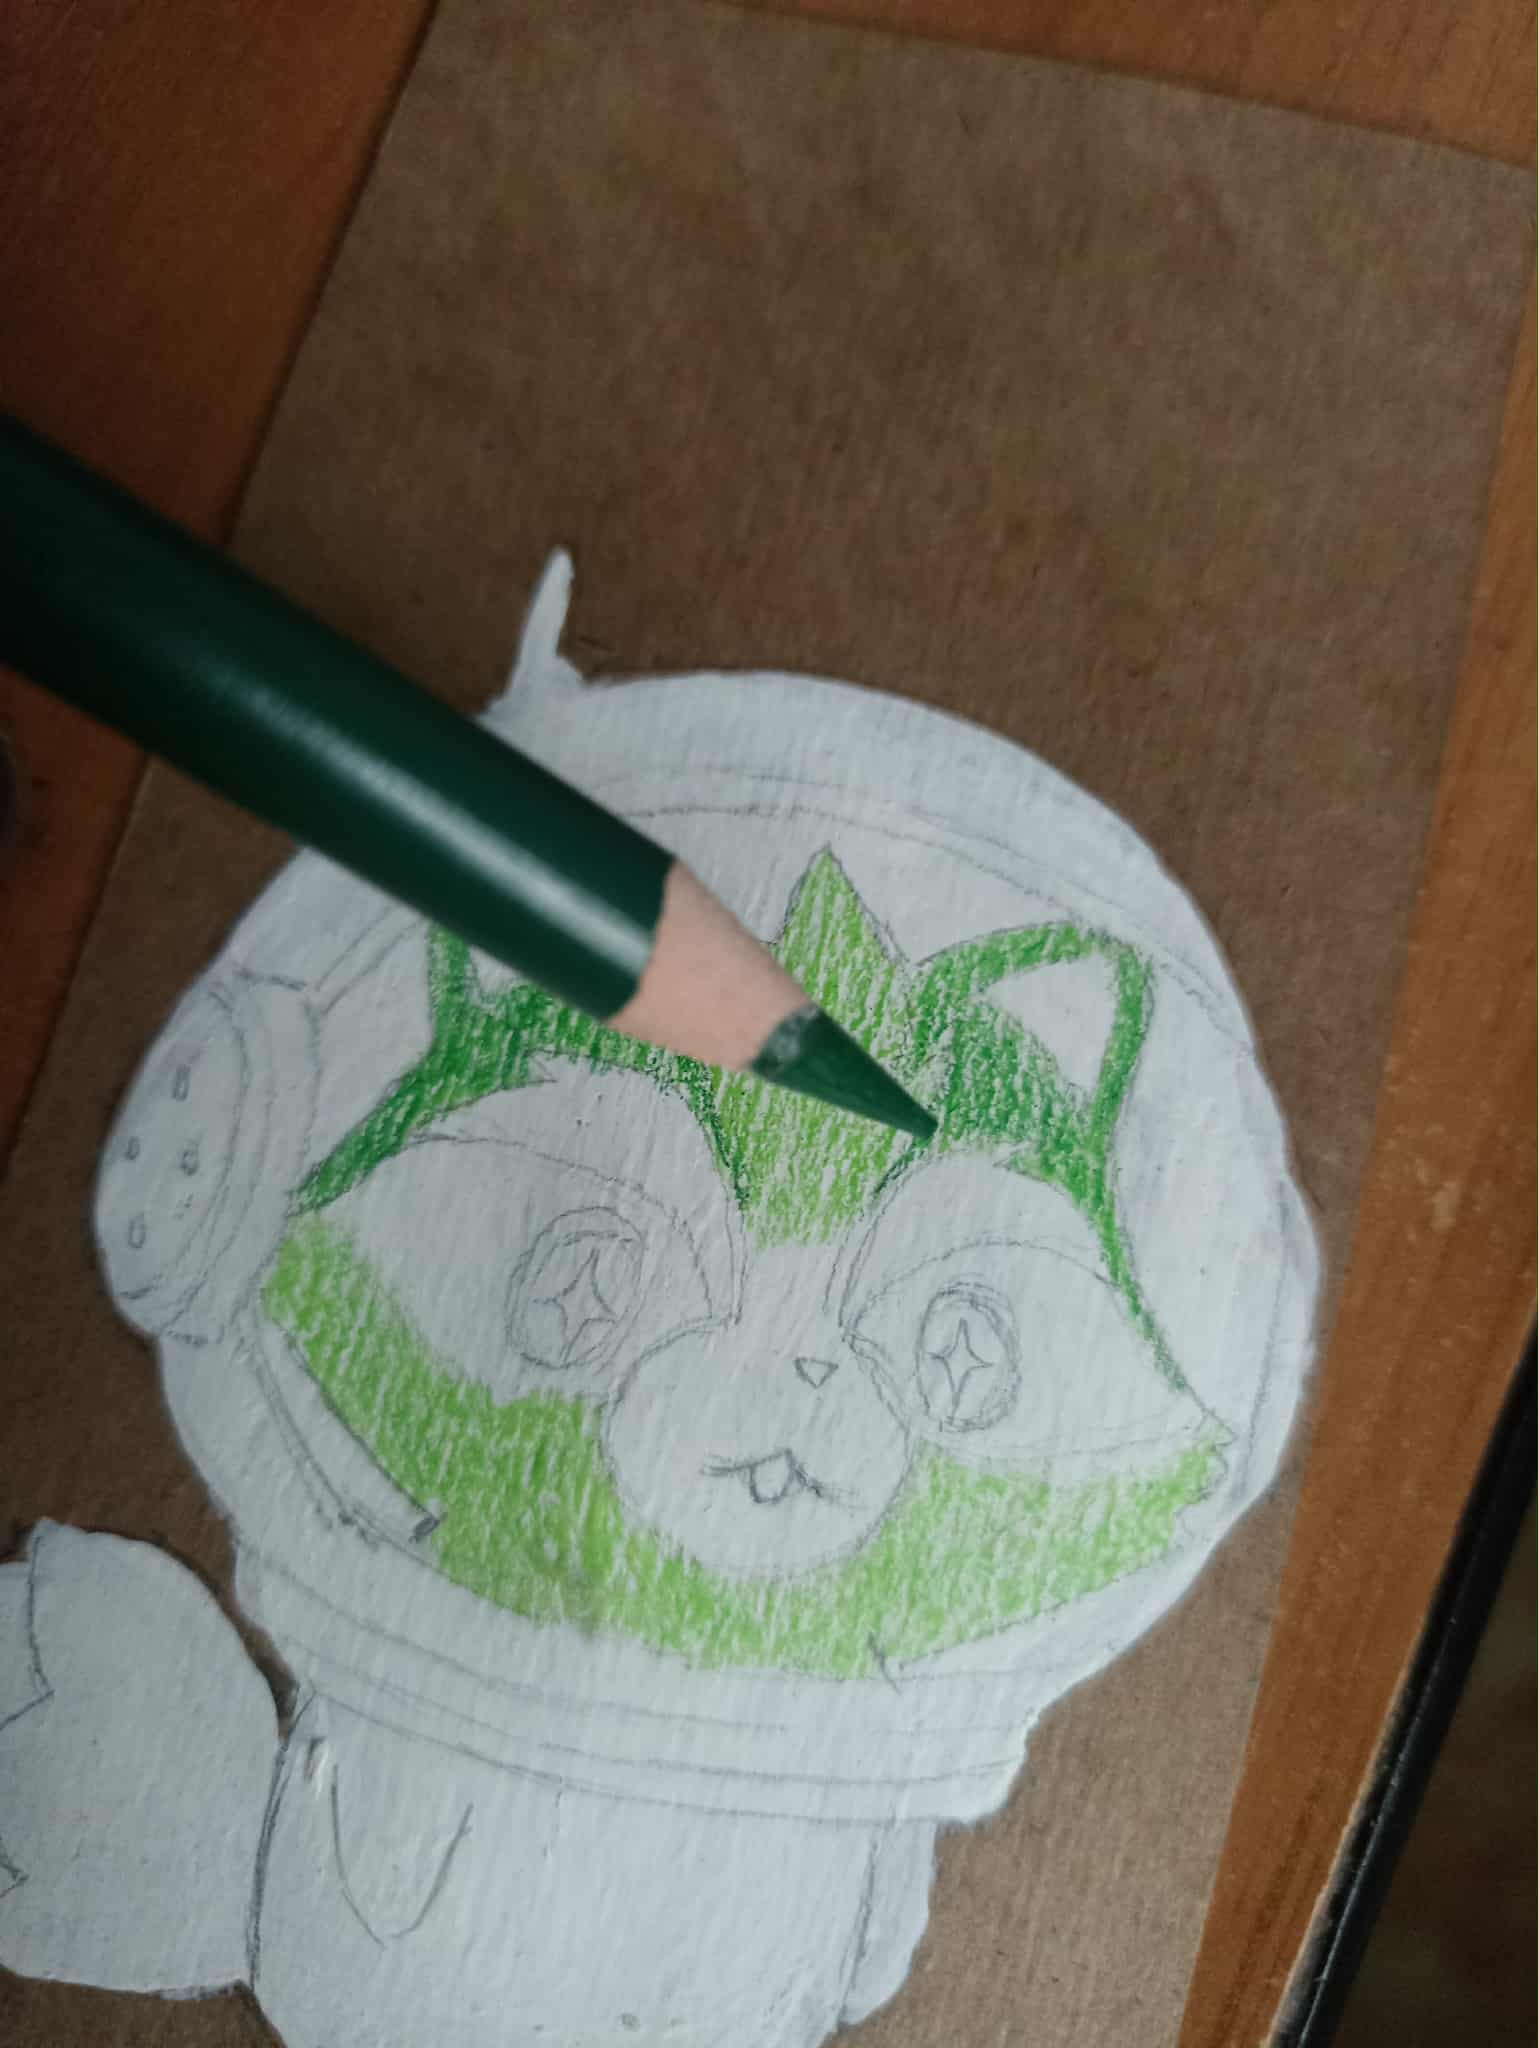 |
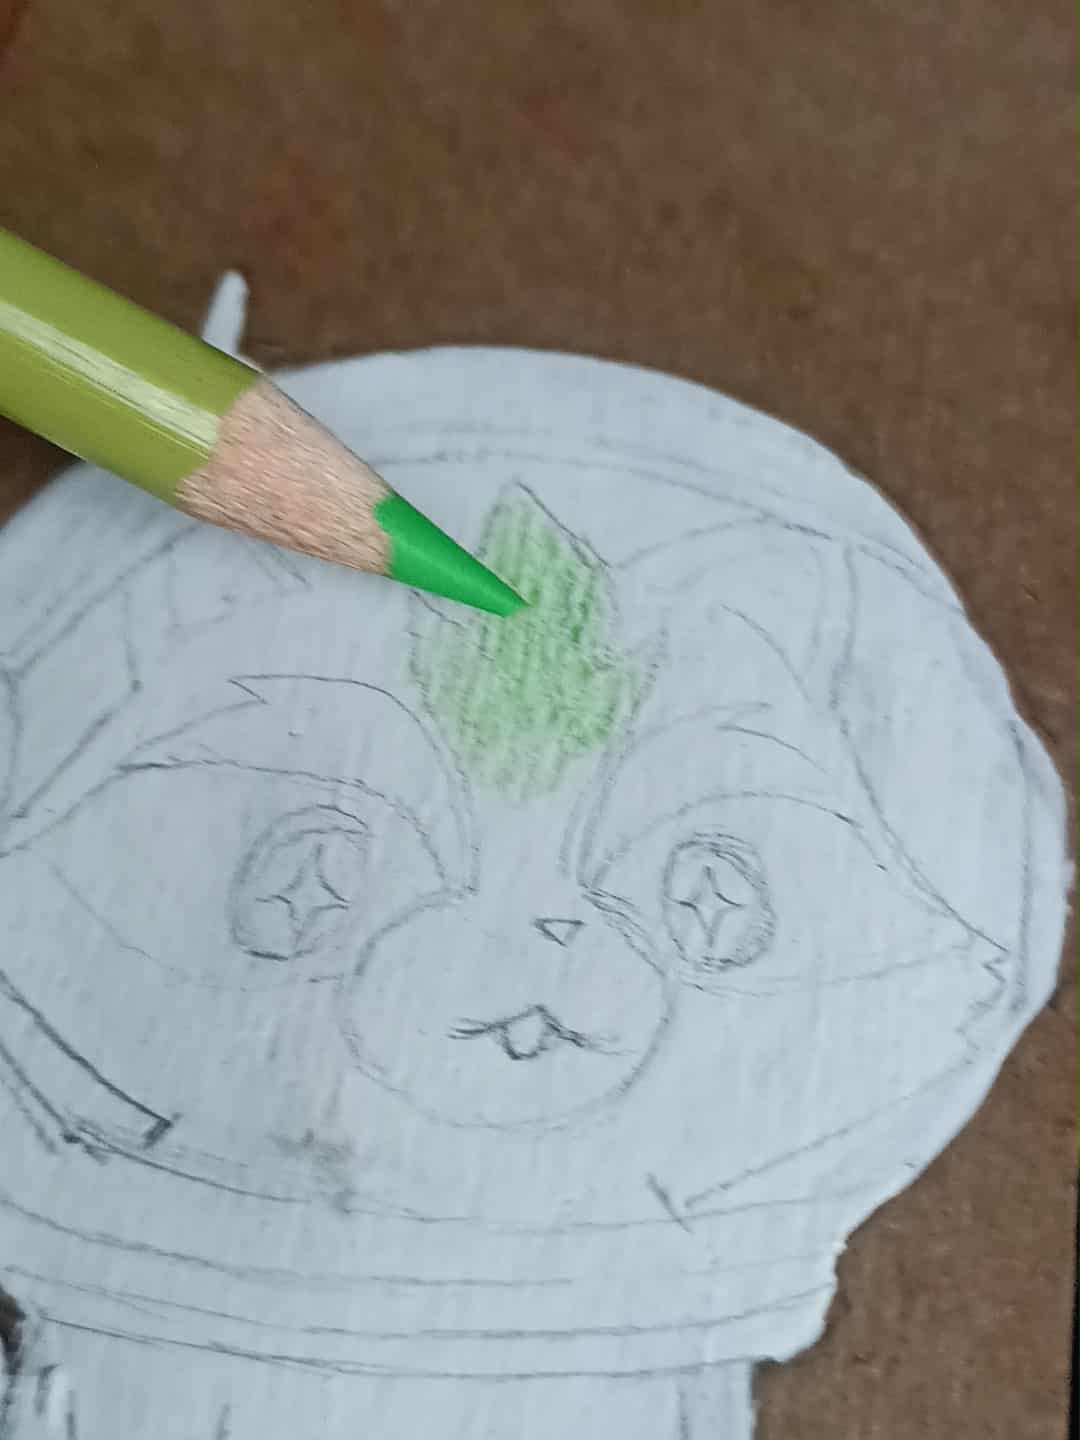
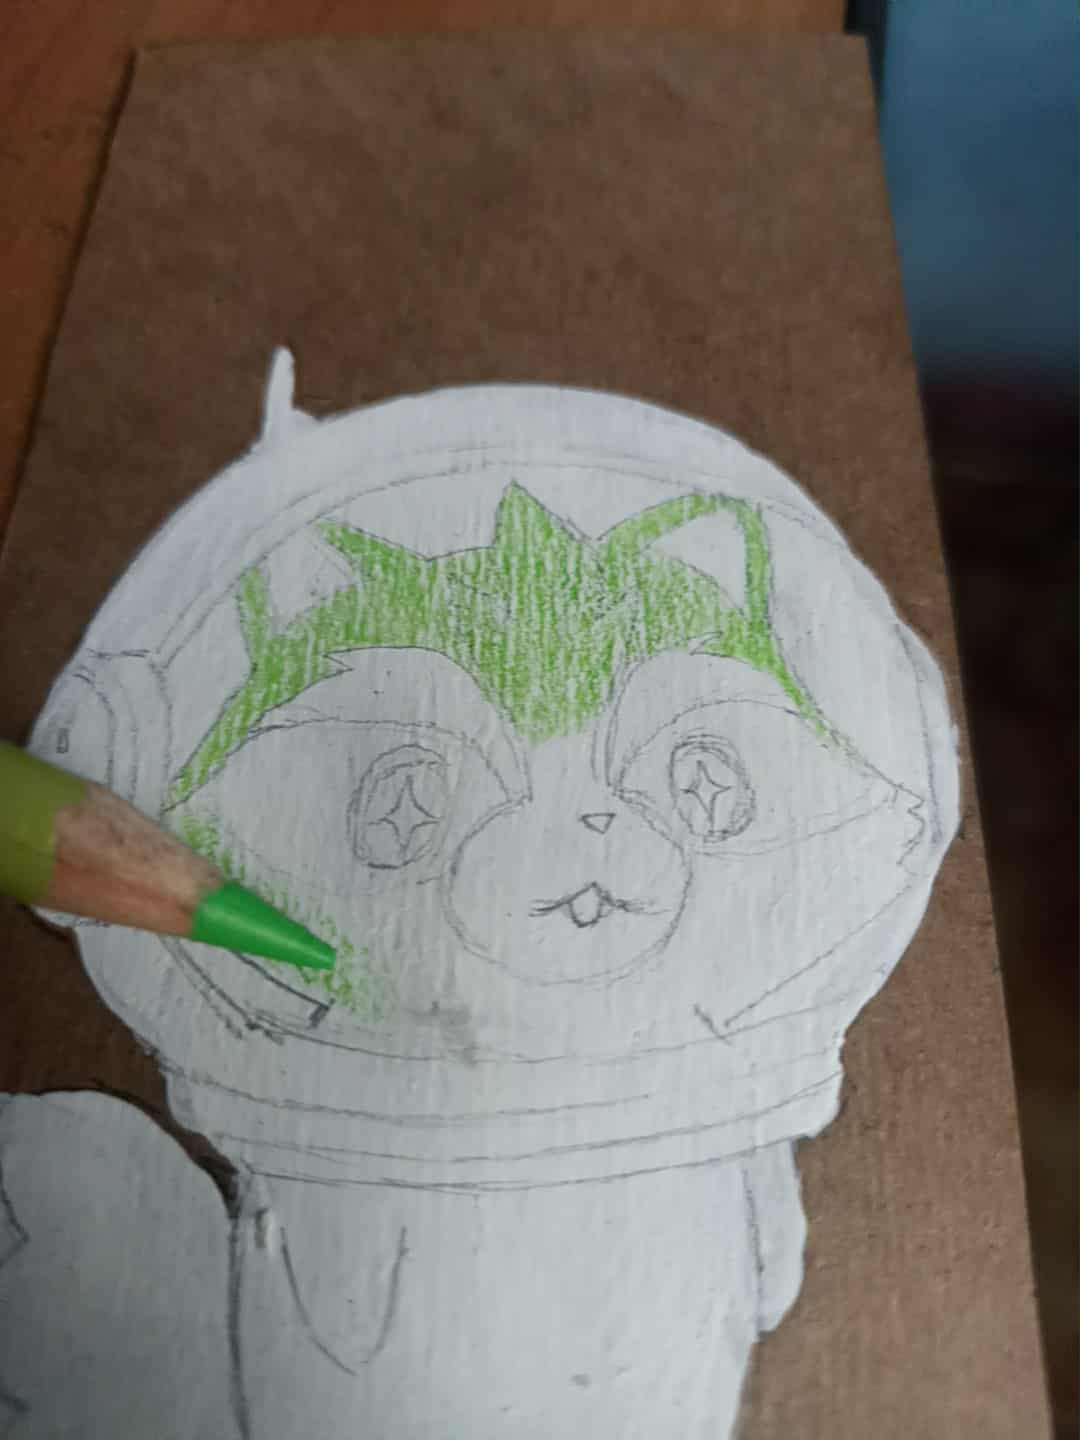
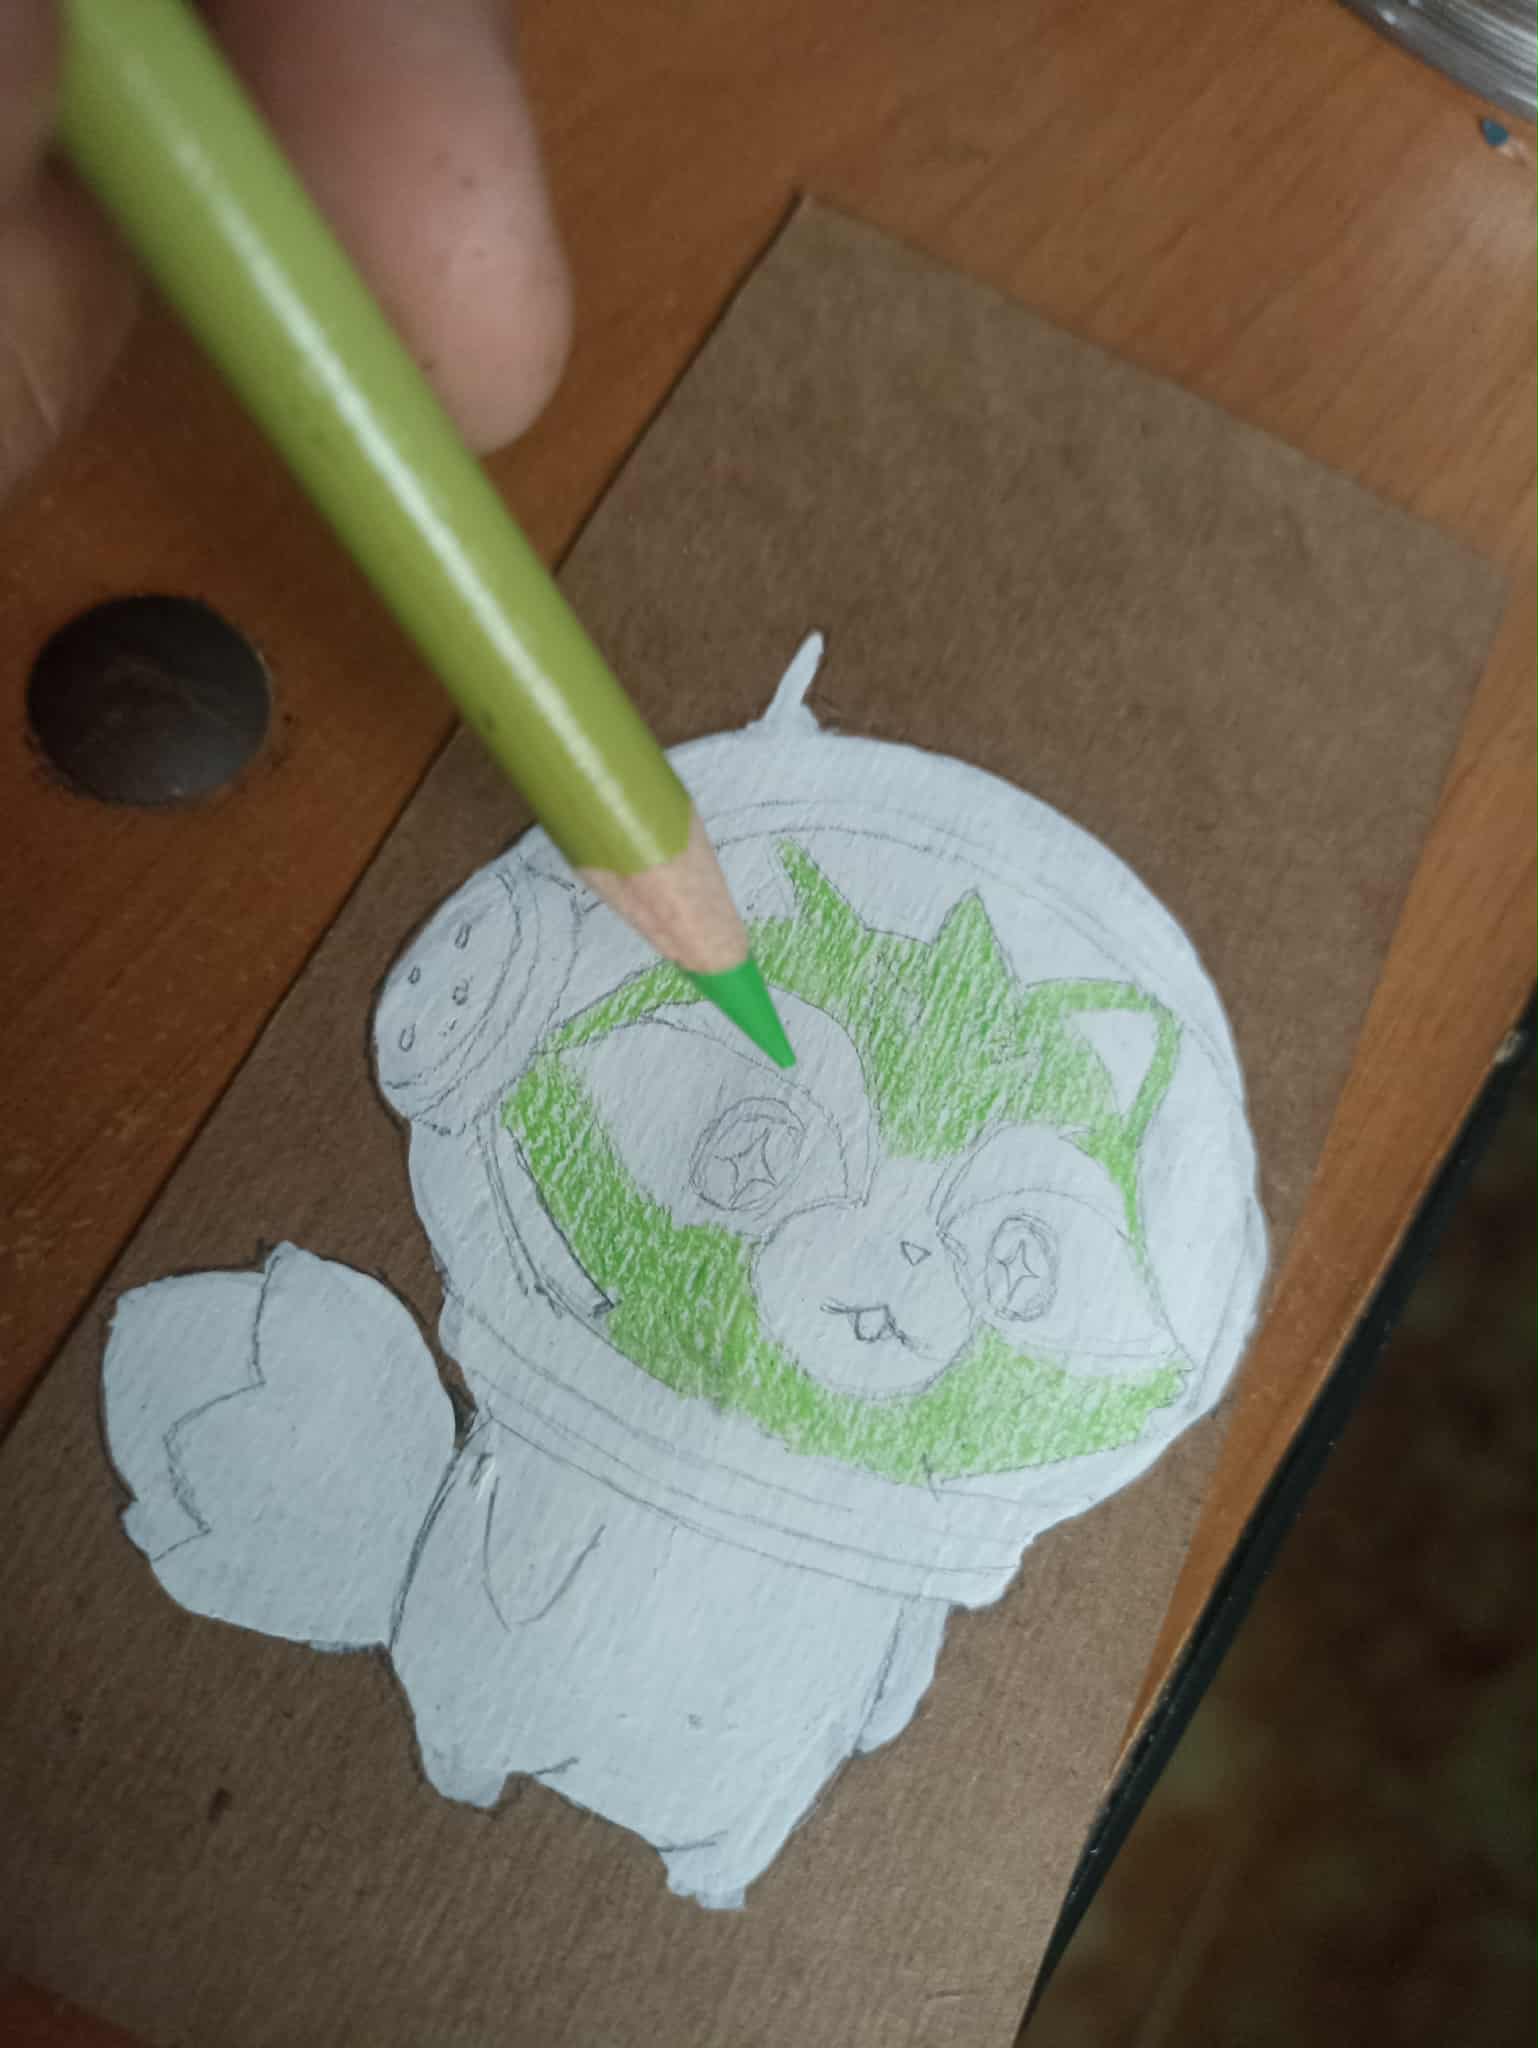
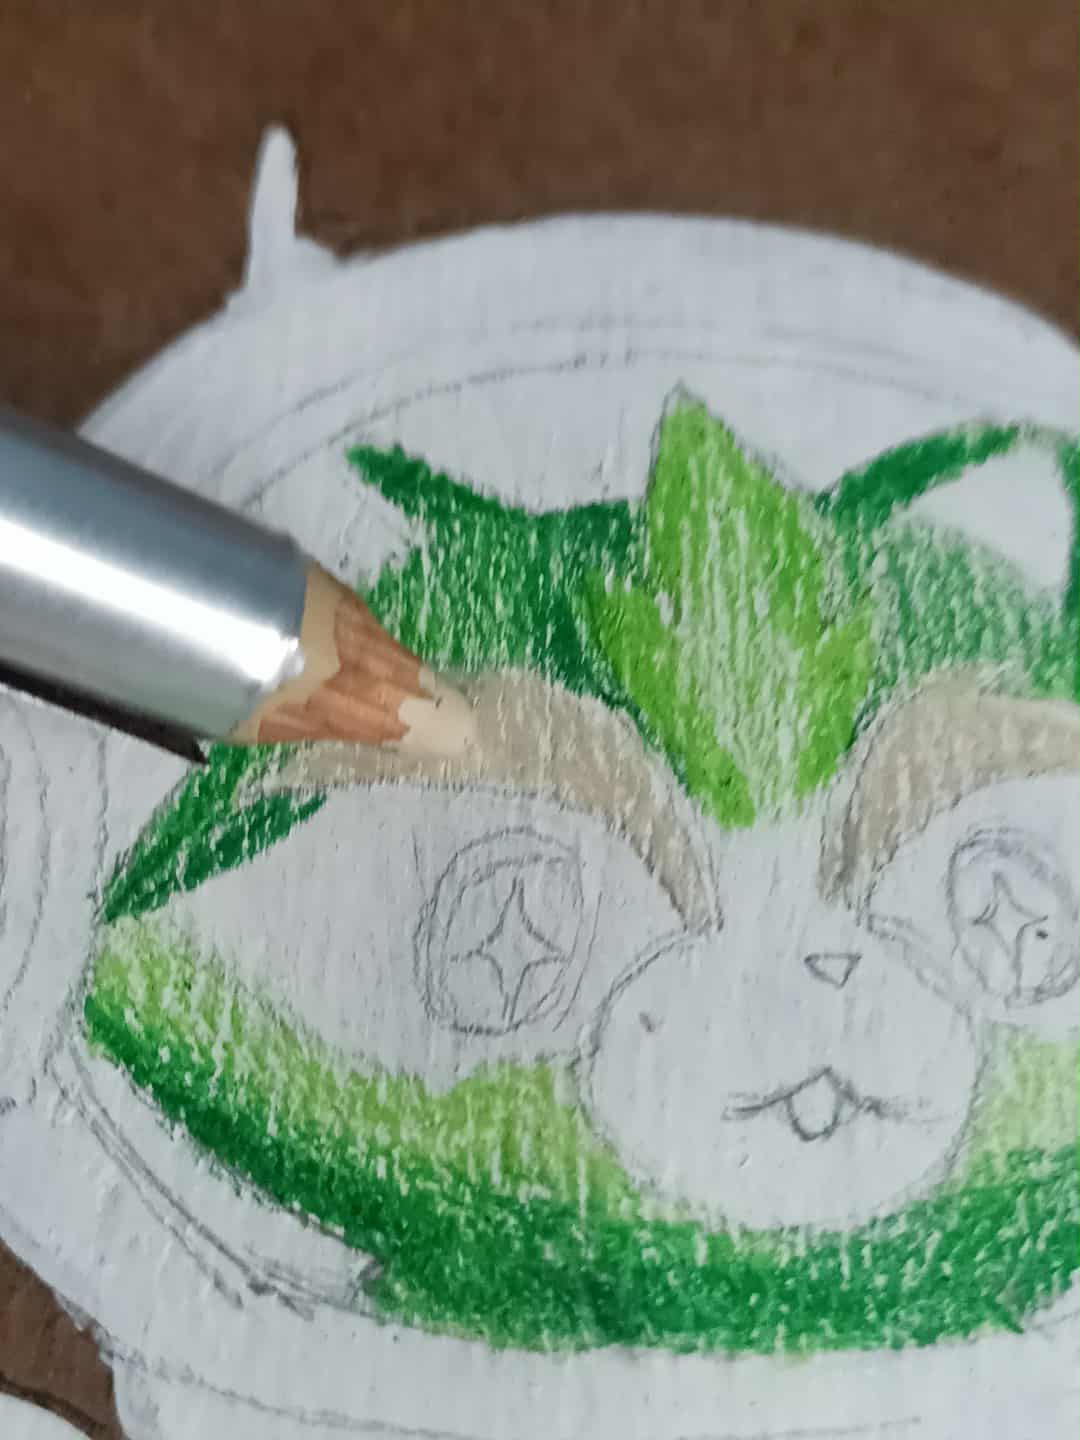
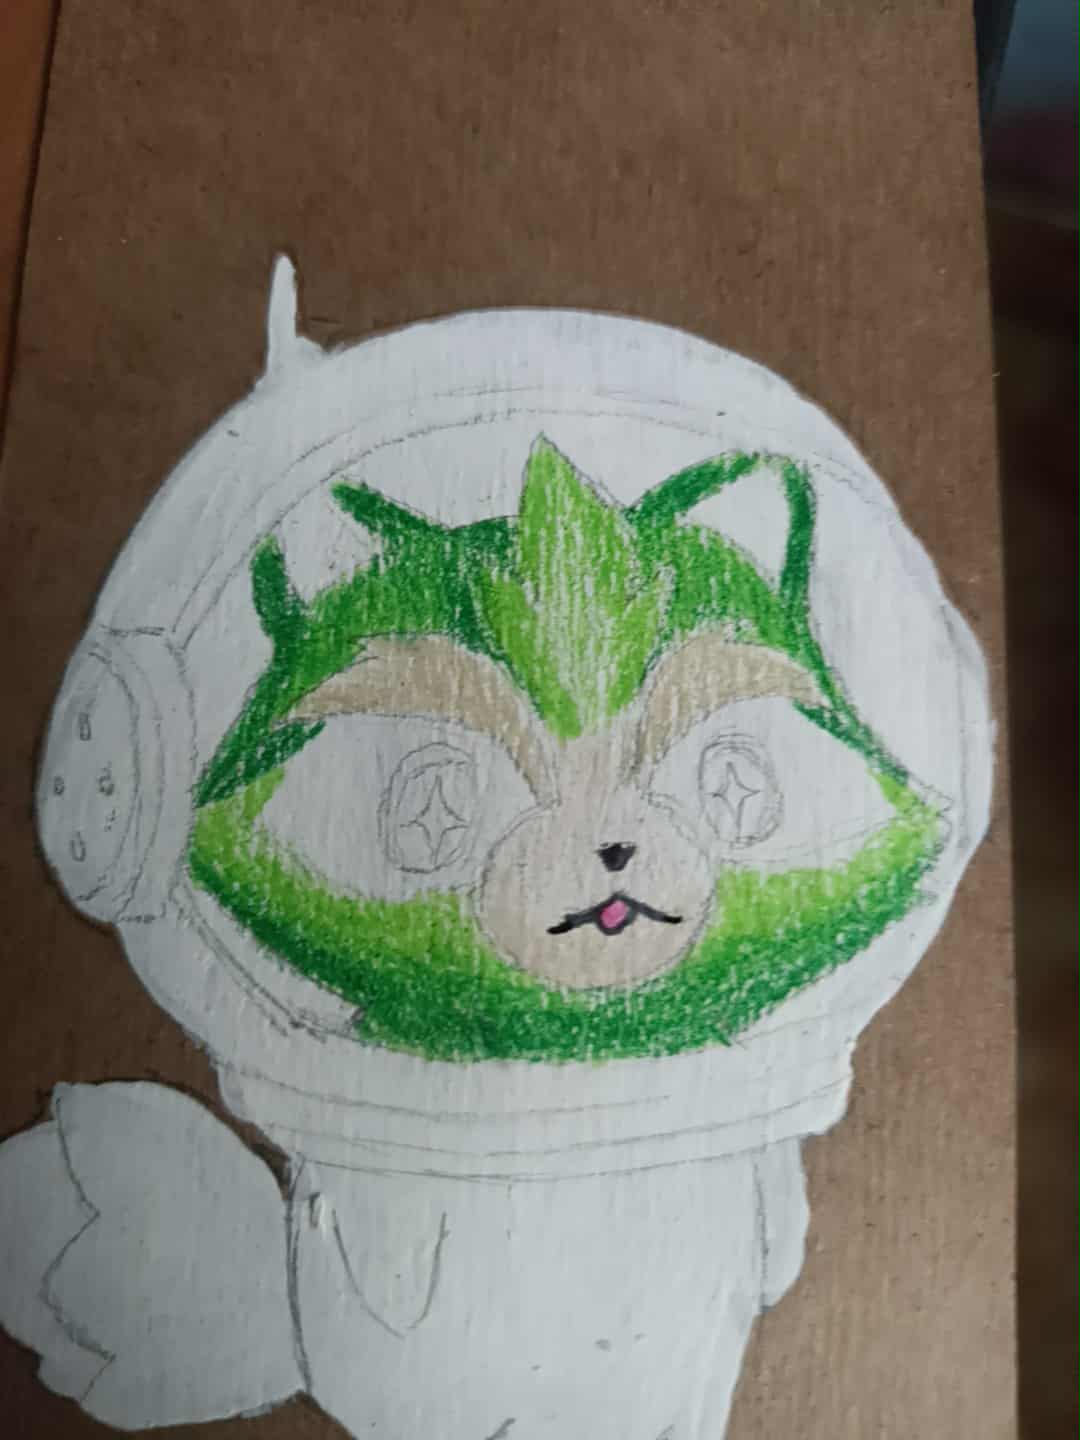
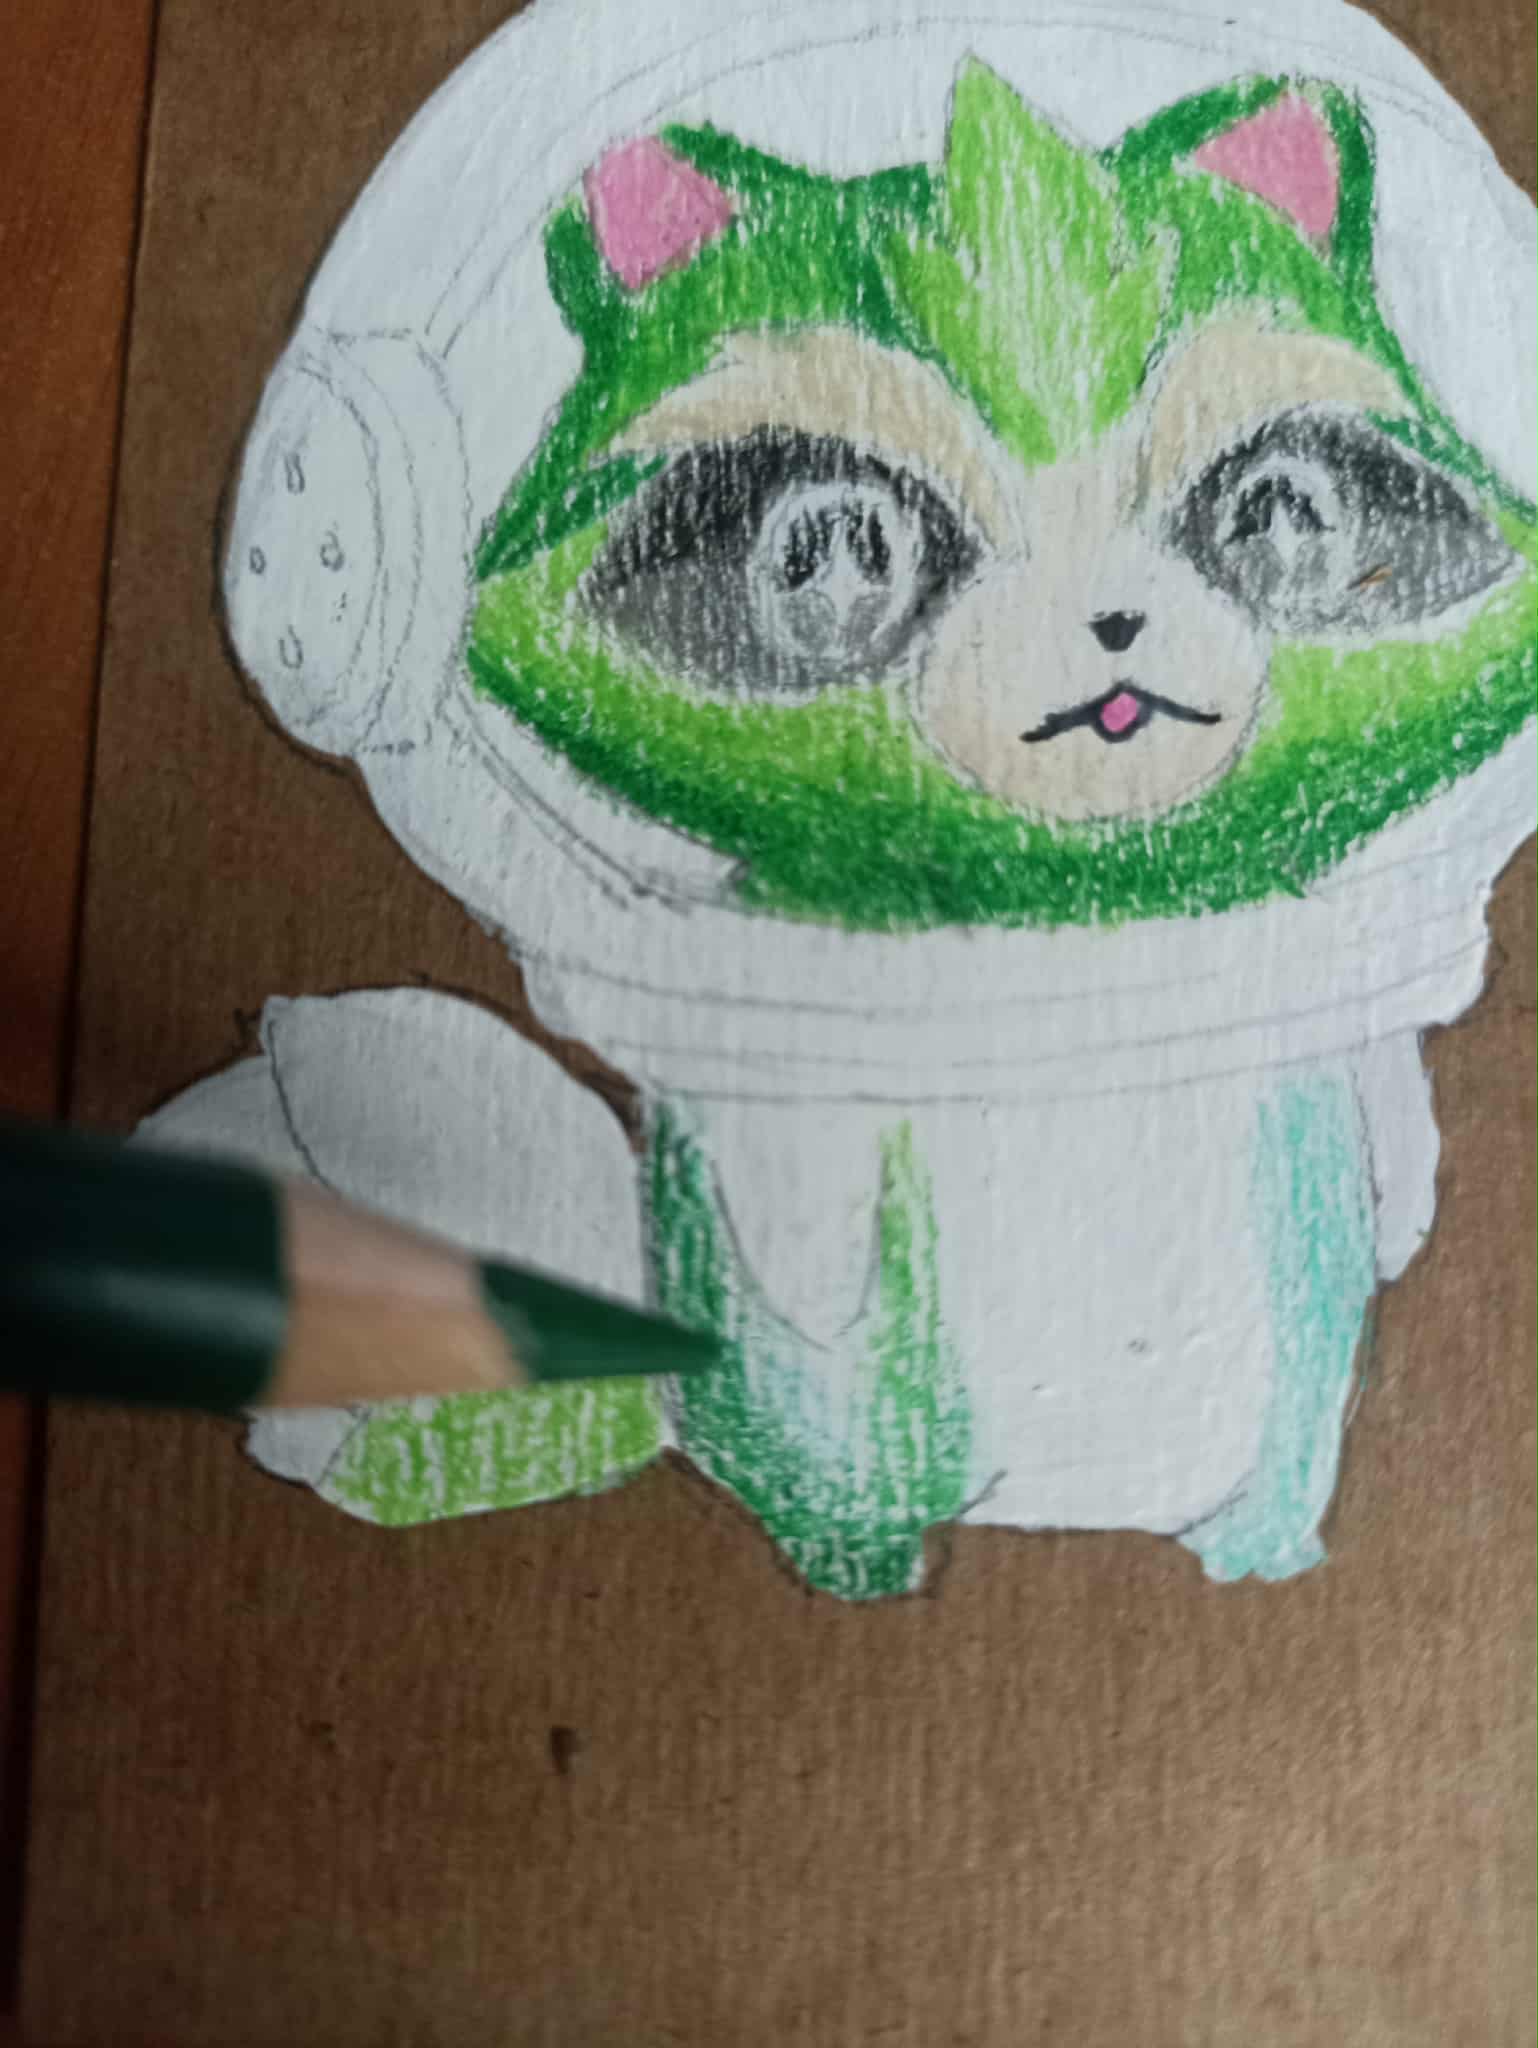
Once the sketch is complete, I begin painting each area of the drawing, piece by piece, especially the face, which will be my starting point. I start with a light green and then add contrast with a darker shade of green, since the face has this kind of contrast in our friend Wrackoo.
Una vez realizado el boceto por completo comienzo a pintar parte por parte cada zona del dibujo, especialmente por el rostro que será mi punto de partida. Tomo el color verde claro para empezar y luego voy agregando contraste con un tono de verde más oscuro, ya que el rostro tiene esta clase de contraste en nuestro amigo Wrackoo.
 |
 |
|
|---|---|---|
 |
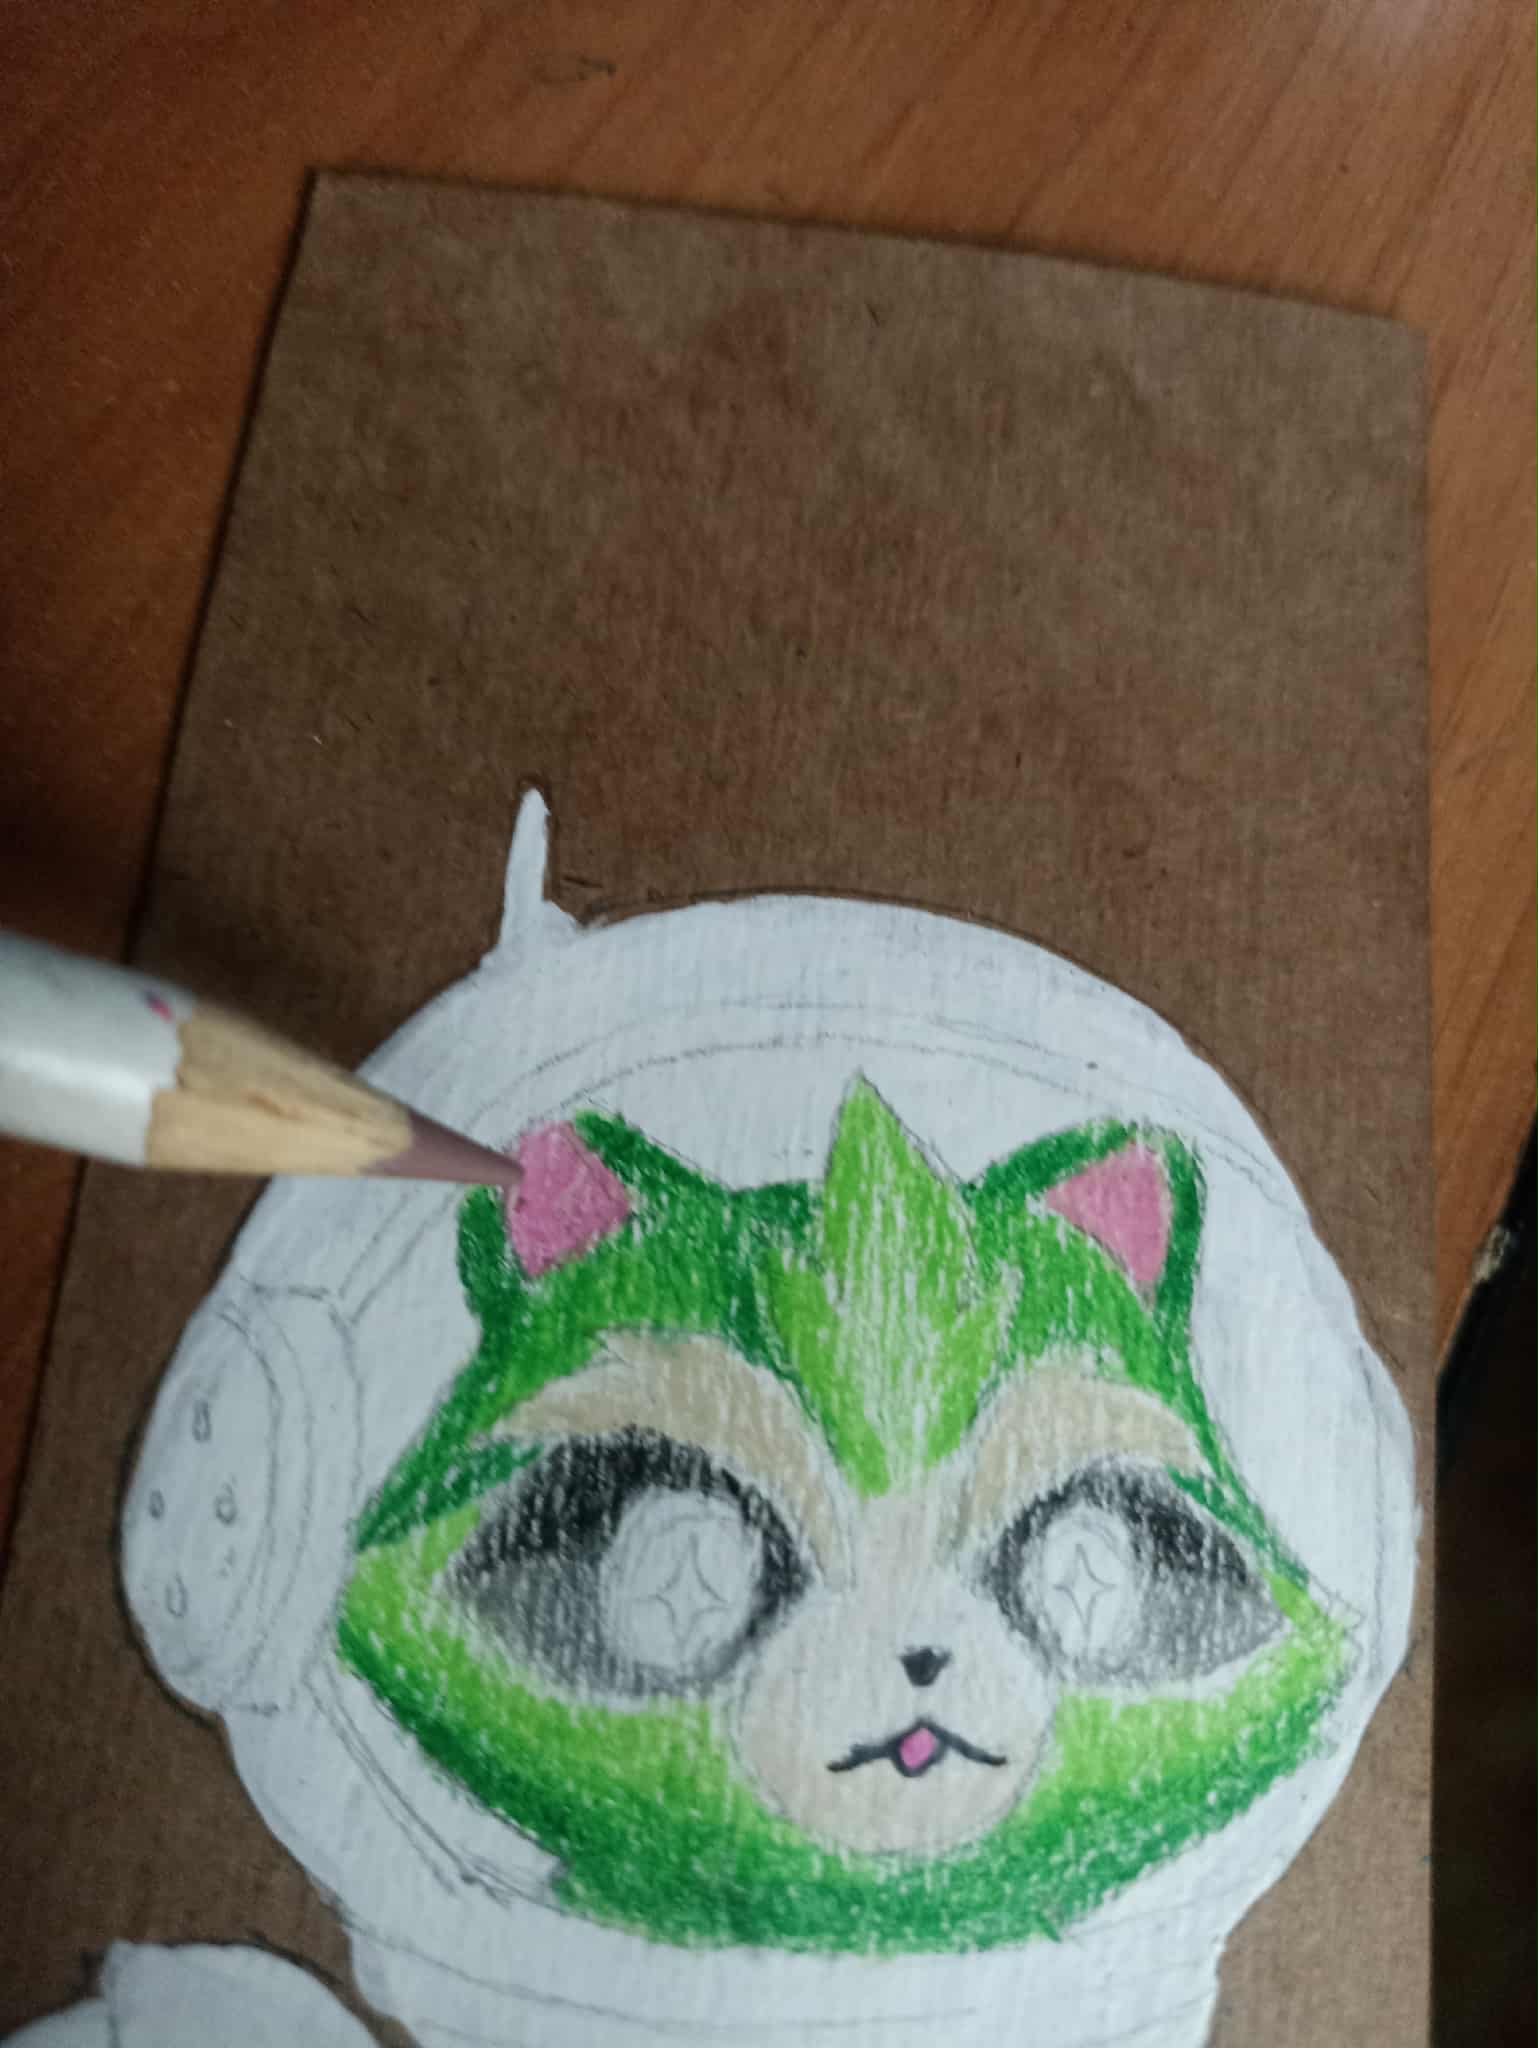 |
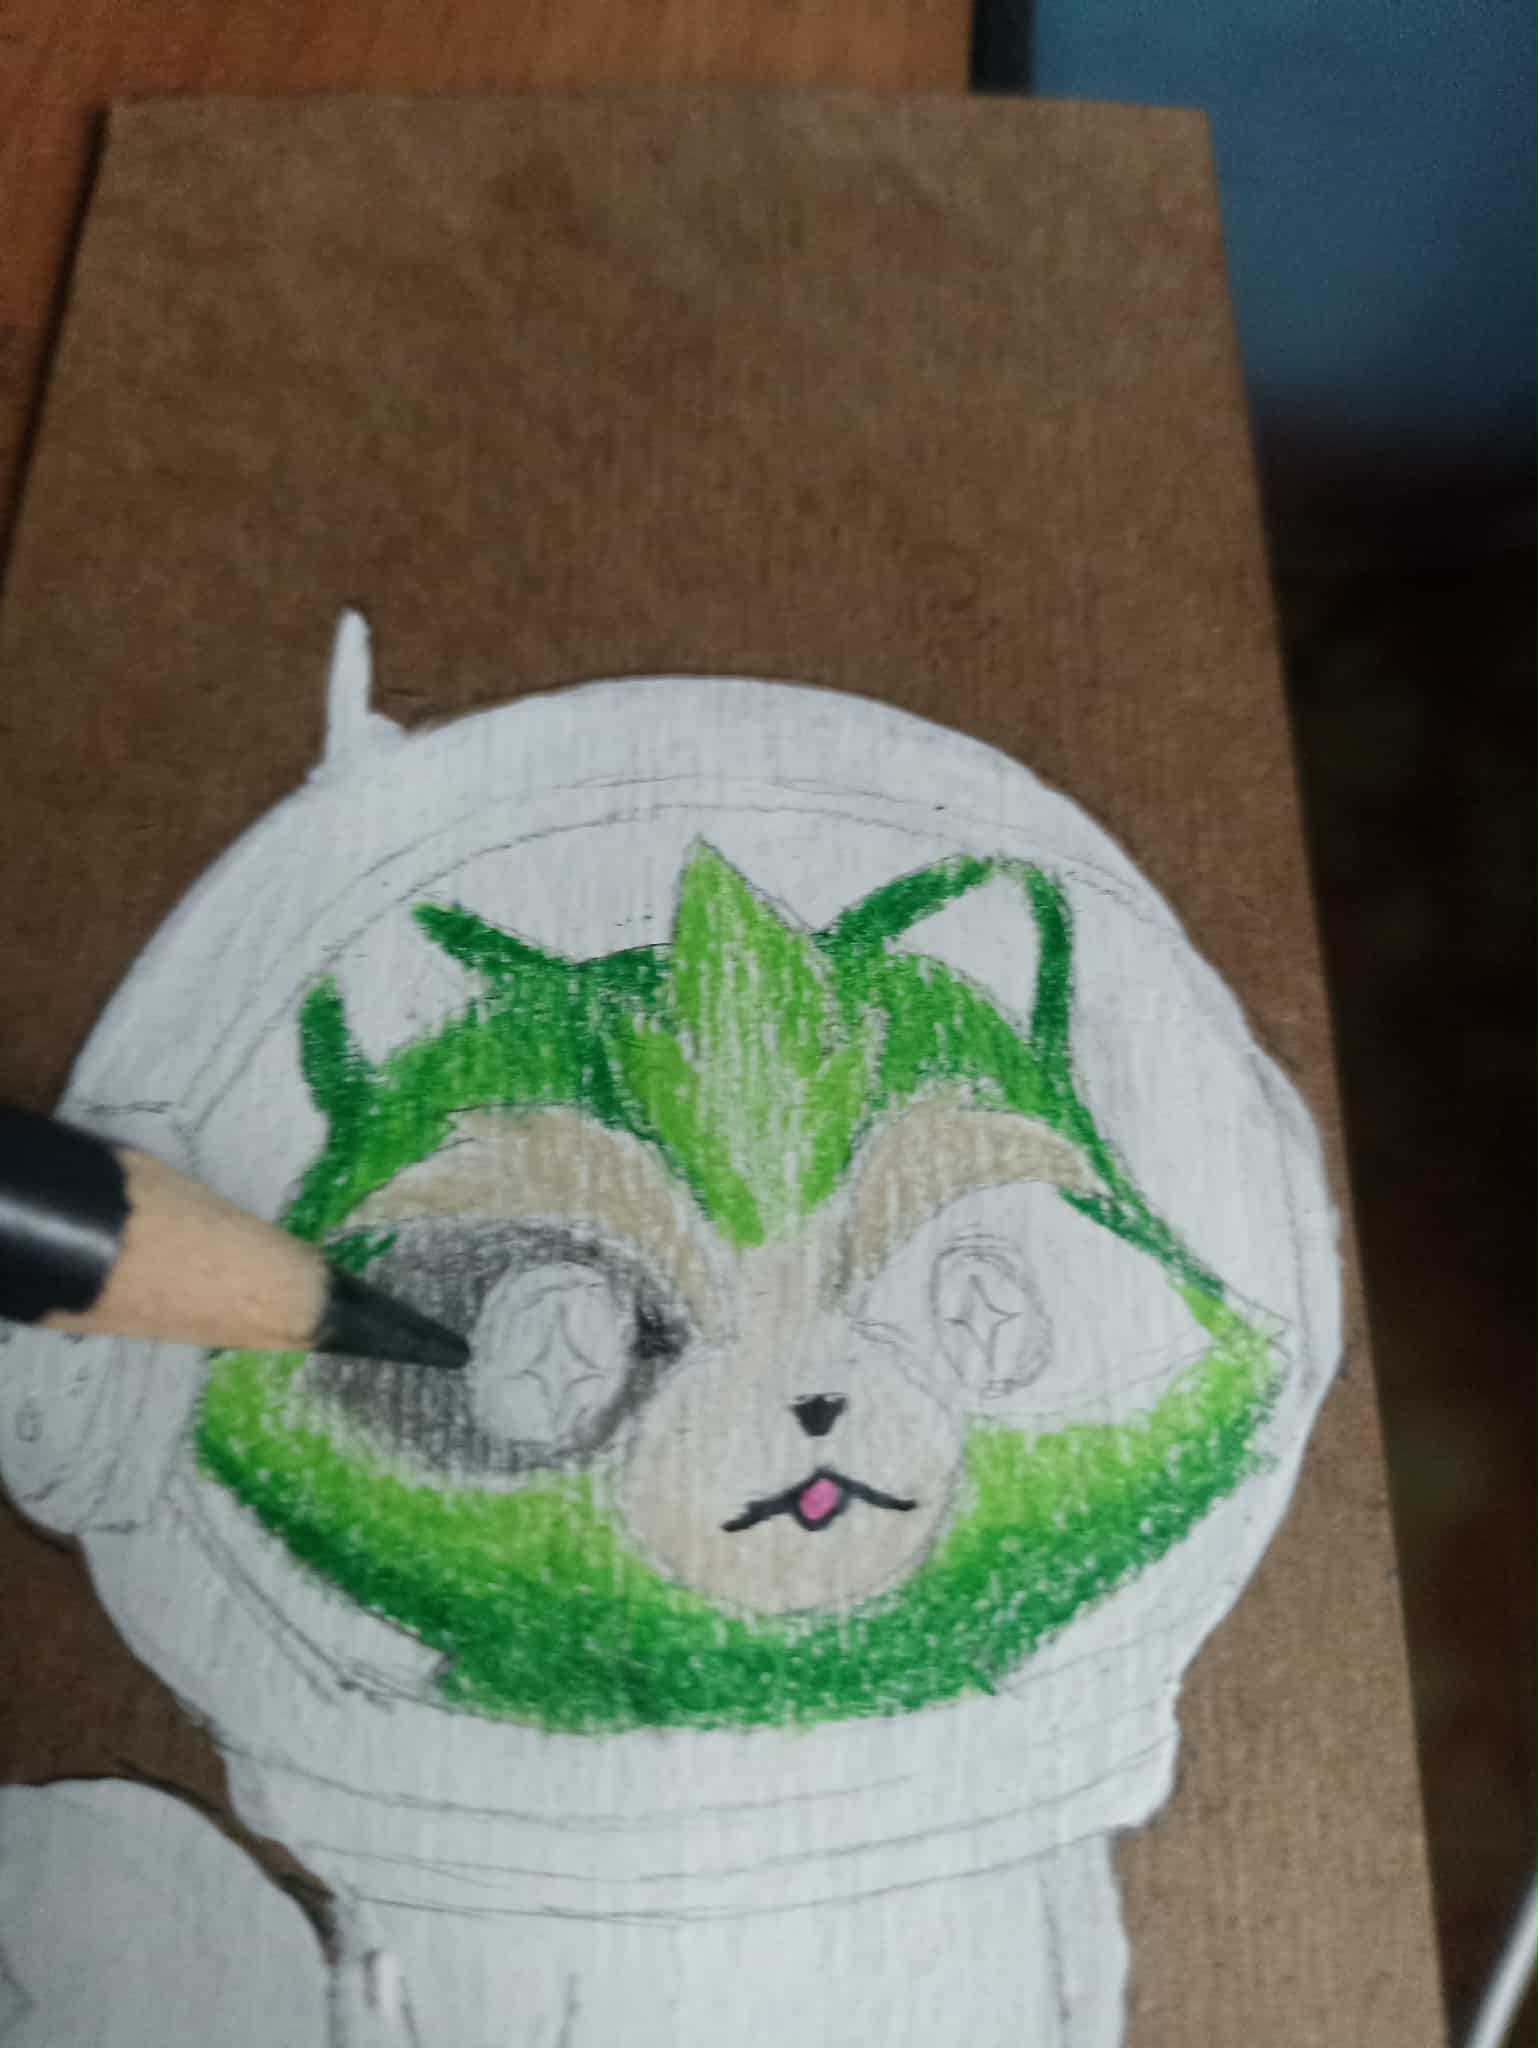
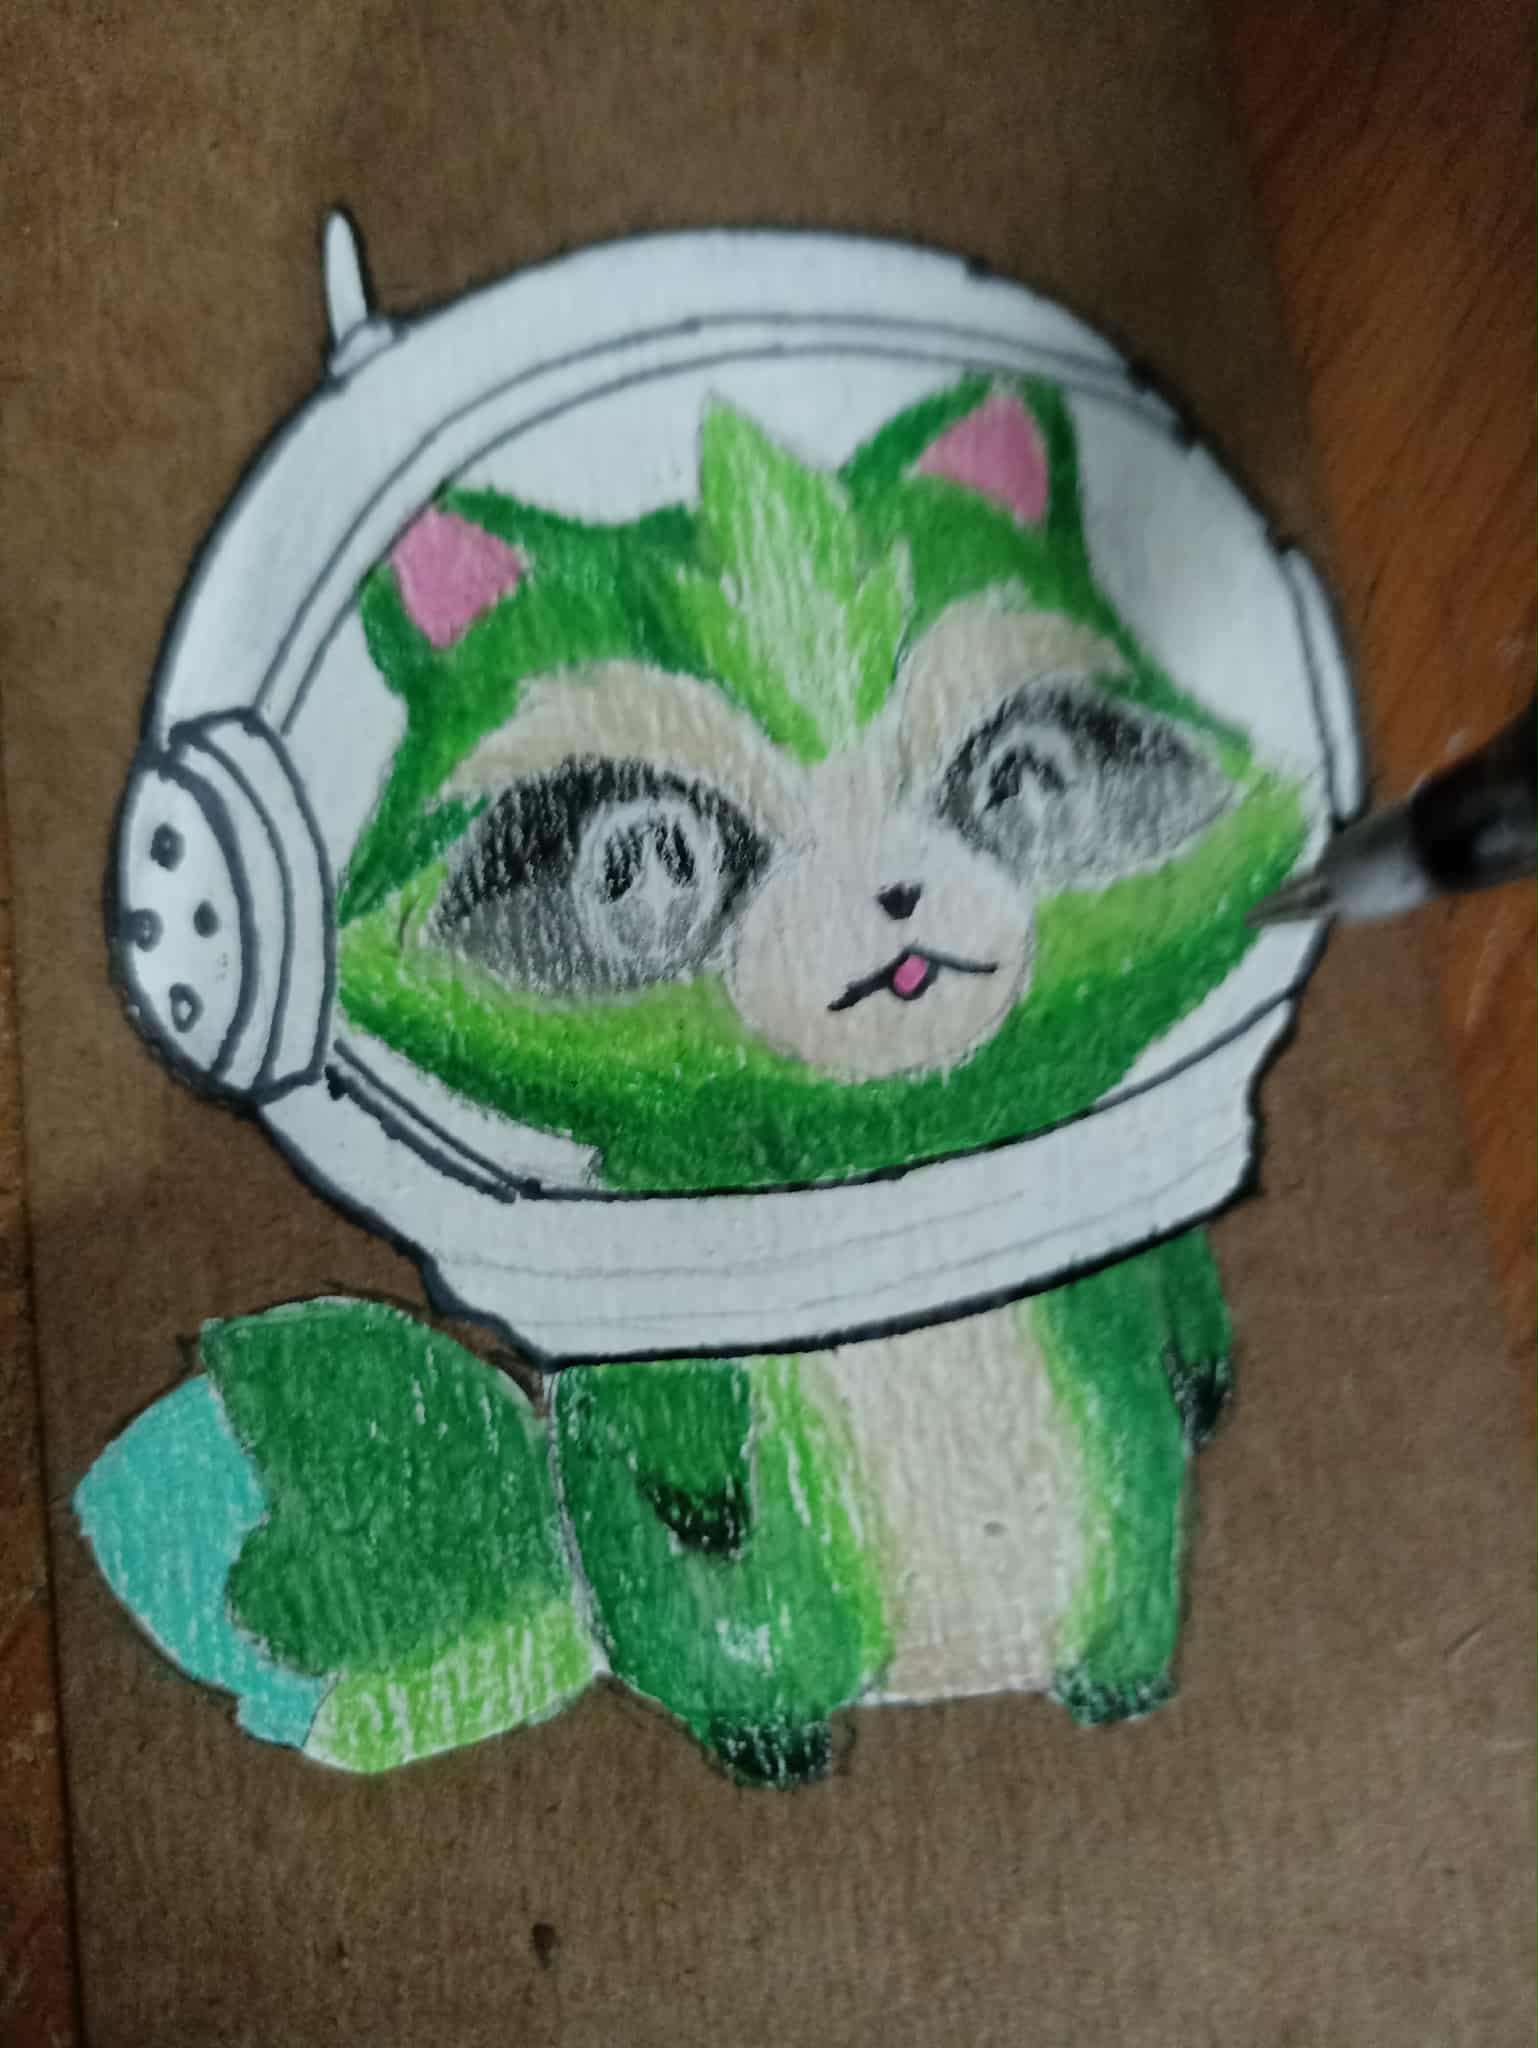
I added gradient shades of gray to make the entire eye area, which I made slightly different from the original design, my goal is to show them a little more tender, and to achieve that I made the brightness in the eyes not noticeable.
Agregué tonos degradados de color gris par ahacer toda la zona de los ojos, los cuales los hice ligeramente diferentes al diseño original, mi objetivo es mostrarlos un poco más tiernos, y para lograr eso deno hacer que el brillo en los ojos pueda apreciarse.
 |
 |
|
|---|---|---|
 |
 |
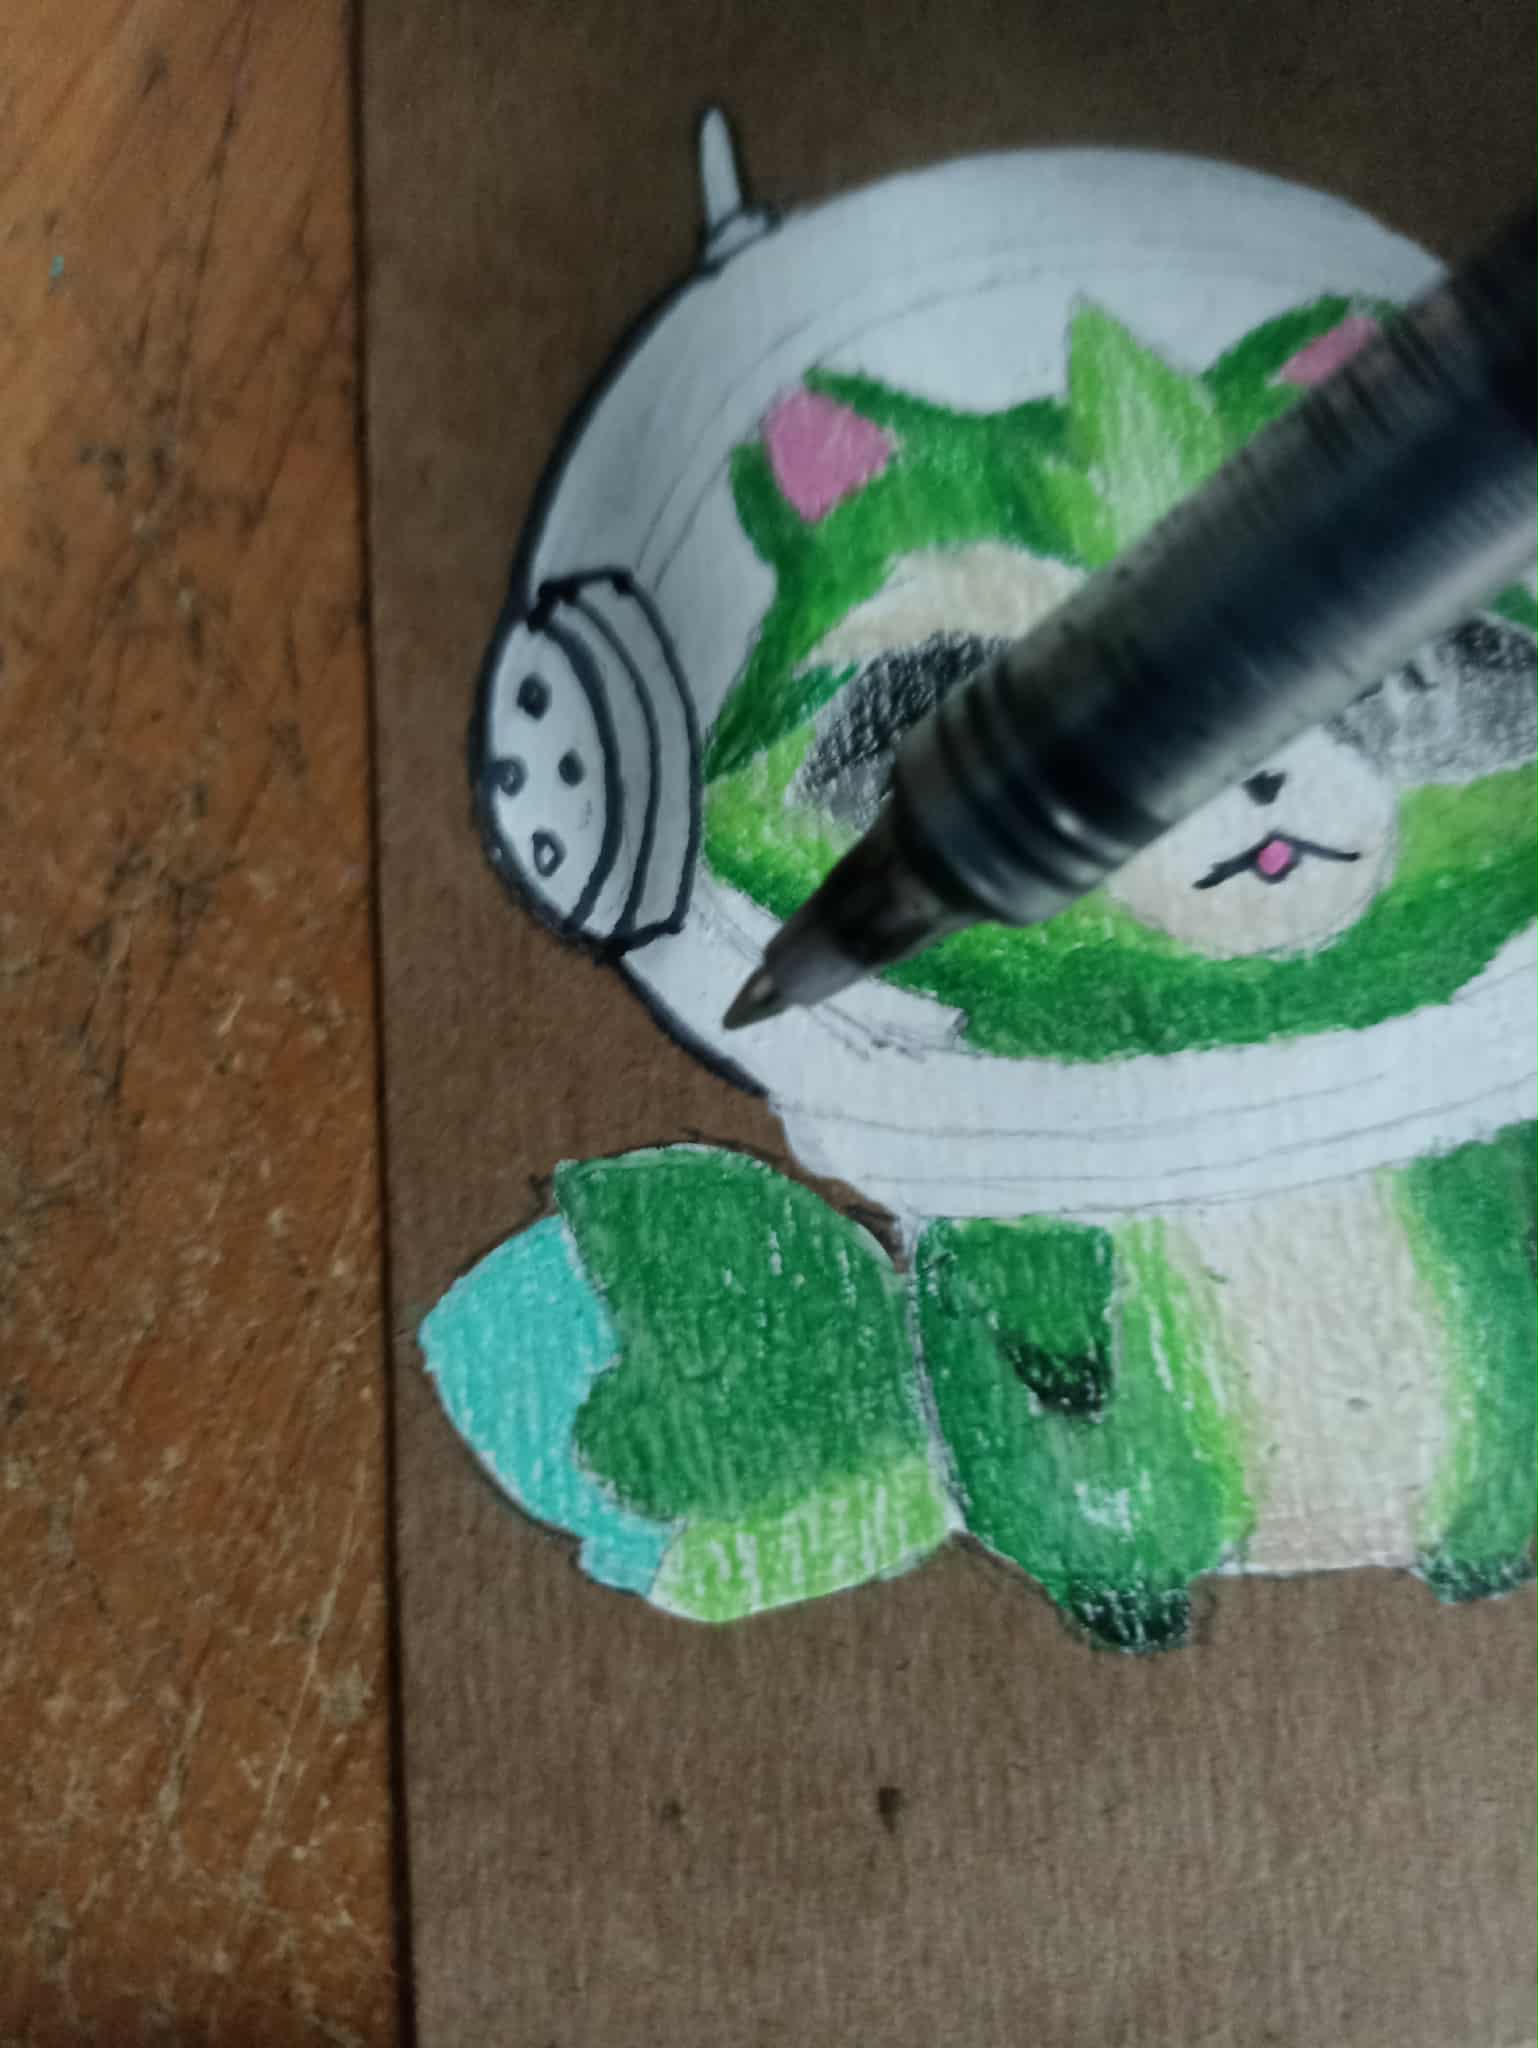
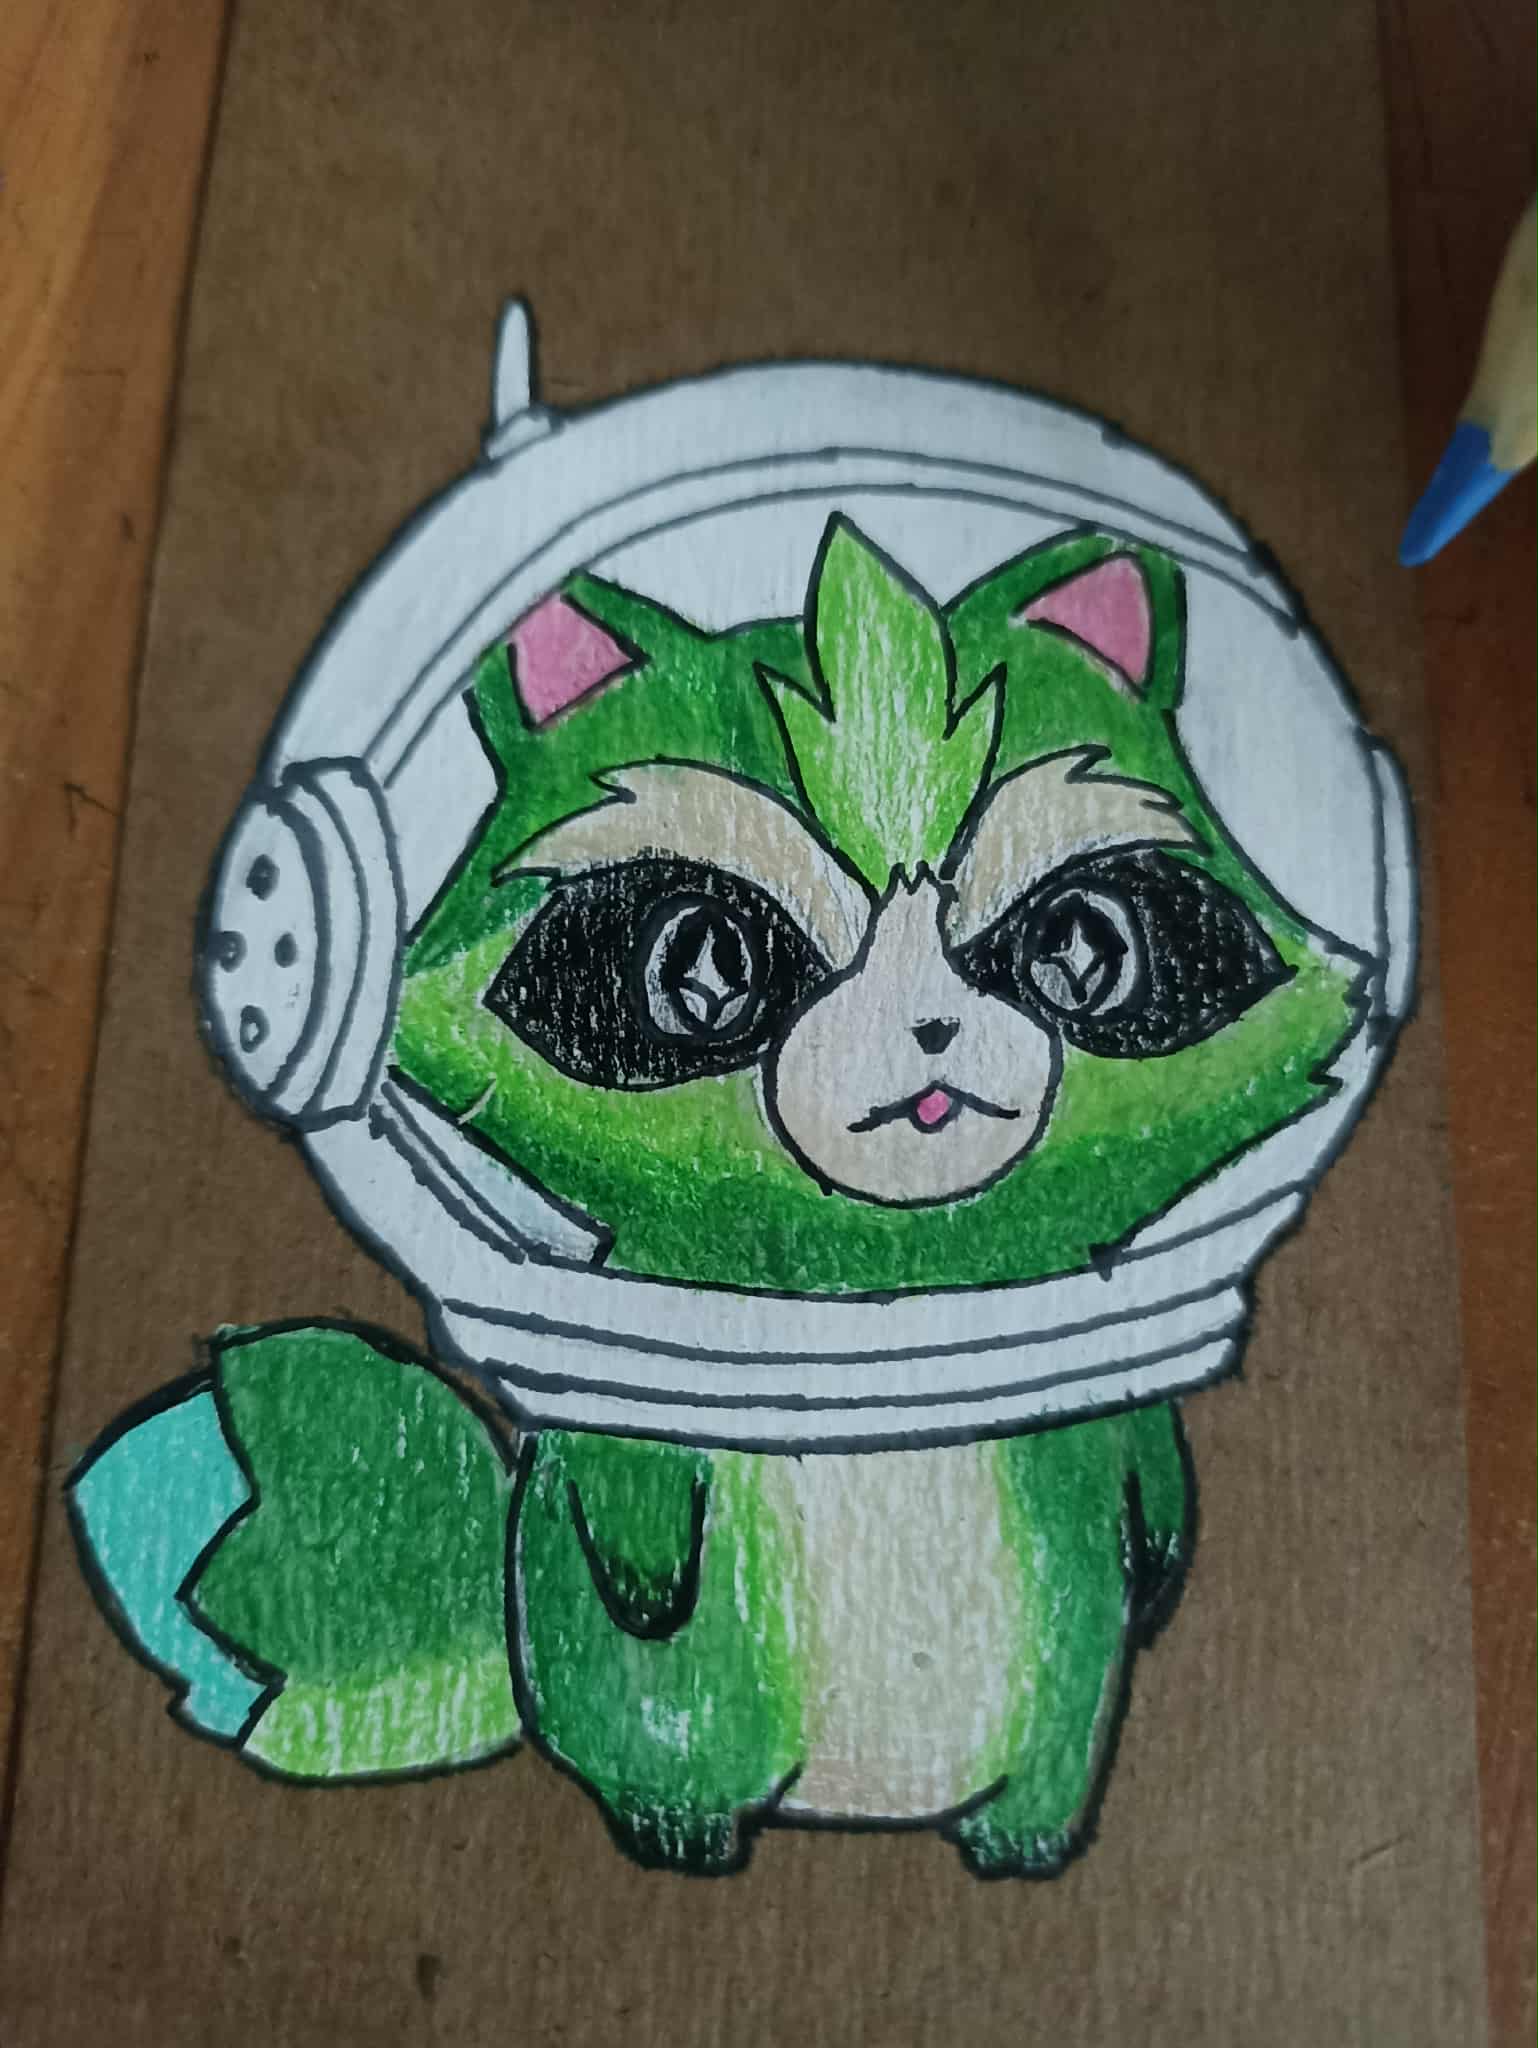
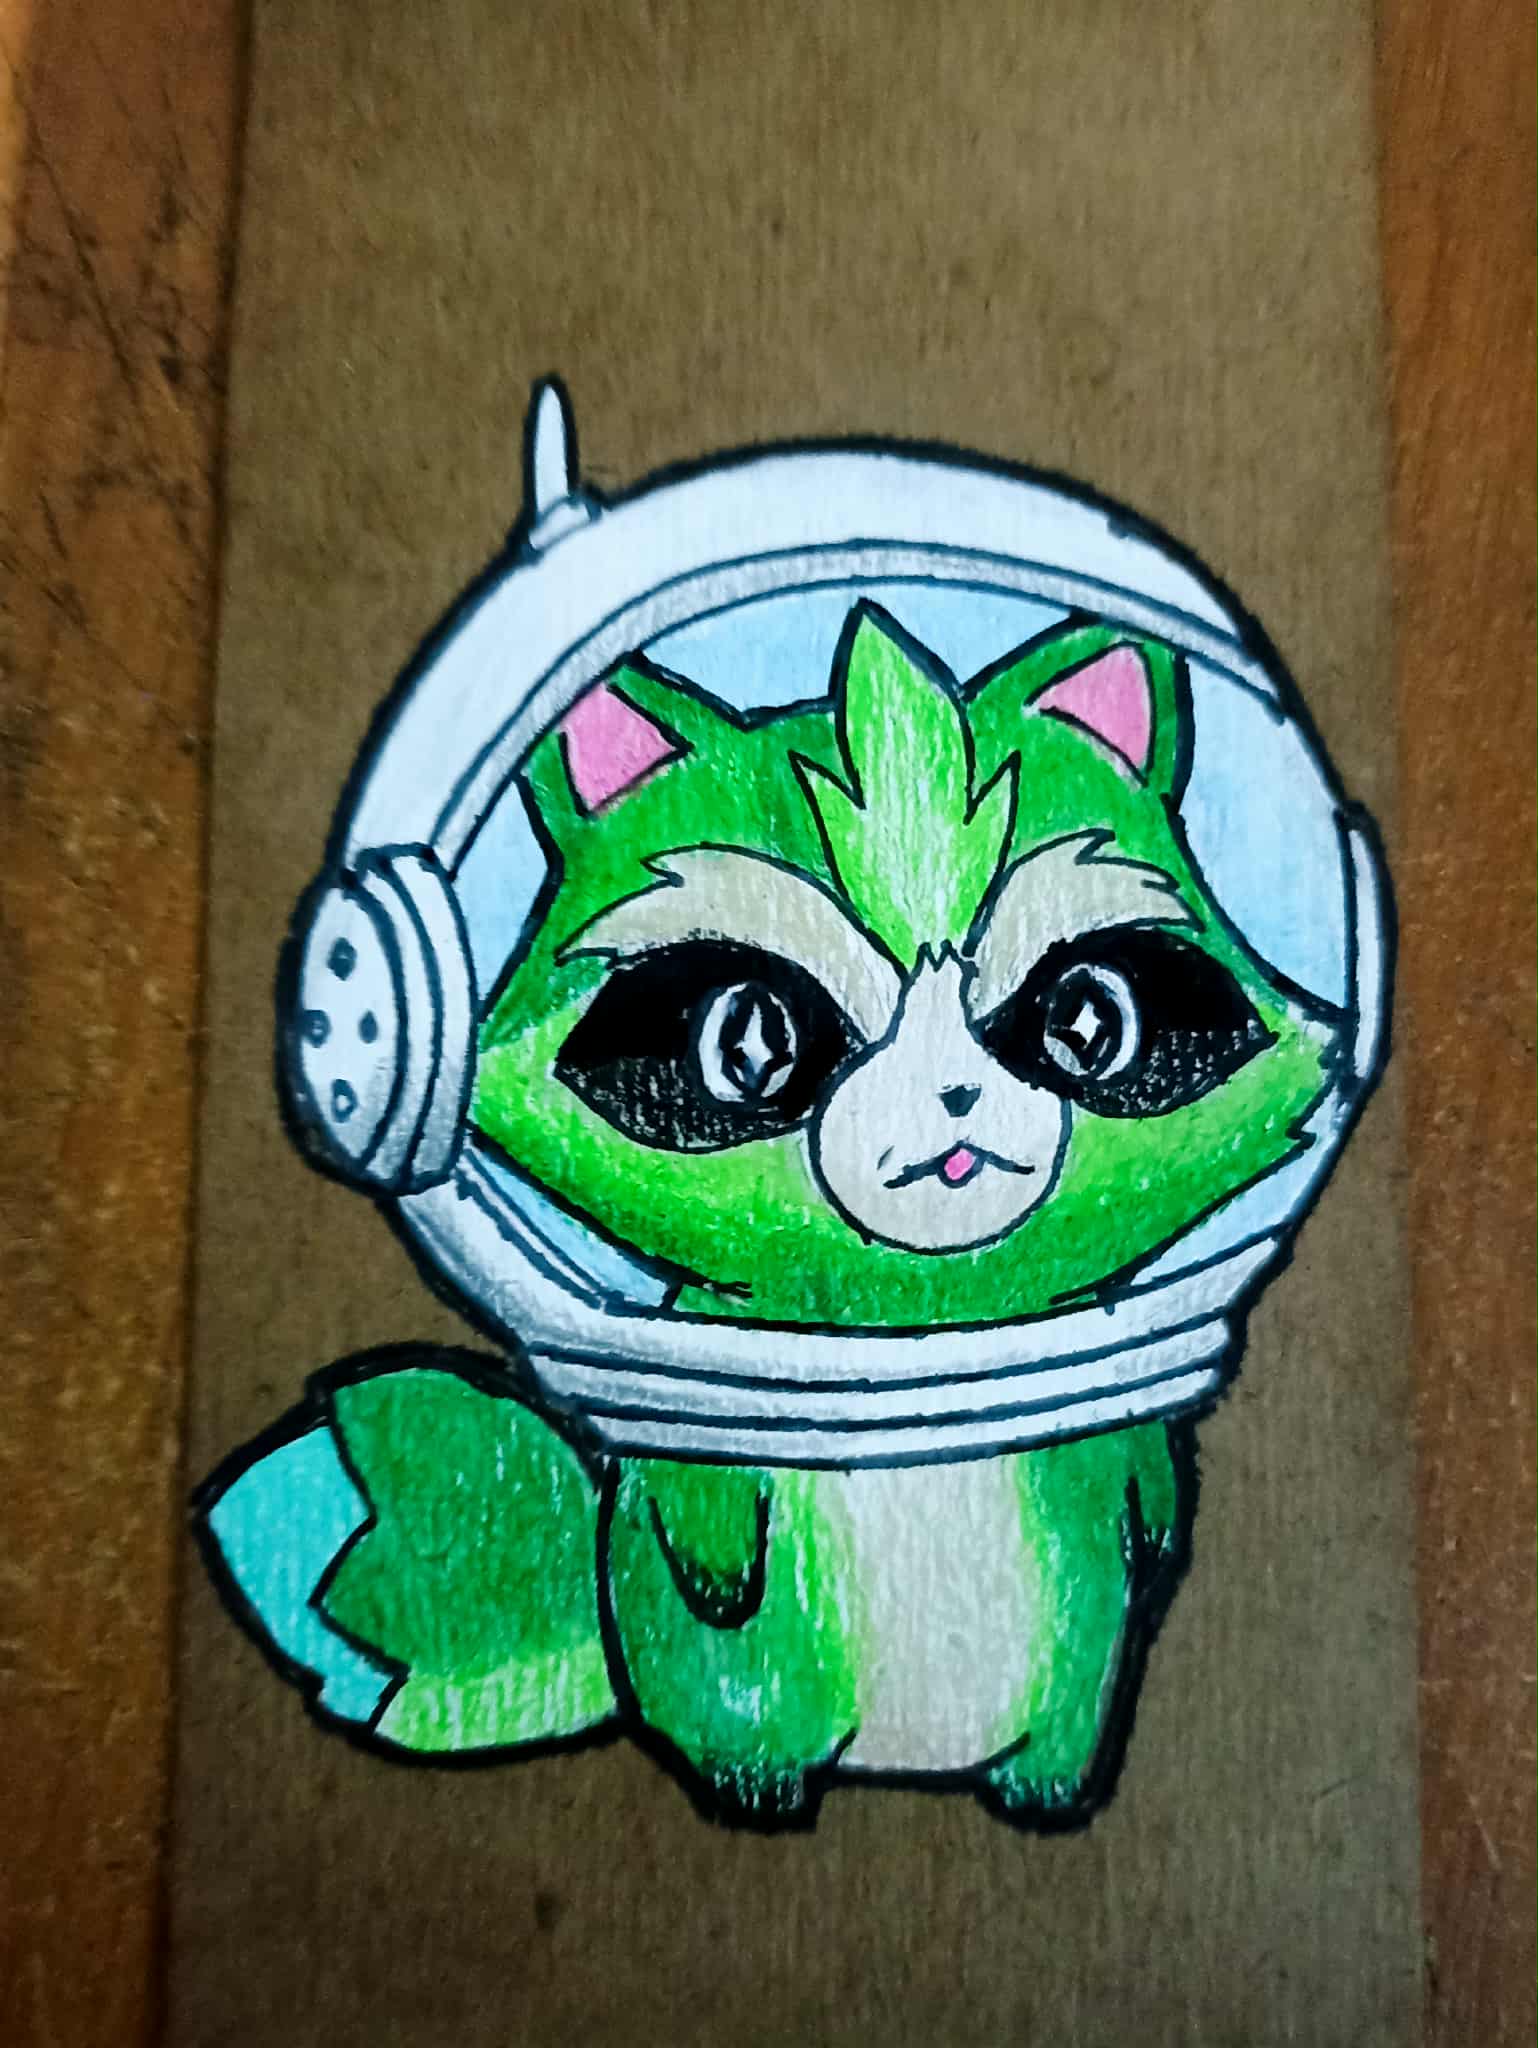
Next, I continue painting the rest of the body, including the arms, legs, and tail. I use the same colors I'd used to paint the face, only adding extra shades when necessary. Then, using an ultra-fine marker, I outlined all the lines of the drawing so it was more visible, especially along the outer edges.
Después continúo pintando el resto del cuerpo, como los brazos, las pierna sy también la cola. Utilizando los mismos colores que hasta ahora había utilizando para pintar el rostro, solo agregando tonos extras cuando fuera necesario. Después con un marcador ultra fina fuí delineando todos los trazos del dibujo para que pudiera notarse mejor, especialmente en los bordes exteriores.
 |
 |
|
|---|---|---|
 |
 |
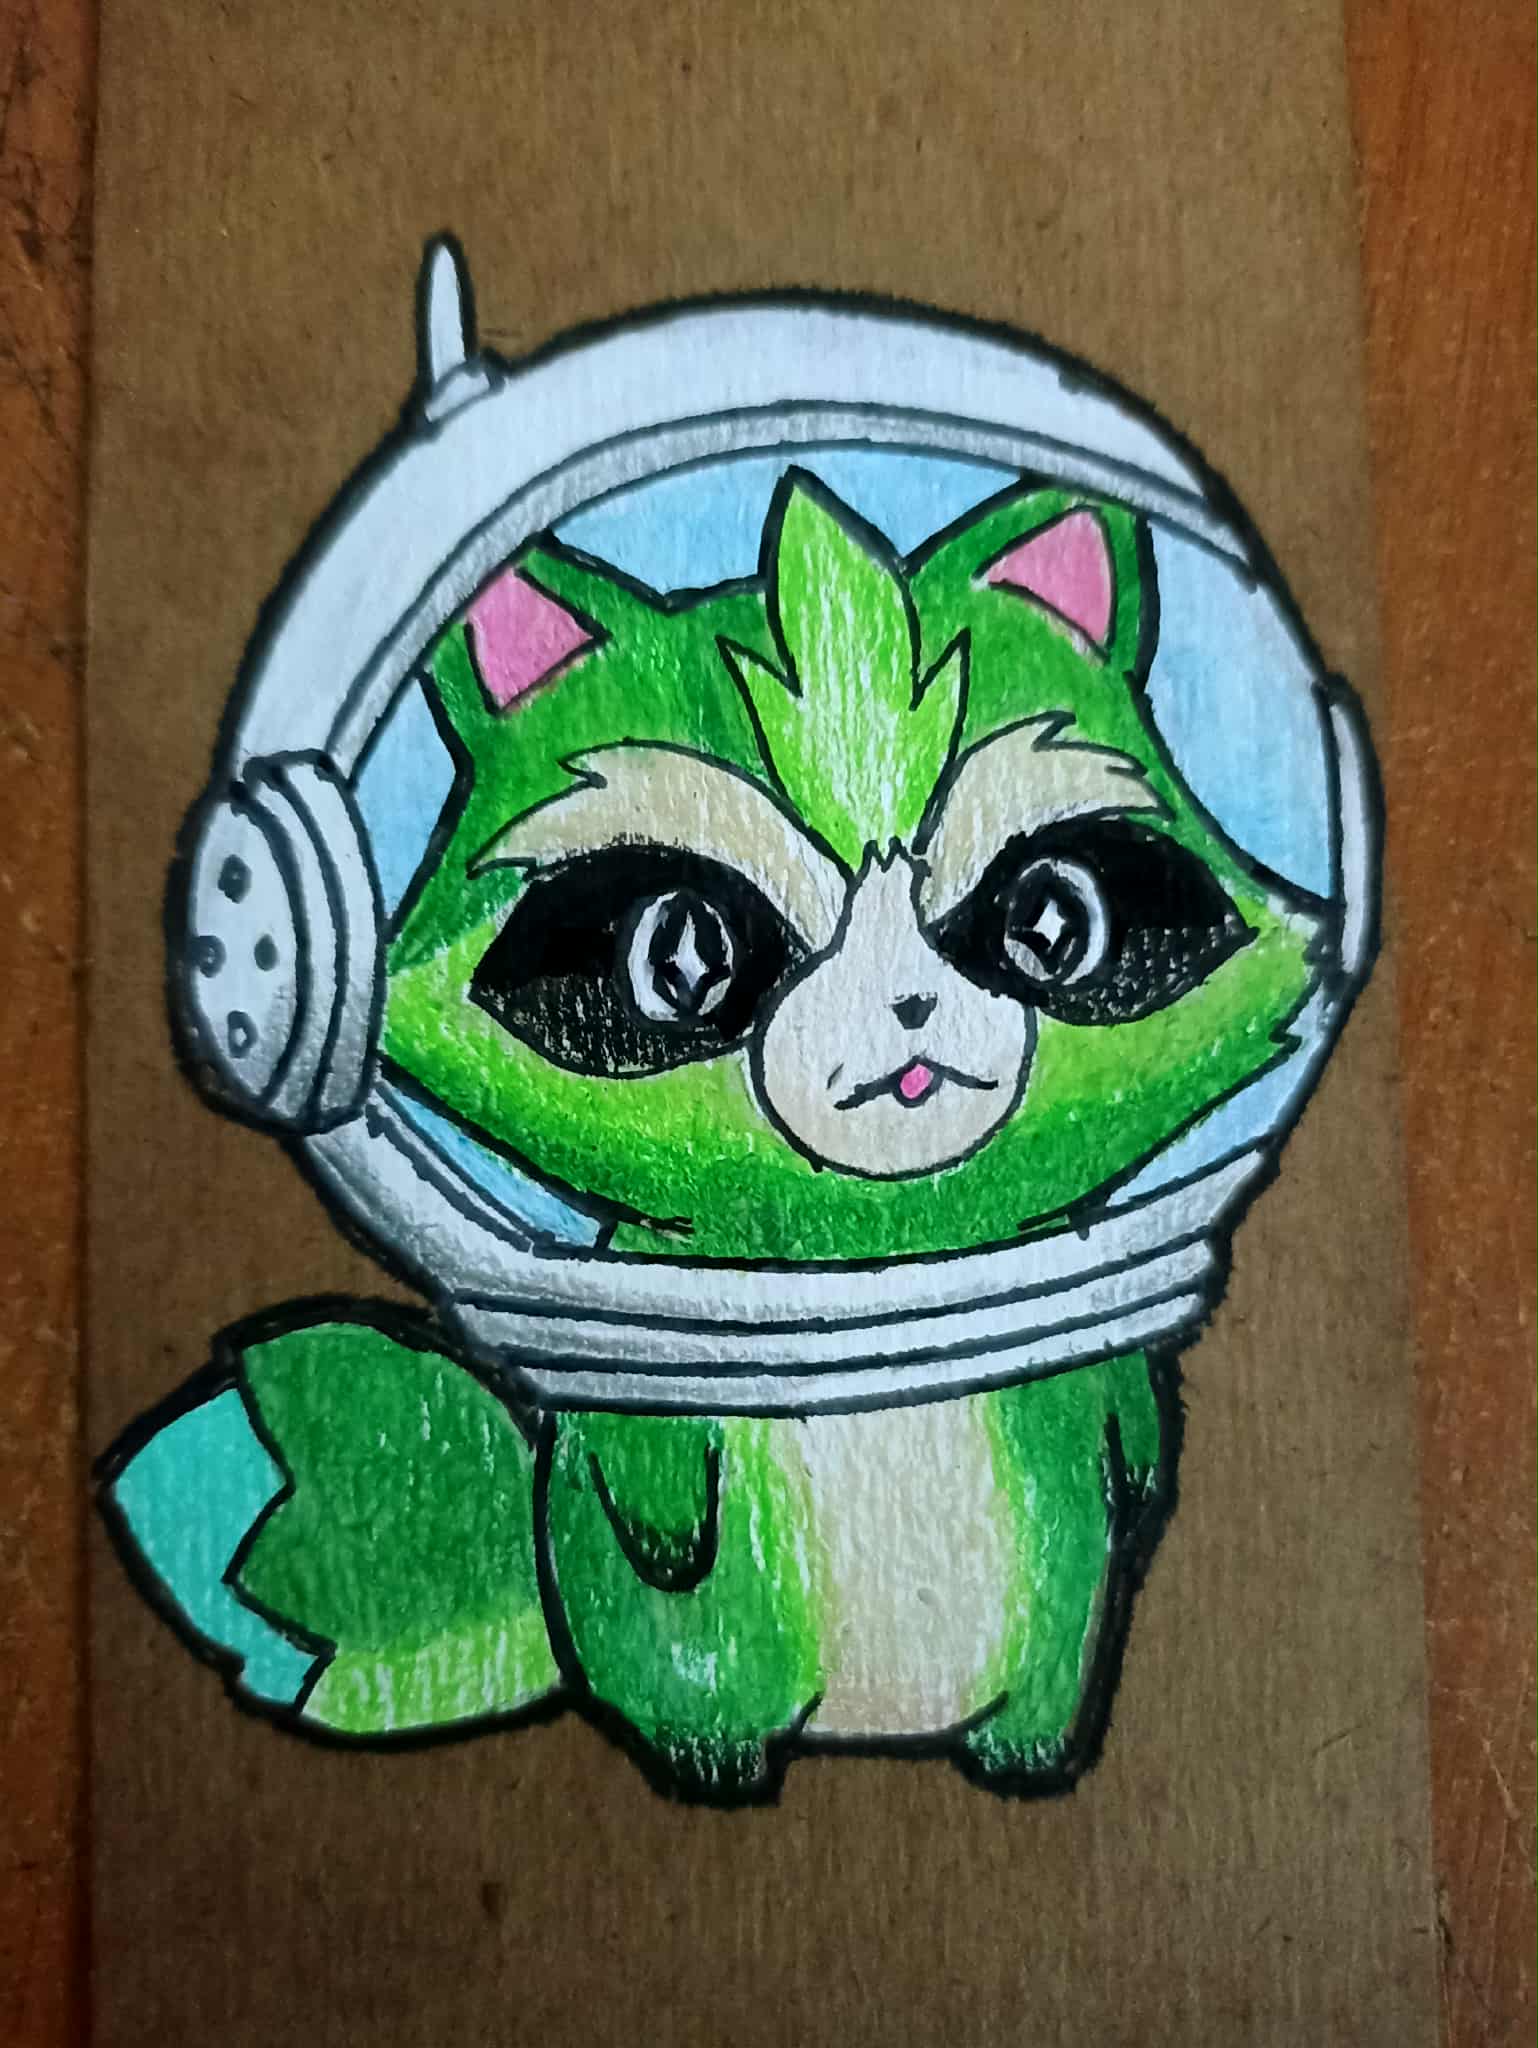
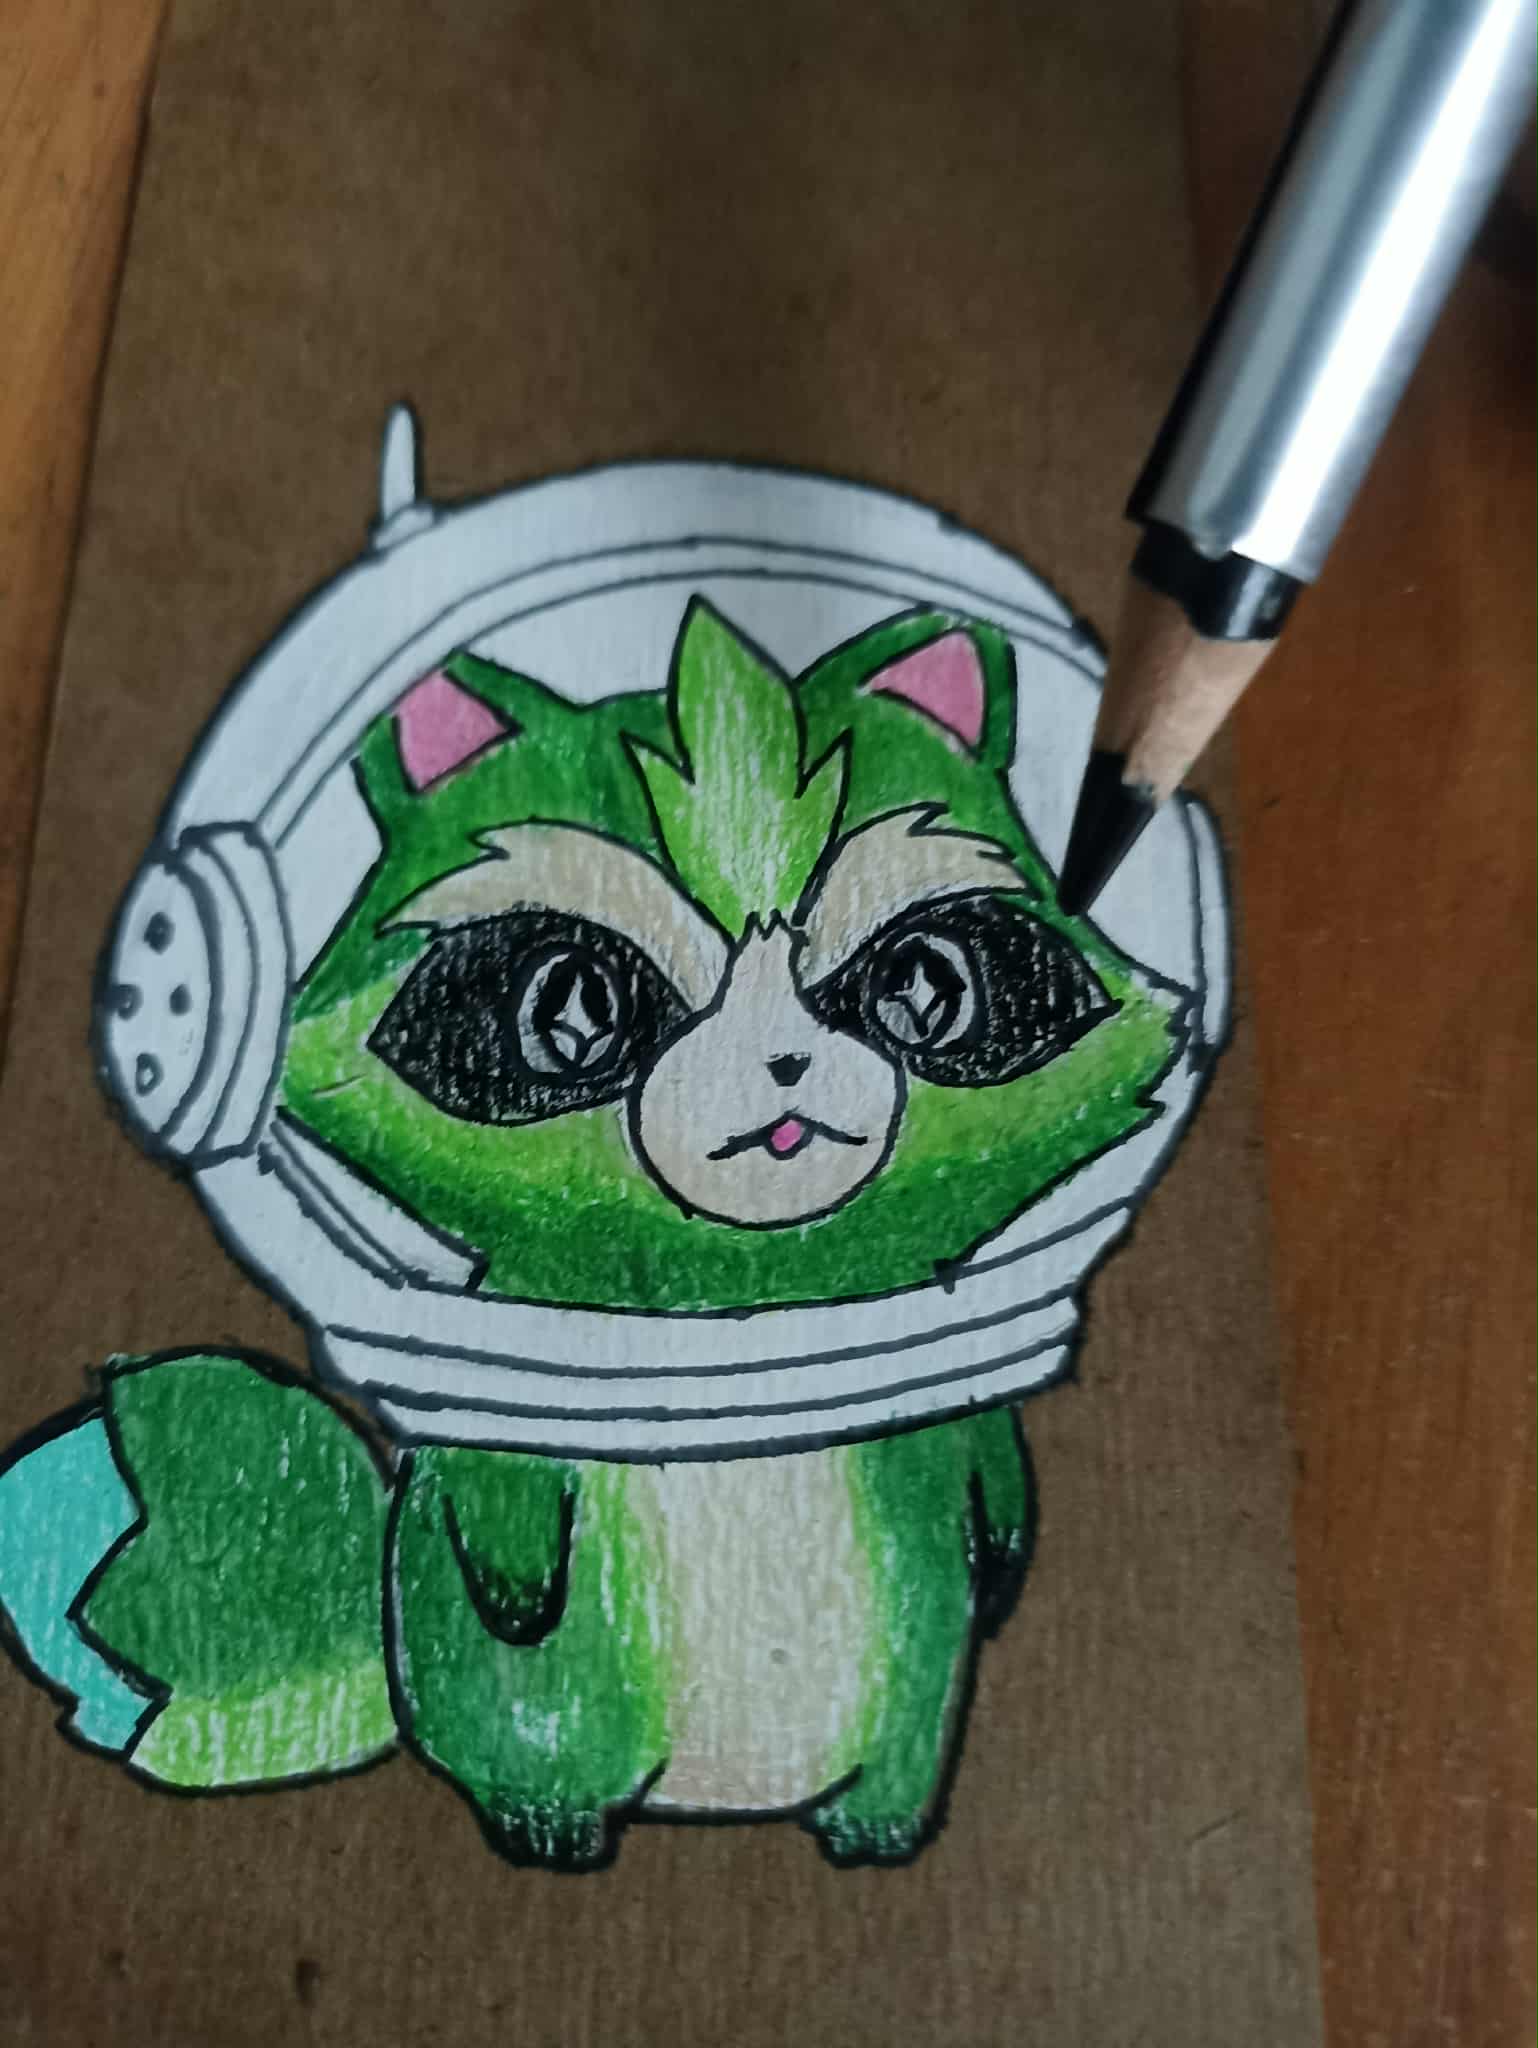
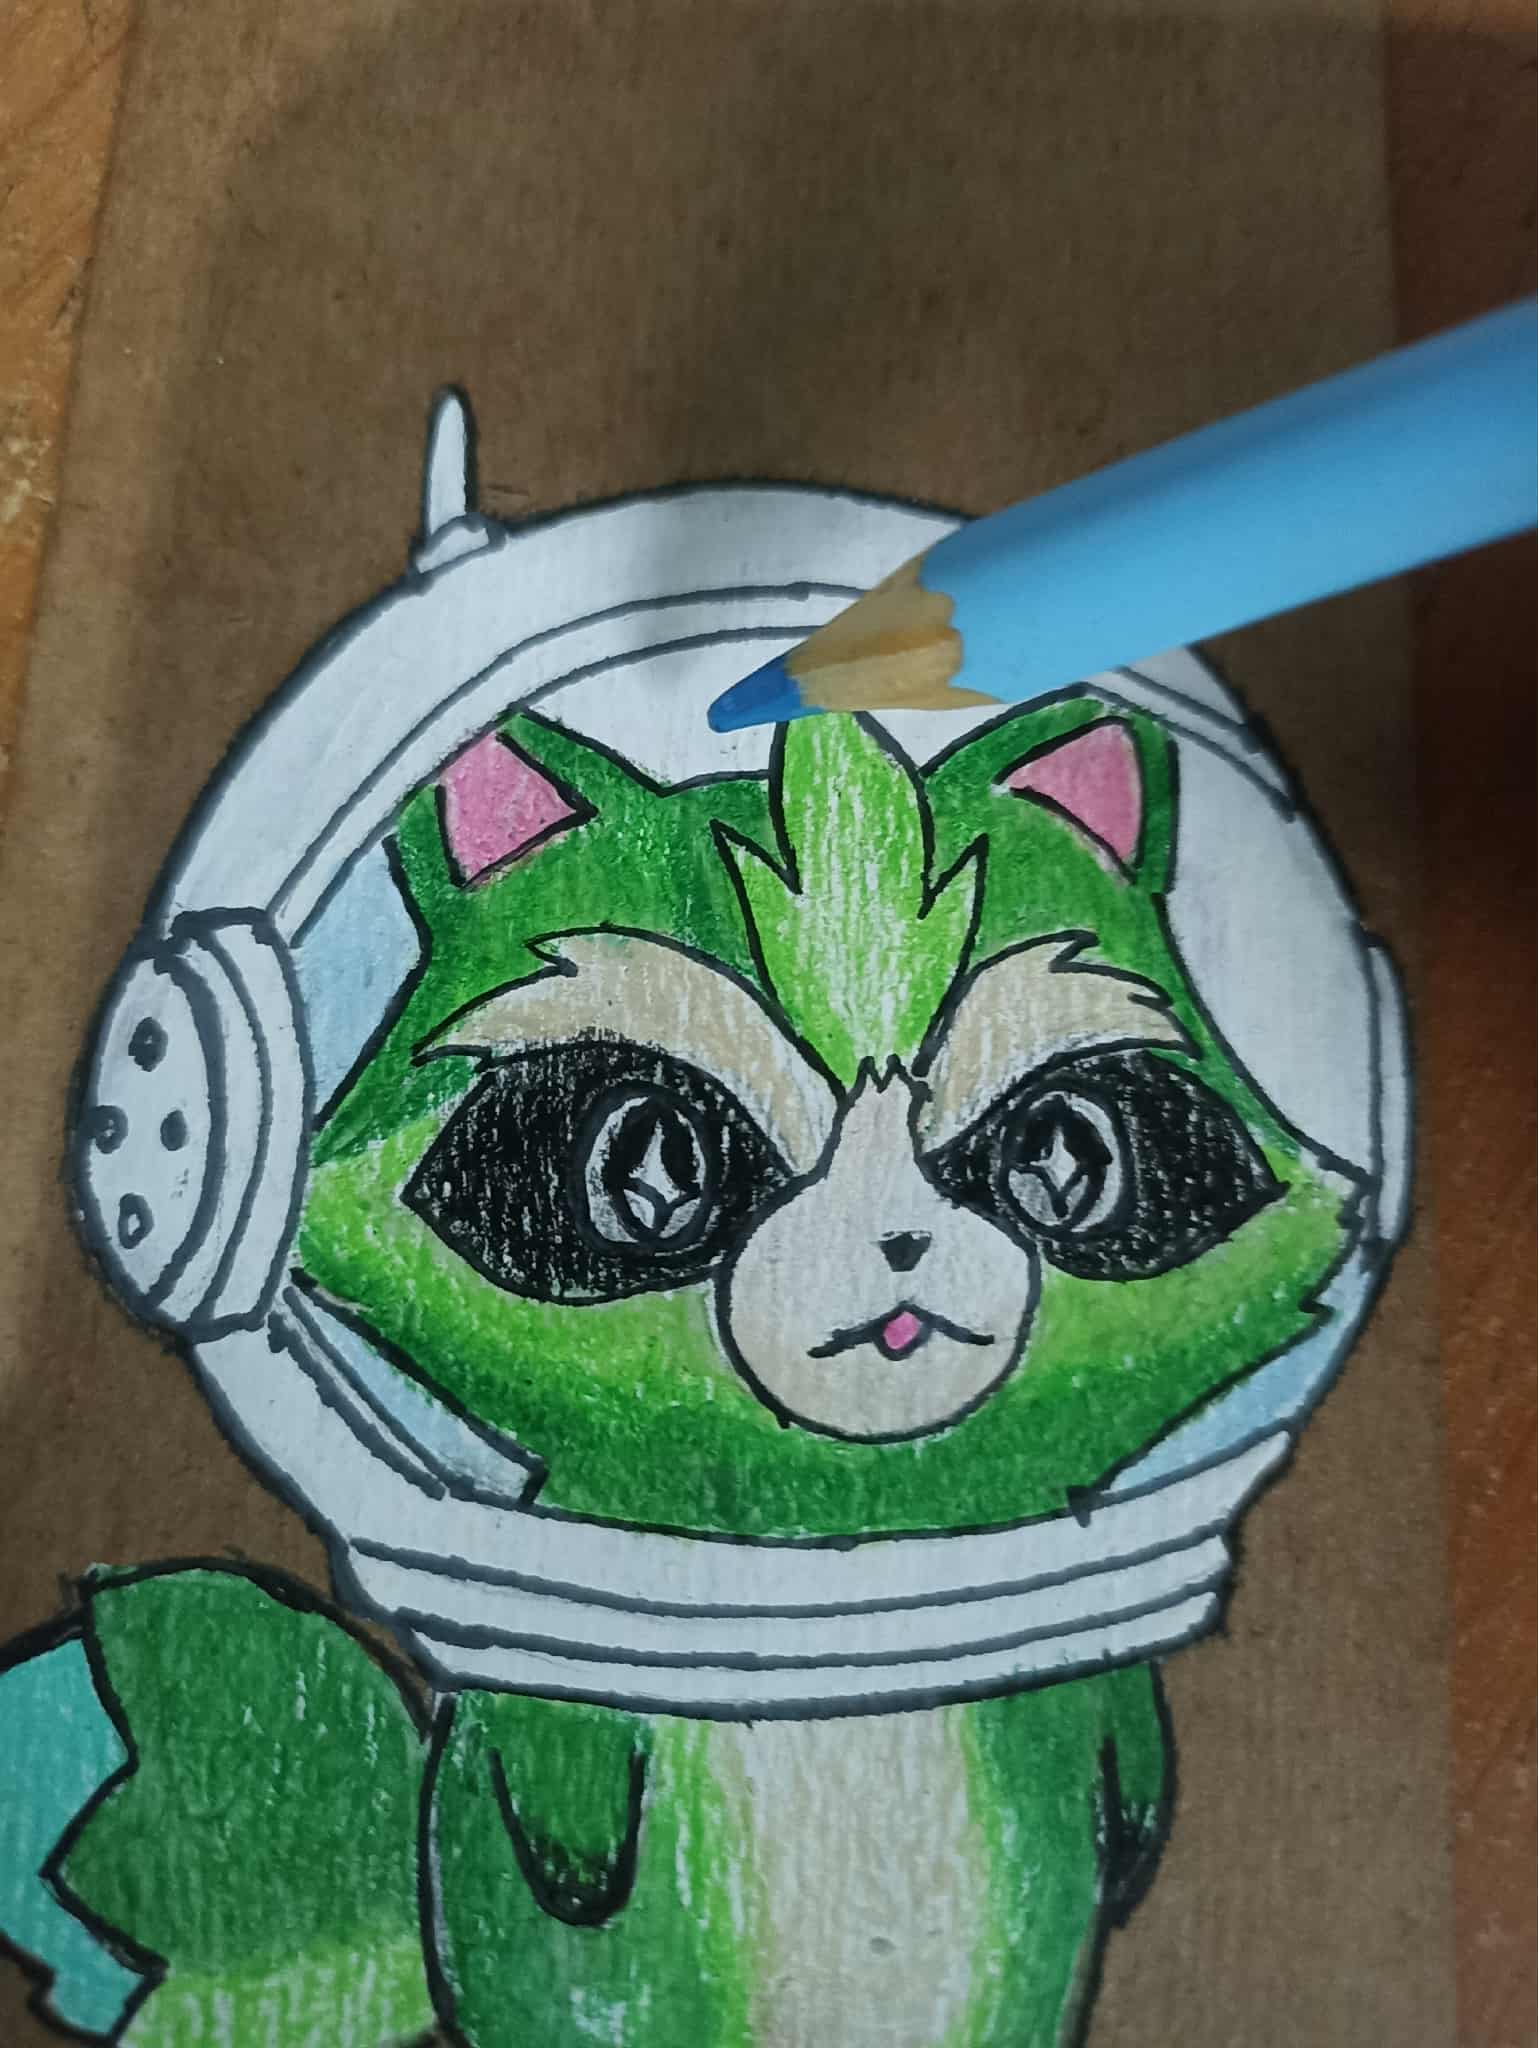
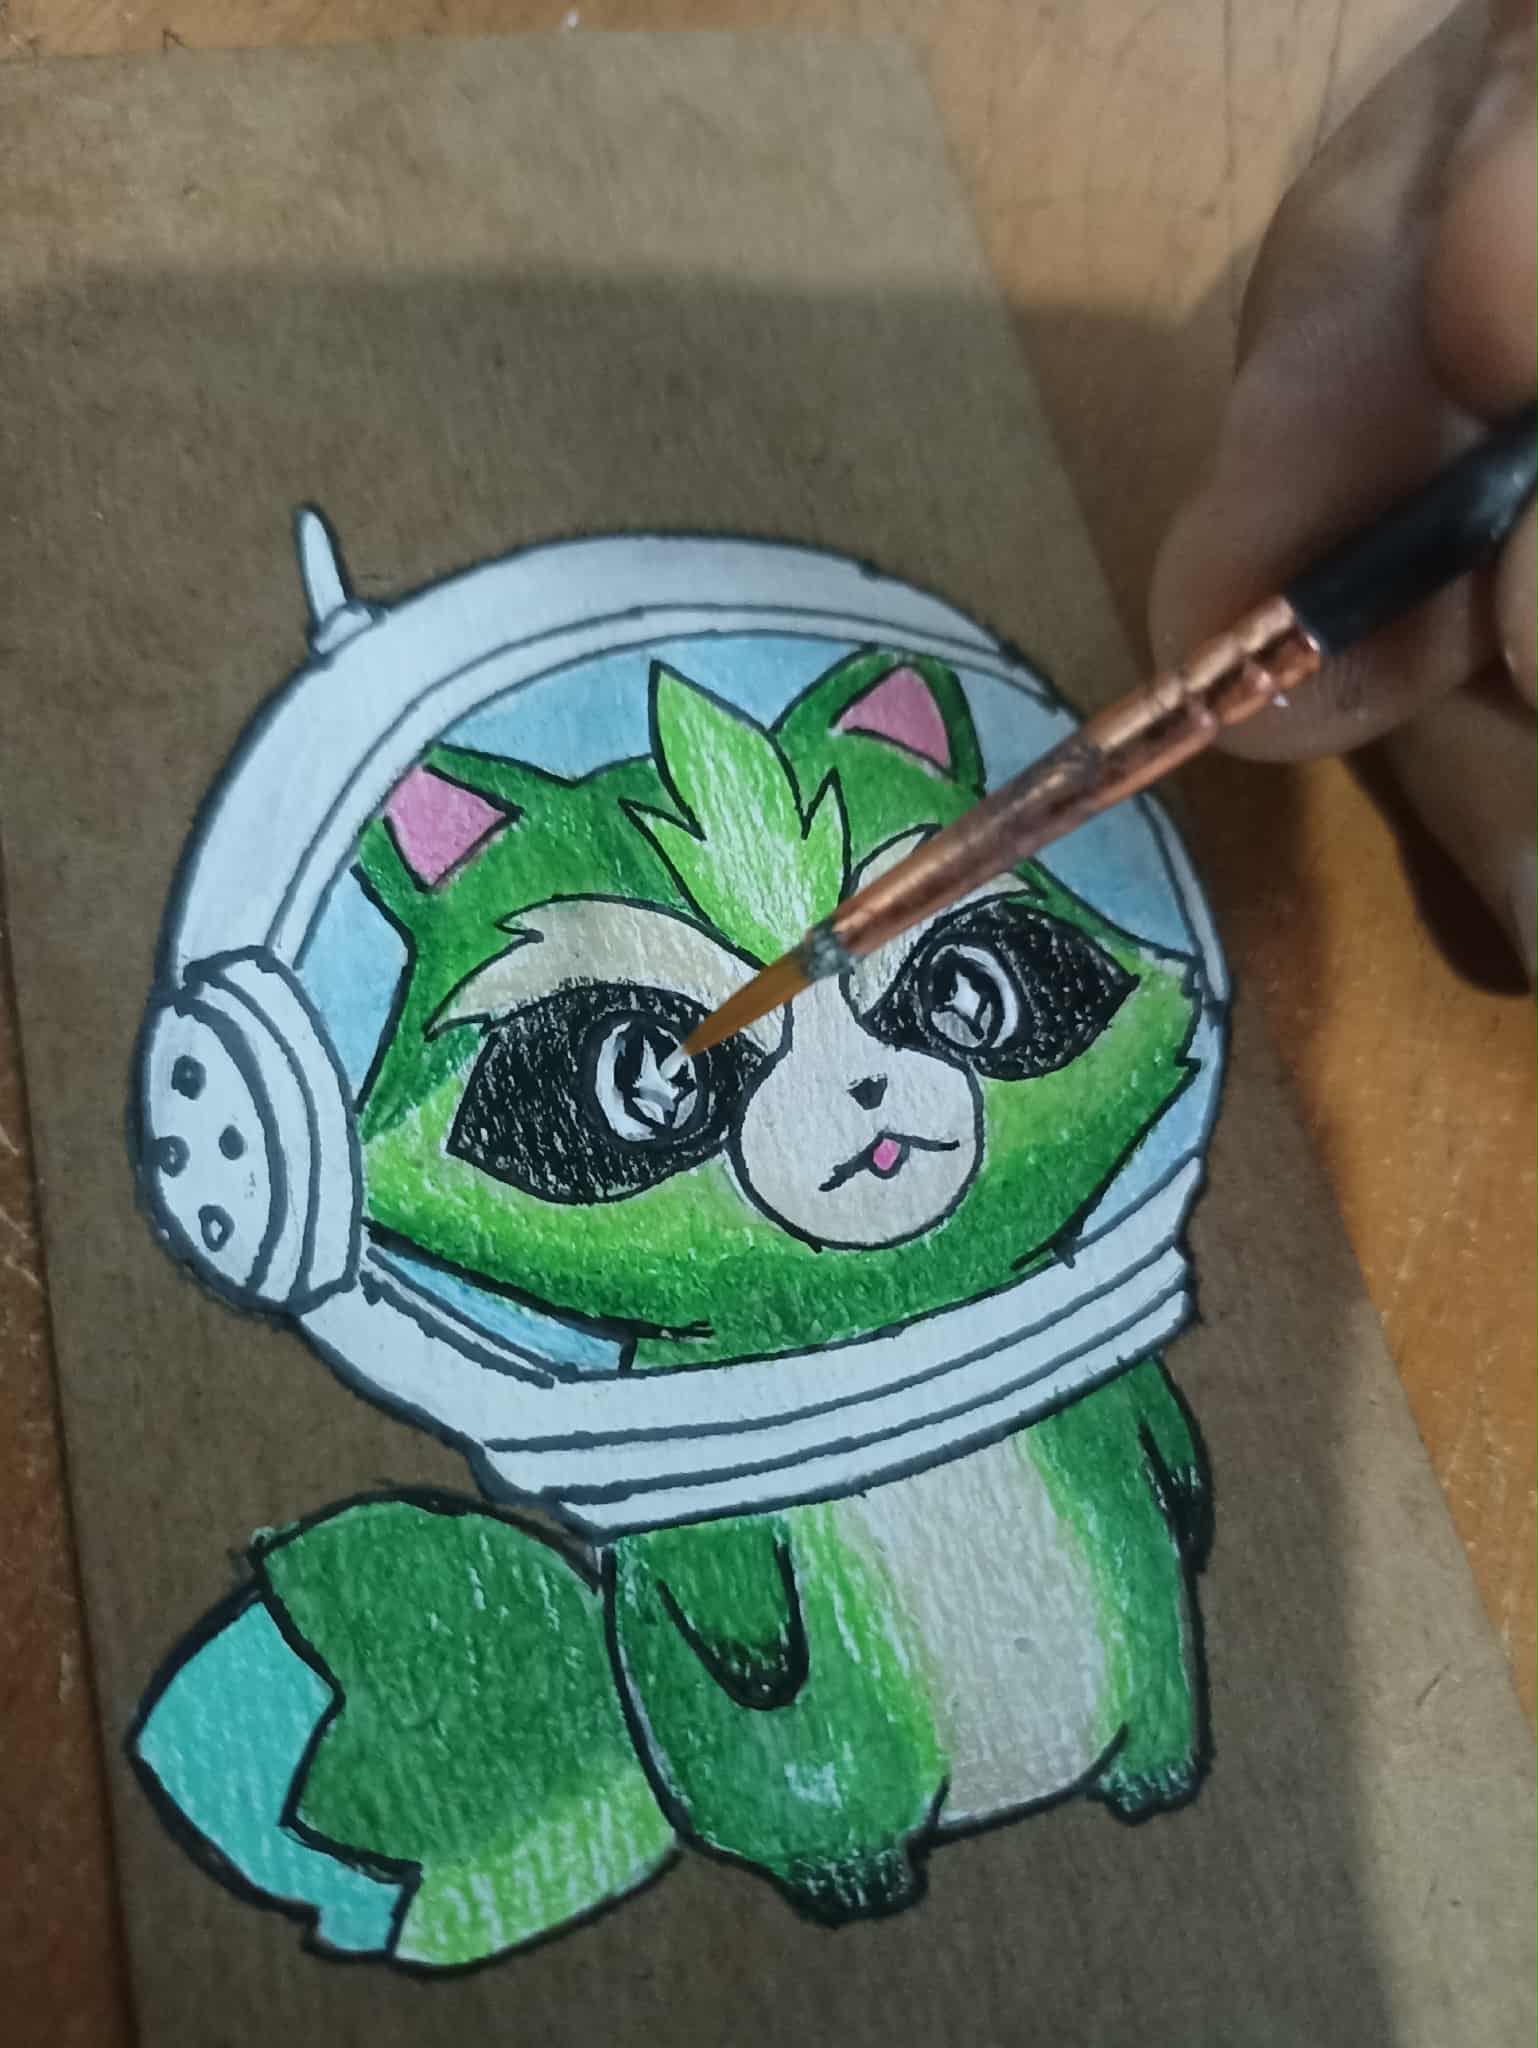
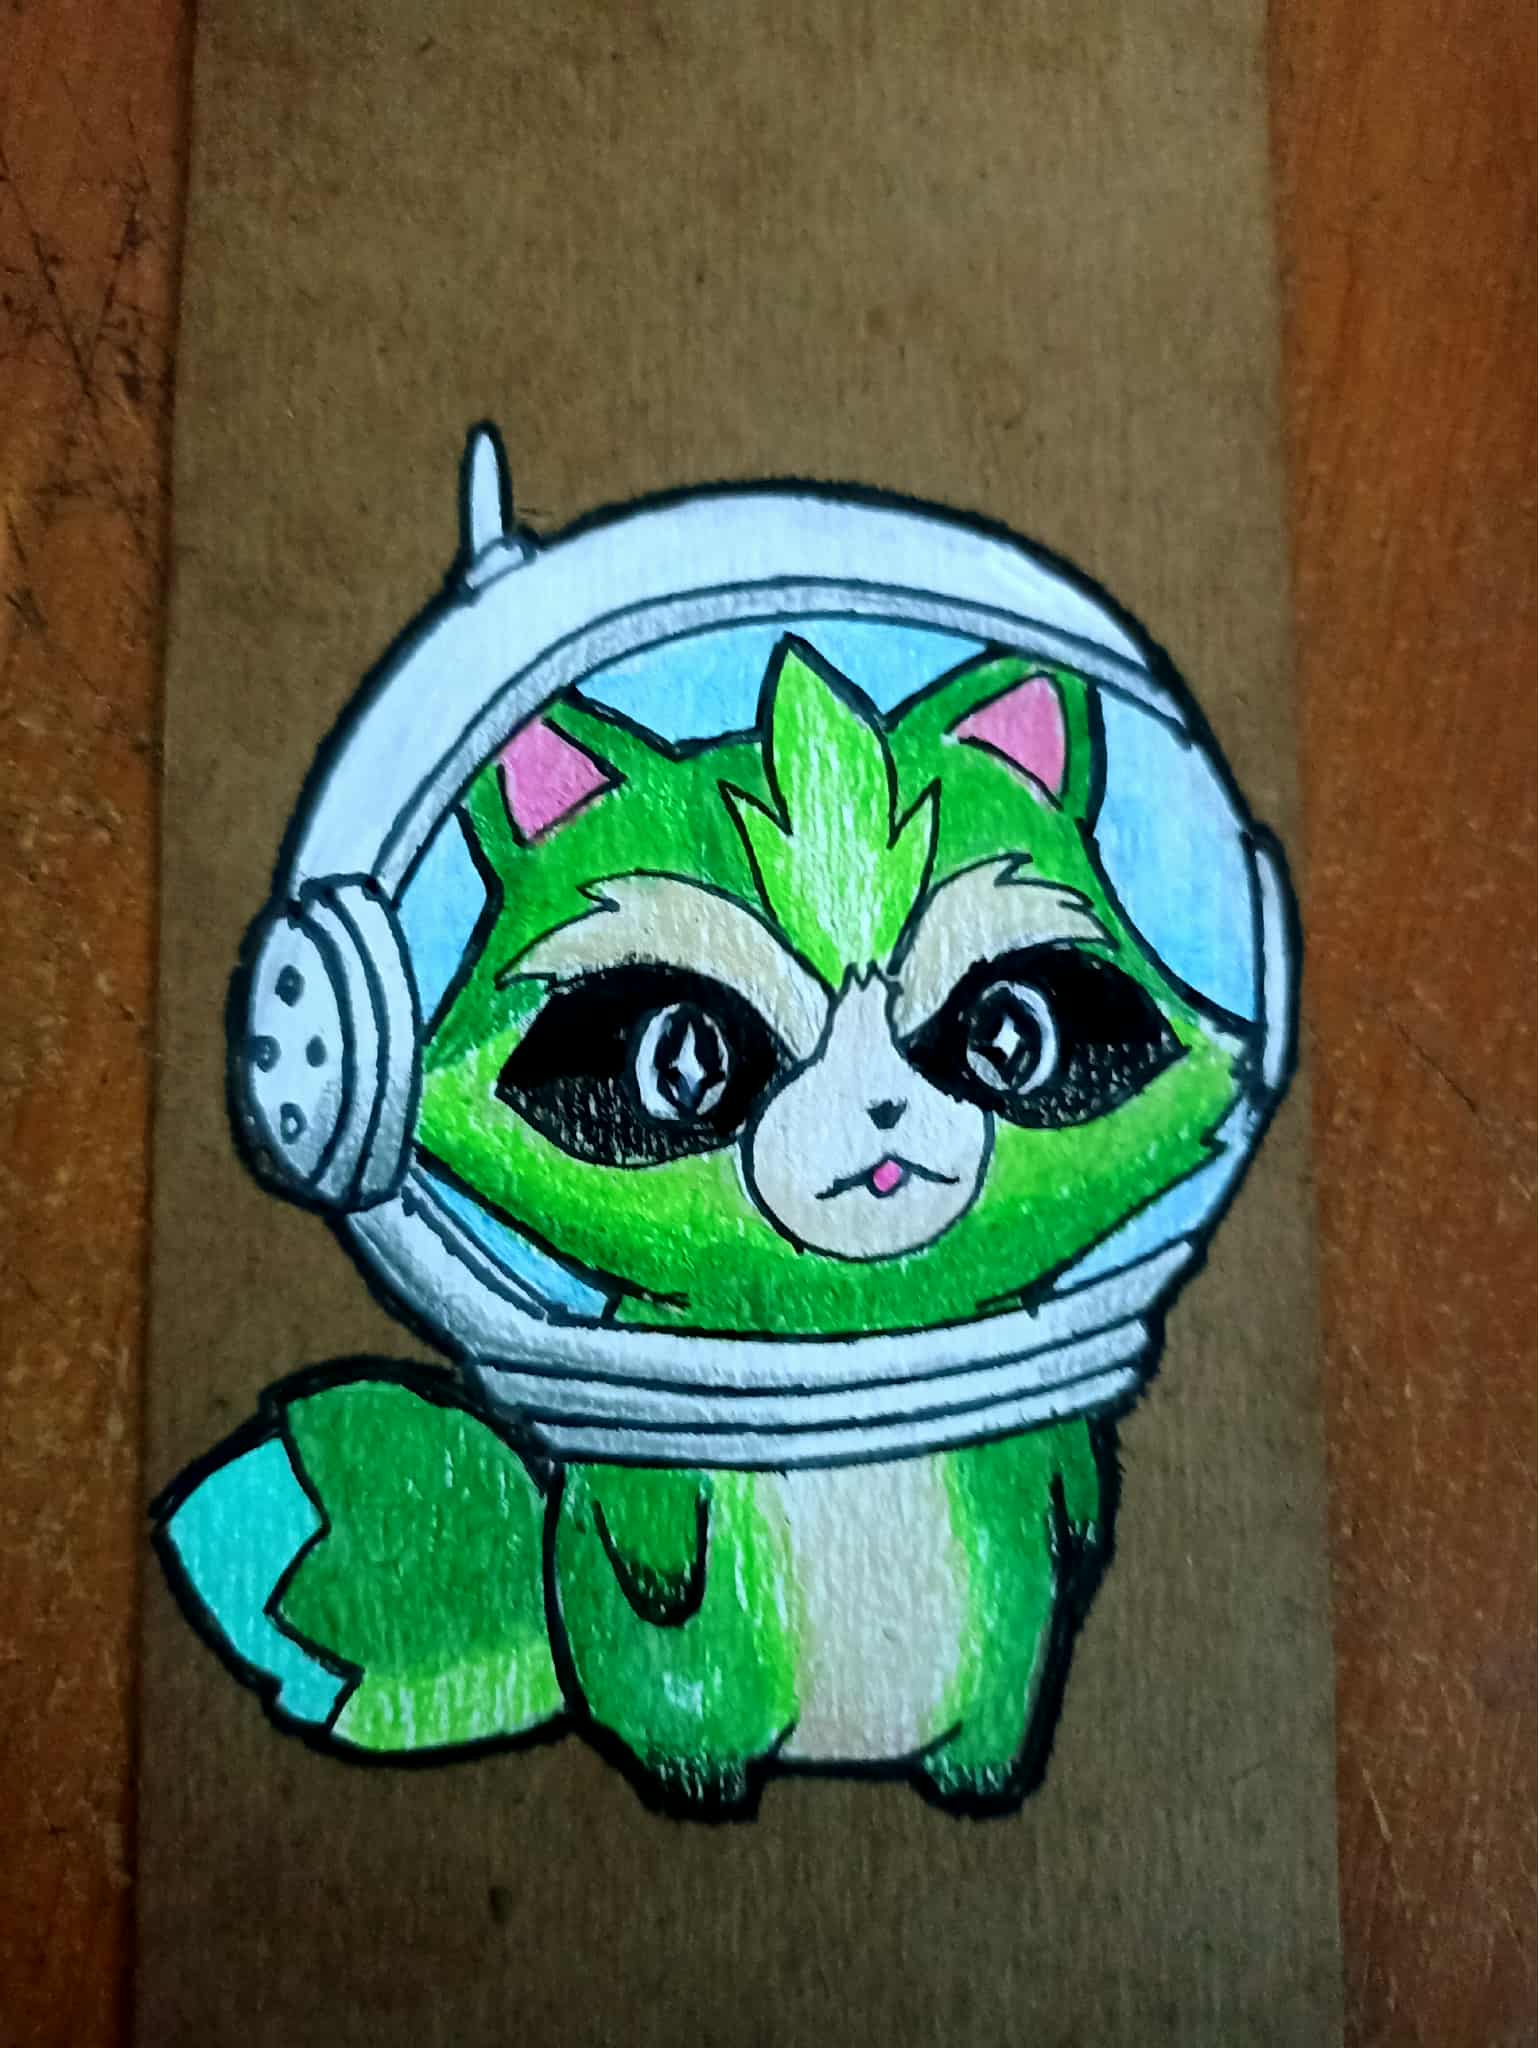
Then, to add more atmosphere to the drawing, I added a bit of blue inside the helmet to give the impression of a background so the face doesn't float in the white. Then, using a very fine brush and white paint, I corrected some small details and added others, especially outlining the eyes a little more. After this, the drawing was finished.
Después para agregarle más atmósfera al dibujo agrego en el interior del casco un poco de color azul, como para dar la sensación de un fondo y así el rostro no quede flotando en el color blanco. Luego con un pincel muy fino y pintura blanca voy corrigiendo algunos pequeños detalles, y agregando otros, especialmente delineando un poco mejor los ojos. Después de esto el dibujo quedó finalizado.
FINAL WORK
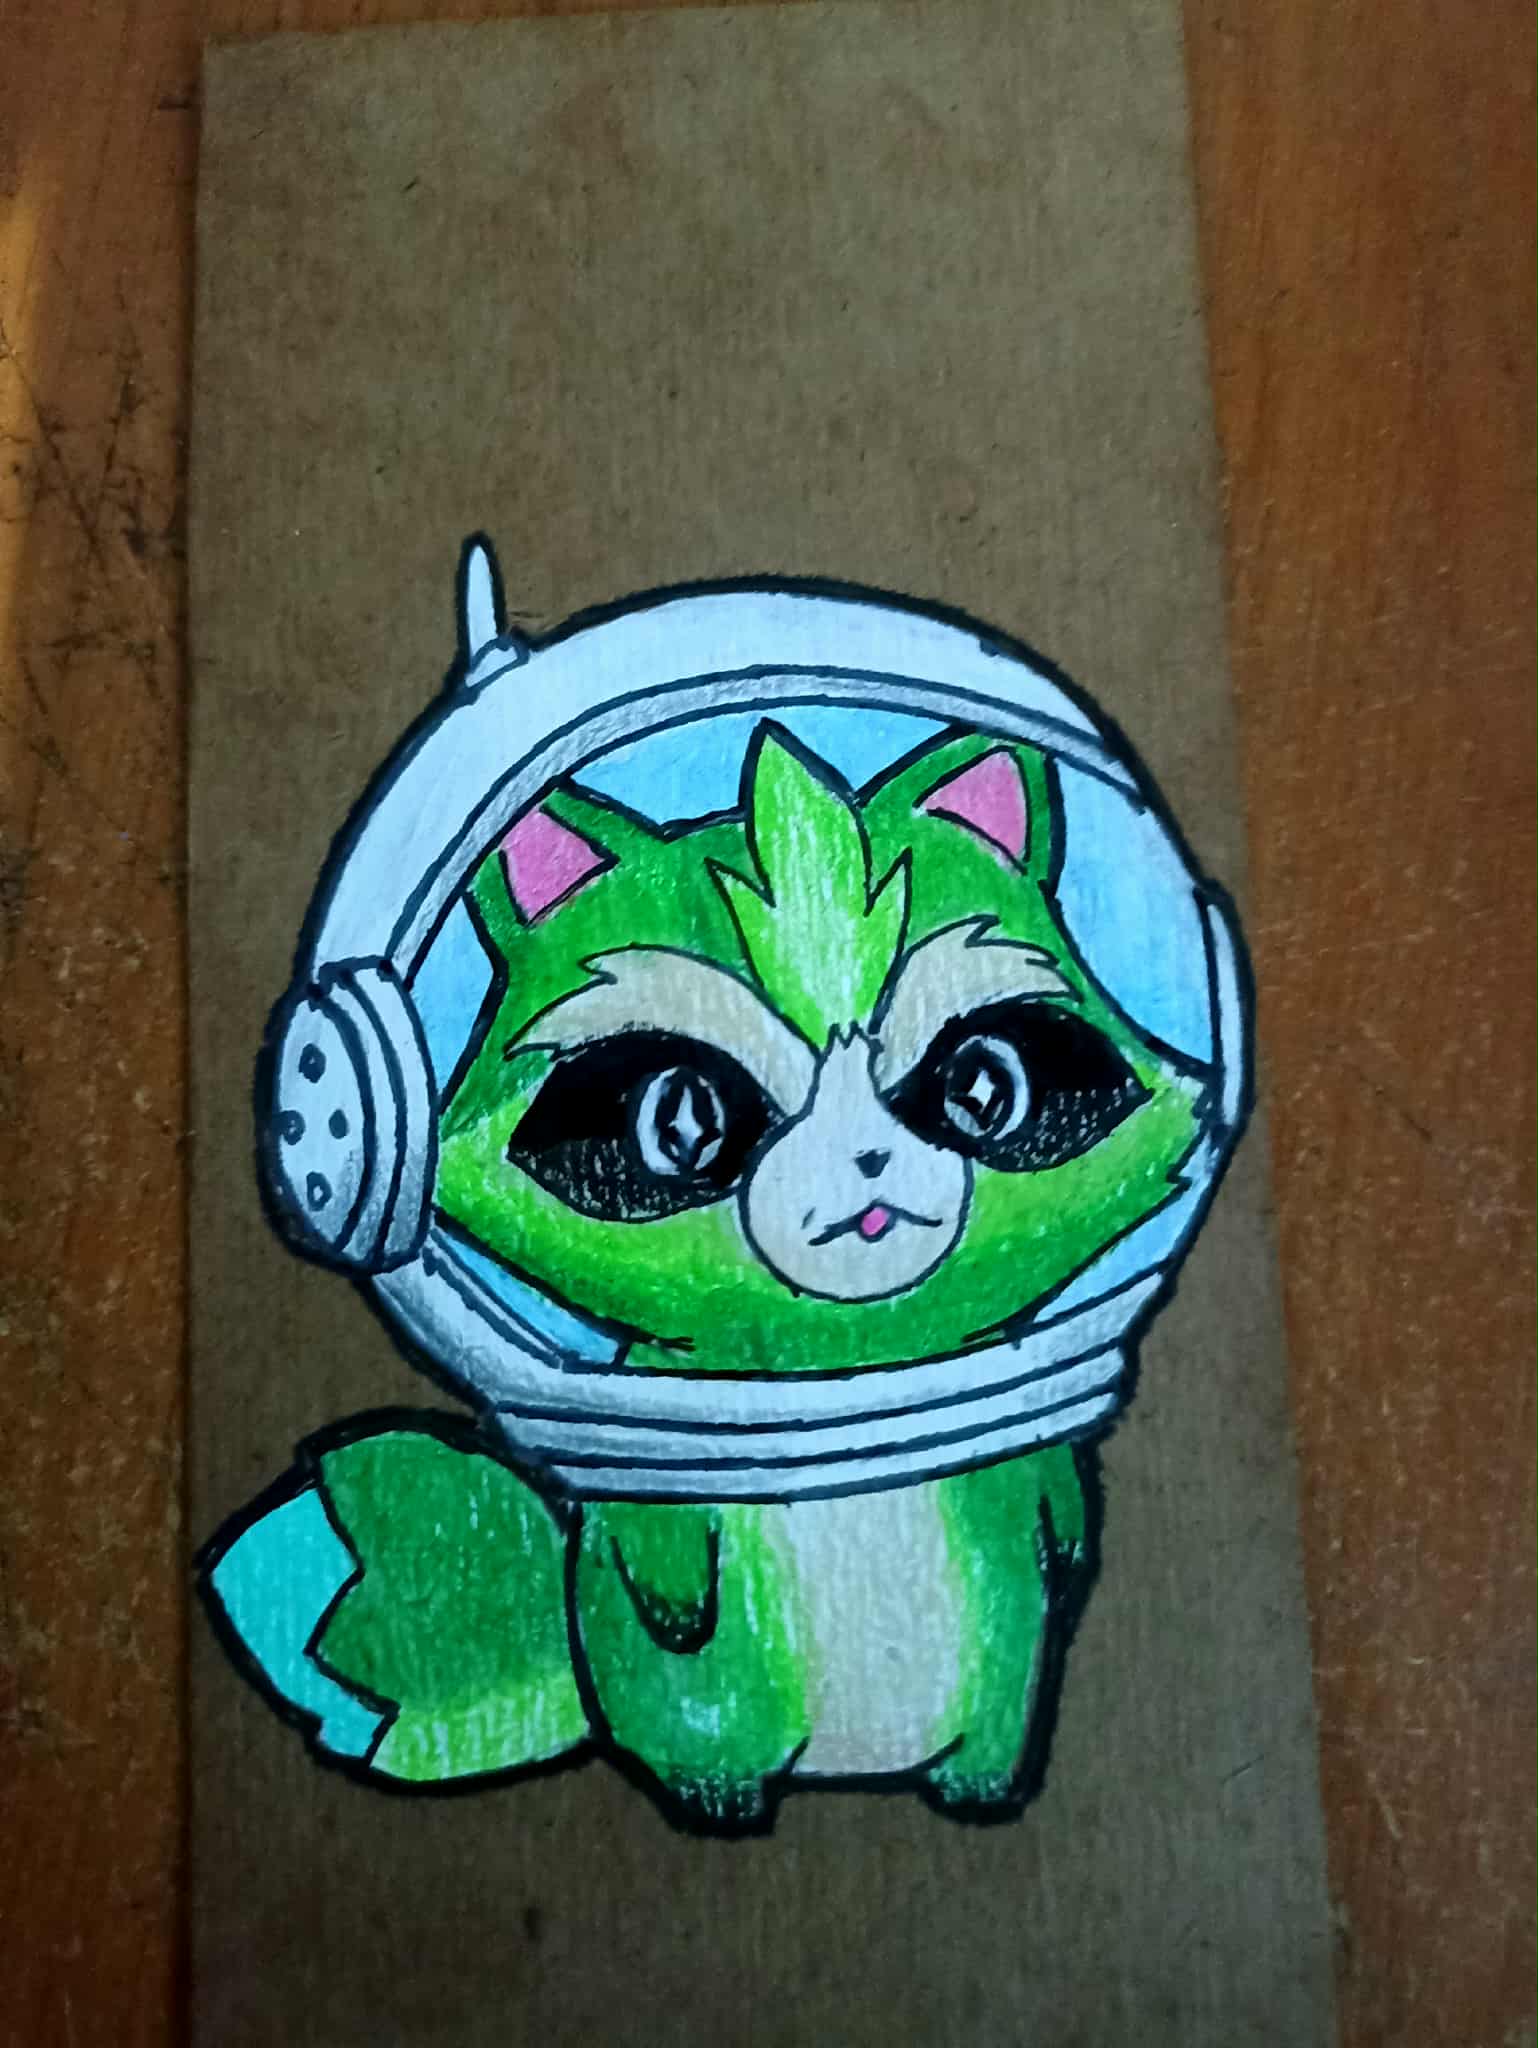

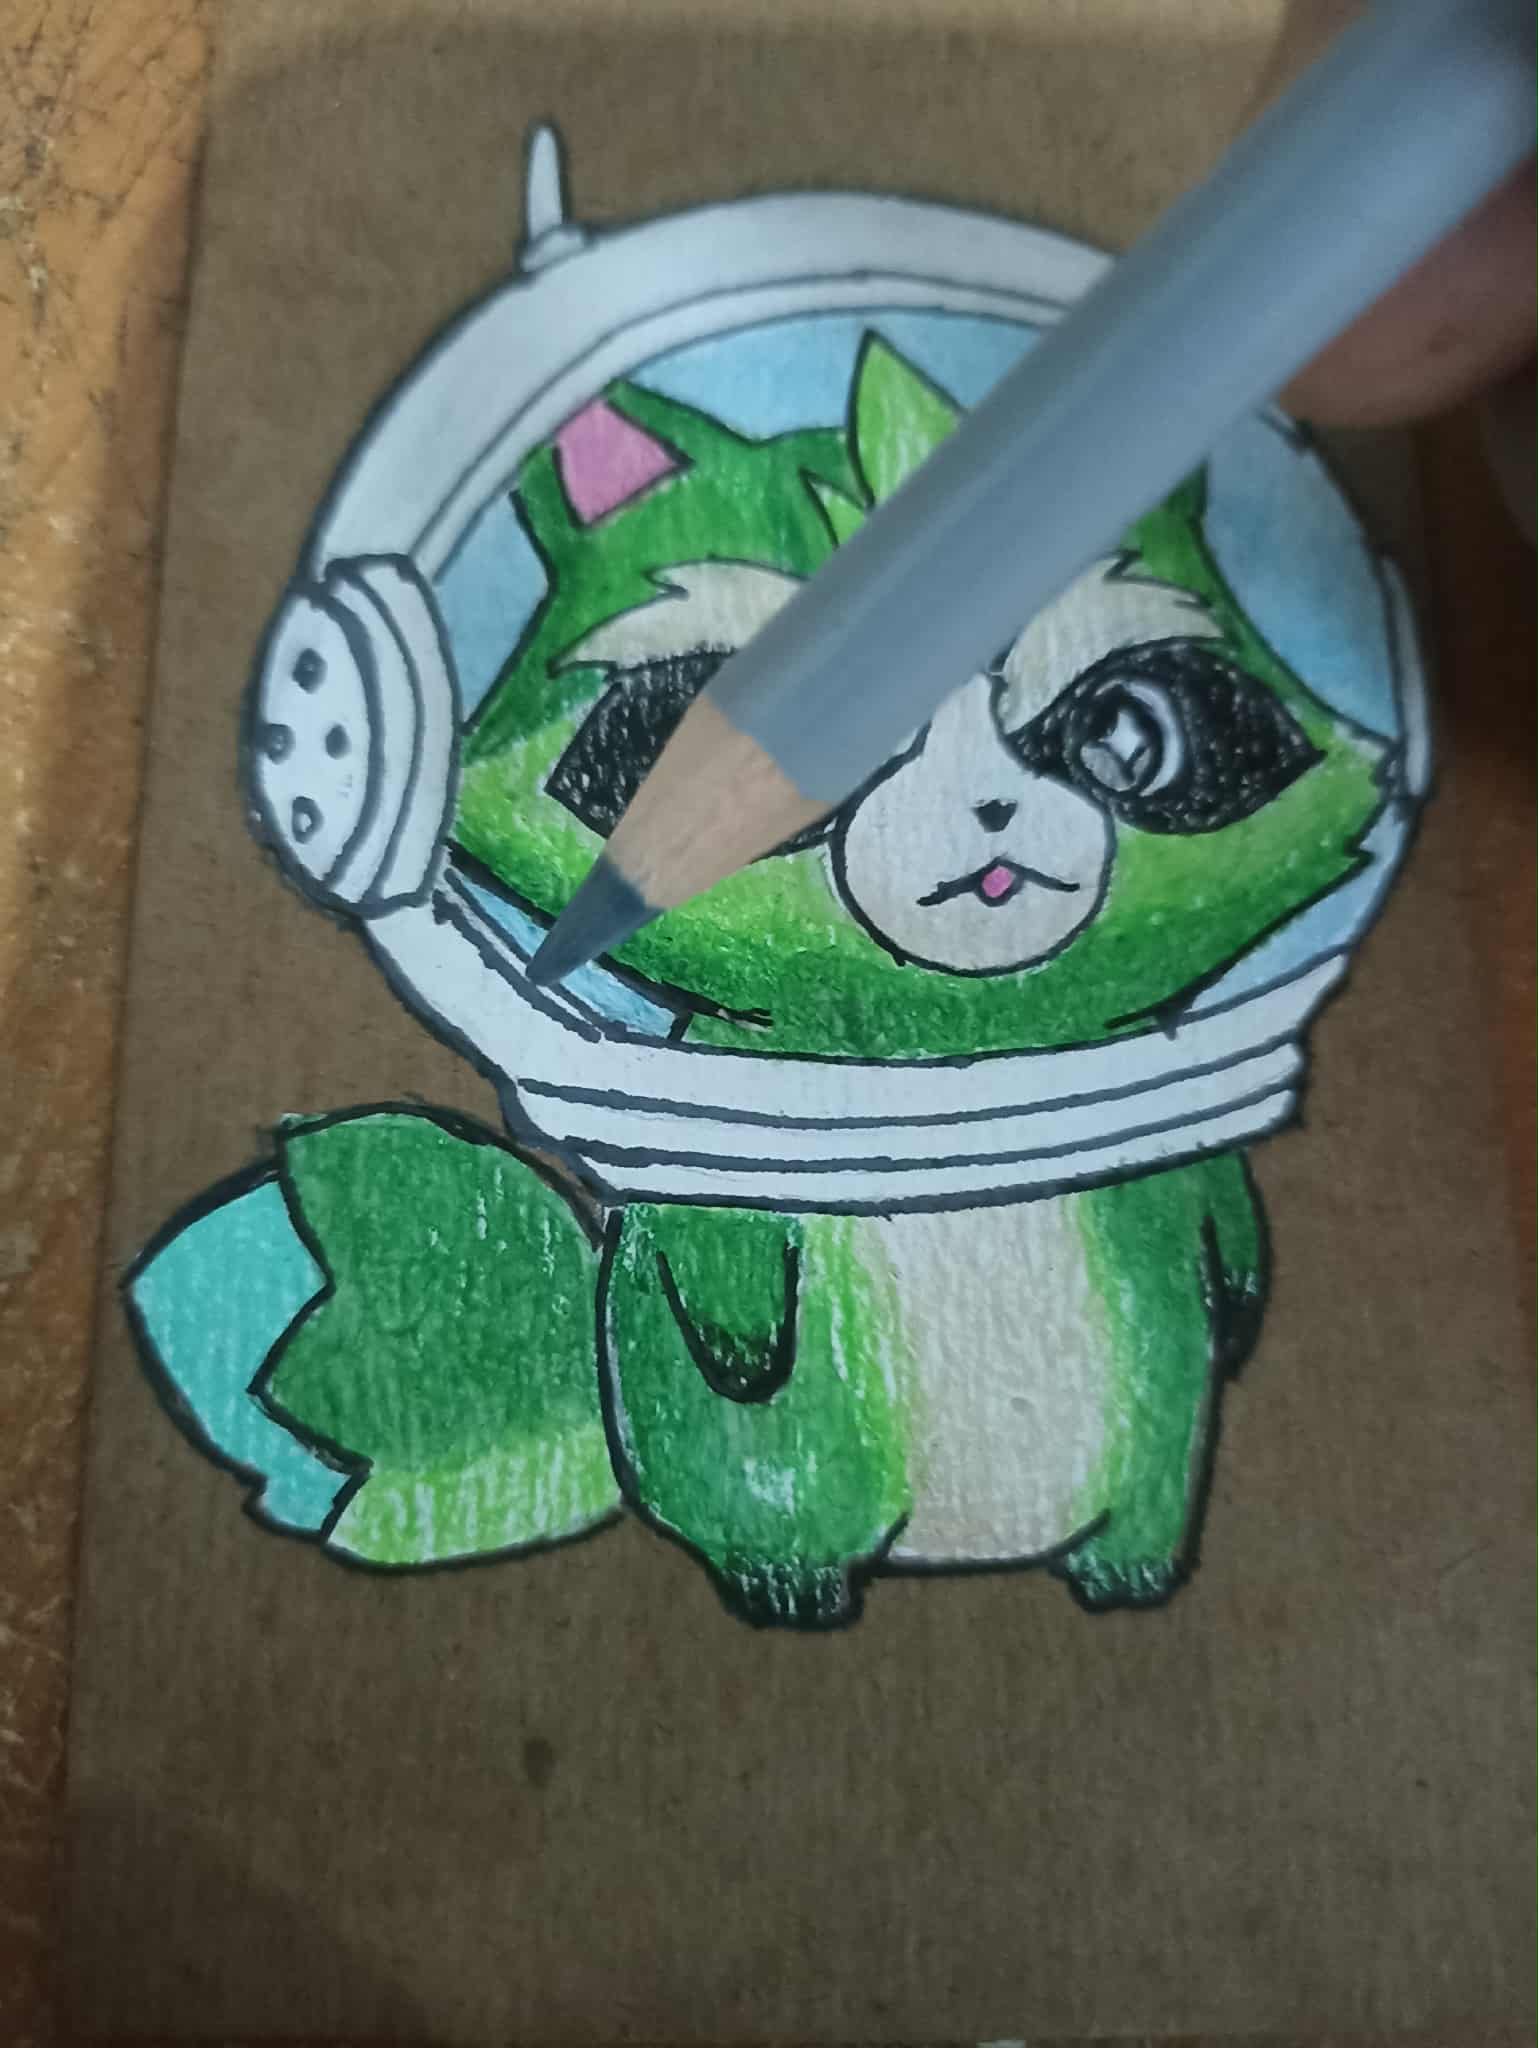
What did you think of the final result? Another thing I did in the drawing was add mineral oil with a brush. With this technique, I can blur the colors, making them look more intense and blend better. I also painted some shadows on the helmet so that the drawing wouldn't be flat, but also appreciated the depth. I did this with a very light gray. I hope you like the design. Very soon I hope to digitize it and correct even more details and have it ready to print on a T-shirt. It's a project I hope to be able to complete. For now, that's all. I had a lot of fun making it and sharing my experience. I say goodbye until another opportunity. See you soon!
¿Qué les ha parecido el resultado final? otra de las cosas que hice en el dibujo fue agregar aceite mineral con un pincel, con esta técnica puedo difuminar los colores, esto hace que se vean más intensos y se mezclen de una mejor manera. También pinté algunas sombras el casco para que el dibujo no quedara algo plano, sino que también se apreciara profundidado, esto lo hice con un color gris muy claro. Espero que el diseño les haya gustado, muy pronto espero digitalizarlo y corregir aun más detalles y tenerlo listo para tenerlo en una franela, es un proyecto que espero poder hacer. Por ahora esto ha sido todo, me divertí mucho haciendolo y compartiendo mi experiencia, me despido hasta una nueva oportunidad, hasta pronto!