
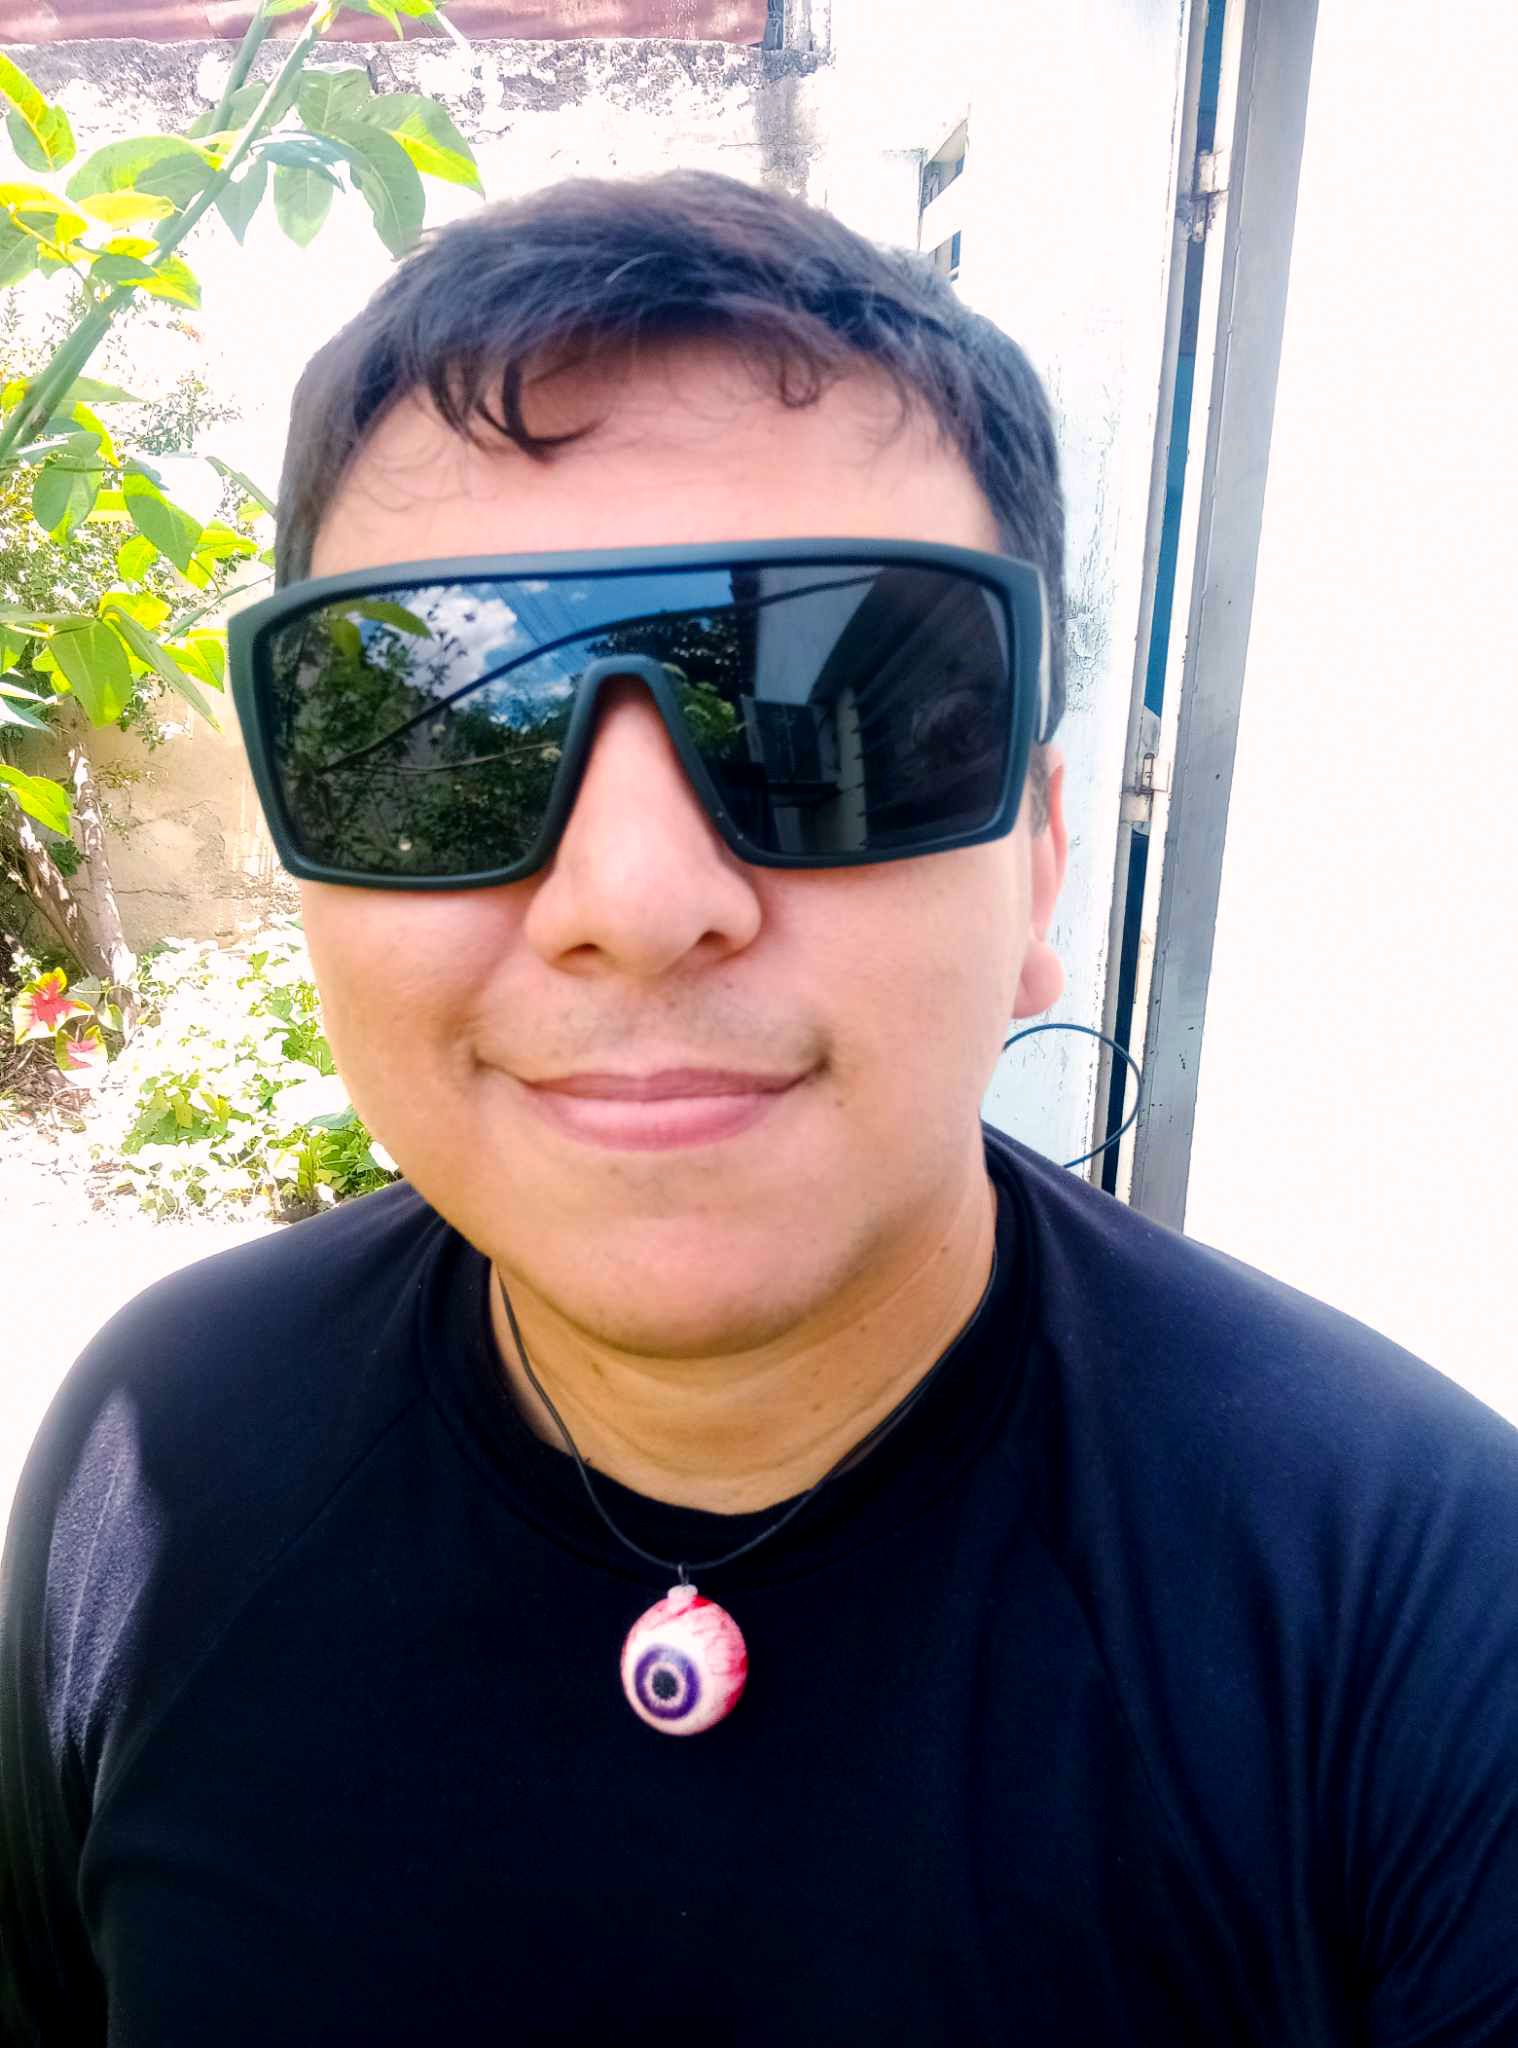
Hello dear friends, I hope you are all doing well. I send my greetings to this beautiful Jewelry community and to all the users who always participate in the weekly Splinterlands art contest. This time I want to participate with a wooden carved necklace, which I was thinking about for days, but I didn't have the necessary materials, but once I was able to find them I got to work. I want to participate this time with a necklace that I carved from wood of the Conealus card. I tried to make it realistic because I wanted it to look scary, like an eye ripped out of a face. The level of detail in the painting helped me a lot to achieve this goal, since this time it's not just carving the wood but also using paint. Here I briefly describe for you how the process was, I hope you like it.
Hola queridos amigos, espero que todos se encuentren muy bien, envío mis saludos a esta hermosa comunidad de Jewelry y a todos usuarios que siempre participan en el concurso semanal de arte de Splinterlands. En esta oportunidad quiero participar con un collar tallado en madera, que estuve pensando hace días atrás, solo que no tenía los materiales necesarios, peor una vez ya pude encontrarlos puse manos a la obra. Quiero participar en esta oportunidad con un collar que he tallado en madera de la carta Conealus, traté de hacerlo realista porque quería que se viera aterrador, como un ojo arrancado de un rostro. El nivel de detalle en la pintura me ayudó mucho a lograr este propósito, ya que esta vez no solo es tallar la madera sino que también utilicé pintura. Aquí relato brevemente para ustedes como fue el proceso, espero que les guste.
 |
 |
|
|---|---|---|
 |
 |
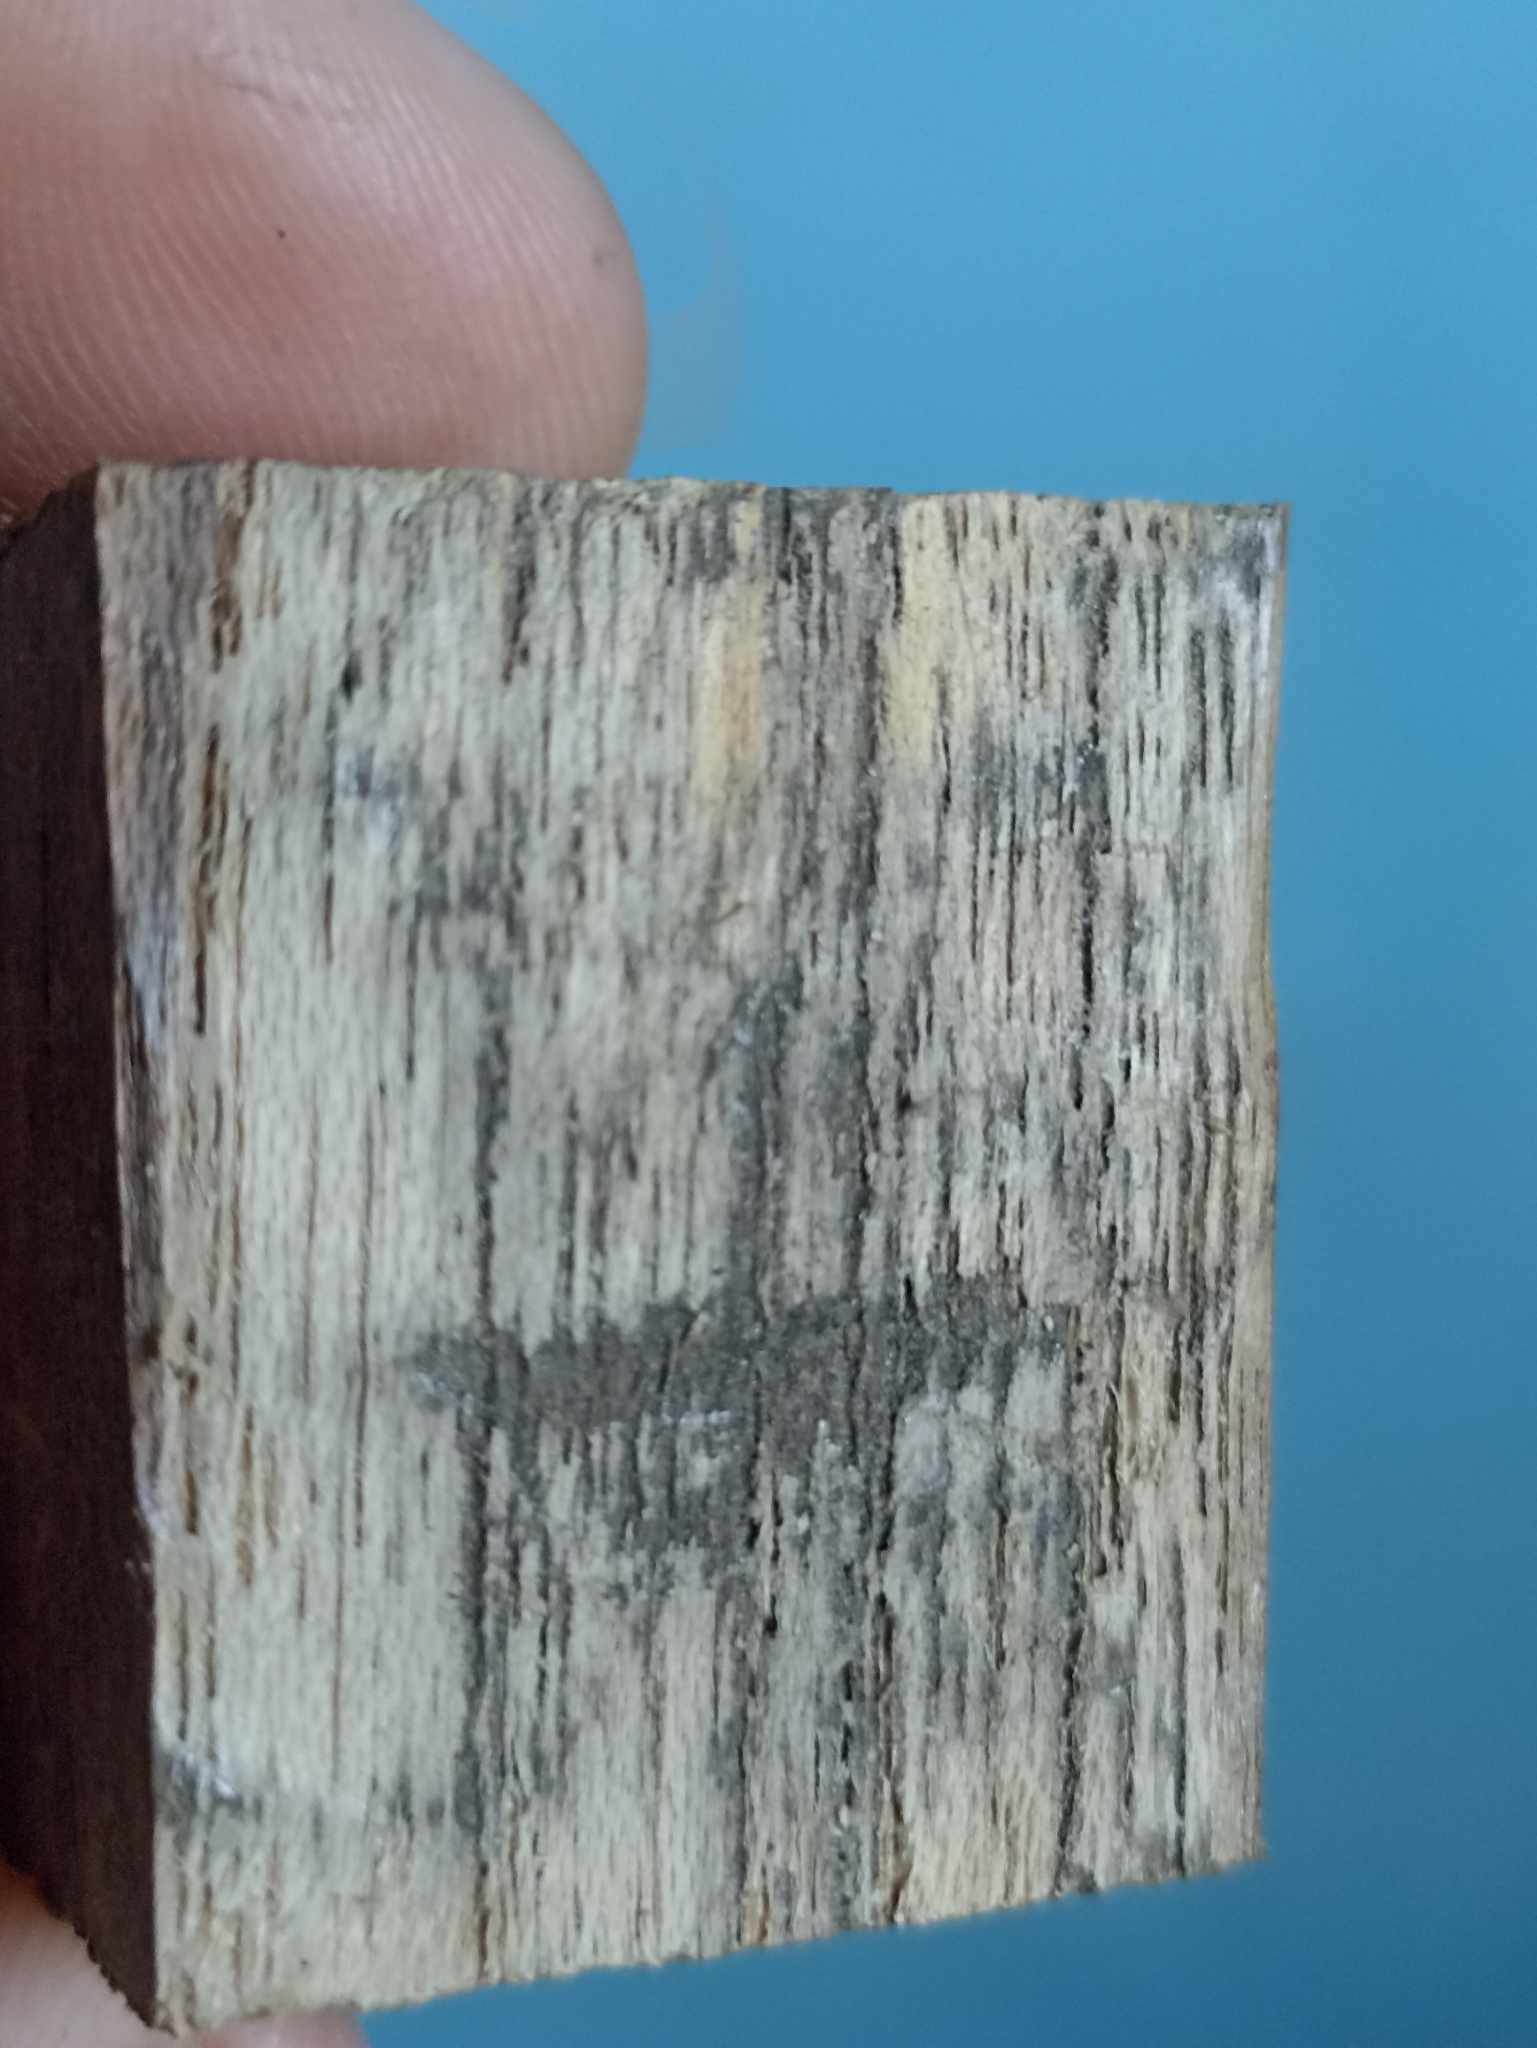
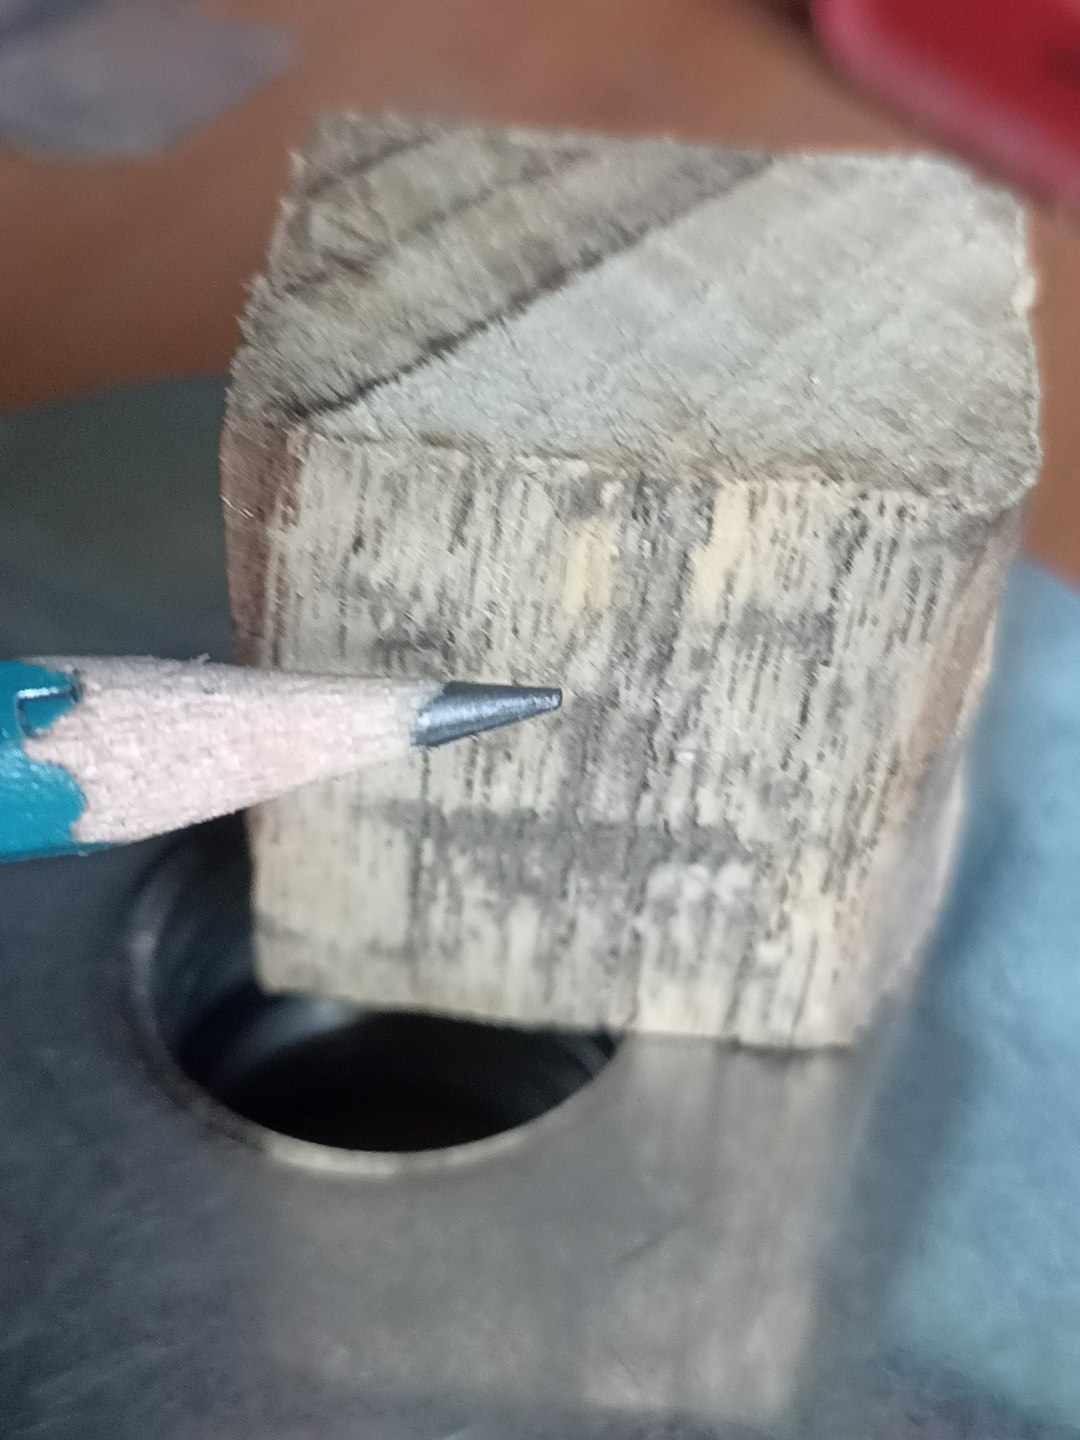
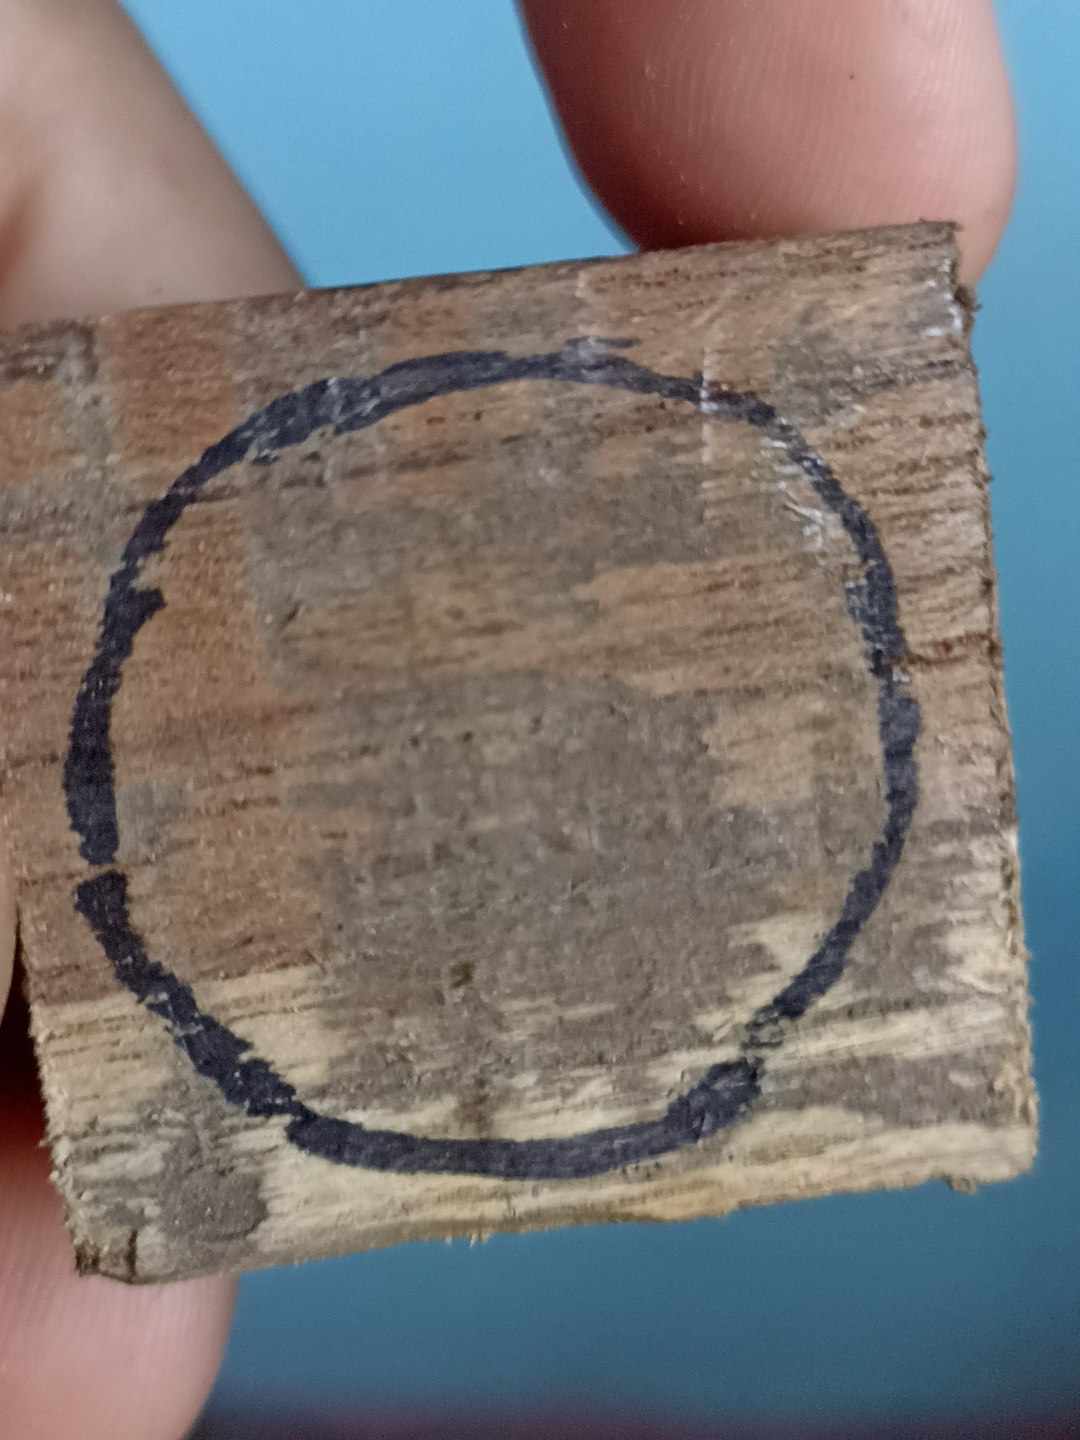
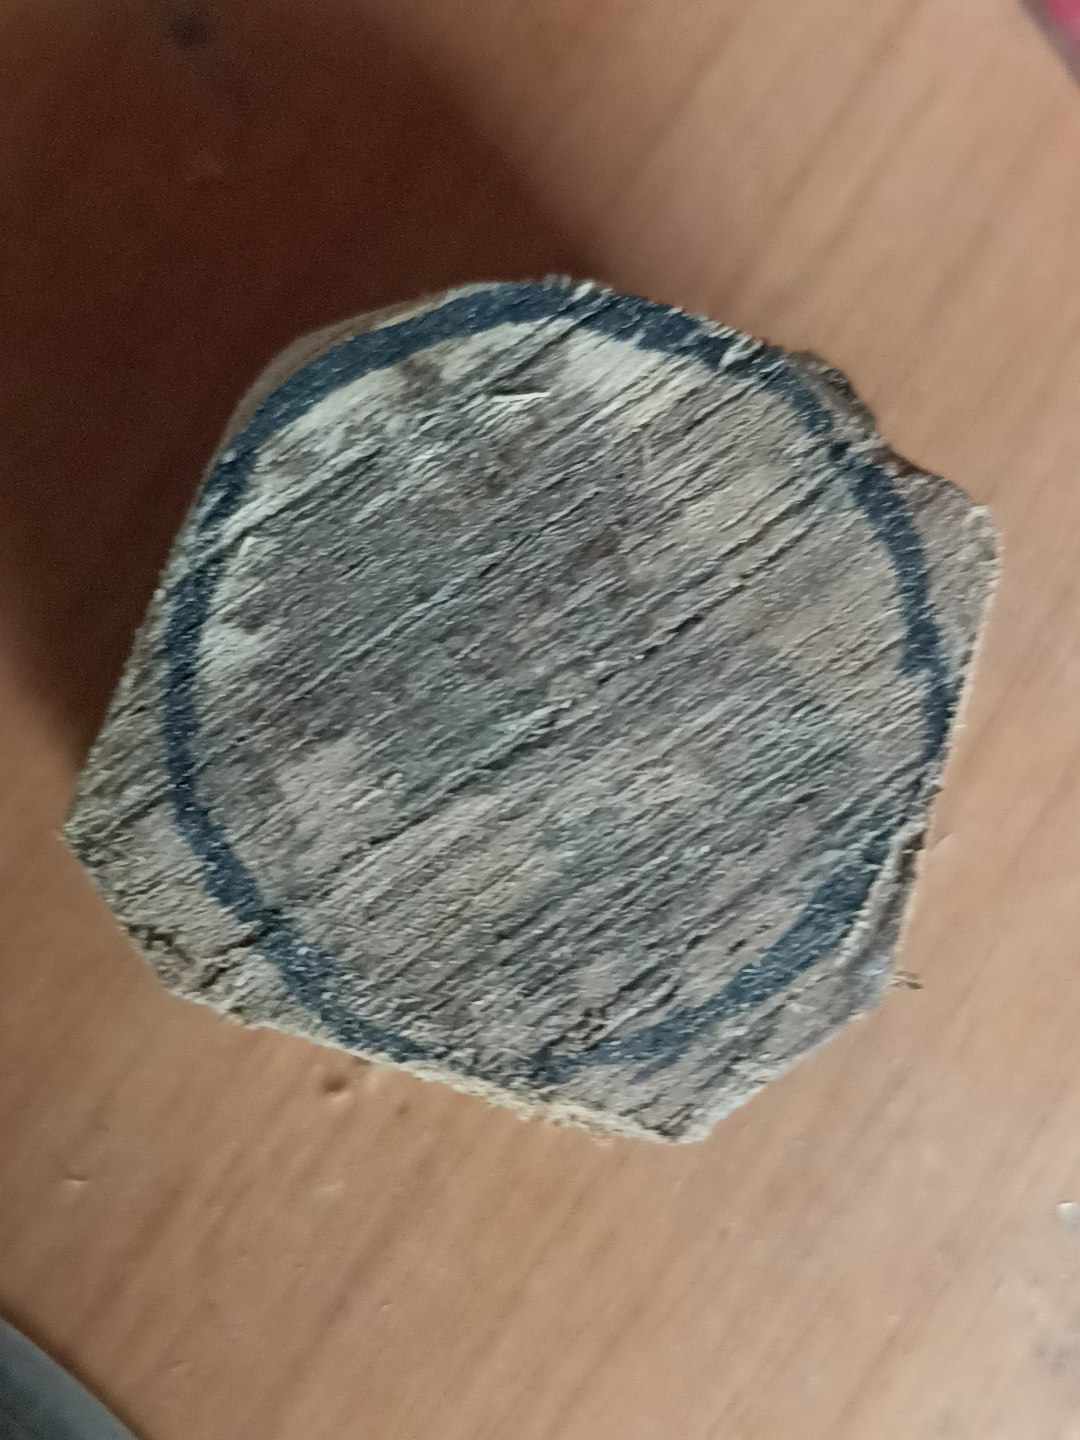
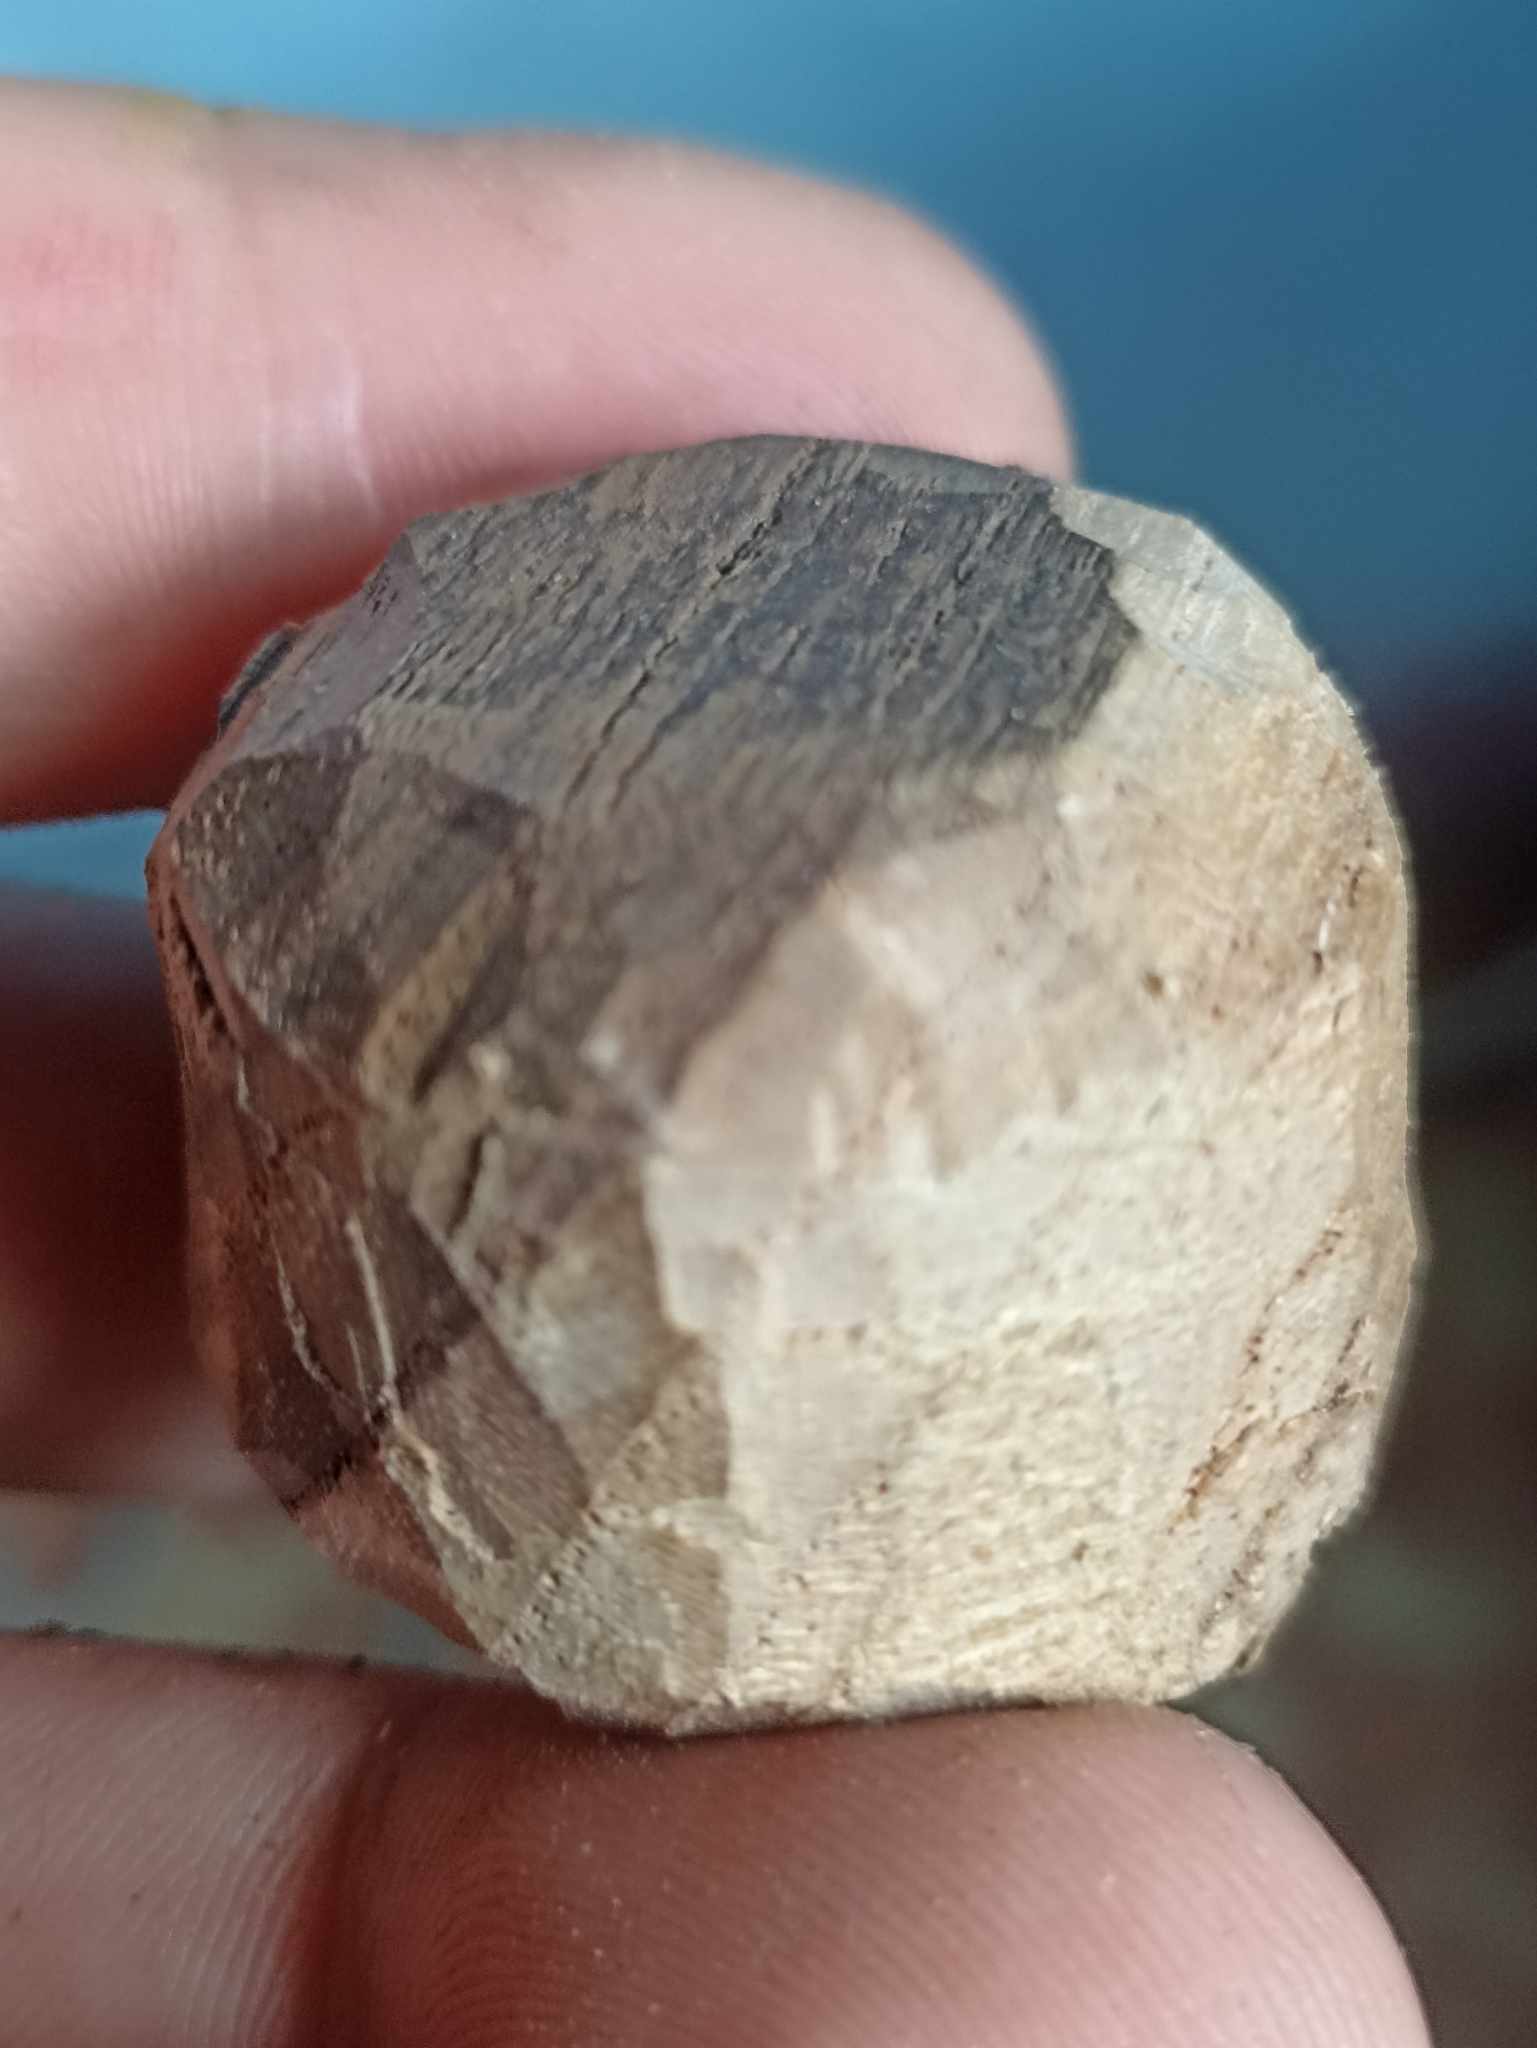
First, I chose the wood. As I mentioned before, I was a bit short on materials, like the wood I always use to make jewelry pieces. I had to collect some pieces of wood from carpentry shops until I found a good, smooth wood to work with. So, I simply cut a square, 3 centimeters on each side, and to guide myself, I drew a circle that I then outlined with a marker in the center of the piece.
En primer lugar elegí la madera, como había mencionado antes, estaba un poco escaso de materiales, como la madera que siempre utilizo para hacer piezas de joyería, tuve que recolectar algunas piezas de madera en algunas carpinterías hasta que encontré una madera buena y suave para trabajar. Así que simplemente corté un cuadro de 3 centímetros por cada uno de sus lados, y para guiarme dibujé un círculo que luego remarqué con marcador en el centro e la pieza.
 |
 |
|
|---|---|---|
 |
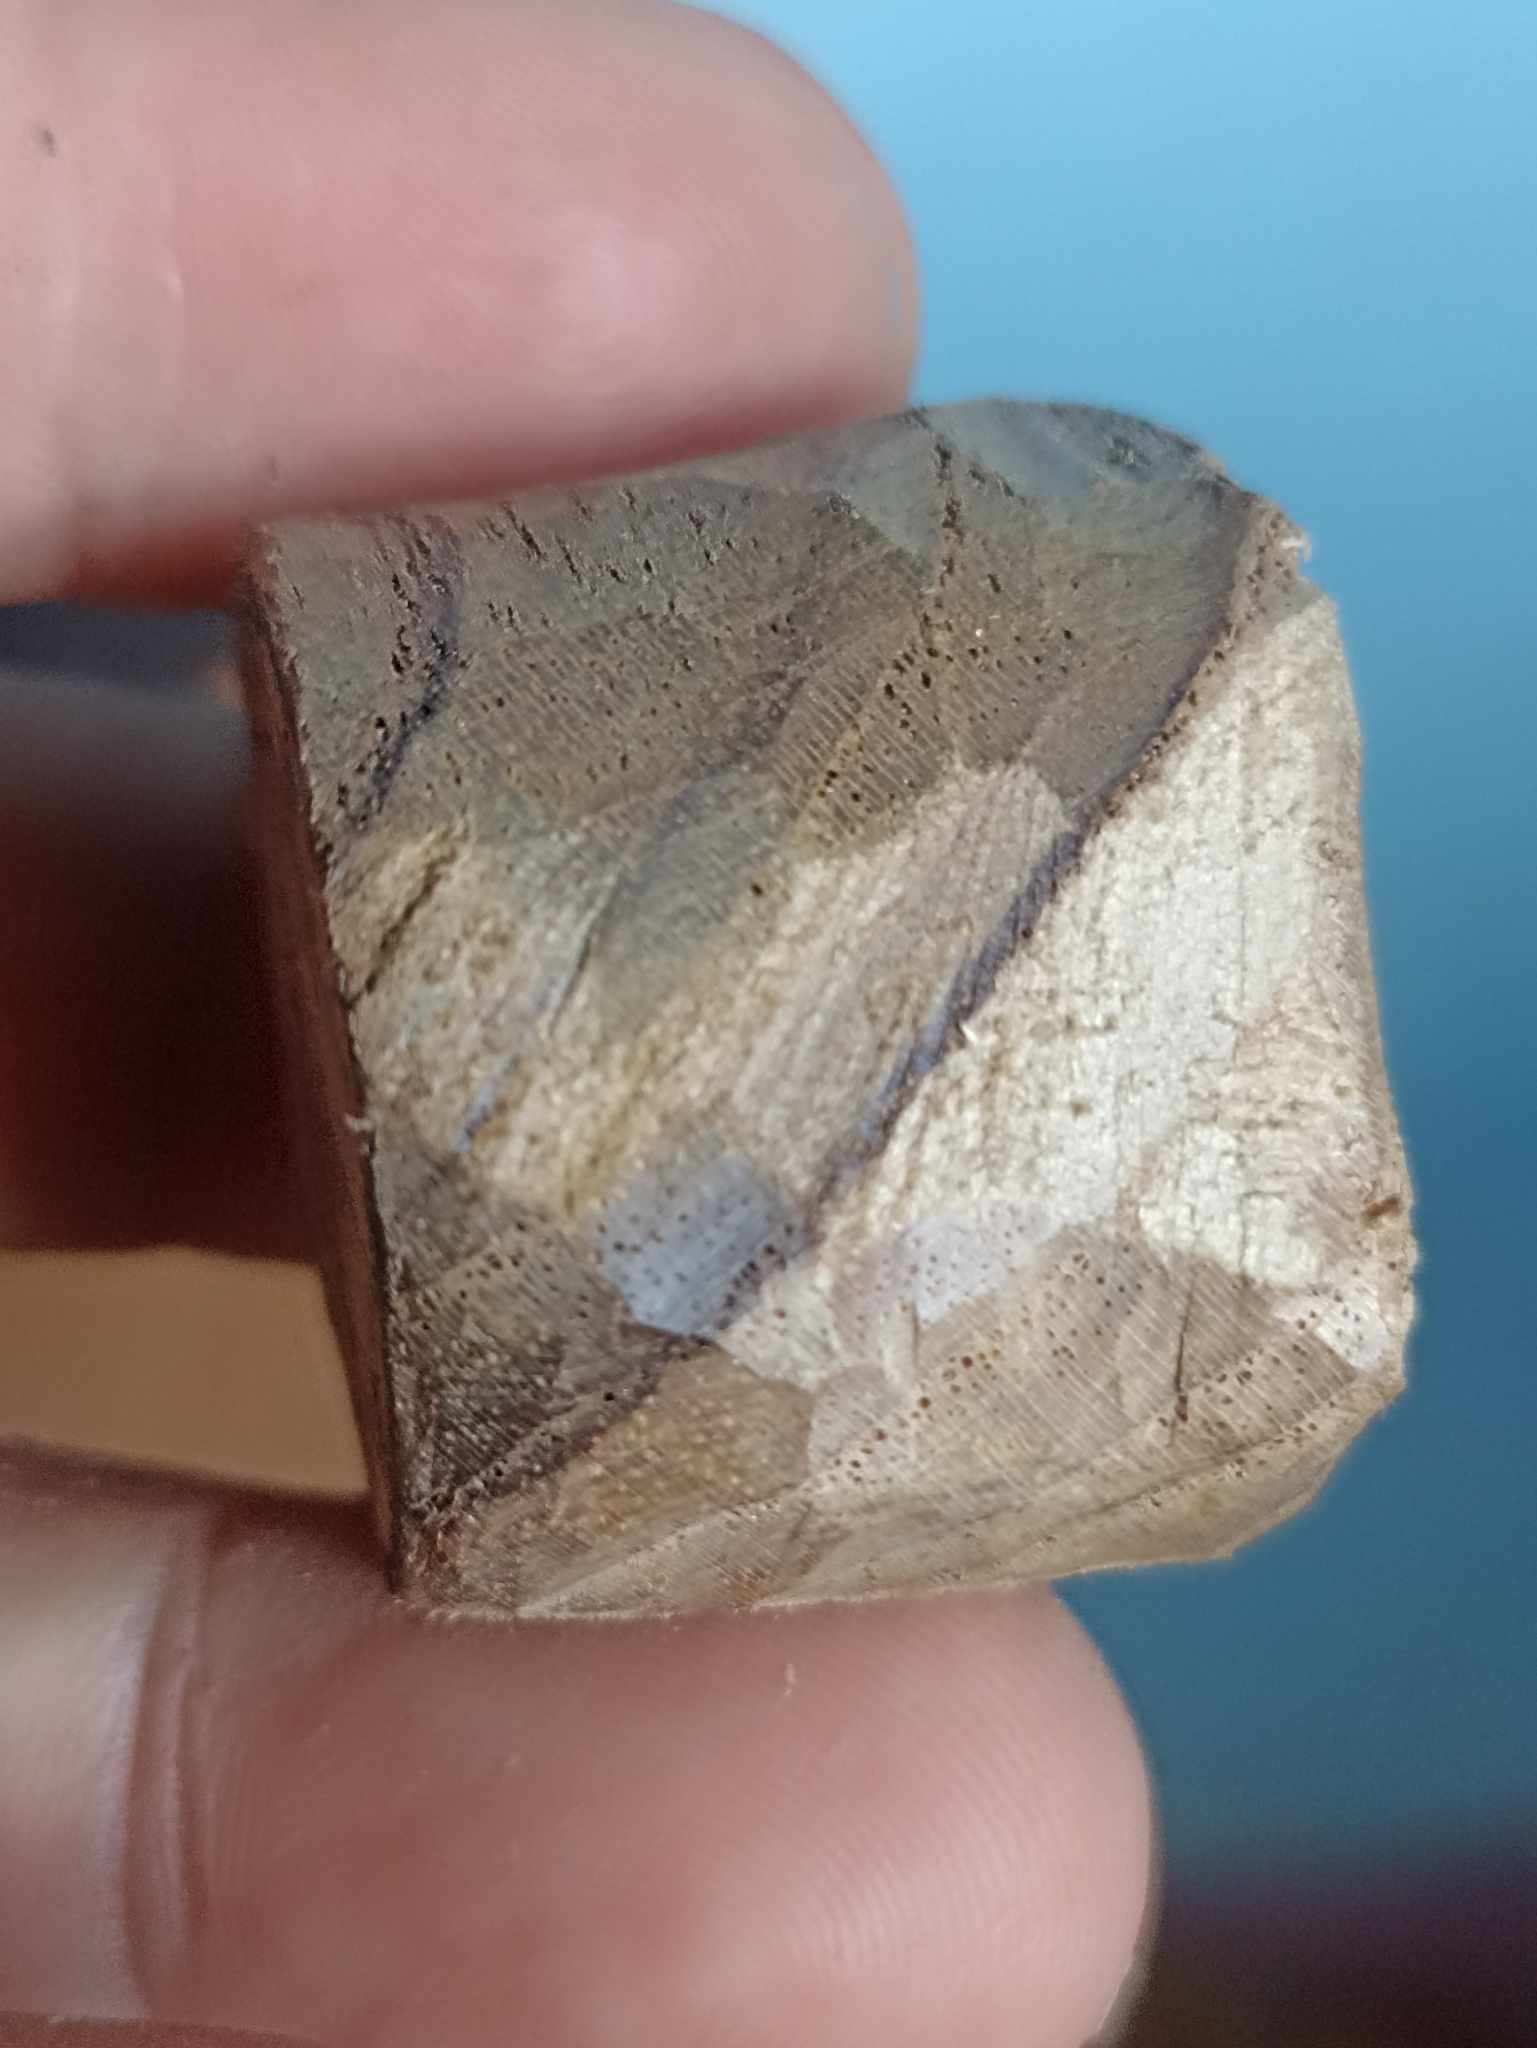 |
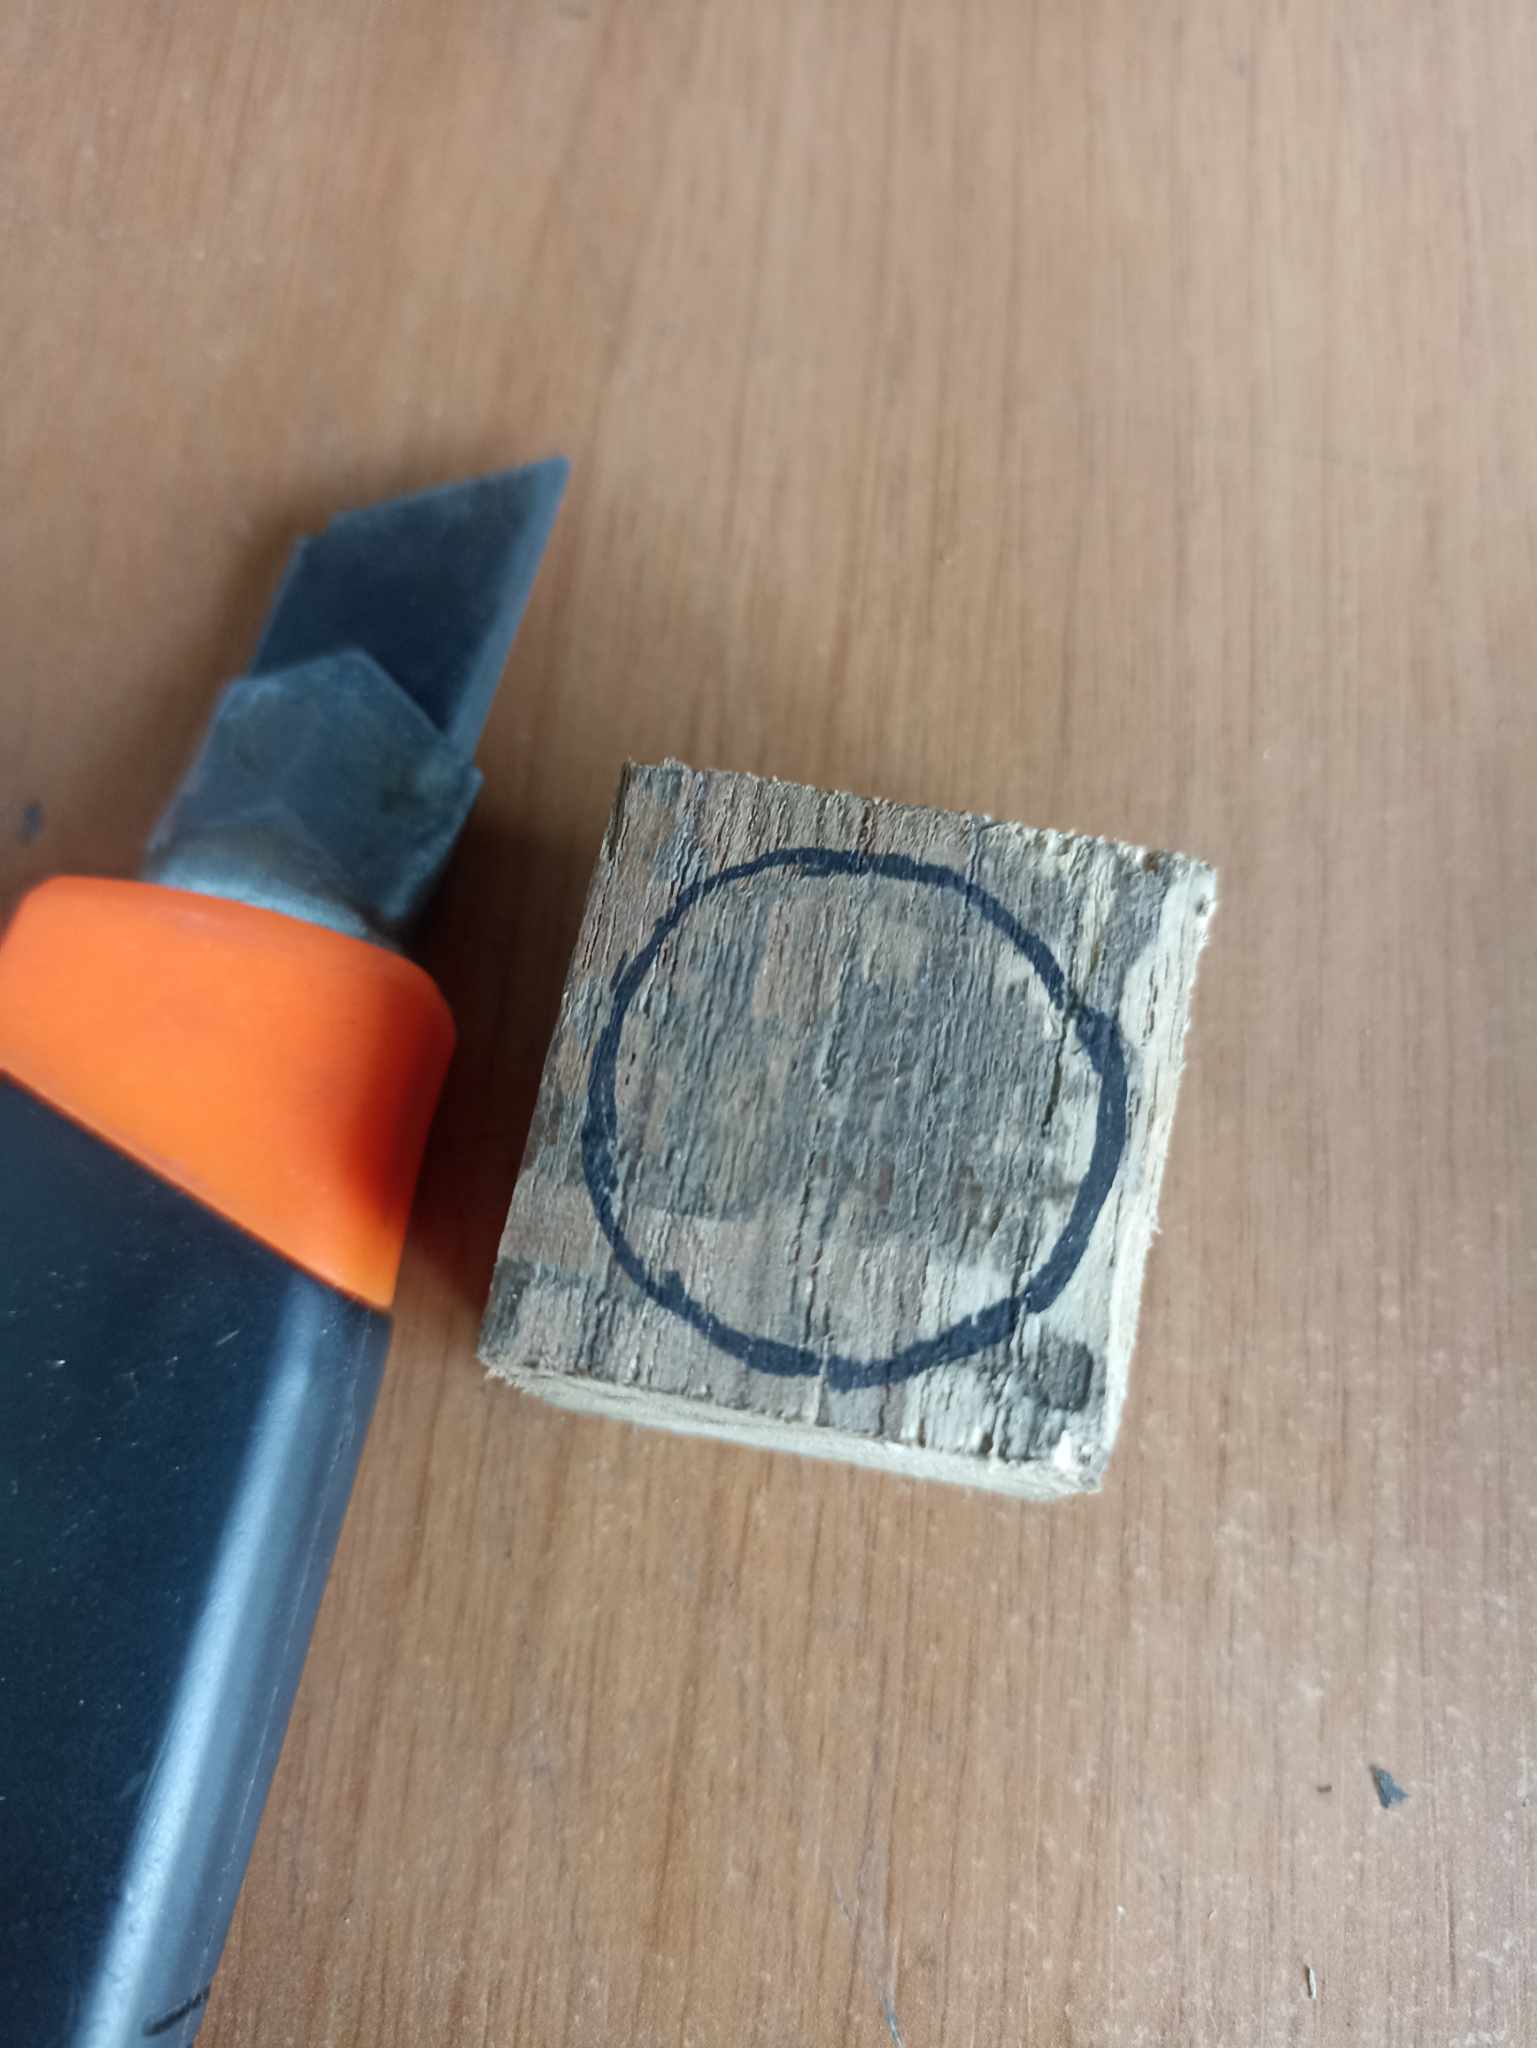
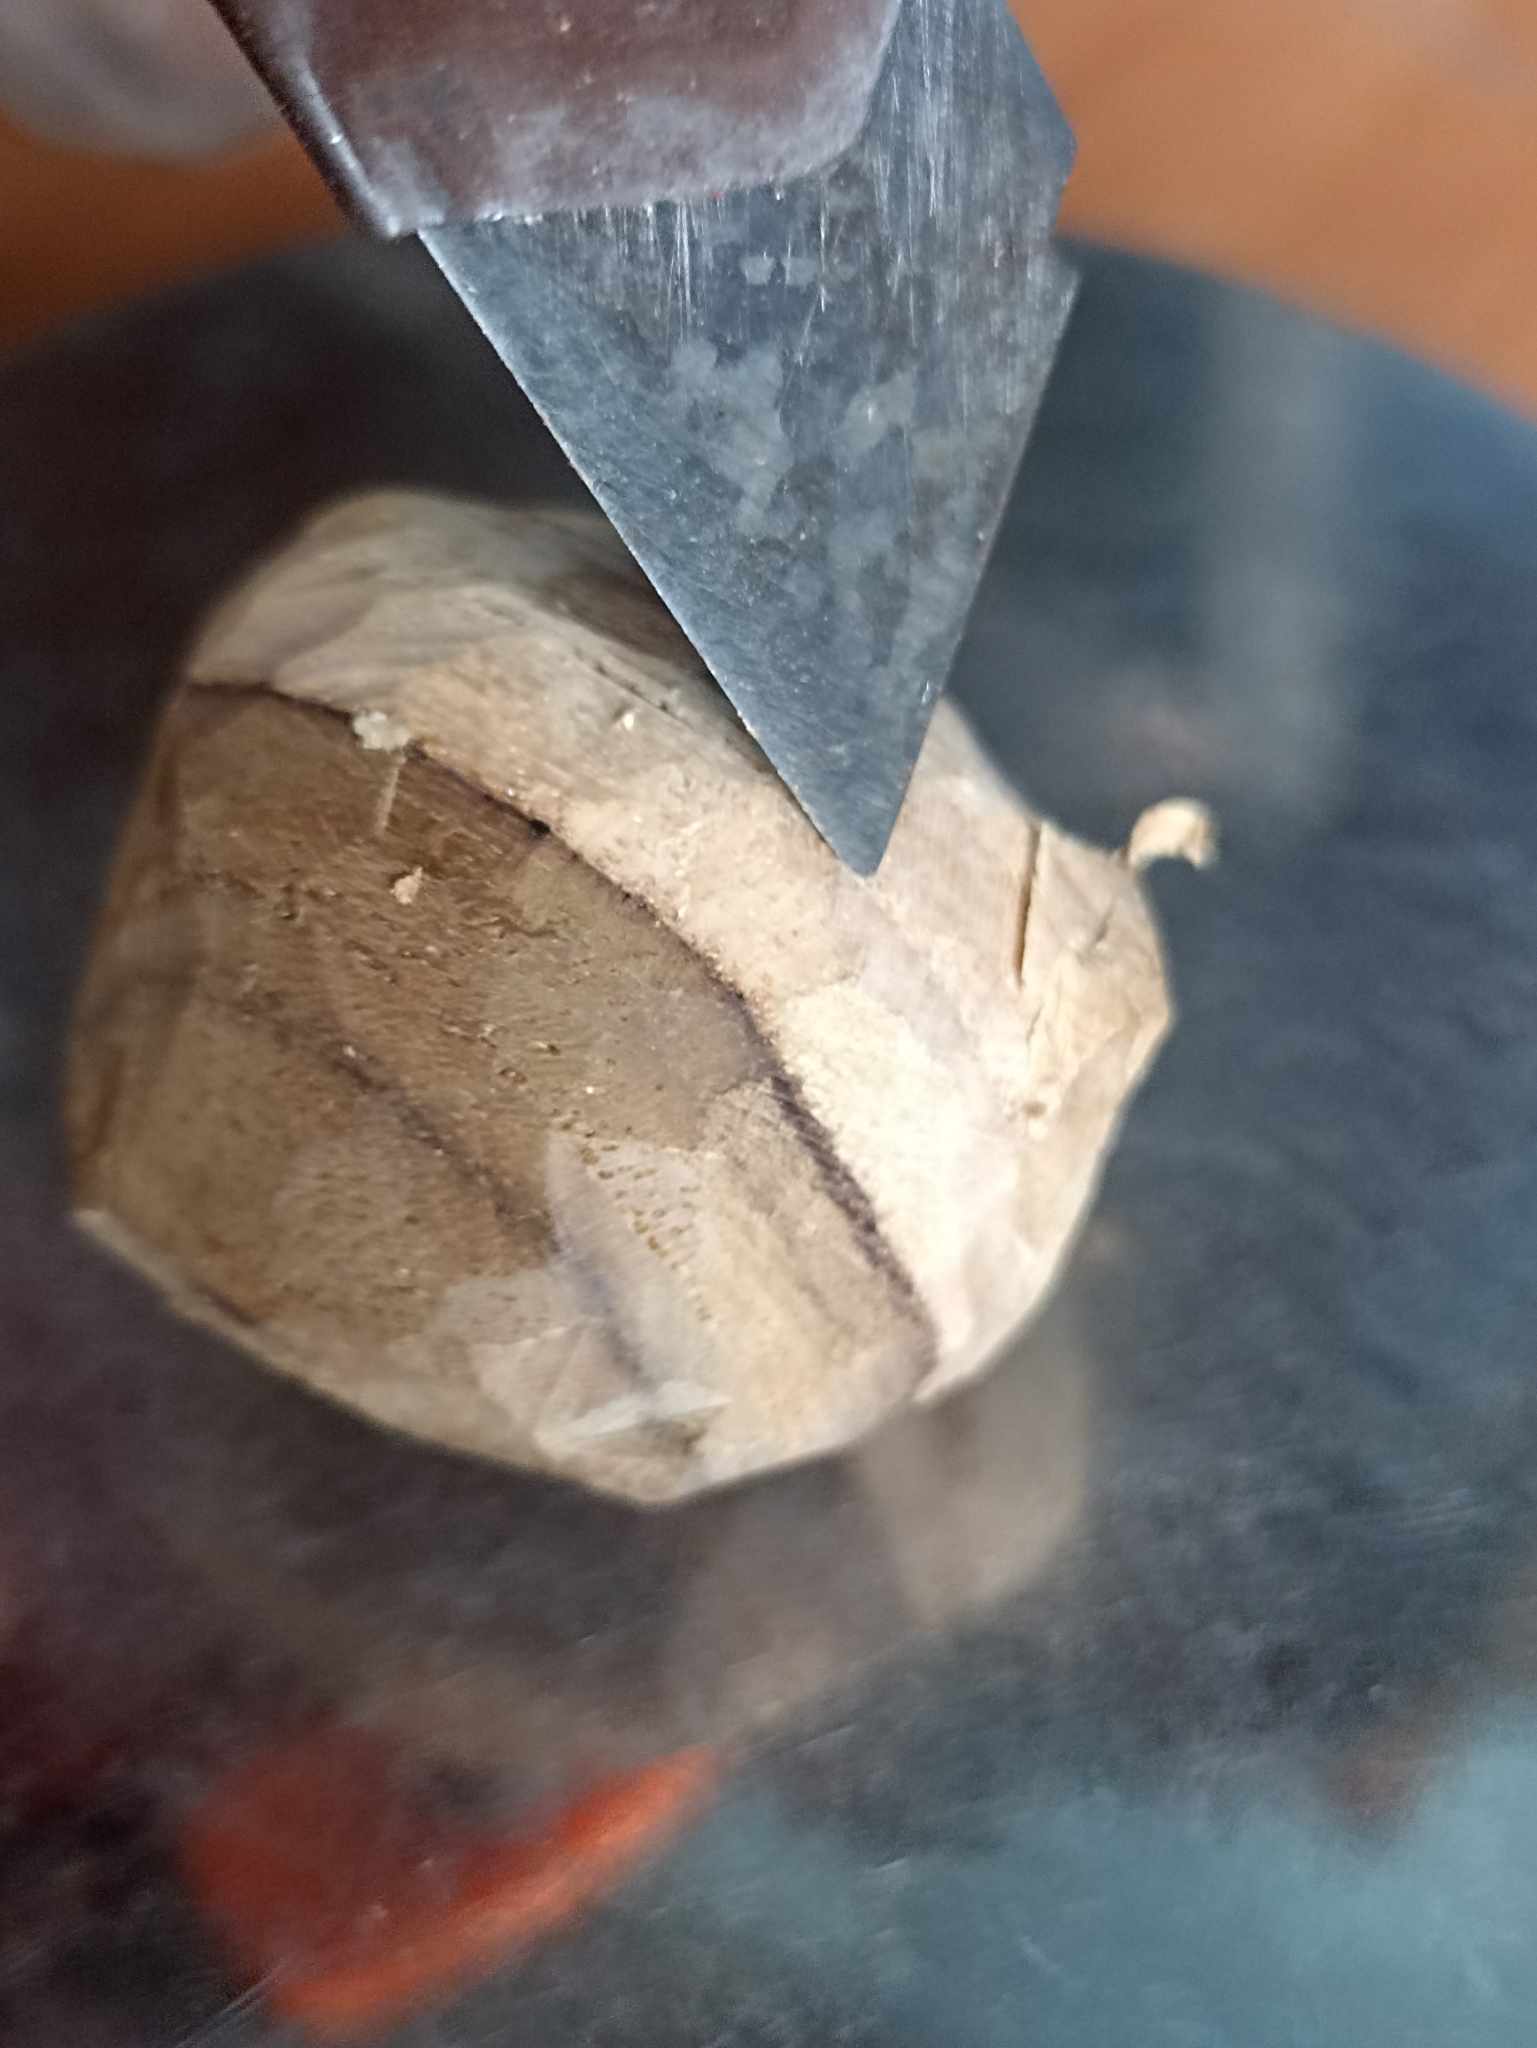
The first step is to carve the circle you've drawn. That is, cut the entire area on one side until the piece is completely circular. For this process, I use a stationery cutter used in school. I follow the circle I drew as a guide, gradually removing the wood. The wood I used has a beautiful color, but it's very hard and unlike any wood I've used before.
El primer paso es tallar el círculo que se ha dibujado, es decir, por una de las caras cortar toda esa zona hasta que la pieza quede completamente de forma circular. Para este proceso utilizo un cúter de papelería que se utiliza en la escuela, así voy guiandome por todo el círculo que dibujé y voy quitando la madera poco a poco. La madera que he utilizado si bien tiene un color que e smuy bonito, la misma es muy dura, no se parece en nada a las que he utilizado anteriormente.
 |
 |
|
|---|---|---|
 |
 |
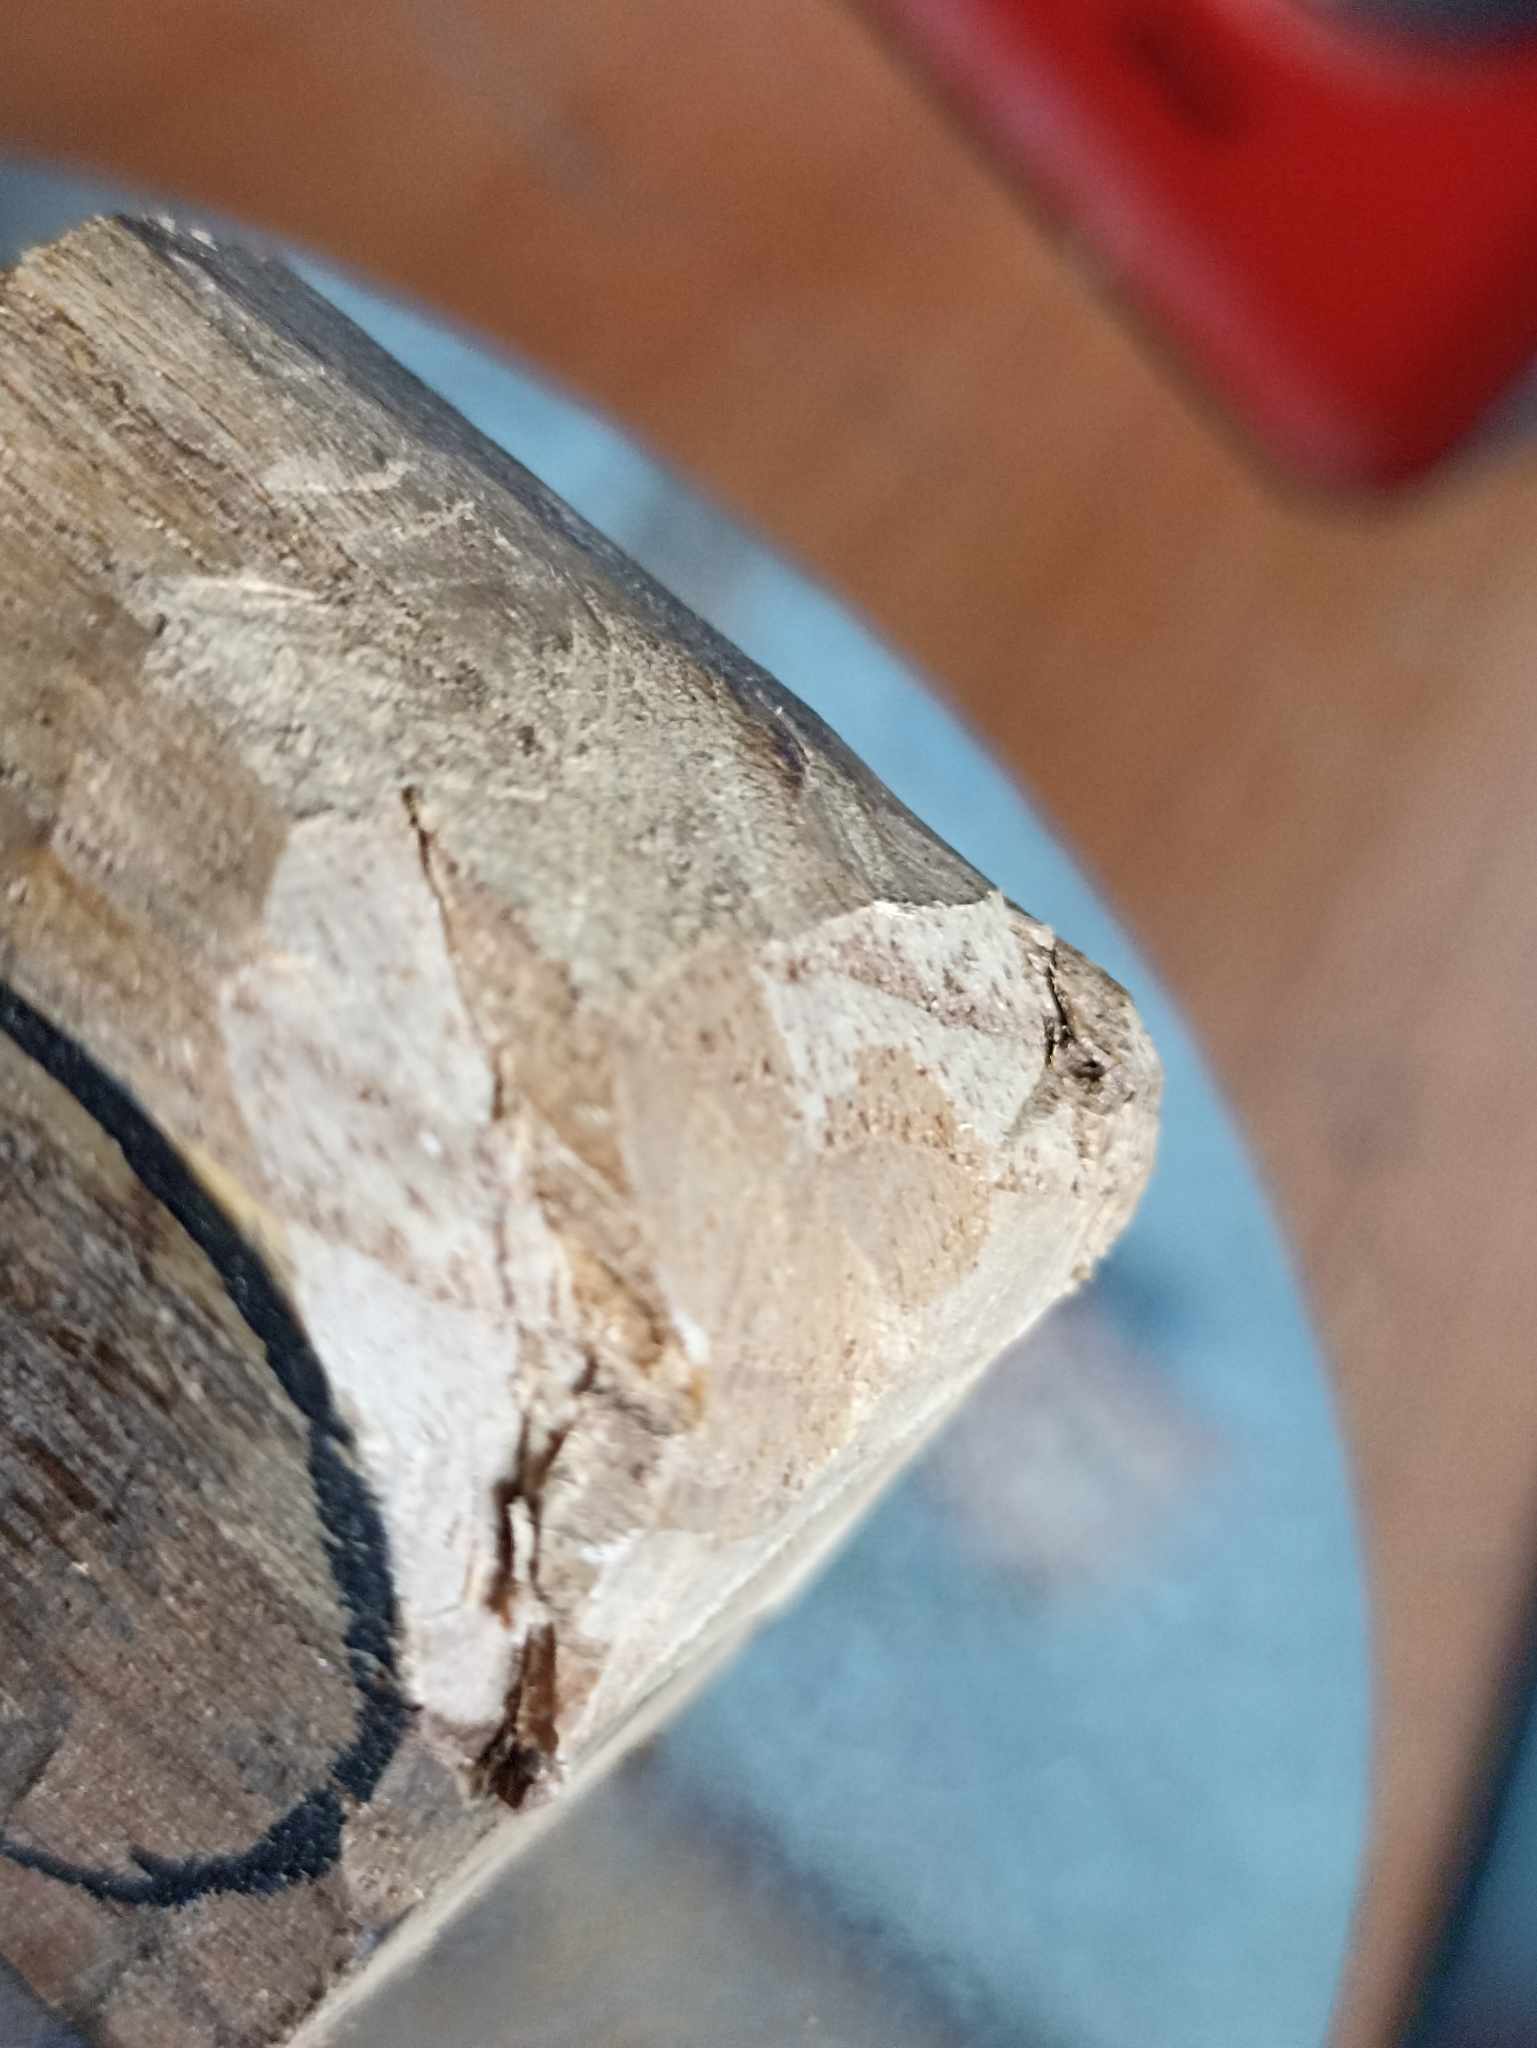
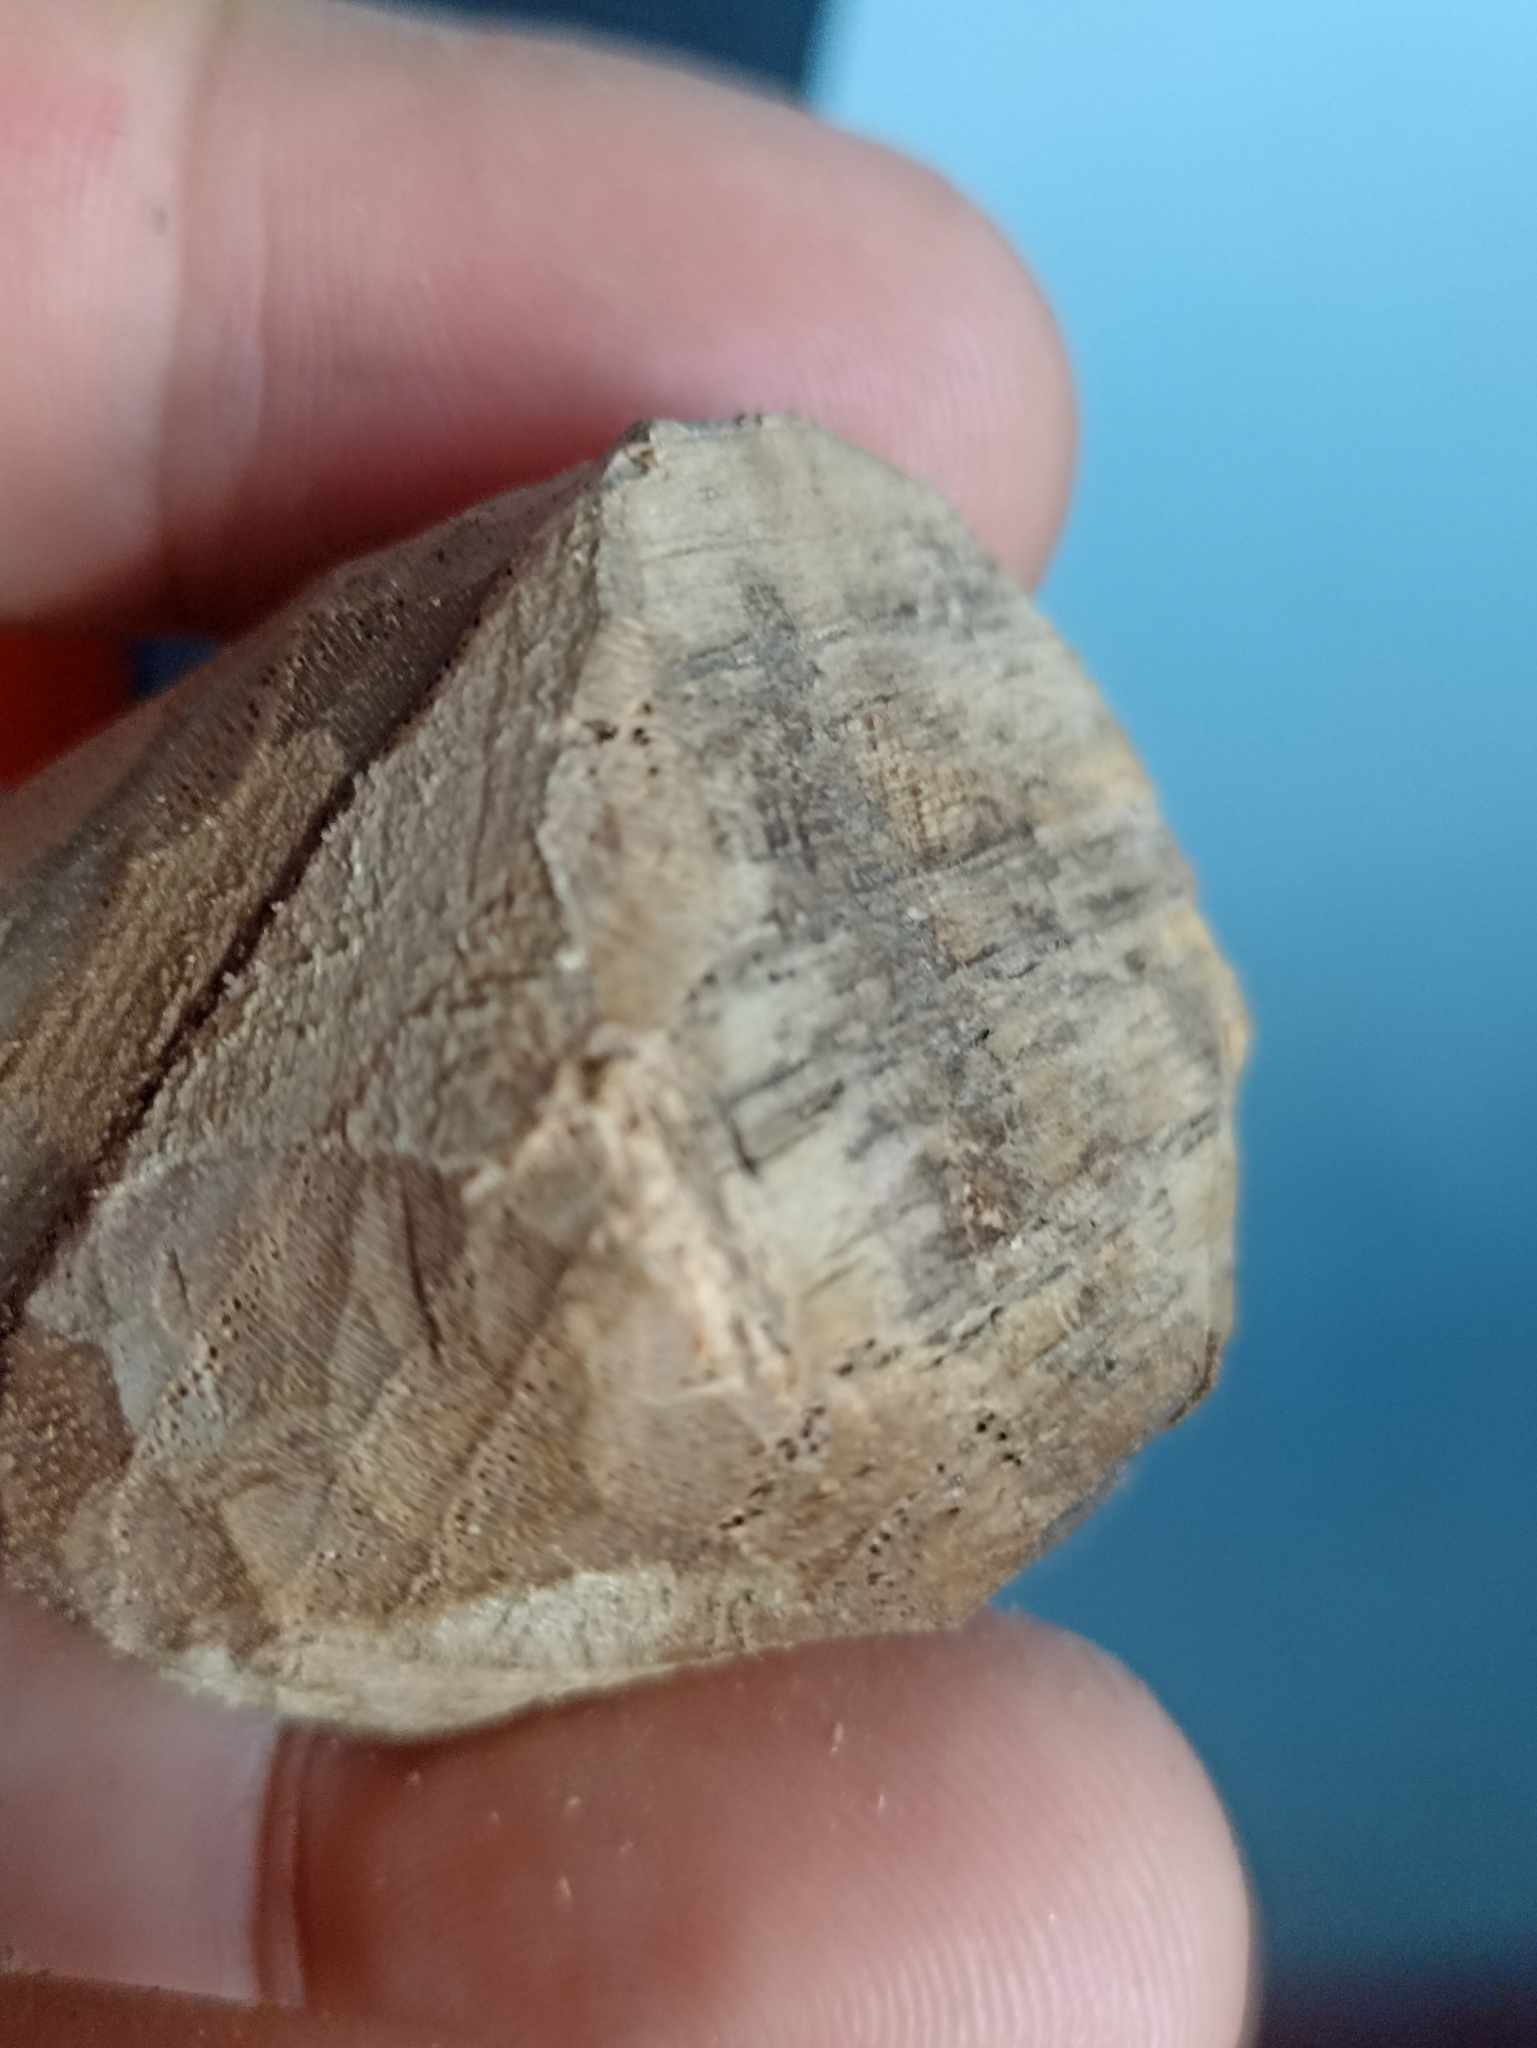
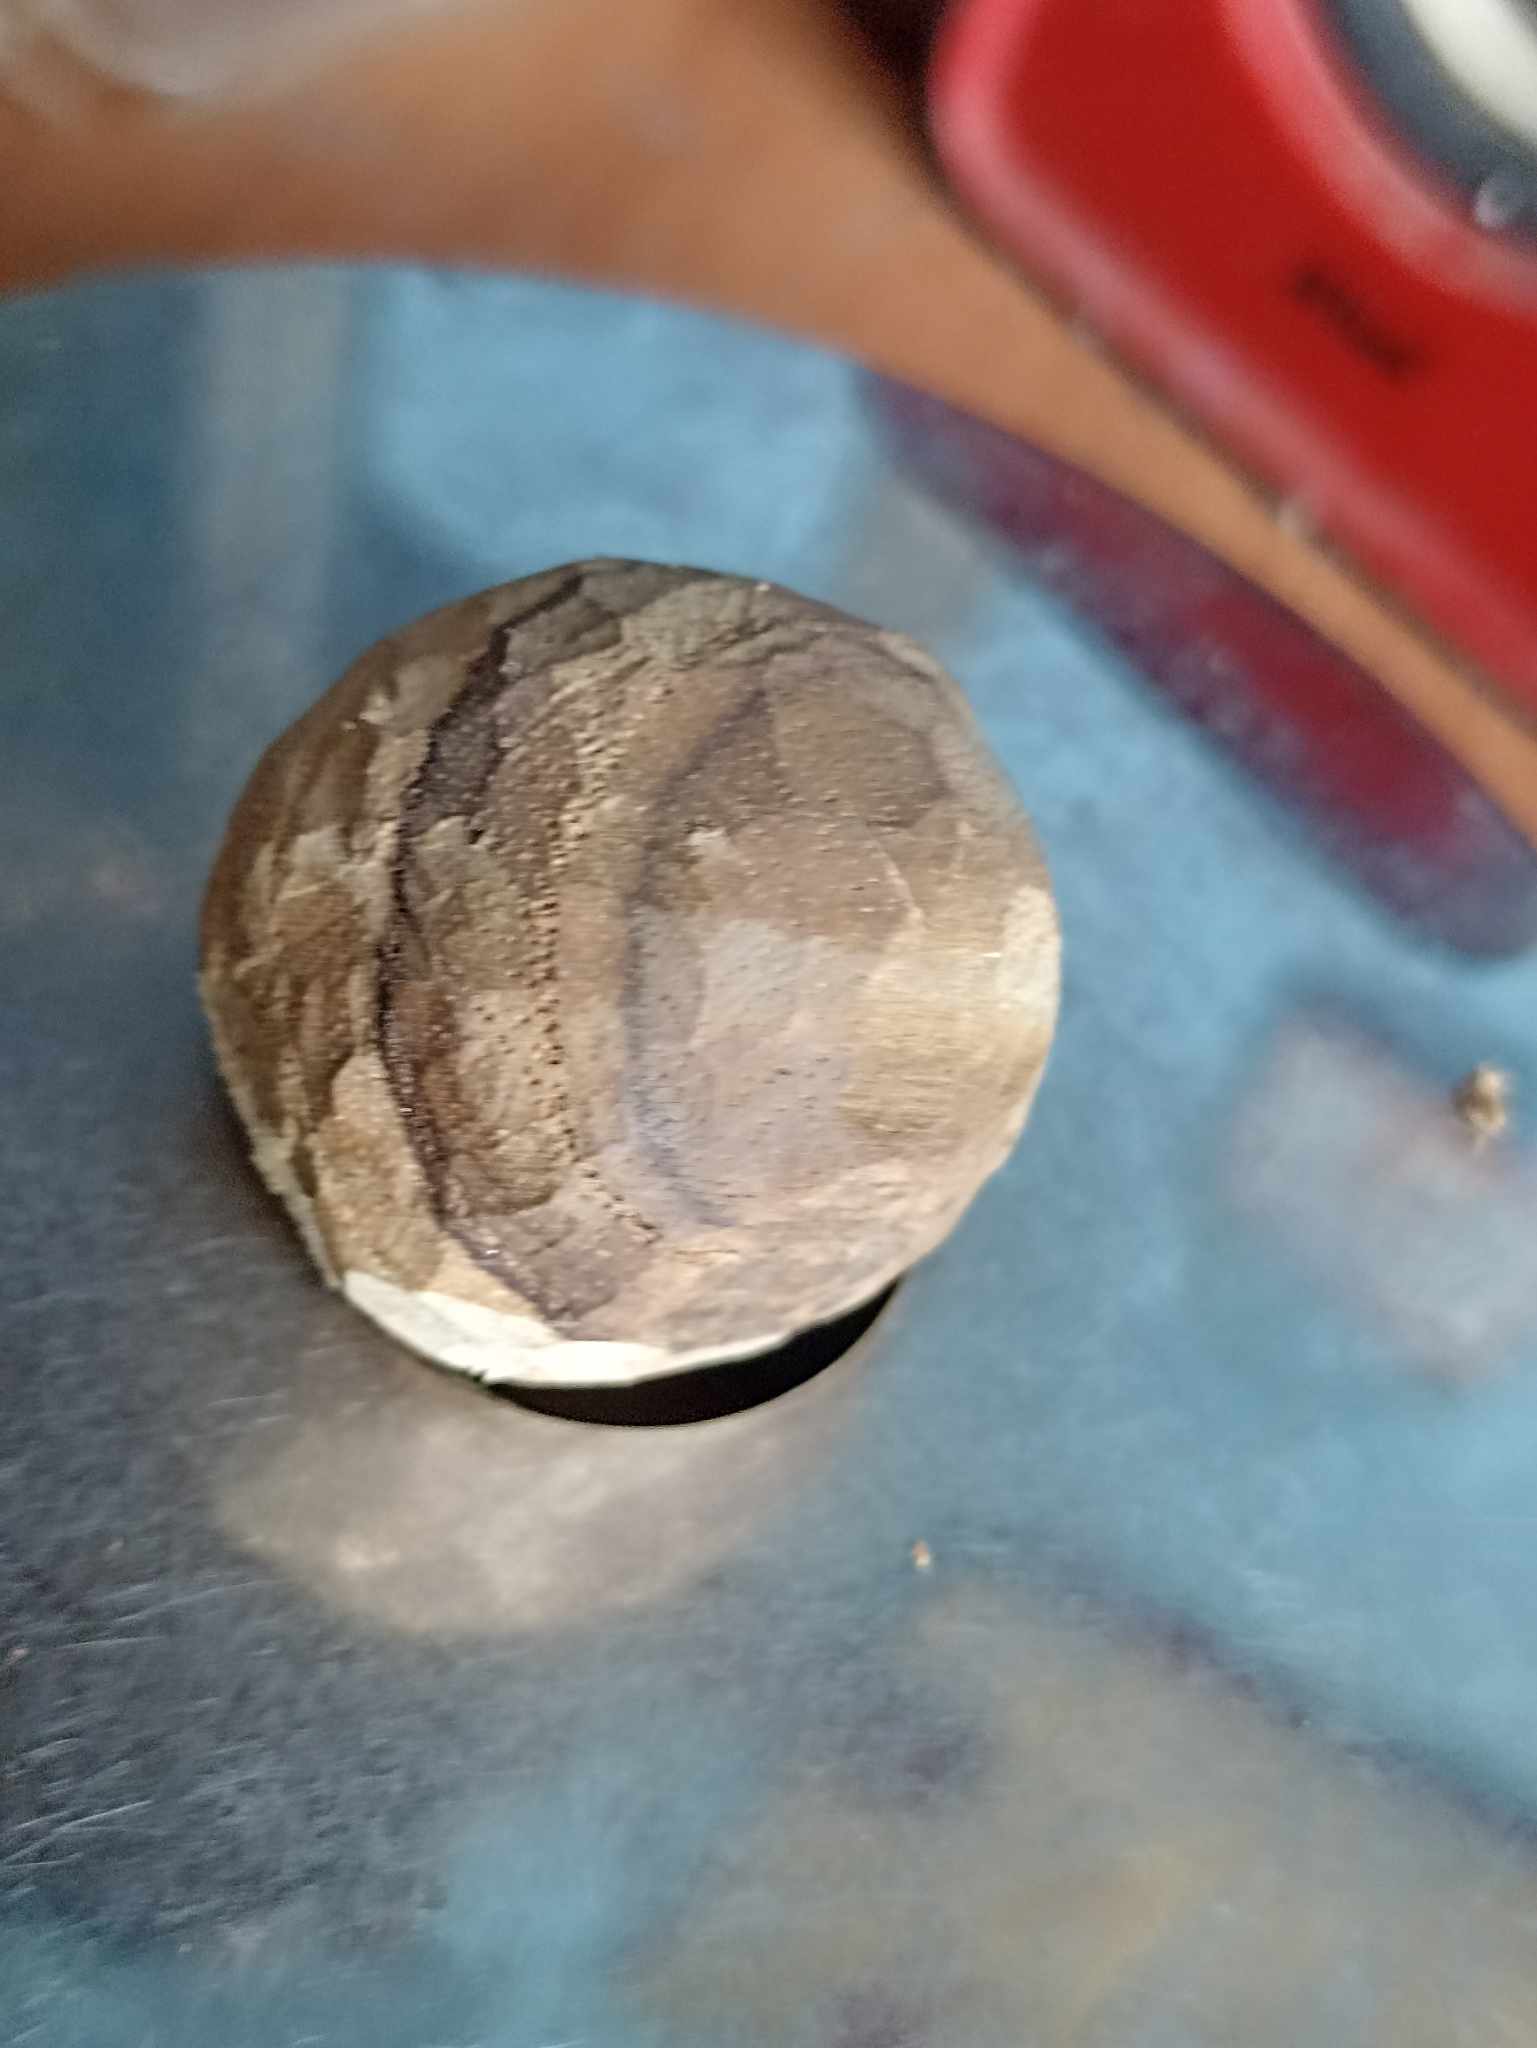
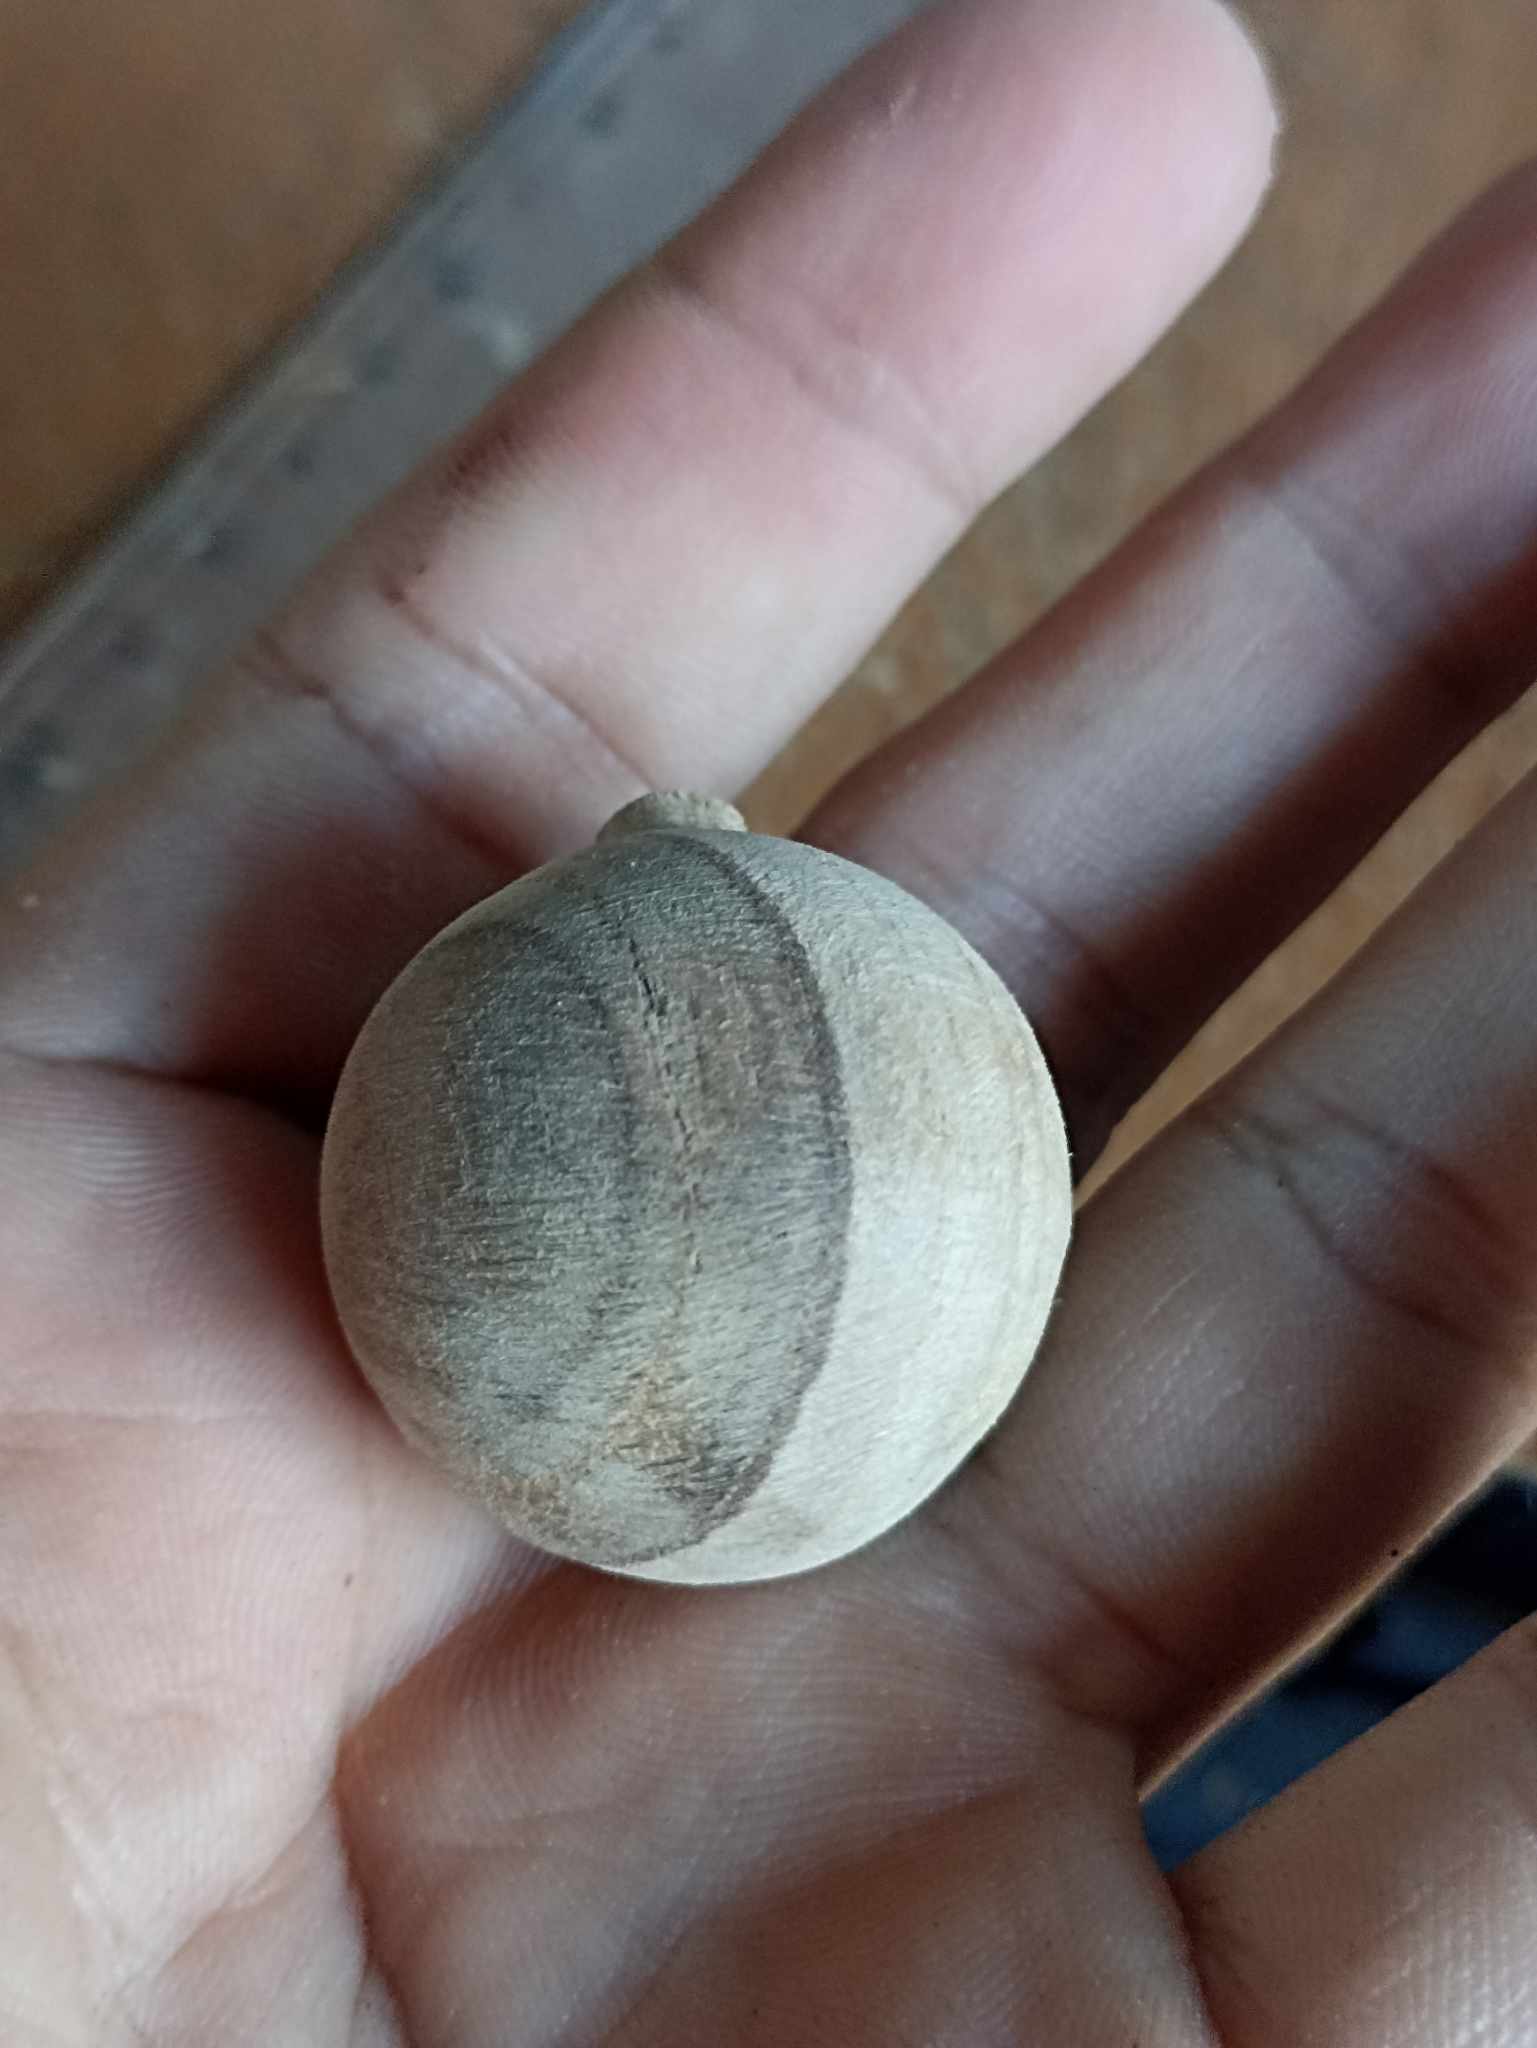
In the next step, it's the opposite: I choose one of the opposite sides to shape the circle. I then gradually remove the wood. Here, I sharpened the knife blade a bit, as I needed to be more precise in the cuts; the wood was very hard. You can see how the sphere is emerging, albeit slightly deformed, as it will need more details later. However, you can see that the process I followed was correct, as the sphere is emerging just as I expected.
En el siguiente paos es todo lo contrario, elijo una de las caras contrarias para der forma al círculo. Poco a poco entonces voy retirando la madera, aquí le saqué un poco de filo a la hoja de la navaja ya que necesitaba ser más preciso en los cortes, la madera si que era muy dura. Pueden observar como va saliendo la esfera, aunque un tanto deforme, ya que luego necesitará mas detalles, pero puede apreciarse que el proceso que llevo a cabo es el correcto ya que la esfera va saliendo tal como esperaba.
 |
 |
|
|---|---|---|
 |
 |
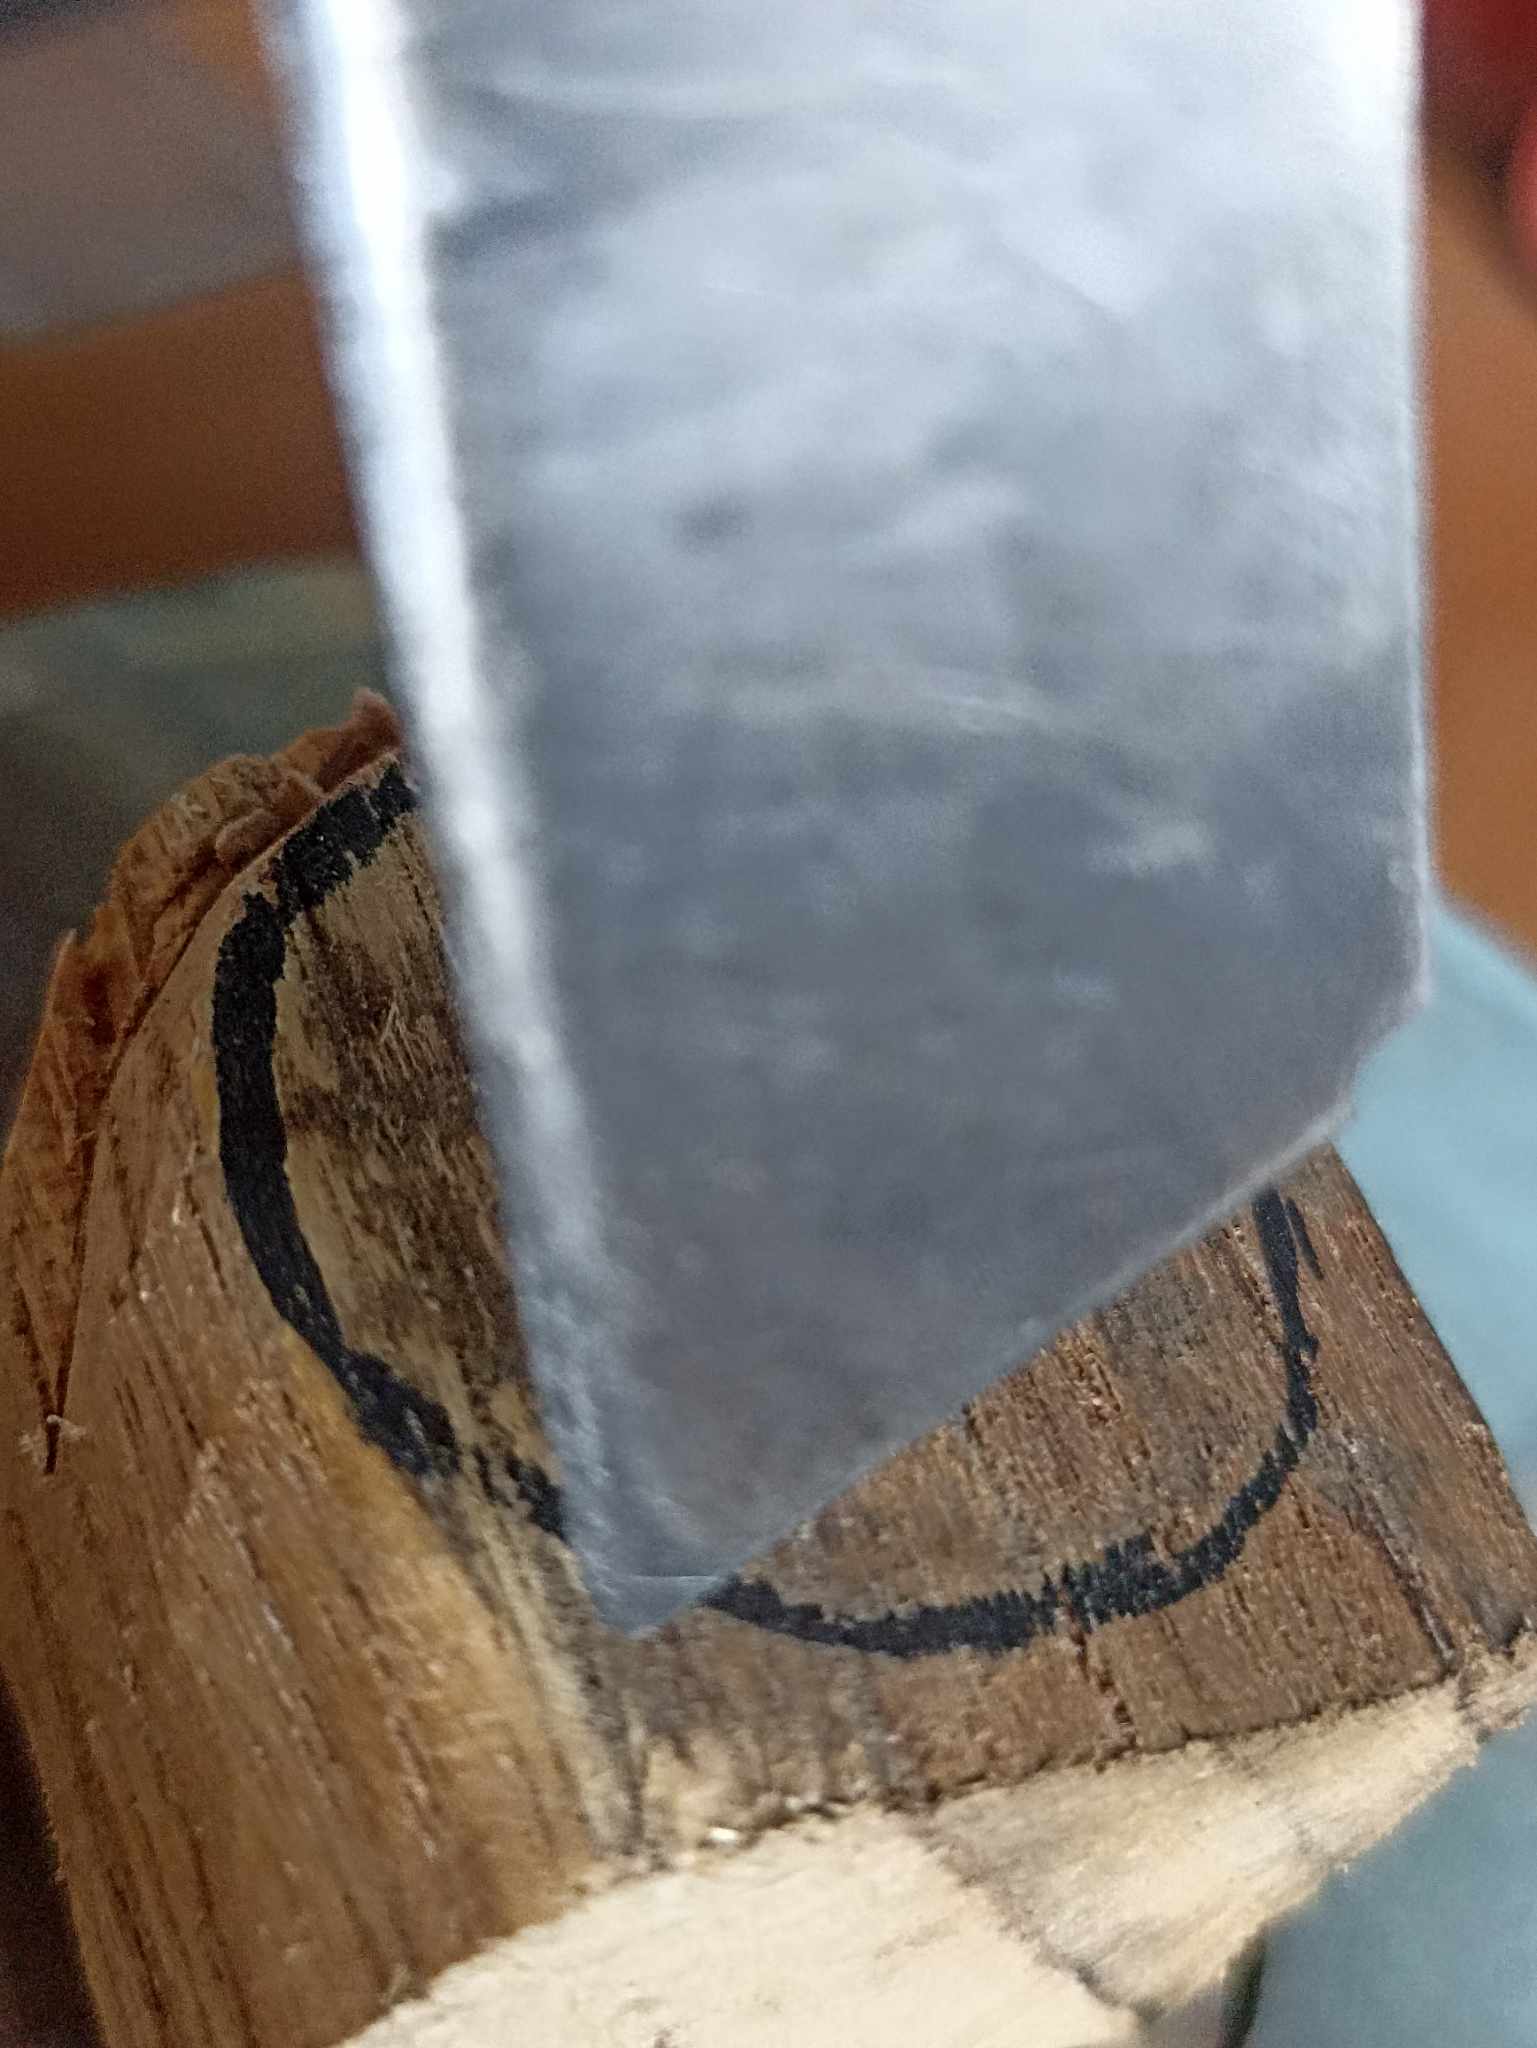
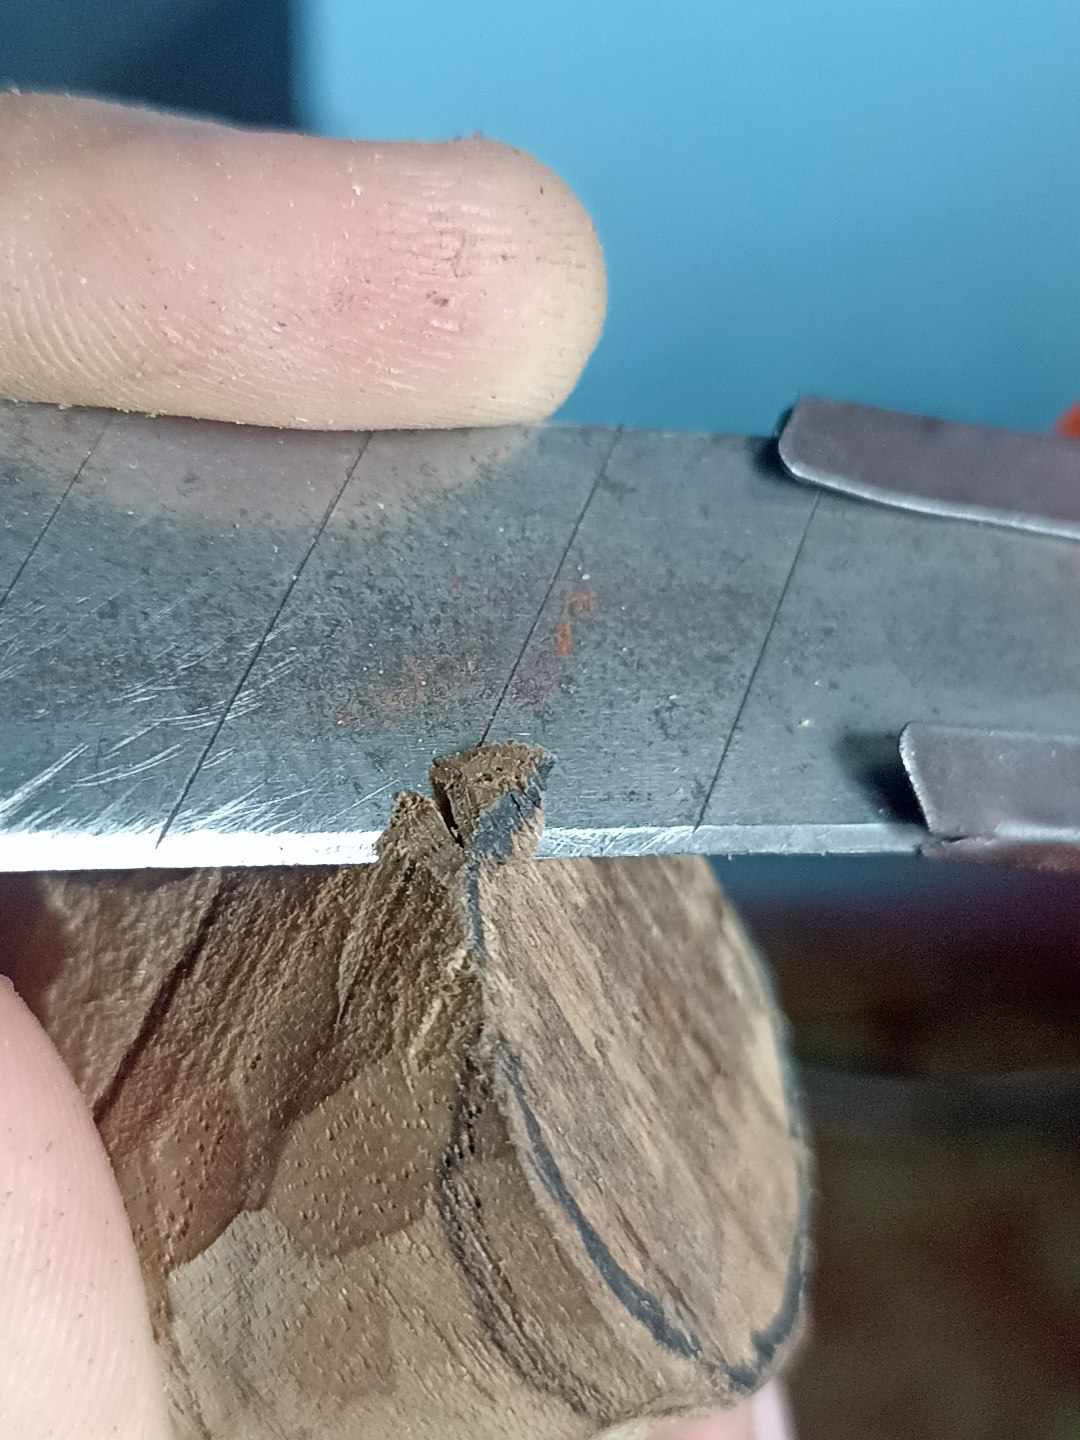
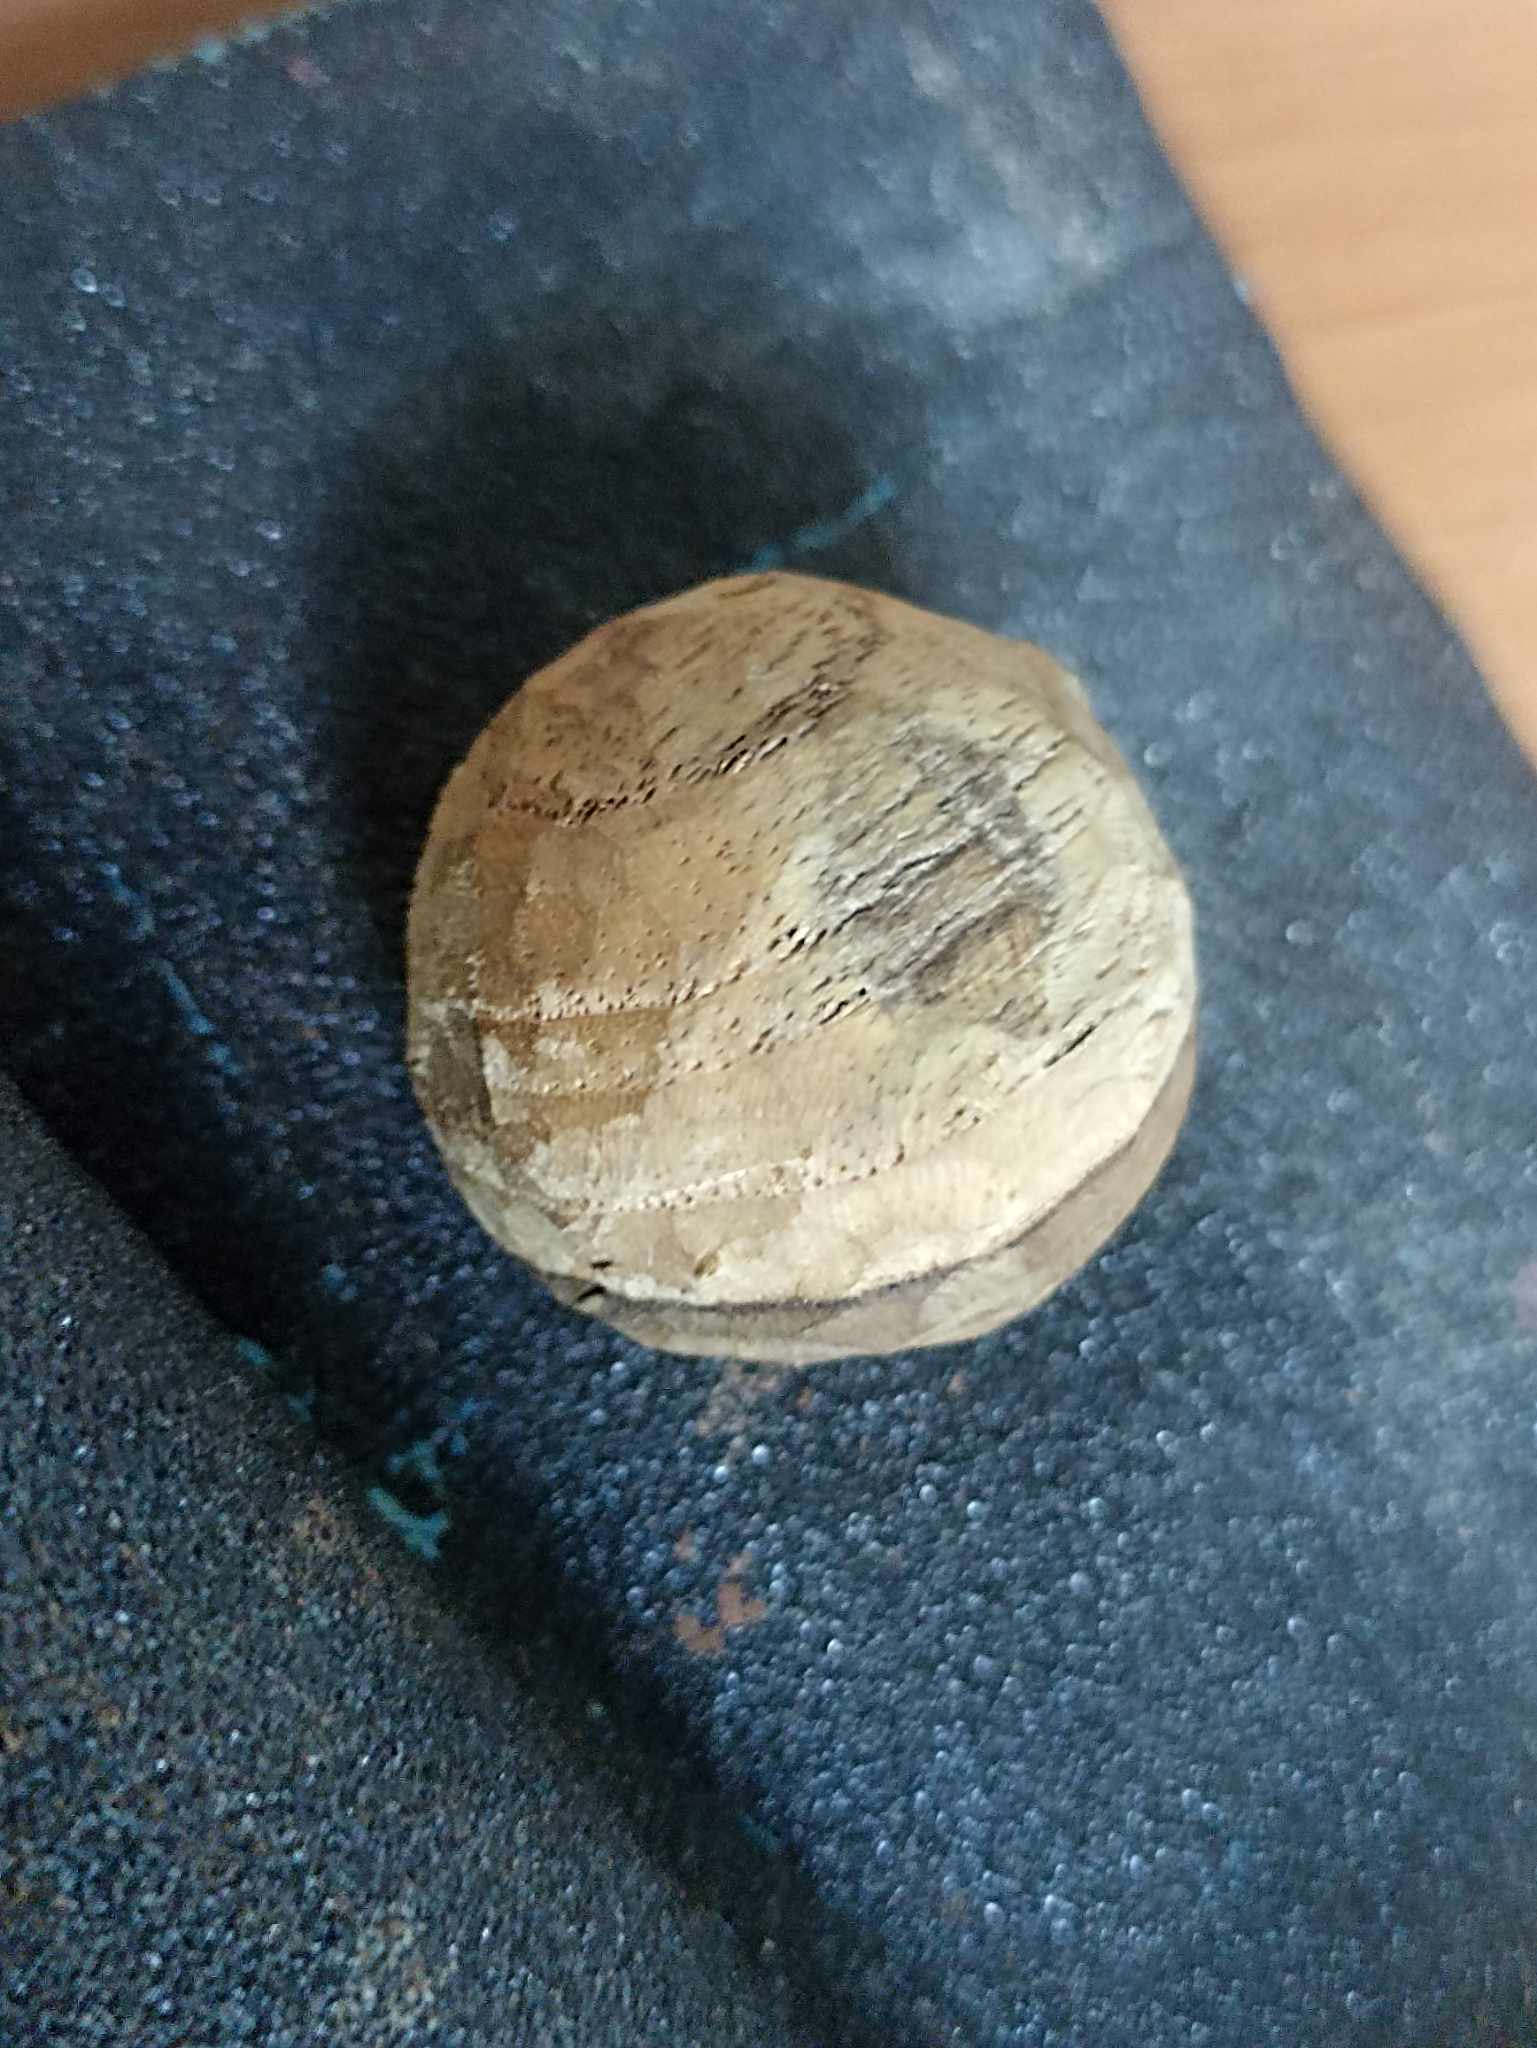
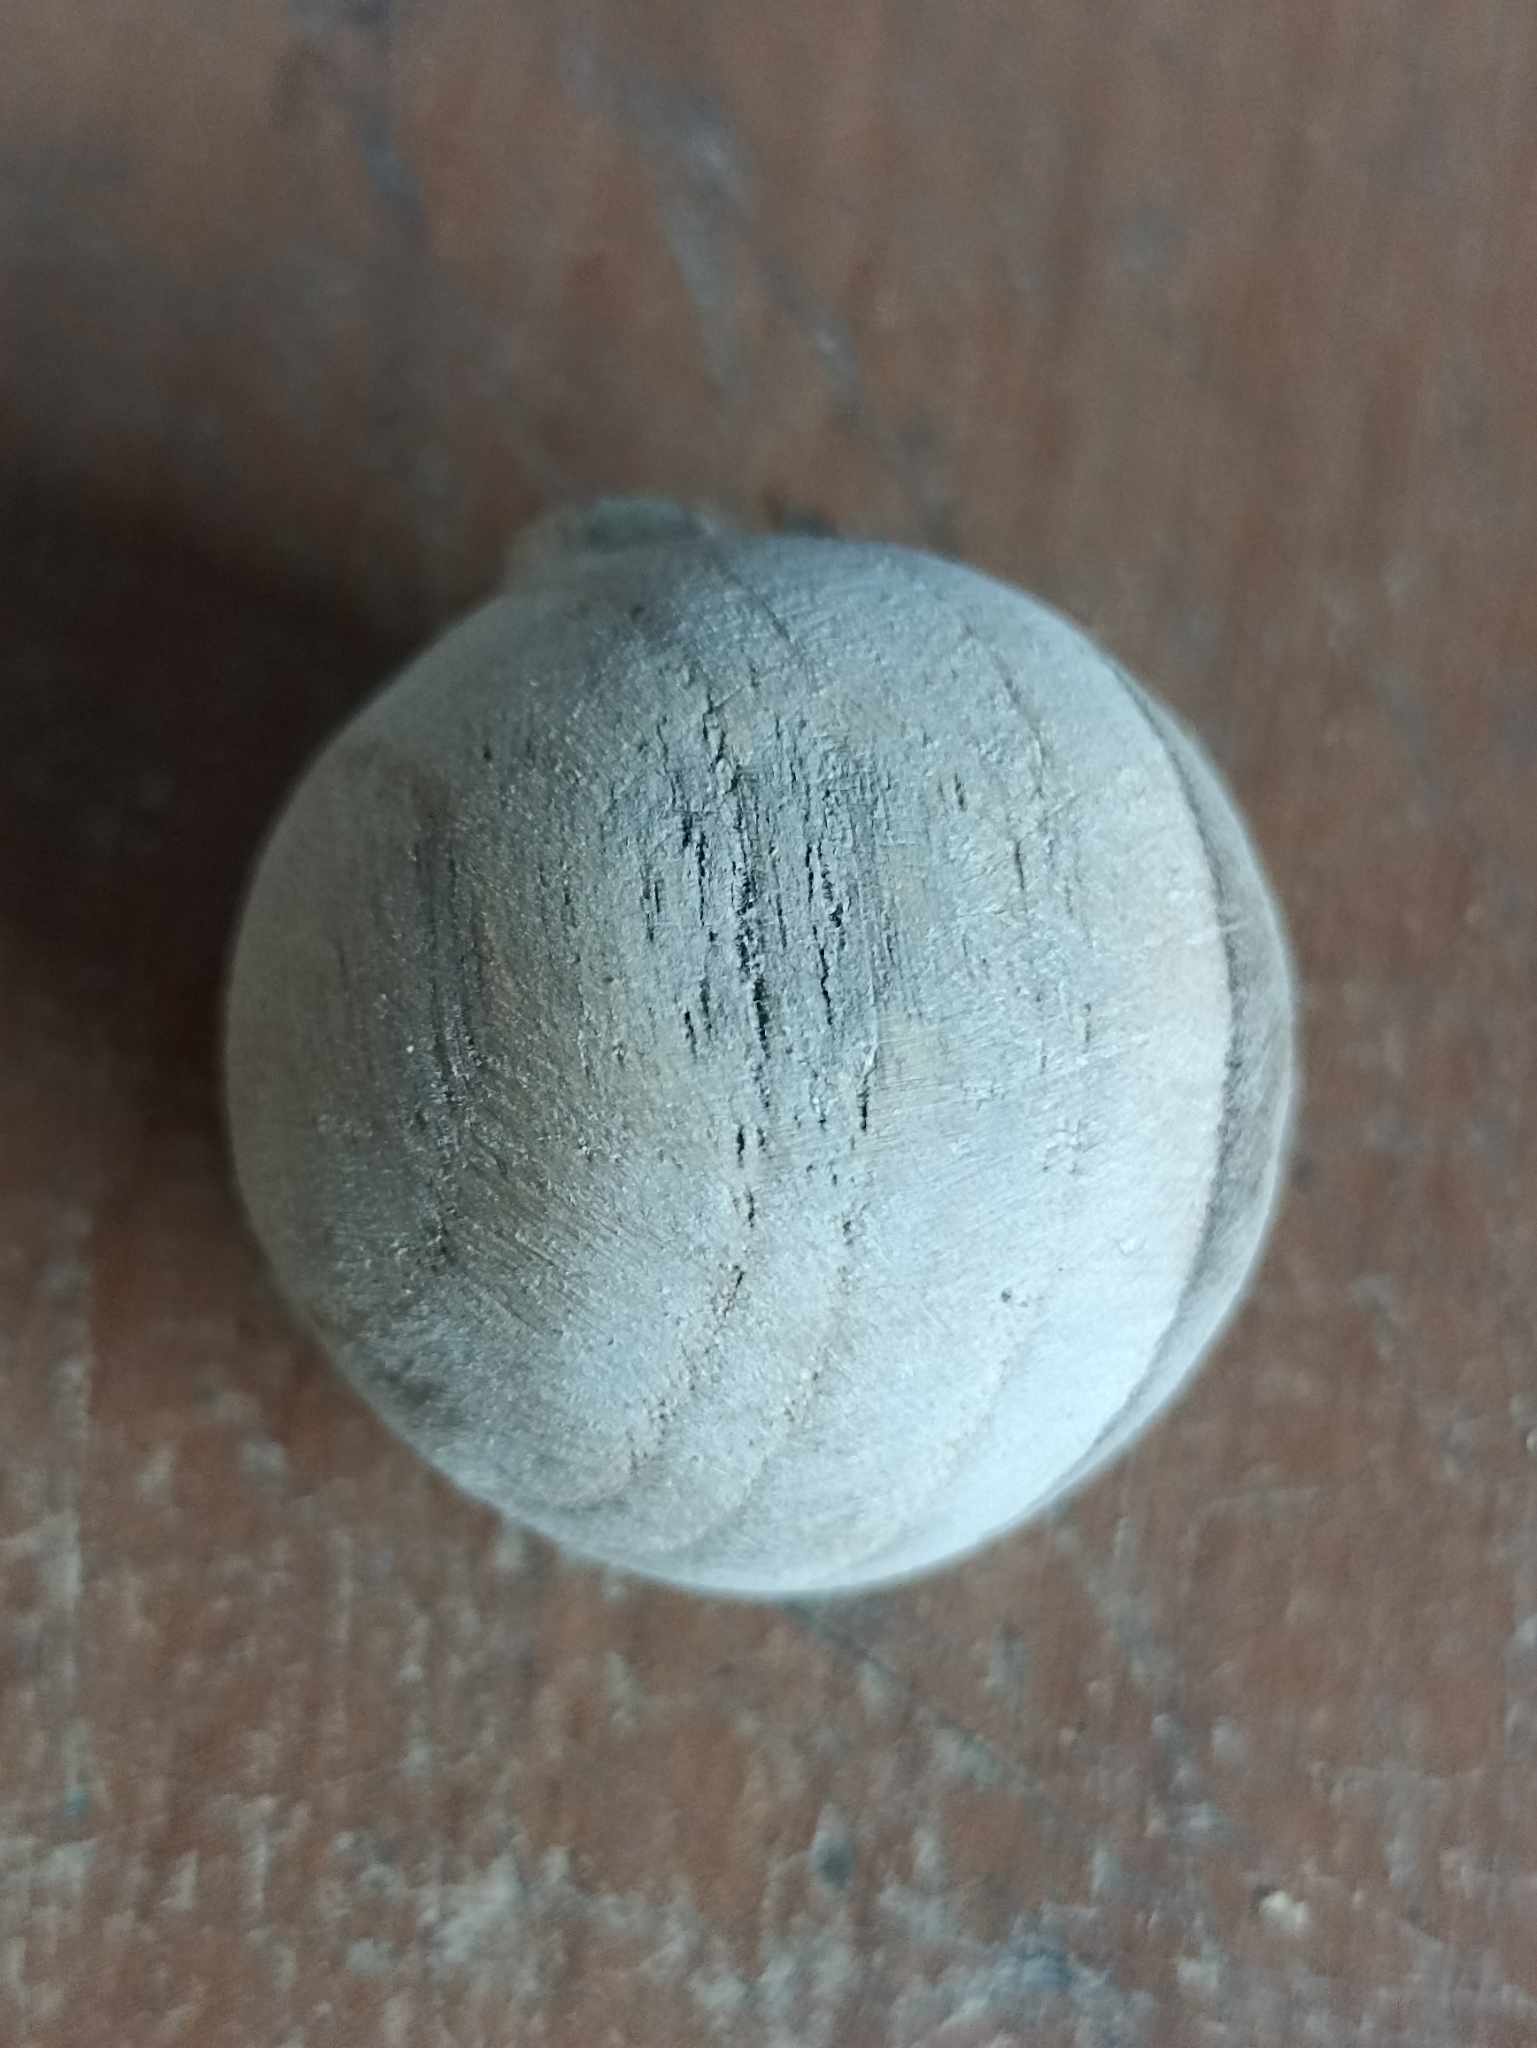
Then, with much greater care and attention, I make the smaller cuts. These cuts allow the sphere to become more circular and eliminate the sharper sides. After observing that the sphere had a good shape, I began using sandpaper to finish polishing and leave the entire surface smooth and flawless.
Luego, con mucho mas detalle y cuidado voy haciendo los cortes más pequeños, estos cortes permiten hacer la esfera más circular y eliminar esos lados que quedan más pronunciados. Después de observar que la esfera tenía una buena forma comencé a utilizar papel de lijar para terminar de pulir y dejar toda la superficie suave e impecable.
 |
 |
|
|---|---|---|
 |
 |
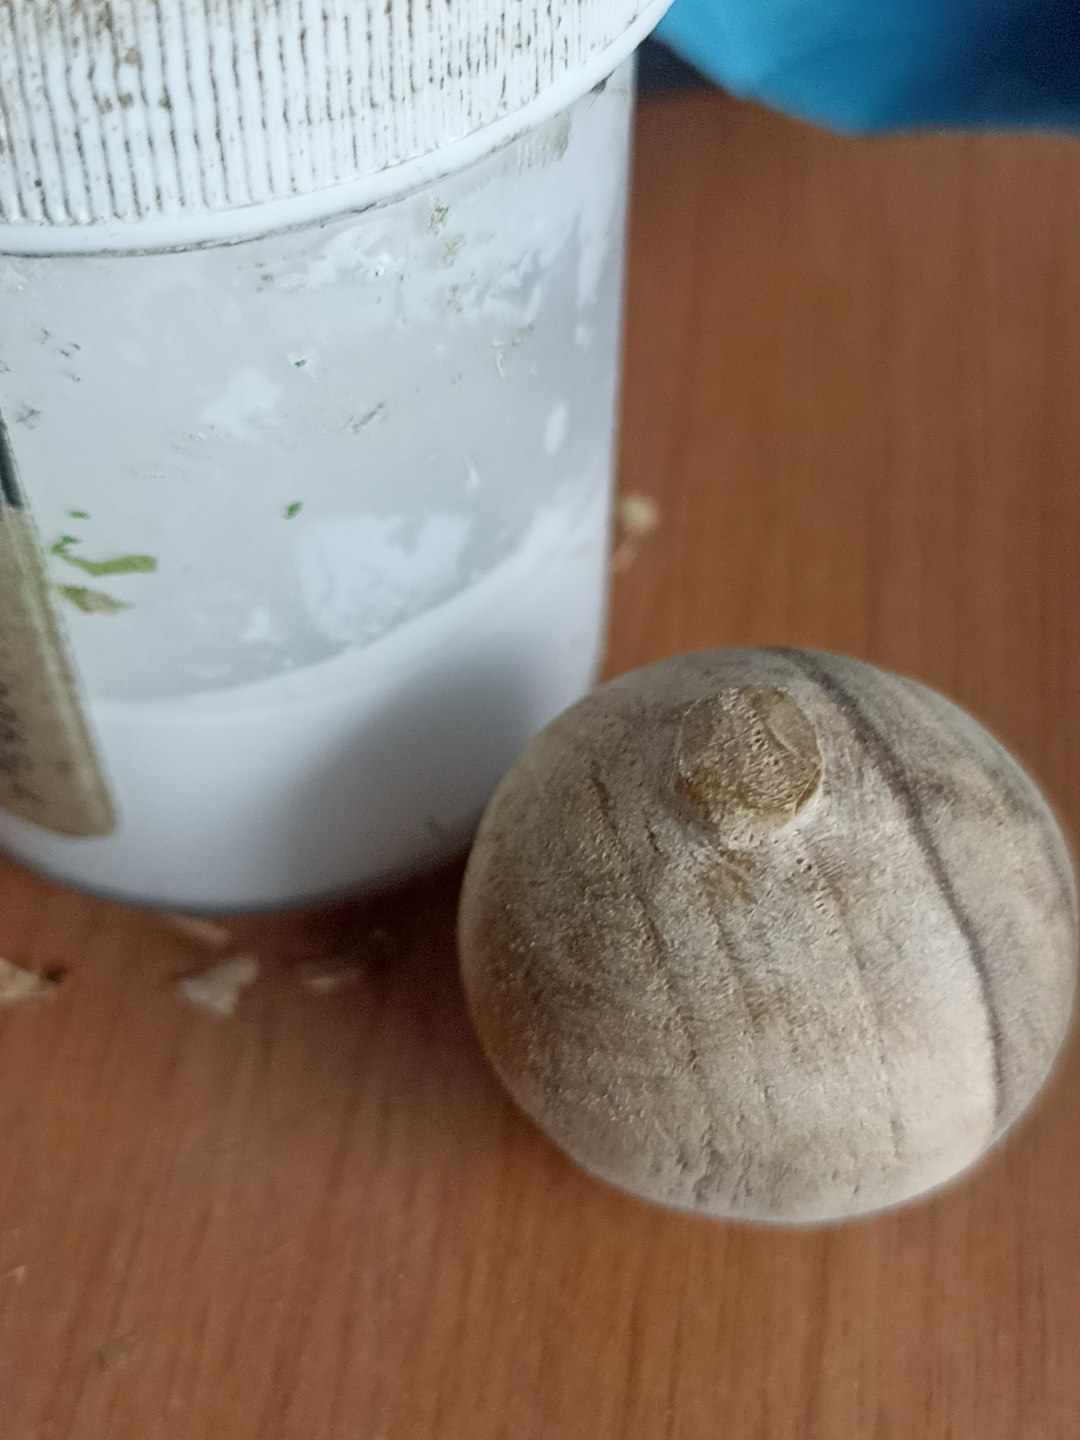
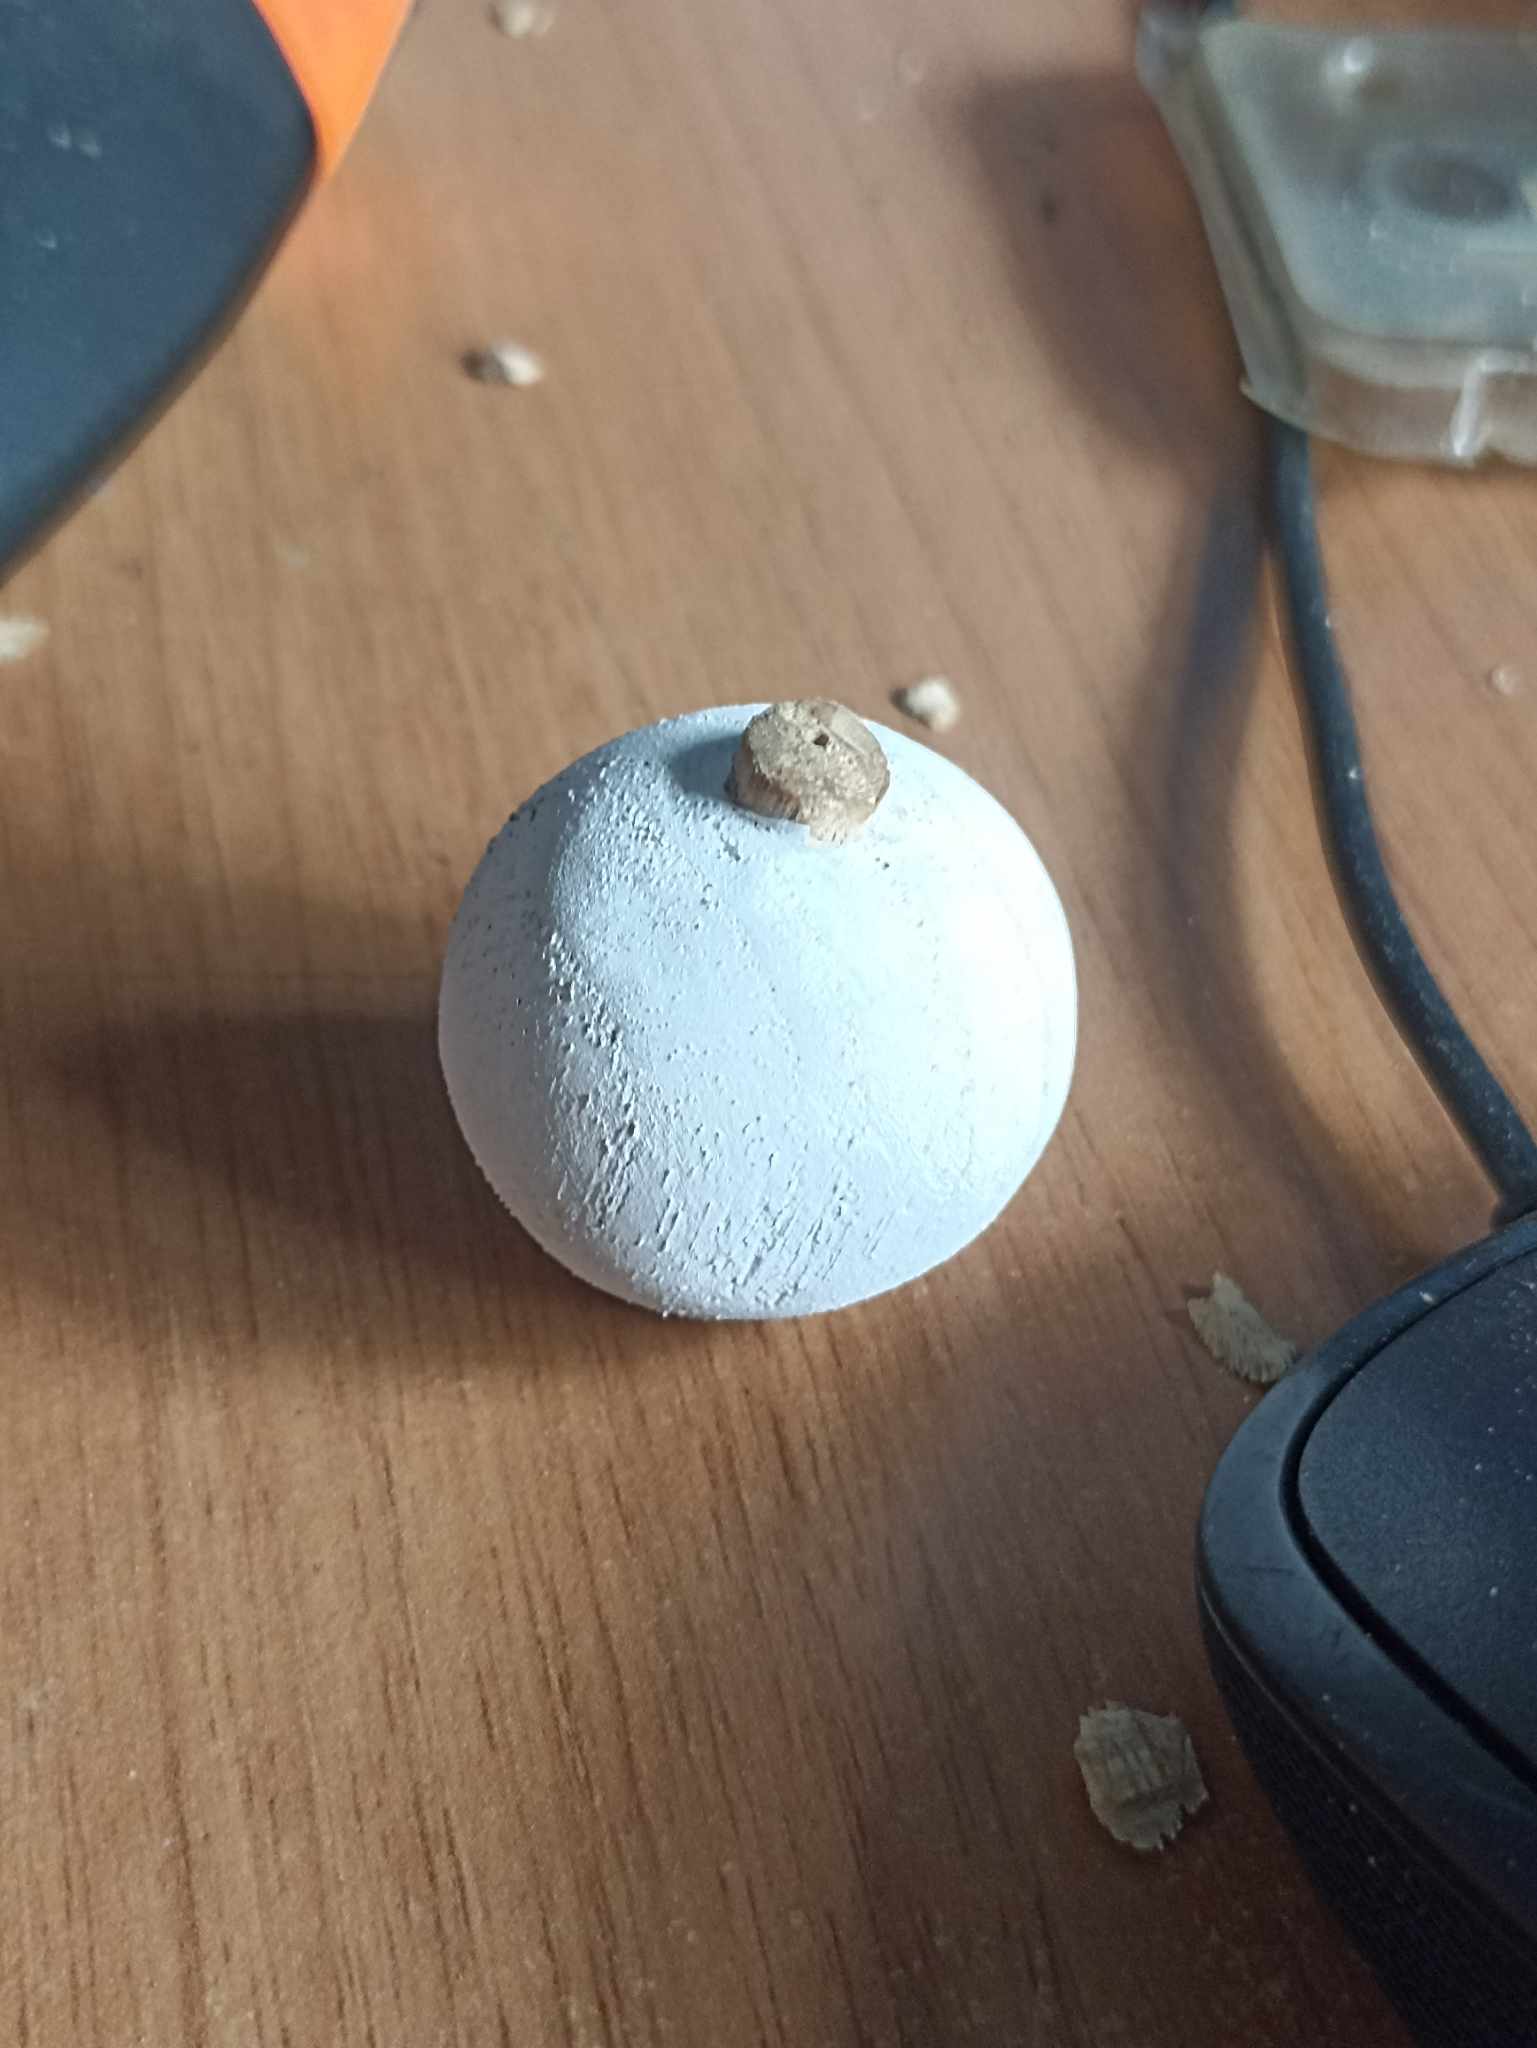
Once I've finished carving the piece, I begin the painting process. As you can see, I left a space at the top so I could place the necklace once it's finished. First, I apply several layers of cold paint to act as a background. Then, I apply acrylic paint and all the necessary details. This way, it will have better coverage.
Una vez terminada de tallar la pieza comienzo con el proceso de la pintura, como pueden ver, dejé un espacio en la parte superior dispuesto para poder colocar el collar una vez se haya terminado. En primer lugar coloco varias capas de pintura al frío para que actúe como un fondo y así luego echar pintura acrílica y todos los detalles necesarios, de esa manera tendrá un mejor cubrimiento.
 |
 |
|
|---|---|---|
 |
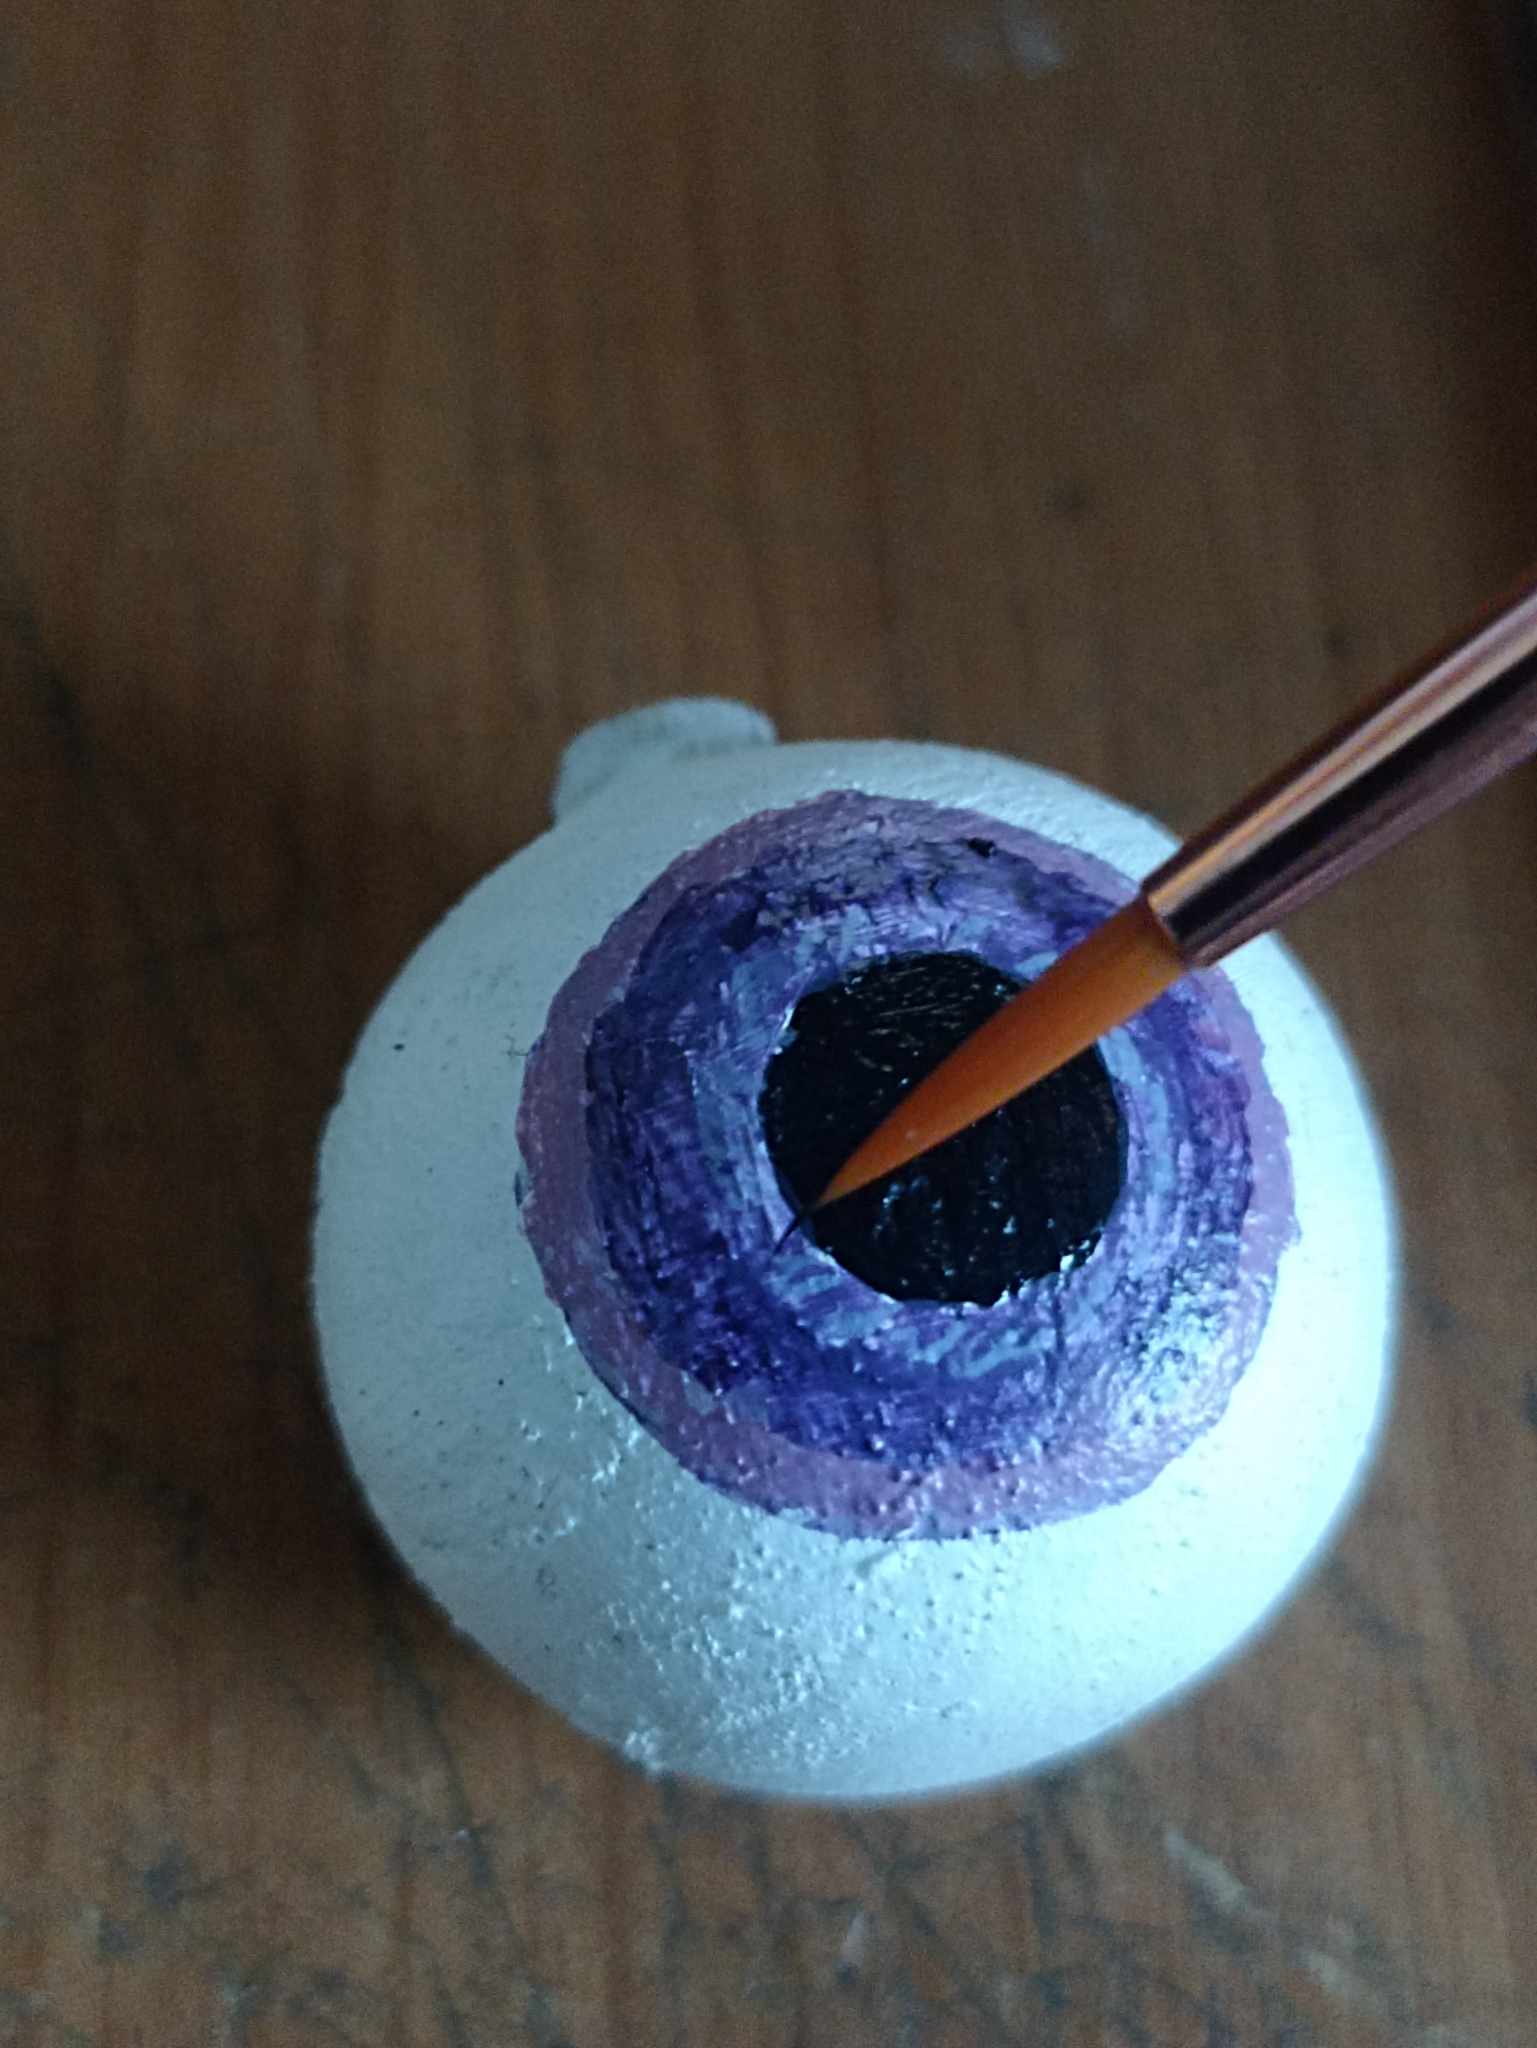 |
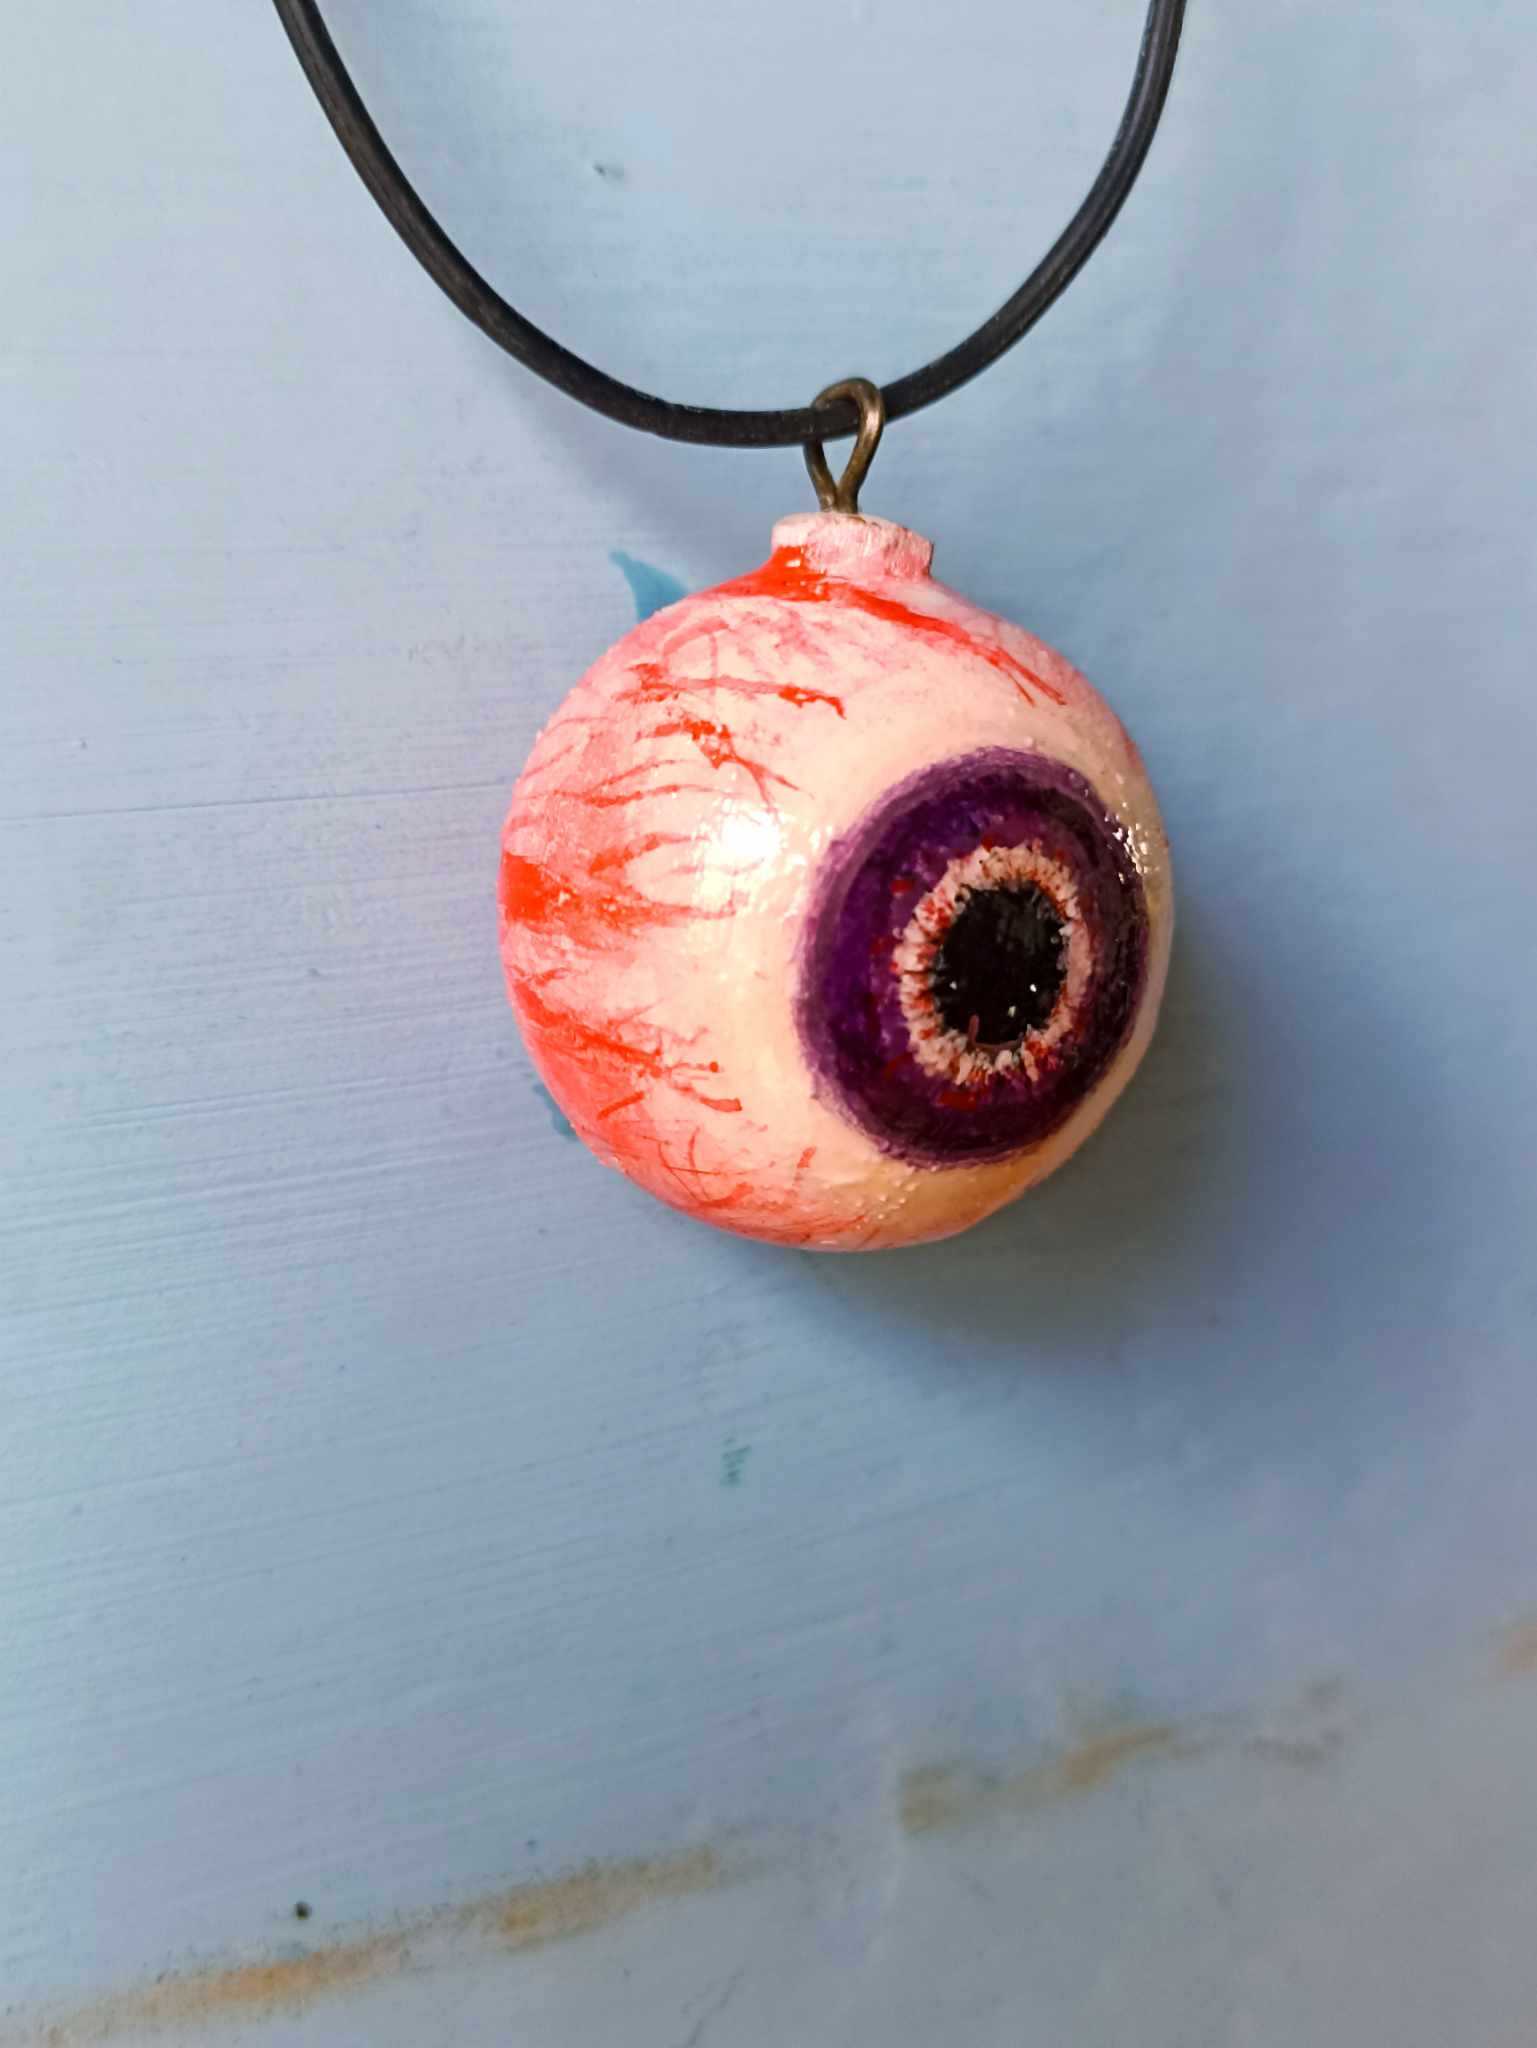
After the layers of cold paint have dried thoroughly, I begin painting with acrylic paints, which have a bit more shine and more vivid tones. So, first, I draw the retina with a brush, and then I paint the iris of the eye, which in the character Cornealus is violet. Here, I use a mixture of colors to give it shine and depth.
Después de que las capas de pintura al frío hayan secado muy bien comienzo a pintar con las pinturas acrílicas que tienen un poco más de brillo y los tonos son más vivos. Así que en primer lugar dibujo la retina con un pincel, y luego voy pintando el iris del ojo, que en el personaje Cornealus es de un color violeta, aquí utilizo una mezclas de colores para darle brillo y profundidad.
 |
 |
|
|---|---|---|
 |
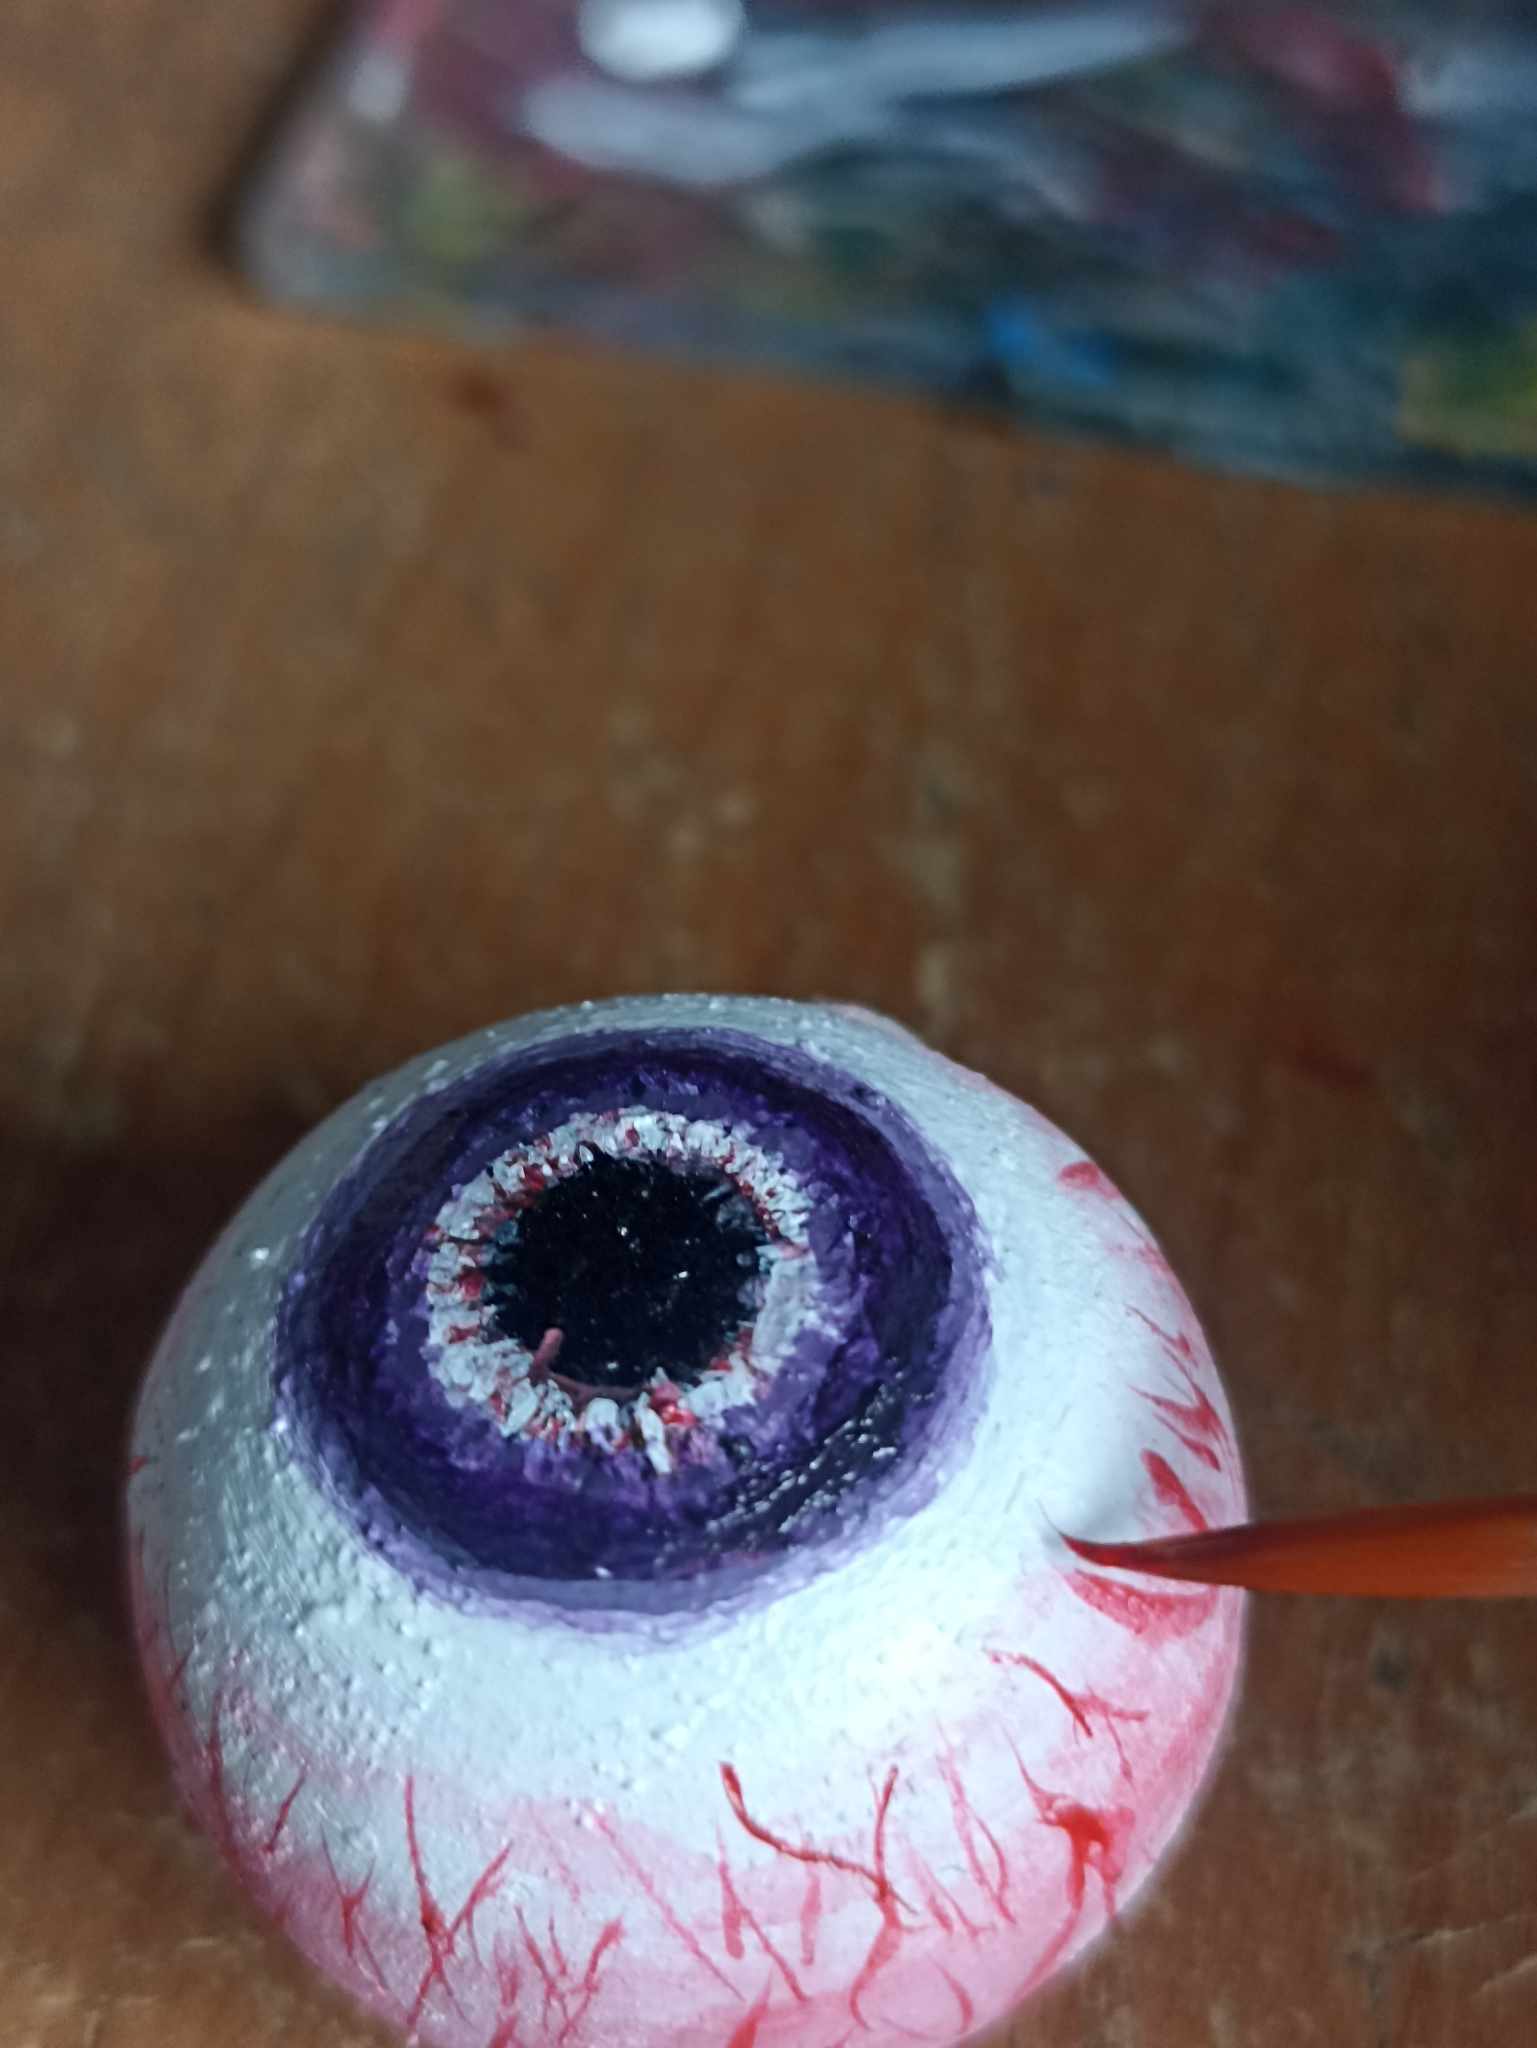 |
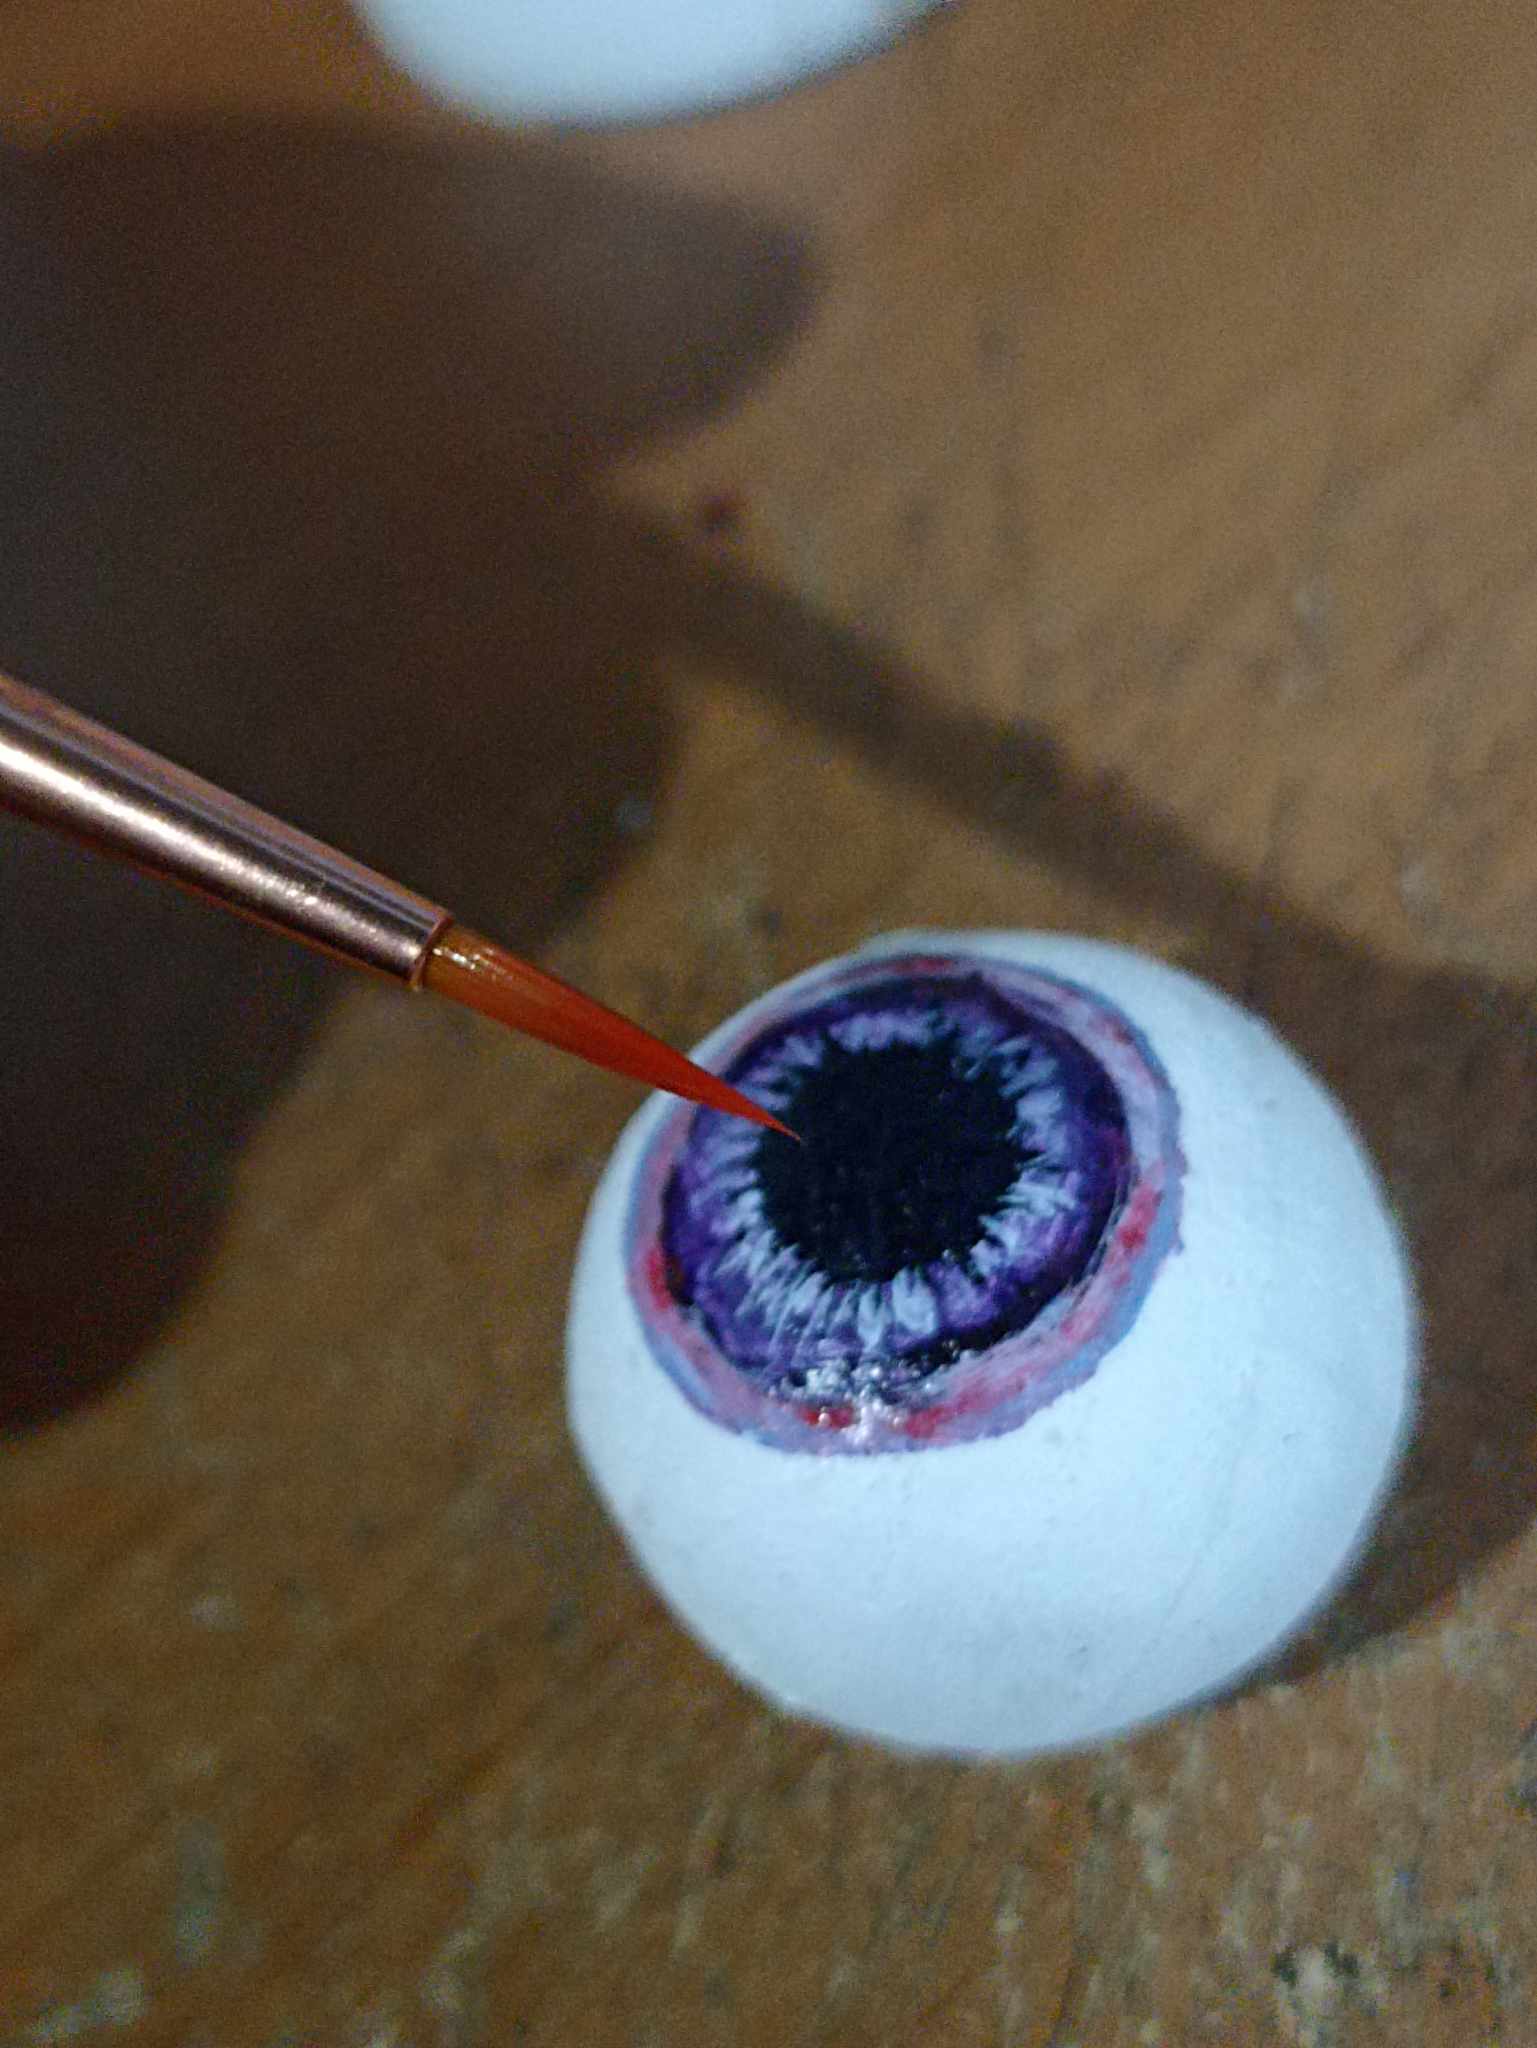
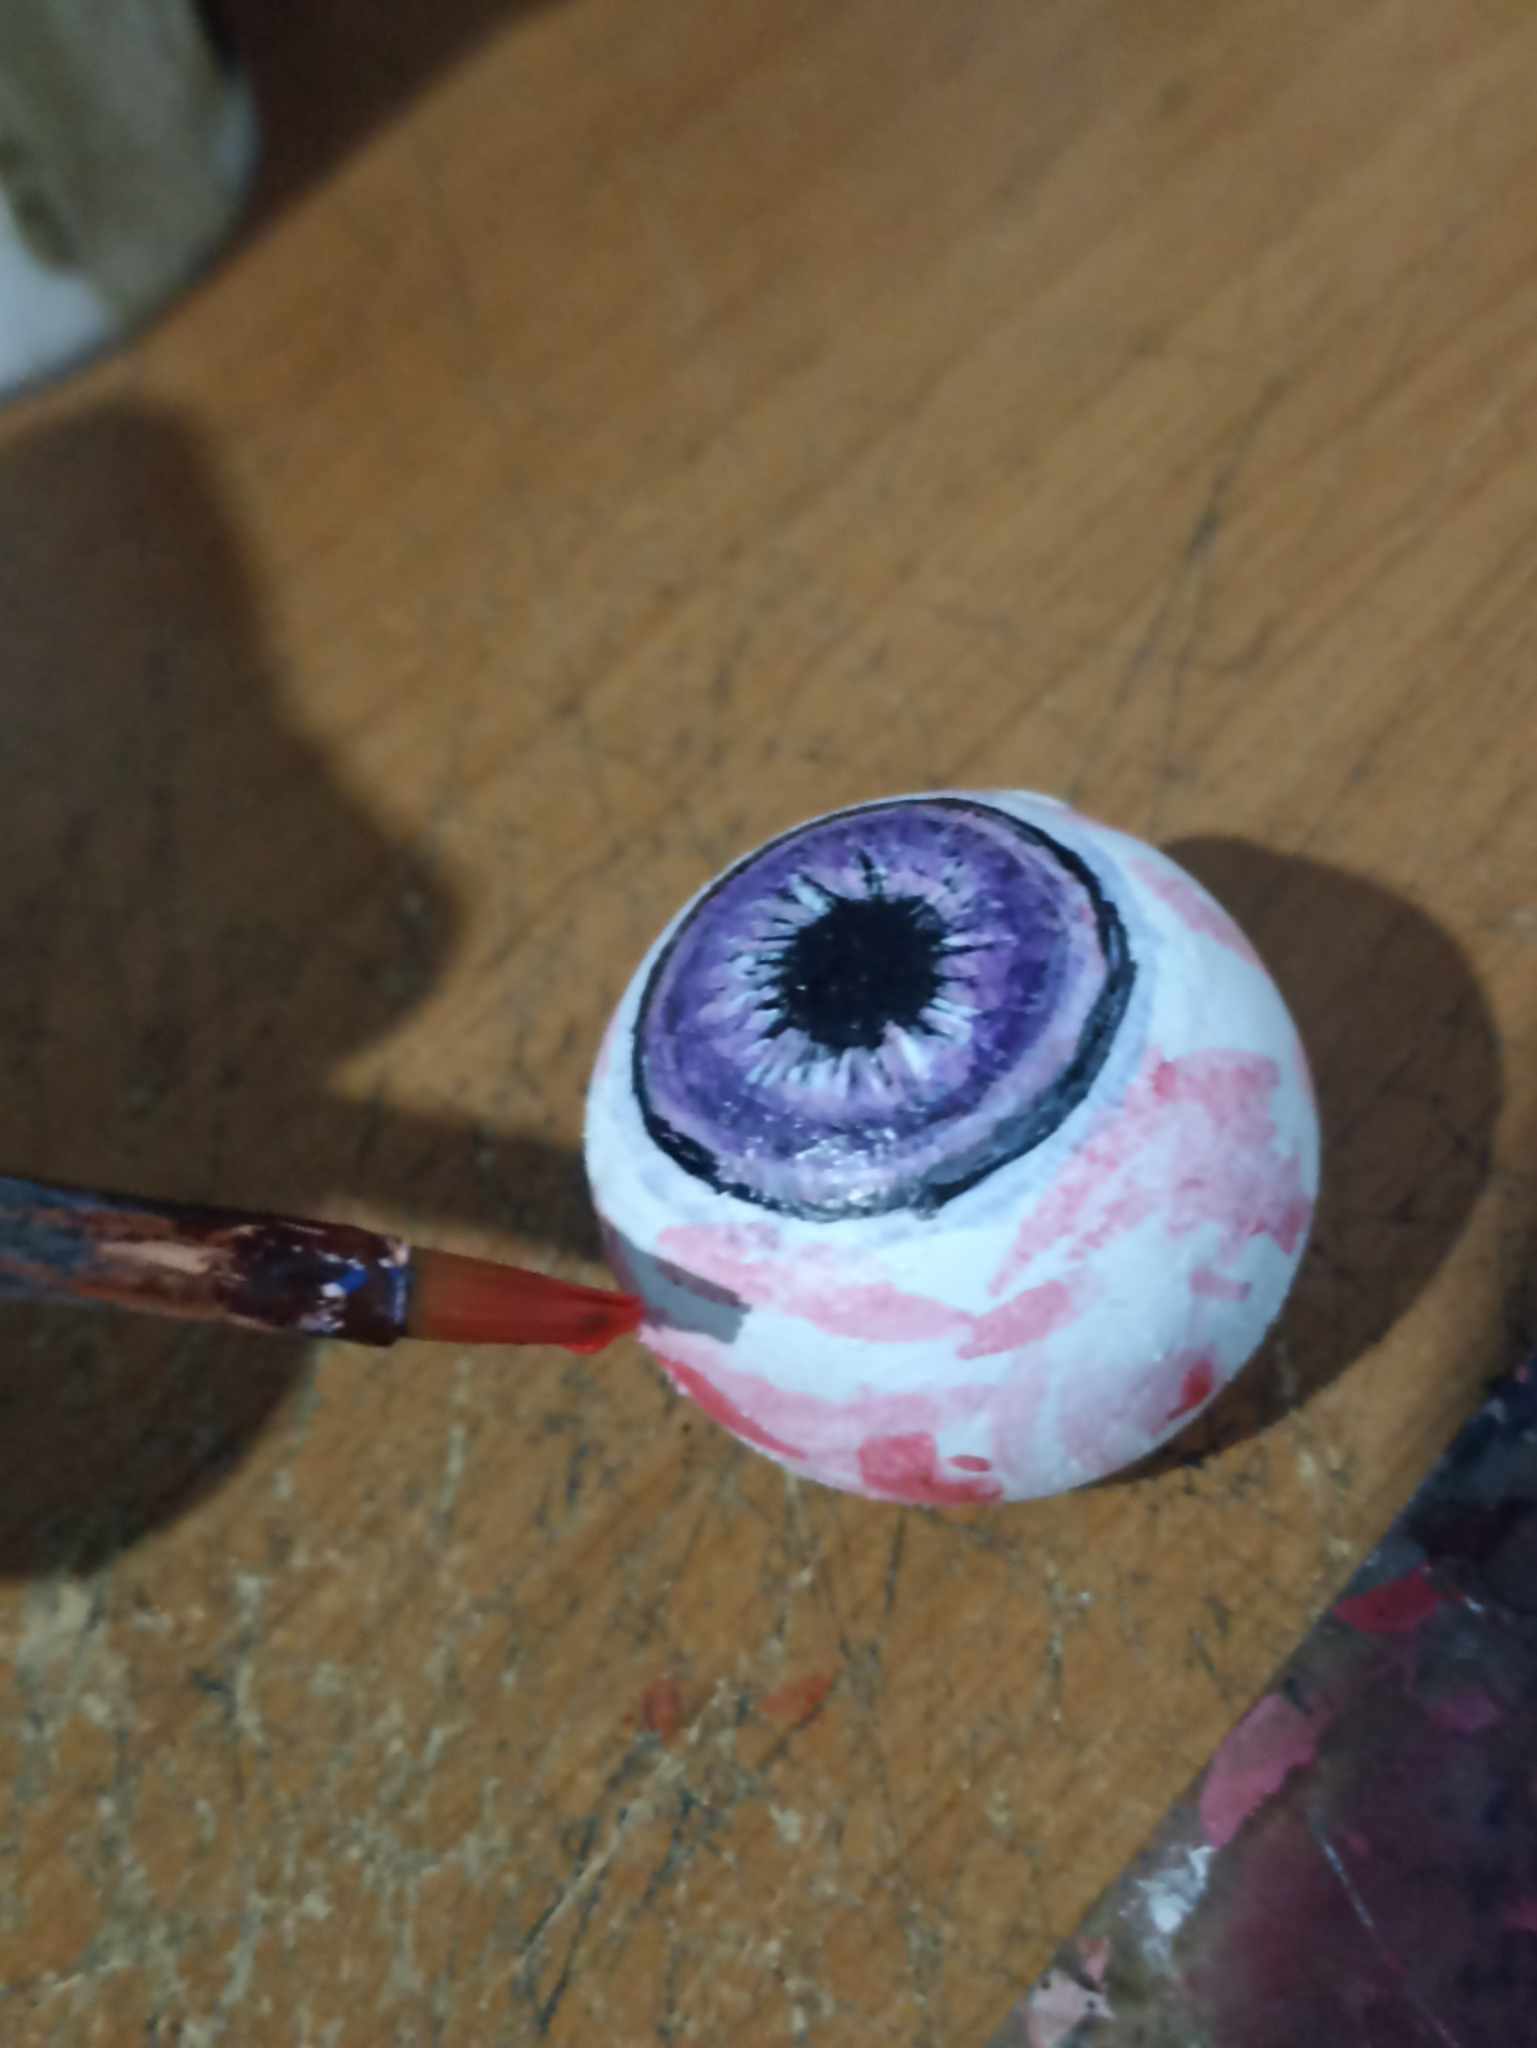
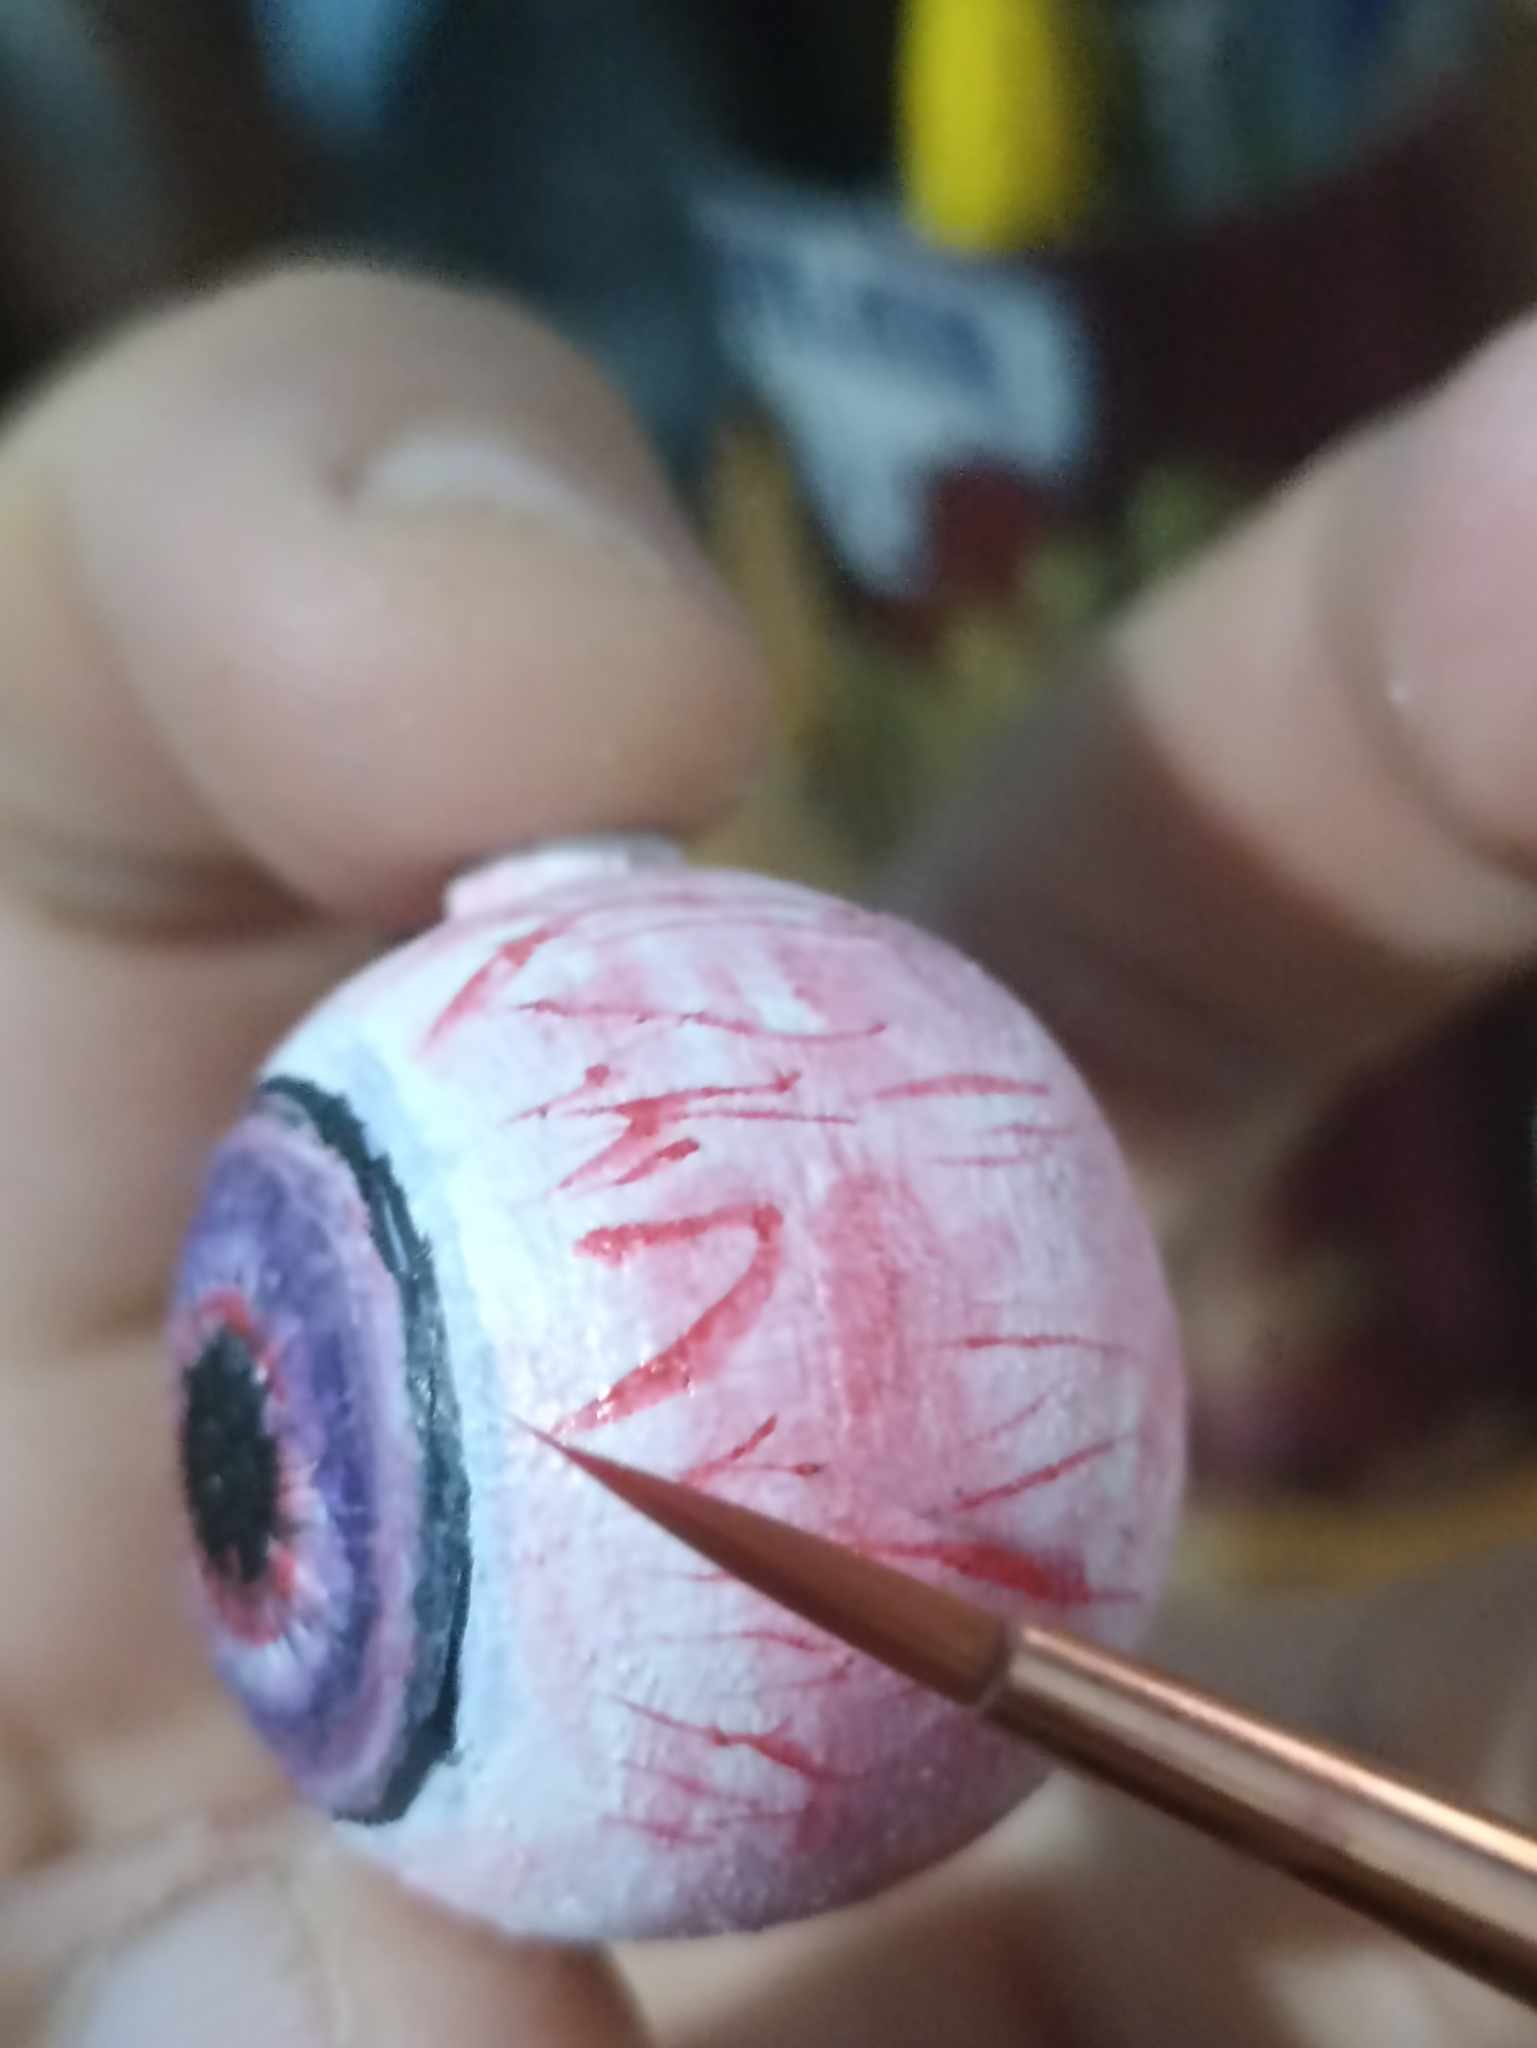
I continue adding details to the iris of the eye. My goal is for it to look very realistic and especially bright, so I use the finest brush to add those details. Another important aspect is to give it a red background color, so it looks as if it's been torn out, especially with the very small blood vessels clearly visible. These kinds of details definitely turn out very well with this brush.
Sigo agregando detalles en el iris del ojo, mi objetivo es que quede muy realista y especialmente brillante, por lo que utilizo el pincel mas fino de todos y con él voy agregando esos detalles. Otro aspecto importante es darle un fondo de color rojo, para que luzca como si hubiera sido arrancado, especialmente con los vasos sanguíenos bien pequeños muy marcados. Sin duda con este pincel esta clase de detalles quedan muy bien.
 |
 |
|
|---|---|---|
 |
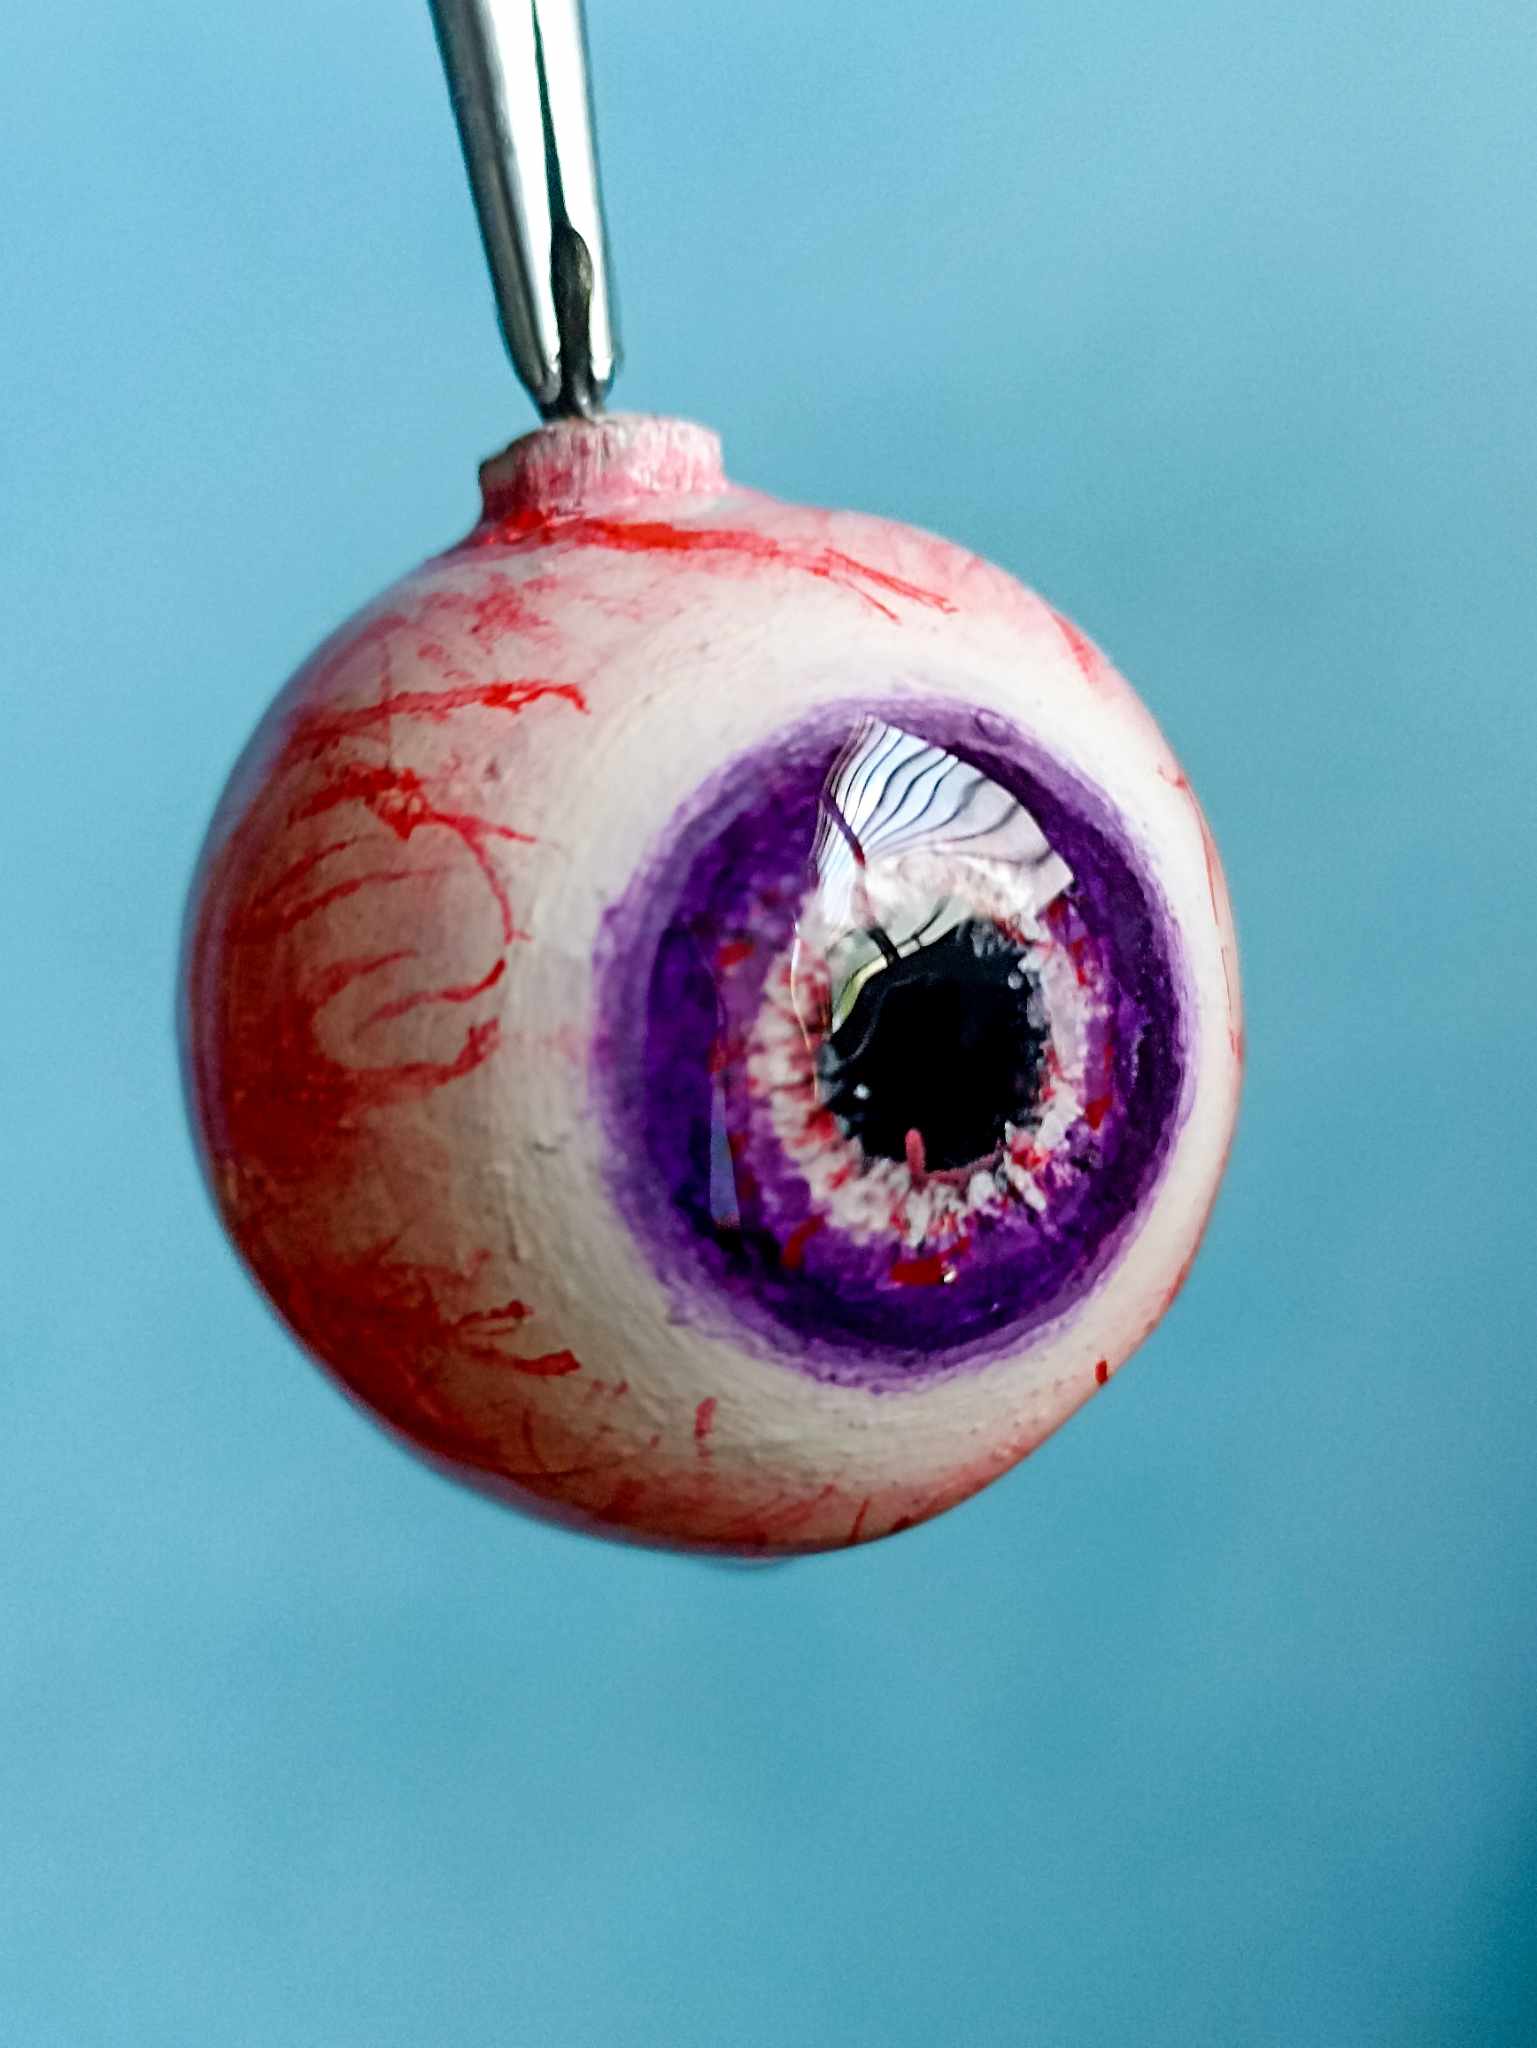 |
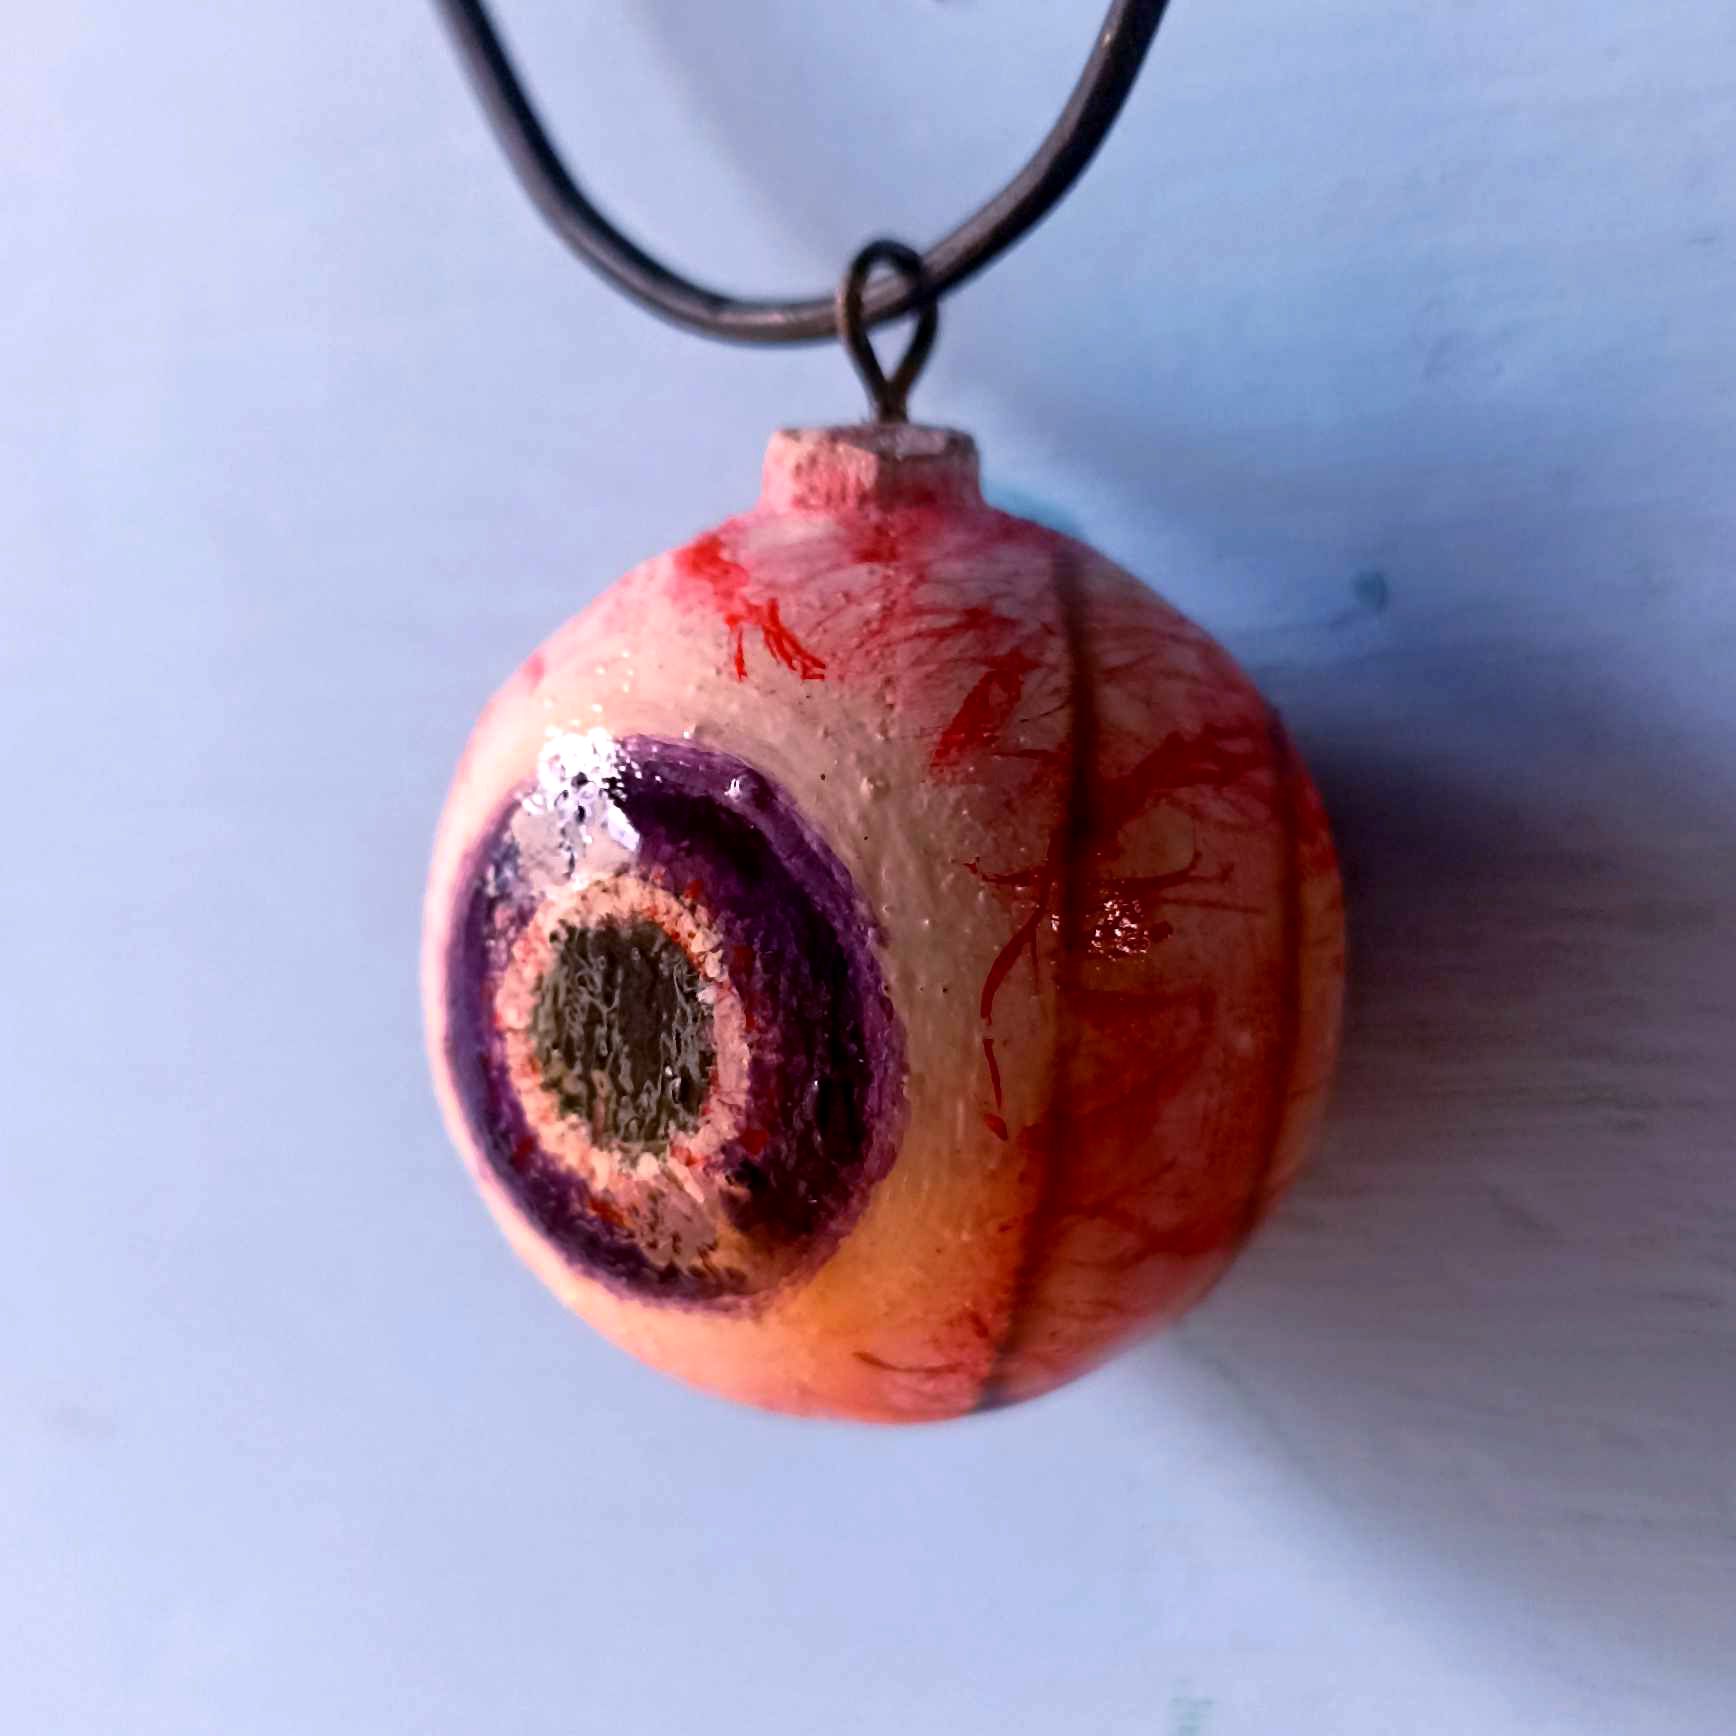
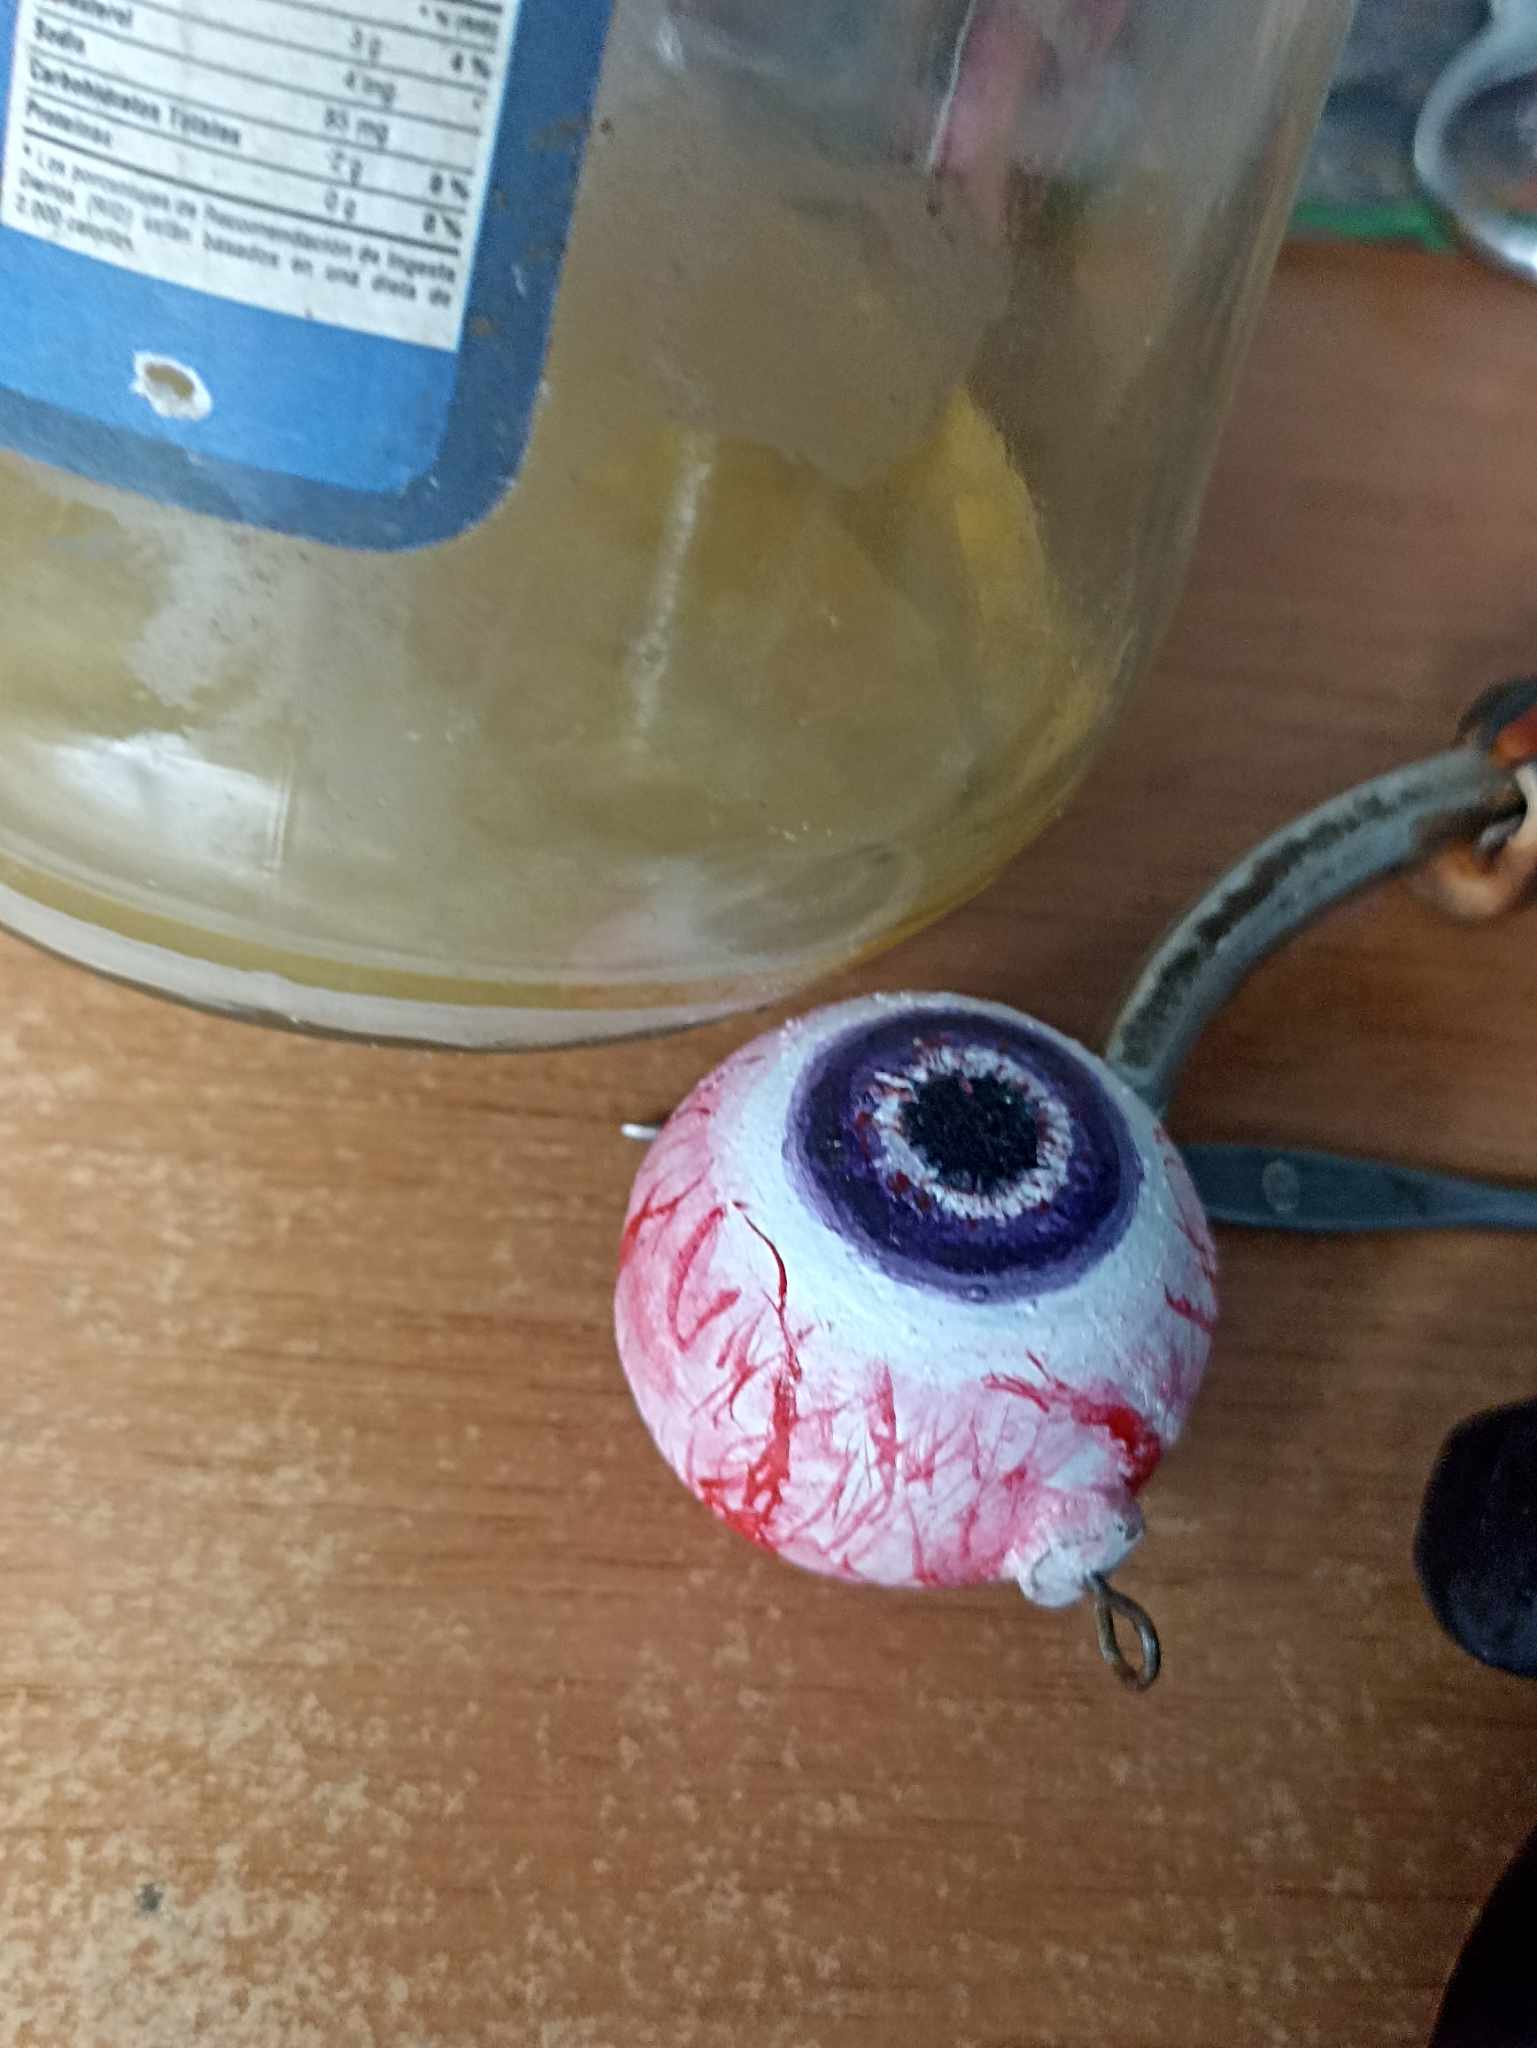
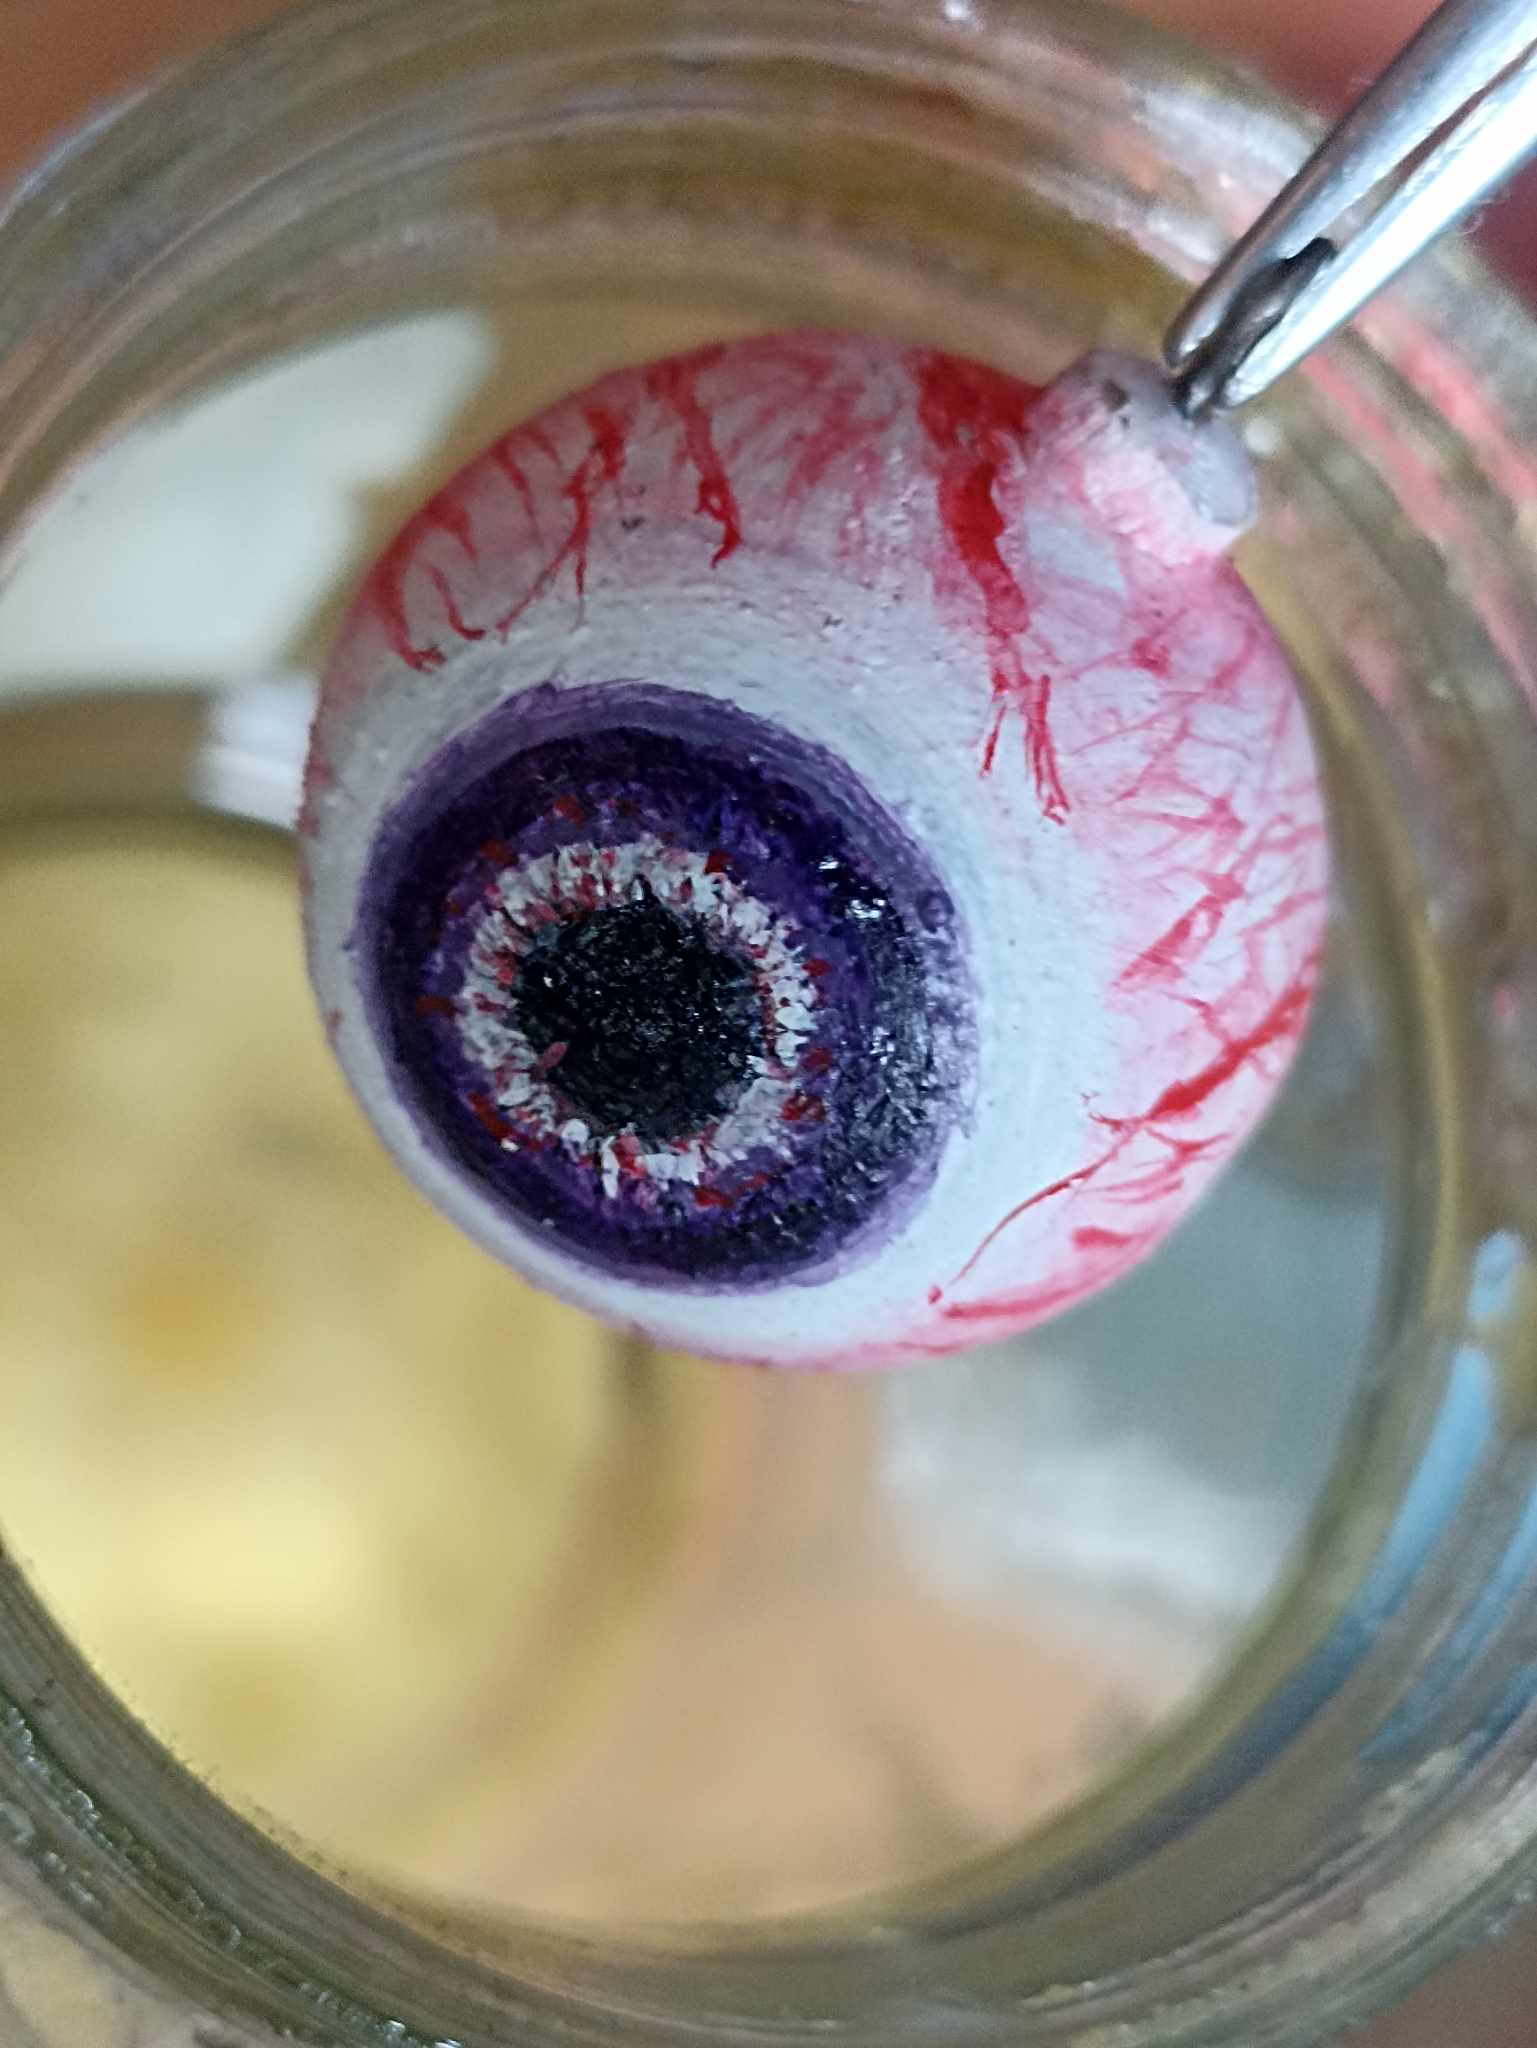
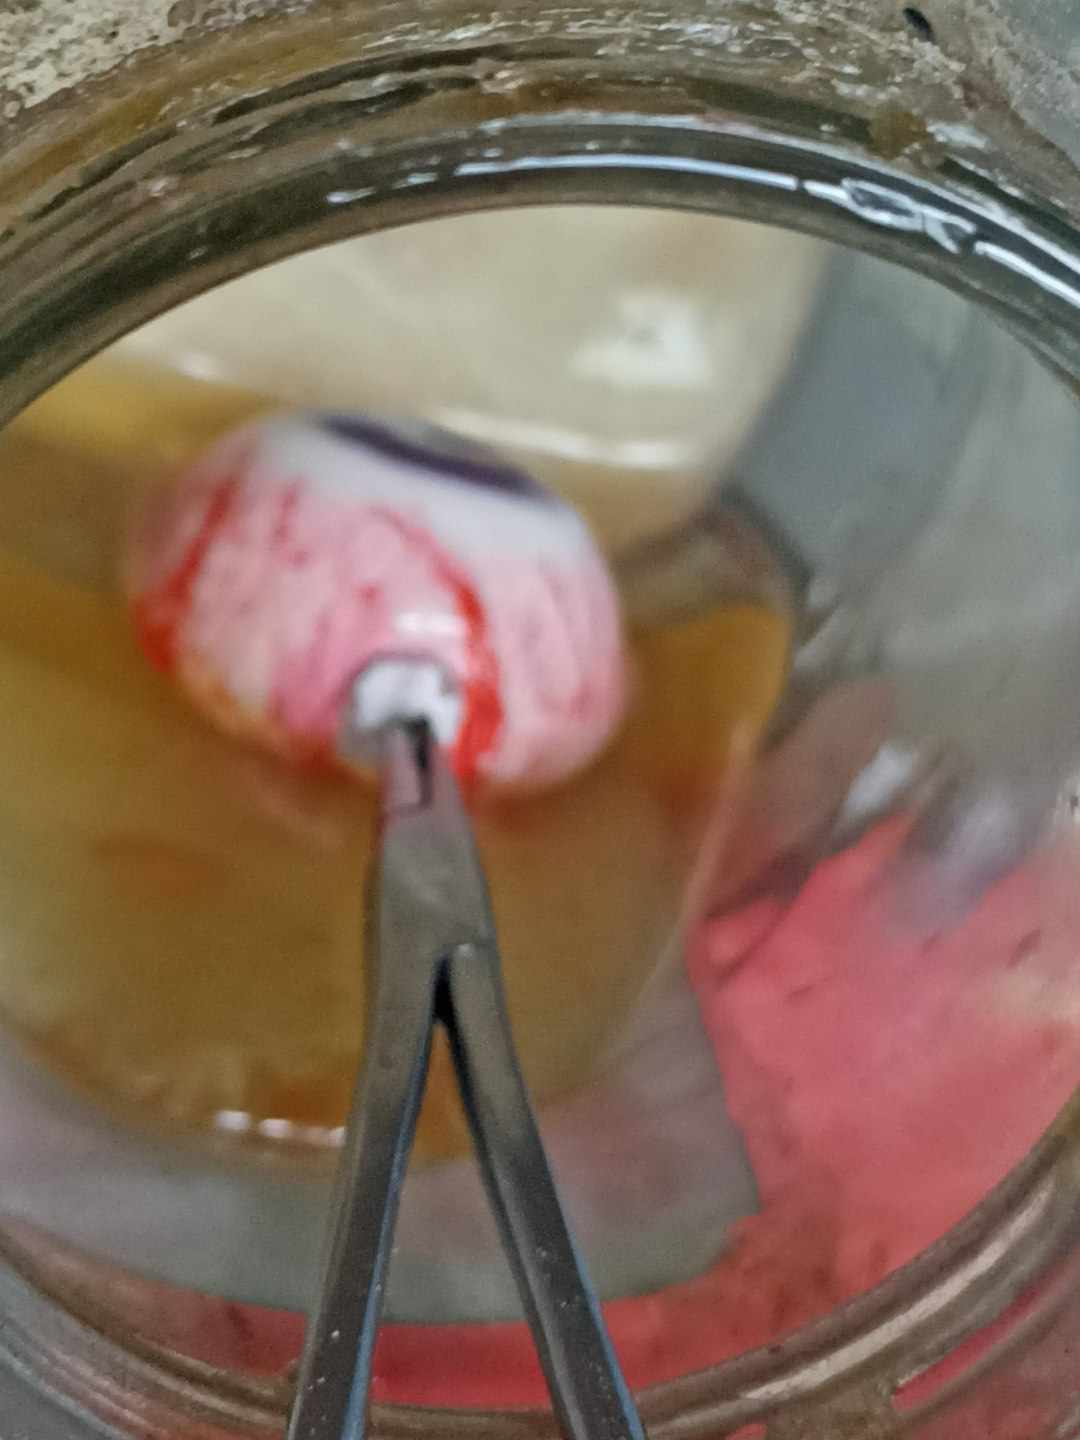
Once I've finished painting the entire piece, there's only one very important step left: the varnish. I take the entire piece by the top, where I placed the ring for the necklace, and dip Cornealus into the container until it's completely covered. Then I let it dry for a long time until the piece is ready to put on the necklace.
Un vez terminado de pintar toda la pieza solo queda un paos muy importante: el barniz. Tomo toda la pieza por la parte superior, donde puse la argolla para el collar y sumerjo a Cornealus en el envase hasta ser cubierto por completo, después dejo secar por un largo tiempo hasta que la pieza esté lista para ponerle el collar.
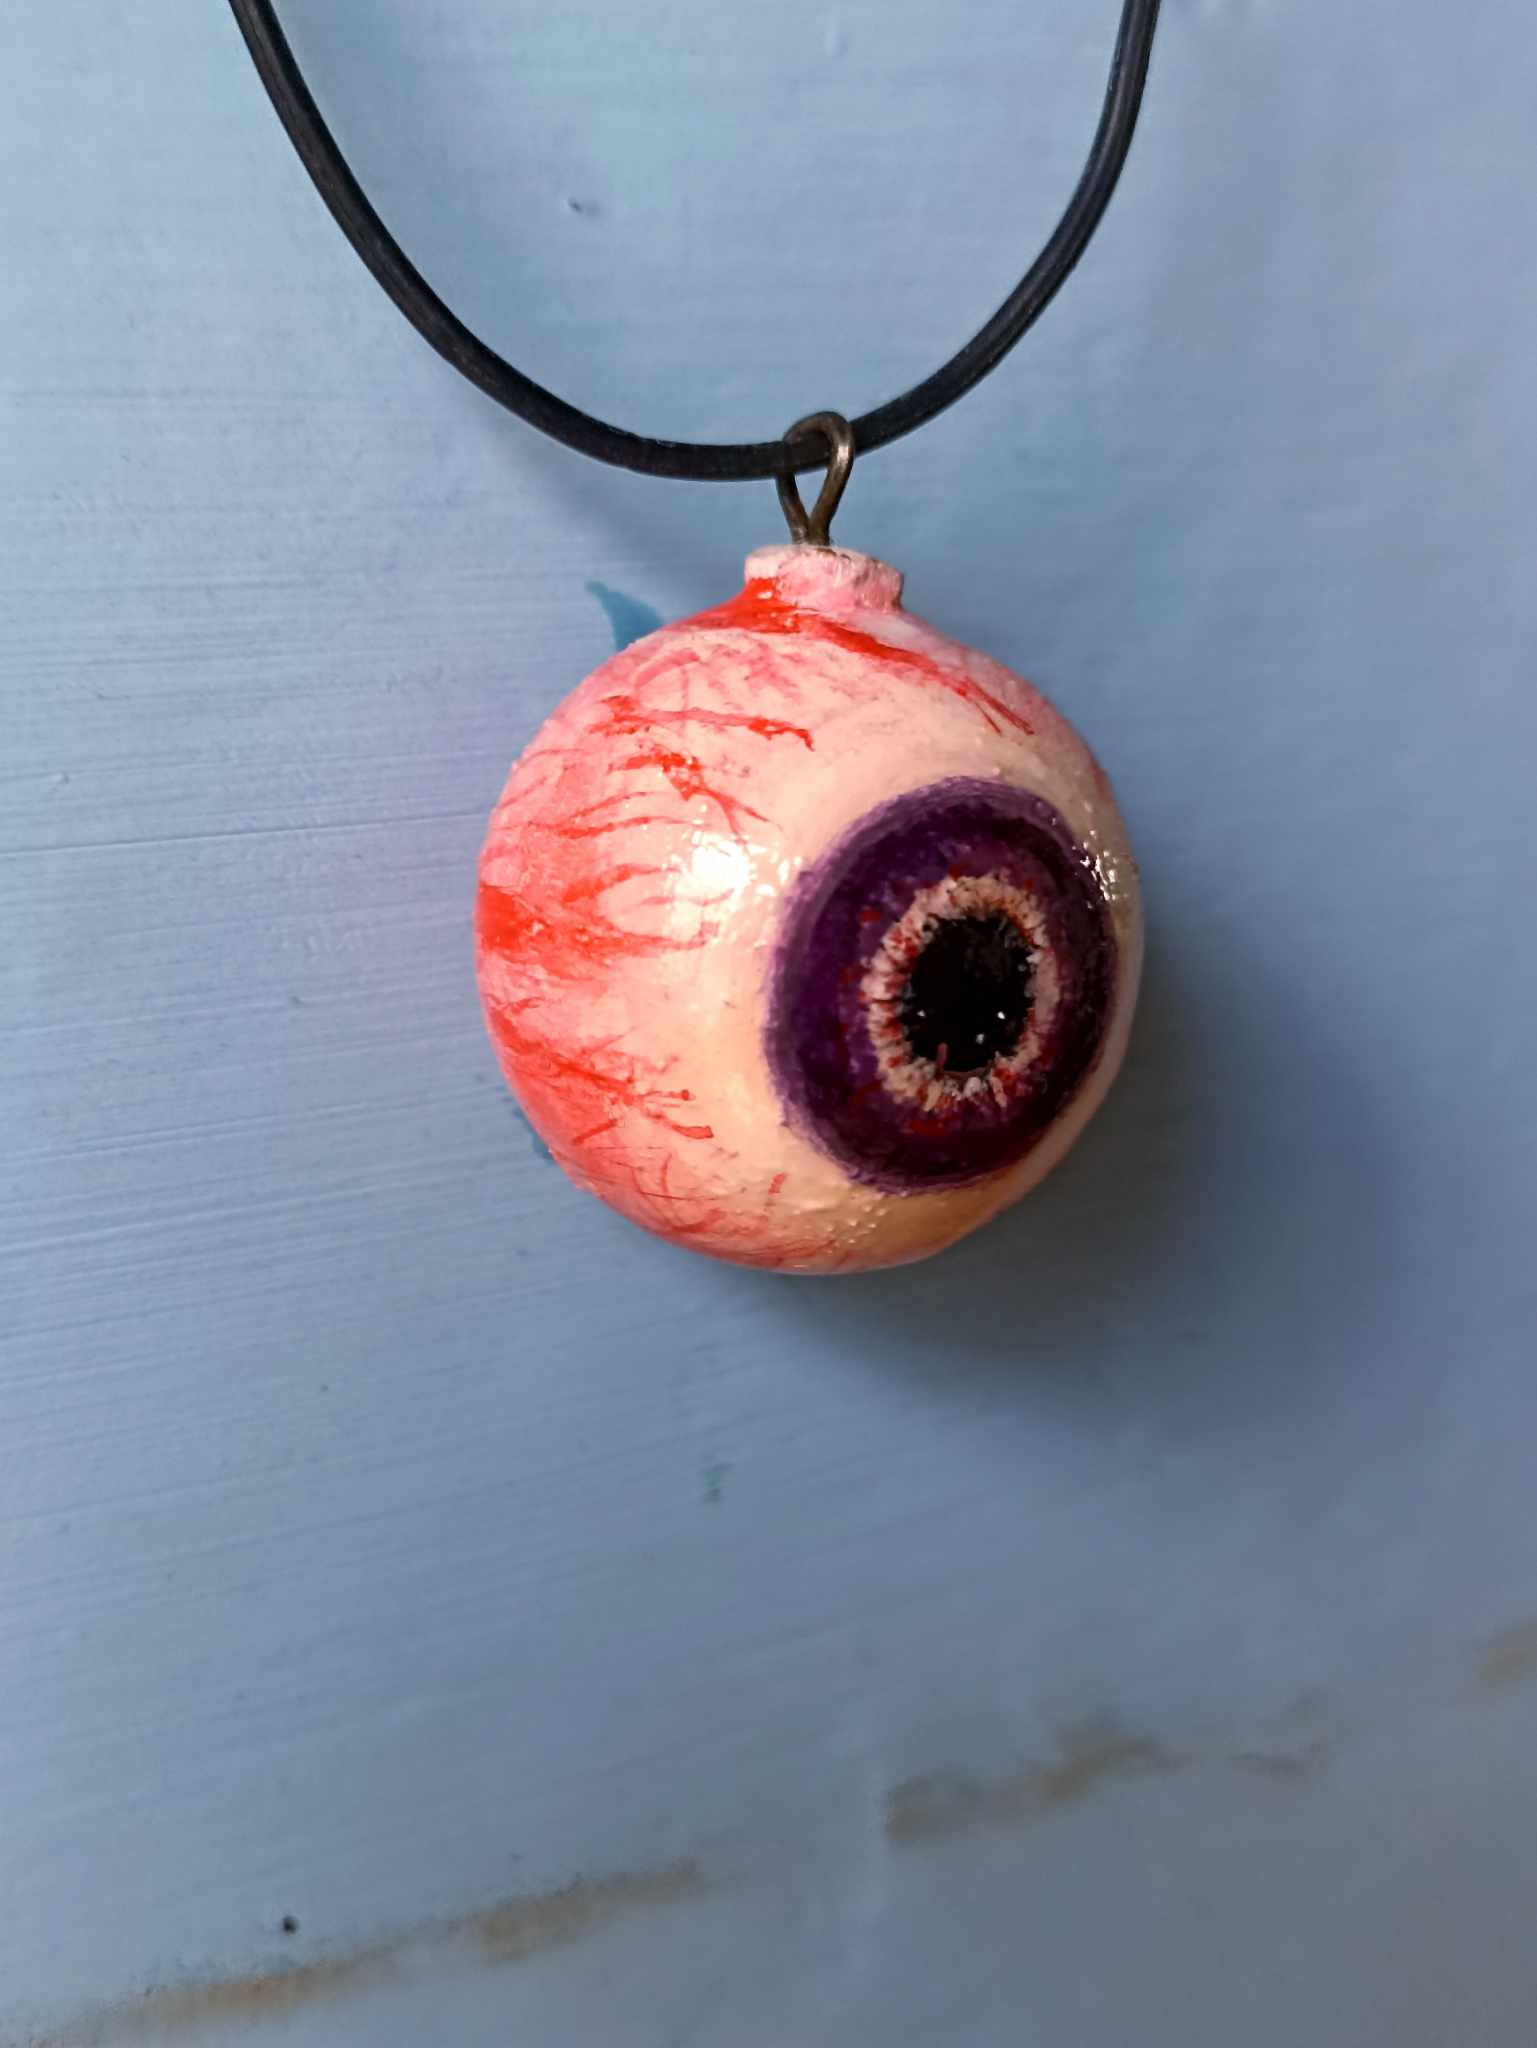
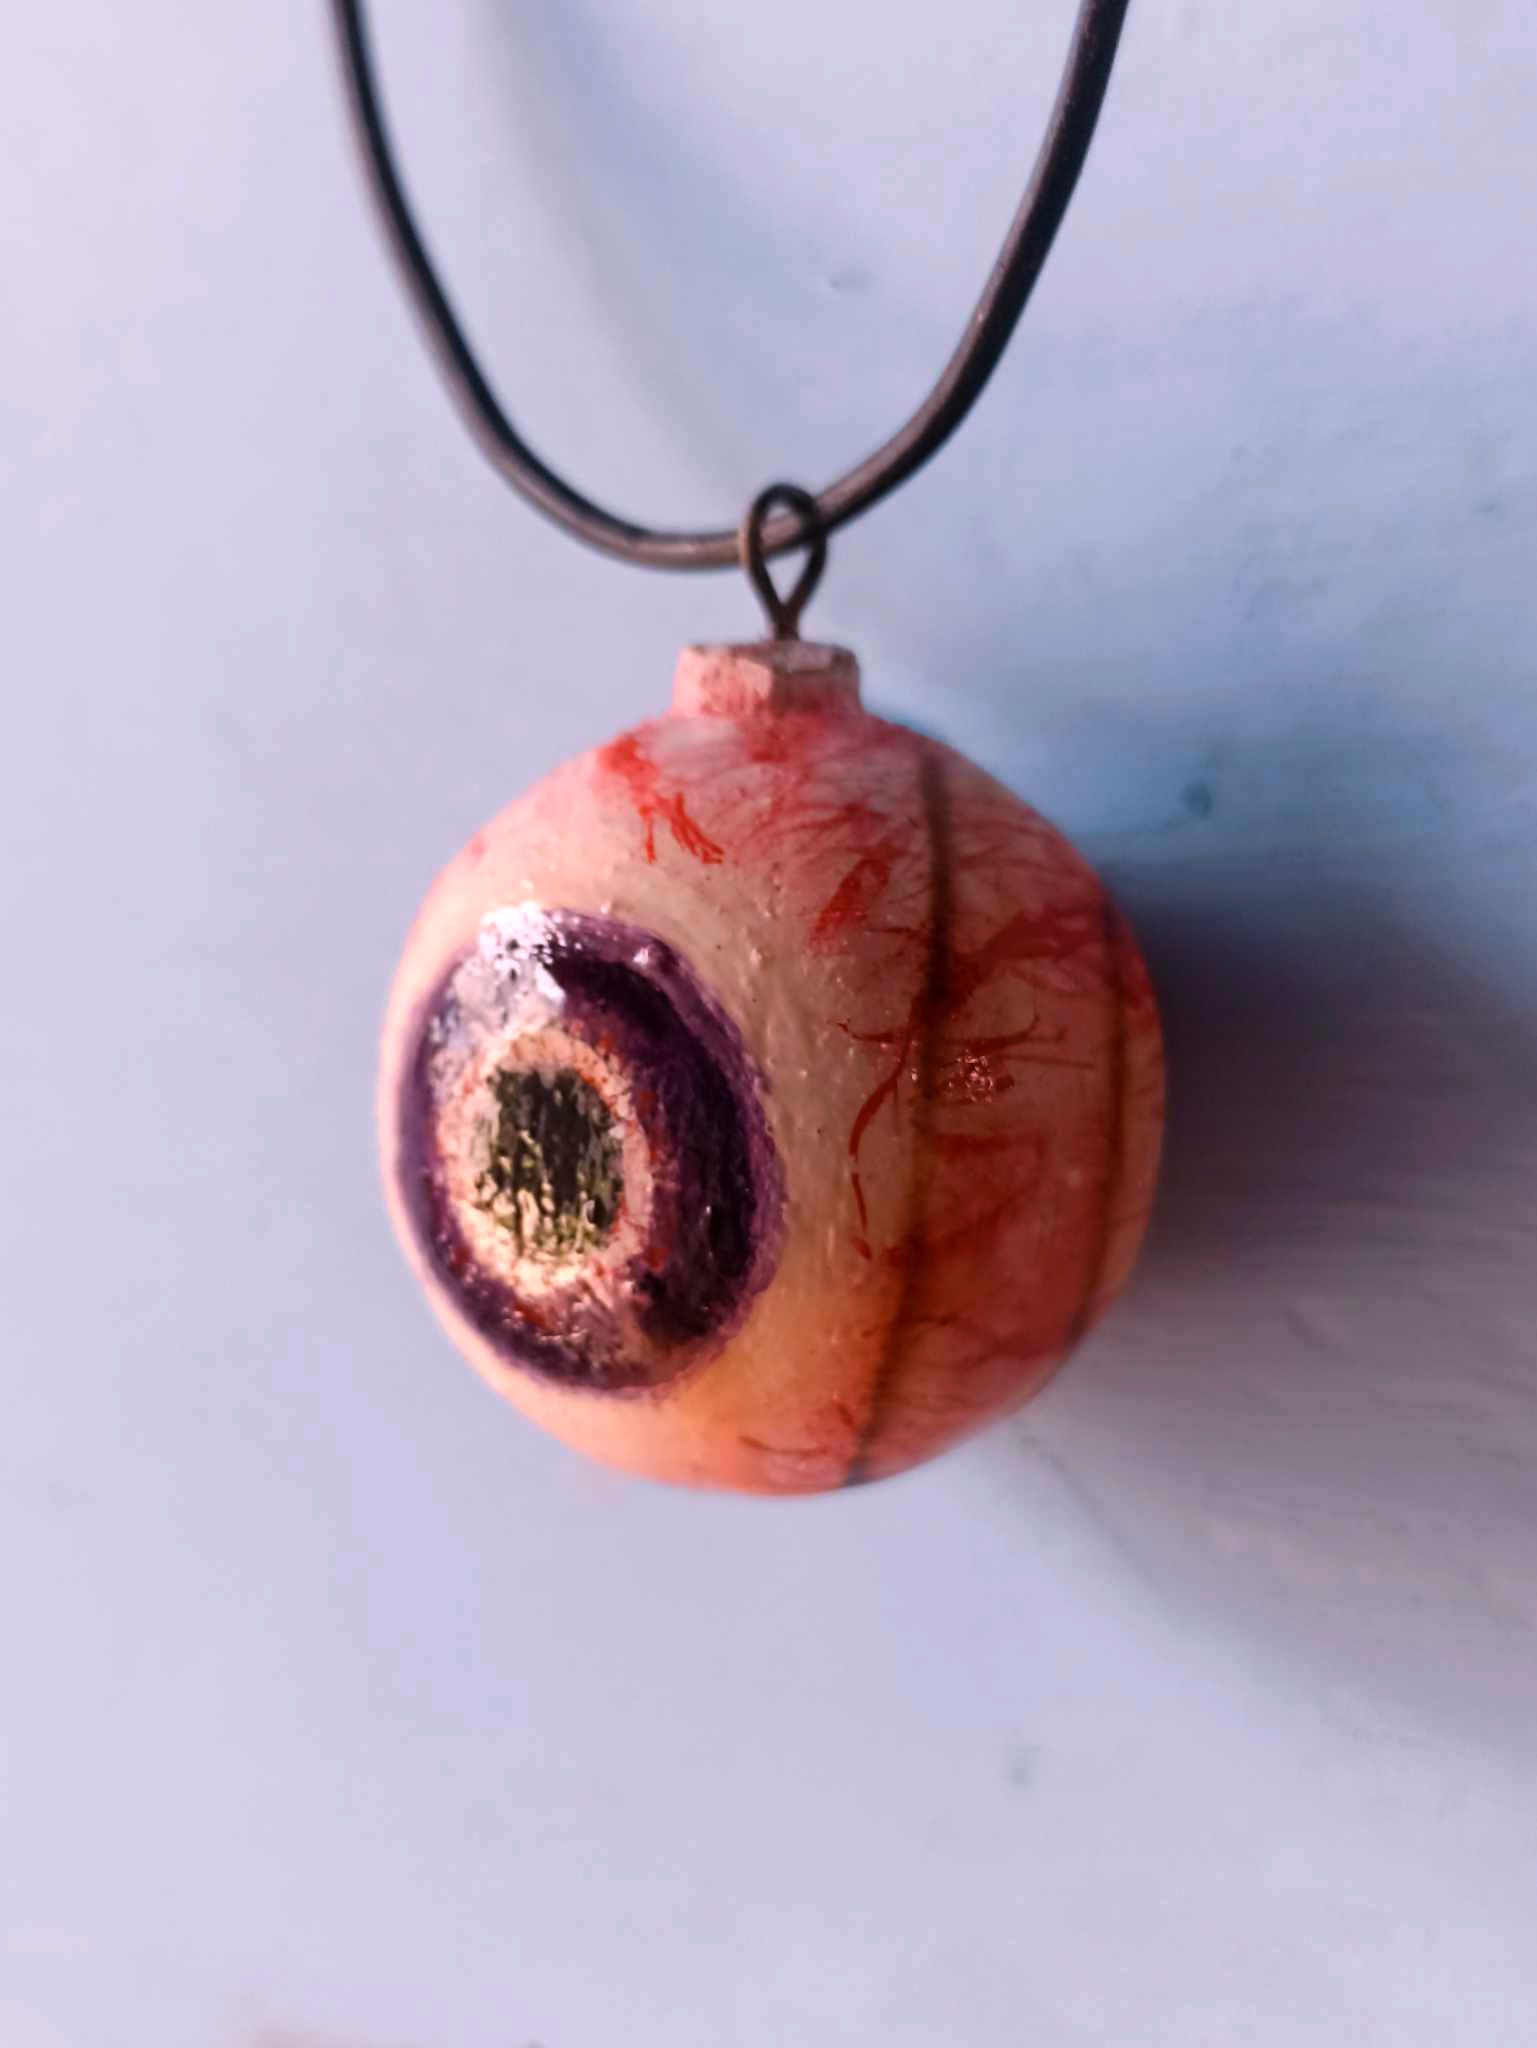
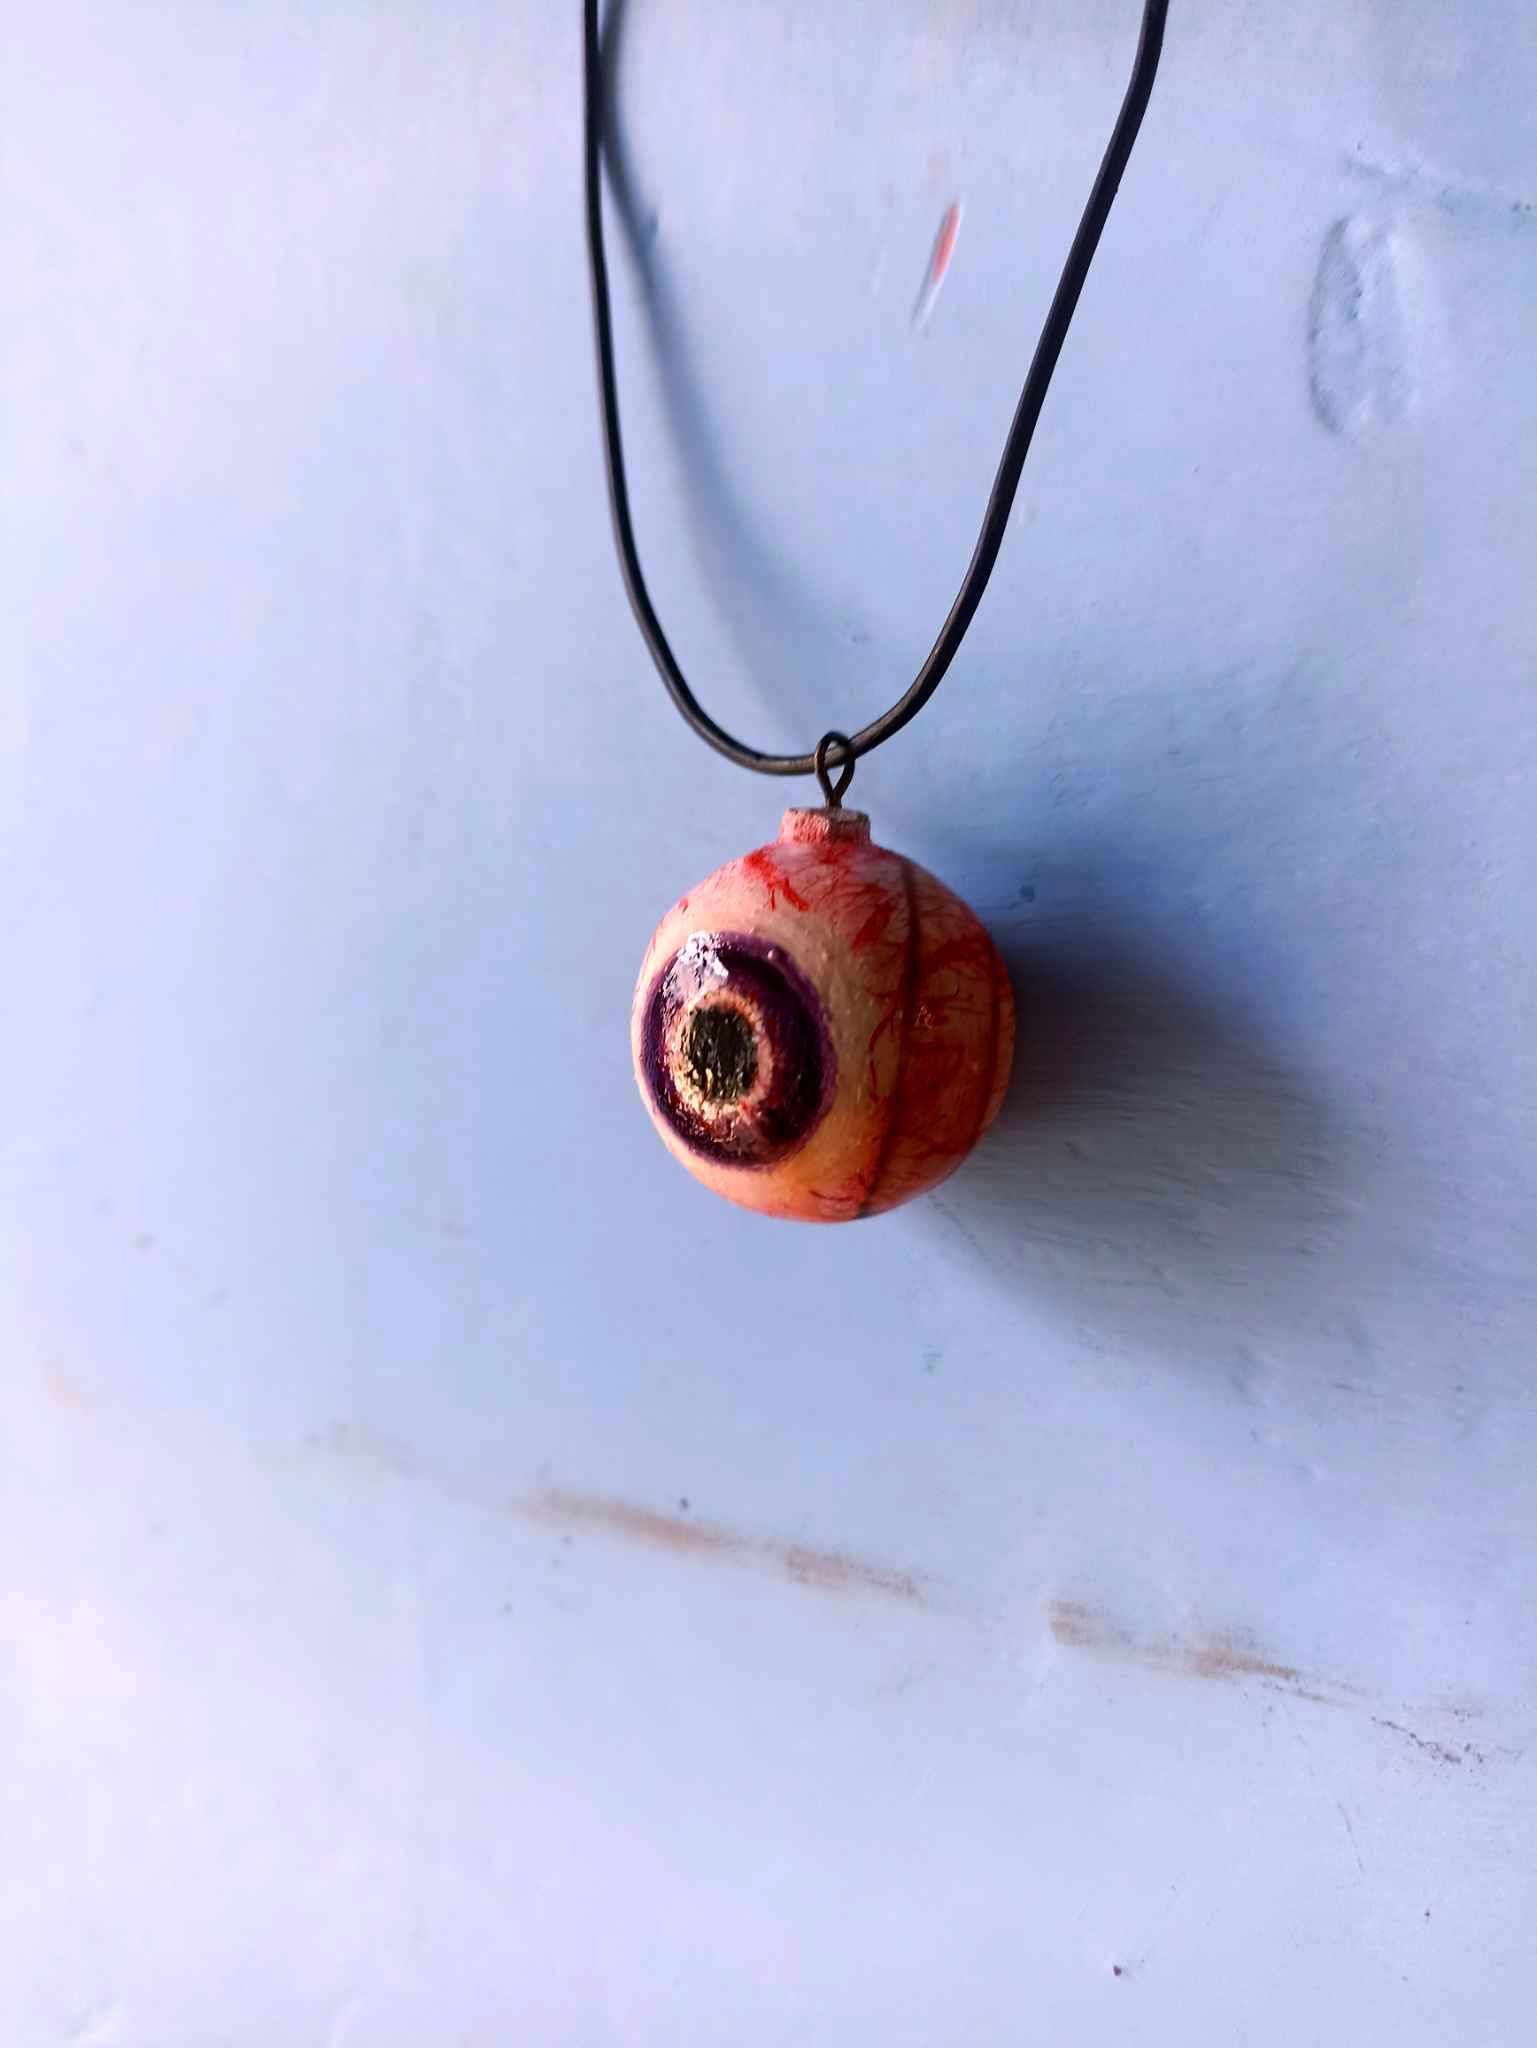
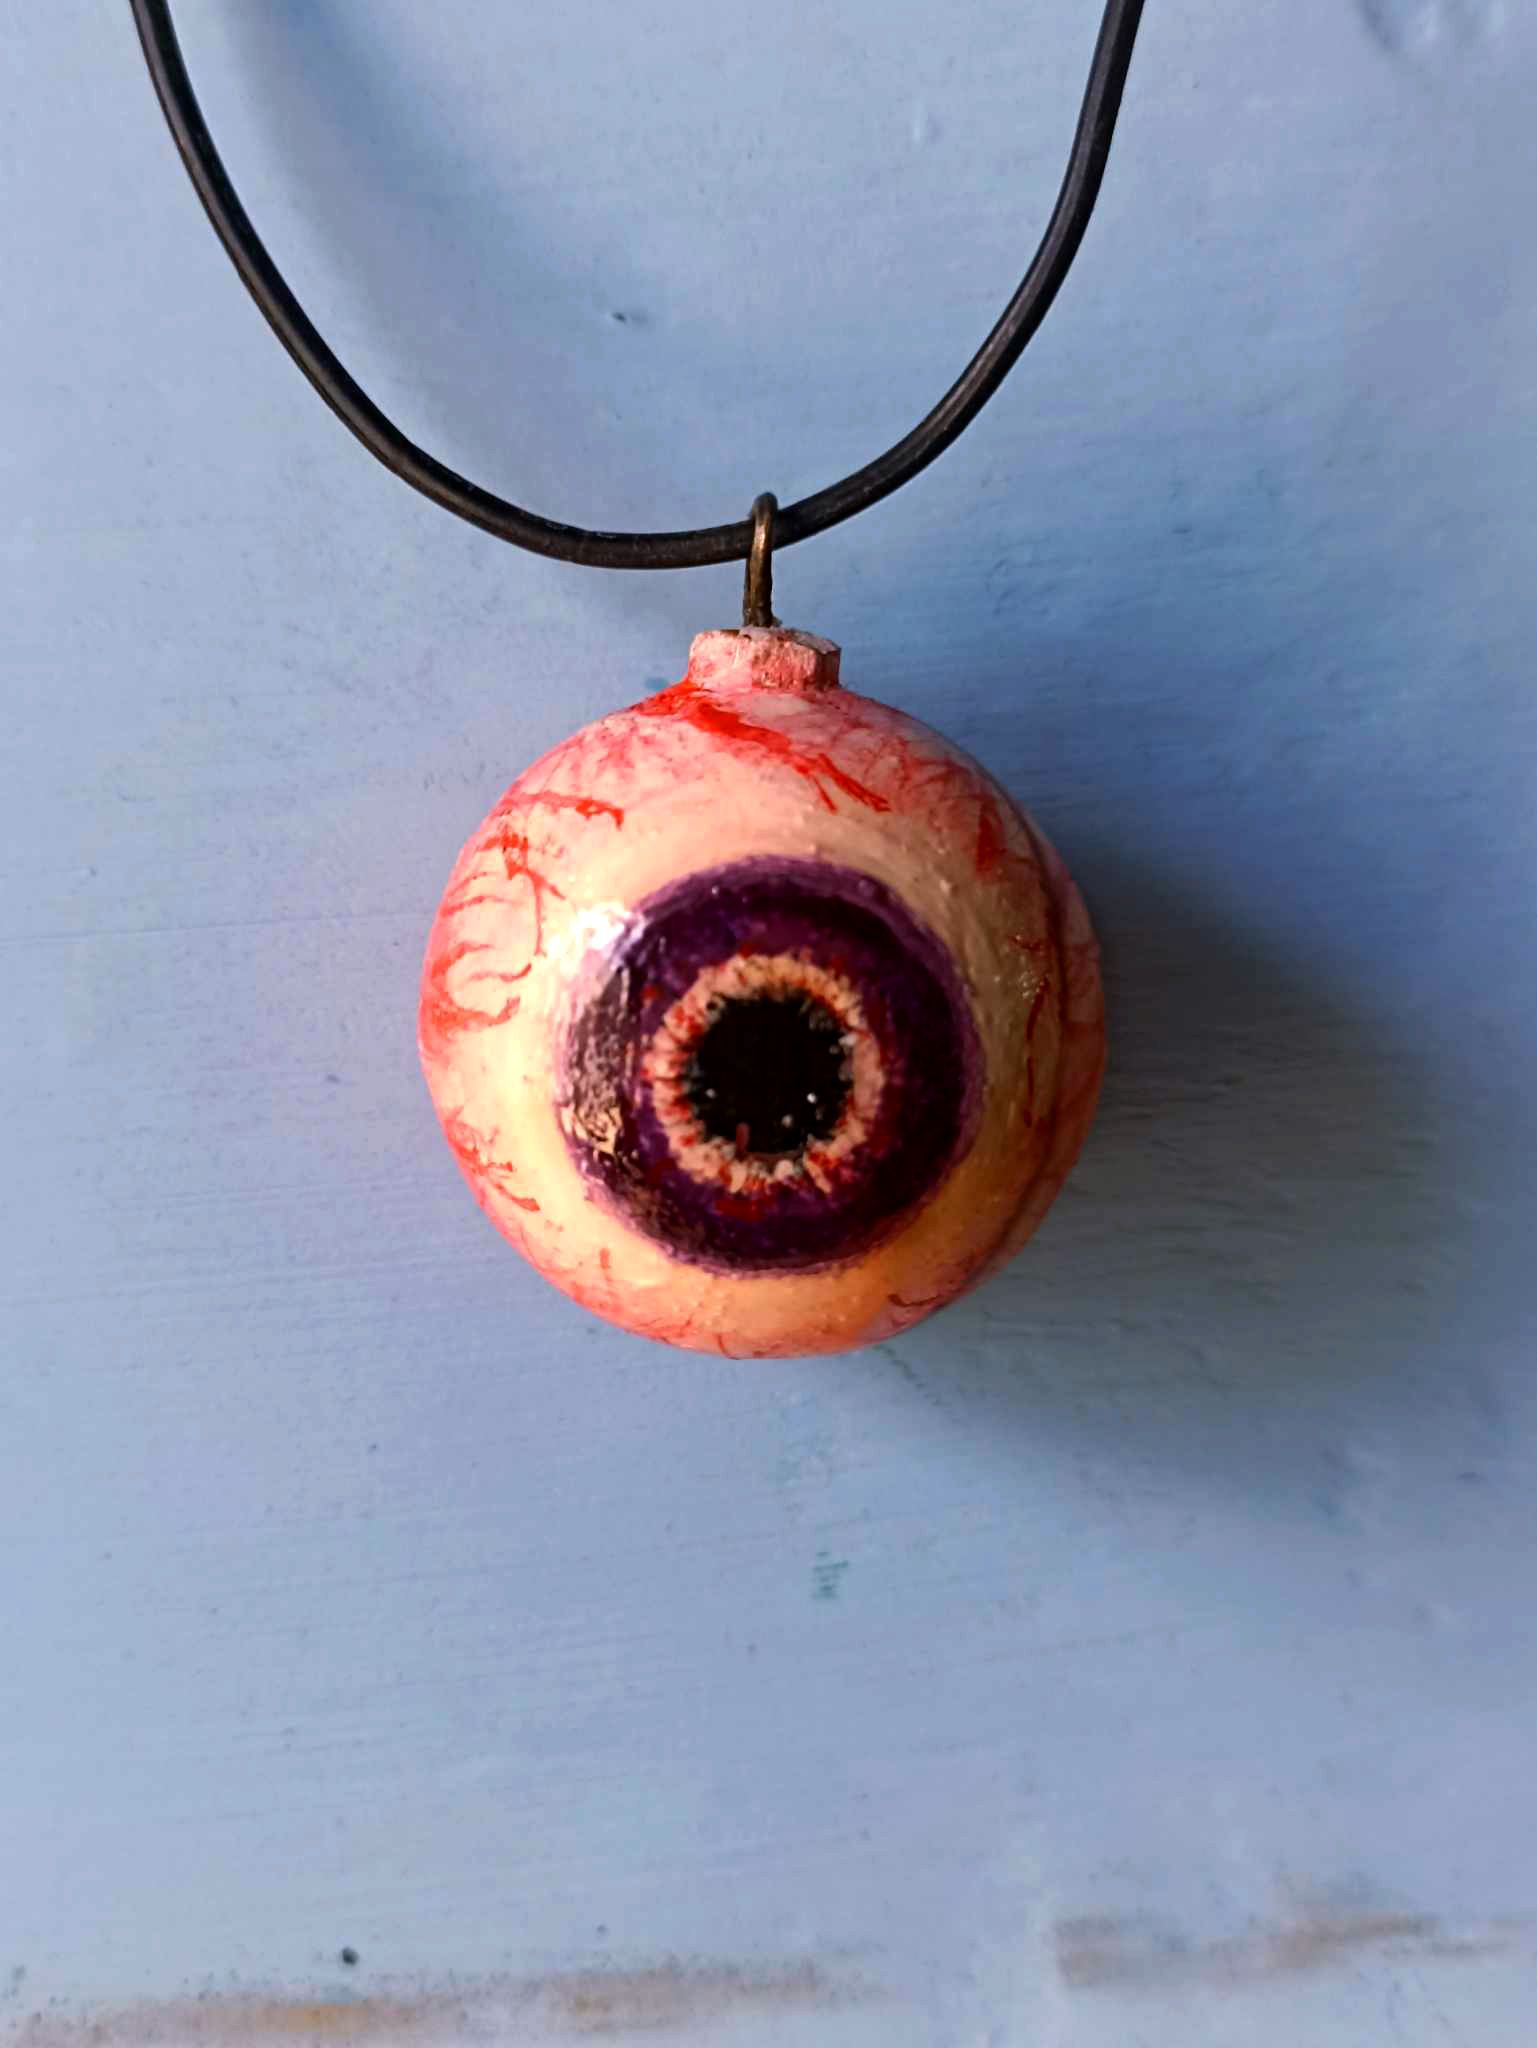
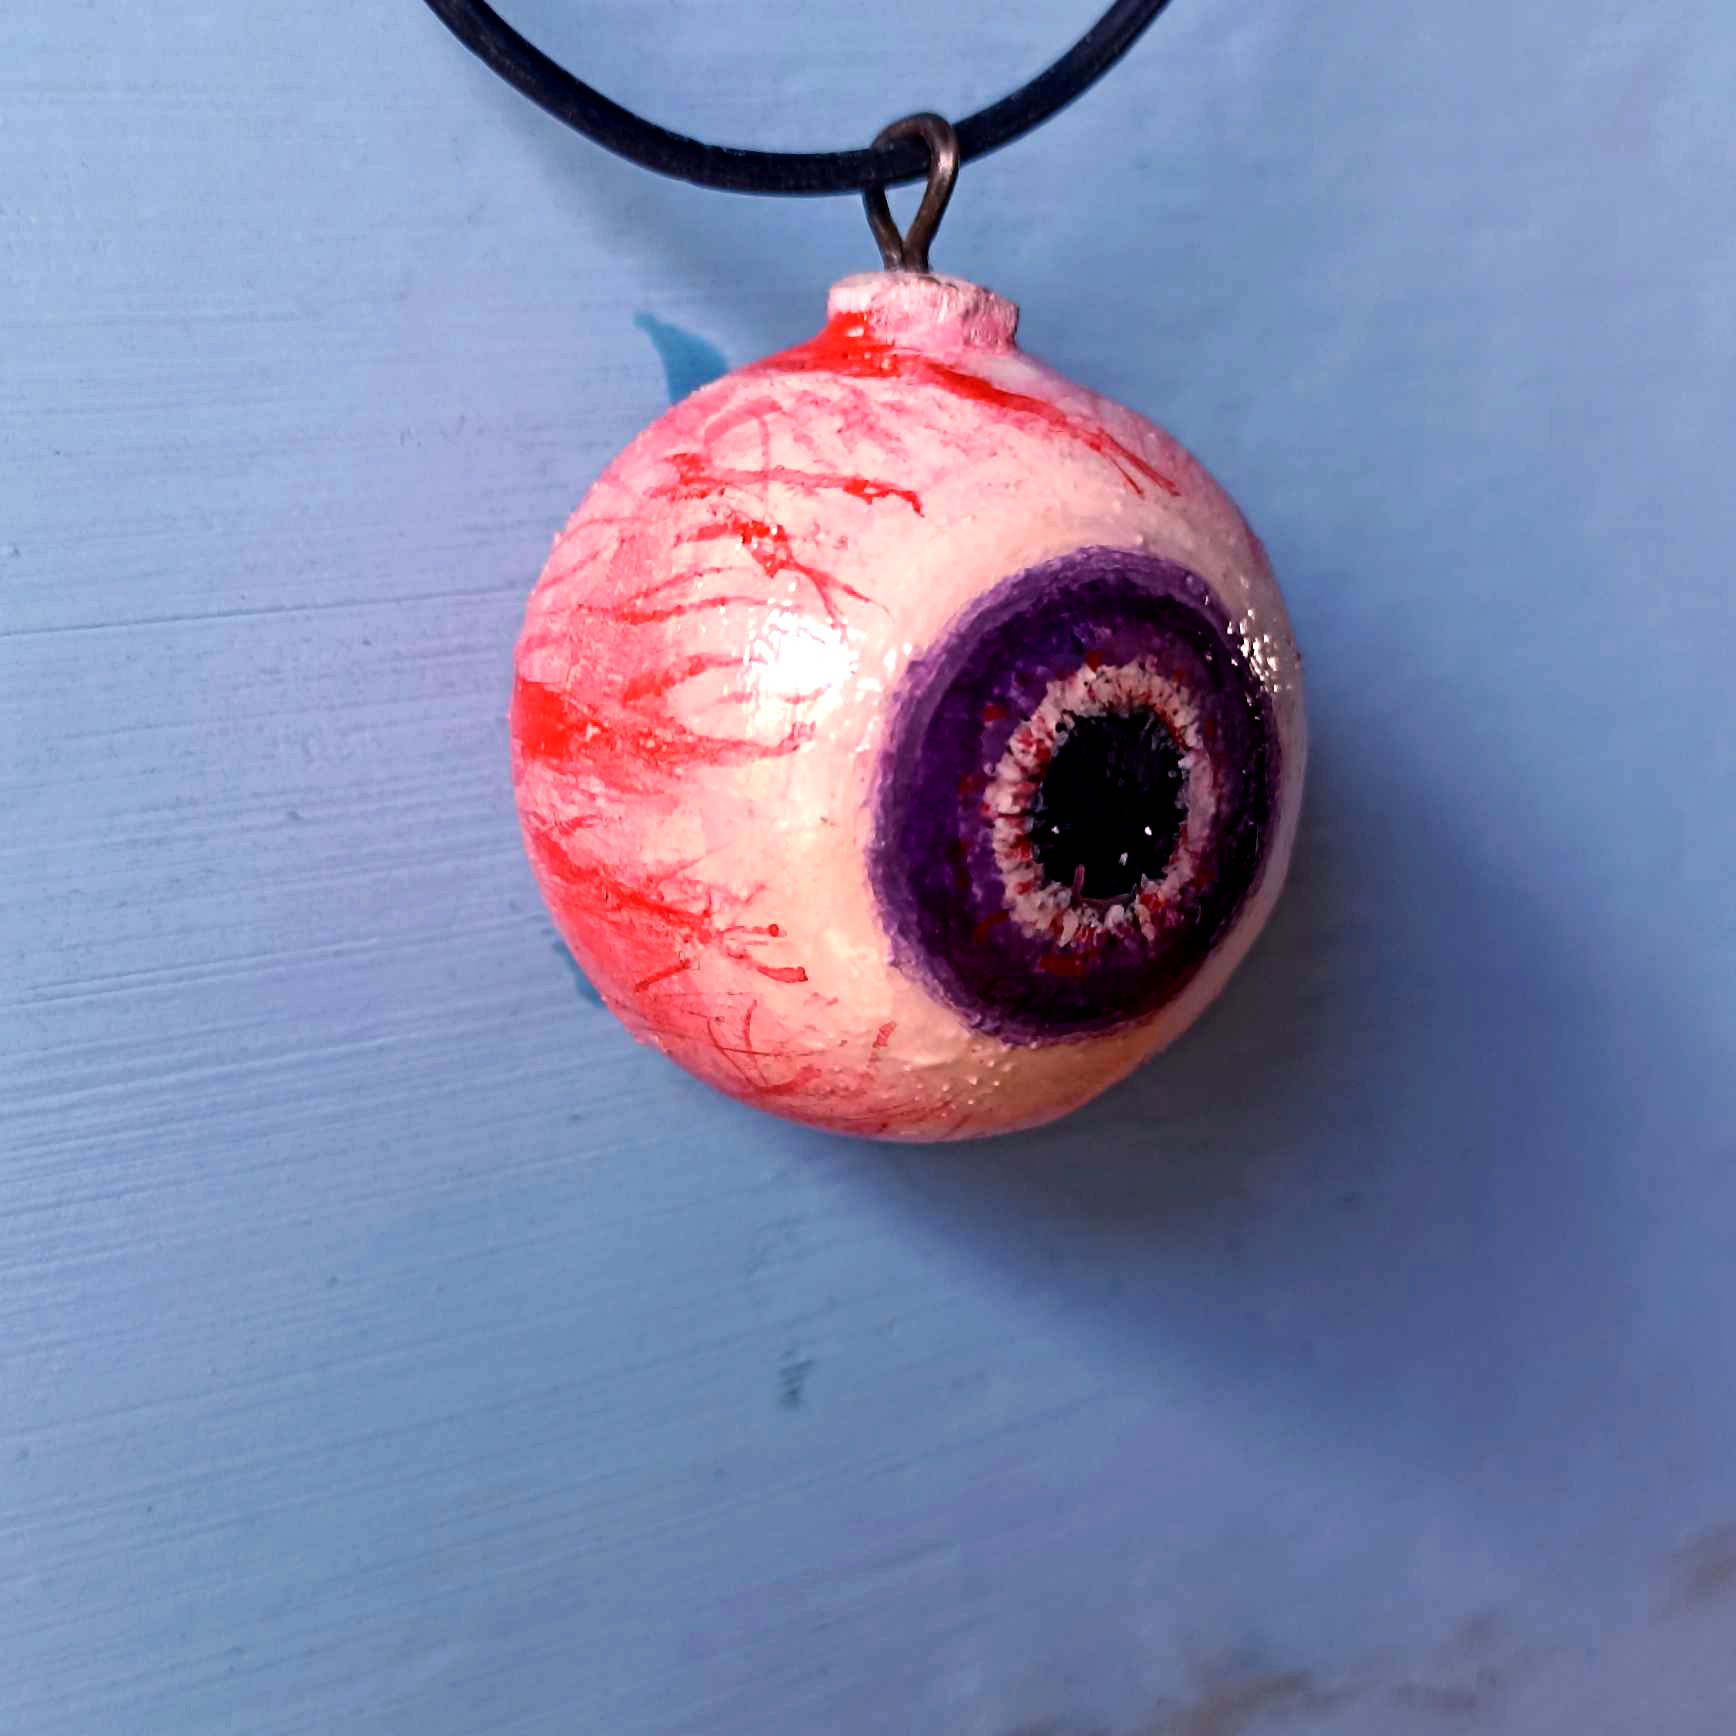
Have you ever seen a piece like this? Do you think the result is very realistic? I was impressed after the varnish; it looks like an eye that was terribly torn from a face. In the end, it acquired a terrifying hue when the blood vessels were painted. I hope you liked how it turned out; it's definitely one of my favorite pieces so far. I was able to combine wood carving with painting in a way I hadn't been able to before, so the result is more than I expected. For now, I'm saying goodbye. I invite you to comment and tell me what you think of the piece. See you another time.
Alguna vez habían visto una pieza como esta? Les parece que el resultado quedó muy realista? yo quedé impresionado luego del barniz, si luce como un ojo que fue terriblemente arrancado de un rostro, al final adquirió un tinte aterrador al pintar los vasos sanguíneos. Espero que les haya gustado como quedó, sin duda es una de las piezas que más me ha gustado hasta ahora, pude mezclar el tallado en madera con la pintura d euna forma no antes conocida por mi, así que el resultado es más de lo esperado. Por ahora, me despido, así que te invito a comentar y opines que te ha parecido la pieza, nos vemos en otra oportunidad.