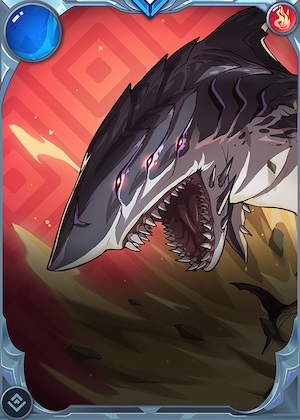
Hello dear friends of Splinterlands, greetings also to my friends at Jewelry, before starting I want to greatly thank you for the mention of my contribution to the previous contest 364, where I was chosen in 4th place. I feel very honored and at the same time very inspired to continue sharing with you. Part of this inspiration brings me here again for contest 365, this time with a manual work of my favorites, I have made a figure of the character Drybone Megaladon, a prehistoric sea monster that hides in the depths. As soon as I saw the card I liked it a lot and got to work coming up with something. So I have made this little piece, with all the pleasure in the world, and where I will briefly describe how it was step by step, I hope you like it.
Hola queridos amigos de Splinterlands, saludos también para mis amigos de Jewelry, antes de comenzar quiero agradecer en gran manera la mención a mi aporte del concurso anterior 364, done fui elegido en el 4to lugar, me siento muy honrado y a la vez muy inspirado para seguir compartiendo con ustedes. Parte de esta inspiración me trae aquí nuevamente para el concurso 365, esta vez con un trabajo manual de mis preferidos, he realizado una figura del personaje Drybone Megaladon, un monstruo marino prehistórico que se esconde en las profundidades, apenas vi la carta me gustó mucho y puse manos a la obra para idear algo. Así que he realizado esta pequeña pieza, con todo el gusto del mundo, y donde a continuación voy a relatar brevemente como fue el paso a paso, espero que les guste.

PROCESS
 |
 |
|
|---|---|---|
 |
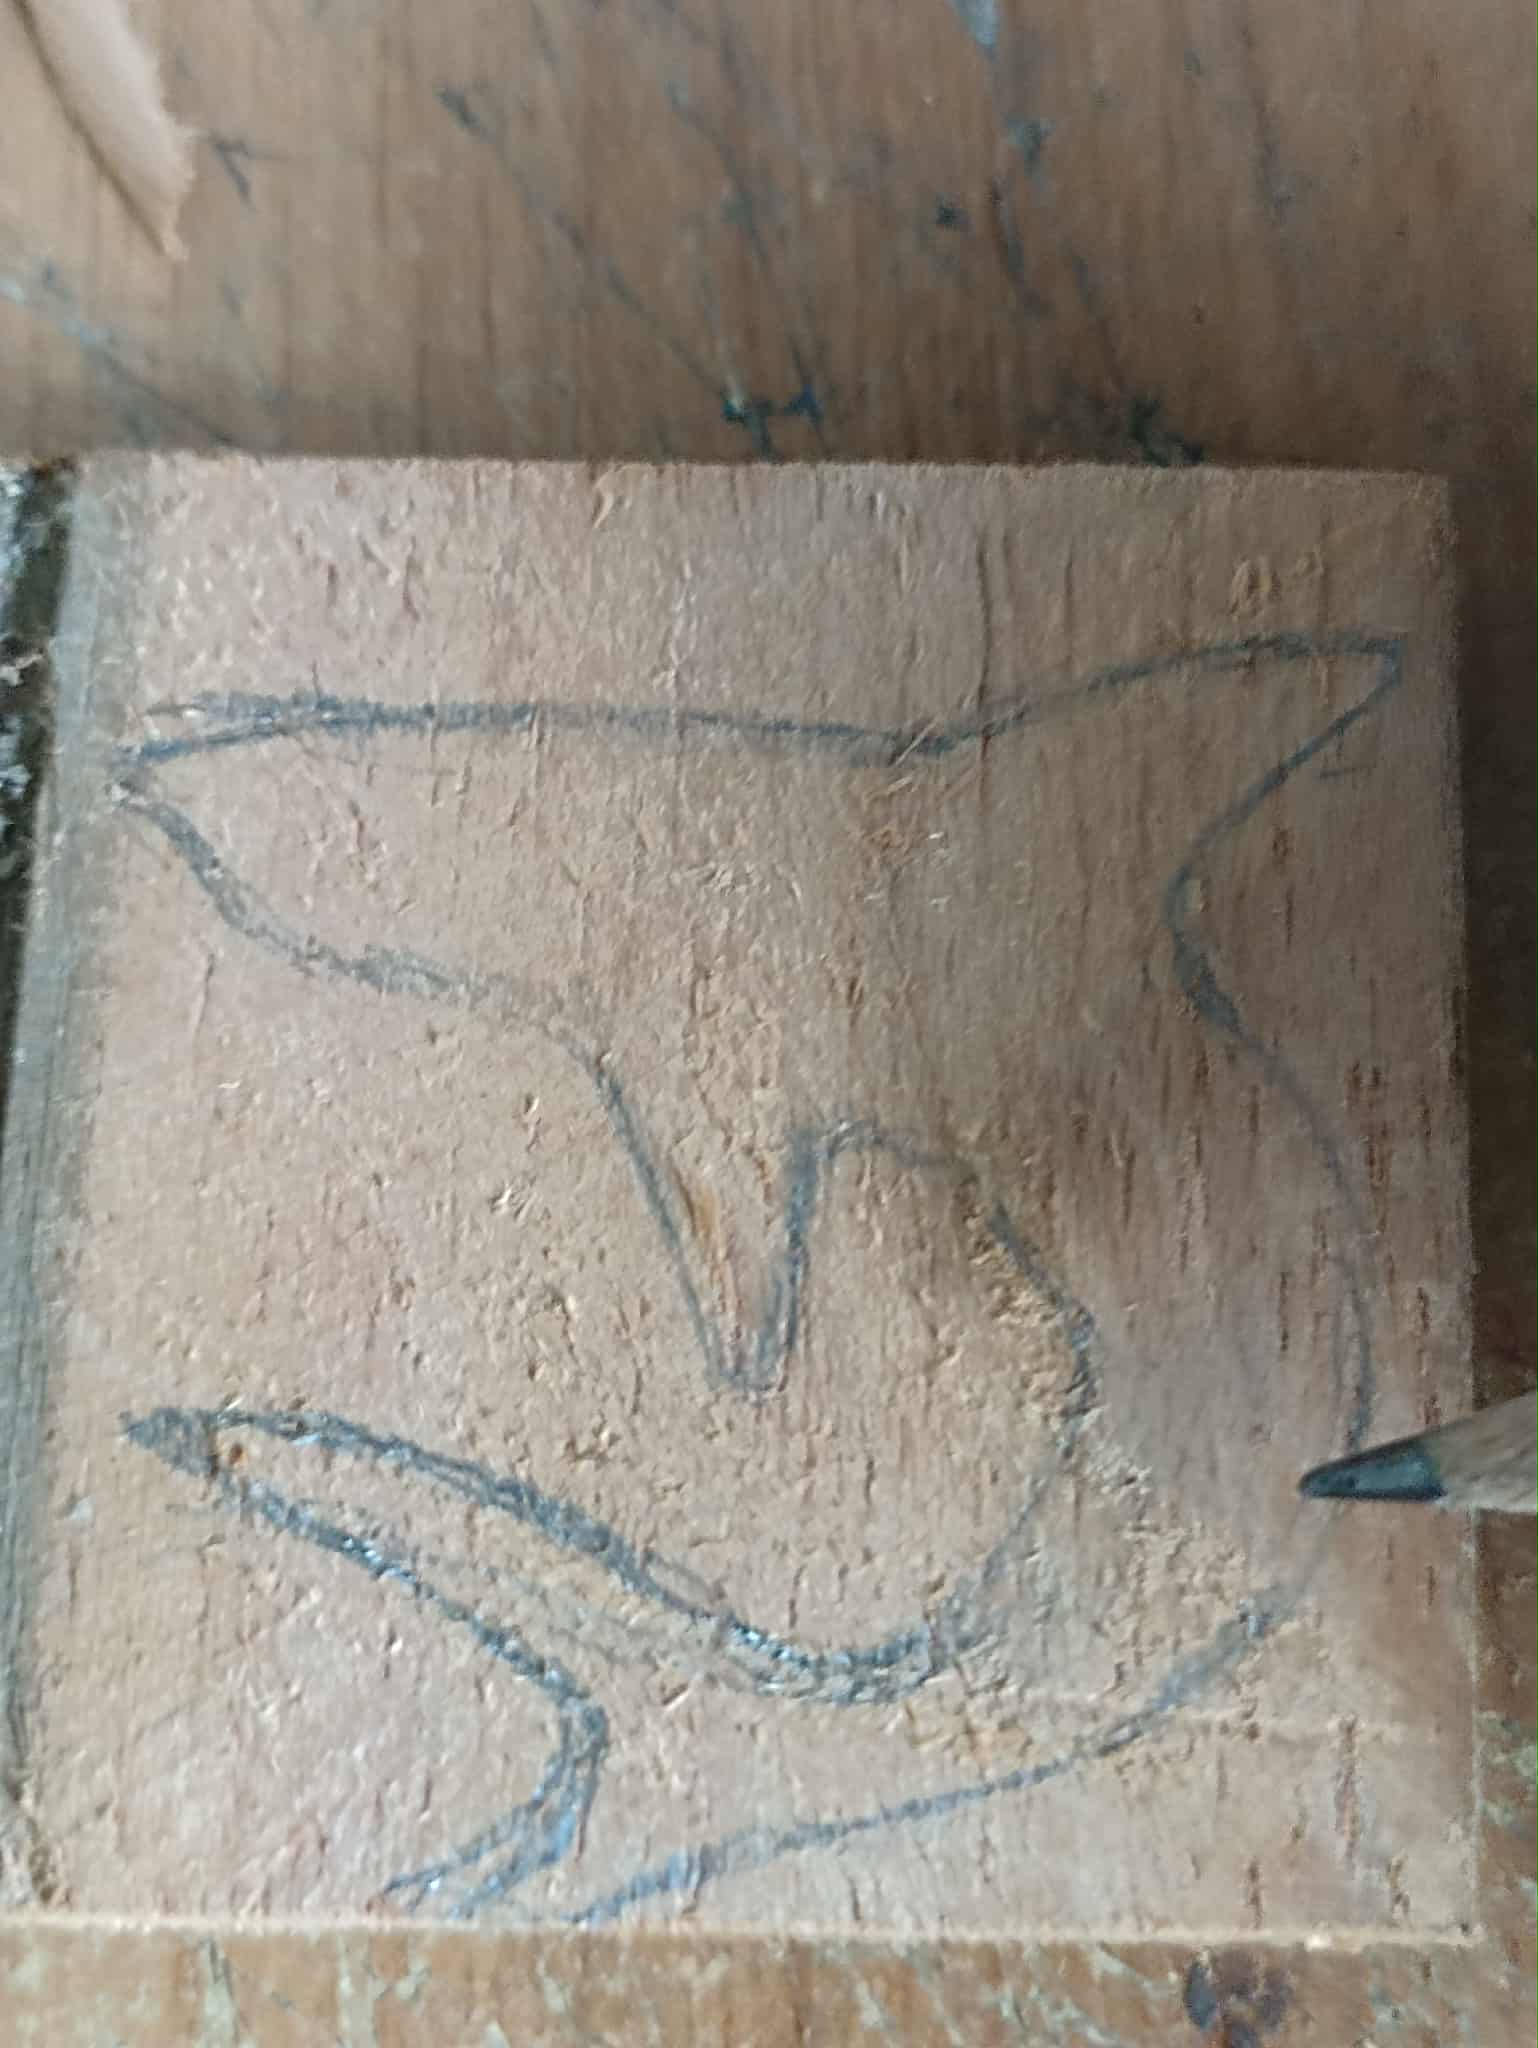 |
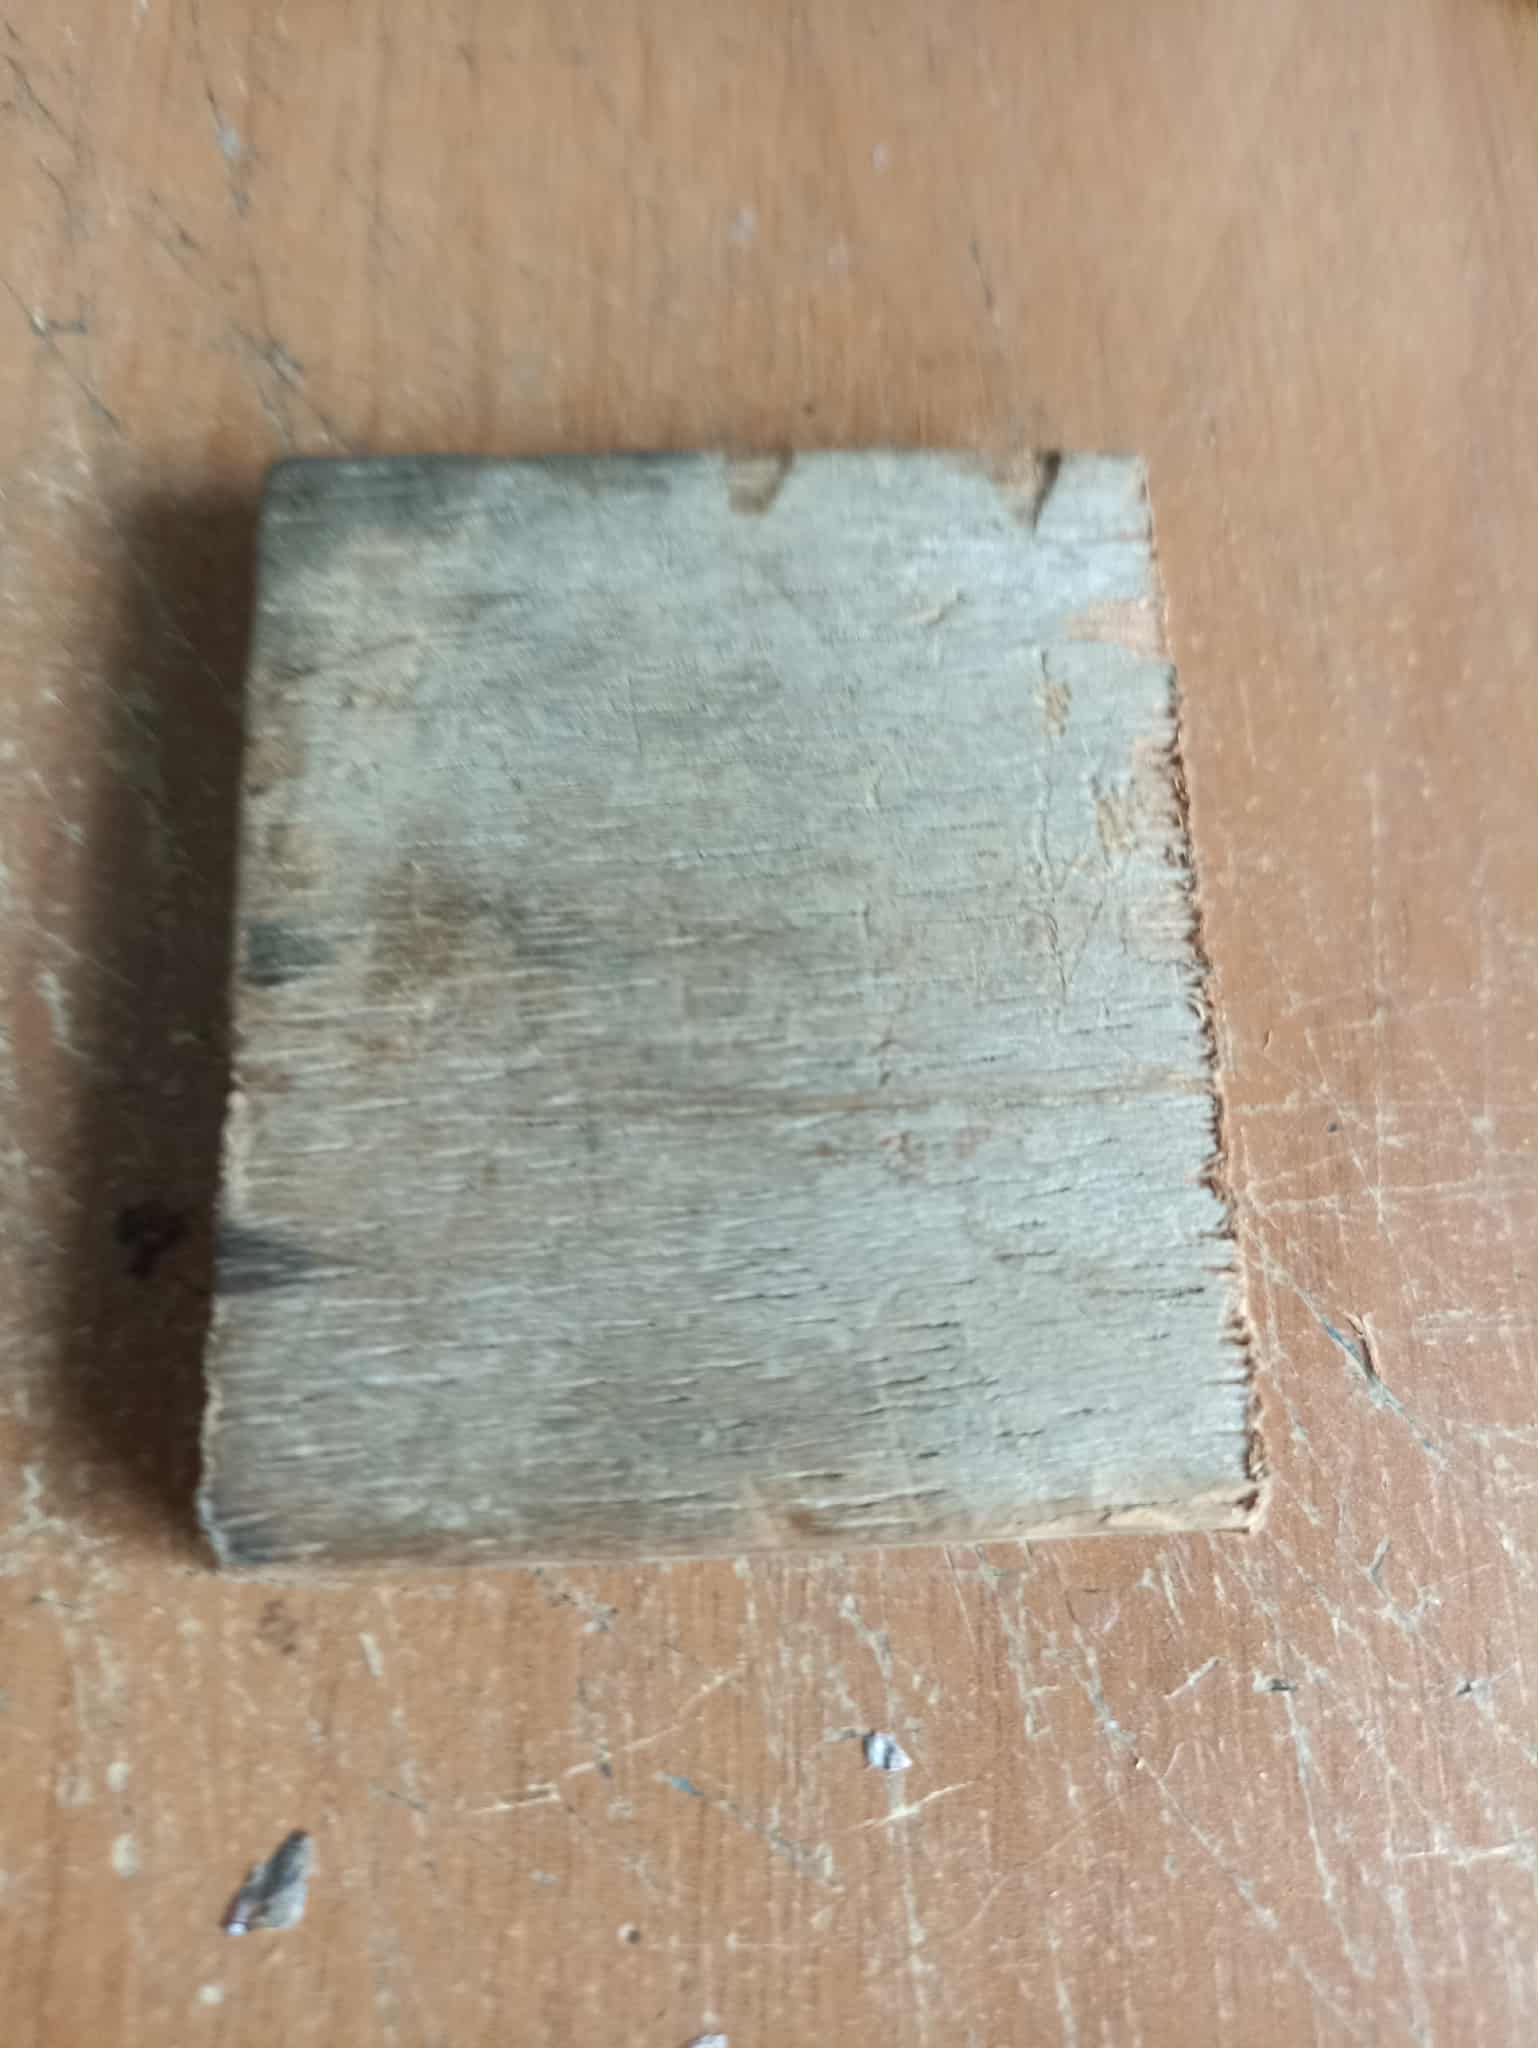
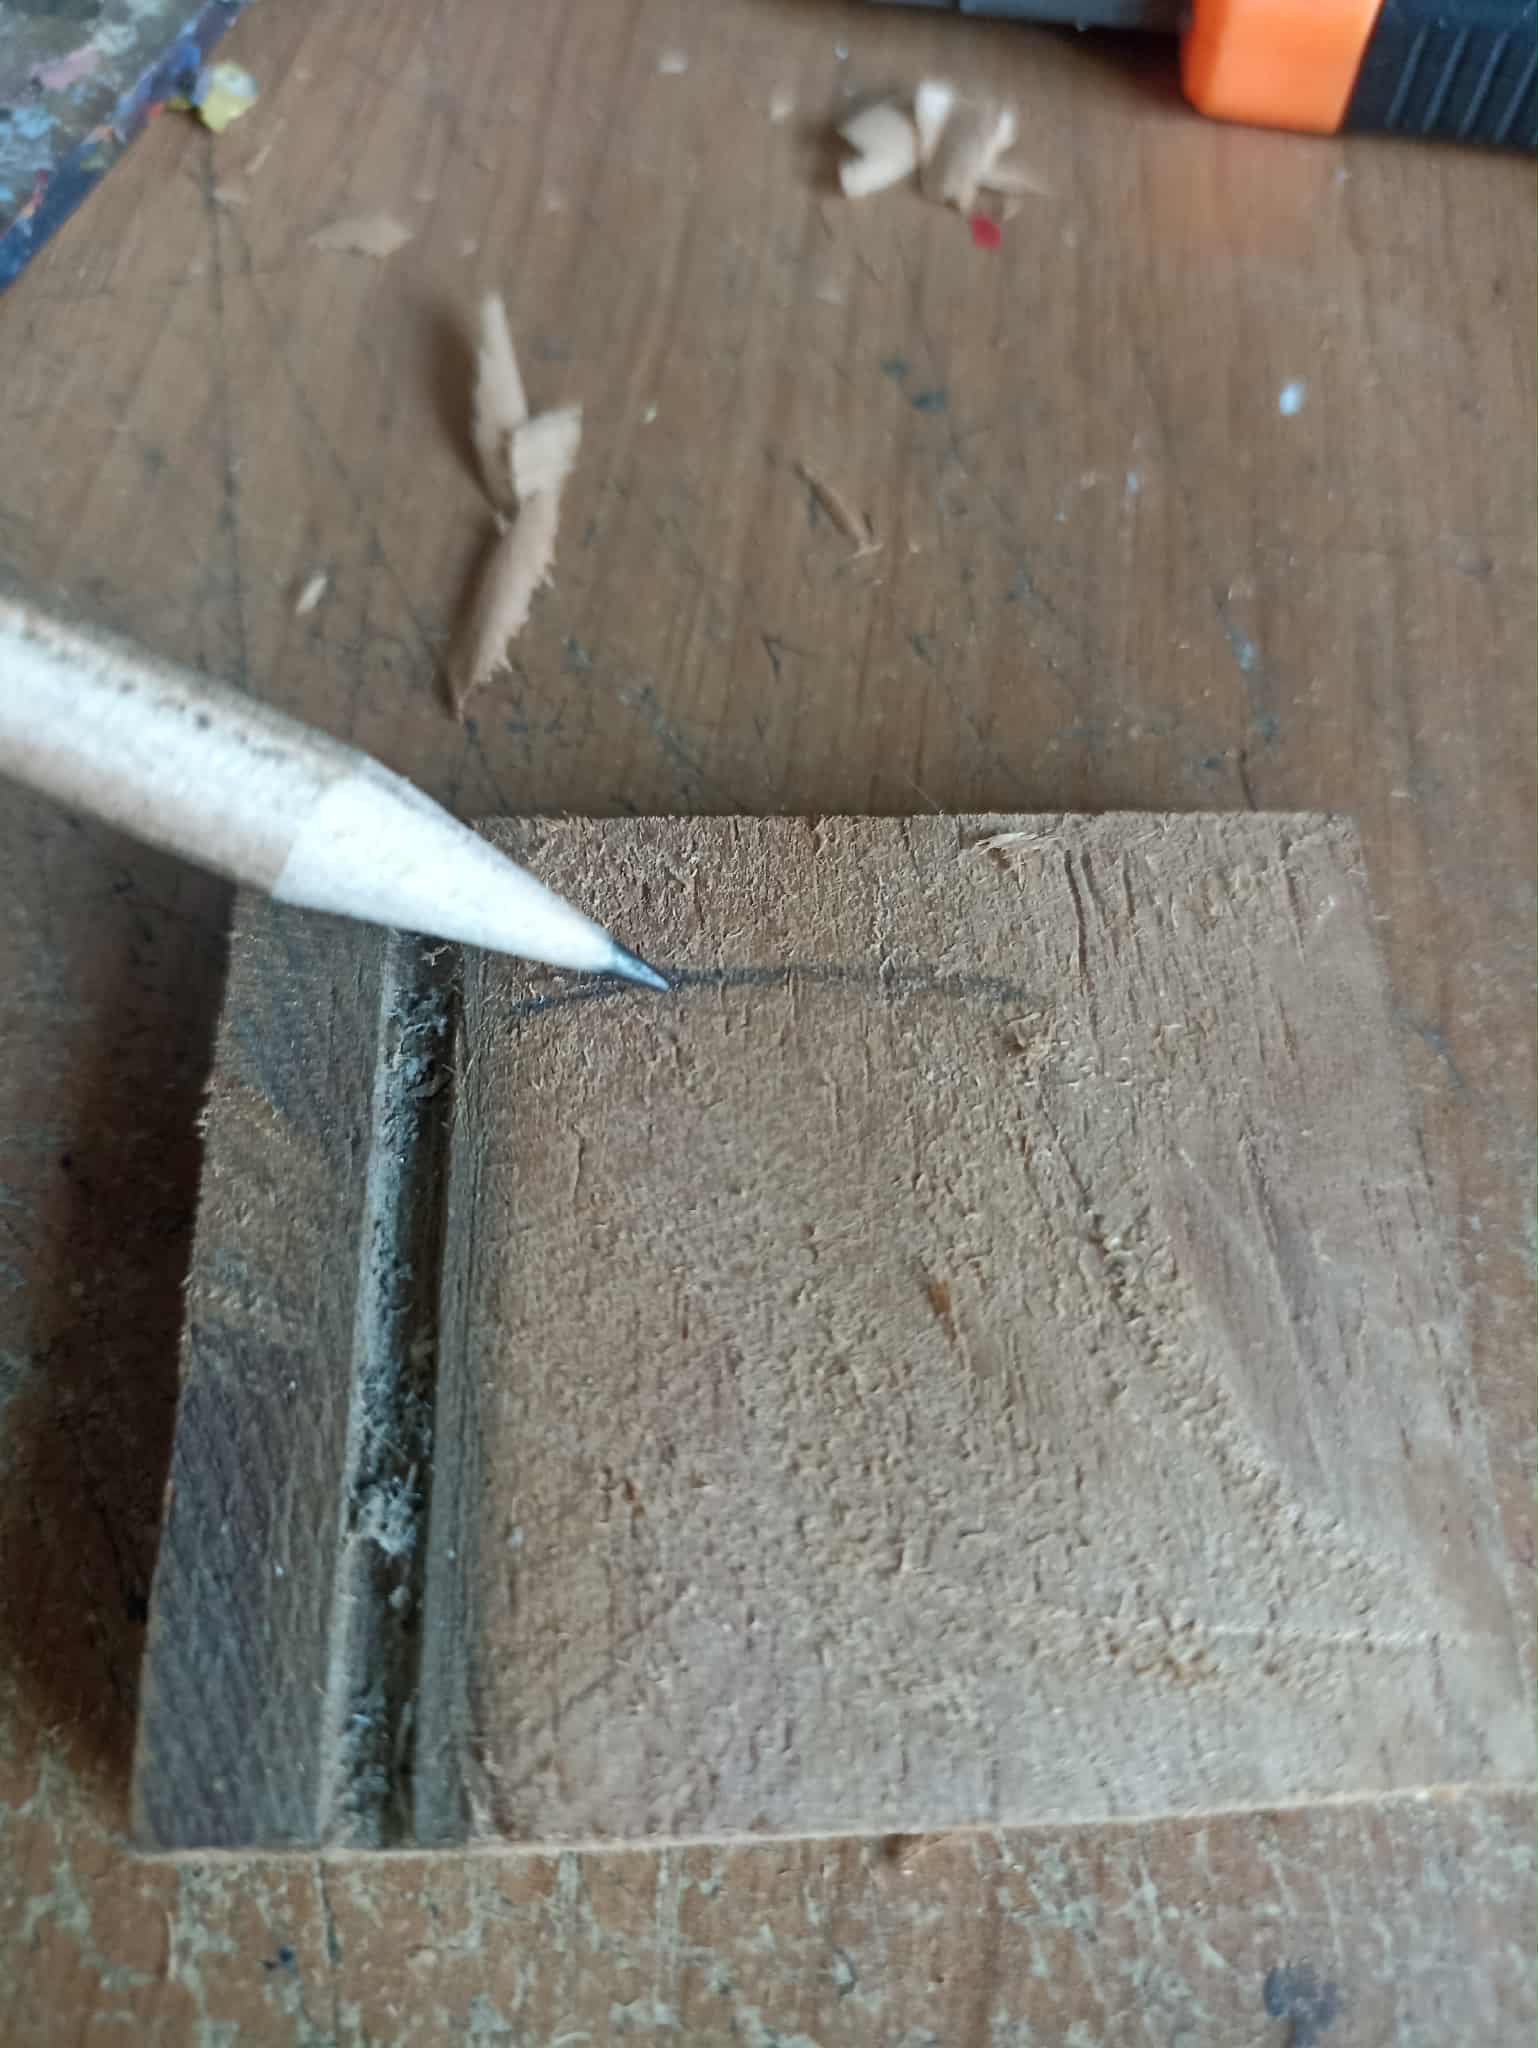
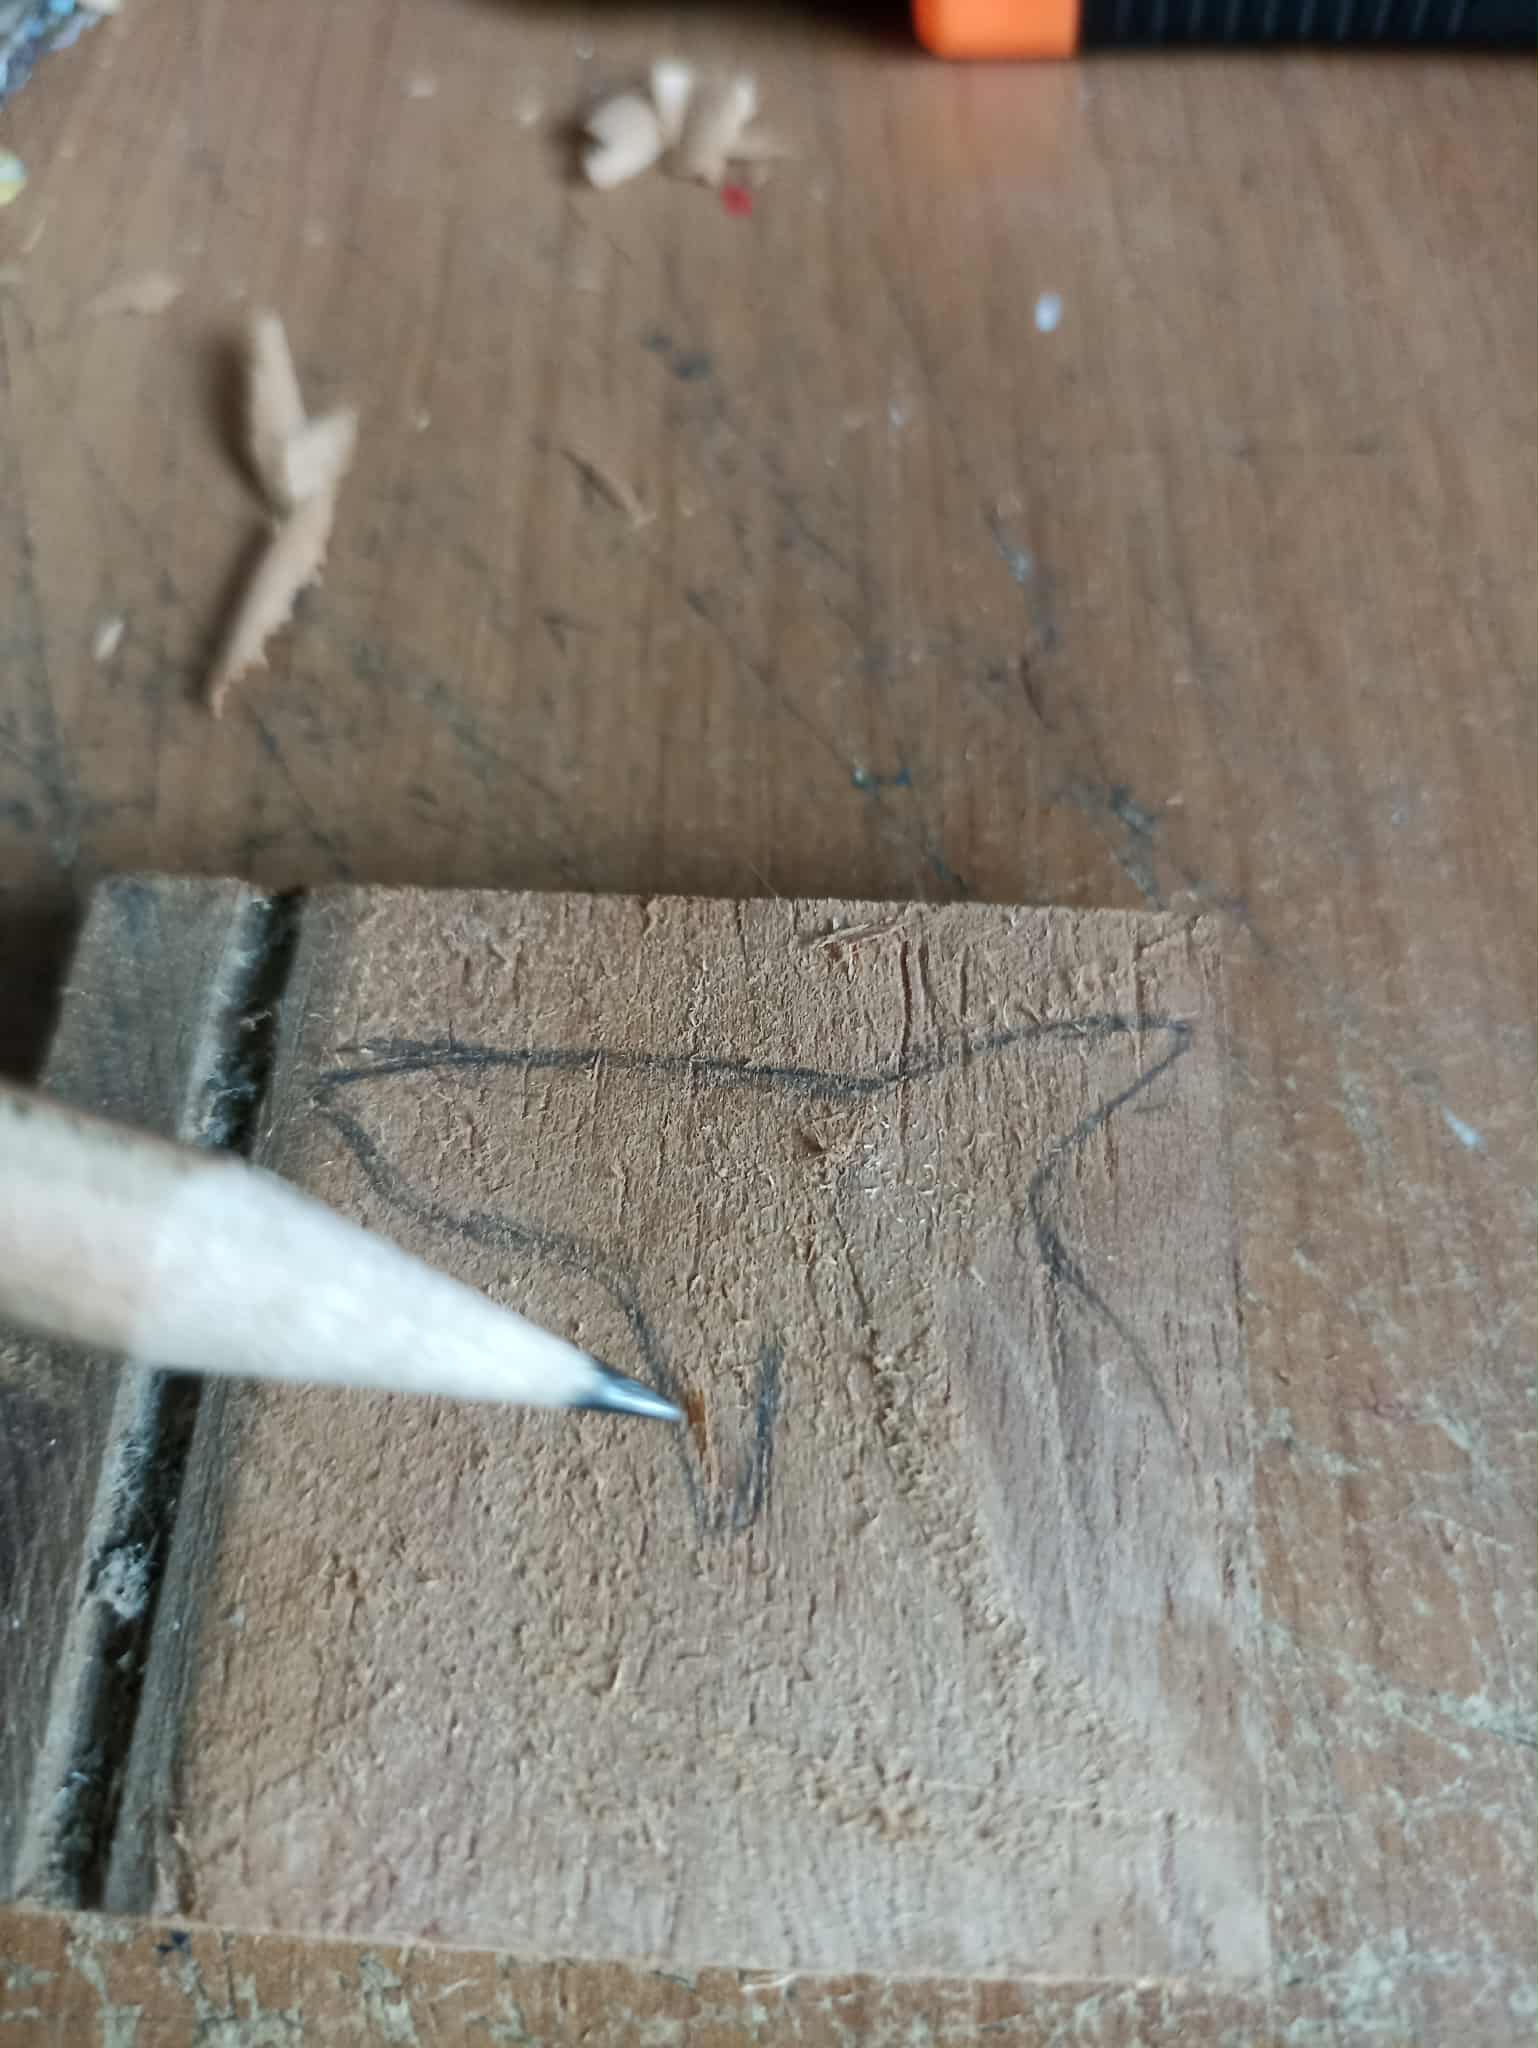
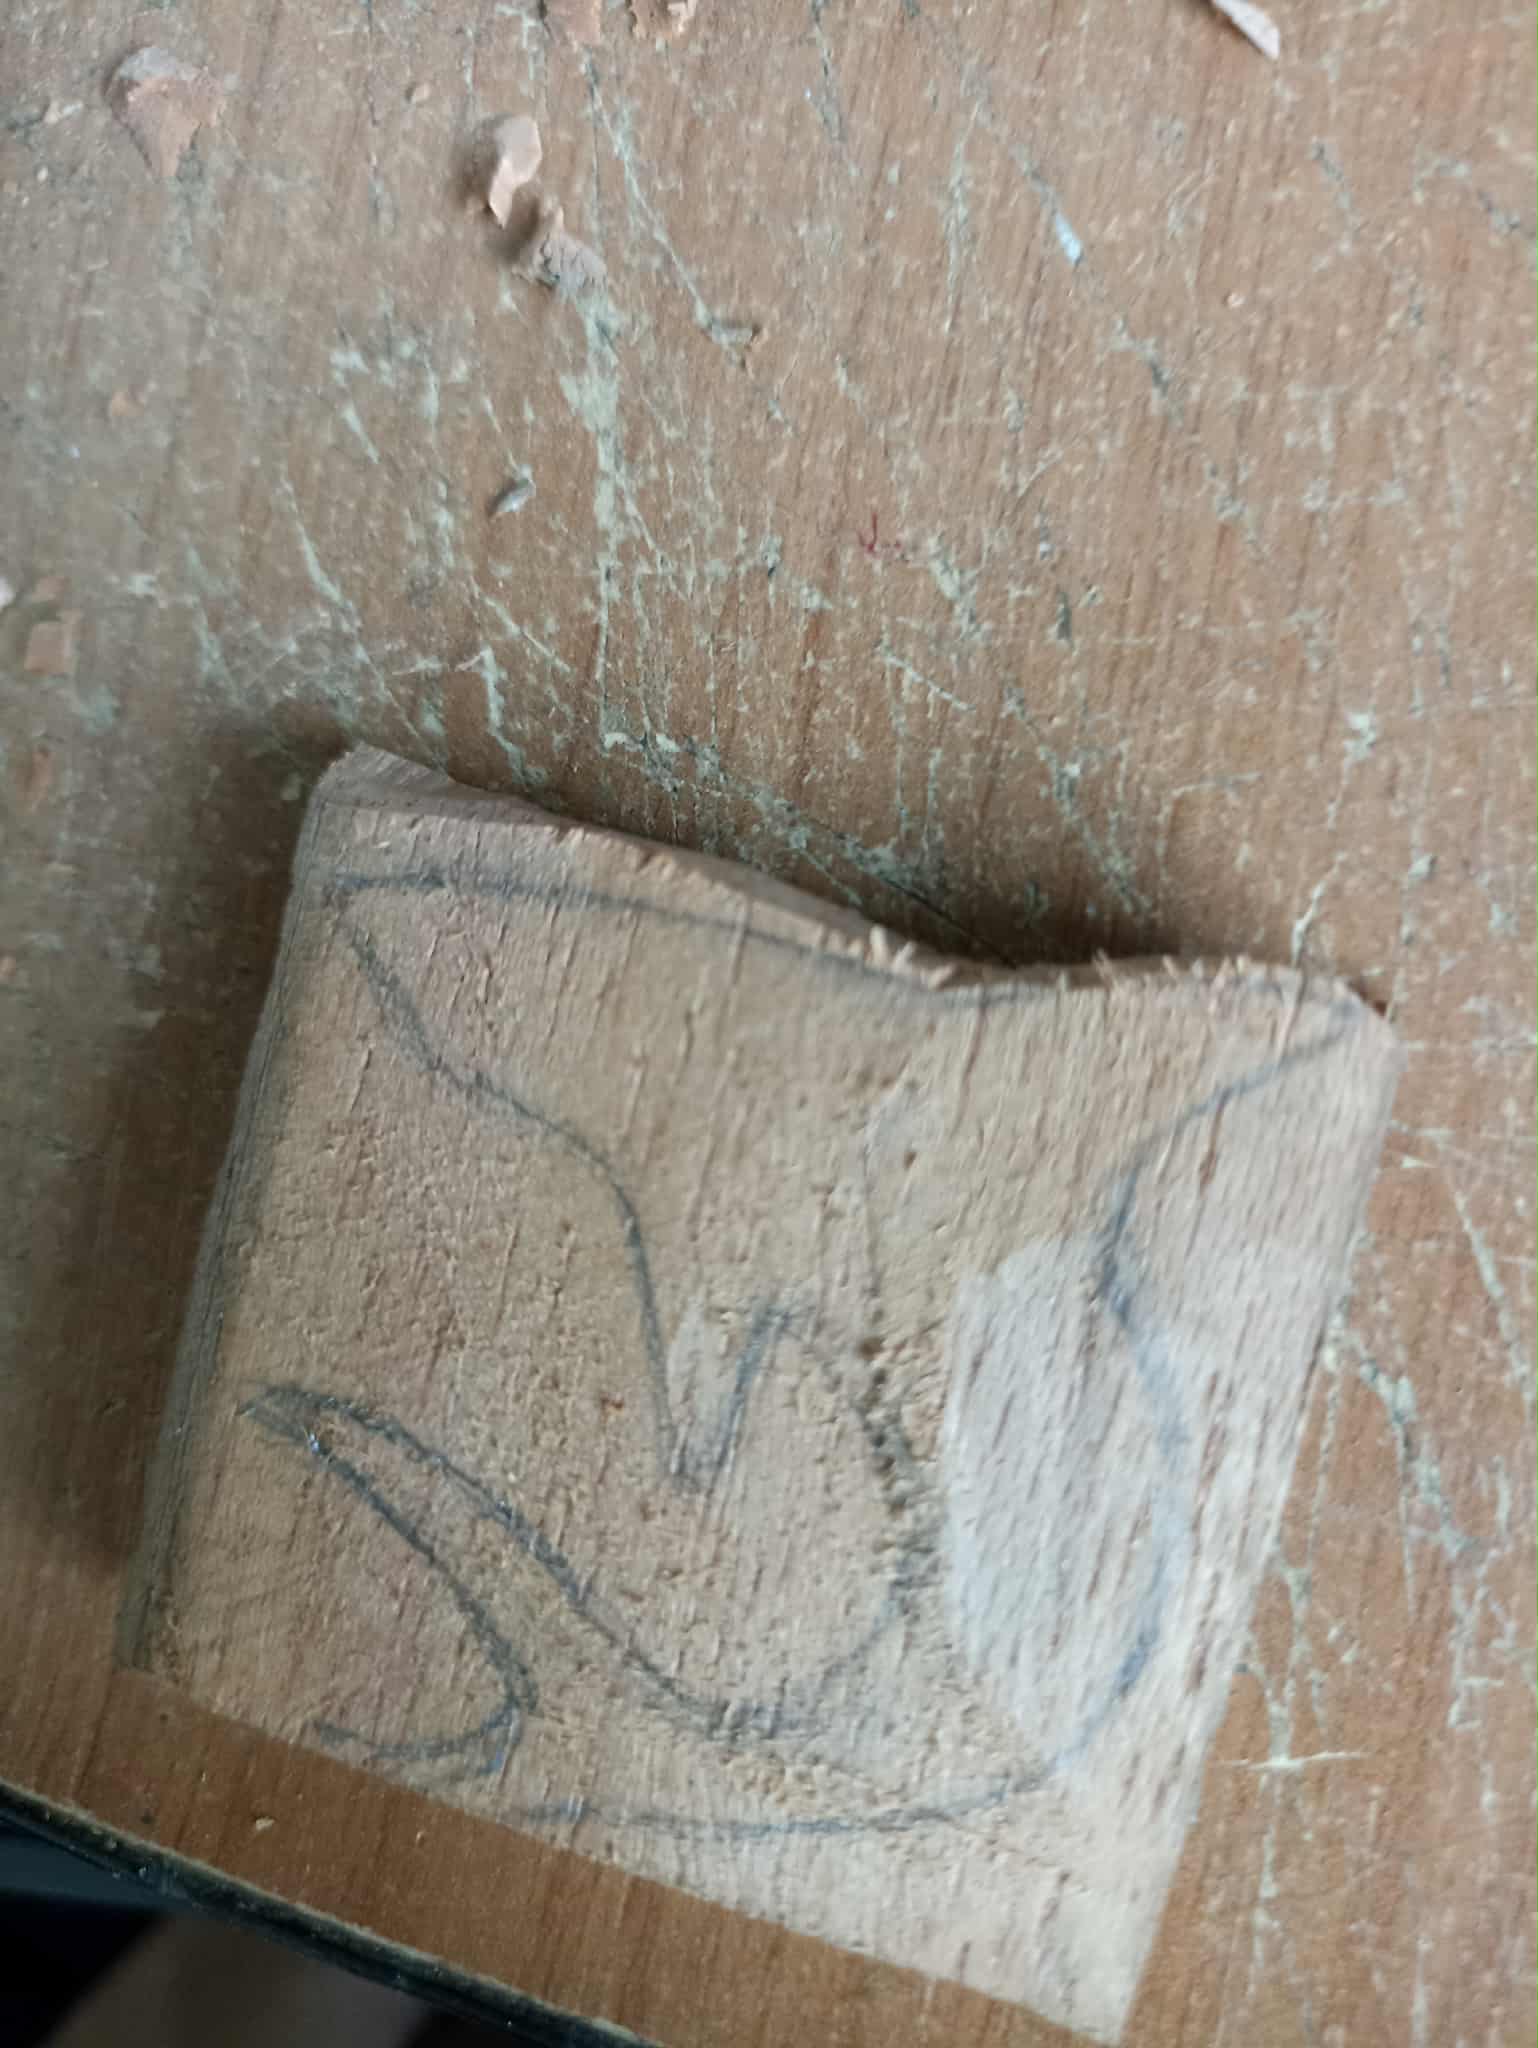
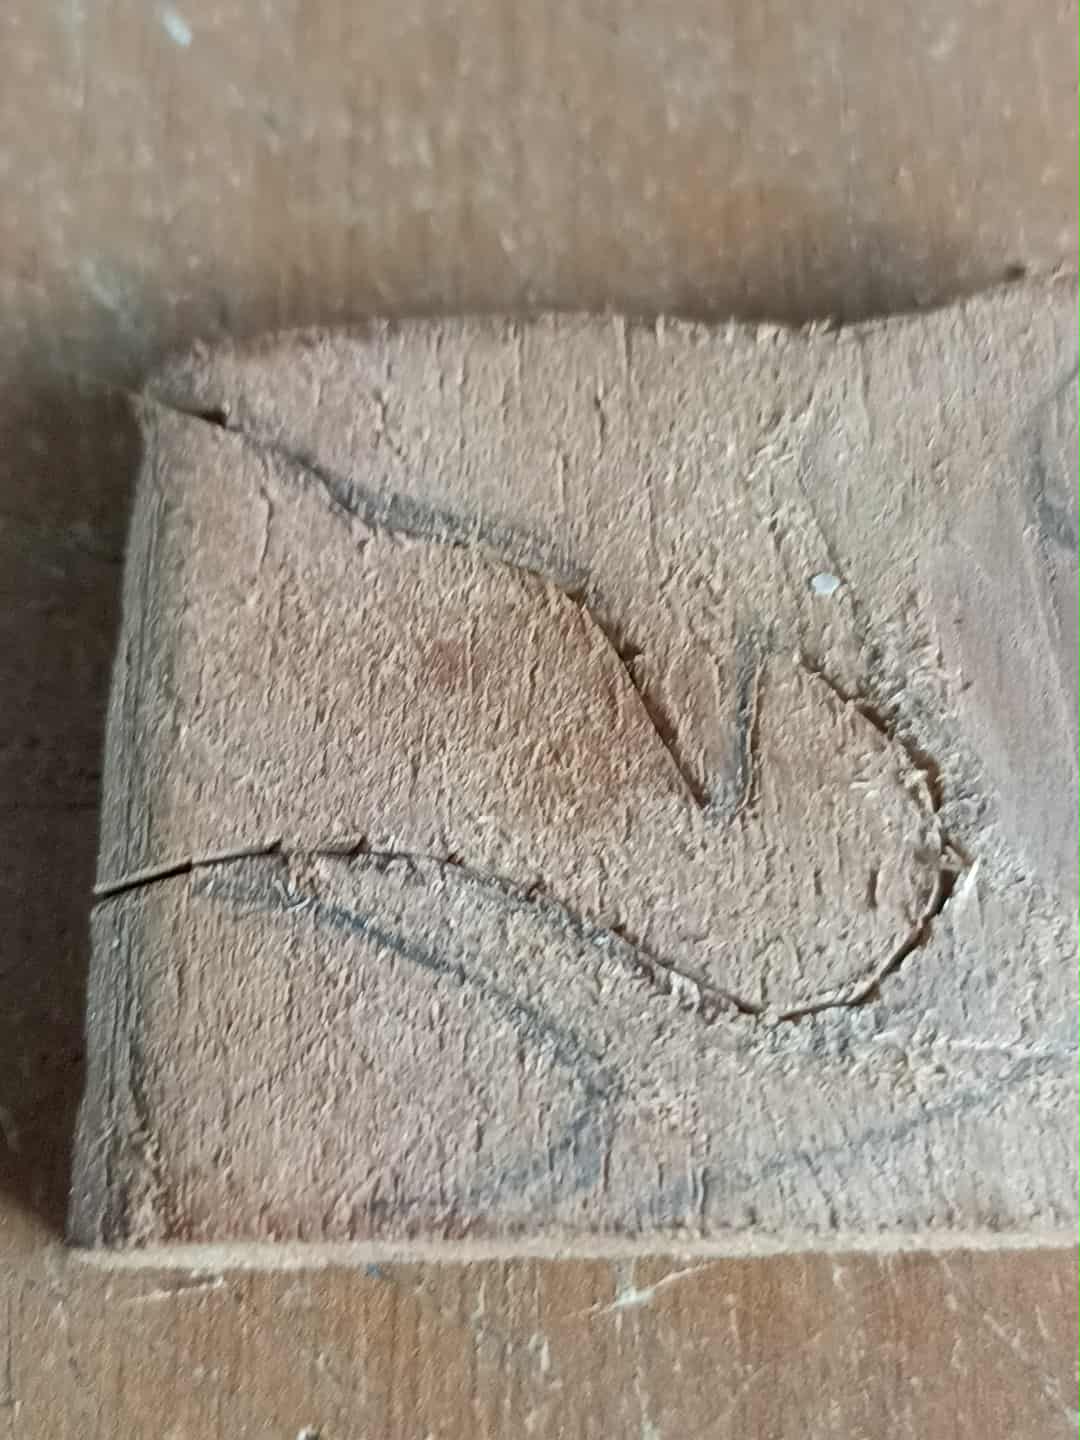
I started with a simple drawing, a simple silhouette, made with a graphite pencil on wood. As for the wood, I used a piece of wood I was able to obtain last week from a carpentry shop, where I was given several pieces of wood from which I extract small pieces that I then turn into small figures. Here is one of them. The measurements of this piece of wood are 6 centimeters by 5 centimeters, enough to make a good-sized piece.
Comencé en primer por un dibujo sencillo, una simple silueta, realizada con lápiz de grafito sobre madera. En cuanto a la madera utilicé un trozo que pude obtener la semana pasada en una carpintería, donde me obsequiaron varios trozo de maderas de los cuales extraigo pequeñas piezas que luego convierto en pequeñas figuras, he aquí una de ellas. Las medidas de esta pieza de madera son de 6 centímetros por 5 centímetros, suficiente para hacer una pieza de buen tamaño.
 |
 |
|
|---|---|---|
 |
 |
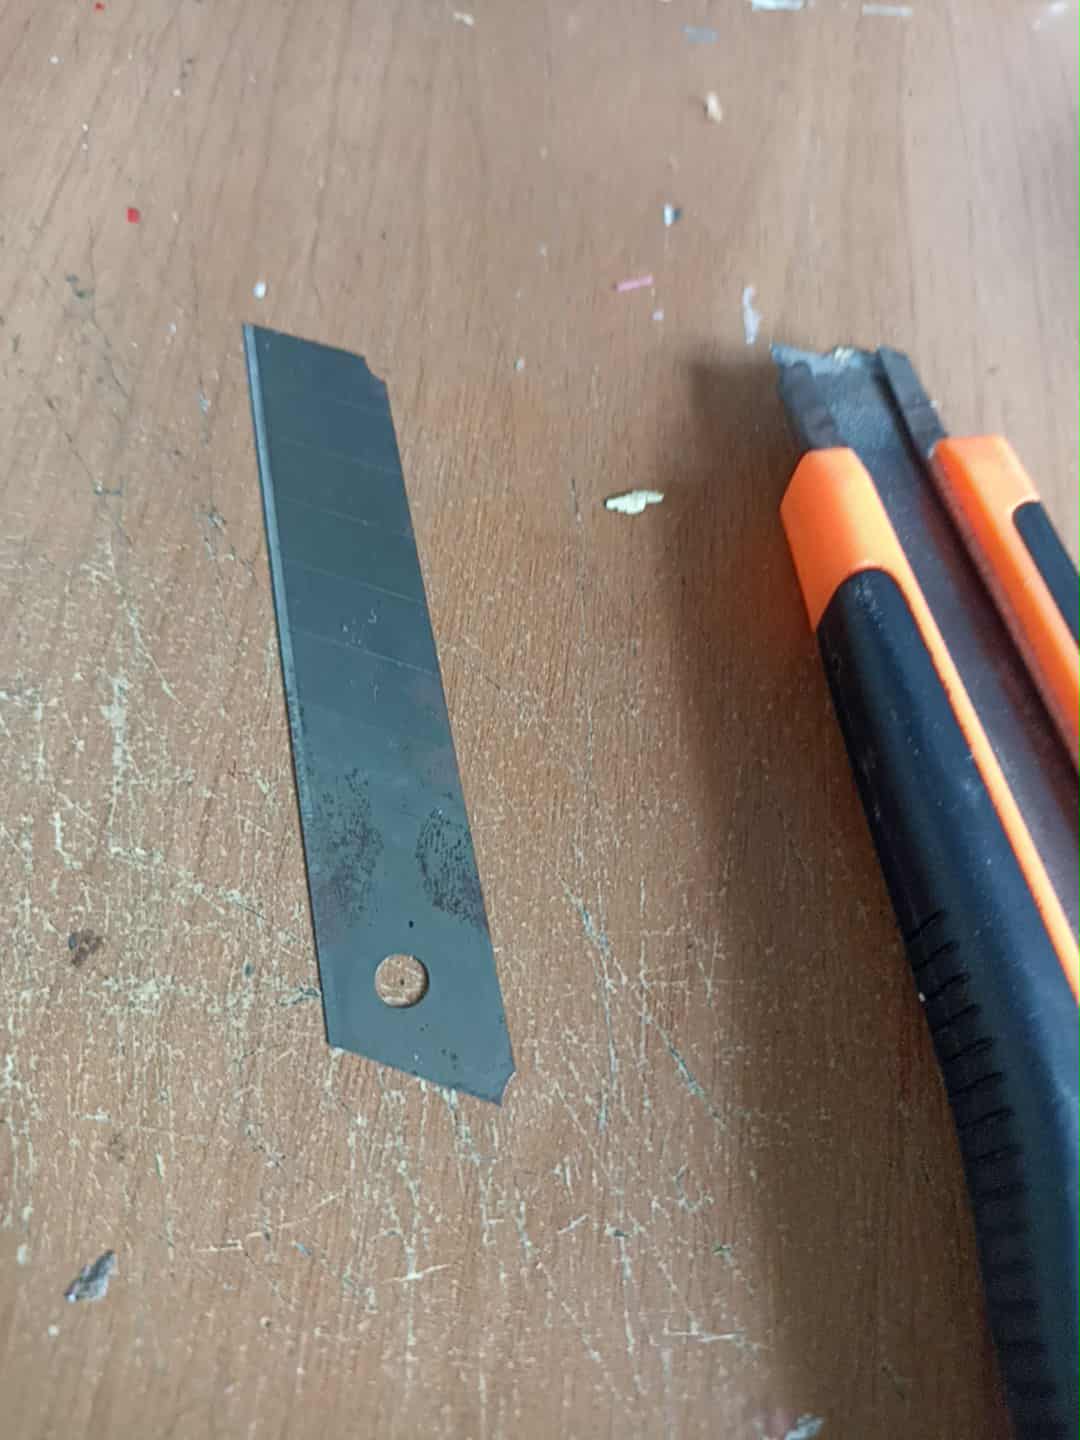
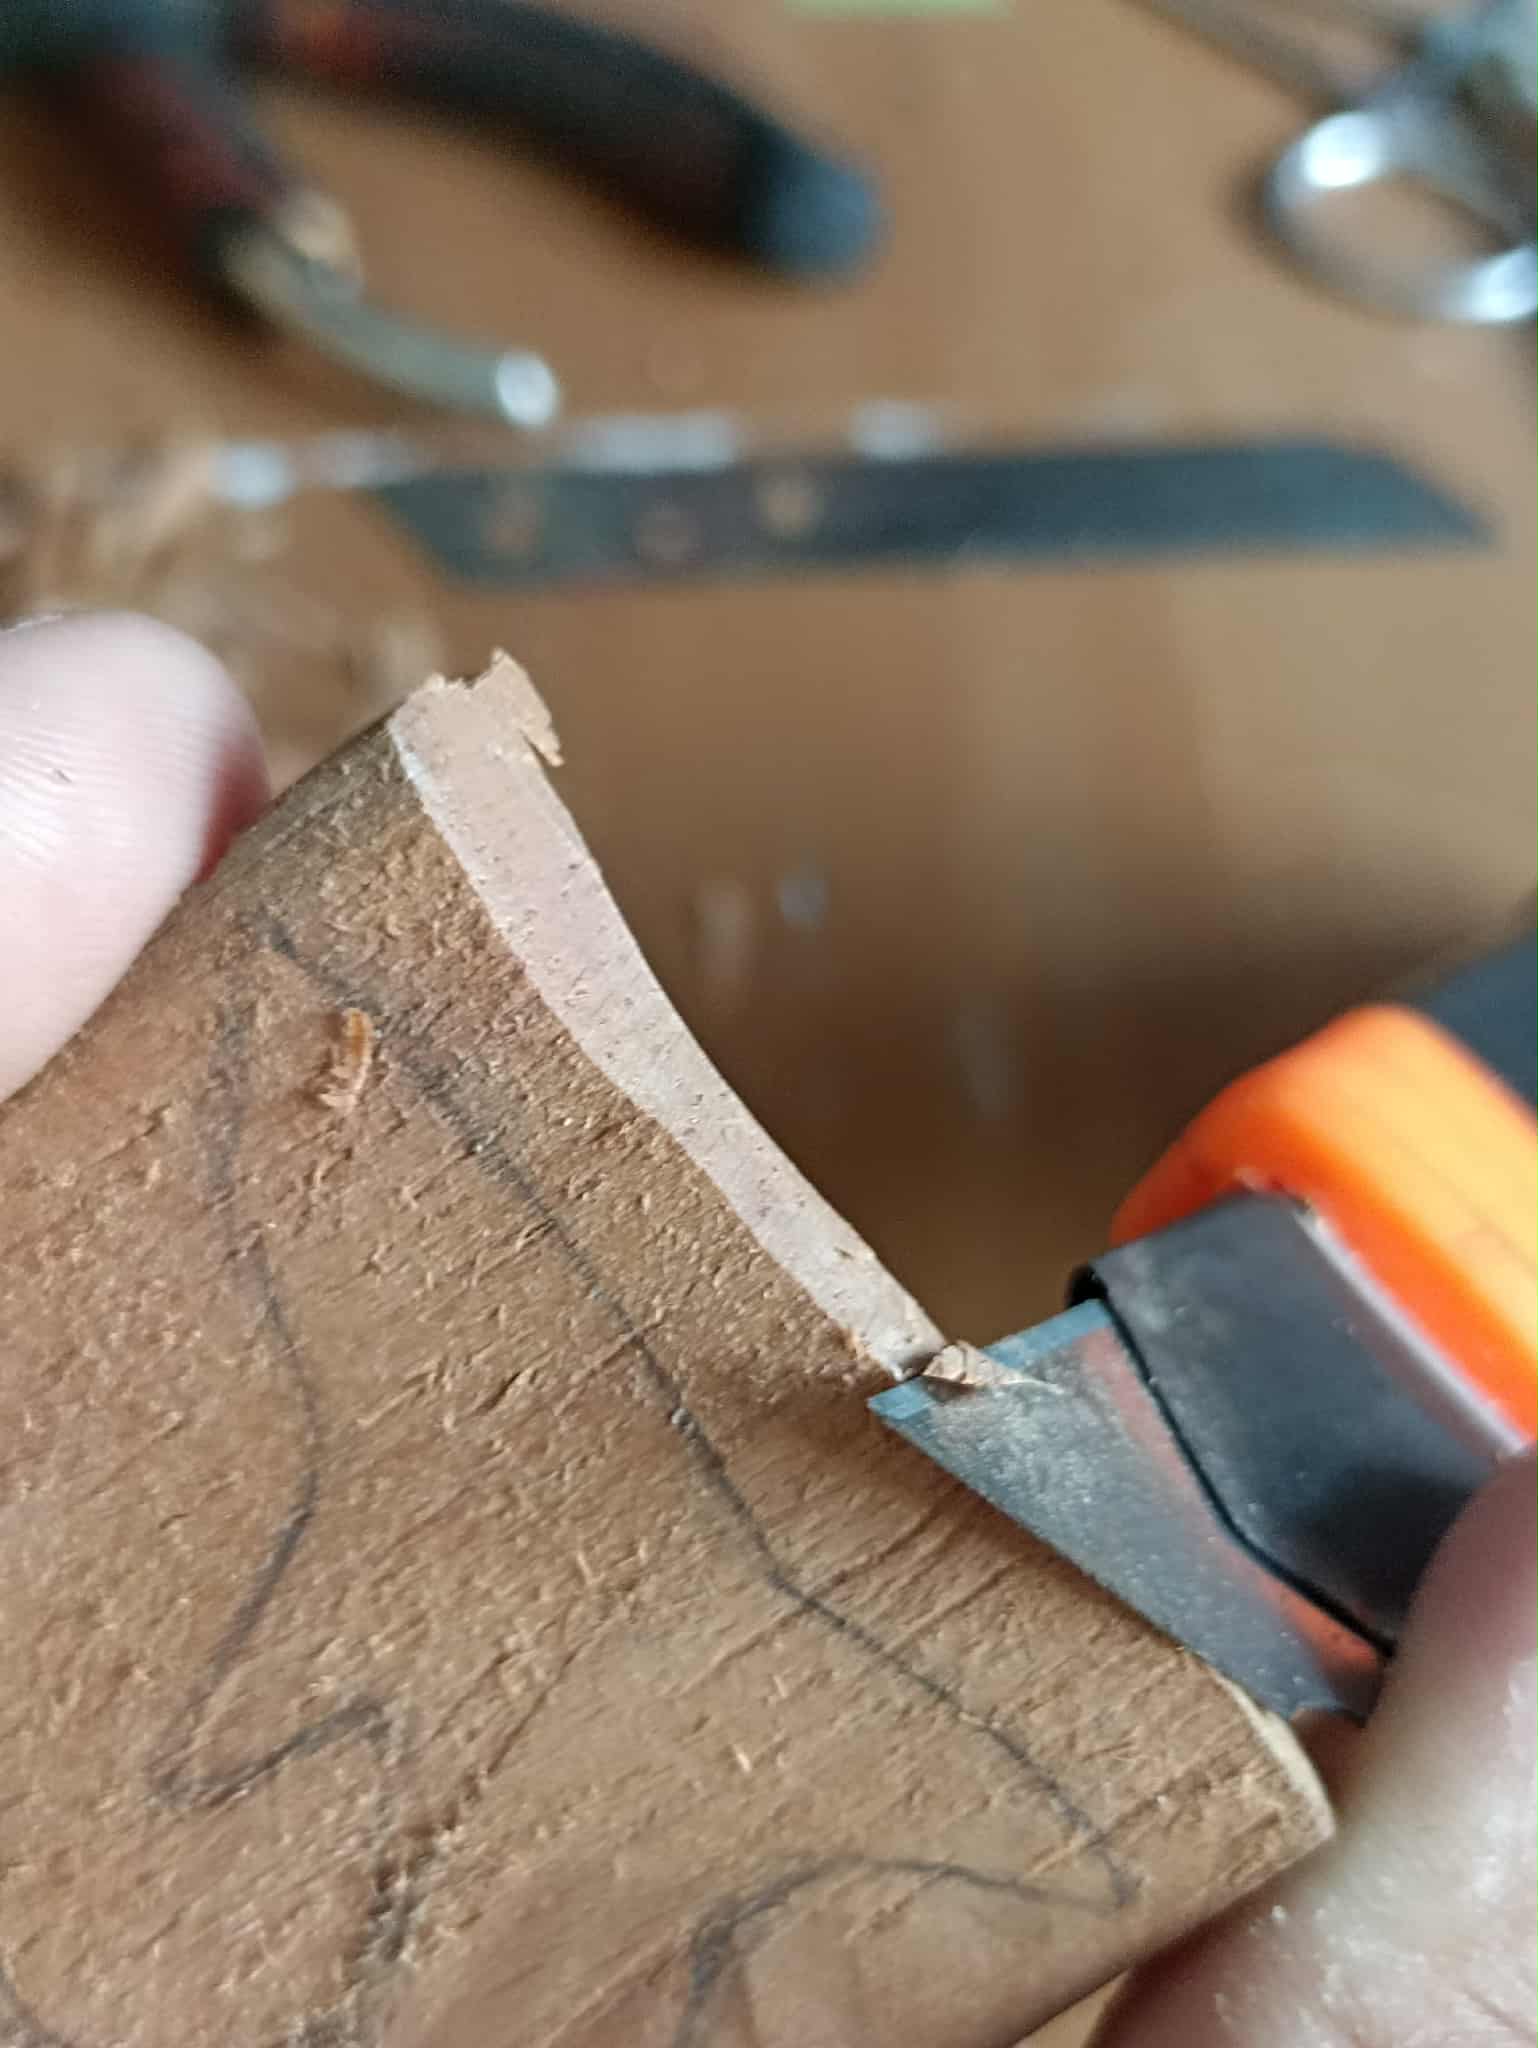
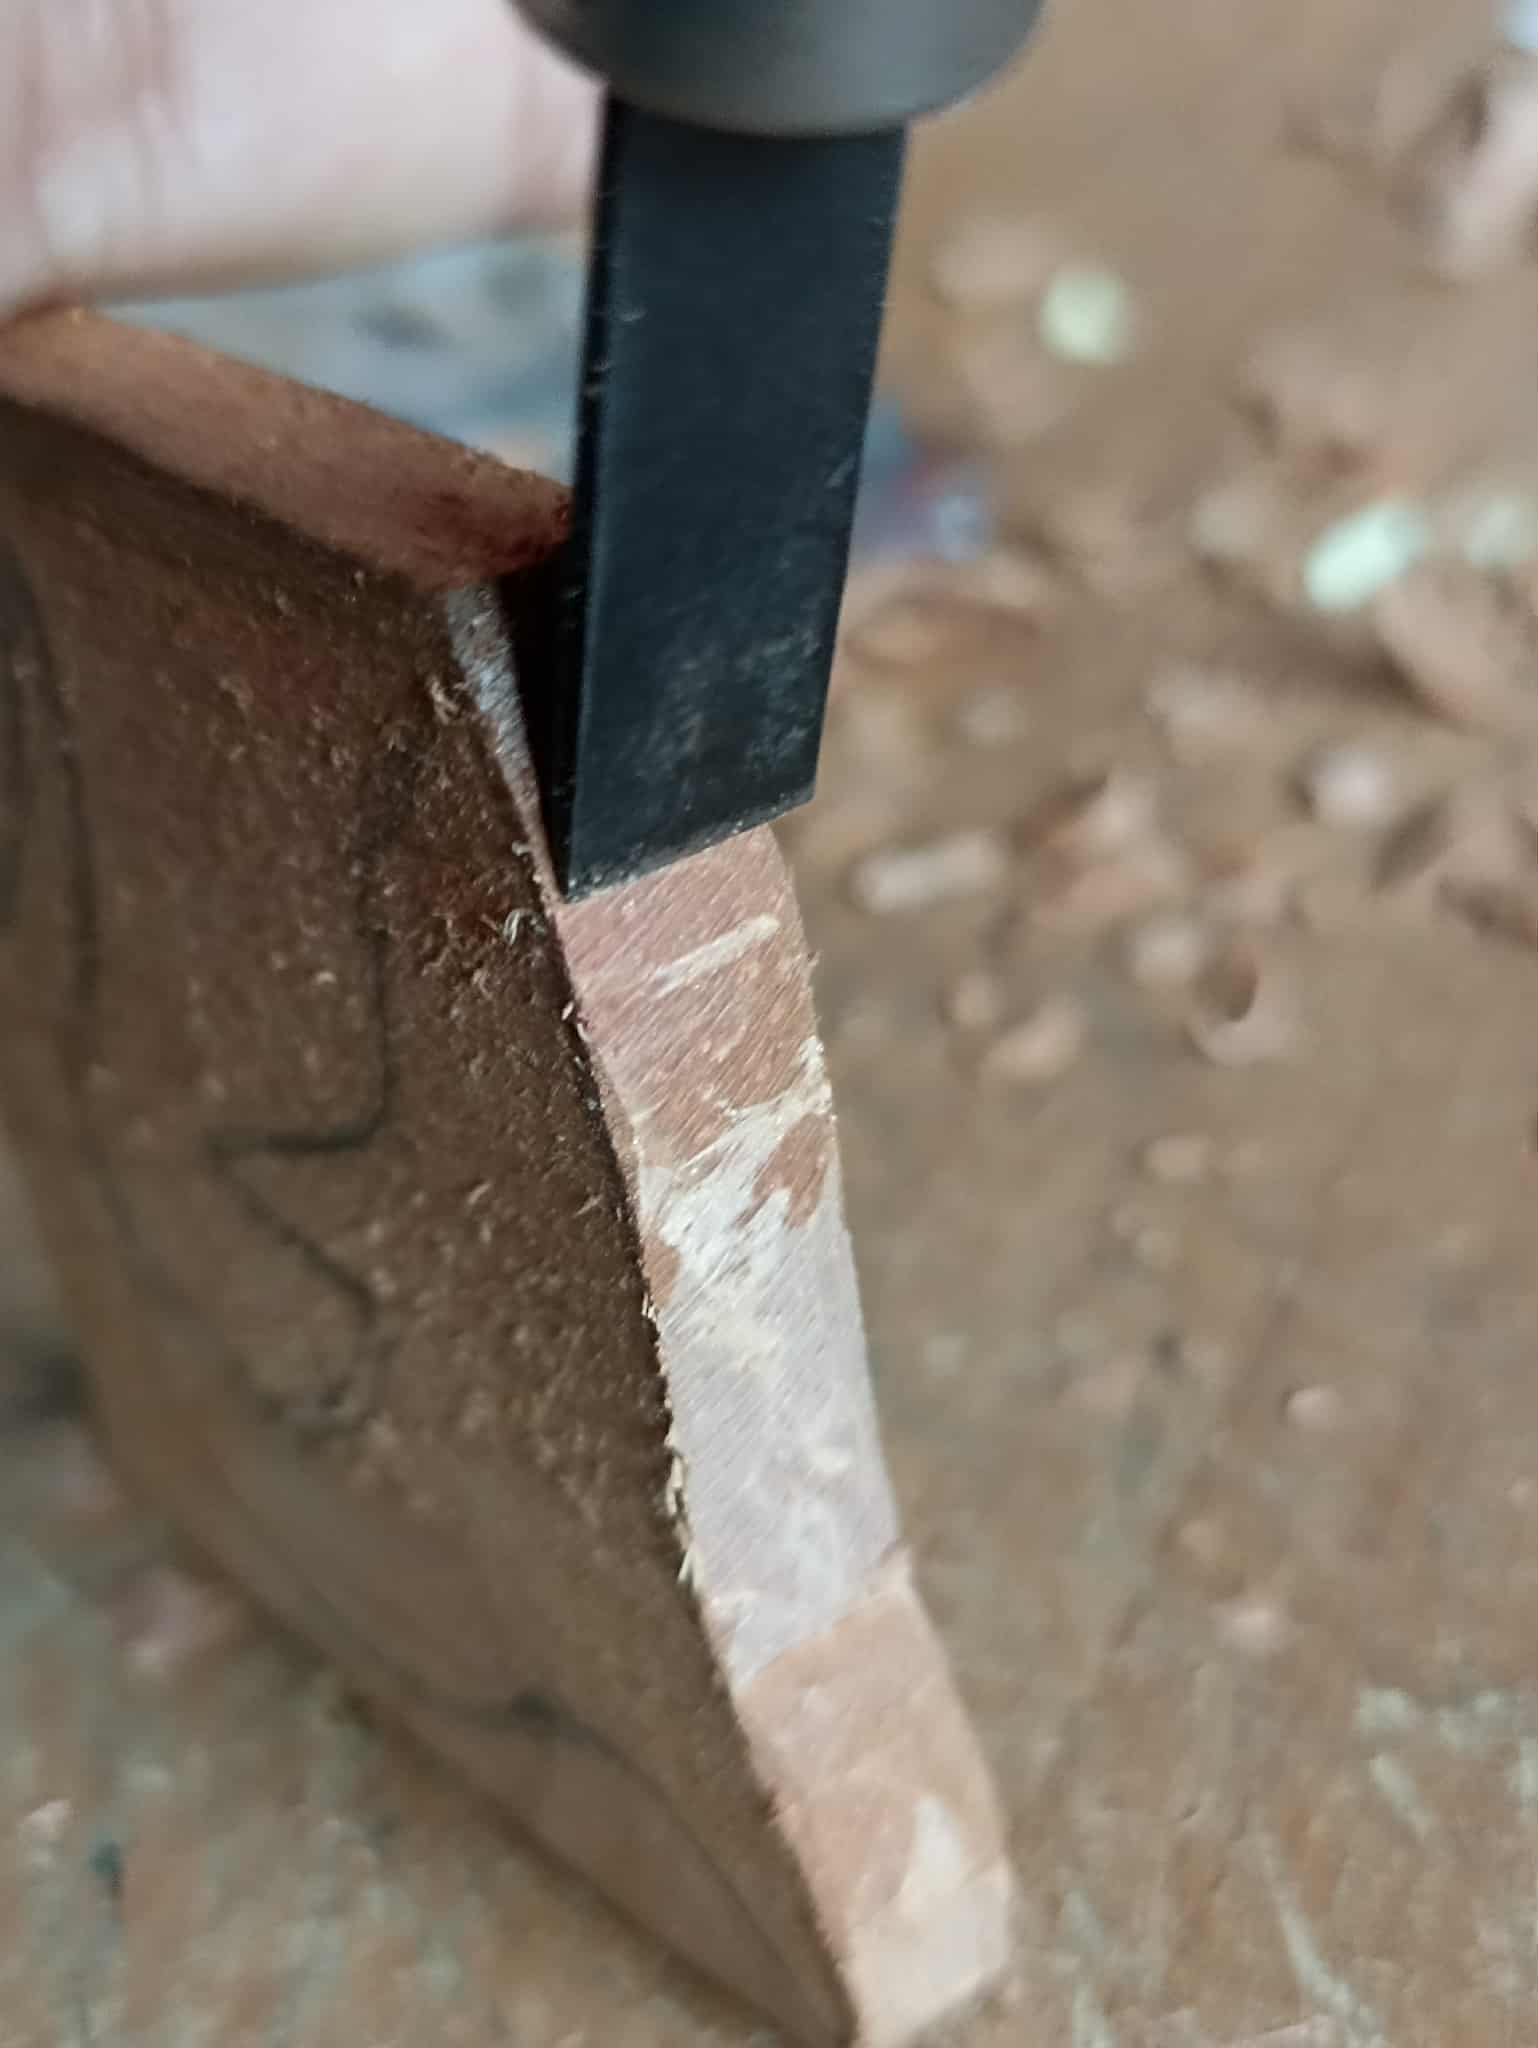
To begin carving the wood, I use a box cutter specifically for removing edges where it doesn't require much maneuvering or special details. So I start at the top, where the head and one of its fins are located. Then, as I approach the pencil line, I change tools. This wood has a direction where it can be carved. If you choose a different shape, the wood falls apart easily, which is a bit strange.
Para comenzar a tallar la madera, utilizo un cúter especialmente para retirar los bordes, donde no requiera mucha maniobra o detalles especiales, así que comienzo por la parte superior, donde está ubicada la cabeza y una de sus aletas. Luego al acercarme al trazo hecho con un lápiz ahí cambio de herramienta ya que esta madera tiene una dirección por donde puede hacerse, si se elige otra forma la madera se desarma con facilidad, es algo extraño.
 |
 |
|
|---|---|---|
 |
 |
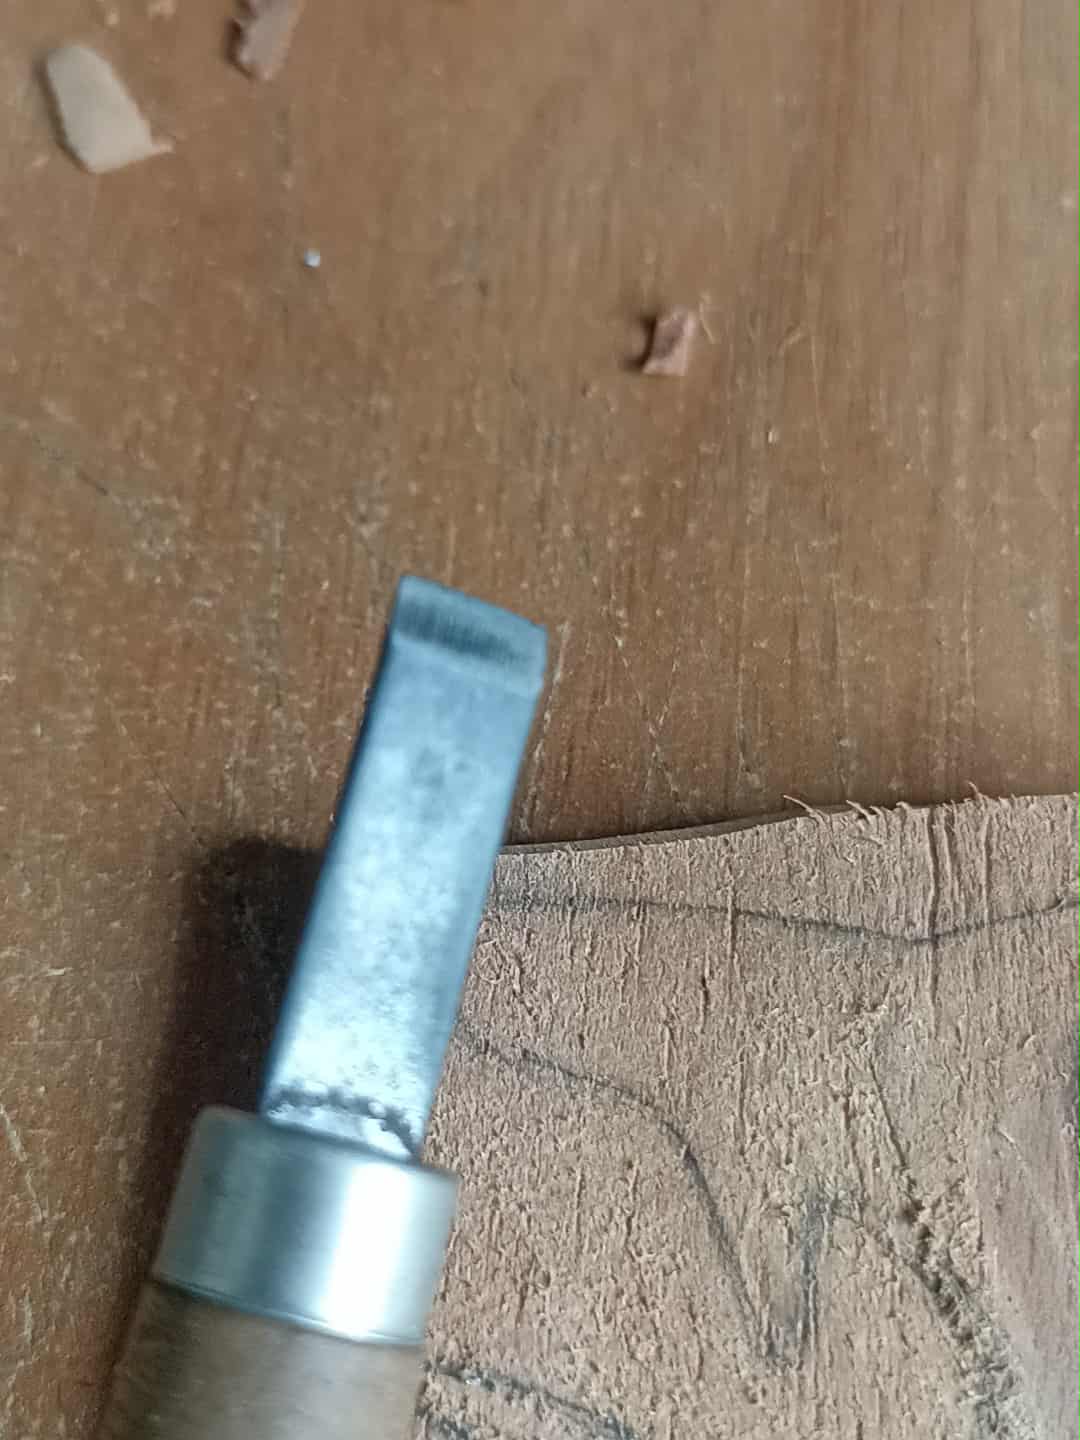
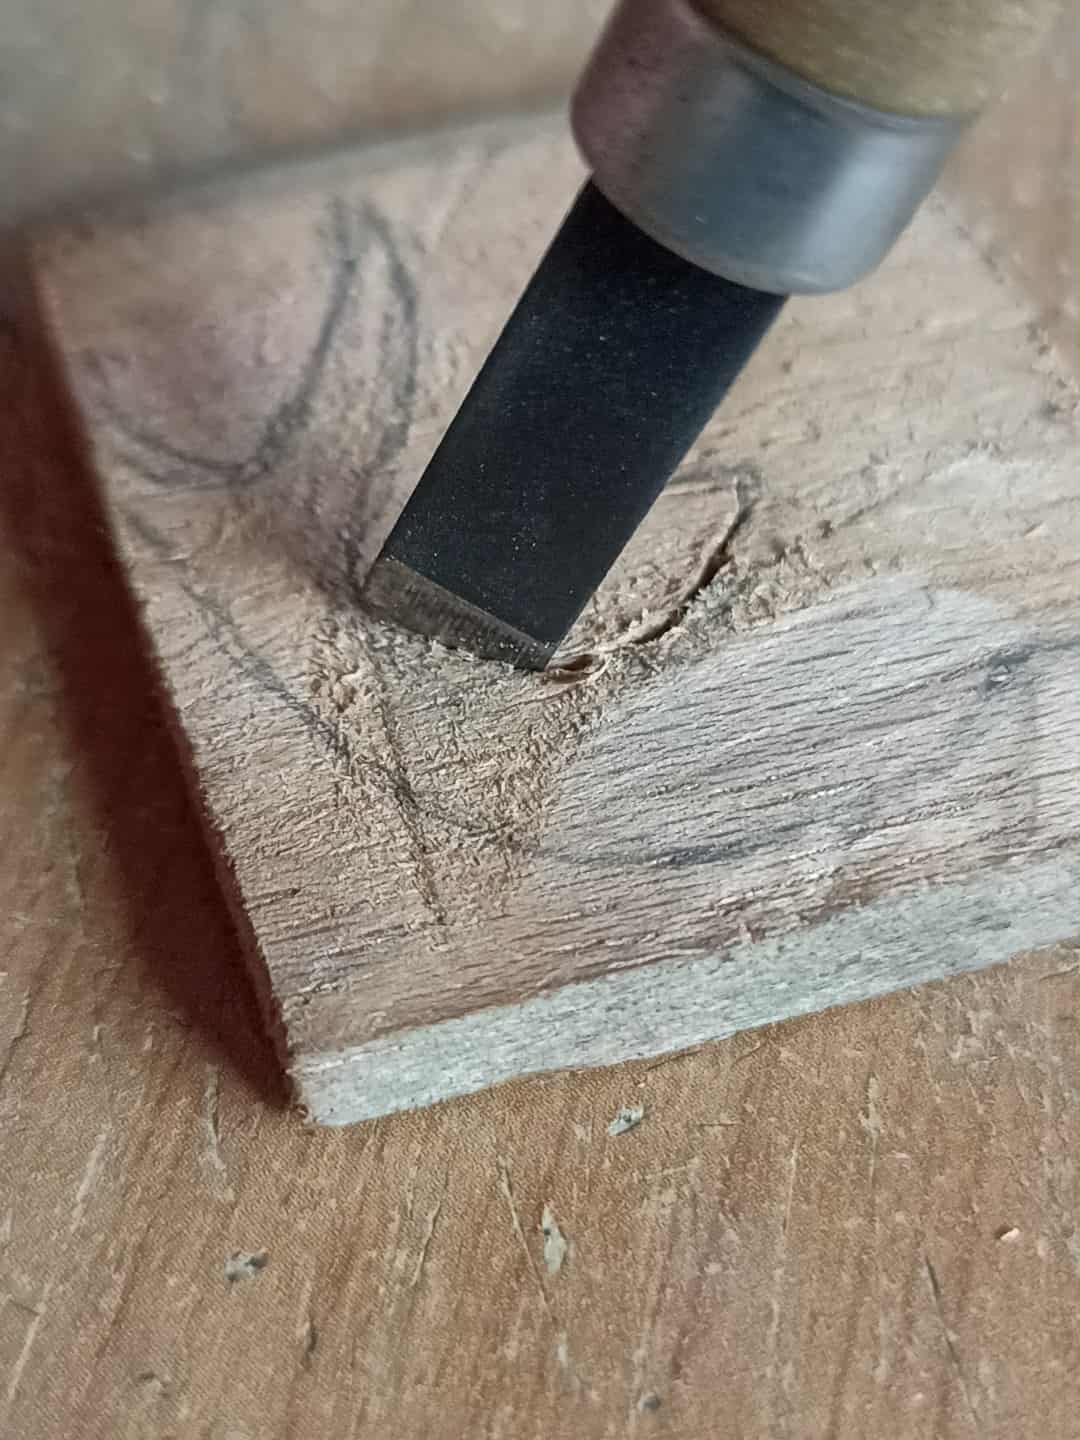
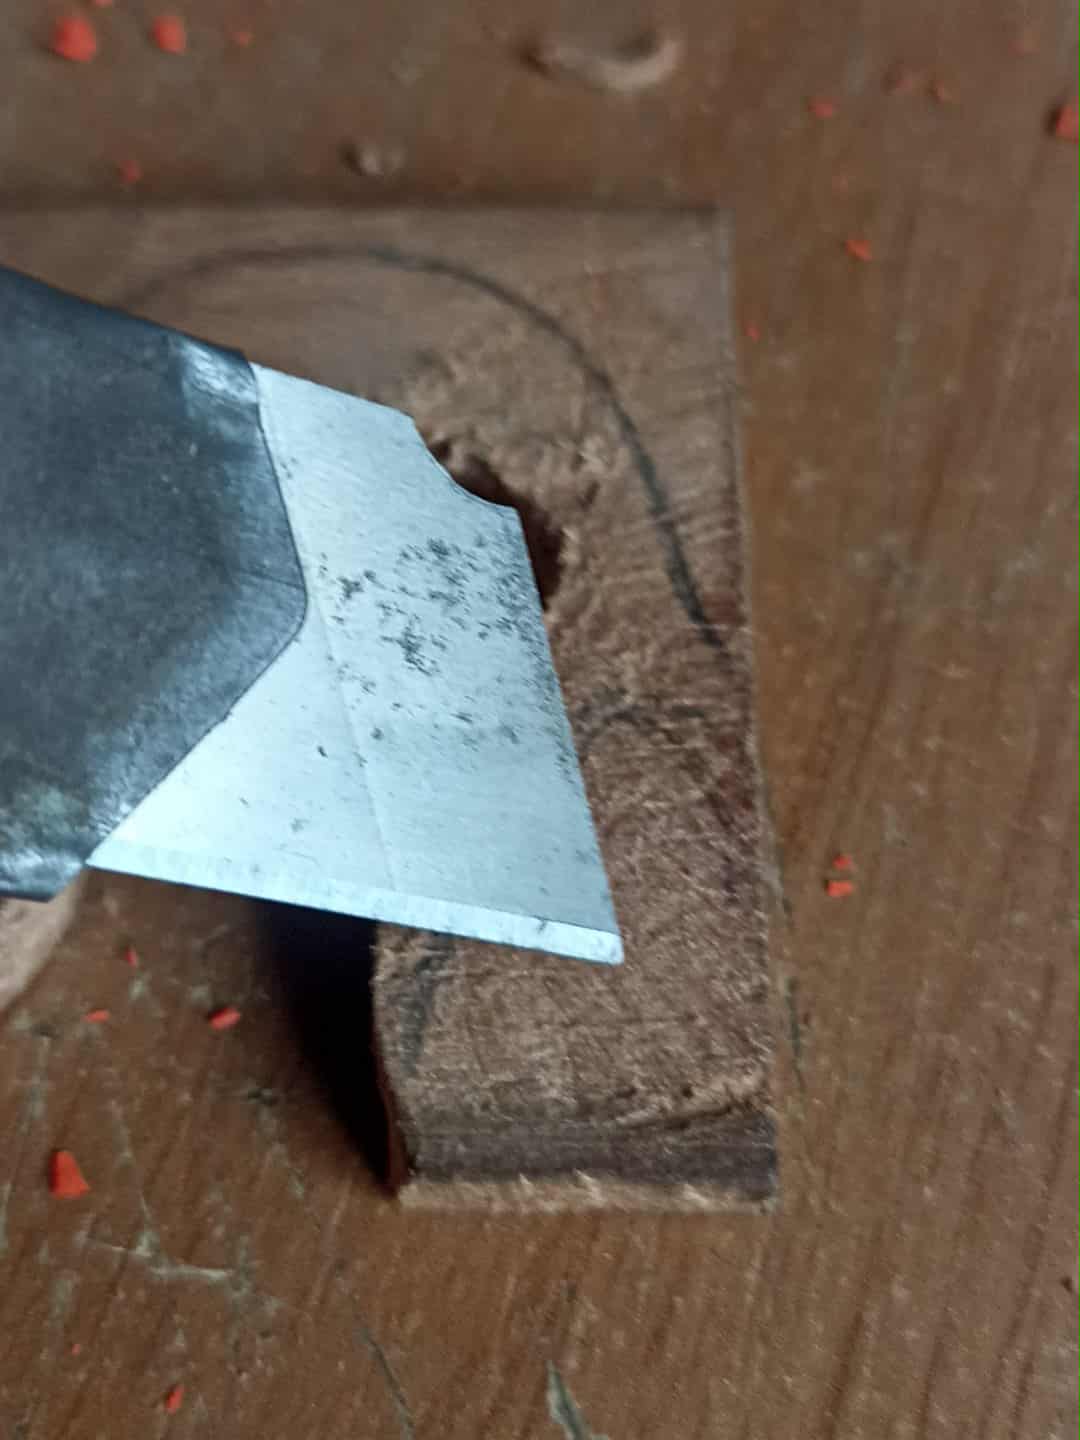
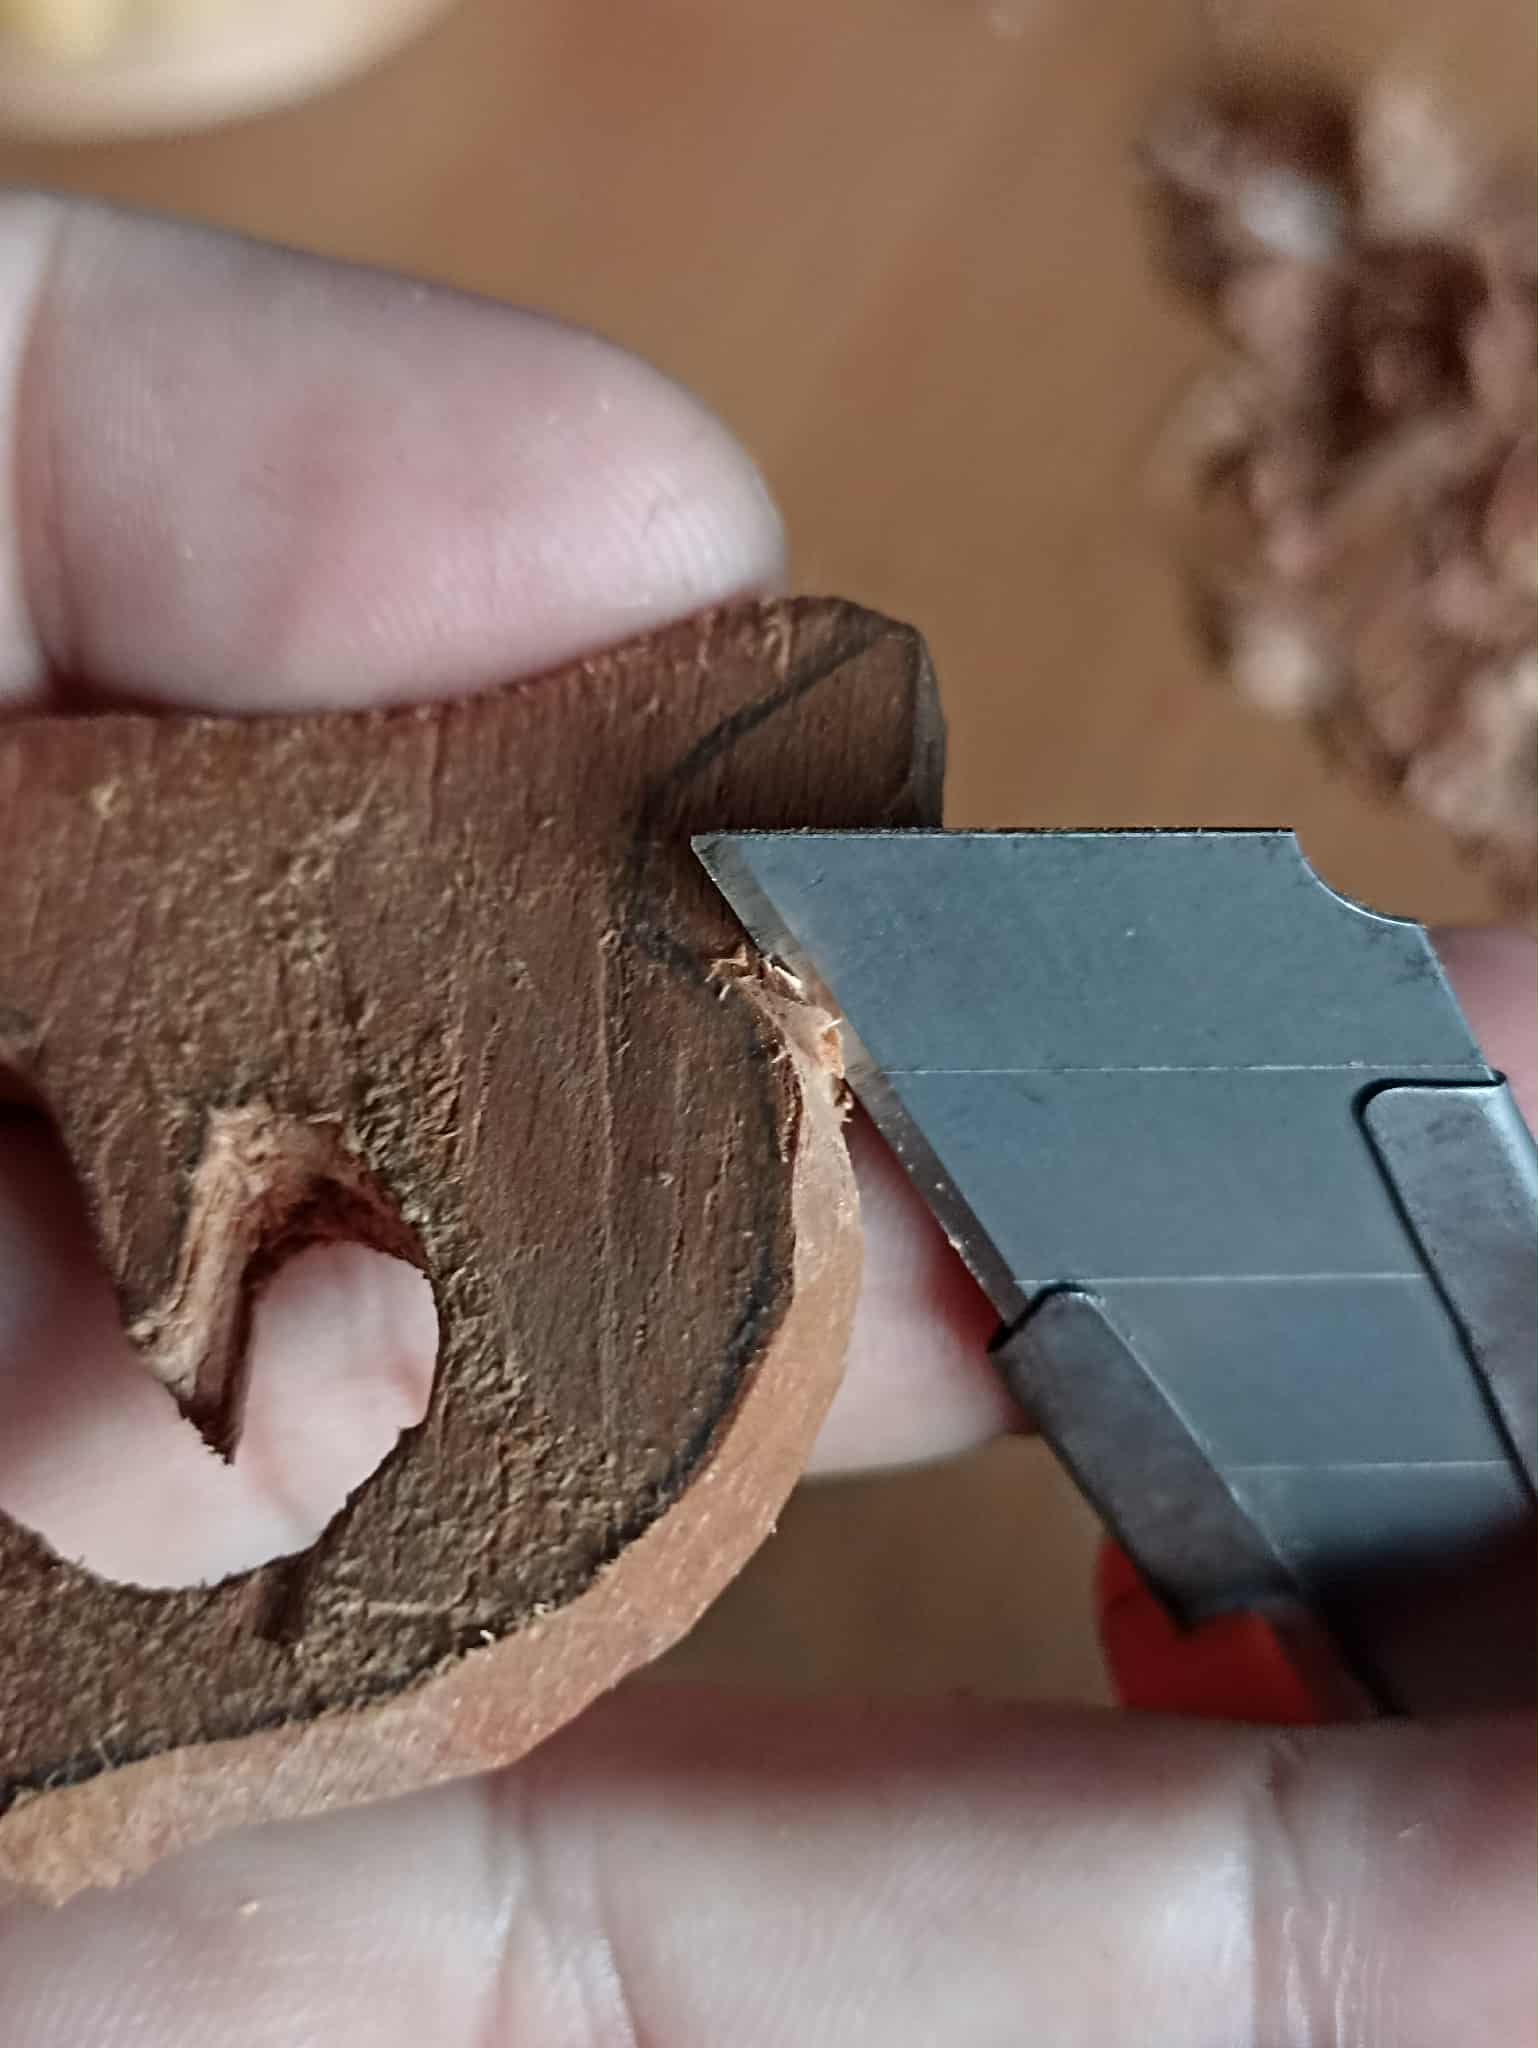
As I mentioned earlier, I've switched to a more specialized, flat-bladed knife so I can make the cuts closer to the outline. This allows for better maneuverability in terms of detail, and I need to get the head exactly right so it matches the previously drawn shape.
Como mencioné anteriormente, he cambiado a una cuchilla más especial, de hoja plana para poder hacer los cortes más cercanos al trazo. Esto permite maniobrar mejor a nivel de detalle, y necesito hacer muy bien la cabeza para que sea como la forma antes dibujada.
 |
 |
 |
|---|---|---|
 |
 |
 |
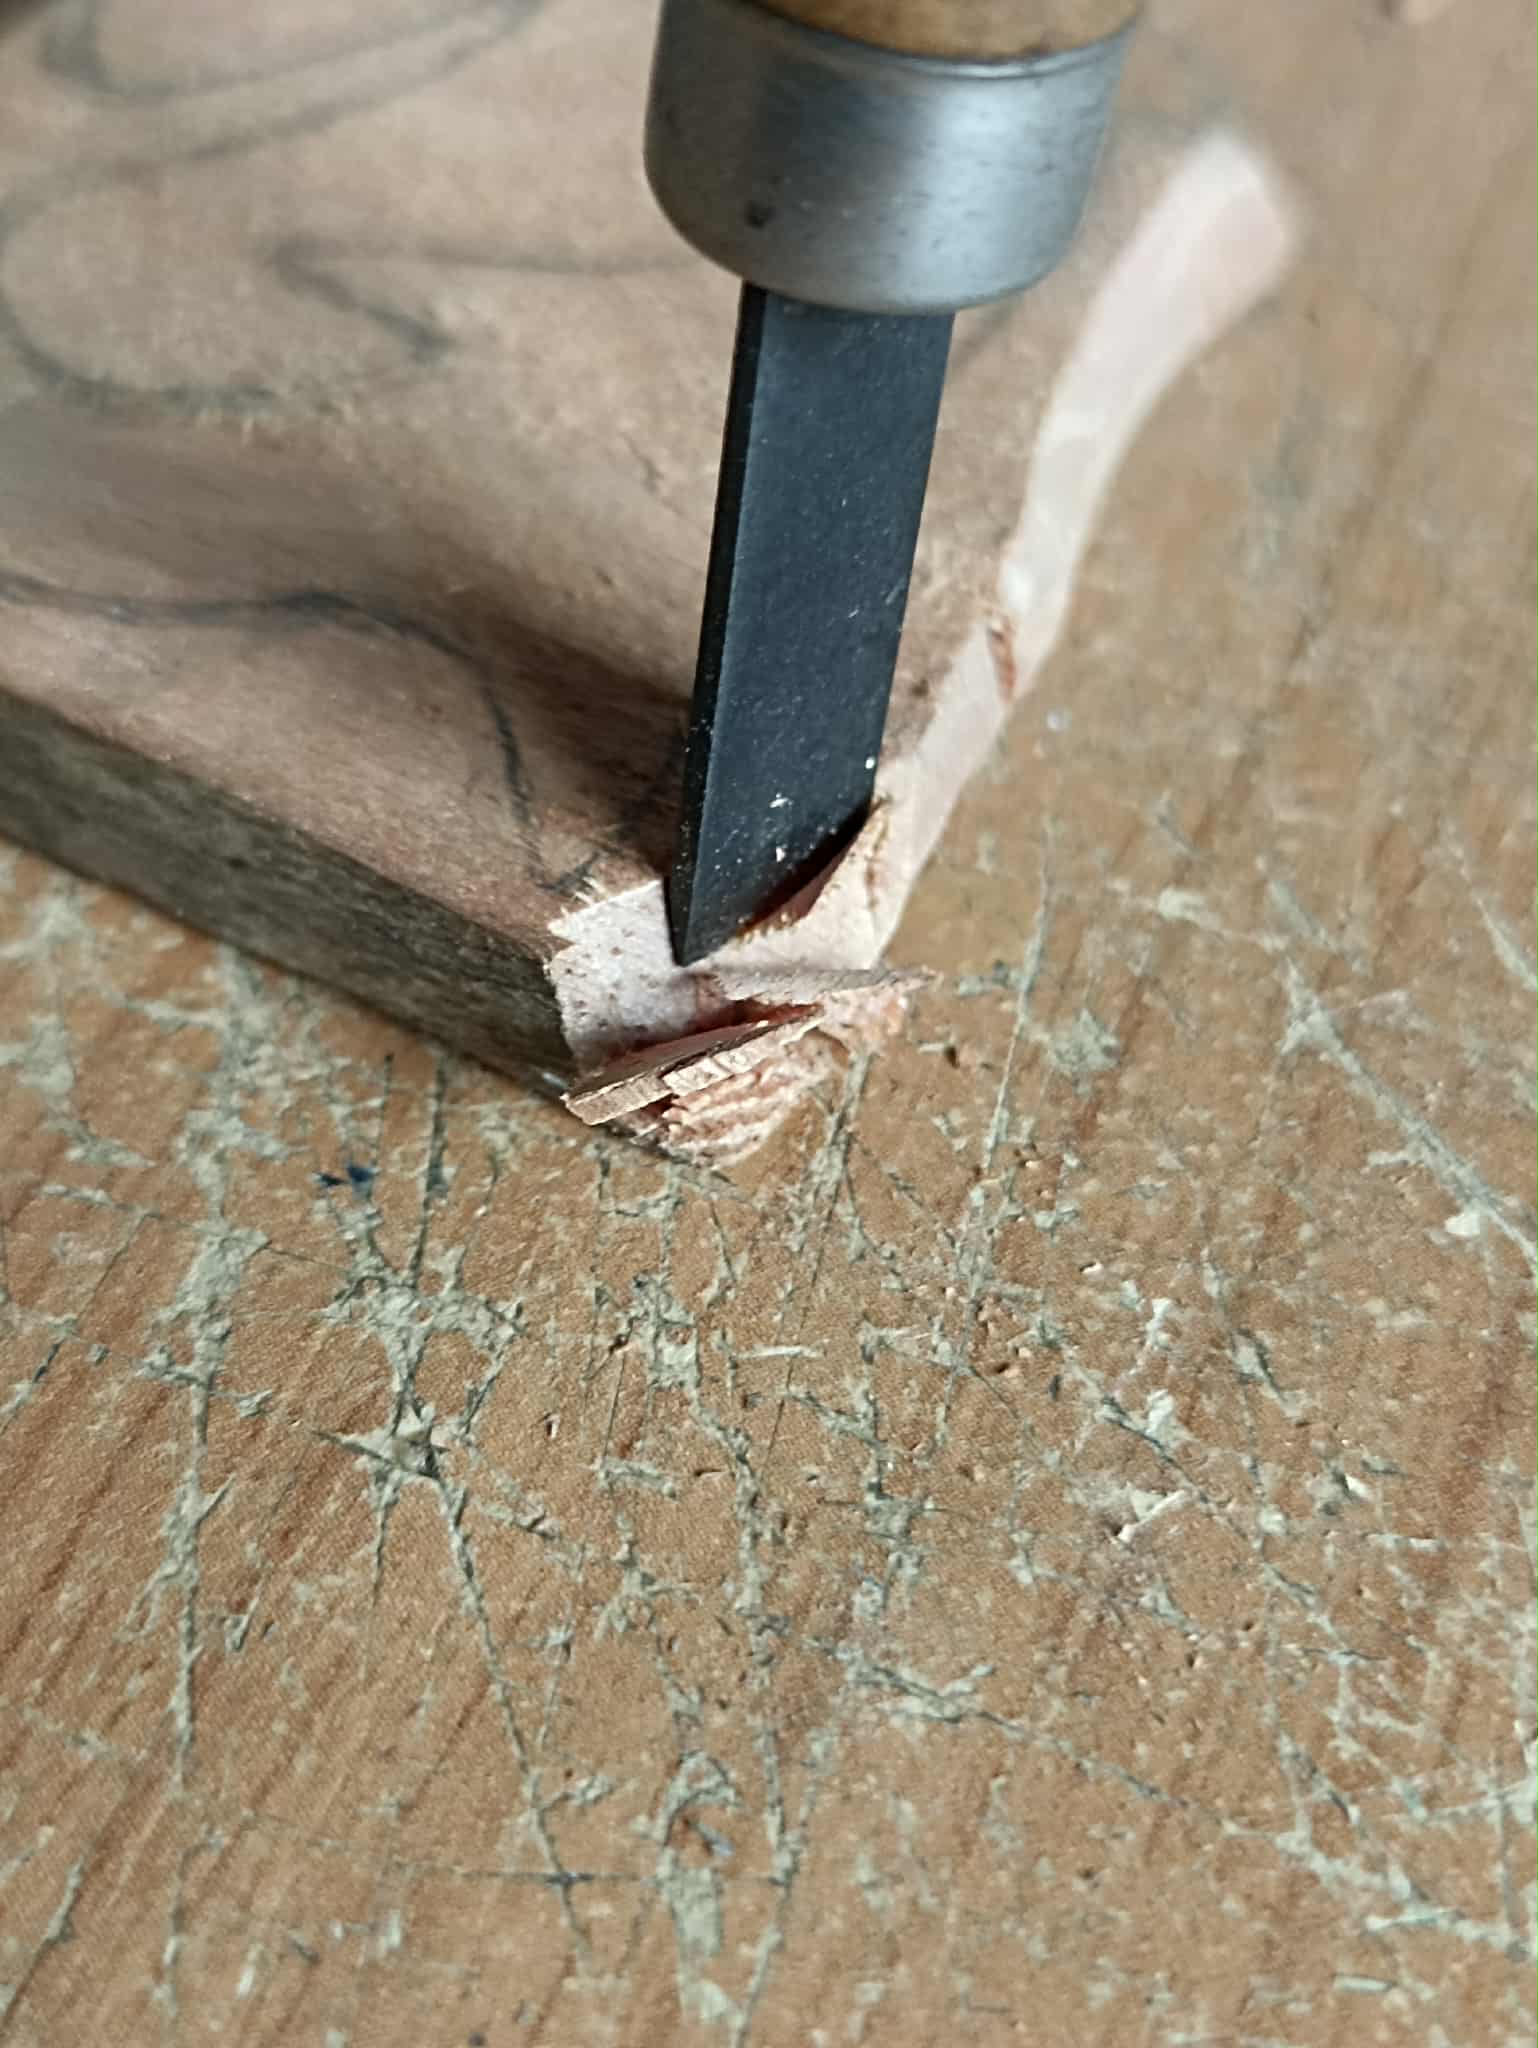
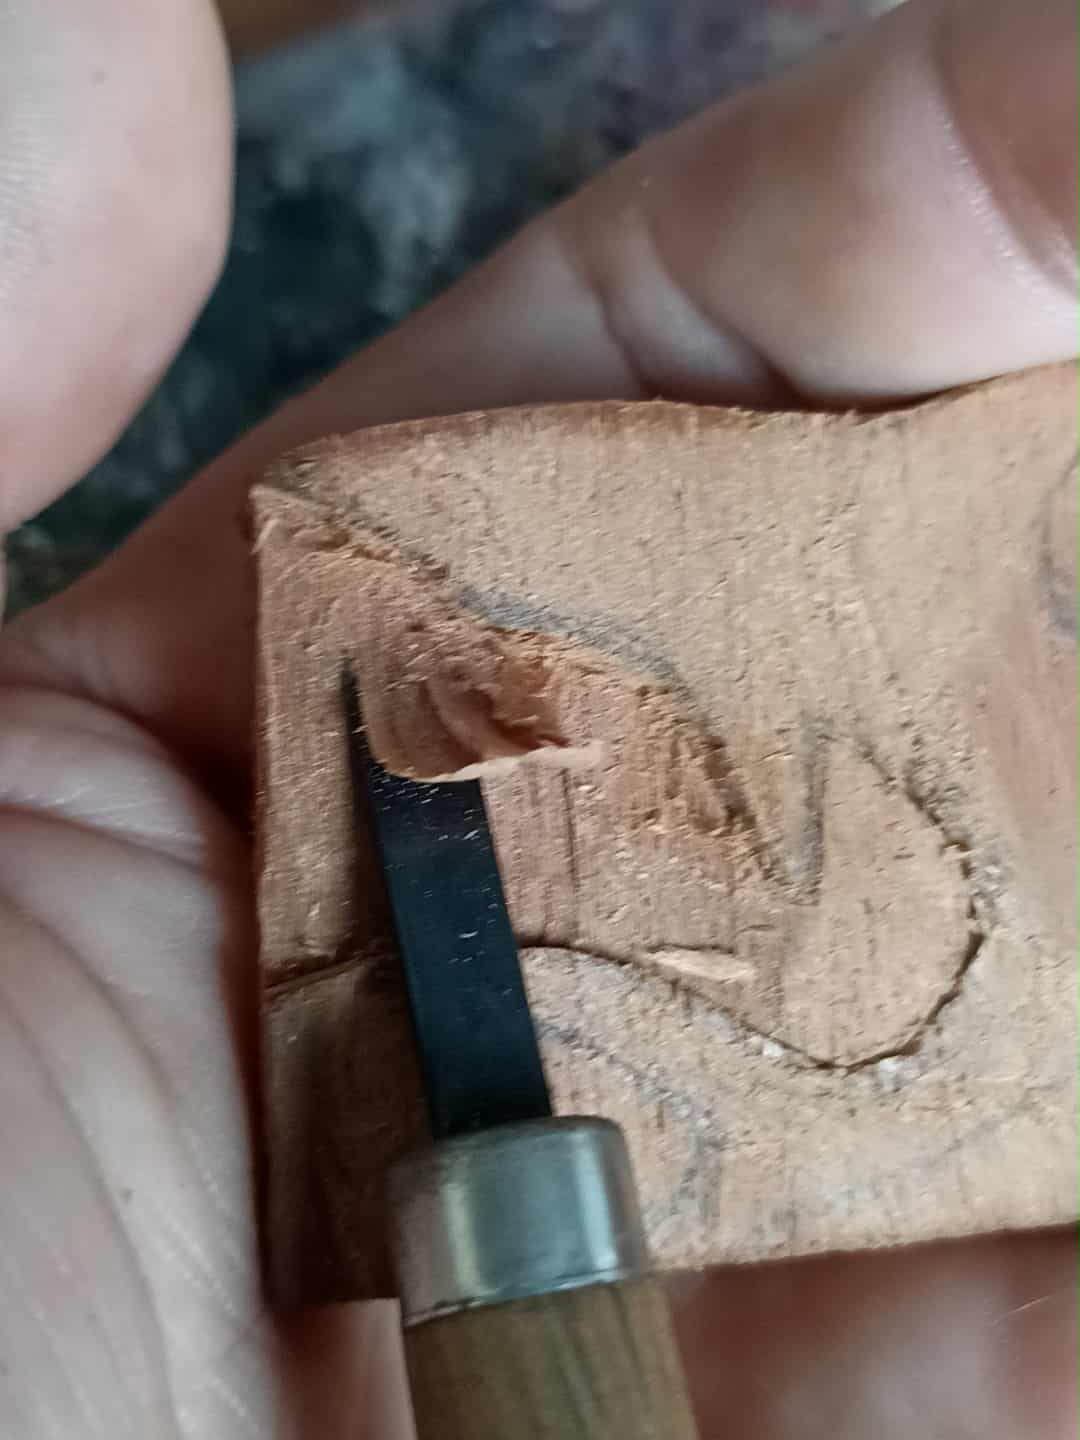
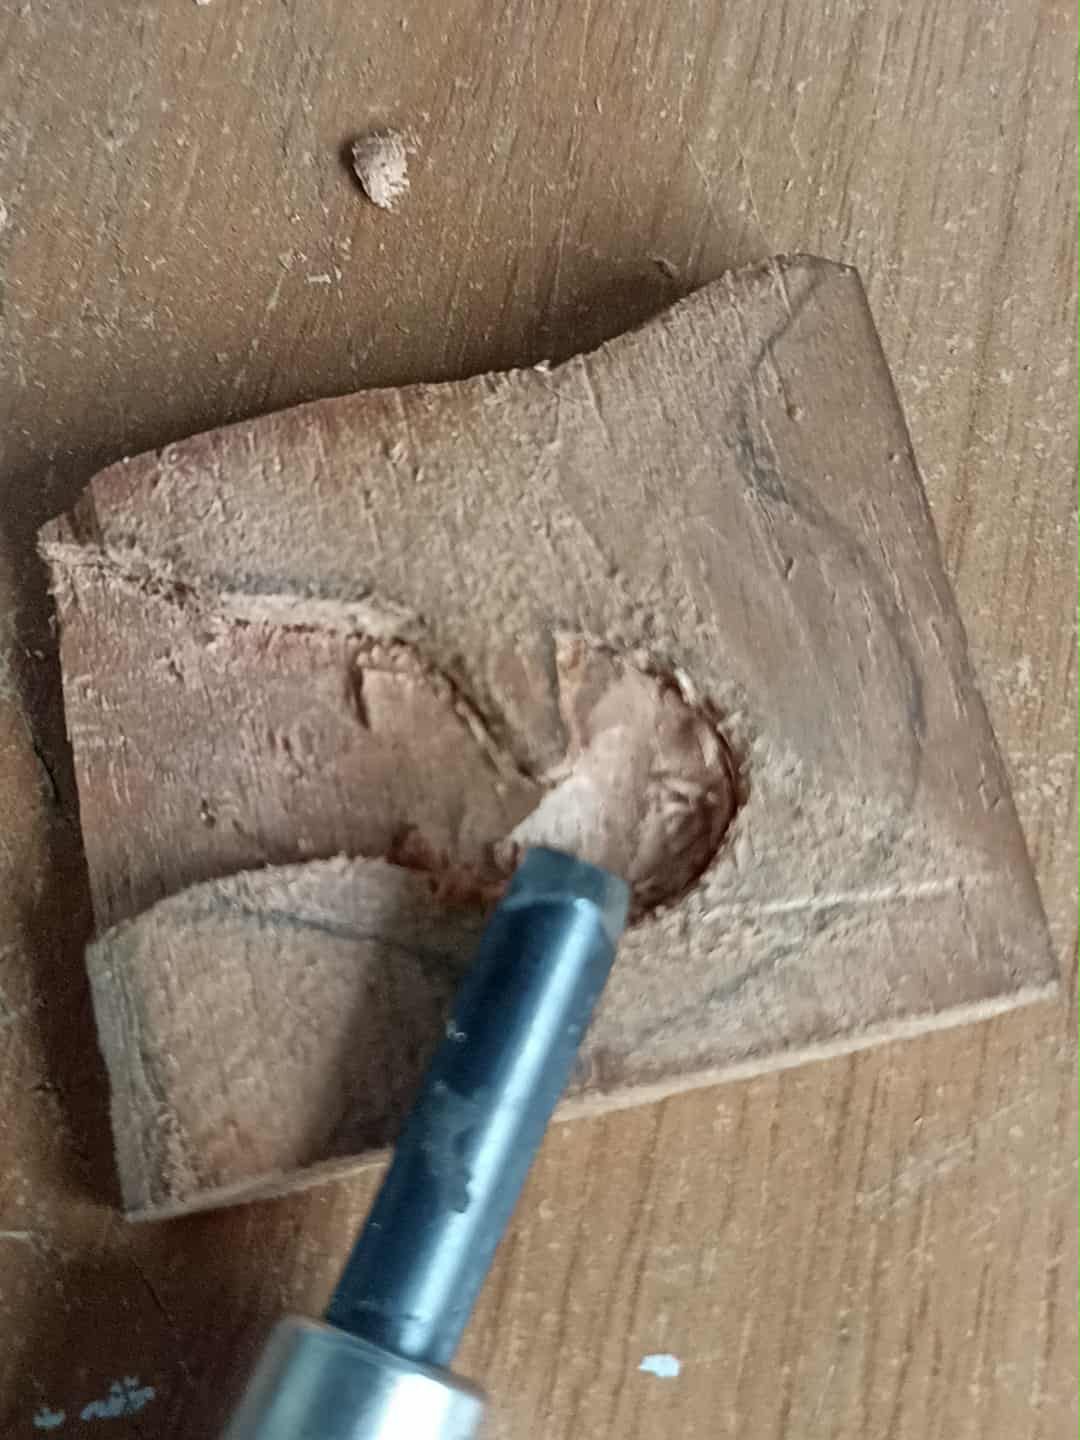
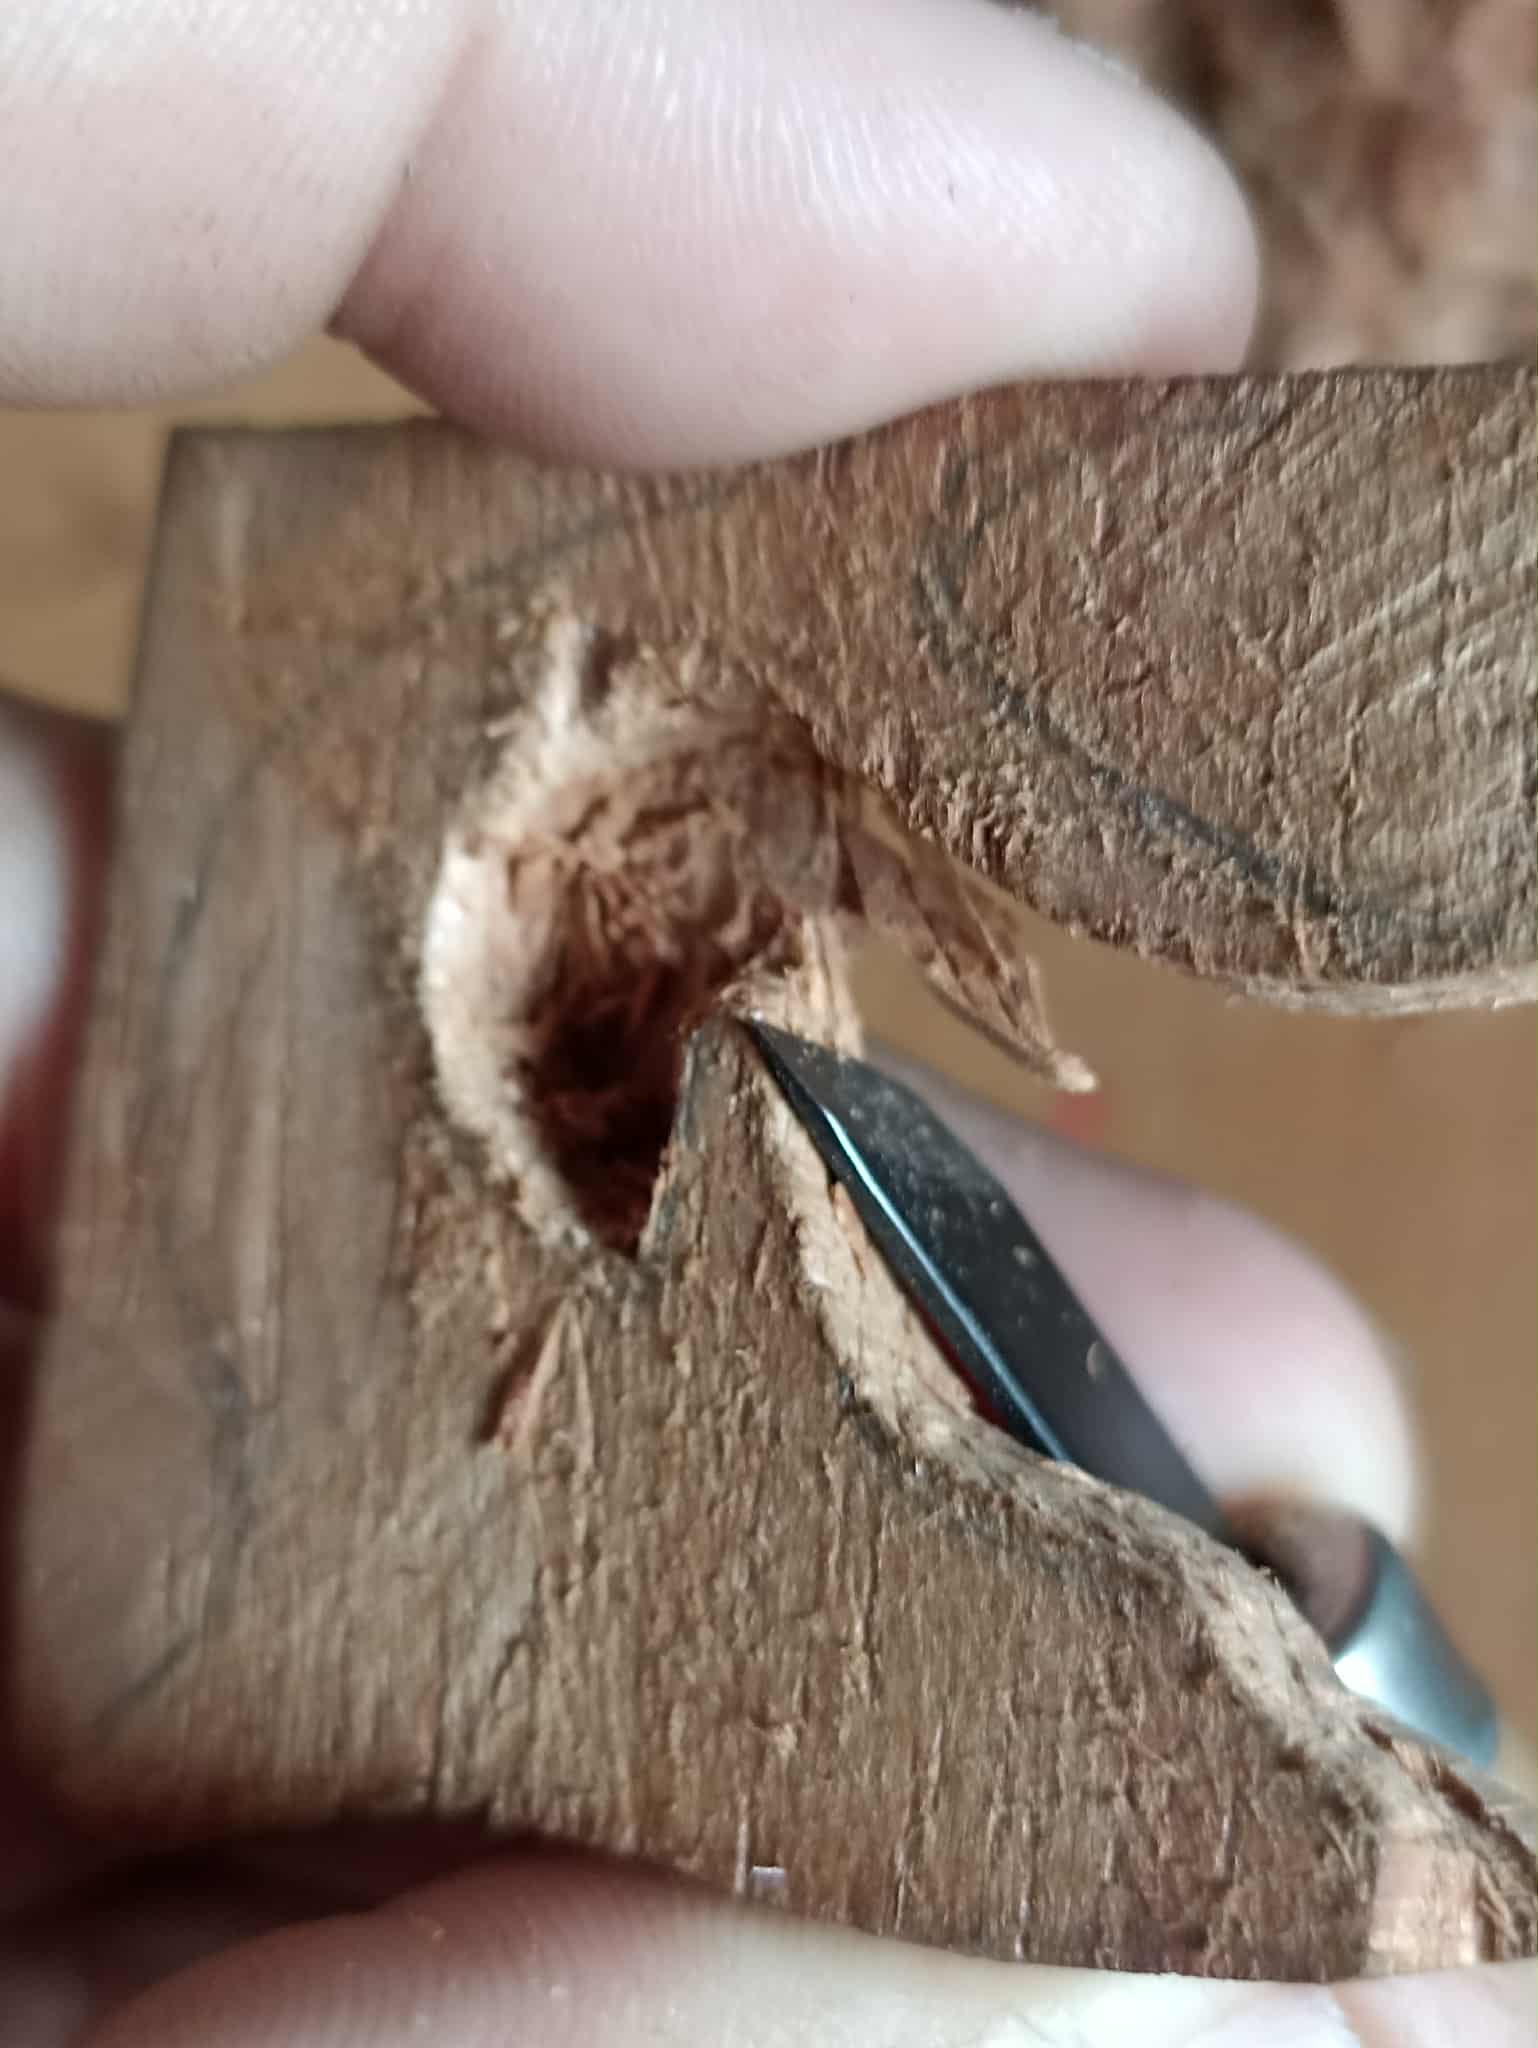
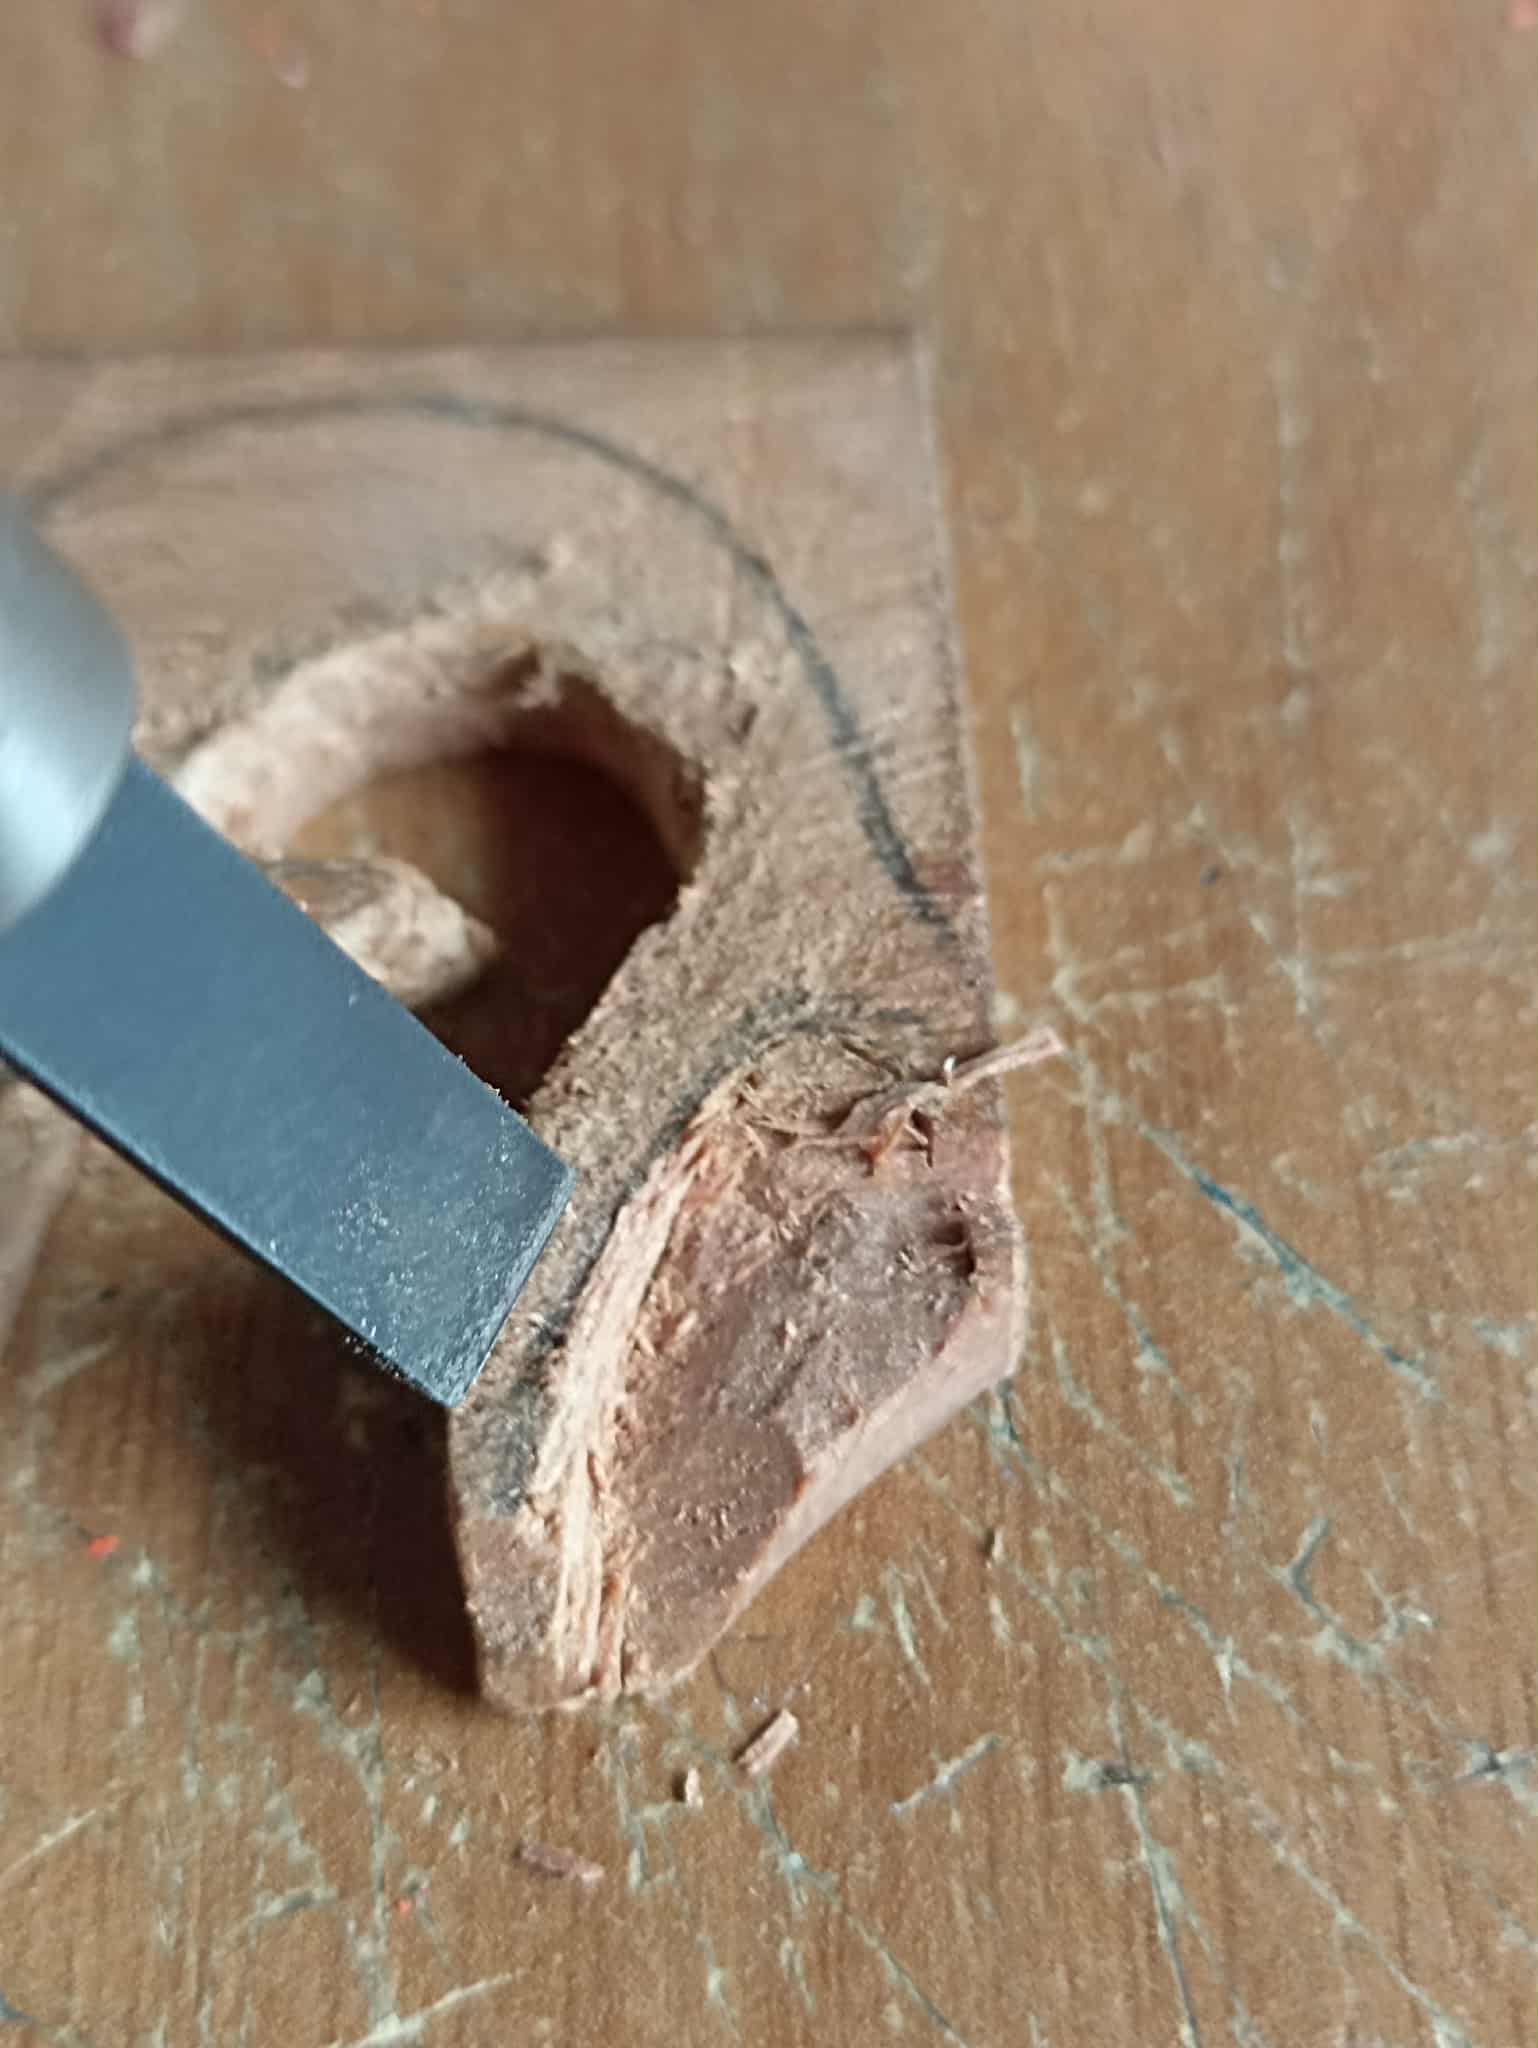
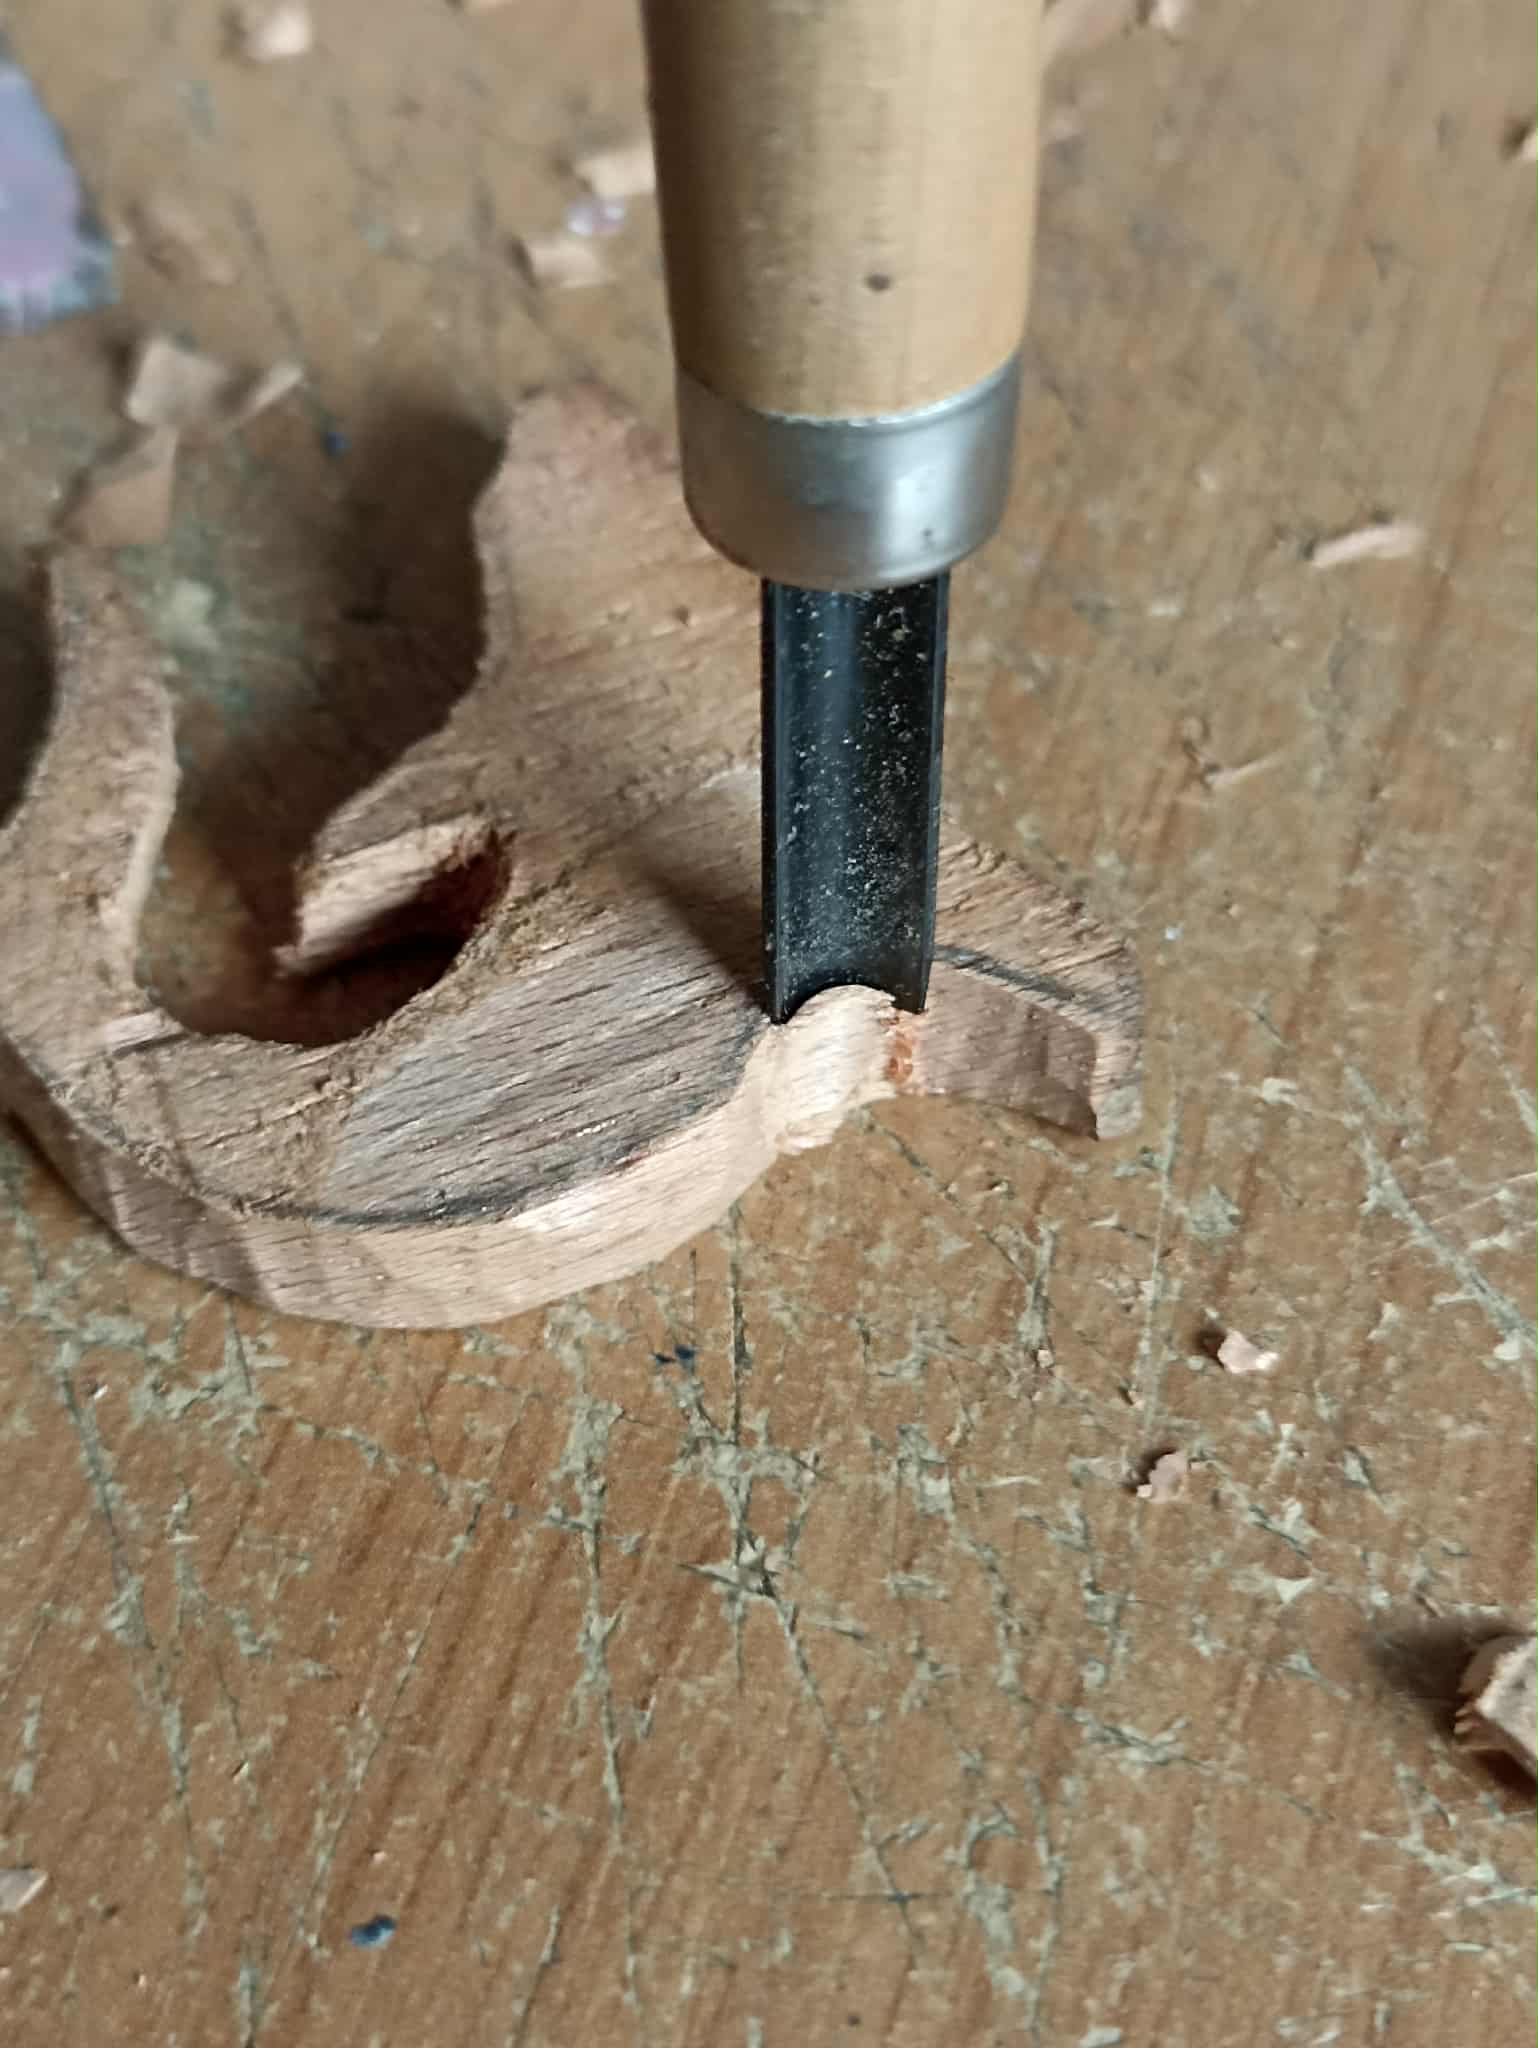
Now comes the most difficult step. The first ones were just the warm-up. Why do I consider it difficult? The answer is this: due to the shape of the drawing, the Megaladon figure makes a curve, which is not easy to carve. So, to overcome this obstacle, the first thing I do is make strokes with the tip of the knife, following the trace of the pencil. After doing this, I use the flat blade to gradually remove the wood. Once this step is completed, which is somewhat long and requires concentration, when the wood is already weak, only then do I begin to cut and remove the wood covering that entire area with the cutter, until it is visible.
Ahora viene el paso más dificil, los primeros fueron solo el calentamiento. ¿Por qué la considero dificil? la respuesta es la siguiente, por la forma del dibujo, la figura del Megaladon hace una curva la cual no es fácil de tallar. Así que para sortear este obstáculo lo primero que hago es hacer trazos con la punta de la cuchilla siguiendo el rastro del lápiz, después de haberlo hecho utilizo la cuchilla plana para ir sacando la madera poco a poco, una ve hecho este paso el cual es algo largo y se debe tener concentración, cuando la madera ya está débil solo ahí comienzo a cortar y a quitar con el cúter la madera que cubre toda esa zona, hasta que sea visible.
 |
 |
 |
|---|---|---|
 |
 |
 |
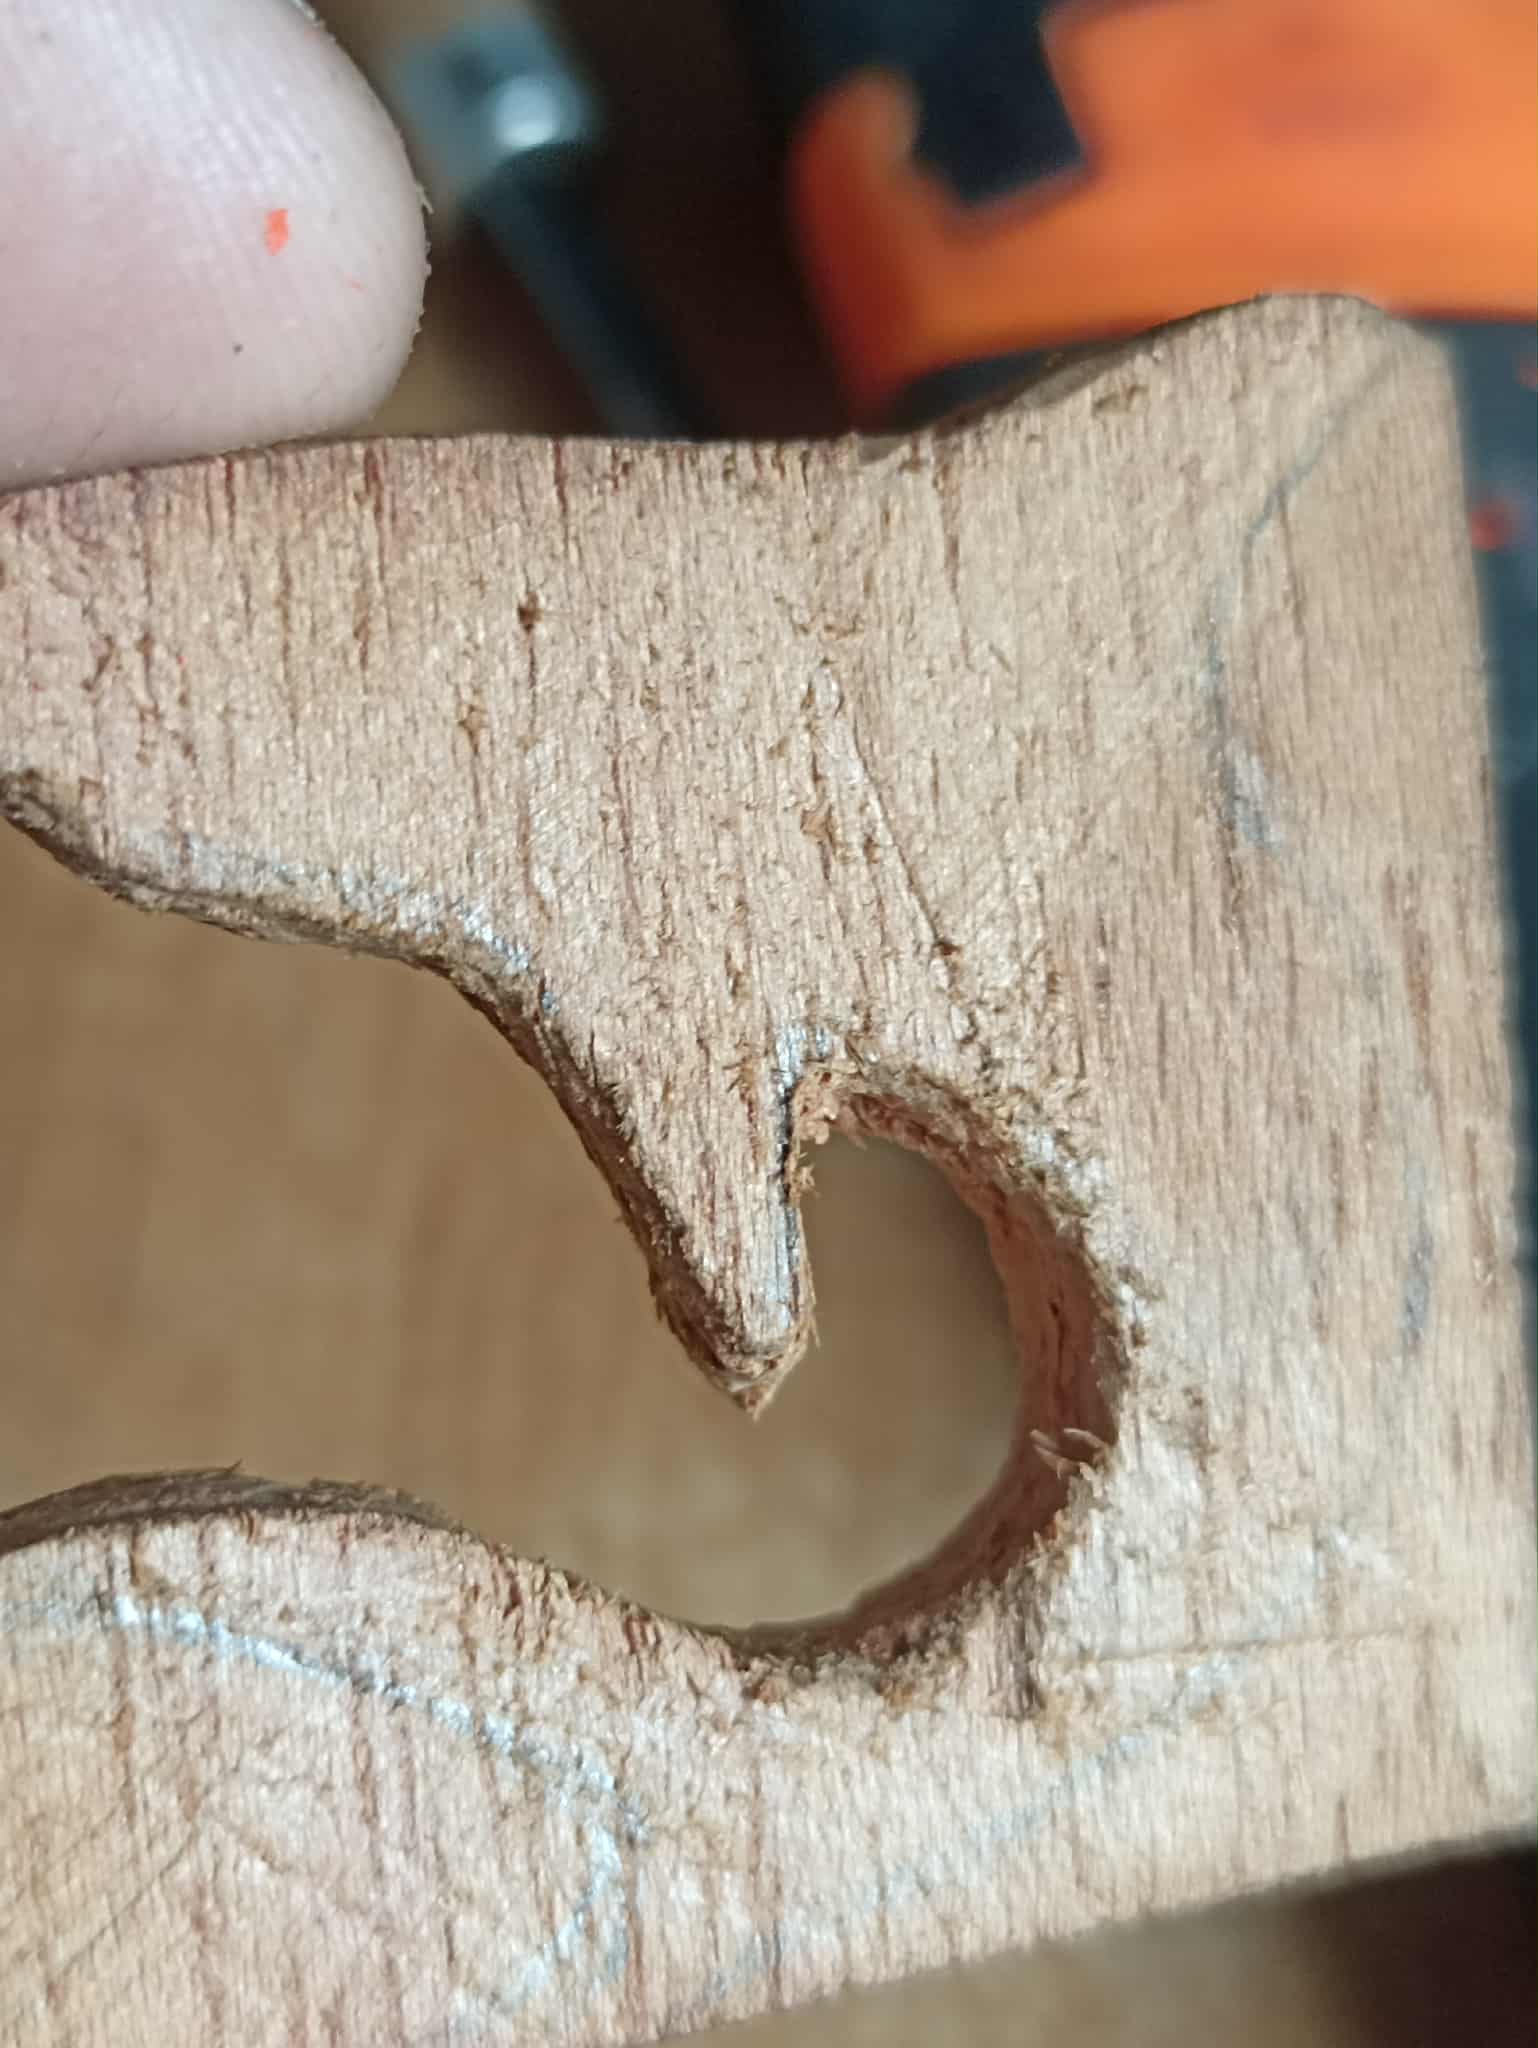
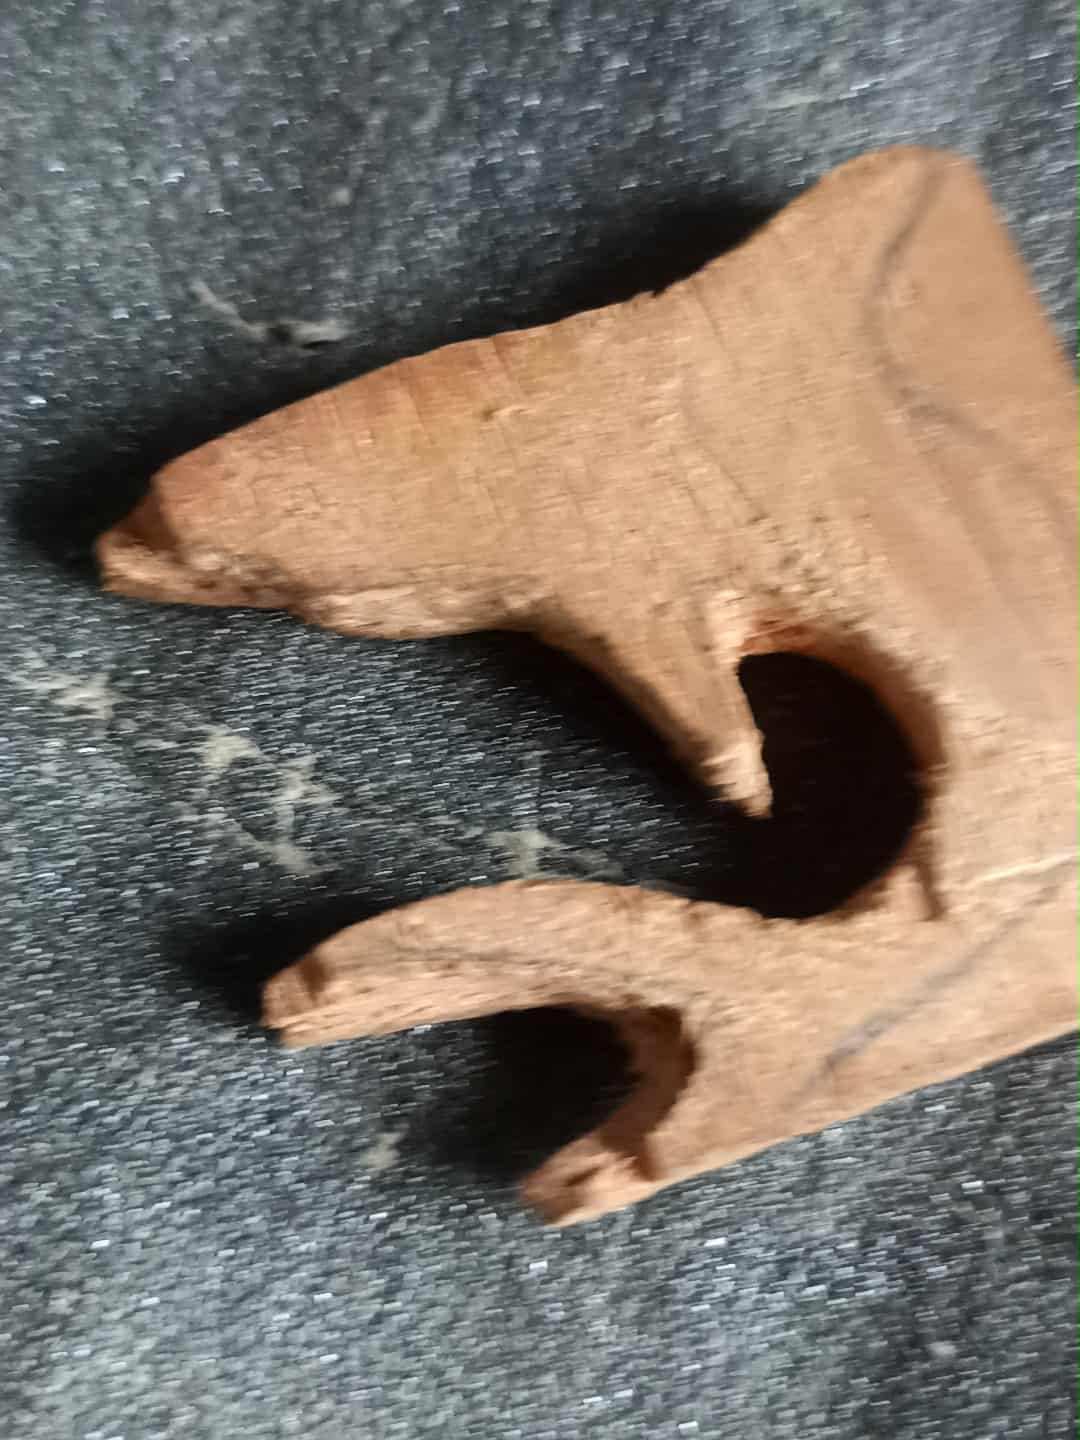
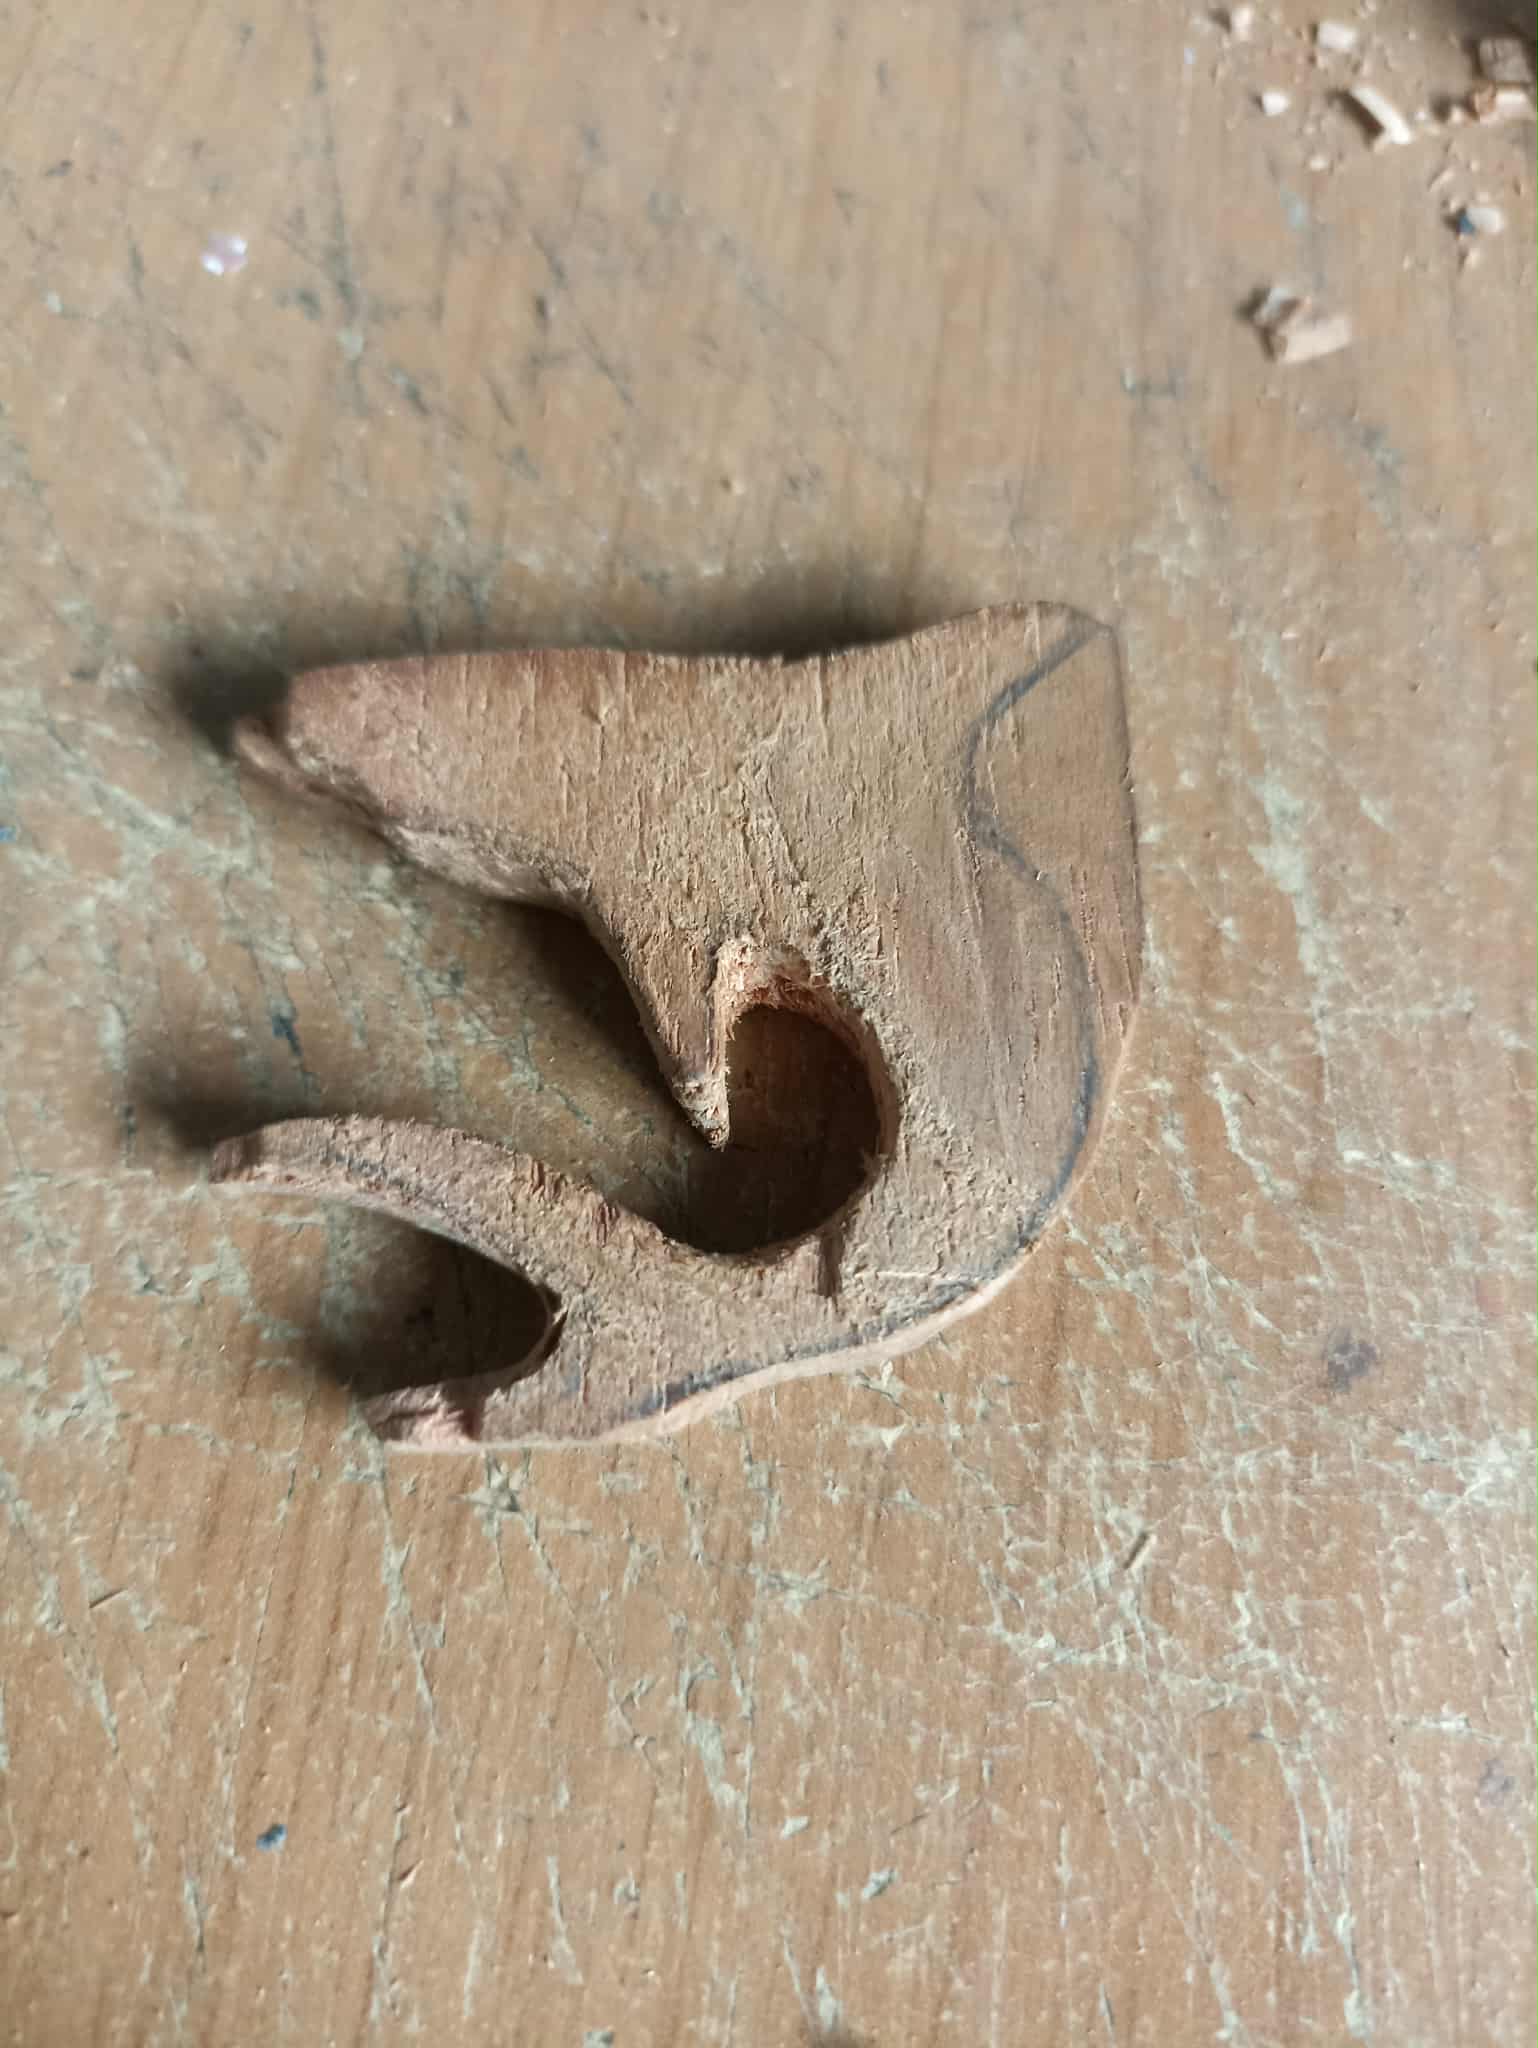
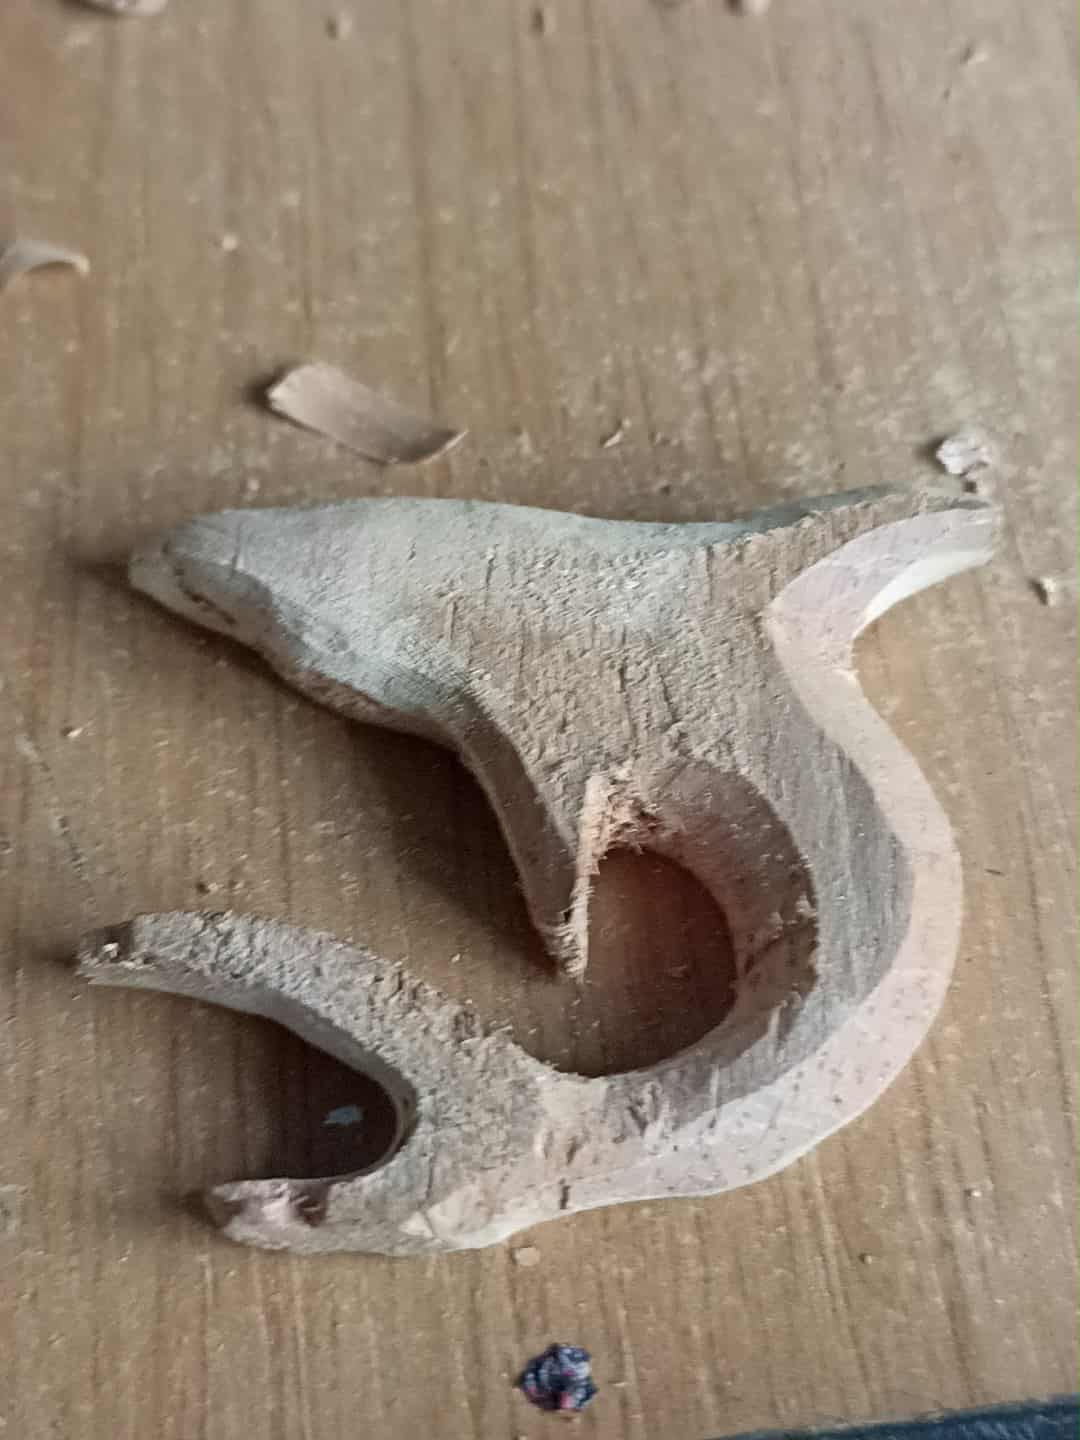
Next, I shape Megaladon's tail, following the same example as before for making the cuts. There's a curve between the two tips of the tail that's difficult to shape, but the good thing is that it's smaller. Once that's done, I give it a better shape with sandpaper, then continue along the sides until I reach the upper fin again. To make the small cut, I use an oval-tipped knife.
Seguidamente le voy dando forma a la cola de Megaladon, siguiendo el mismo ejemplo anterior para hacver los cortes, ya que entre las dos puntas d ela cola queda una curva que es difícil de darle forma, lo bueno es que es más pequeña. Así también una vez hecho eso le doy una mejor forma con la lija, para luego seguir por los costados hasta llegar de nuevo a la aleta superior. Para hacer el pequeño corte utilizo una cuchilla de punta ovalada.
 |
 |
|
|---|---|---|
 |
 |
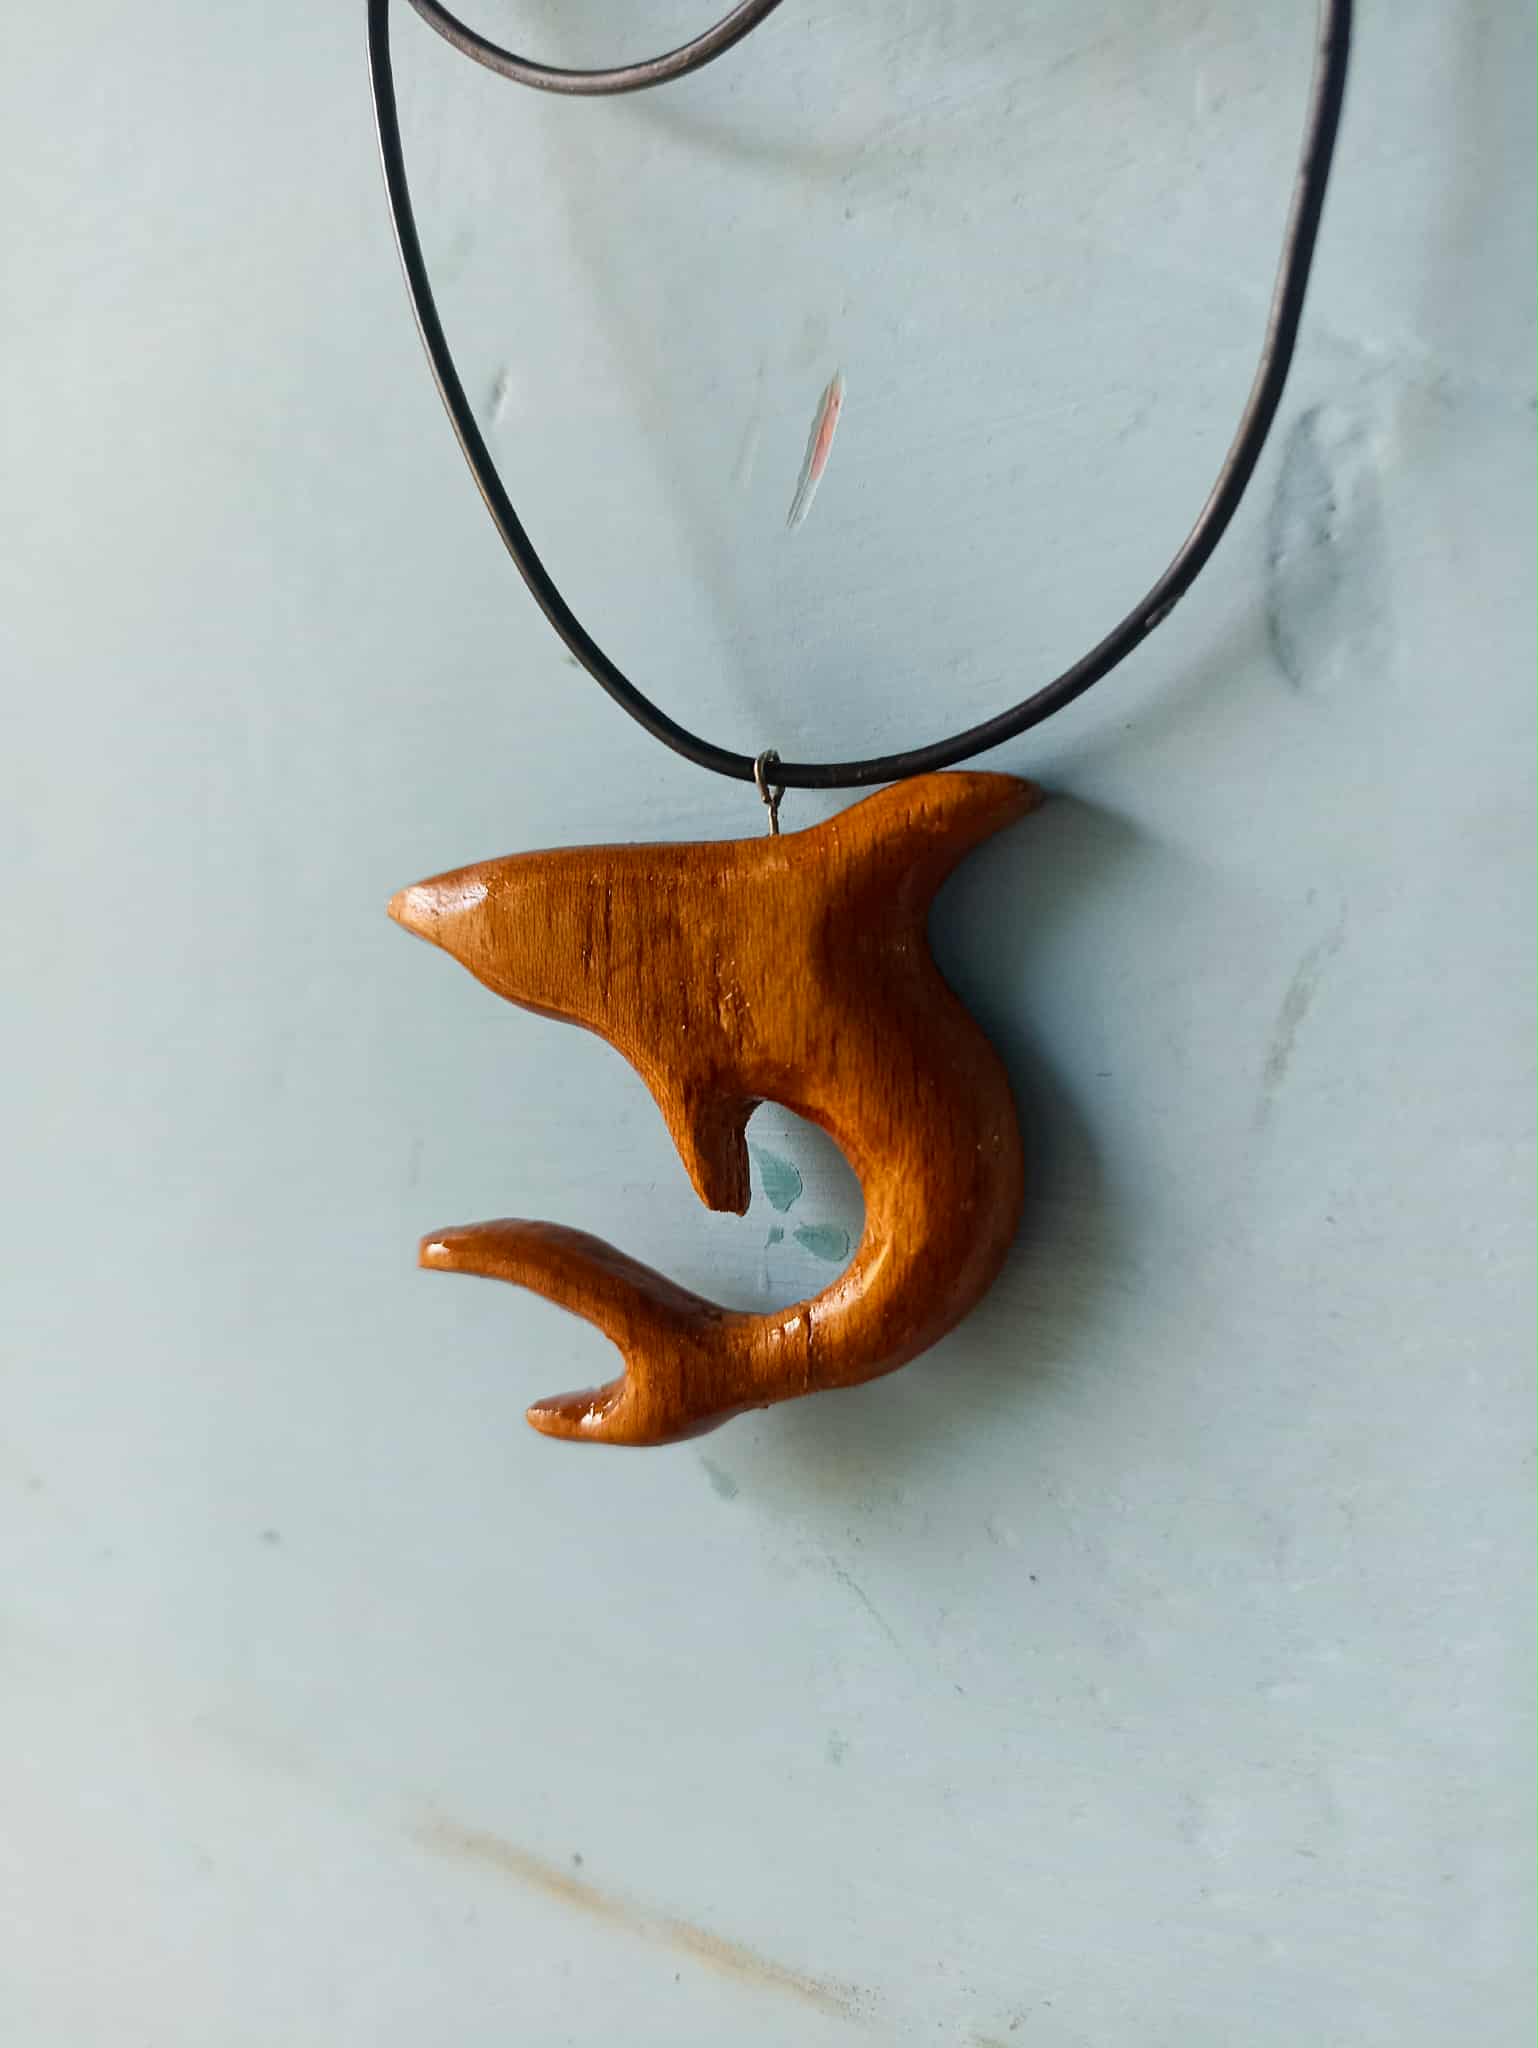
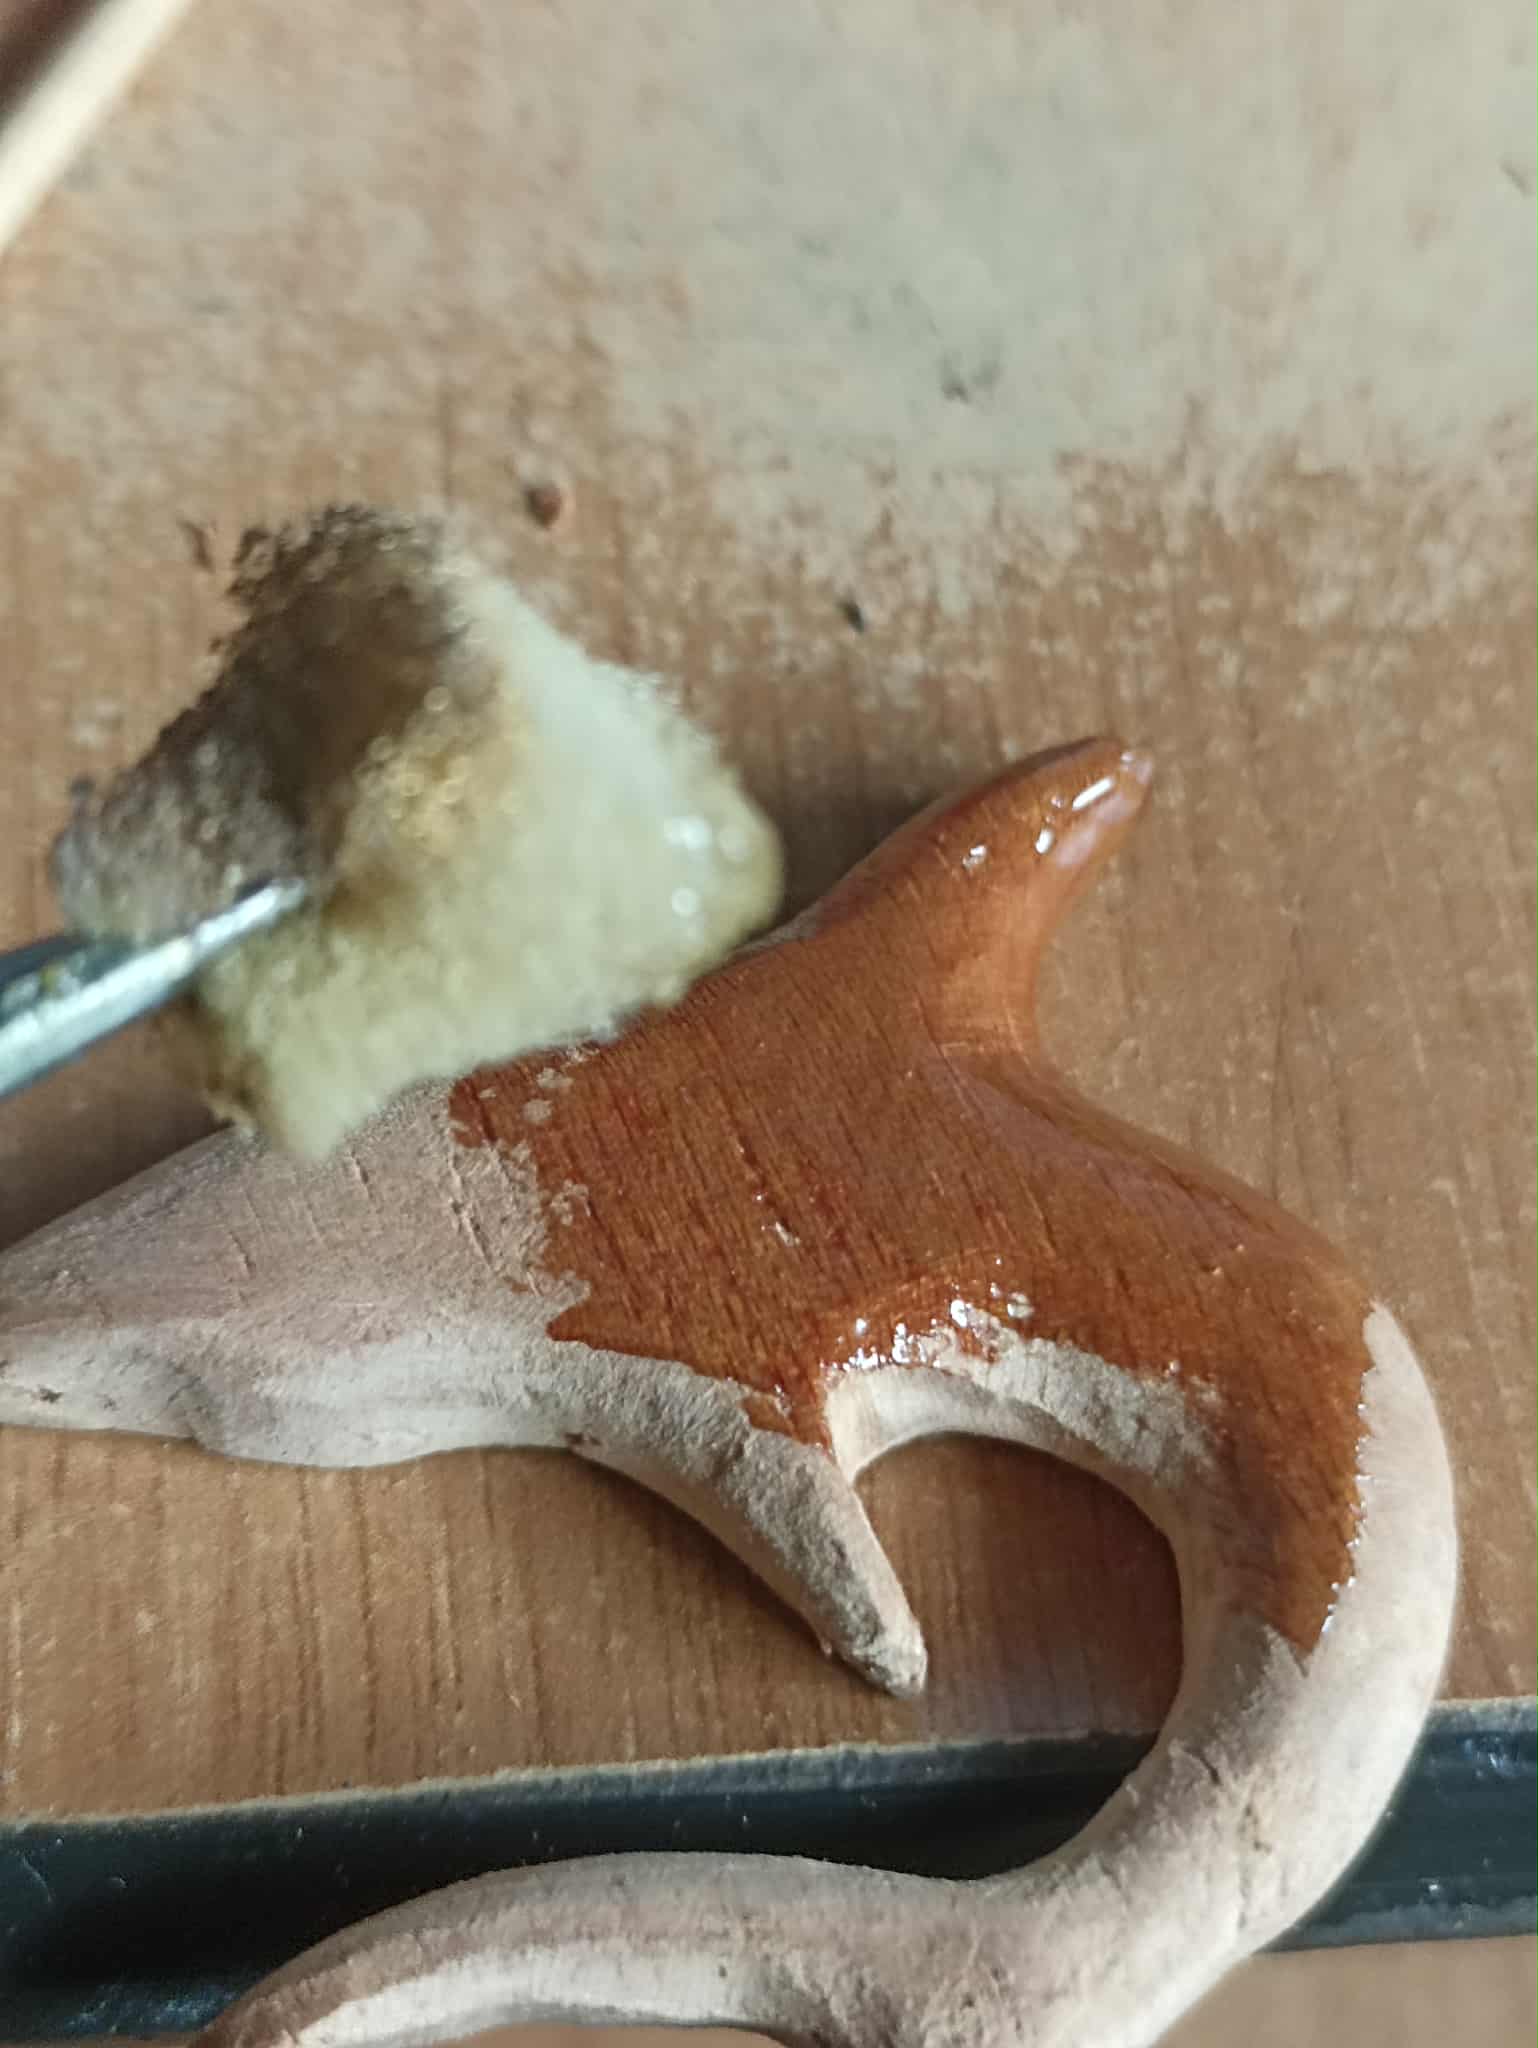
To finish, I begin sanding the entire piece on both sides. To avoid leaving any flatness from the cuts, I also begin sanding the edges to give it a rounded shape. I do this until I reach the tail. As a final touch, I begin applying varnish over the wood. Since I have very little left, I use a small sponge. You can see how the wood changes to a reddish hue after applying the varnish all over.
Para finalizar comienzo a lijar toda la pieza, por ambas caras, y para que no quede algo plana por los cortes comienzo a lijar también por los bordes para darle una forma redondeada. Esto lo hago hasta llegar a la parte de la cola, como último detalle comienzo a poner barniz encima de la madera, como me queda muy poca cantidad, utilizo una pequeña esponja, se puede ver como la amdera cambia a un tono rojizo luego de aplicar por todas partes el barniz.
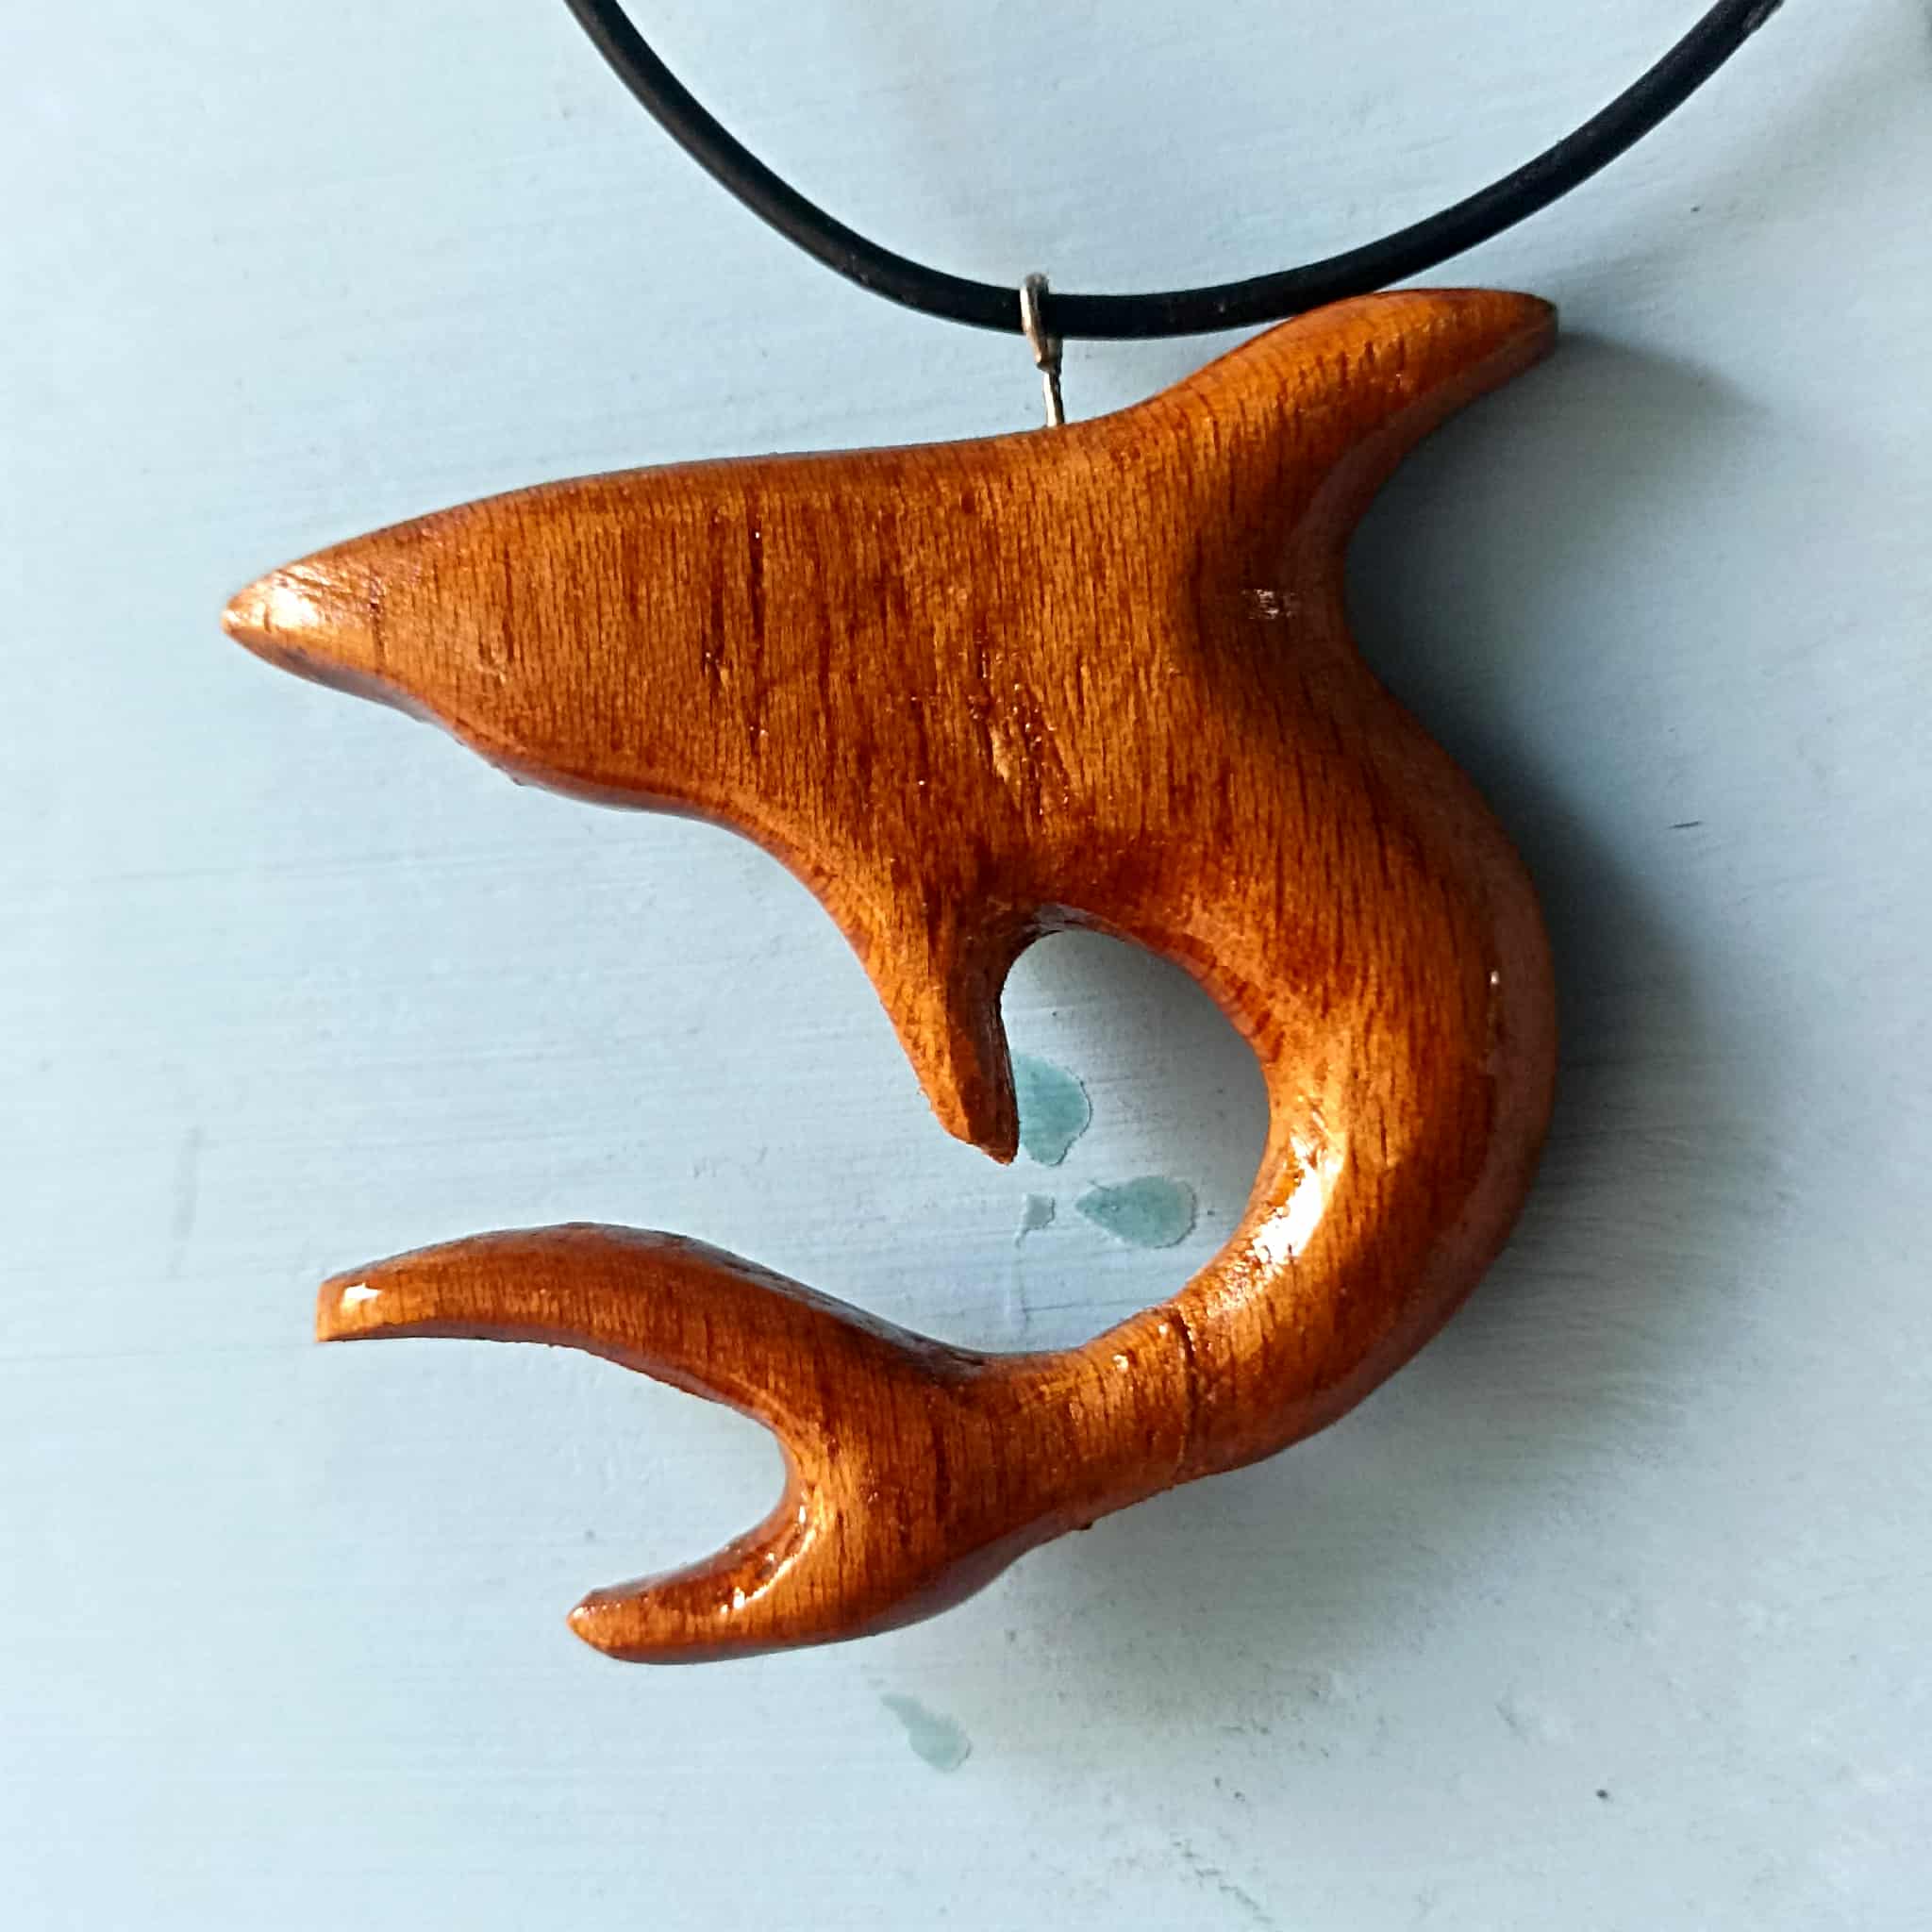
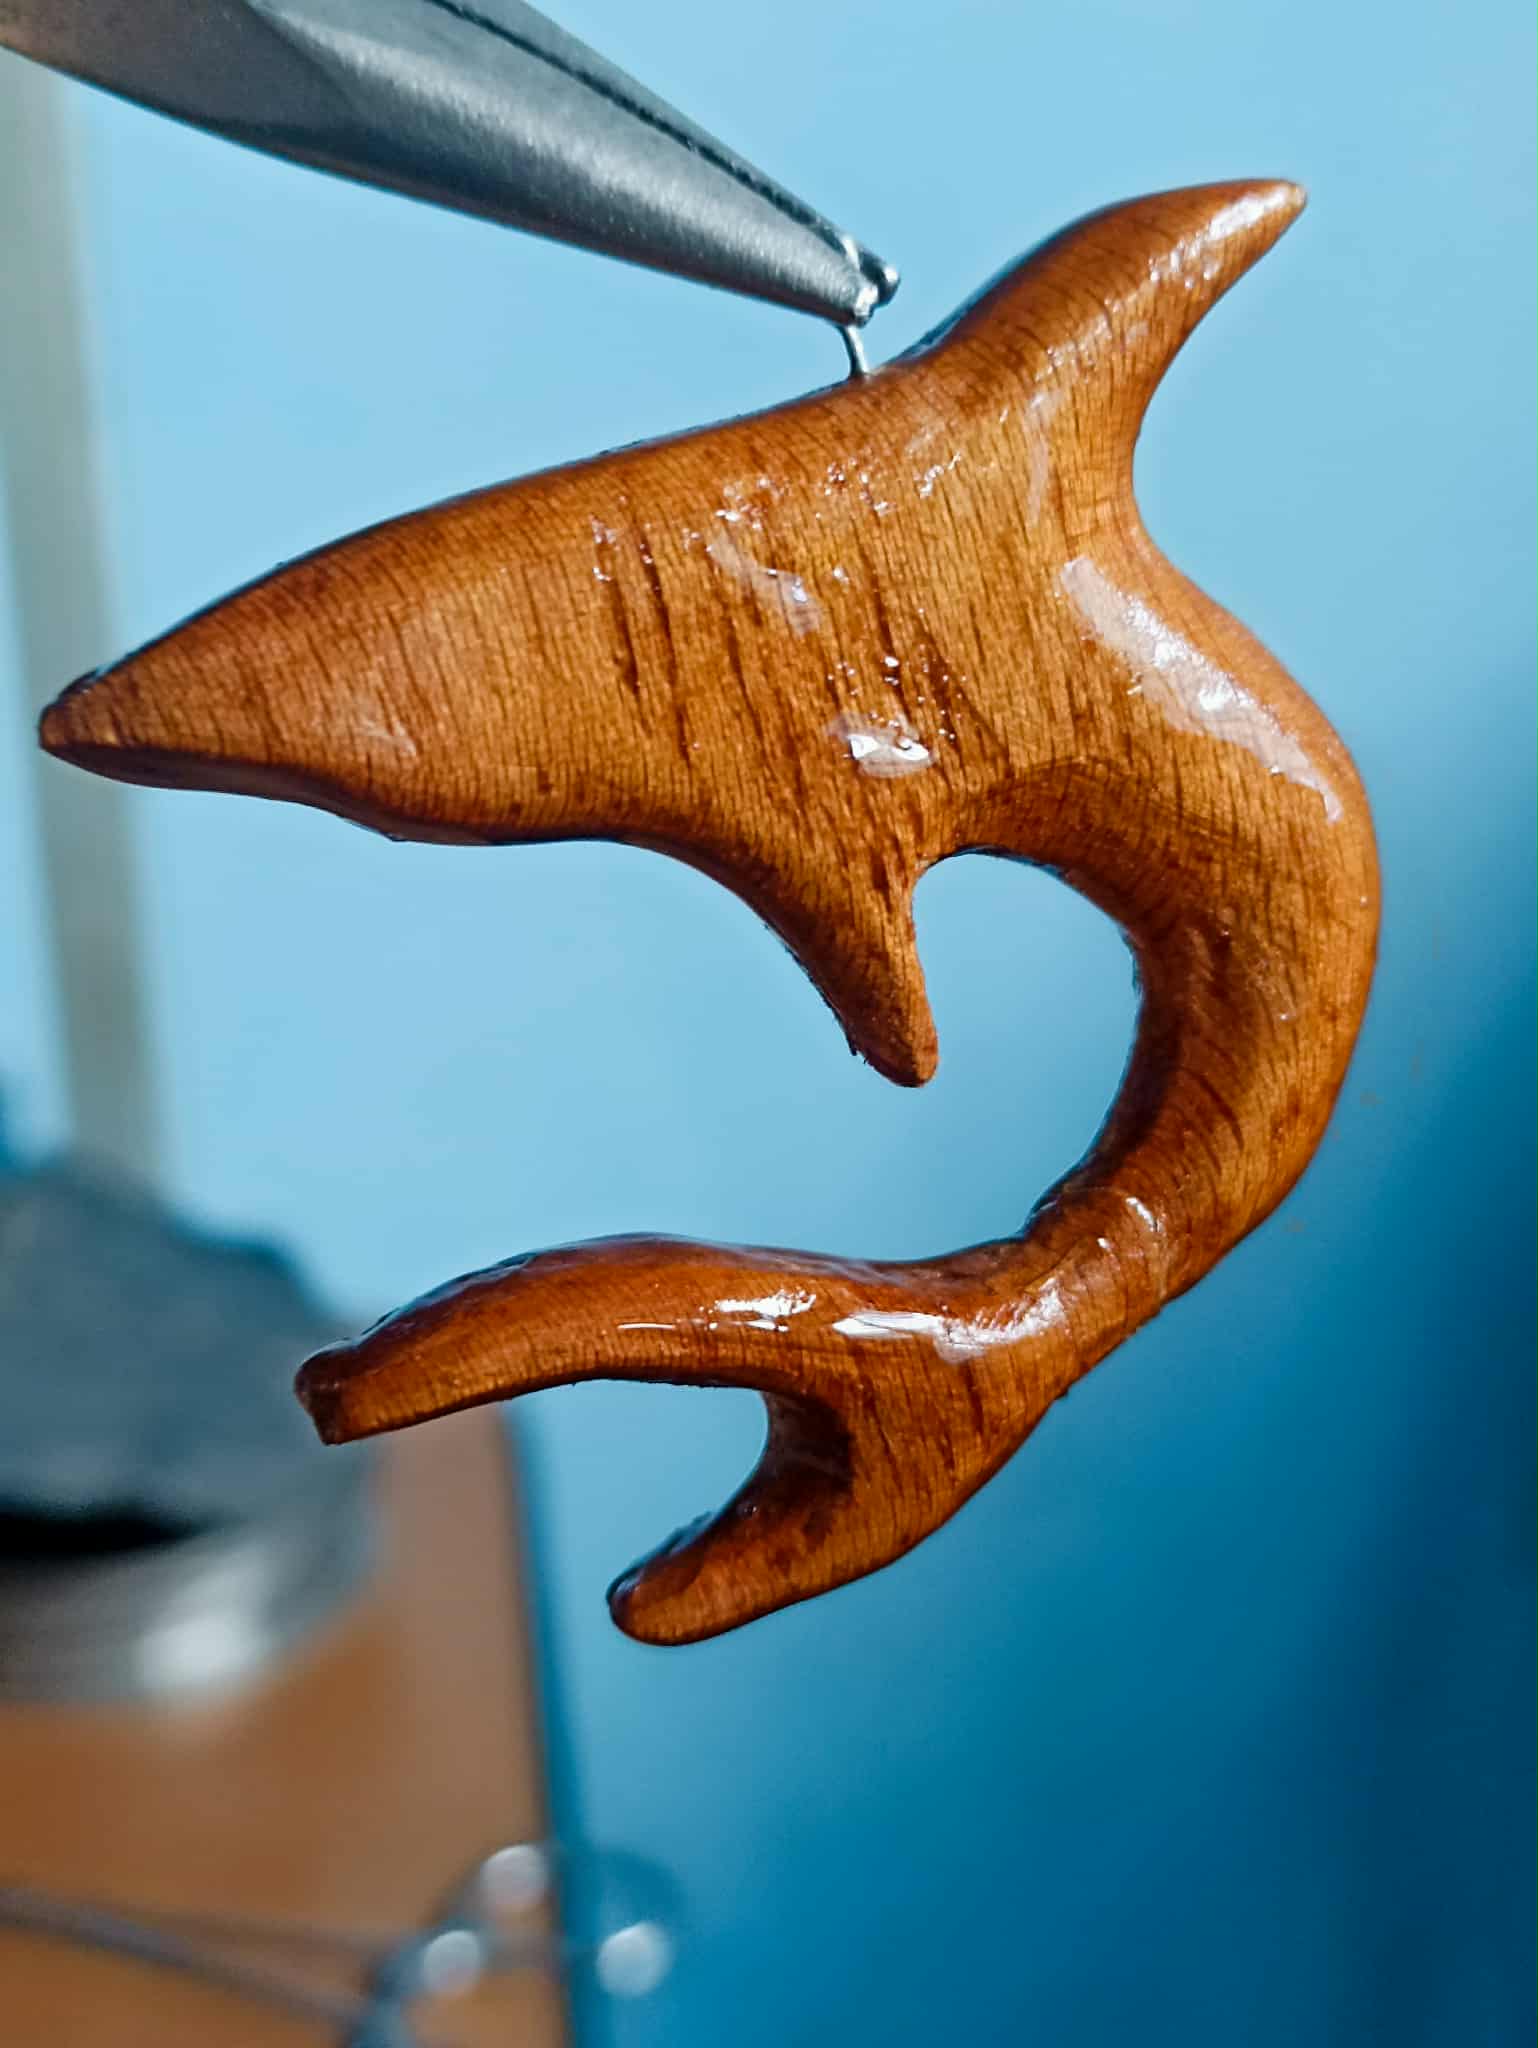
FINAL WORK
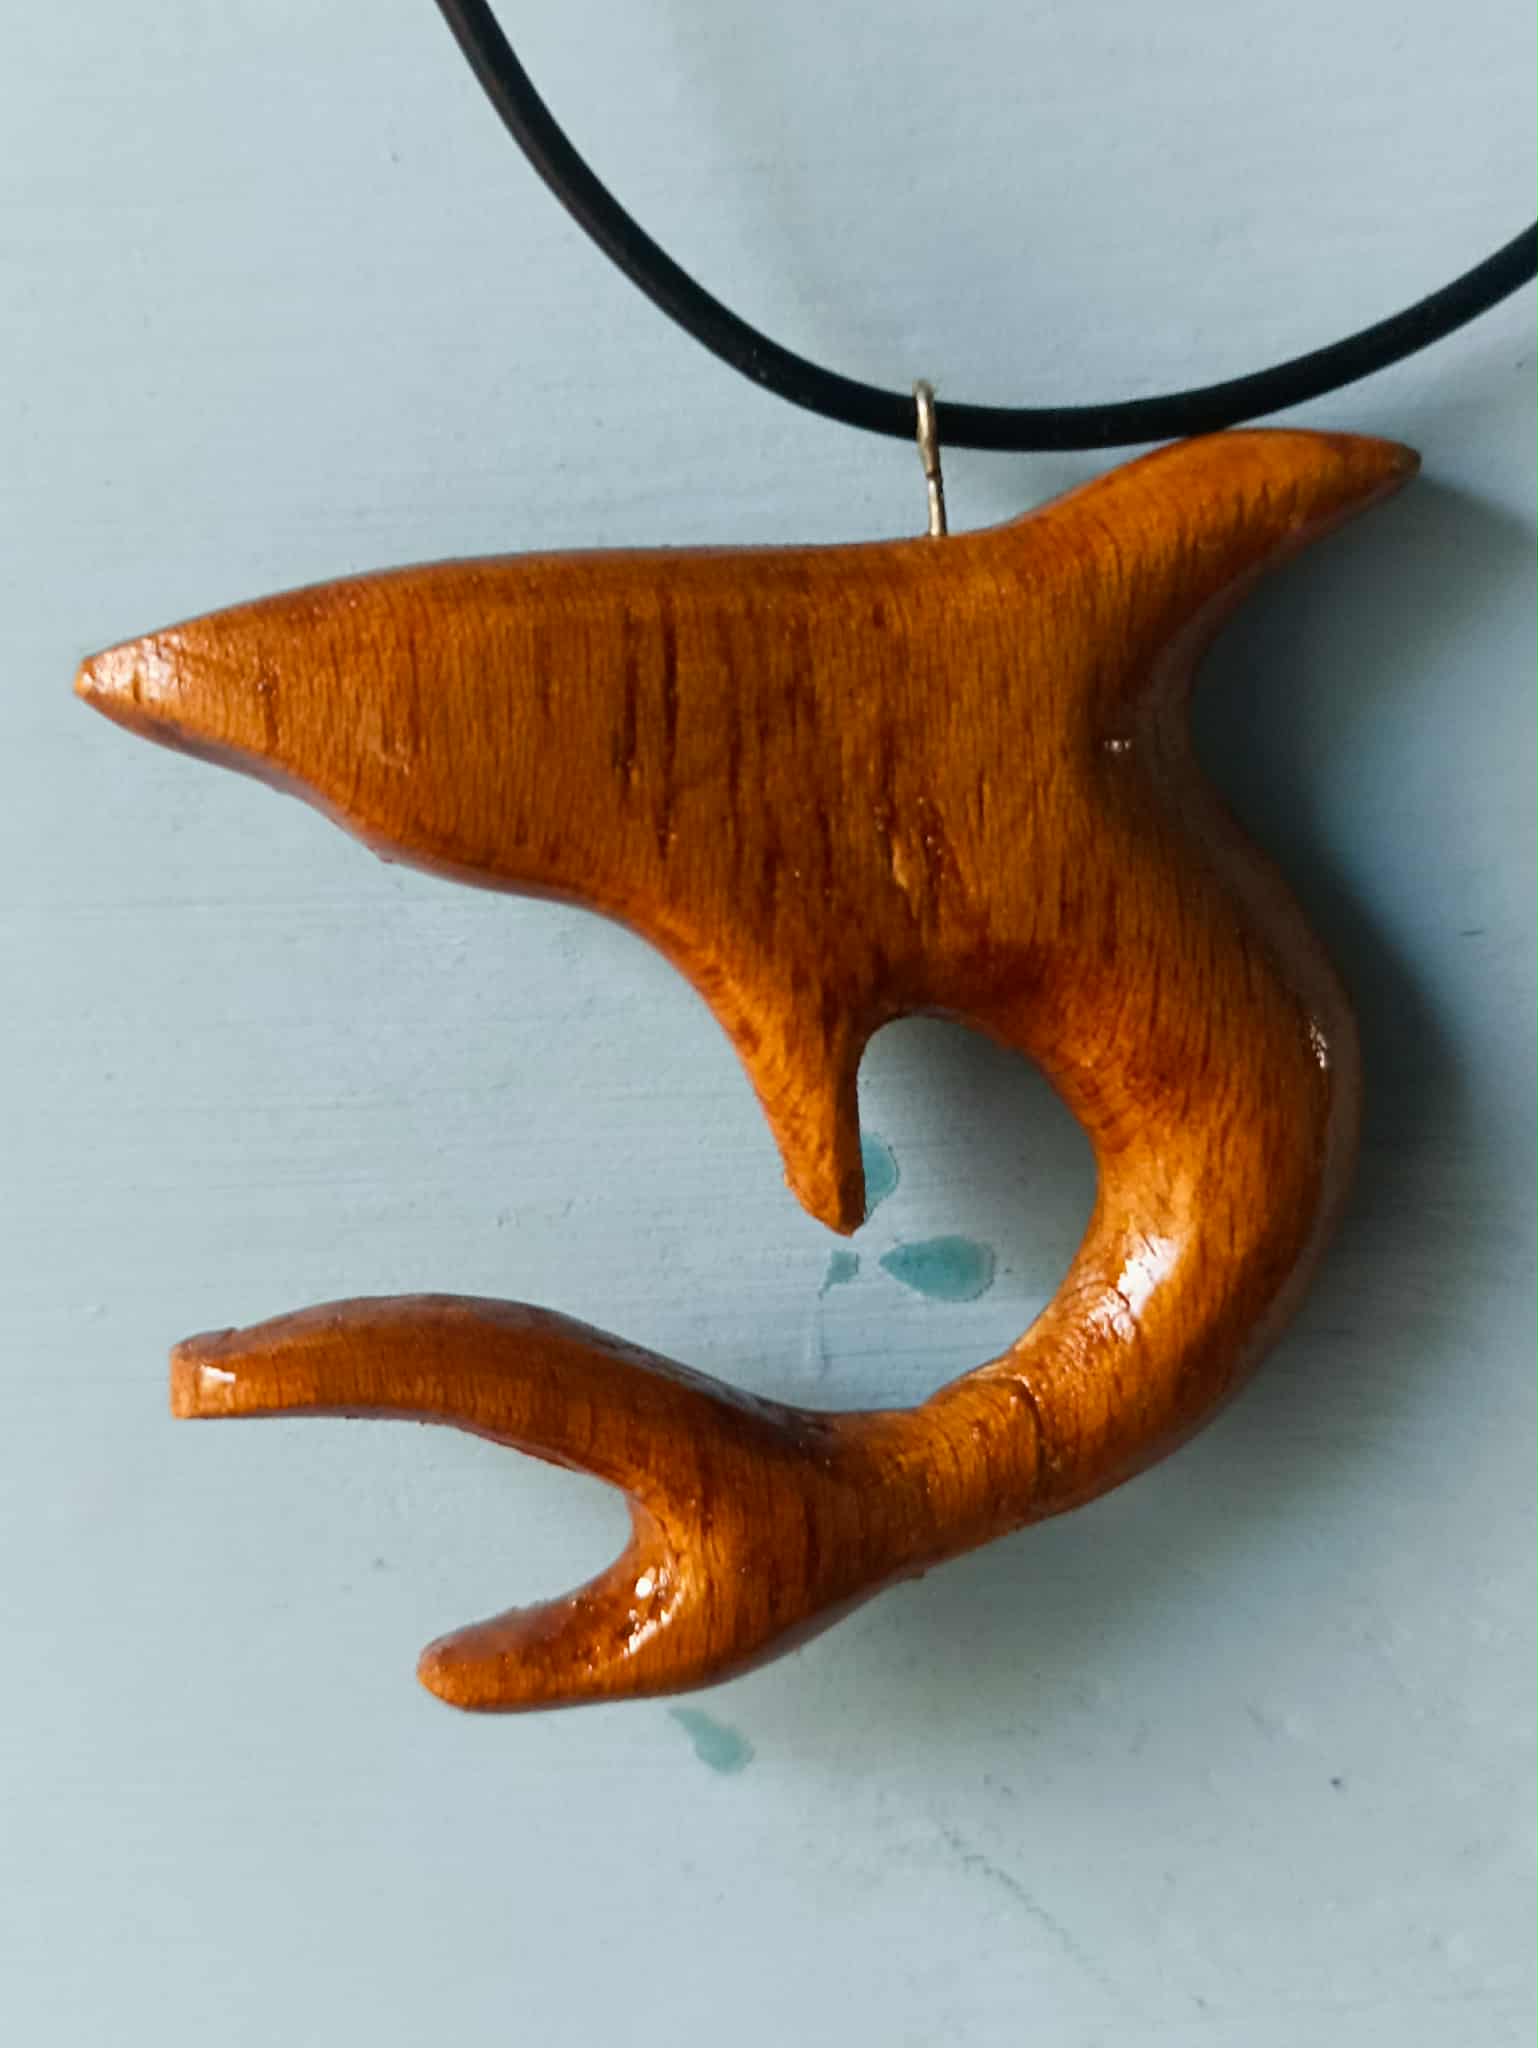

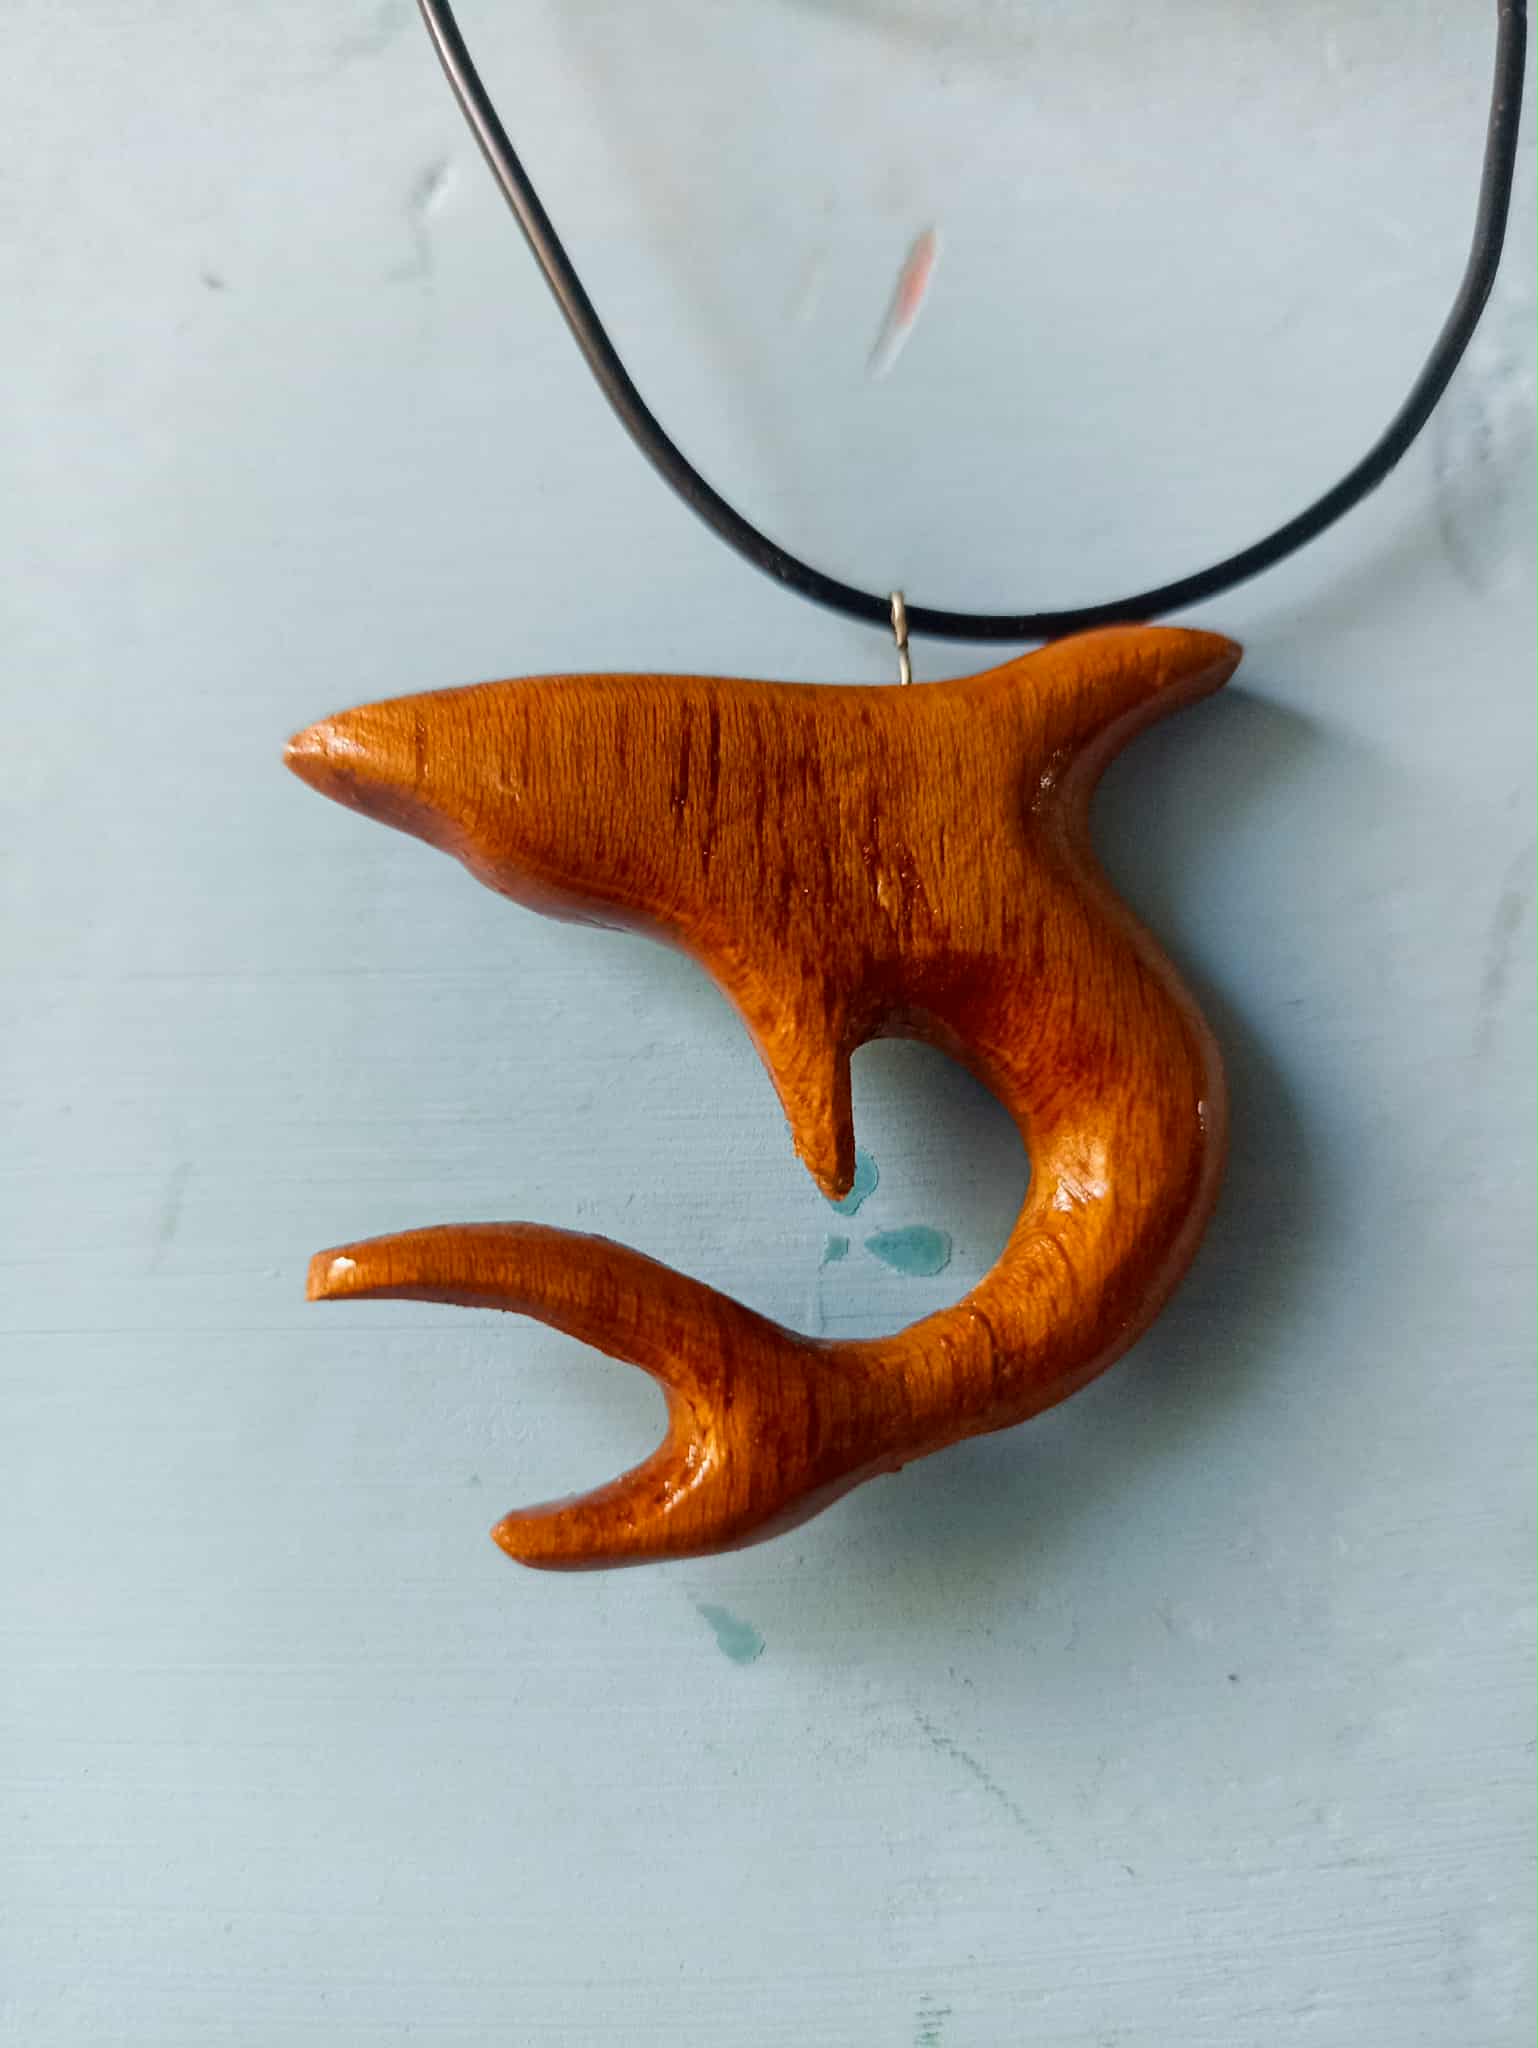
What did you think of the result? At first, I thought I'd made a mistake because it looked like a dolphin. After correcting details along the way, it became clear to me that it was the desired shape. And that's the beauty of this art form: not knowing how things will turn out, but knowing that just one change is enough for everything to turn out just right. I hope you liked it. For now, this has been my contribution. See you soon, dear friends!
¿Qué les ha parecido el resultado? al inicio pensé que había cometido un error, porque se me parecia a un delfin, luego corrigiendo detalles en el proceso ya me había quedado claro que era la forma deseada. Y eso es lo hermoso de esta clase de arte, no saber como van las cosas pero tener la certeza de que solo basta un cambio para que todo salga bien. Espero les haya gustado, por ahora este ha sido mi aporte, me despido hasta pronto queridos amigos!