Hello, dear friends of DiyHub, I hope you are all doing well and in good health. This time I want to share a craft with you. It's a pair of crafts I made to give to my daughter. One of my biggest supporters and one of my favorite creations is my little daughter, so I wanted to surprise her with a little something this time. I made some wooden earrings, both heart-shaped, and the wood I used is a beautiful reddish color. I was working on them this afternoon, and here I want to share with you, step by step, each of the details until the work is finished. I hope you like it.
Hola queridos amigos de DiyHub espero que se encuentren muy bien y con mucha salud, en esta oportunidad quiero compartir con ustedes un trabajo manual, se trata de un par de artes que hice para obsequiar a mi hija. Una de las personas que más me apoya y que le gustan mucho mis creaciones es a mi pequeña hija, de manera que quise sorprenderla esta vez con un detalle. He realizado unos aretes tallados en madera, ambos tienen forma de corazón, y la madera que utilicé es de un color rojizo muy bonito, estuve trabajando en ellos durante la tarde del día de hoy y aquí quiero compartir con ustedes paso a paso cada uno de los detalles hasta finalizar el trabajo, espero que les guste.

PROCESS
 |
 |
 |
|---|---|---|
 |
 |
 |
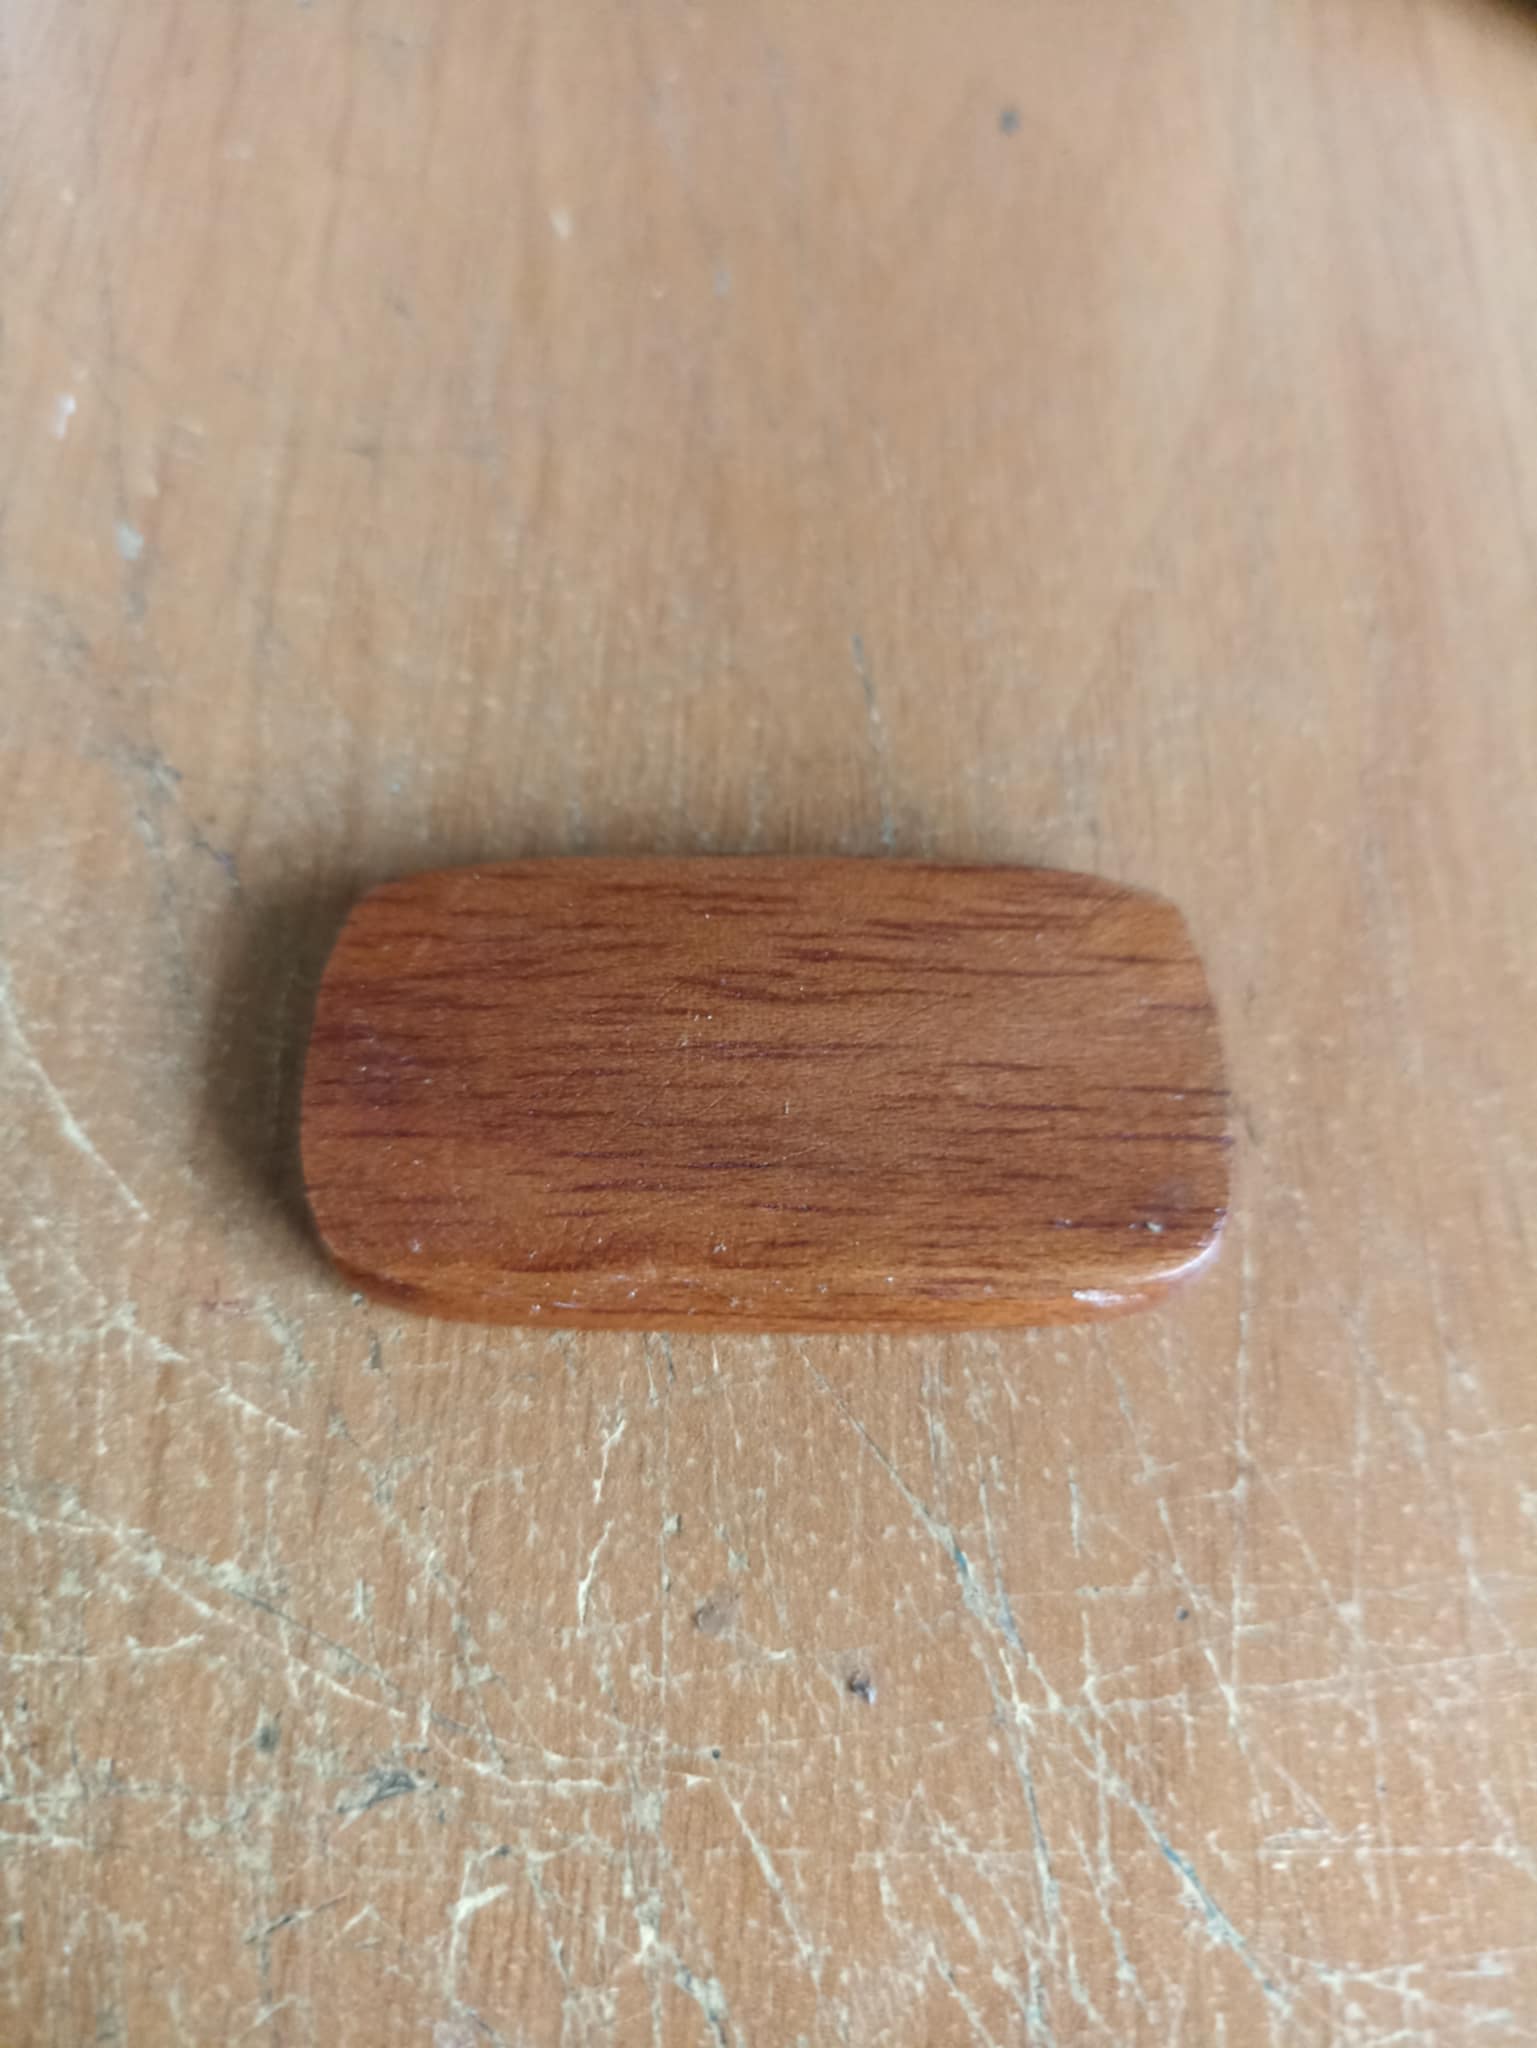
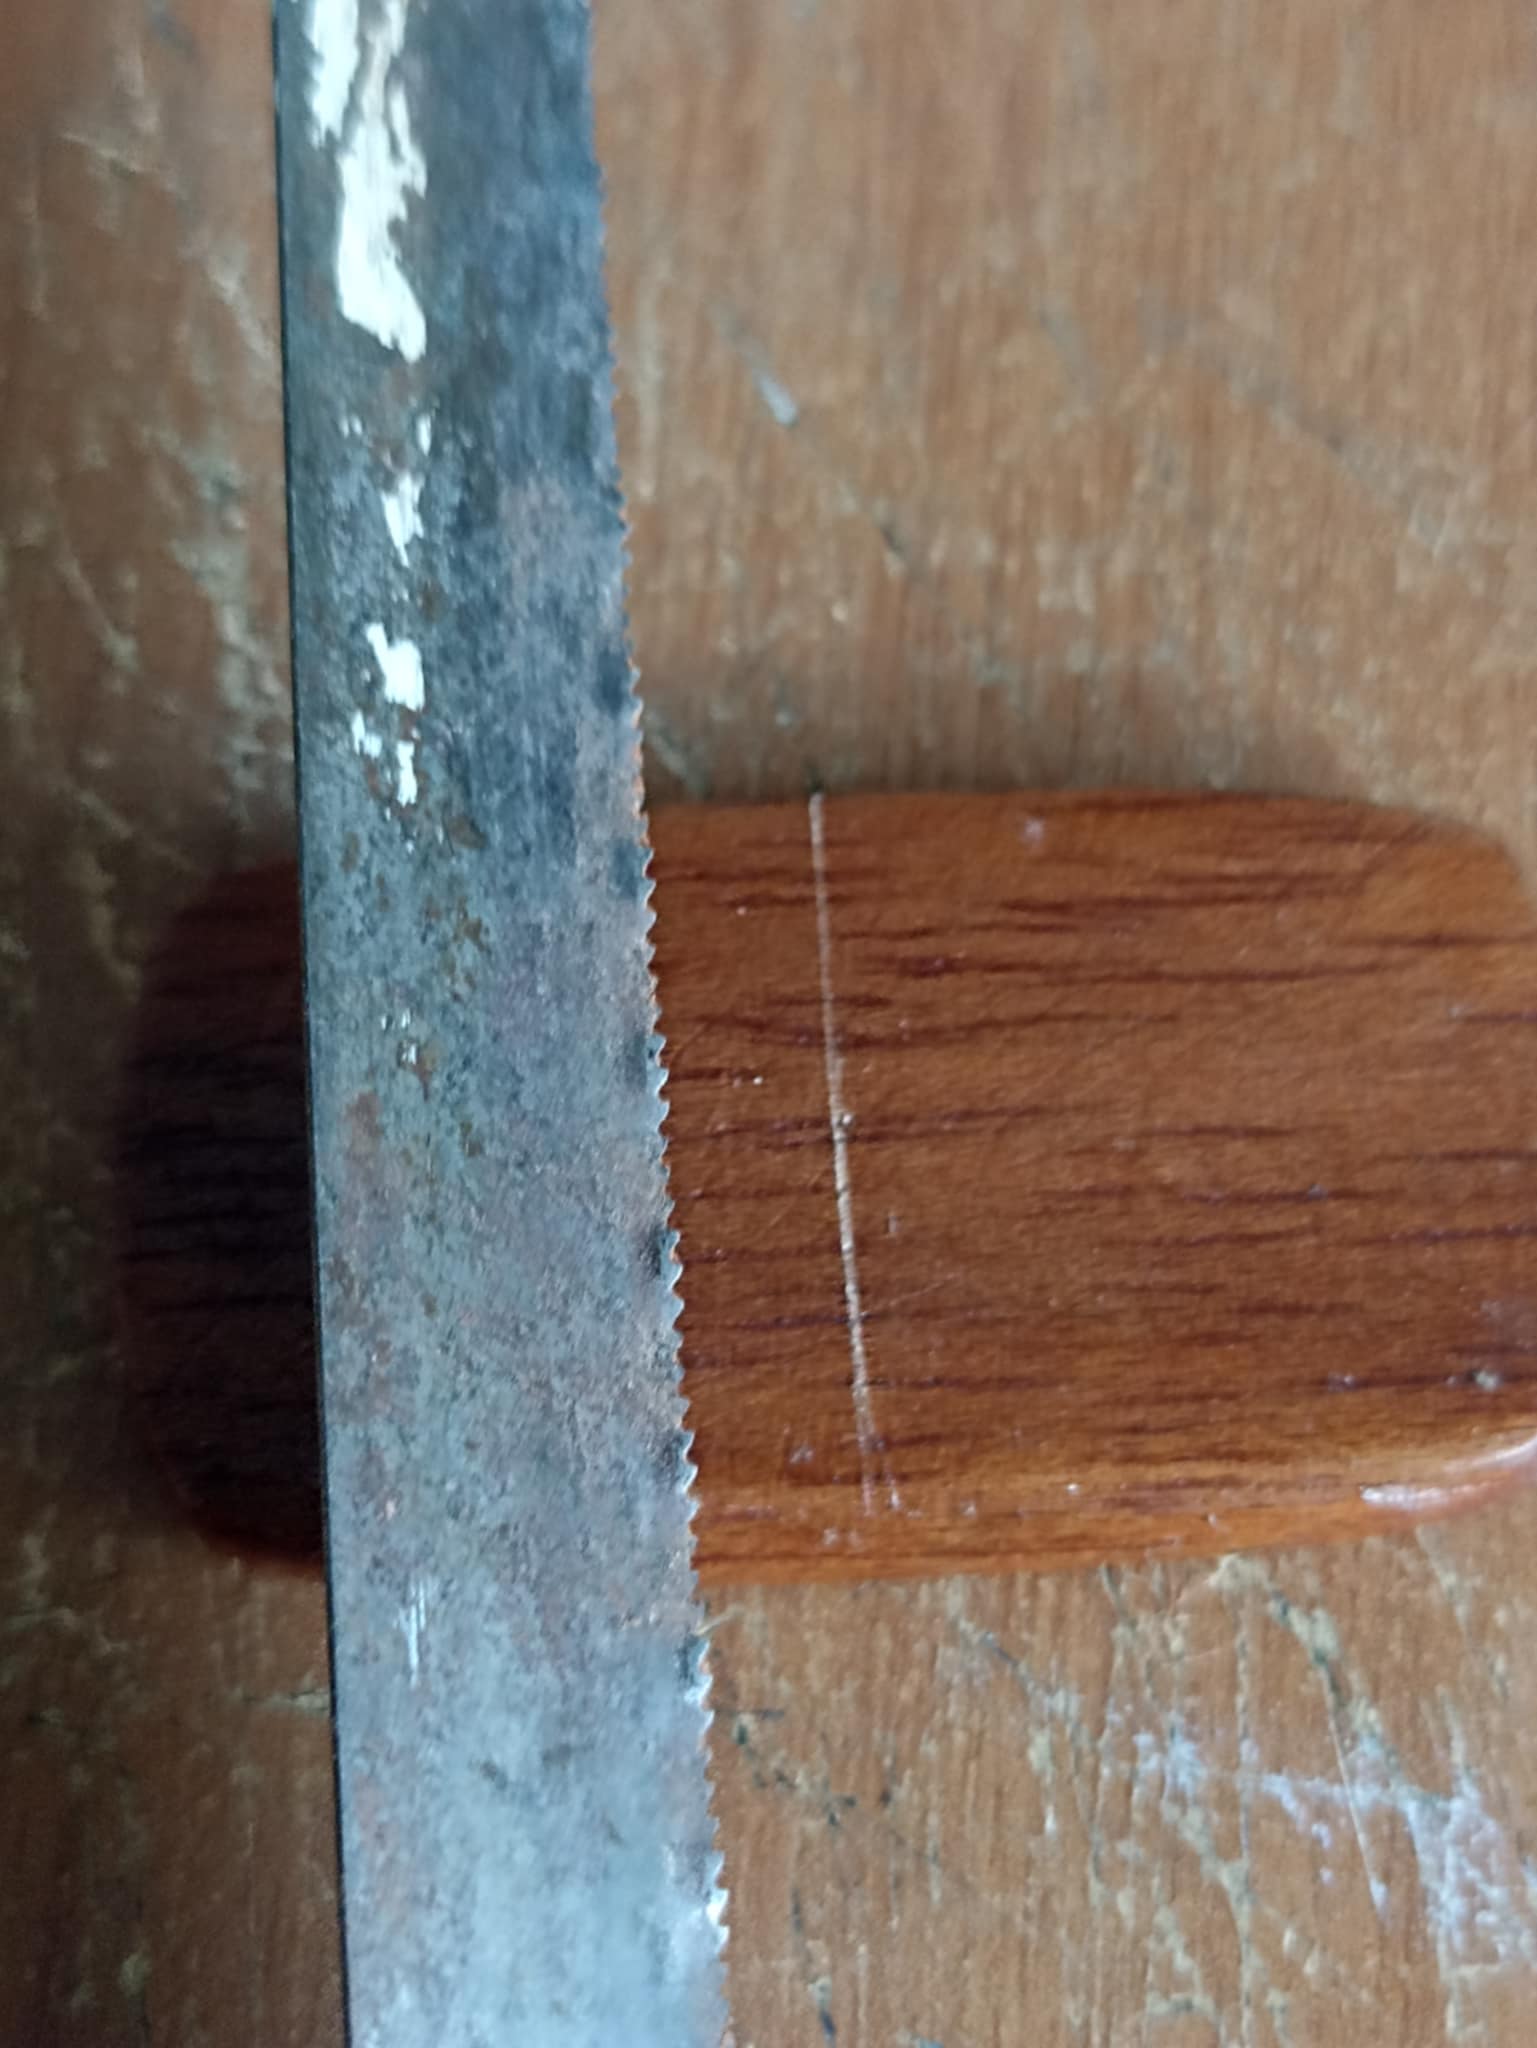
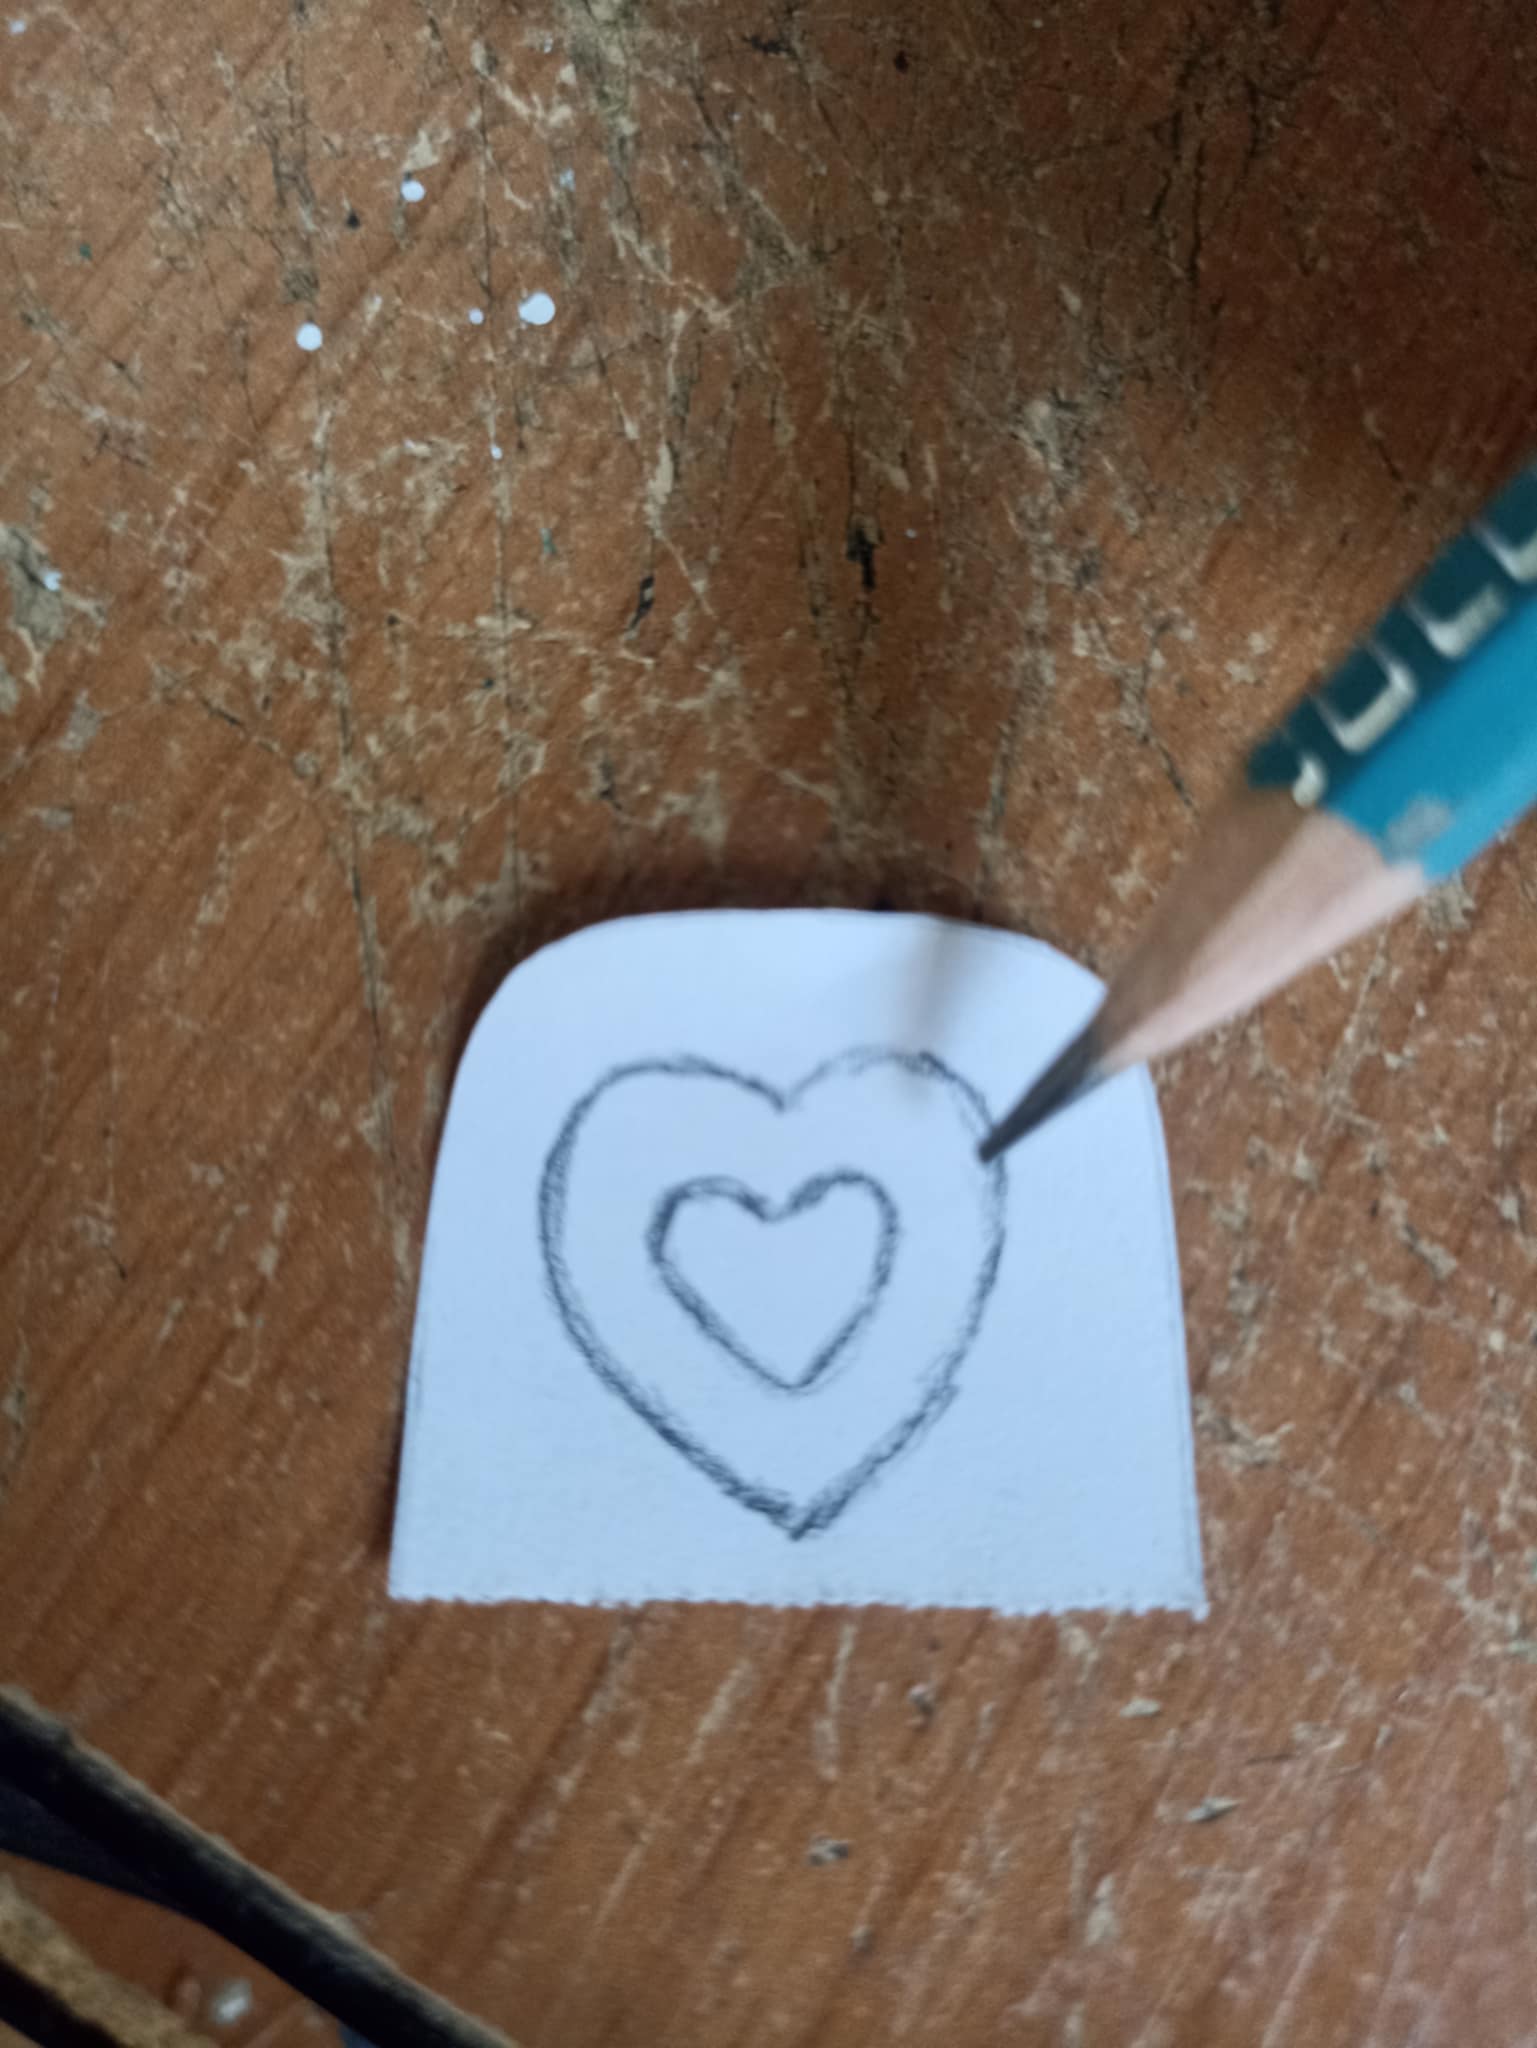
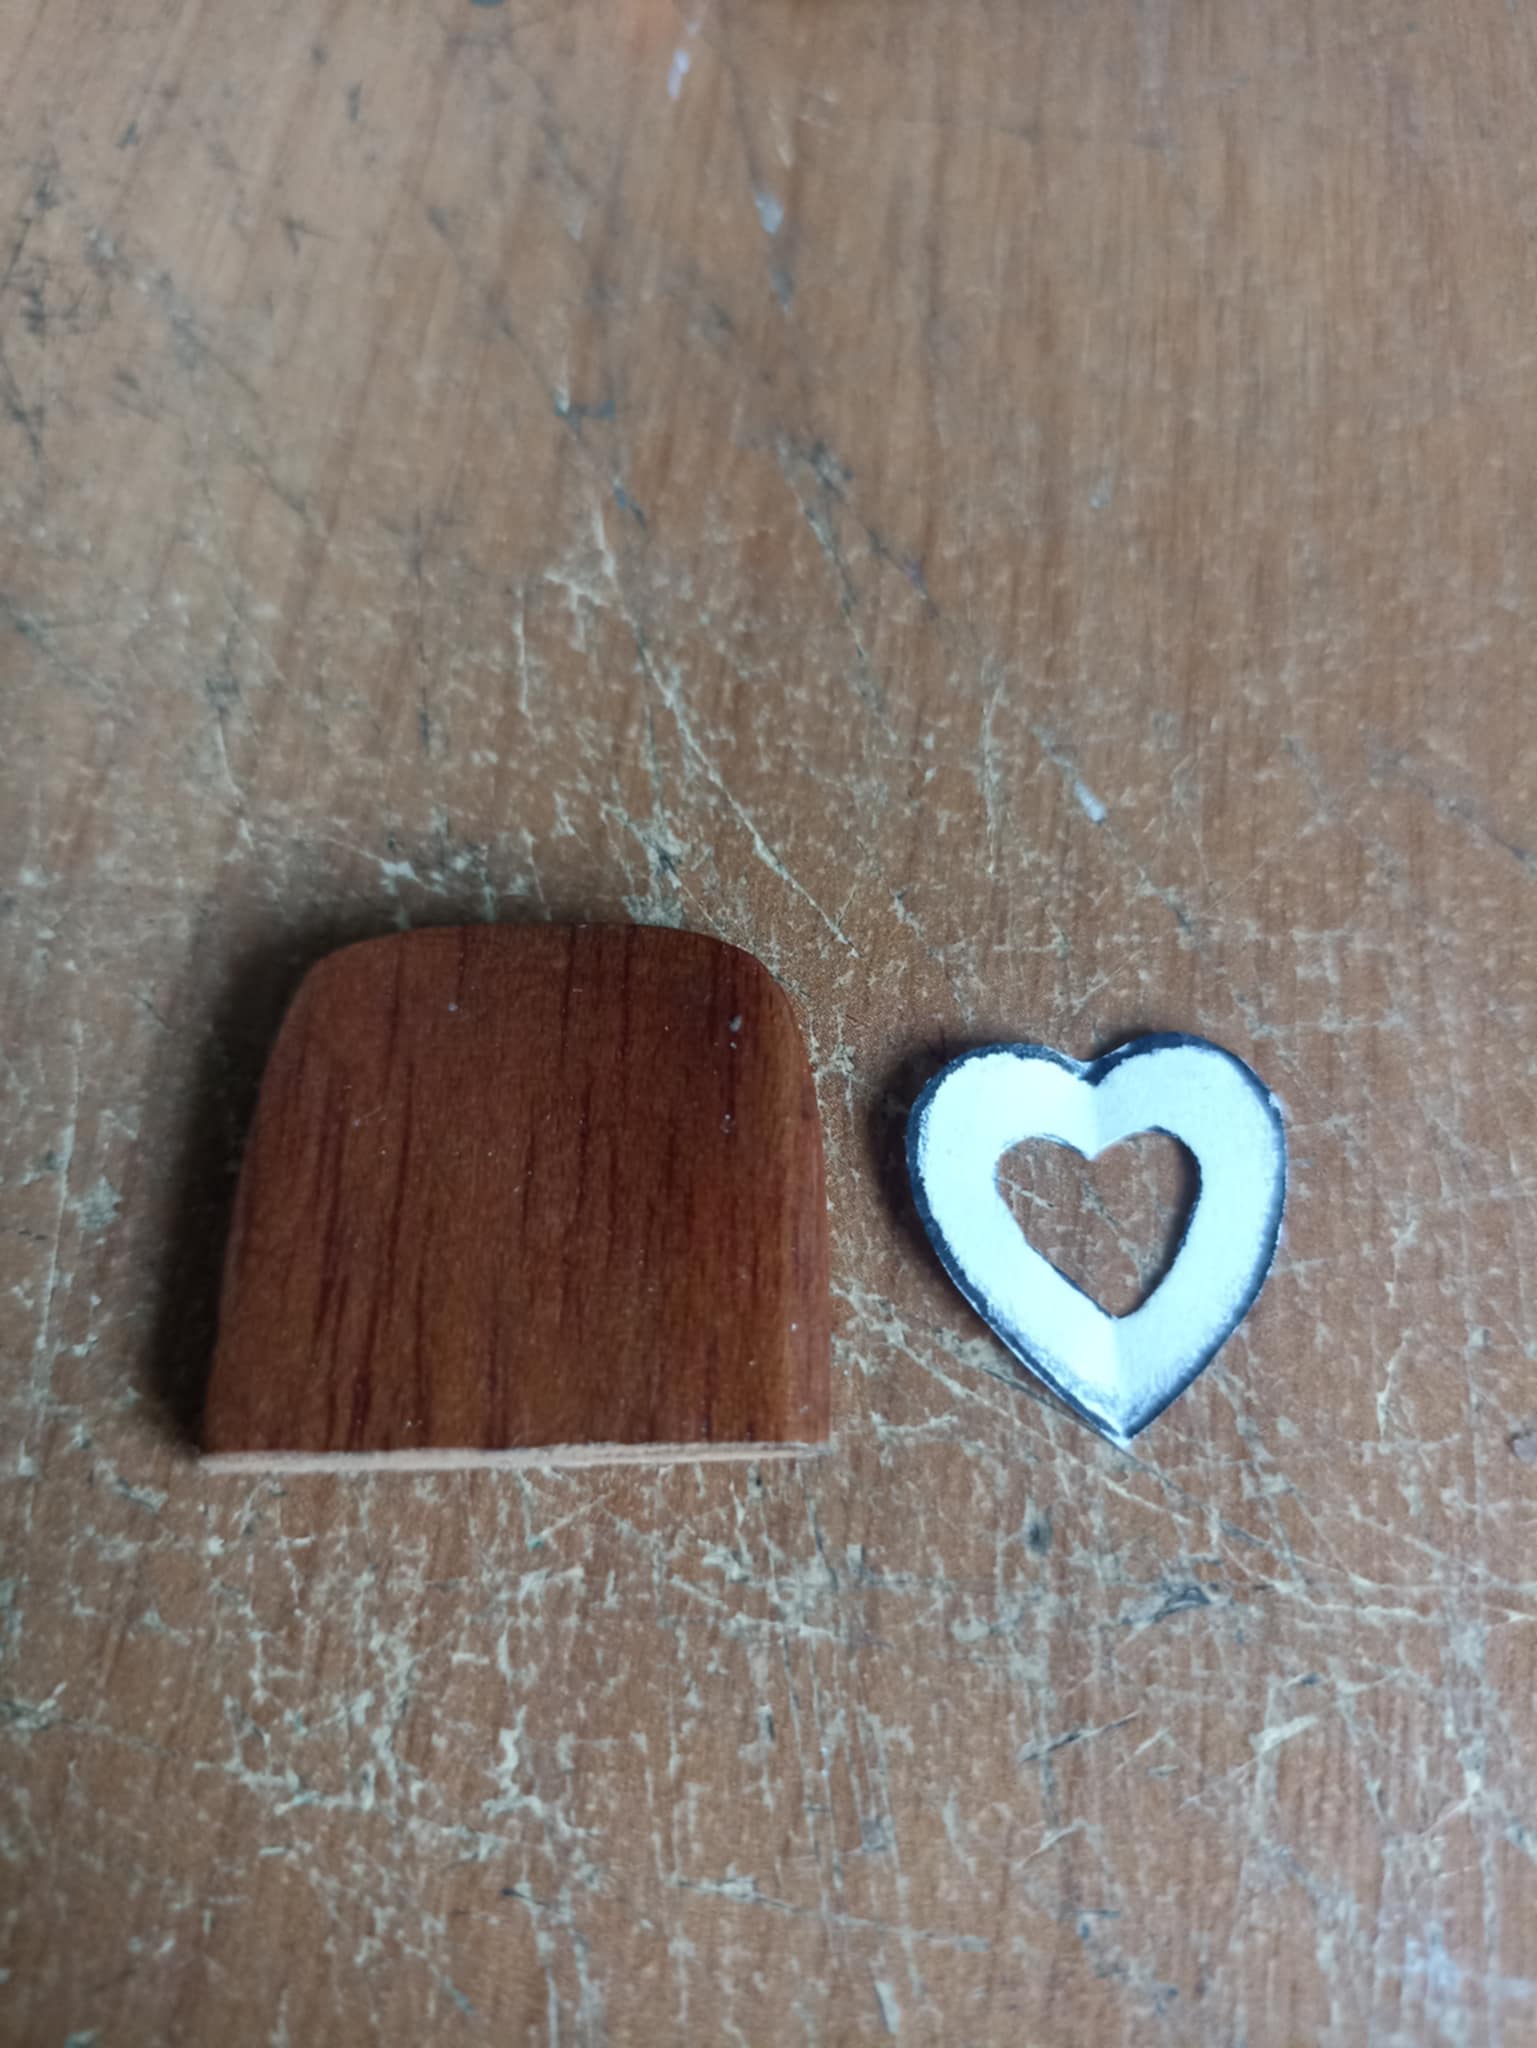
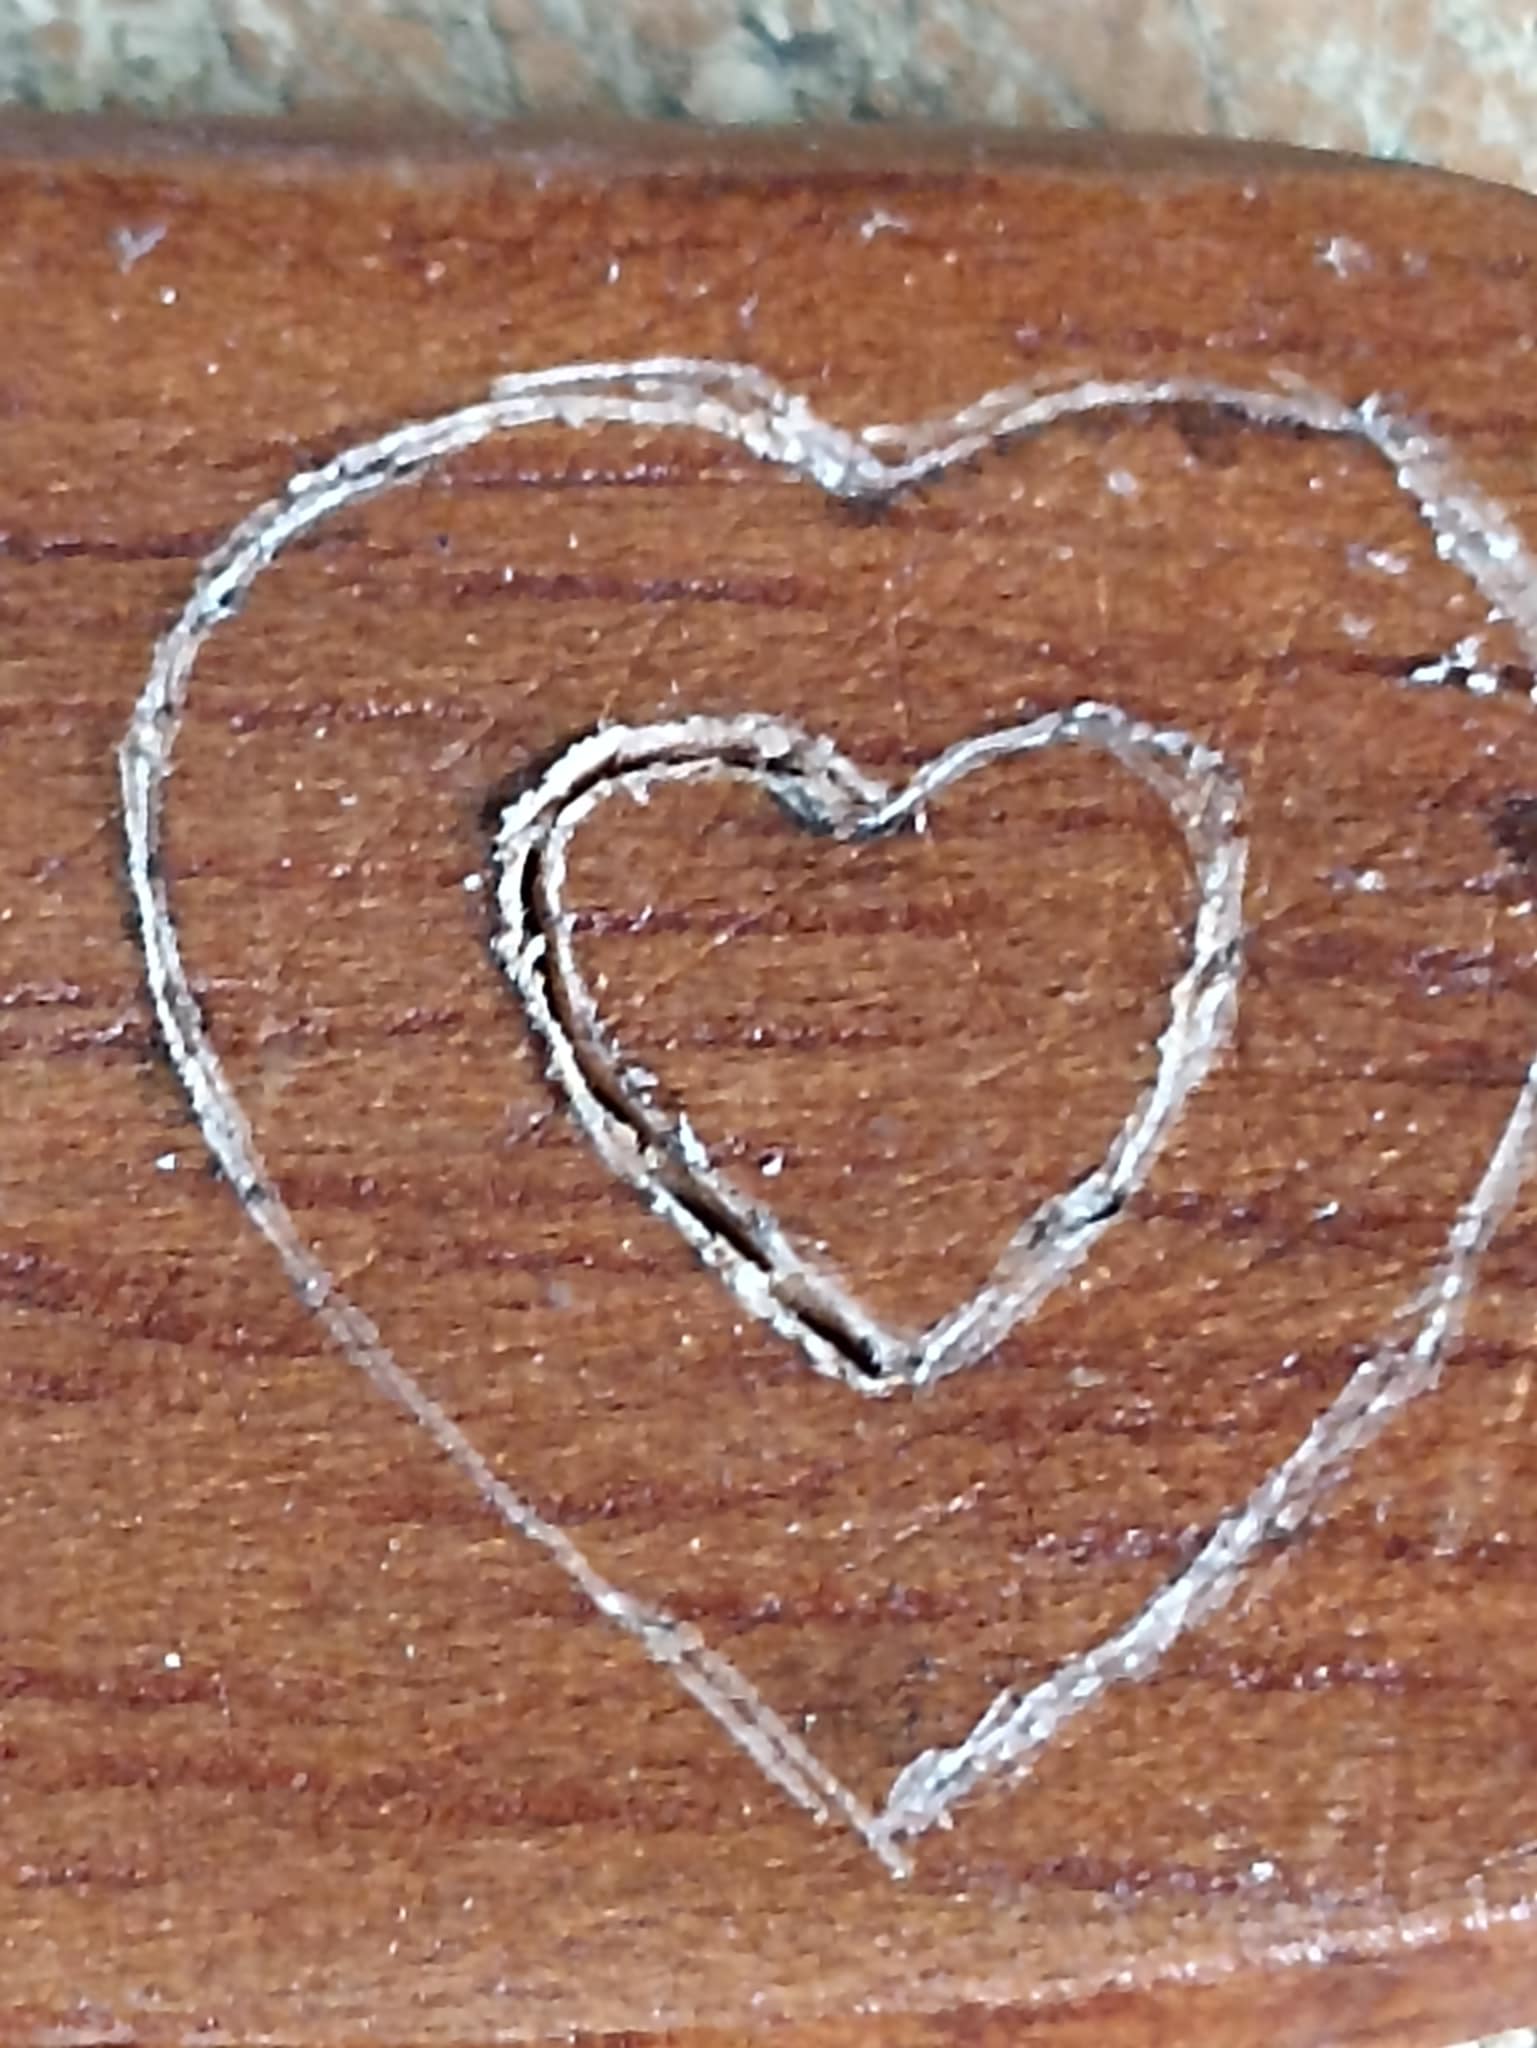
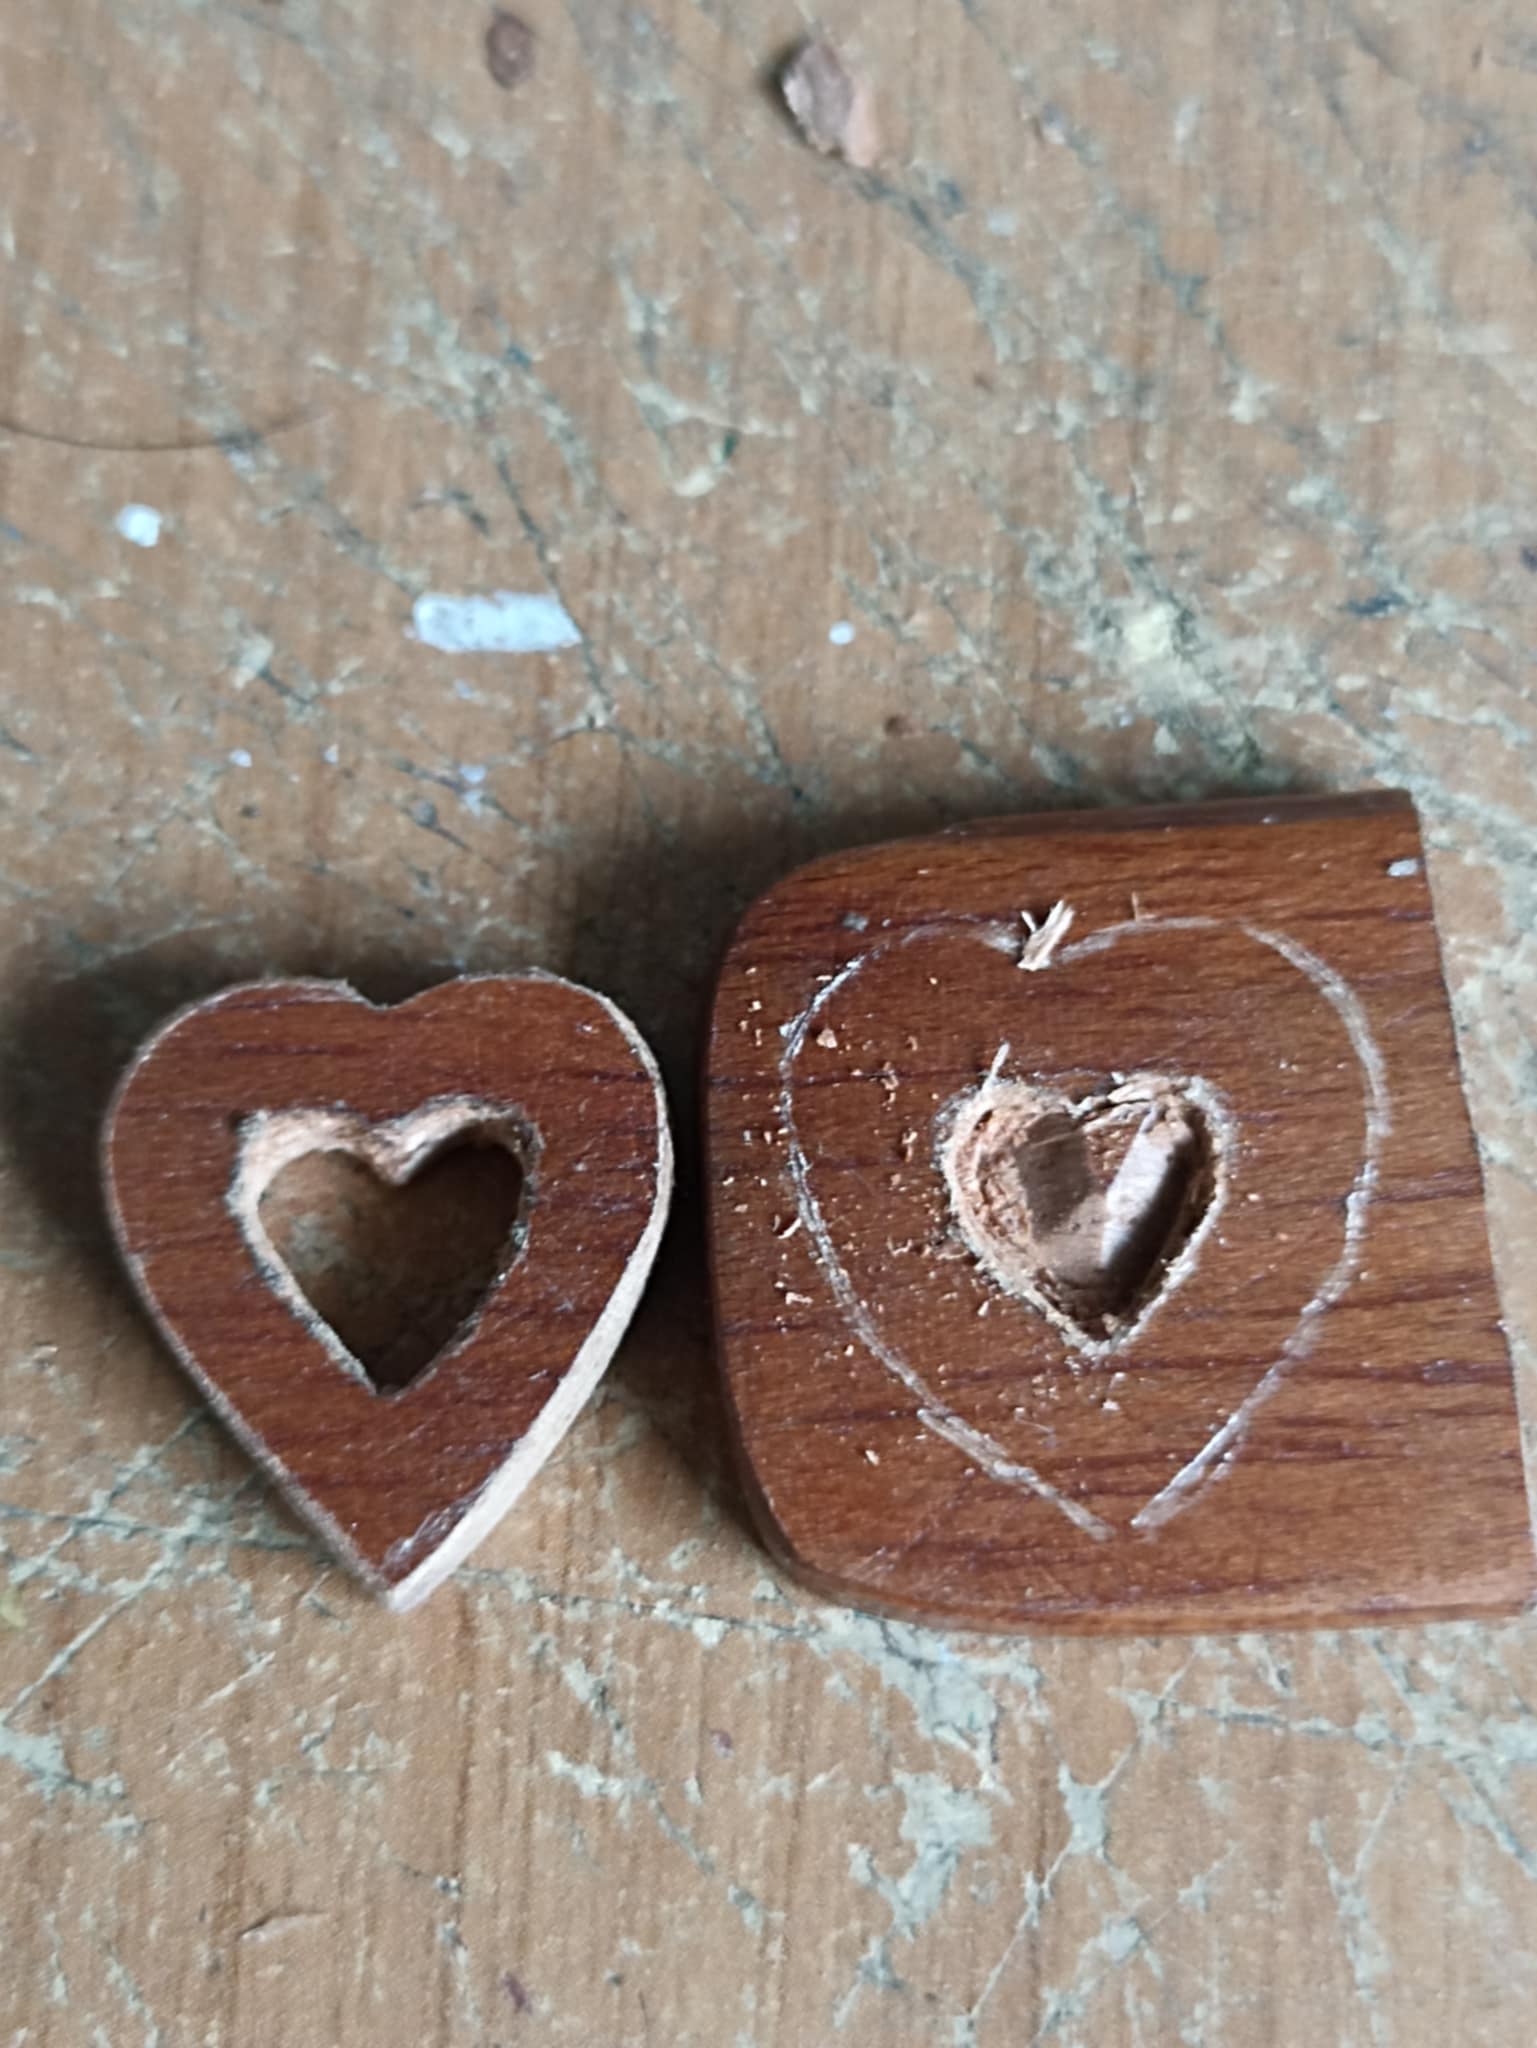
I chose a reddish-colored wood. This time, I chose a domino piece that was very worn, so I decided to give it a new use. After cleaning it thoroughly, I divided it into two equal parts, each part large enough to draw the shape of a heart. I first drew it on a piece of paper to create a template. I do this so that the size of the heart I'm going to carve matches the pieces of wood I removed.
Elegí la madera de un color rojizo, esta vez elegí una pieza de dominó que estaba muy desgastada así que decidí darle un nuevo destino. Después de limpiarla muy bien lo que hice fue dividirla en dos partes iguales, cada parte suficiente para poder dibujar la forma de un corazón, el cual lo hago en un papel en primer lugar para así crear una plantilla. Hago esto para que el tamaño del corazón que voy a tallar sea acorde a los trozos de maderas que saqué.
 |
 |
|
|---|---|---|
 |
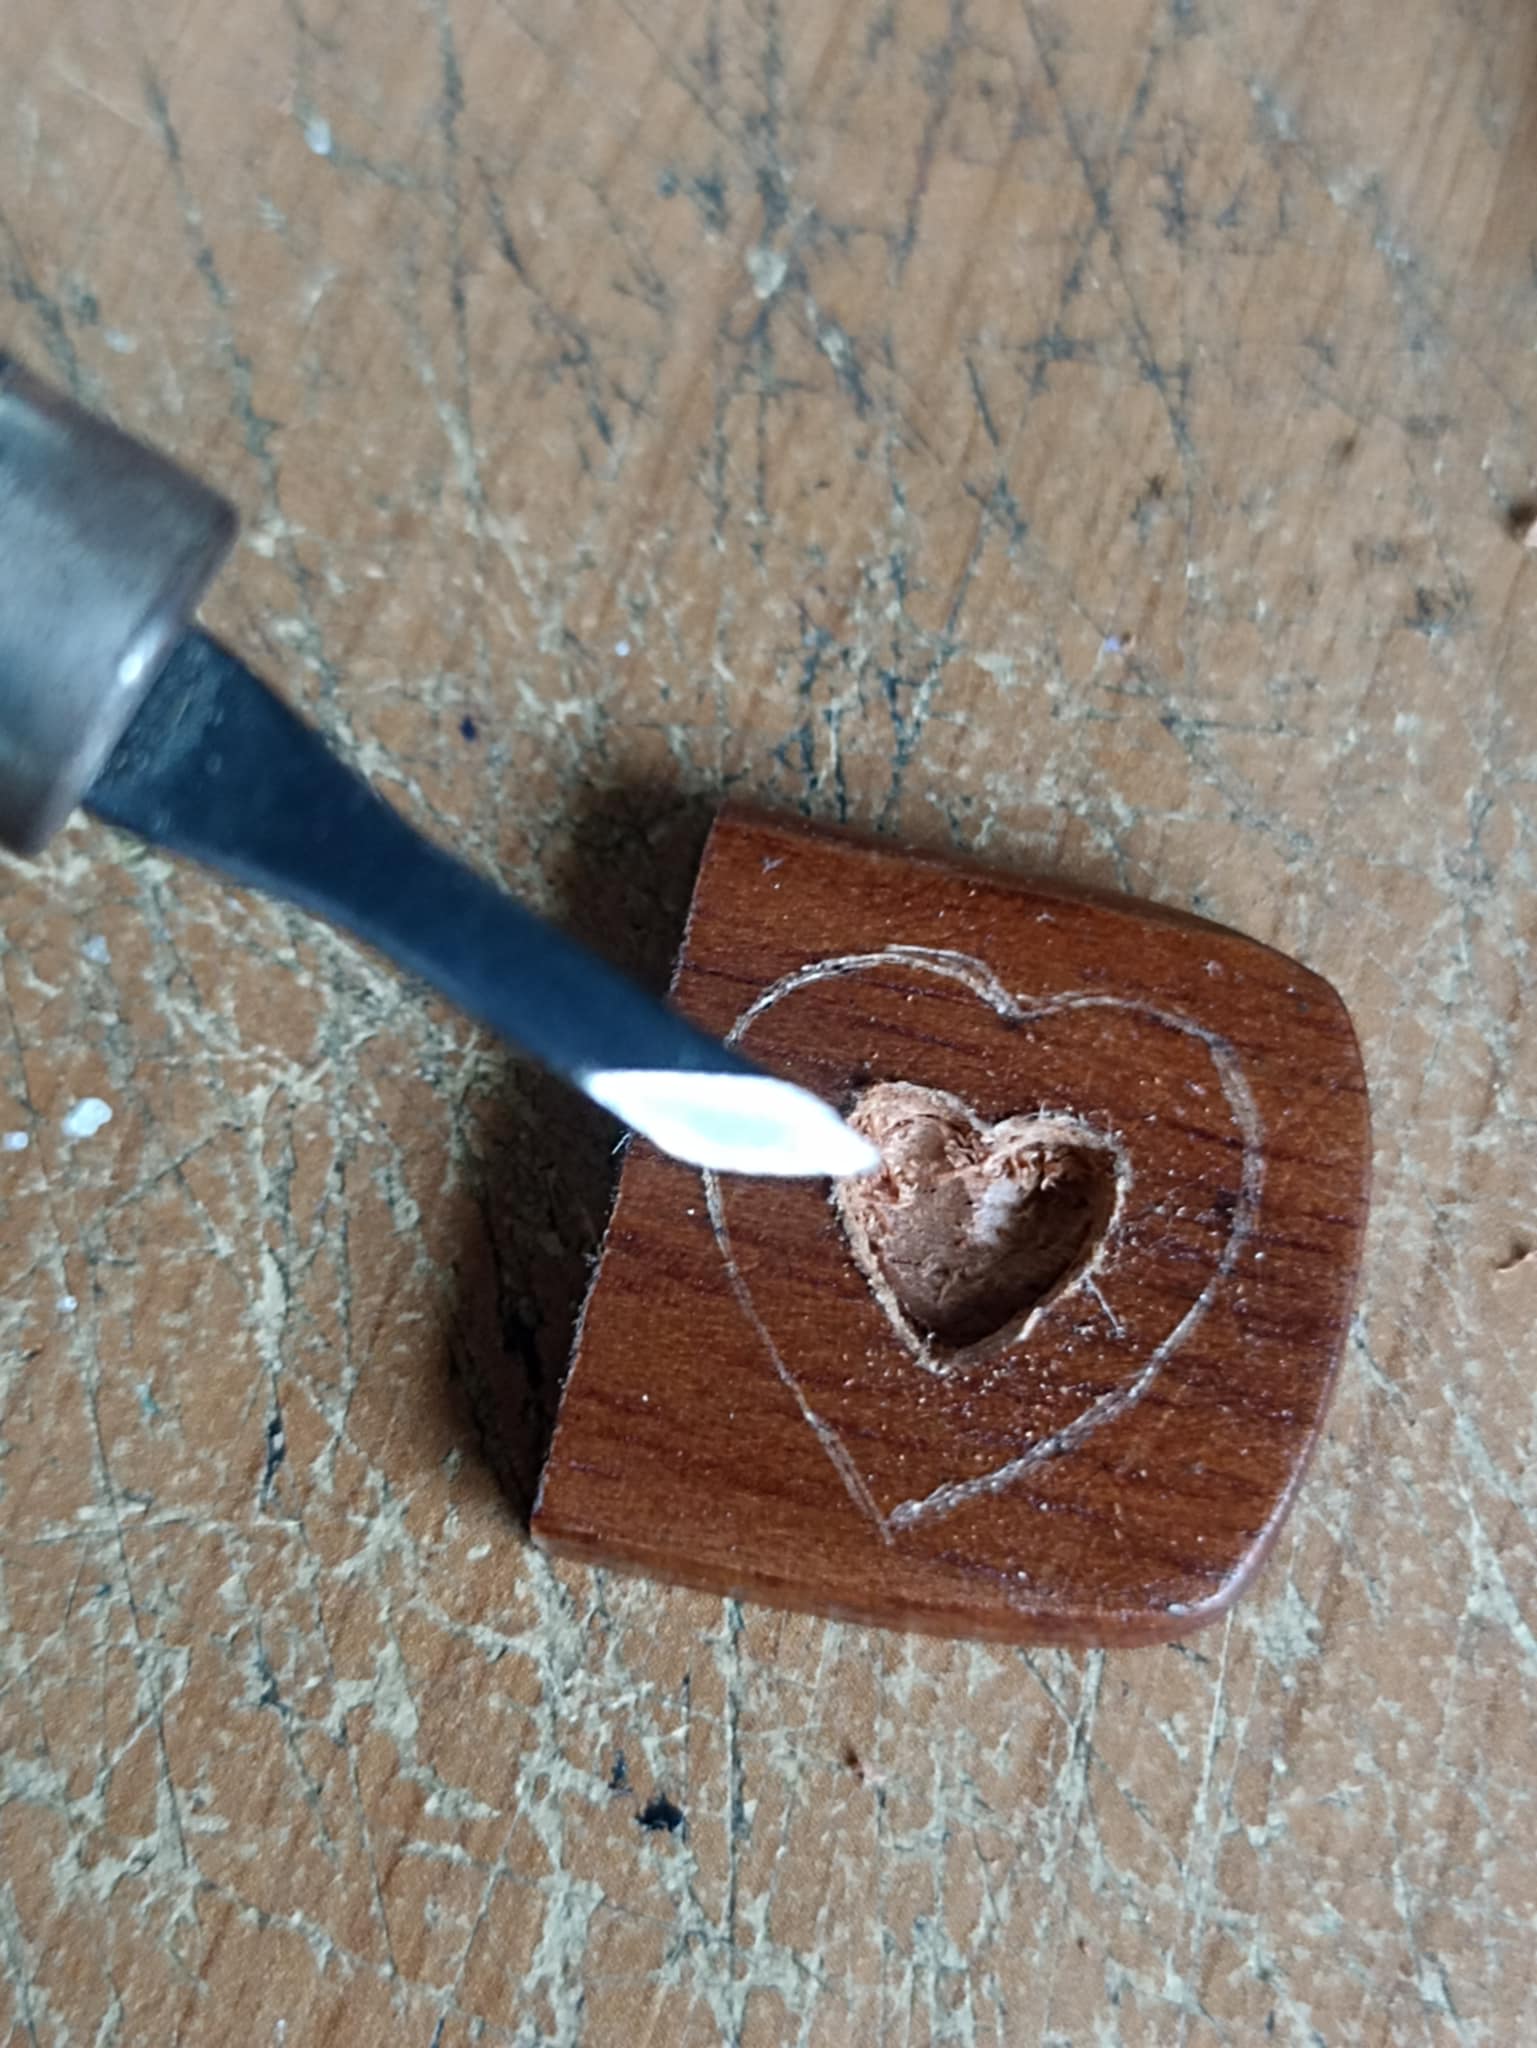 |
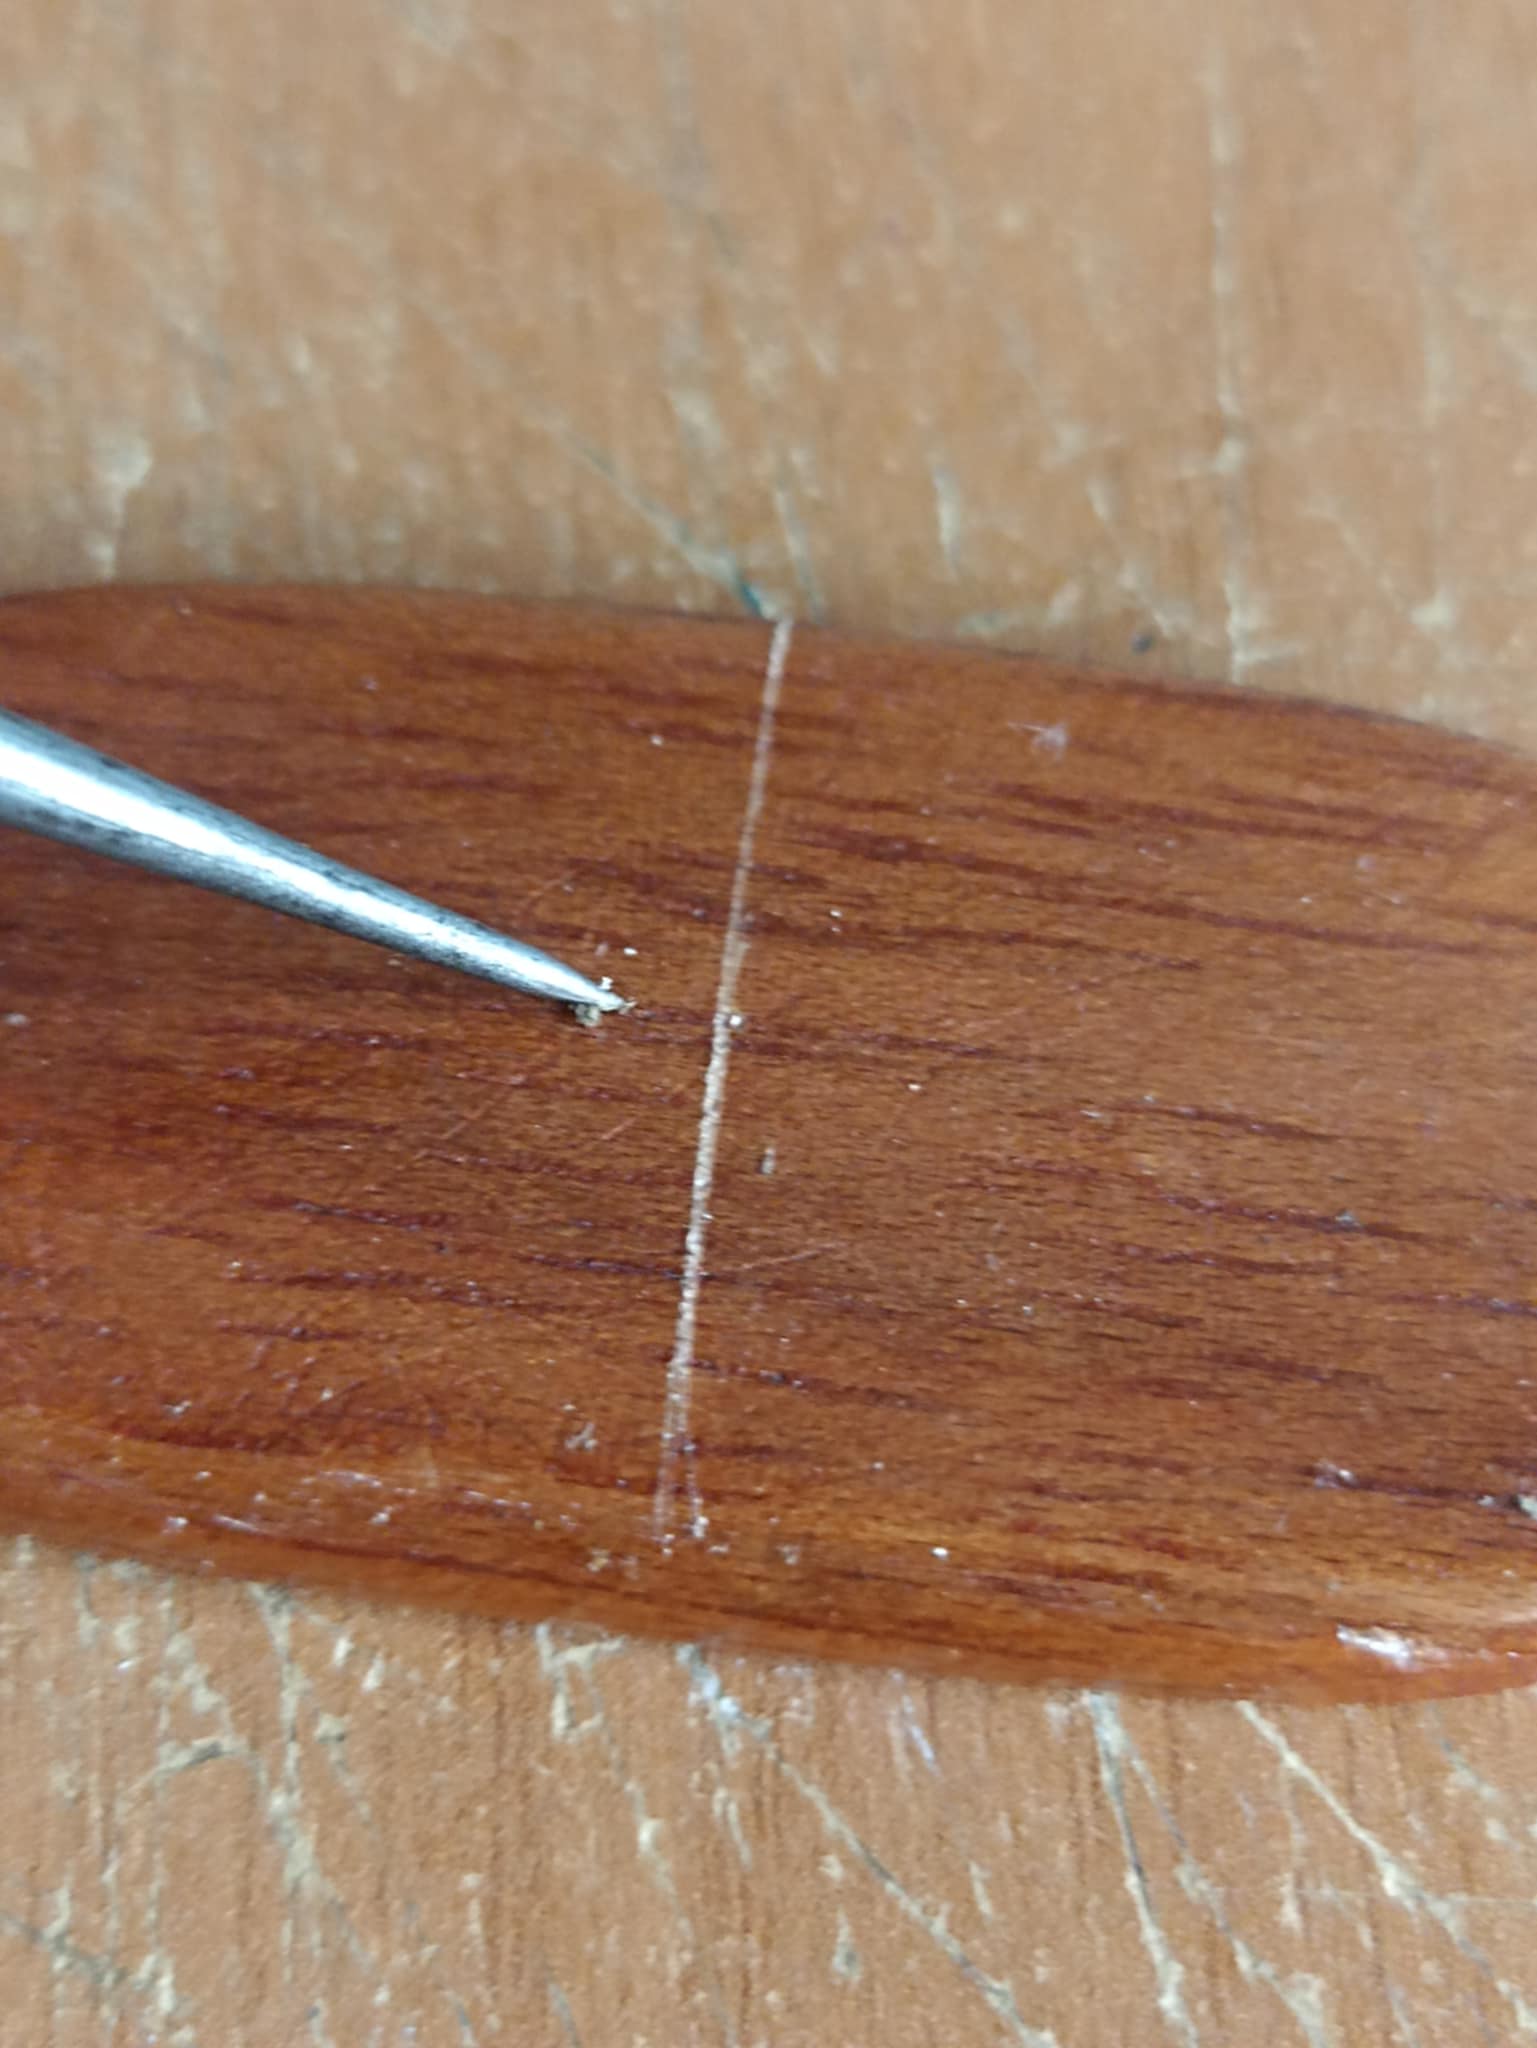
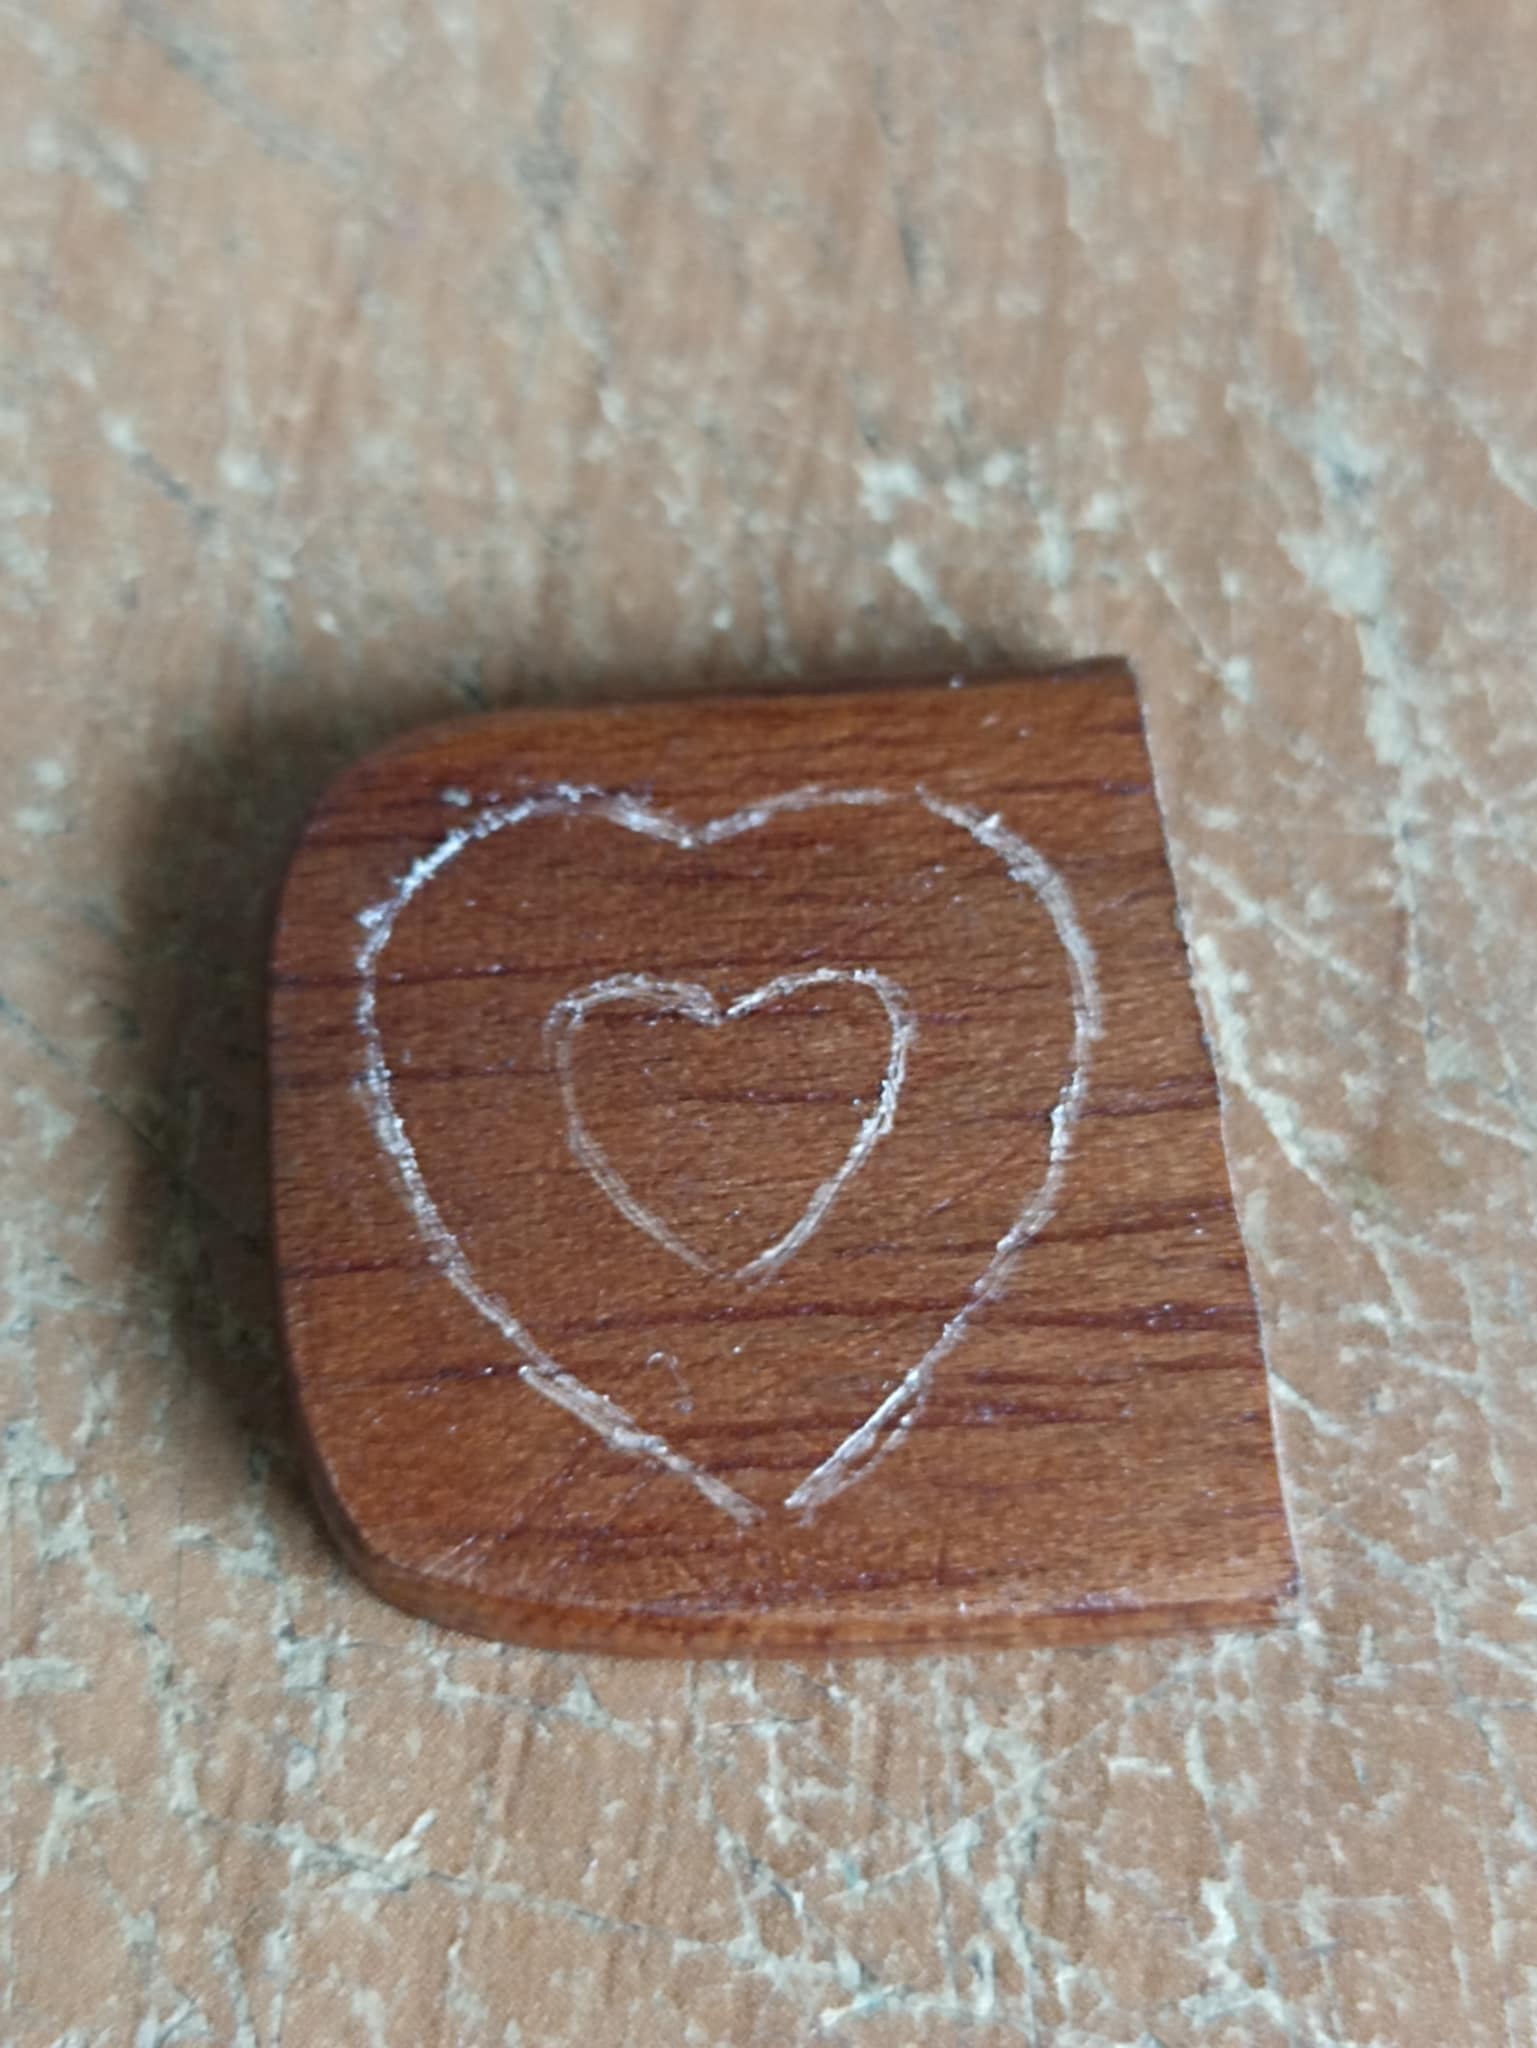
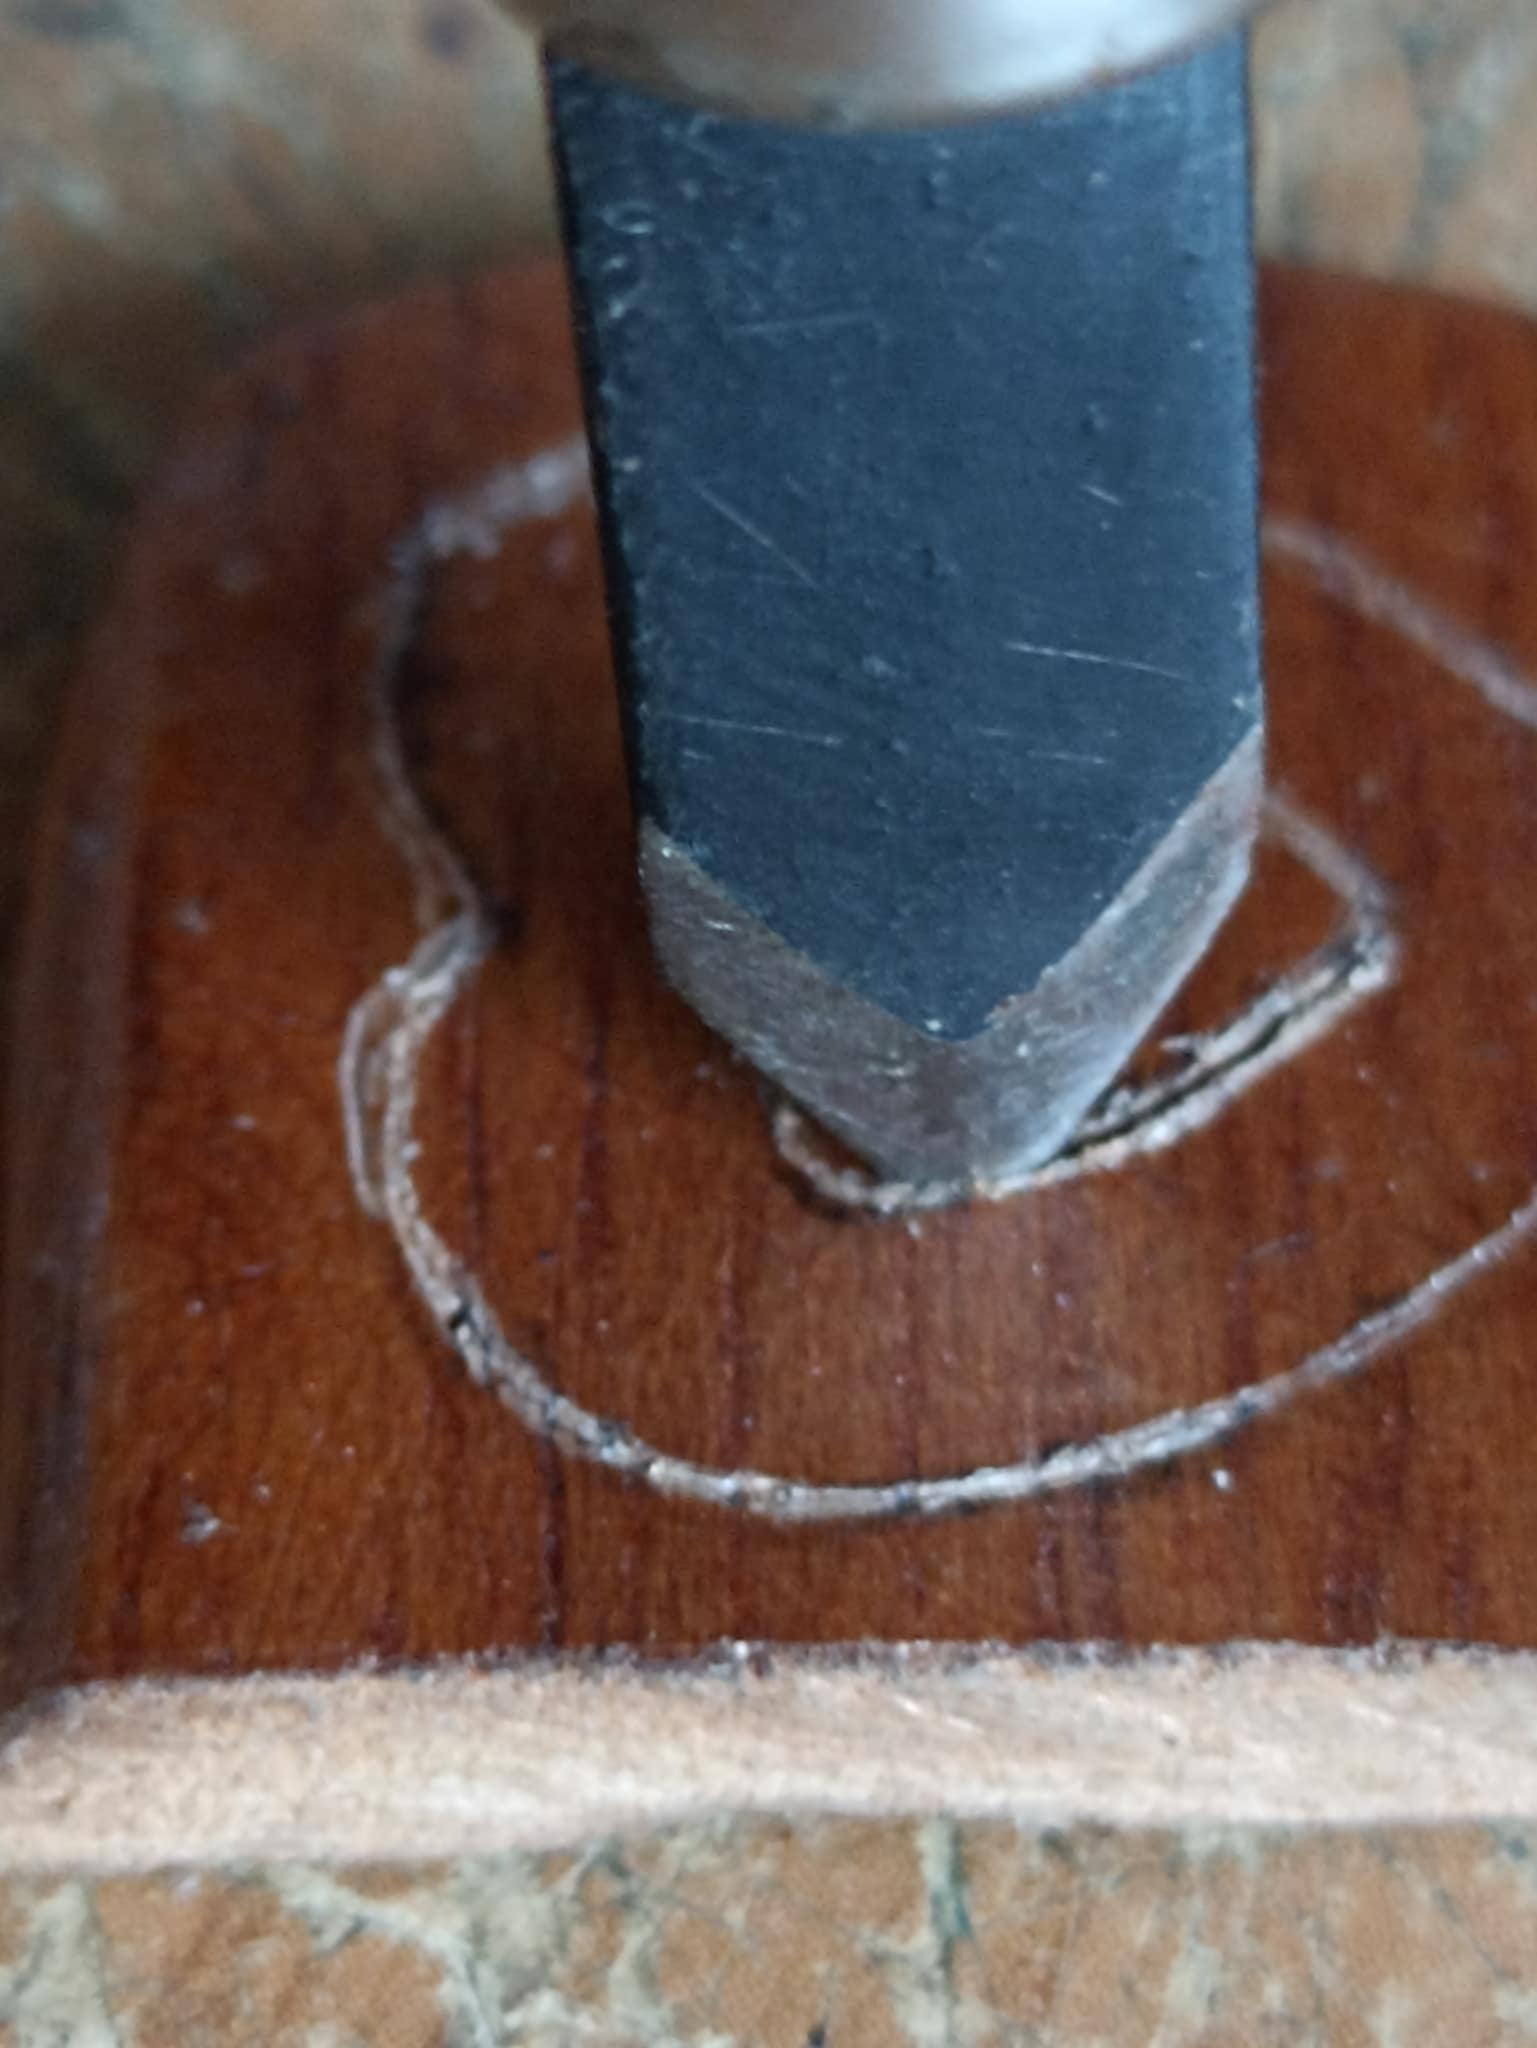
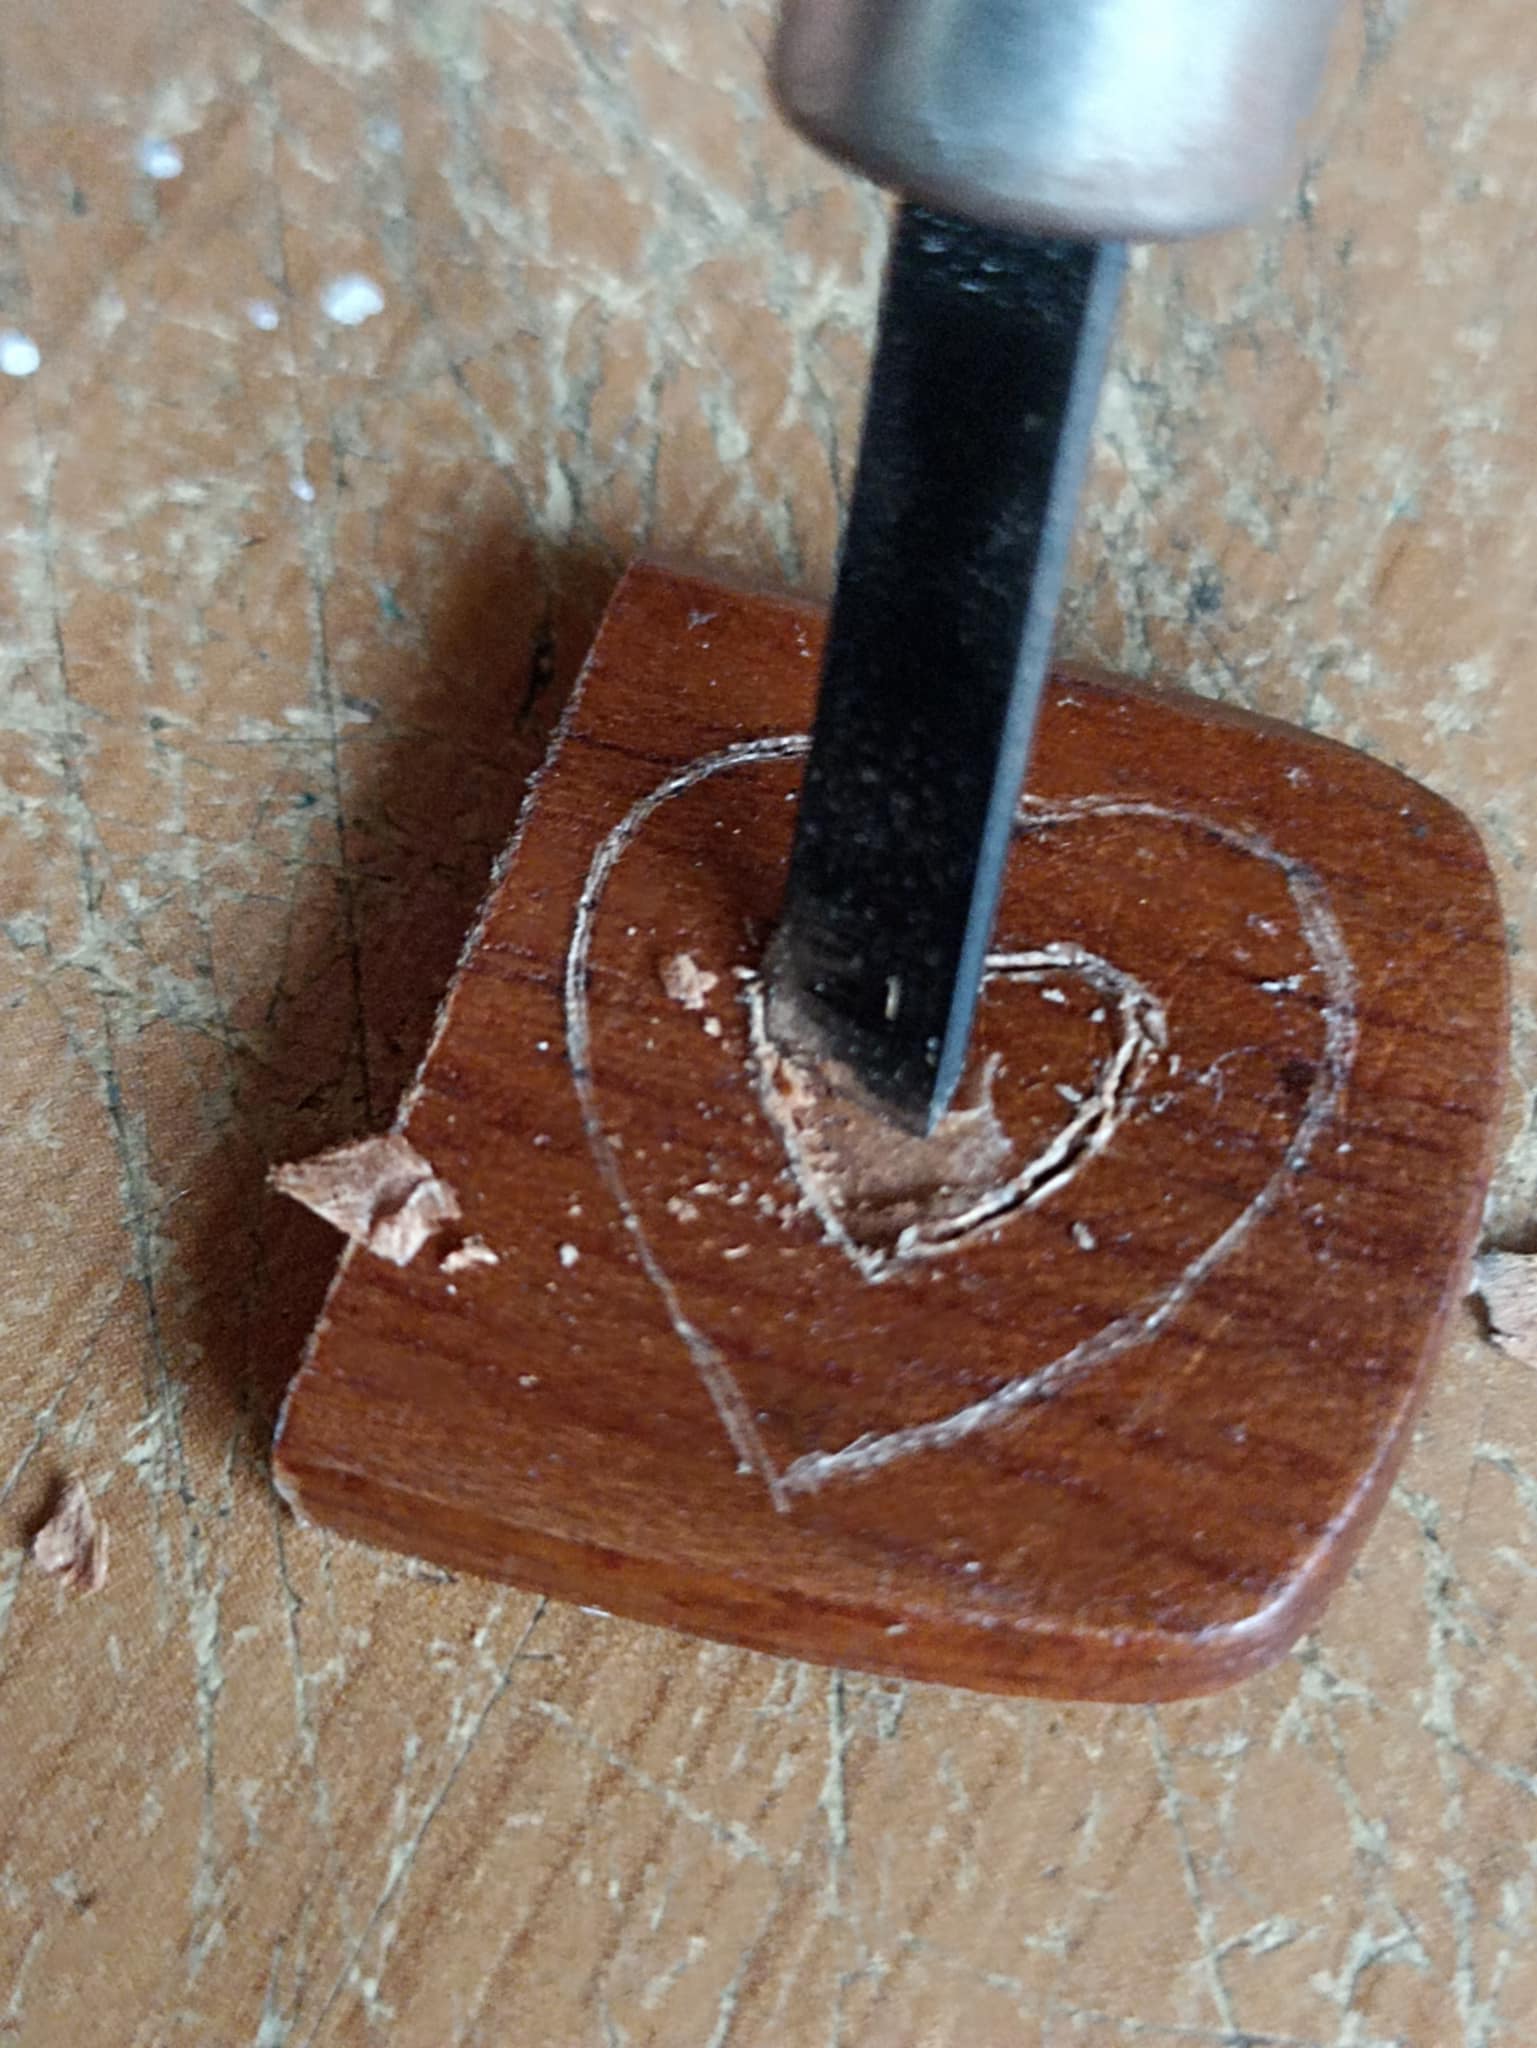
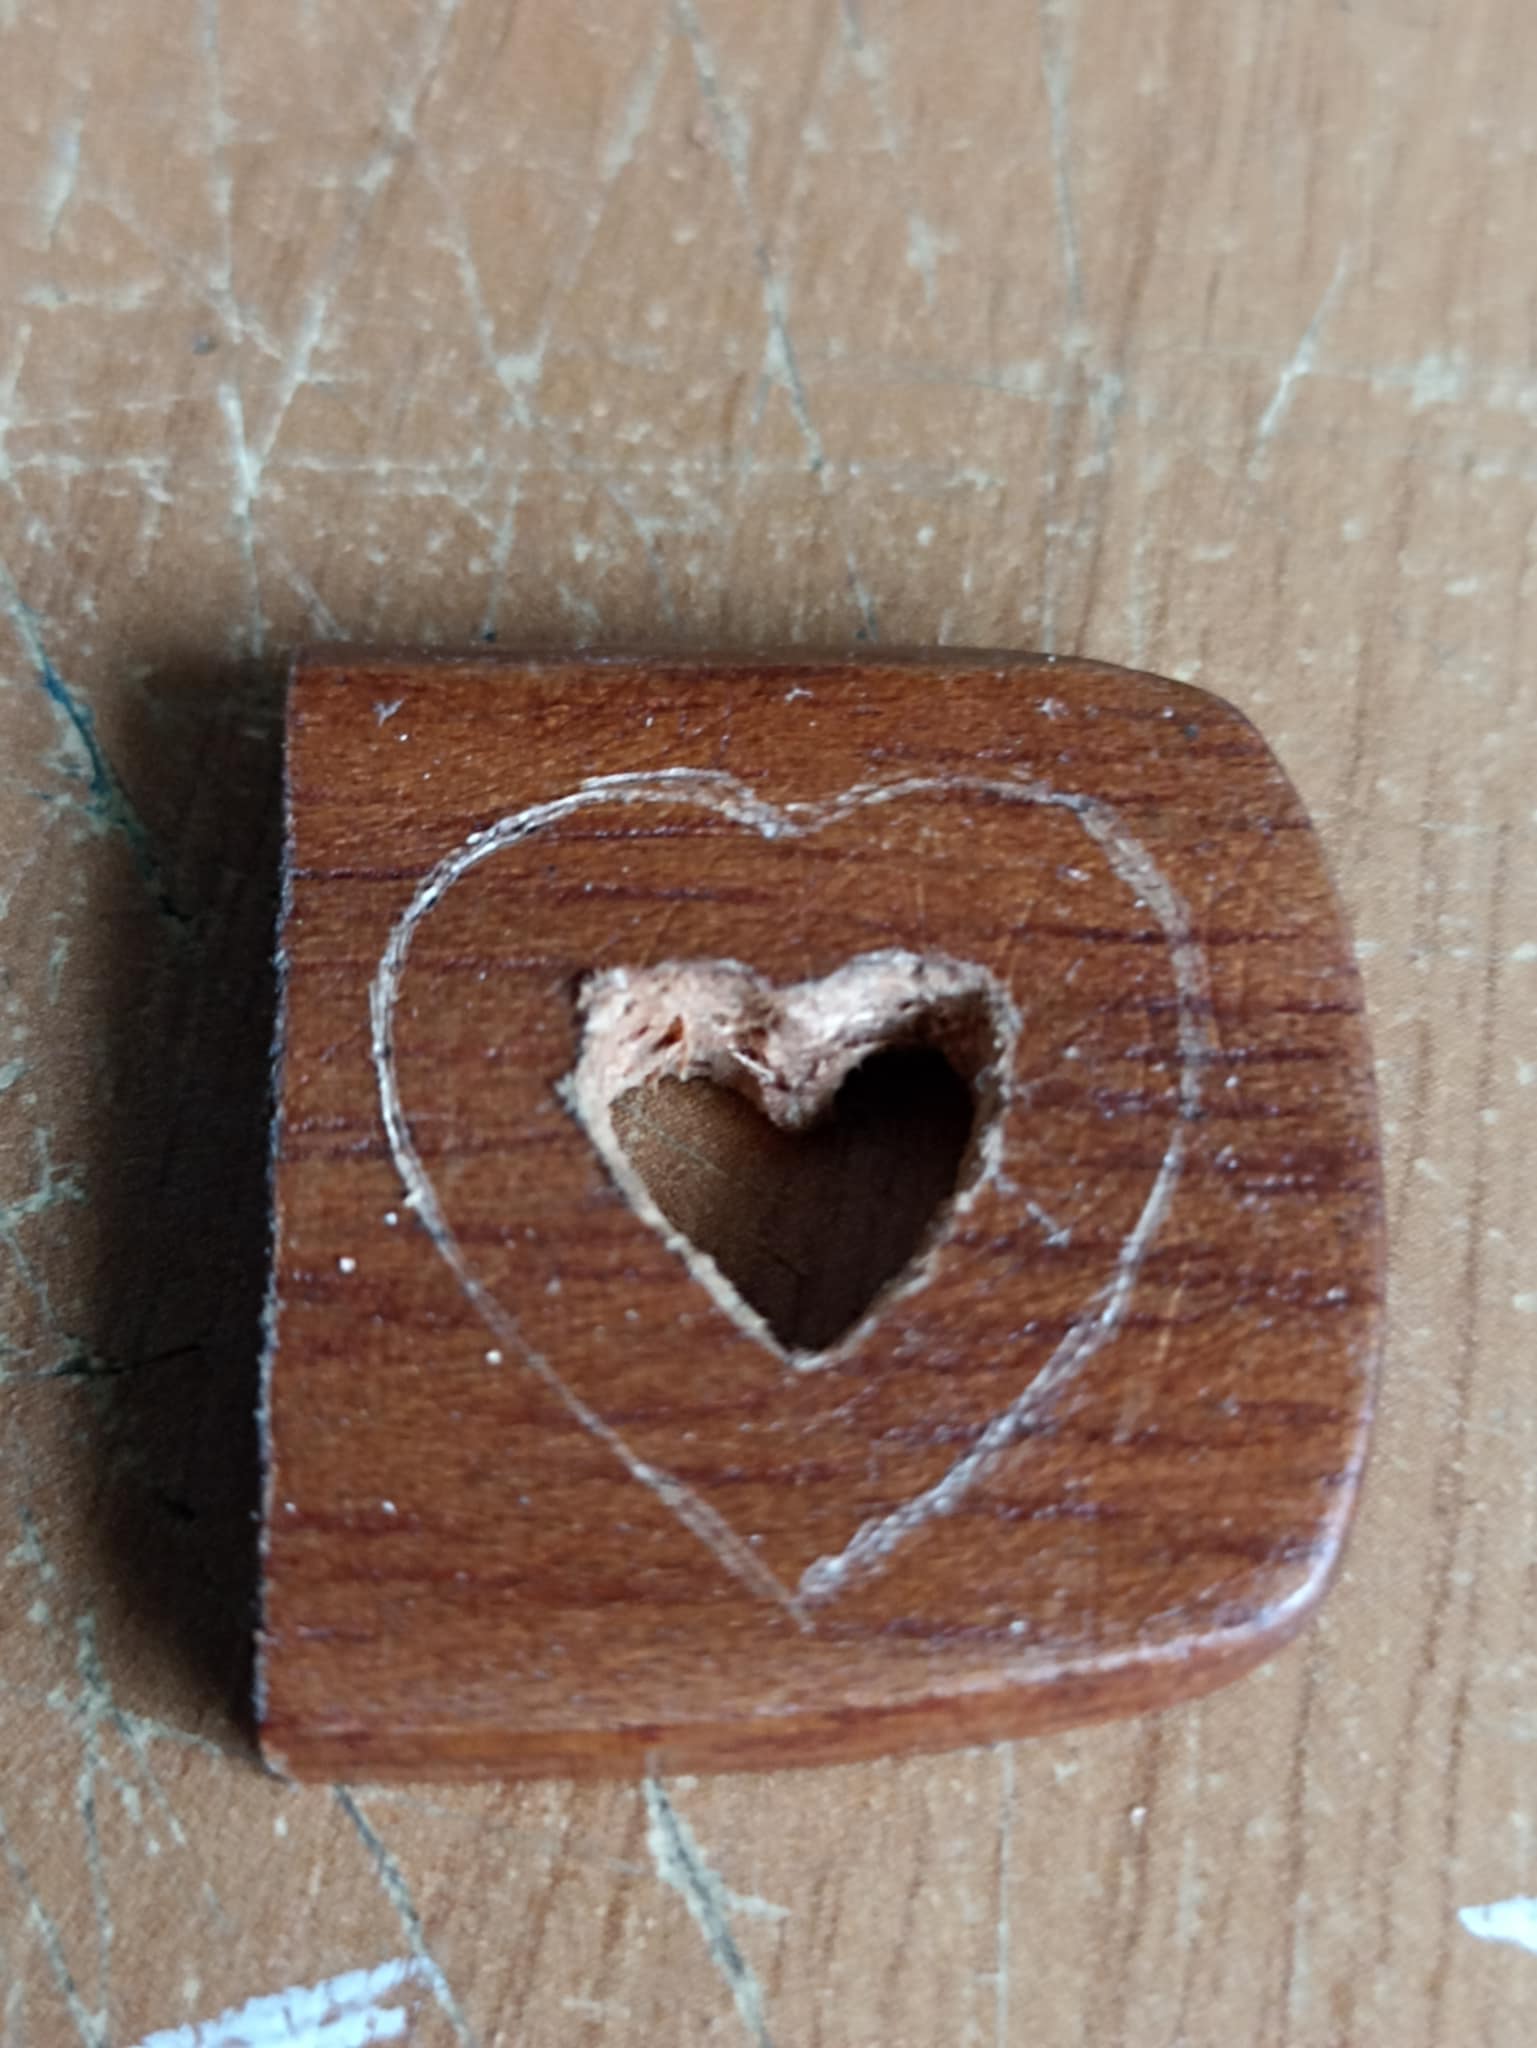
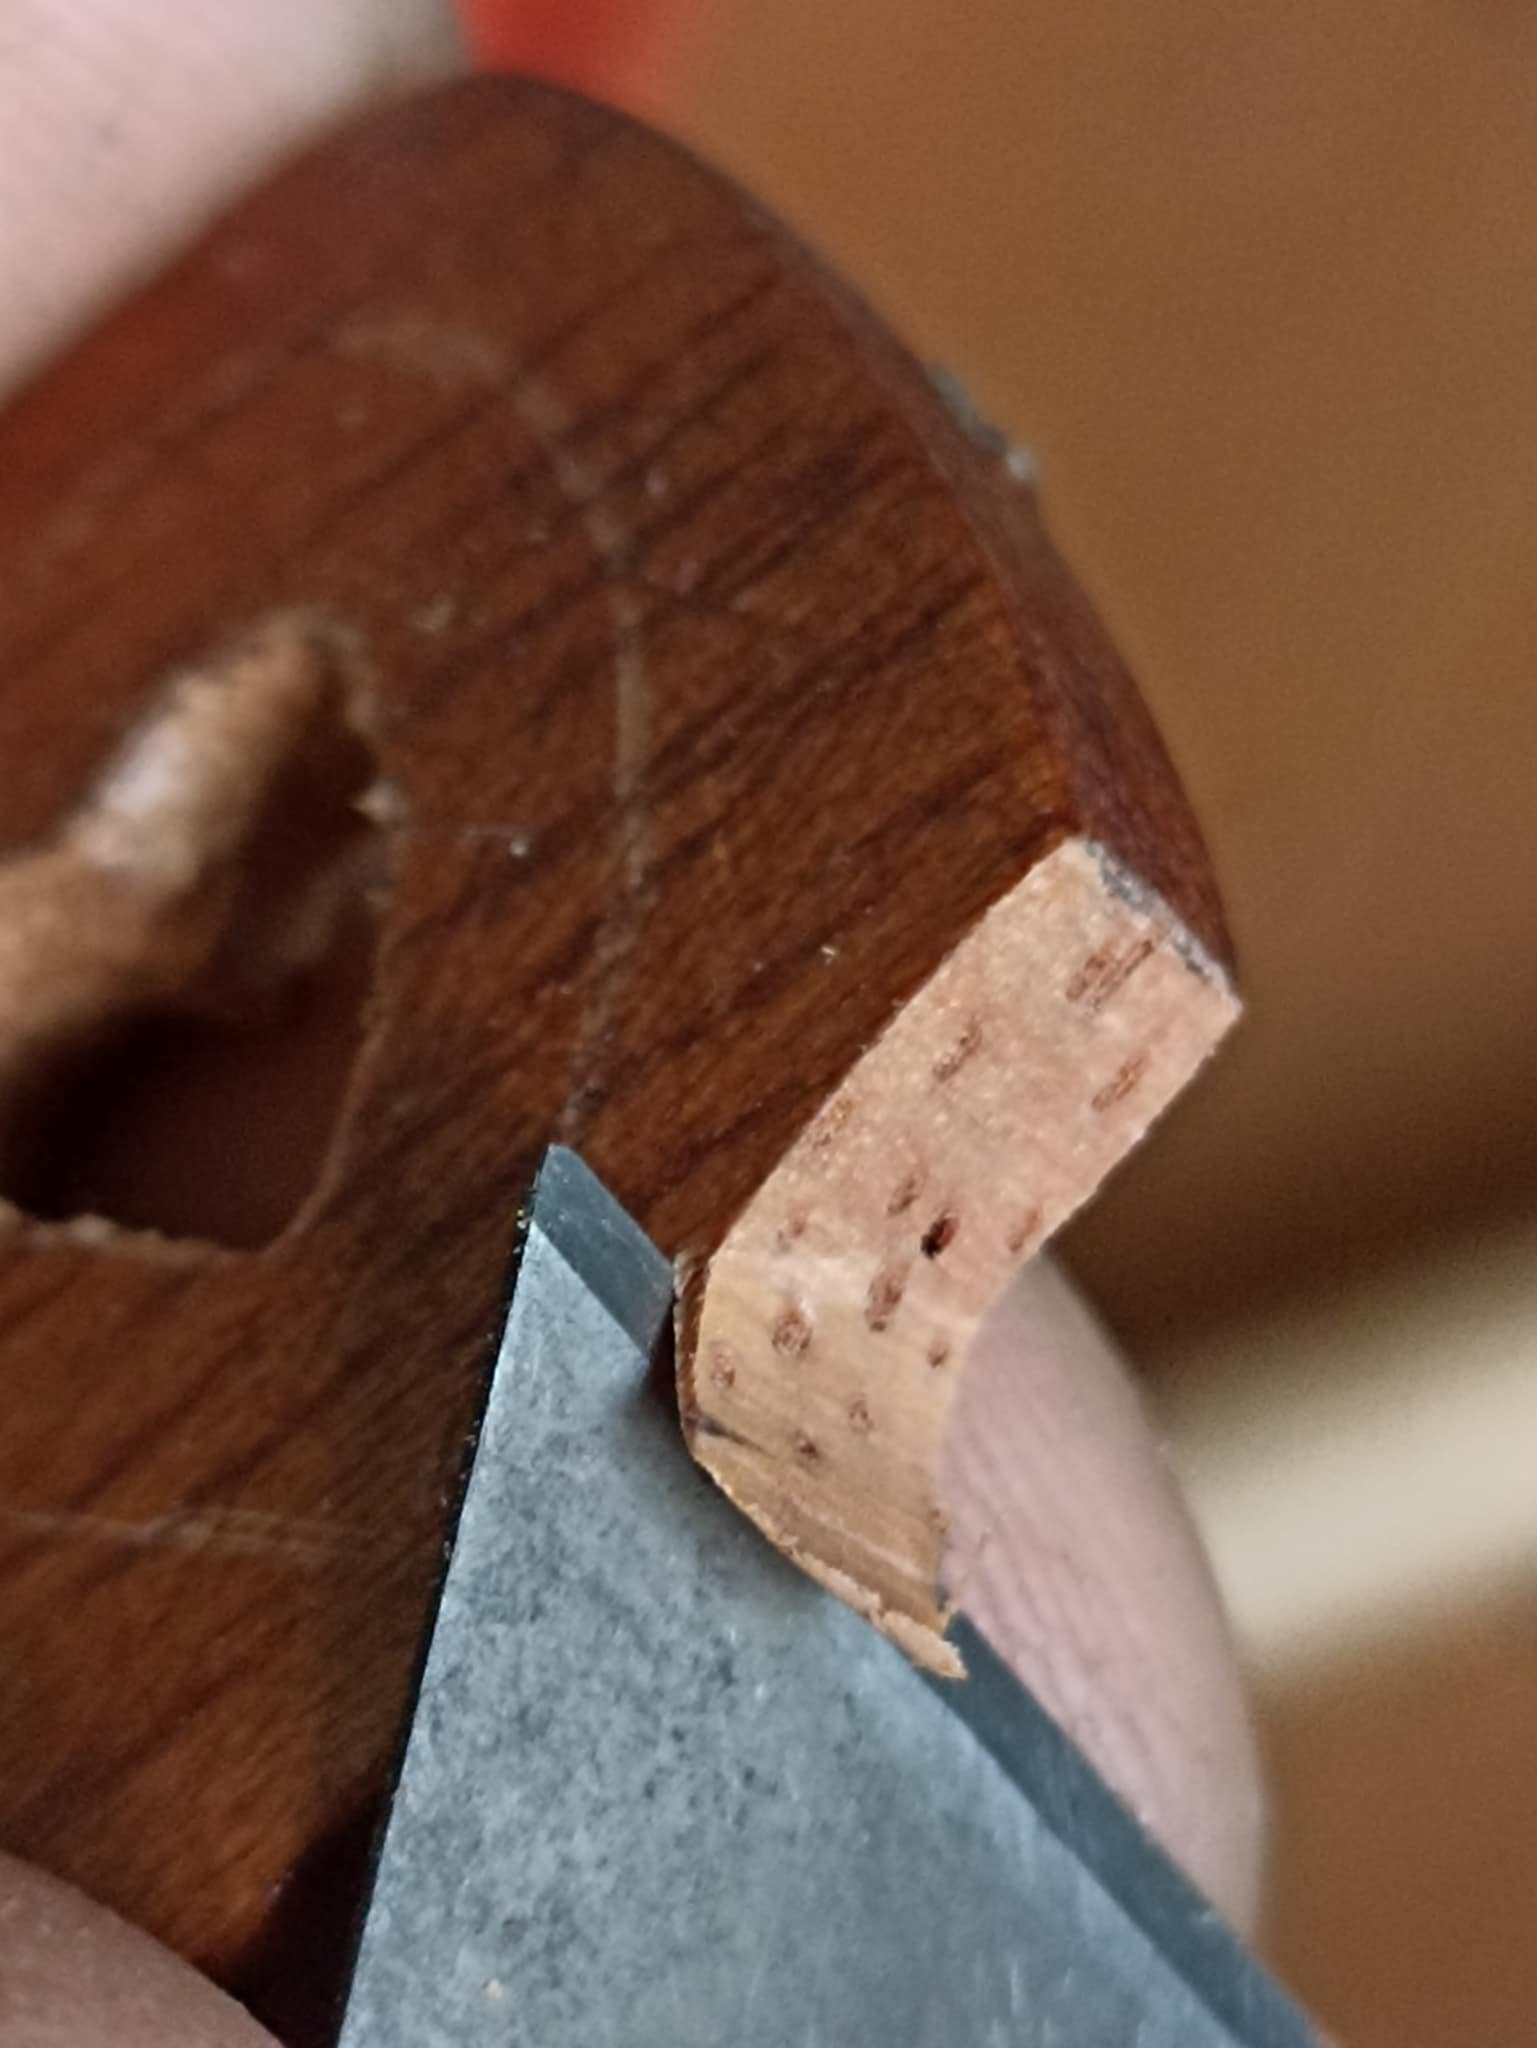
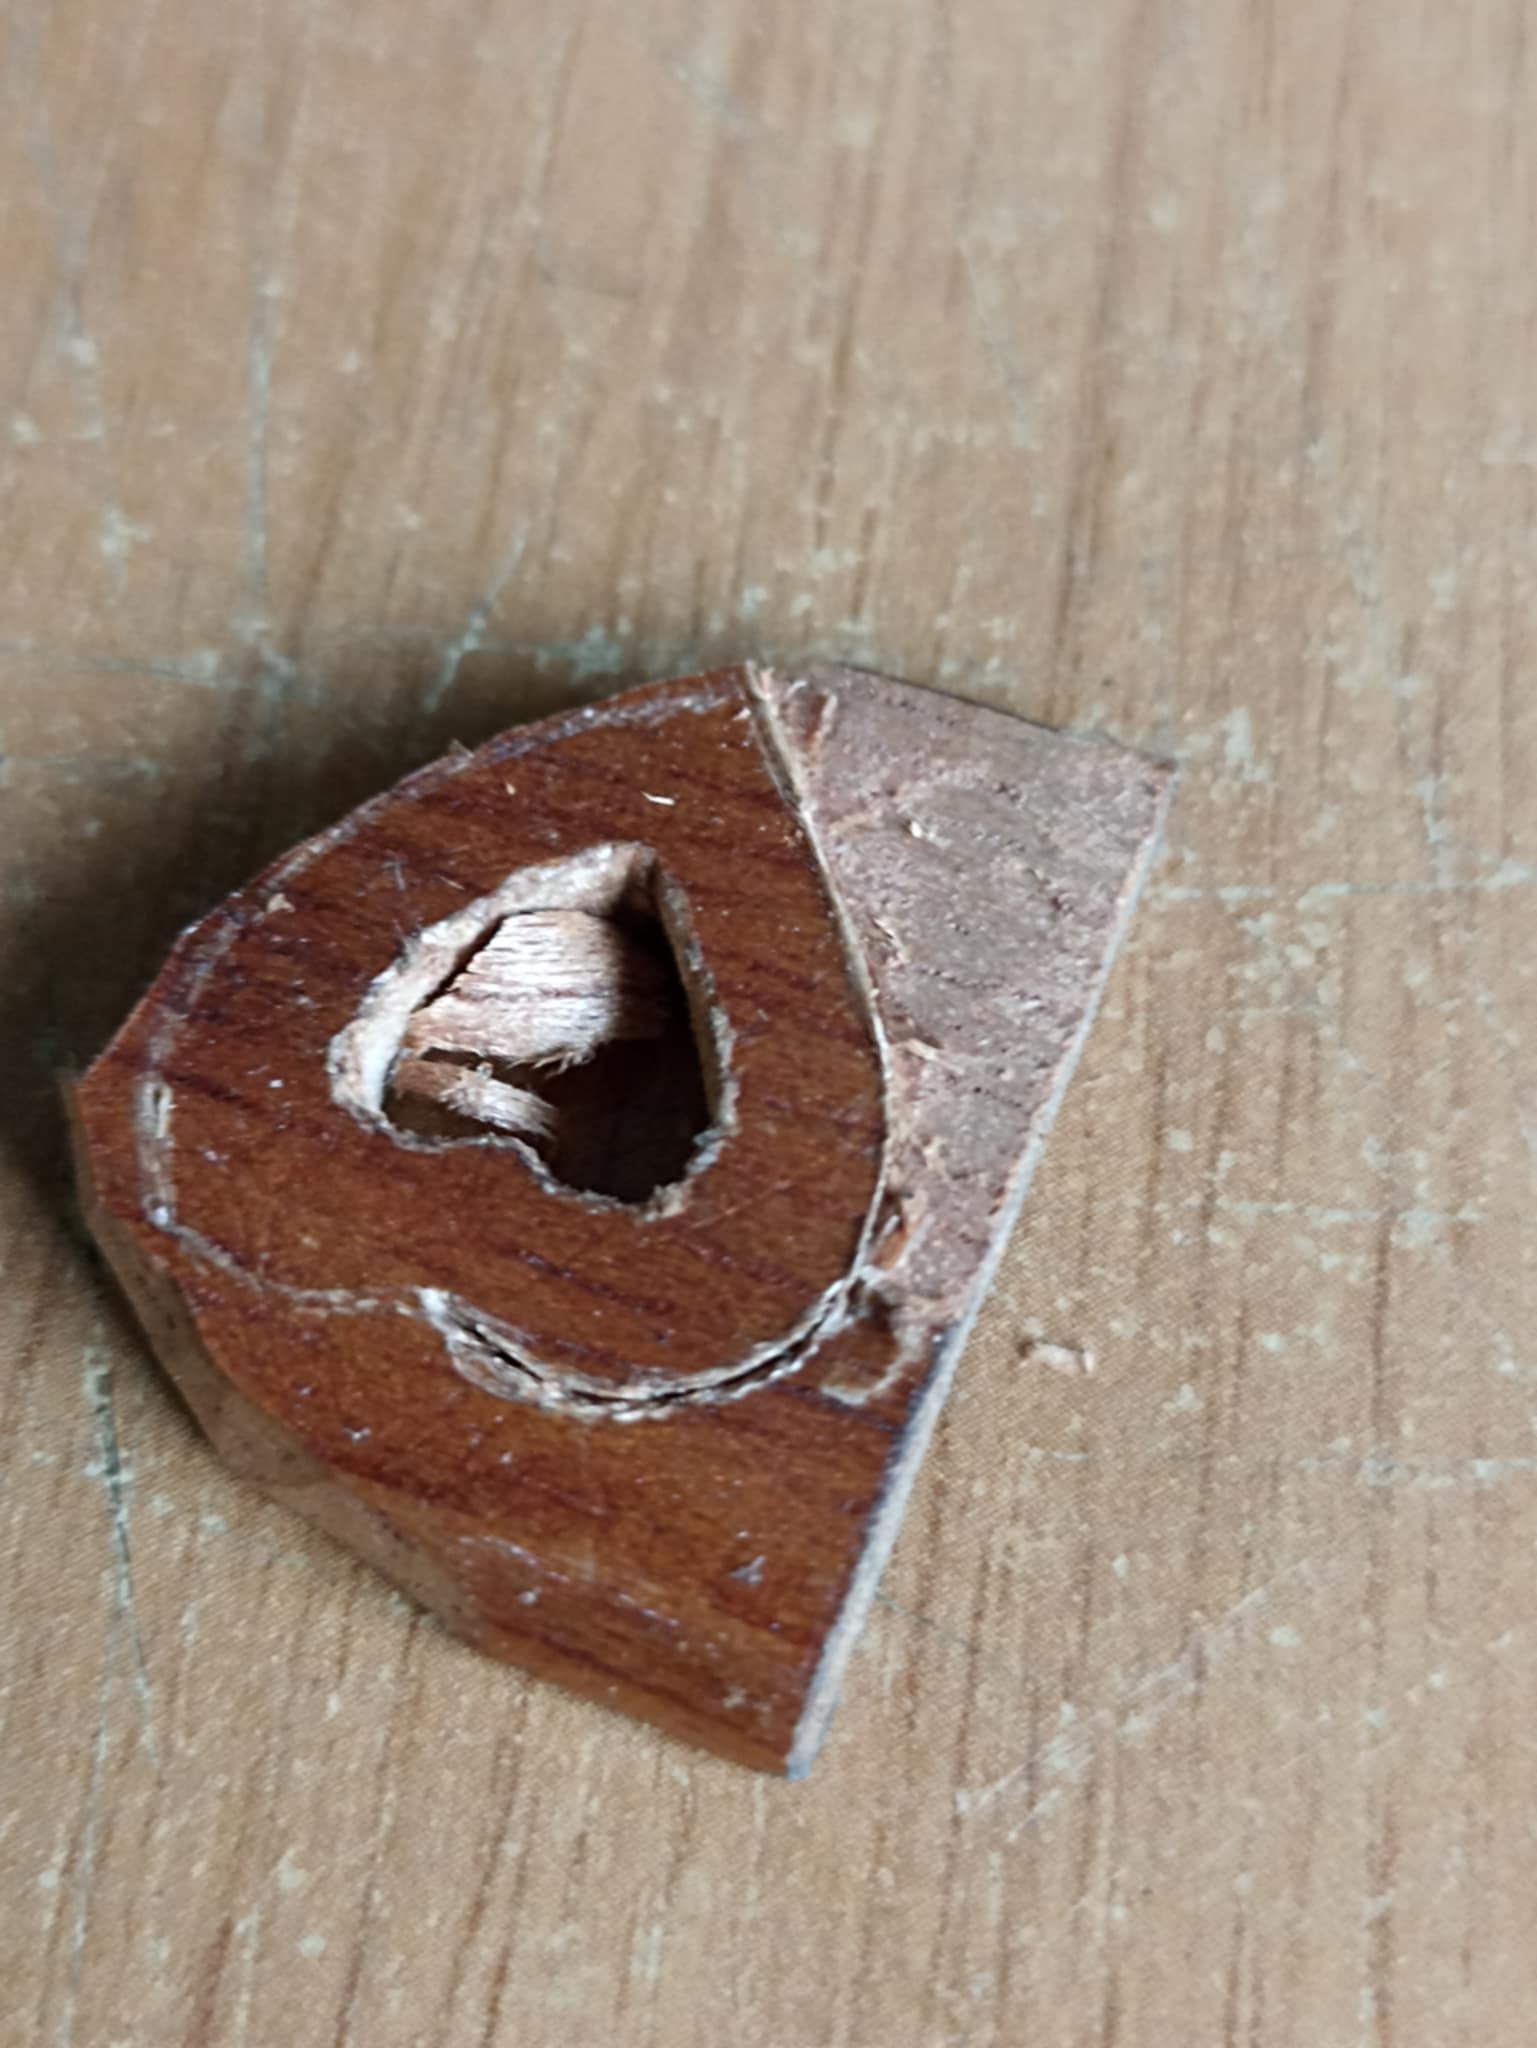
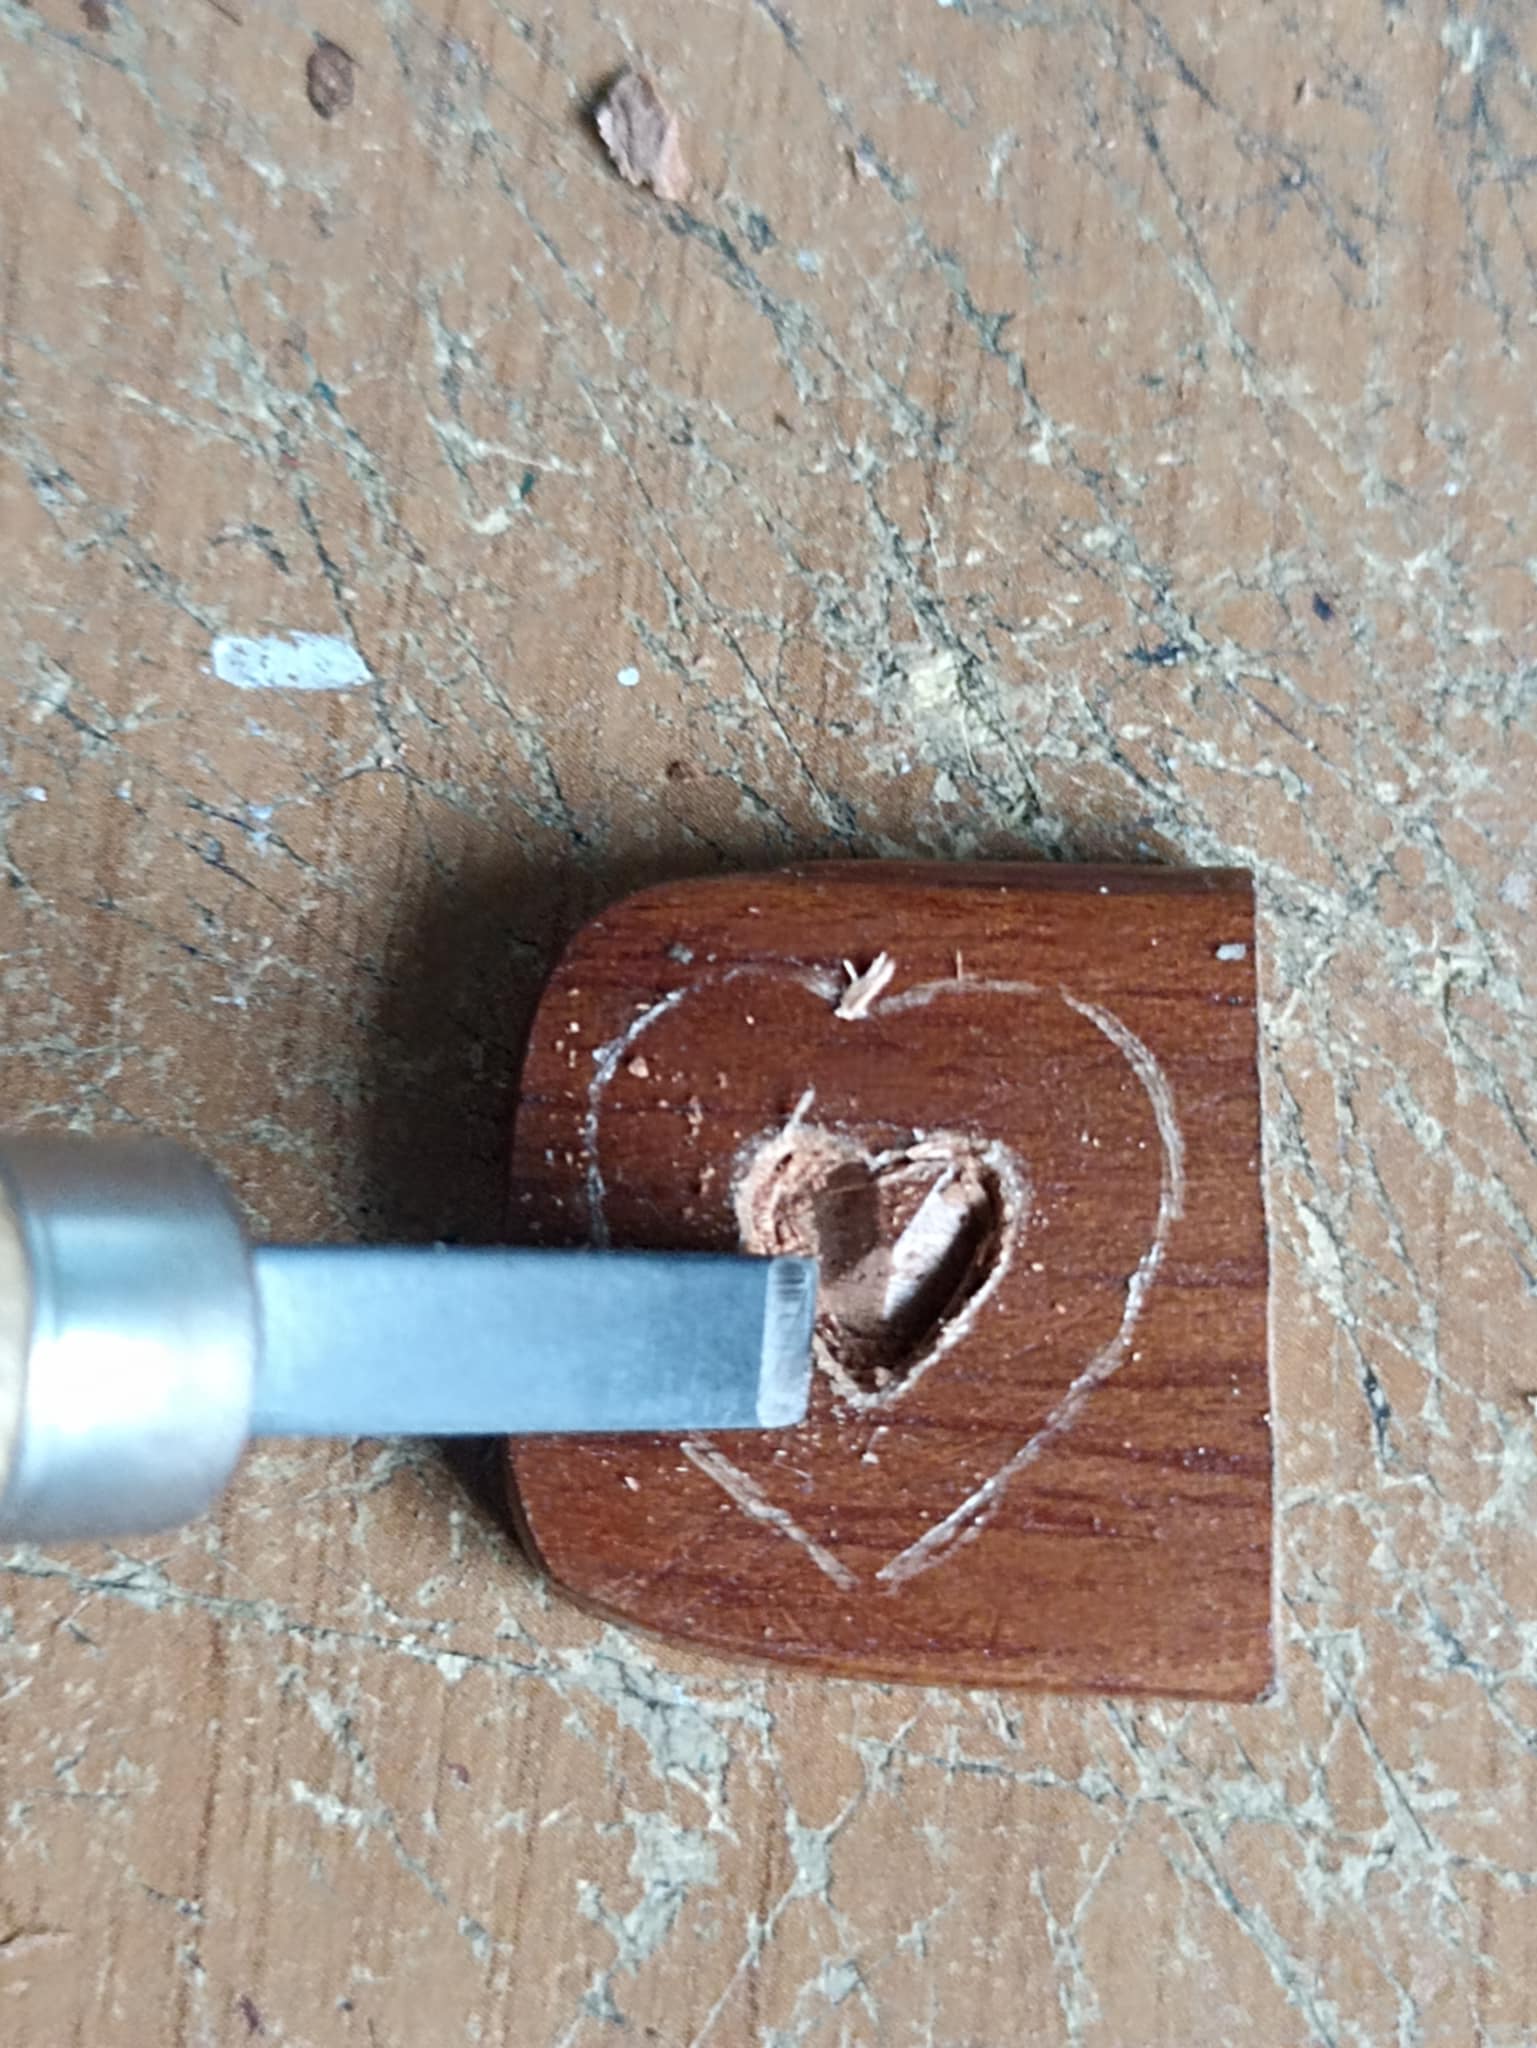
Next, to score the heart lines, I use a sharp-pointed knife, using the point to drive the wood into the wood until I make a complete cut line. Once I've made the score, I switch to a horizontal-pointed knife to carve the inner heart, starting in the center of the wood to prevent loss of density. If I start from the outside, the wood loses strength, so when it's time to score the center, the wood runs the risk of breaking. After scoring and removing the wood with the square knife, I finally use a thinner, sharper knife to remove the remaining wood.
Luego para marcar las líneas del corazón utilizo una cuchilla de punta afilada, con la punta voy hundiendo la madera hasta hacer toda una linea de corte. Una vez que ya he realizado la marca cambio por una cuchilla de punta horizontal para tallar el corazón interior, comienzo por el centro de la madera para que no pierda densidad. Si comienzo por la parte exterior la madera va perdiendo fuerza, de manera que cuando toque hacer la parte central la madera corre el riesgo de romperse. Luego de marcar y extraer la madera con la cuchilla cuadrada al final utilizo una más puntiaguda y fina para sacar la madera restante.
 |
 |
|
|---|---|---|
 |
 |
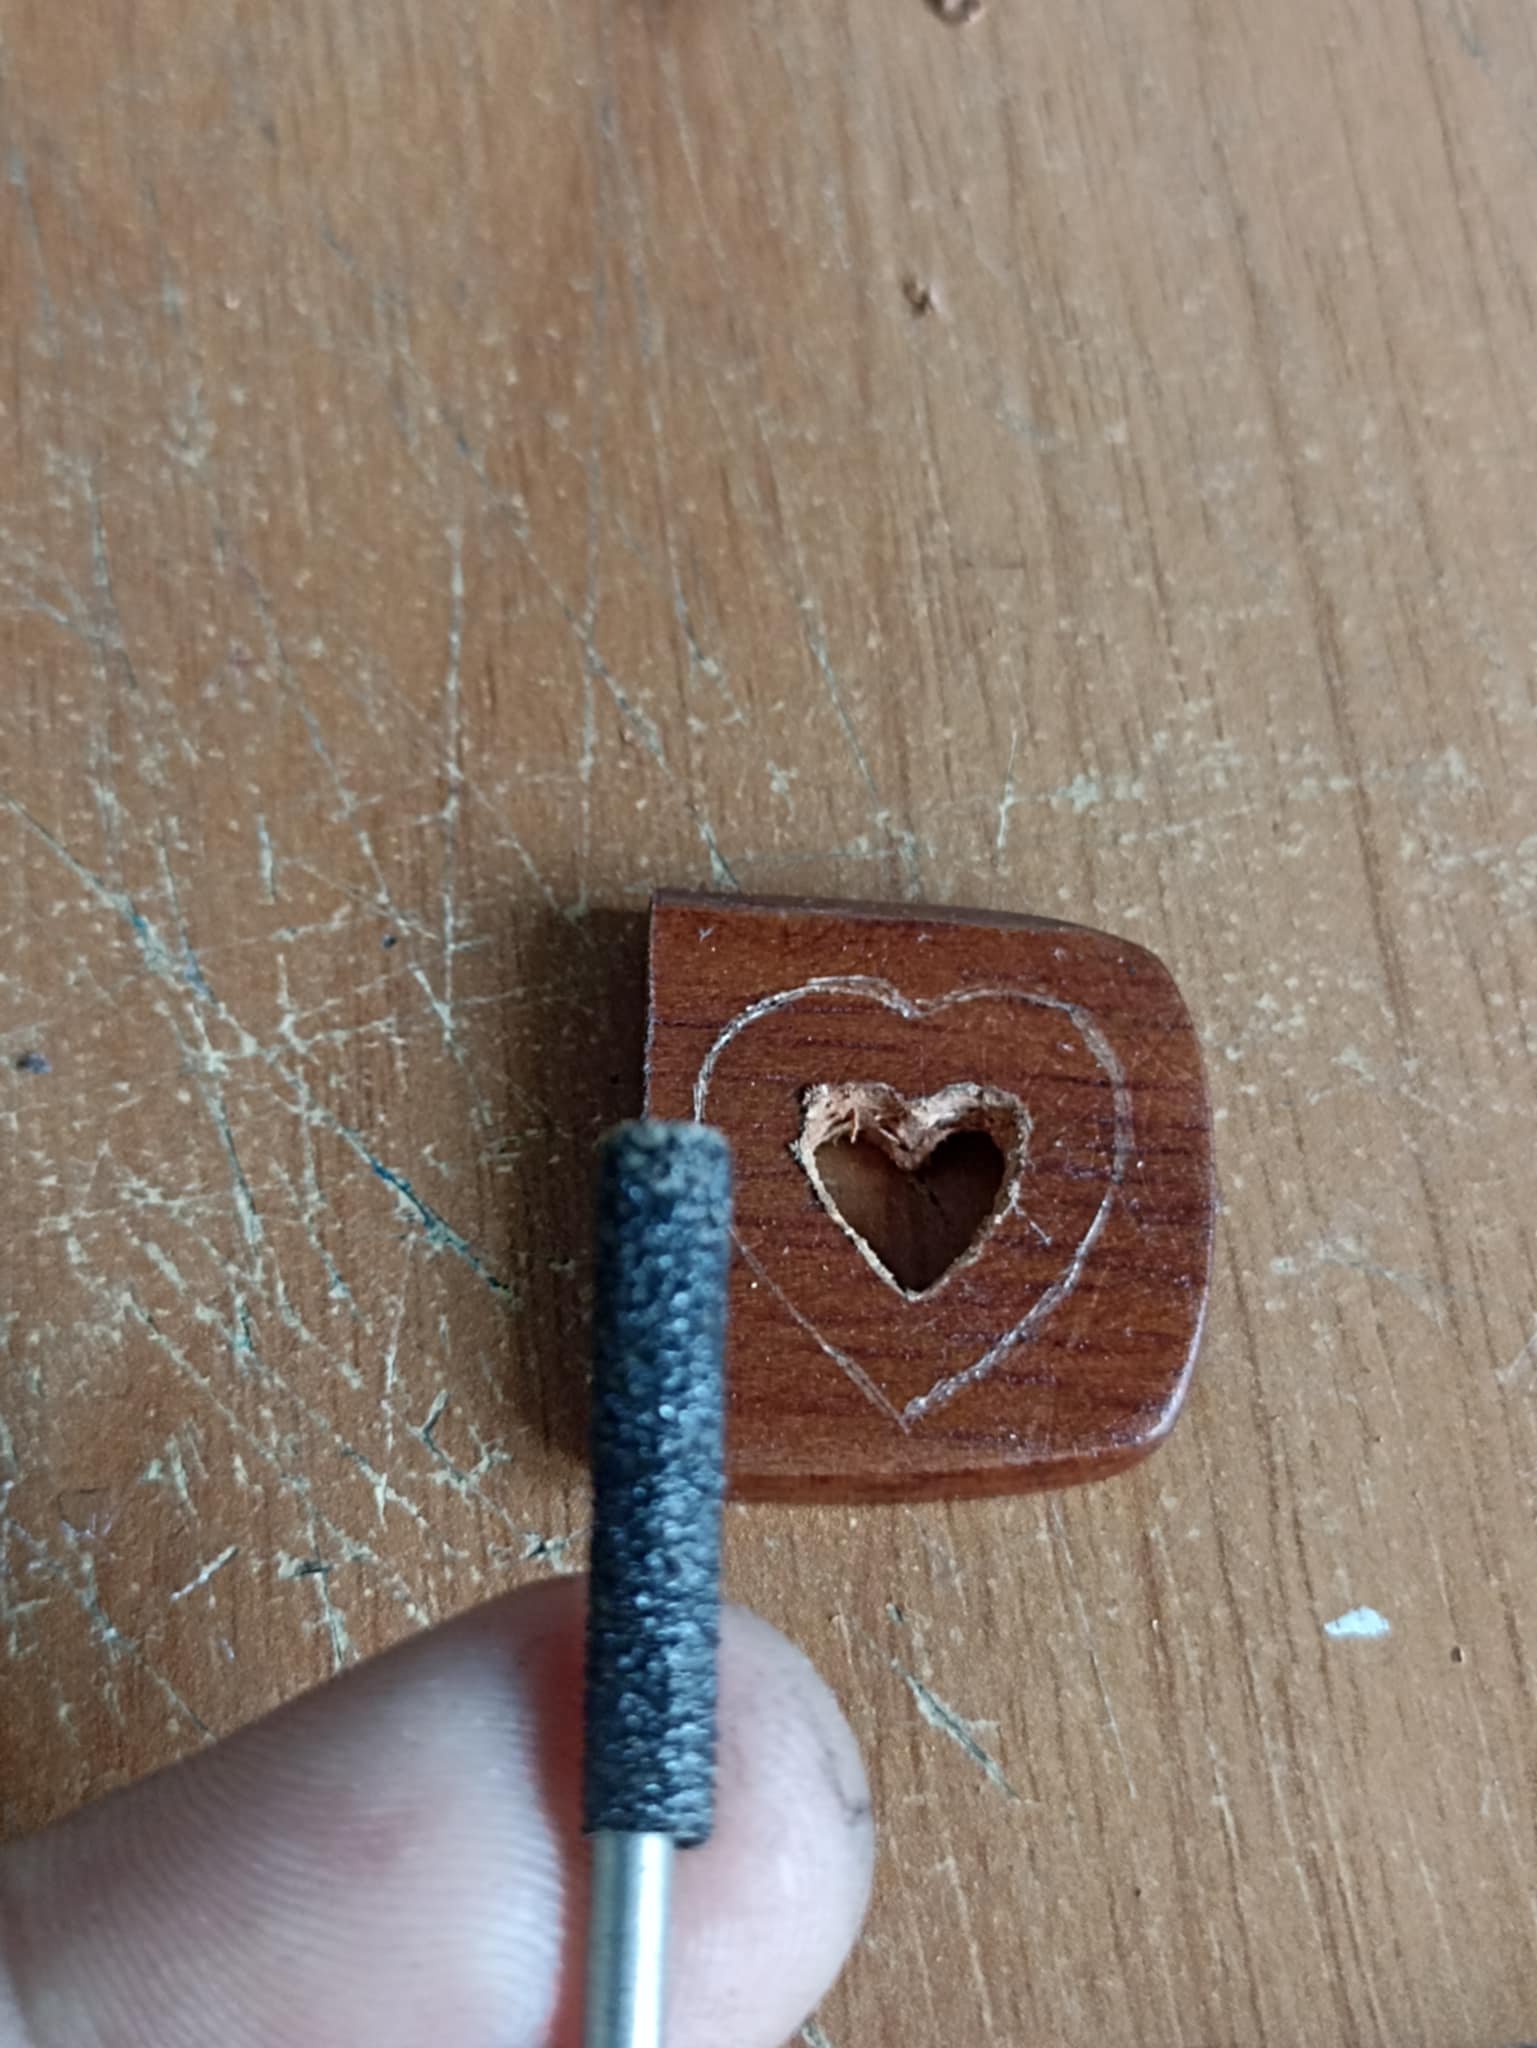
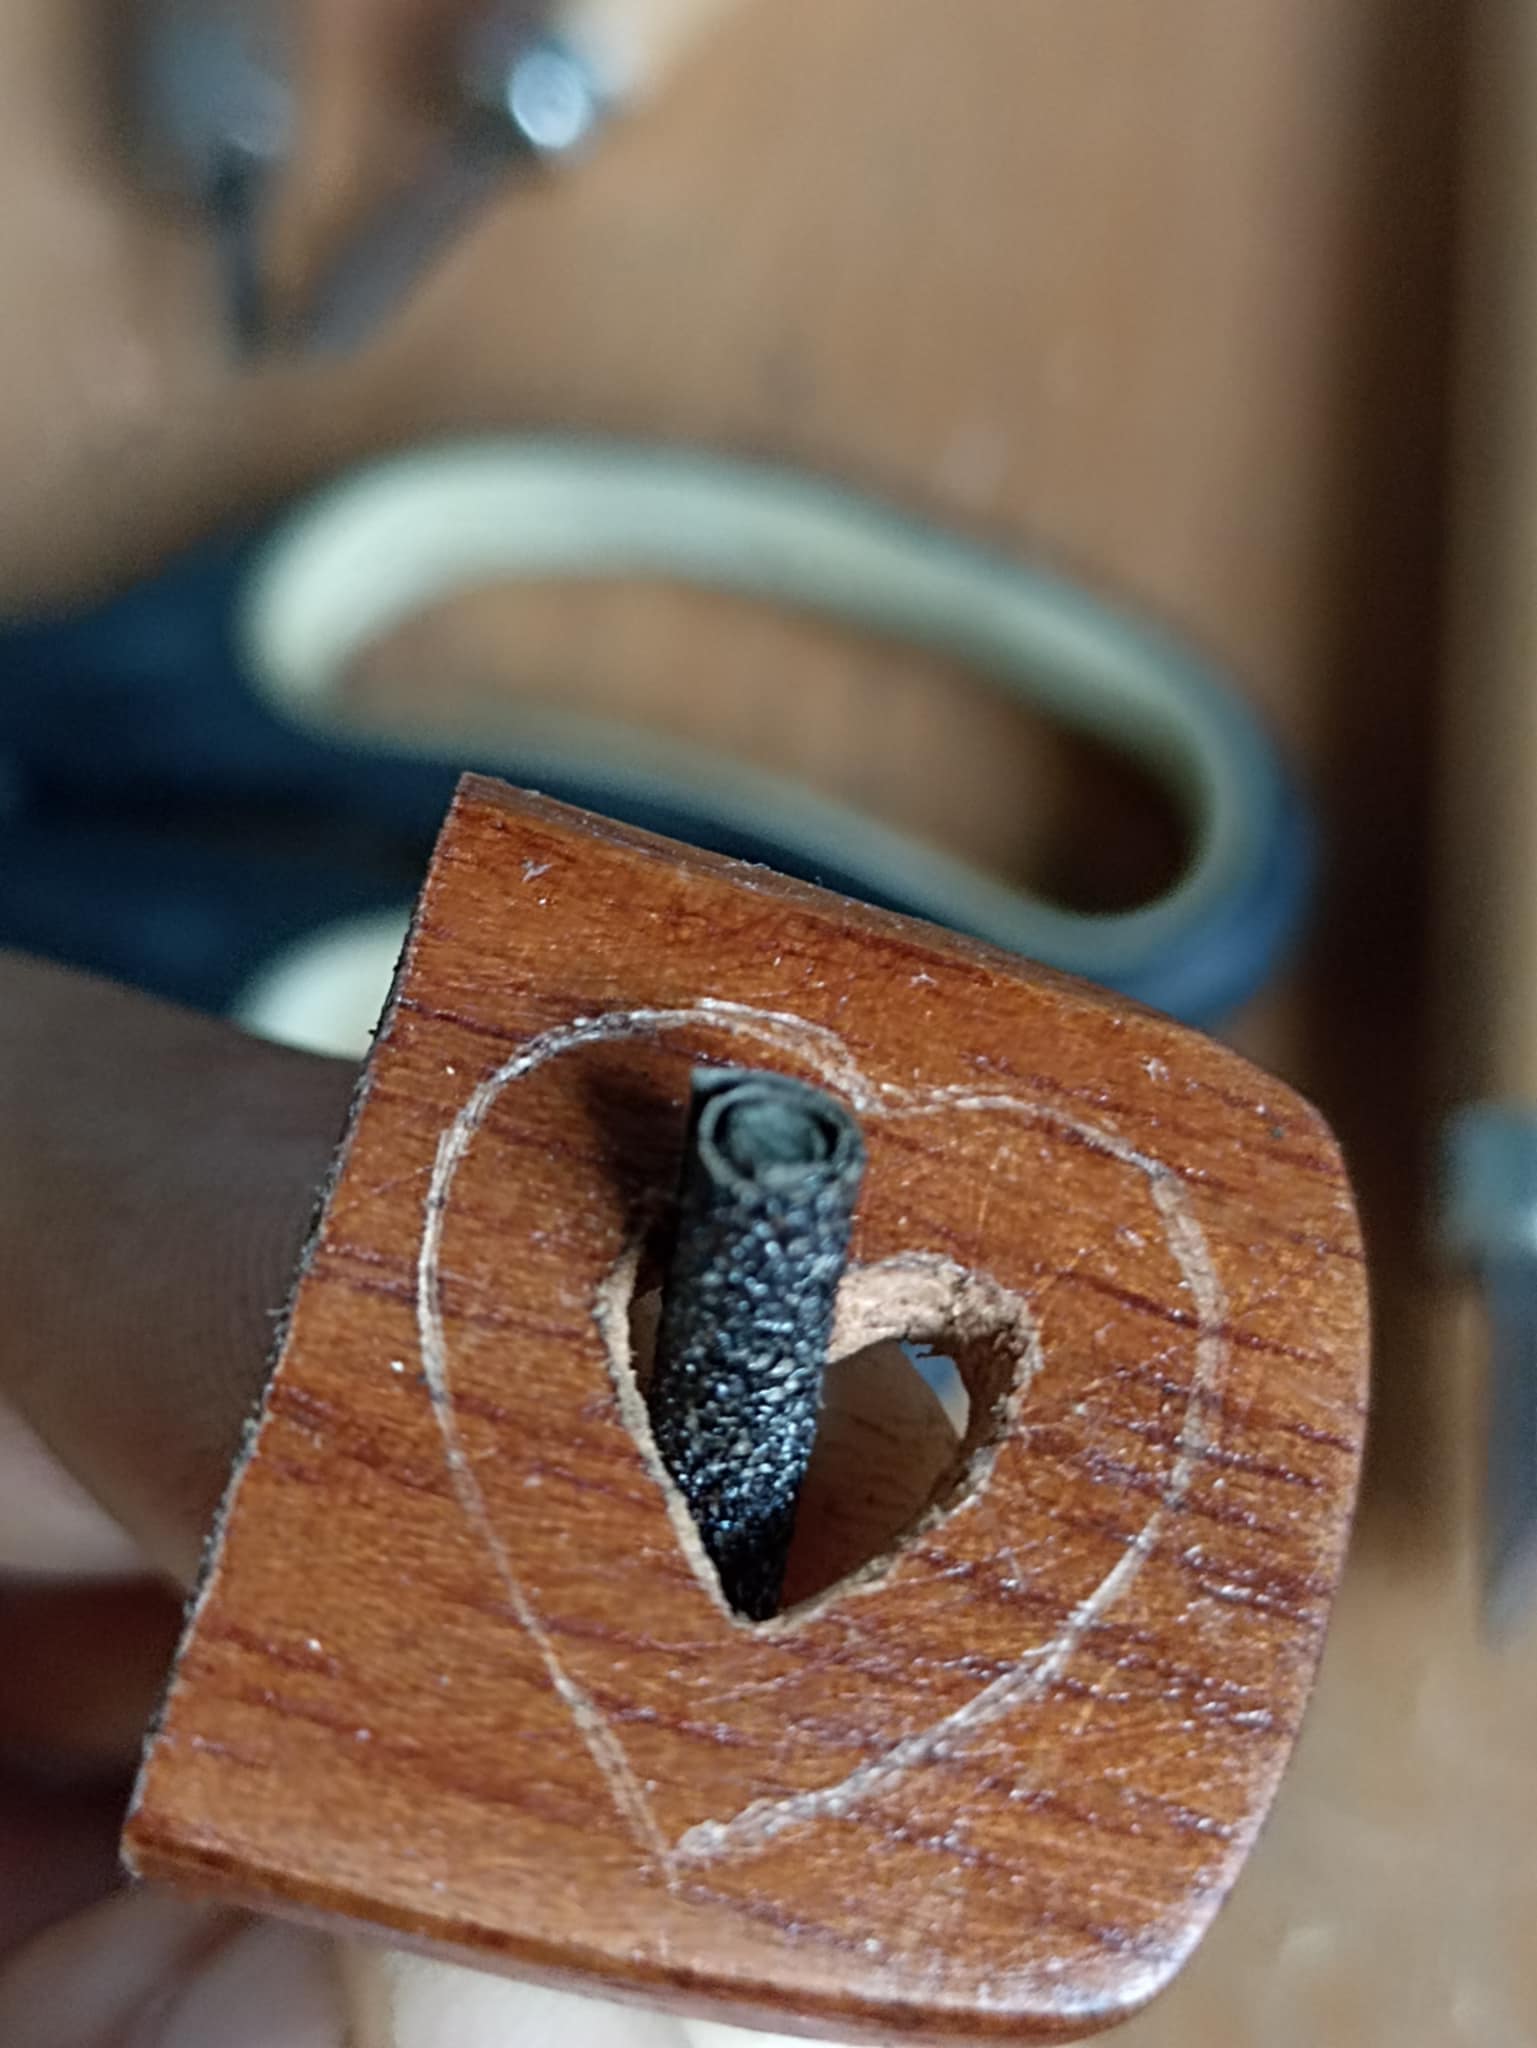
Once the center core was finished, I began cleaning and polishing it. So I improvised a small polishing tool. I made it out of a small metal rod, and I applied sandpaper to the pointed end. I manually cleaned the entire center until it was polished.
Una vez que estuvo hecho el corazón del centro comencé a limpiarlo y pulirlo. Así que improvisé una pequeña herramienta para pulir, la hice con una pequeña barra de metal y en la punta punta le puse papel del lija. Así manualmente limpie todo el centro hasta que quedó pulido.
 |
 |
|
|---|---|---|
 |
 |
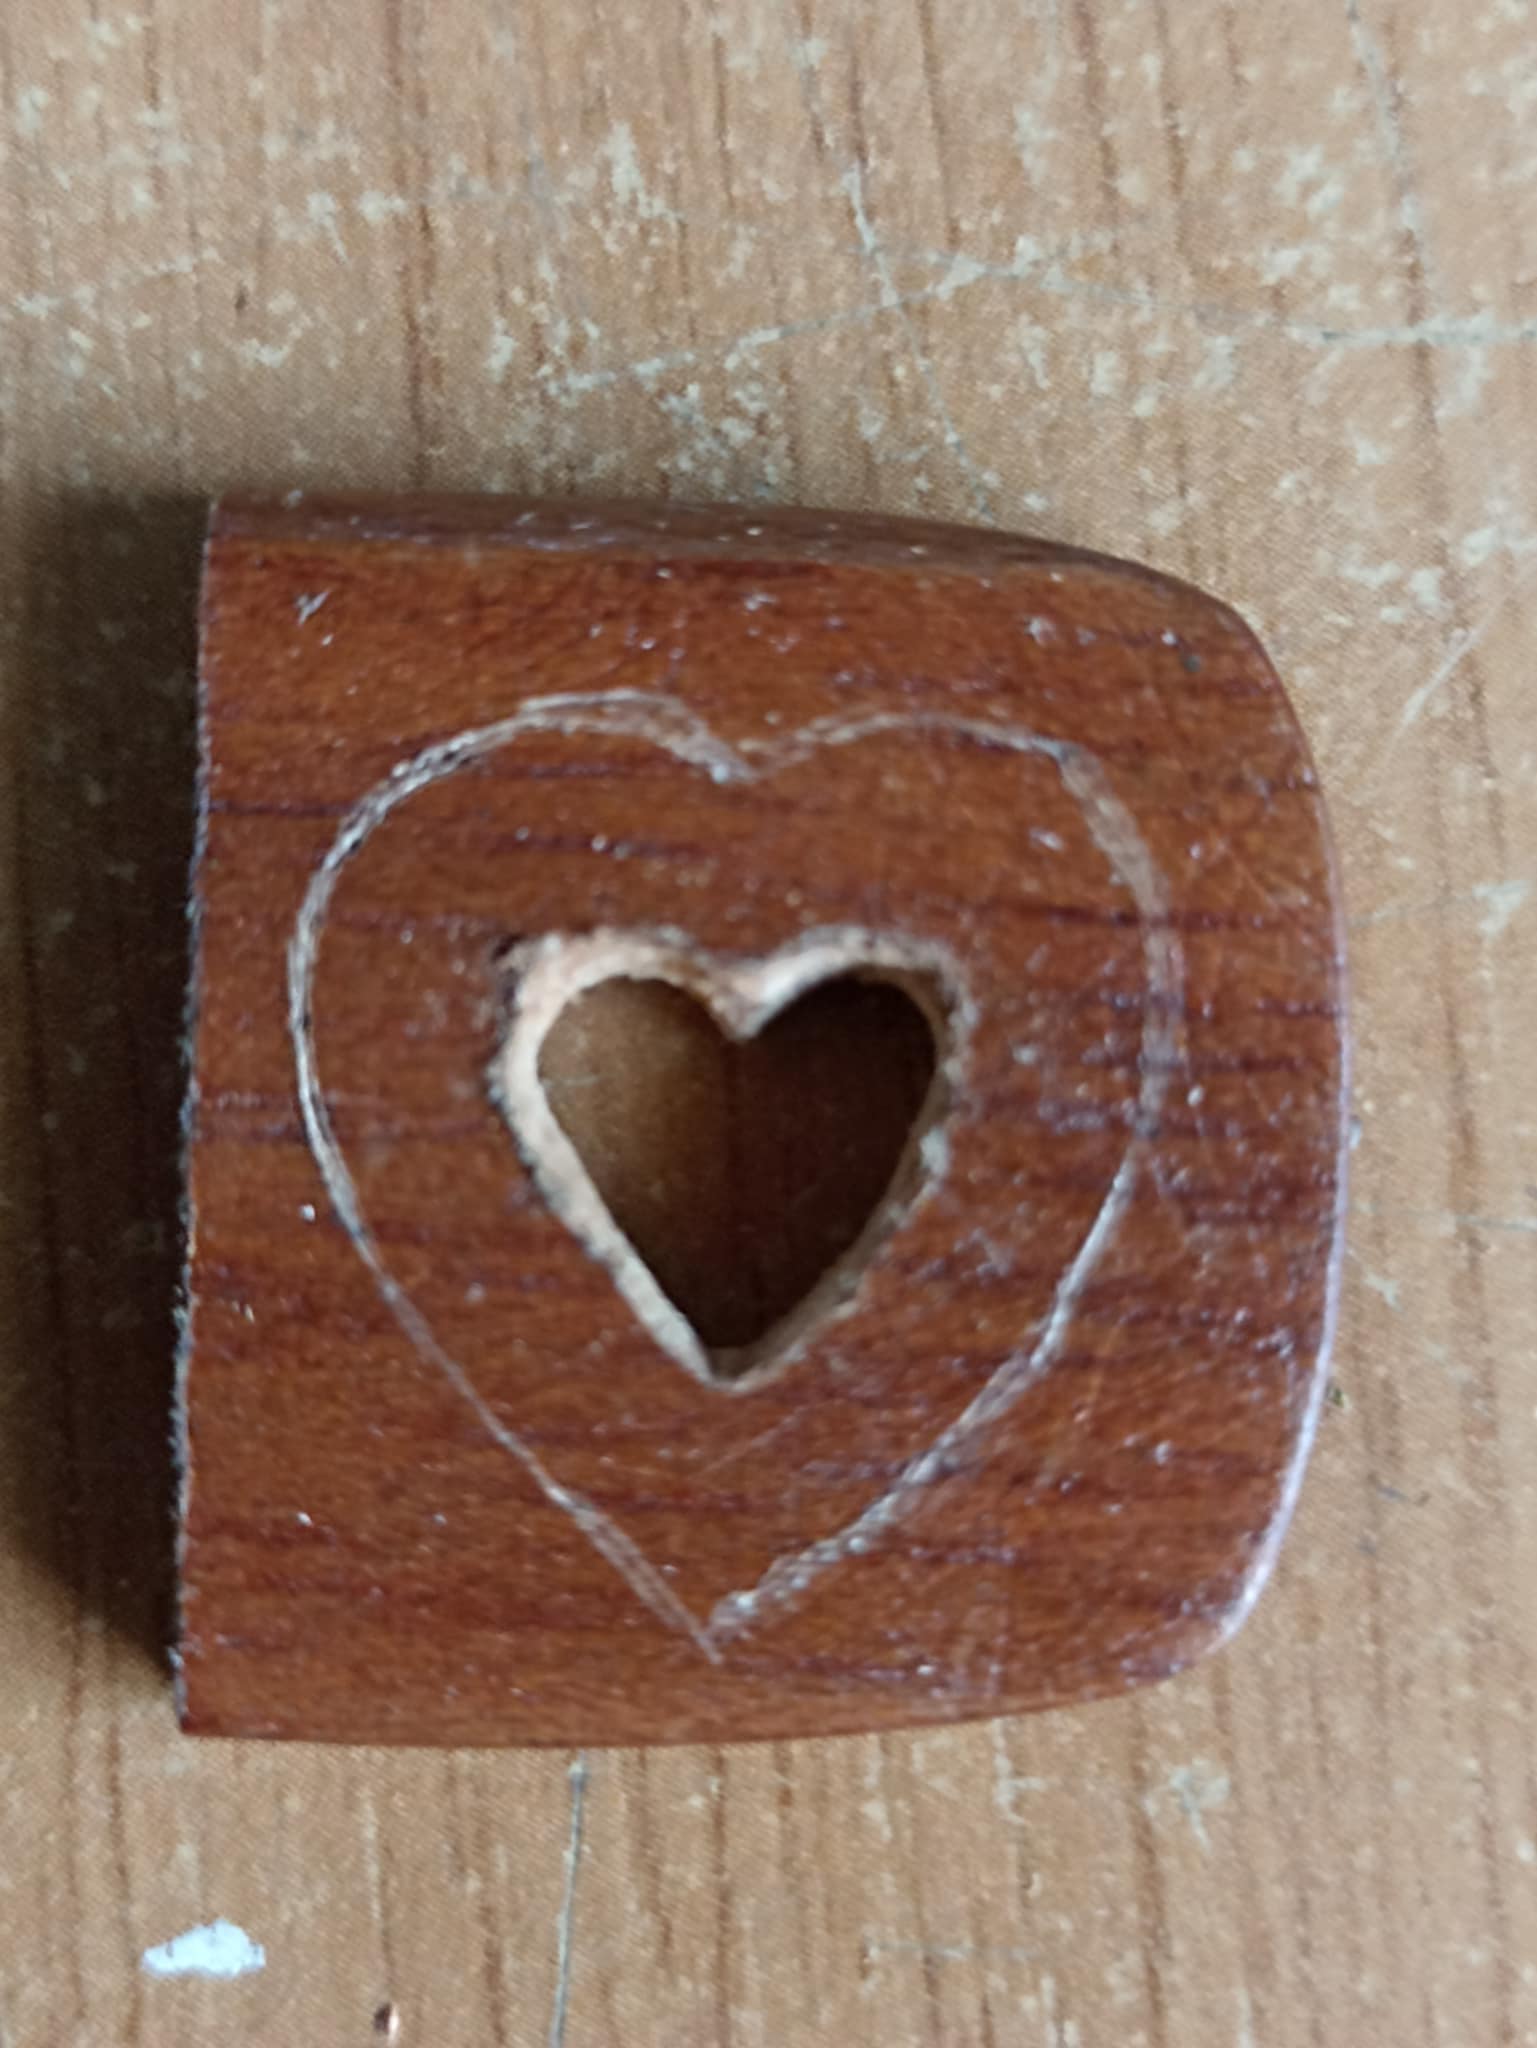
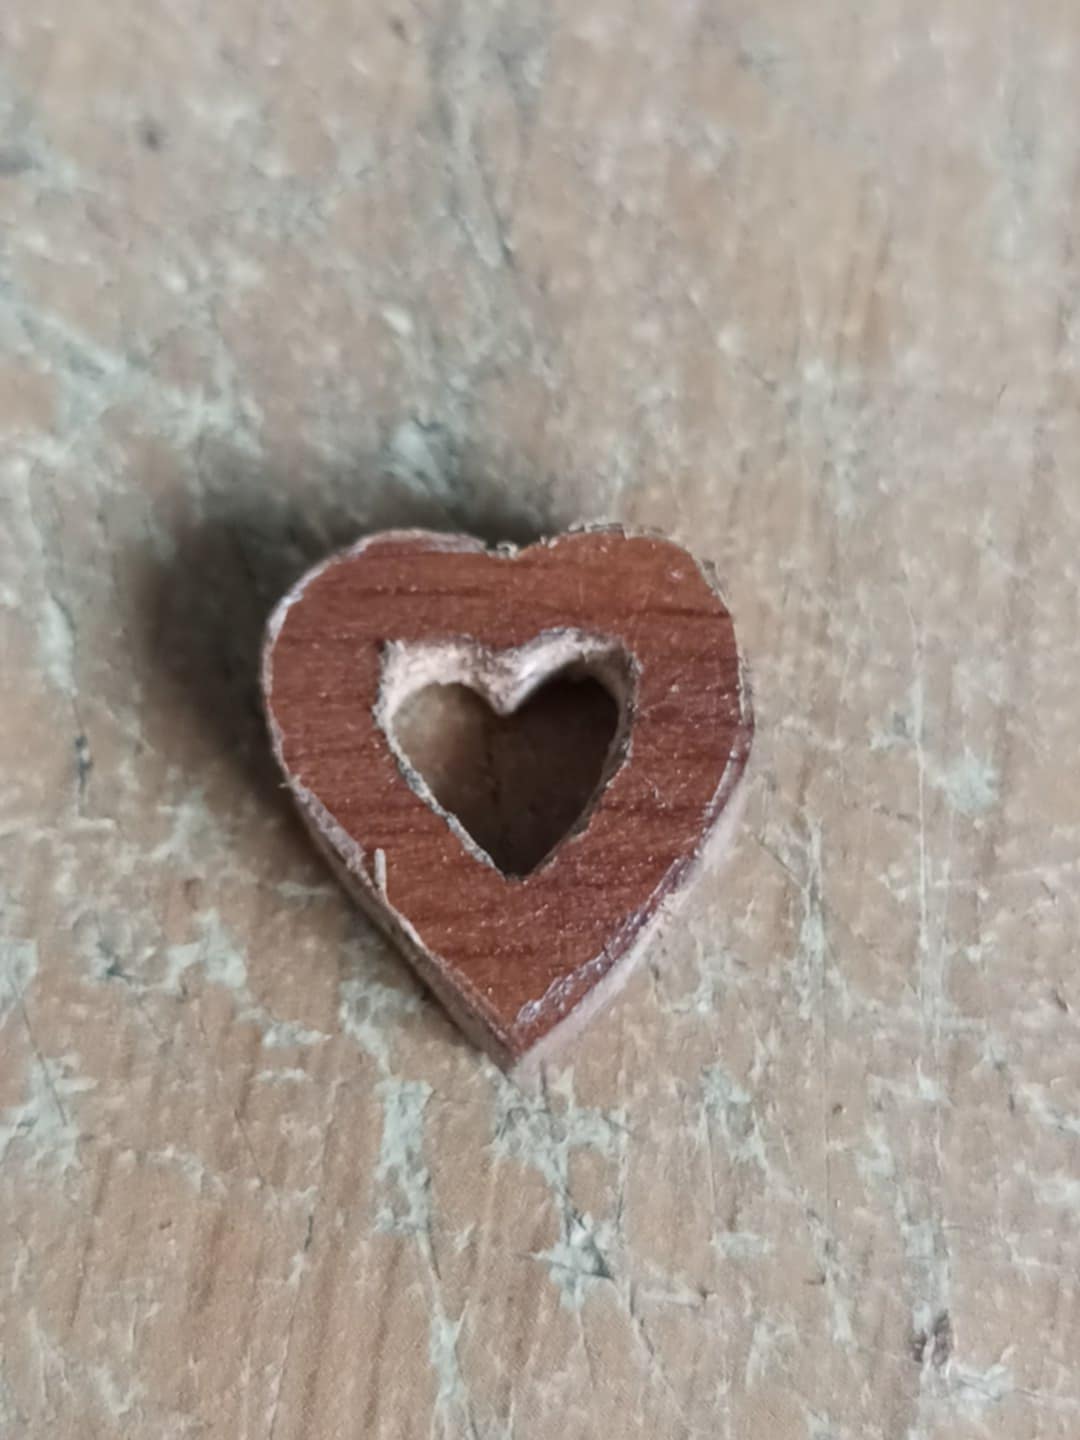
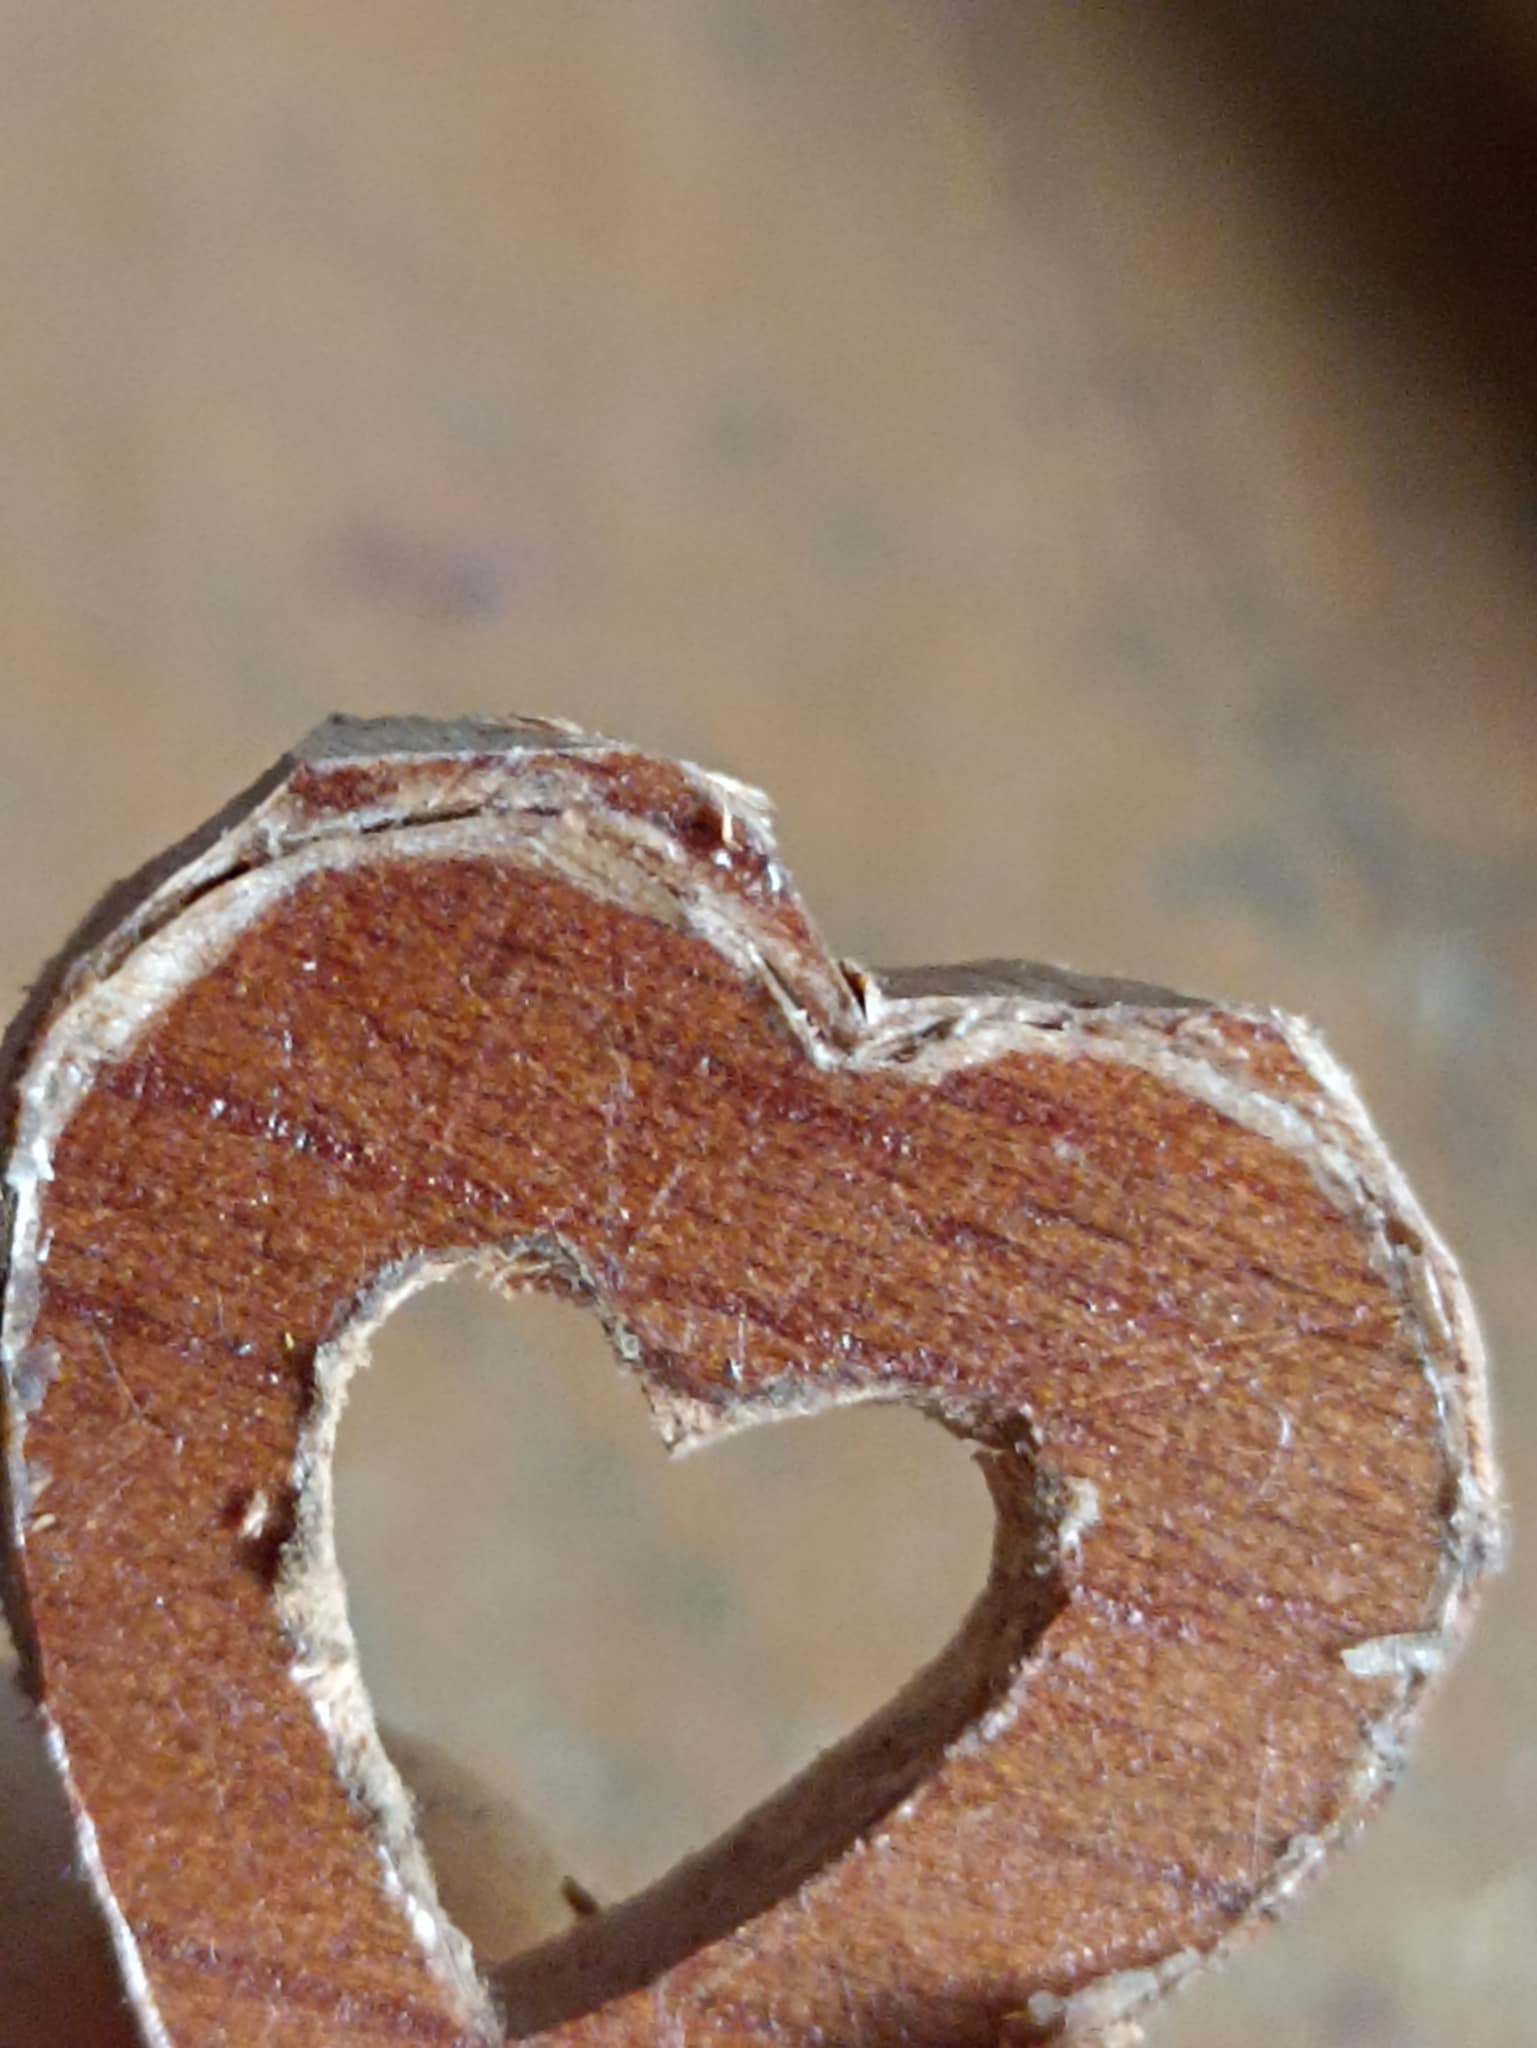
Now, you can cut the wood on the outer edges, gradually removing it with the box cutter. I only use the sharpest blades on the toughest areas. Once I've shaped all the wood into a heart, I use sandpaper to polish it and clean it until the surface is very smooth.
Ahora si, se puede cortar la madera que estan en los bordes exteriores, así poco a poco la voy retirando con el el cúter, solo en aquellas partes más difíciles utilizo las cuchillas de hoja más afiladas. Una vez que ya he dado forma de corazón a toda la madera lo que hago es utilizar una lija para pulir y así limpíar toda la madera hasta dejar la superficie muy suave.
 |
 |
|
|---|---|---|
 |
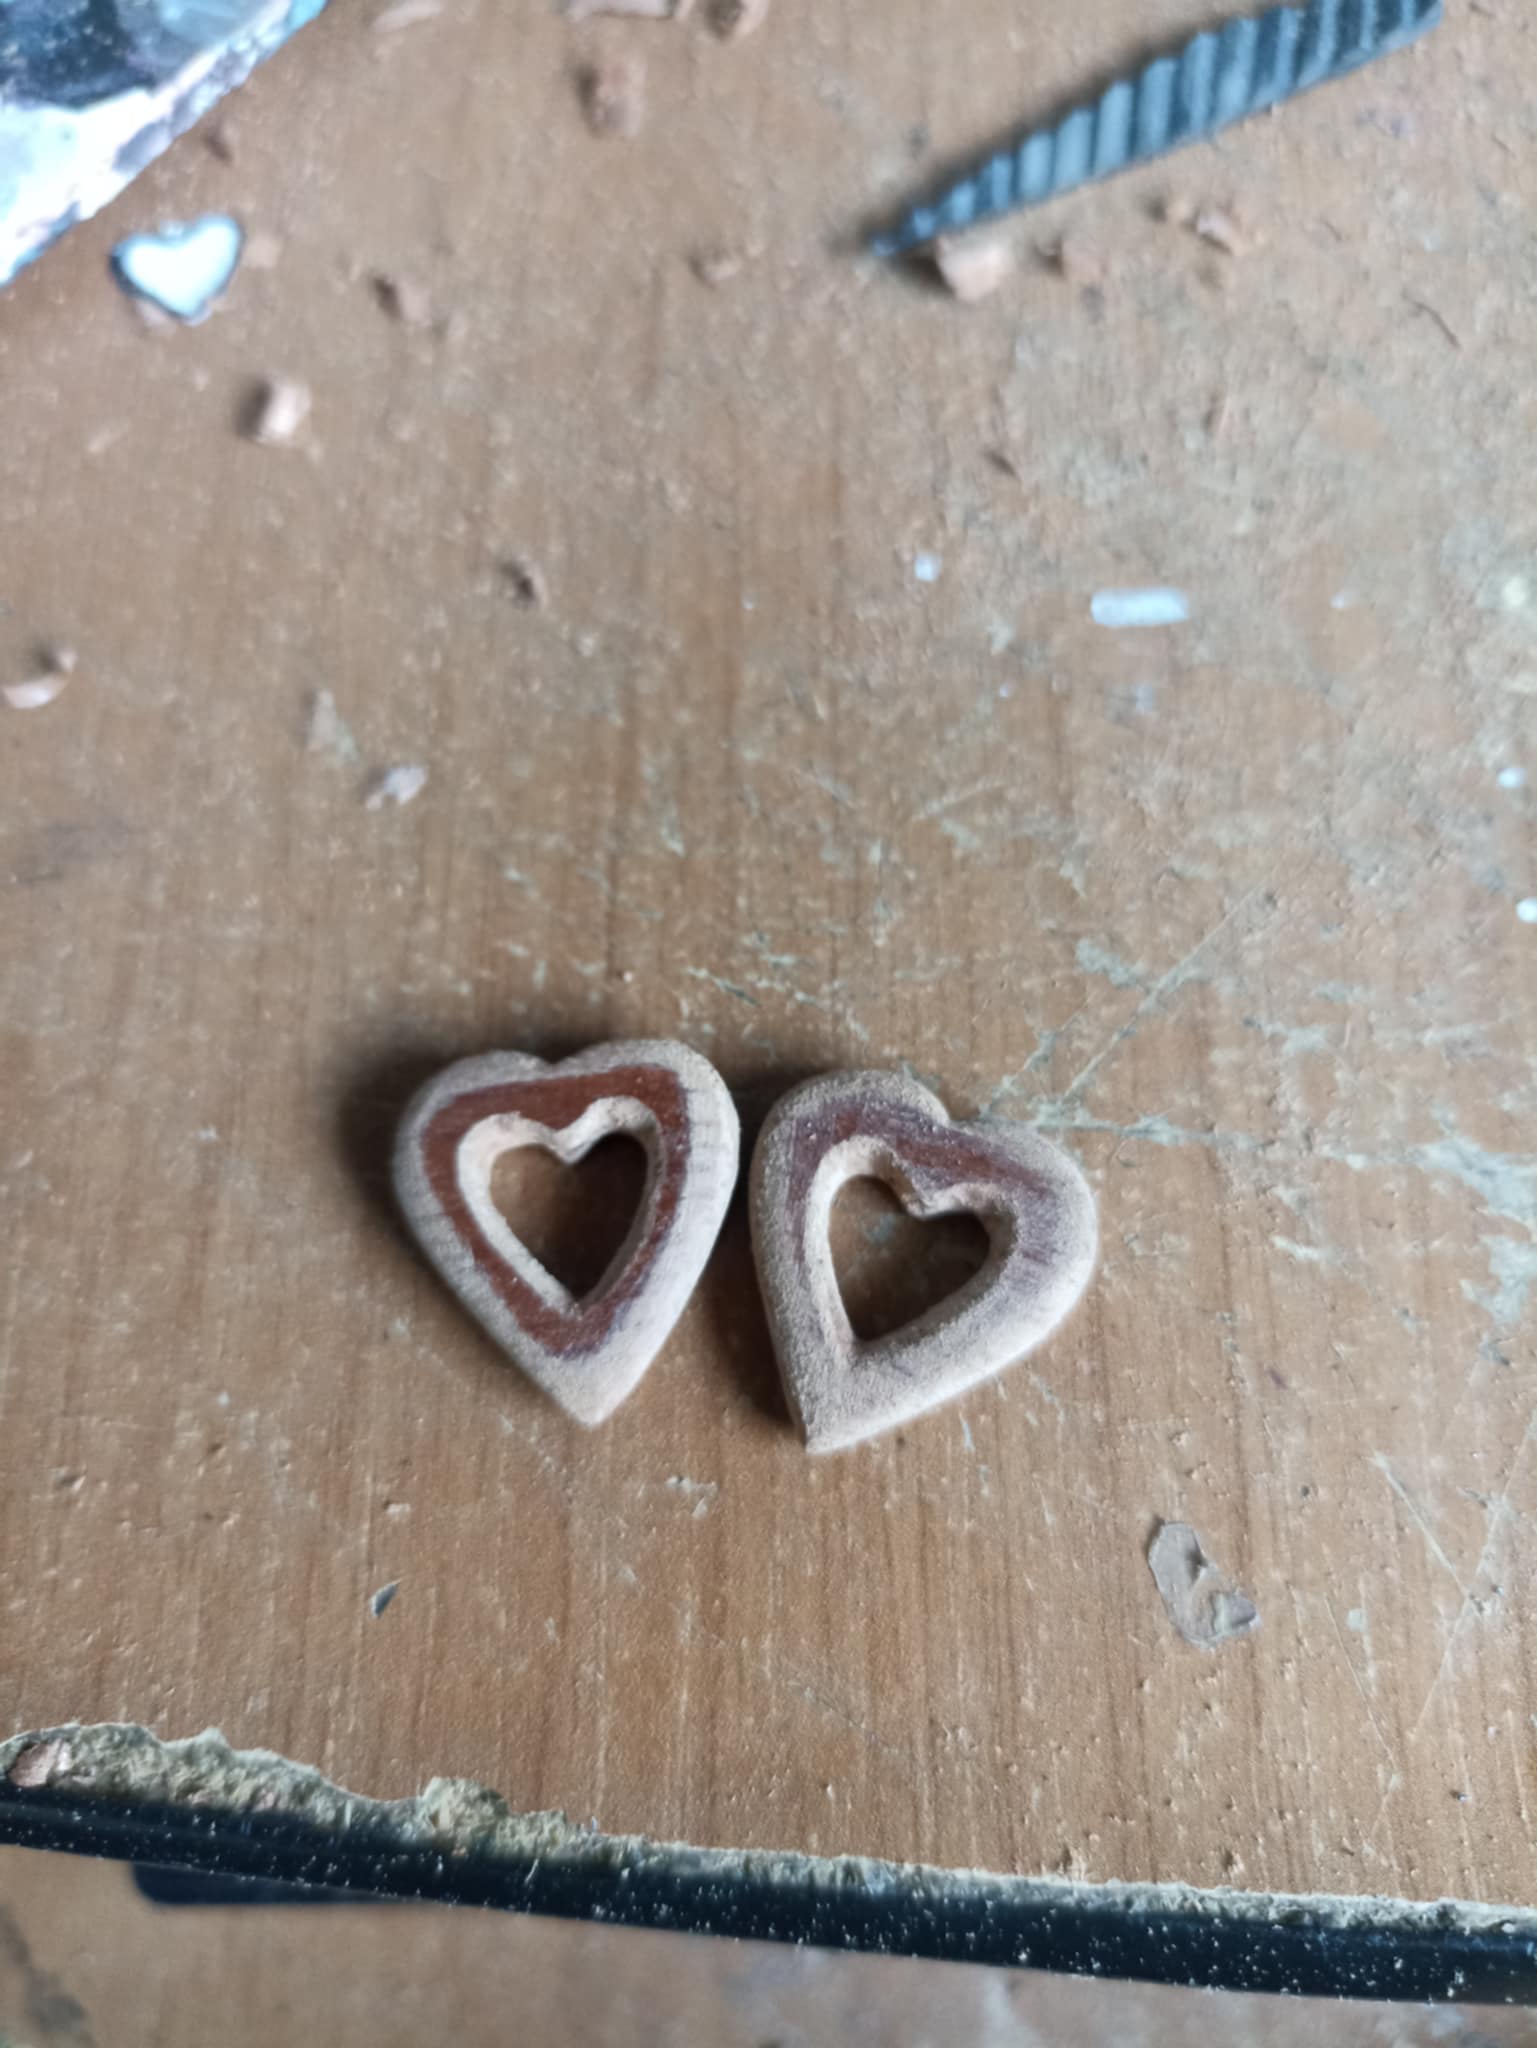 |
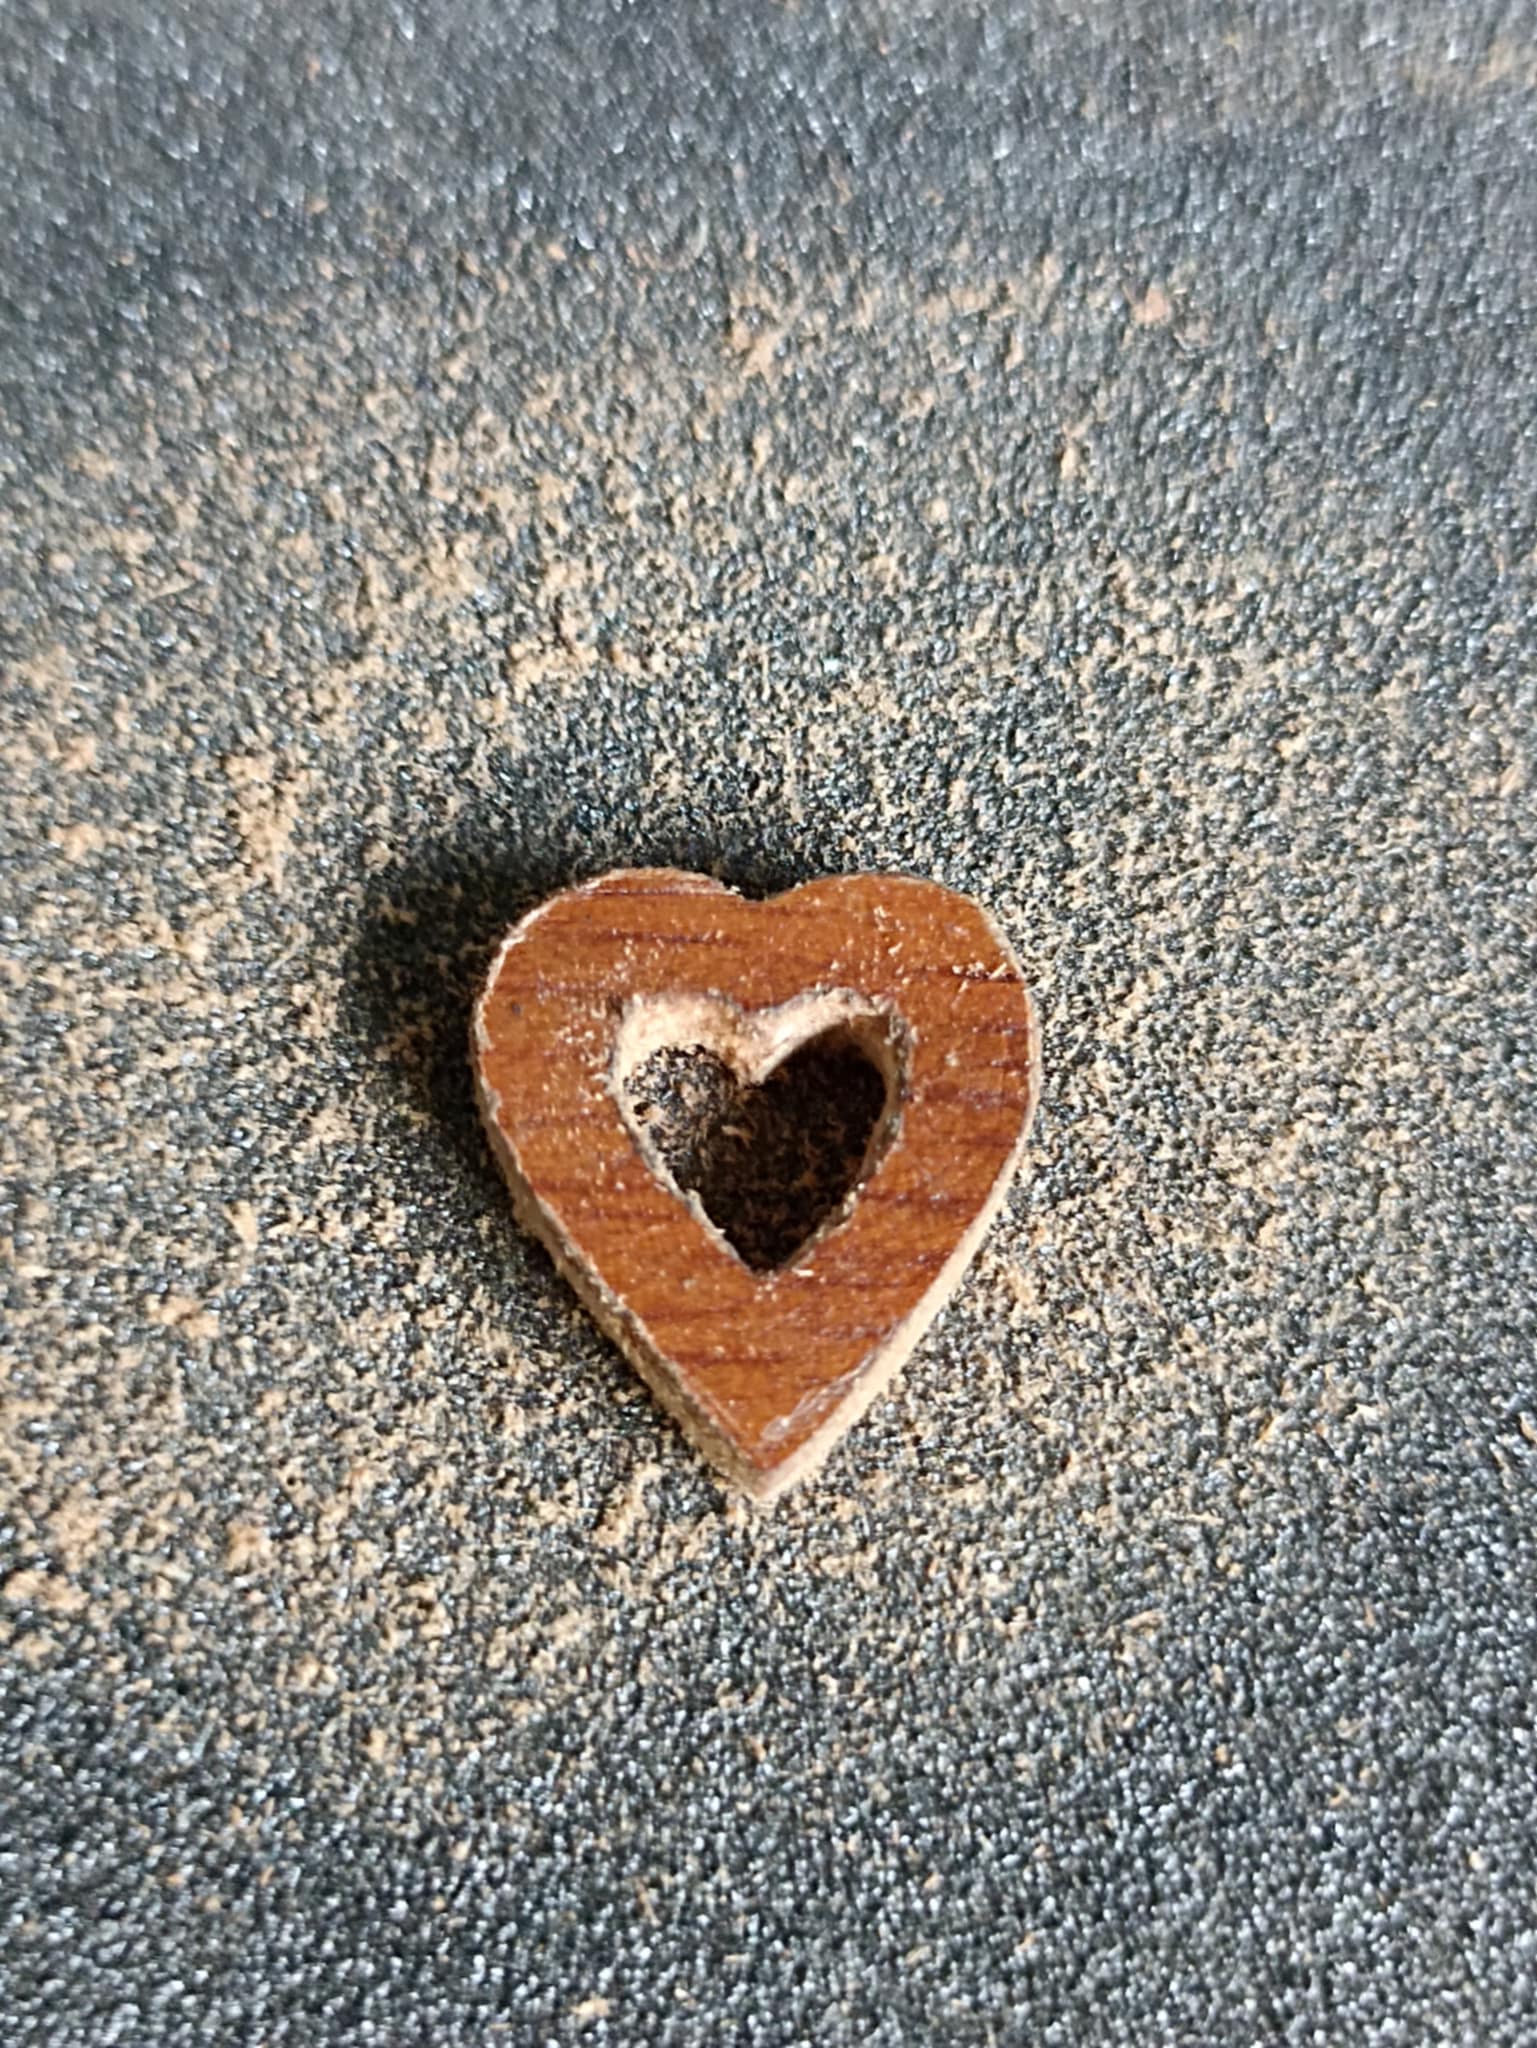
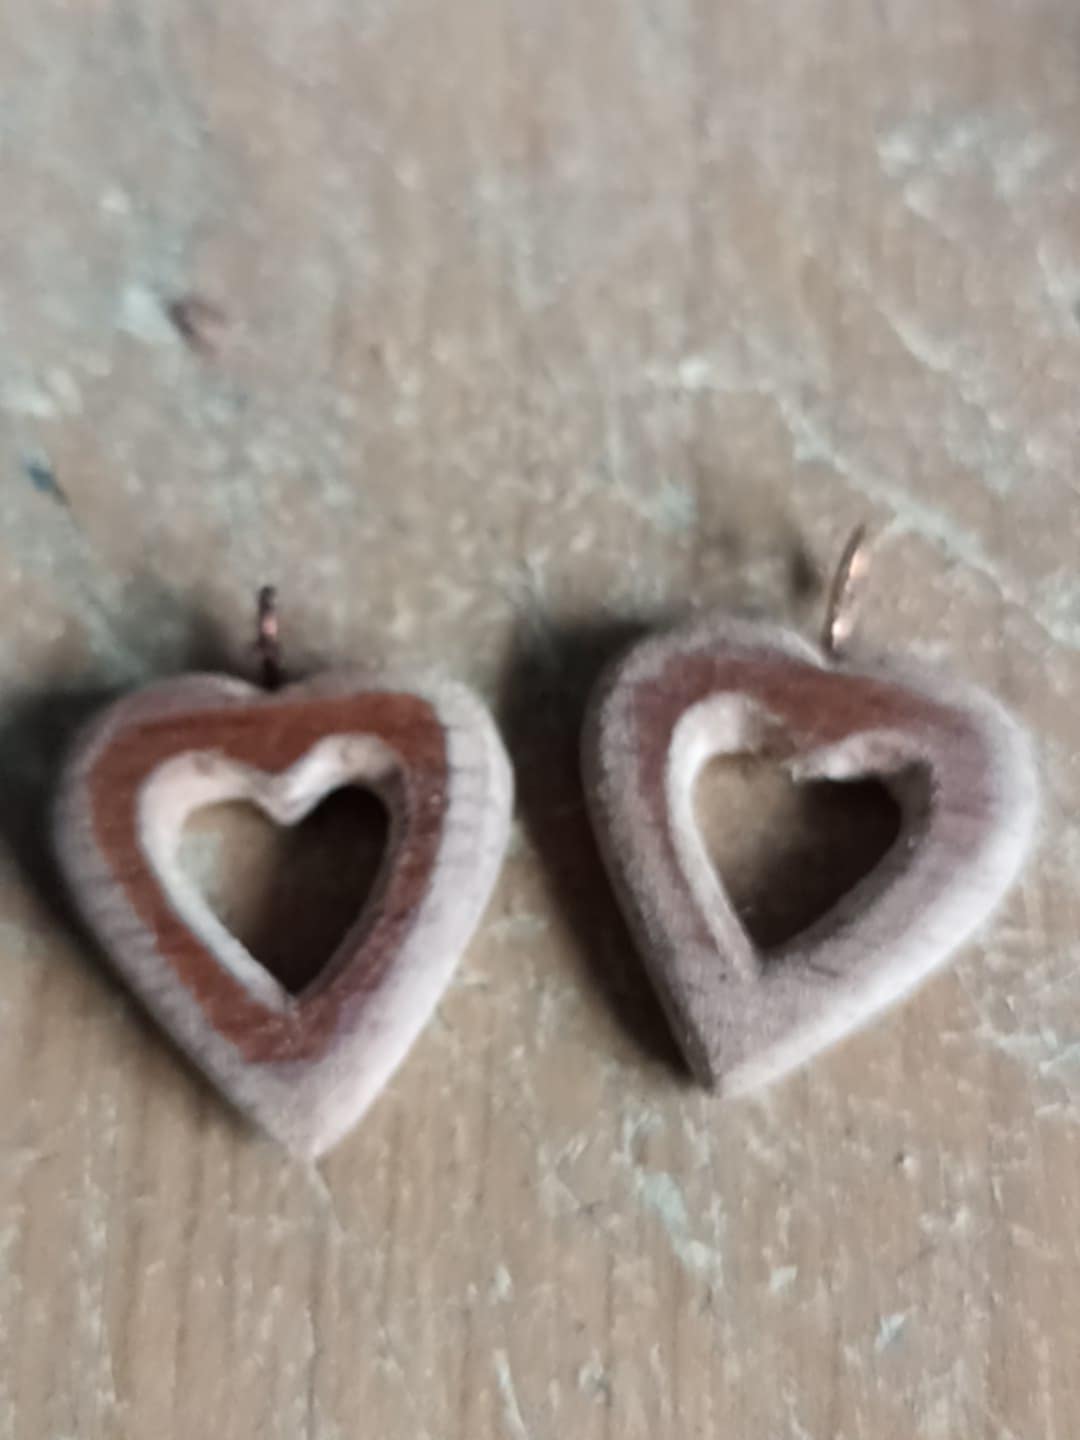
To make the other heart and thus make the pair, I repeat all the previous steps. Starting in the center, then the edges, and finally, sanding the pieces thoroughly until the surface is polished and smooth.
Para hacer el otro corazón y así hacer el par lo que hago es repetir todo los pasos anteriores. Comenzando por el centro, luego los bordes y por último lijar muy bien las piezas hasta que la superficie quede bien pulida y suave.
 |
 |
 |
|---|---|---|
 |
 |
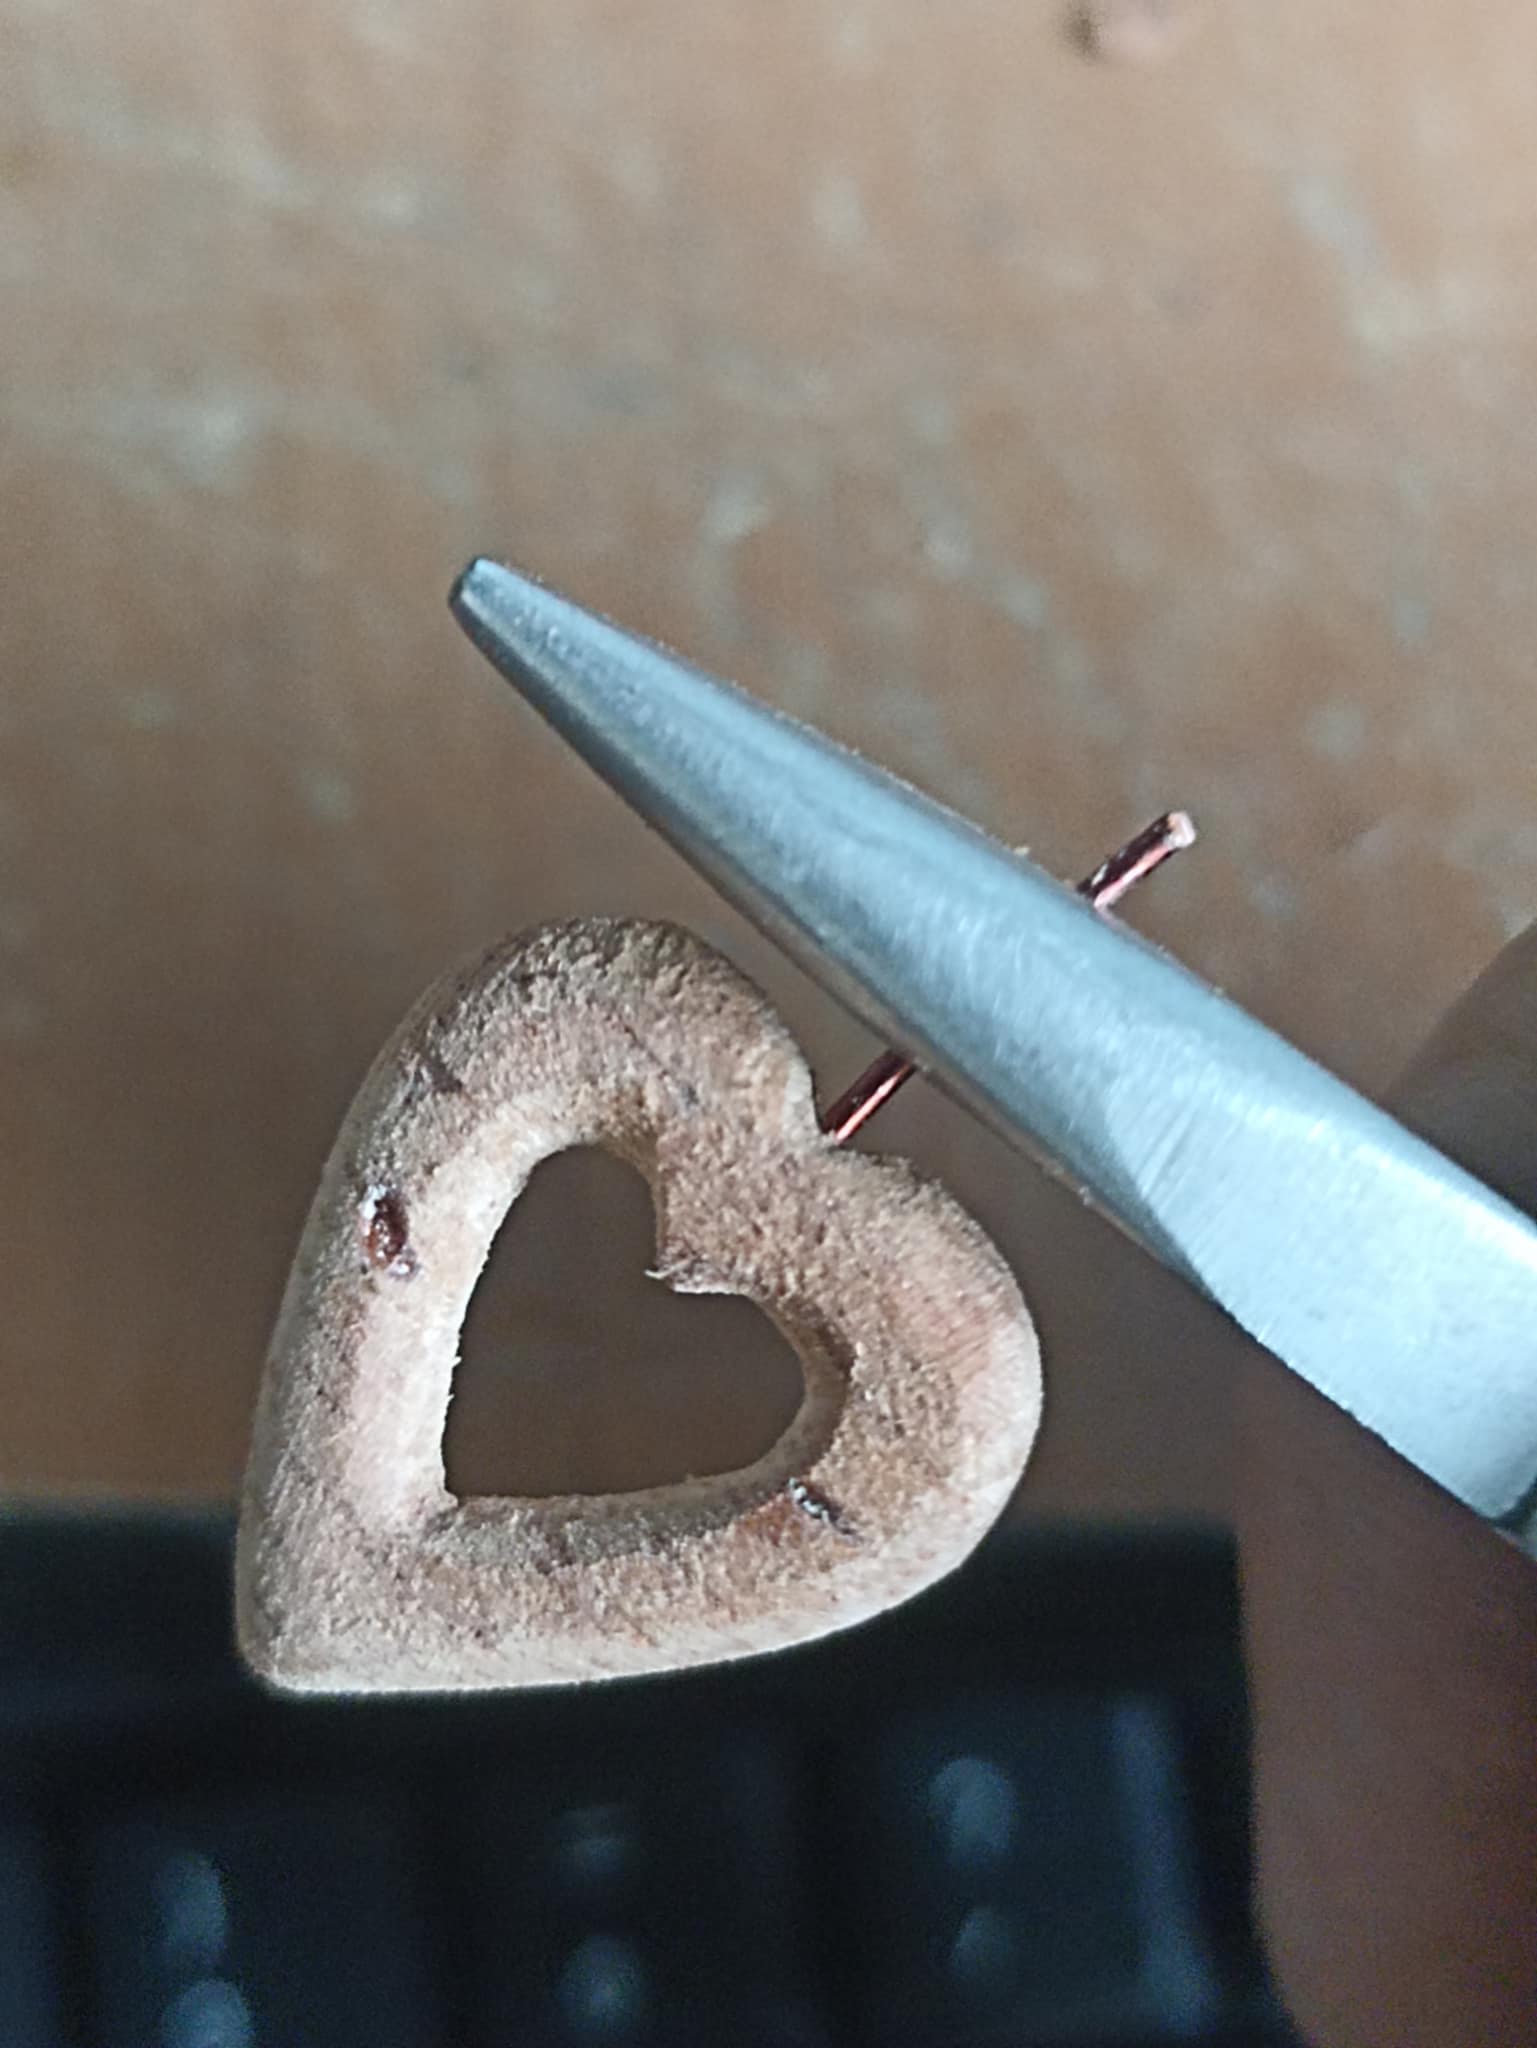
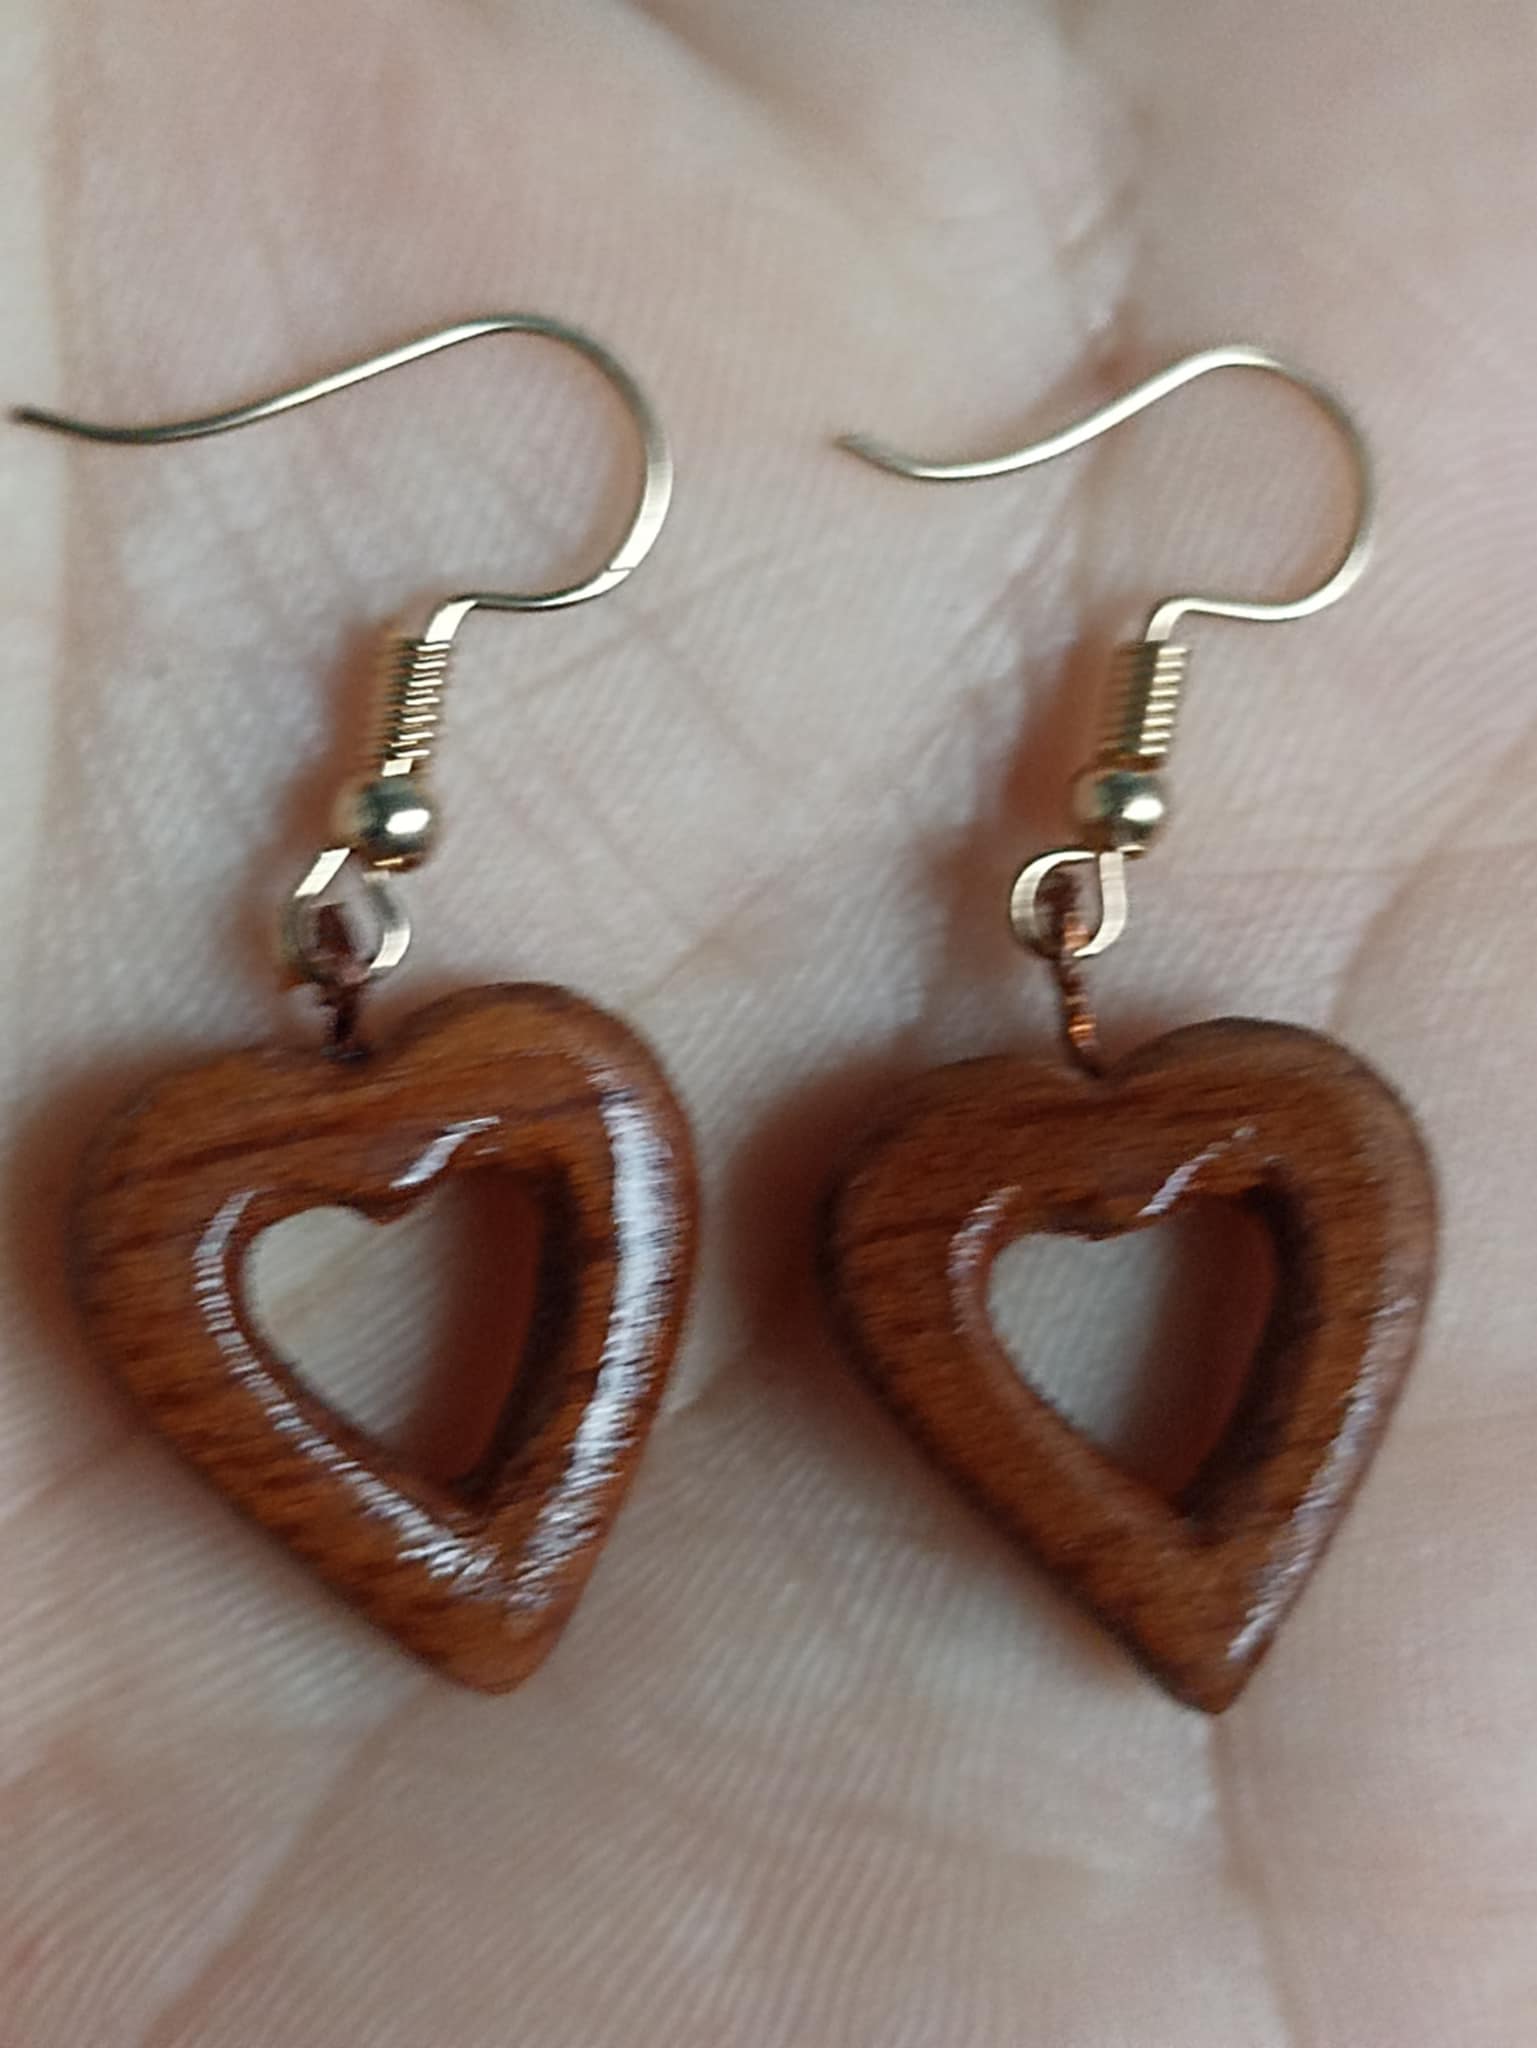 |
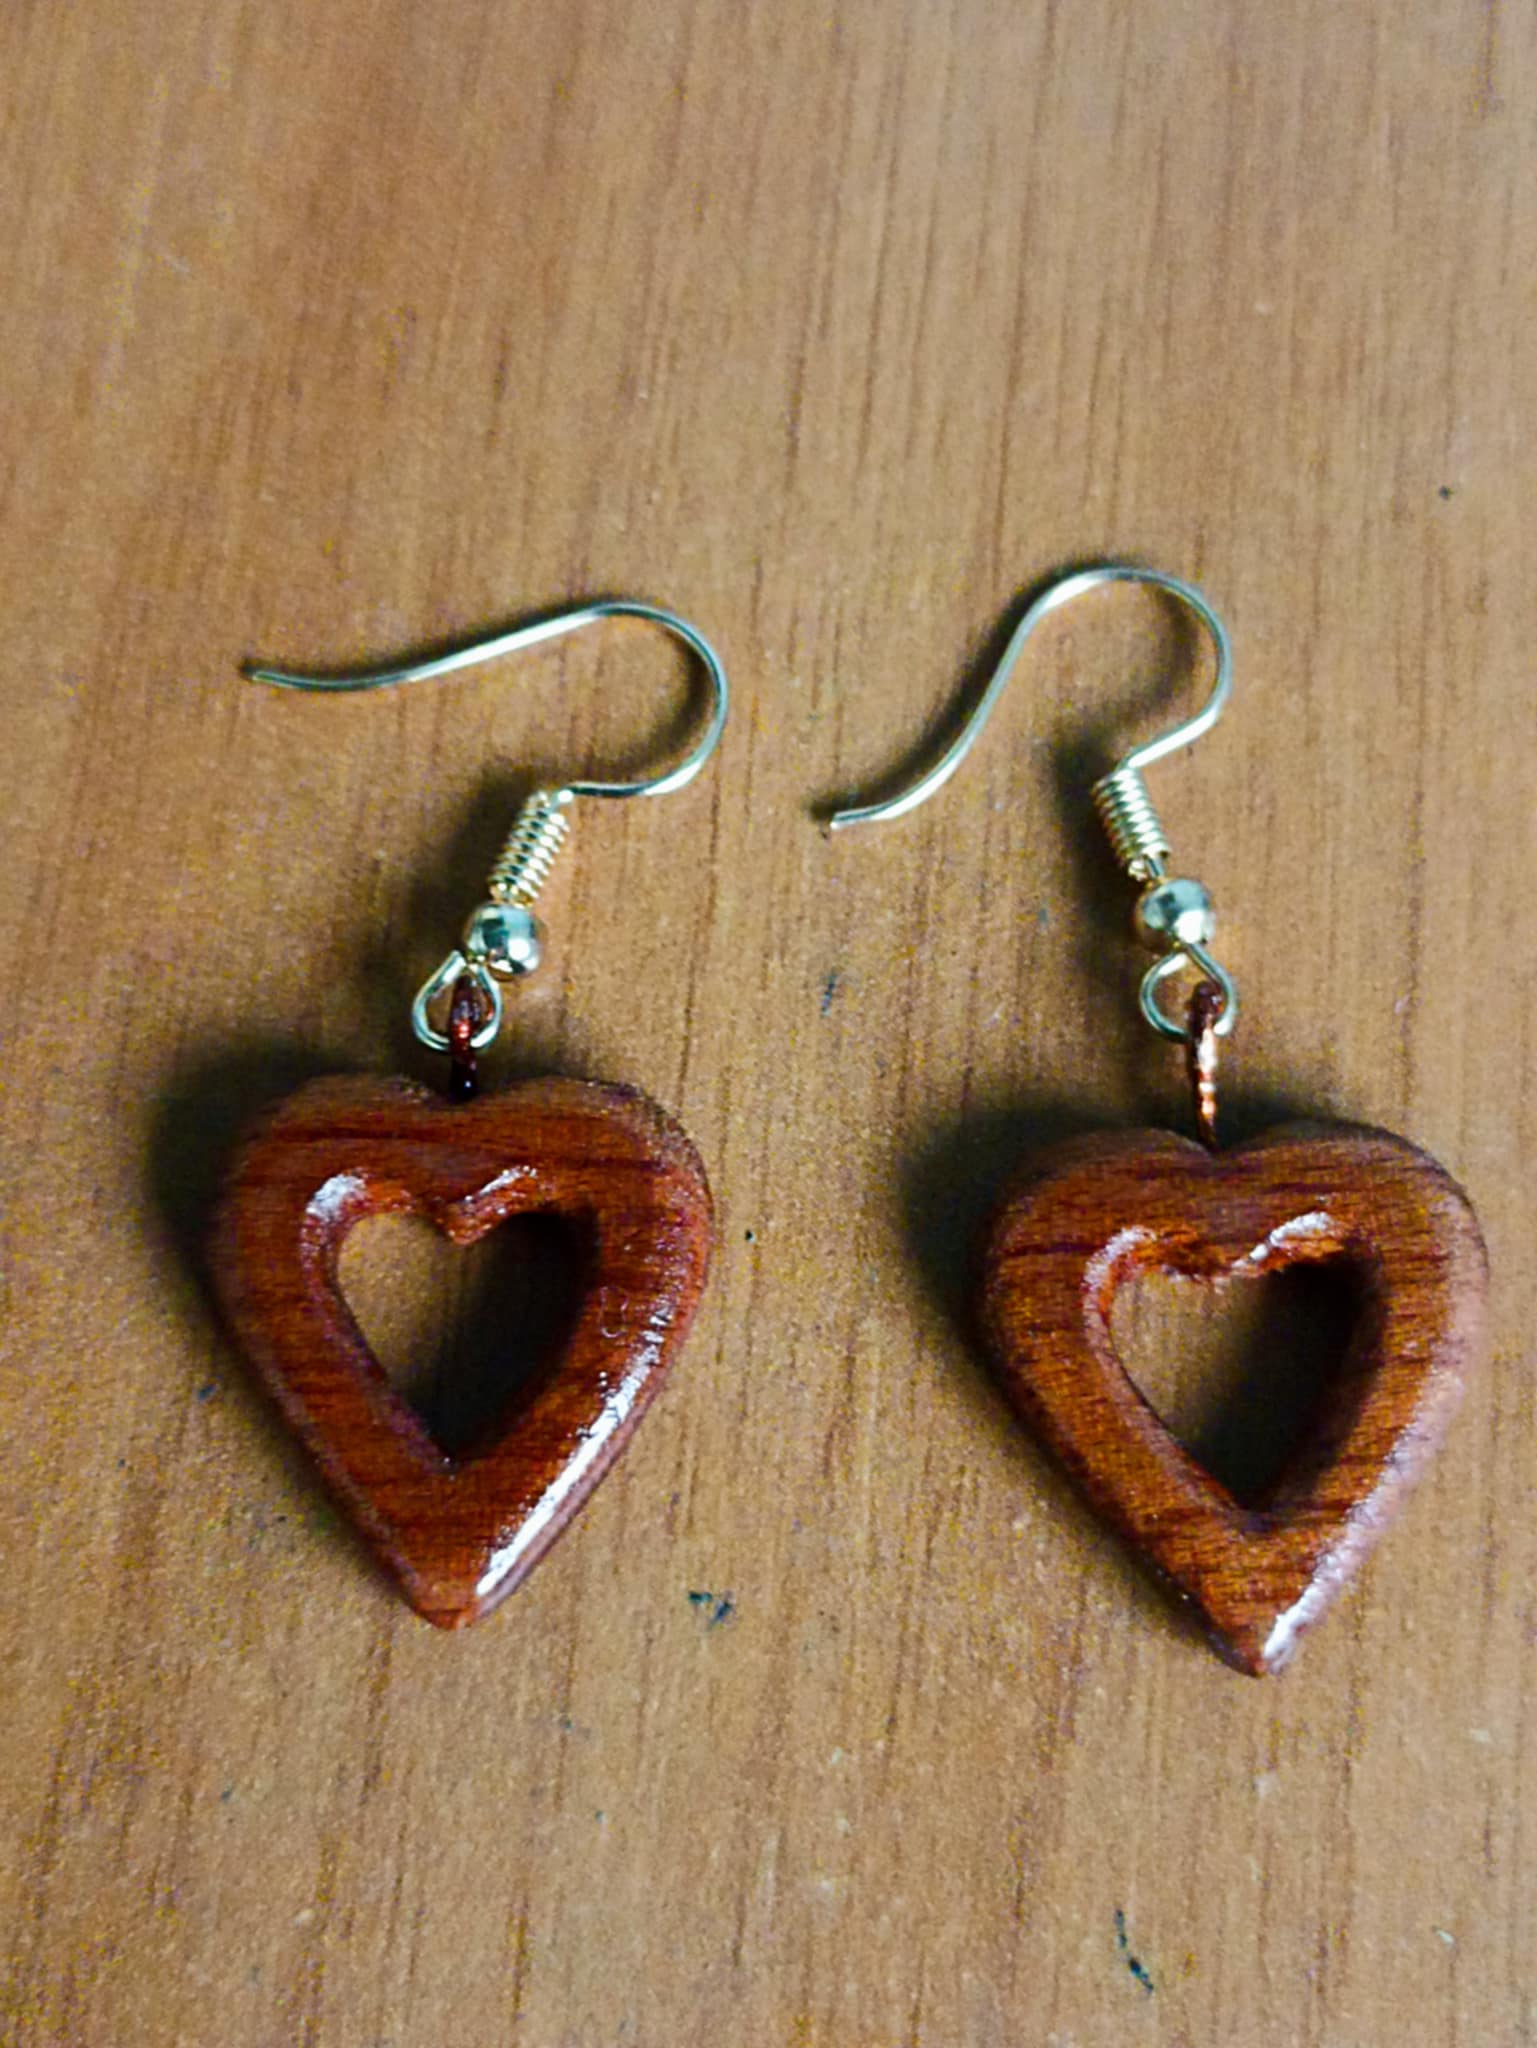
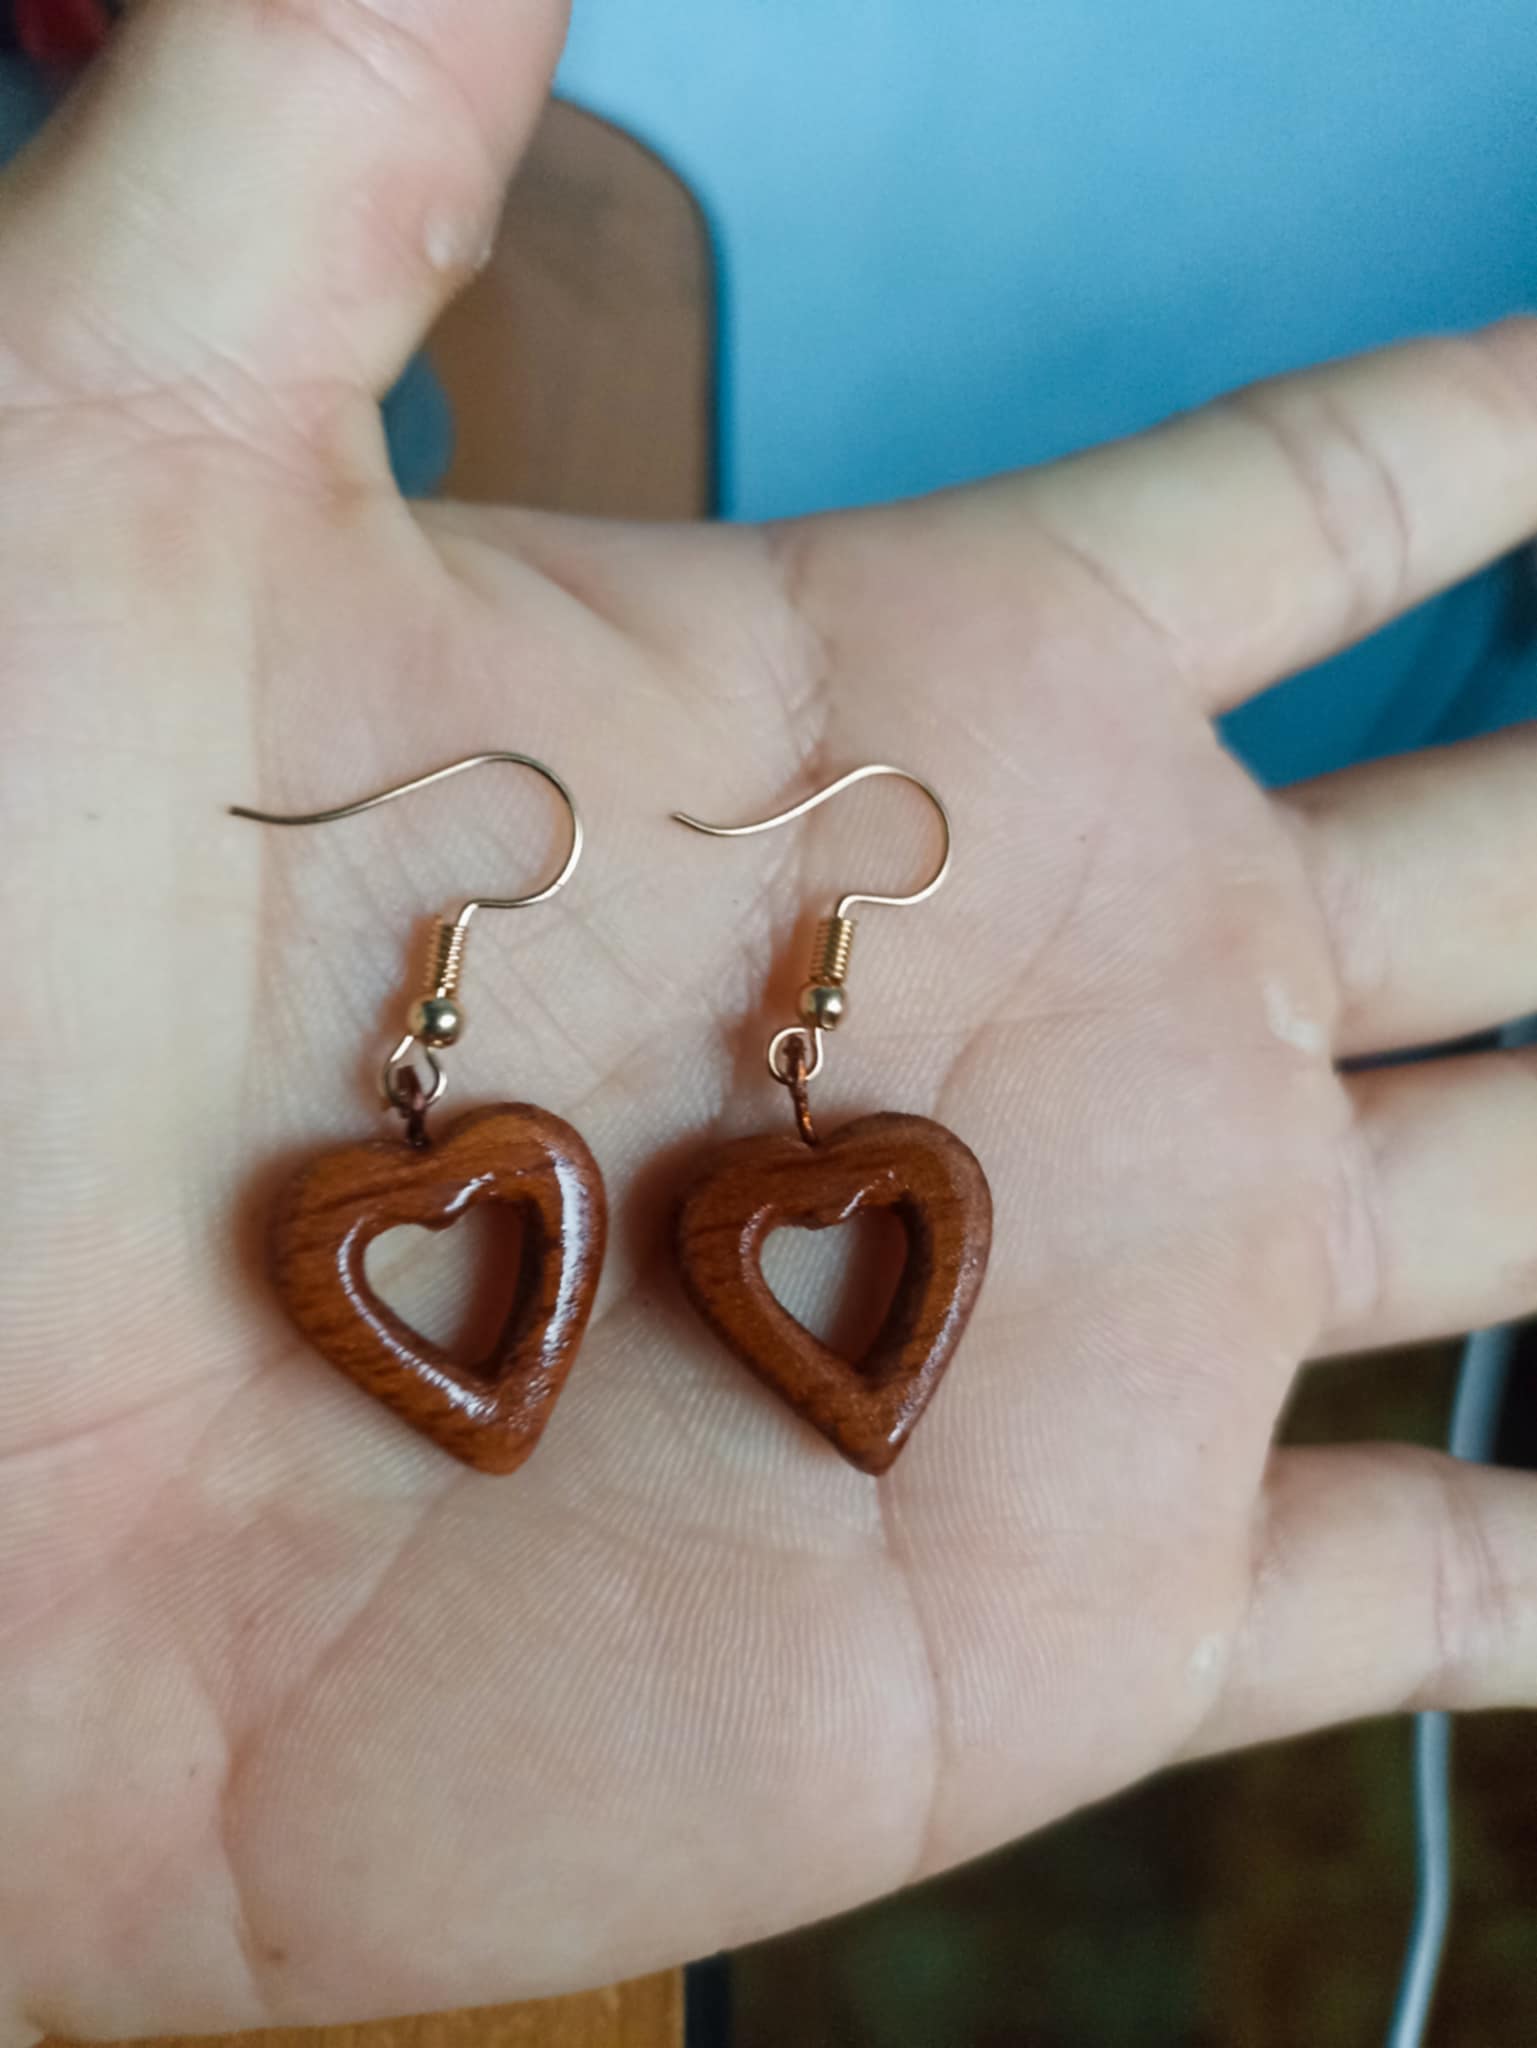
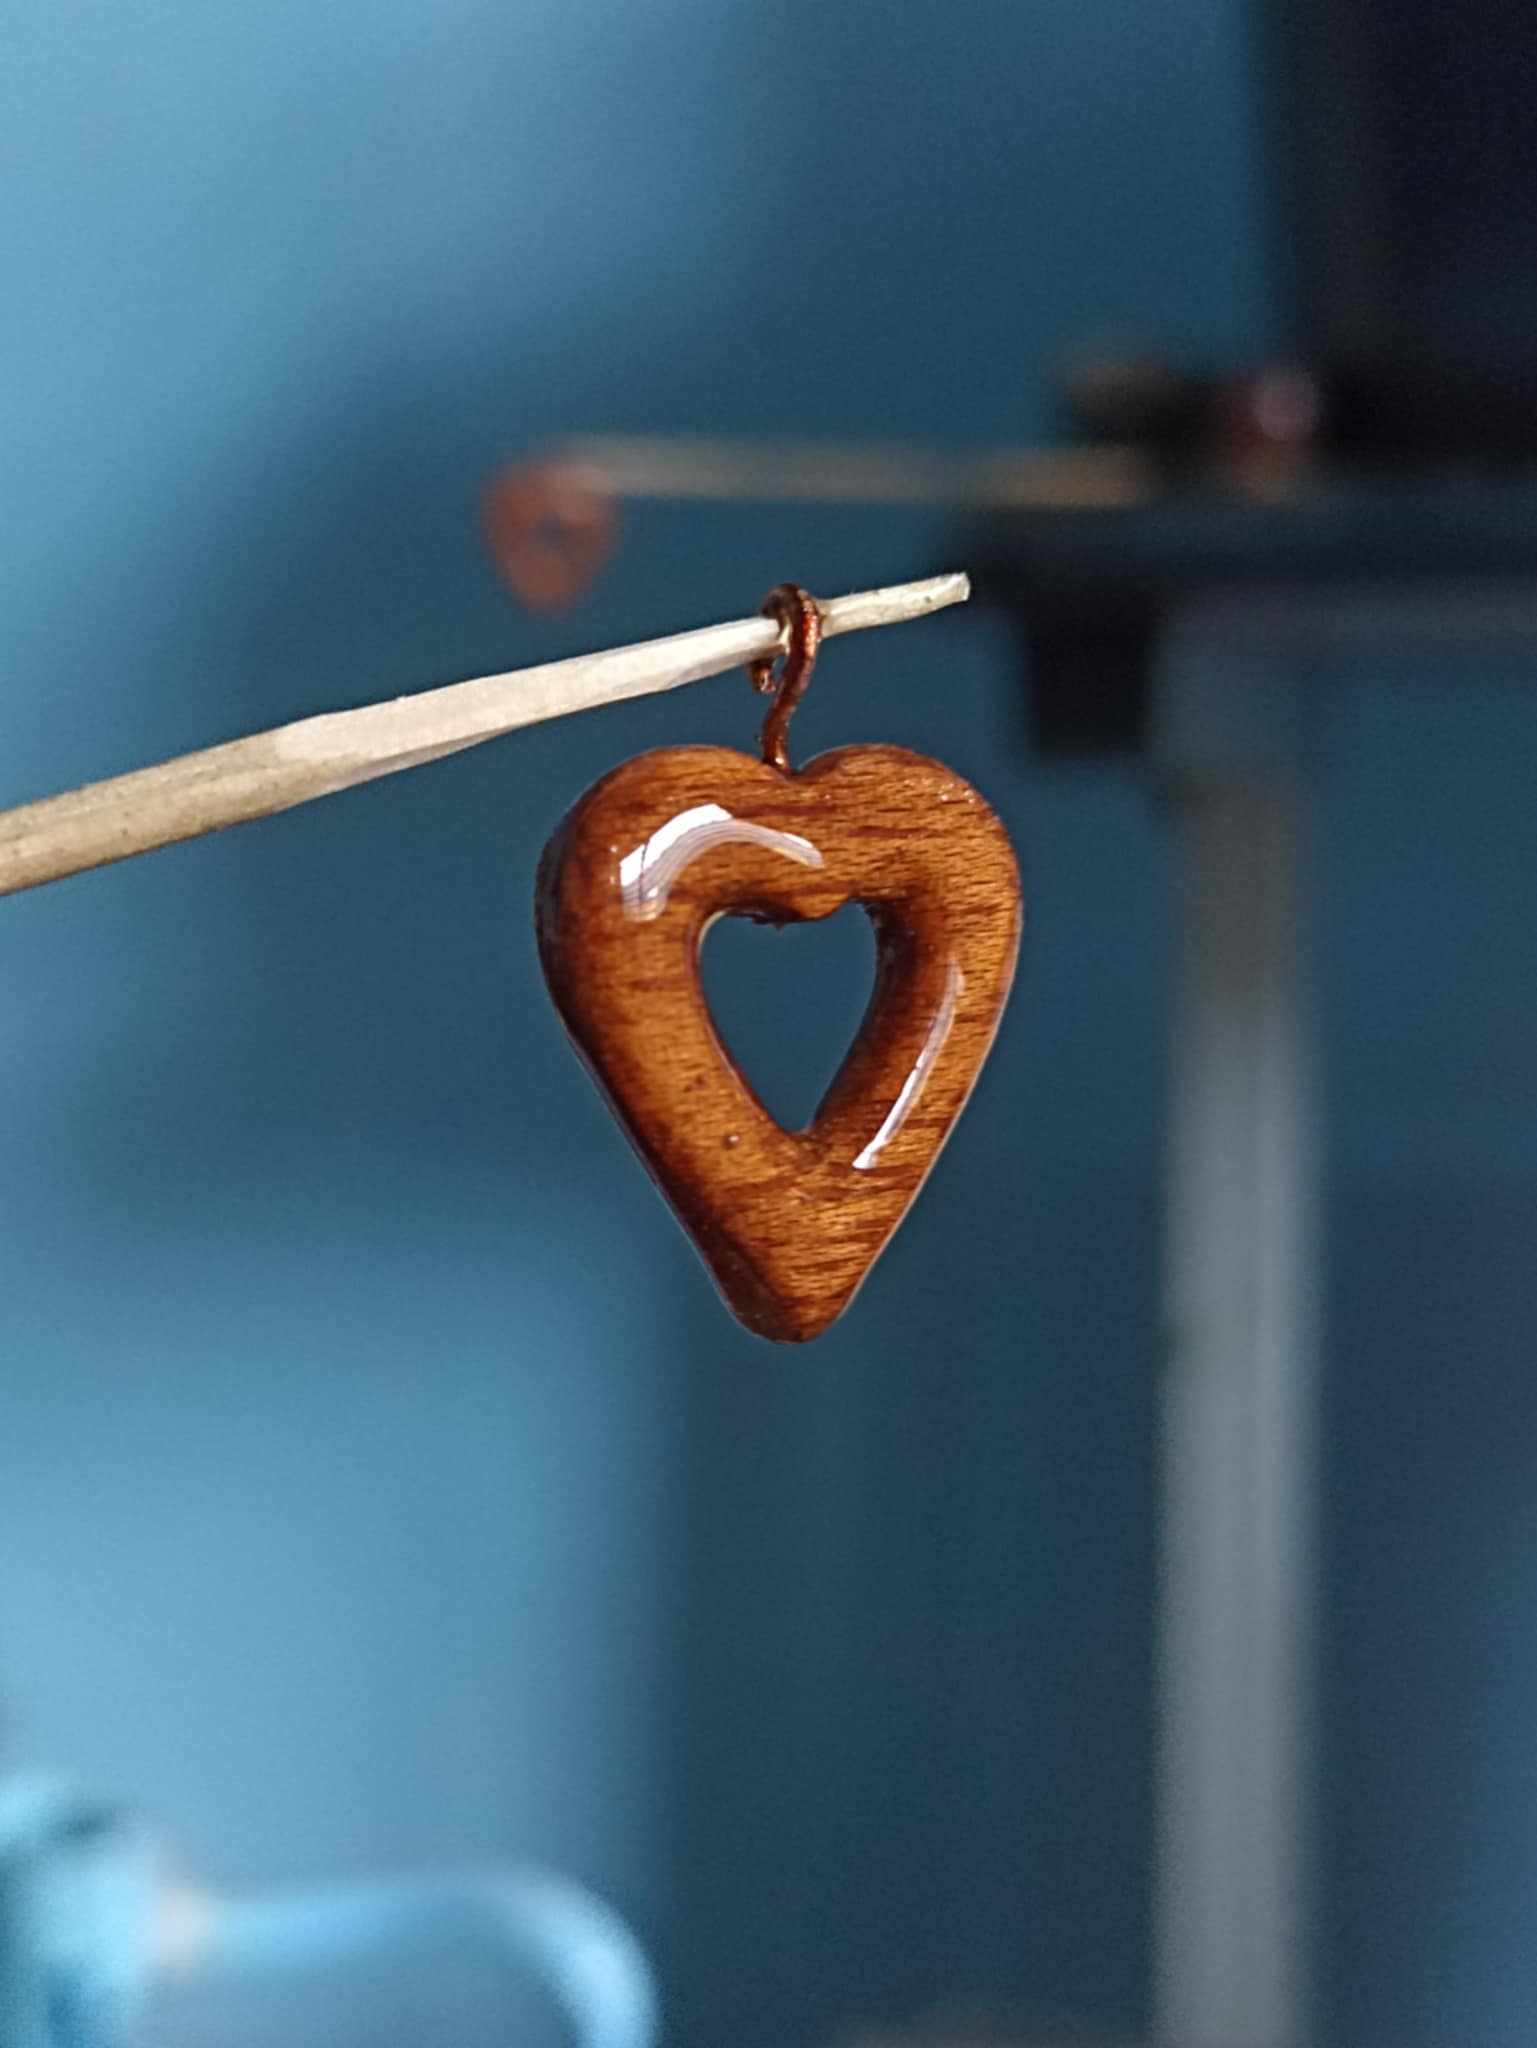
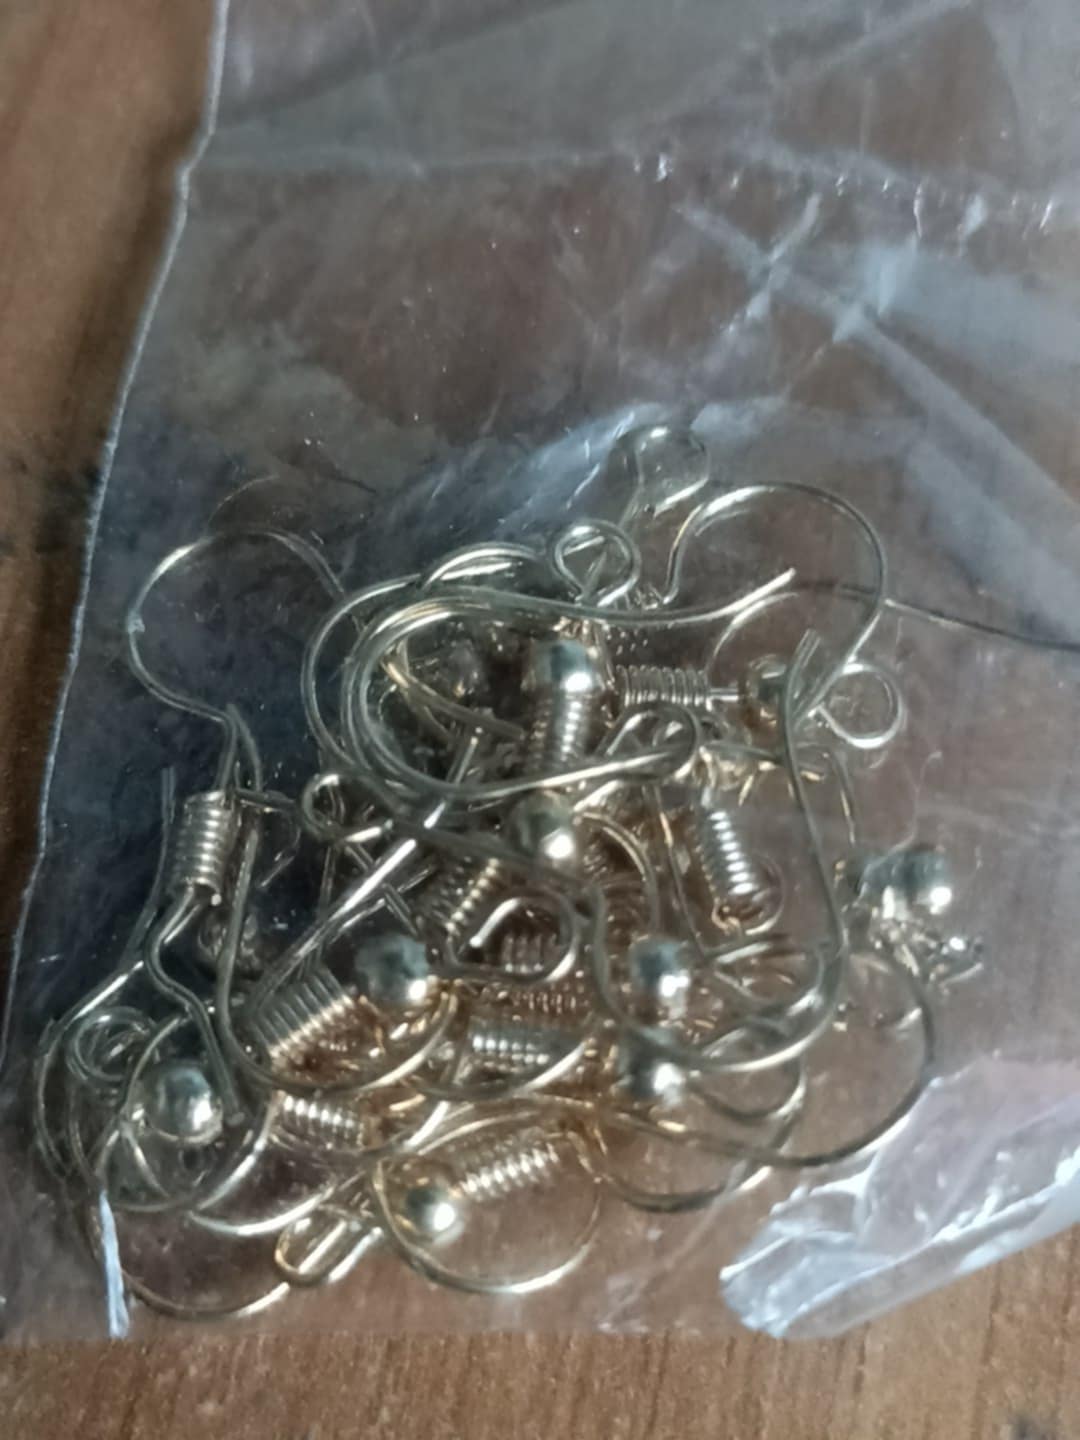
To finish, I just added a few details, especially some small copper wire hoops. These hoops will be useful for holding the hearts. After that, I apply a glossy varnish to give the wood a more beautiful color. After that, I add some gold-colored hooks I bought that go on the ears. These heart-shaped earrings are finished!
Para finalizar solo agrego algunos detalles, especialmente unos pequeños aros hechos de alambre de cobre, estos aros serán útiles para sostener los corazones. Despues de eso les aplico barniz brillante y así la madera obtiene un color más hermoso, después de eso le coloco unos ganchos de color dorado que compré y que van en las orejas. Así han quedado finalizado estos aretes con formas de corazón!
FINAL WORK

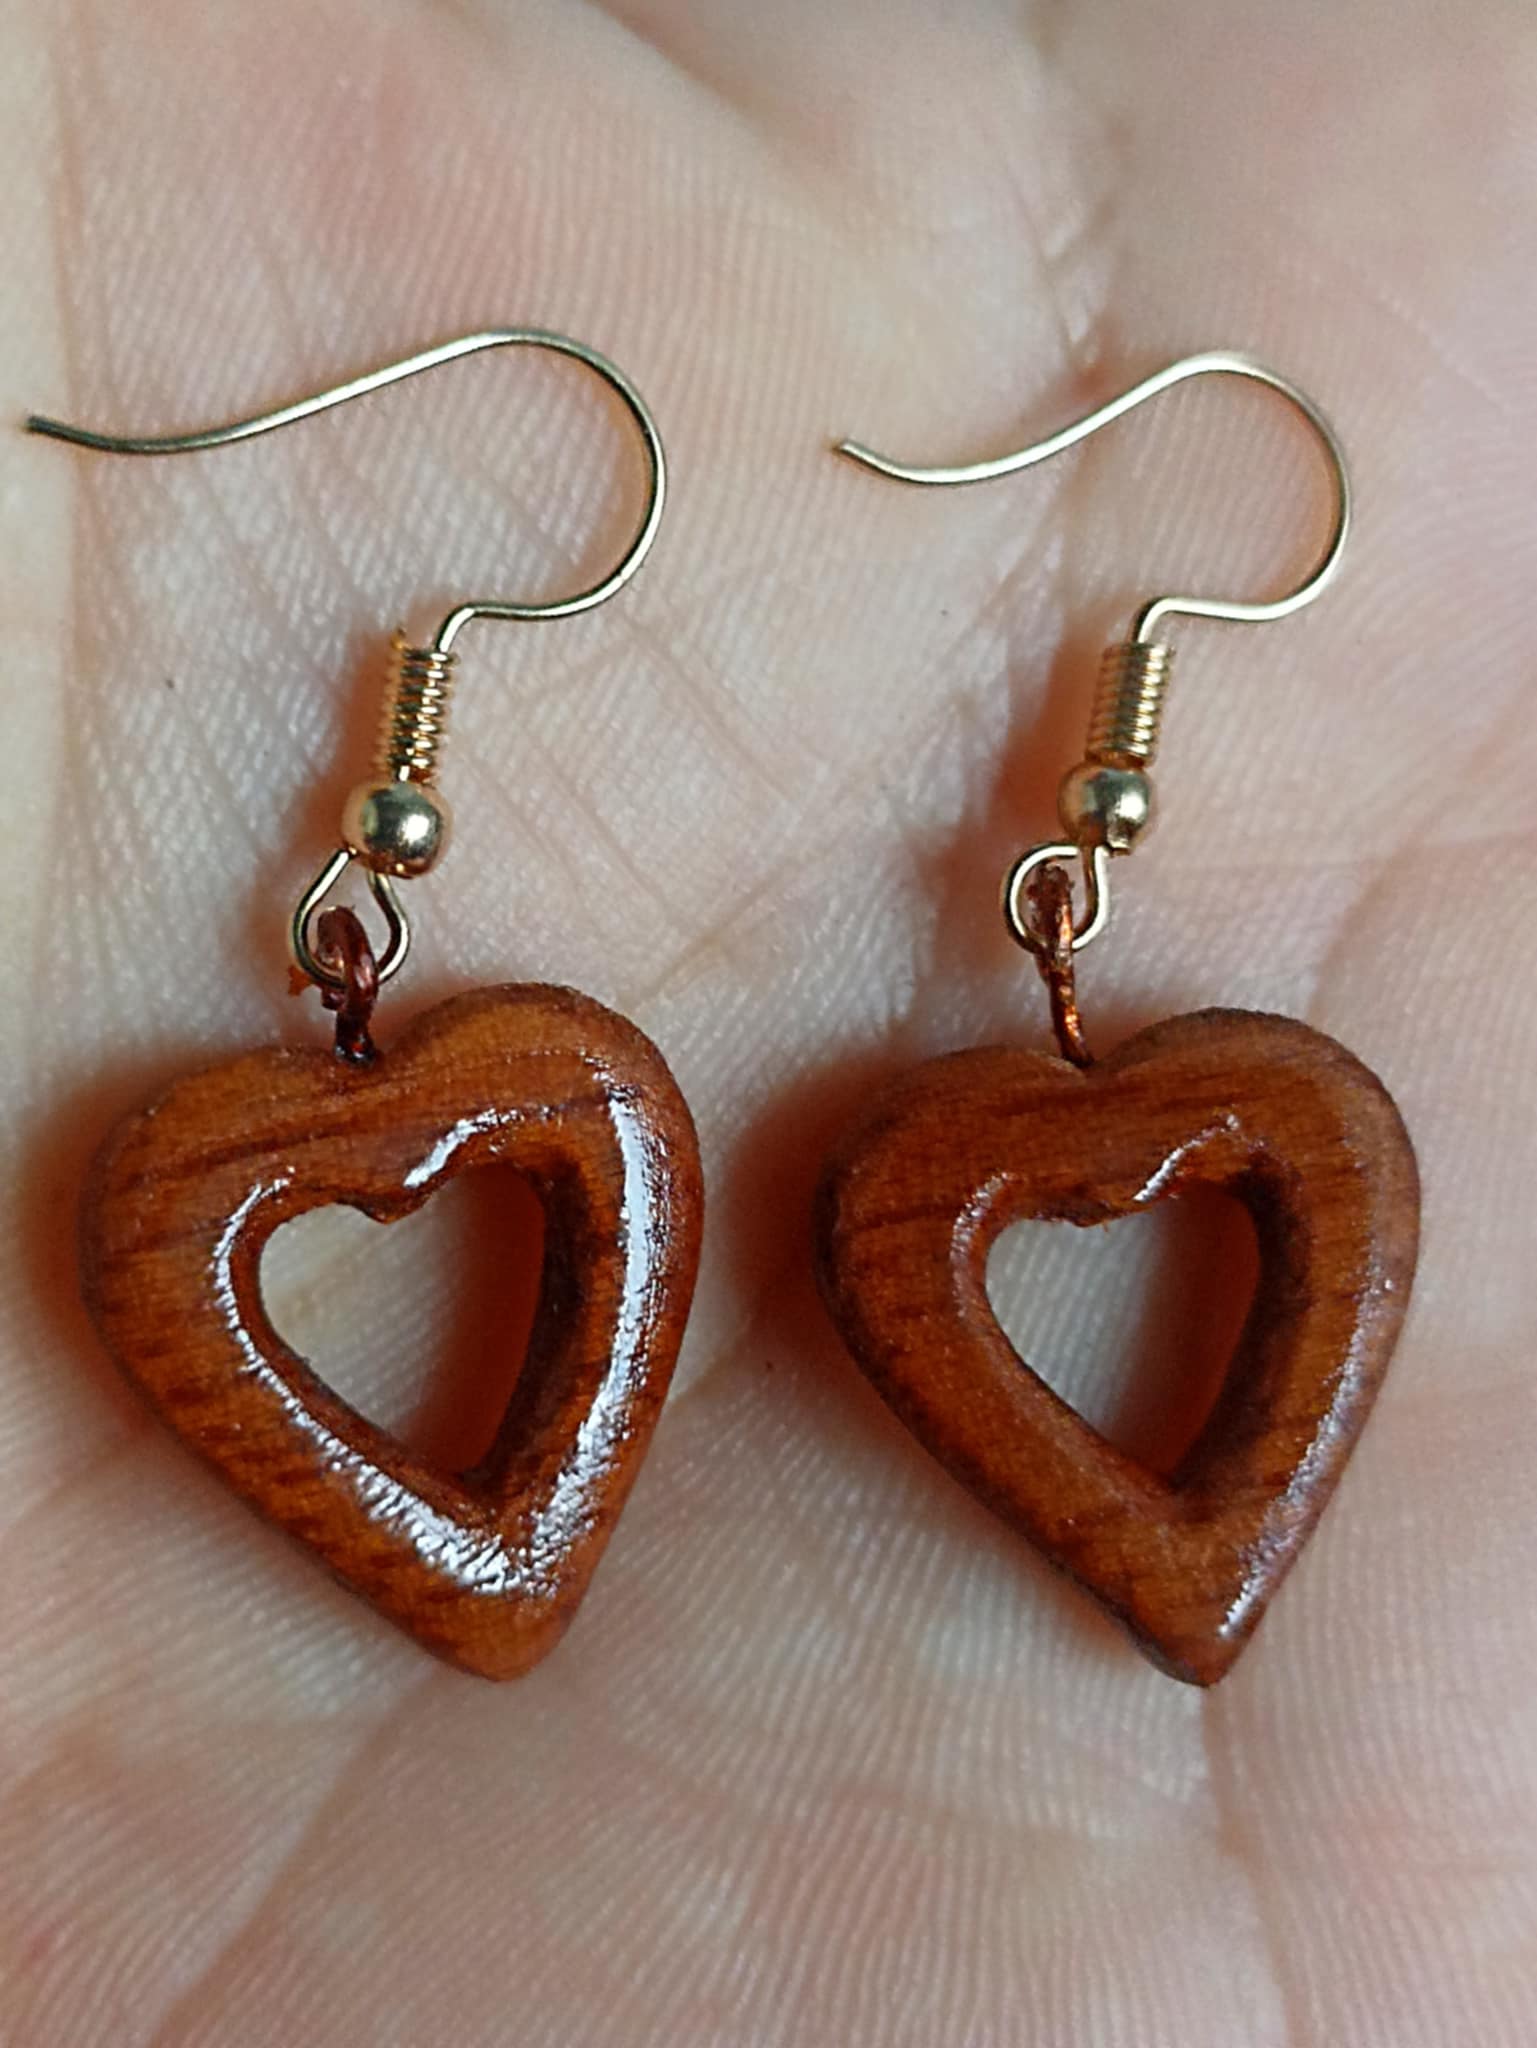
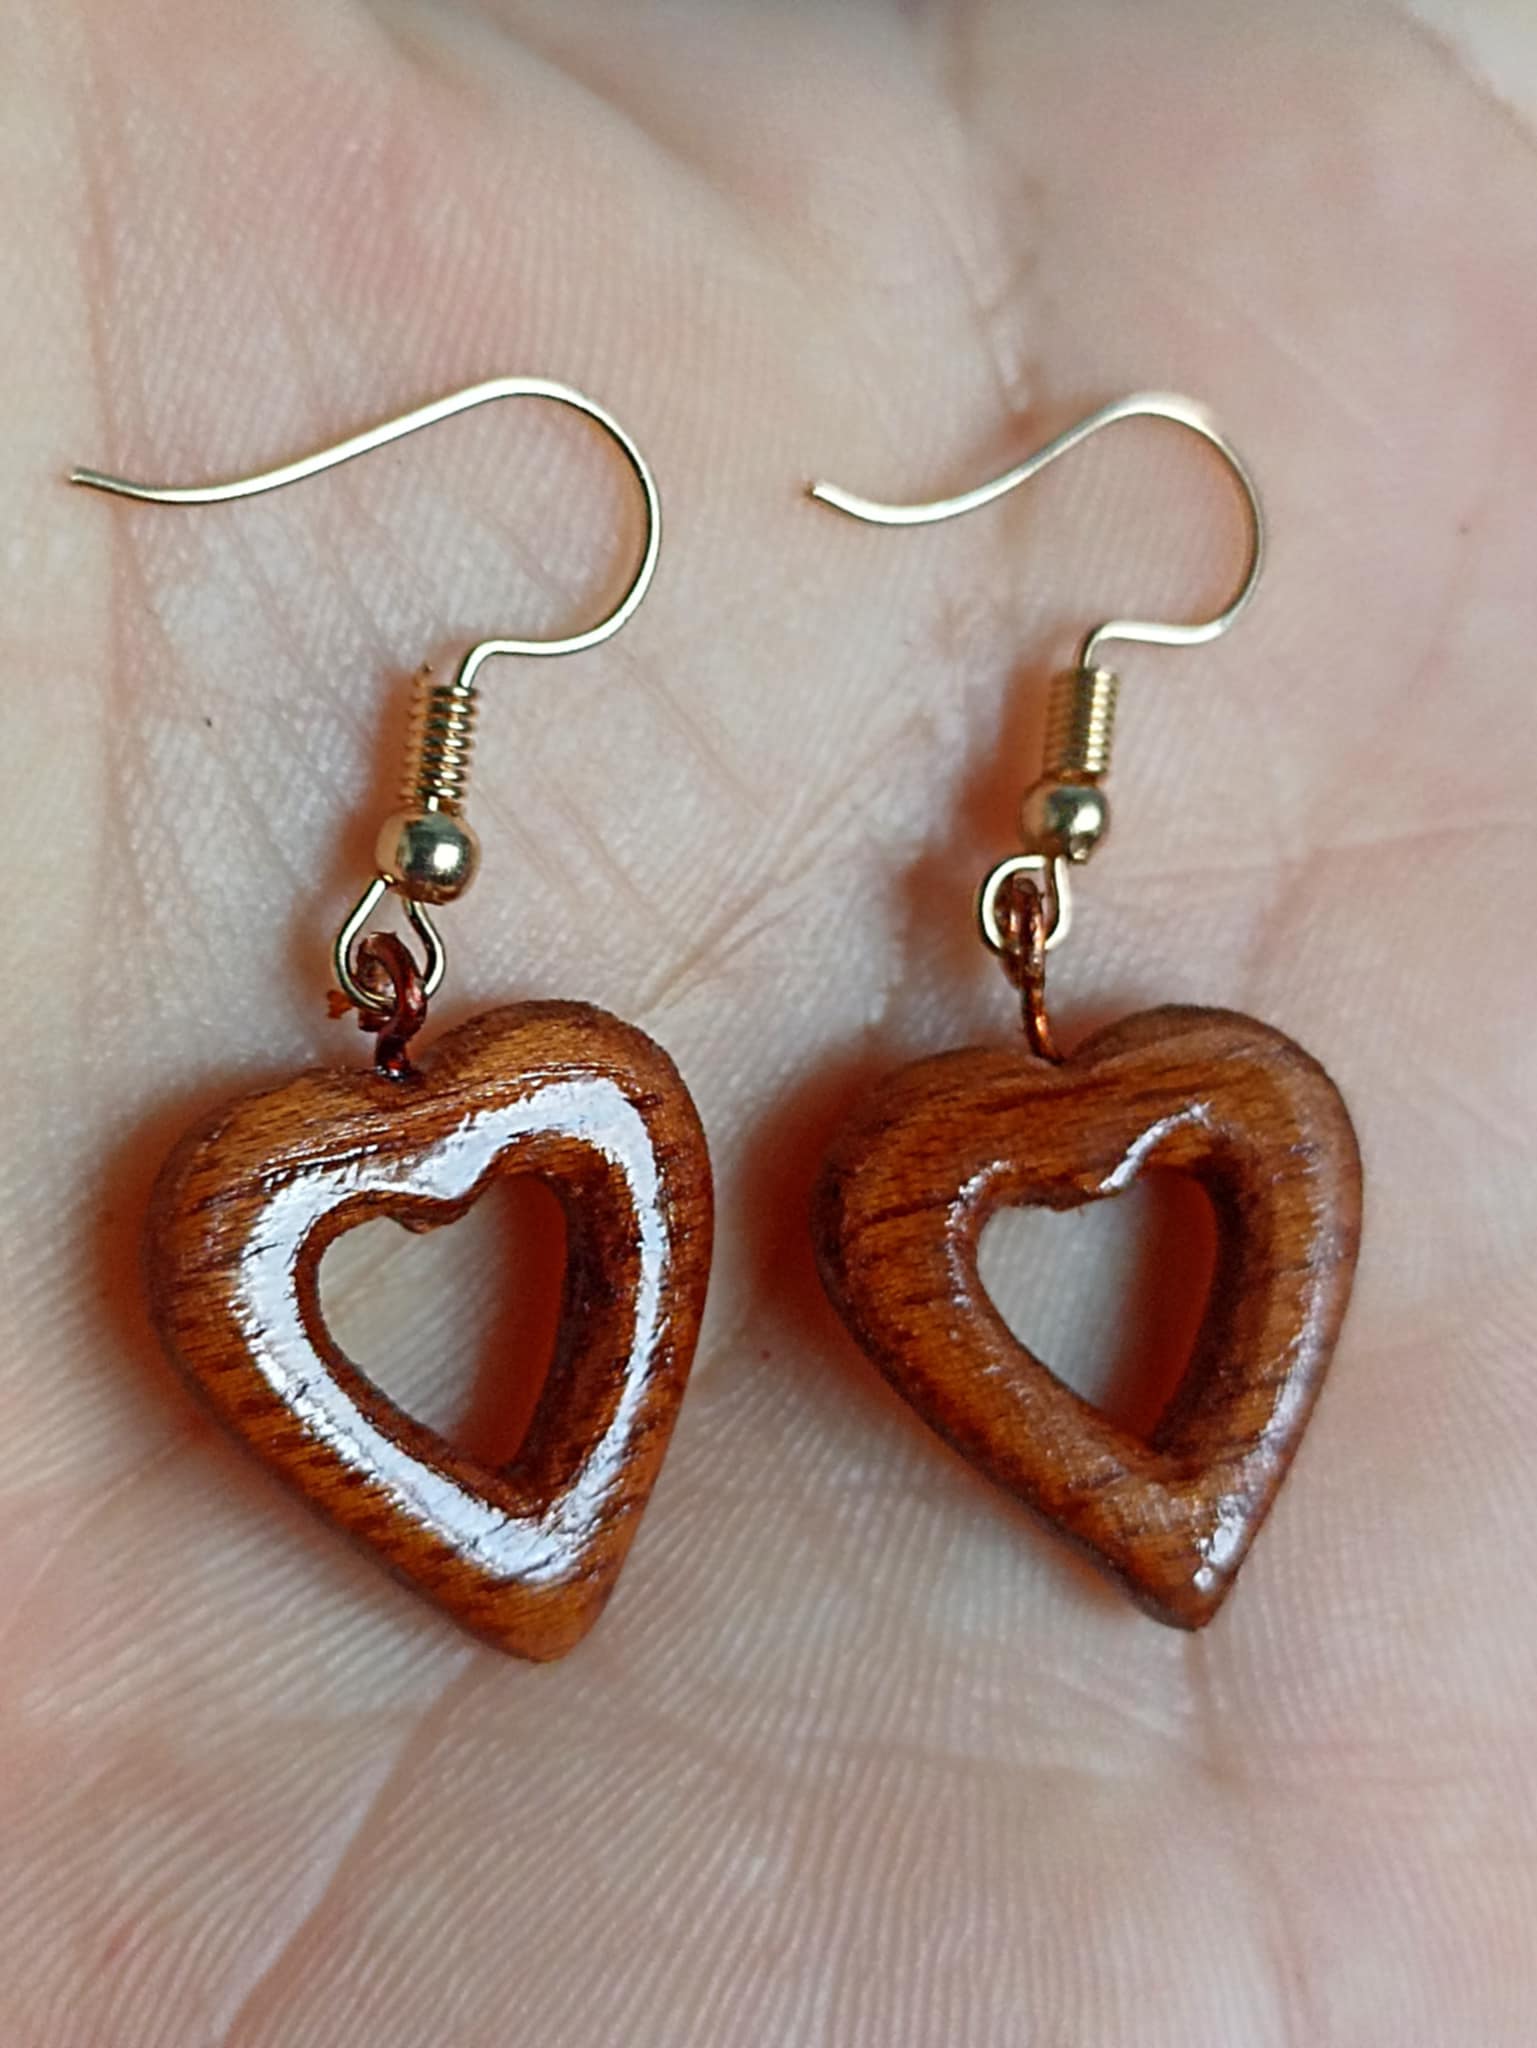
So, what do you think of the result? These are the first earrings I've made. I used the knowledge I've been learning so far and applied it to make this piece. My daughter was super happy; today she proudly showed them off at school. As always, she's my number one fan. I'm so grateful to be able to share our creations here, and I congratulate all the artisans who continue to create wonderful works every day. For now, I'm saying goodbye, and I hope to return soon!
Así han quedado ¿Qué les parece el resultado? estos son los primeros aretes que he realizado, utilicé los conocimientos que hasta ahora he ido aprendiendo y los apliqué para hacer esta pienza. Mi hija quedó súper contenta, hoy fue a lucirlos muy orgullosa en la escuela, ella como siempre es mi fan número 1. Estoy super agradecido de poder compartir aquí mos creaciones y felicito a todos los artesanos que día a día siguen creando obras maravillosas. Por ahora me despido y espero volver pronto!