Howdy,
In the last post, I mentioned the kayak my father built for me over the spring and summer. For this post, I will delve into the build itself.
 A Speedy Craft
My father has made four cedar strip canoes in the past using three different patterns. These projects take a lot of time and a significant amount of woodworking and materials knowledge. A kayak, however, is another level of difficulty altogether.
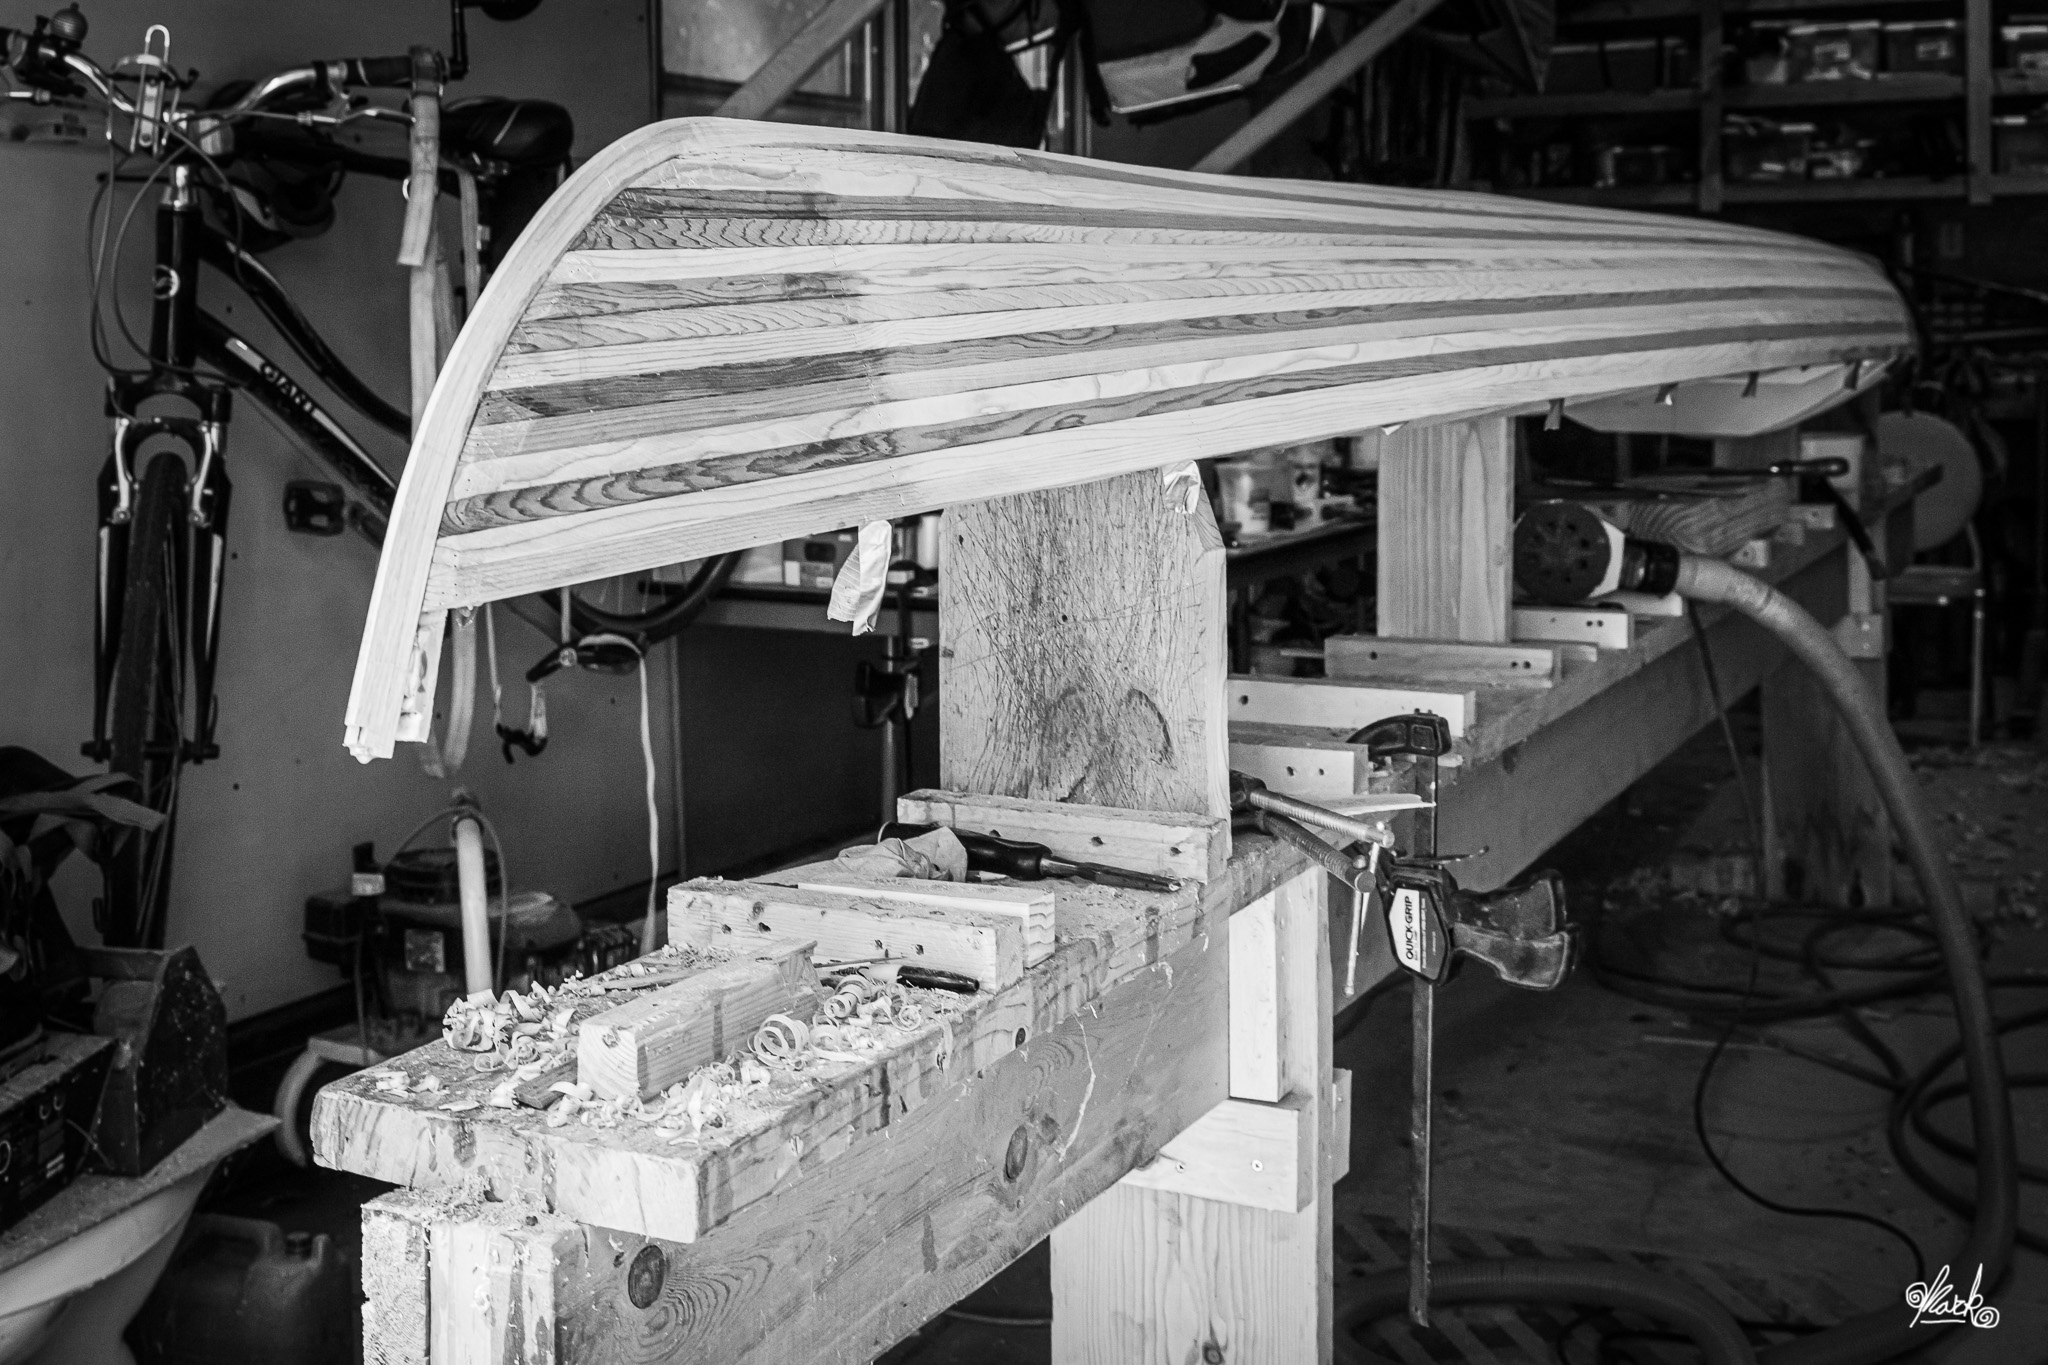
The process starts with building a strongbuck. This is the rigid structure that holds the forms and everything else in alignment. Fortunately, the same one used for canoes can be repurposed for kayaks with little modification. Cross-sections (forms) are then plotted and cut from wood and shaped to fit over the strongback. The strips will be attached to this structure to create the shape.
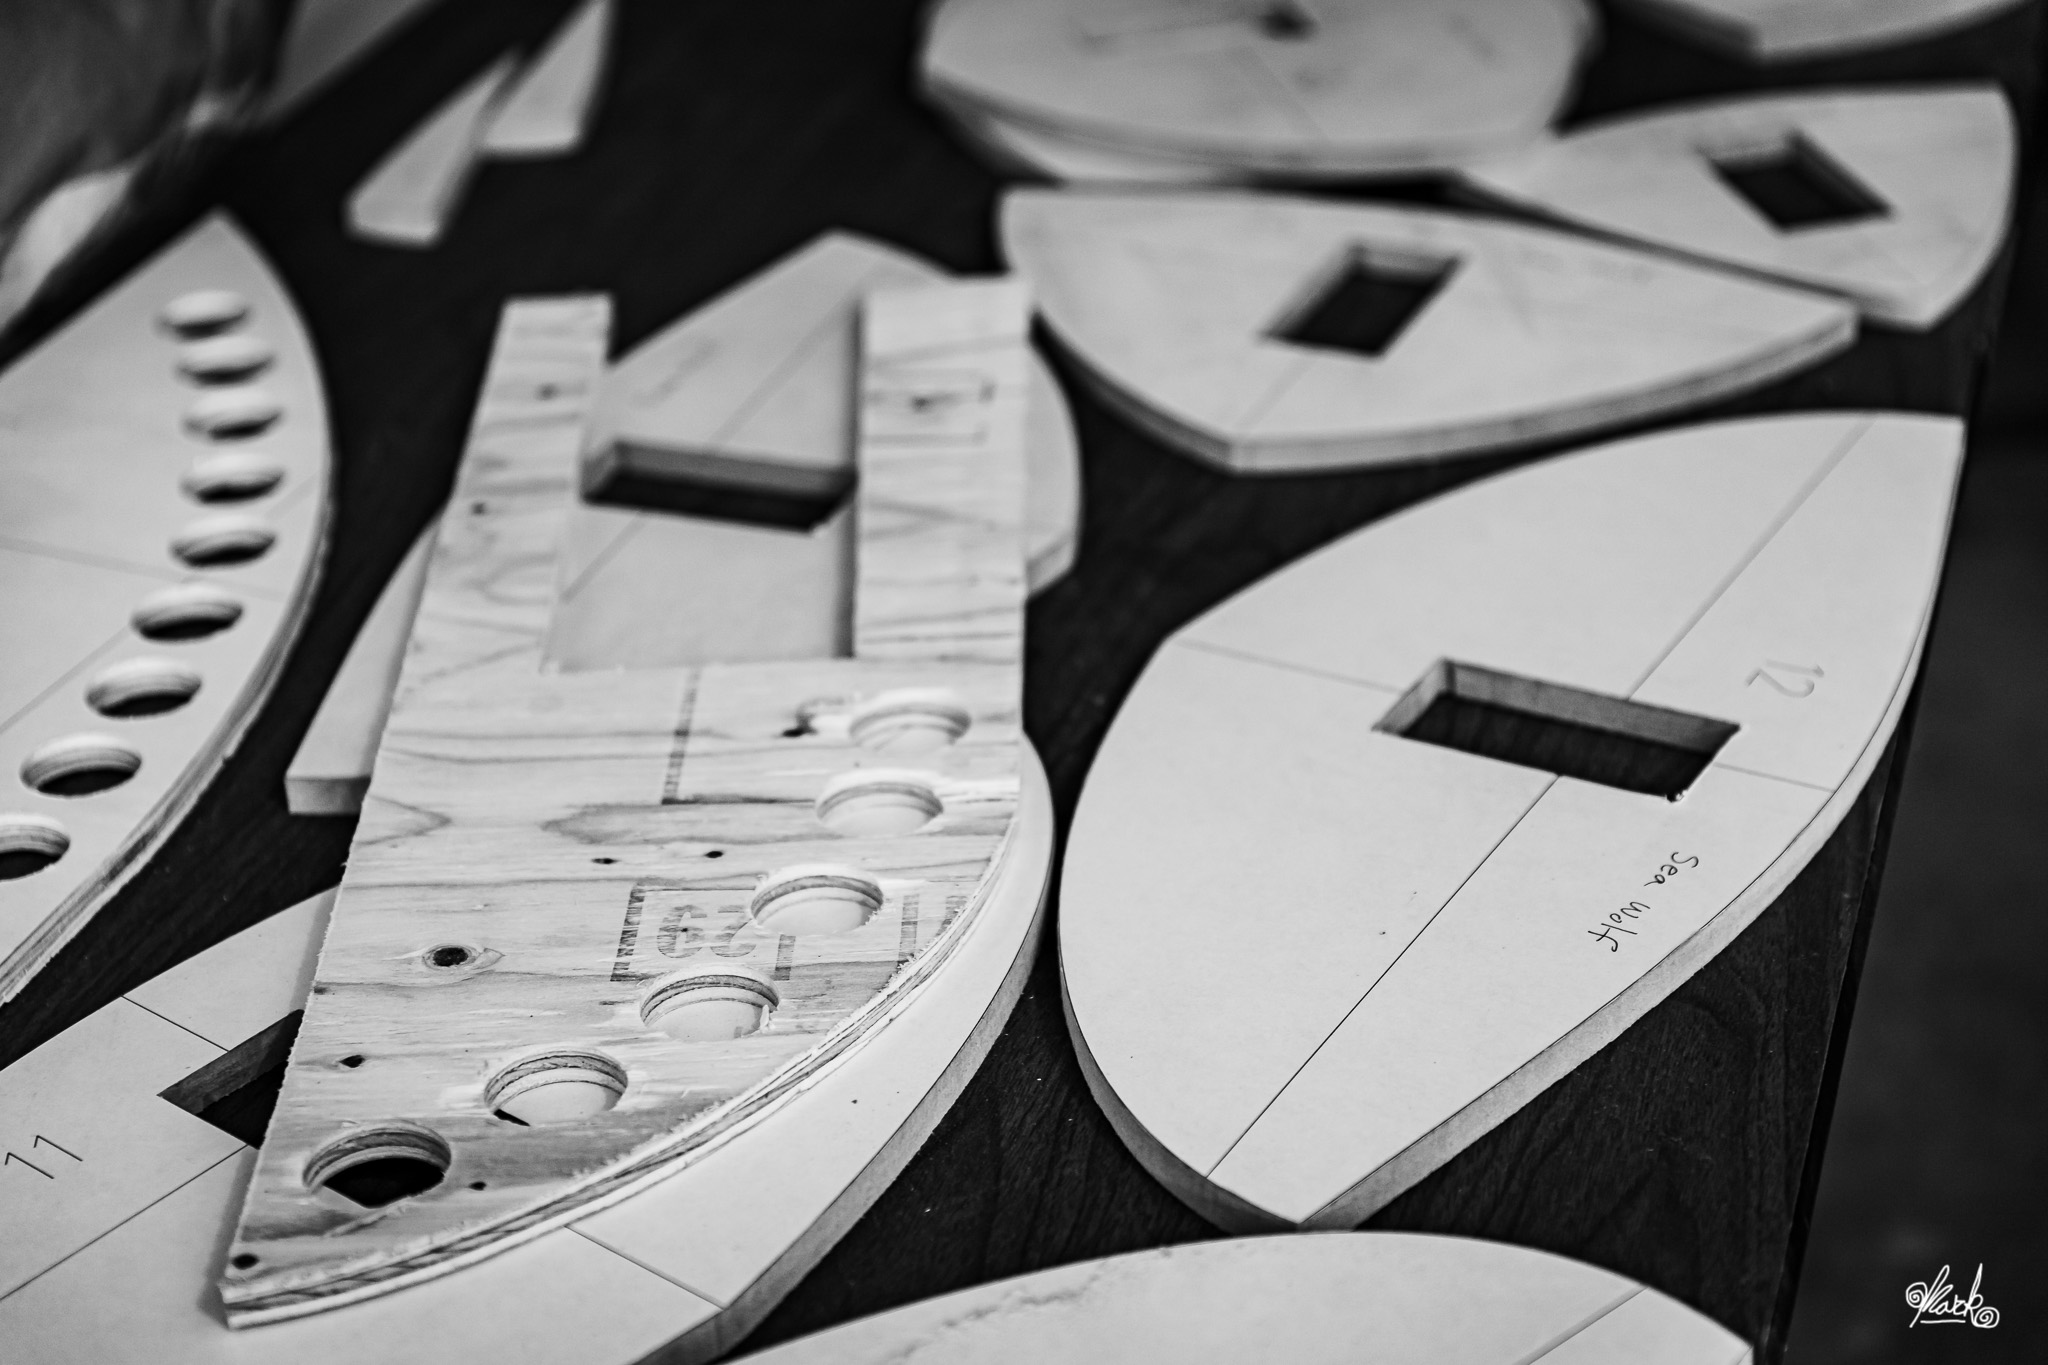 Plotted, Cut, and Ready
The next photo shows the forms attached to the strongback. The shape of the final craft is already identifiable.
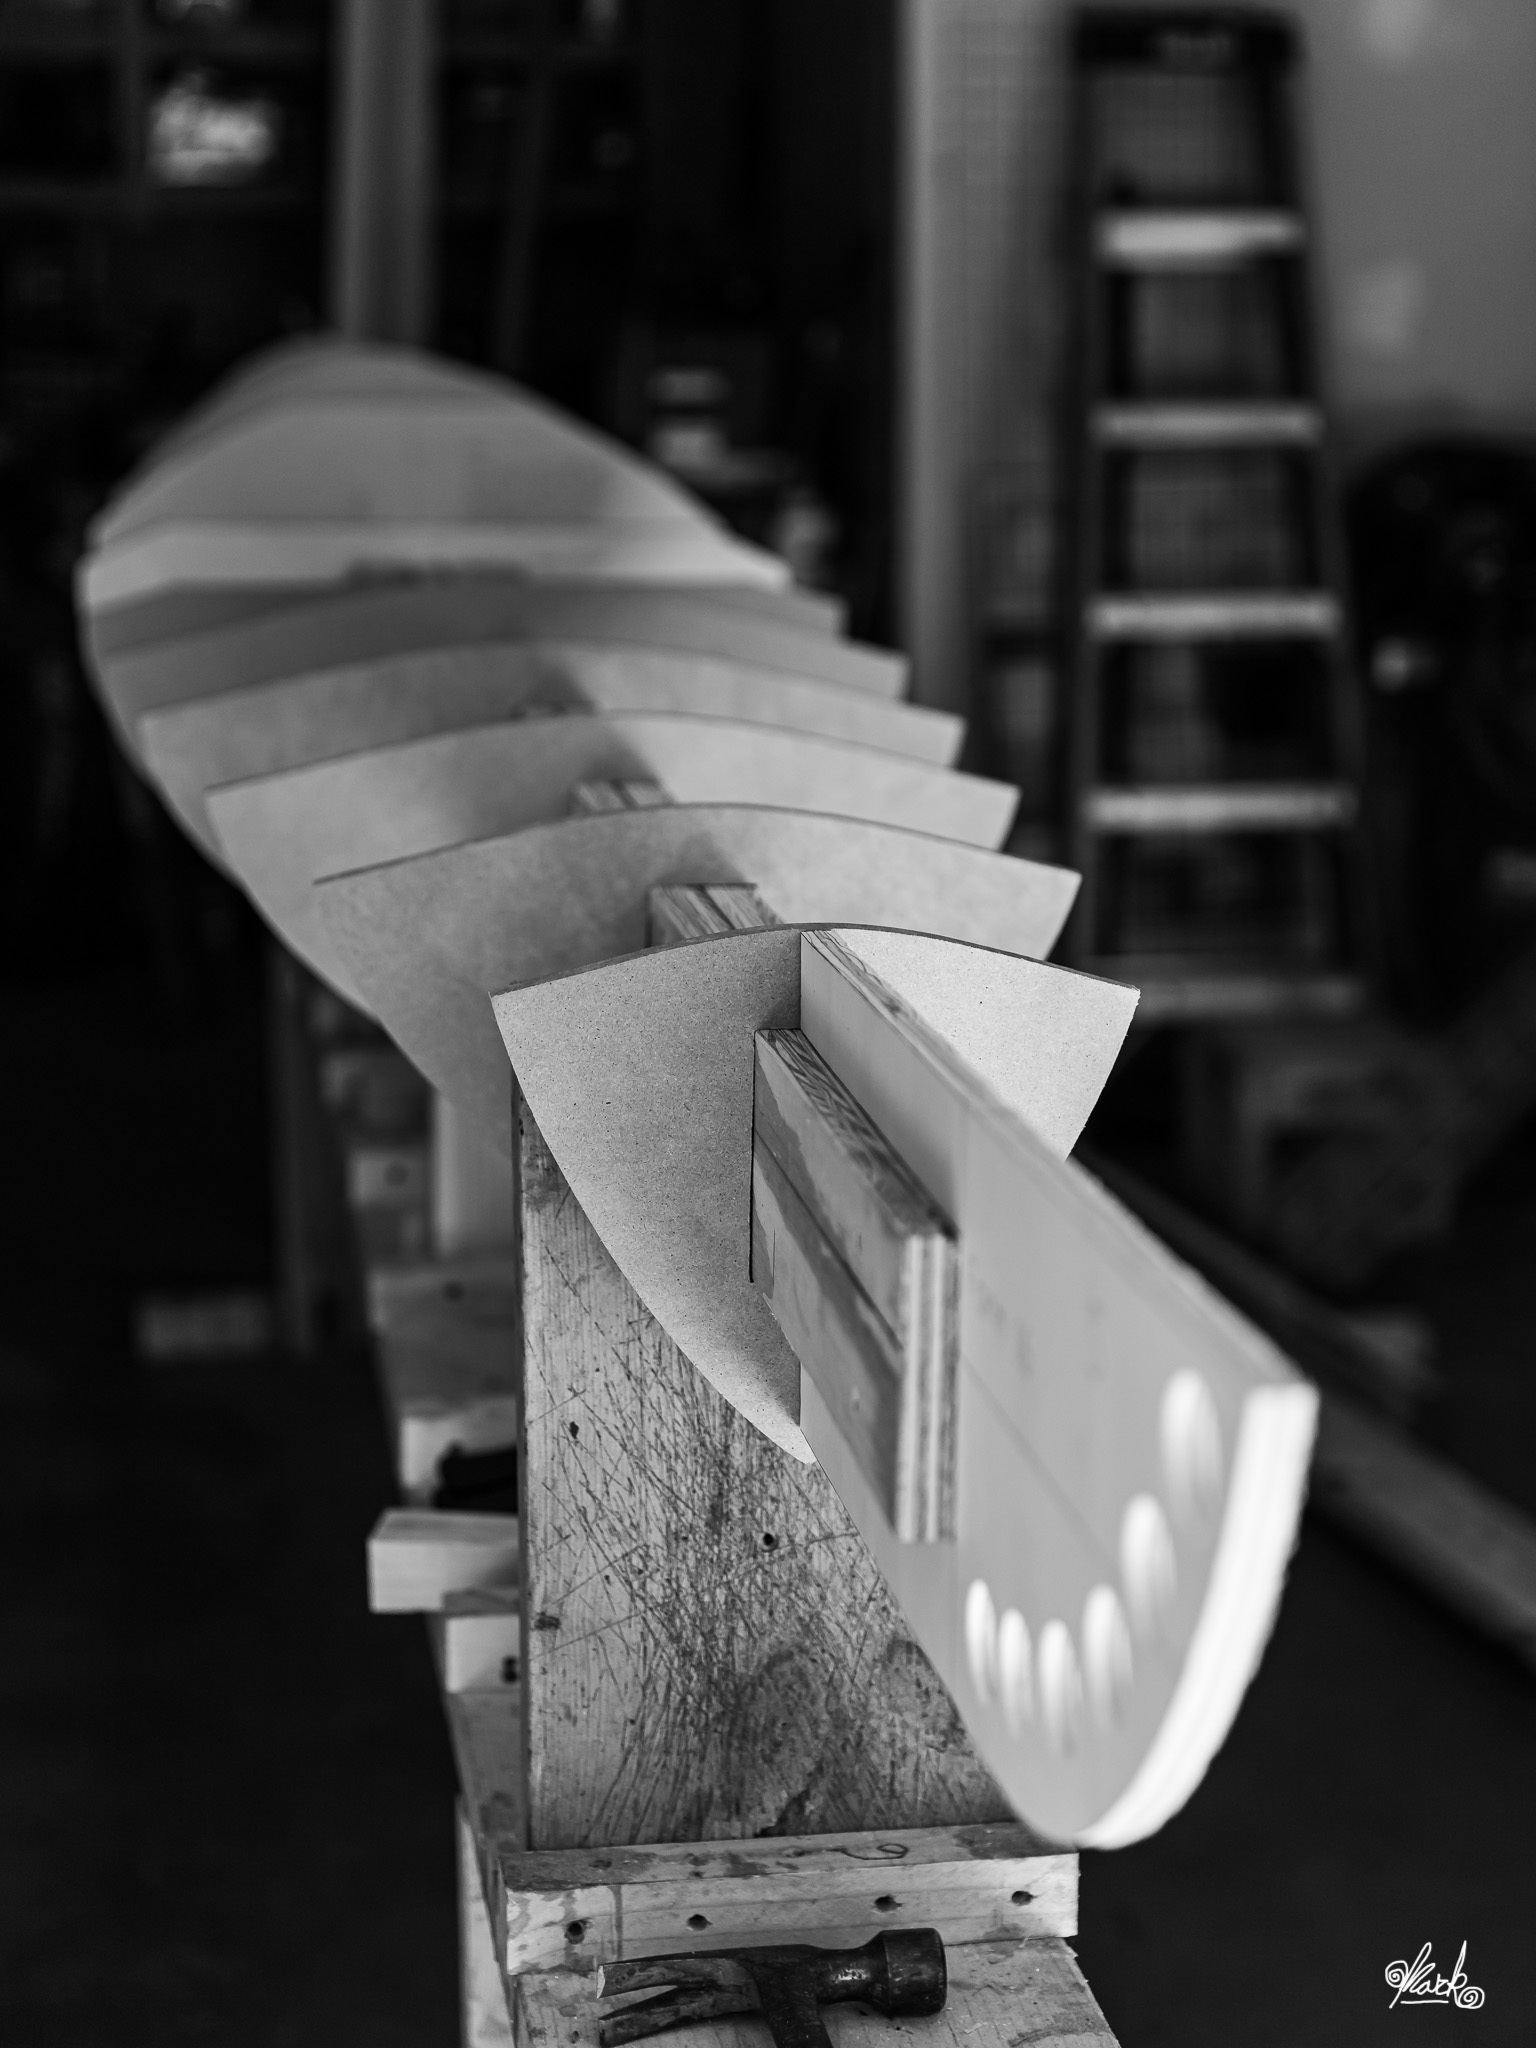 Strongback With Forms
Long cedar boards are then cut into strips. My father uses a router to round the long edges of these strips so that they fit together better. The strips are then attached to the form. While there are a few different ways of doing this, my father prefers to use a staple gun. Wood glue is applied to the edge of a strip and then it is stapled until dry.
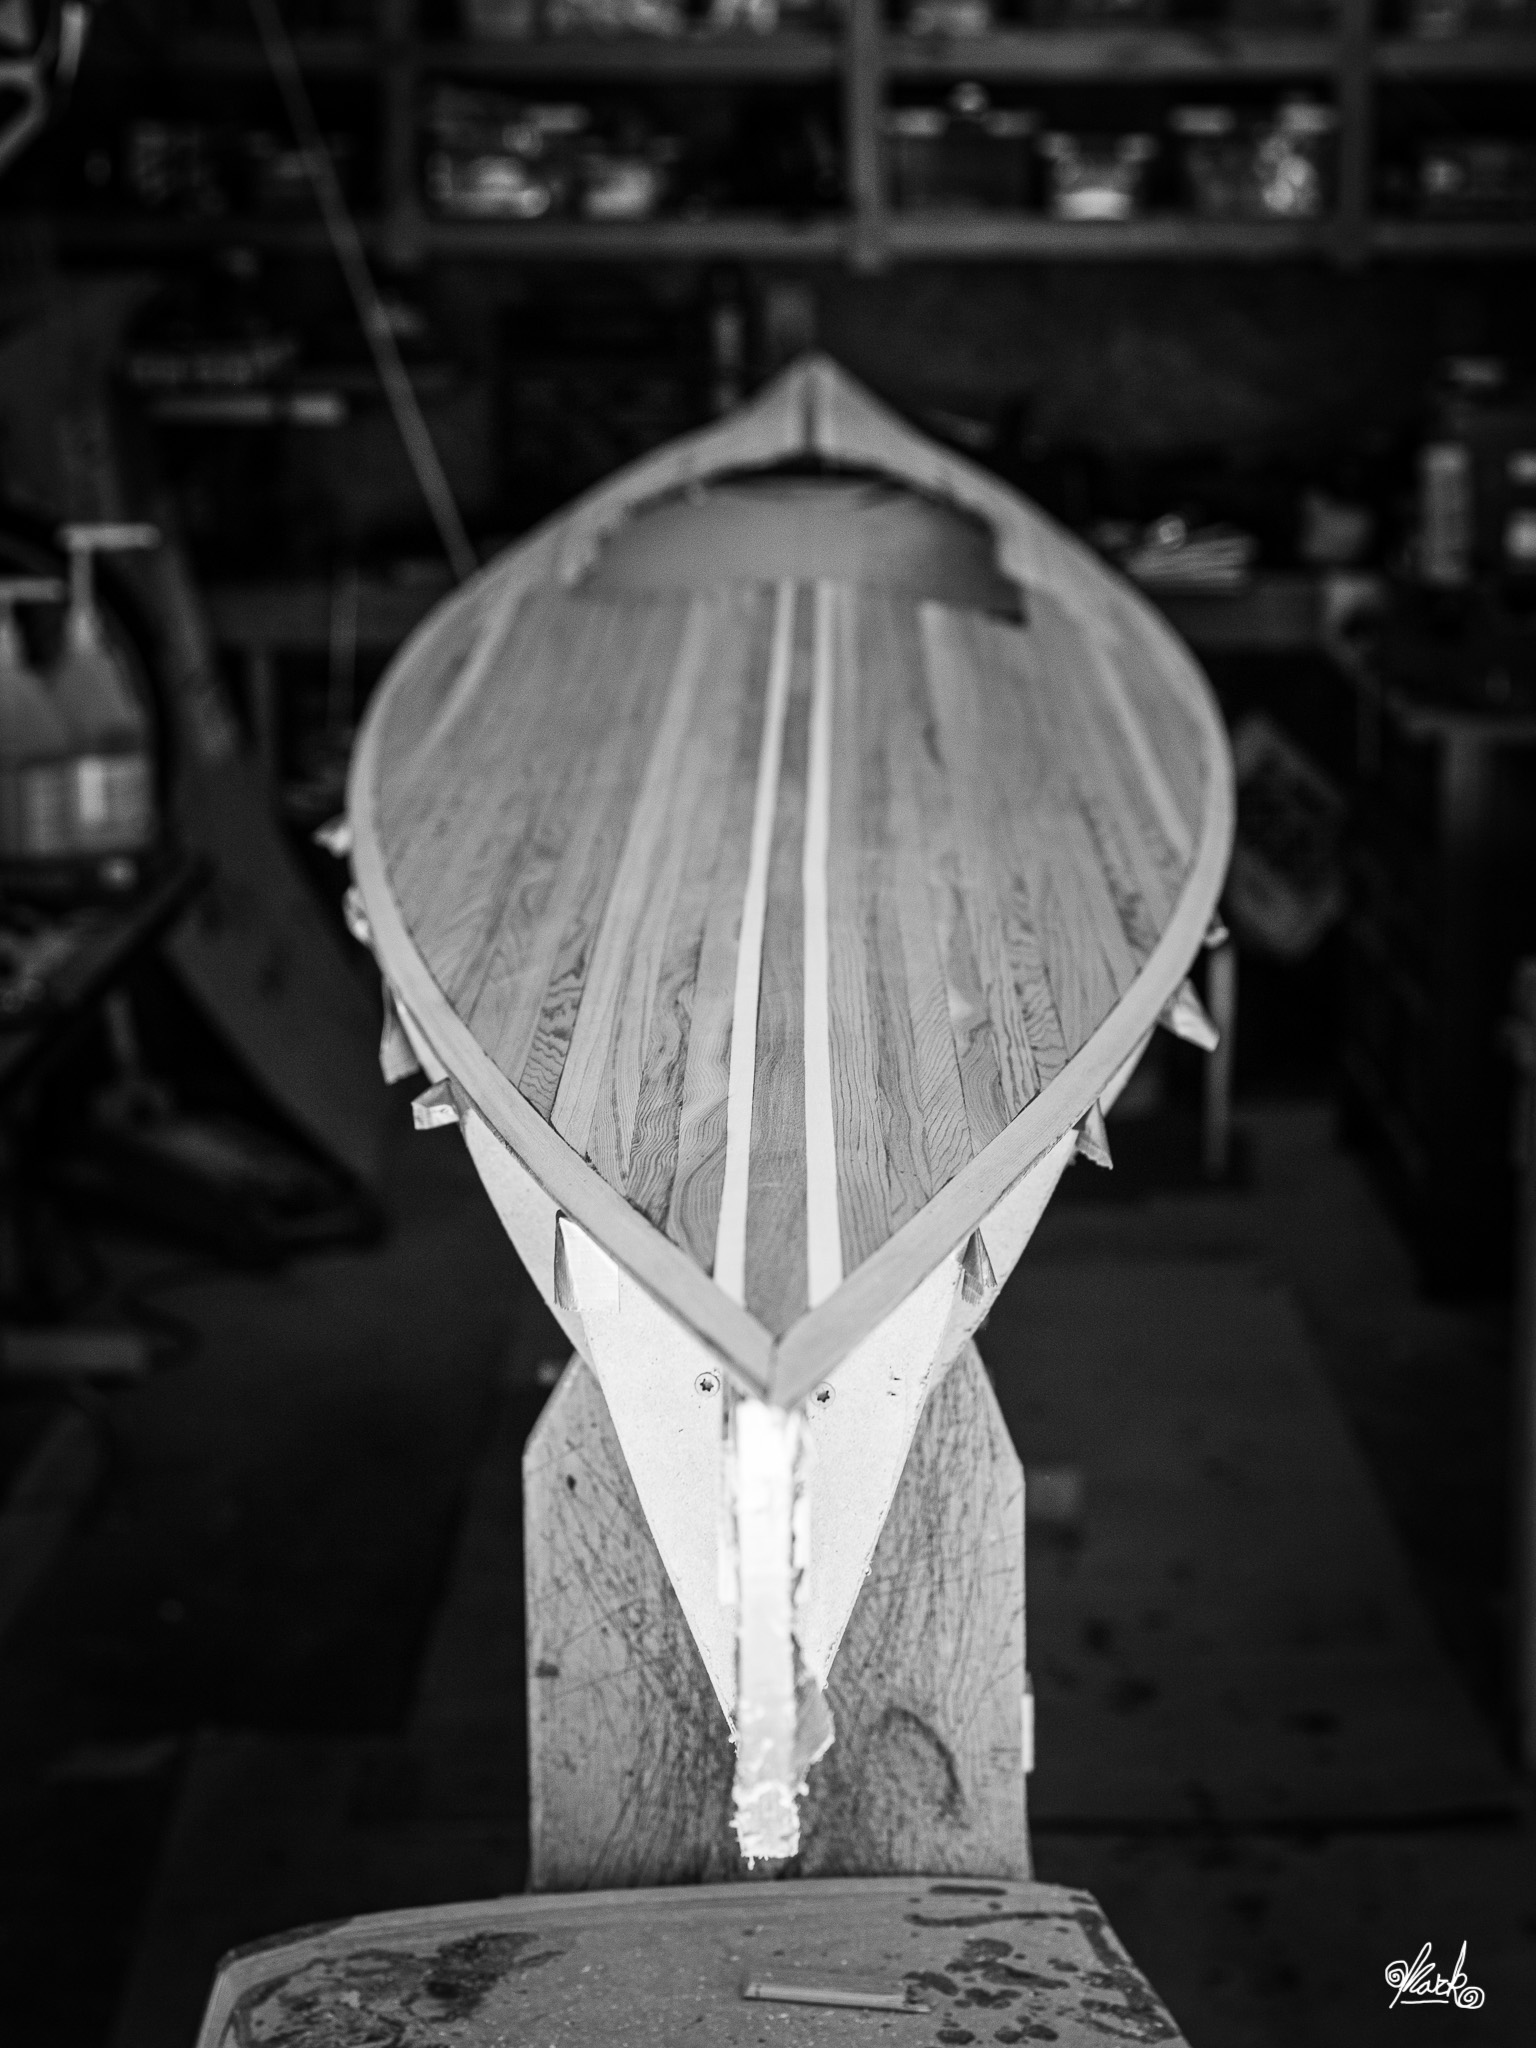
As I mentioned, I was not able to assist with the entire process and do not have photos of the strips going on. This next photo shows how the top was started, though.
 Ready for Strips
The bottom of the kayak is actually easier to build than a canoe, since canoes are deeper. Building the bottom is much the same process for a kayak, though.
 Bottoms Up!
Both the top and bottom are done separately. The strongback is able to be lifted out of its support and flipped over. Whe the top is finished, the forms are flipped to work on the bottom. In theory, this should ensure that the top and bottom join perfectly.
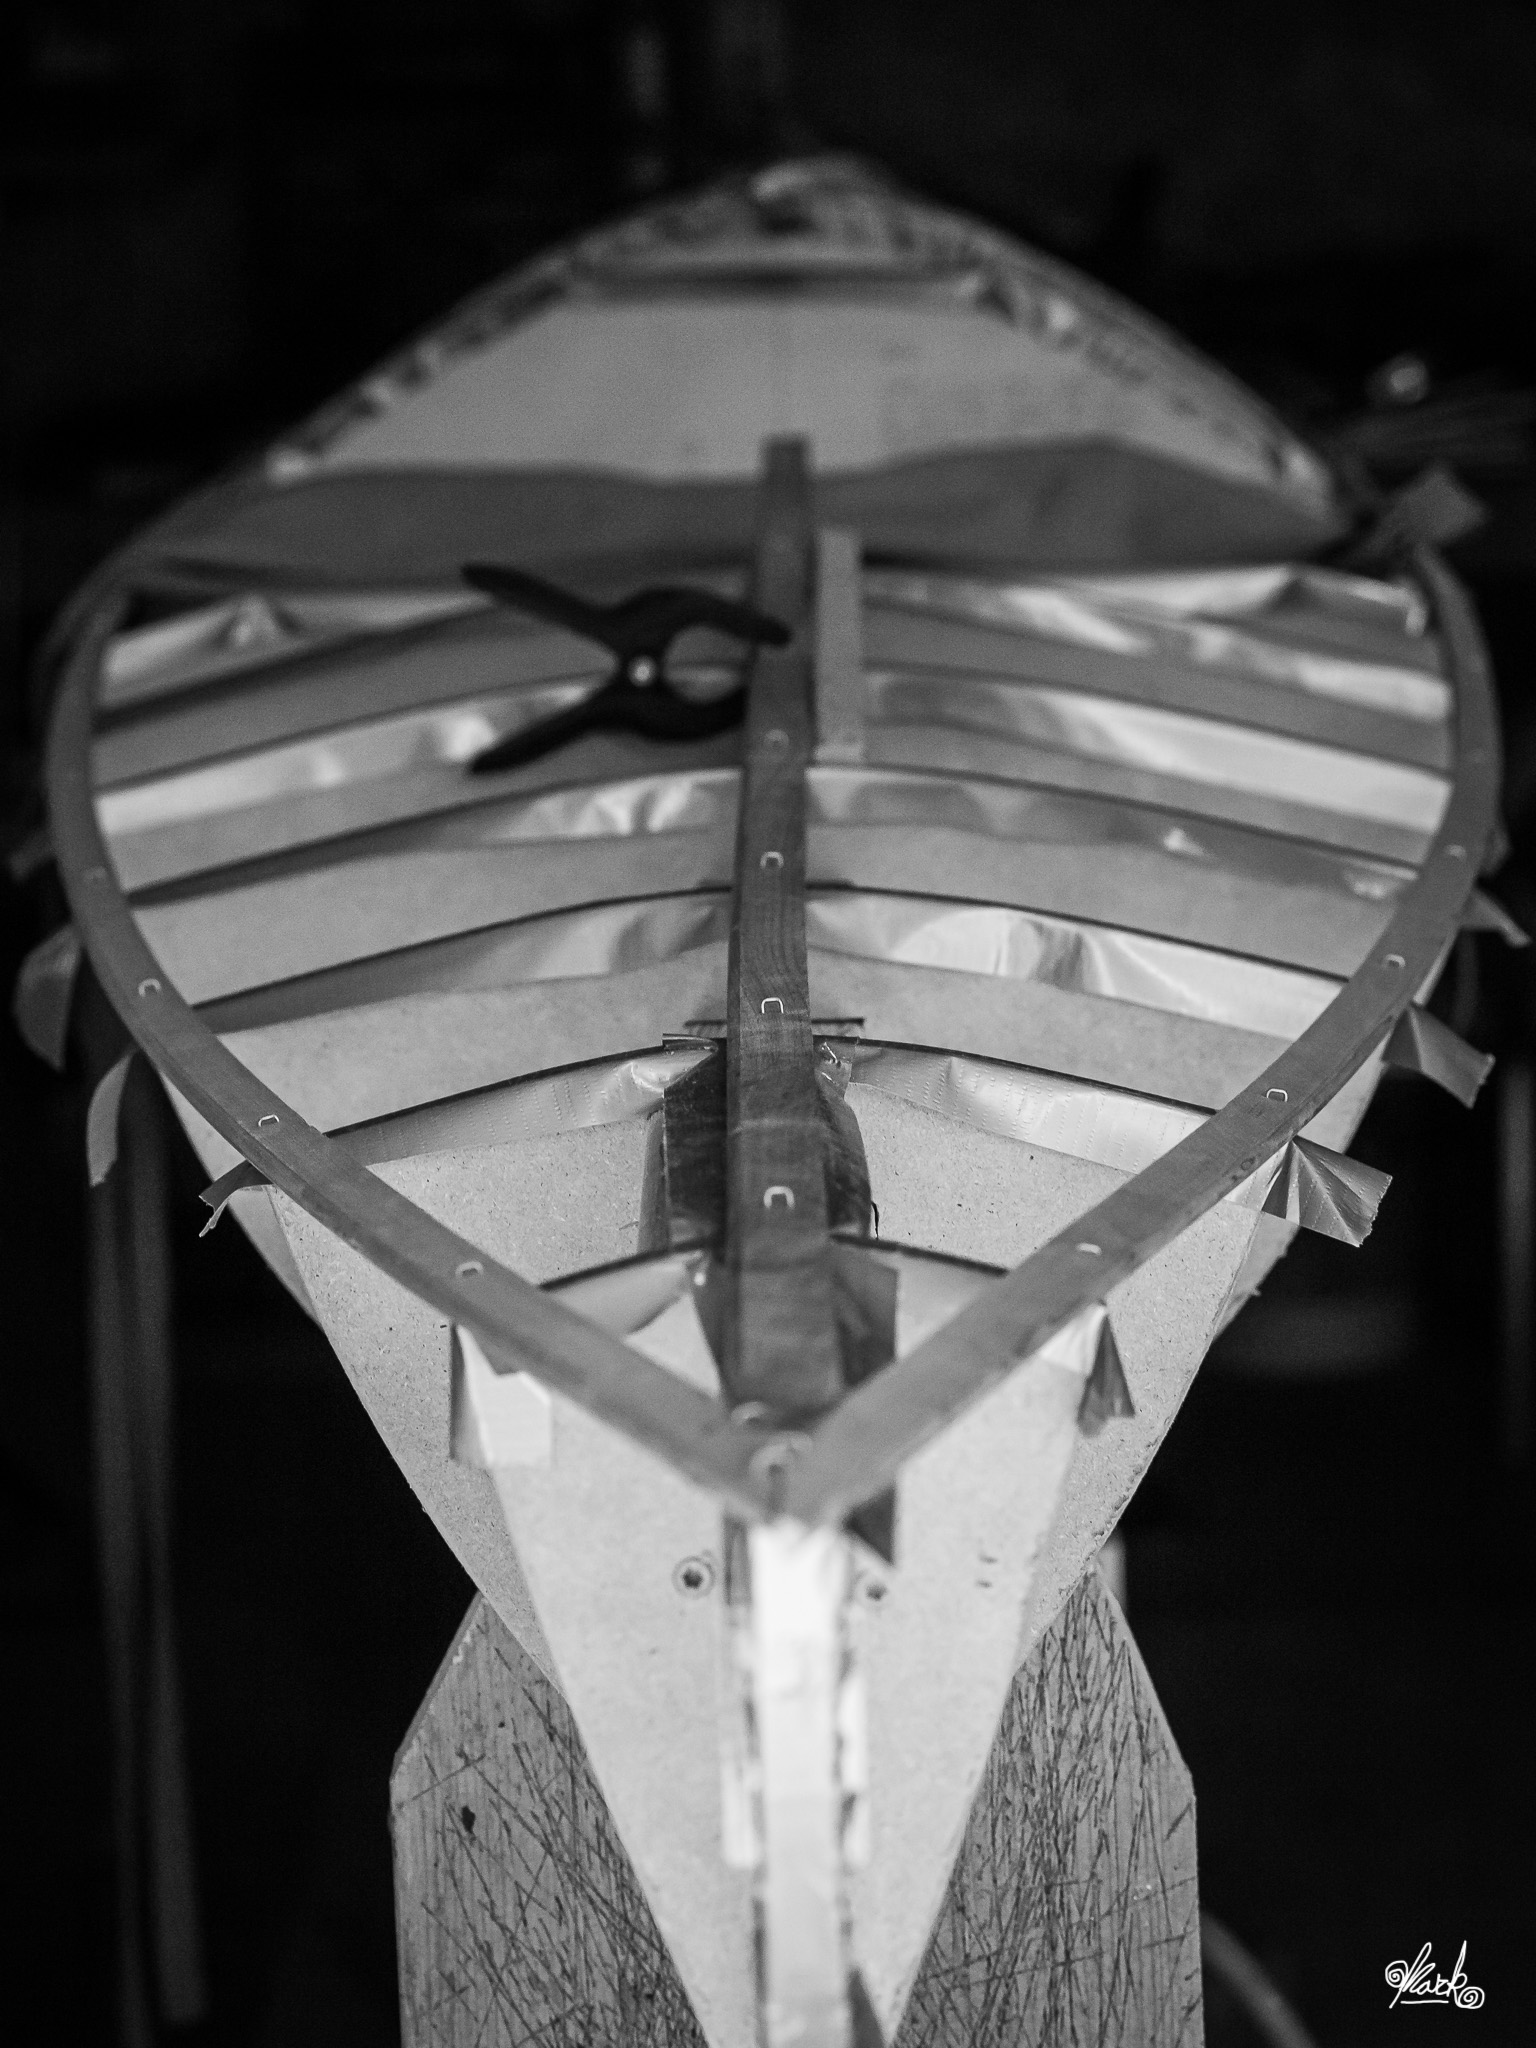
 A bit rough, yet
This next photo shows a piece of wood being added inside the rim of the bottom for the top section to sit on. There were many clamps. Oh so many clamps.
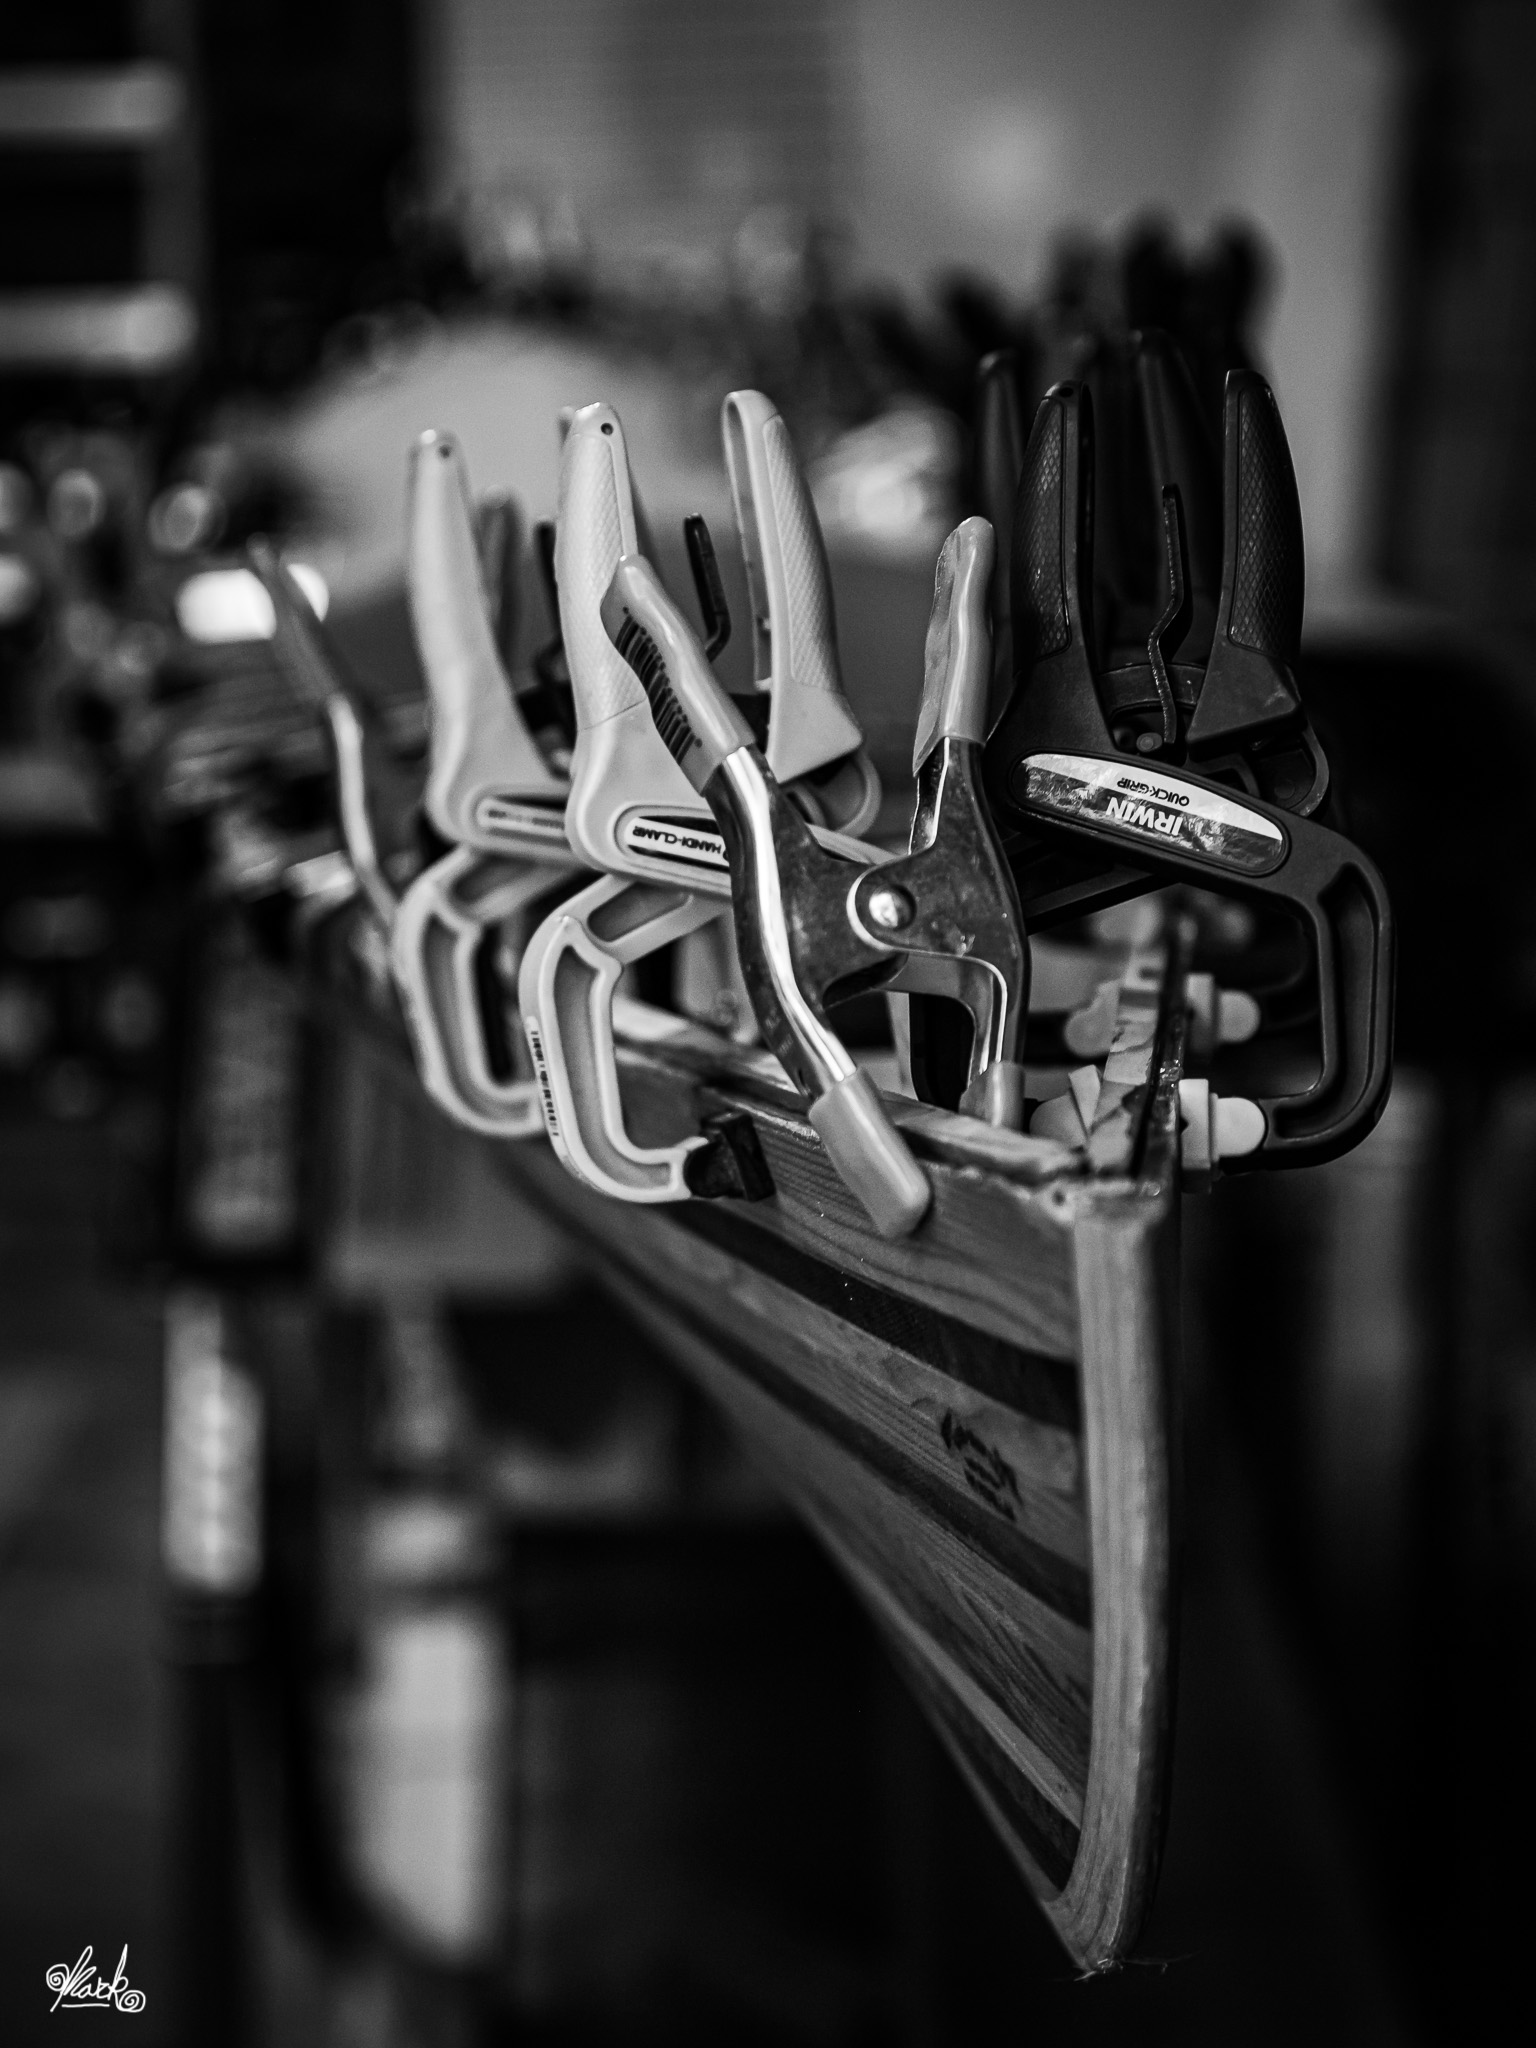 Clamp it. Clamp it good.
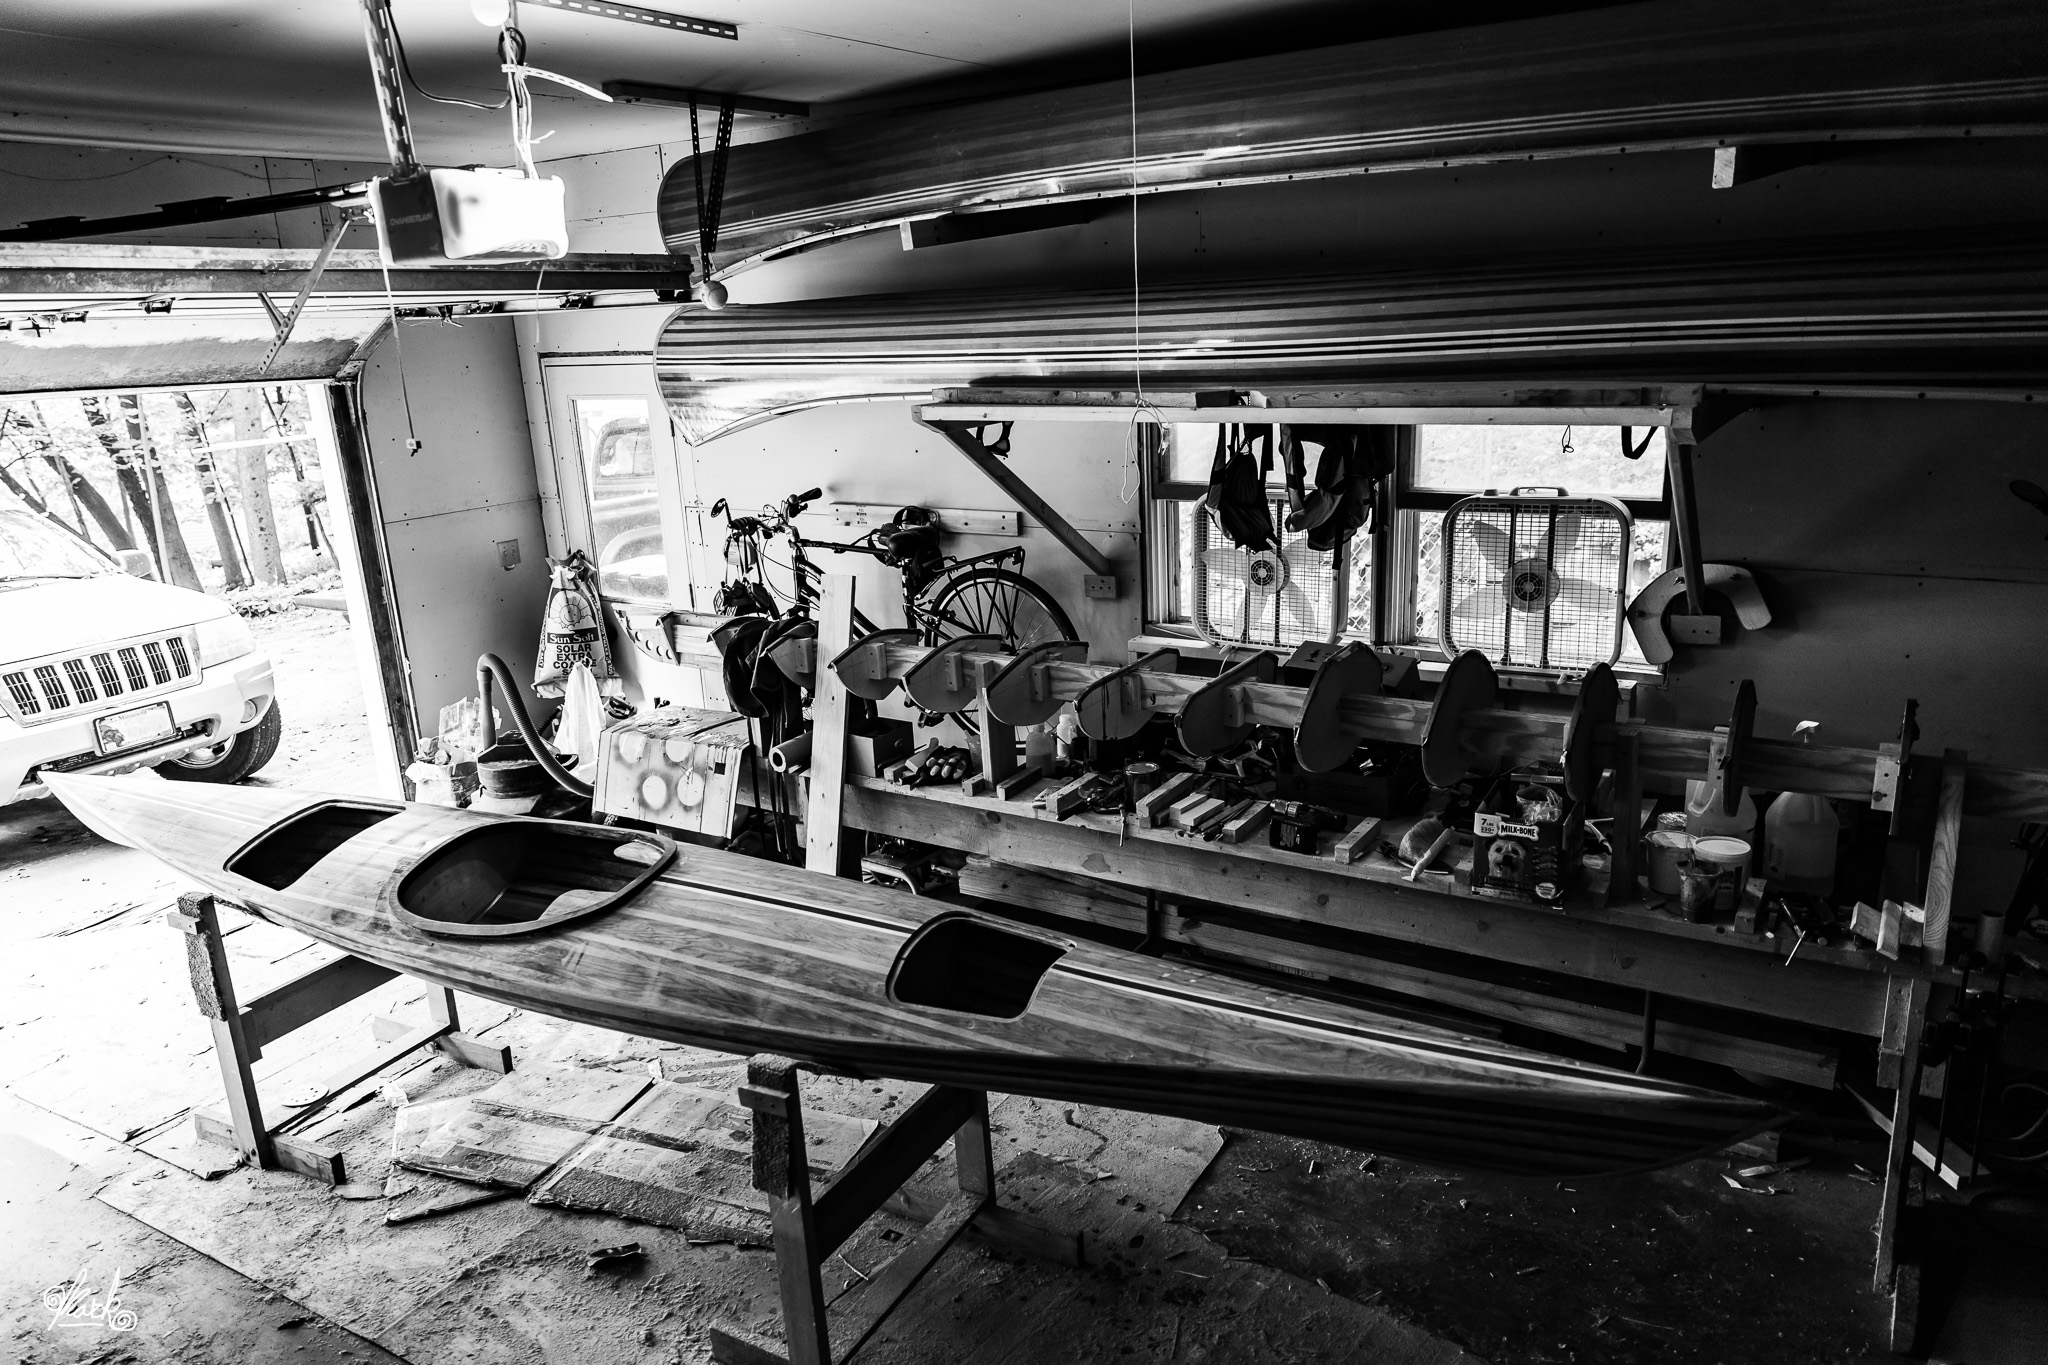
Before top and bottom are joined, they must be fiberglassed. This is a messy process which I assisted with. Not wanting to destroy my photography gear by getting it covered in epoxy, I decided not to take photos of that part.
Fitting the top and bottom together also did not go exactly according to plan. My mother had to drive to the store and purchase emergency straps to hold everything in place and some natural flexing and bending of the wood made the match uneven. With a little creative problem solving my dad came up with a fix. Unless you're looking very closely, it is impossible to see in the finished boat.
 Almost done!
And then it's done!
Not really. Once it's a joined, solid craft, the cut-outs need to be done, a rim put around the seat, gaskets and straps added to the hatches, and a thousand other odds and ends. Technically, it's still not finished, as it's lacking the bunjee cords. We wanted to test it in the Boundary Waters Canoe Area of northern Minnesota, so the bunjees had to wait!
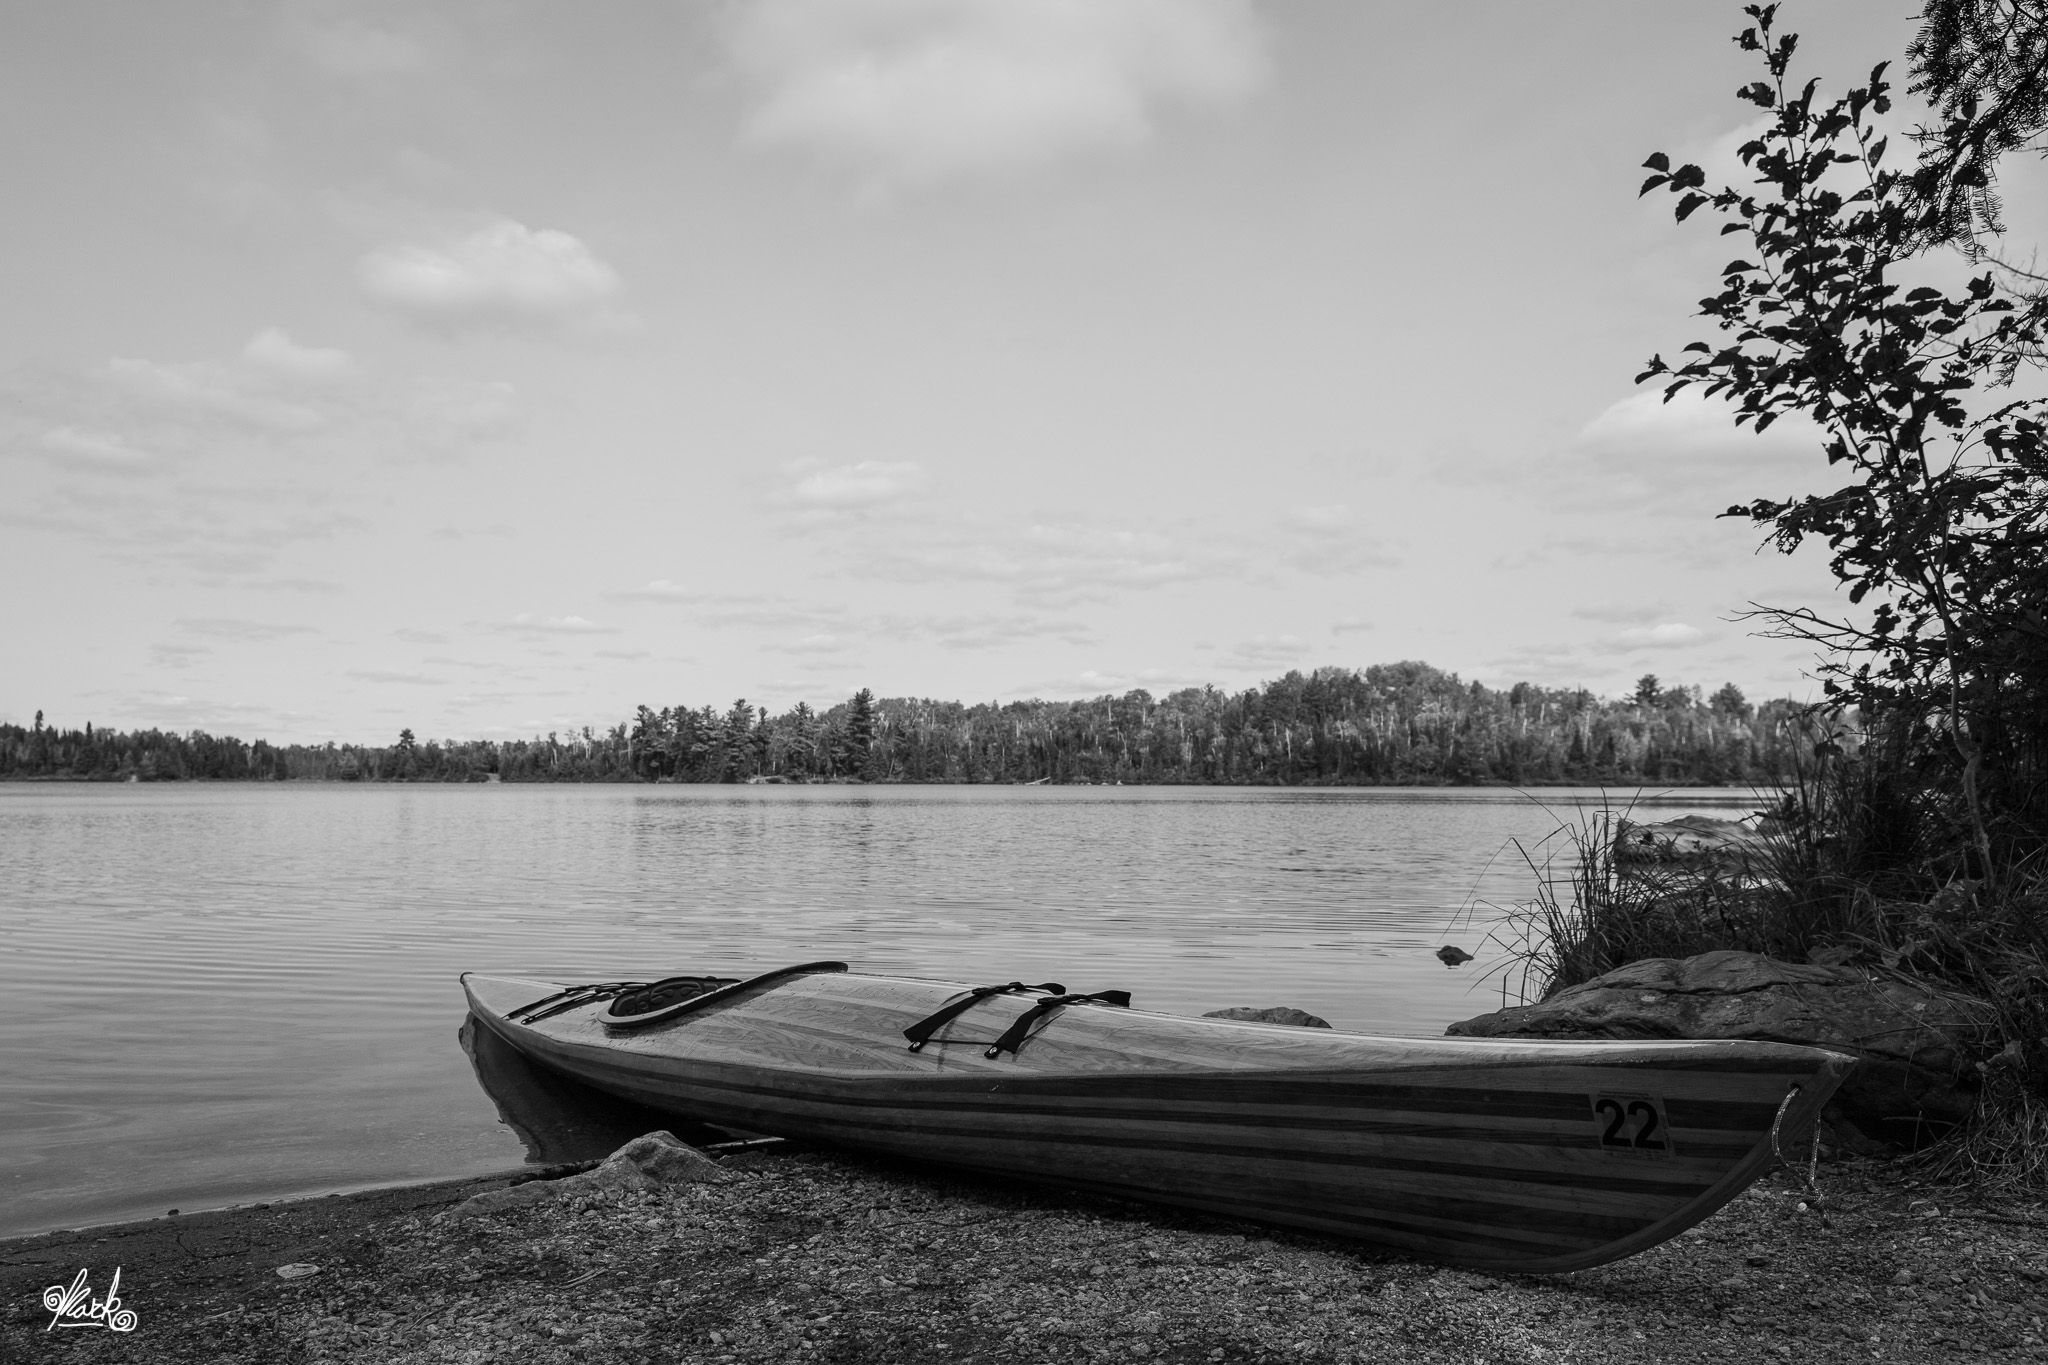
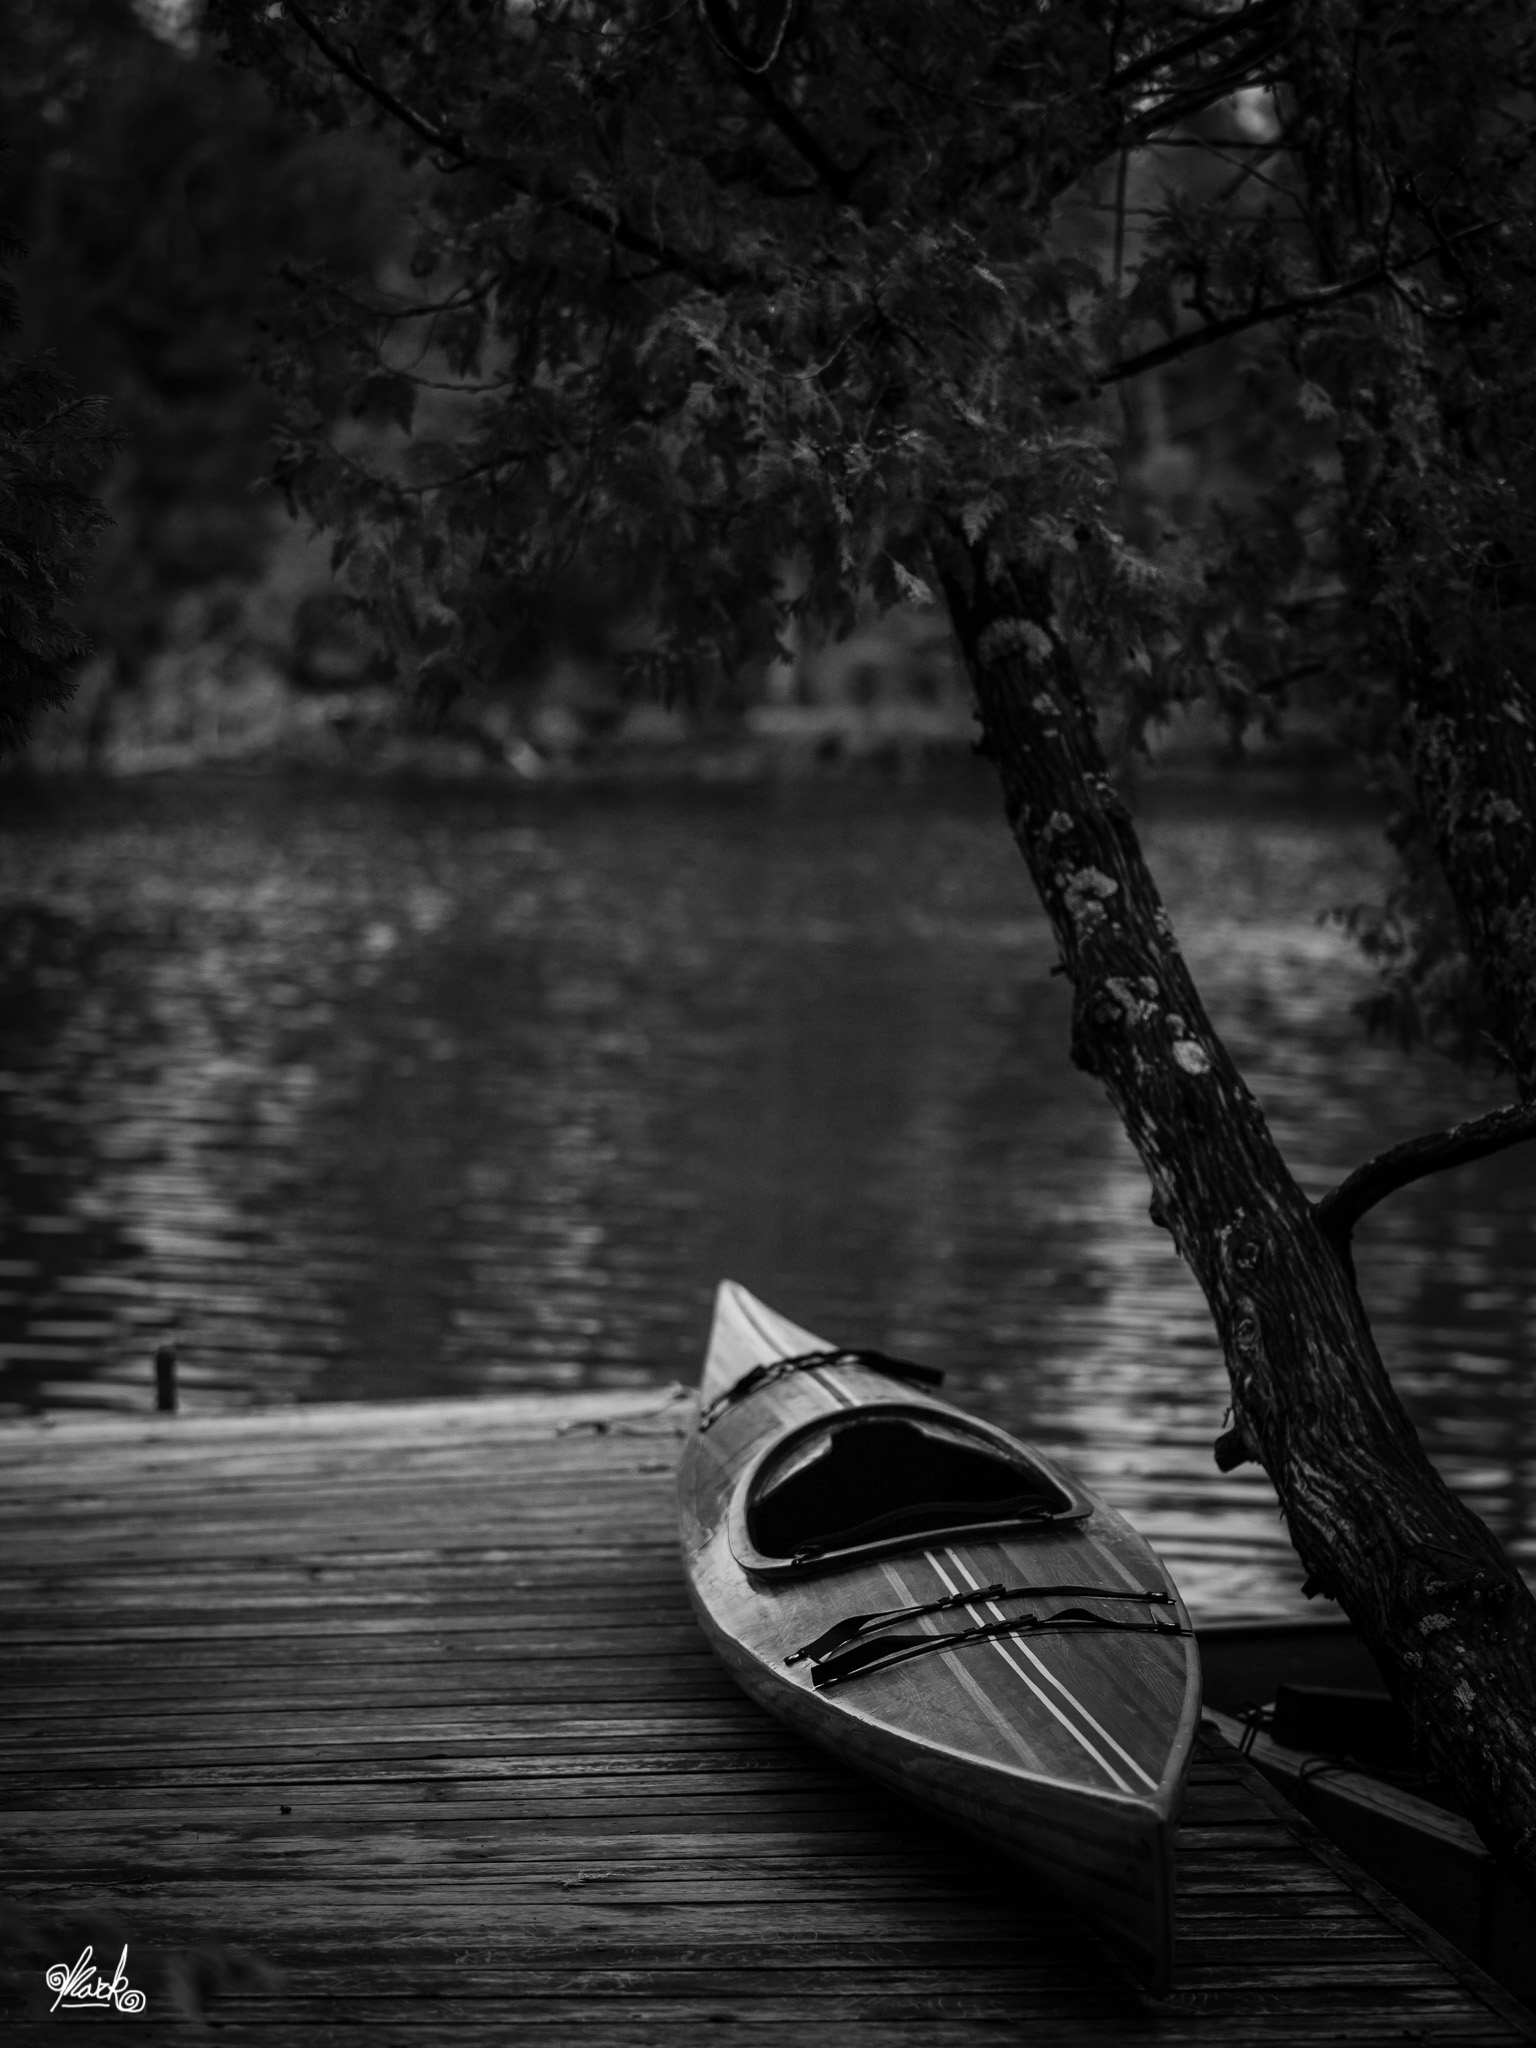 No Bunjees Yet
And the result? It is a spectacular kayak. The narrow design and form make it much faster than the canoes. One night, I was paddling hard to get back in time for supper and looked up. It was a shock to see how fast the trees were flying past on the shoreline!
Thank you for taking a look! If you enjoy my work, please click the upvote button. Comments are also greatly appreciated.