
Hello, dear Hive friends and jewelry makers! 👋
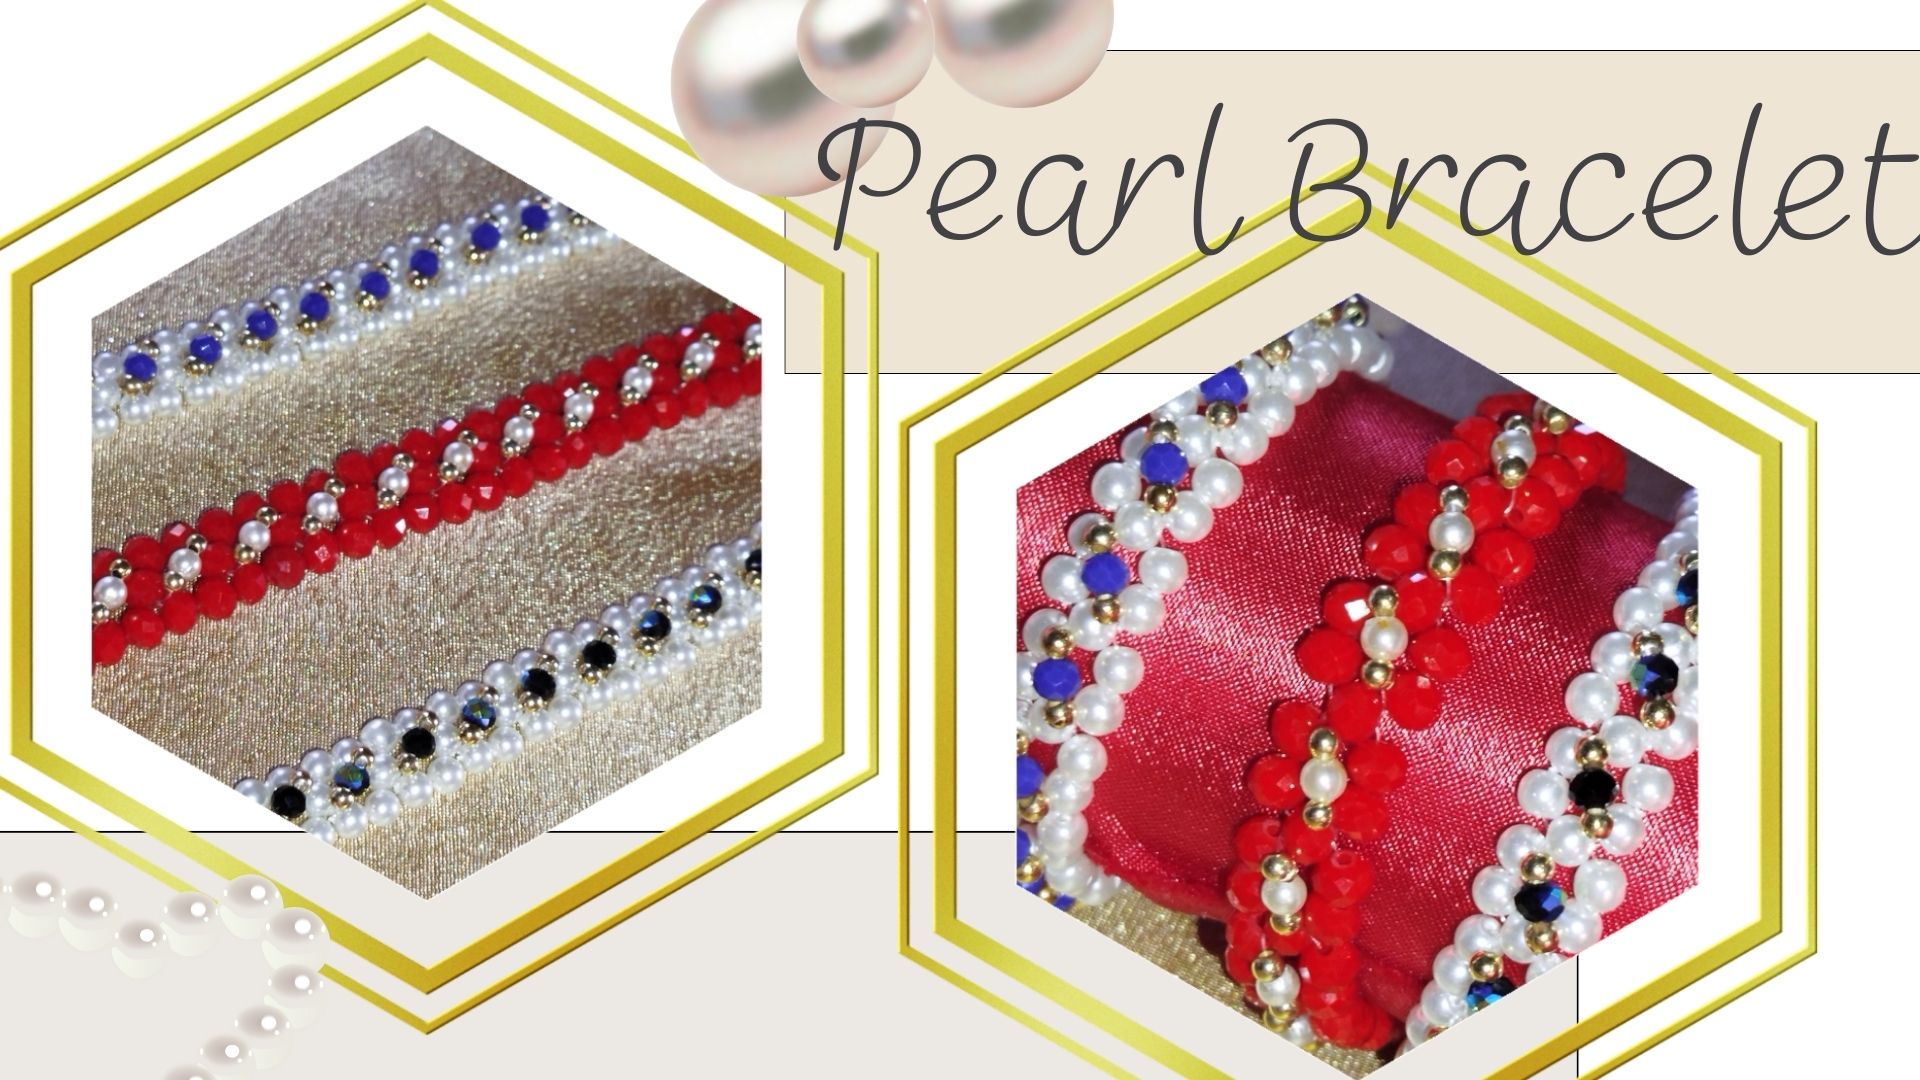
To end the week on a high note, I want to share with you a tutorial for a brand new bracelet design. I used some materials I had left over from the previous project: pearls, gold beads, and those beautiful blue Swarovski crystals.
Honestly, I think these crystals add a touch of luxury; they are like little diamonds that bring unmatched elegance thanks to their sparkle and perfect cuts.
While using Swarovski crystals increases the cost of the piece, the end result is worth it. But, of course, there are always options. If you prefer something more affordable, you can replace the crystals with Murano-style stones. The result will still be beautiful and full of life.
Without further ado, let's see what we need to get started:
- - -

- - -
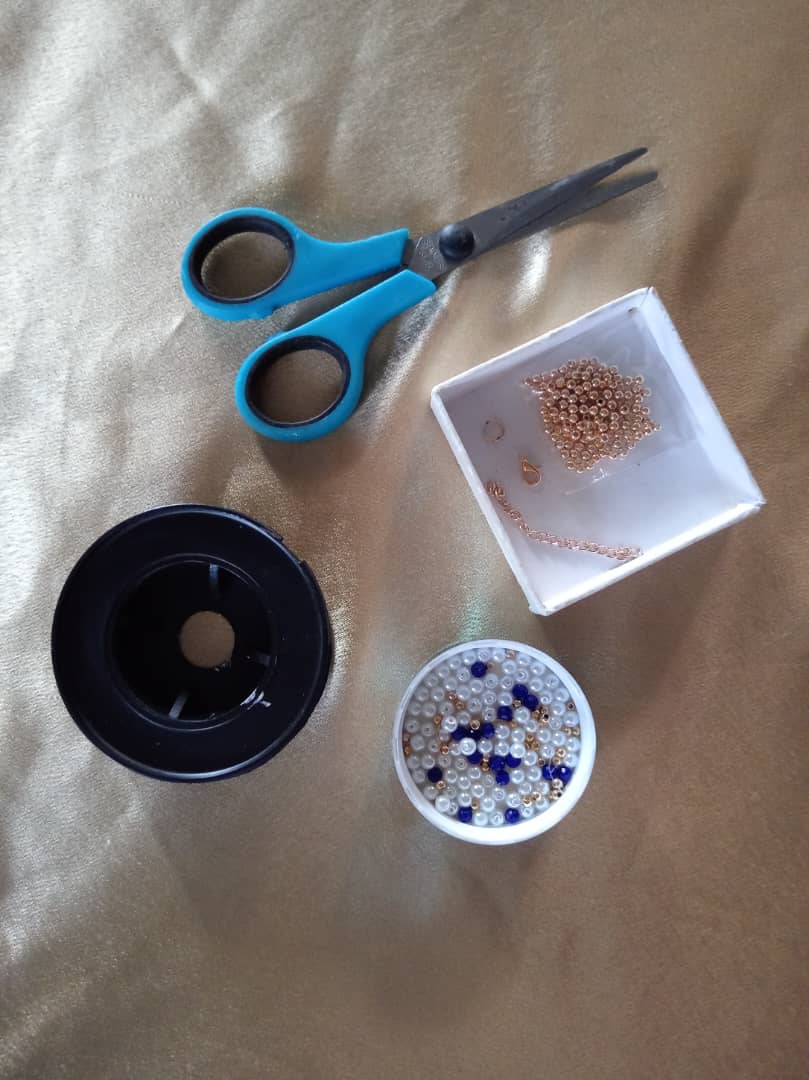
- 96 white pearls, approximately for a 20 cm bracelet.
- 38 gold beads.
- 16 blue Swarovski crystals (or similar) (or depending on the length).
- Clasp or brooch (crab type) and extension chain.
- Rigid nylon thread.
- 2 jewelry needles.
- - -

- - -
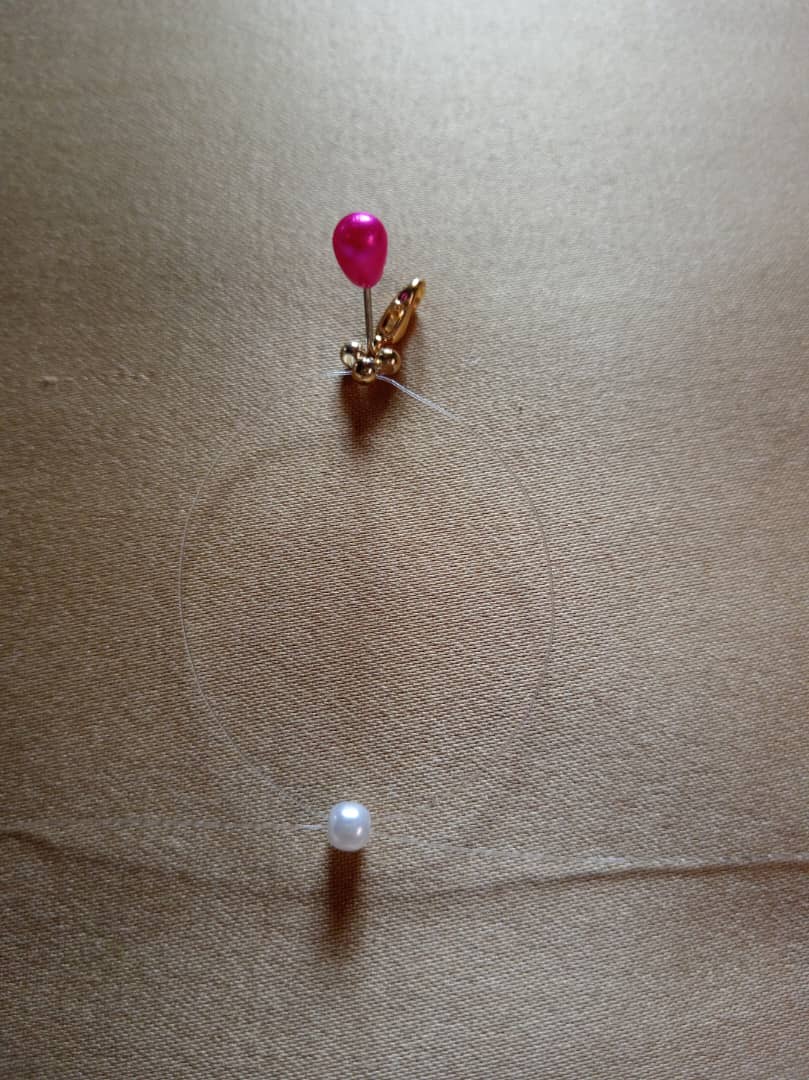
To begin, cut a piece of nylon thread approximately one meter long and thread a needle through each end. Fold the thread in half to find the center.
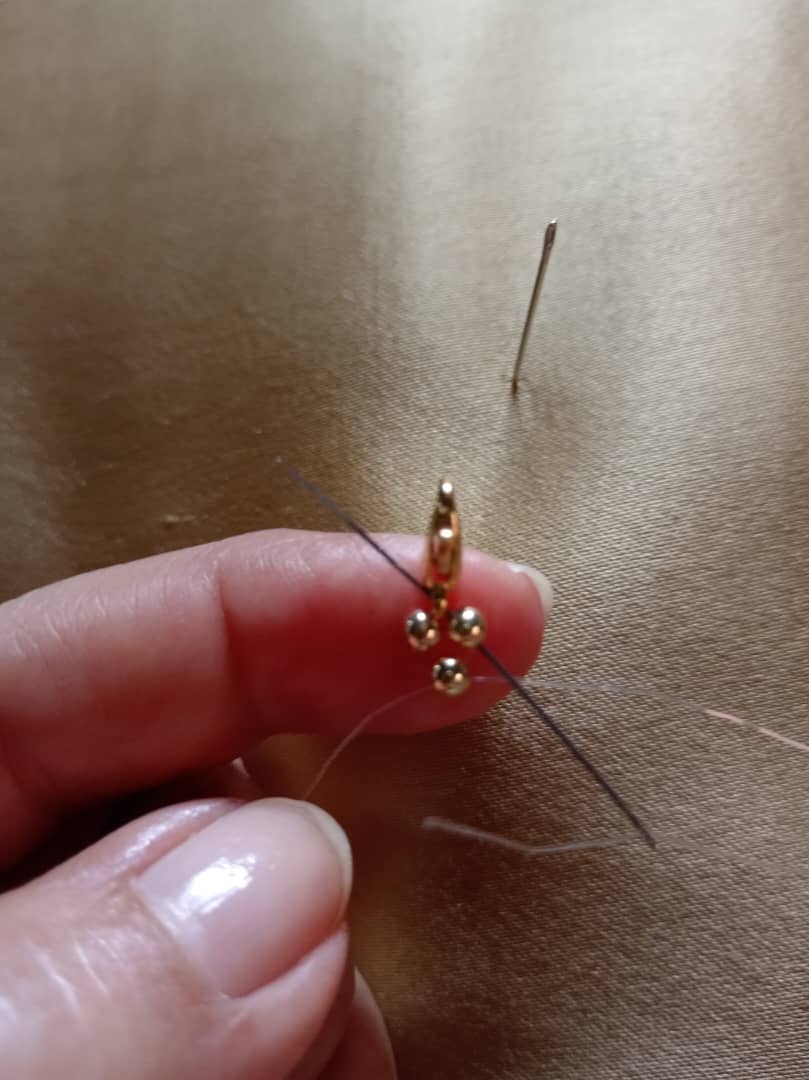
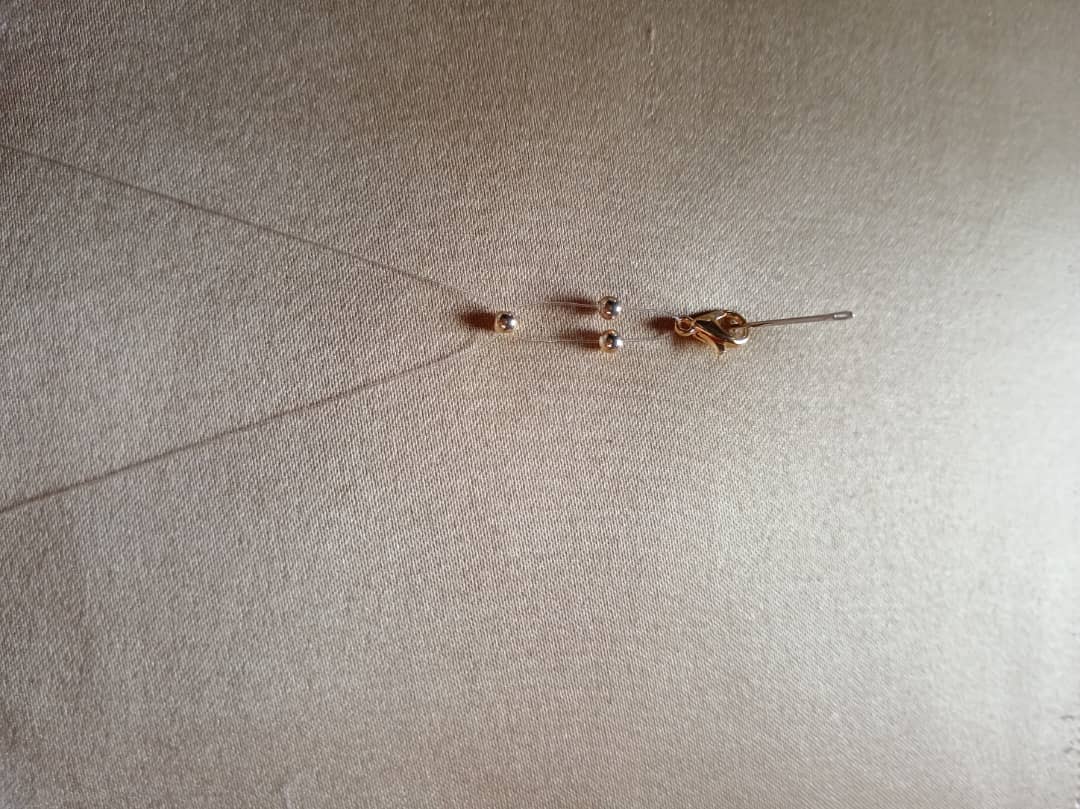
At the center of the thread, insert a bead, then the clasp or crab, and then another bead.
Insert a third bead and cross it with both strands of nylon thread. Then pull the strands to secure the clasp right in the center of the thread. Make sure both strands of thread are the same length.
- - -
- - -
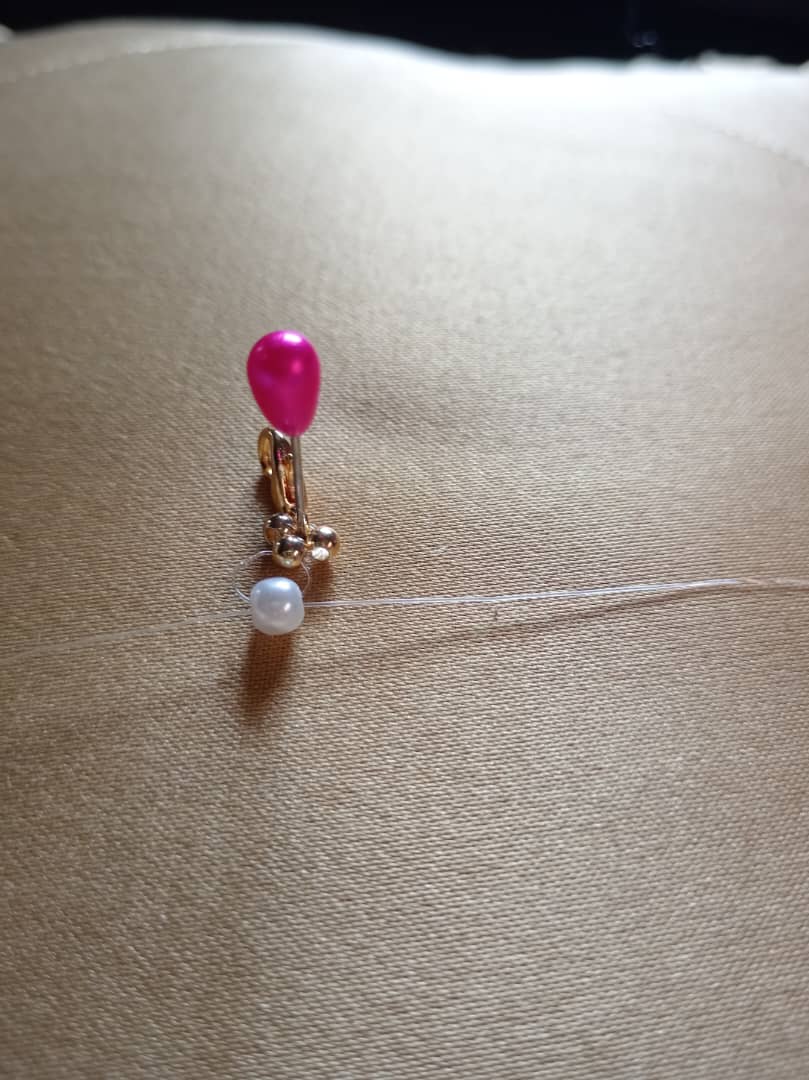
Thread a bead through both strands of thread. This bead will remain fixed and serve as the base. Add four more beads to this fixed bead: two on one strand and two on the other. Thread an additional bead and cross it over the two strands of thread. When you pull, the six beads will come together, forming a flower-like shape.
- - -
- - -
---
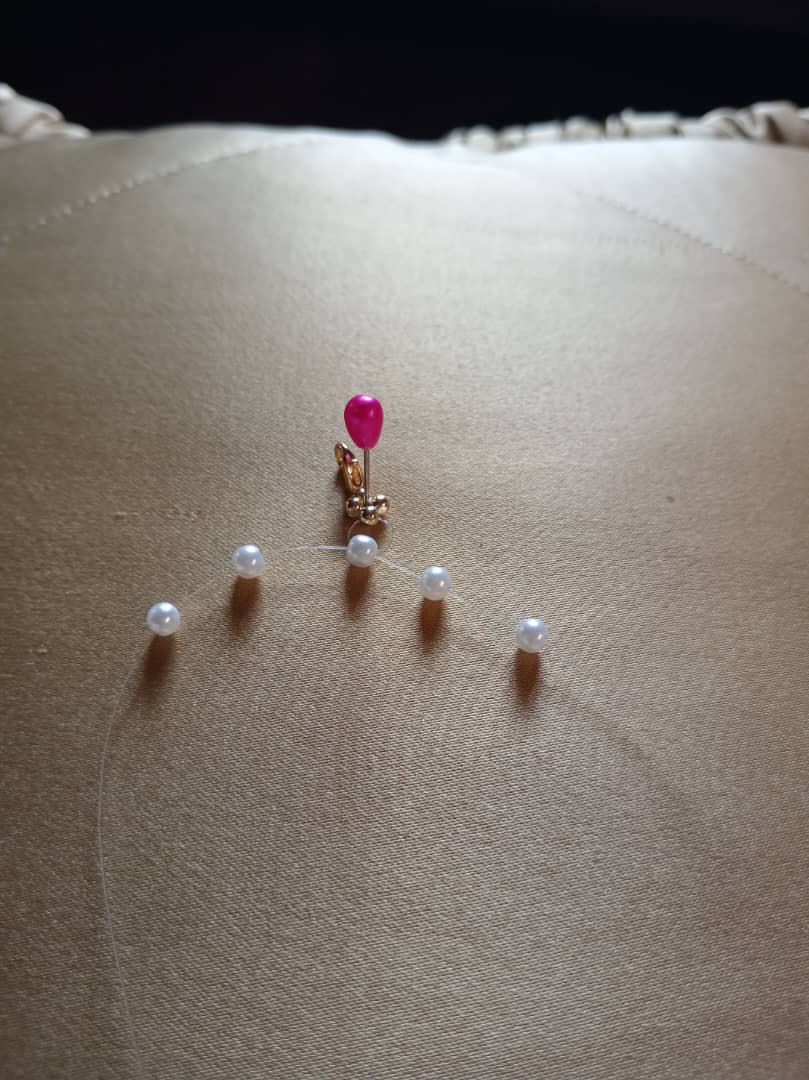
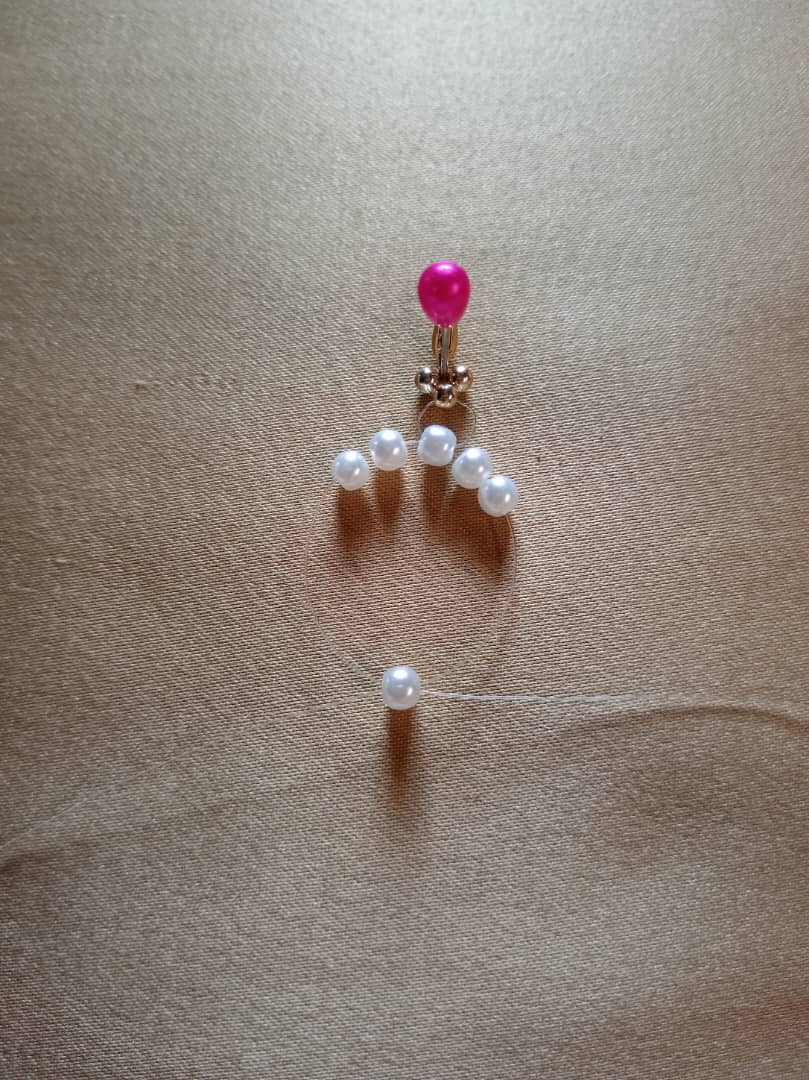
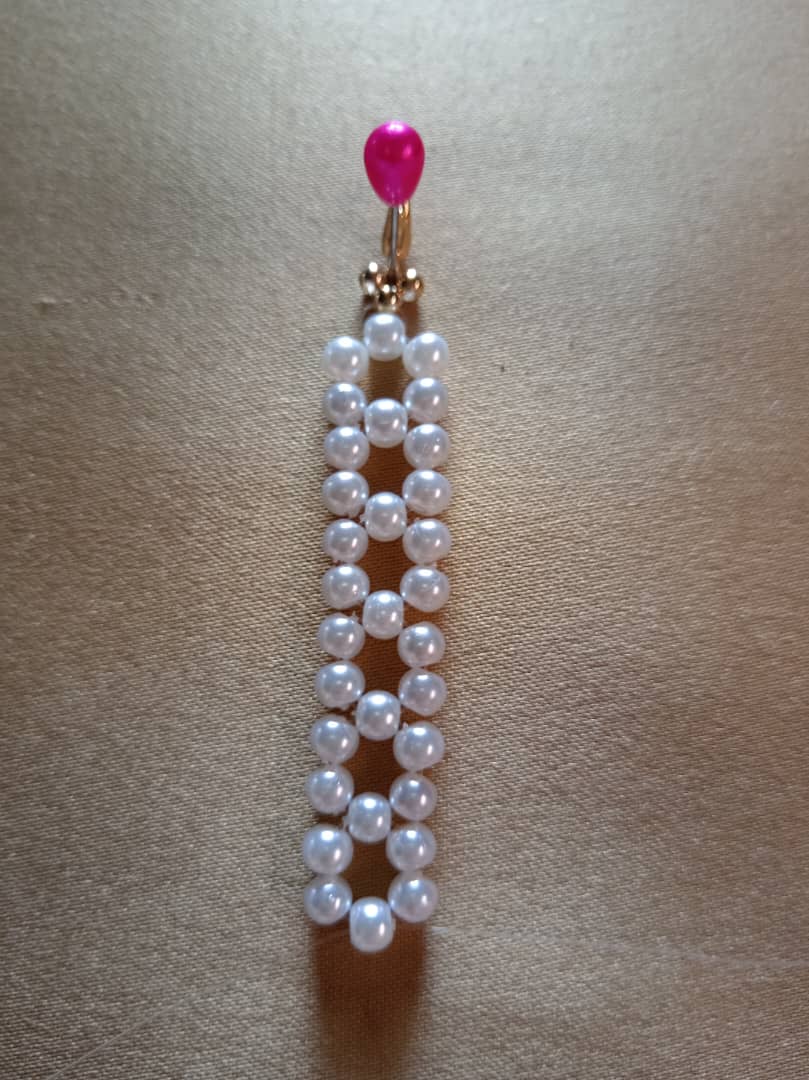
Repeat the sequence from the previous step (add four beads, two per strand, and cross the strand with a fifth bead) until you reach the desired length for your bracelet. In this design, I repeated the sequence 16 times to form 16 bead flowers.
- - -
- - -
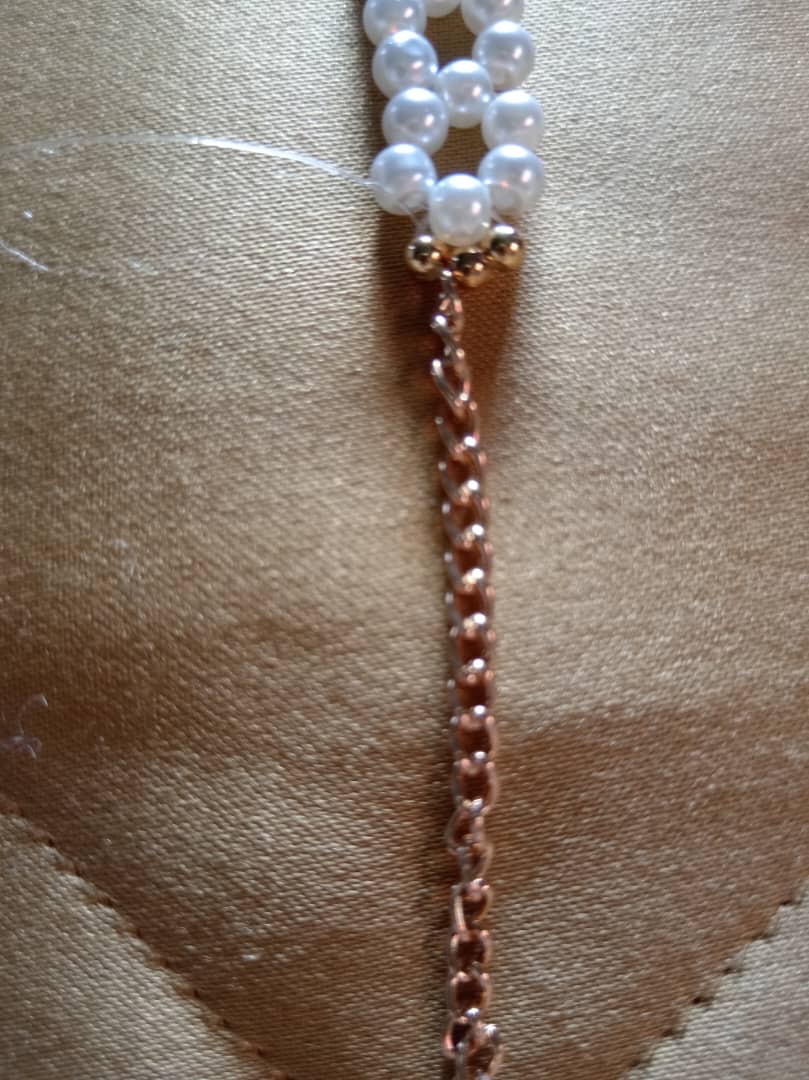
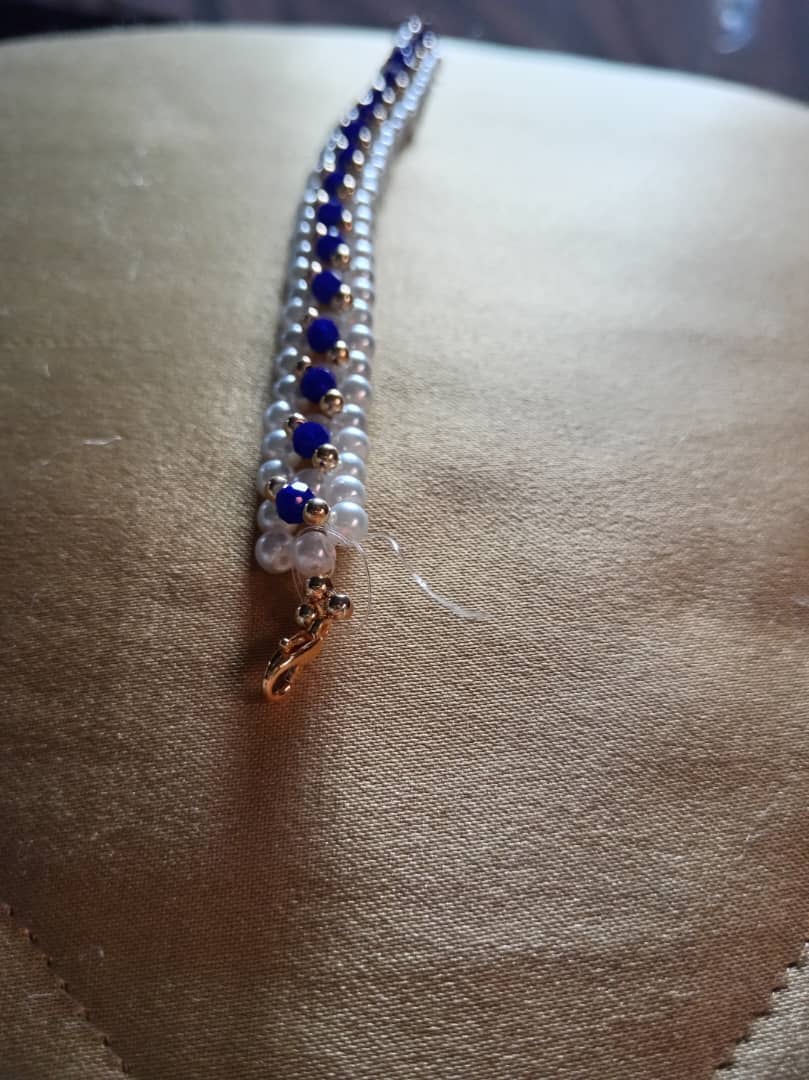
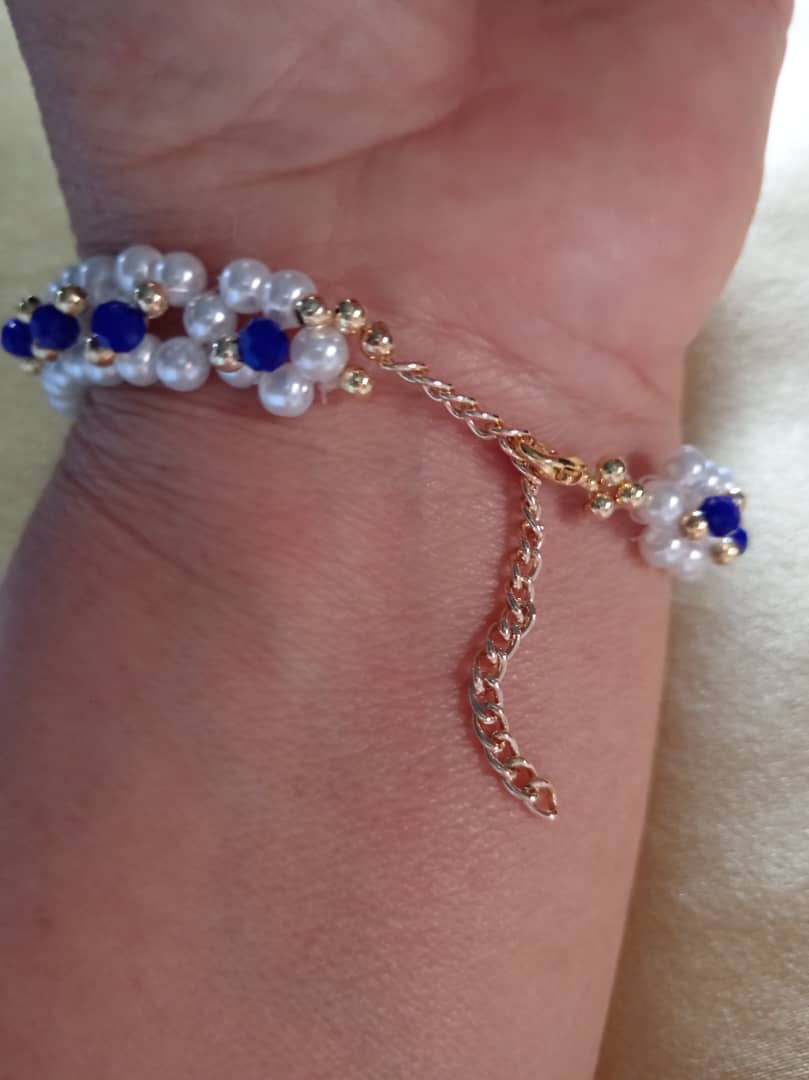
When you have finished the flower sequence, insert a bead into each of the threads. Then add the extension chain to one of the strands and insert a third bead, crossing it over the two strands of thread. Secure the clasp with several knots so that it does not come loose, and cut off the excess thread.
- - -
- - -
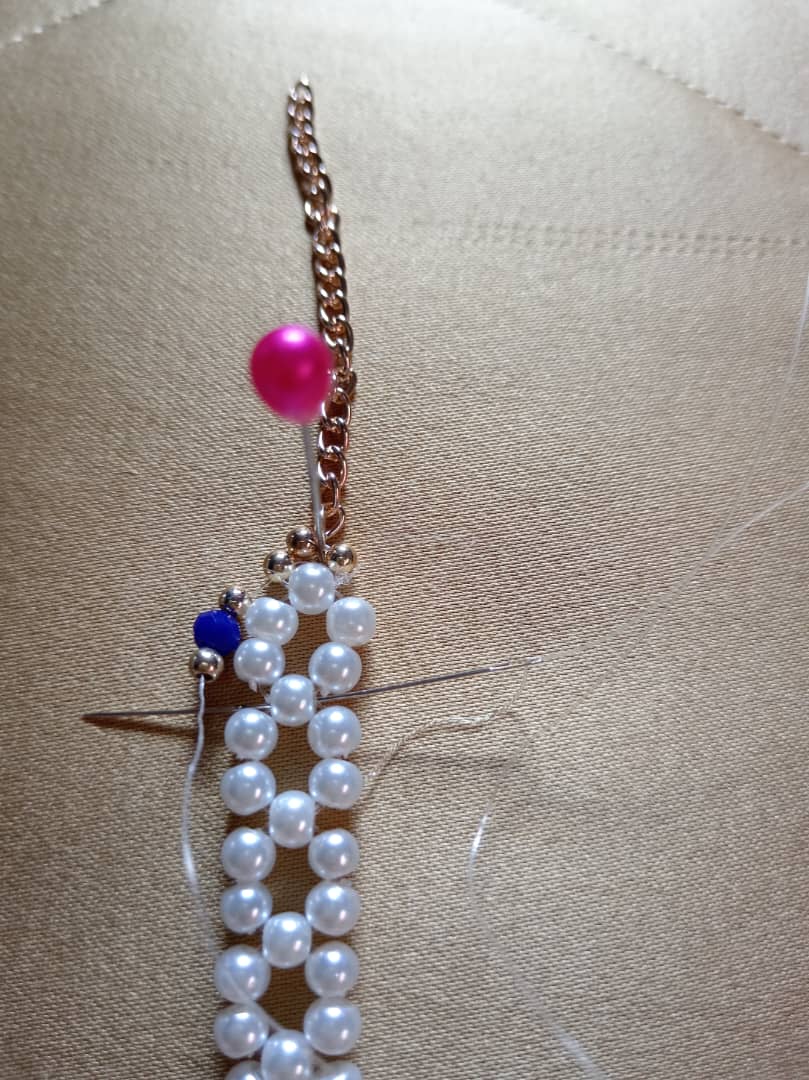
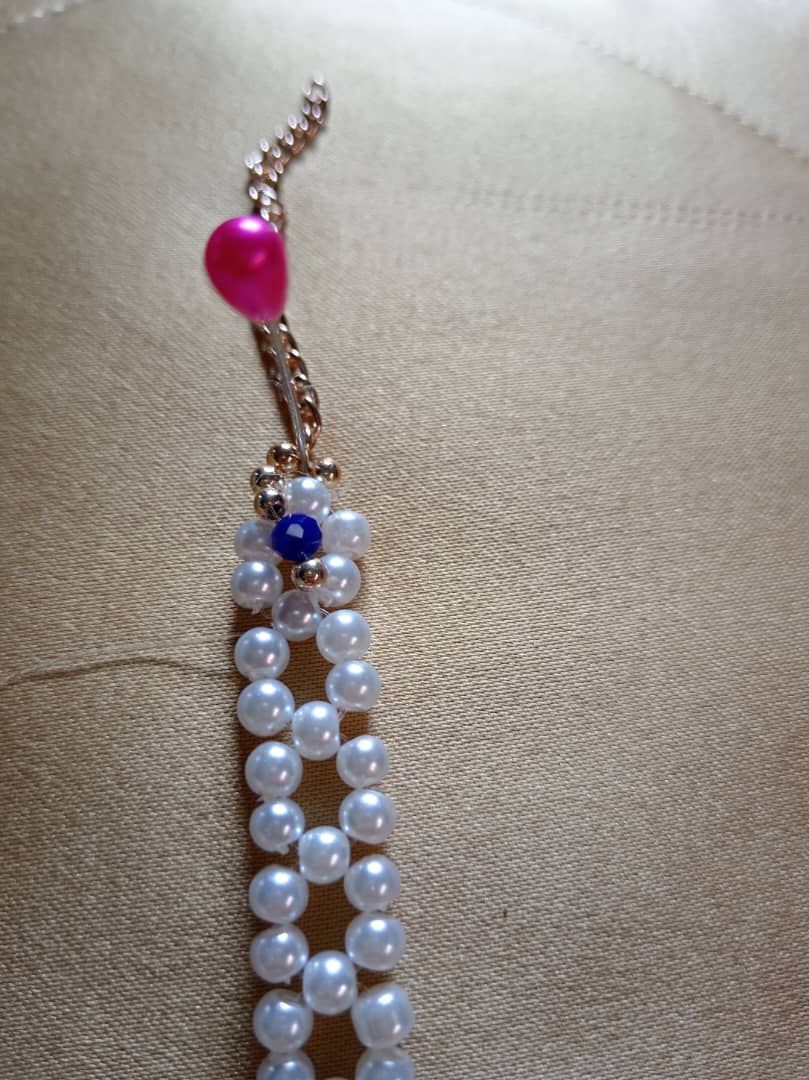
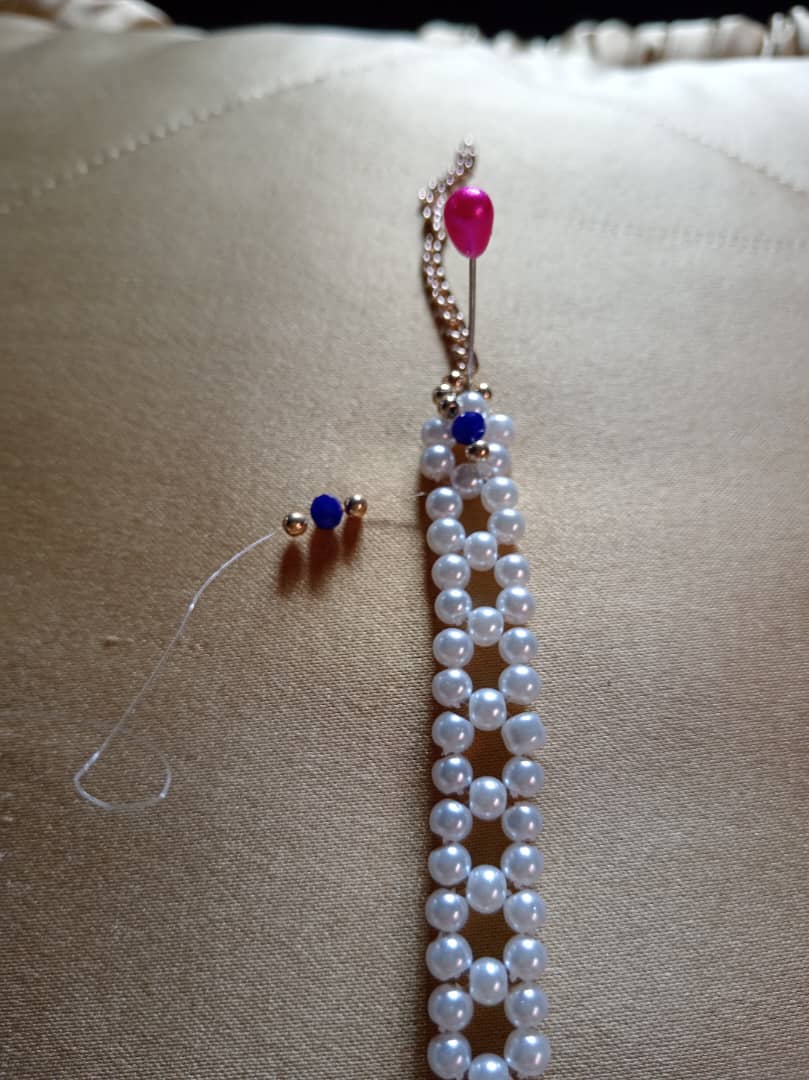
Take the remaining nylon thread and thread a bead, a Swarovski crystal, and another bead onto it.
Secure this sequence of bead-crystal-bead by inserting the needle into the sixth bead of the bracelet body, counting from the clasp. Pull the thread tight so that the decoration is well secured.
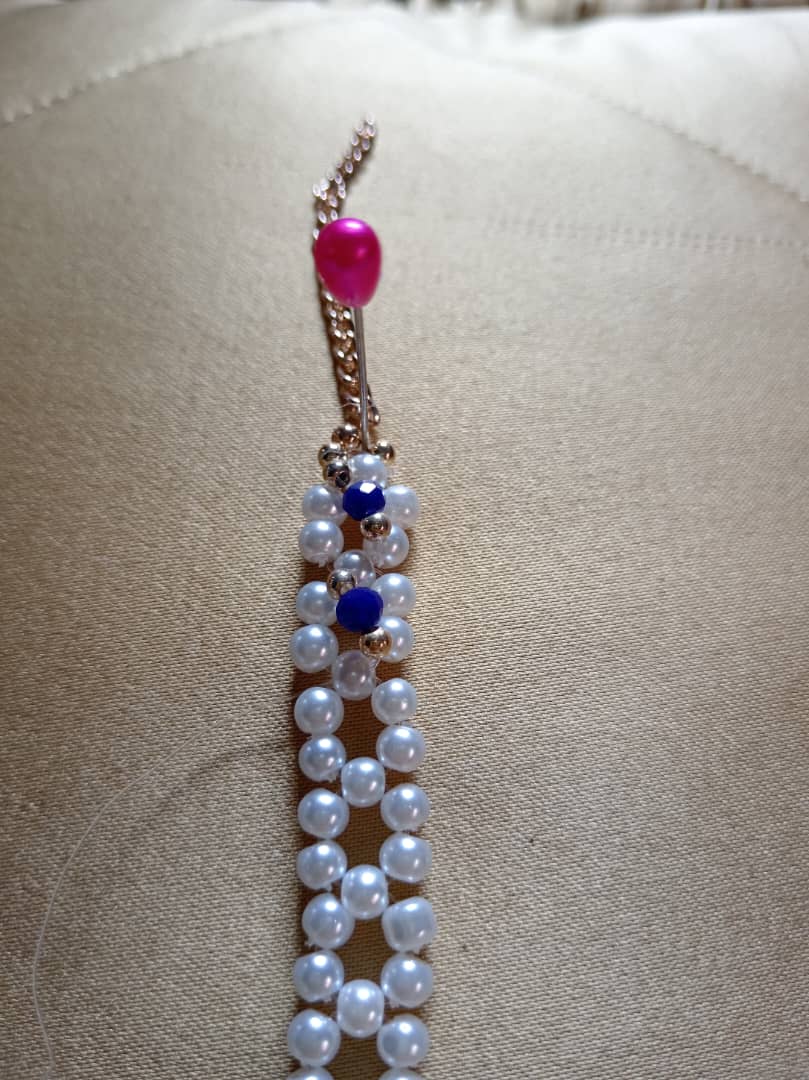
Repeat this same procedure, securing the sequence of bead-crystal-bead on every sixth bead, until you reach the end of the bracelet.
- - -
- - -
---
Secure the final knot with a double knot and seal it with a touch of glue or heat (carefully) if you think it is necessary.
- - -
---
- - -
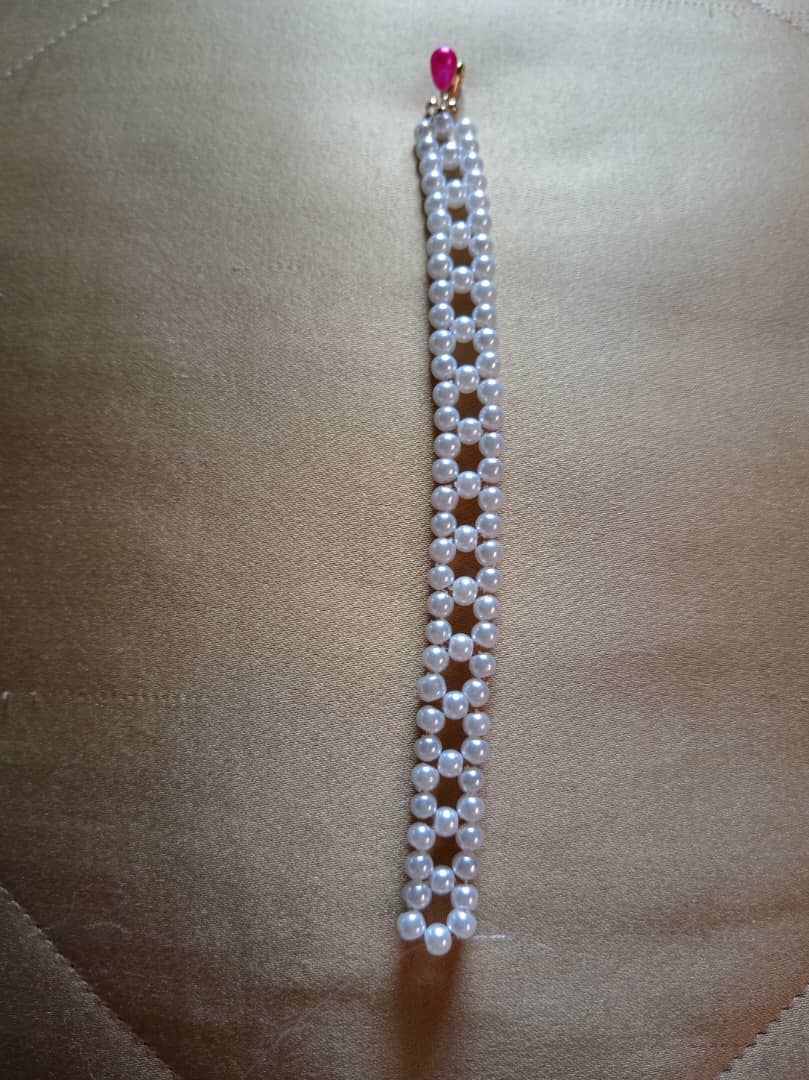
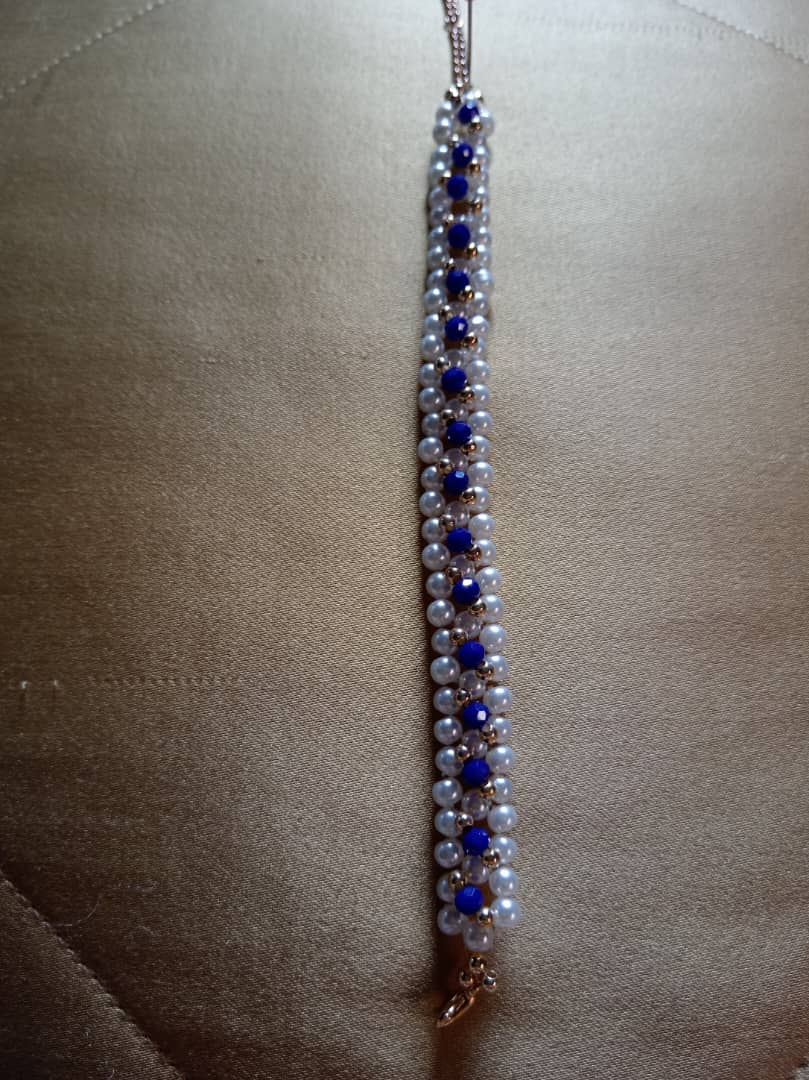
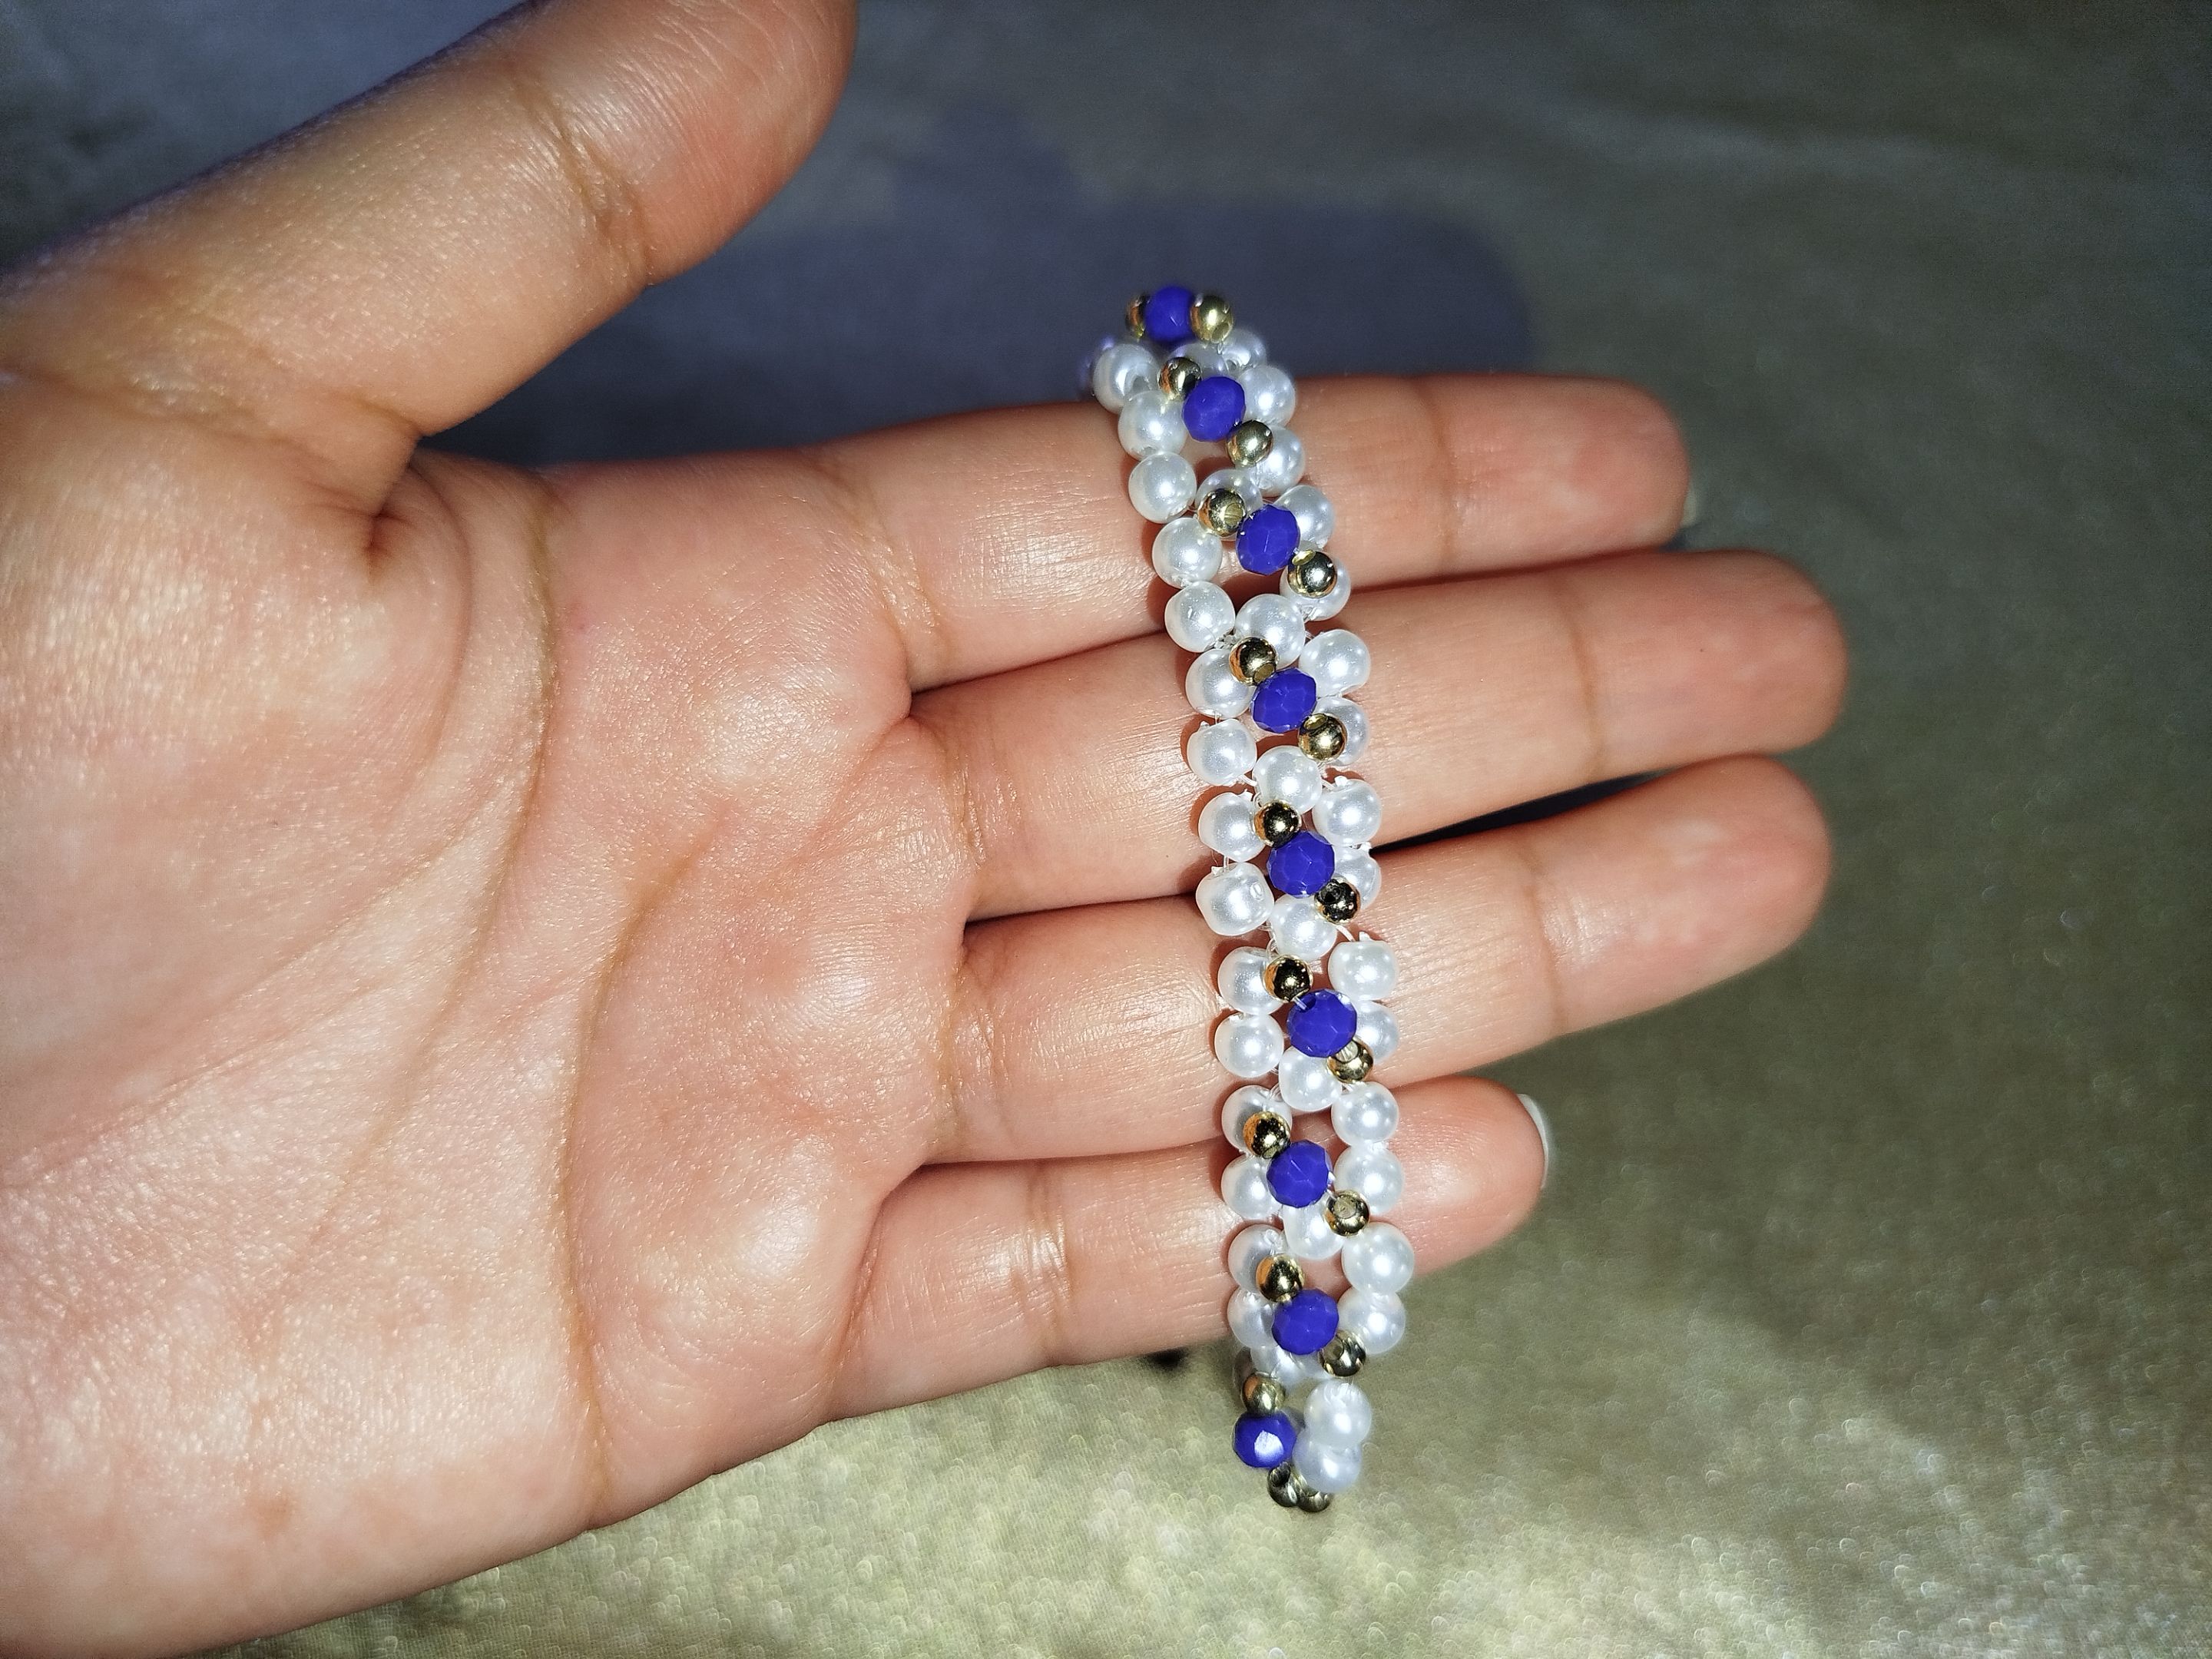
And that's it! You've finished this beautiful and very easy bracelet.
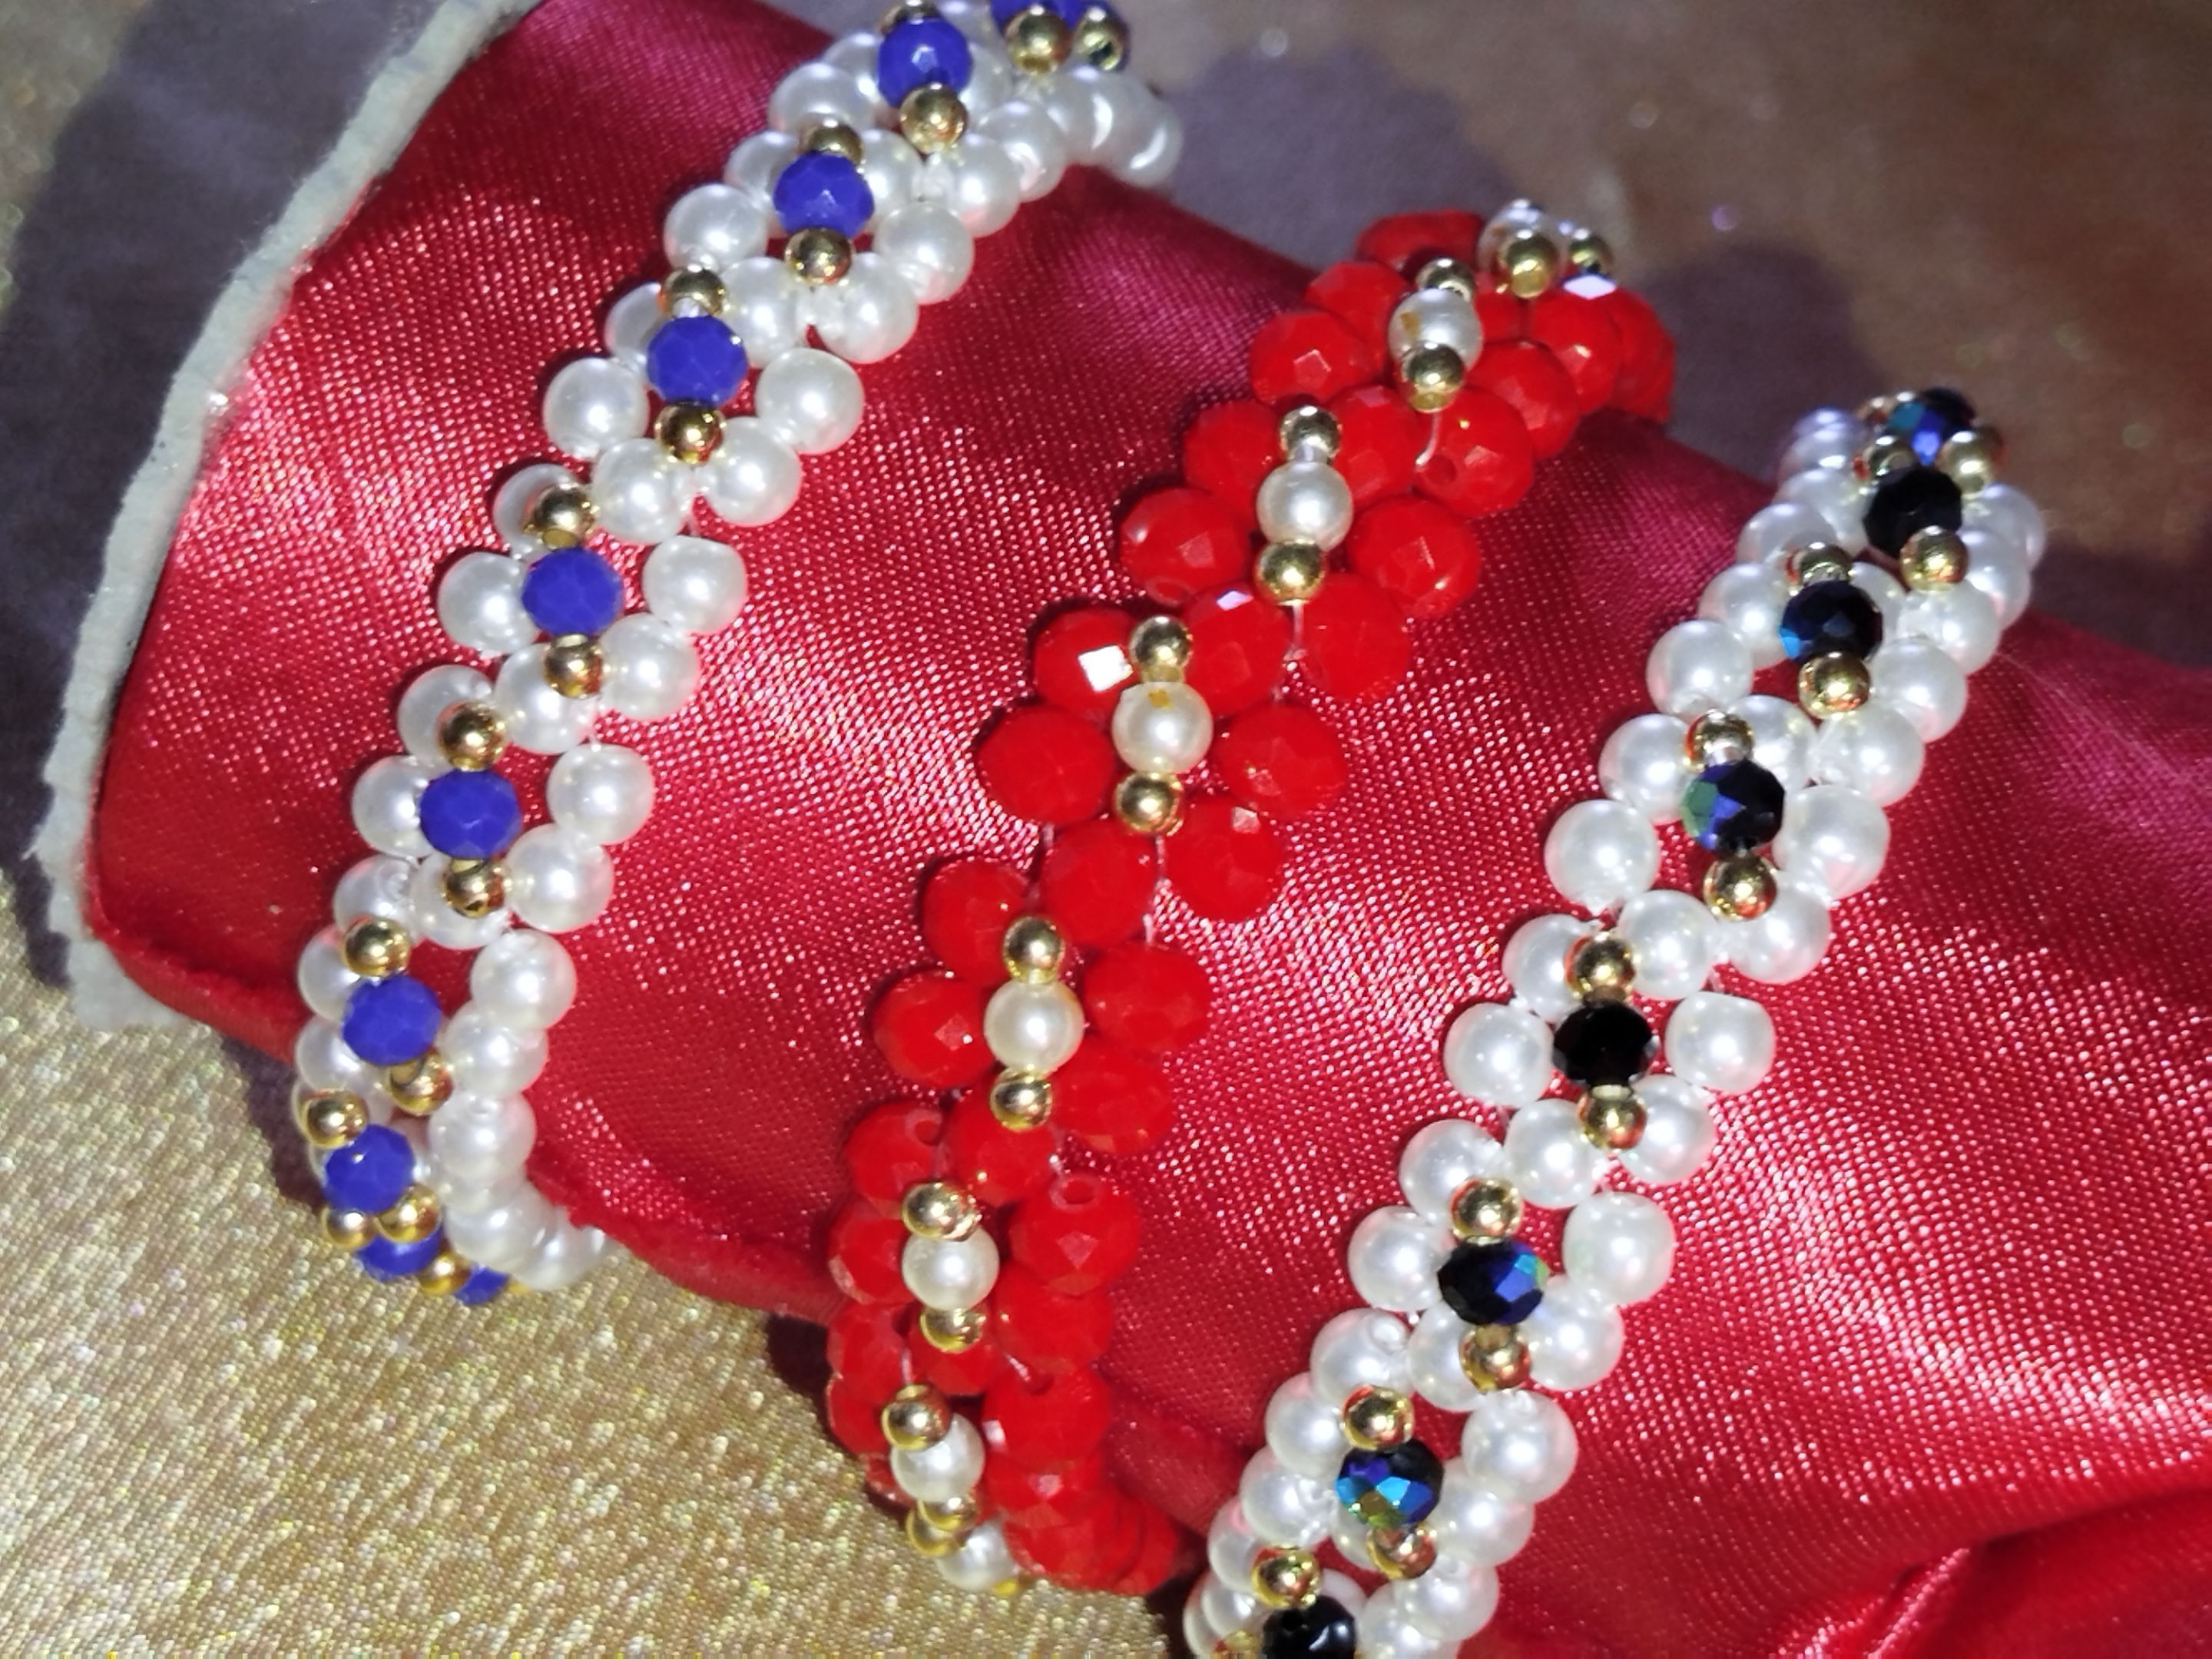
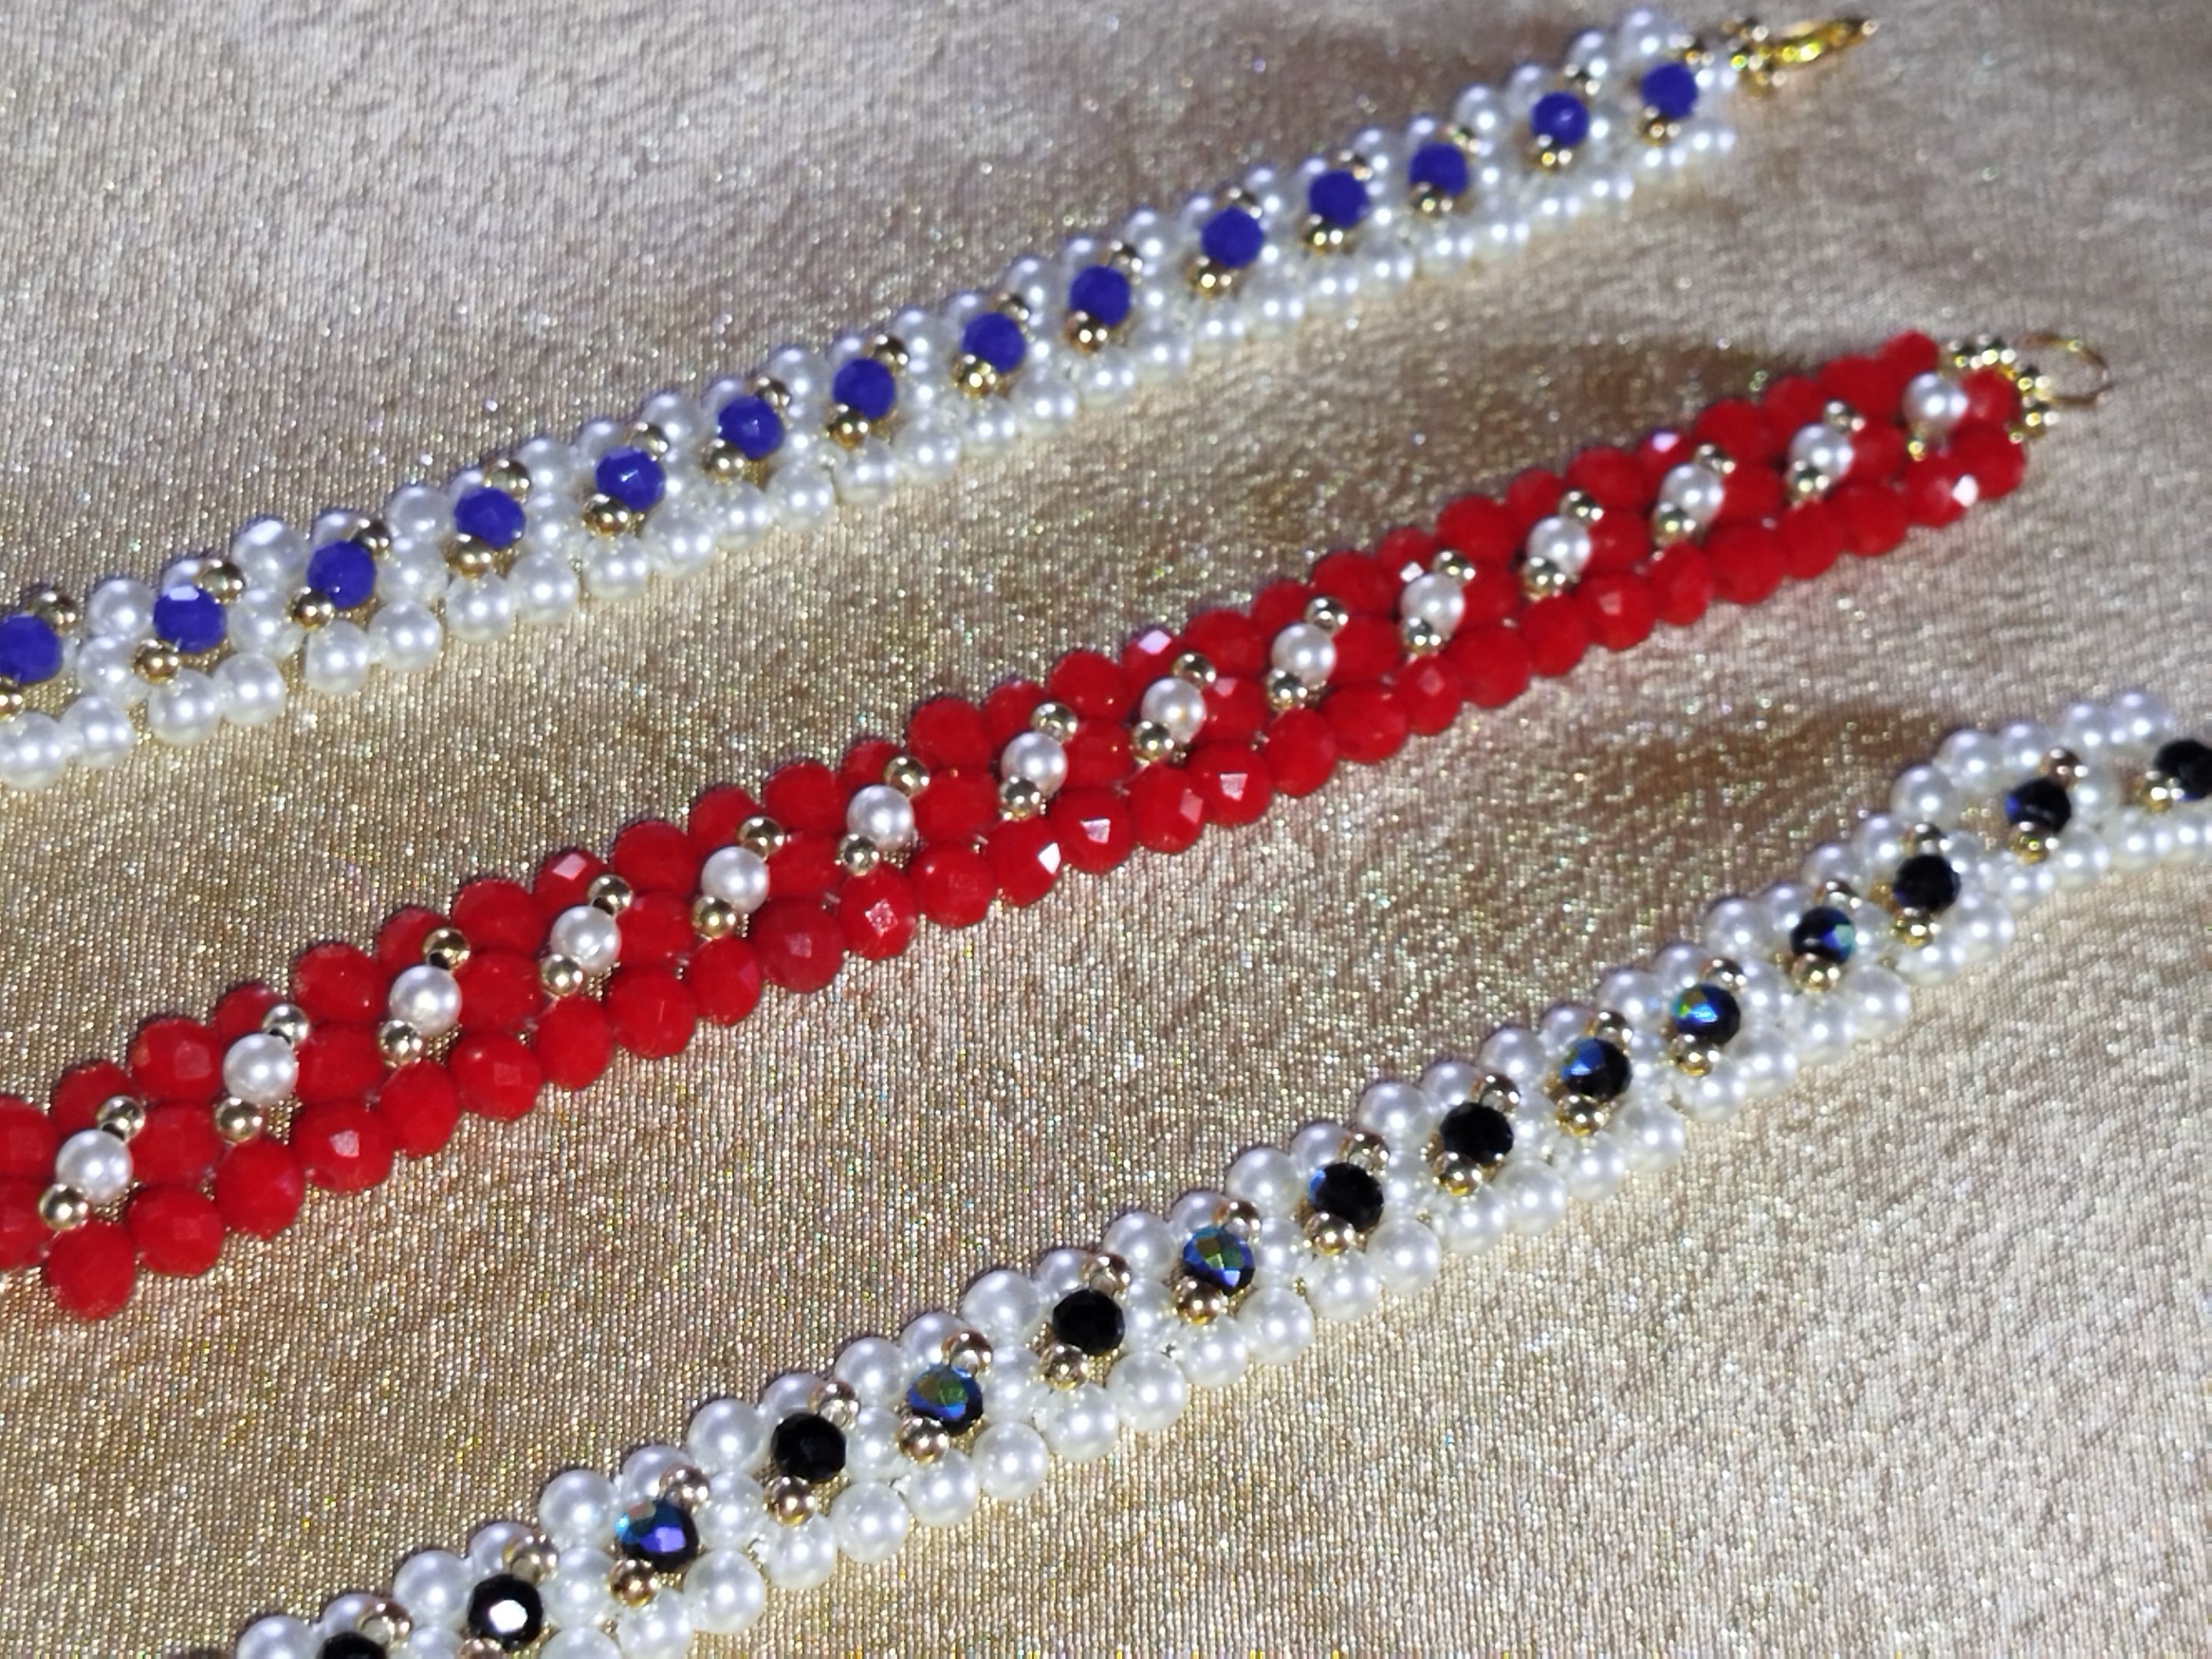
Thank you for reading this far. I'm very happy to know that I have your support with every post. I'll also show you some models I made in different colors. Let me know which one was your favorite in the comments.
Have a happy day and night.
---
---
---

¡Hola, queridos amigos de Hive y creadores de joyería! 👋
Para cerrar la semana con broche de oro, quiero compartirles el tutorial de un modelo de brazalete totalmente nuevo. Usé algunos materiales que me sobraron del proyecto anterior: perlas, balines dorados y esos hermosos cristales Swarovski de color azul.
Sinceramente, creo que el toque de lujo lo dan estos cristales; son como pequeños diamantes que aportan una elegancia inigualable gracias a su brillo y la perfección de sus cortes.
Si bien usar Swarovski eleva el costo de la pieza, el resultado final vale la pena. Pero, por supuesto, siempre hay opciones. Si prefieren algo más asequible, pueden reemplazar los cristales con piedra tipo murano. El resultado seguirá siendo precioso y lleno de vida.
Sin más preámbulos, vamos a ver qué necesitamos para empezar:
- - -

- - -
- 96 perlas blancas, aproximadamente para una pulsera de 20 cm.
- 38 unidades de balines dorados.
- Cristales Swarovski (o similar) en color azul 16 unidades (o según el largo).
- Cierre o Broche (tipo cangrejo) y Cadena de Extensión.
- Hilo nylon rígido.
- 2 Agujas para bisutería

- - -

- - -
Para empezar corta un tramo de hilo nylon aproximadamente de un metro y pásale una aguja a cada extremo. Dobla el hilo por la mitad para encontrar el centro.
En el centro del hilo, introduce un balín, luego el broche o cangrejo, y después otro balín.
Introduce un tercer balín y crúzalo con ambas hebras de hilo nylon. Luego tira de las hebras para fijar el broche justo en el centro del hilo. Asegúrate de que ambas hebras de hilo tengan la misma longitud.
- - -


- - -
Introduce una perla a través de ambas hebras de hilo. Esta perla quedará fija y servirá como base. A esta perla fija, agrégale cuatro perlas más: dos en una hebra y dos en la otra. Introduce una perla adicional y cruzala con las dos hebras de hilo. Al tirar, las seis perlas se unirán, formando una figura parecida a una flor.
- - -


- - -


---
Repite la secuencia del paso anterior (añadir cuatro perlas, dos por hebra, y cruzar la hebra con una quinta perla) hasta alcanzar el largo deseado para tu pulsera. En este diseño, repetí la secuencia 16 veces para formar 16 flores de perlas.
- - -


- - -
Al terminar la secuencia de flores, introduce un balín en cada uno de los hilos. Luego añade la cadena de extensión en una de las hebras e introduce un tercer balín y crúzalo con las dos hebras de hilo. Fija bien el cierre con varios nudos (amarres) para que no se suelte y corta el excedente de uno de los hilos.
- - -

- - -
Toma el hilo nylon restante y procede a introducir en él un balín, un cristal swaroski y otro balín.
Fija esta secuencia de balín-cristal-balín introduciendo la aguja en la sexta perla del cuerpo de la pulsera, contando desde el broche. Estira el hilo para que el adorno quede bien armado.
Repite este mismo procedimiento, fijando la secuencia de balín-cristal-balín en cada sexta perla, hasta llegar al final de la pulsera.
- - -


- - -


---
Fija bien el amarre final con un nudo doble y sella con un toque de pegamento o calor (con cuidado) si lo consideras necesario.
- - -


---

- - -
¡Y listo! Tienes terminada esta hermosa y muy fácil pulsera.
Gracias por llegar hasta aquí, me alegra mucho saber que cuento con tu apoyo en cada publicación, adicional te enseñaré algunos modelos que hice de diferentes colores, cuéntame en los comentarios cual fue tu favorita..
Que tengan un feliz día y noche.
---

---

---

Fotos tomadas de mi teléfono Xiaomi Redmi Note 11 Pro y mi teléfono Honor X8a || Photos taken from my Xiaomi Redmi Note 11 Pro phone and from my Honor X8a phone.