
Hello, dear friends at Hive!
I present to you my first post for the Jewelry community. It is an honor for me to show you the designs I have been working on lately and, at the same time, to be part of a community with people as creative as you. I hope that, week after week, you will enjoy the different tutorials I am going to bring you, all made with lots of love and care.
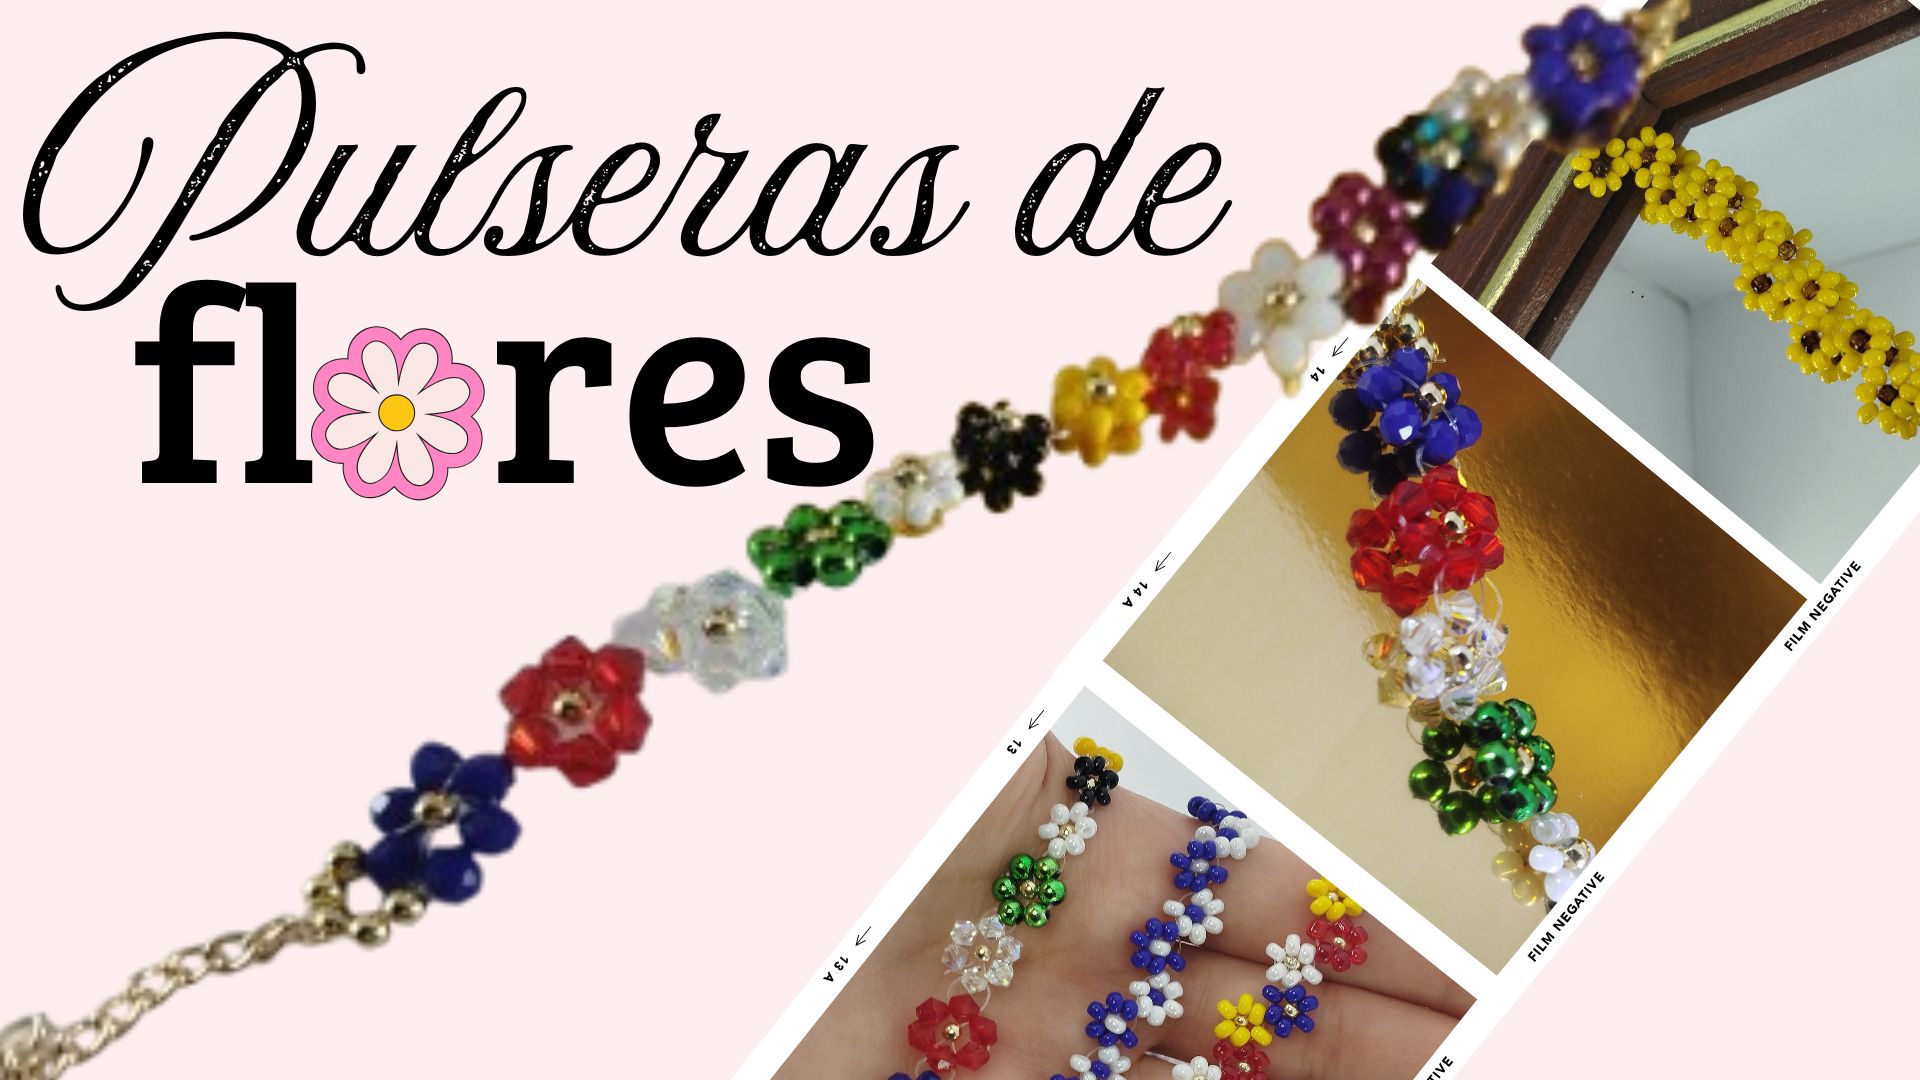
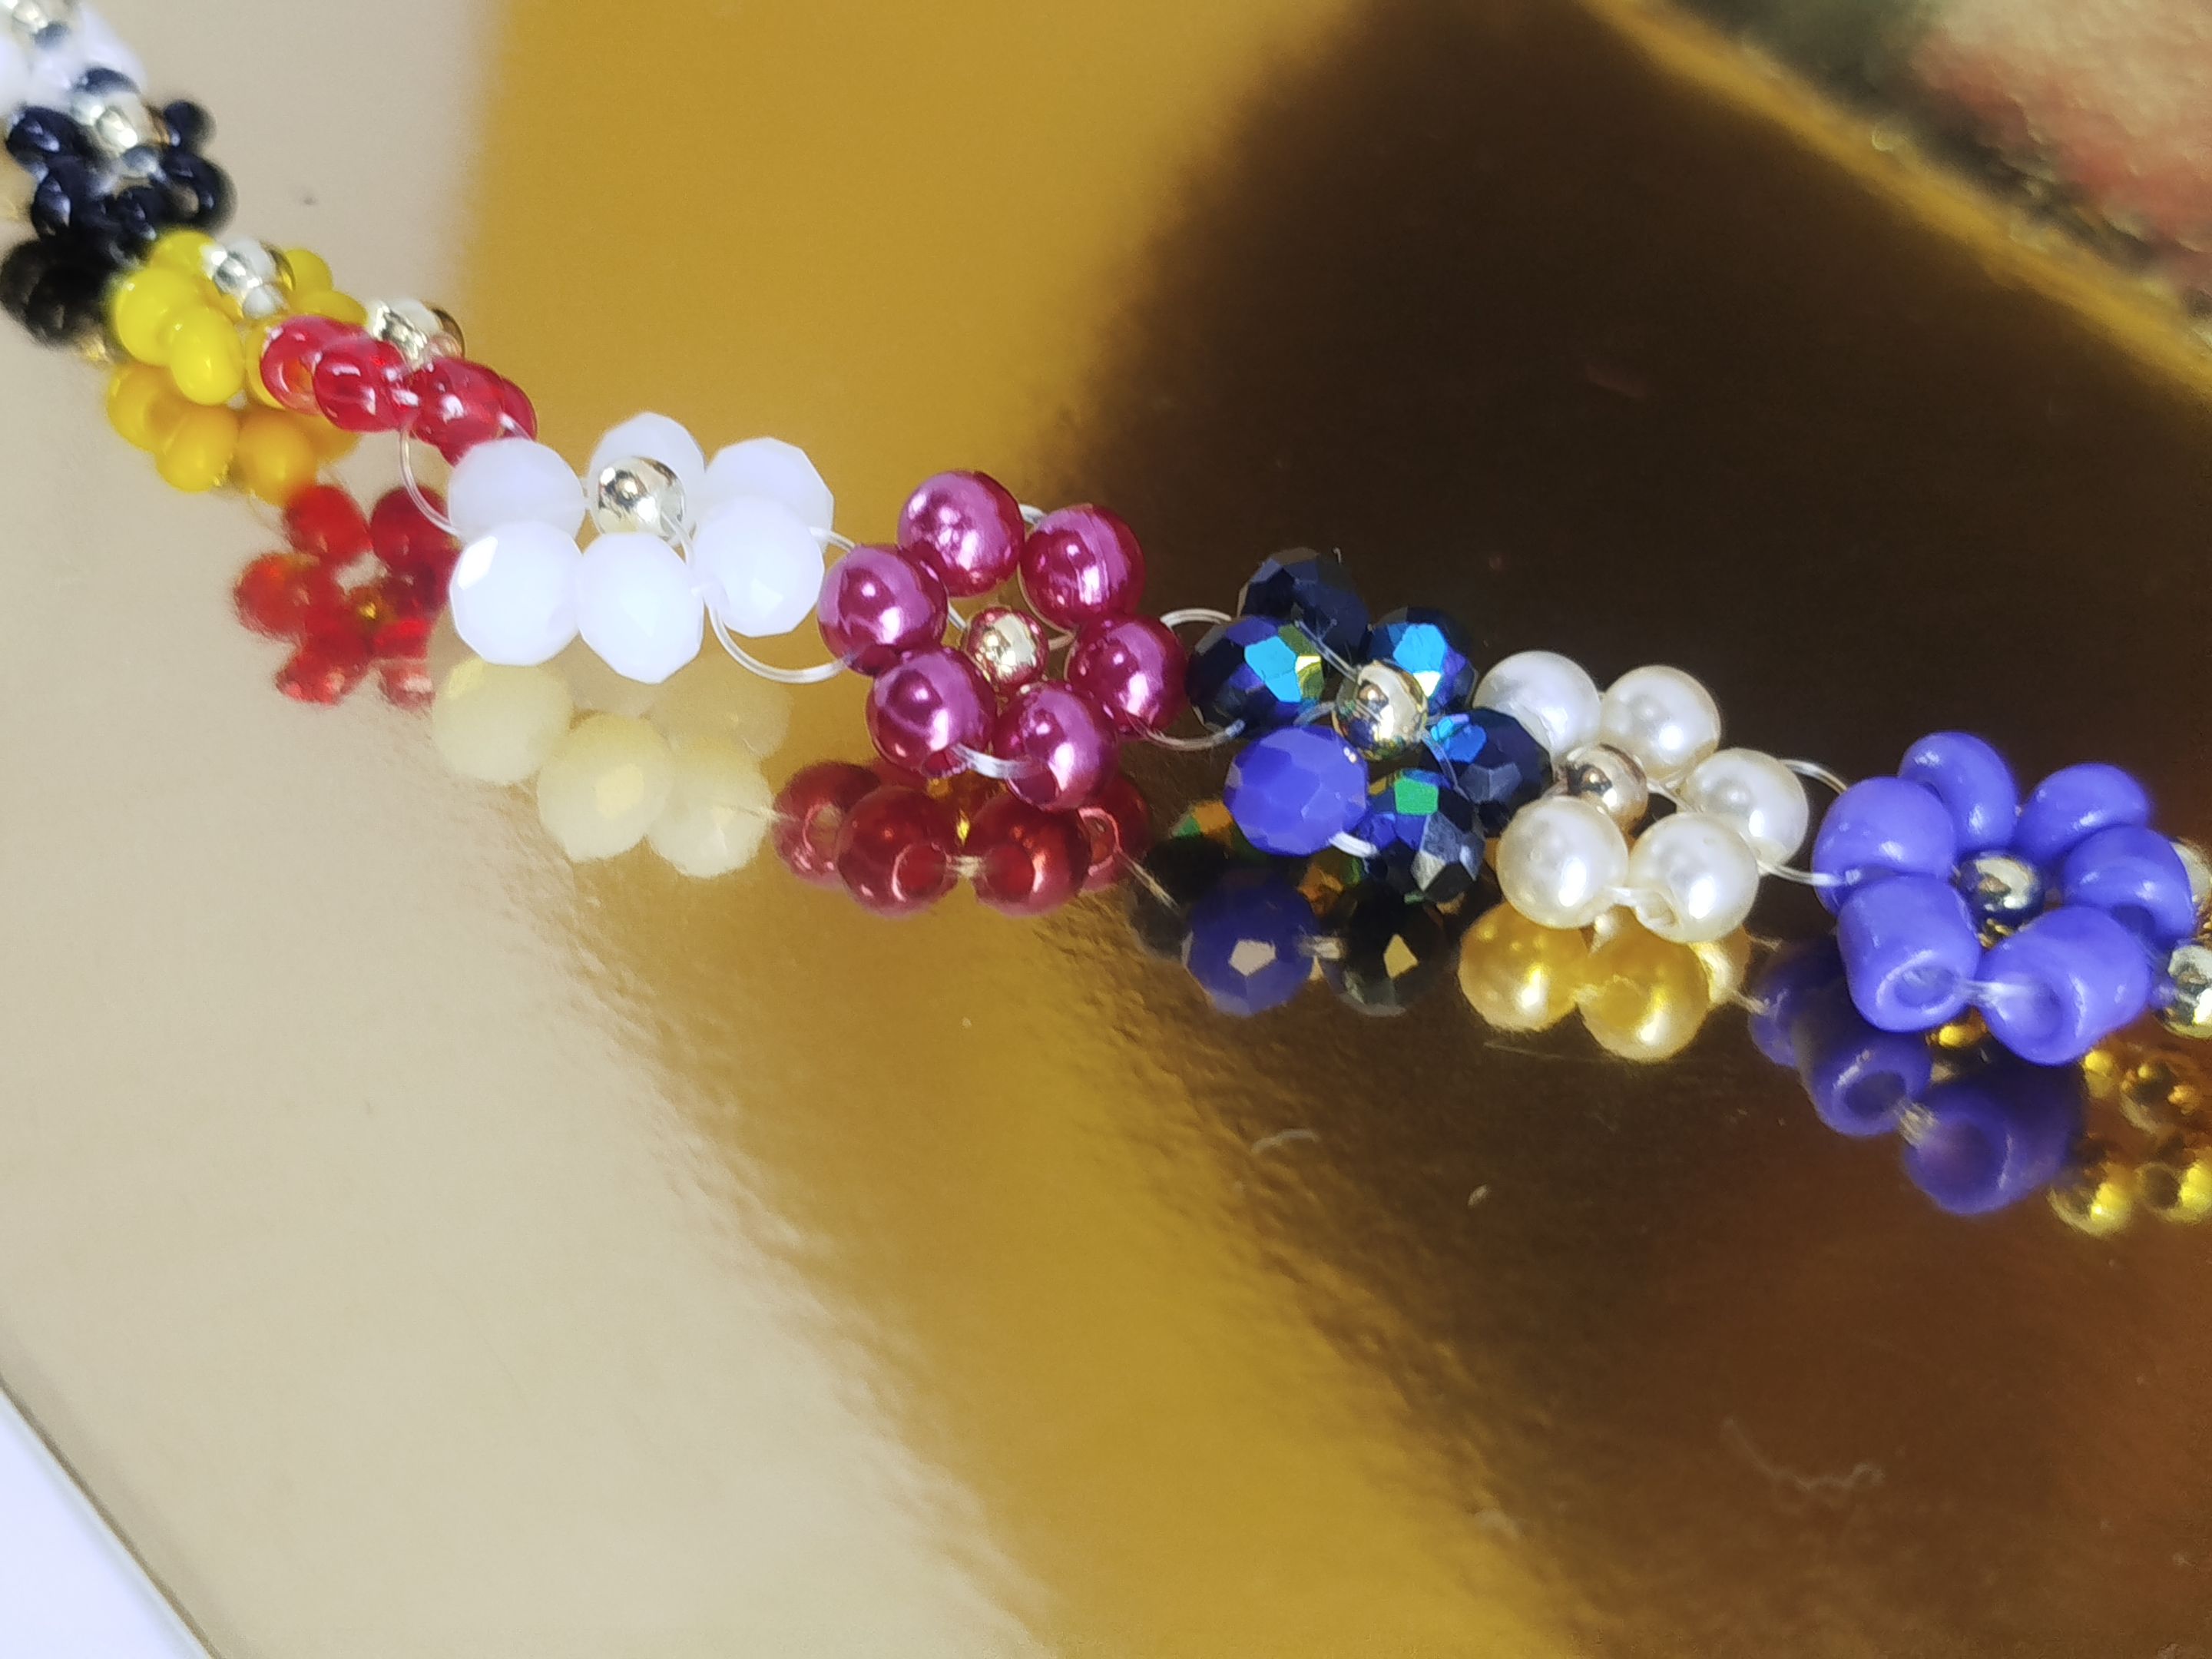
The first one is about a beautiful flower bracelet, made entirely by hand with pearls, beads, seed beads, and Swarovski crystals. At the end, I will show you several different designs that I made using the same technique.
- - -

- - -
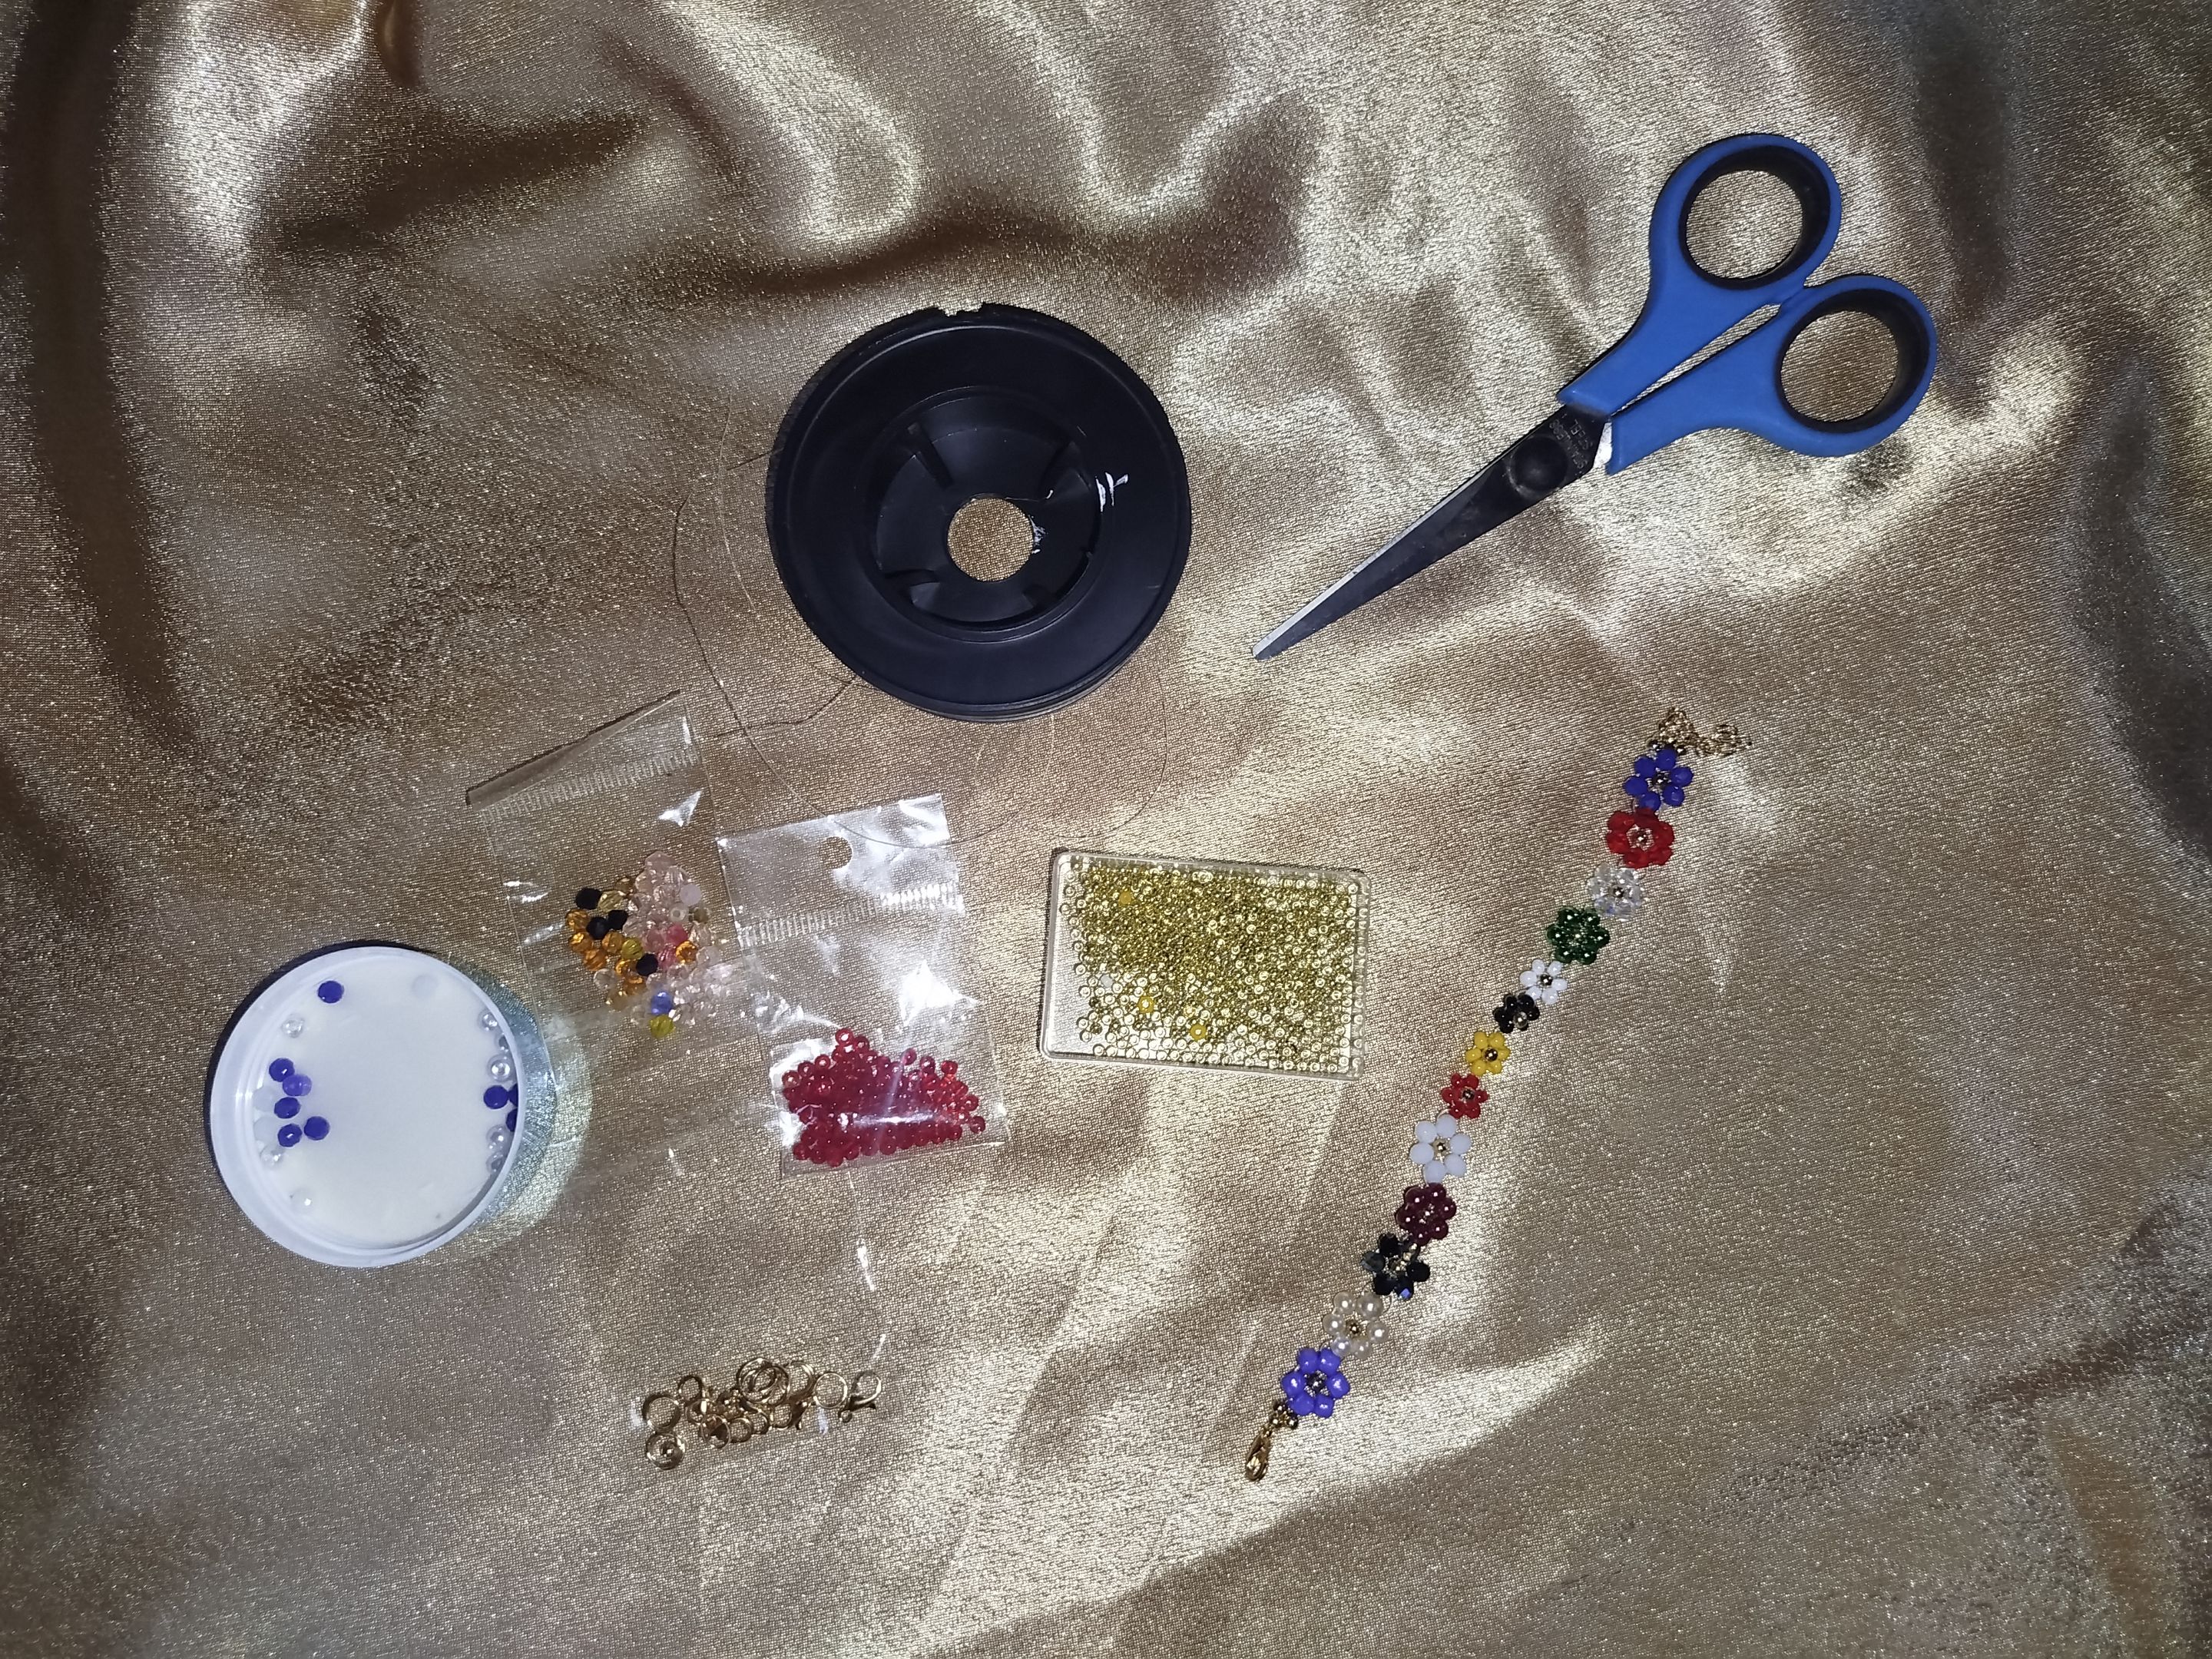
- 25 gauge rigid nylon thread.
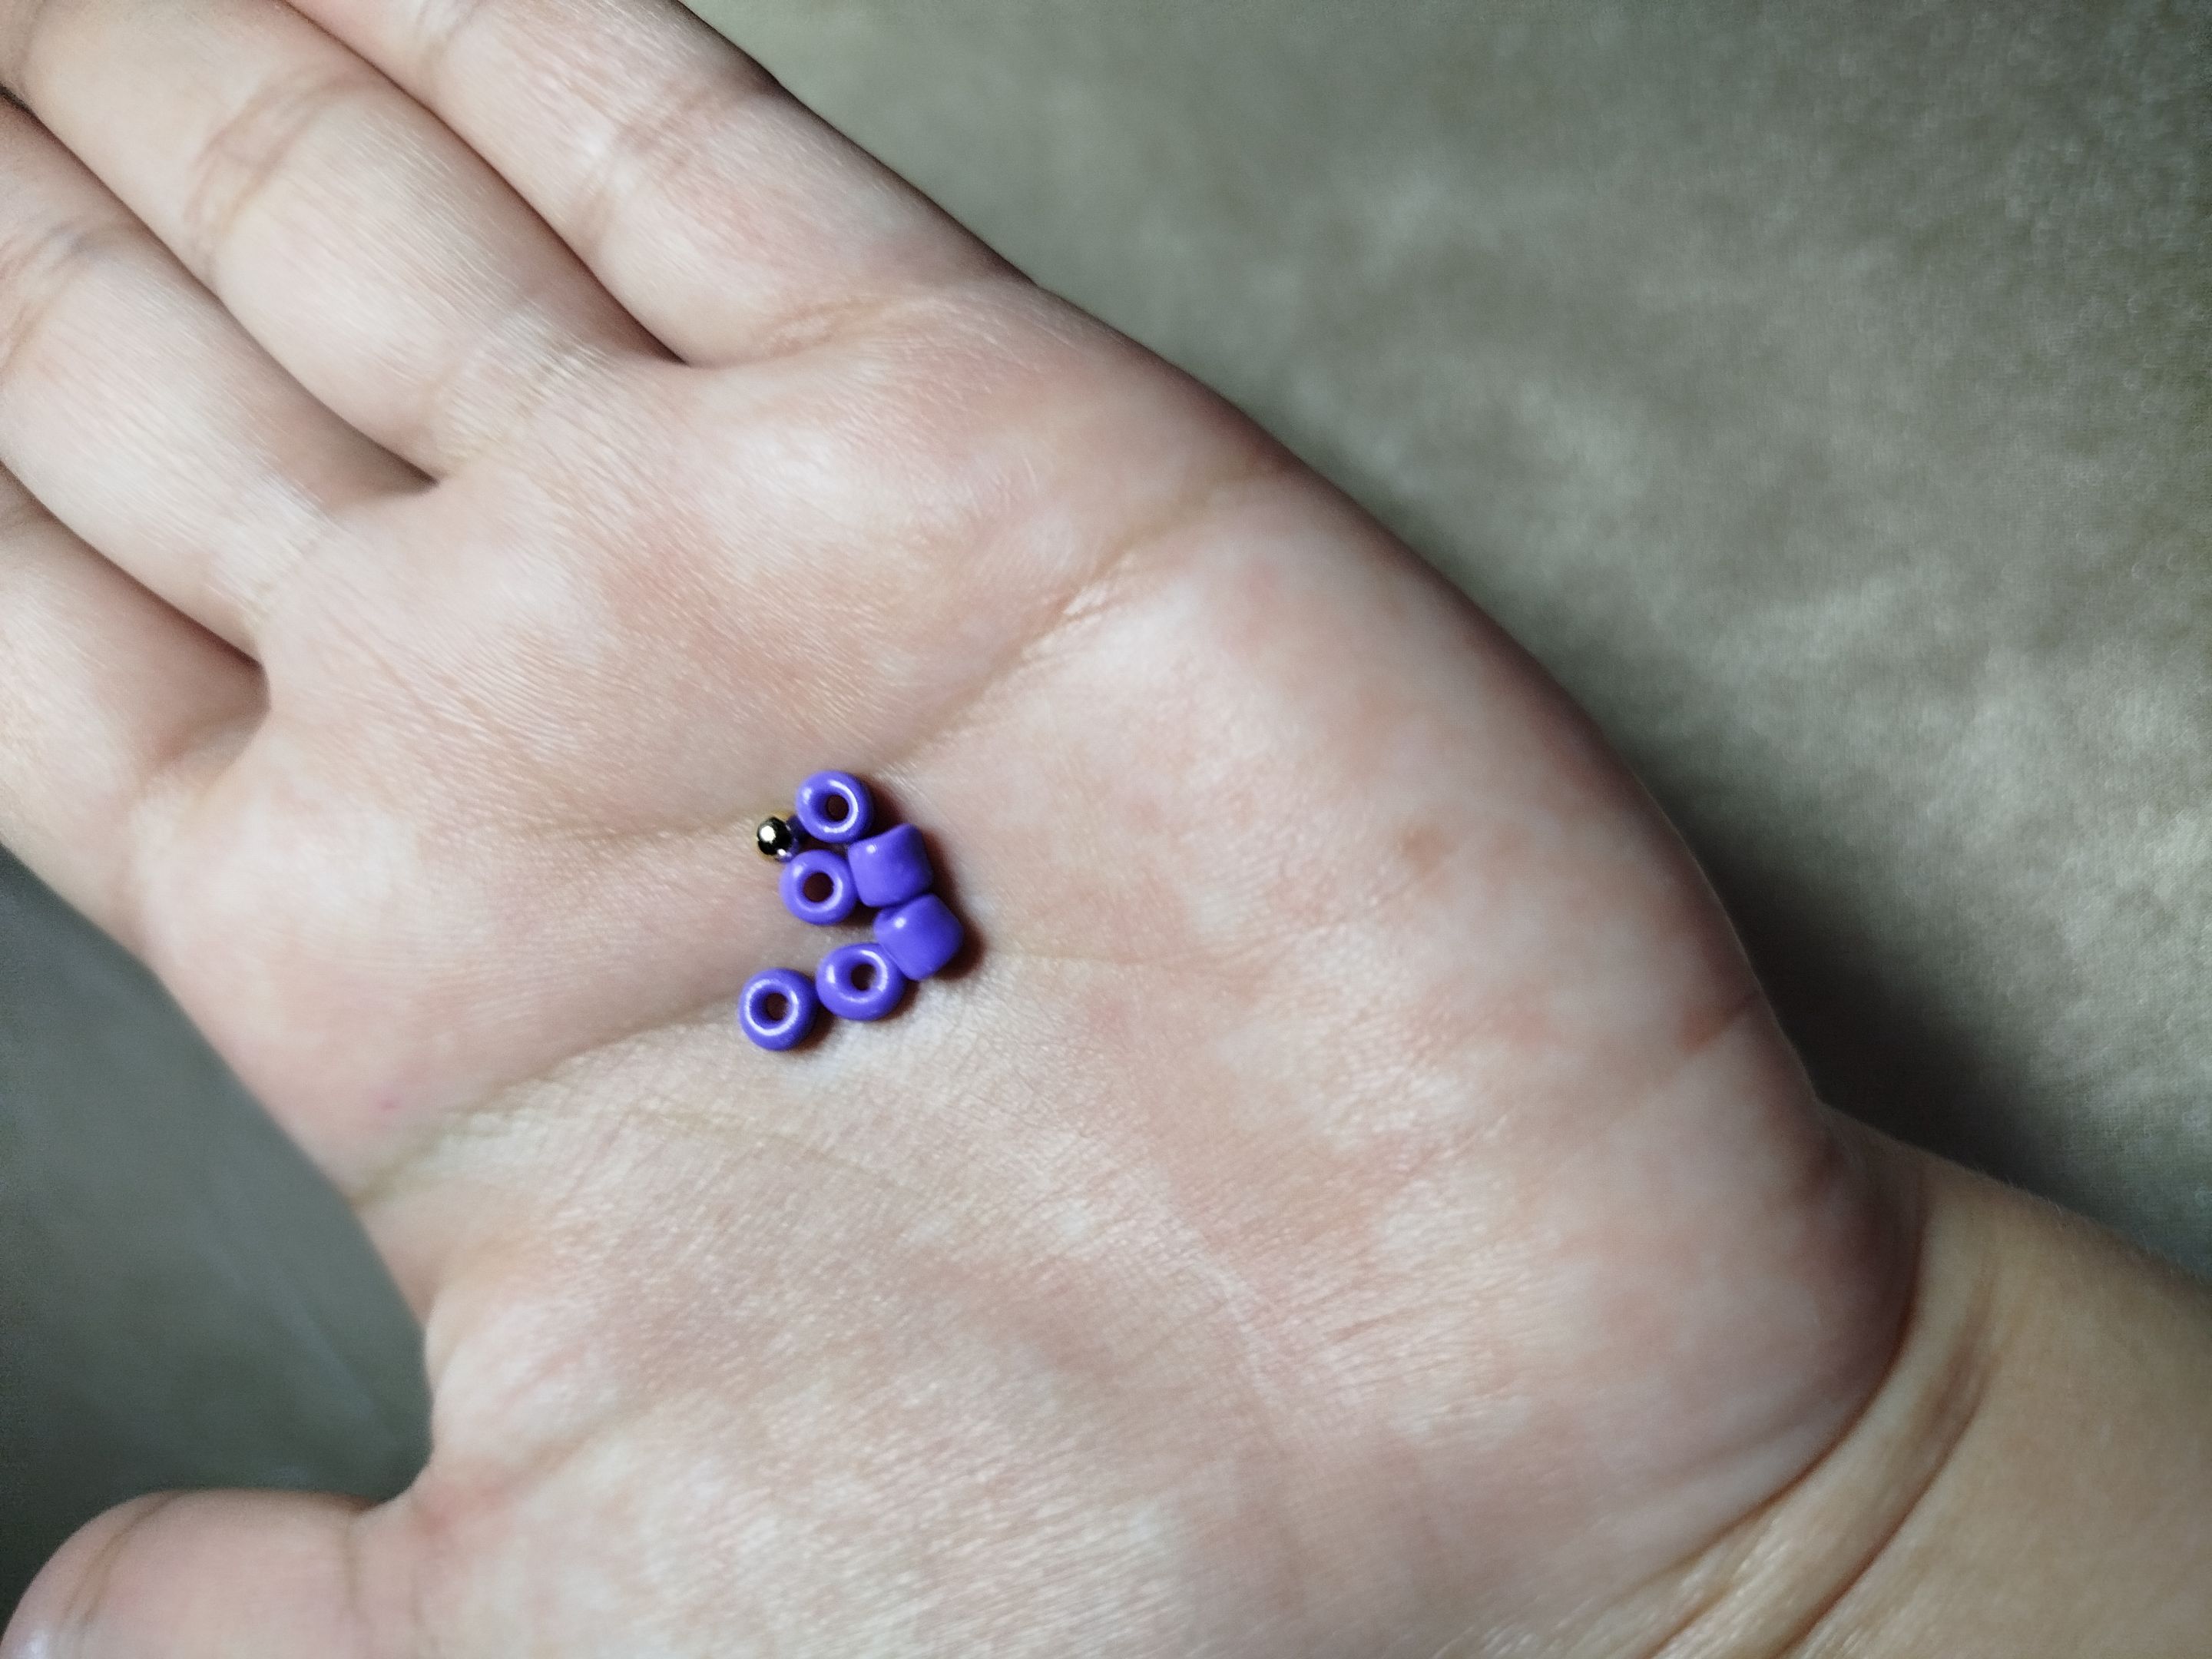
- Calibrated or Czech beads.
- Murano or Swarovski stones.
- Hoop.
- Parrot beak or grip adapter.
- Small gold-plated golf balls or gold beads.
- Scissors.
- Beading needles.
- - -

- - -
To begin, cut a nylon thread approximately one meter long. Fold the thread in half and, right in the center, insert the “parrot beak” or an adapter. Place two pellets on each side.
- - -
- - -
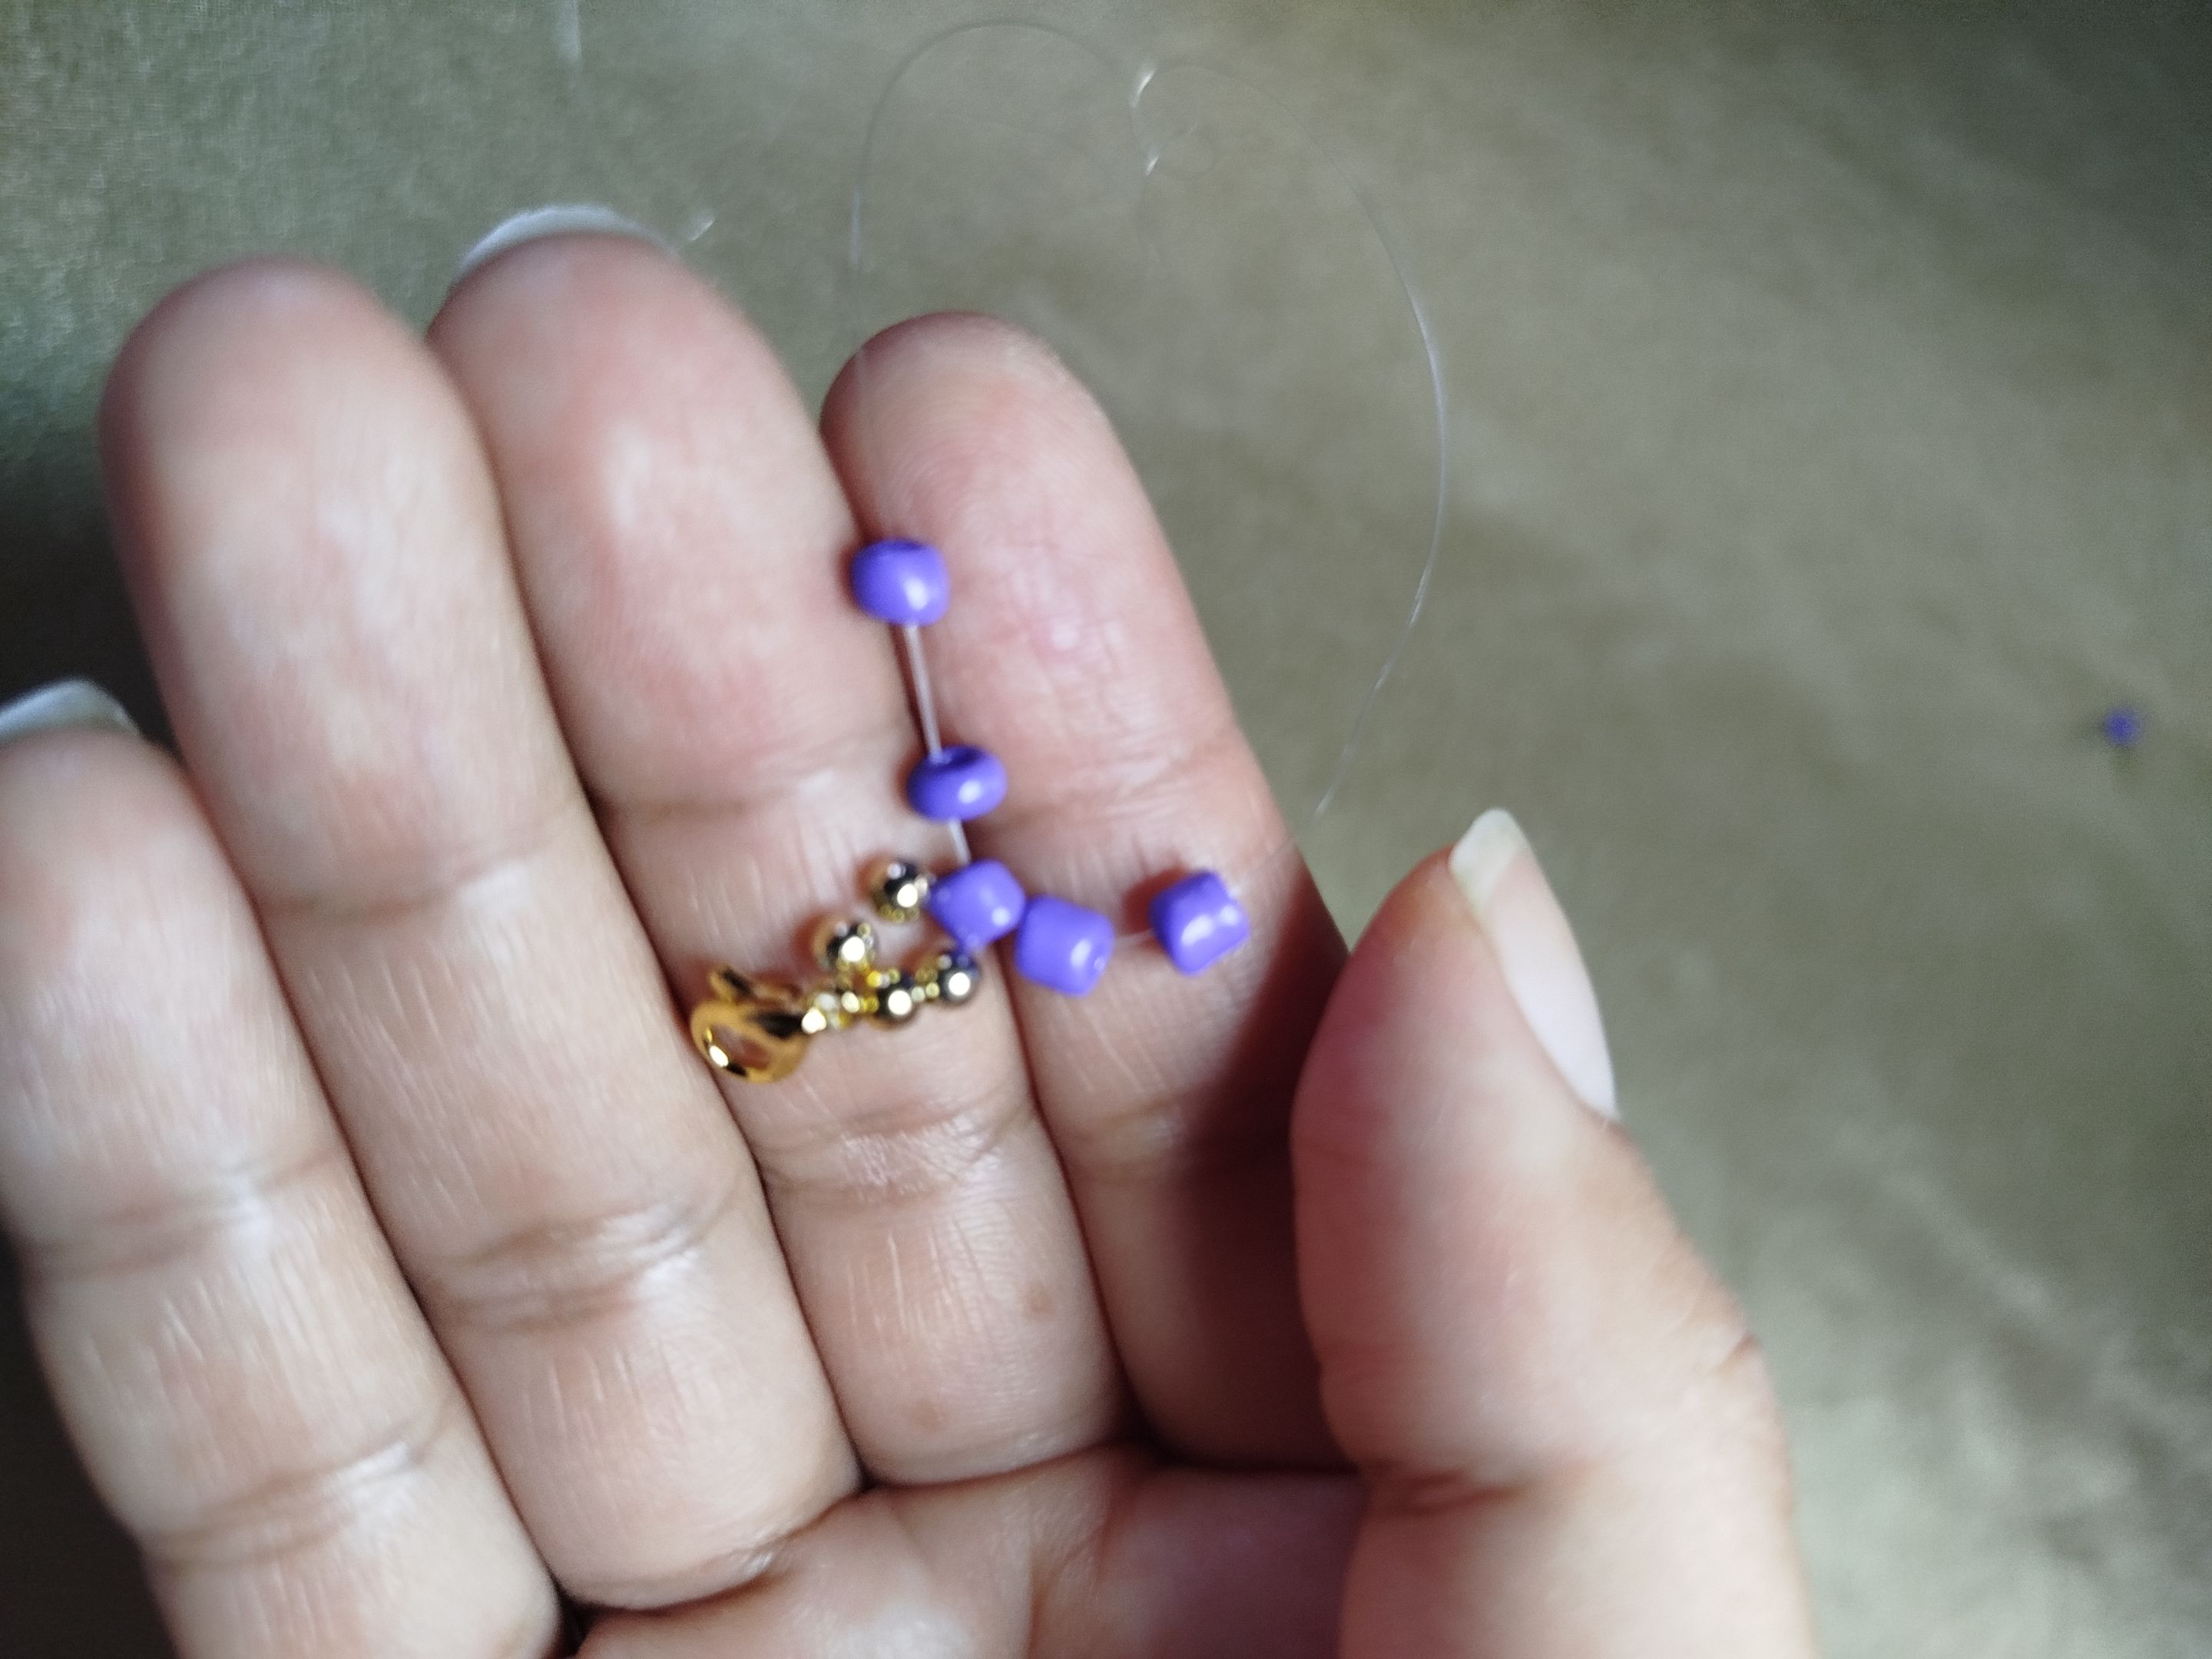
Now, using one end of the thread, insert a bead; with the other end, pass it through the same bead in the opposite direction. As you tighten it, you will see that the bead is intertwined and fixed in the center.
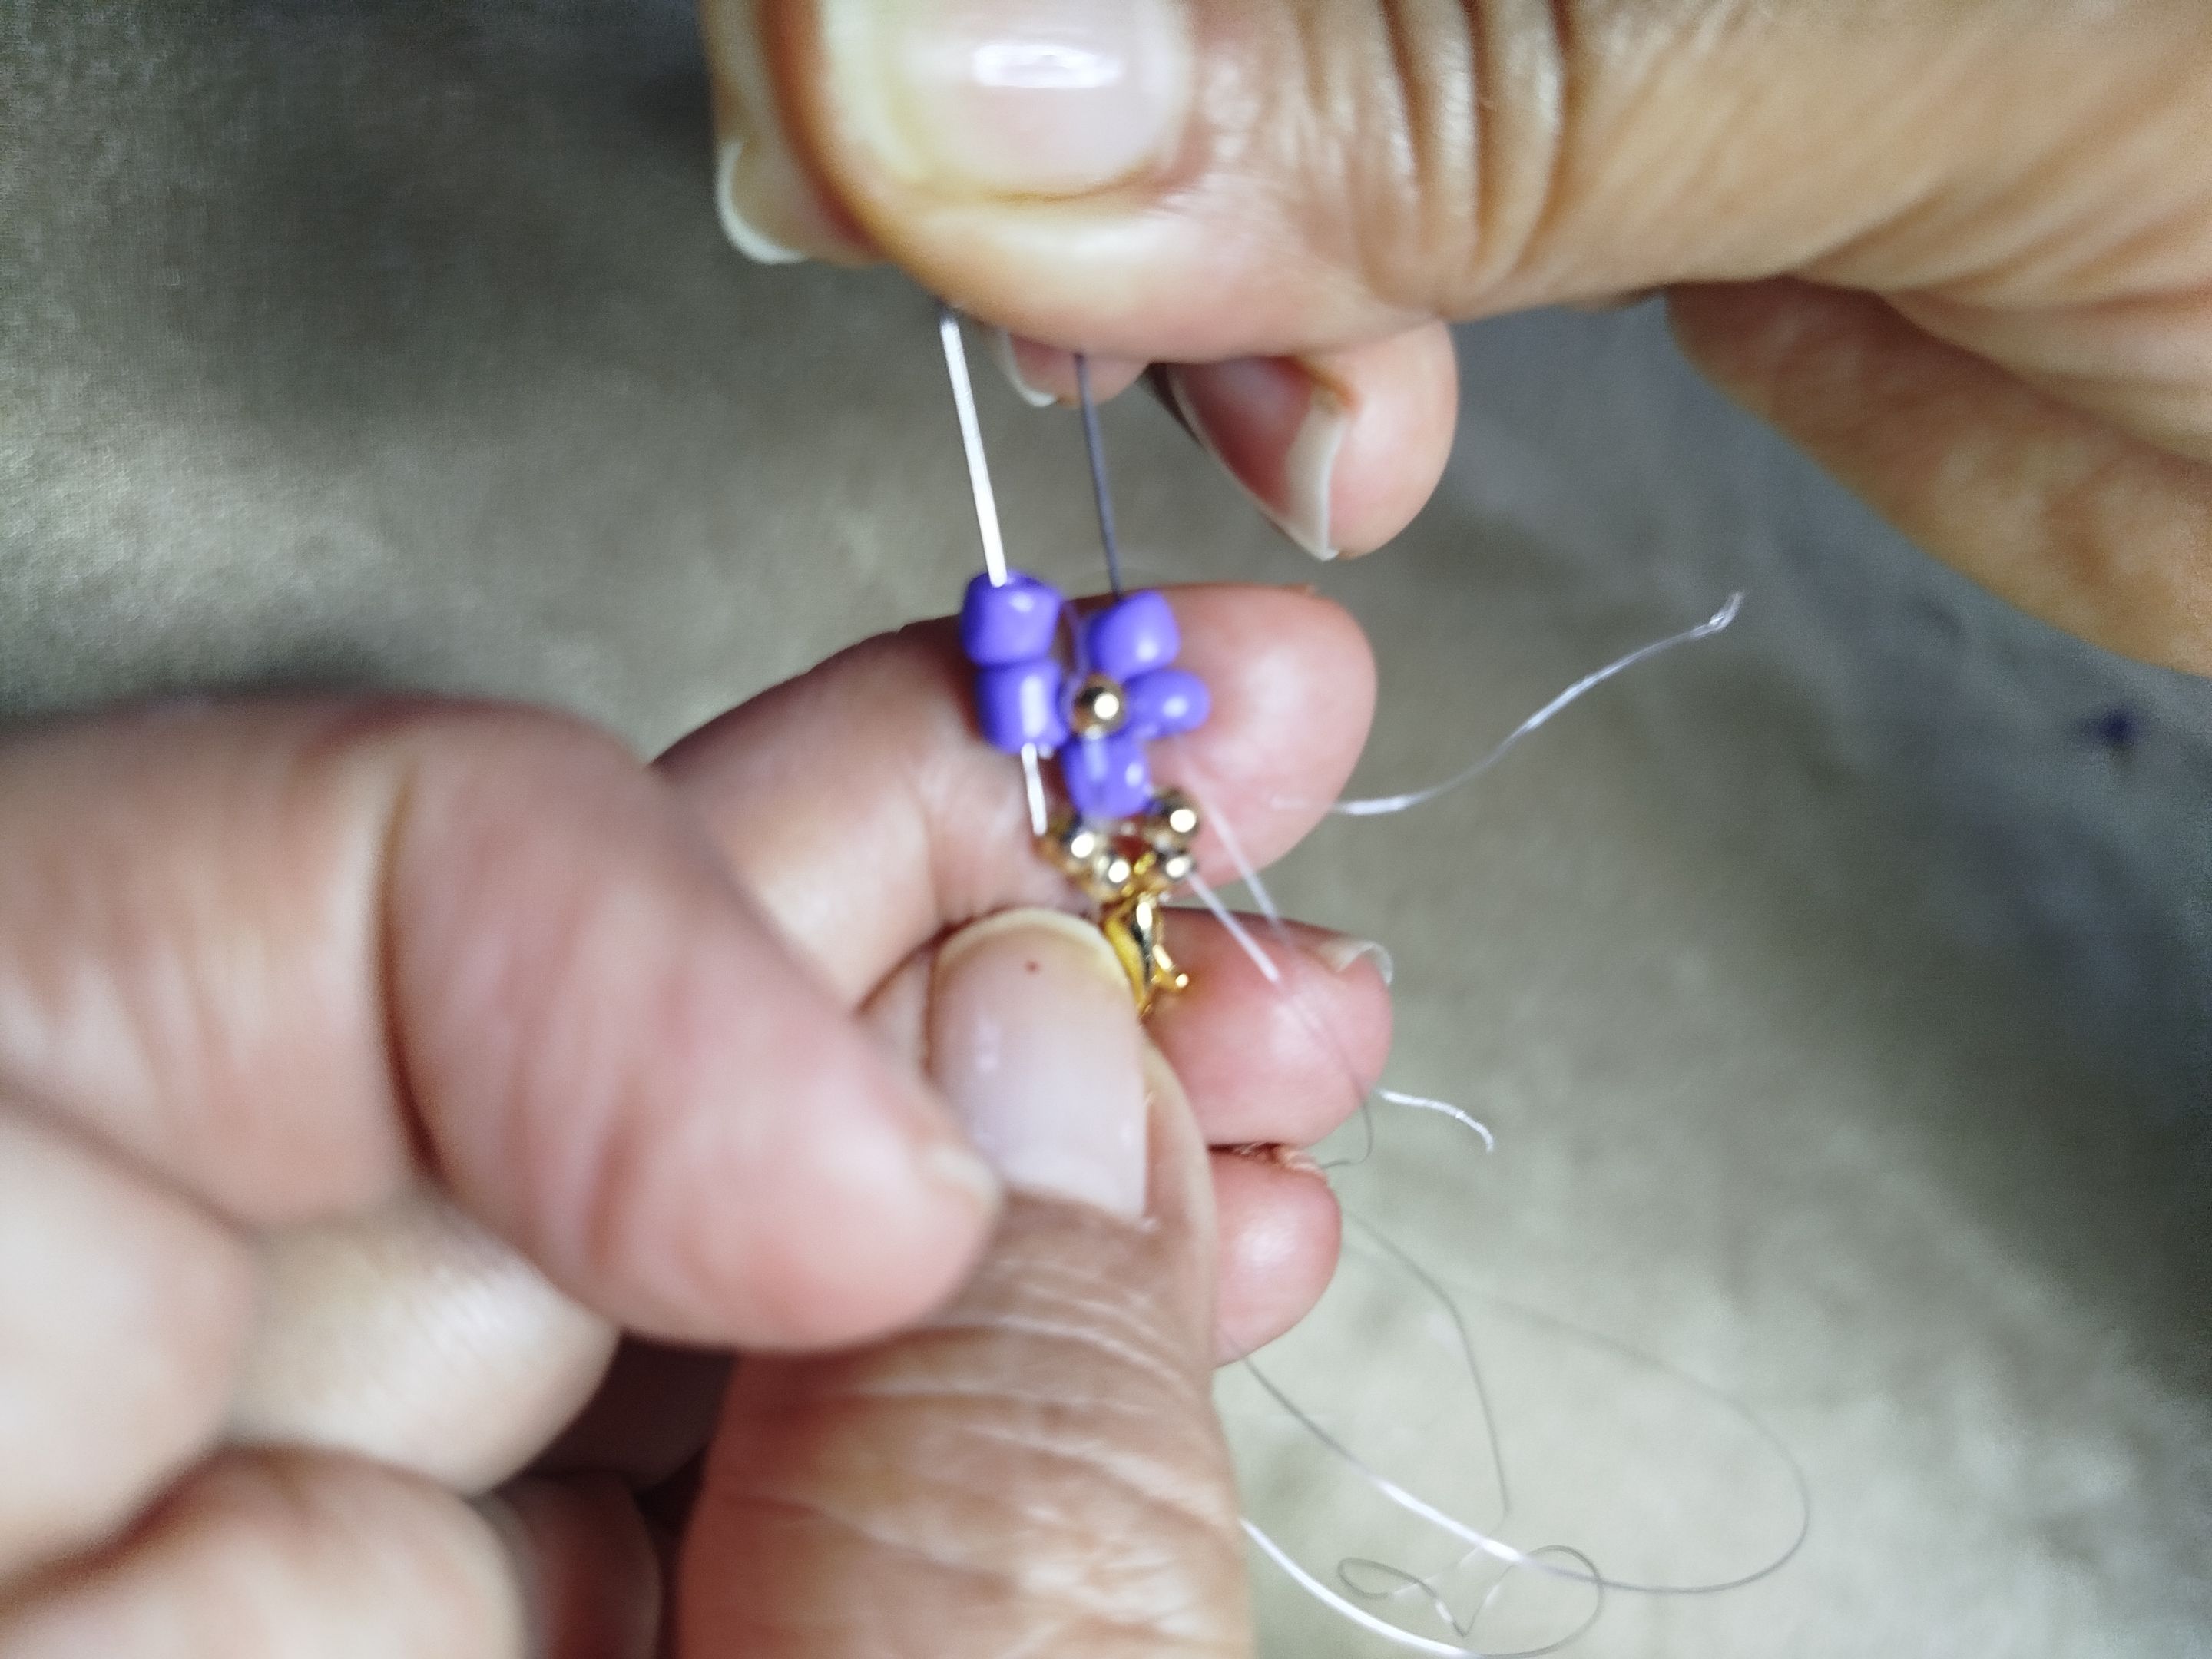
Then, on each thread, insert two beads and a pellet. The pellet should be attached to the central bead. With each thread, pass it through the two beads to assemble the flower.
- - -

---
- - -
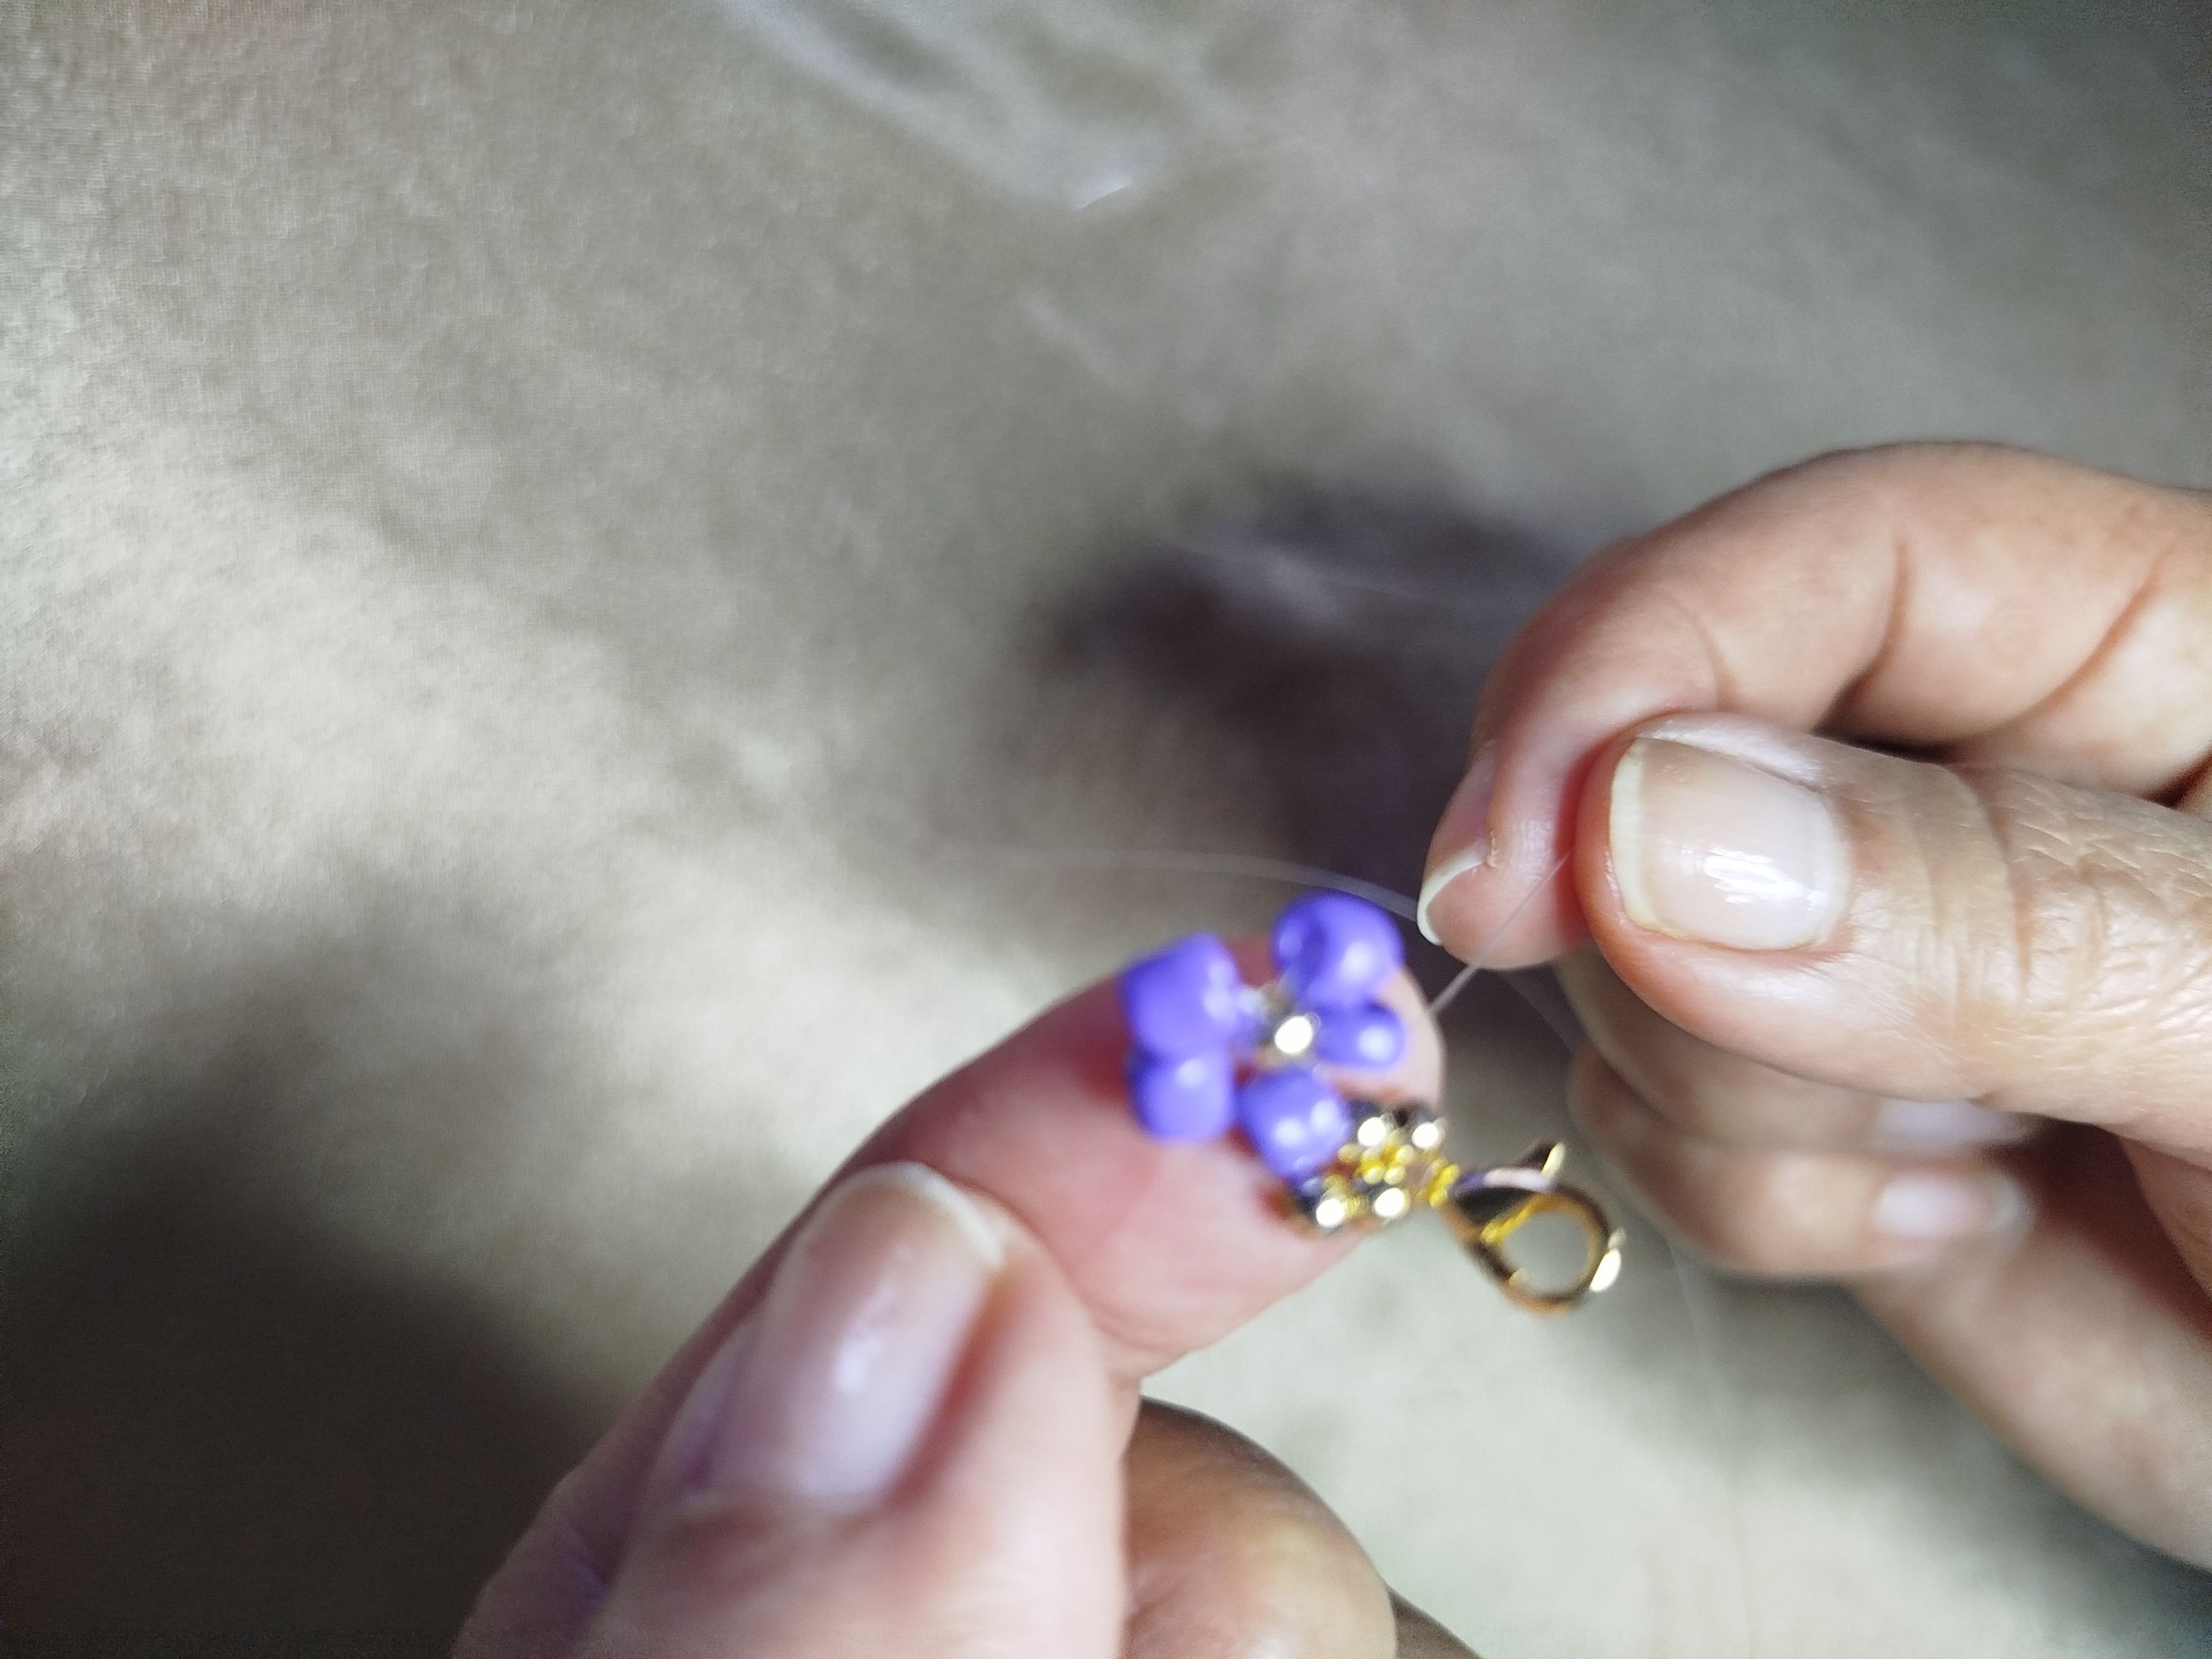
To close and secure, insert another bead, weaving the two threads through it. And that's it! You now have your beautiful flower.
- - -
- - -
Remember to adjust each time you finish a flower. This is an extremely important step to ensure a much neater result.
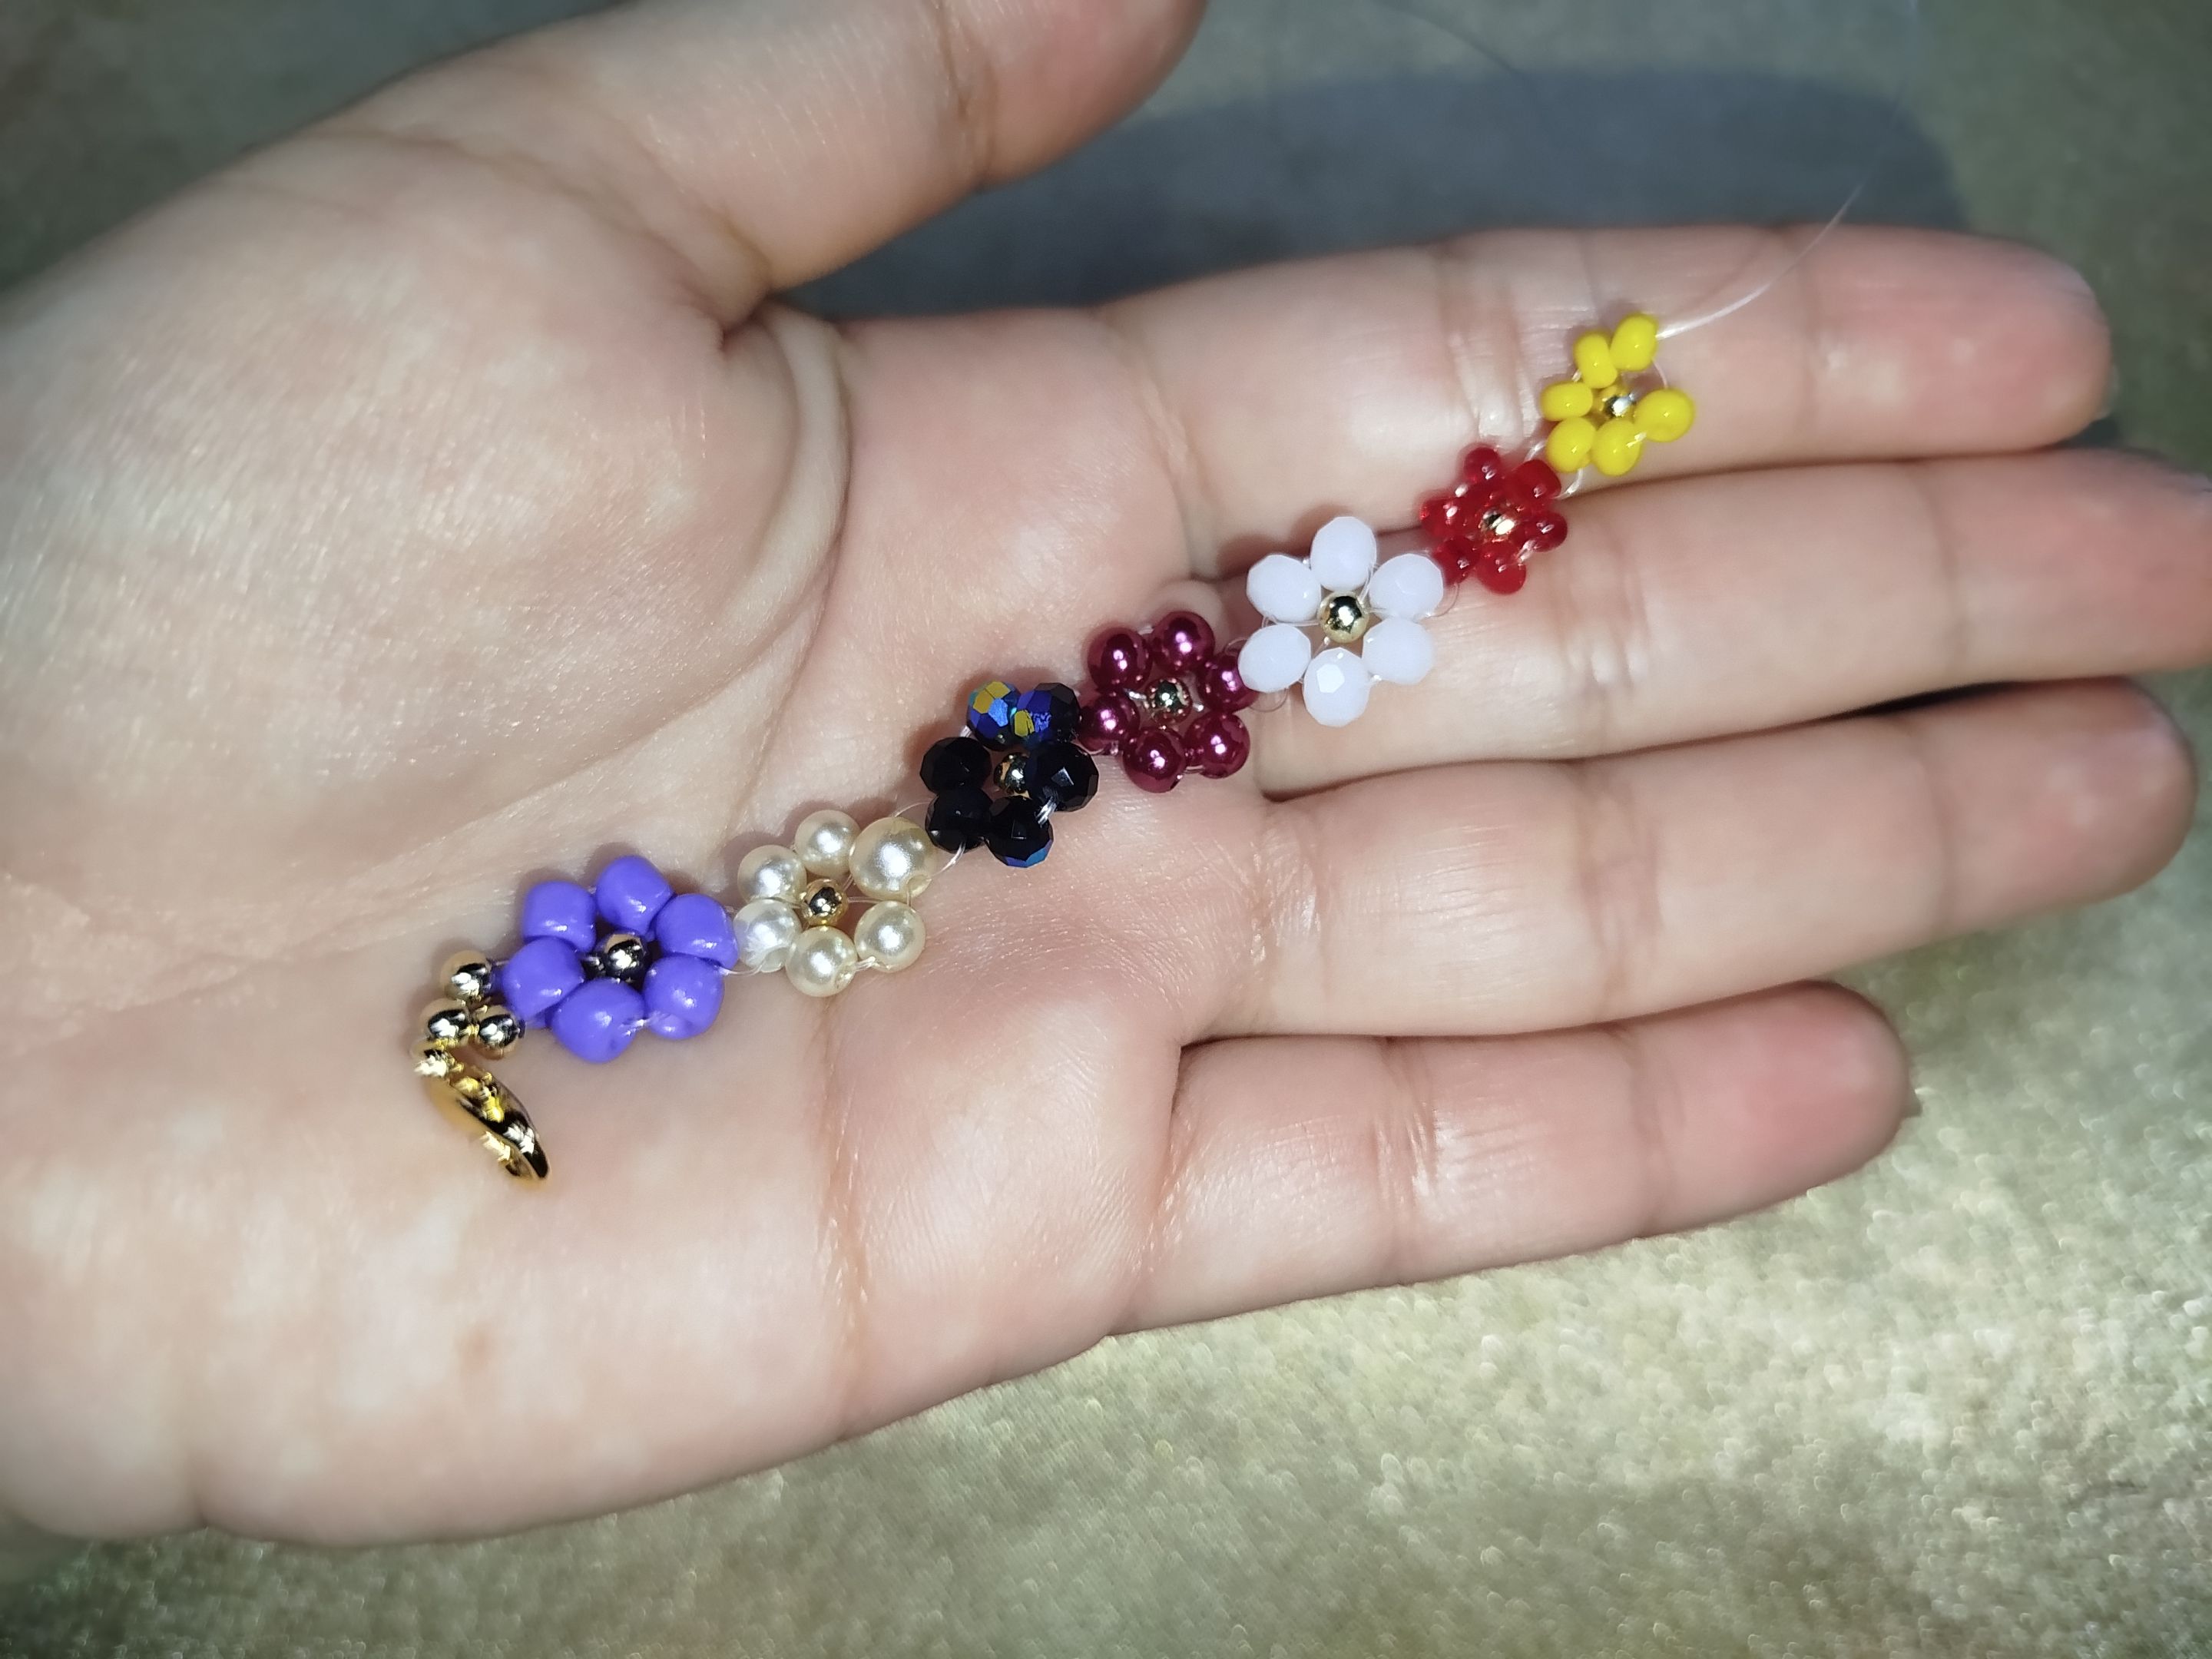
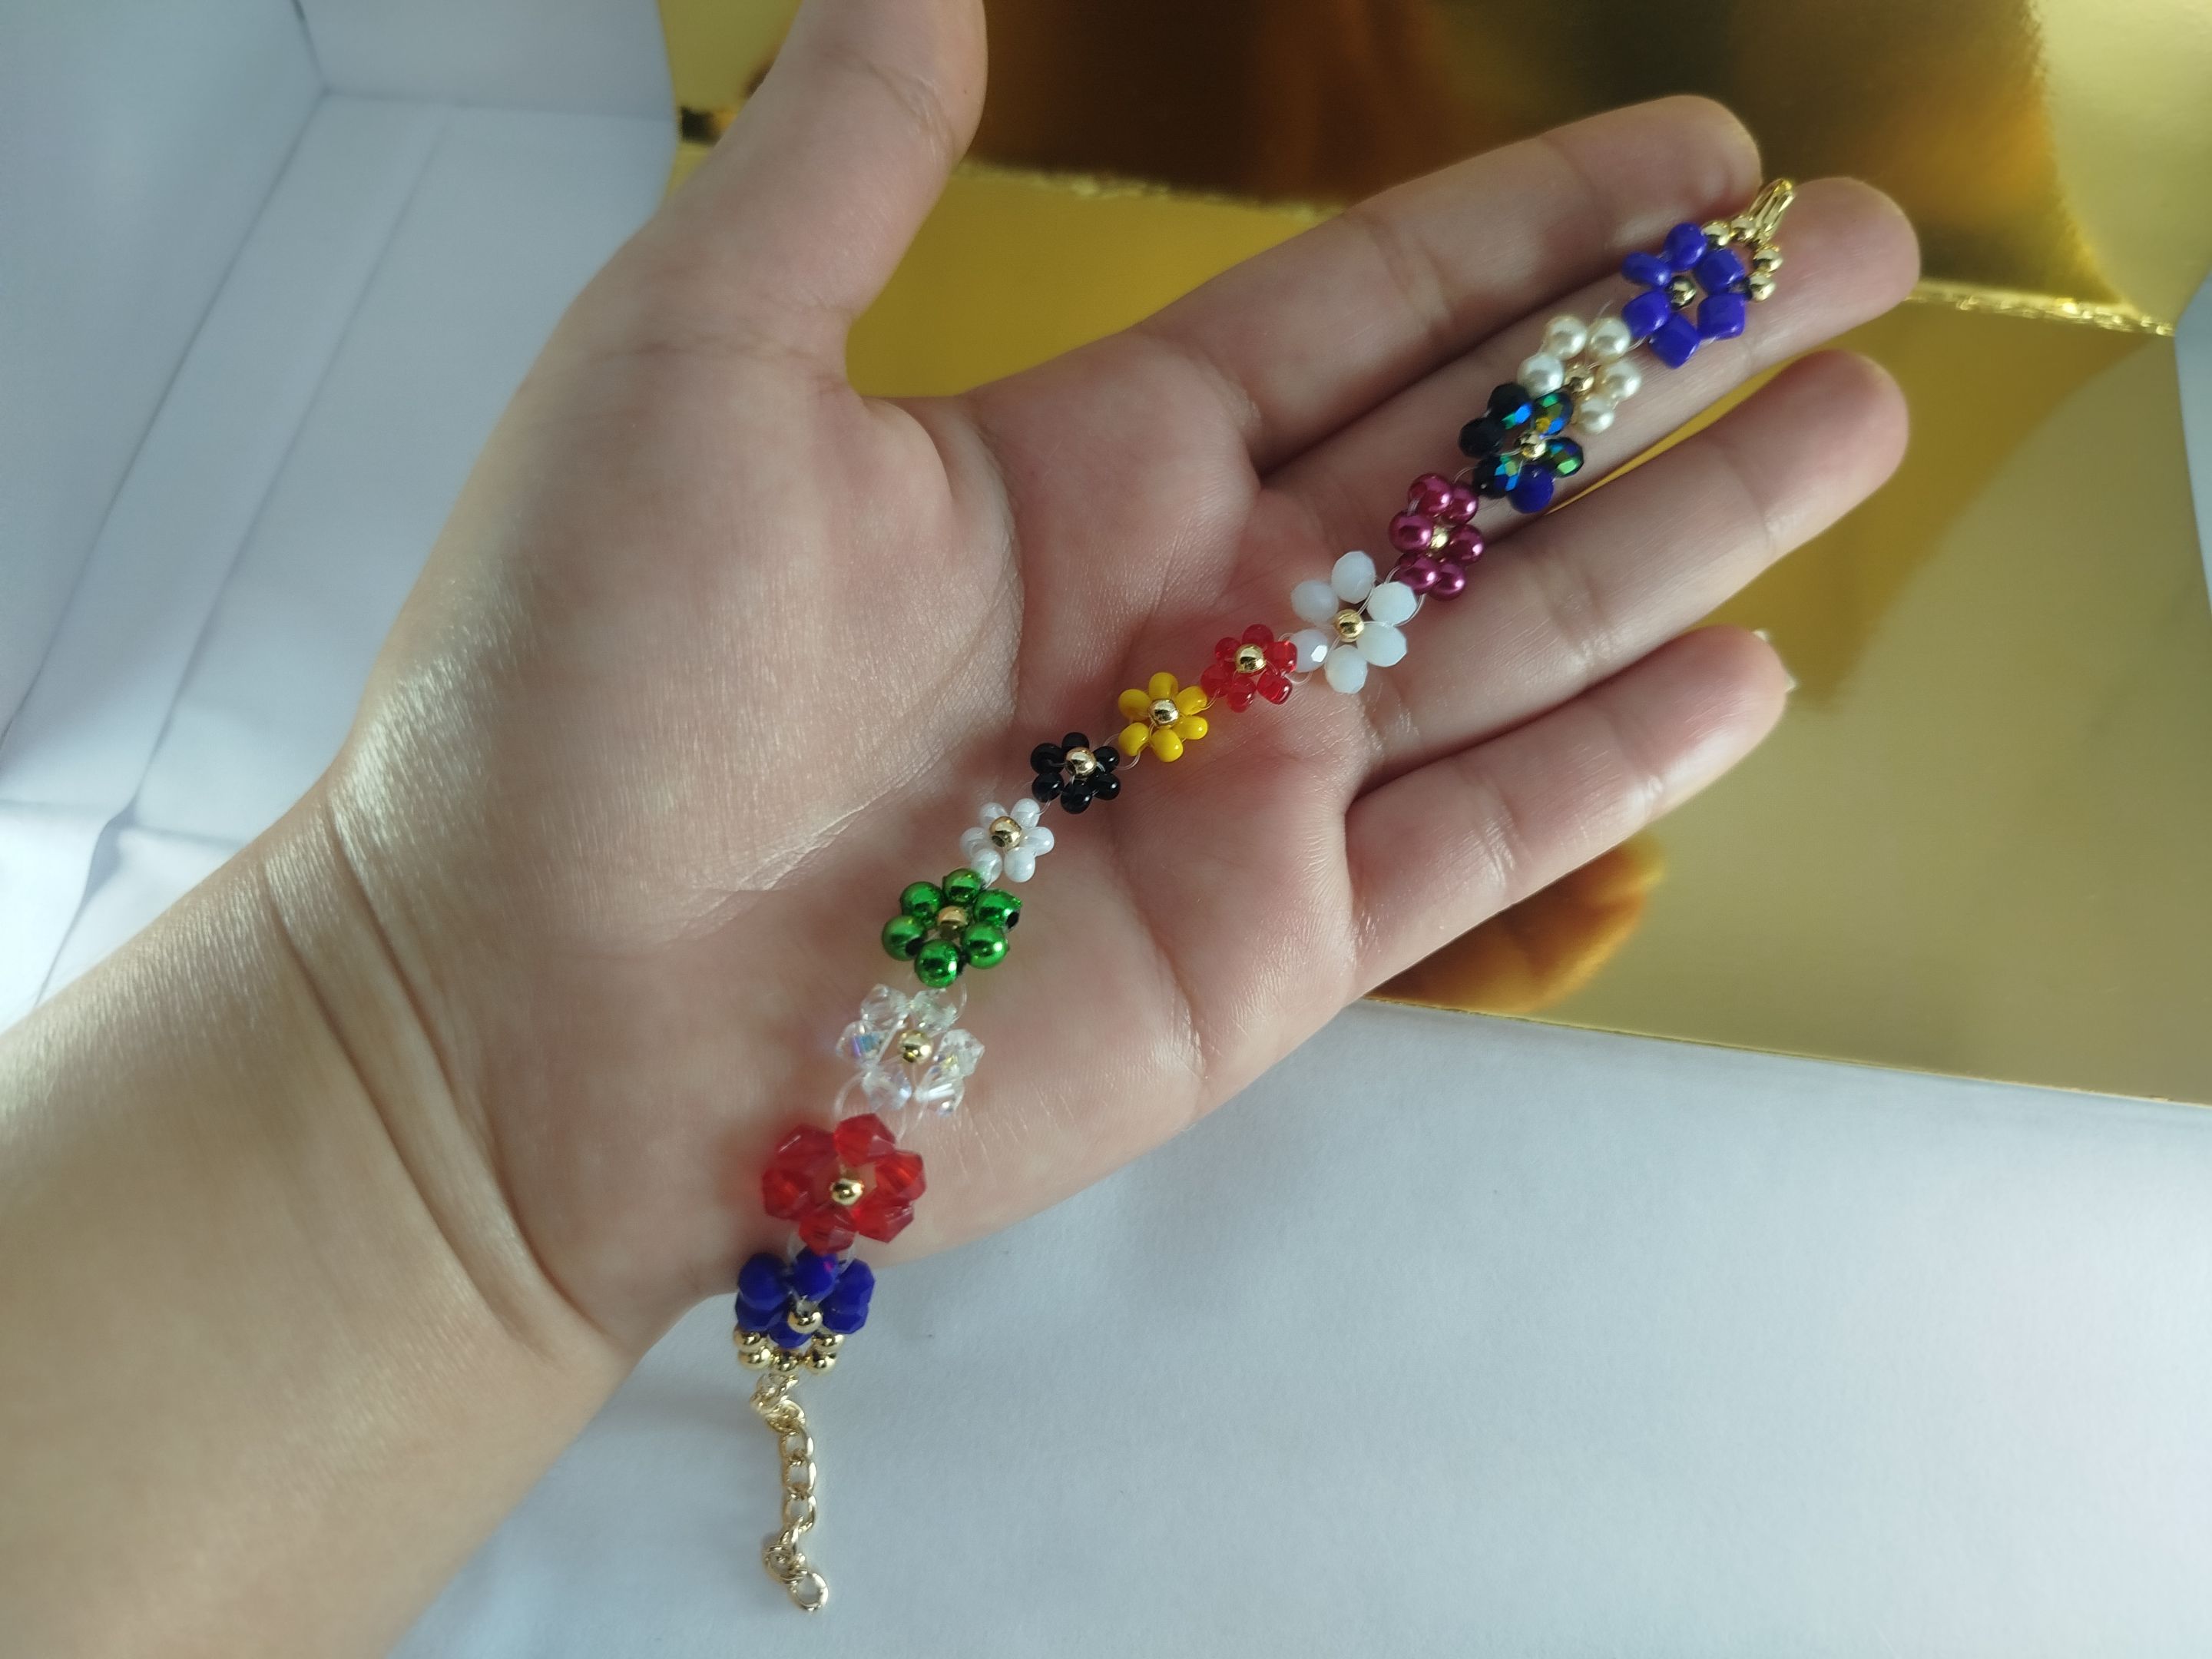
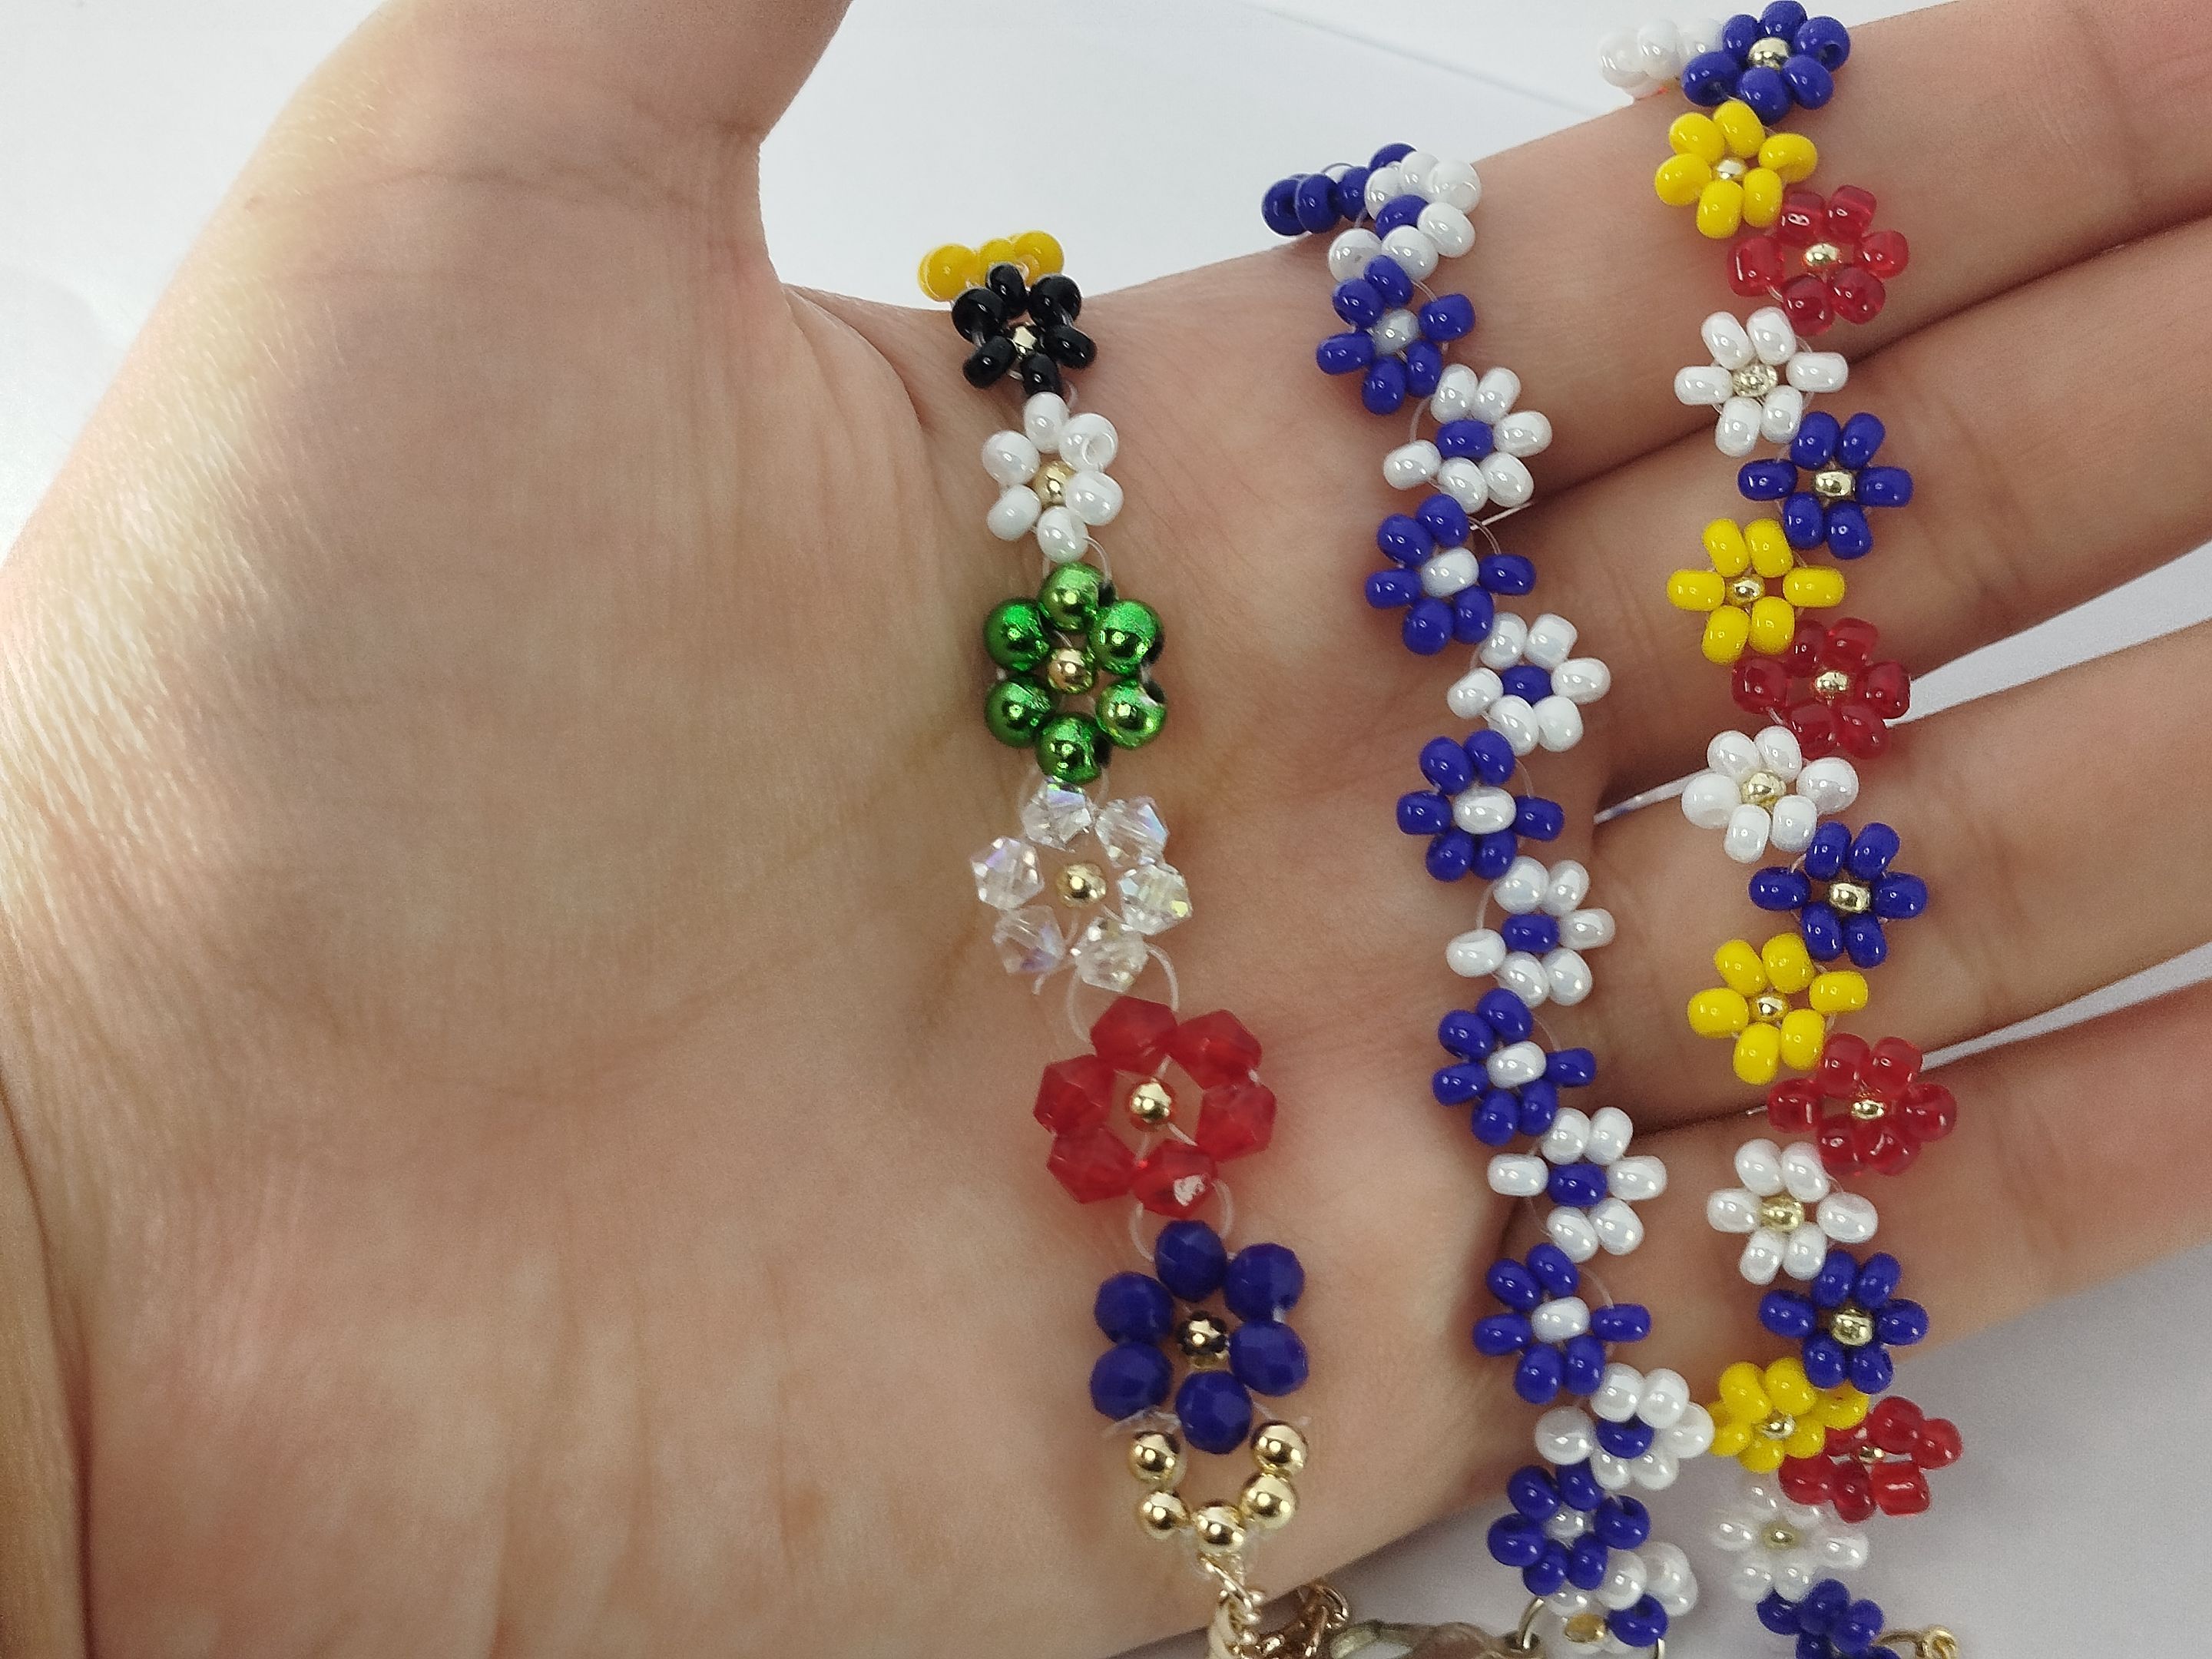
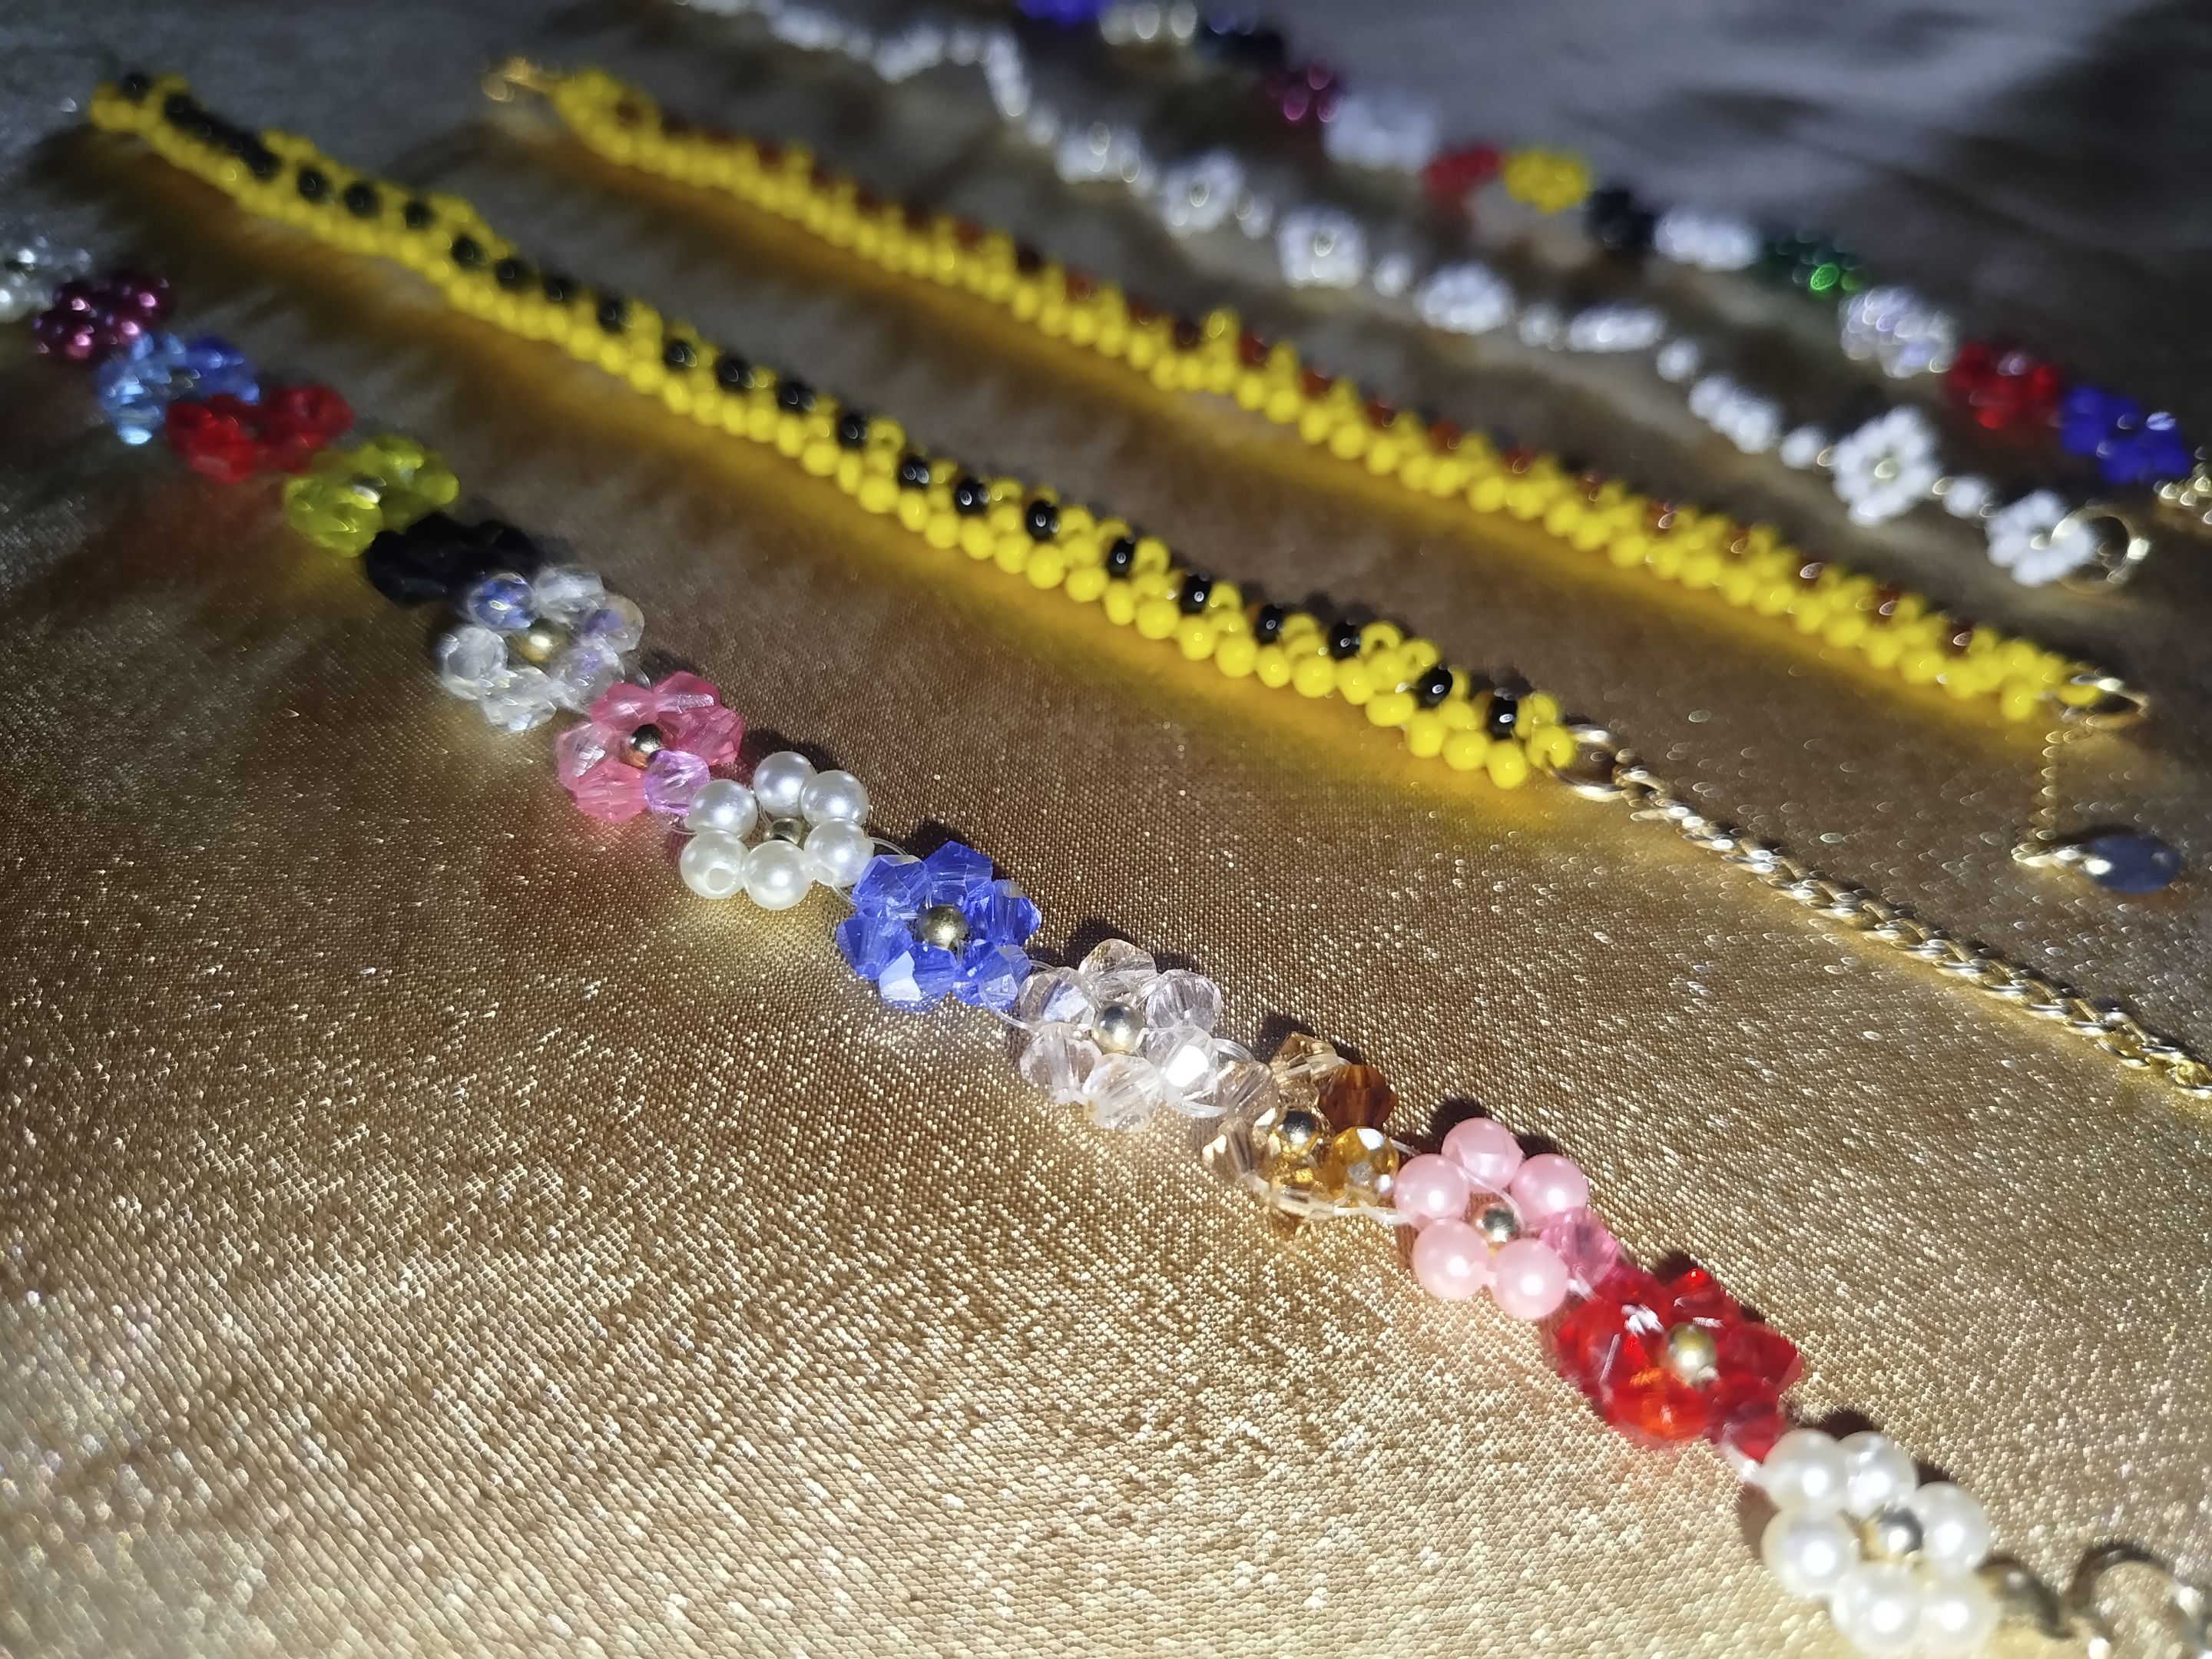
The procedure is the same for the rest; you just have to repeat it. If you want to make all the flowers the same color, it will look more uniform. In my case, I had several beads and pearls, but not enough to make a bracelet, so I took them and made a single bracelet with them, making use of the material I had and achieving a good result with this colorful bracelet.
When finished, a bead is placed on it, it is closed with tweezers, and an extension chain of about 3 cm, of the same gold color, is attached.
- - -
- - -
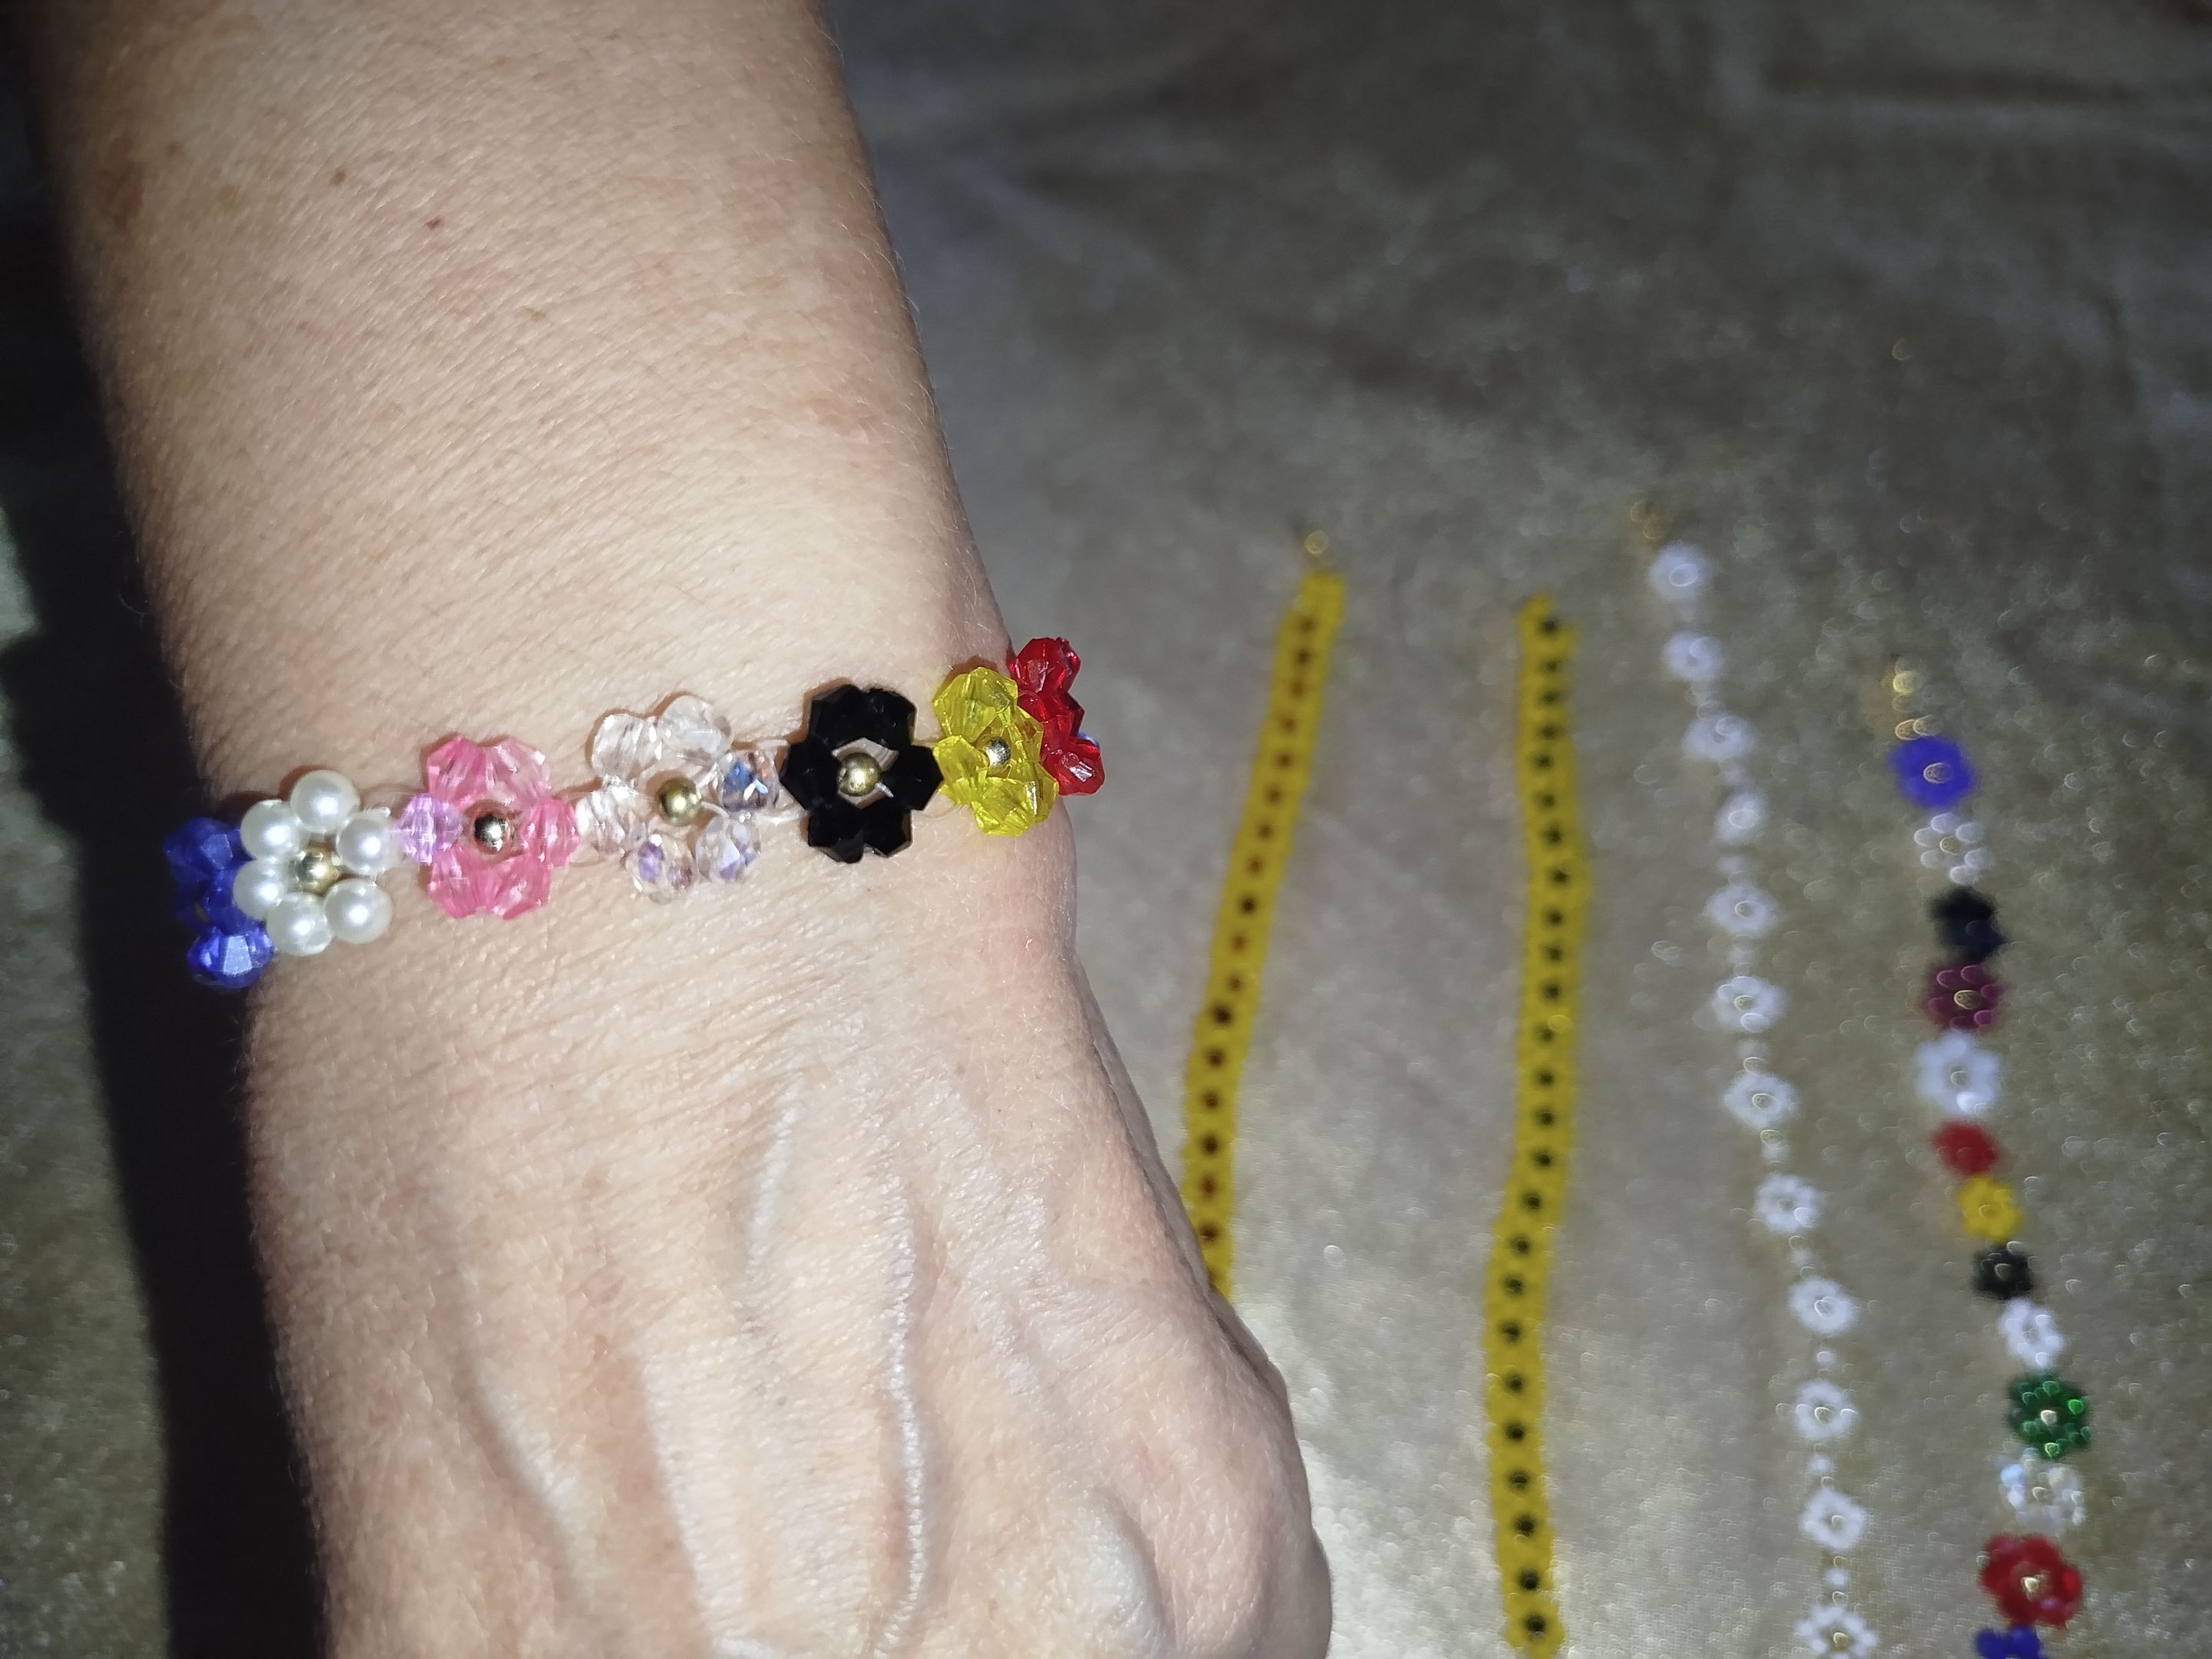
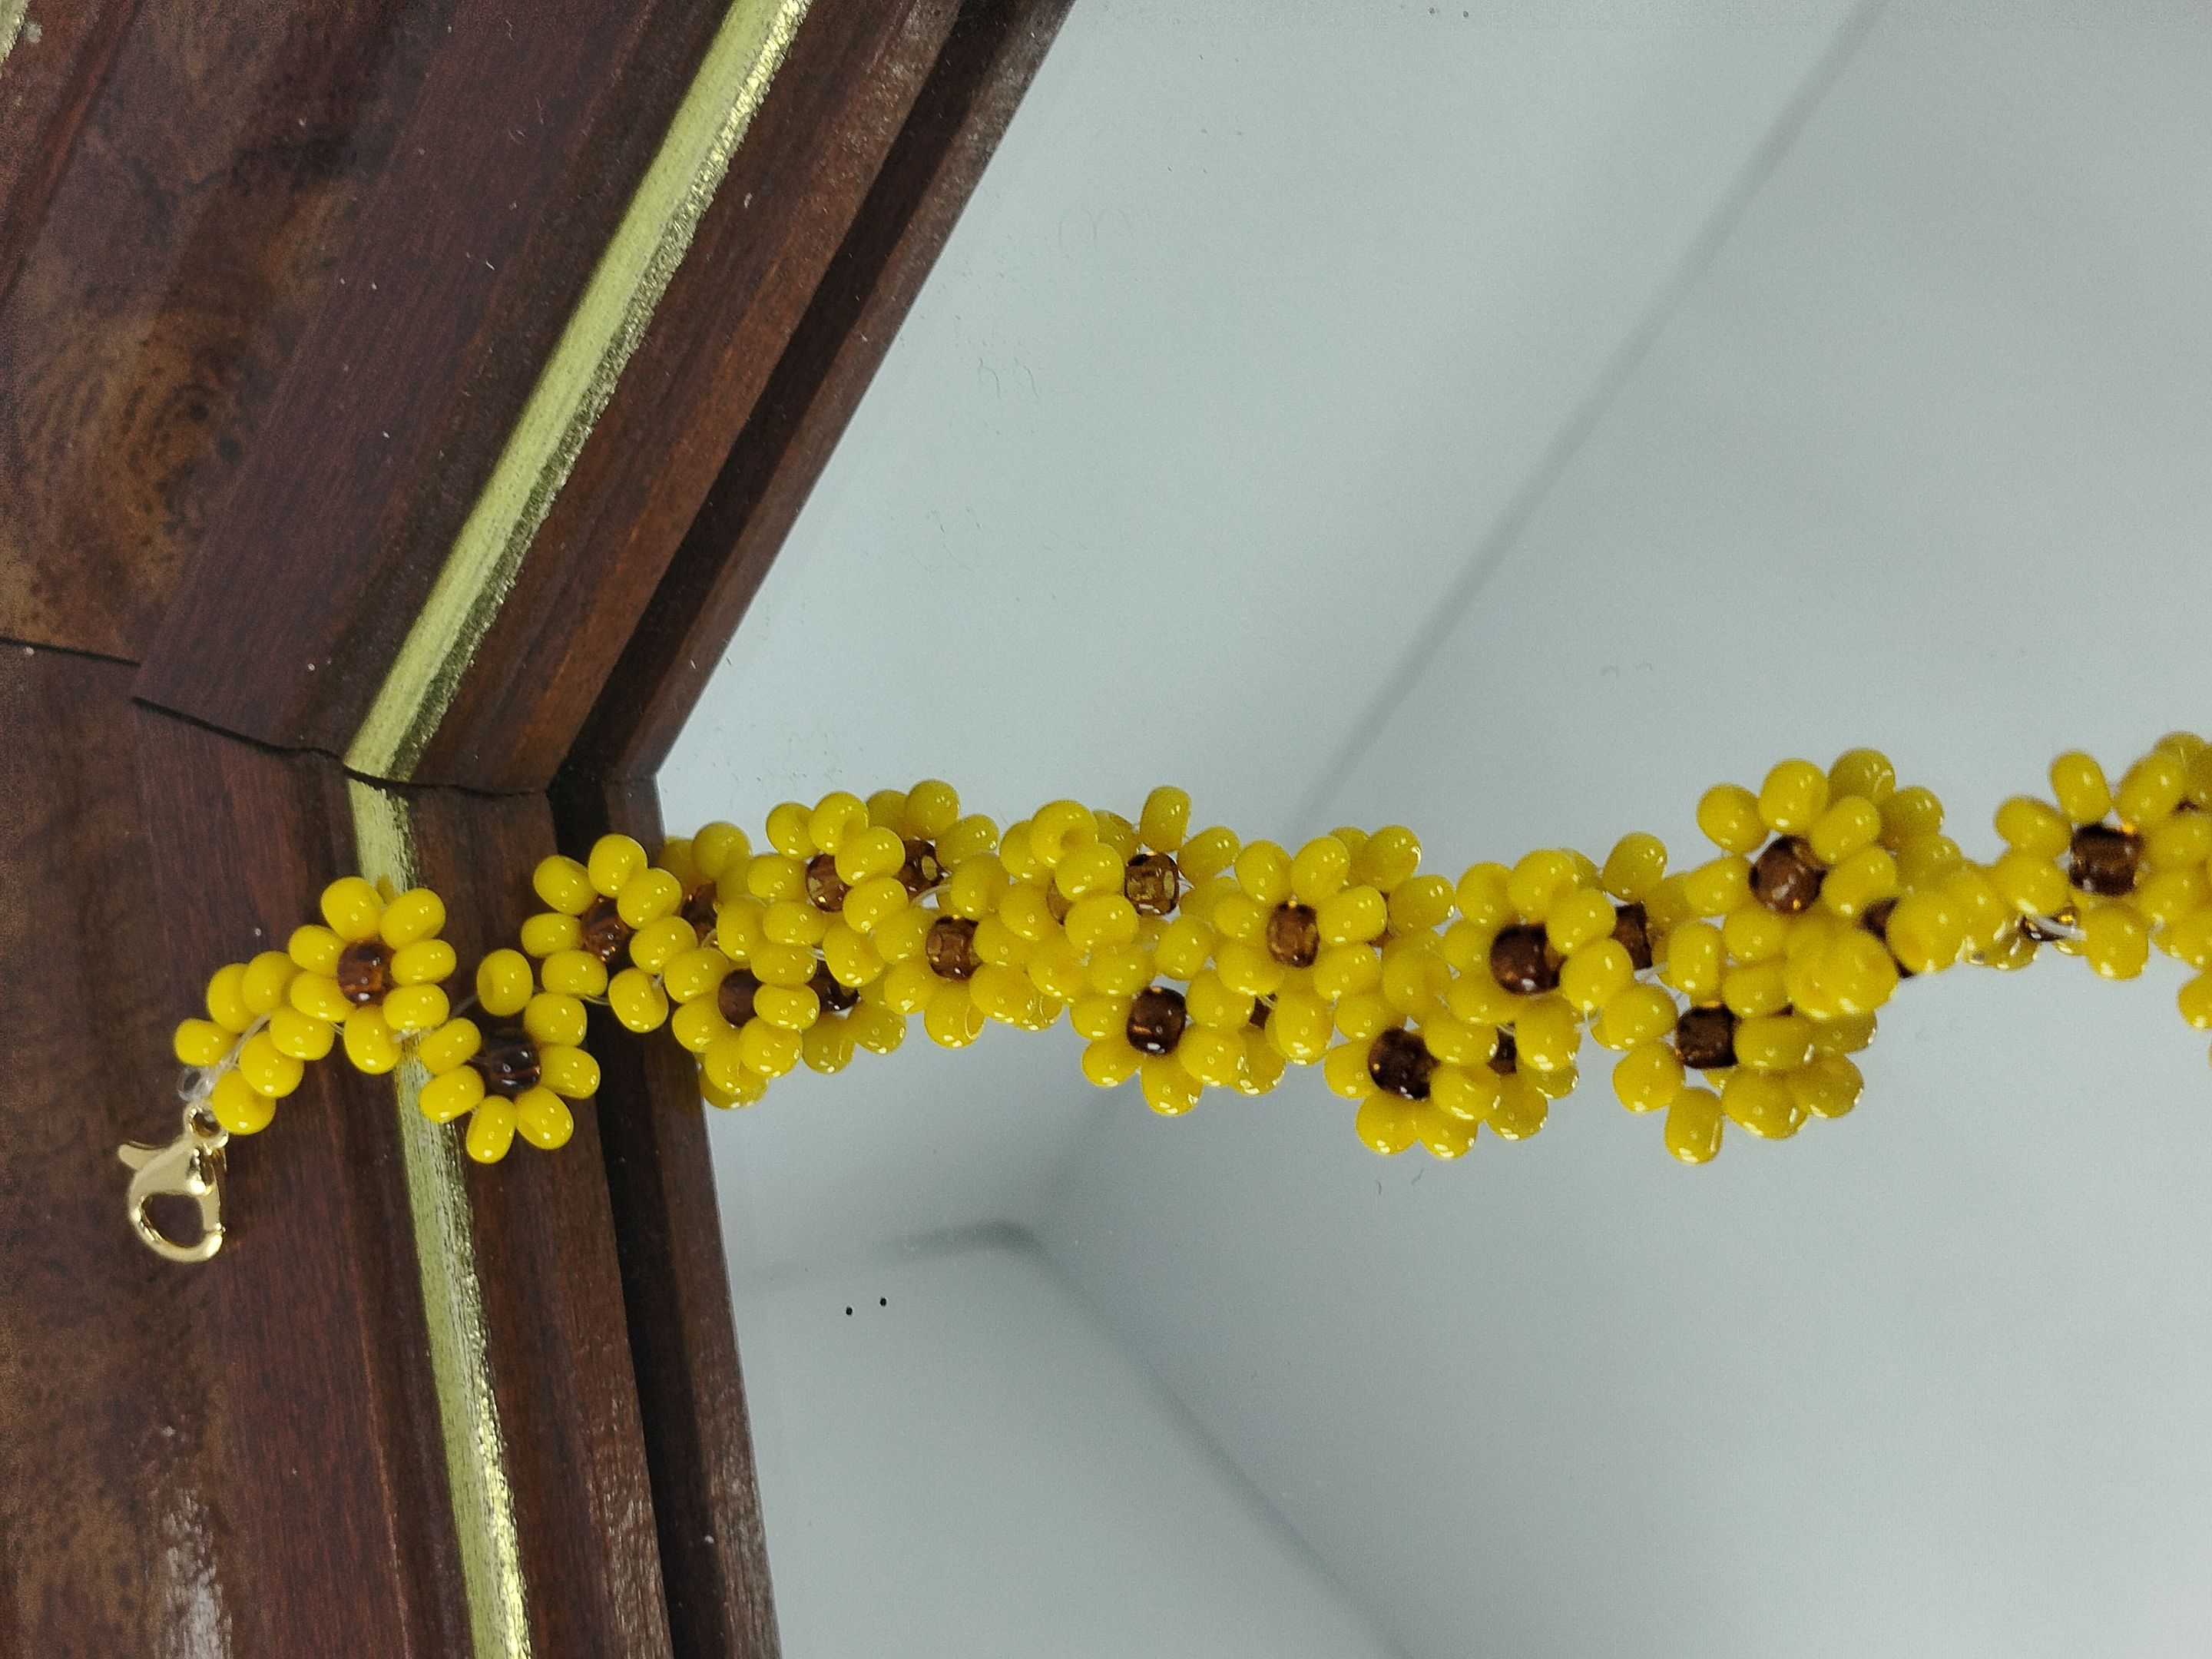
As I mentioned earlier, below are photos of other bracelet designs I made in previous weeks using the same technique. Among them are some very special pieces, namely those shaped like sunflowers, or rather, those that form sunflowers when strung together.
Since it is now September, I thought it would be a good idea to publish them and take advantage of the season. I think they are very cute and, why not, they could serve as a special gift for a friend, family member, or partner.
- - -
---
---
And with that, we have finished our beautiful bracelet. Please let me know what you thought of the tutorial in the comments. I really value your opinion.
Thank you for reading this far. I hope you have a wonderful day and night.

¡Hola, queridos amigos de Hive!
Les presento mi primera publicación para la comunidad de Jewelry. Es un honor para mí mostrarles los diseños con los que he estado trabajando últimamente y, a la vez, poder ser parte de una comunidad con personas tan creativas como ustedes. Espero que, semana a semana, disfruten de los diferentes tutoriales que les voy a traer, todos hechos con mucho amor y cariño.
El primero de ellos trata sobre una hermosa pulsera de flores, elaborada totalmente a mano con perlas, balines, mostacillas y Swarovski. Al final, les enseñaré varios diseños diferentes que hice con la misma técnica.
- - -

- - -
- Hilo nylon rígido calibre 25.
- Mostacillas calibradas o checas.
- Piedras de Murano o piedras de Swarovski.
- Aro.
- Pico de loro o adaptador de agarre.
- Balines pequeños dorados en golfi o mostacillas doradas.
- Tijeras.
- Agujas para mostacillas.

- - -

- - -
Para empezar, corta un hilo de nylon de aproximadamente un metro de largo. Dobla el hilo por la mitad y, justo en el centro, introduce el “pico de loro “o un adaptador. A cada lado, coloca dos balines.
- - -


- - -
Ahora, con un extremo del hilo, introduce una mostacilla; con el otro, pásalo por esa misma mostacilla en sentido contrario. Al ajustar, verás que la mostacilla queda entrelazada y fija en el centro.
Luego, en cada hilo, introduce dos mostacillas y un balín. El balín debe quedar pegado a la mostacilla central. Con cada hilo, pásalo por las dos mostacillas para que se arme la flor.
- - -


---


- - -
Para cerrar y asegurar, introduce otra mostacilla, entrelazando los dos hilos a través de ella. ¡Y listo! Ya tienes tu hermosa flor.
- - -


- - -
Acuérdate de ajustar bien cada vez que termines una flor. Este es un paso sumamente importante para que el resultado quede mucho más prolijo.
El procedimiento es el mismo para el resto, solo tienes que repetirlo. Si deseas hacer todas las flores del mismo color, quedará más uniforme, en mi caso, tenía varias mostacillas y perlas cuyas cantidades no me alcanzaban para culminar una pulsera, así que las tomé e hice una sola pulsera con ellas, aprovechando el material que tenía y obteniendo un buen resultado en este brazalete colorido.
Al finalizar se le coloca un balín, se cierra con pinzas y se coloca la cadena de extensión de unos 3 cm, del mismo color dorado.
- - -


- - -
Como les comenté anteriormente, les dejaré a continuación las fotos de otros modelos de pulseras o brazaletes que elaboré semanas anteriores, usando la misma técnica para producirlas; Entre ellas están incluidas unas piezas muy especiales, y se trata, de aquellas que tienen forma de Girasol, o mejor dicho, que en cadena forman los girasoles.
Ya que estamos en el mes de septiembre, me pareció muy buena opción para publicarlas y aprovechar la época, siento que quedan muy tiernas y por qué no, sirven como un obsequio especial para una amiga, familiar o para una pareja.
- - -


---


---
Y con esto culminamos nuestra hermosa pulsera, cuéntame en los comentarios qué te pareció el tutorial, valoro mucho tu opinión.
Gracias por llegar hasta aquí, les deseo que tengan un buen día y noche.
Fotos tomadas de mi teléfono Xiaomi Redmi Note 11 Pro y mi teléfono Honor X8a || Photos taken from my Xiaomi Redmi Note 11 Pro phone and from my Honor X8a phone.