

¡Hola de nuevo! Feliz inicio de semana amigos de Hive.
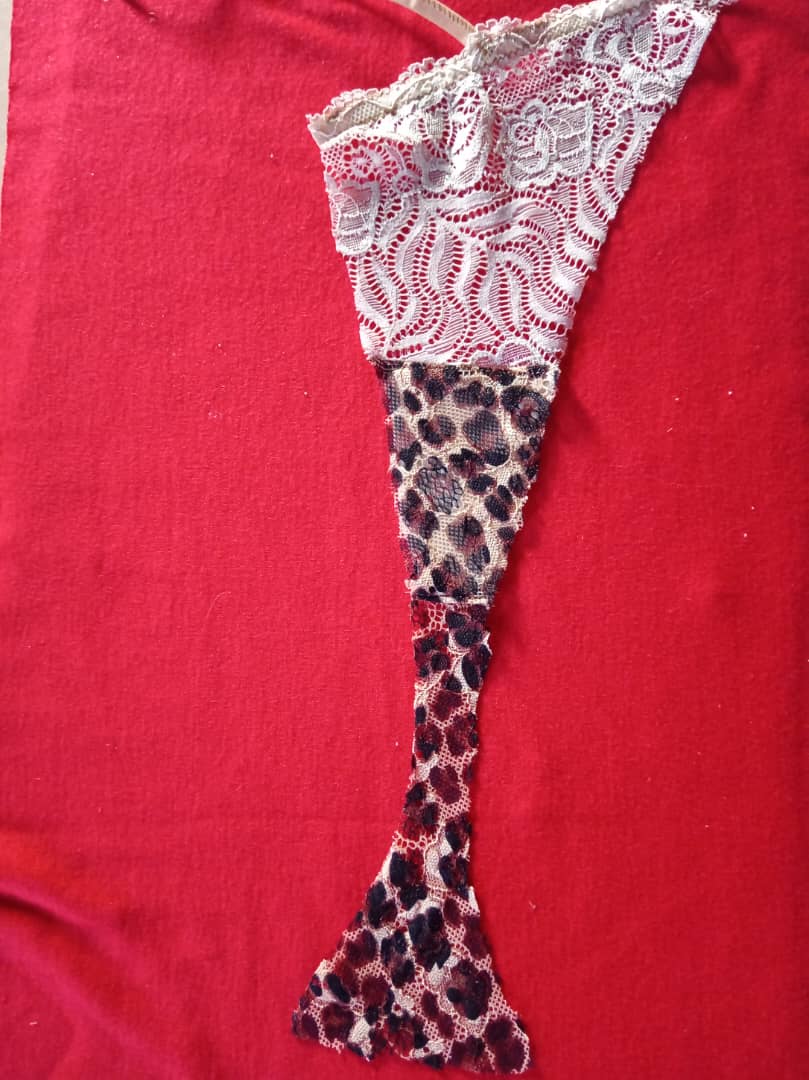
Si disfrutaron de los dos modelos anteriores, esta tercera versión de la tanga les va a encantar. He ido subiendo cada semana un modelo diferente de tangas, apoyándonos en el mismo modelo, y en esta ocasión, jugaremos con cortes asimétricos y el uso de aros para darle un diseño nuevo.
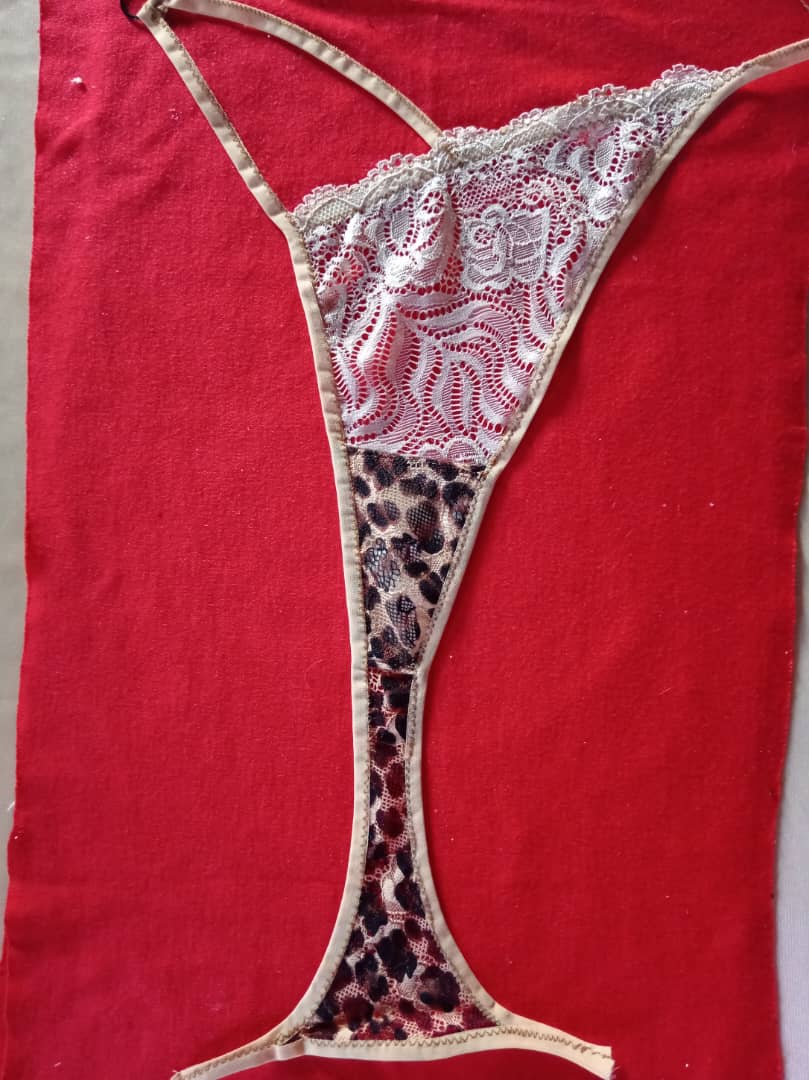
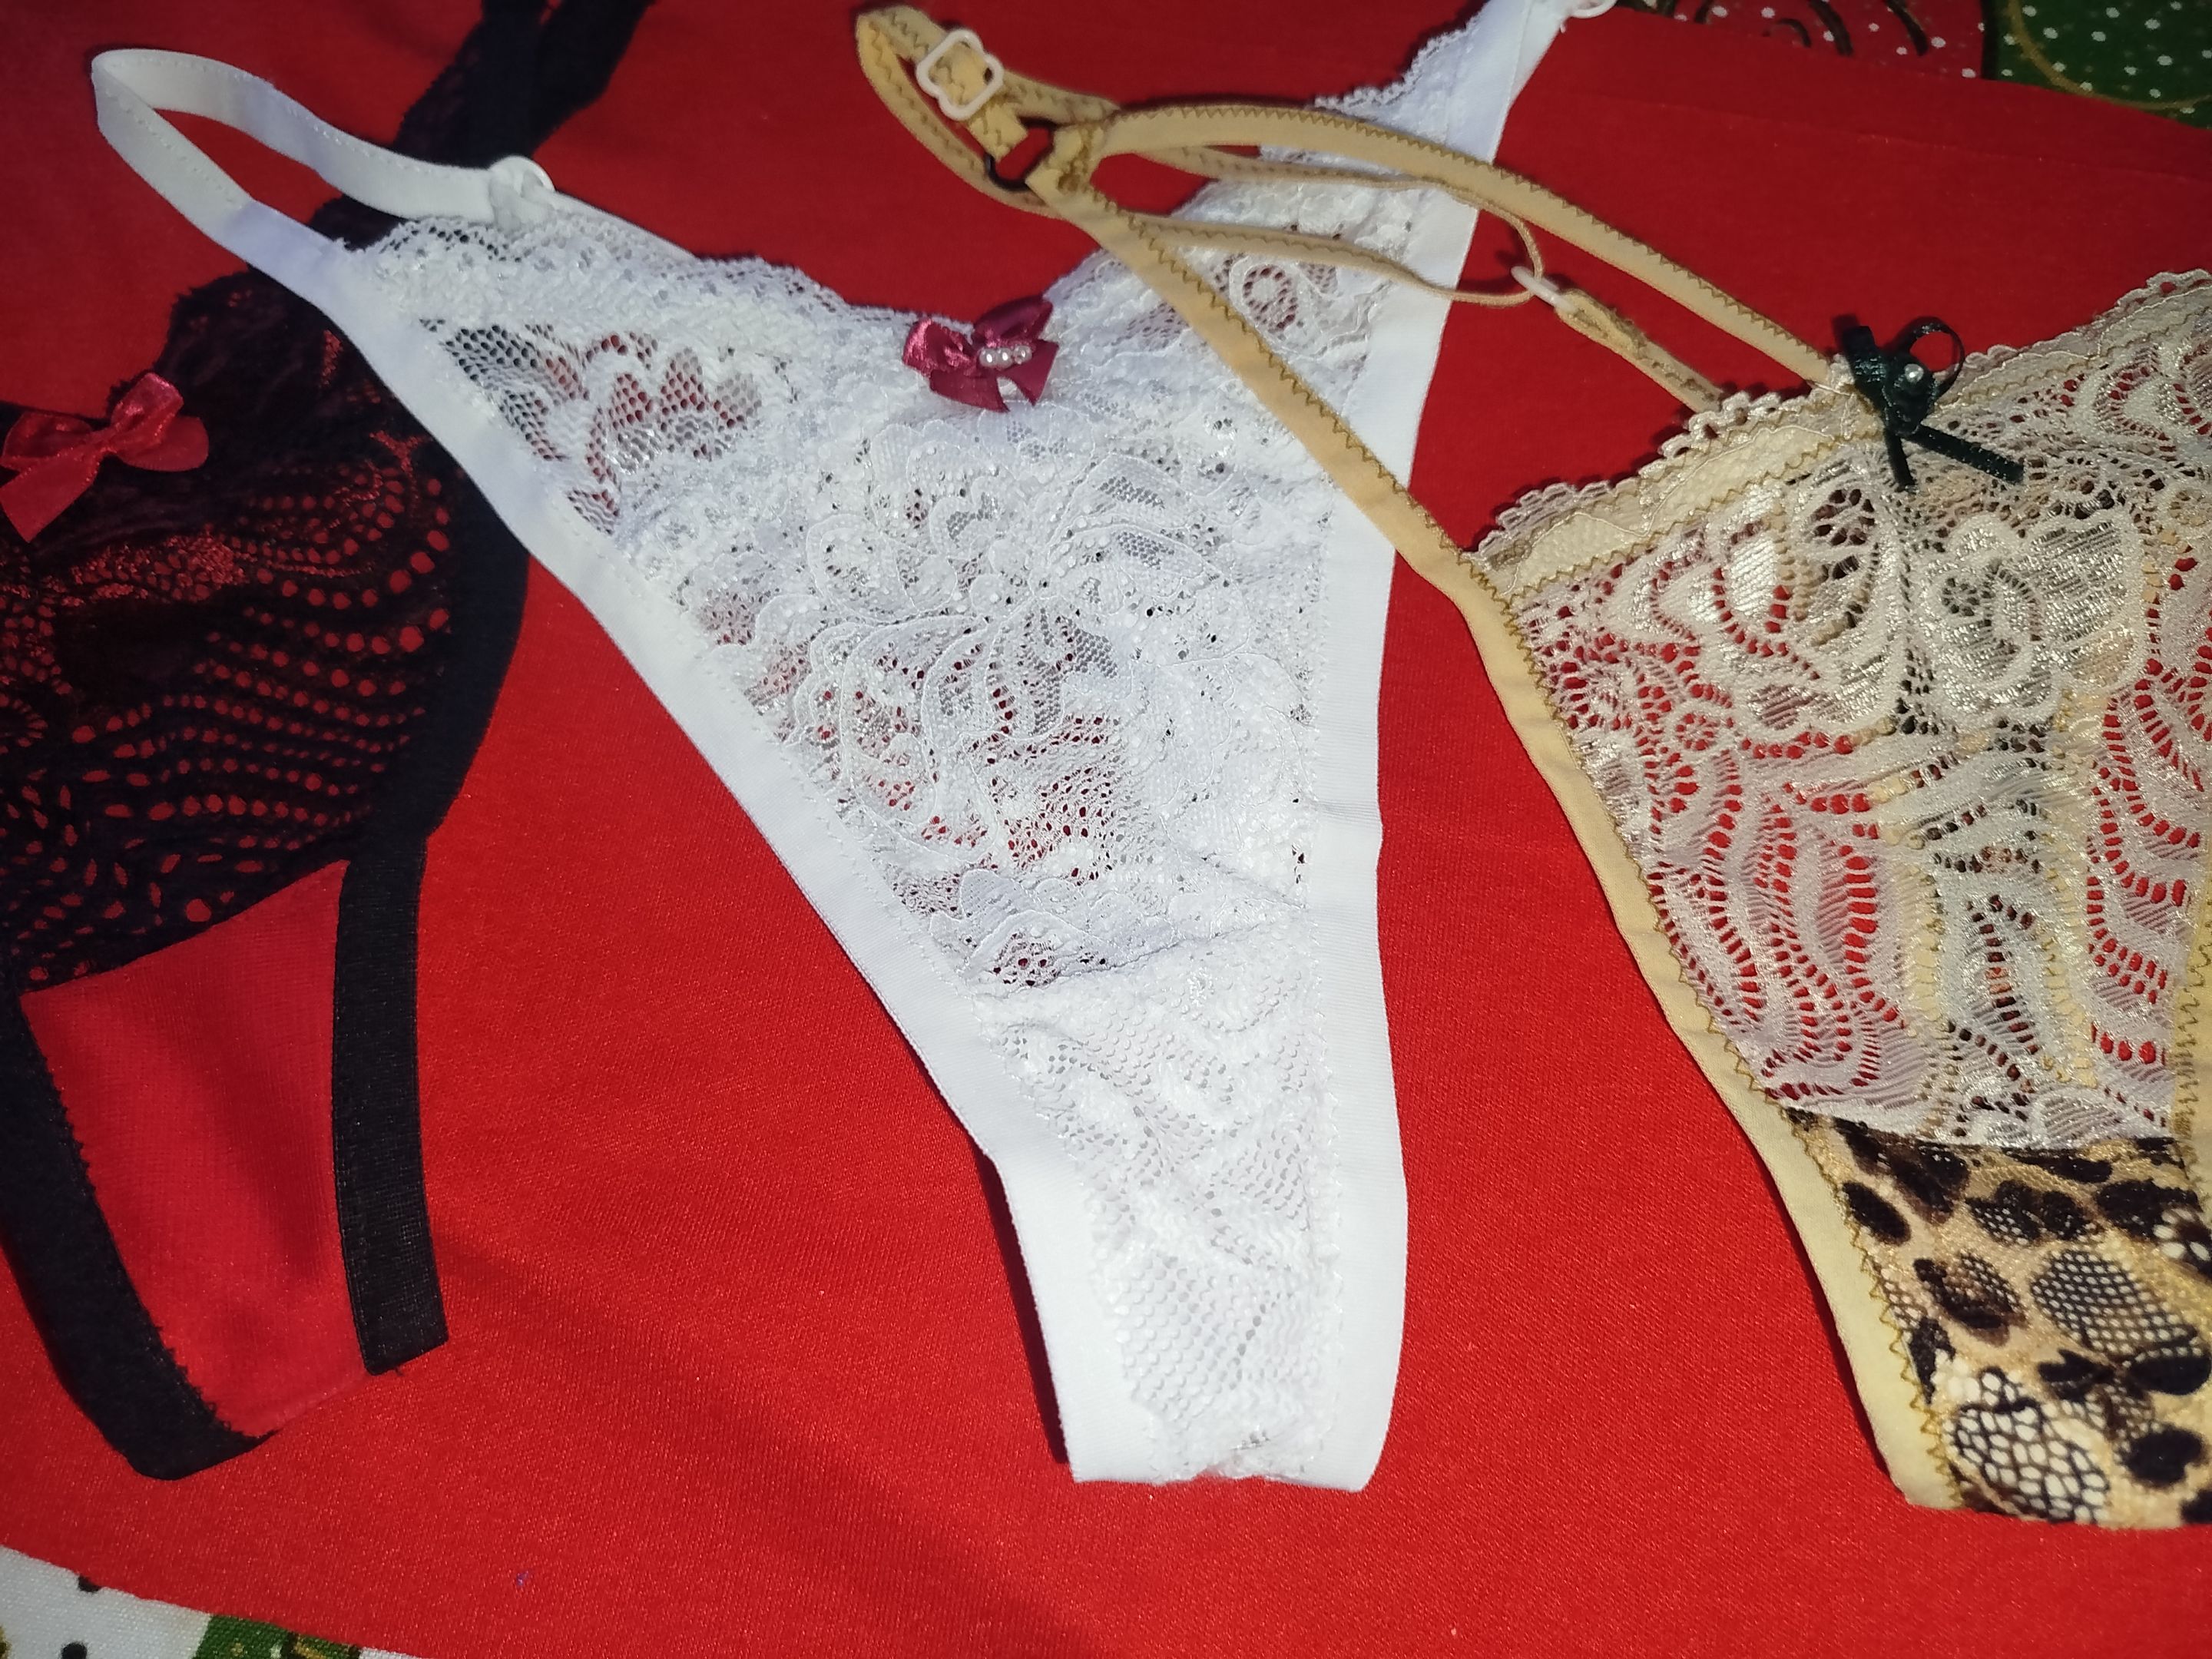
Para esta pieza, mantendremos la elegancia usando encaje elástico o tul bordado, y la combinaremos con un color de contraste en la parte trasera con el estampado de animal print. No perdamos tiempo y veamos los materiales.
- - -

- - -
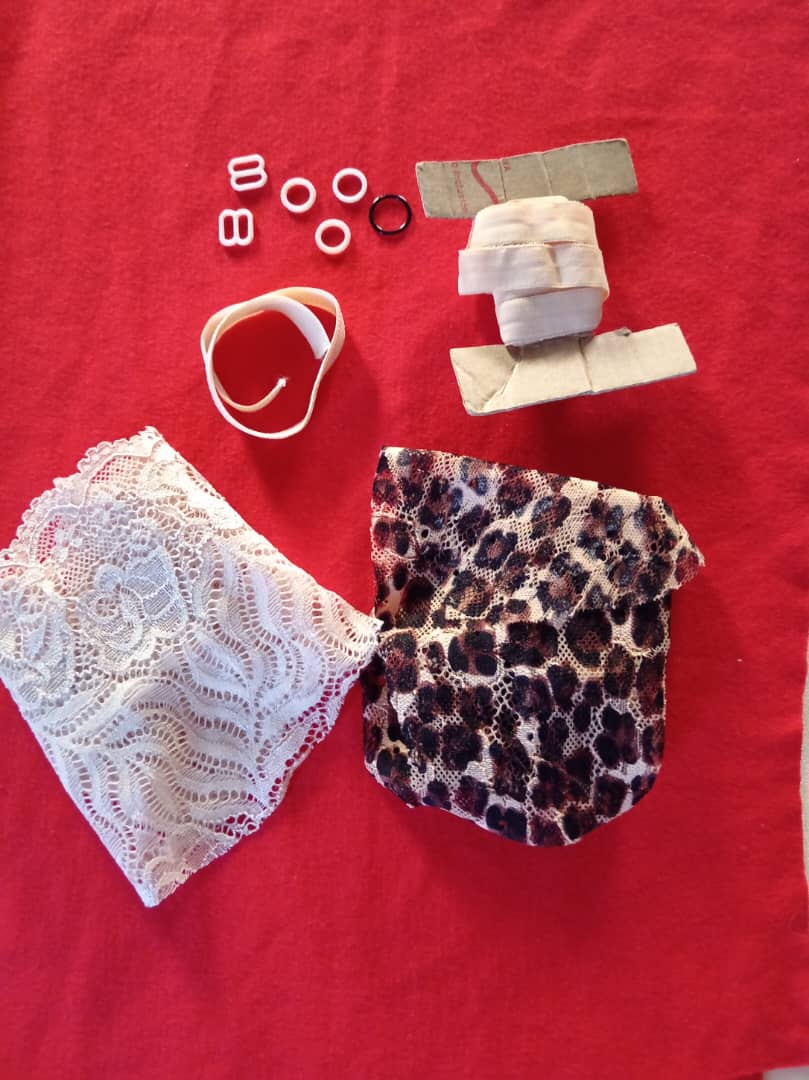
- Encaje elástico o tul.
- Sesgo elástico.
- Elástico plano.
- Algodón Jersey (para la entrepierna o refuerzo).
- Tres aros pequeños de 8mm.
- 1 Aro mediano de 10 mm.
- 2 Tensores de 8 mm.
- Moldes
- - -

- - -
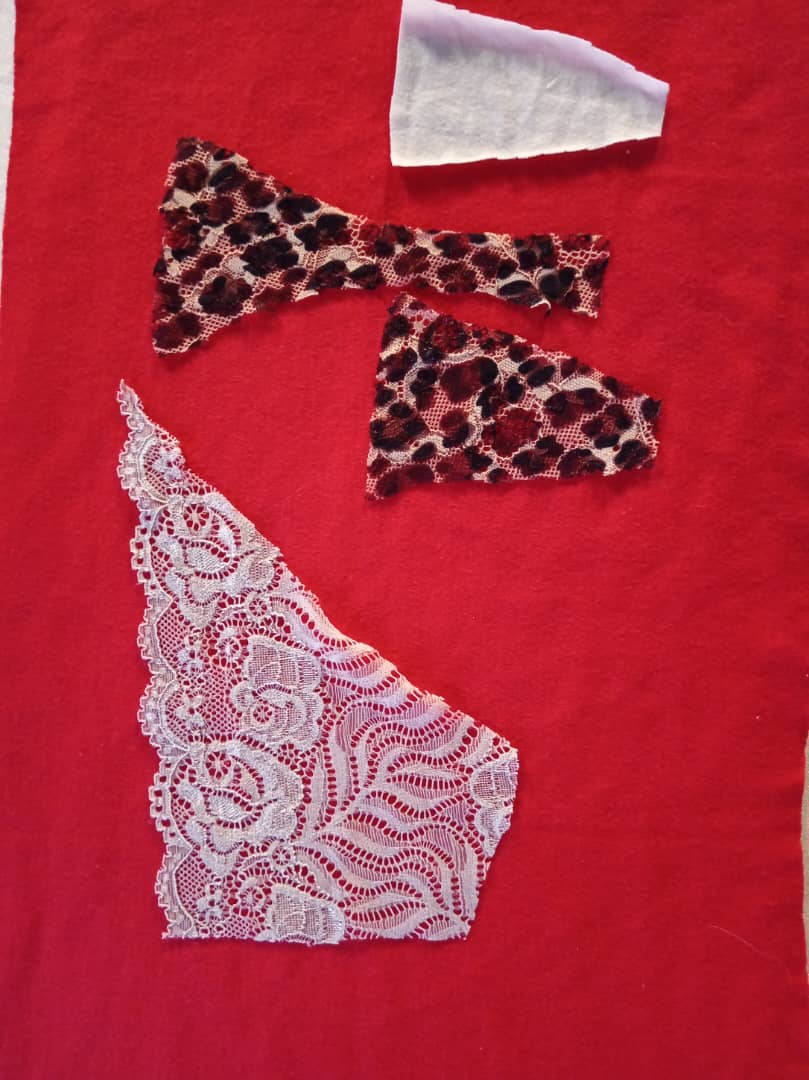
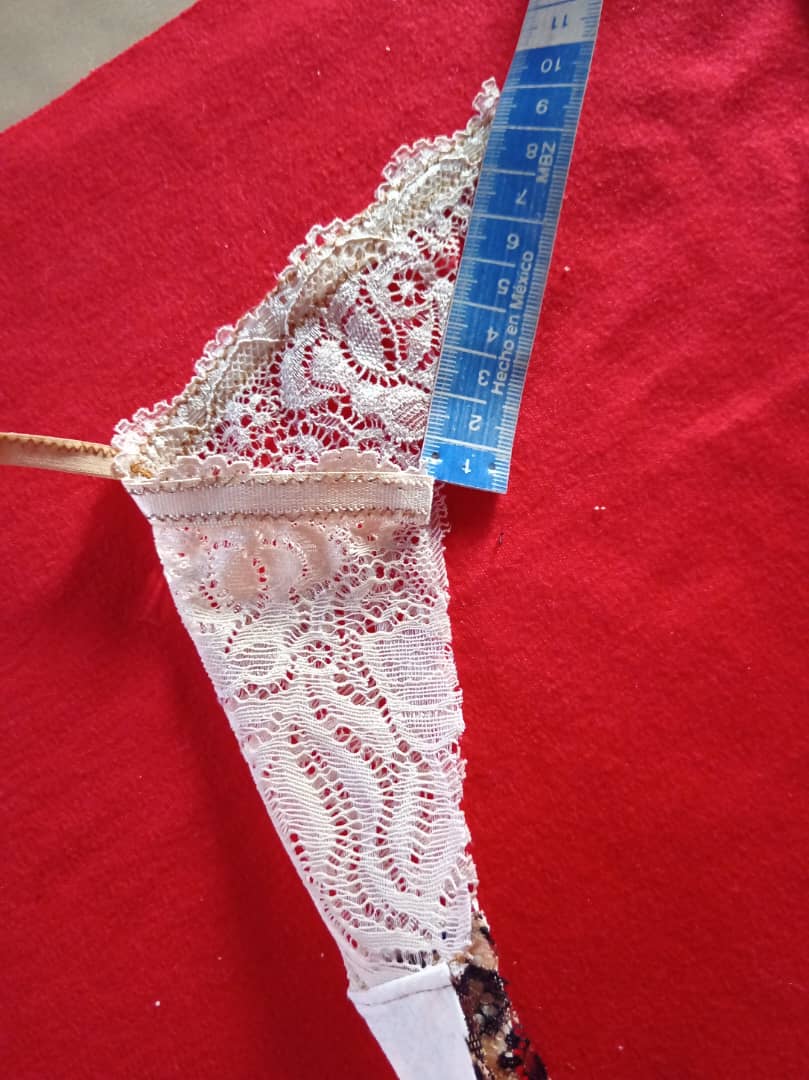
Para comenzar, corta las piezas de tu molde. Para crear el contraste, corta la pieza delantera en encaje (o tul bordado) y la trasera y la entrepierna en el color o material que combine. Luego toma la pieza delantera y marca el centro, a partir de esa mitad, mide y marca una distancia, y a esa medida agrégale 3 cm más (por ejemplo, si mediste 15 cm, la marca final será de 18 cm).
- - -
- - -
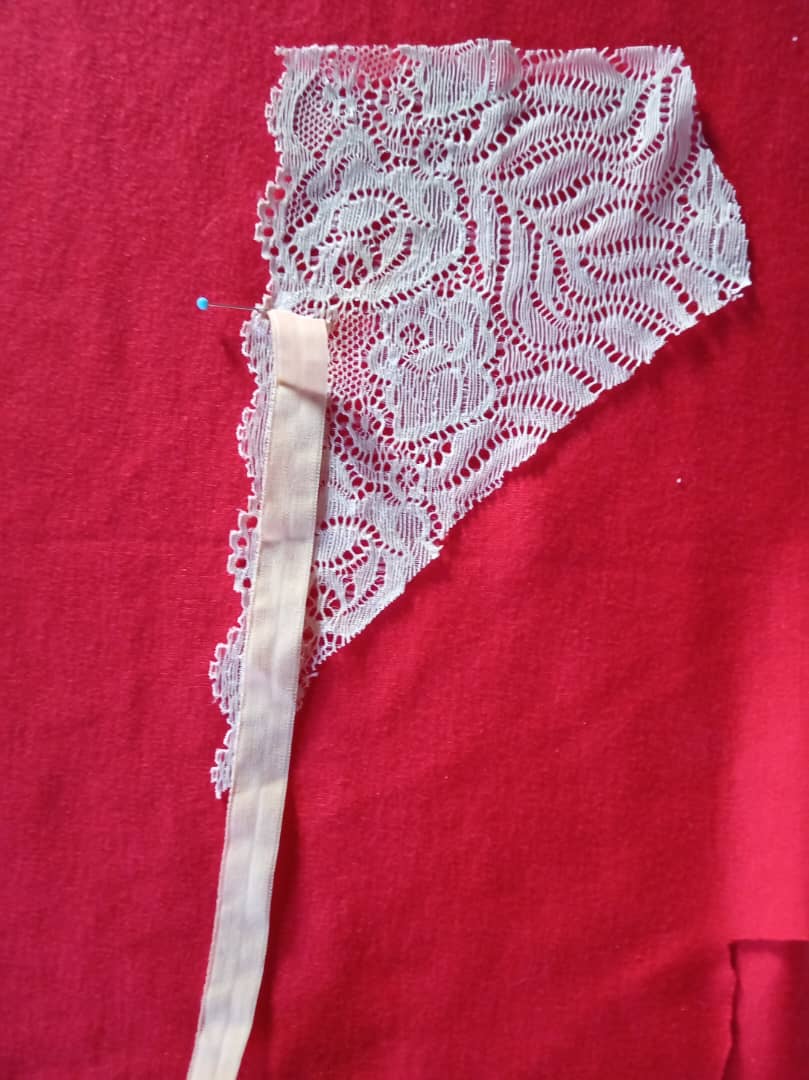
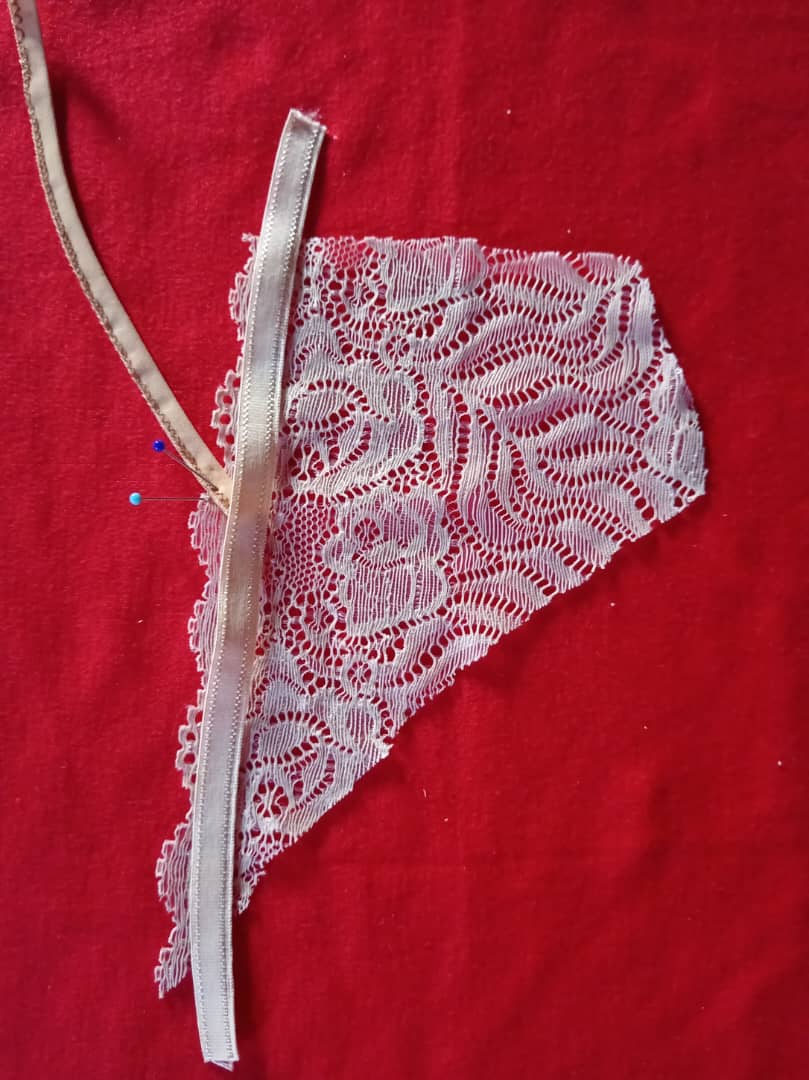
Luego, con el sesgo elástico, prepara una tira.
---
---
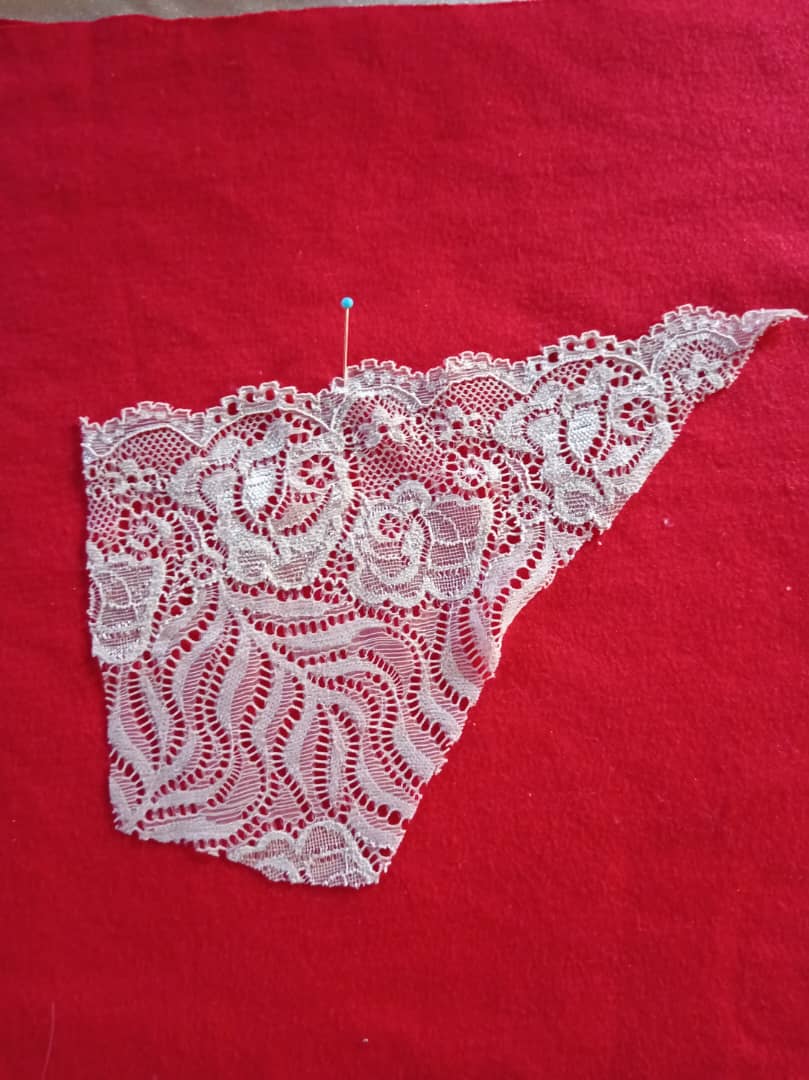
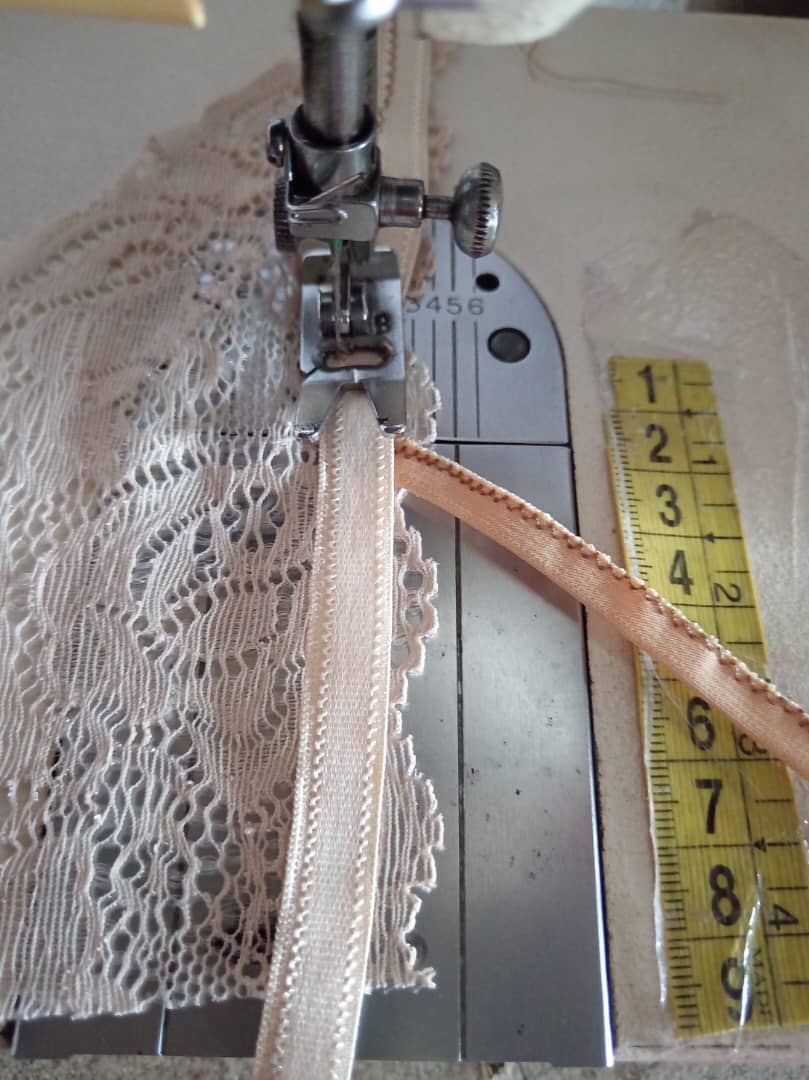
Fija la tira de sesgo que acabas de hacer sobre la marca en la parte delantera, colocándola de forma diagonal. A continuación, cose el elástico plano por el revés del encaje (por debajo de las ondas o "moras") y también sobre la tira de sesgo que acabas de fijar. Usa una costura en zigzag.
- - -
- - -
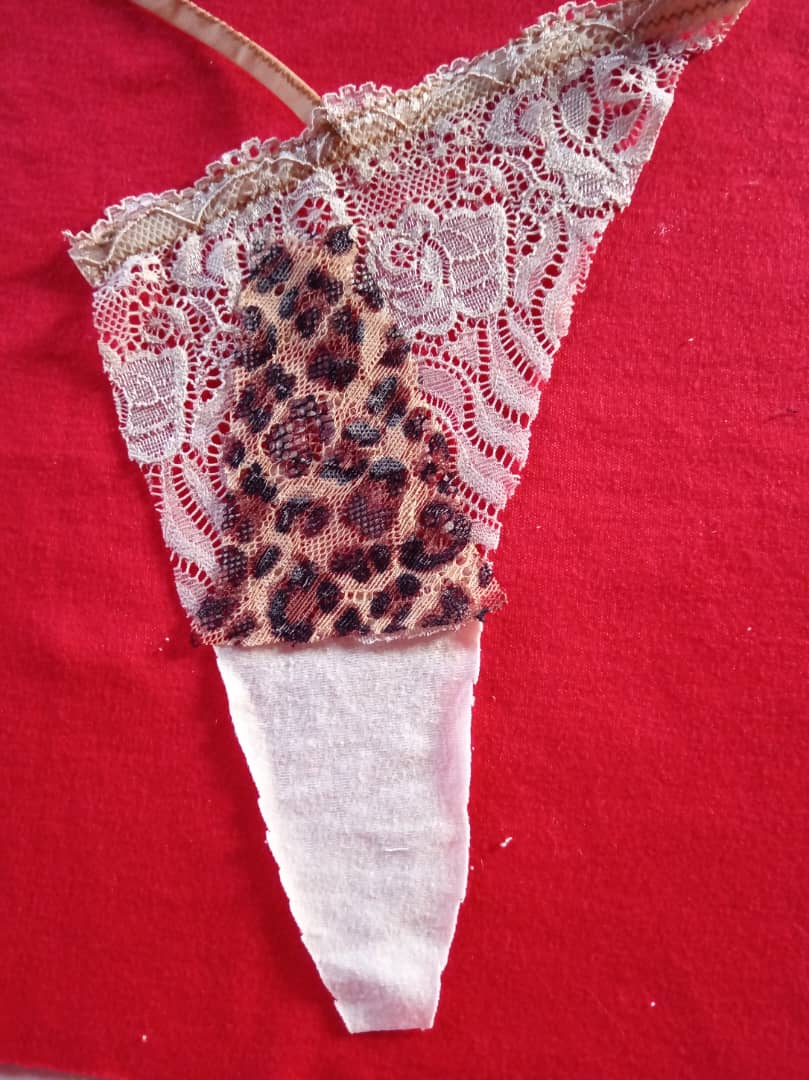
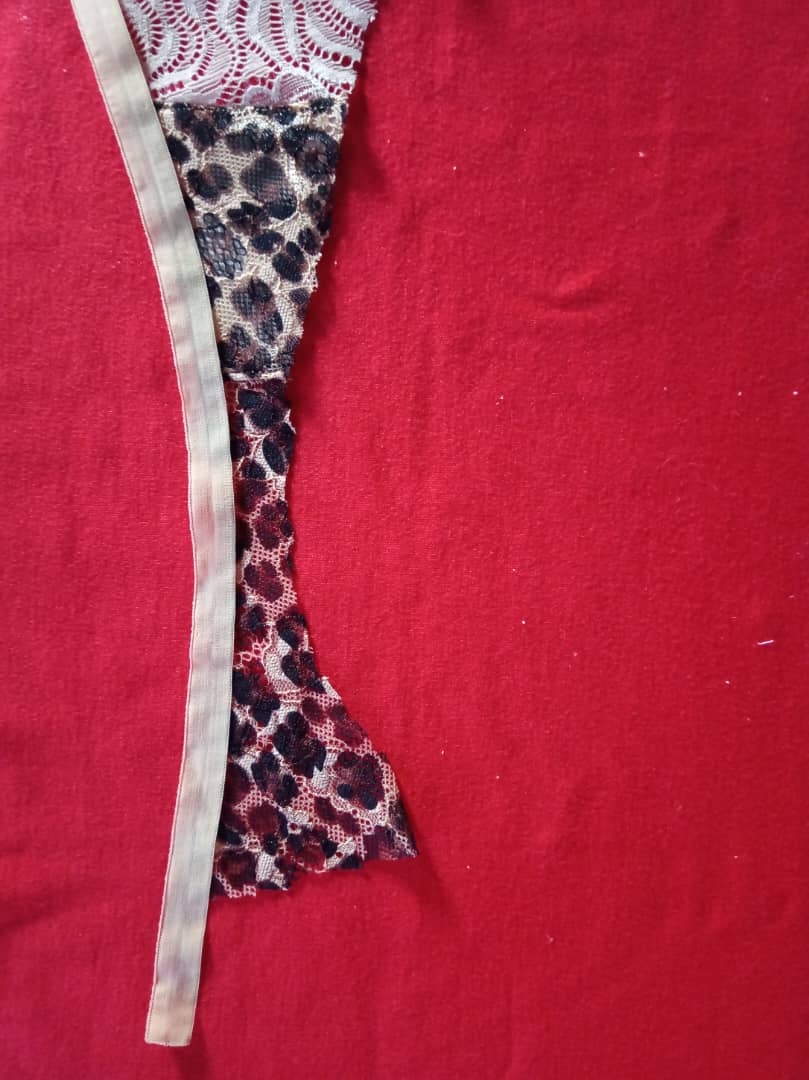
Une la entrepierna (Algodón Jersey y trasera de tul) y la parte trasera de la tanga. Asegúrate de que las costuras queden bien ocultas.
- - -
---
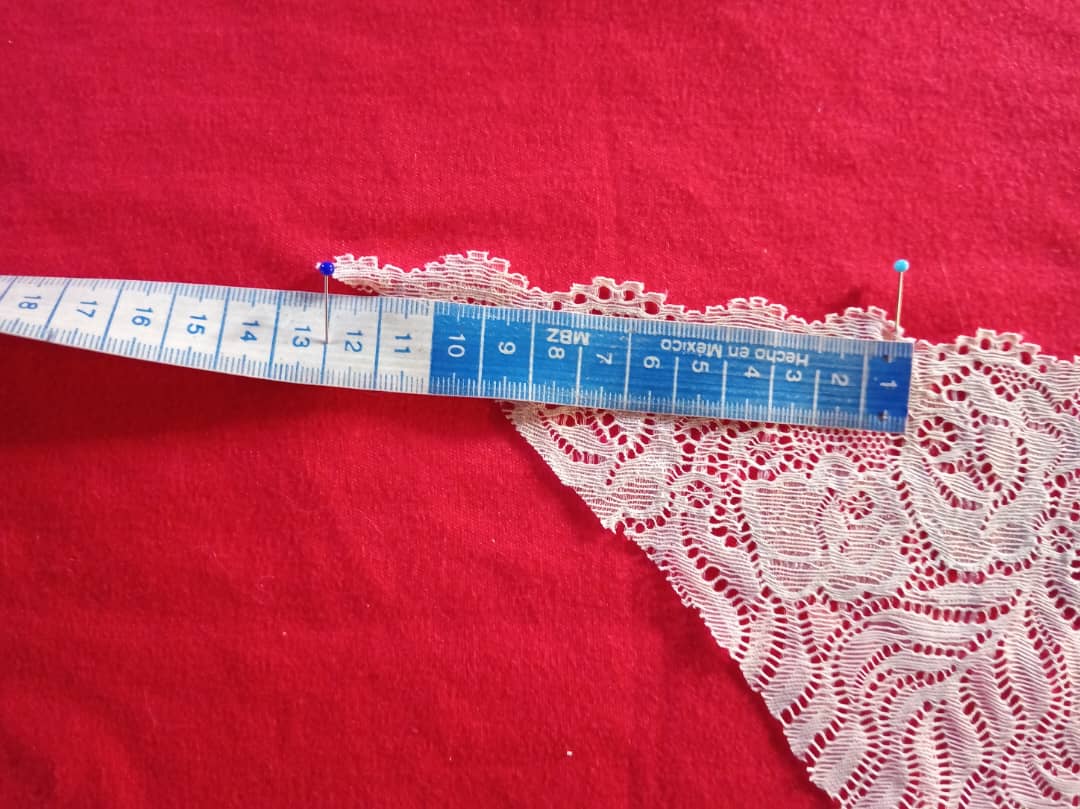
Mide el lateral restante de la parte delantera. A esa medida, súmale 3 cm (9 cm más 3cm, es 12 cm) y corta el sesgo a esta medida.
Toma las dos tiras laterales de sesgo (la diagonal que ya cosiste y la de 12 cm que acabas de cortar). Introduce un aro pequeño a través de ambas tiras y cose firmemente para unir y fijar el aro.
- - -
- - -
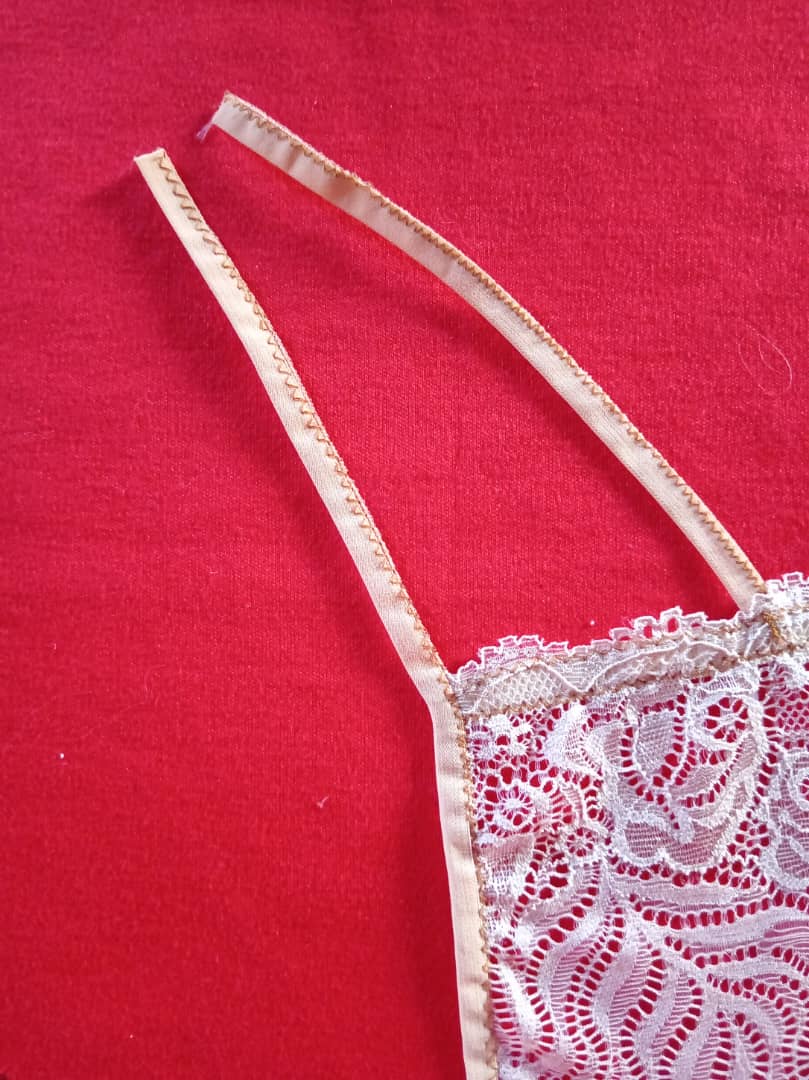
Elastiza el lado opuesto de la tanga (donde no pusiste la tira diagonal). Deja una pequeña cola de 3 cm de sesgo elástico sin coser al inicio y continúa elastizado toda la parte trasera, sobreponiendo y cosiendo el sesgo elástico.
- - -
- - -
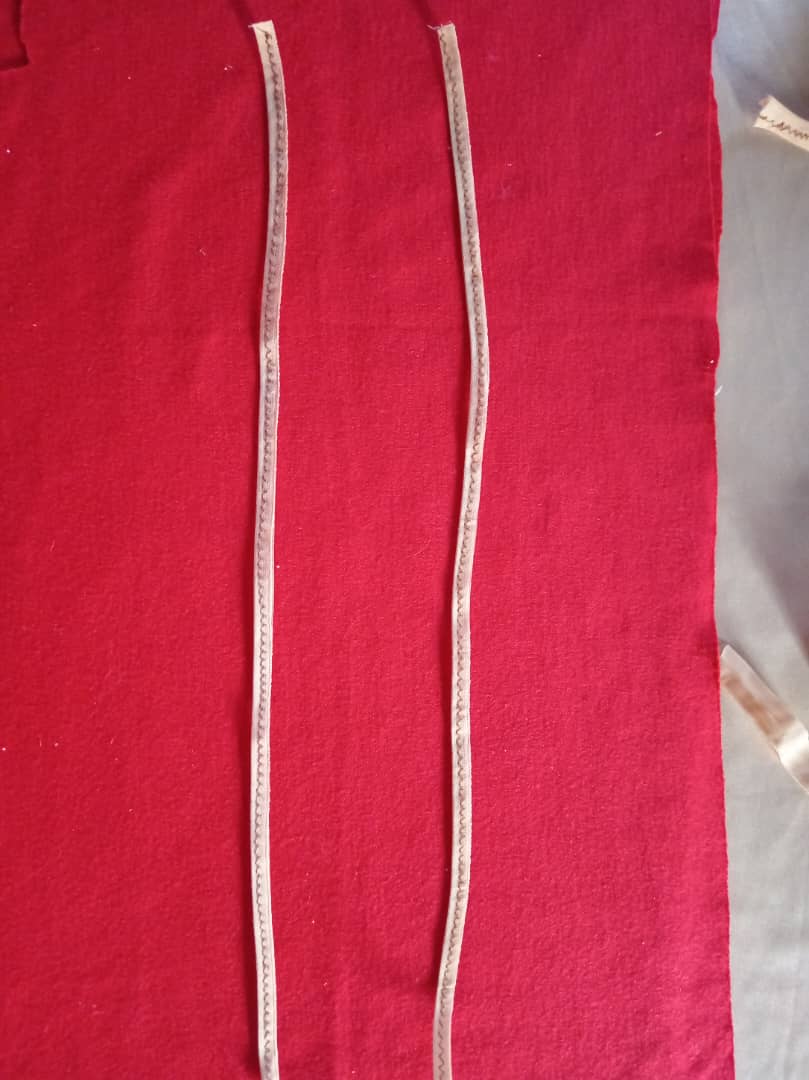
Corta dos tiras de sesgo para la cintura según la talla:
Talla S: 34 cm c/u
Talla M: 36 cm c/u (usaremos esta medida como ejemplo)
Talla L: 38 cm c/u
Talla XL: 40 cm c/u
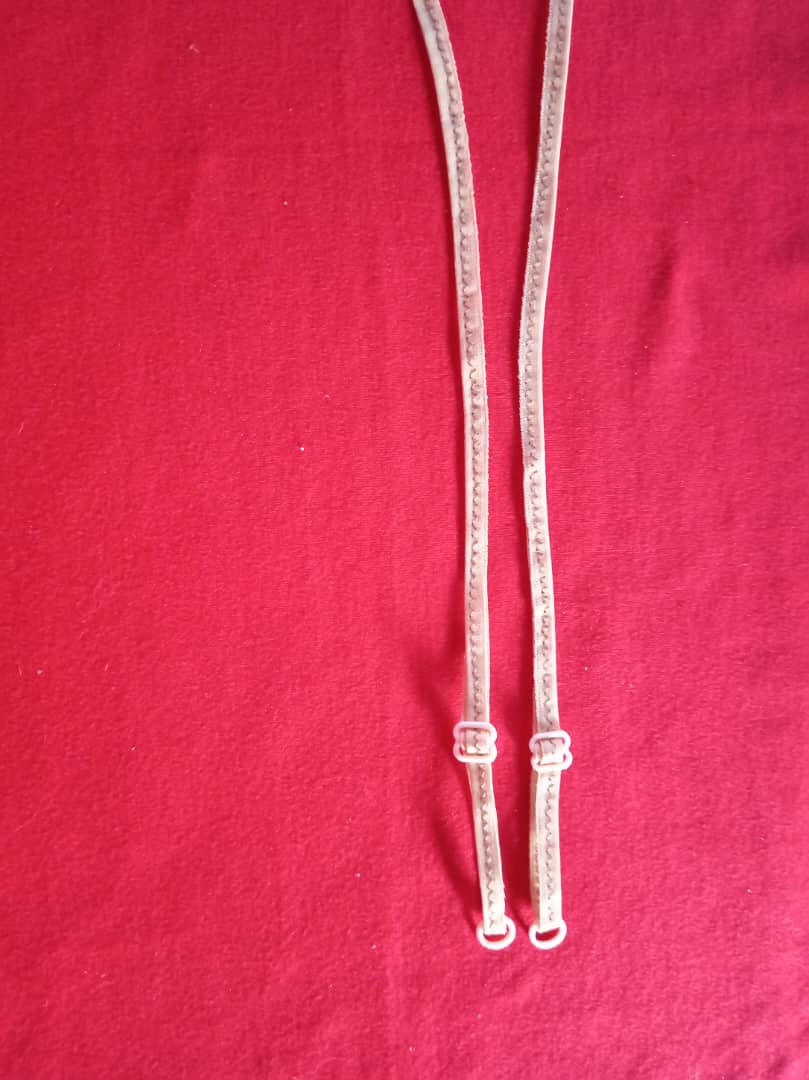
En una de estas tiras de cintura, coloca los aros y el tensor, siguiendo el mismo procedimiento que utilizas para armar las tiras de un brasier.
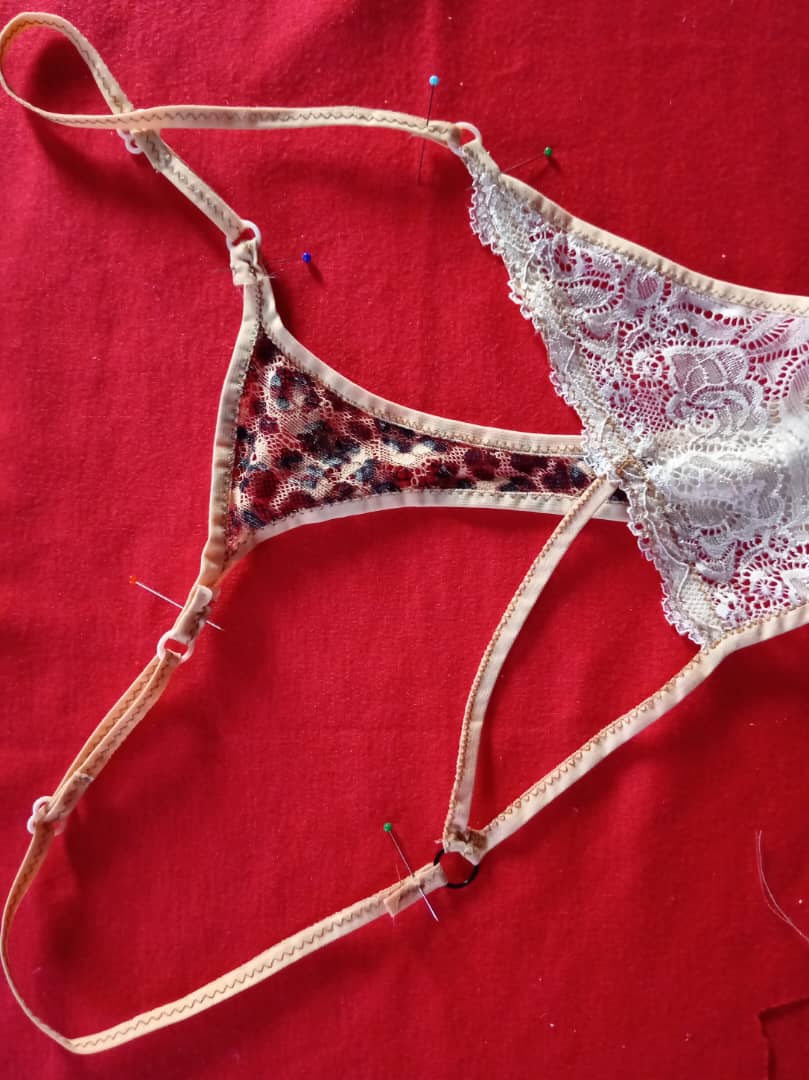
Finalmente, une las tiras de la cintura a la parte trasera. Utiliza los aros para conectar todas las piezas de forma segura.
---

---
---

---
¡Y listo! tendremos finalizado el último proyecto de este trío de tangas.
Como ven, es un proyecto sencillo de elaborar, y lo que más me gusta , es que a partir de un molde pudimos crear tres diseños diferentes.
Gracias por llegar hasta aquí, que tengan un feliz día y noche.

Hello again! Happy start to the week, Hive friends.
If you enjoyed the previous two models, you're going to love this third version of the thong. Every week, I've been uploading a different thong model, based on the same model, and this time, we're going to play with asymmetrical cuts and the use of rings to give it a new design.
For this piece, we'll maintain elegance by using stretch lace or embroidered tulle, and we'll combine it with a contrasting color on the back with an animal print pattern. Let's not waste any time and take a look at the materials.
- - -

- - -
- Elastic lace or tulle.
- Elastic bias tape.
- Flat elastic.
- Cotton jersey (for the crotch or reinforcement).
- Three small 8mm rings.
- One medium 10mm ring.
- Two 8mm tensioners.
- Patterns.

- - -

- - -
To begin, cut out the pieces for your pattern. To create contrast, cut the front piece in lace (or embroidered tulle) and the back and crotch in a matching color or material. Then take the front piece and mark the center. From that midpoint, measure and mark a distance, and add 3 cm to that measurement (for example, if you measured 15 cm, the final mark will be 18 cm).
- - -


- - -
Then, with the elastic bias, prepare a strip.
---


---
Pin the bias tape you just made onto the mark on the front, placing it diagonally. Next, sew the flat elastic onto the wrong side of the lace (underneath the waves or “berries”) and also onto the bias tape you just pinned. Use a zigzag stitch.
- - -


- - -
Join the crotch (cotton jersey and tulle back) and the back of the thong. Make sure the seams are well hidden.
- - -


---
Measure the remaining side of the front. Add 3 cm to that measurement (9 cm plus 3 cm equals 12 cm) and cut the bias tape to this measurement.
Take the two side bias strips (the diagonal one you already sewed and the 12 cm one you just cut). Insert a small ring through both strips and sew firmly to join and secure the ring.
- - -

- - -
Elasticize the opposite side of the thong (where you did not place the diagonal strip). Leave a small 3 cm tail of elastic bias tape unsewn at the beginning and continue elasticizing the entire back, overlapping and sewing the elastic bias tape.
- - -


- - -
Cut two bias strips for the waistband according to size:
Size S: 34 cm each
Size M: 36 cm each (we will use this measurement as an example)
Size L: 38 cm each
Size XL: 40 cm each
On one of these waist strips, attach the underwires and the tensioner, following the same procedure you use to assemble the straps of a bra.
Finally, attach the waist strips to the back. Use the underwires to connect all the pieces securely.
---


---


---


---
And that's it! We've finished the last project in this trio of thongs.
As you can see, it's a simple project to make, and what I like most is that we were able to create three different designs from one pattern.
Thank you for reading, have a happy day and night.
Fotos tomadas de mi teléfono Xiaomi Redmi Note 11 Pro y mi teléfono Honor X8a || Photos taken from my Xiaomi Redmi Note 11 Pro phone and from my Honor X8a phone.