

¡Hola, queridos amigos de Hive! ¿Listos para un nuevo proyecto?
Hoy, te quiero compartir el paso a paso en la creación de una prenda íntima tan hermosa como cómoda. Con un toque de encaje con estampado en Animal Print y la ligereza y comodidad del tul licrado, aprenderás a hacer una tanga muy cómoda y bonita.
Antes de comenzar con el tutorial, dejaré para ustedes el link donde podrán conseguir los moldes y patrones con tallas específicas para la creación de la misma. Solo debes dar clic [AQUÍ](https://drive.google.com/file/d/1vGgbaIaqP-mrzG7u0P6j__p6aTueObPL/view?usp=sharing)
Ahora sí, sin más, ¡Manos a la obra!
---

- - -
- Encaje elástico de 18 o 20 cm de ancho
- Tul licrado o elástico
- Sesgo licrado
- Argolla
- Tensores
- Tira de brasier
- Algodón Jersey
- - -

Como primer paso, comienza cortando cada una de las partes de la tanga según el patrón que les indique en la parte anterior.
Luego, se pasa un overlock o puntada de orillo a la pieza de la entrepierna, que debe ser de algodón Jersey.
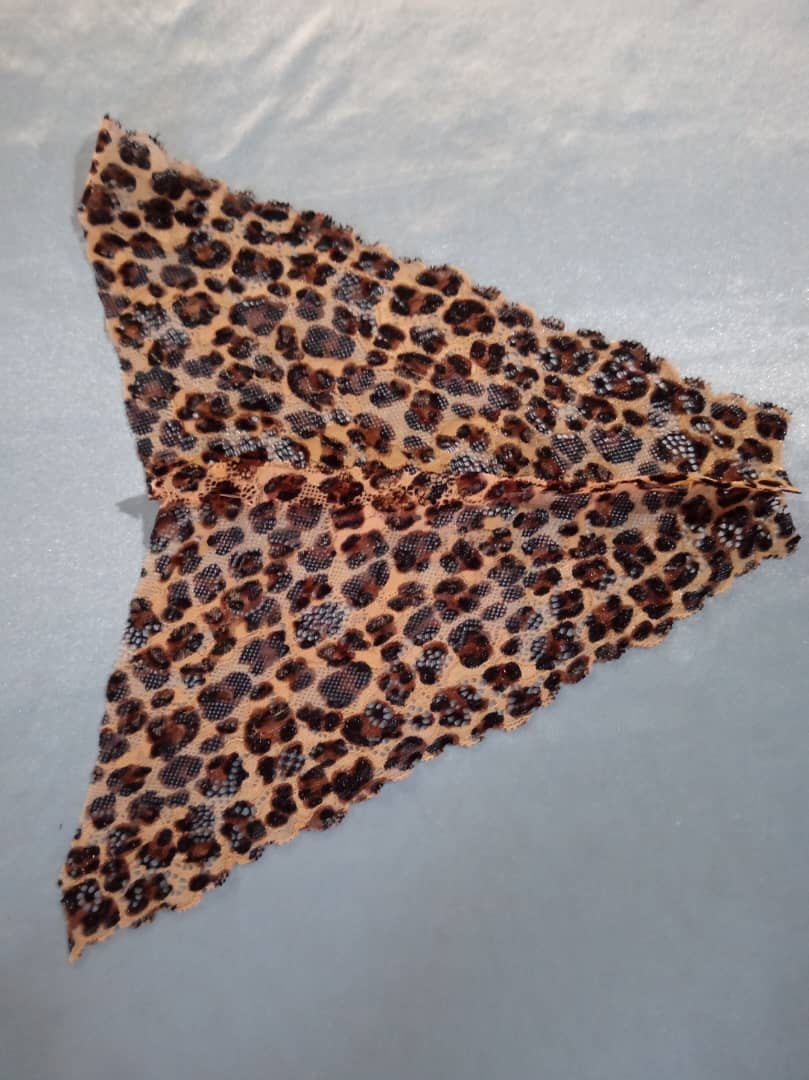
Por su parte, la parte trasera de la tanga se corta de manera que las ondas del encaje queden hacia la zona de la pierna, creando un acabado decorativo
- - -

---
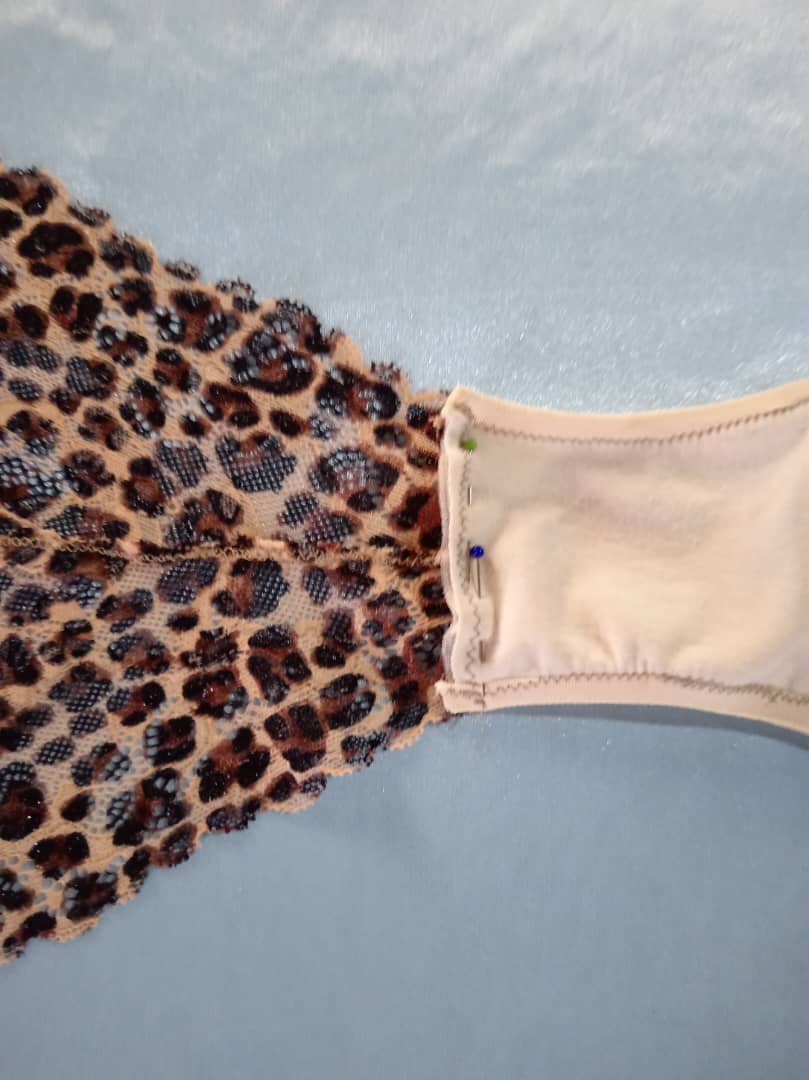
Procedemos a unir la entrepierna con la parte delantera usando alfileres. Luego, debes colocar el triángulo de aplique a cada lado de la parte delantera, asegurándote de que las ondas del encaje decorativo siempre queden visibles.
- - -

- - -
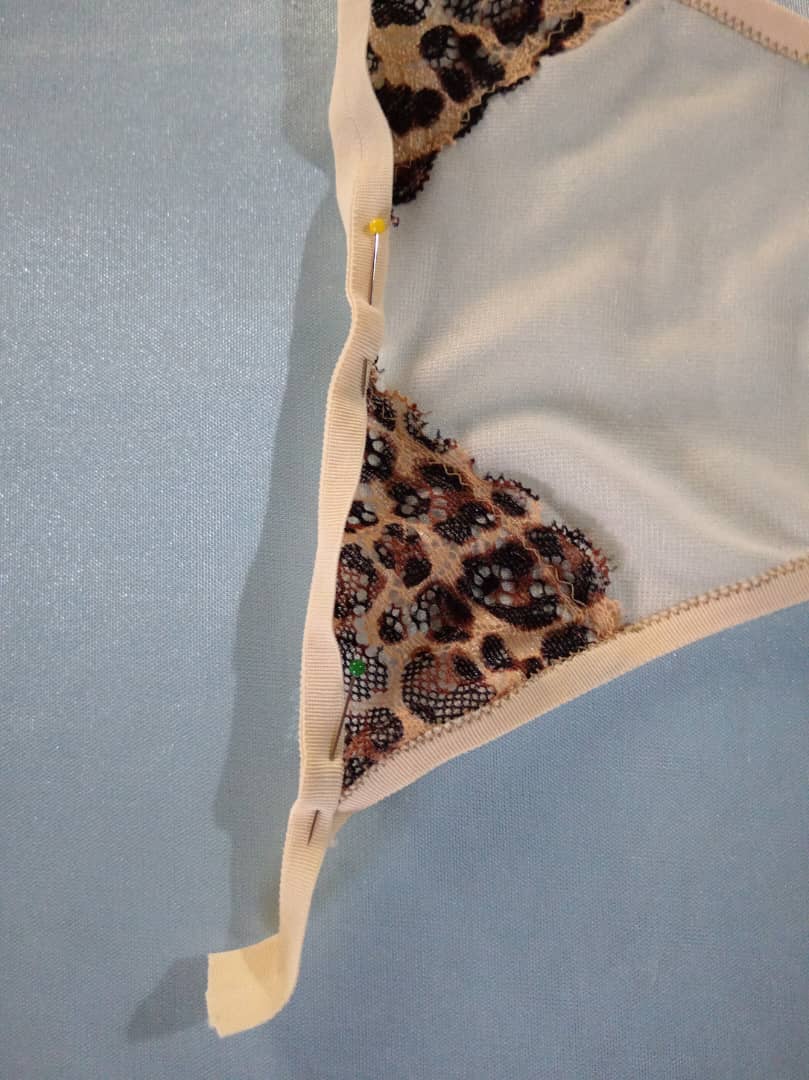
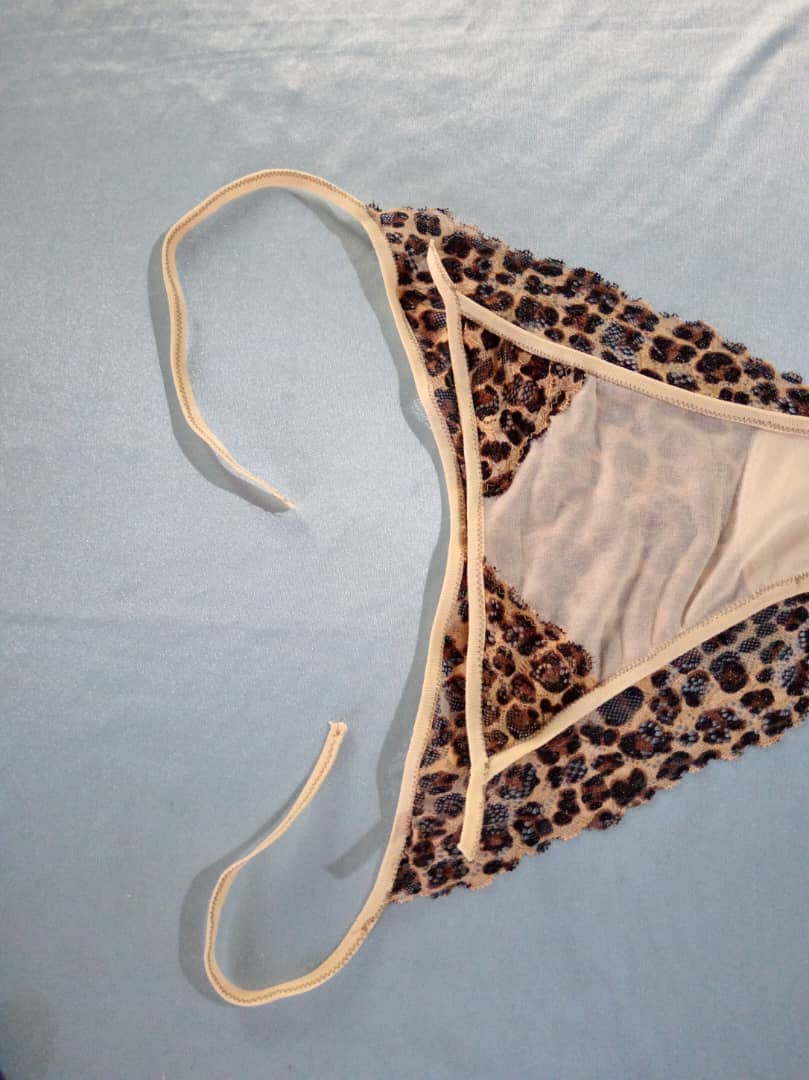
Cose el sesgo elástico en la parte delantera de la entrepierna y la cintura. Estira solo medio centímetro para que no se deforme. En esta parte, deja una "cola" de 3 cm de sesgo sin coser, que servirá para colocar la argolla.
- - -
- - -
Continuamos uniendo la parte trasera a la parte delantera de la prenda, teniendo mucho cuidado de que las ondas del encaje de ambas partes queden perfectamente alineadas.
Cortamos una tira de sesgo de 20 cm para la talla M (18 cm para la talla S y 22 cm para la talla L).
Después de los 20 cm de la tira de sesgo, se coloca la parte trasera y se cose, estirando muy poco. Al terminar de coser esa unión, dejamos la otra parte de la tira (20 cm) libre.
- - -
- - -
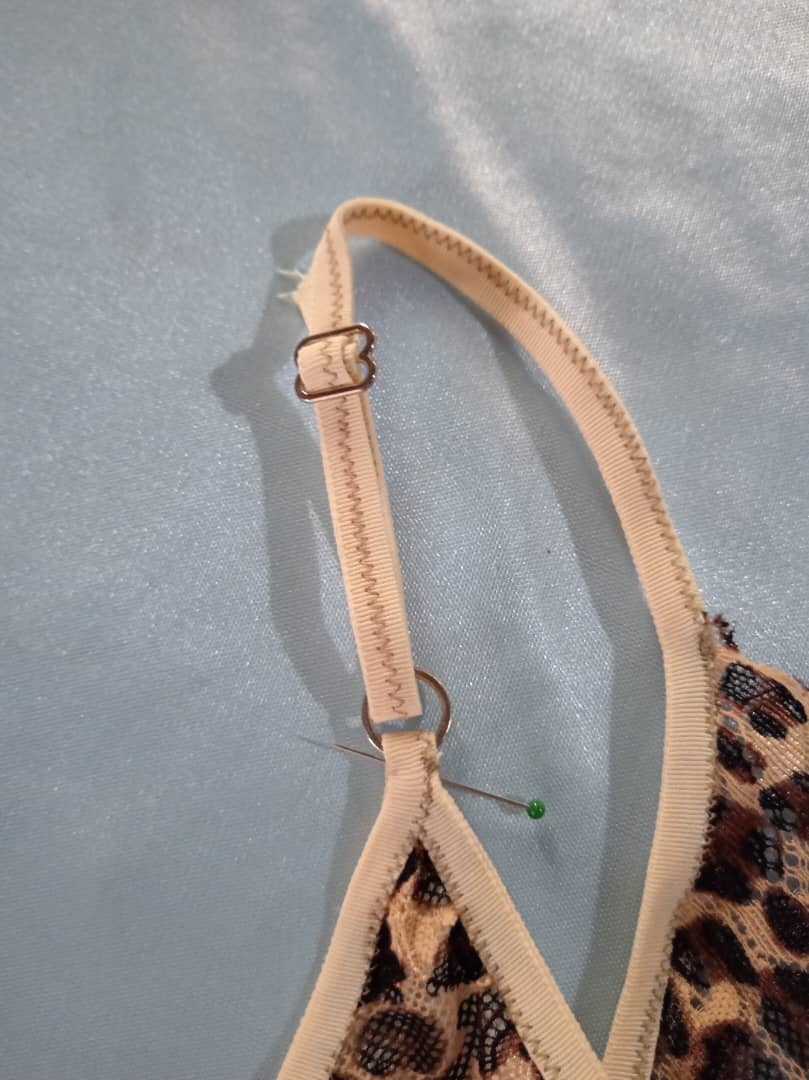
Finalmente, introducimos la argolla o "8" como si fuera una tira de brasier. Esta argolla se unirá al aro que está en la parte delantera de la prenda.
La finalidad de la tira de brasier y la argolla es hacer que la cintura sea completamente adaptable y ajustable a tu medida.
- - -
- - -
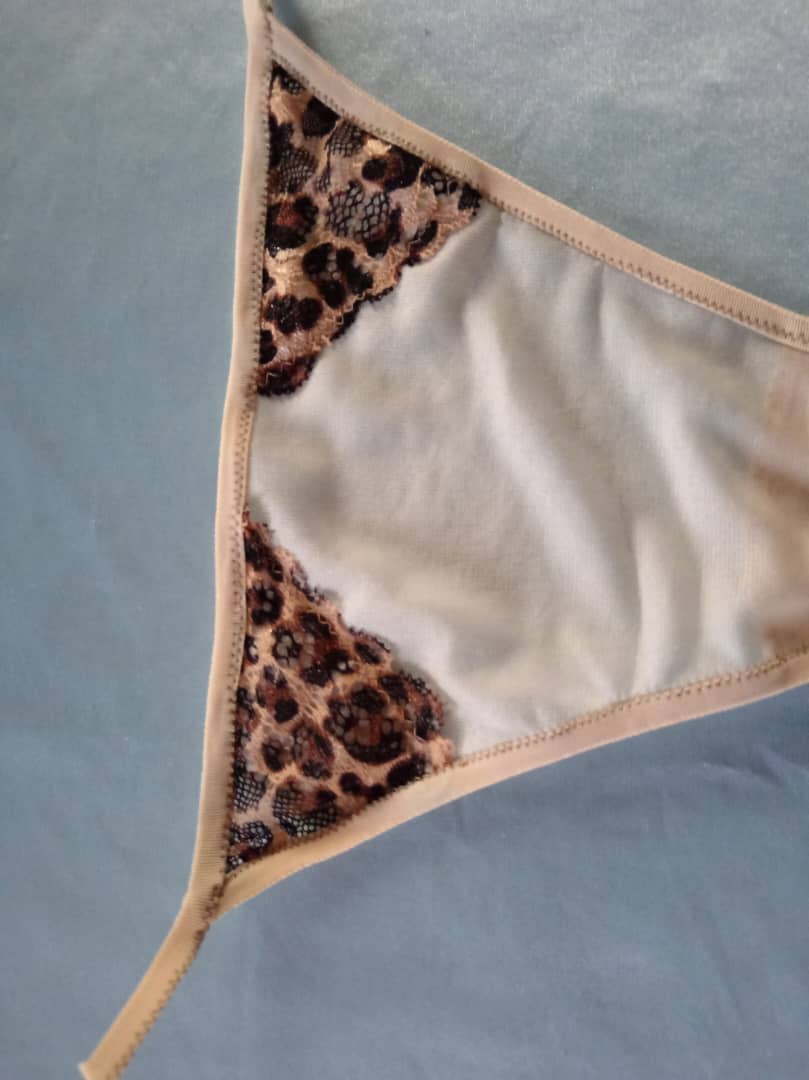
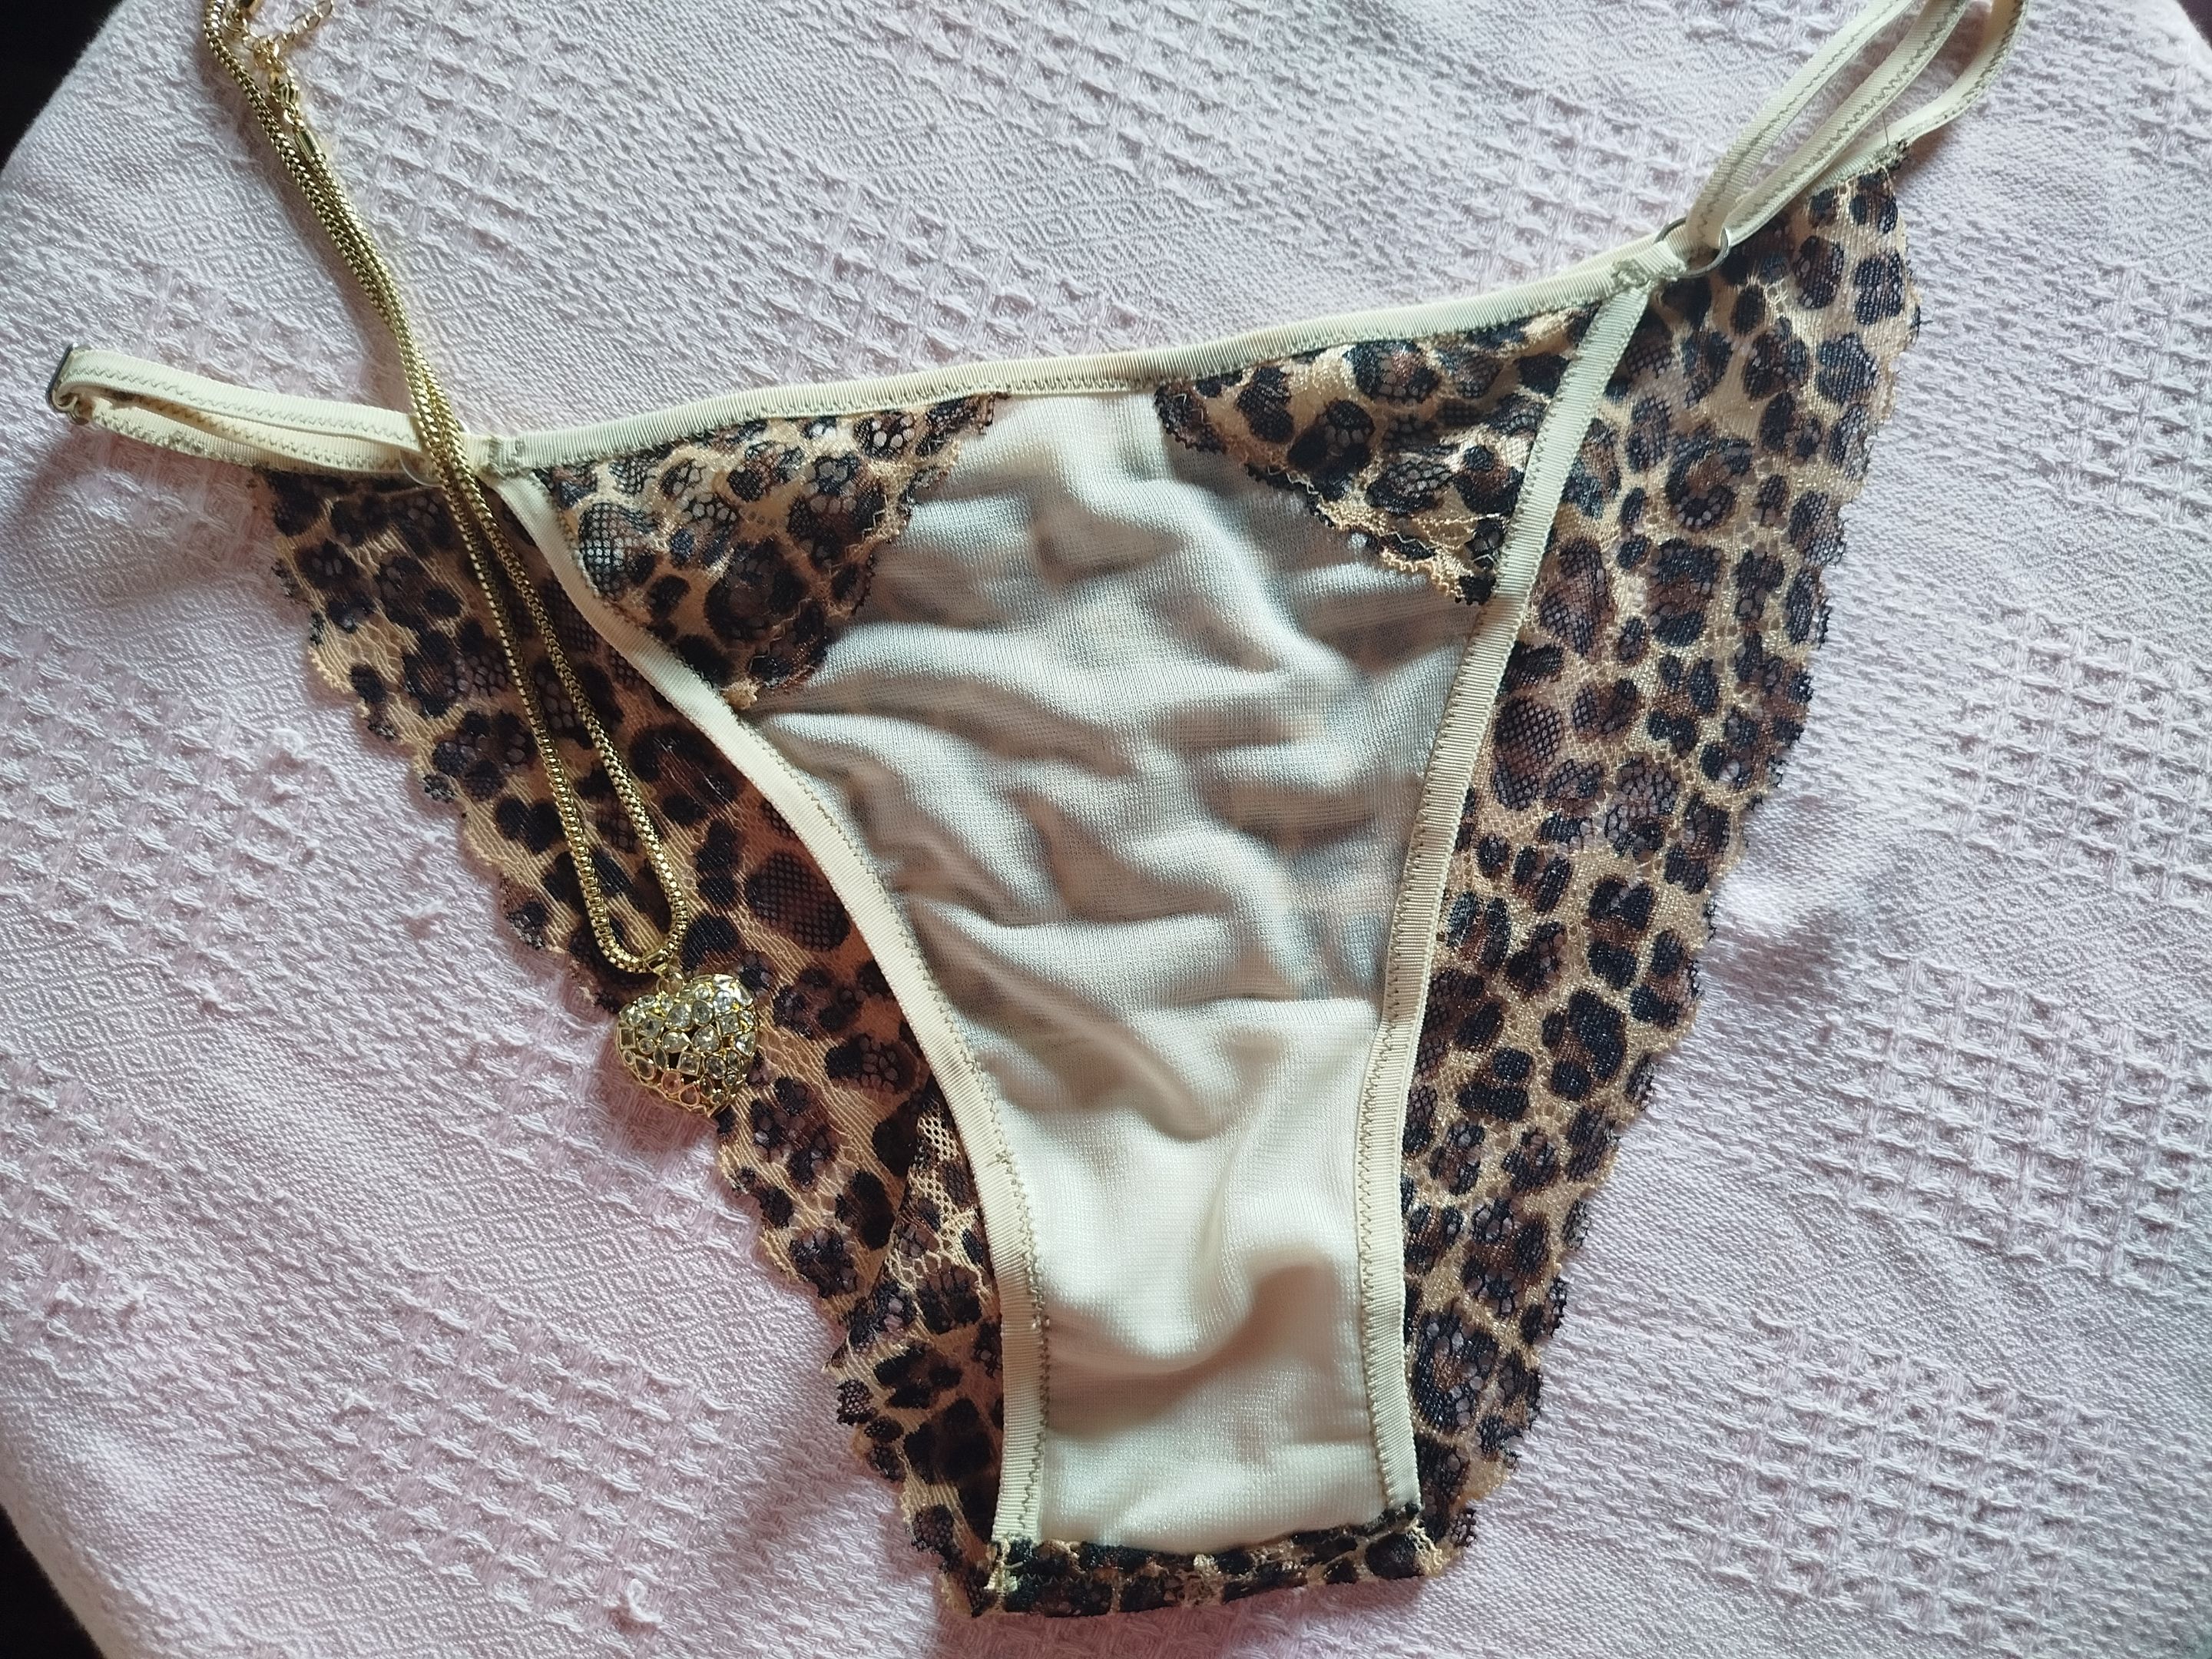
Y con esto ya tendremos lista la prenda.
Espero que este tutorial te haya sido de gran ayuda. Con un poco de práctica, podrás crear prendas íntimas únicas y personalizadas.
¡Hasta el próximo tutorial de costura! Que tengan un feliz día y noche.
- - -

Hello, dear Hive friends! Ready for a new project?
Today, I want to share with you the step-by-step process of creating an intimate garment that is as beautiful as it is comfortable. With a touch of animal print lace and the lightness and comfort of lycra tulle, you will learn how to make a very comfortable and pretty thong.
Before starting the tutorial, I will leave you the link where you can get the patterns and templates with specific sizes for creating it. Just click [HERE](https://drive.google.com/file/d/1vGgbaIaqP-mrzG7u0P6j__p6aTueObPL/view?usp=sharing)
Now, without further ado, let's get started!
---

- - -
- Elastic lace, 18 or 20 cm wide
- Lycra or elastic tulle
- Lycra bias tape
- Ring
- Tensioners
- Bra strap
- Jersey cotton
- - -

As a first step, start by cutting each part of the thong according to the pattern shown above.
Then, apply an overlock or selvedge stitch to the crotch piece, which should be made of cotton jersey.
The back of the thong is cut so that the lace waves are toward the leg area, creating a decorative finish.
- - -
Fotos tomadas de mi teléfono Xiaomi Redmi Note 11 Pro y mi teléfono Honor X8a || Photos taken from my Xiaomi Redmi Note 11 Pro phone and from my Honor X8a phone.
[Fuente del editor de imágenes || Image editor source](https://www.canva.com/)
[Traductor || Translator](https://www.deepl.com/es/translator)


---
We proceed to join the crotch to the front using pins. Next, you should place the appliqué triangle on each side of the front, ensuring that the waves of the decorative lace remain visible.
- - -


- - -
Sew the elastic bias tape to the front of the crotch and waistband. Stretch it only half a centimeter so that it does not lose its shape. In this section, leave a 3 cm “tail” of bias tape unsewn, which will be used to attach the ring.
- - -


- - -
Continue joining the back to the front of the garment, taking great care to ensure that the lace waves on both sides are perfectly aligned.
Cut a 20 cm bias strip for size M (18 cm for size S and 22 cm for size L).
After the 20 cm bias strip, place the back and sew, stretching very slightly. When you have finished sewing that seam, leave the other part of the strip (20 cm) free.
- - -


- - -
Finally, insert the ring or “8” as if it were a bra strap. This ring will attach to the hoop at the front of the garment.
The purpose of the bra strap and ring is to make the waist completely adaptable and adjustable to your size.
- - -

- - -
And with that, the garment is ready.
I hope this tutorial has been helpful. With a little practice, you'll be able to create unique and personalized undergarments.
See you in the next sewing tutorial! Have a wonderful day and night.
---