
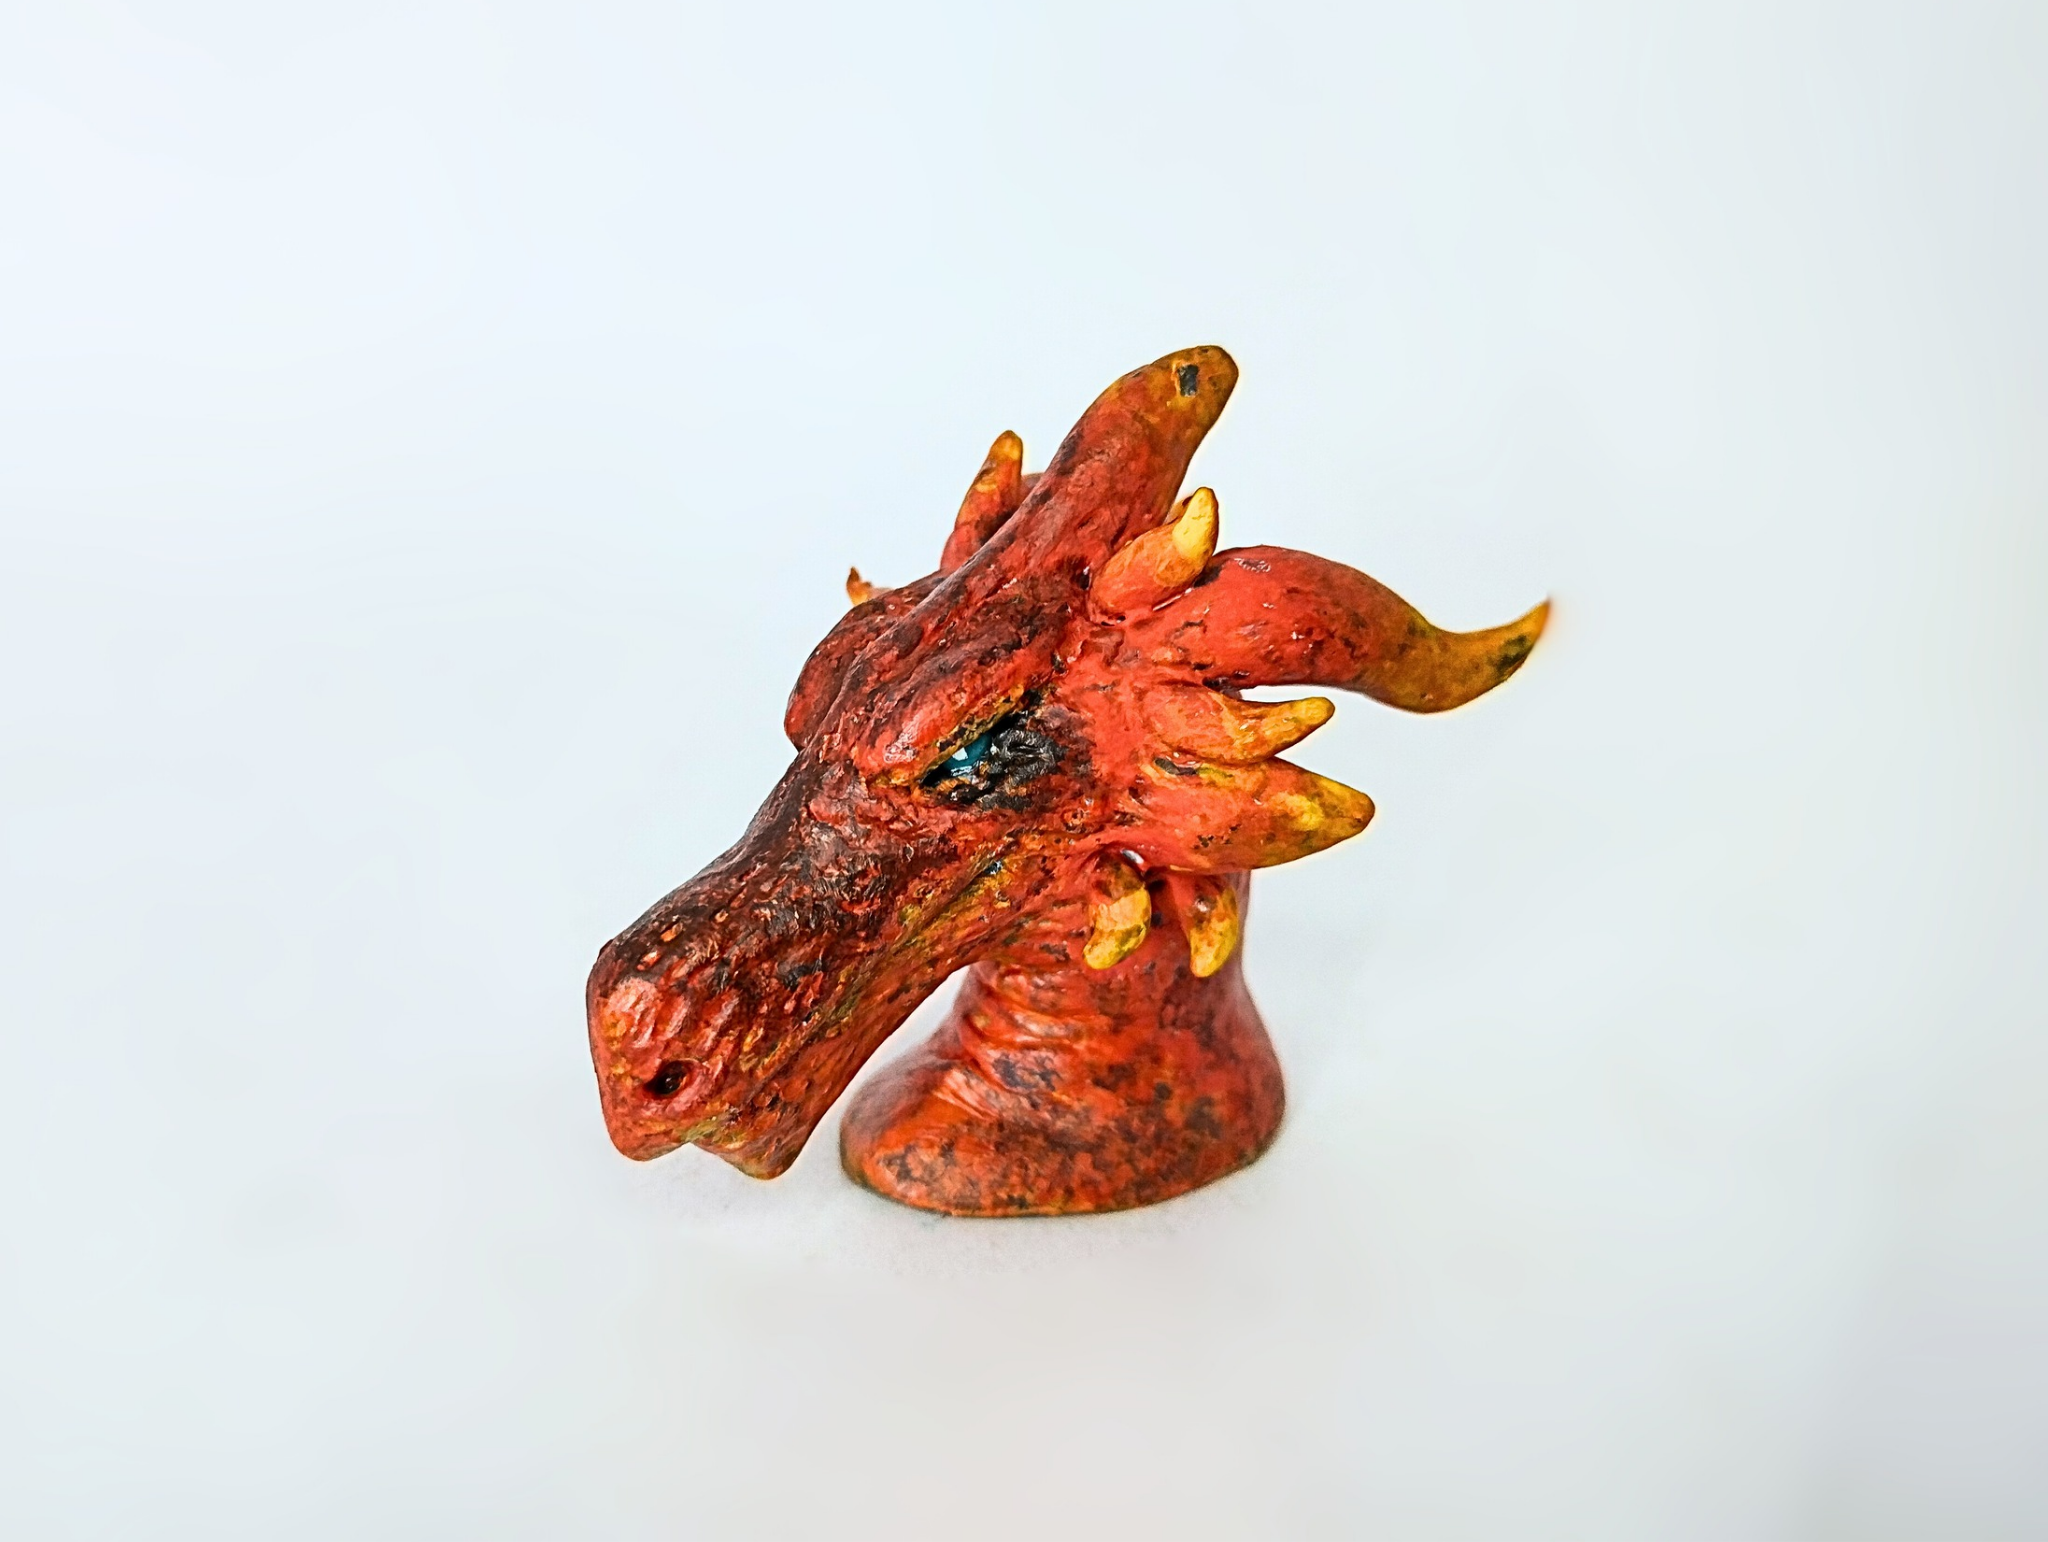
Greetings, friends. A little over 10 days ago, I shared with you a realistic sculpture of Tiderox. For some time now, I have been publishing these realistic sculptures of some dragons. I made three before presenting this one, so I would like to present this fourth sculpture of Emberox in a realistic style.
>># Español
>>Saludos amigos. Hace poco más de 10 días compartí con ustedes una escultura realista de Tiderox. Desde hace un tiempo he estado publicando estas esculturas realistas de algunos dragones. He hecho tres antes de presentar esta, así que me gustaría presentar esta cuarta escultura de Emberox en estilo realista.
# Step by step
The materials I used for this sculpture were modeling clay, glue, wire, and paint in various colors.
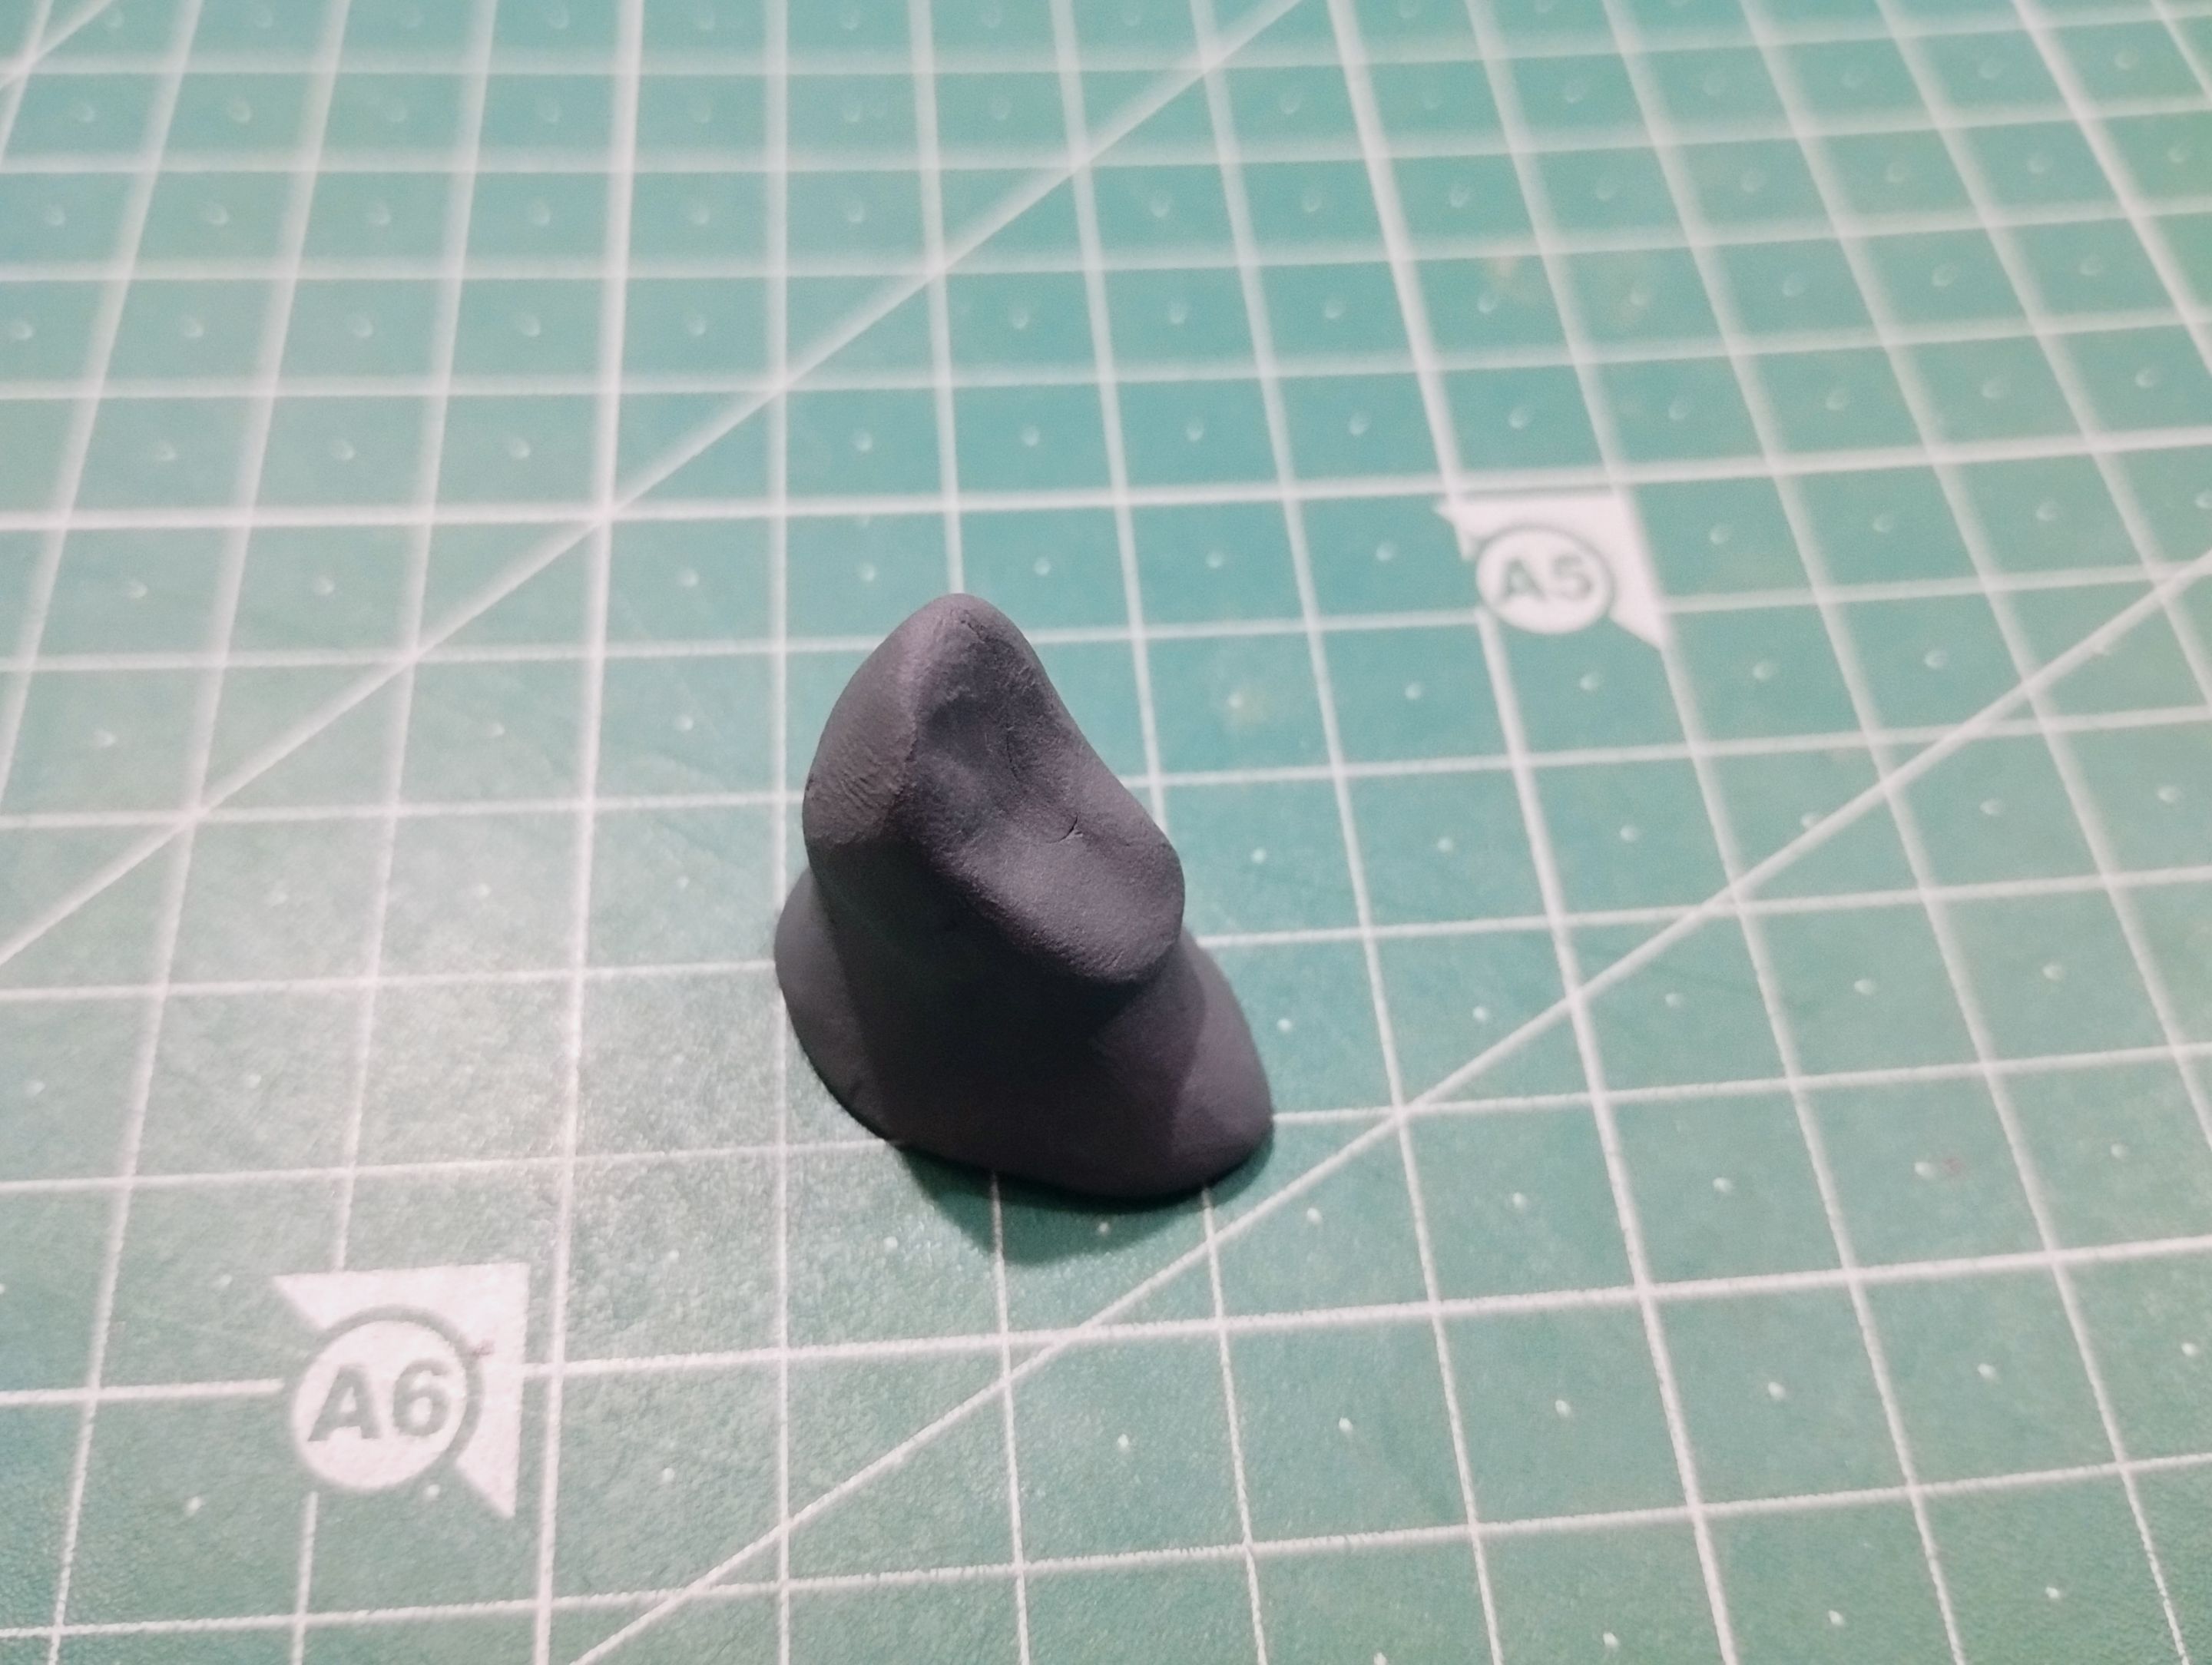
The first thing I did was make the neck. I'm making busts, so making a sturdy neck that serves as a base is essential for the figurine to look good.
>># Paso a paso
>>Los materiales que utilicé para esta escultura fueron plastilina, pegamento, alambre y pintura de diversos colores.
>>
>>Lo primero que hice fue hacer el cuello. Son bustos los que estoy haciendo, así que hacer un cuello firme, que sirva como base, es esencial para que la figurita quede bien.
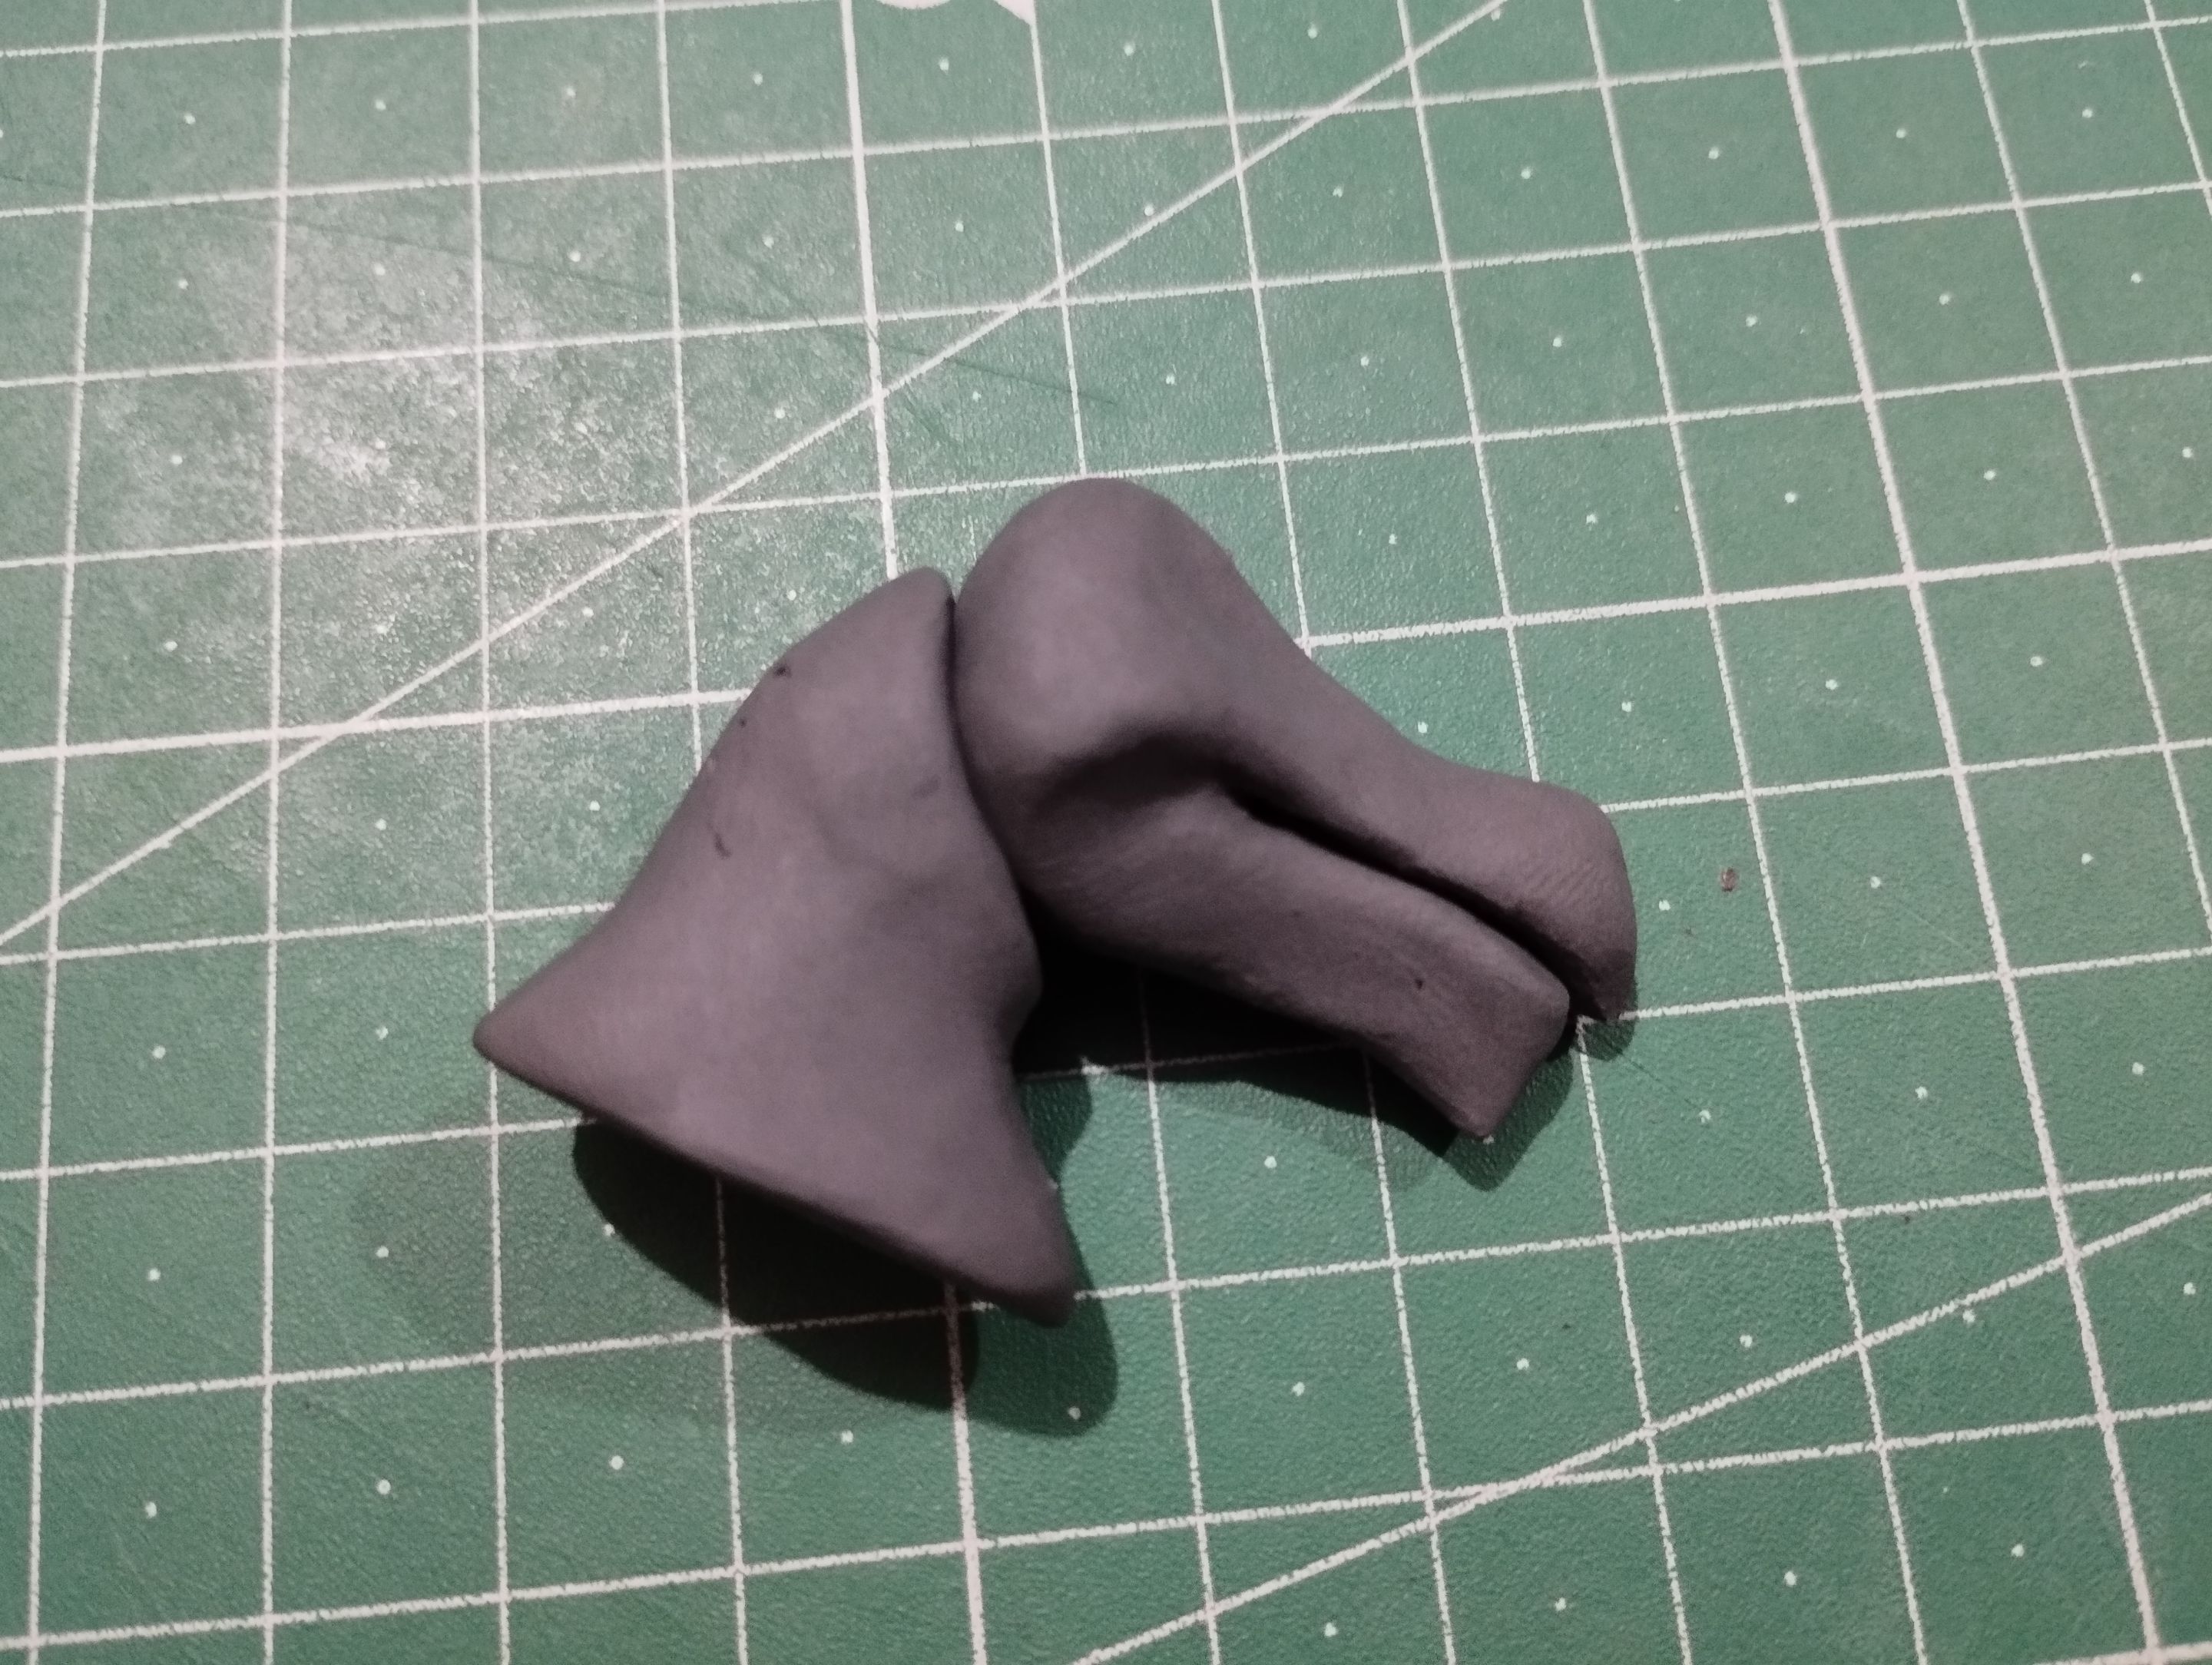
After making the neck, I continued with the head, these two pieces being separate. To give them support and hold them together, I used a small piece of wire that ran through both the neck and the head, thus providing good support for the entire sculpture.
If you look at the image below, the character's neck is thick, while the head is smaller and thinner.
>>Luego de hacer el cuello, continué con la cabeza, siendo estas dos piezas separadas. Para darles soporte y unión, usé un trocito de alambre que recorriera tanto el cuello como la cabeza, dando así un buen soporte a toda la escultura.
>>
>>Si se fijan en la imagen de abajo, el cuello del personaje es grueso, mientras que la cabeza es más pequeña y delgada.
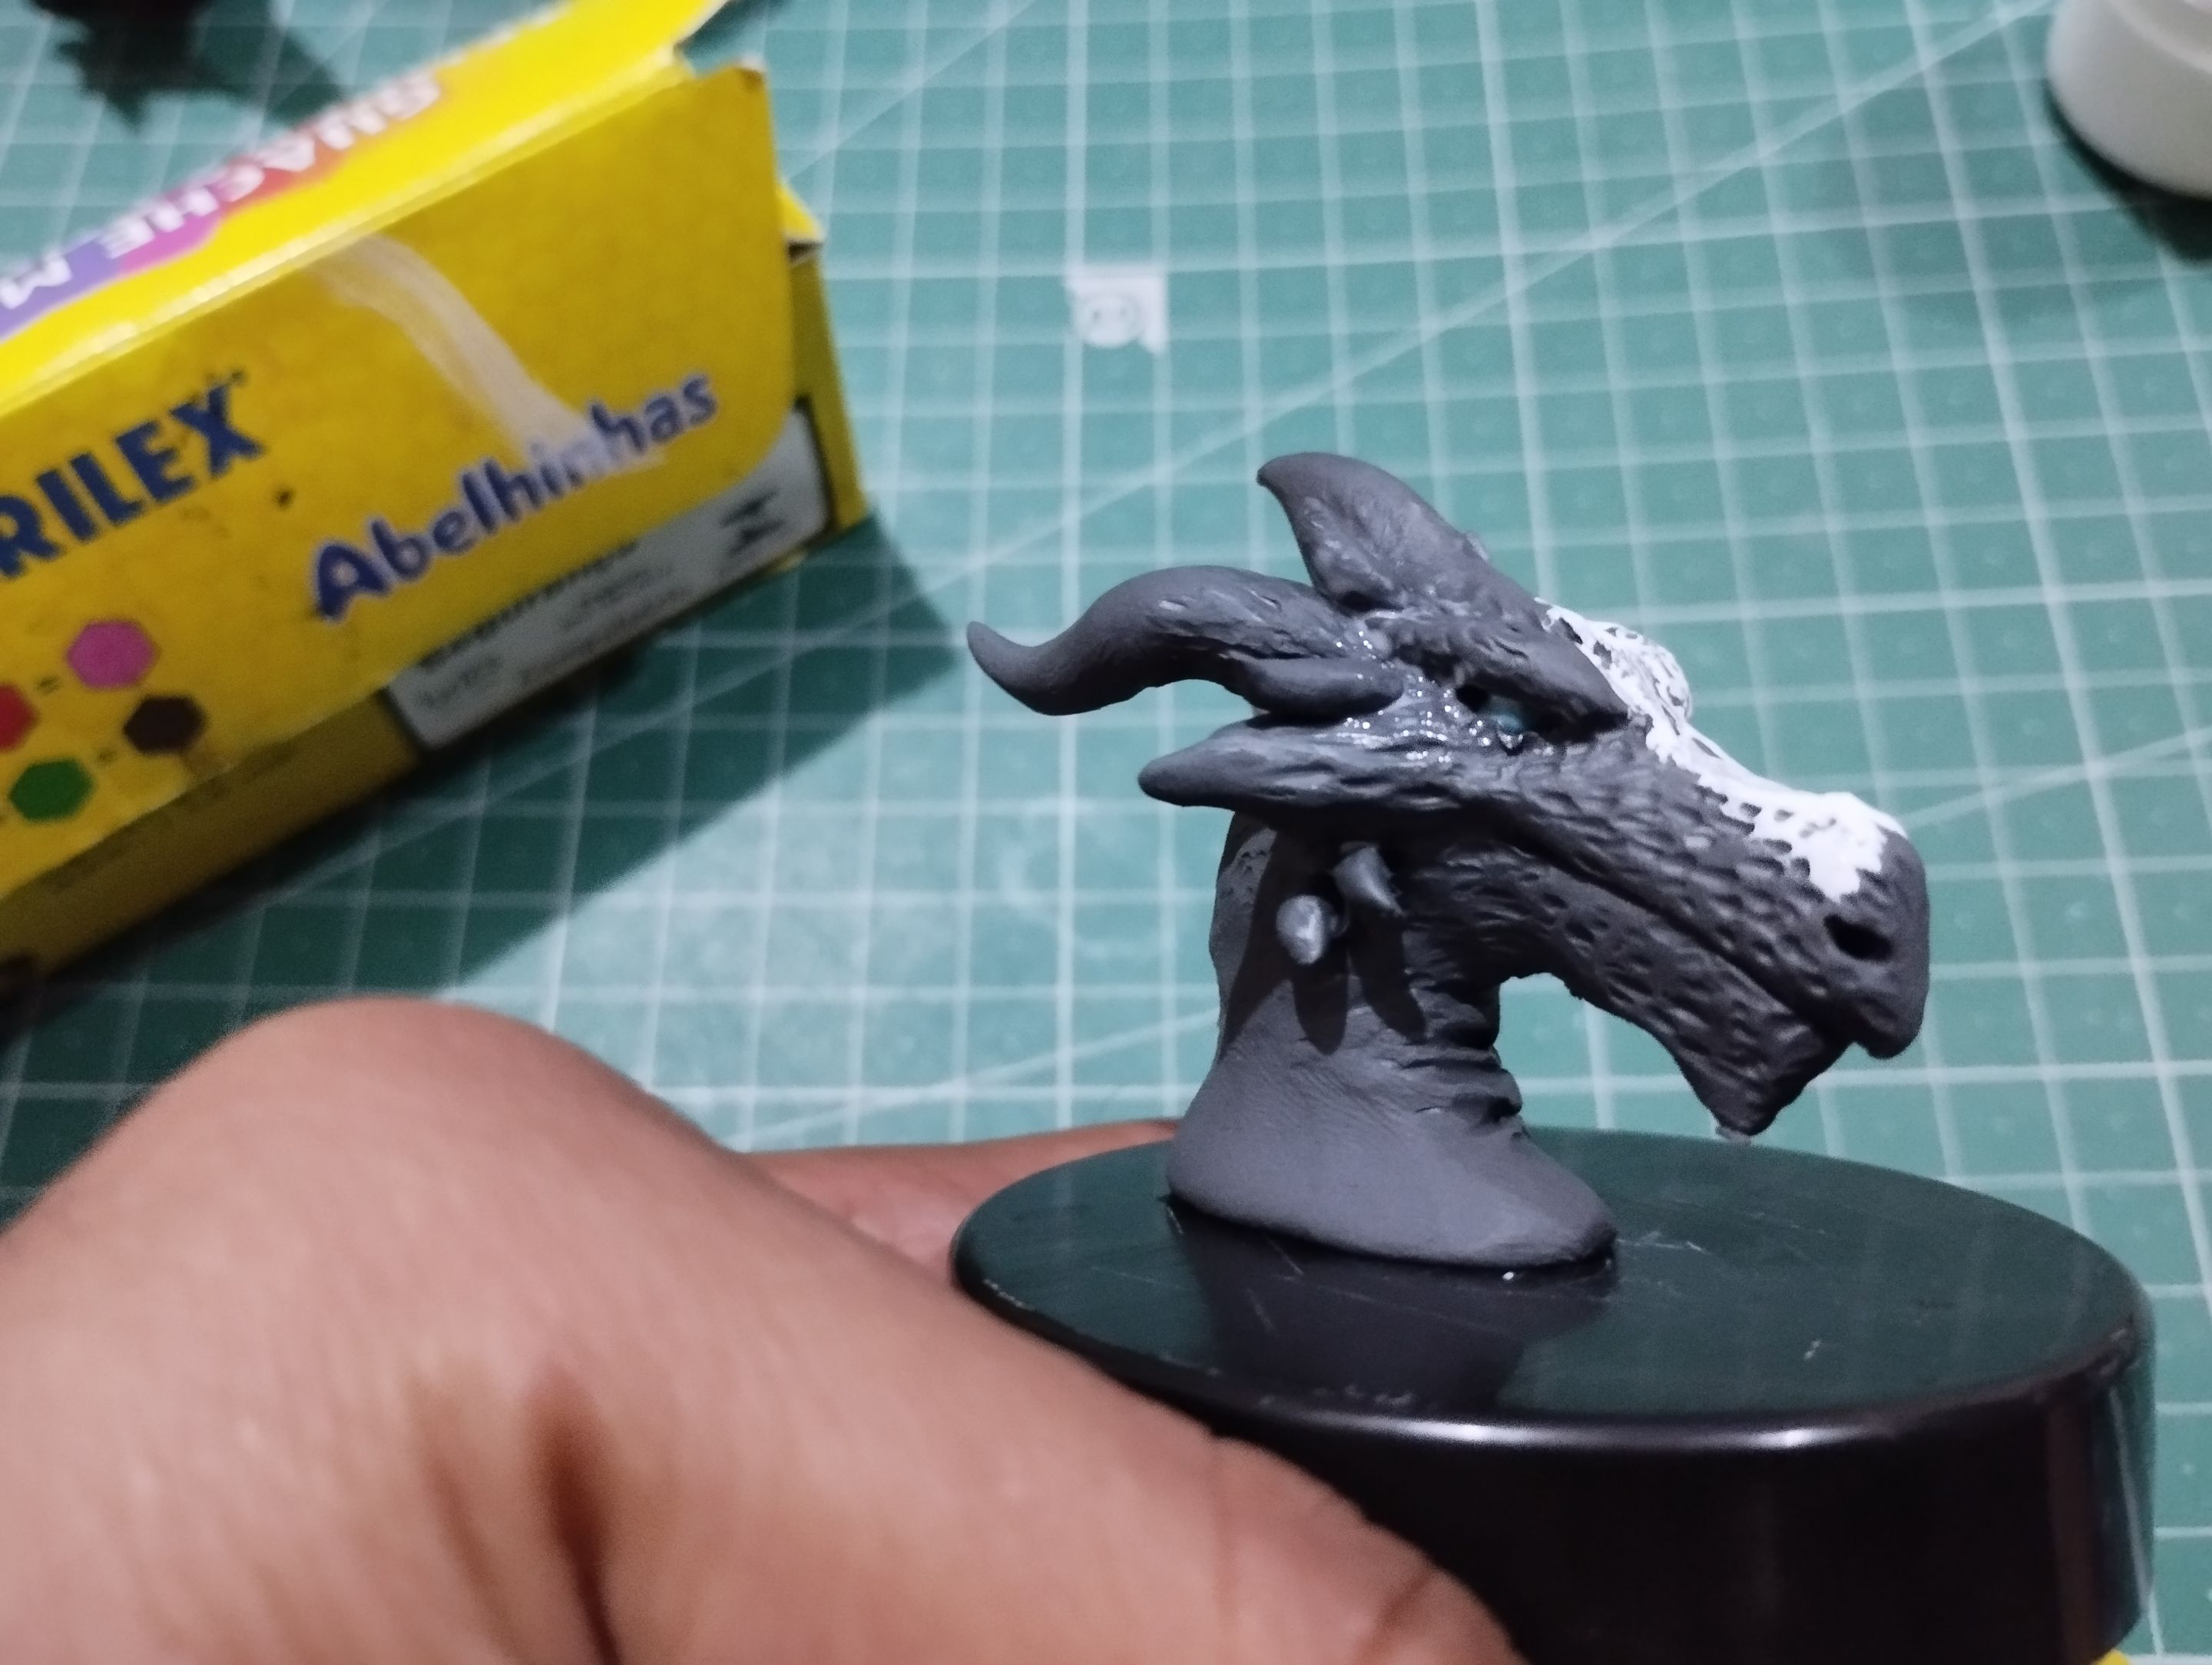
After defining the basic shape, I continued to mold the dragon's chest, adding a slightly thicker spine and further defining the thinness of the top of the skull and the front of the snout.
I also added the three horns on top and the two horn-like protrusions on both sides of the jaw.
>>Después de definir la forma base, continué moldeando el busto del dragón, agregando un lomo un poco más grueso y definiendo un poco más la delgadéz de la parte superior del cráneo y la parte delantera del hocico.
>>
>>También agregué los tres cuernos que tiene en la parte superior y las dos salientes, también similares a cuernos, que tiene en ambos lados de la quijada.

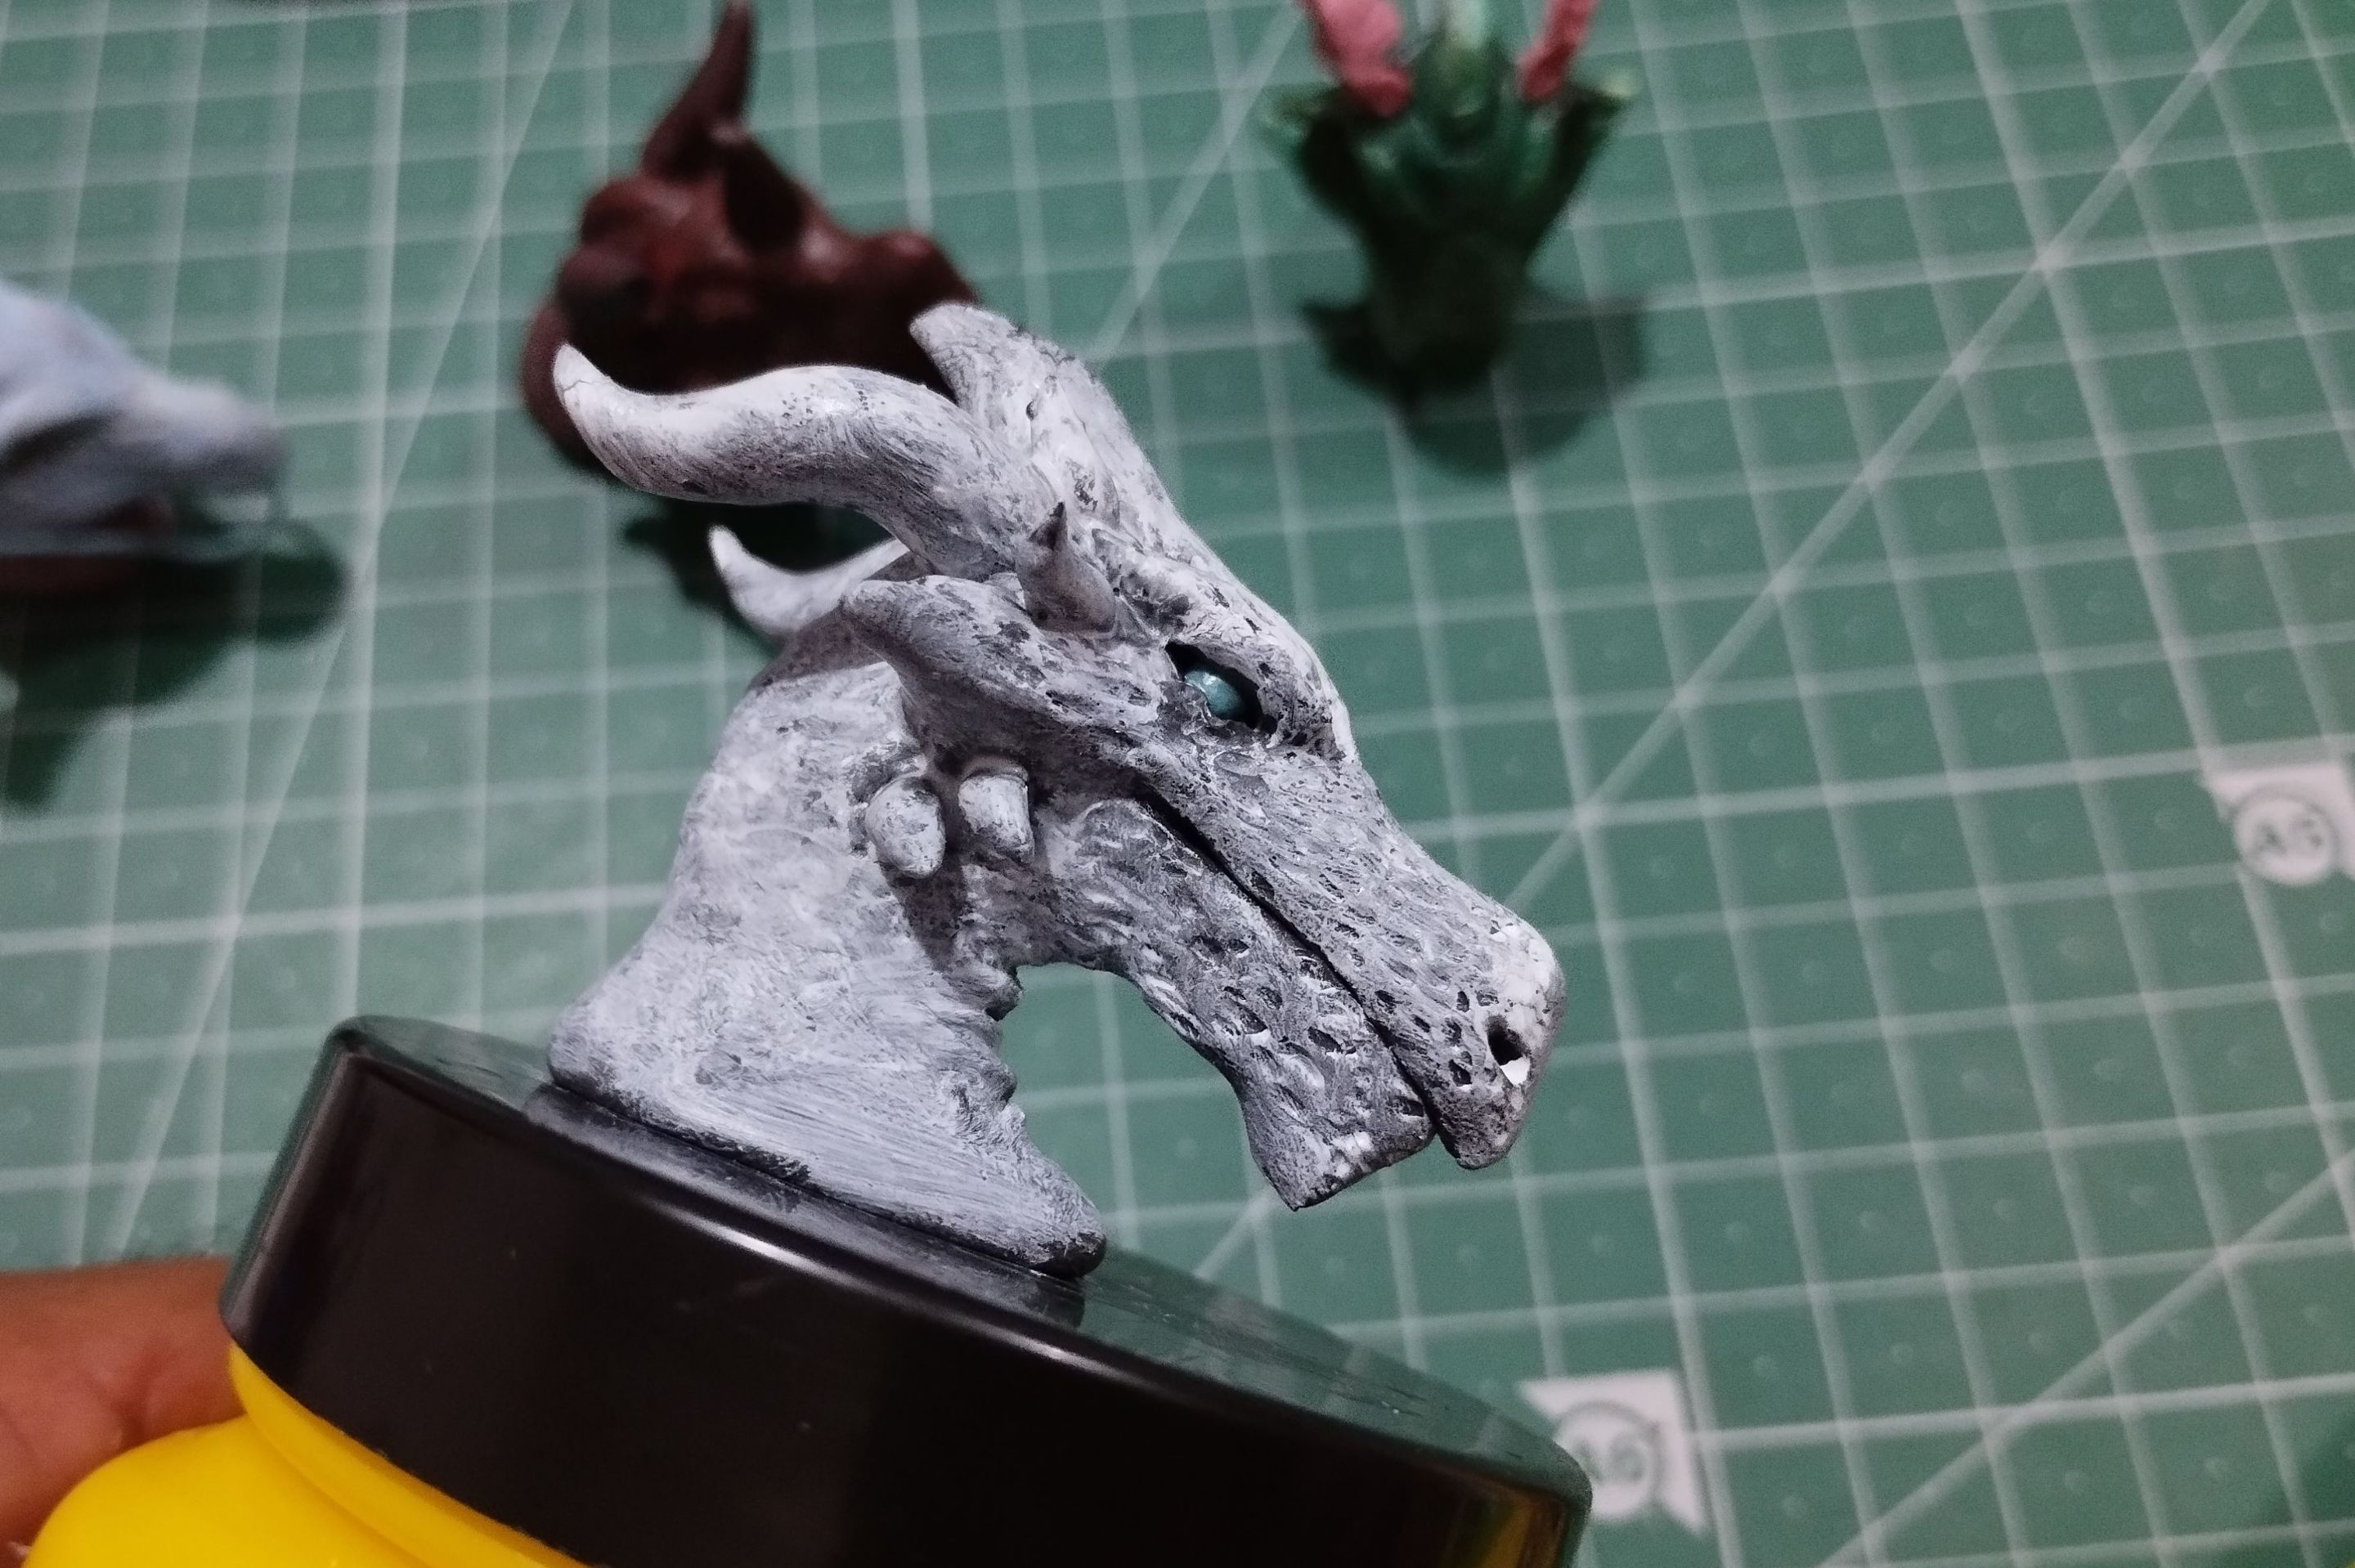
In the image above, you can see that I had already made the eye sockets. So, I took two small pieces of light blue modeling clay, made two spheres, and placed them in those sockets. Then, I used more black modeling clay to make the eyebrows for these eyes, to give this epic fire dragon an angry look.
>>En la imagen de arriba pueden observar que ya había hecho las cuencas de los ojos. Pues bien, tomé dos trocitos de plastilina azul clara, hice dos esferas y las coloqué en esas cuencas. Luego, usé más plastilina de color negro para hacer las cejas de estos ojos, para darle ese aspecto de enojado a este épico dragón de fuego.
As a base to begin the coloring process, I used a mixture of light gray, which would cover the dark color and provide a good base that would highlight the other shades of yellow, red, and orange.
>>Como base para para comenzar el proceso de coloreado, usé una mezcla de gris claro, el cual serviría para cubrír el color oscuro y dar una buena base que hará que resalte las otras tonalidades de amarillo, rojo y naranja.
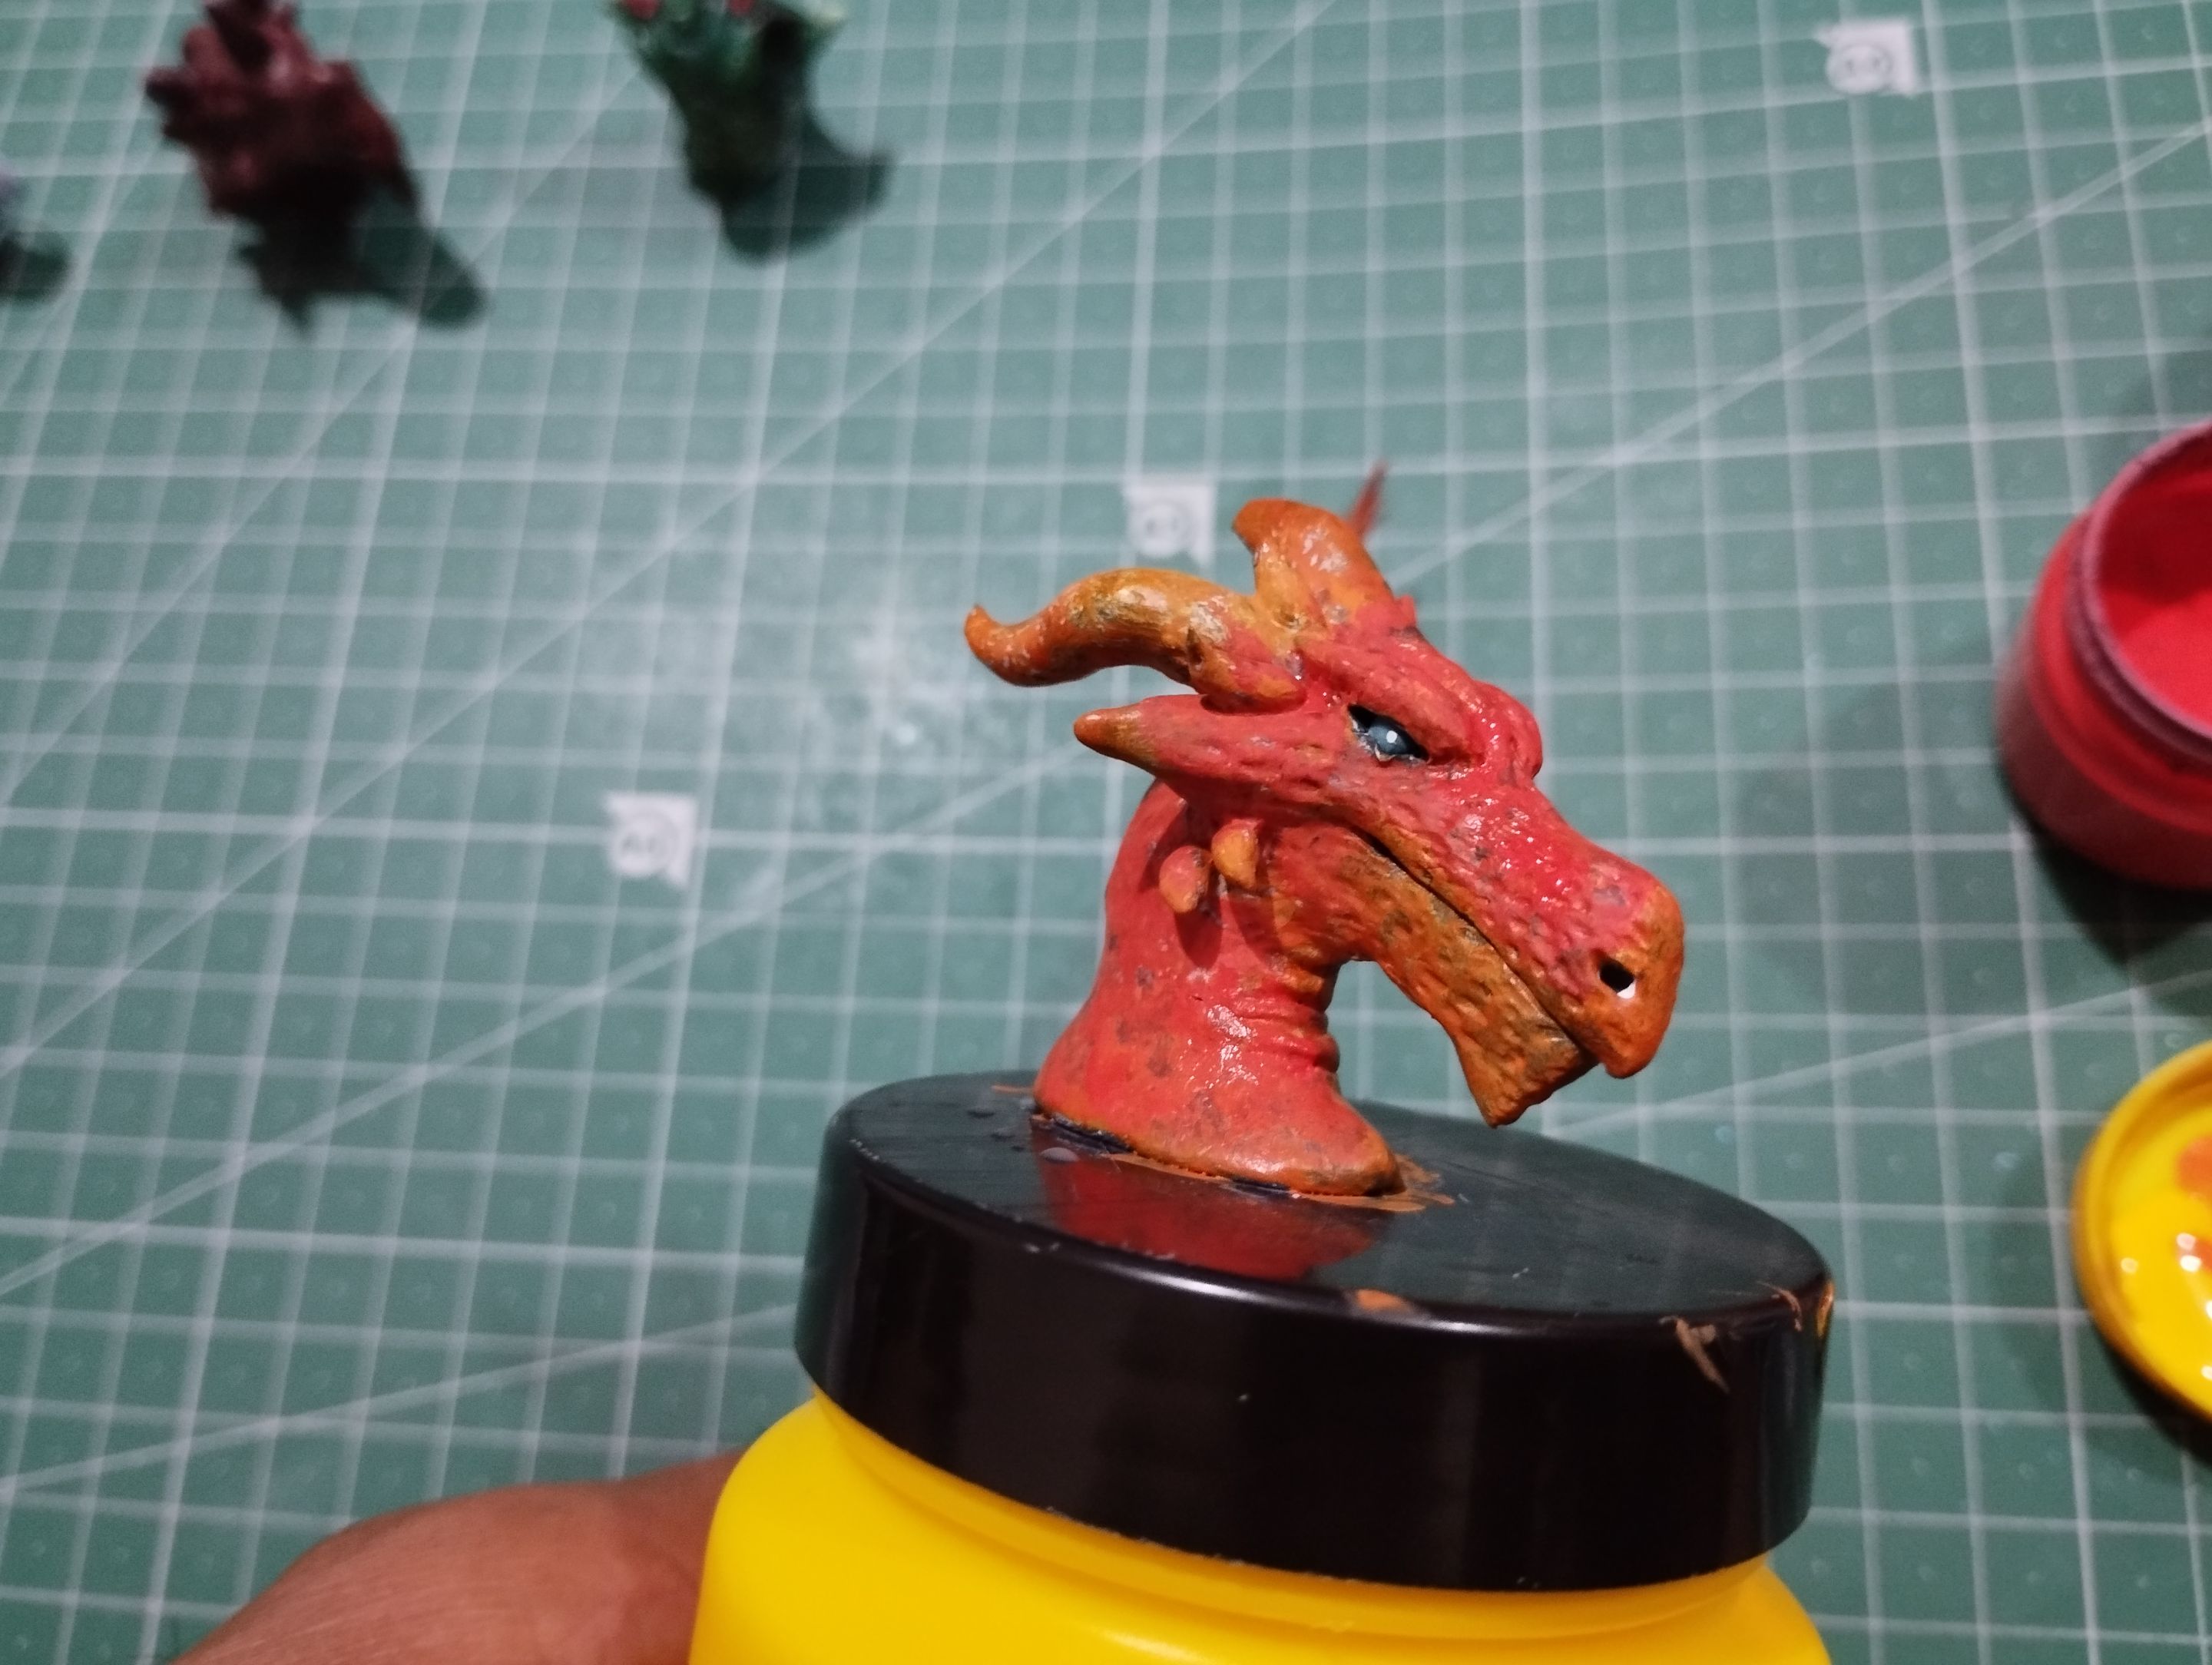
As you can see, I used different shades of these three colors on different parts of the character's body to give the sculpture a lot of color and depth, so that it wouldn't look like a flat piece, but would actually look like a realistic 3D piece.
>>Como pueden observar, usé distintas tonalidades de estos tres colores en distintas partes del cuerpo del personaje, para dar mucho color y profundidad en la escultura, para que no pareciera una pieza plana, sino que realmente pareciera una pieza en 3D realista.
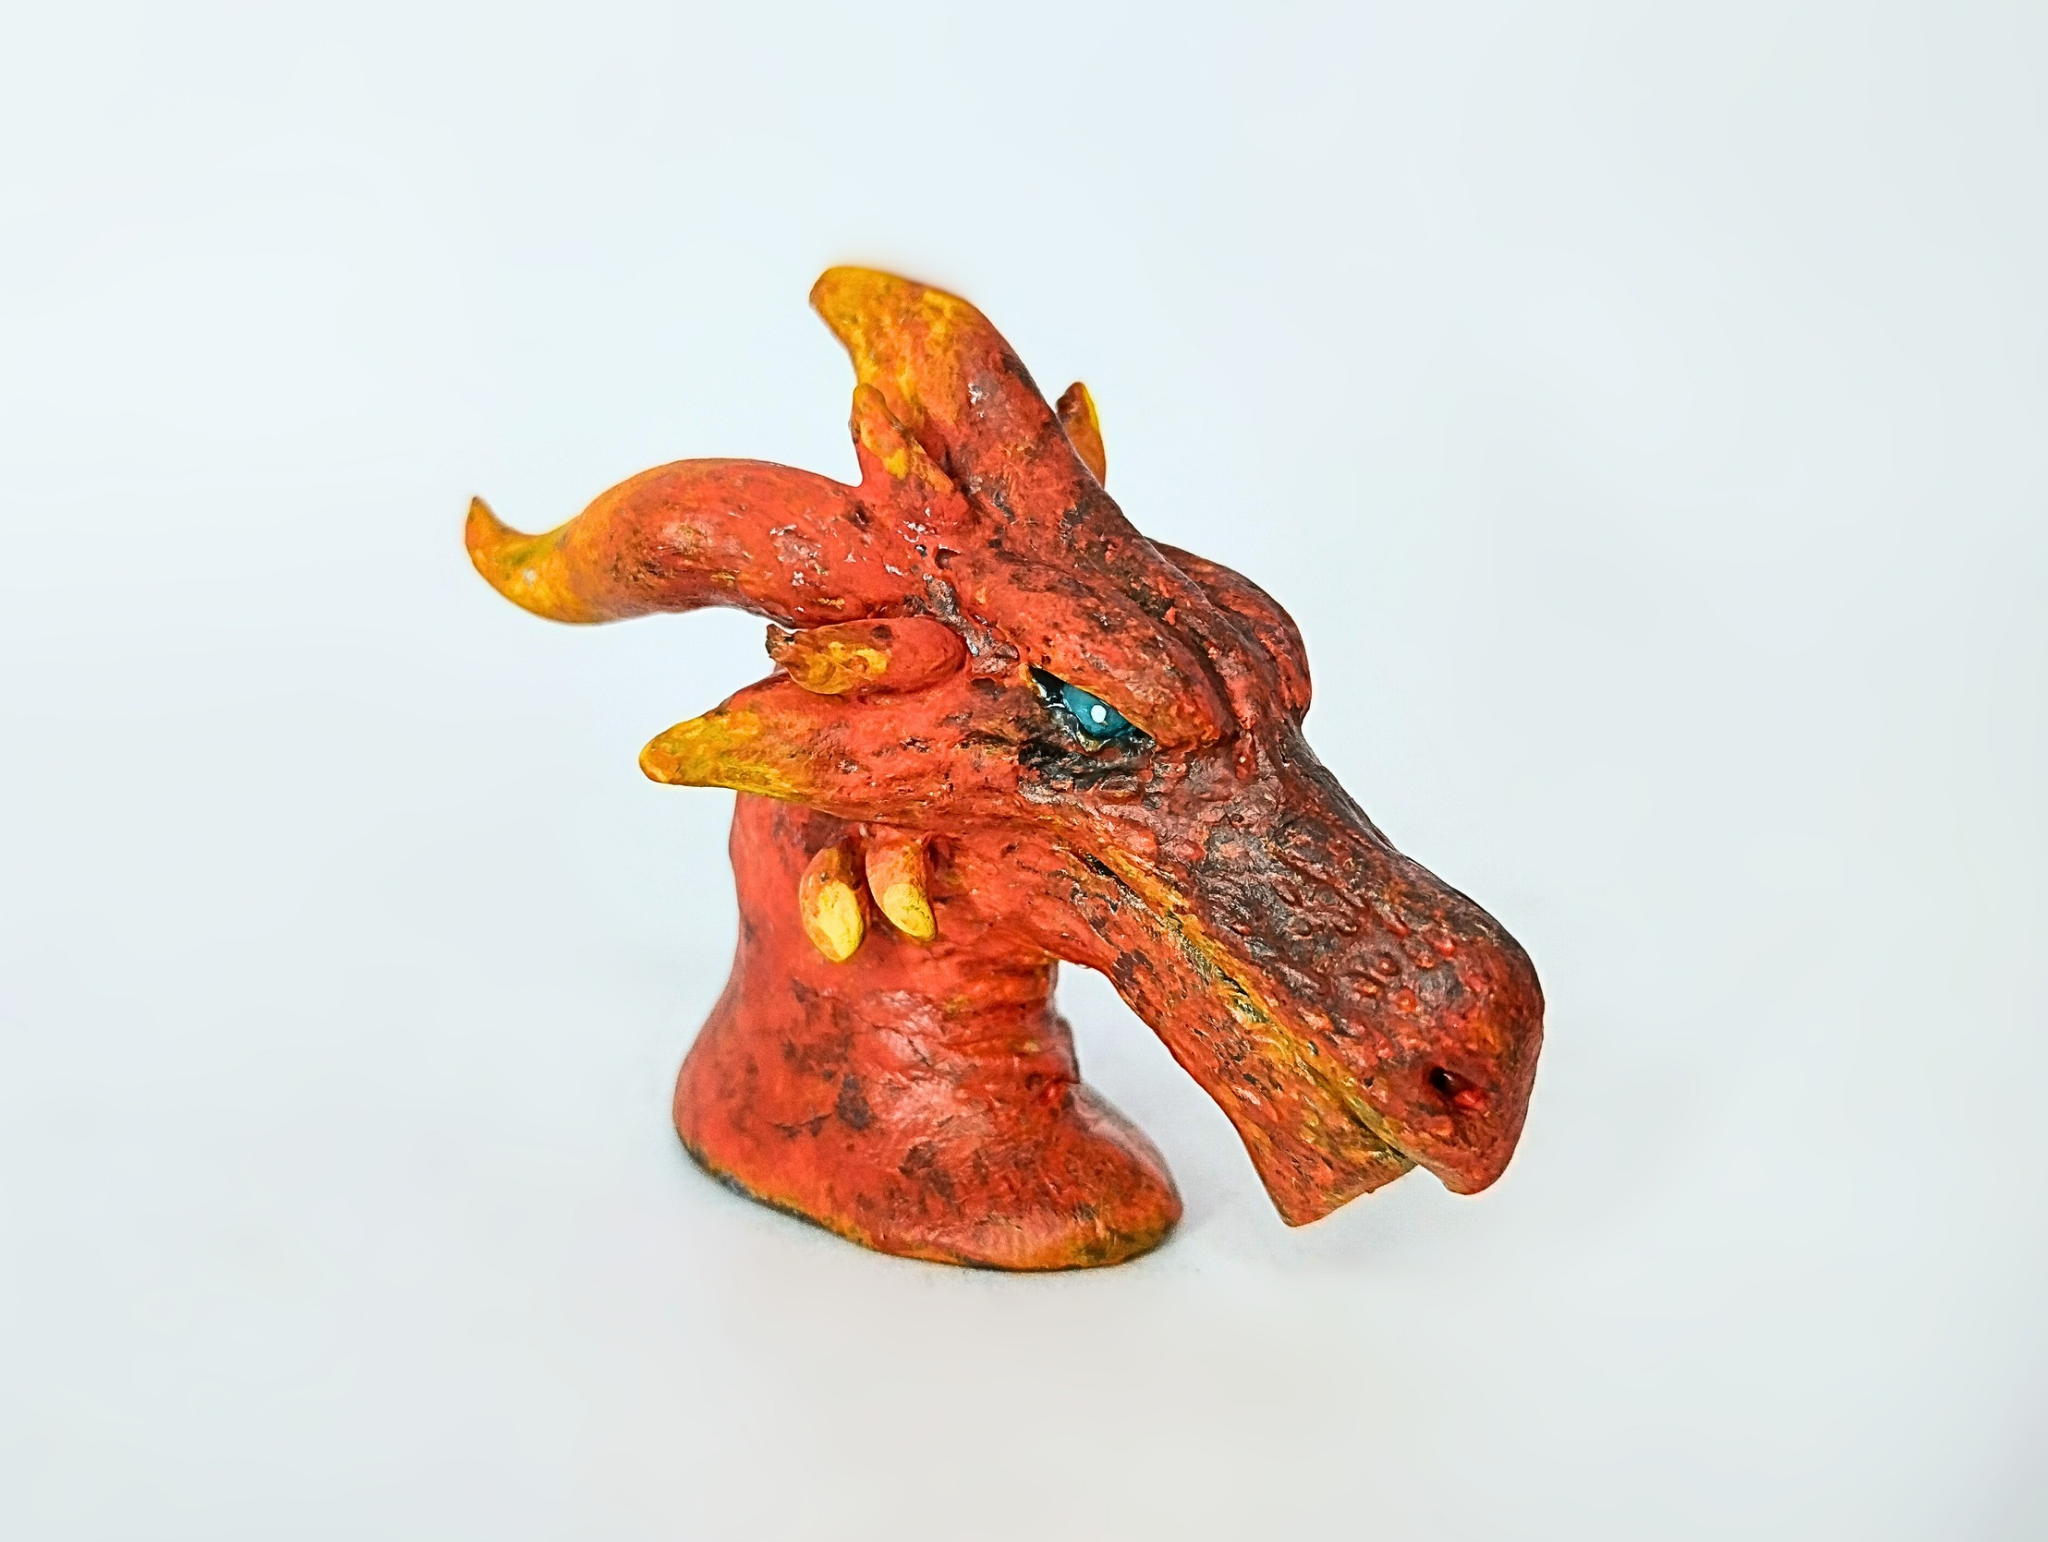
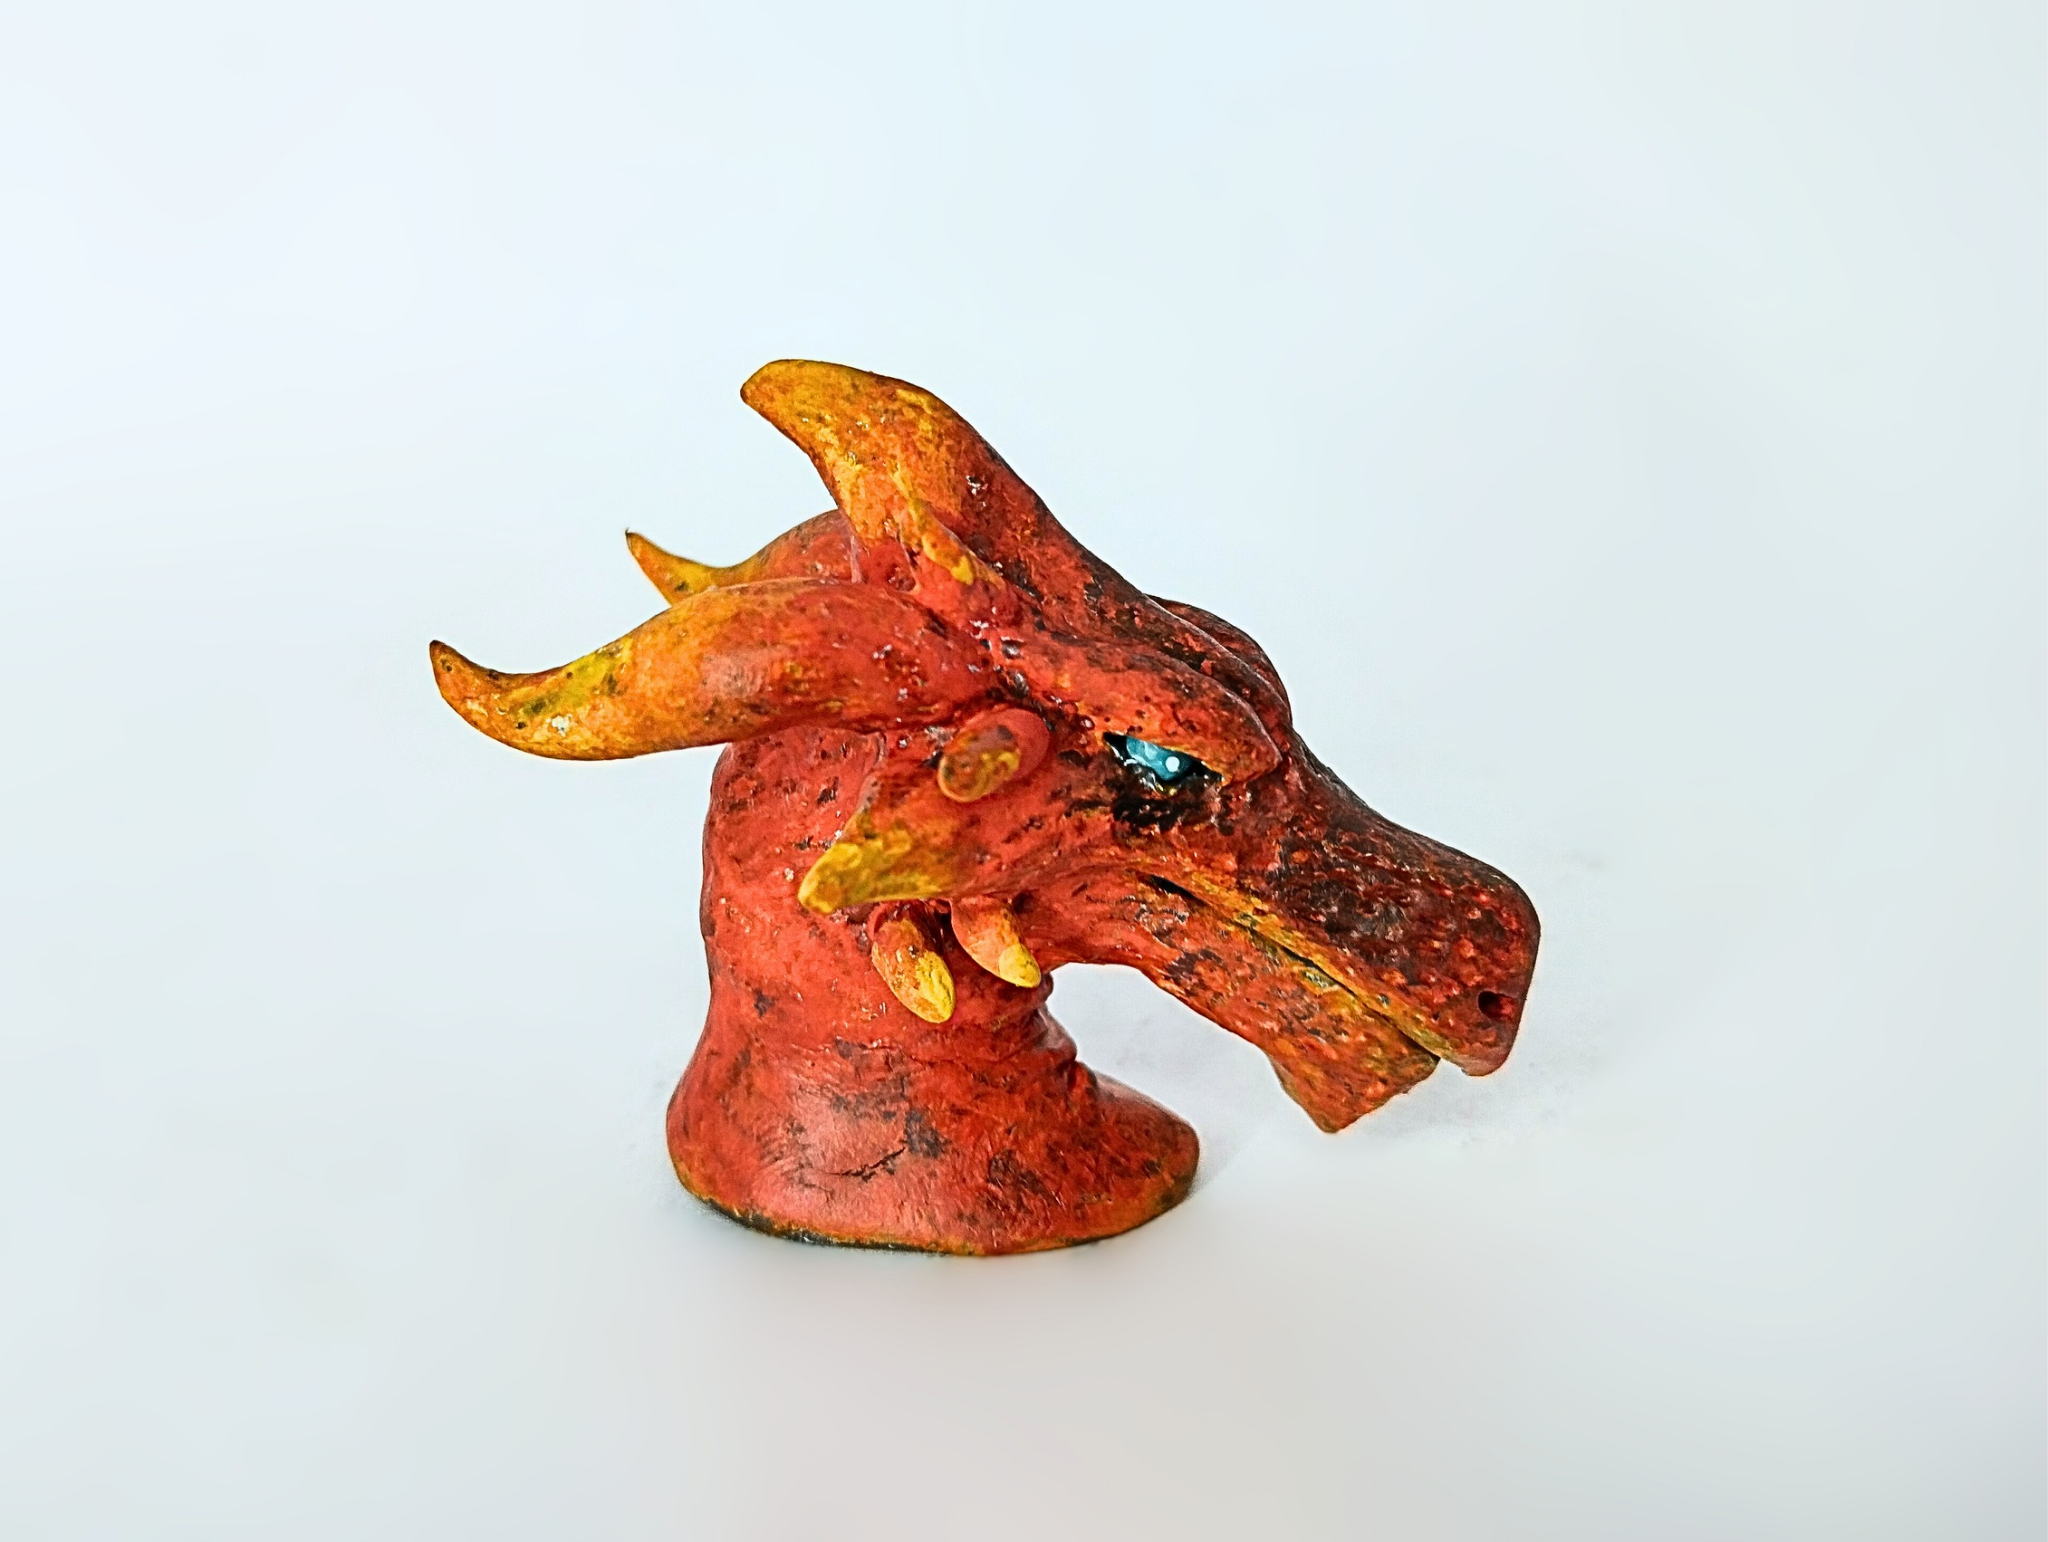
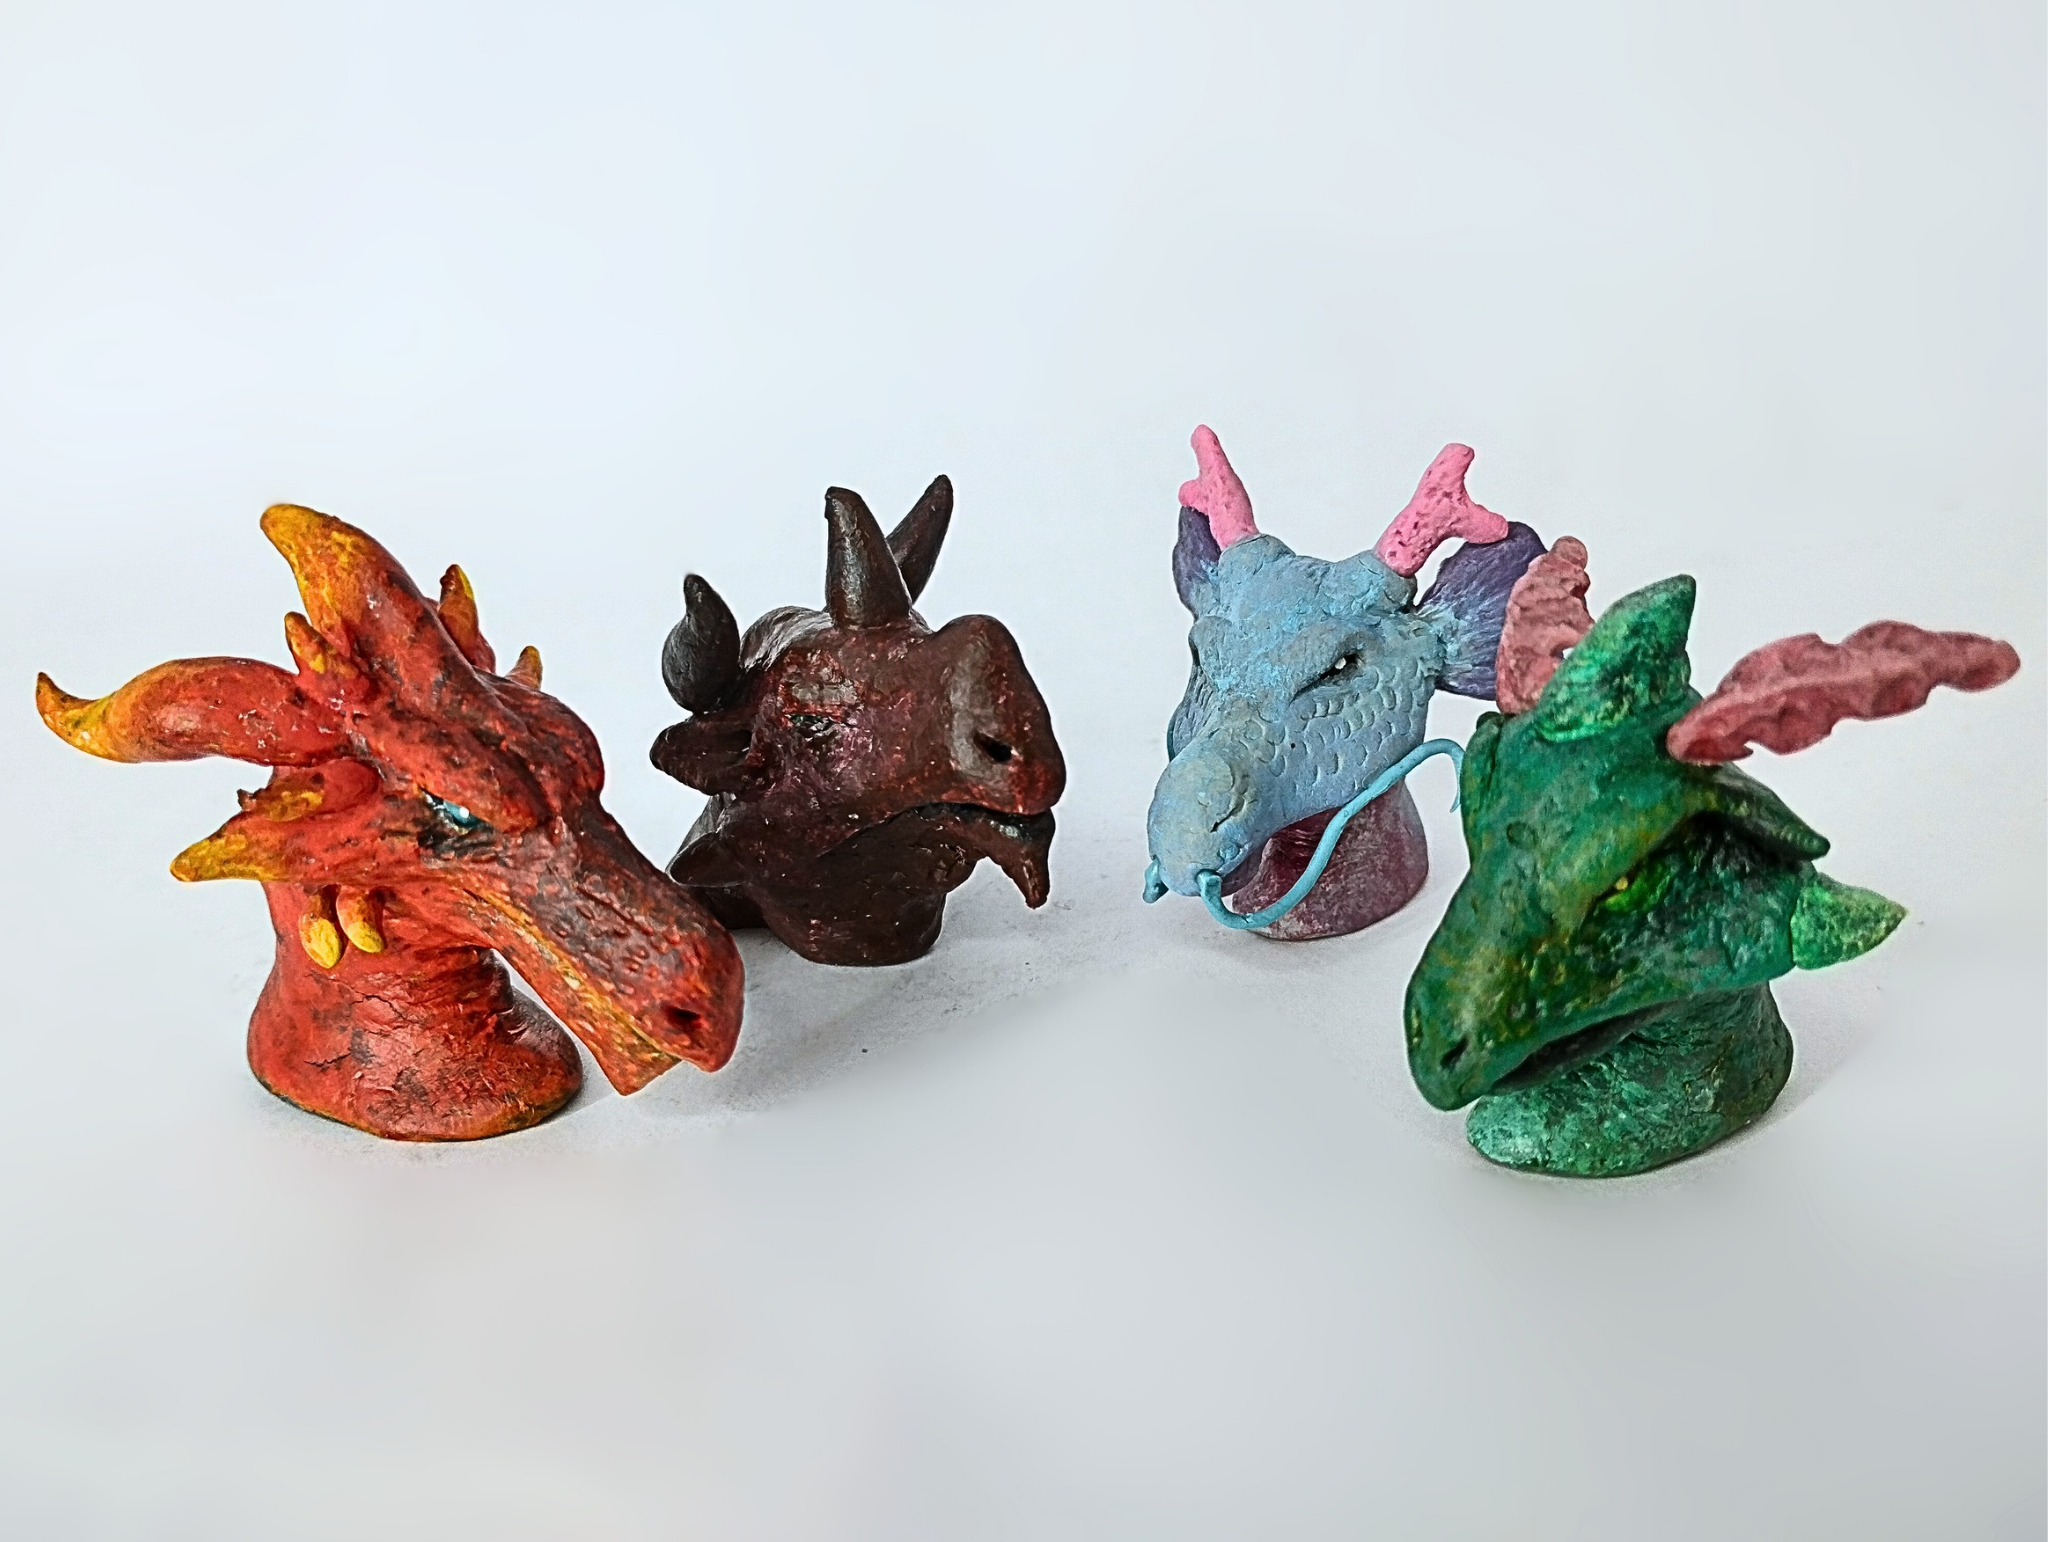
### This is how the sculpture was completed. Below you can see a series of photographs of the final result:
>>#### De esta manera la escultura quedó terminada. A continuación pueden ver una serie de fotografías del resultado final:

Emberox, the realistic dragon I created, is a character in the game. It is not currently playable, but you can start generating the game's native token (ZING) by delegating HP to the project. This allows you to earn ZING passively.
If you would like, you can register on the game's official website by following this link:
https://holozing.com?ref=gaboamc2393
>>Emberox, el dragón realista que hice, es un personaje del juego. Actualmente no se puede jugar, pero sí puedes comenzar a generar el token nativo del juego (ZING), delegando HP al proyecto. Así ganas ZING de manera pasiva.
>>
>>**Si gustas, puedes registrarte en la página oficial del juego siguiendo este enlace:**
>>
>>https://holozing.com?ref=gaboamc2393

Well, friends. That's all for now. I hope you liked my sculpture. Please leave your comments below; as always, I'll be happy to read them. Without further ado, I bid you farewell...
DIY: Emberox Realistic Sculpture [ENG/SPA]
@gaboamc2393
· 2025-08-28 06:02
· Holozing Community
#holozing
#diy
#art
#crafts
#spanish
#handmade
#tutorial
#waiv
#pimp
#zing
Payout: 0.000 HBD
Votes: 212
More interactions (upvote, reblog, reply) coming soon.