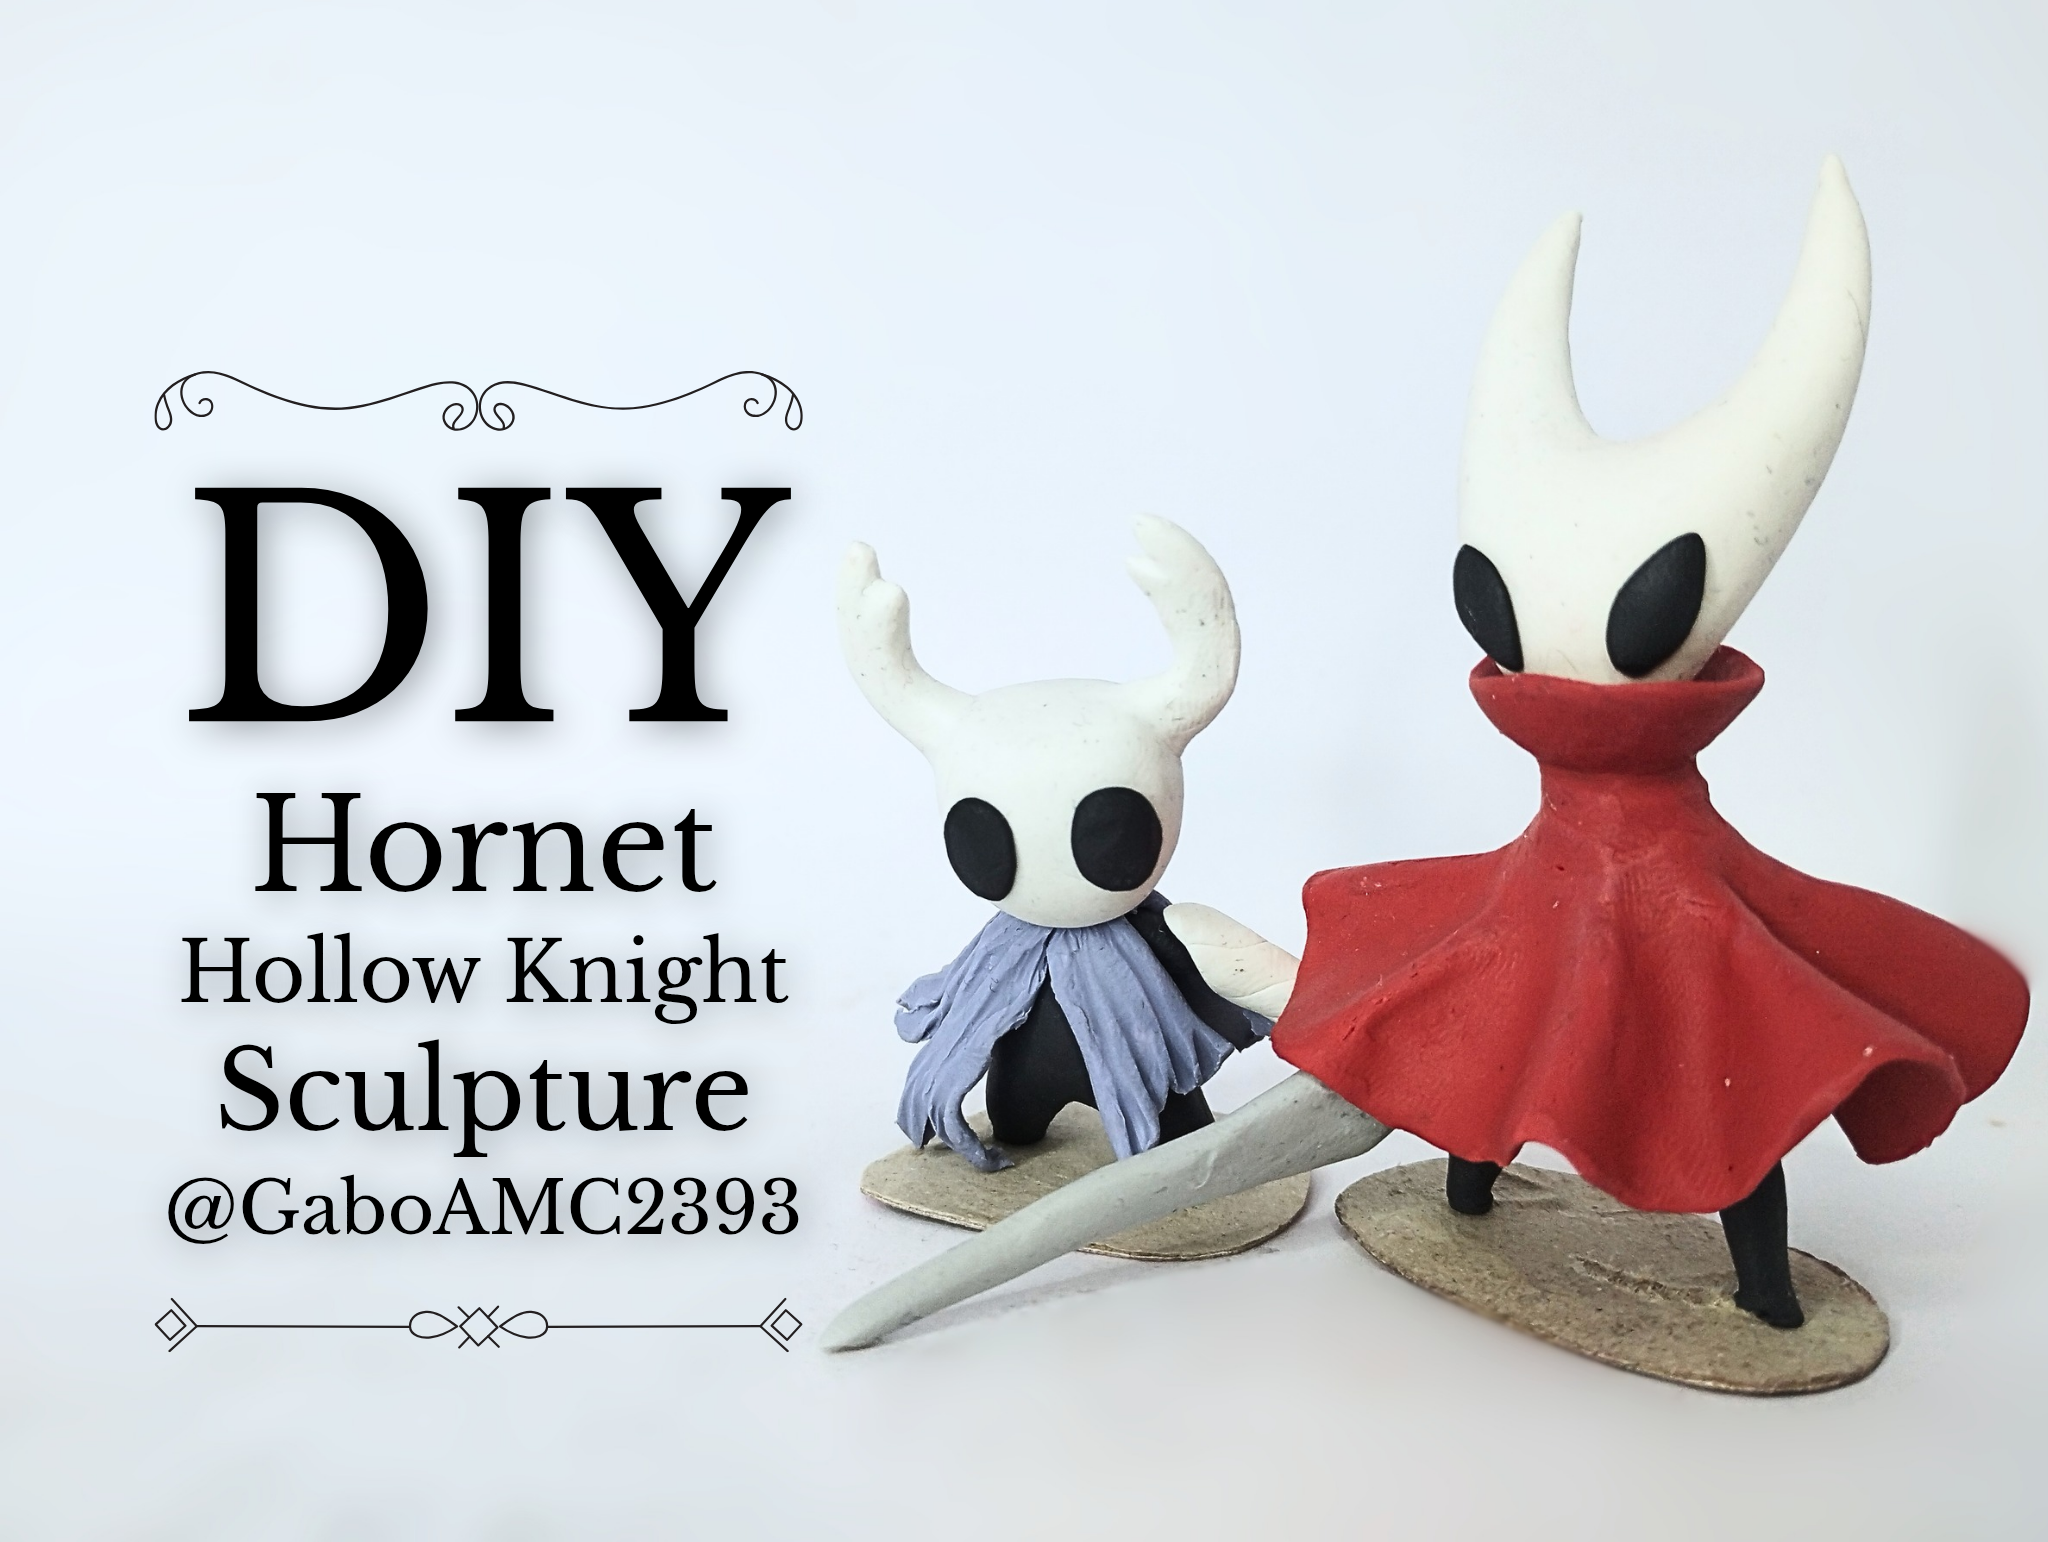
Hello, friends. Some time ago, I shared a post with you where I showed you the creative process behind a well-known character, the protagonist of Hollow Knight, The Knight.
**You can see the link to that post at the following link:**
https://peakd.com/hive-130560/@gaboamc2393/diy-the-knight-sculpture-hollow
Well, today it's the turn of the protagonist of the sequel, Hornet. This character has become very popular, even more so with the release of the sequel. So today I'm sharing that post with you. I'd like you to join me in the creative process of this figurine:
>># Español
>>Saludos amigos. Hace un buen tiempo compartí con ustedes un publicación en donde les mostré el proceso creativo de un personaje muy conocido, el protagonista de Hollow Knight, El Caballero.
>>
>>**En el enlace a continuación pueden ver el enlace a aquella publicación:**
https://peakd.com/hive-130560/@gaboamc2393/diy-the-knight-sculpture-hollow
>>
>>Pues bien, hoy es el turno de la protagonista de la secuela, Hornet. Este personaje se ha vuelto muy popular y más aún con la salida de la secuela. Así que hoy les comparto ese post. Me gustaría que me acompañaran en el proceso creativo de esta figurita:
# Step by step
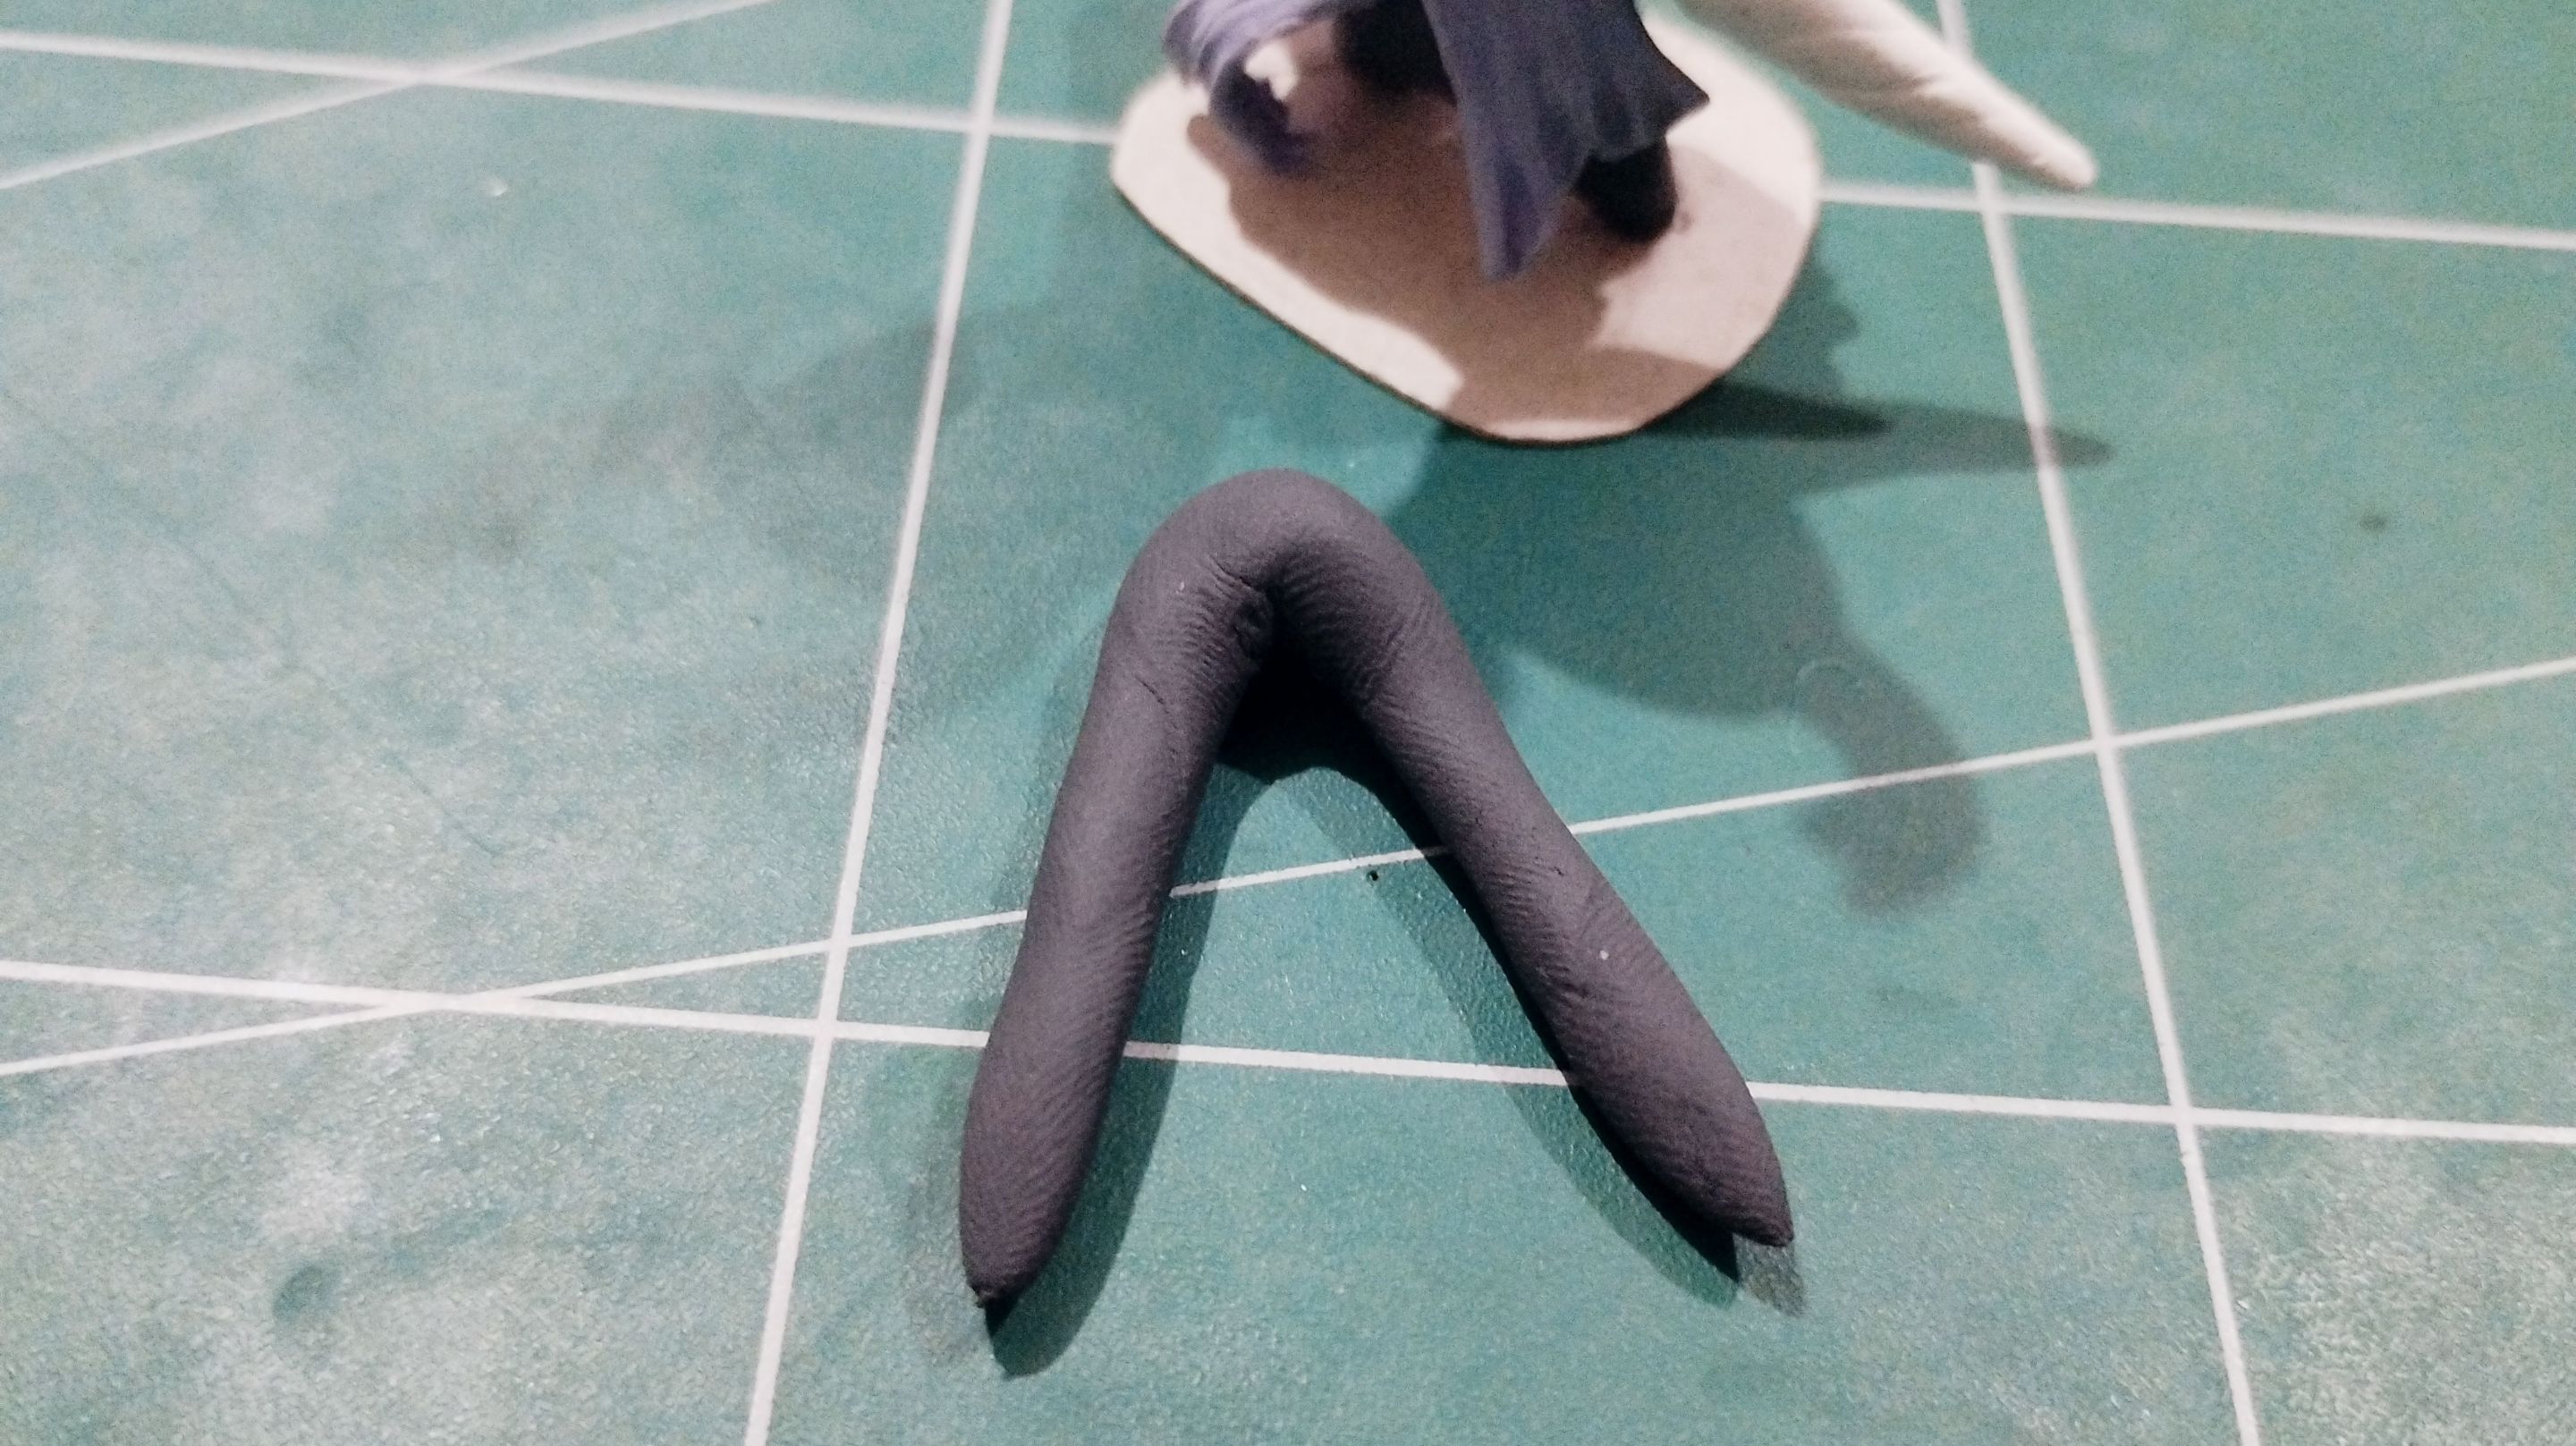
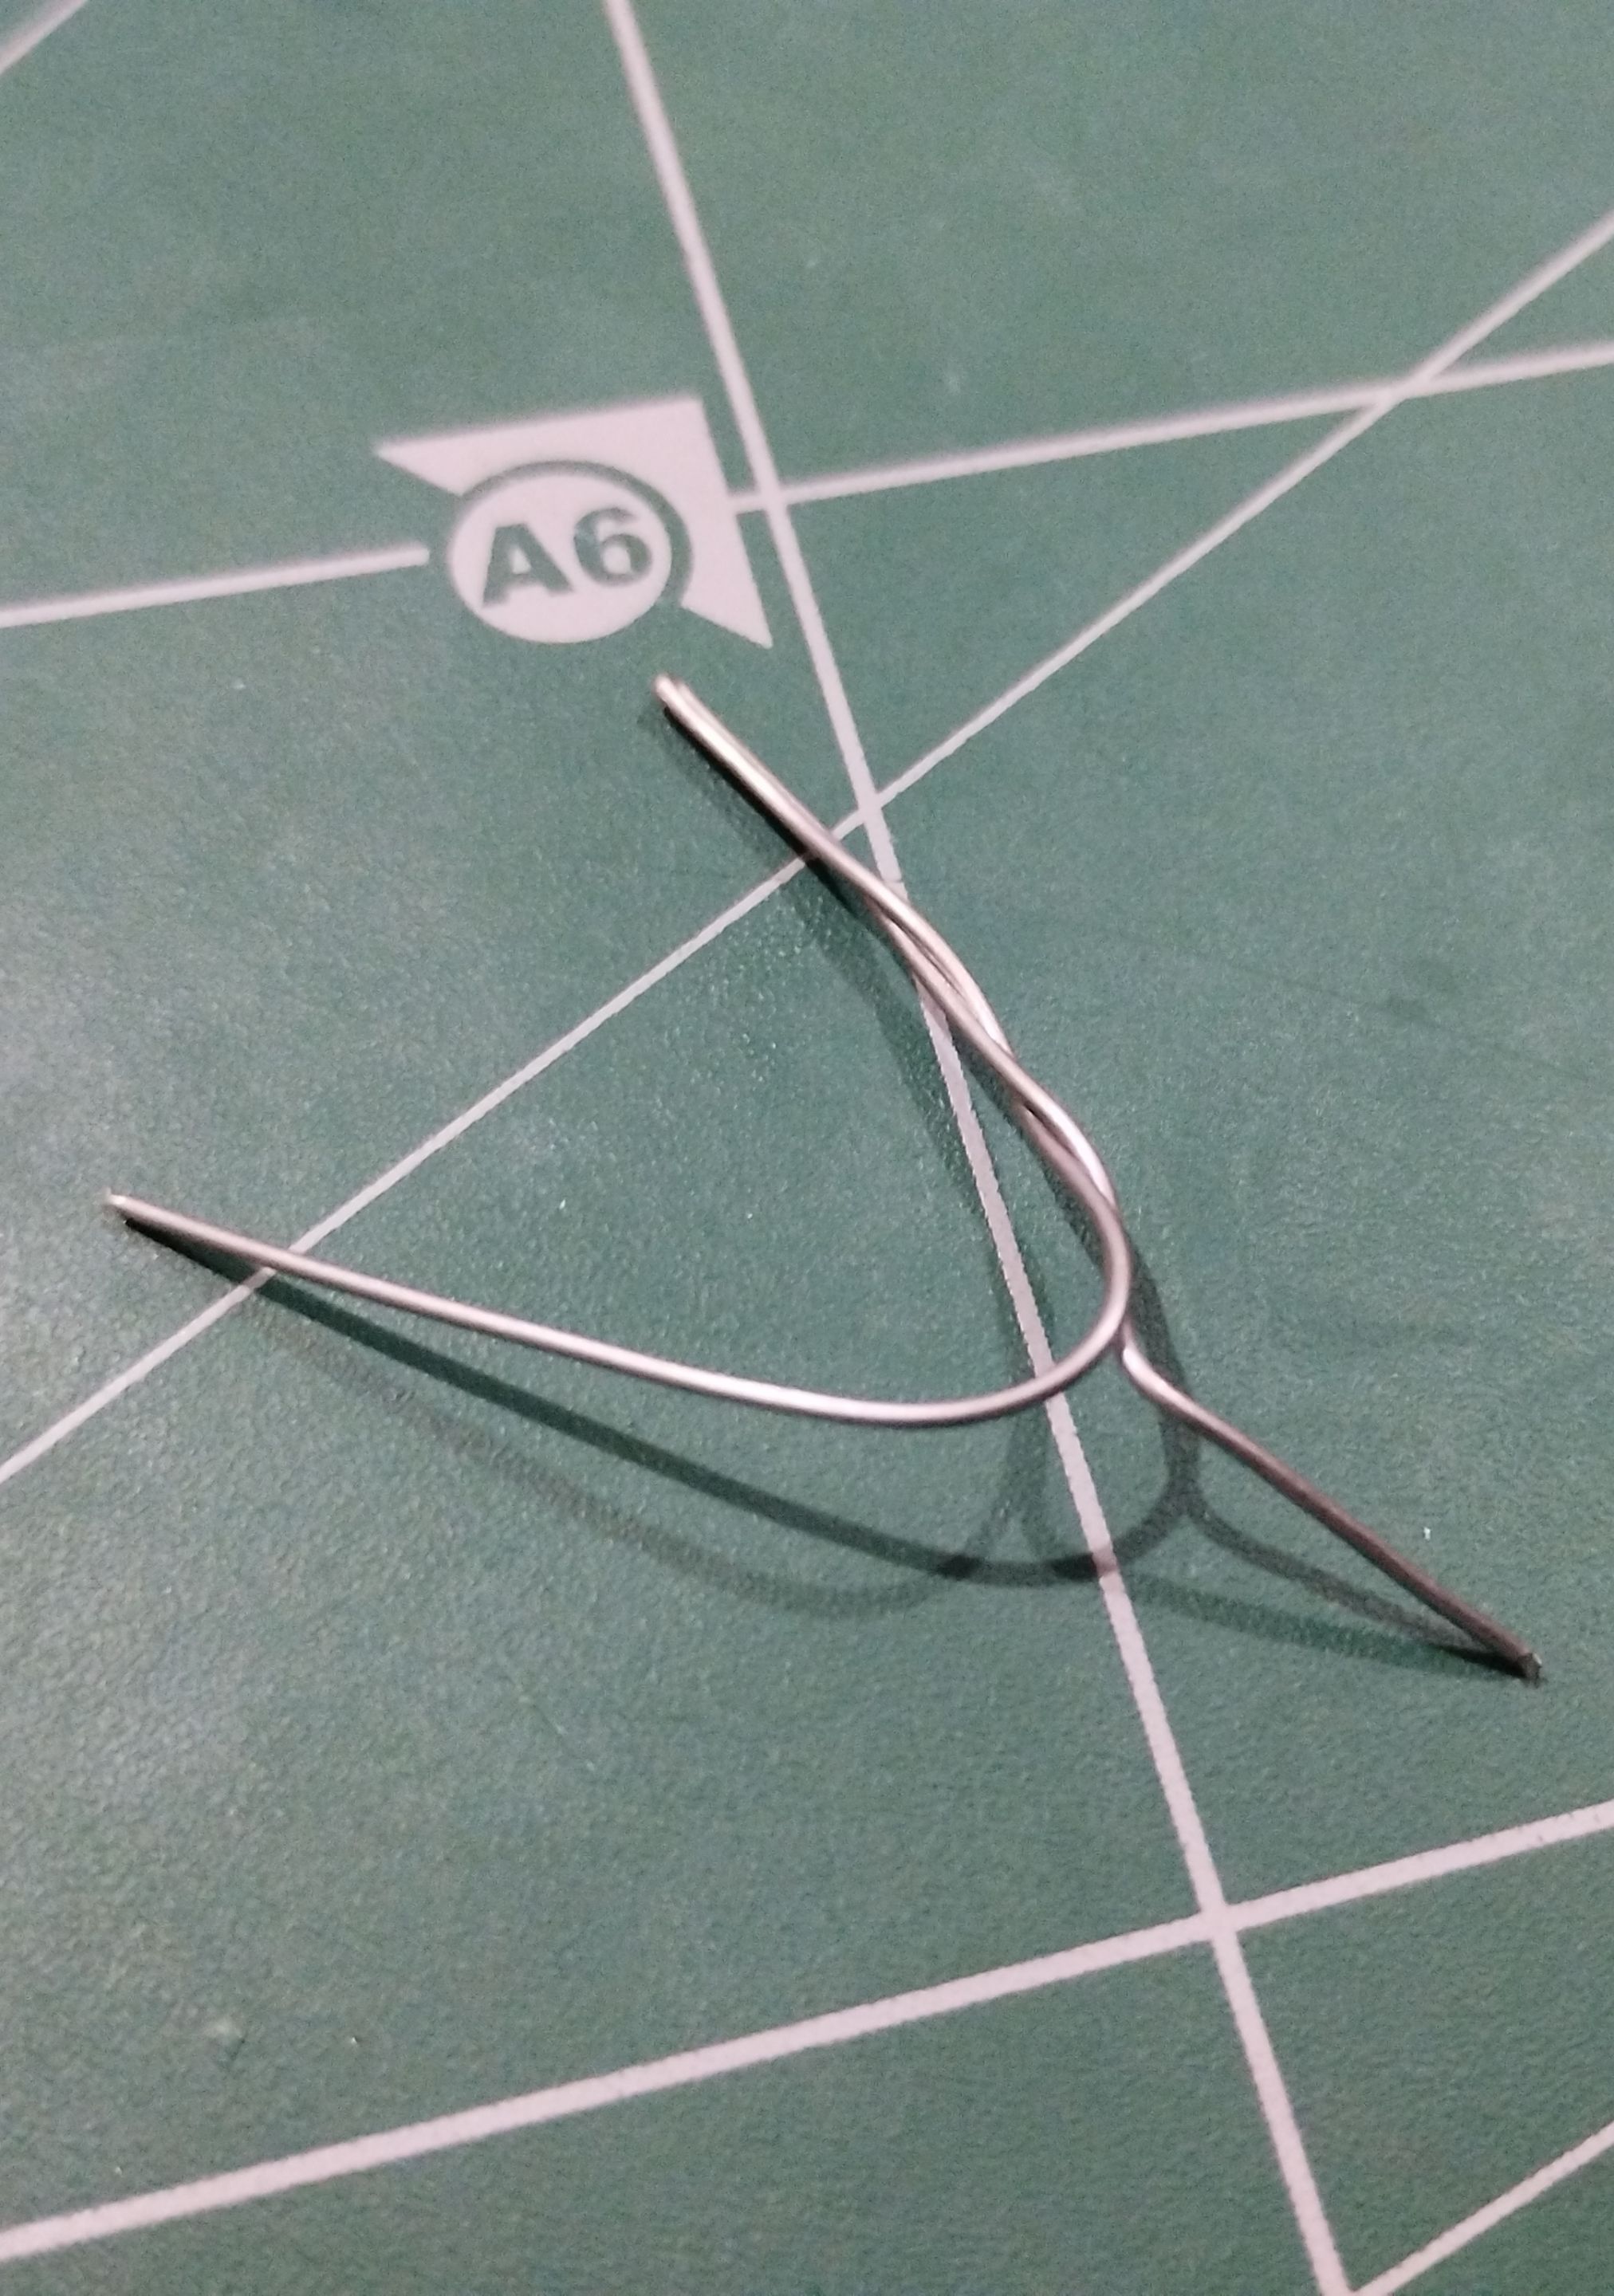
The first thing I did was the legs, which I made with two pieces of black plasticine in the shape of an inverted V. Once this part was ready, I made a wire base so that it could maintain the shape you see in the image on the right, below:
>># Paso a paso
>>
>>Lo primero que hice fue las piernas, las hice con dos piezas de plastilina negra en forma de V inversa. Luego de tener esta parte lista, hice una base de alambre para que pudiera mantener la forma que ven en la imagen de la derecha, abajo:
|||
|-|-|
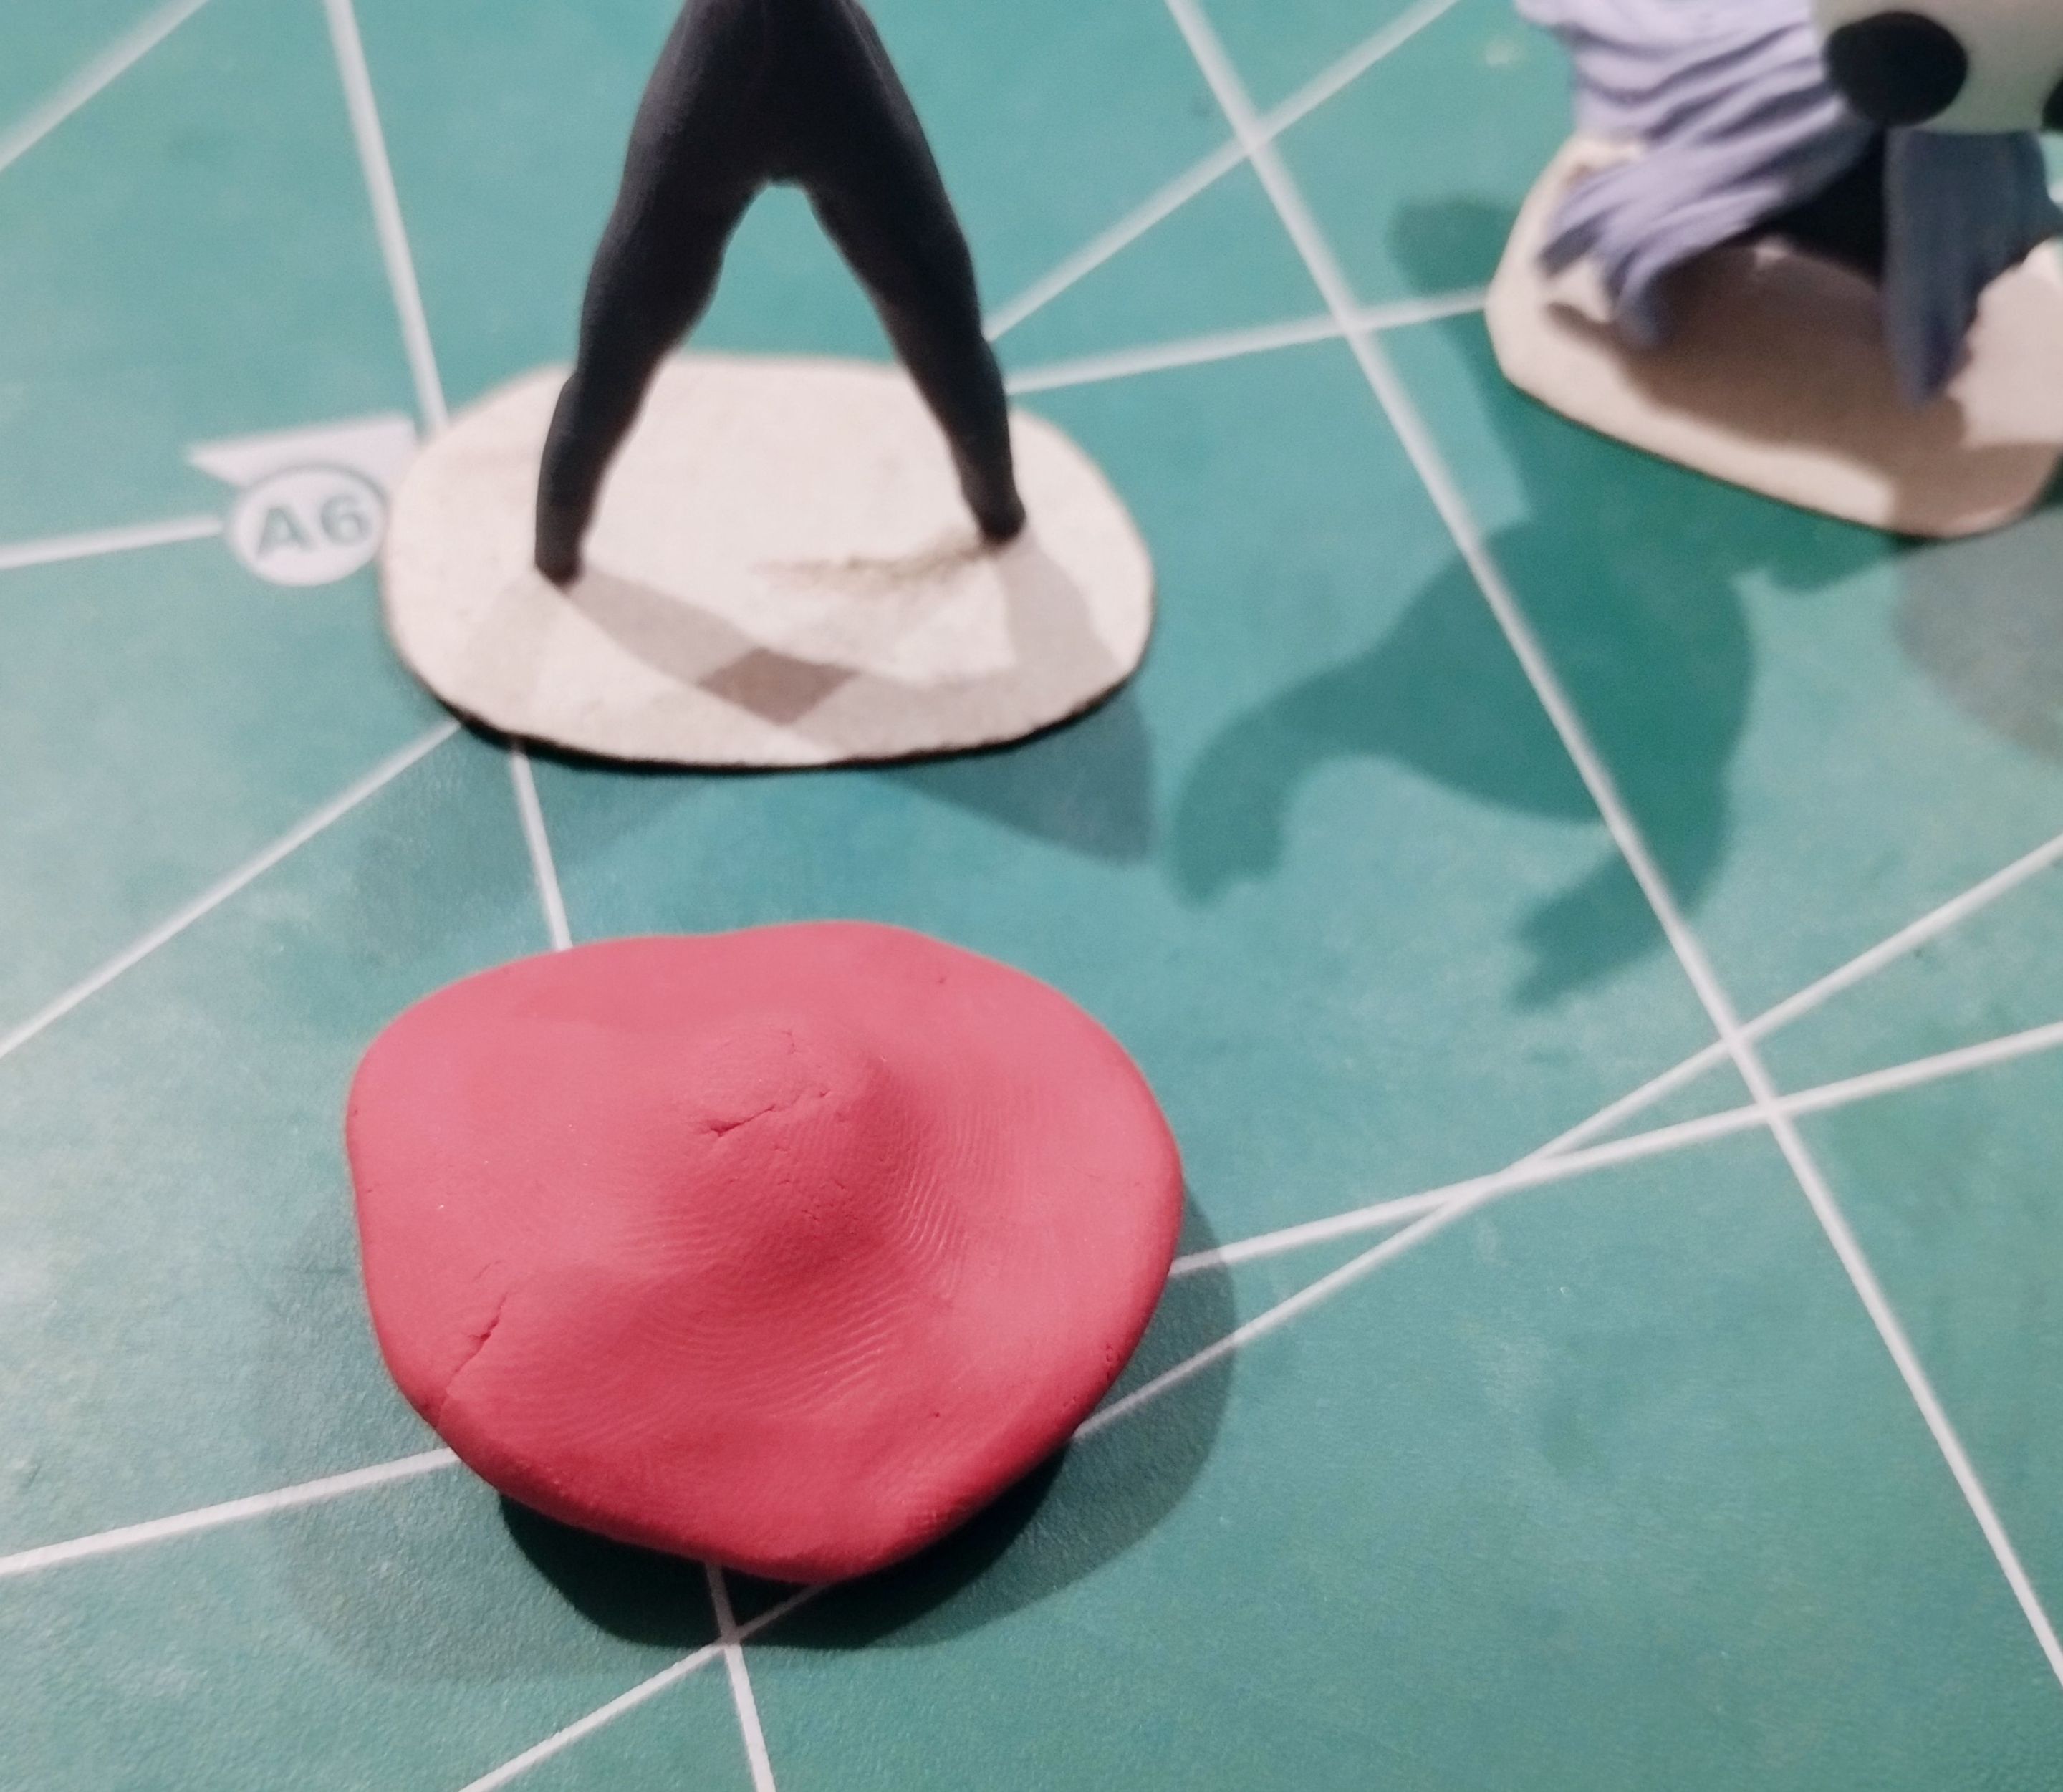
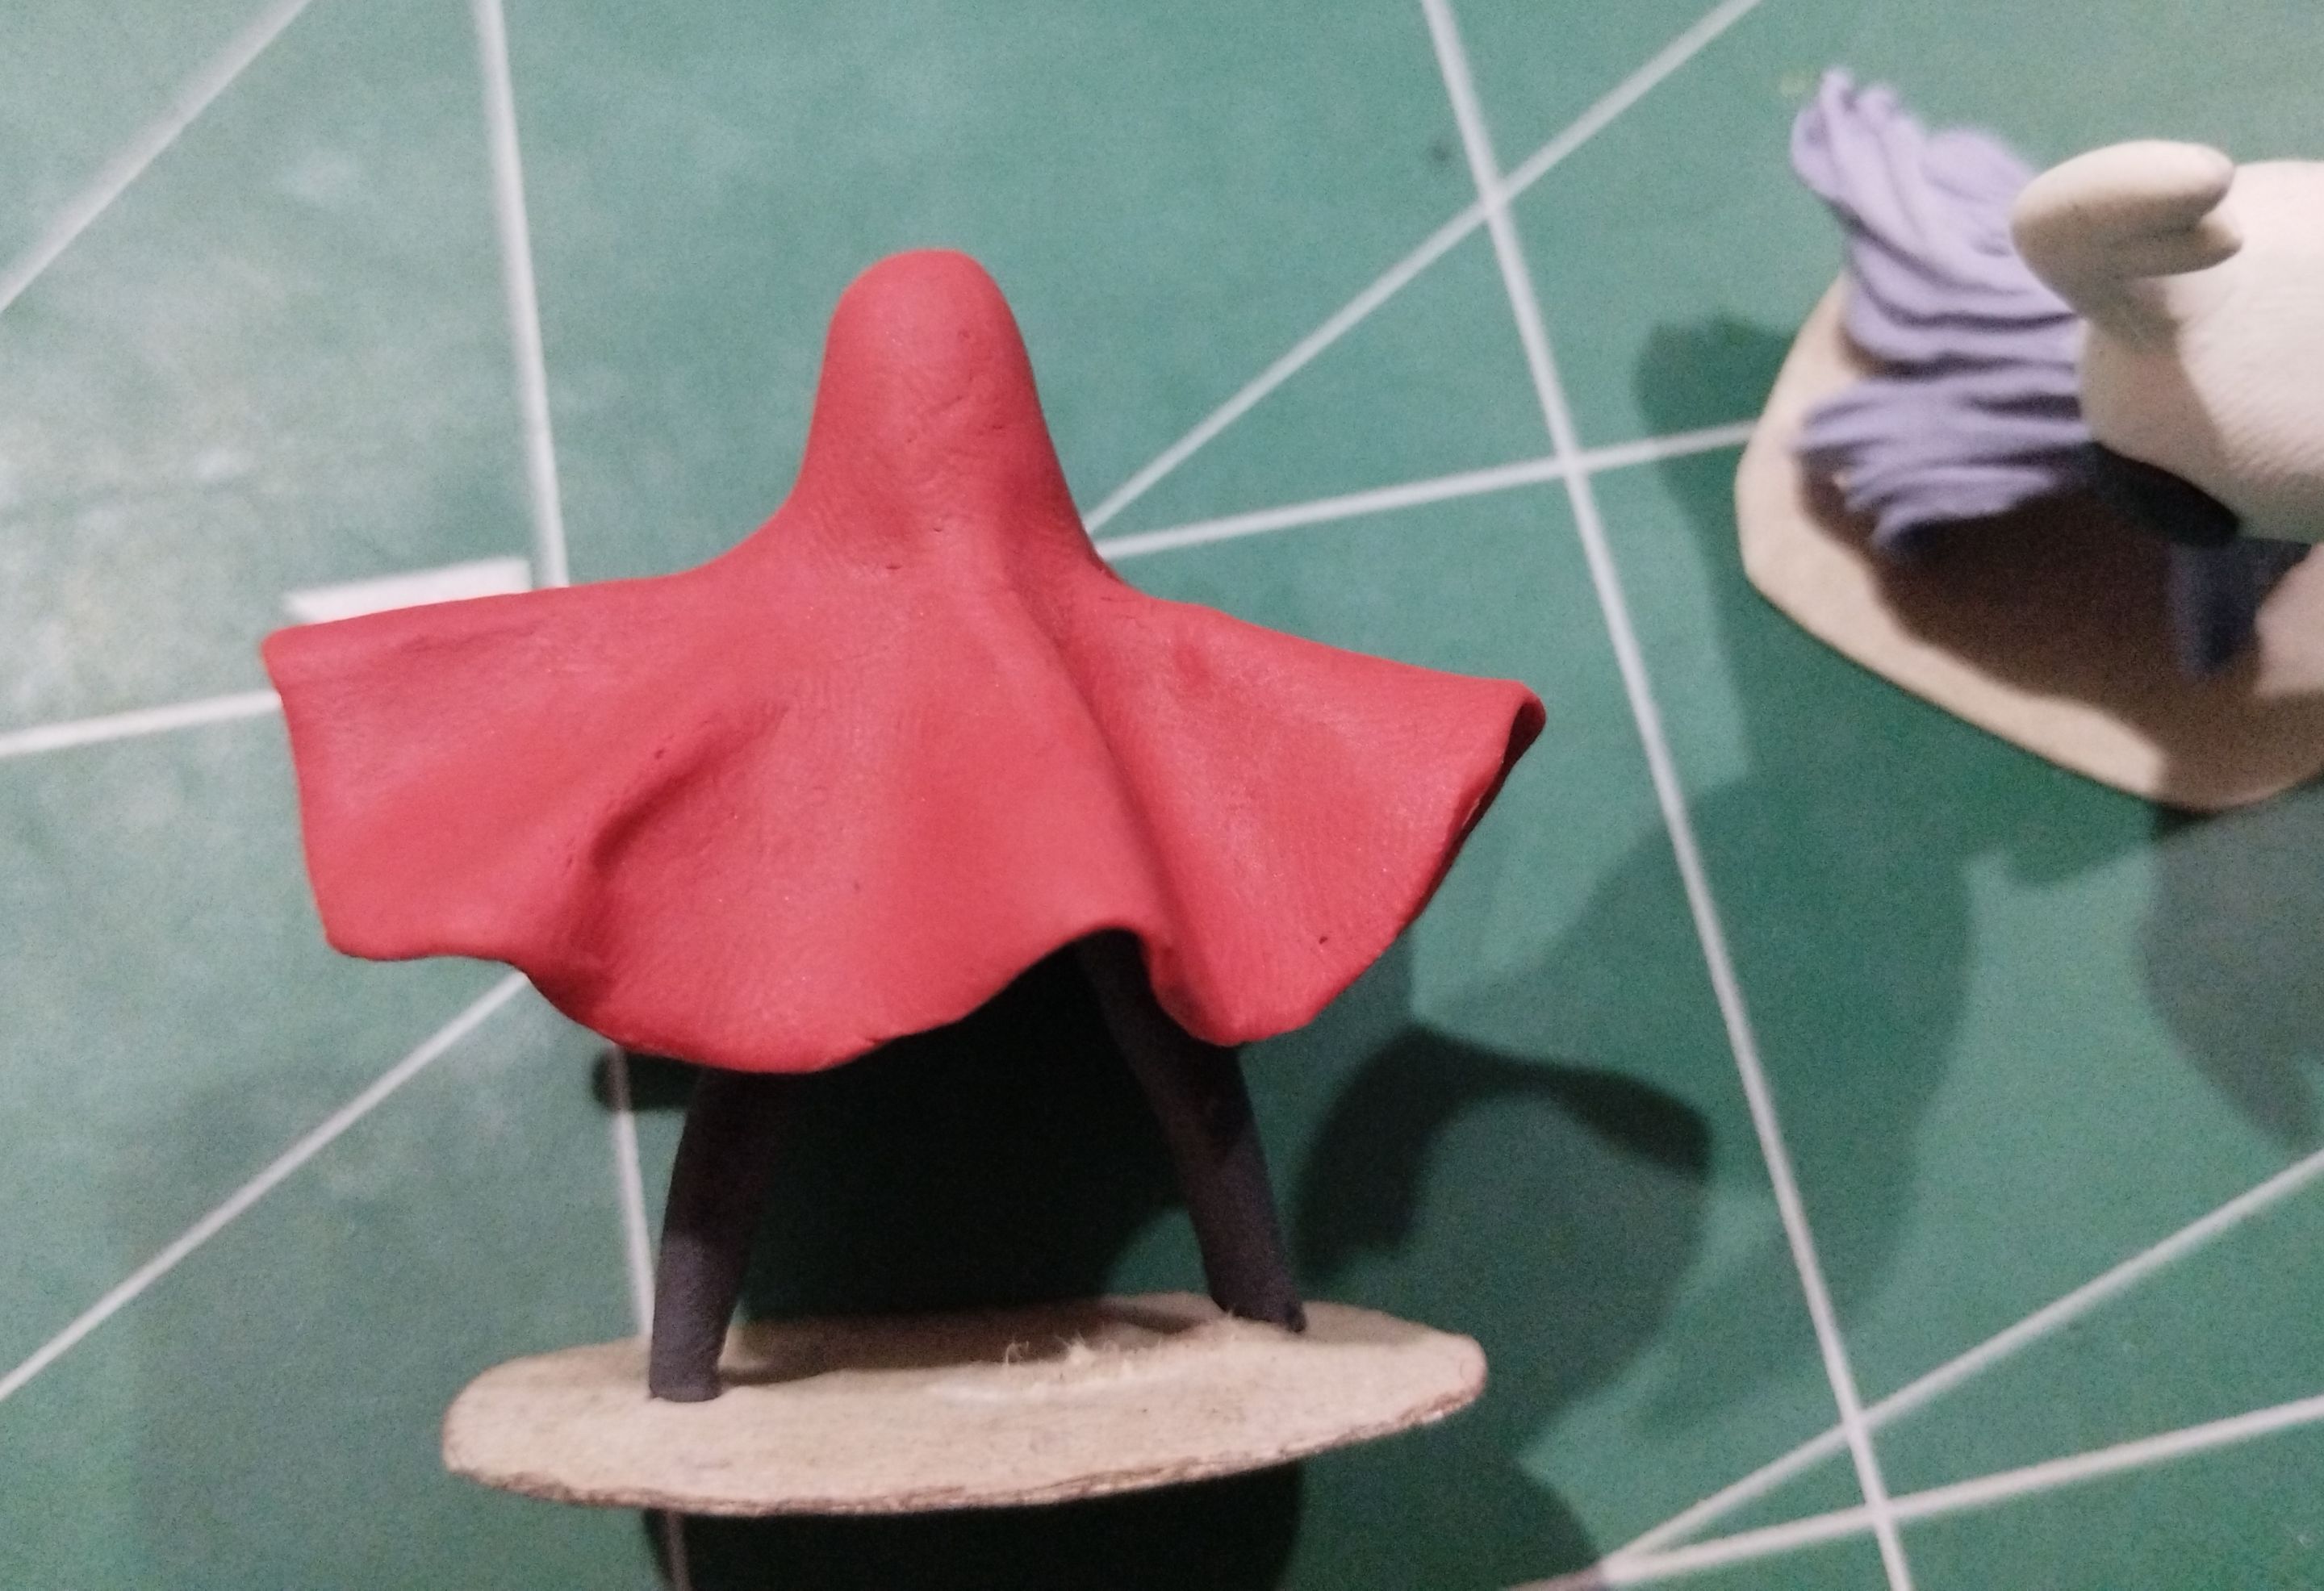
After that, I continued with the red tunic that is so characteristic of Hornet. I made a round, flattened shape to start with, using red plasticine. Then I began to stretch it at the bottom until I achieved a tunic-like shape.
>>Luego de esto continué con la túnica roja que es tan característica de Hornet. Hice una forma redonda y aplastada para comenzar, usando plastilina roja. Luego la comencé a estirar en la parte inferior hasta lograr una forma parecida a una túnica.
|||
|-|-|
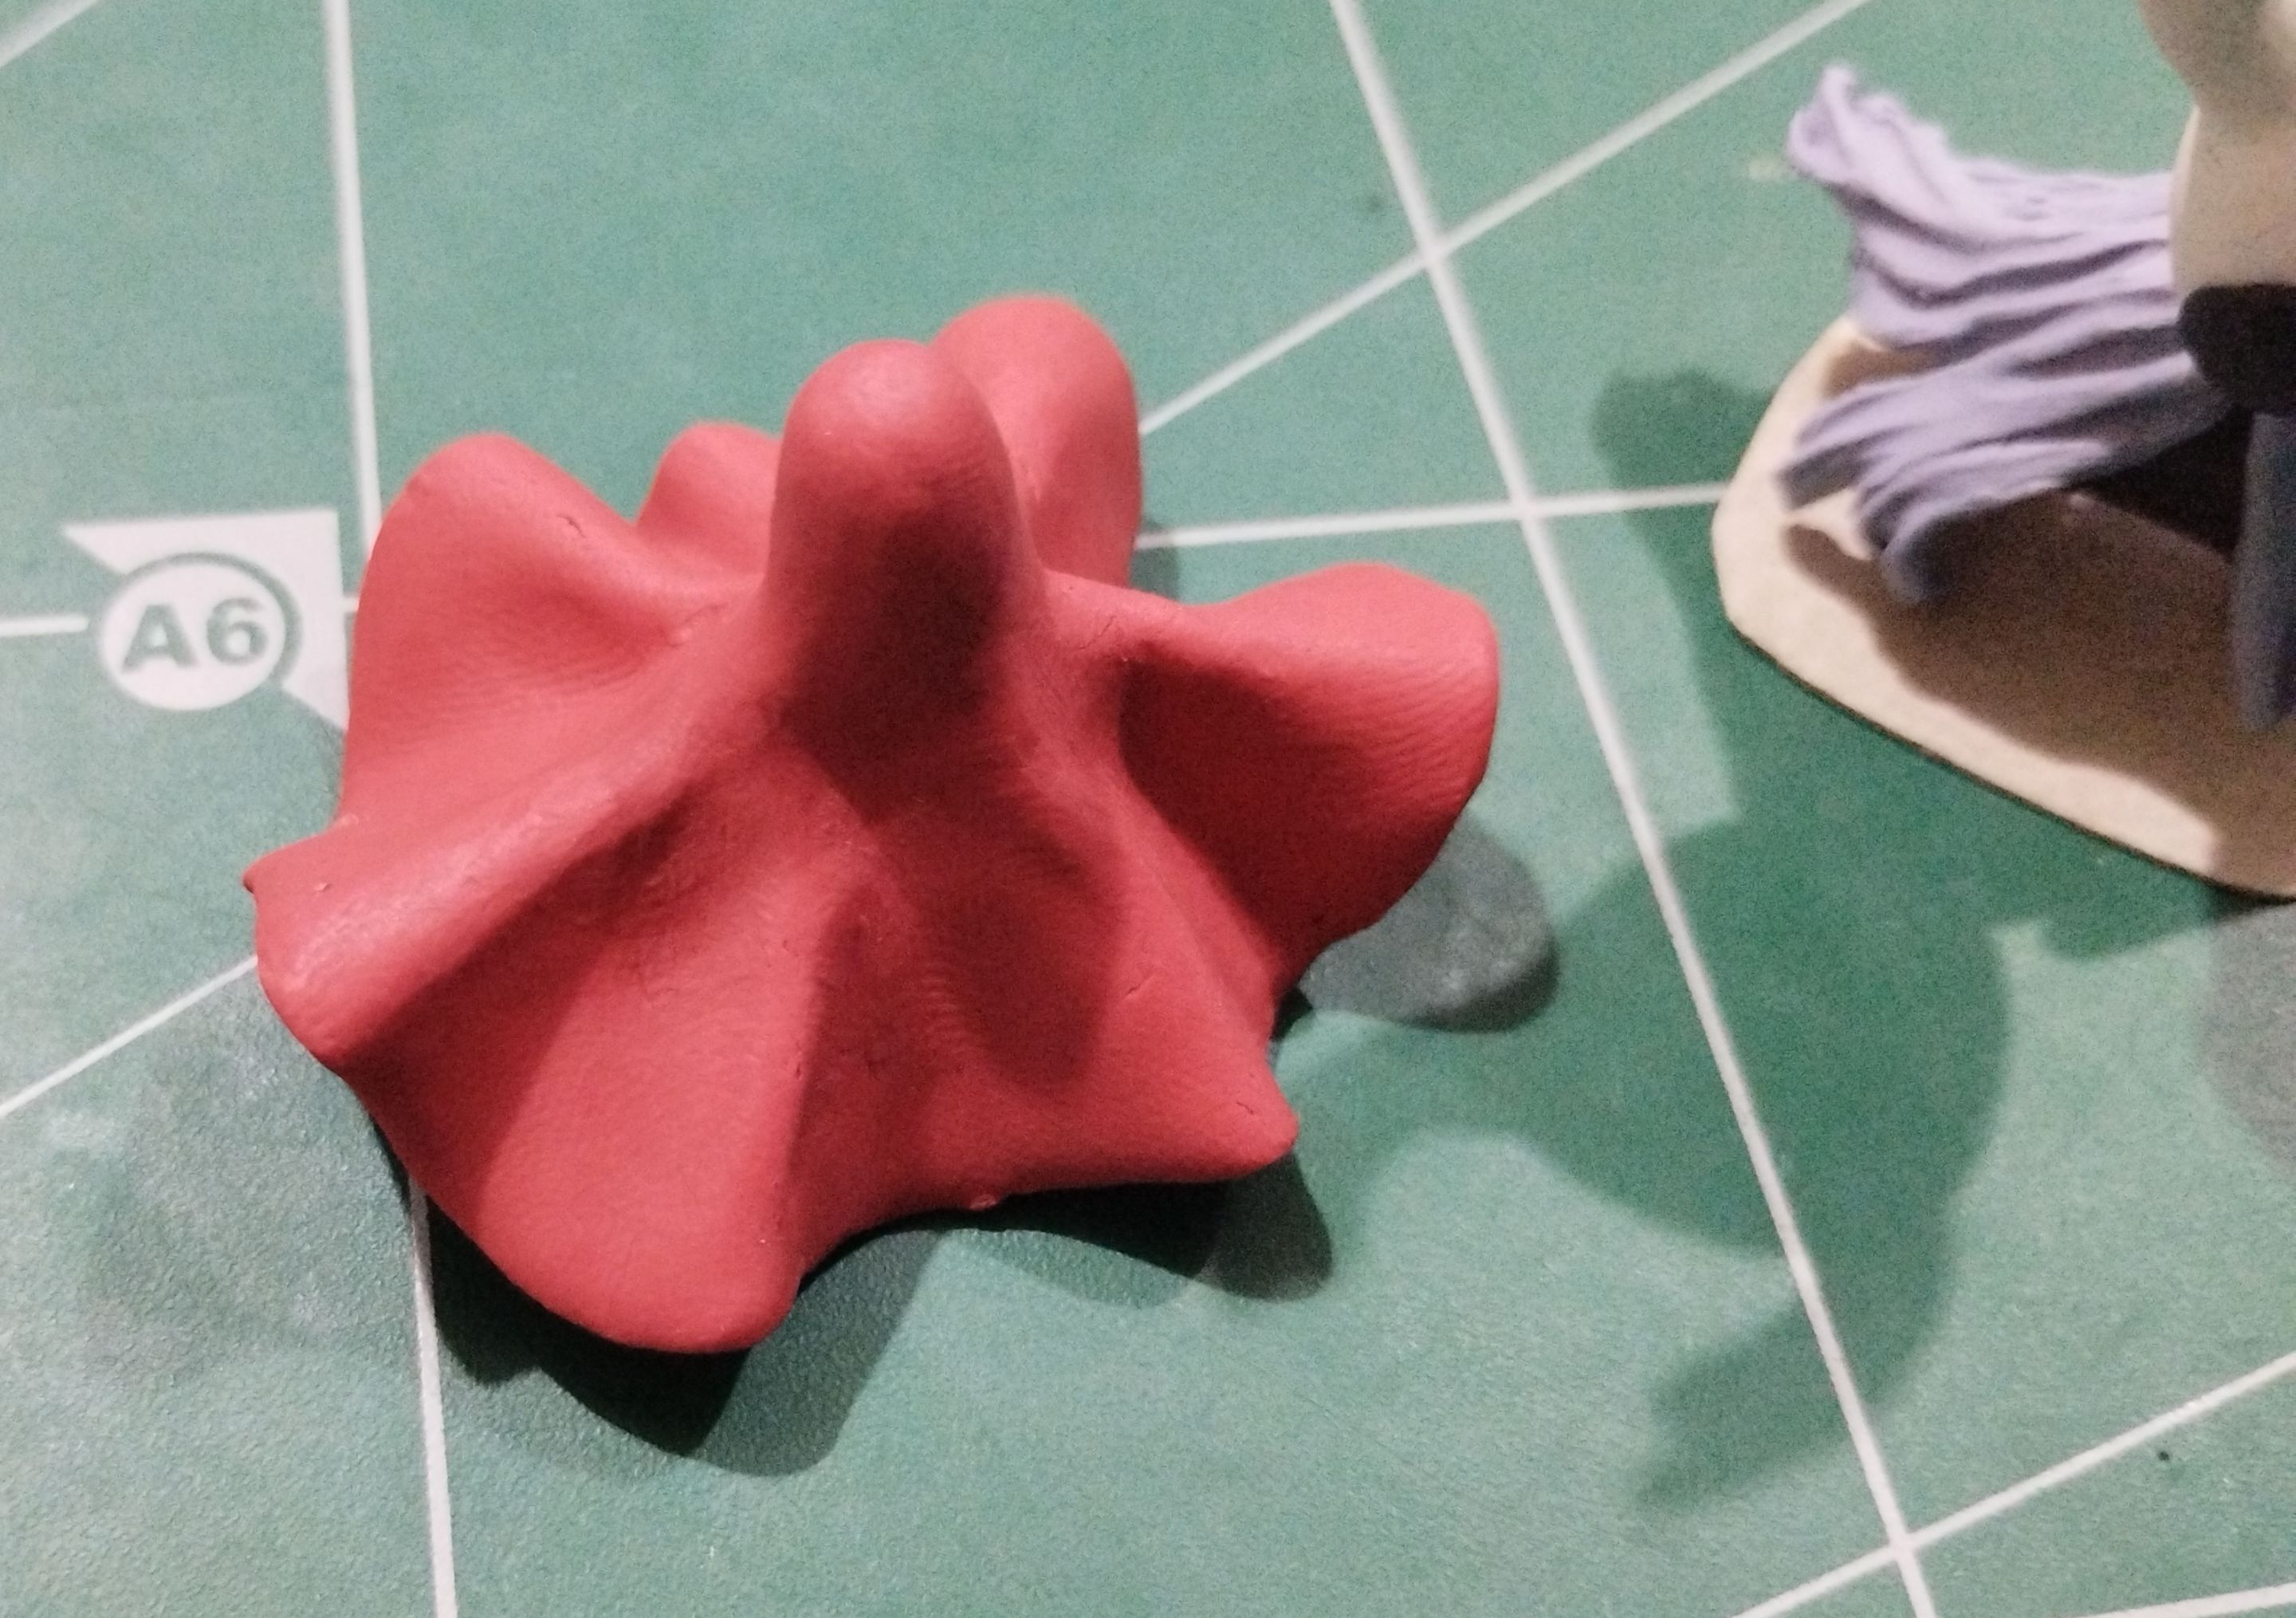
I continued stretching the bottom part to achieve these waves that simulate movement, as you can see in the image below on the left. This part is hollow at the bottom, so it fits perfectly on the base I made earlier for the legs.
>>Continué estirando la parte de abajo para lograr estas ondas que hacen simiular el movimiento, tal como pueden ver en la imagen de abajo a la izquierda. Esta es hueca en la parte inferior así que calza perfecto en la base anterior que hice de las piernas.
|||
|-|-|
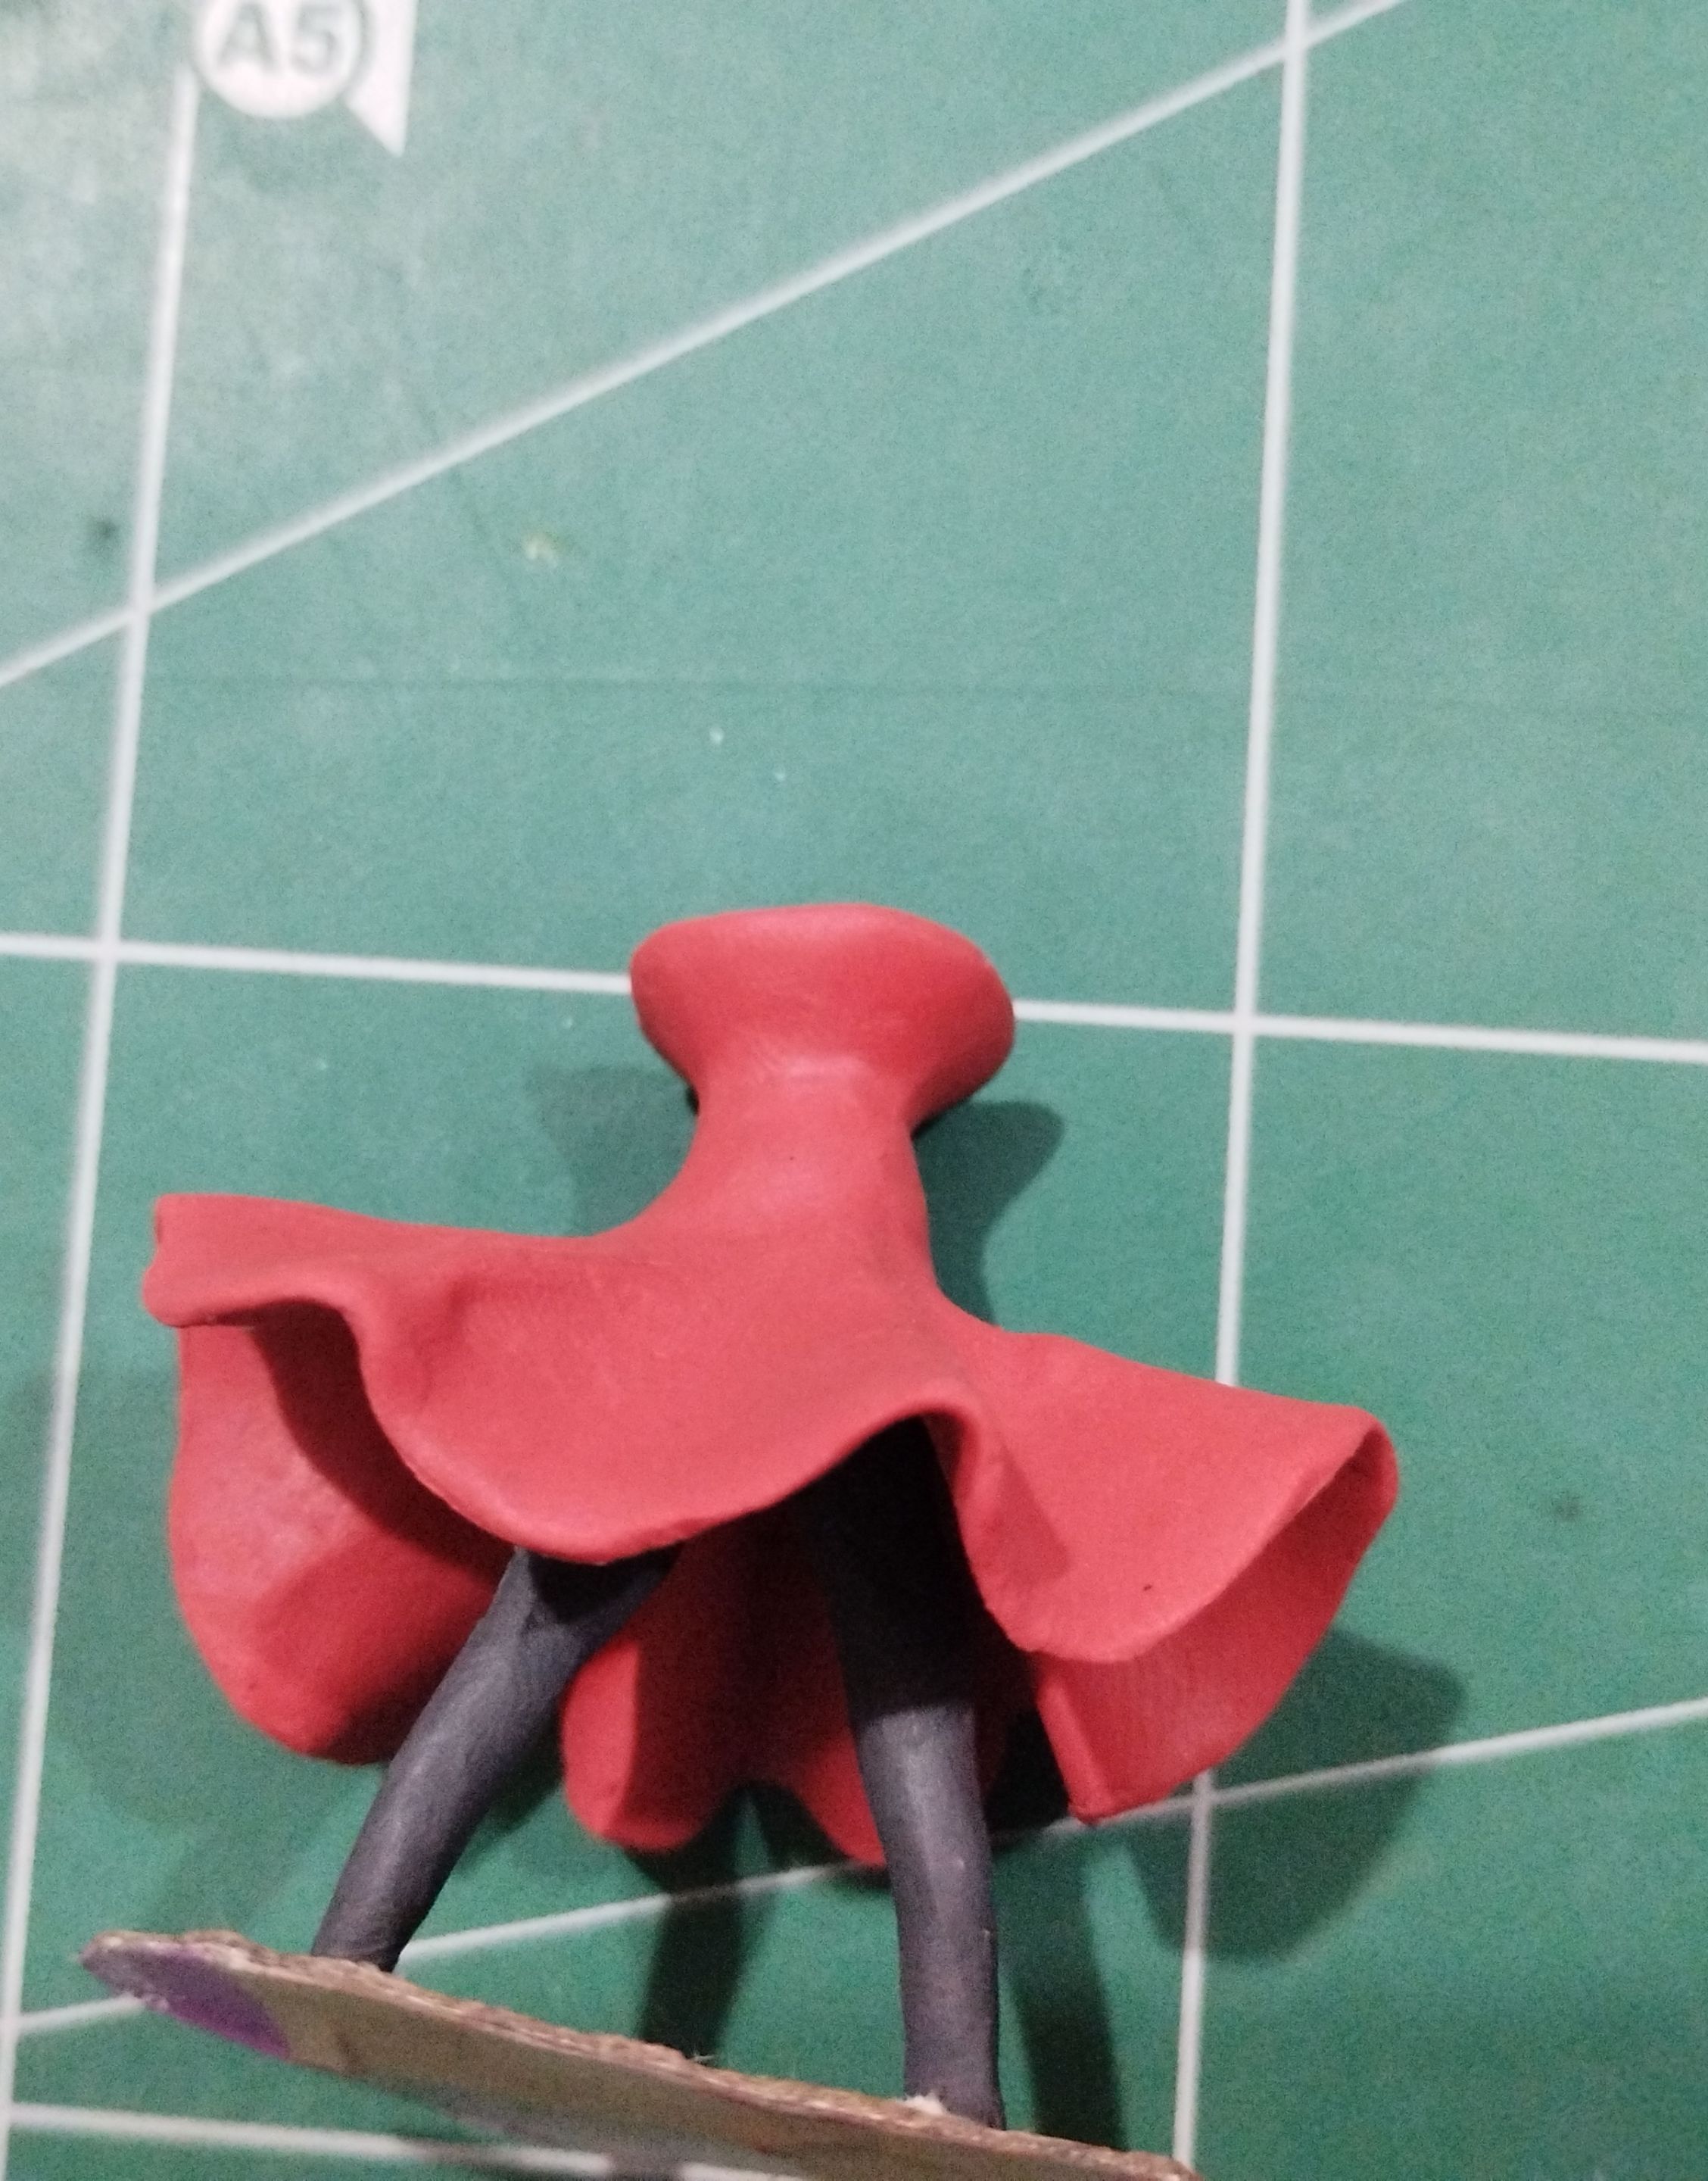
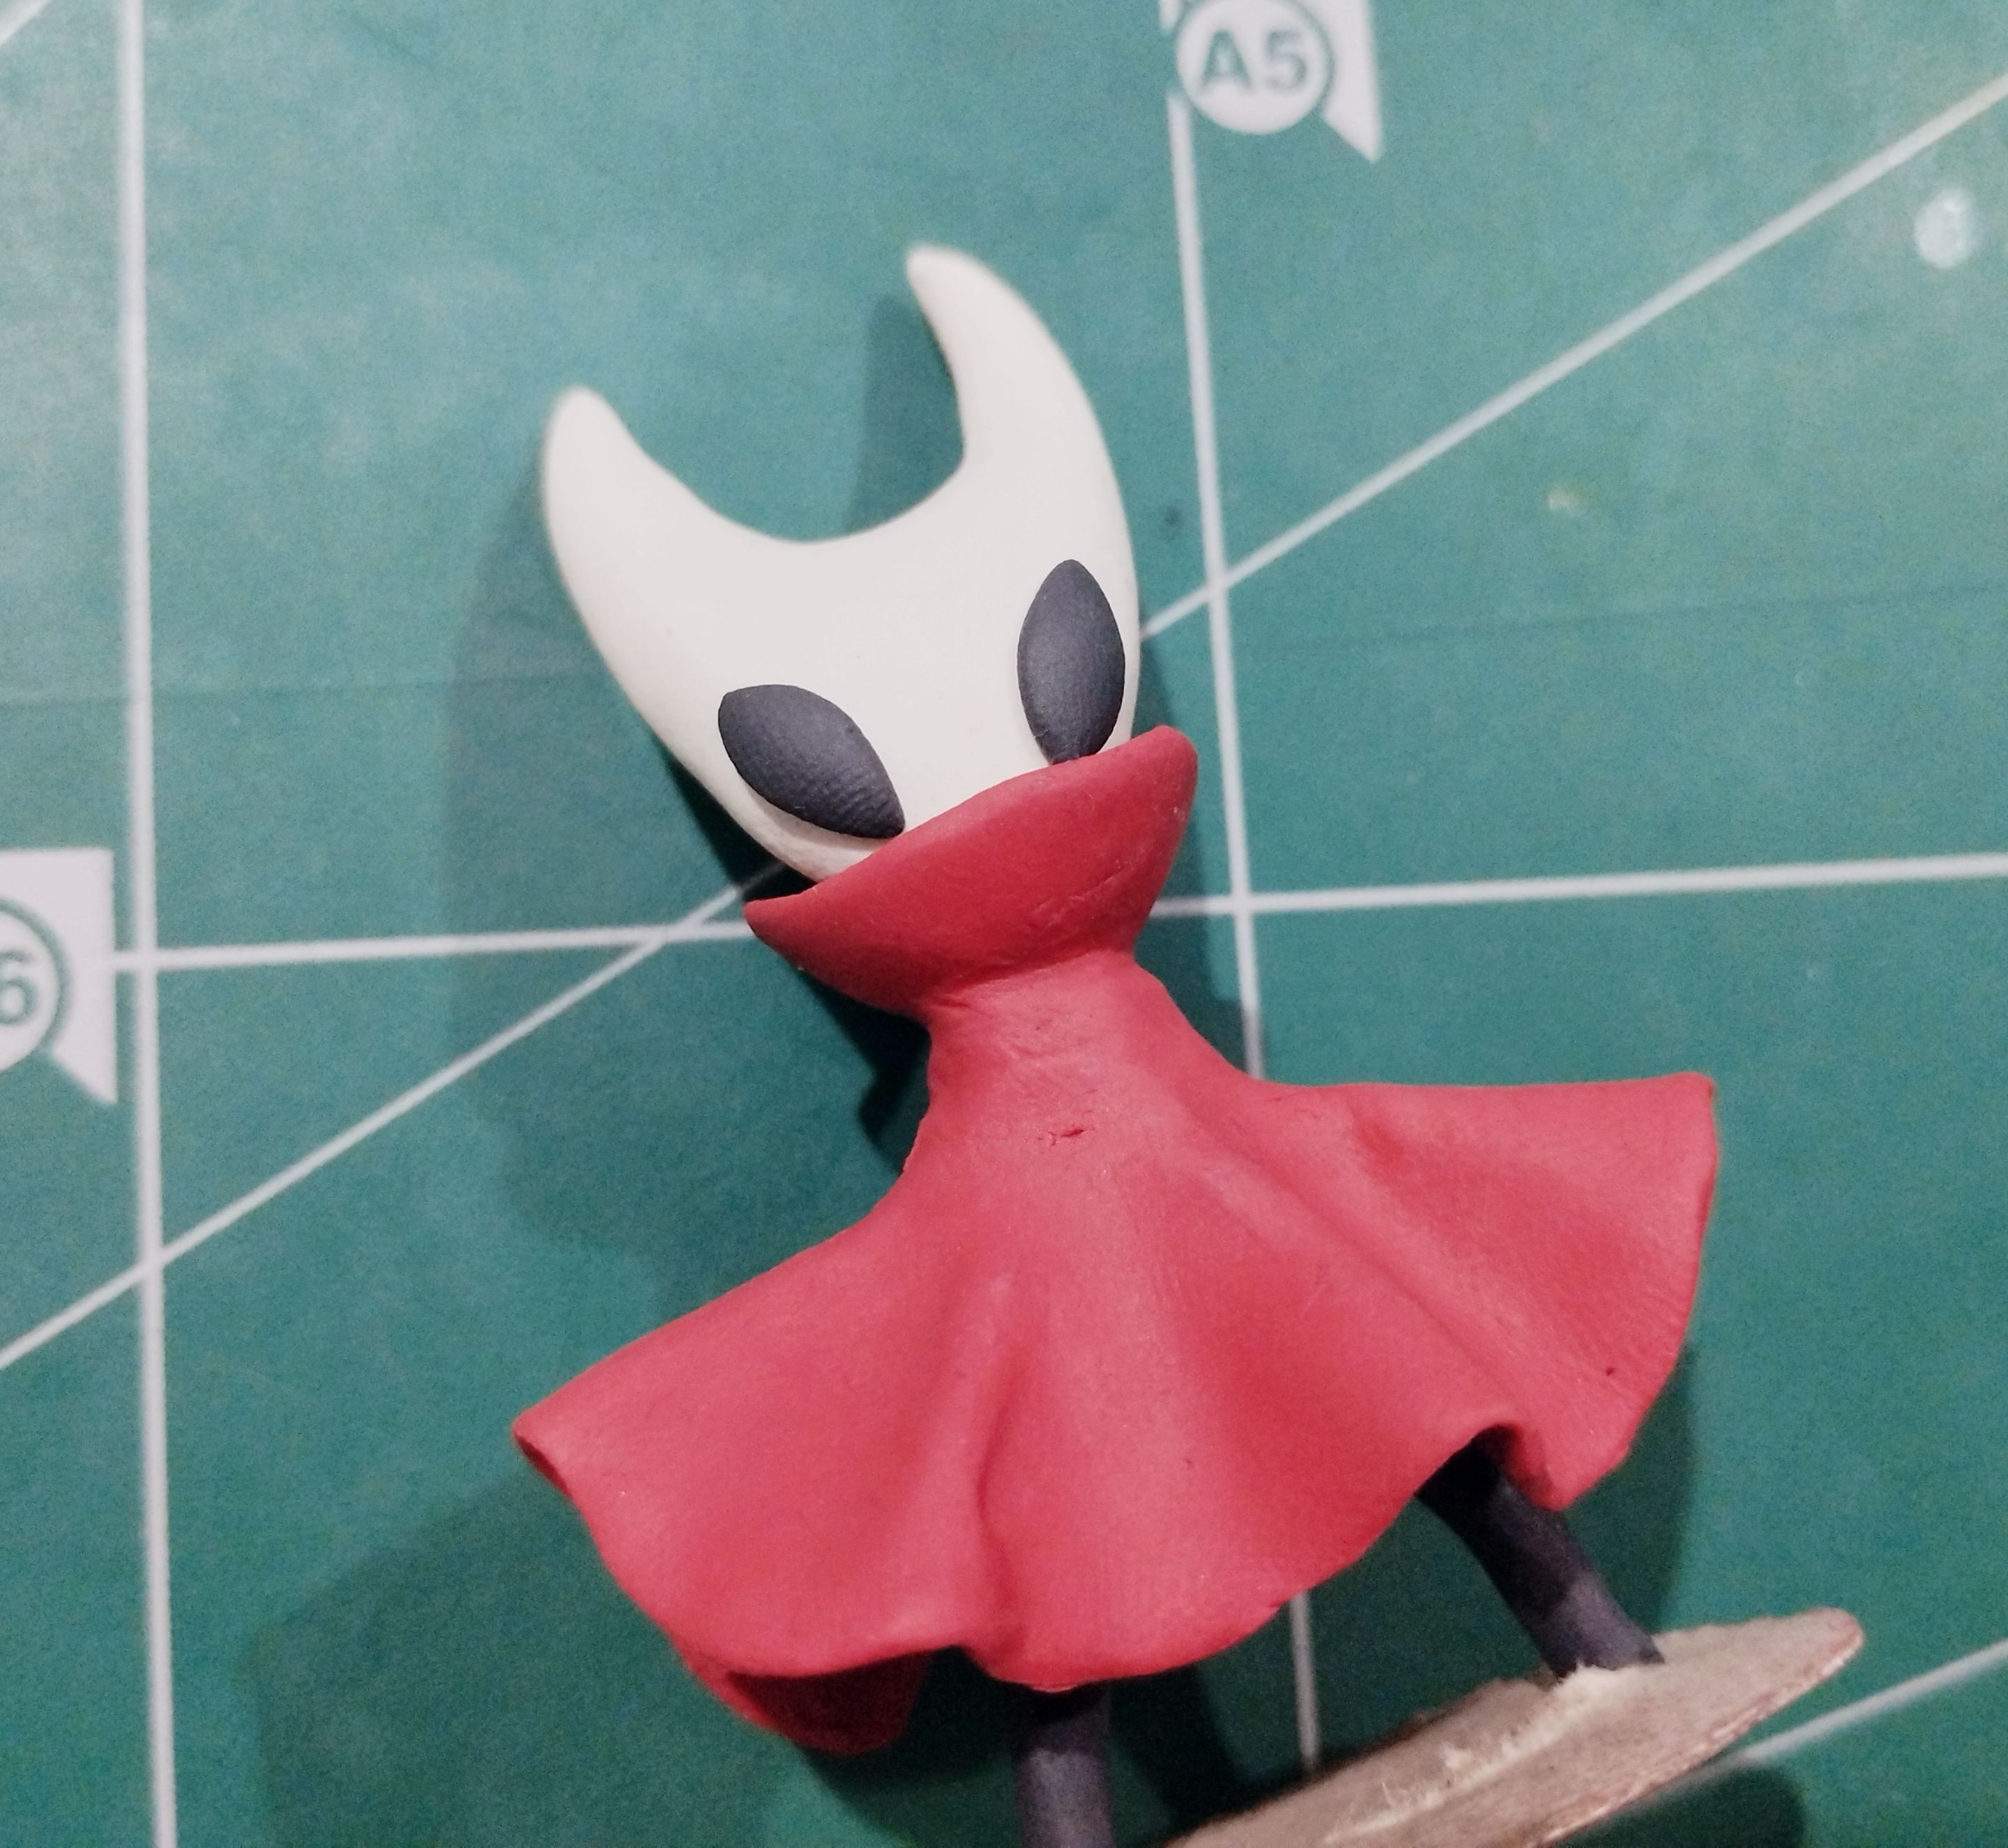
Basically, the lower part of the tunic was ready, but the neck was missing, so I made another little red ball that I stretched around the neck area and shaped into a concave shape for the neck.
>>Básicamente estaba lista la parte baja de la túnica, pero faltaba el cuello, así que hice otra esferita roja que estiré en el área del cuello y le di una forma cóncava para el cuello.
|||
|-|-|
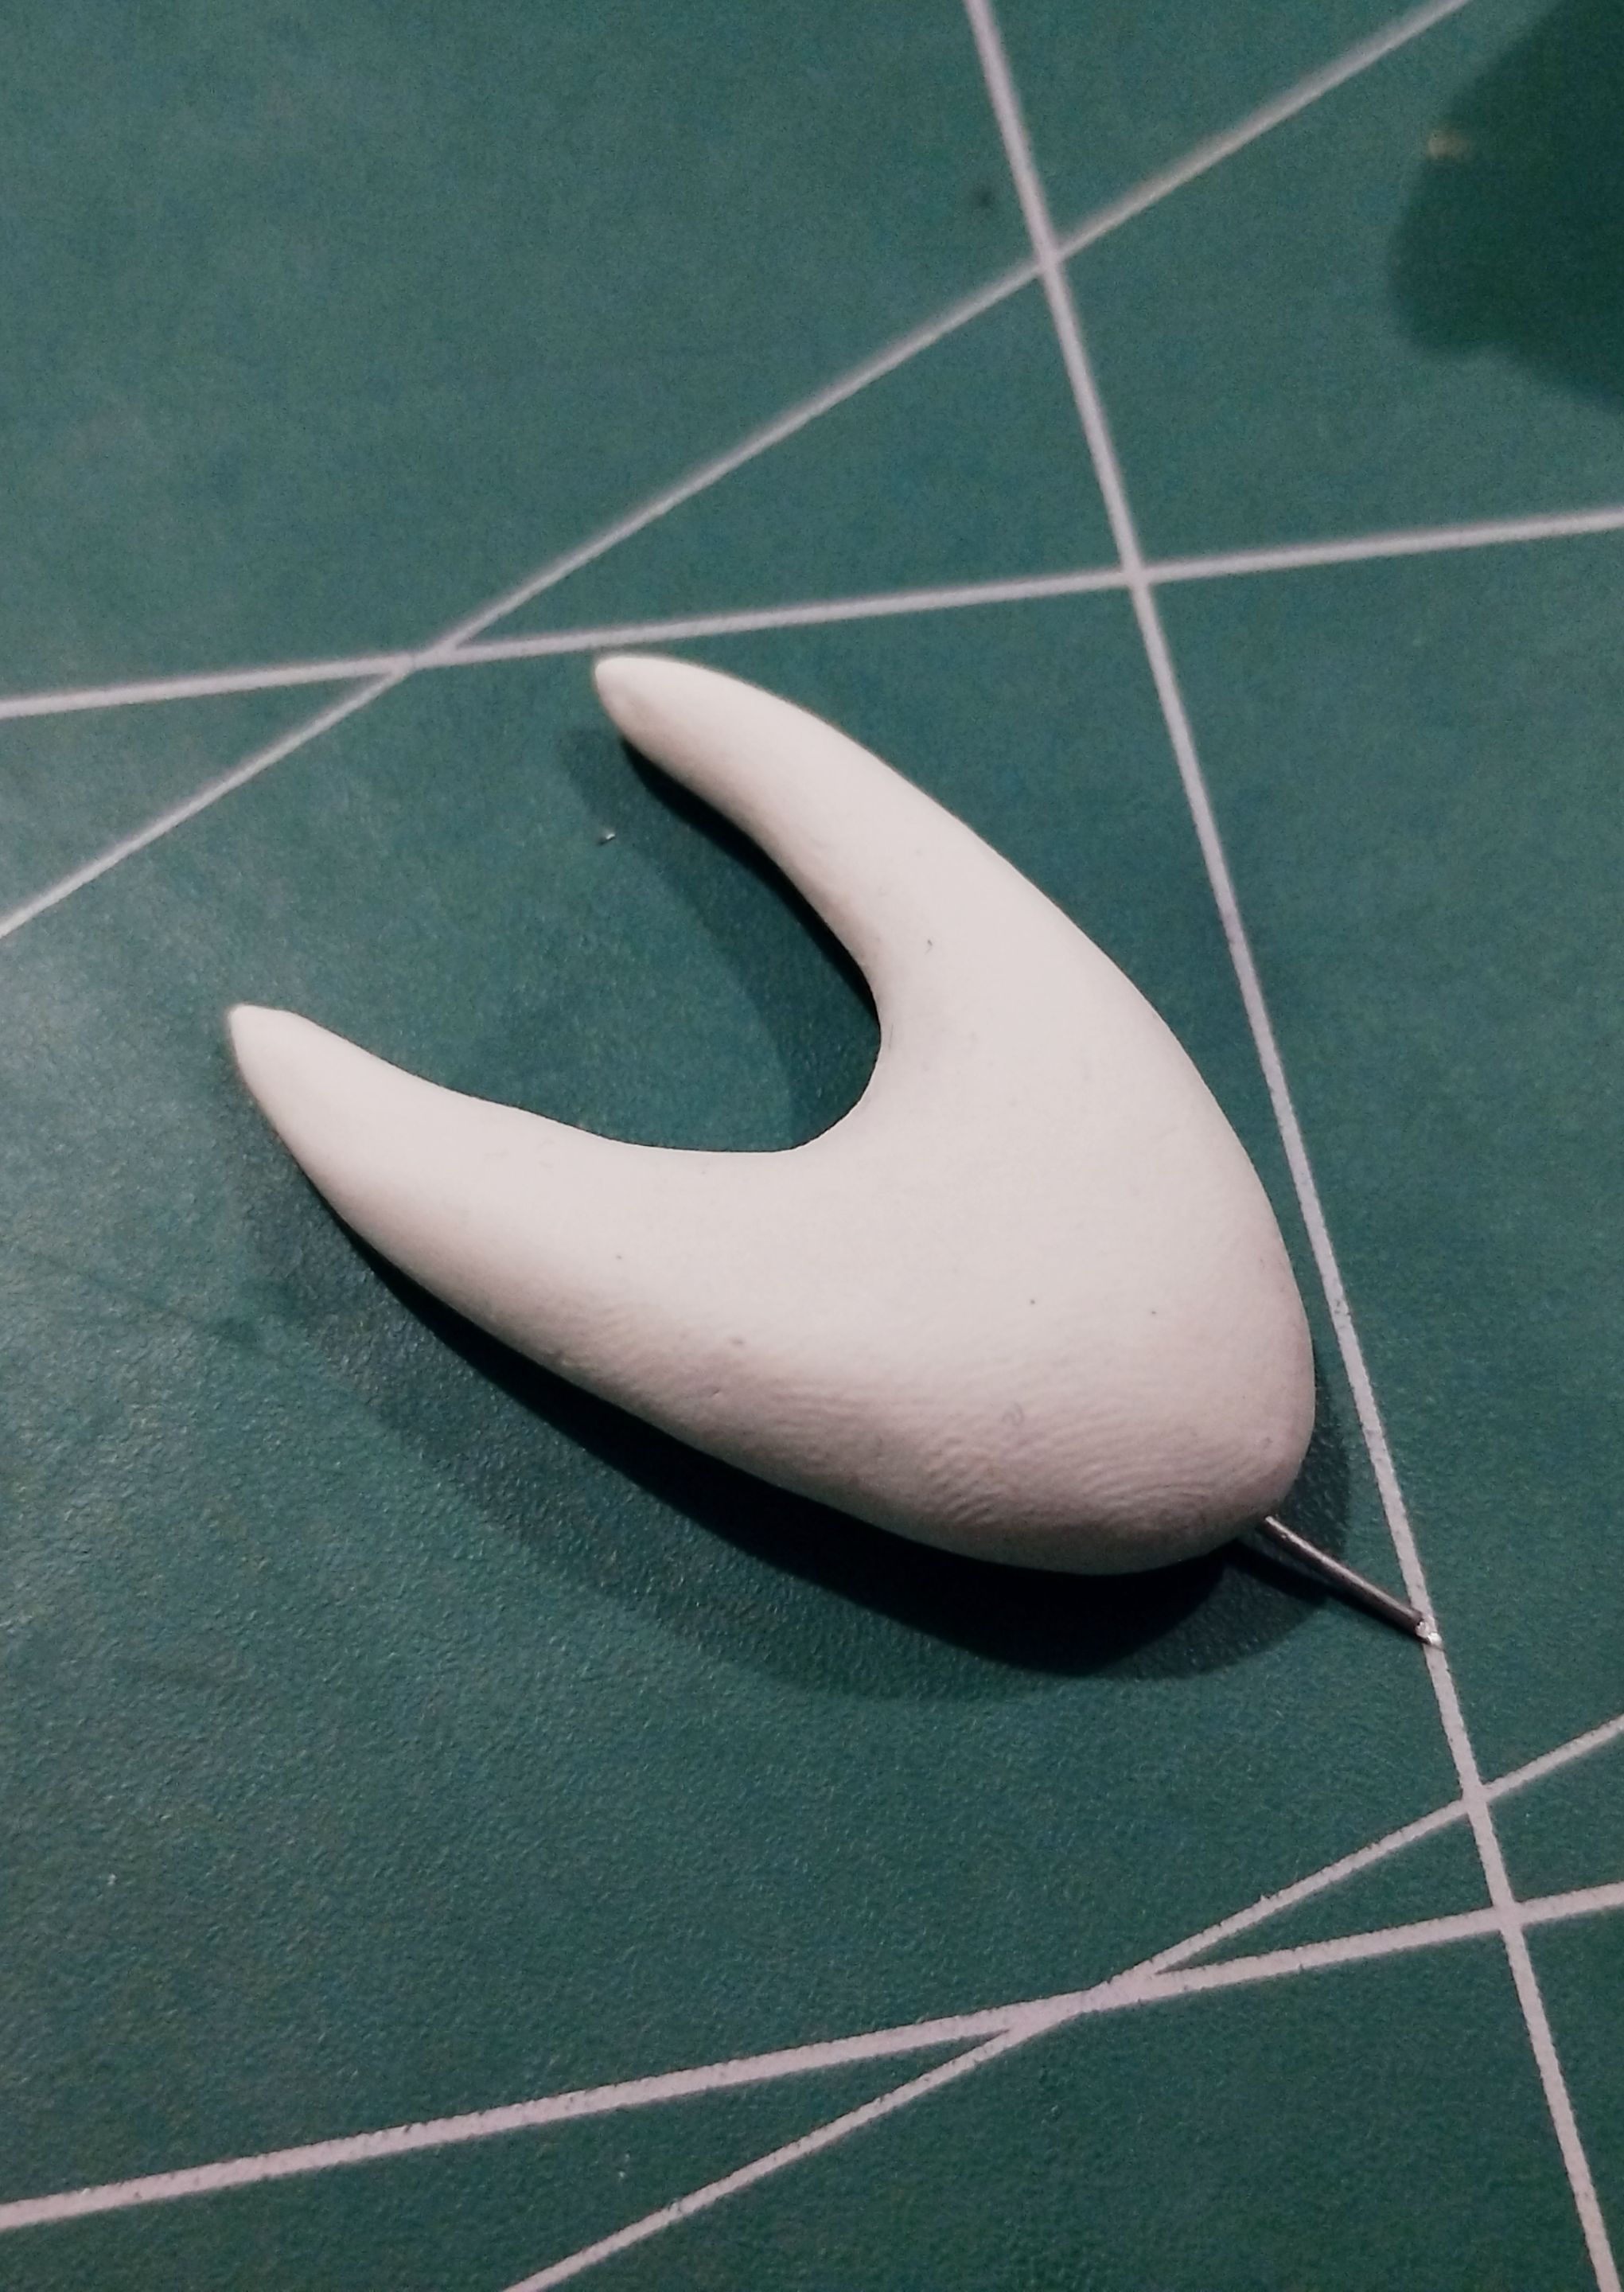
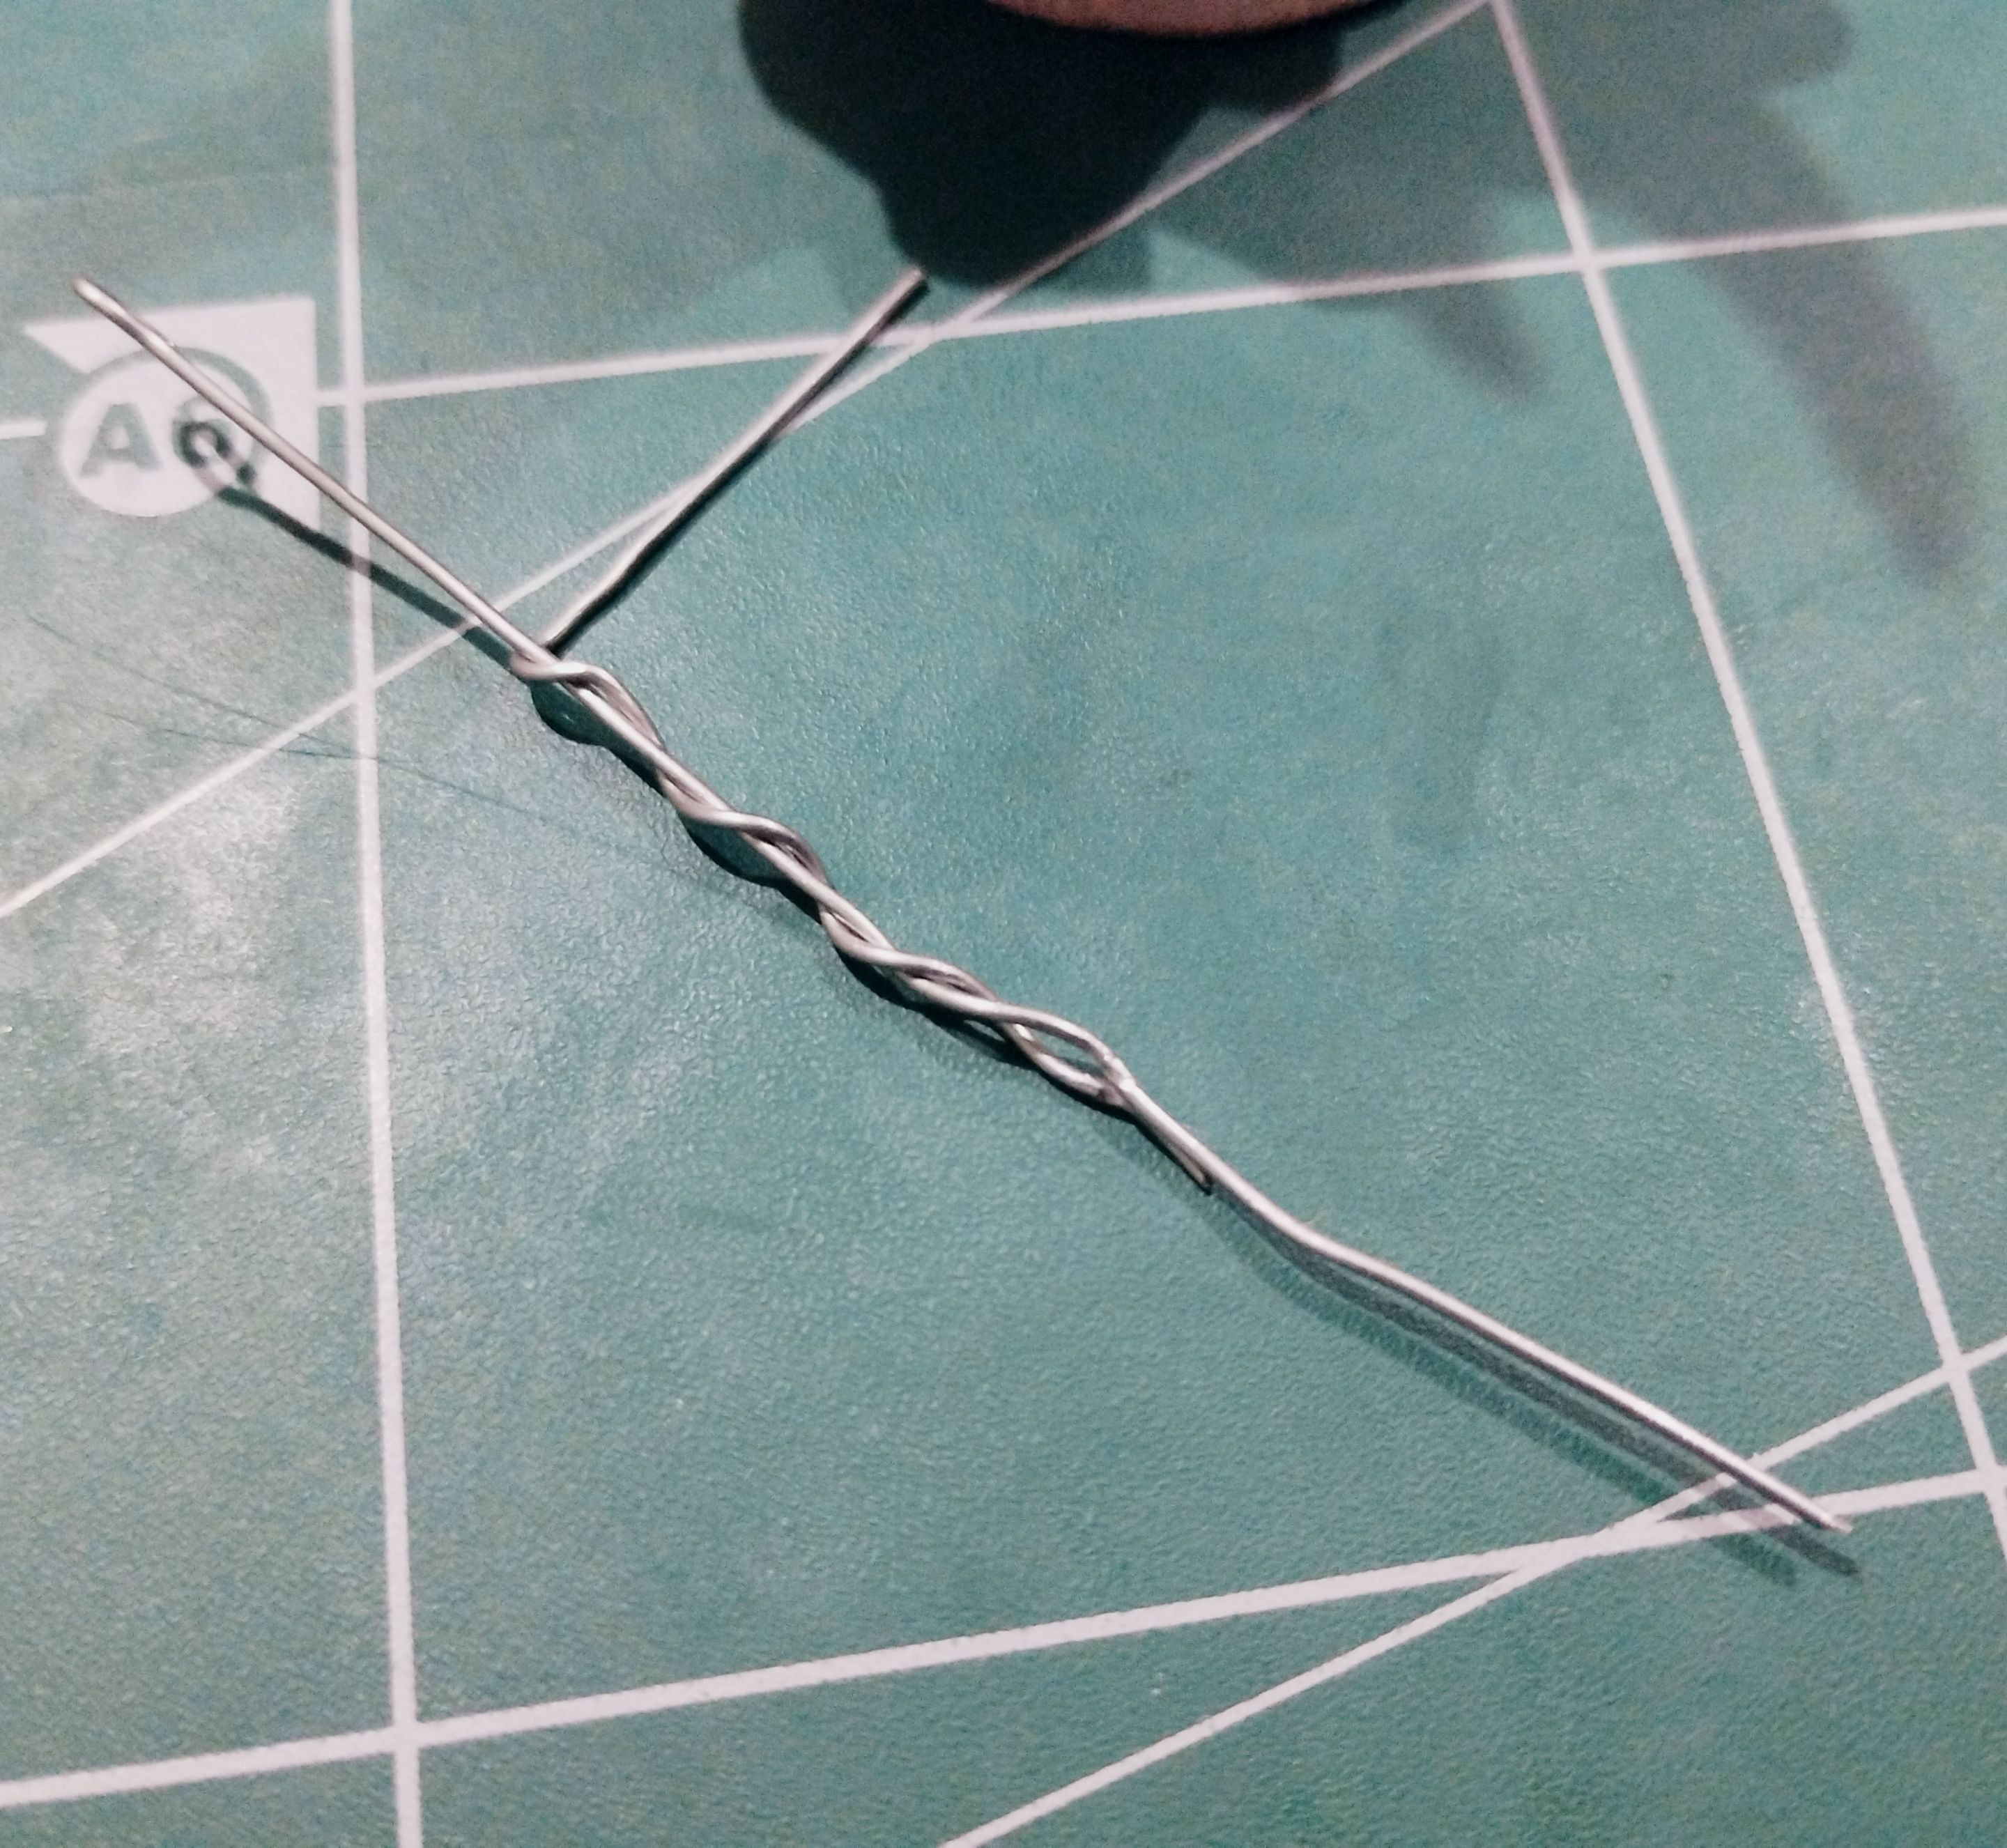
For the head, I also made a V-shaped form, but with wire. This was so that the head would maintain the character's distinctive shape, with the horns pointing upwards.
>>Para la cabeza también hice una forma parecida a una V, pero con alambre. Era para que la cabeza mantuviera esa forma tan característica del personaje, con los cuernitos hacia arriba.
|||
|-|-|
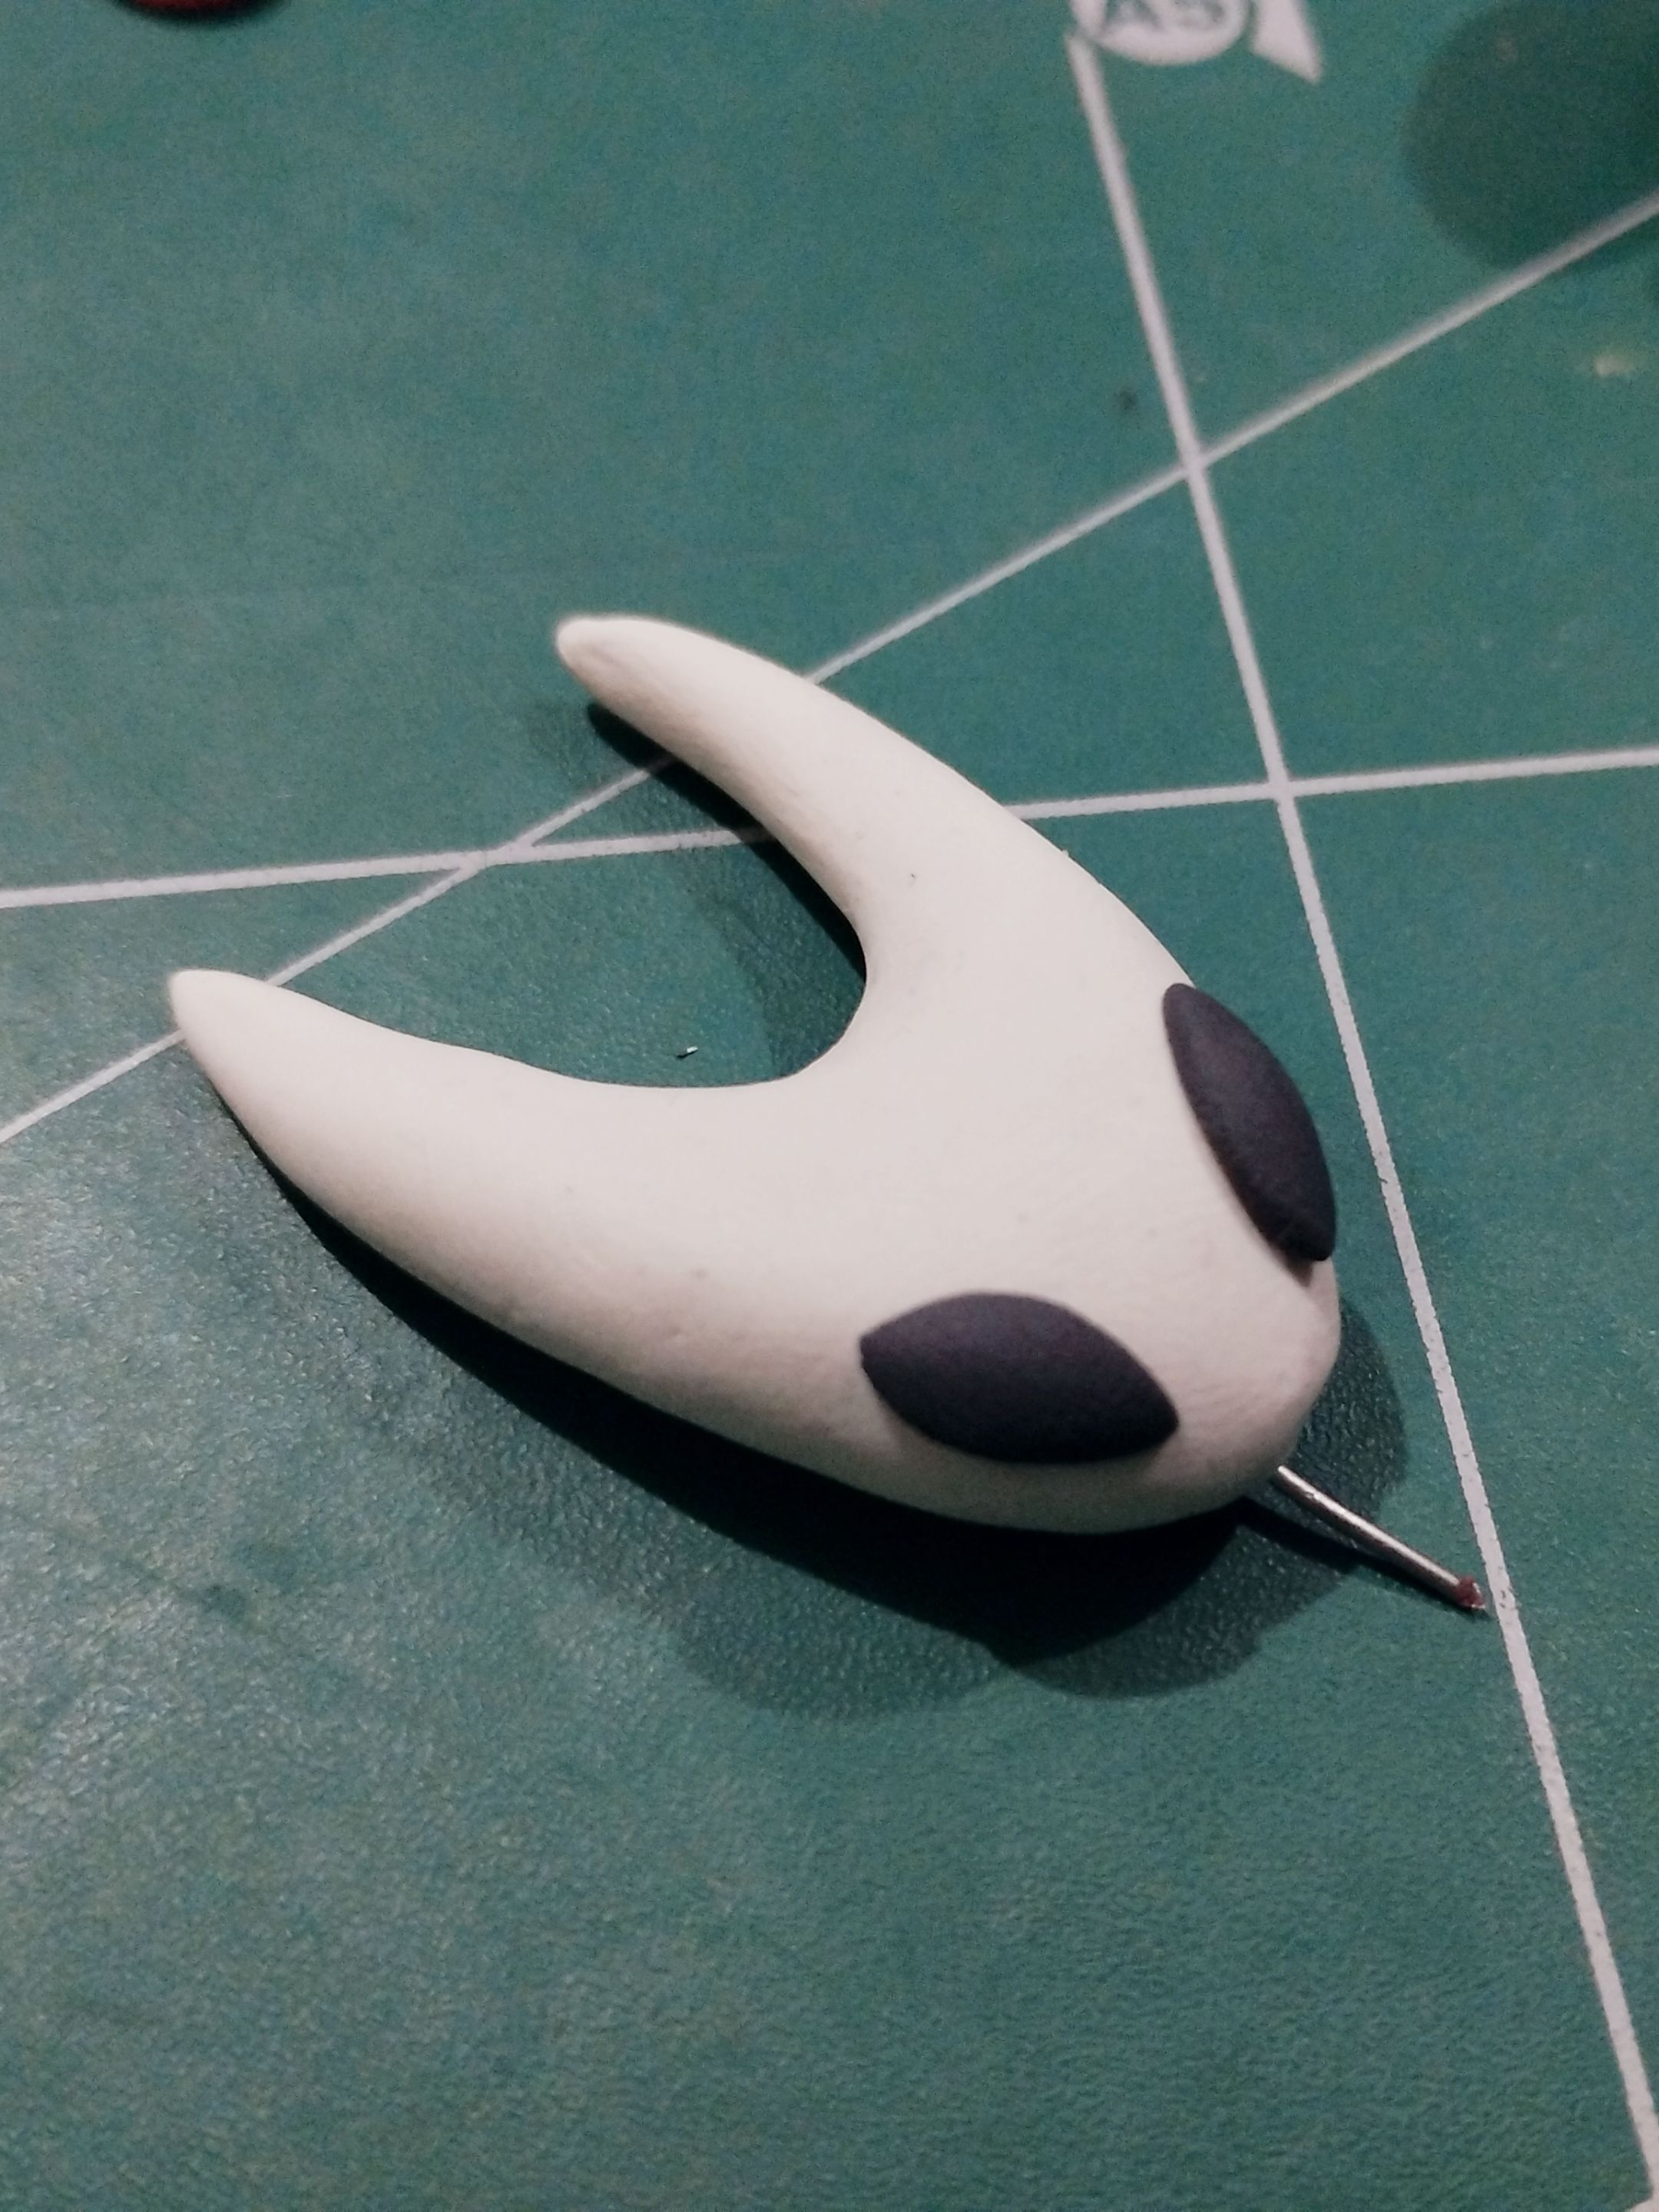
Once the head was done, I continued with the eyes, which are similar to water droplets, pointed at the ends and slightly elongated. The same head with that piece of wire fit perfectly into the concave shape of the neck I had made earlier.
>>Una vez hecha la cabeza, continué con los ojos, los cuales son parecidos a gotas de agua puntiagudas en los extremos y un poco más alargadas. La misma cabeza con ese trocito de alambre calzó perfecto en la forma cóncava del cuello que había hecho antes.
|||
|-|-|
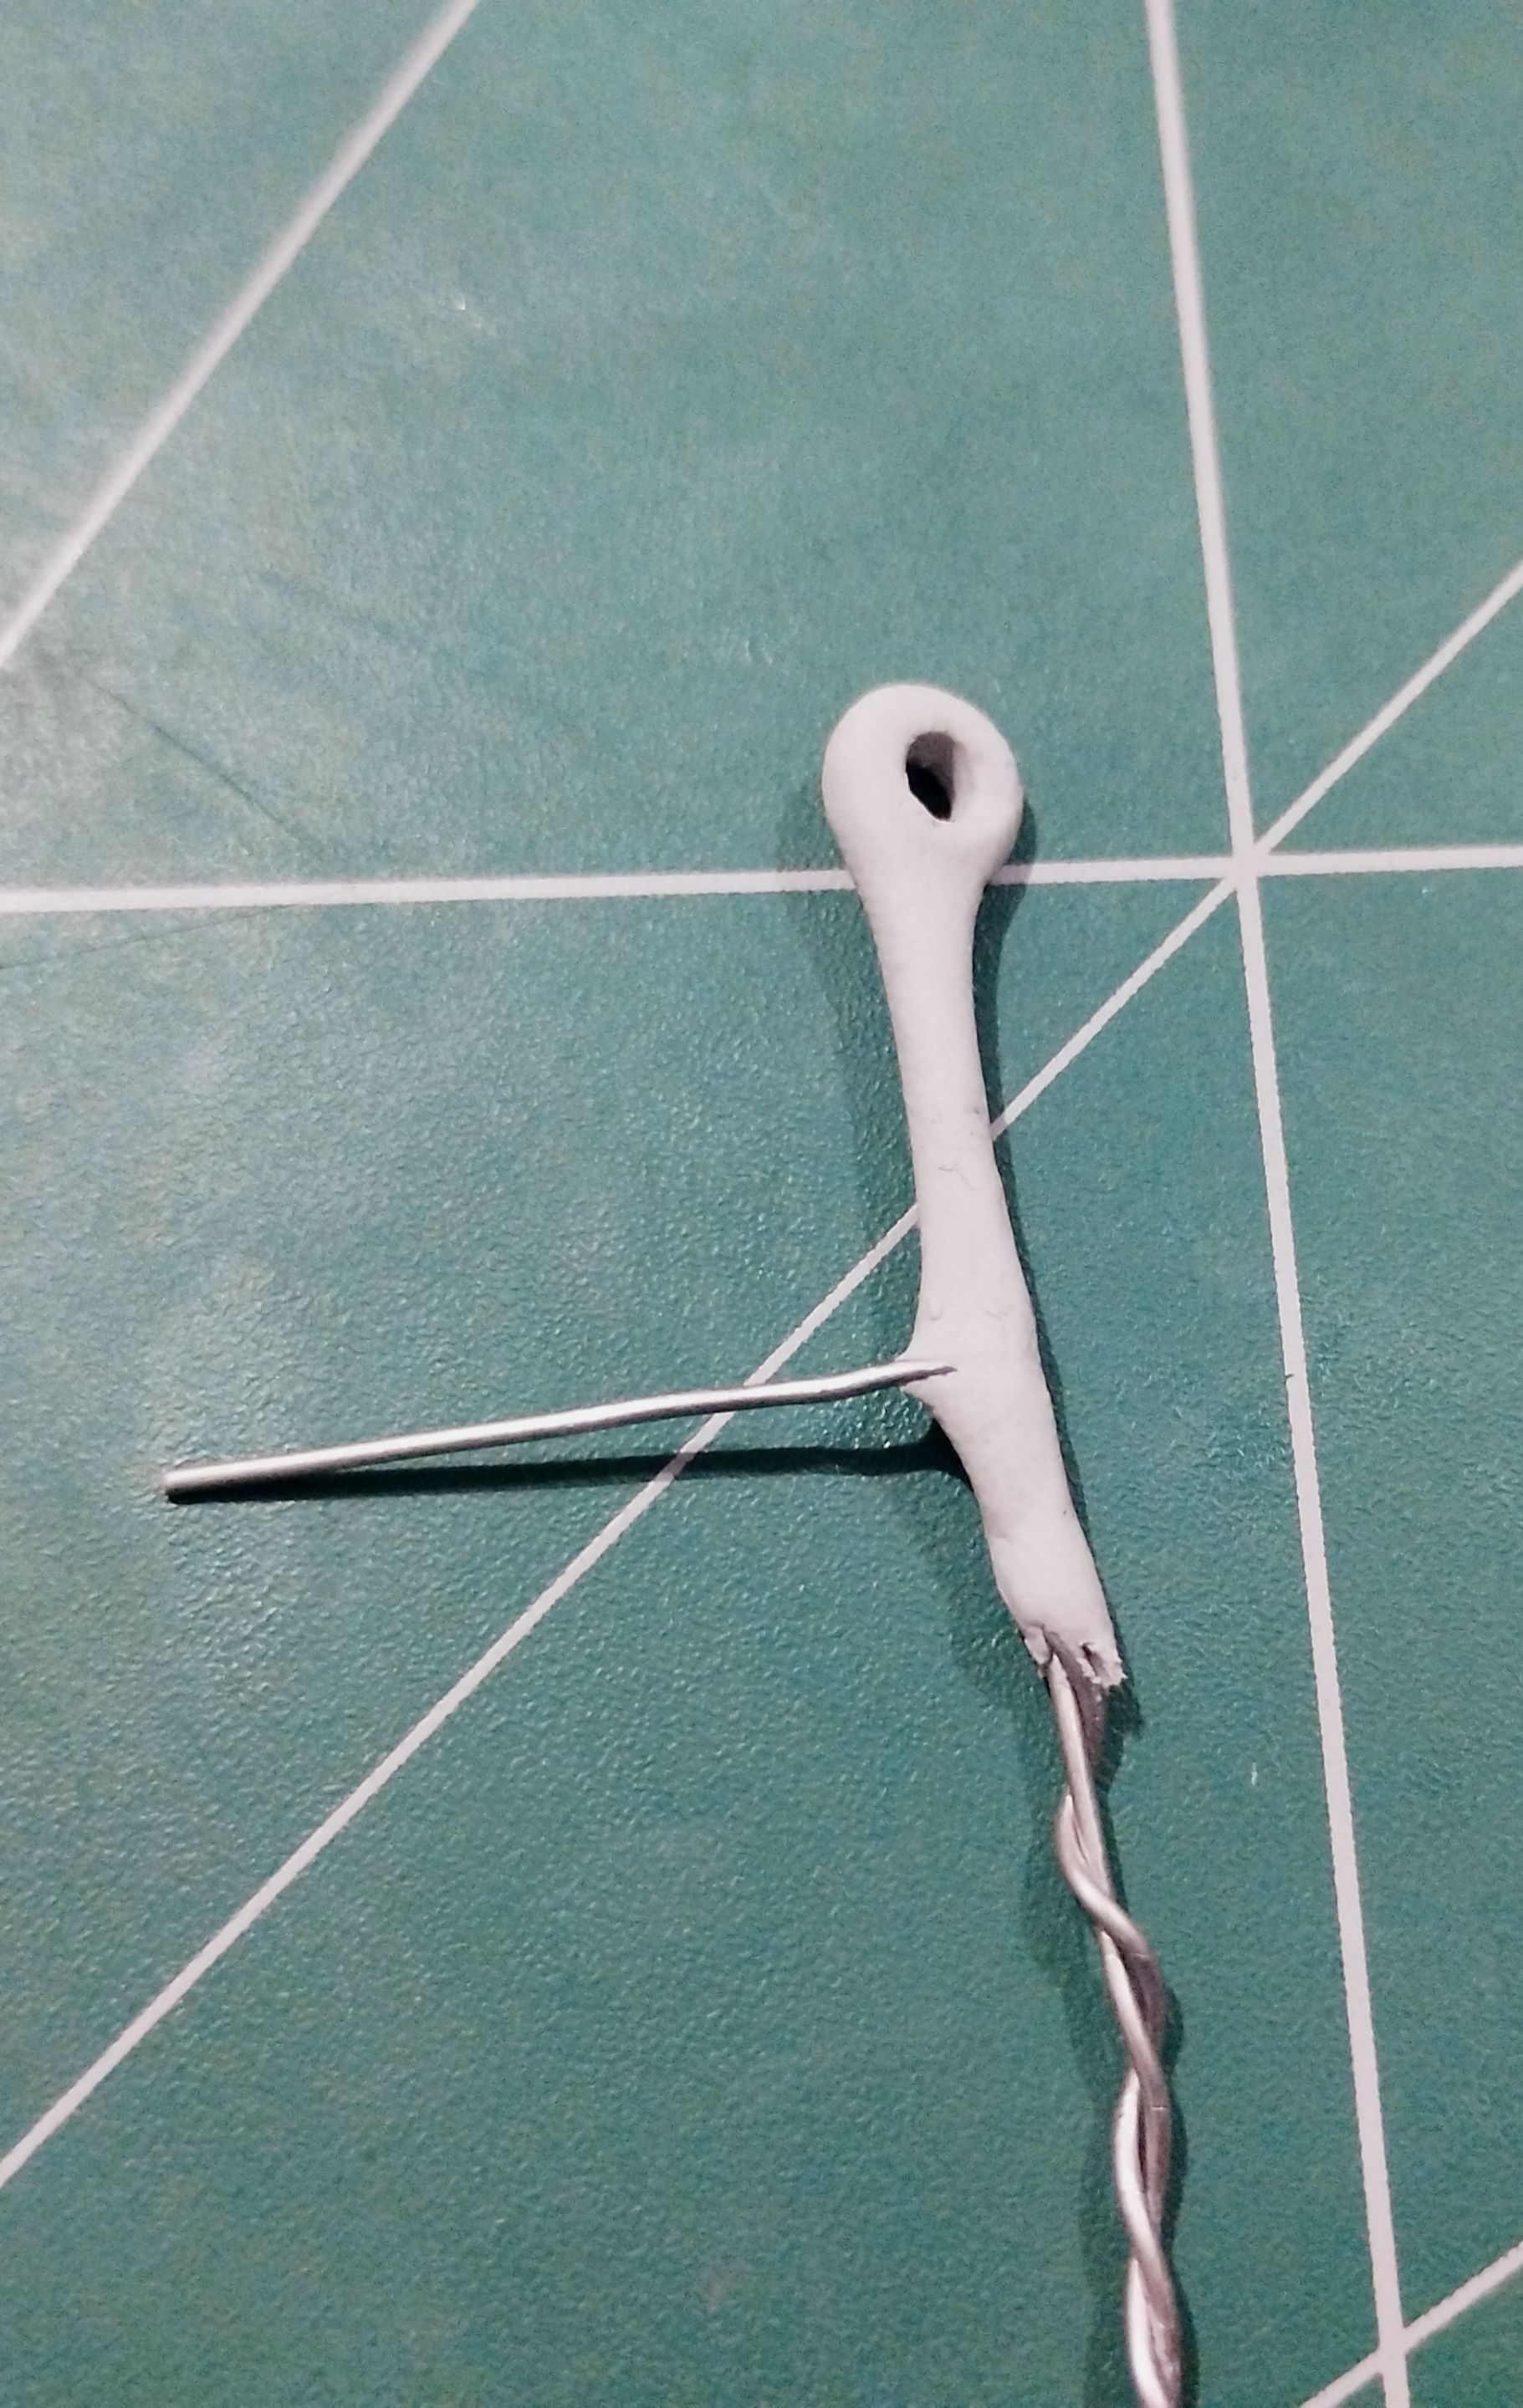
I also made another support for the arm and the weapon, as it is a really long weapon and needs a support so that it can stay in place and not fall over. I covered the whole piece with white plasticine, trying to give it the best possible shape for a sword/spear.
>>También hice otro soporte para el brazo y el arma, pues es una arma realmente larga y necesita un soporte para que esta pueda quedar bien y no se caiga. Toda la pieza la cubrí con plastilina blanca, tratando de dar la mejor forma posible a una espada/aguja.
|||
|-|-|
Finally, I assembled all the pieces and left everything in place, adding a little glue to make the pieces stronger.
>>Finalmente armé todas las piezas y dejé todo en su lugar. agregando un poco de pegamento para dar mayor fuerza a las piezas.
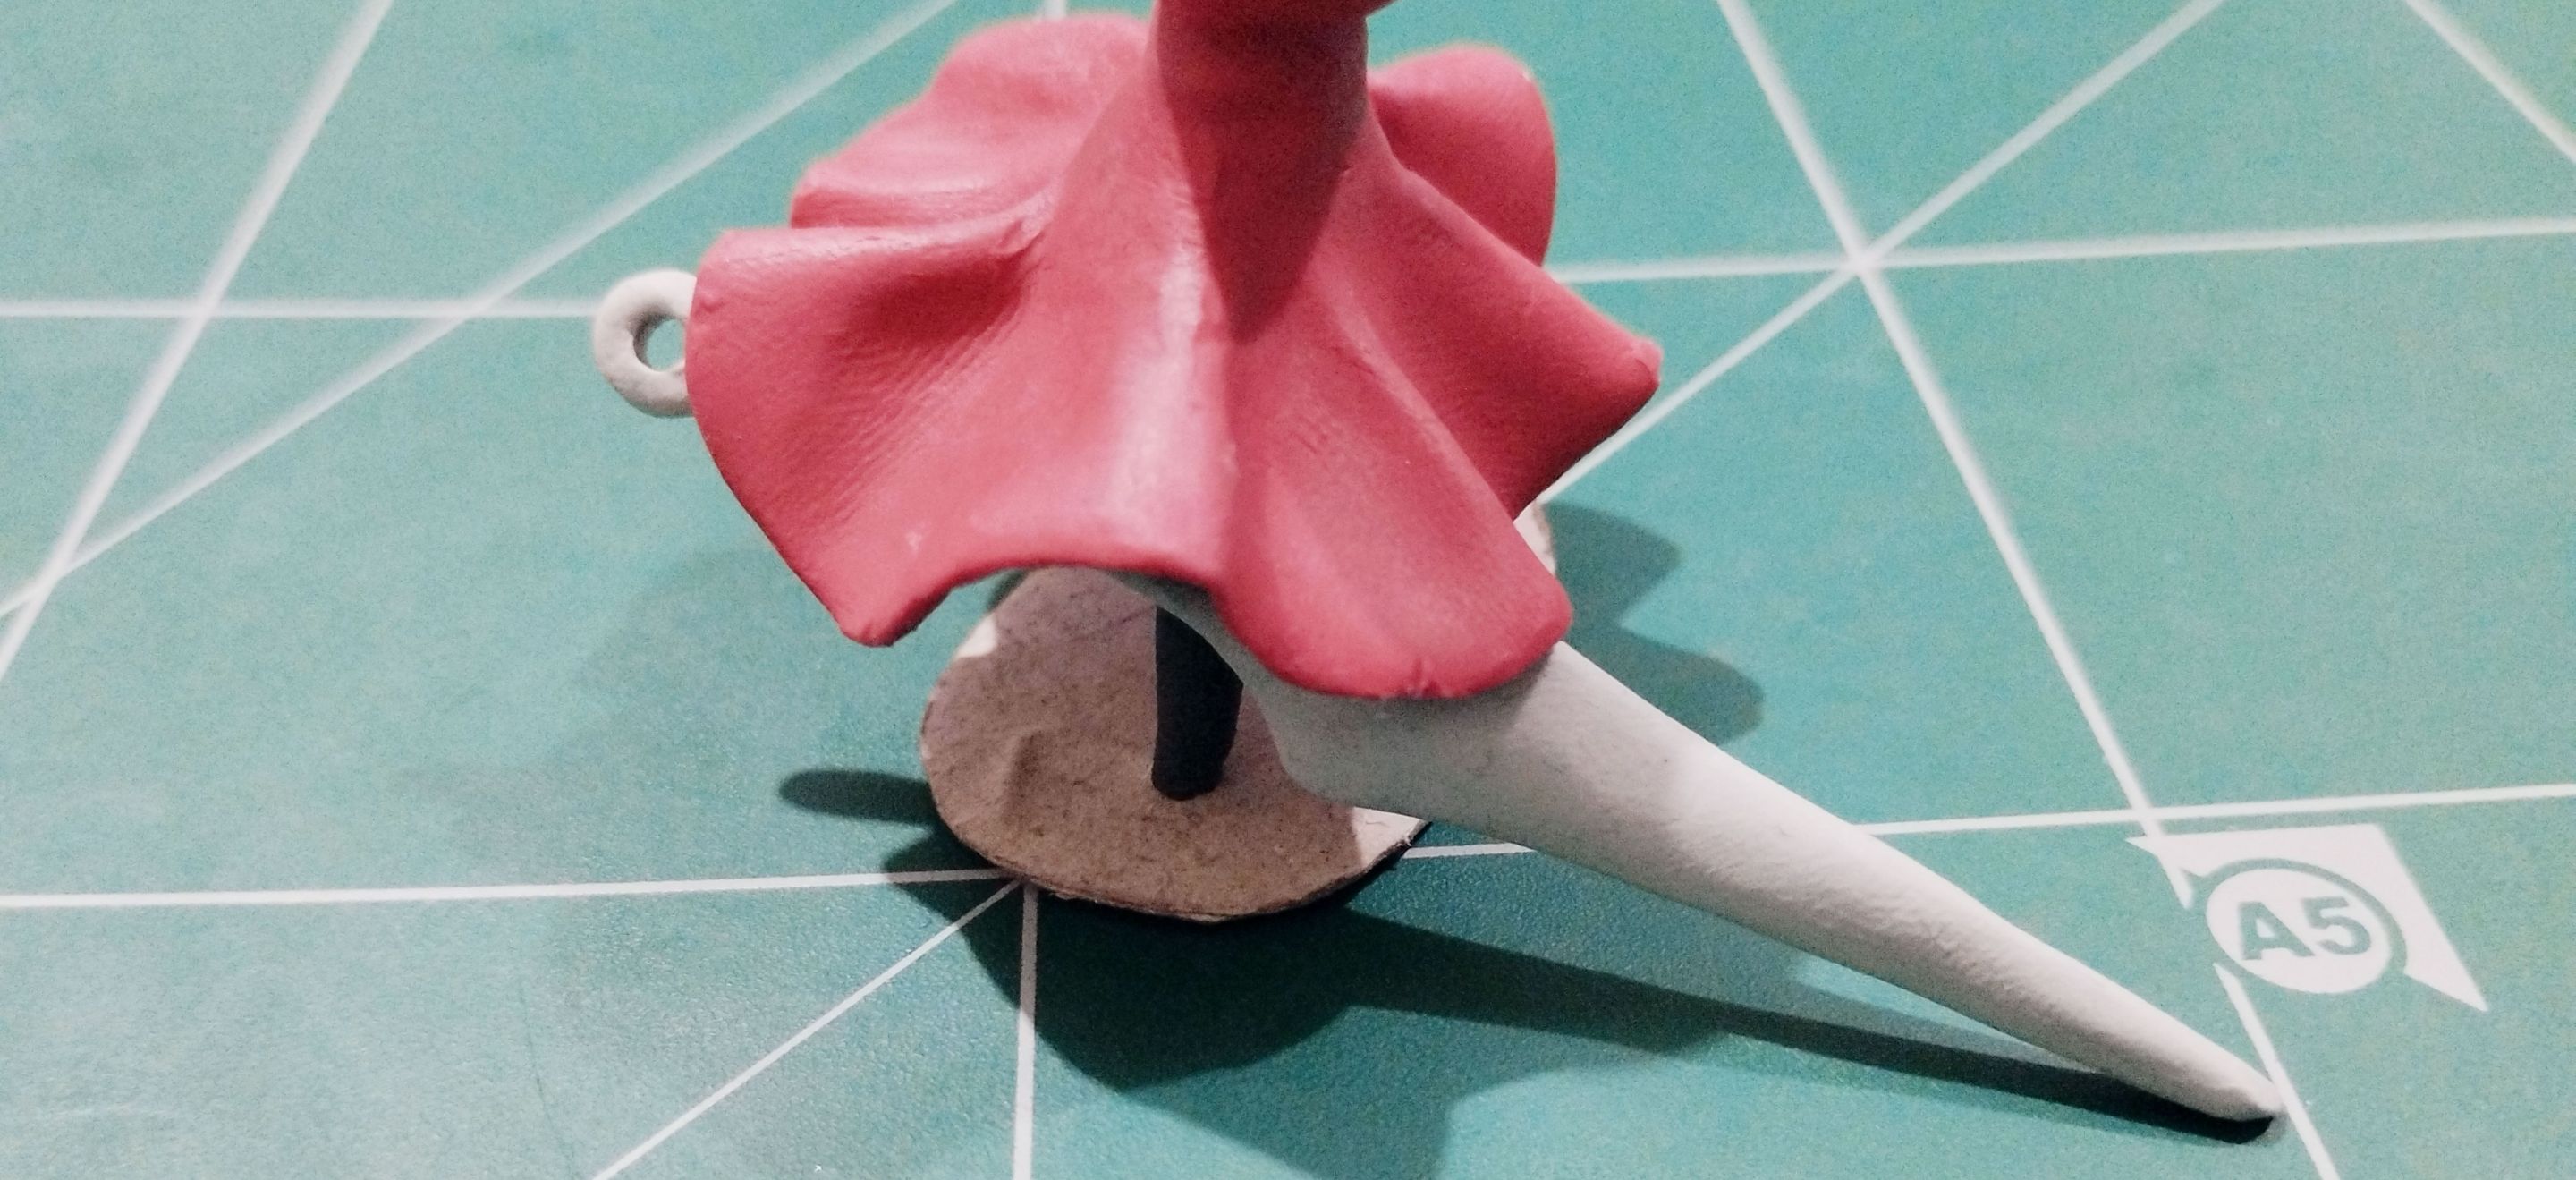
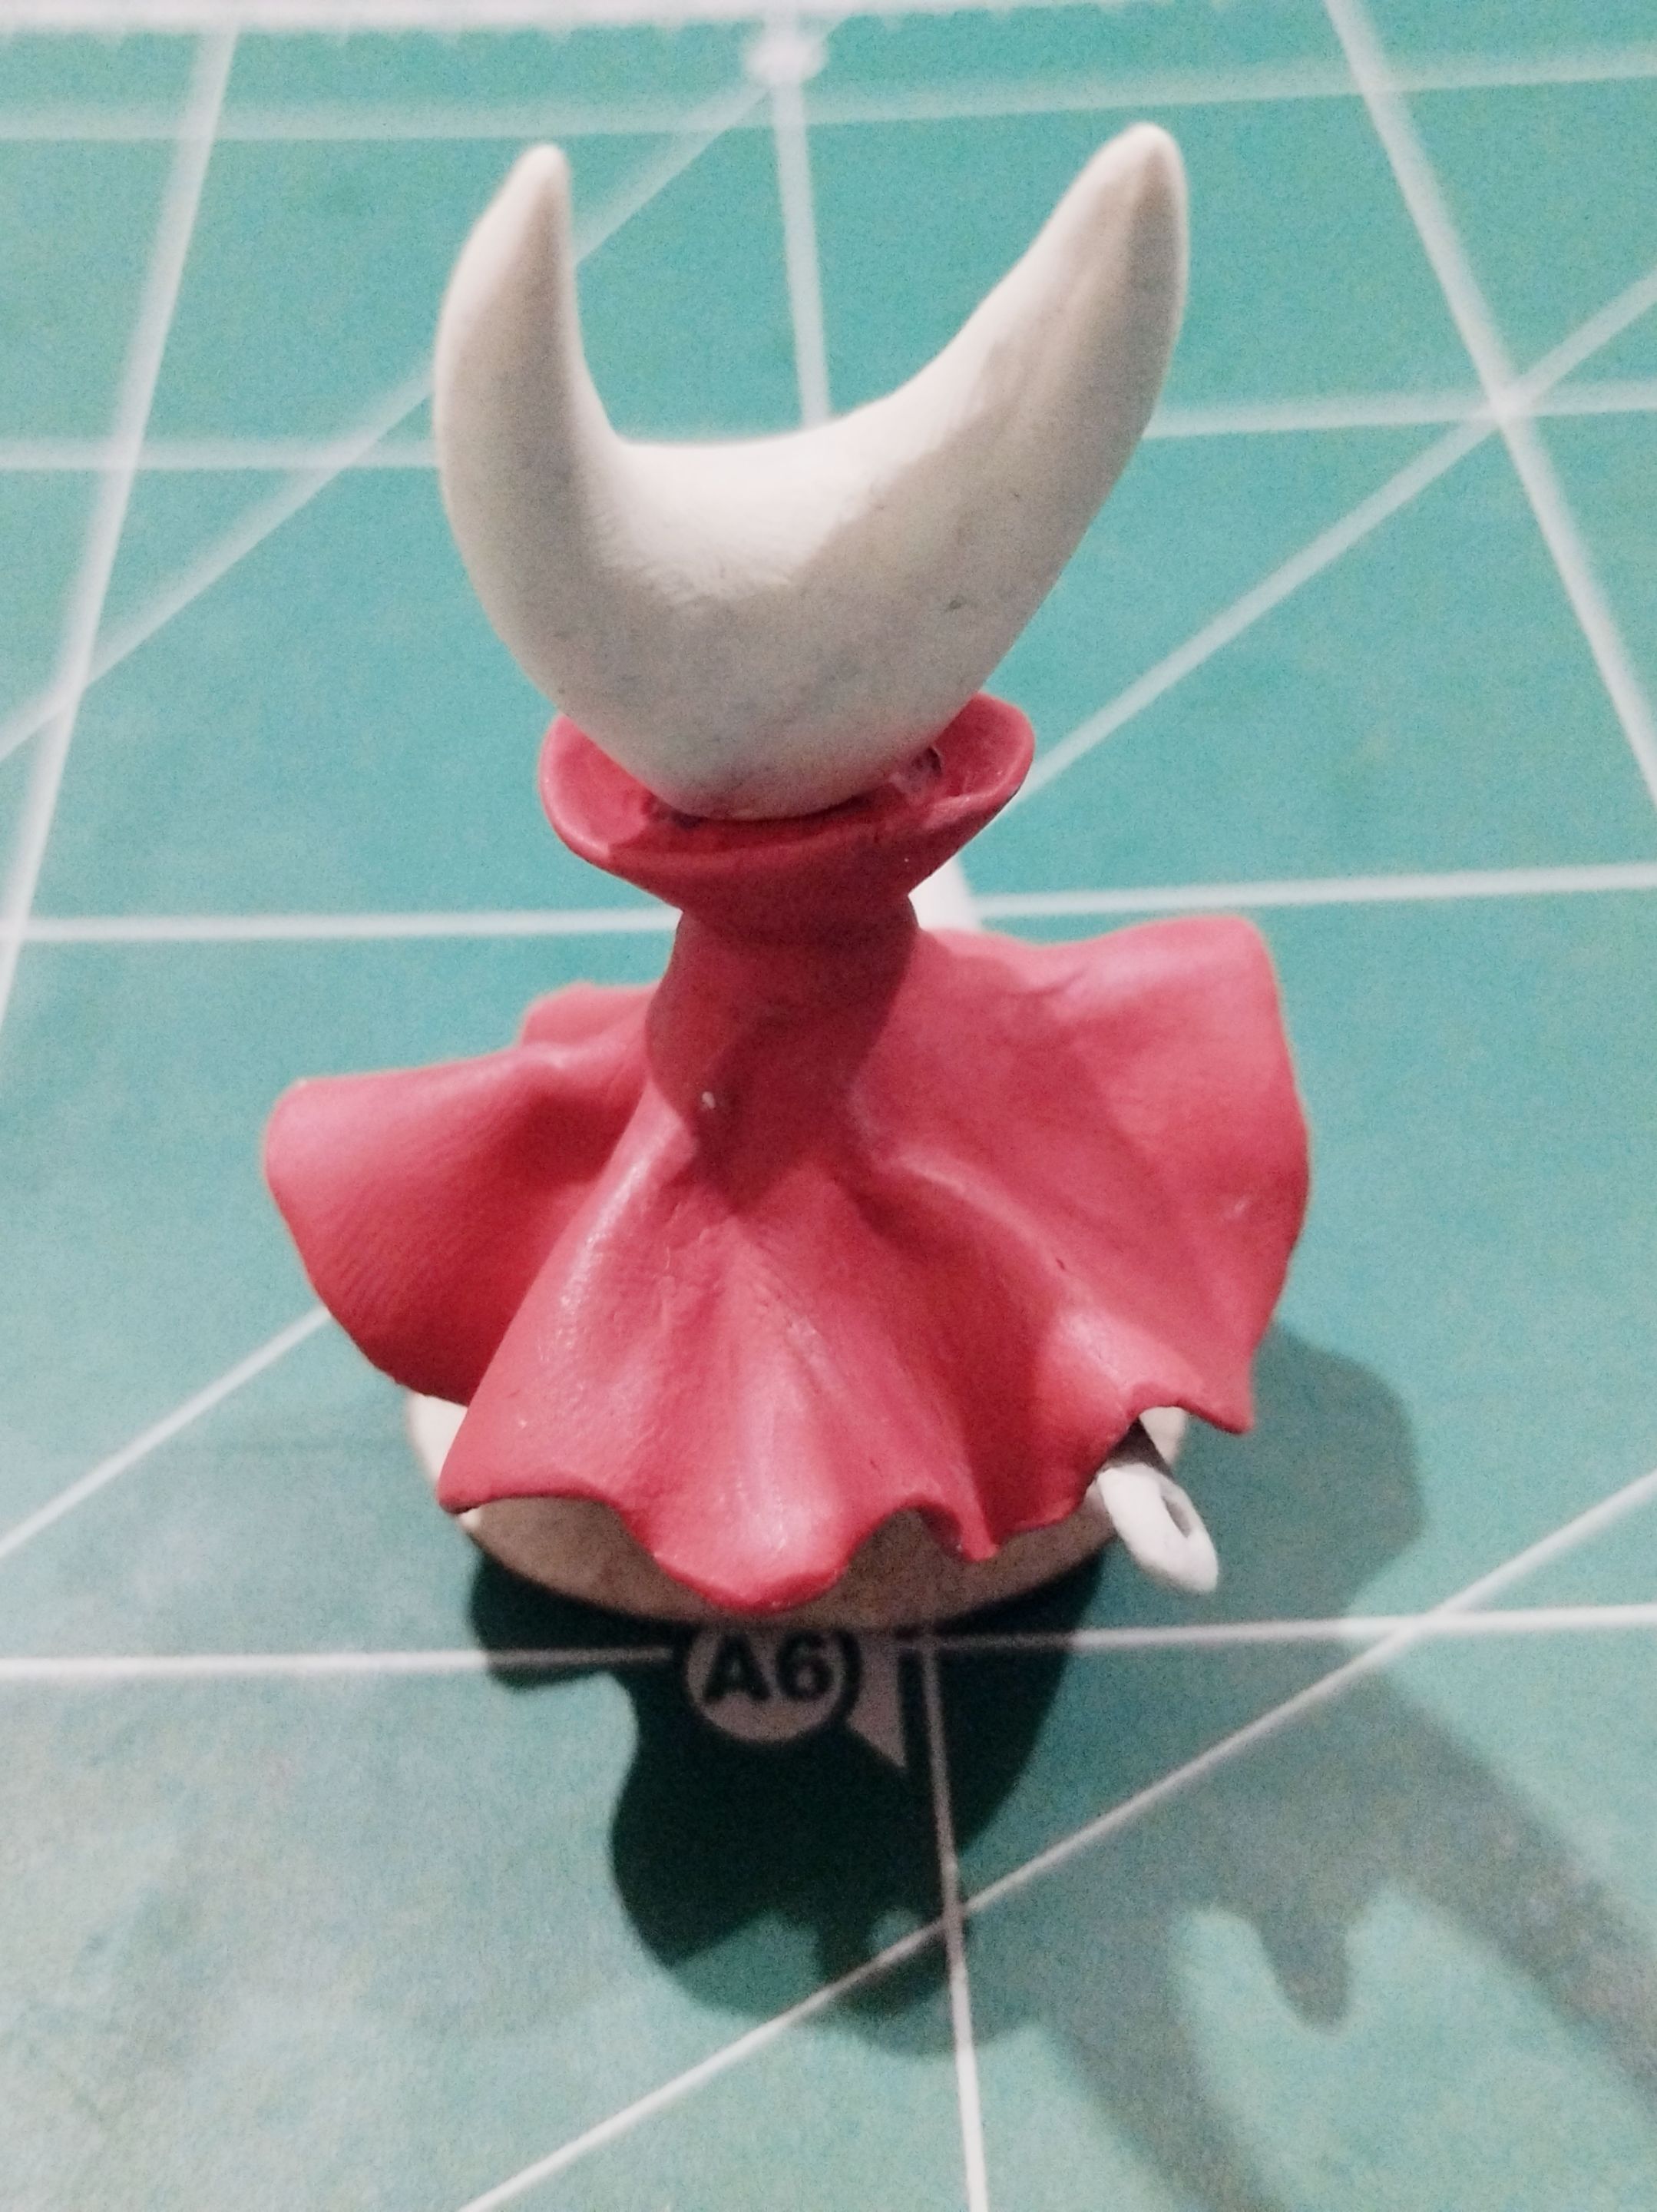
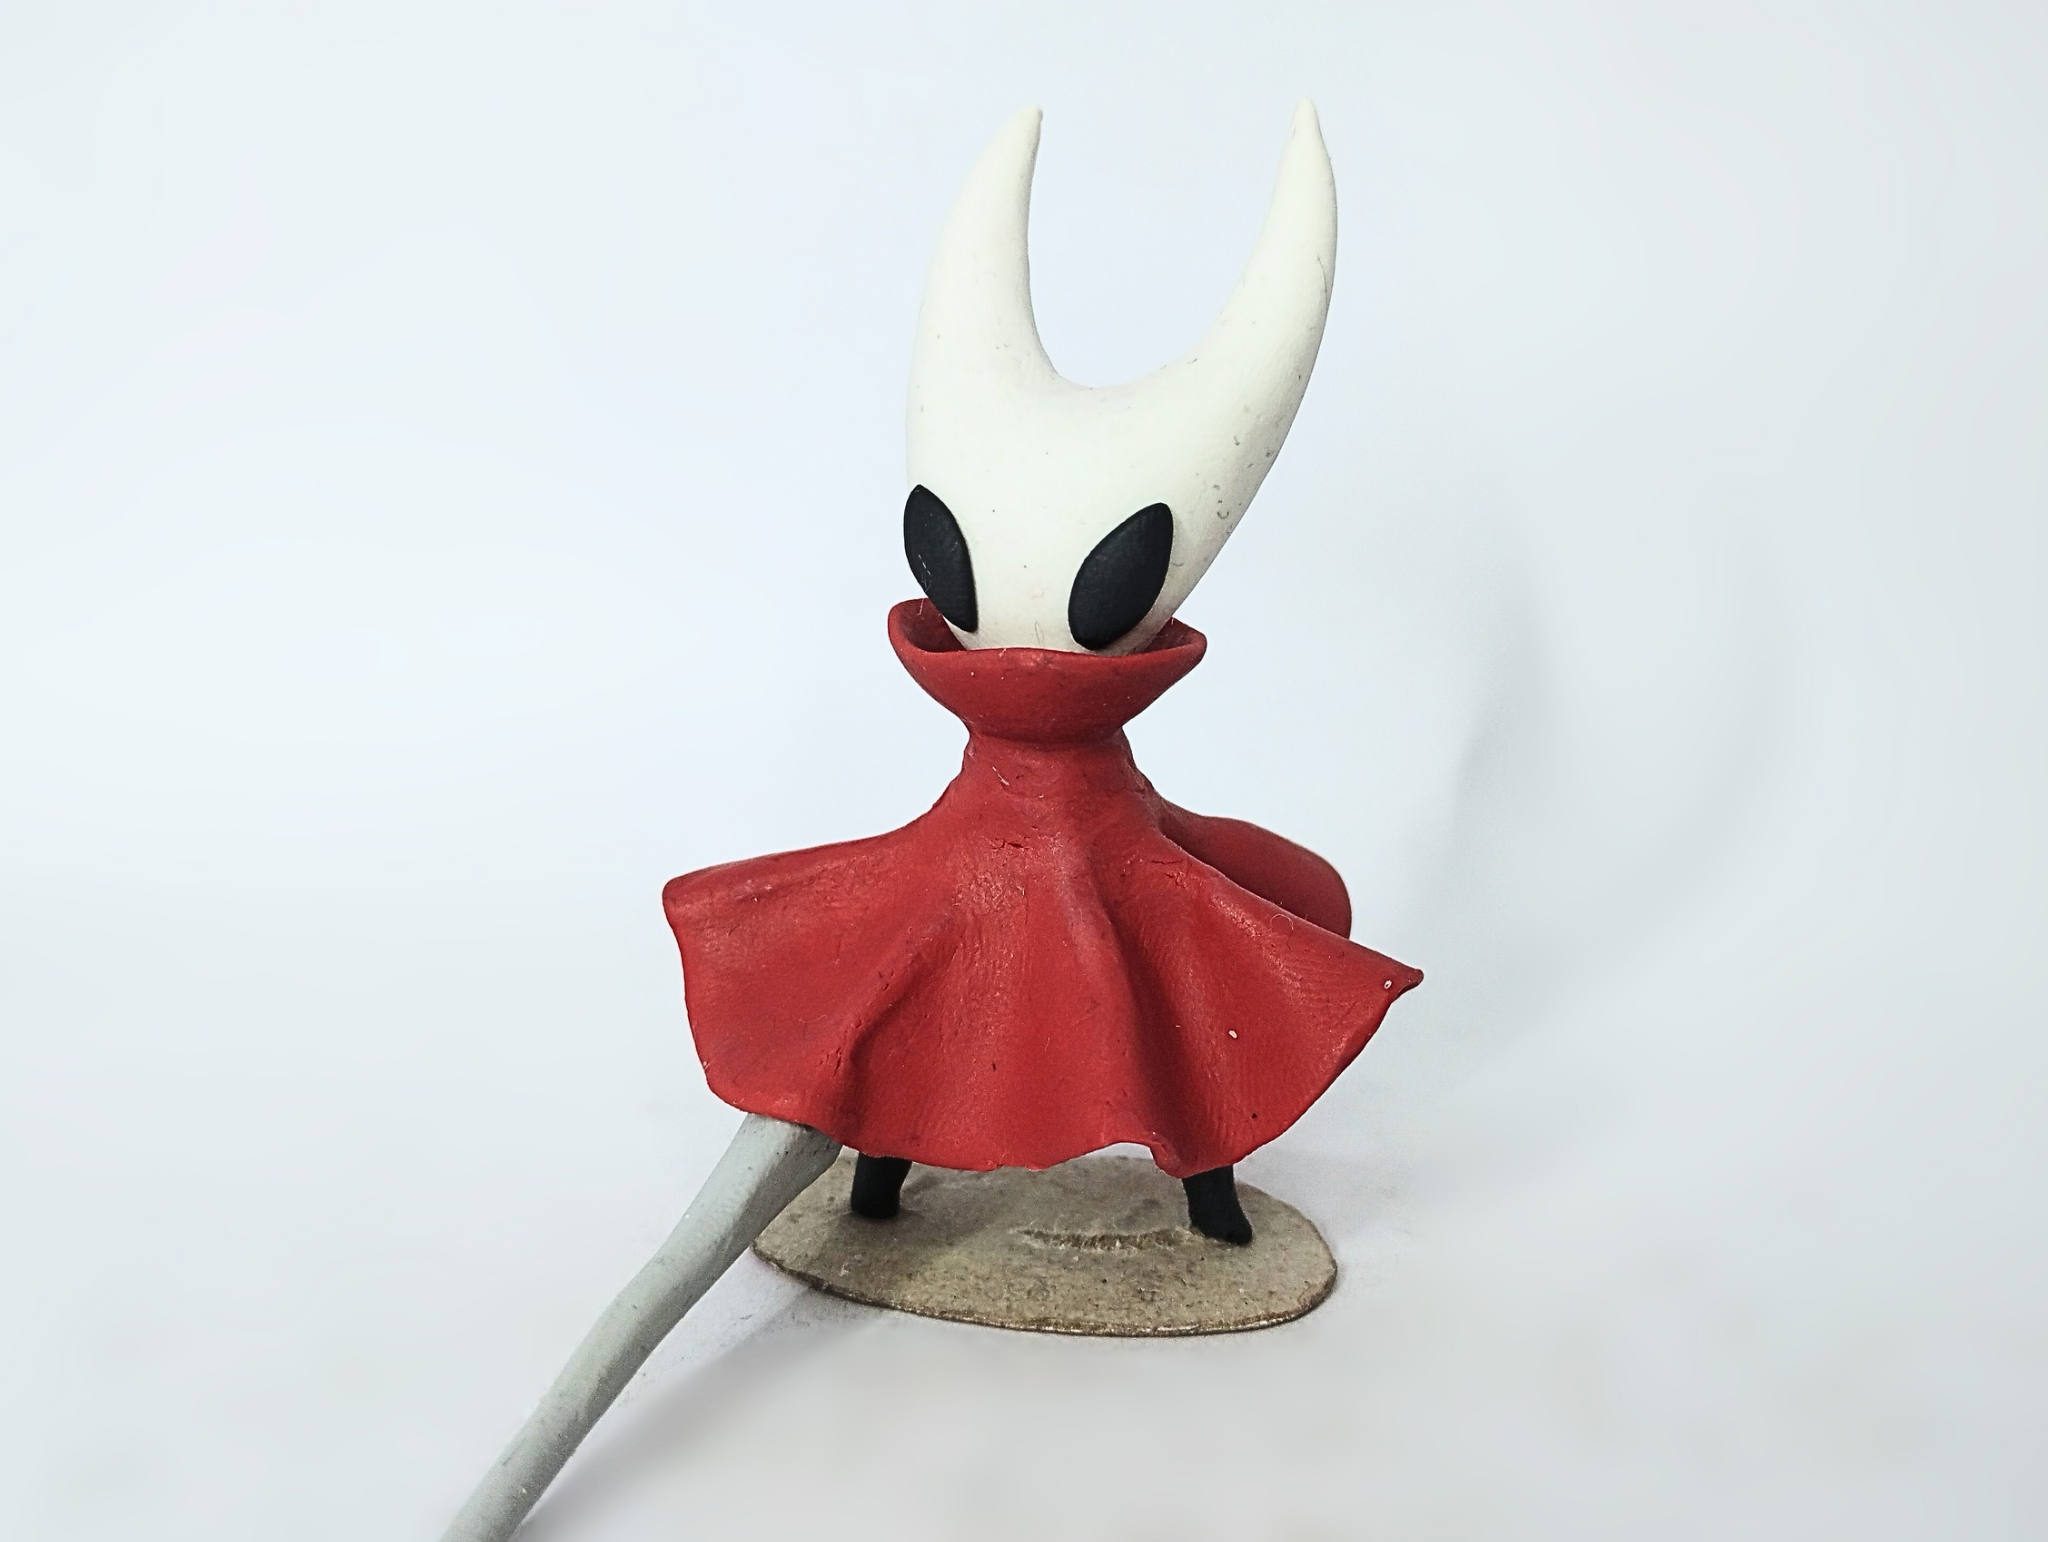
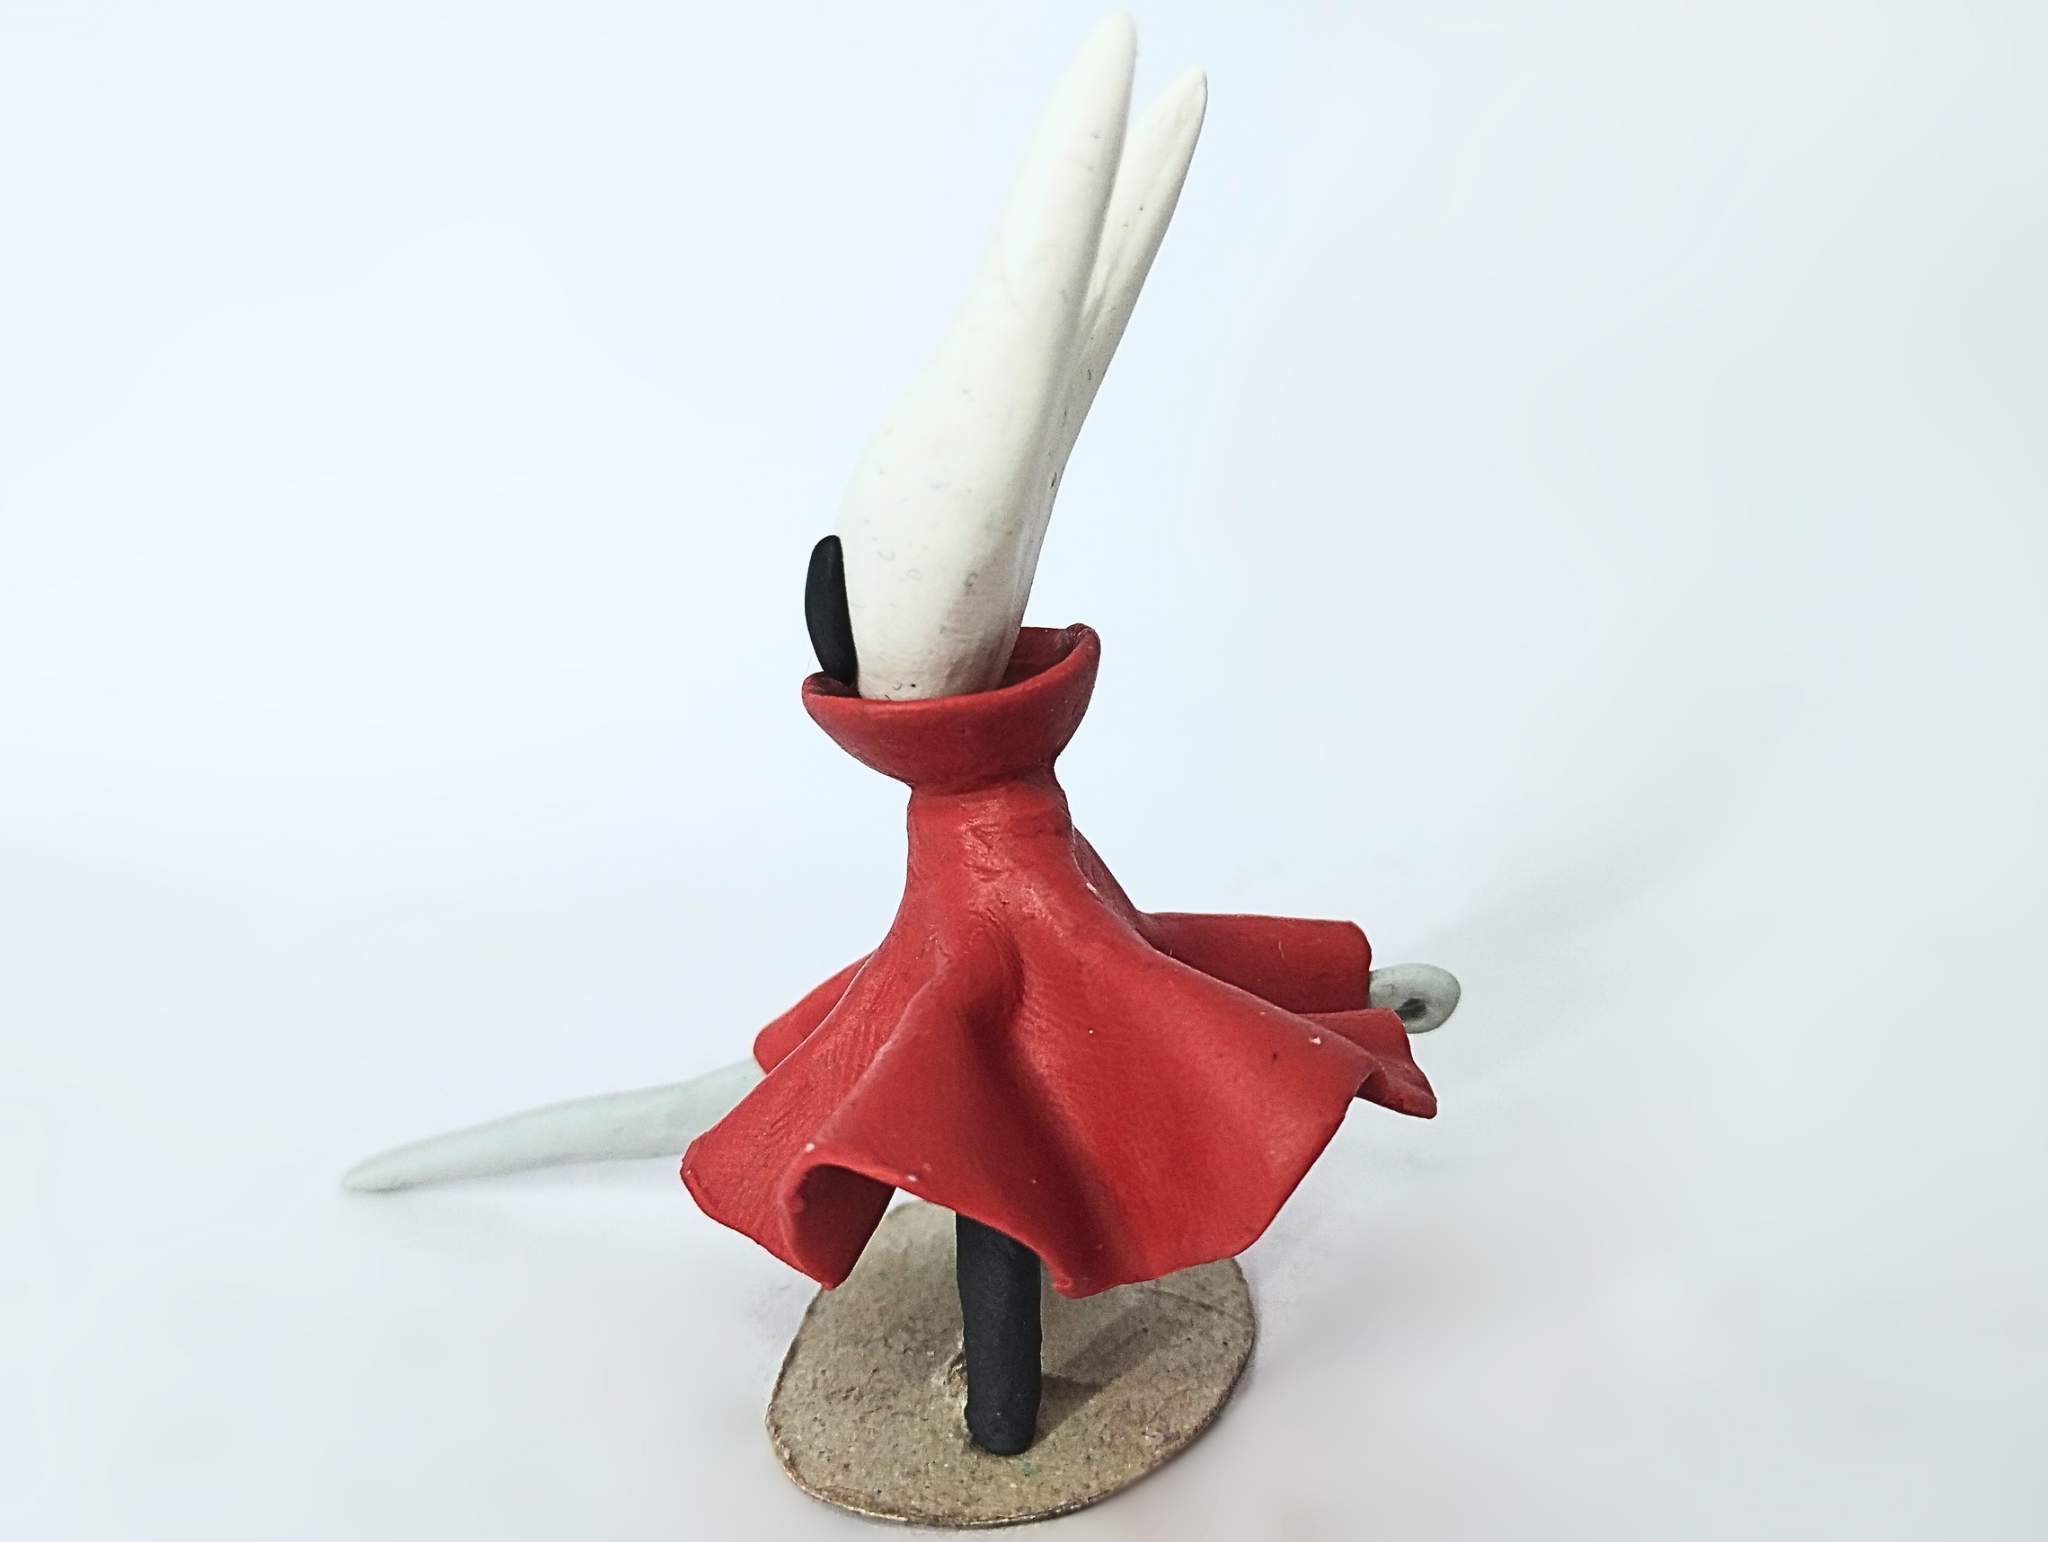
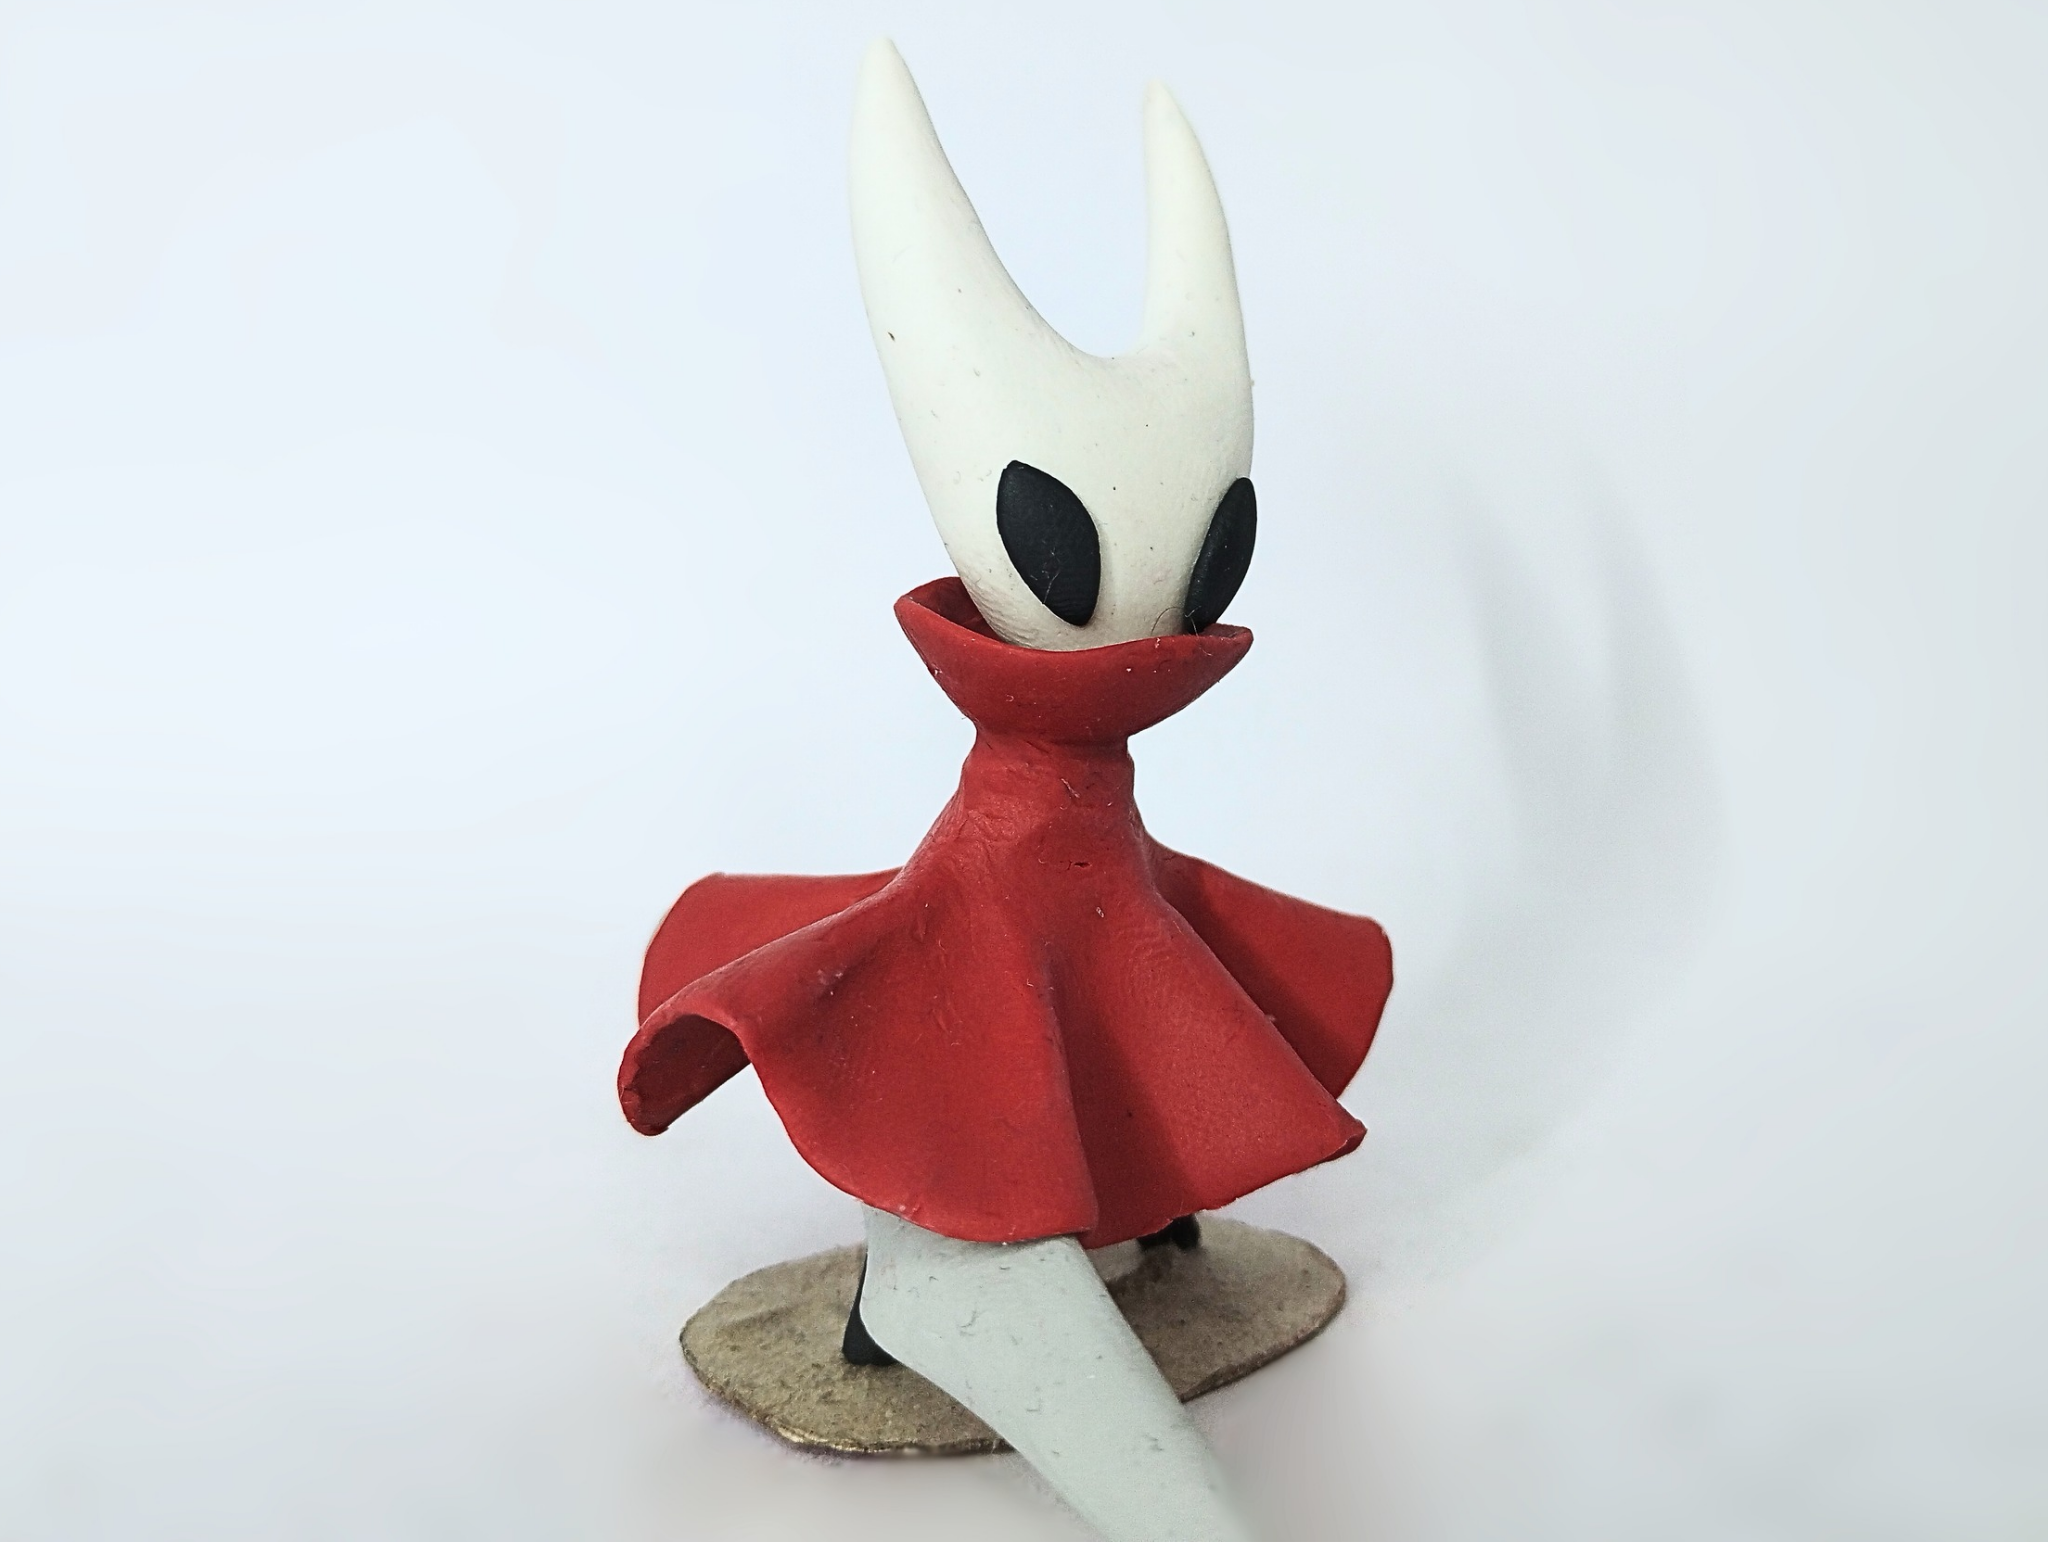
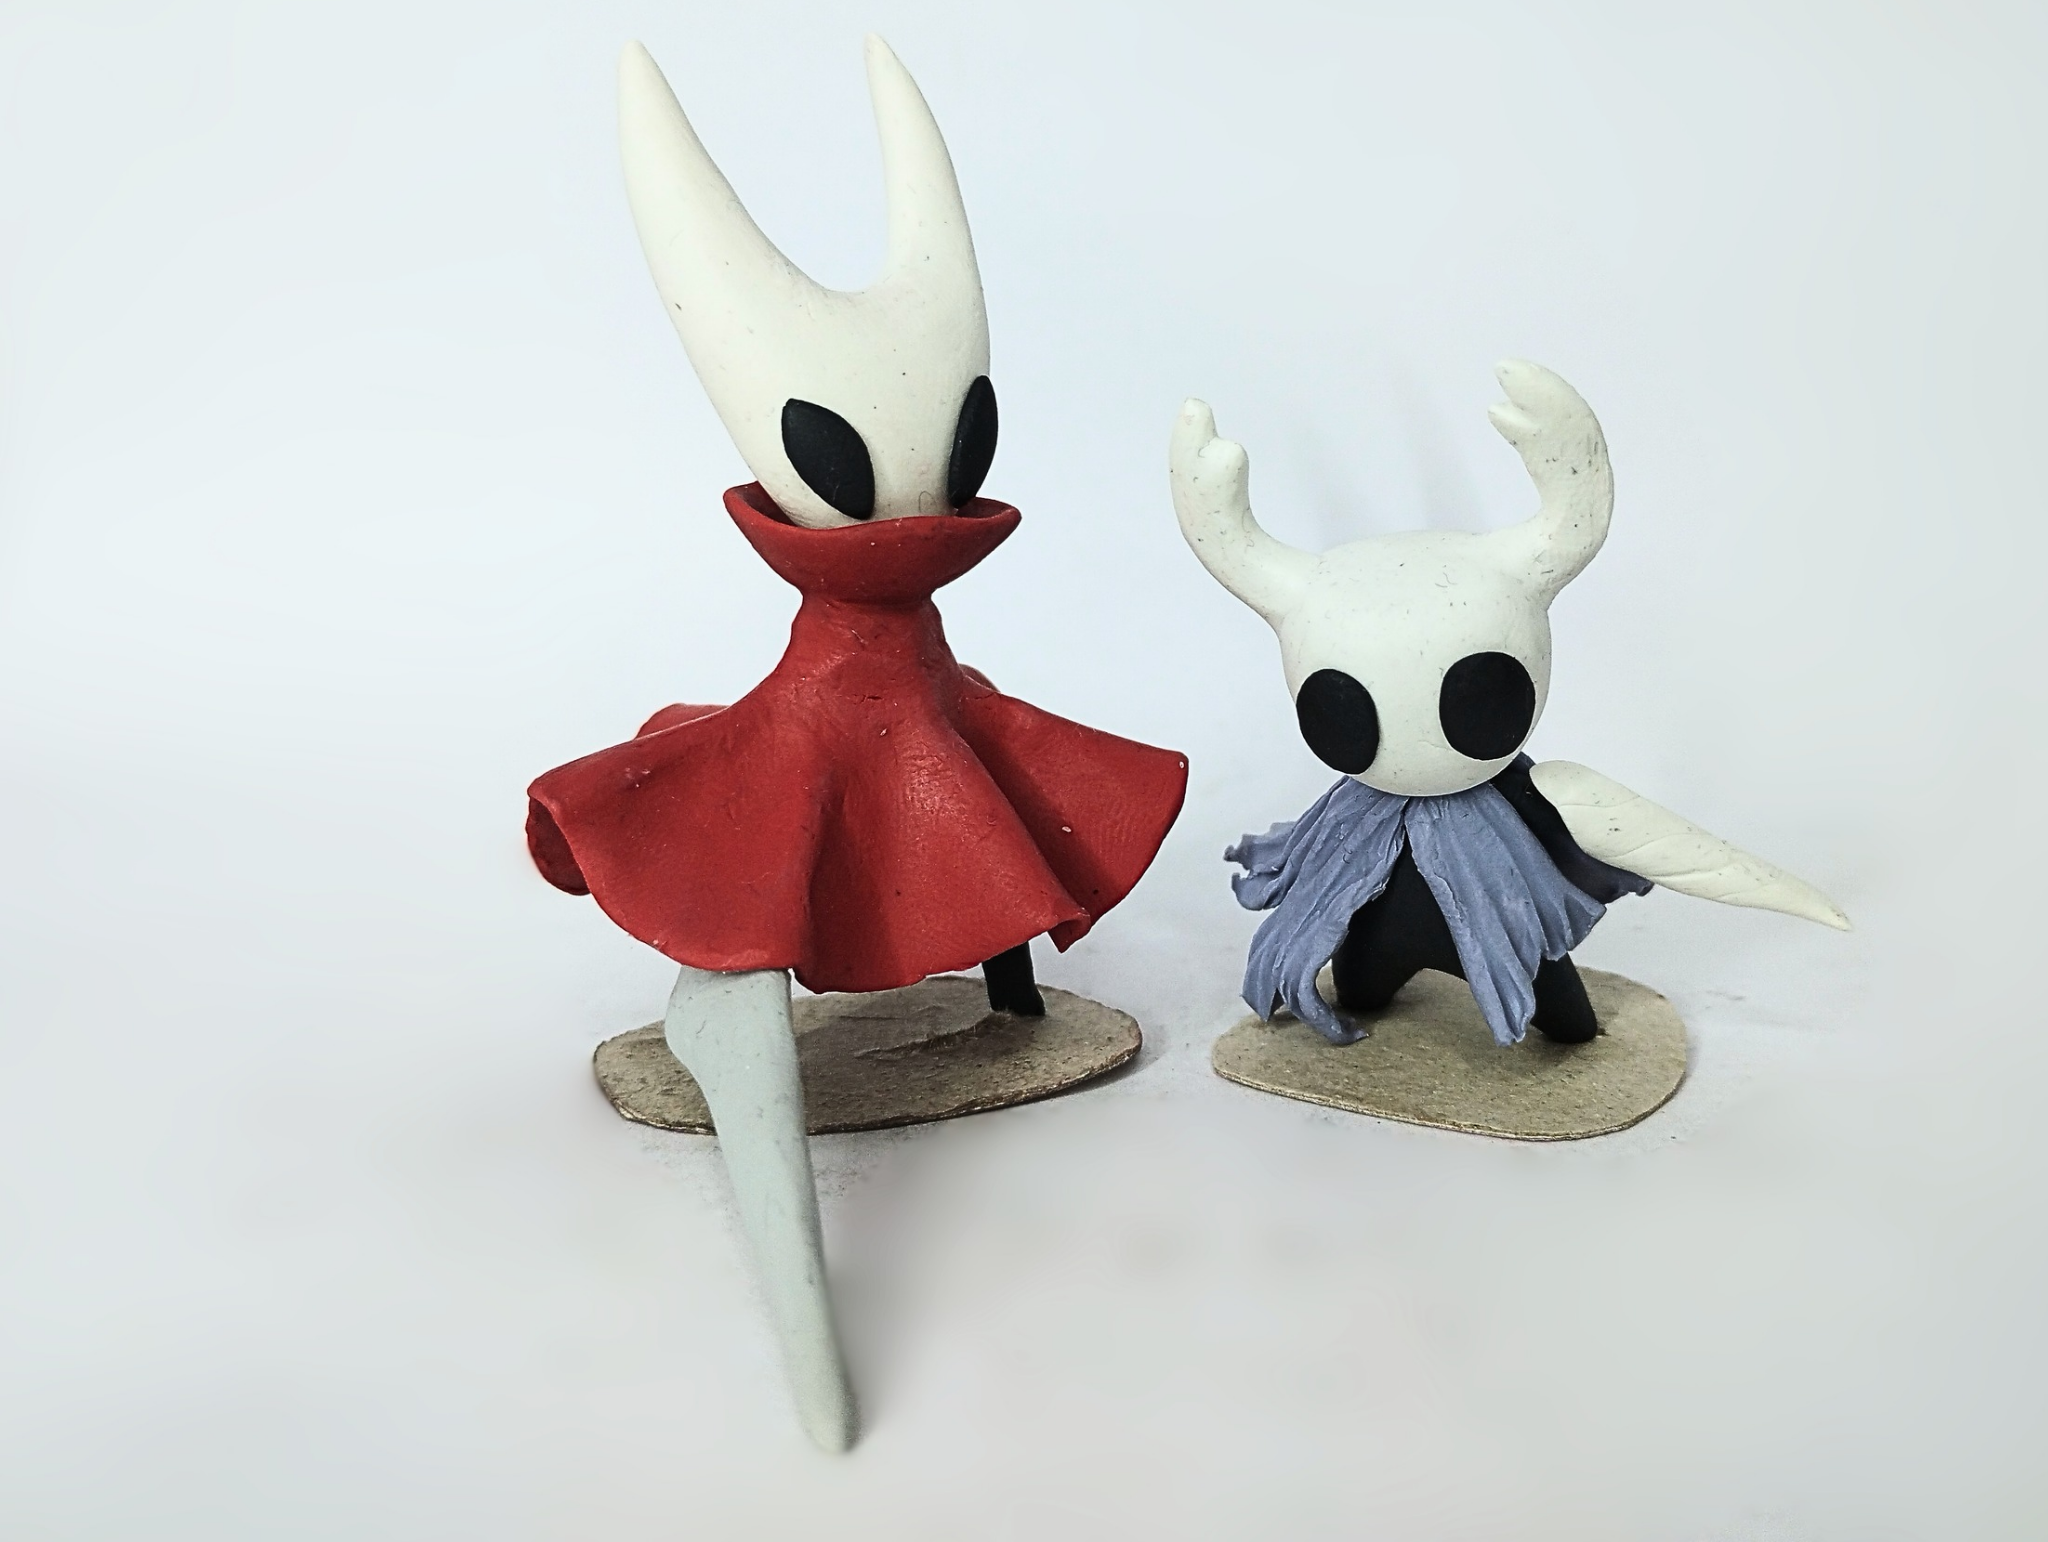
## This is how the figurine was completed. Below you can see a series of photographs of the final result:
>>#### De esta manera la figurita quedó terminada. A continuación pueden ver una serie de fotografías del resultado final:
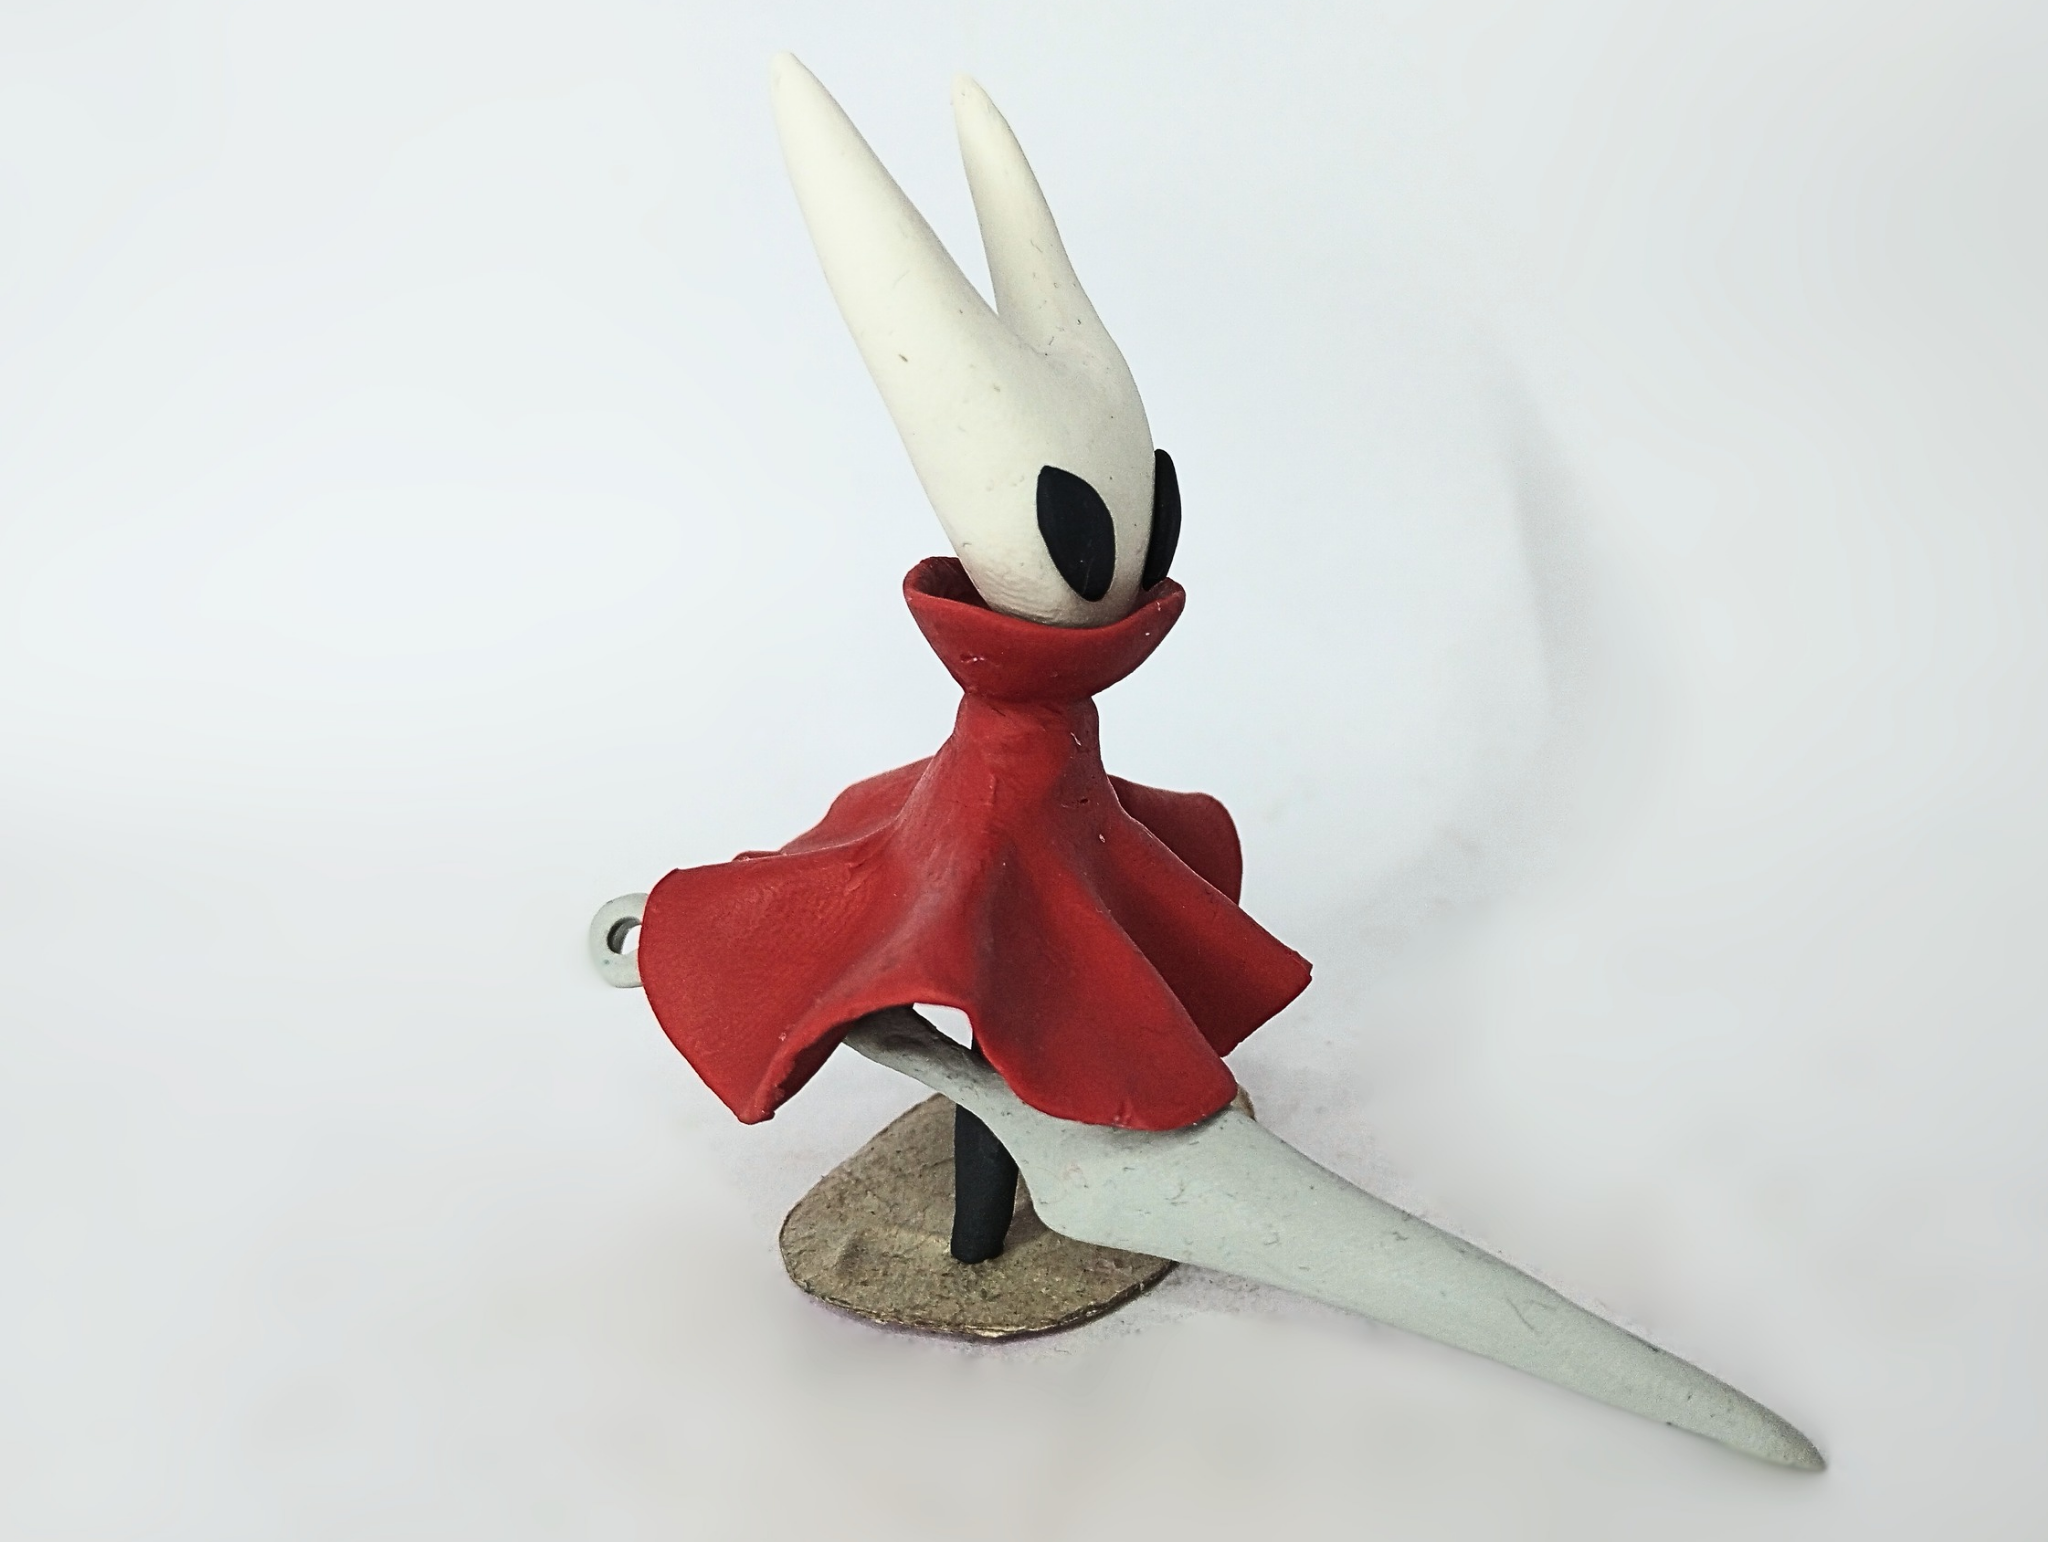
Well, friends, that's all for now. I hope you liked my Hornet figurine. I'd love to hear what you think of it, so please leave your comments below. As always, I'll be happy to read them. Without further ado, I bid you farewell...
DIY: Hornet Sculpture [ENG/SPA]
@gaboamc2393
· 2025-09-24 00:56
· Hive Diy
#hive-130560
#diy
#art
#crafts
#handmade
#spanish
#tutorial
#pimp
#waiv
#neoxian
Payout: 0.000 HBD
Votes: 375
More interactions (upvote, reblog, reply) coming soon.