Greetings, friends. The other day, I shared a Voltorb figurine with the community. Voltorb is a pretty cool Pokémon, but it stands out for its simplicity, because it doesn't have to be too elaborate to be awesome.
**In the link below, you can see the post where I shared that figurine:**
https://peakd.com/hive-189641/@gaboamc2393/diy-voltorb-sculpture-eng-spa
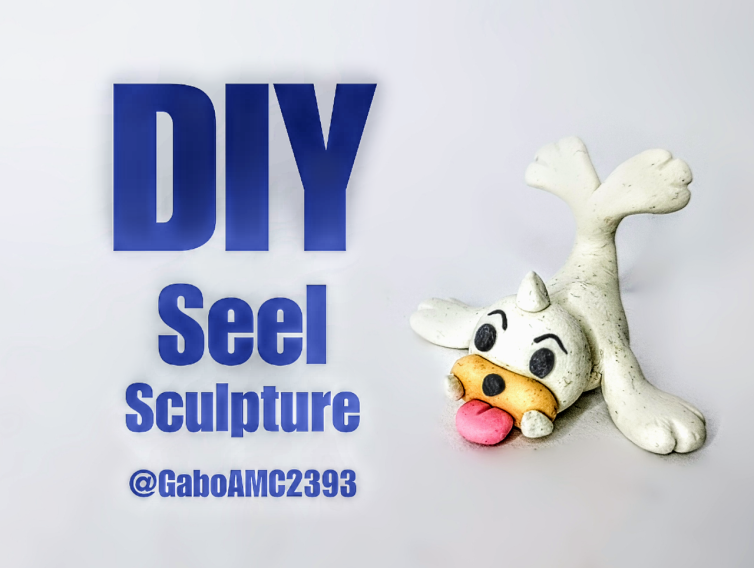
Well, today I would like to share another figurine with you, a Seel. This Pokémon is like the seals of the Pokémon universe, specifically a baby seal. It is very cute and charming, so it is my pleasure to share with you the step-by-step process of creating this adorable Pokémon.
>># Español
>>Saludos amigos. El otro día compartí en la comunidad una figurita de Voltorb, un Pokémon bastante genial pero que destaca por su simpleza, porque no tiene que ser demasiado elaborado para ser Genial.
>>
>>**En el enlace de abajo pueden ver la publicación donde compartí aquella figurita:**
https://peakd.com/hive-189641/@gaboamc2393/diy-voltorb-sculpture-eng-spa
>>
>>Pues bien, hoy me gustaría compartir con ustedes otra figurita, un Seel. Este Pokémon vendría a ser como las focas del universo de Pokémon, específicamente una foca bebé. Es muy bonito y encantador así que para mi es un placer poder compartir con ustedes el paso a paso de tan simpático Pokémon.
# Step by step
The materials I used for this figurine were as follows:
* Plasticine
* Glue
* Wire
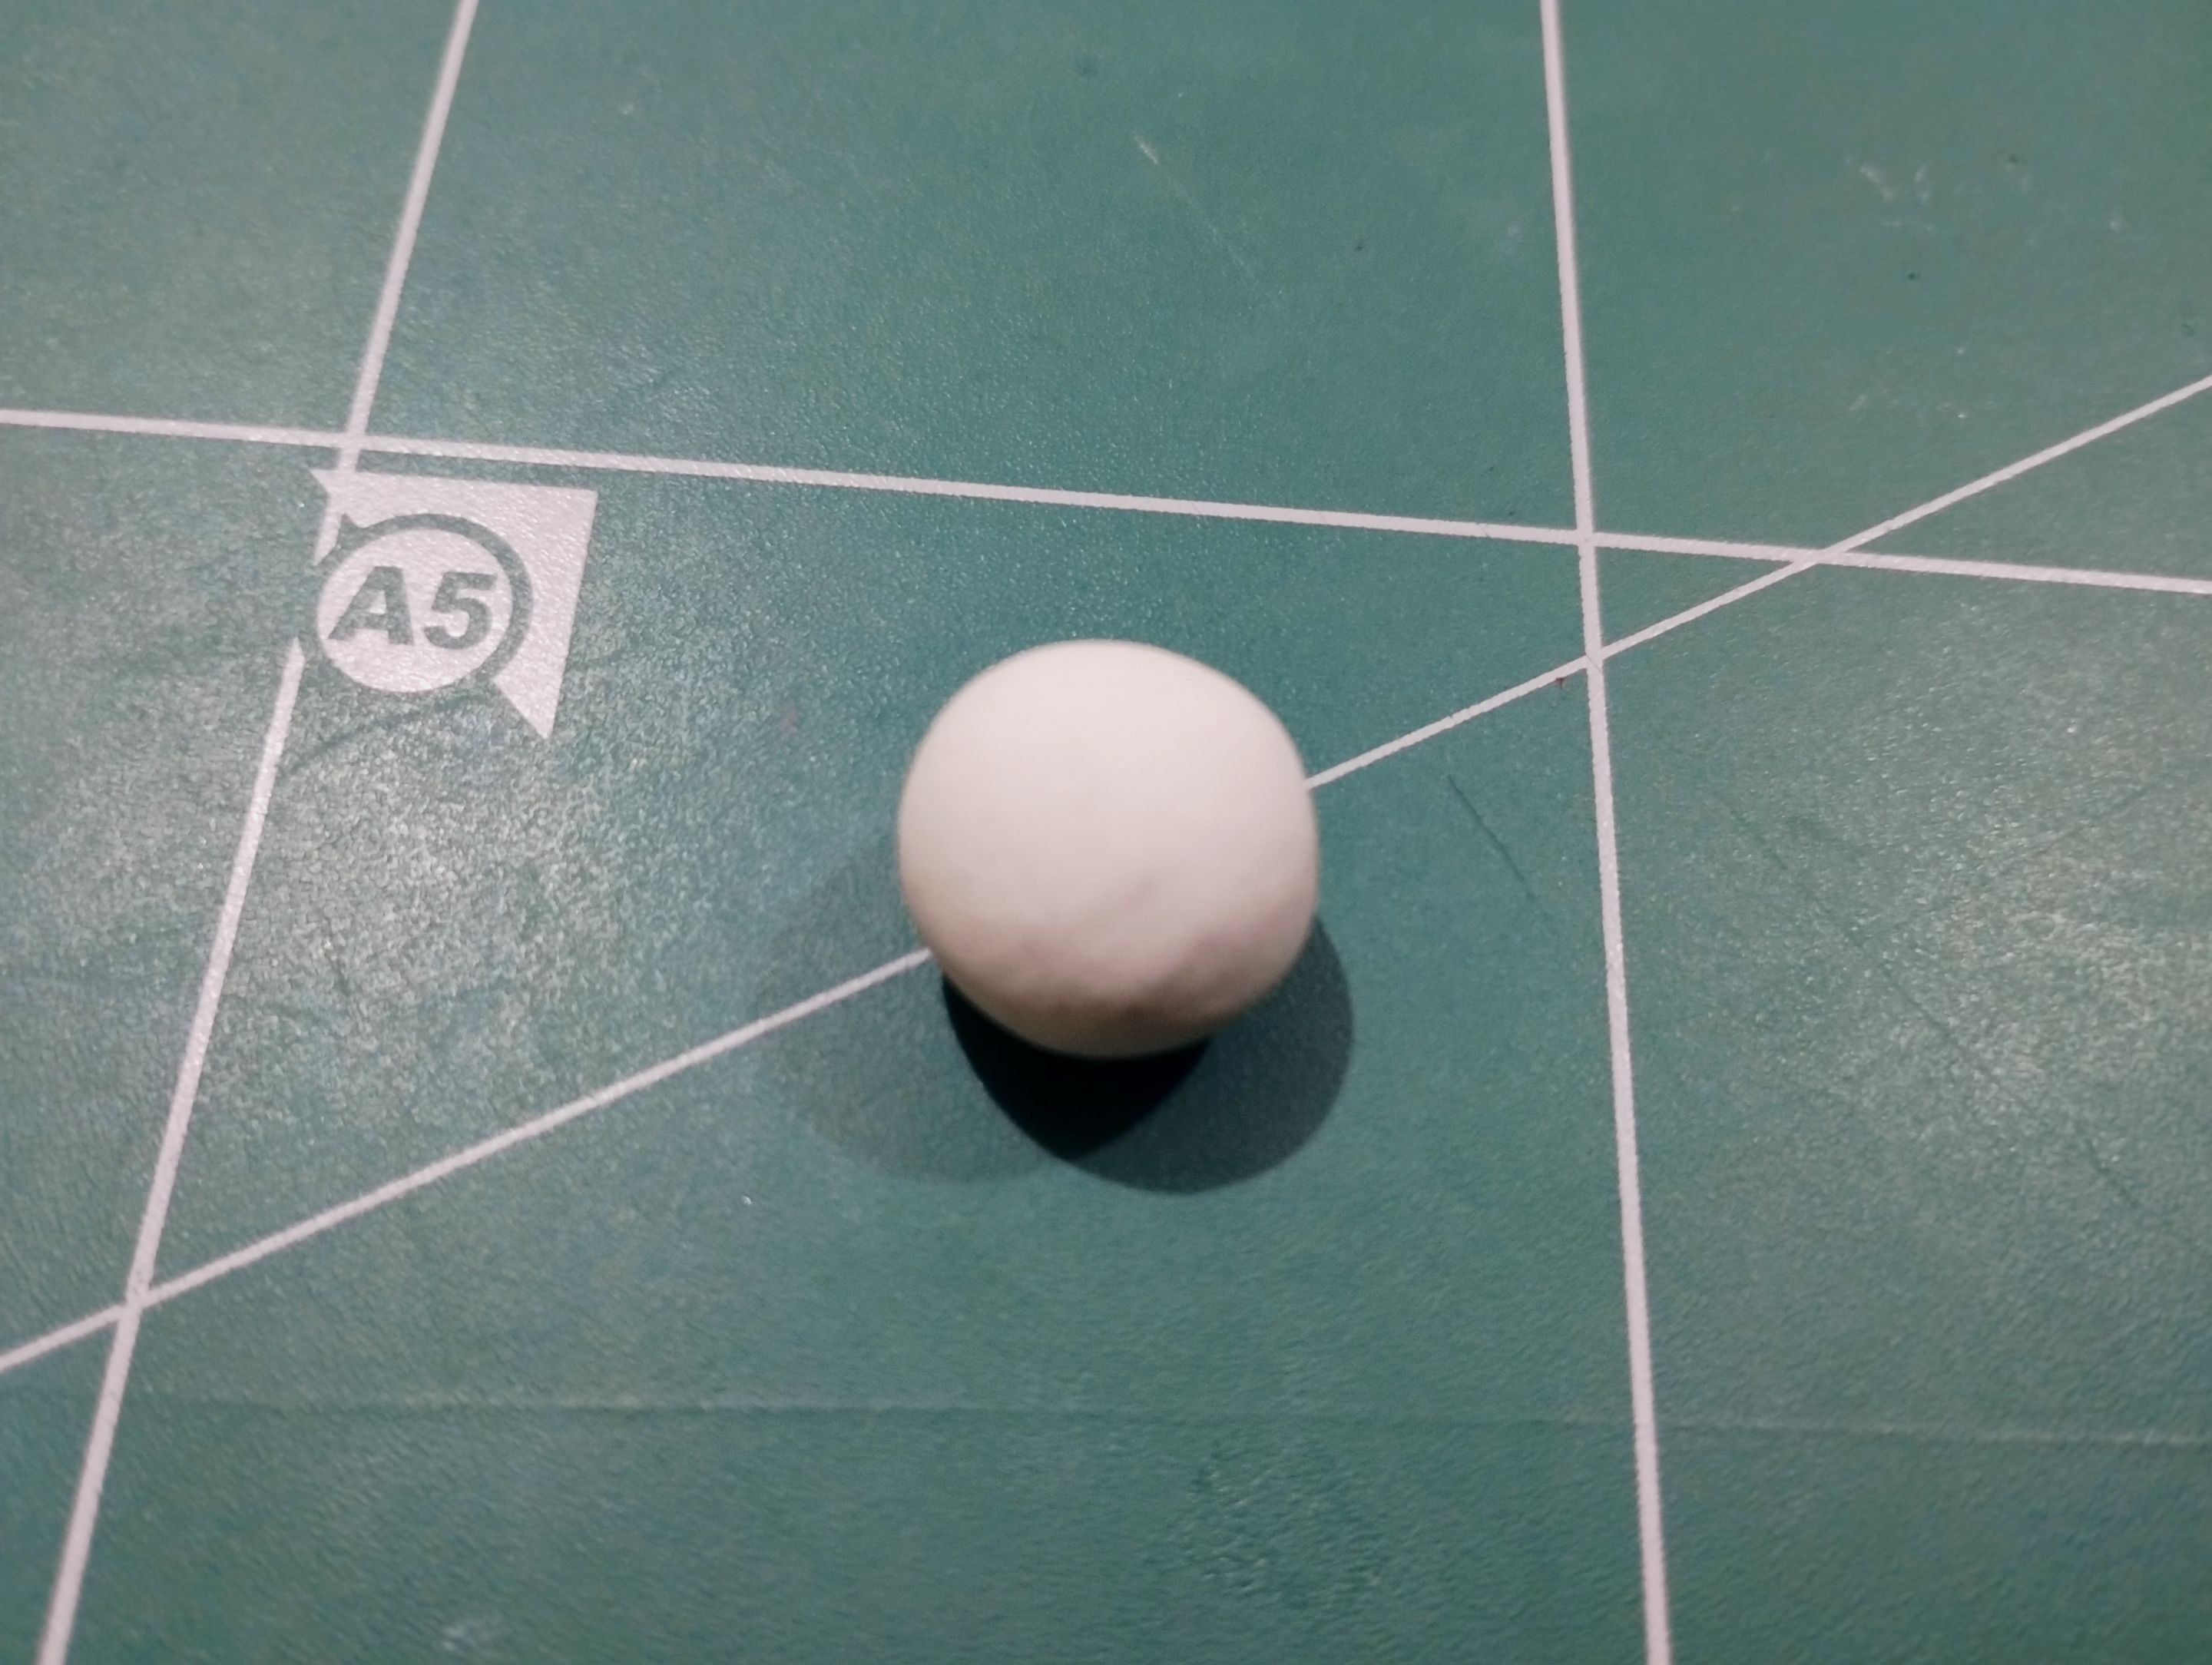
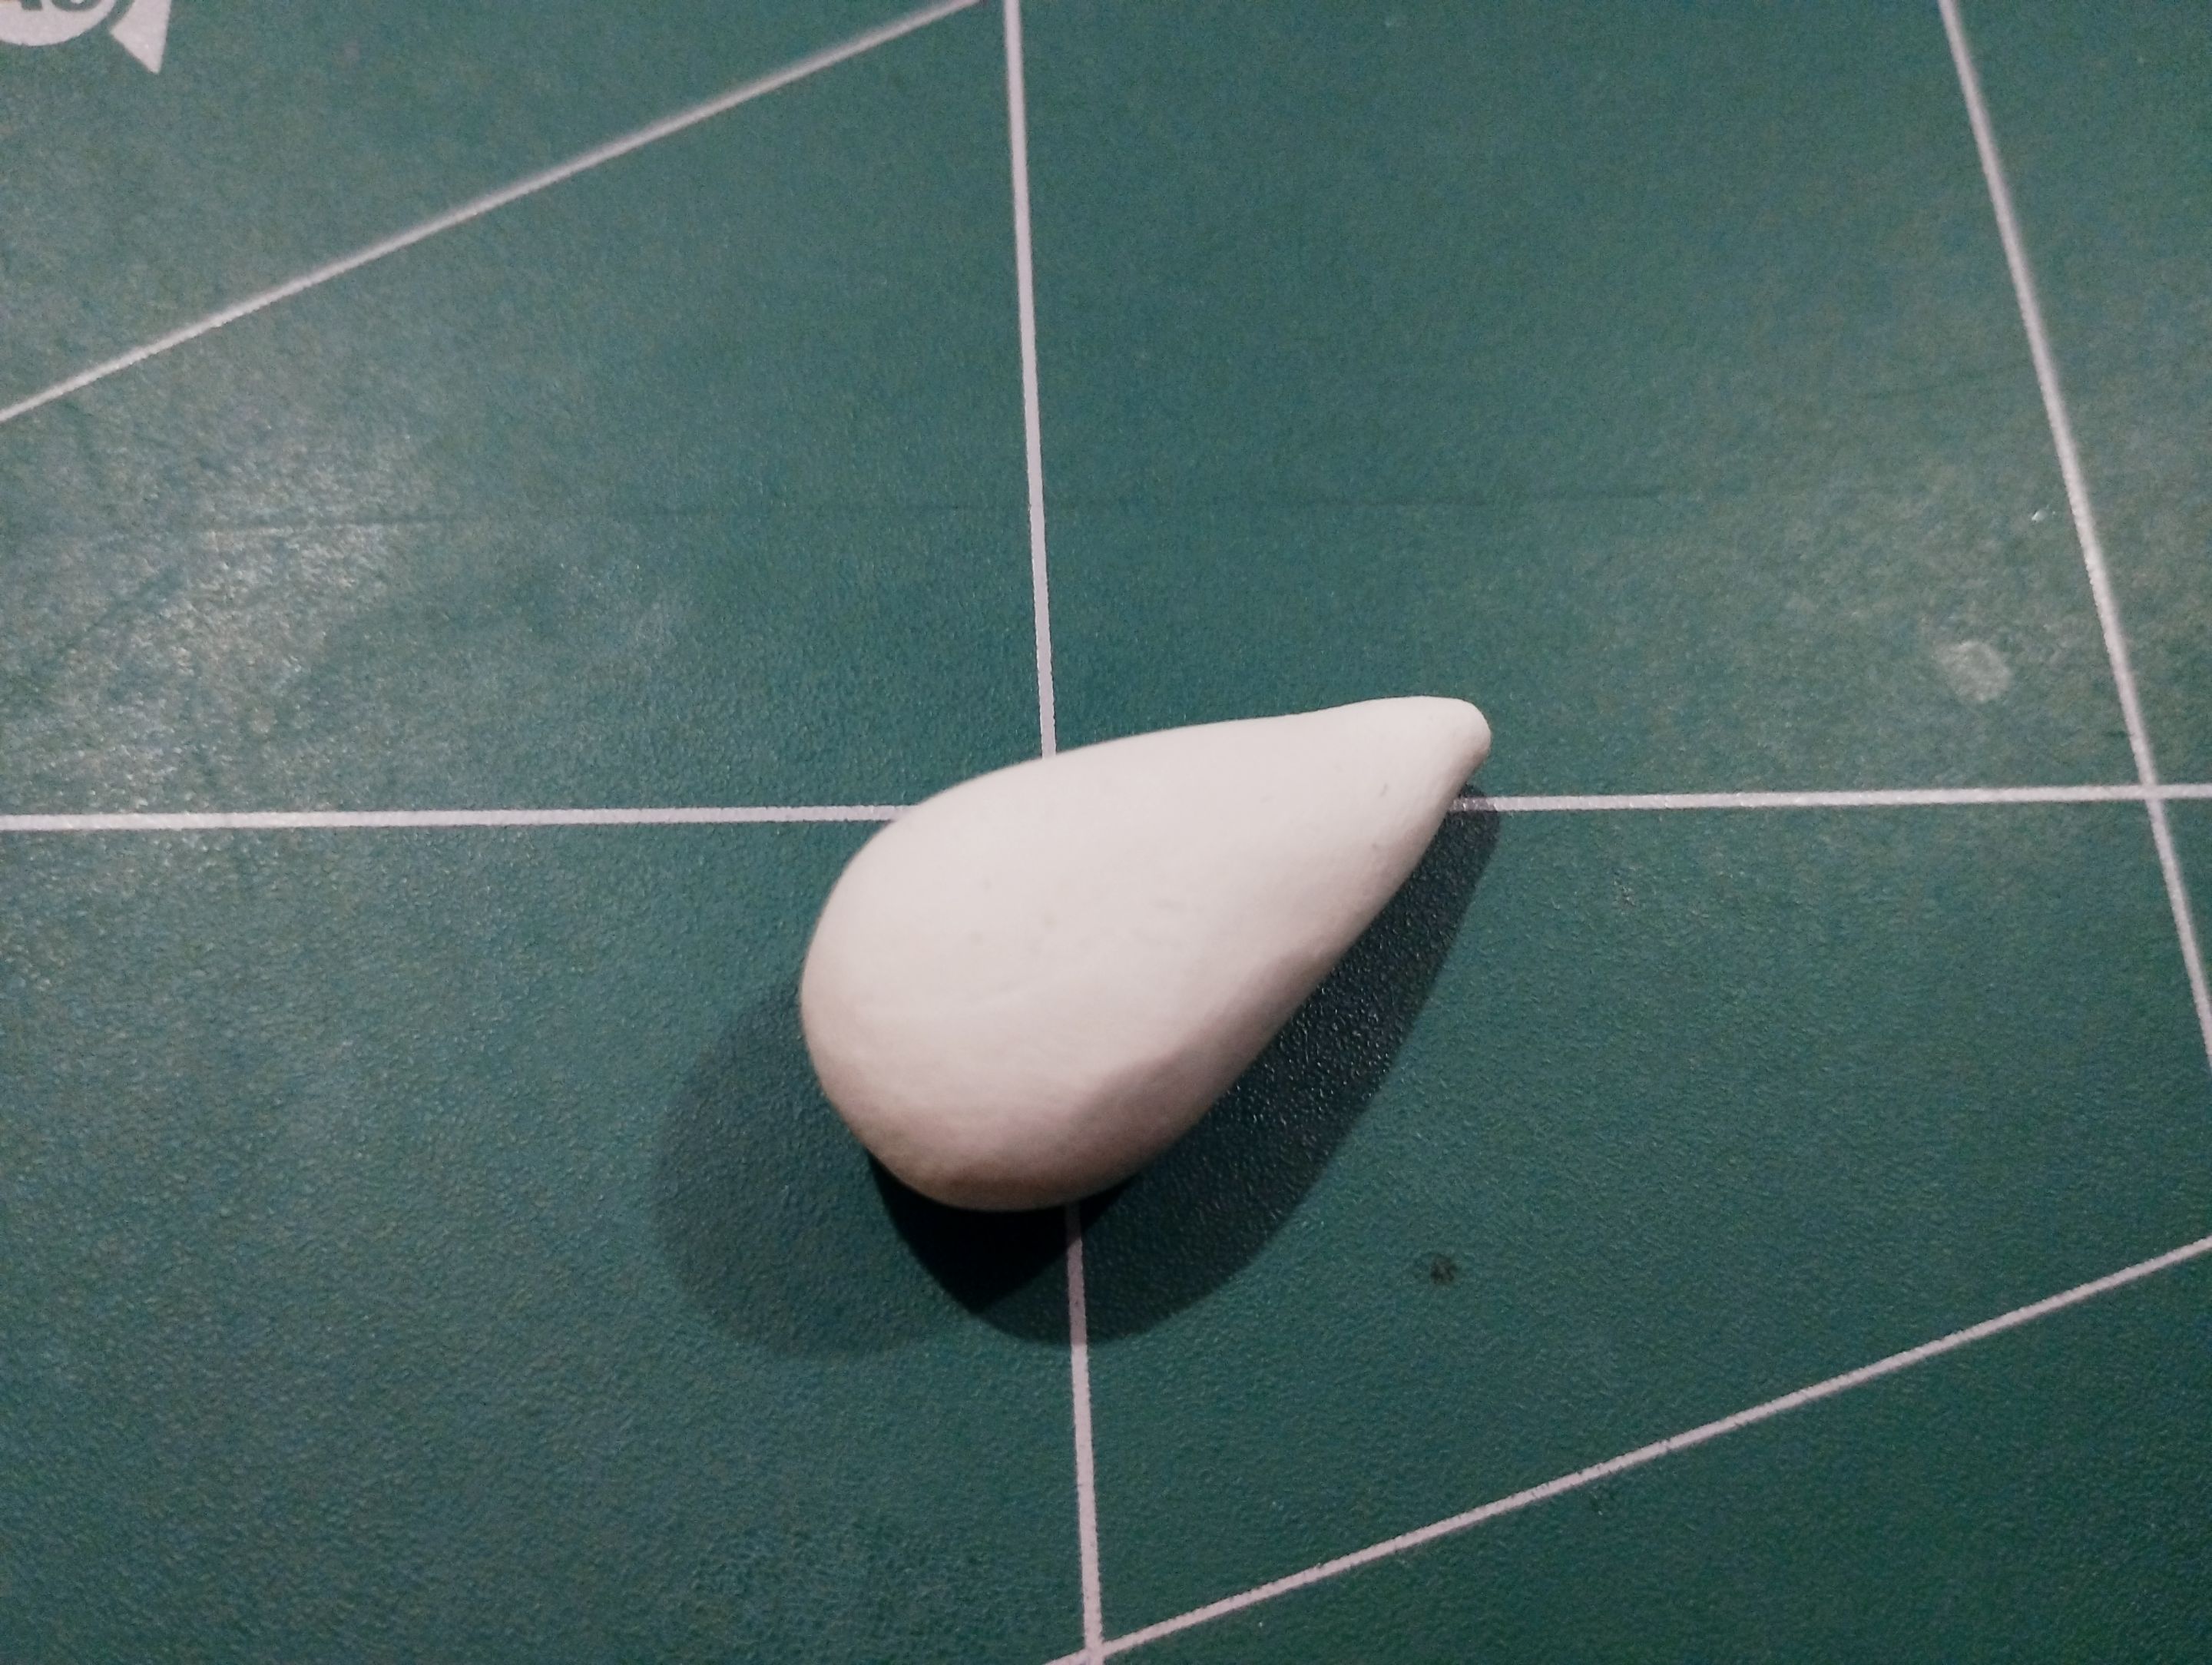
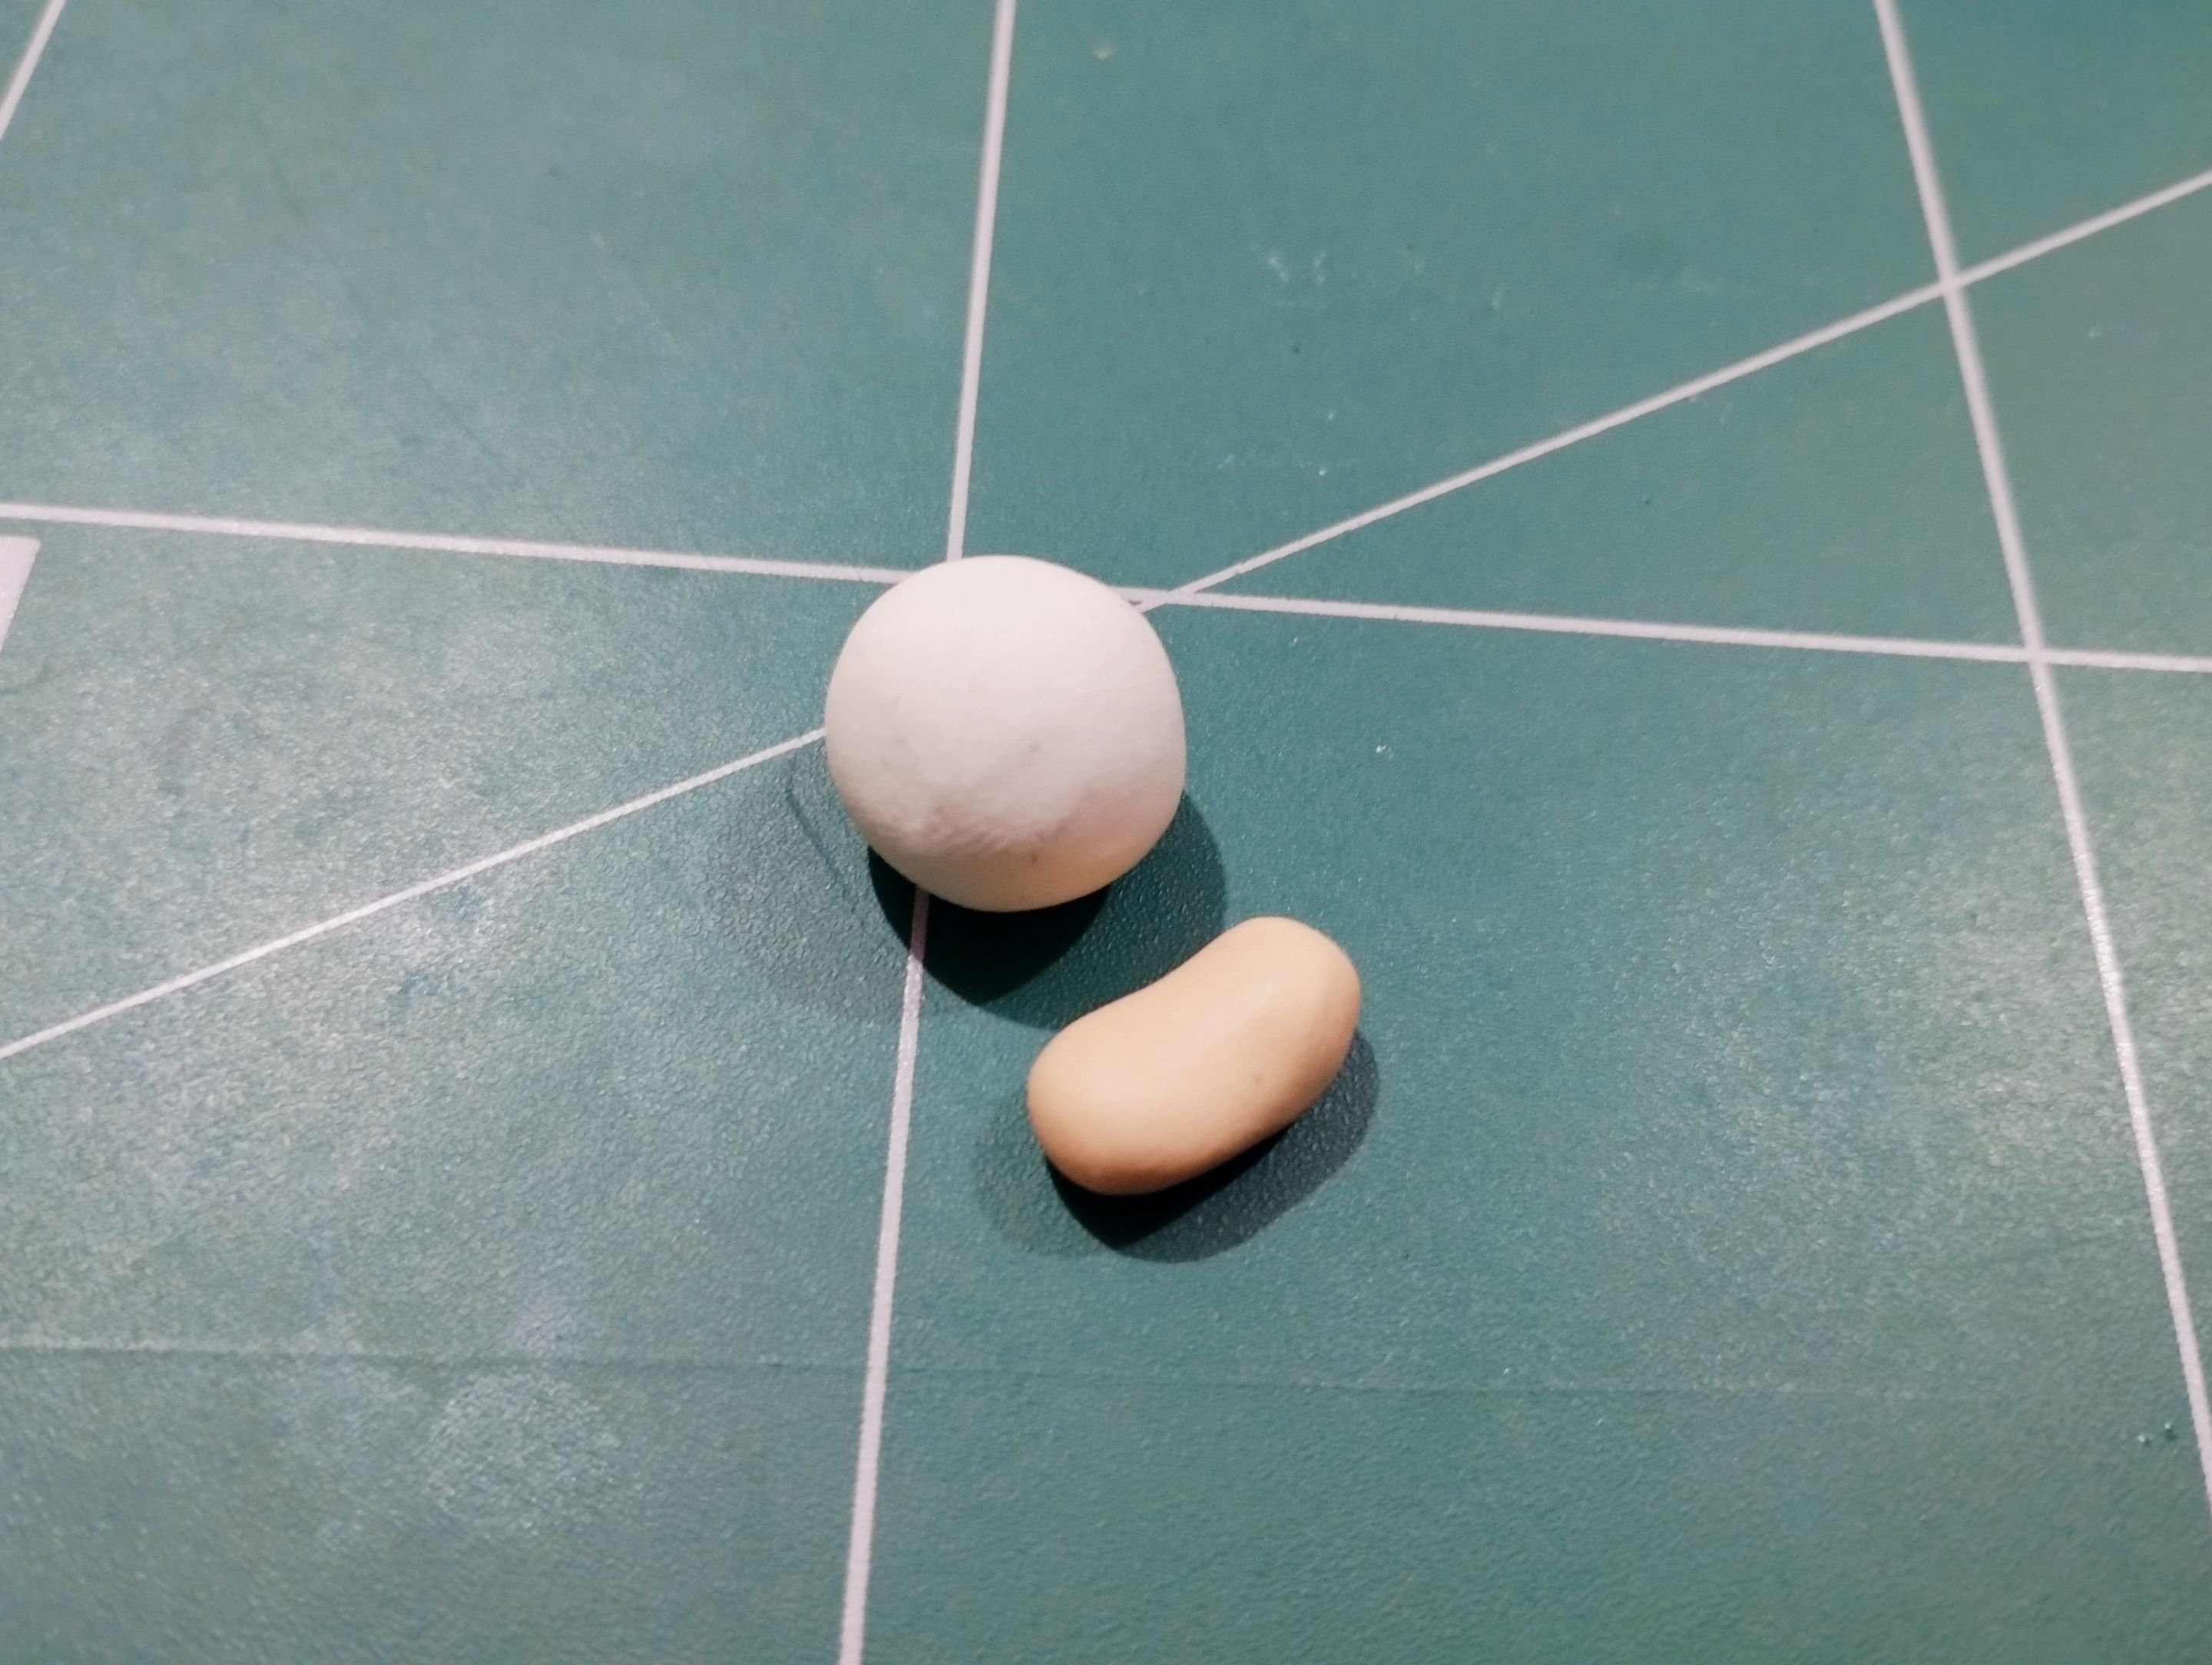
Although the character is not that complicated in shape, it is a little difficult to make. Take a look at the images below, on the left. I started by making a sphere out of white plasticine, then I used this sphere to make a shape similar to a drop of water.
>># Paso a paso
>>Los materiales que utilicé para esta figurita fueron los siguientes:
>>
>>* Plastilina
>>* Pegamento
>>* Alambre
>>
>>Aunque el personaje no tiene una forma tan complicada, sí es un poco difícil de hacer. Fíjense en las imágenes de abajo, en la izquierda. Allí comencé haciendo una esfera de plastilina blanca, luego a partir de esta esfera hice una forma parecida a una gota de agua.
|||
|-|-|
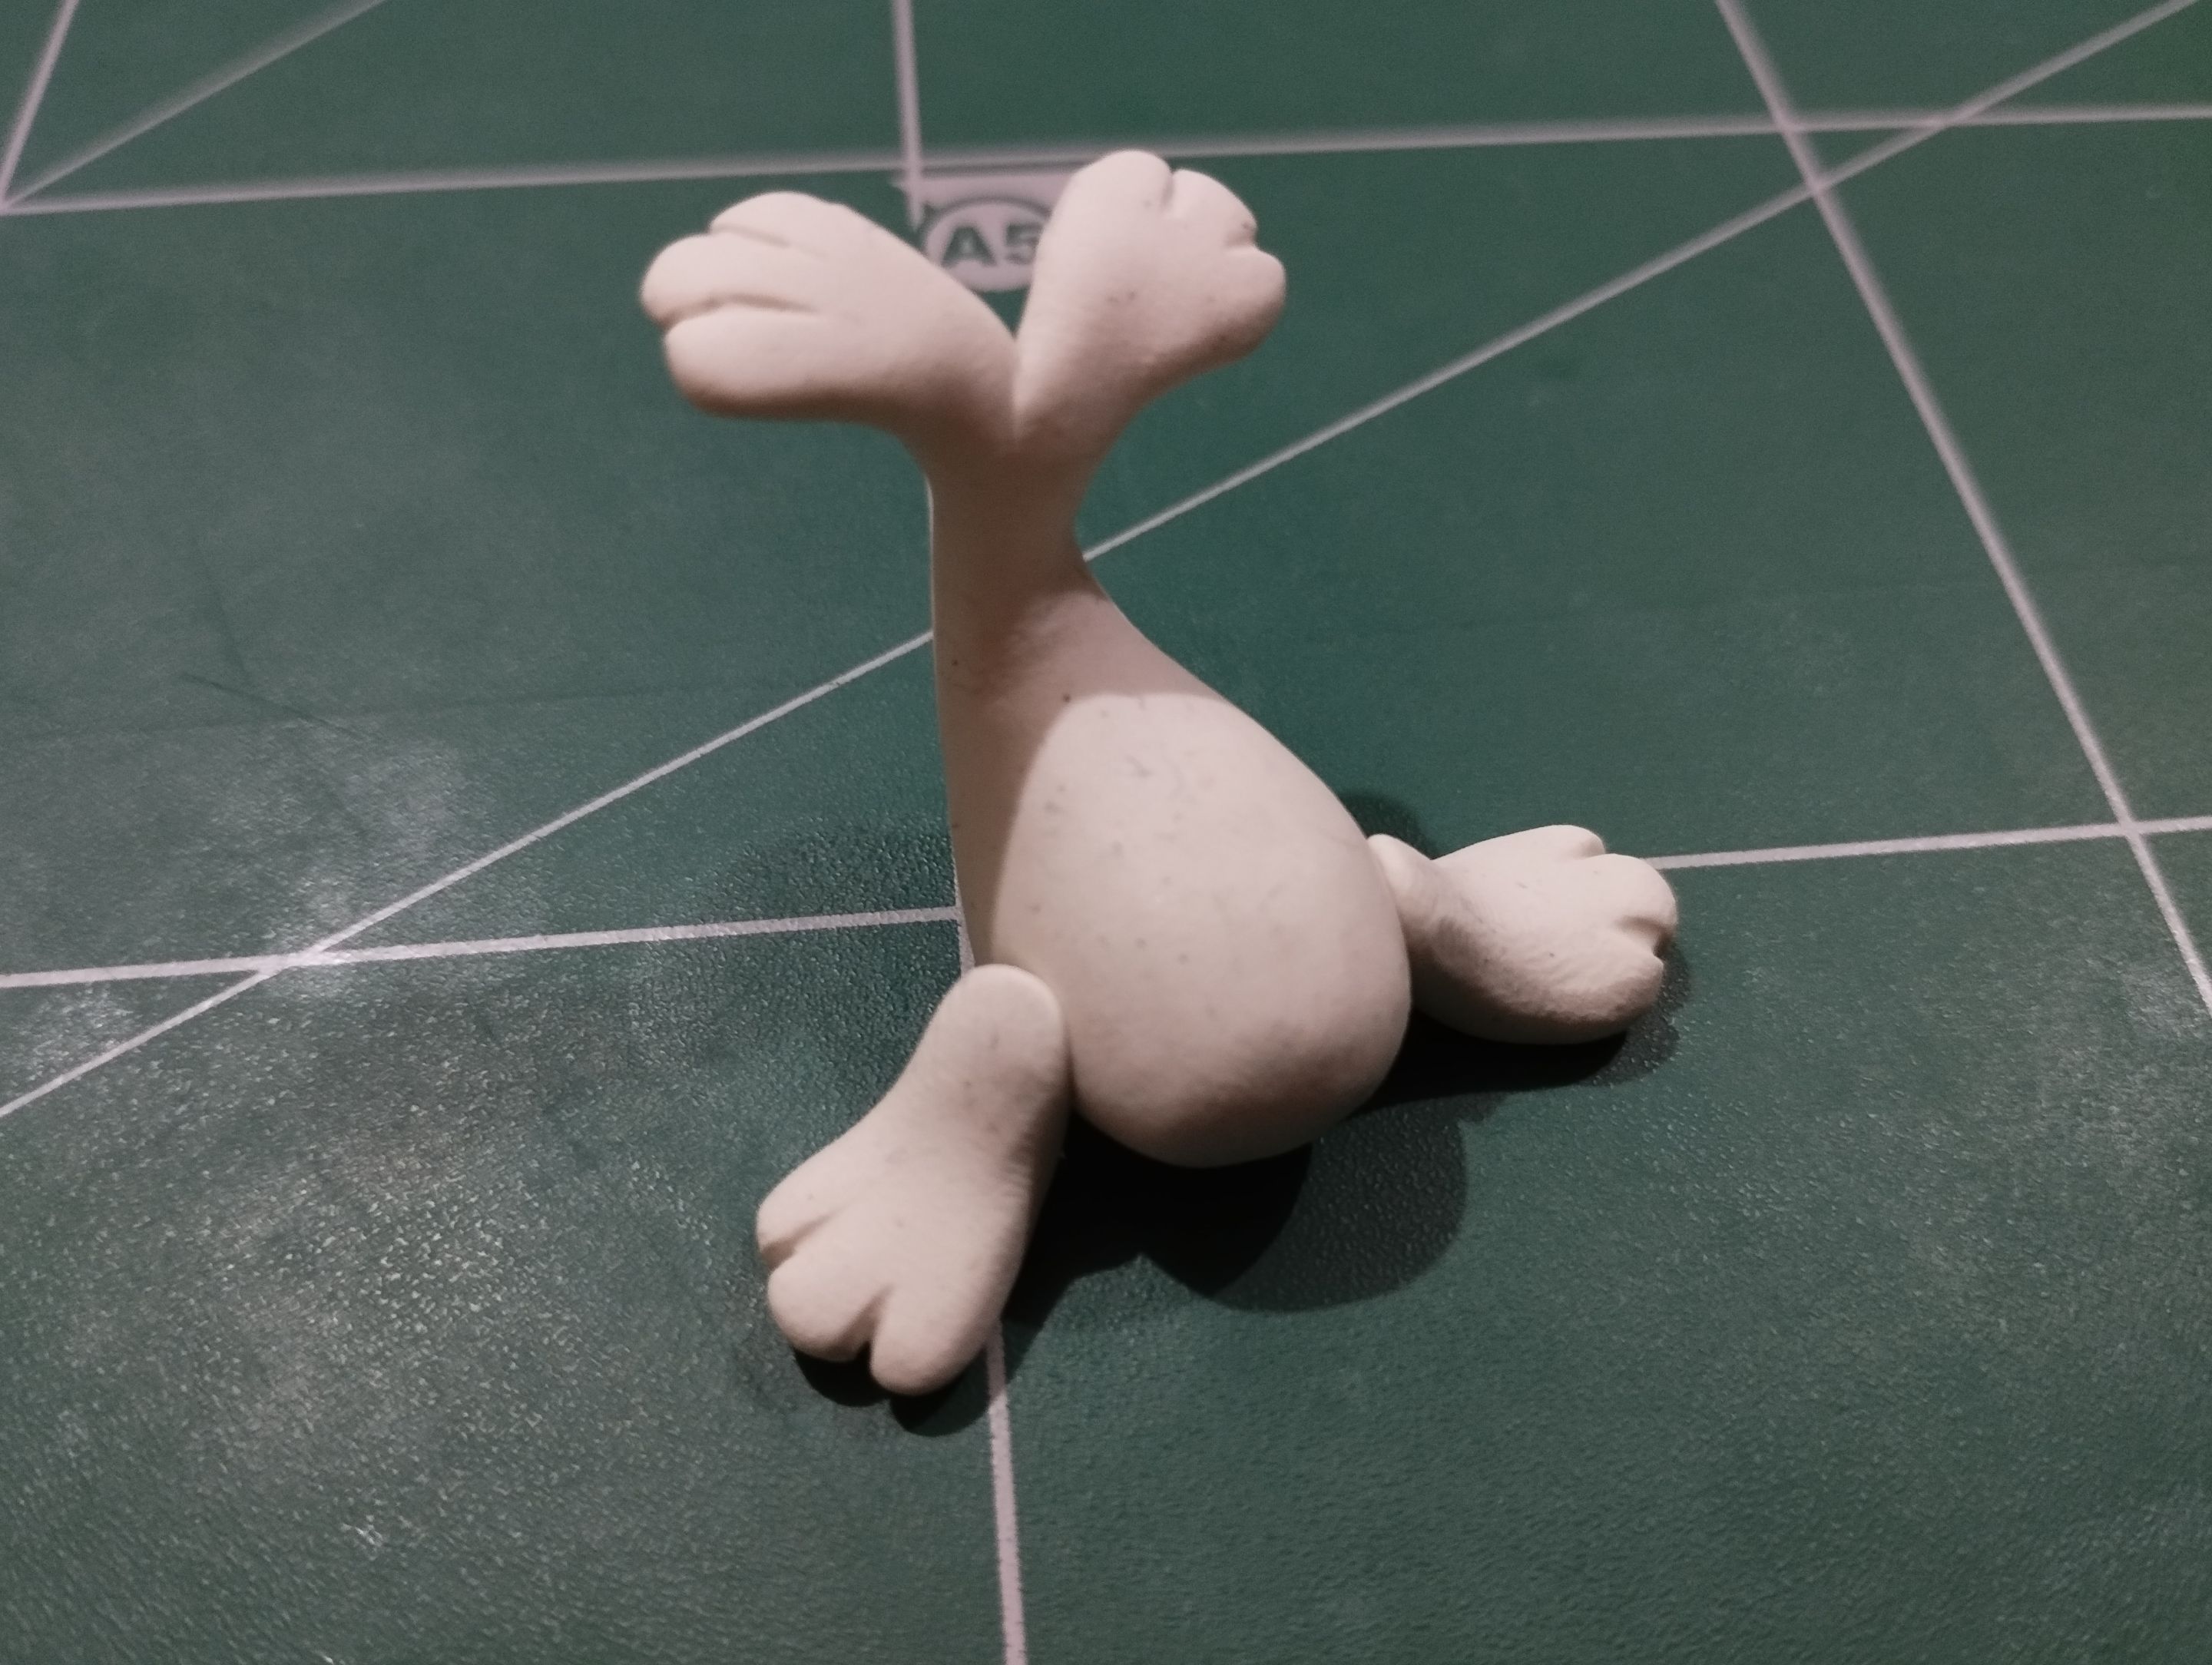
I divided the back into two parts to attach what appear to be Seel's fins. I made the fins plump by adding white plasticine to form them, and then used a needle to make the lines you can see in the image below. Using the same needle, I deepened the separation between the two fins a little to give them that curve or separation between them.
>>La parte trasera la dividí en dos para colocarle lo que parecen ser las aletas de Seel. Las aletas las hice gorditas, agregando plastilina blanca para hacer unas aletas y luego con una aguja les hice las líneas que se ven en la imagen de abajo. Con la misma aguija profundicé un poco en la separación de las dos aletas, para darle esa curva o separación entre las mismas.

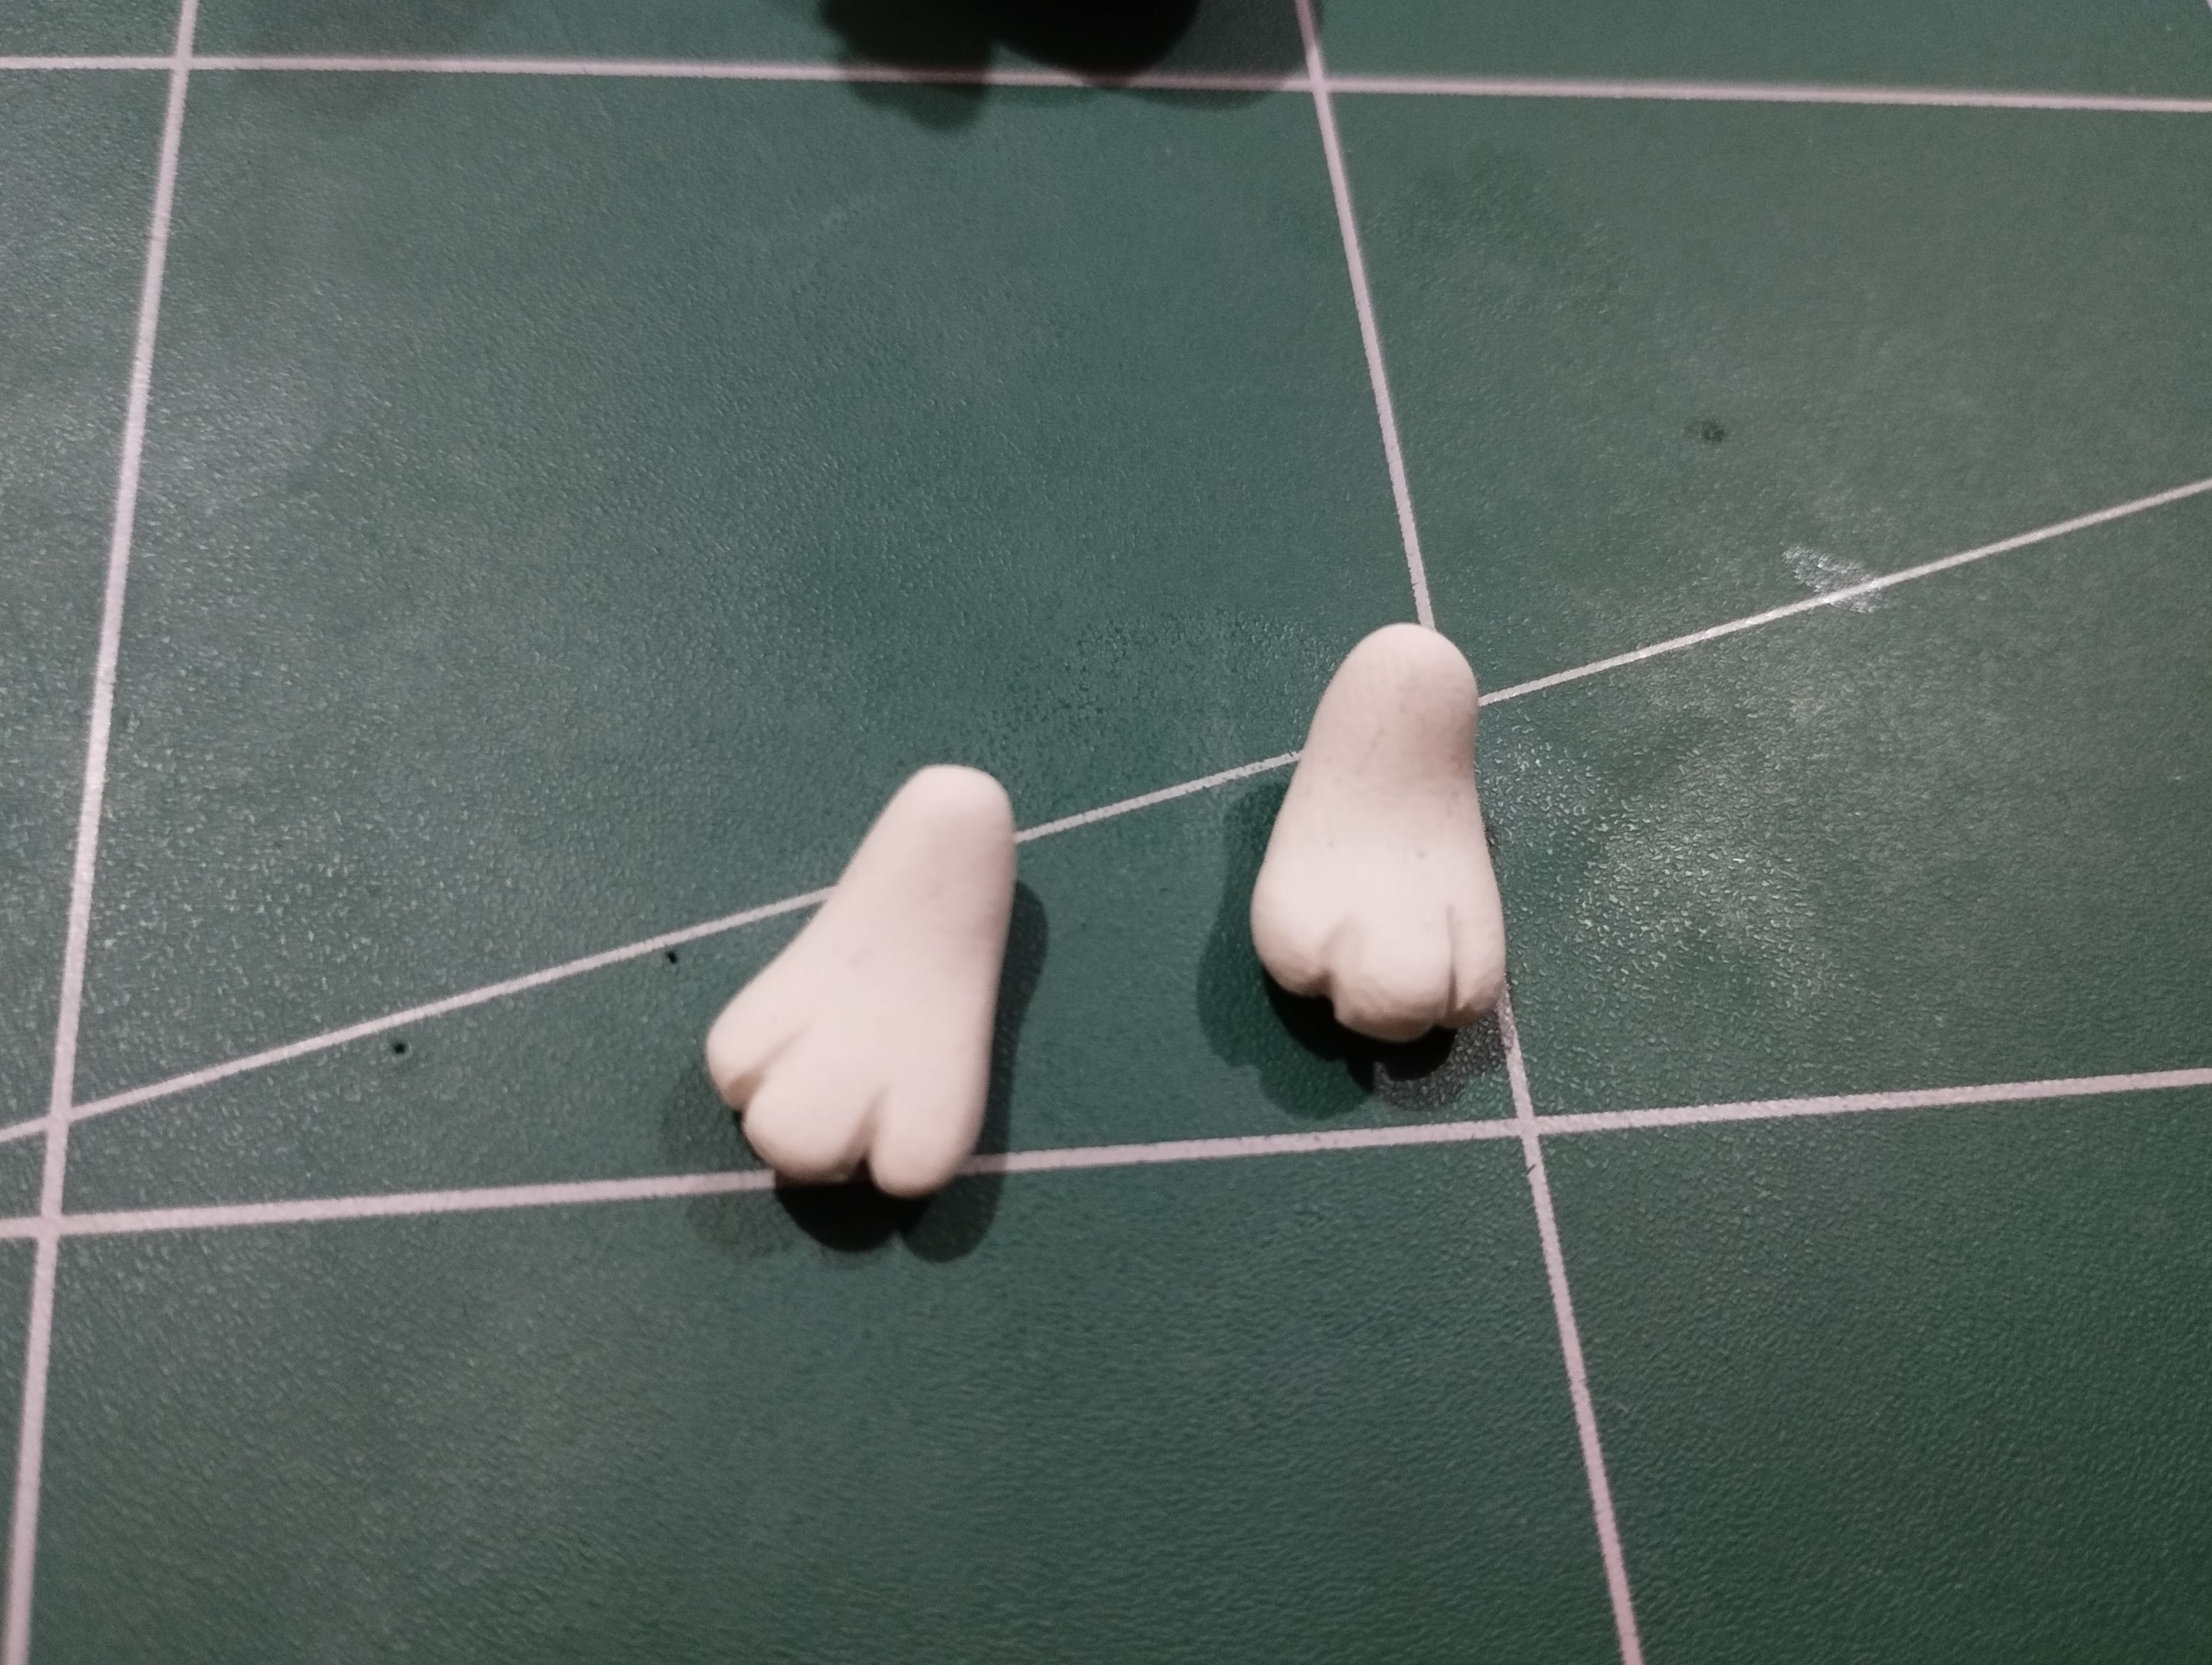
The two front fins are similar to the rear fins, so I made them in a very similar way, creating triangles out of white plasticine and then making these three lines to separate the fingers.
After making these pieces, I inserted a wire through Seel's entire body to keep it in that position. Once ready, I glued the two front arms, holding them in place with wire and glue.
>>Las dos aletas delanteras son similares a las aletas traseras, así que las hive de manera muy similar, creando triángulos de plastilina blanca y luego le hice estas tres líneas para hacer esas separaciones de de los dedos.
>>
>>Luego de hacer estas piezas, le coloqué un alambre que atraviese todo el cuerpo de Seel para que mantenga esa postura. Una vez listo le pegué los dos bracitos delanteros, sosteniéndolos también con alambre y pegamento.
|||
|-|-|
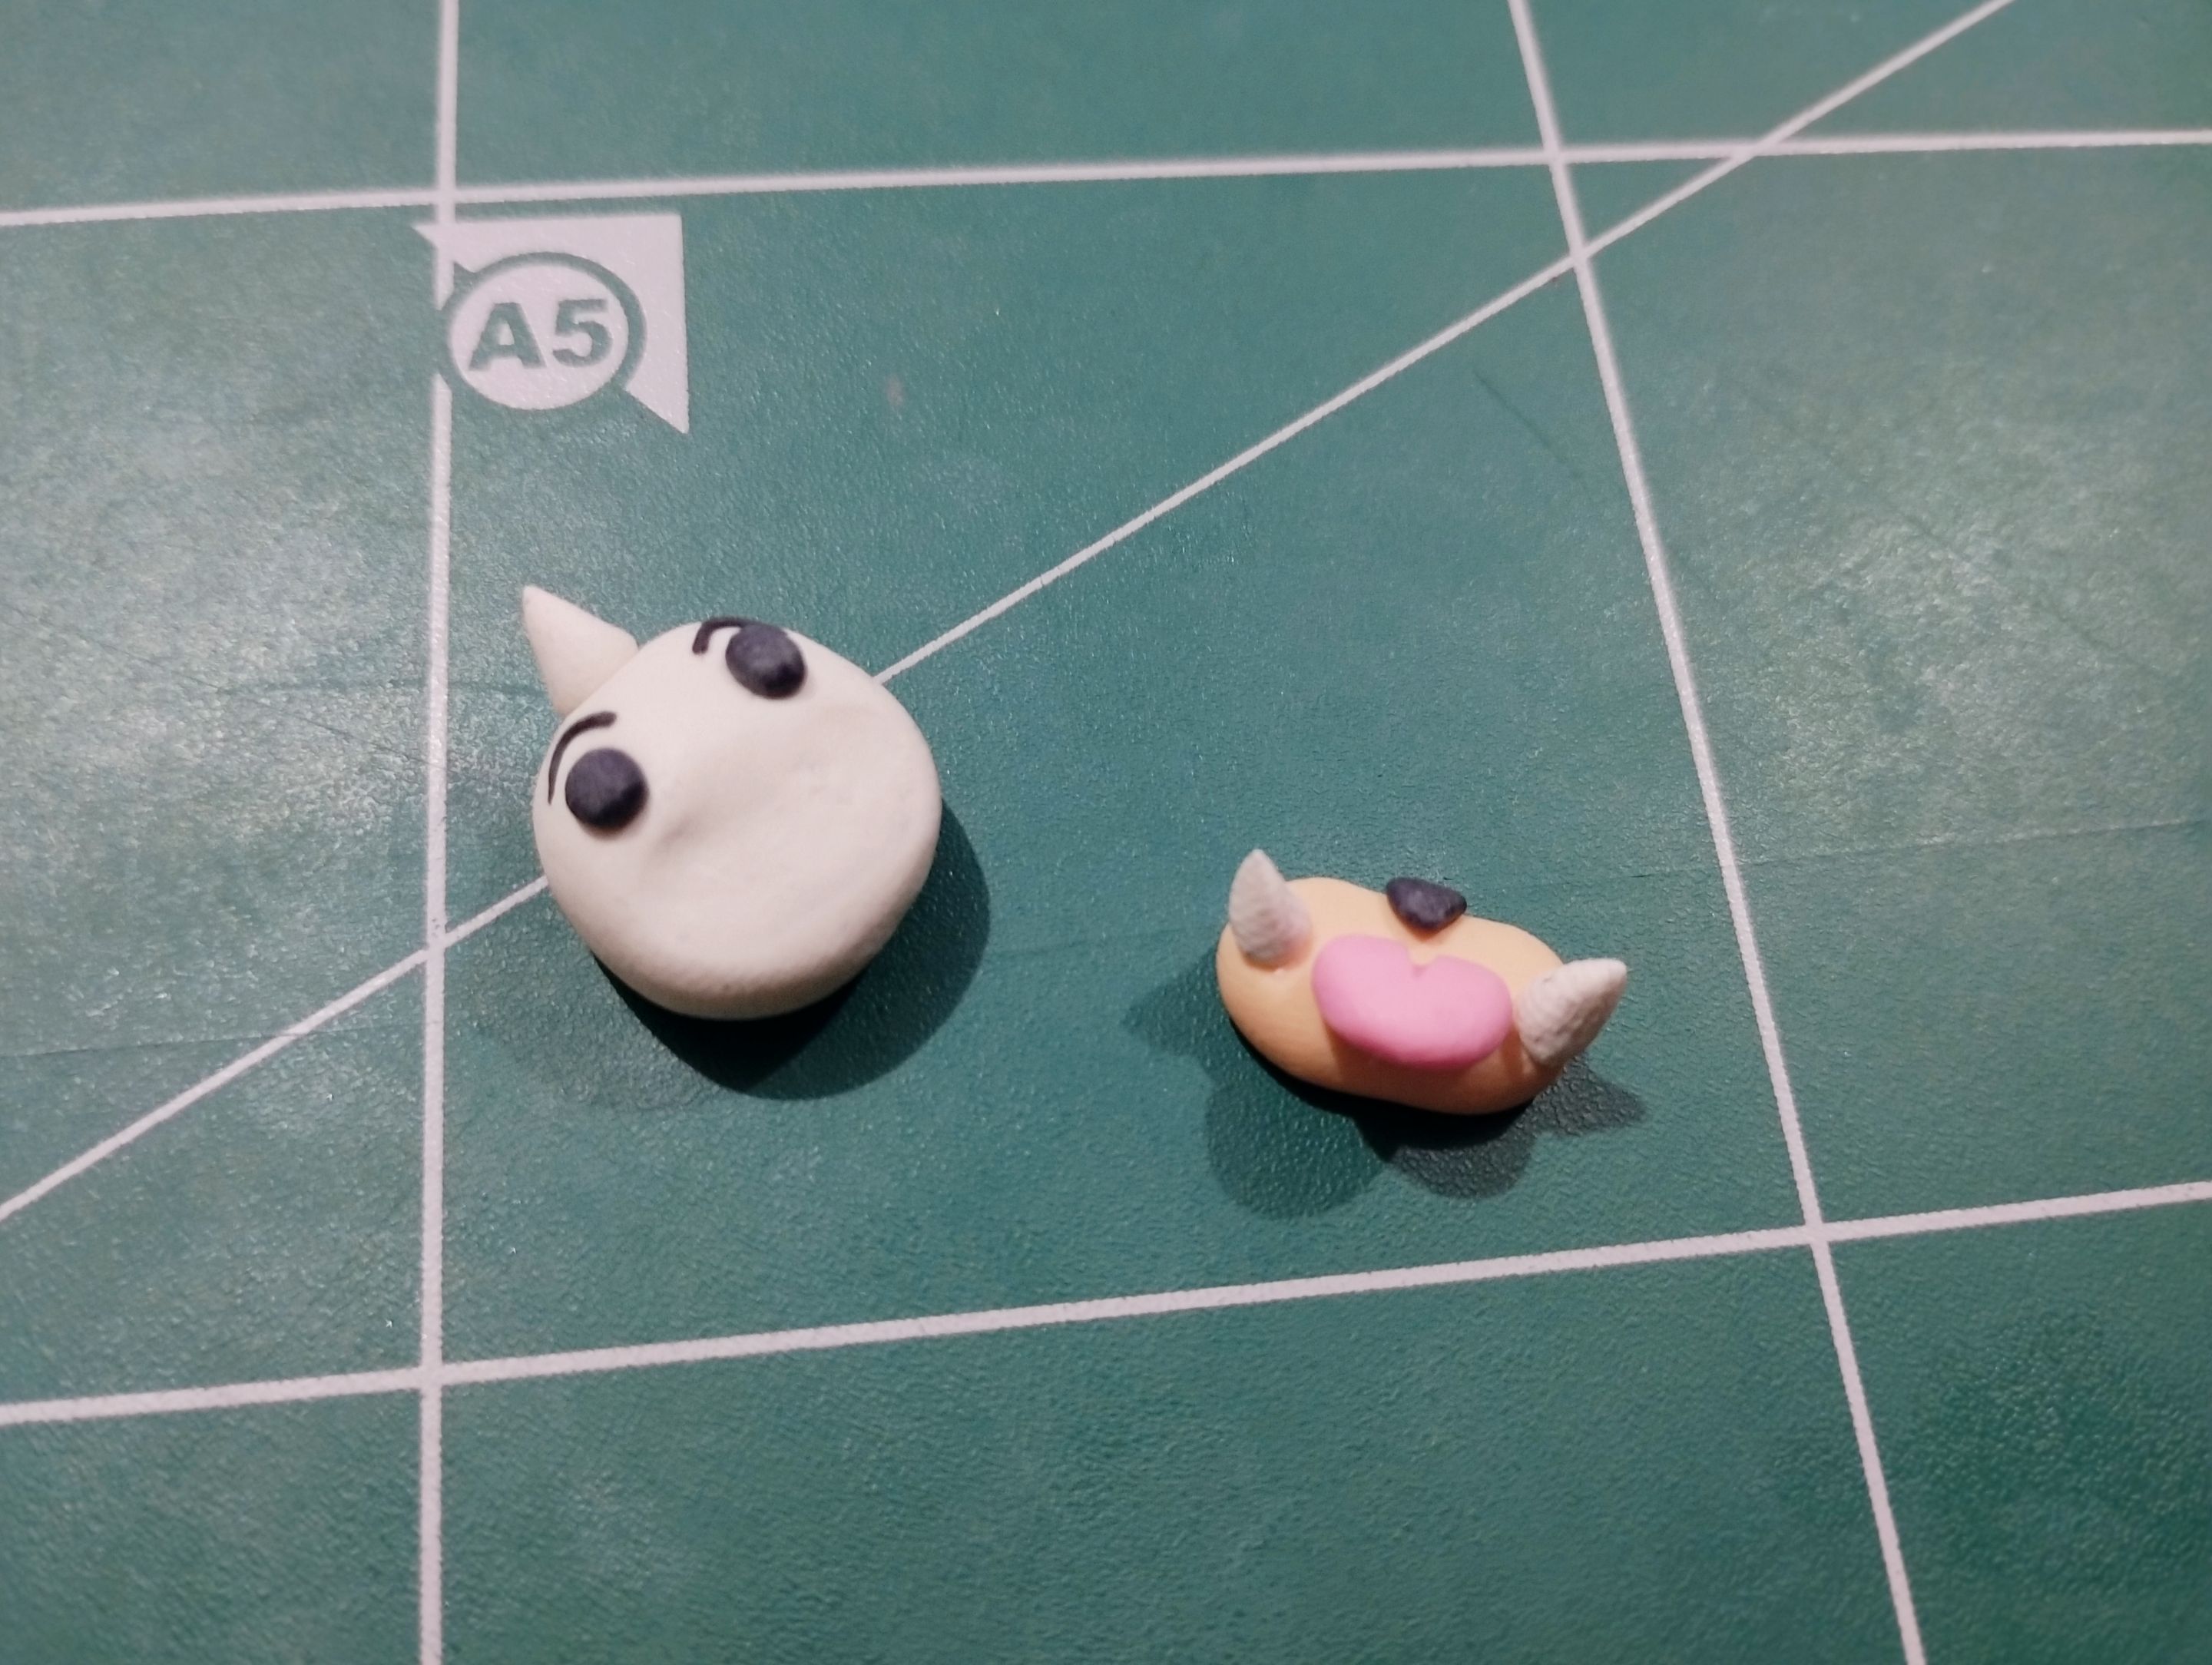
The last thing I did was the face. It doesn't have such complicated shapes. It's a head made from a circle, a rectangle, cones, and more small circles.
If you look at the image on the left, you can see the white head and the rounded rectangle in light skin color for the snout. In the image on the right, on the other hand, you can see the head with the horn I made with a cone and the two eyes made with black plasticine. On the snout, I stuck another black triangle for the nose, two white cones for the fangs, and another small rounded square for the tongue.
>>Ya lo último que hice fue la cara. Esta no tiene formas tan complicadas. Es una cabeza que se hace a partir de un círculo, un rectángulo, conos y más círculos pequeños.
>>
>>Si se fijan en la imagen de la izquierda está la cabeza blanca, el rectángulo redondeado de color piel clara, para el hocico. En la imagen de la derecha, por otra parte, está la cabeza ya con el cuerno que hice con un cono y los dos ojitos hecho con plastilina negra. En el hocito pegué otro triángulo de color negro para la nariz, dos conos blancos para los colmillos y otro cuadrito redondeado en la pinta para la lengua.
|||
|-|-|
Then I joined all these pieces together and attached the head to the body, again using glue and wire, to make all these joints stronger.
>>Luego uní todas estas piezas y pegué la cabeza con el cuerpo, nuevamente usando pegamento y alambre, para dar mayor fuerza a todas estas uniones.
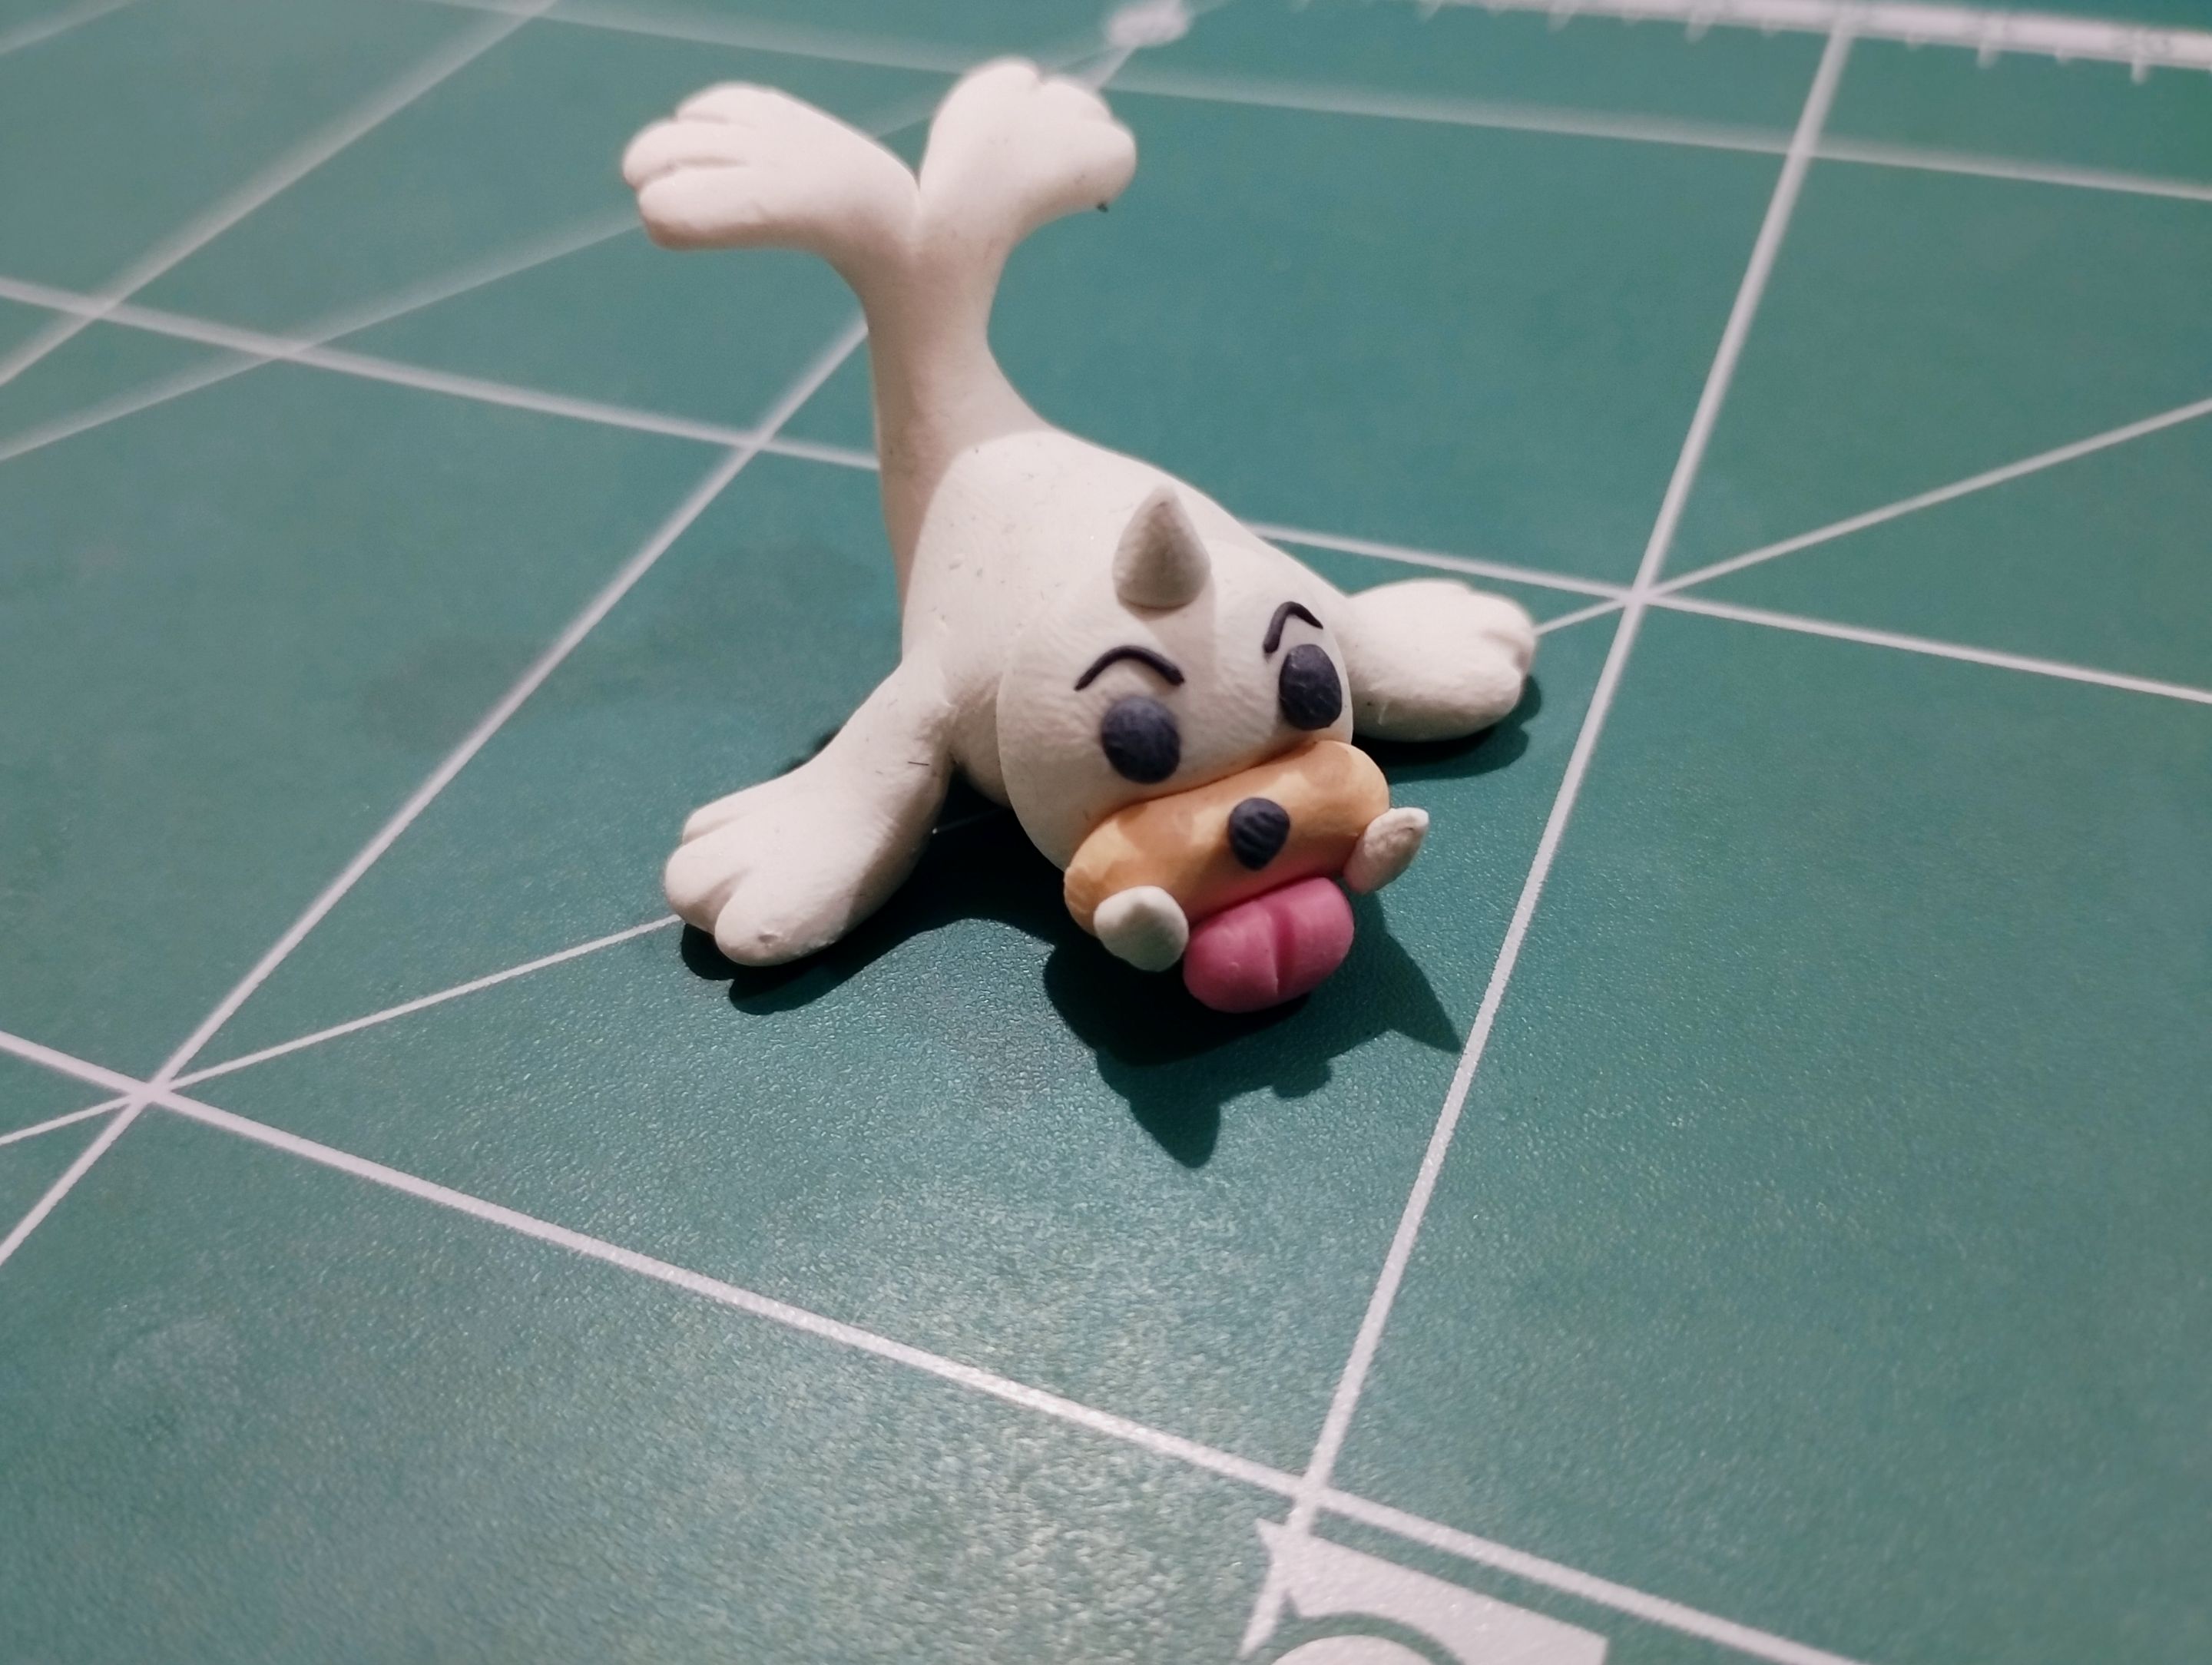
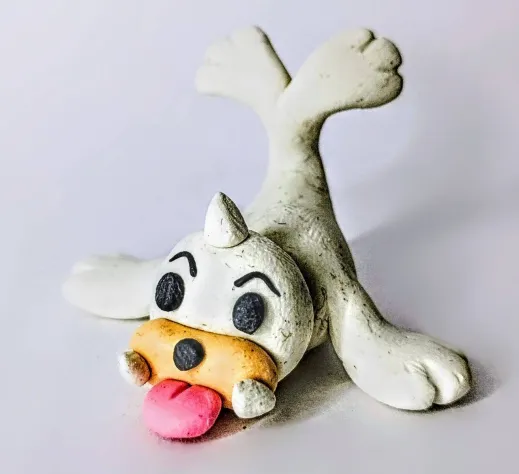
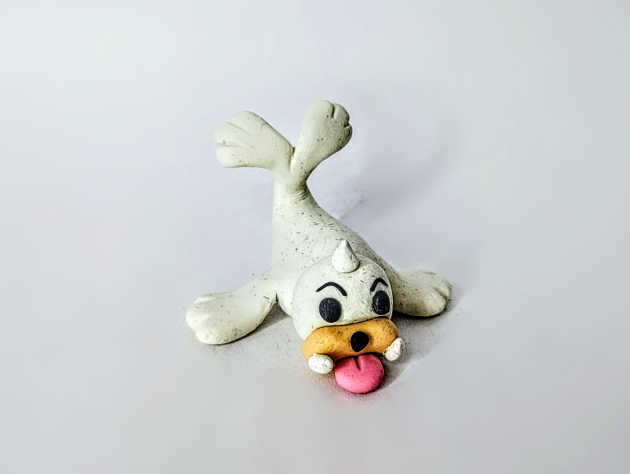
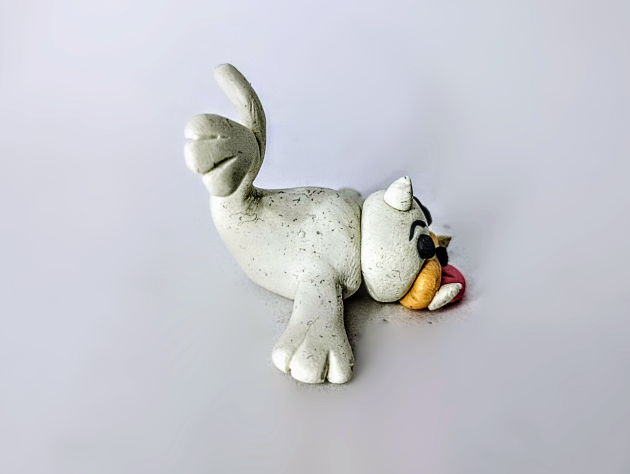
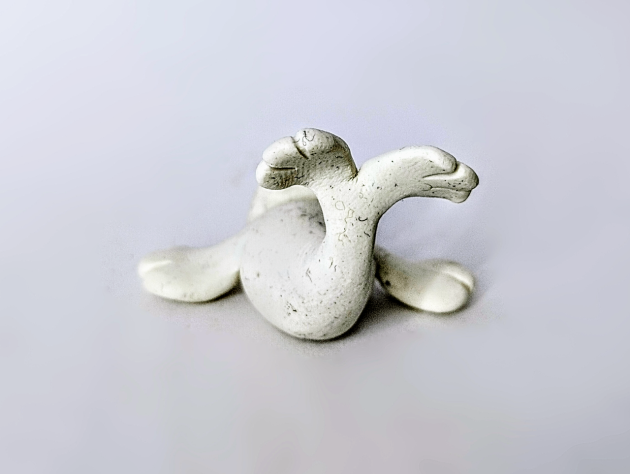
### And that's how the figurine was finished. Below you can see a series of photographs of the final result:
>>#### De esta manera la figurita quedó terminada. A continuación pueden ver una serie de fotografías del resultado final:
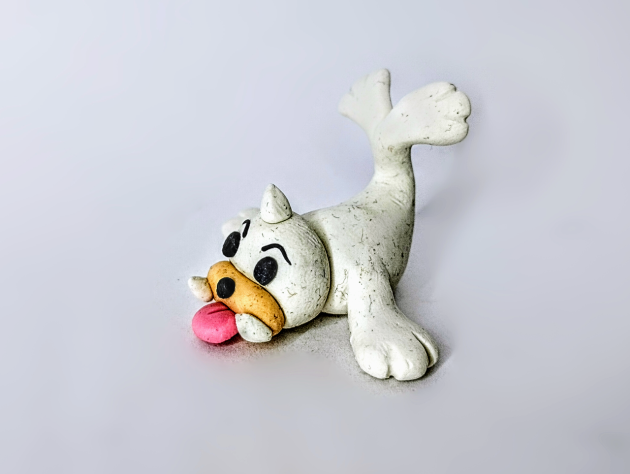
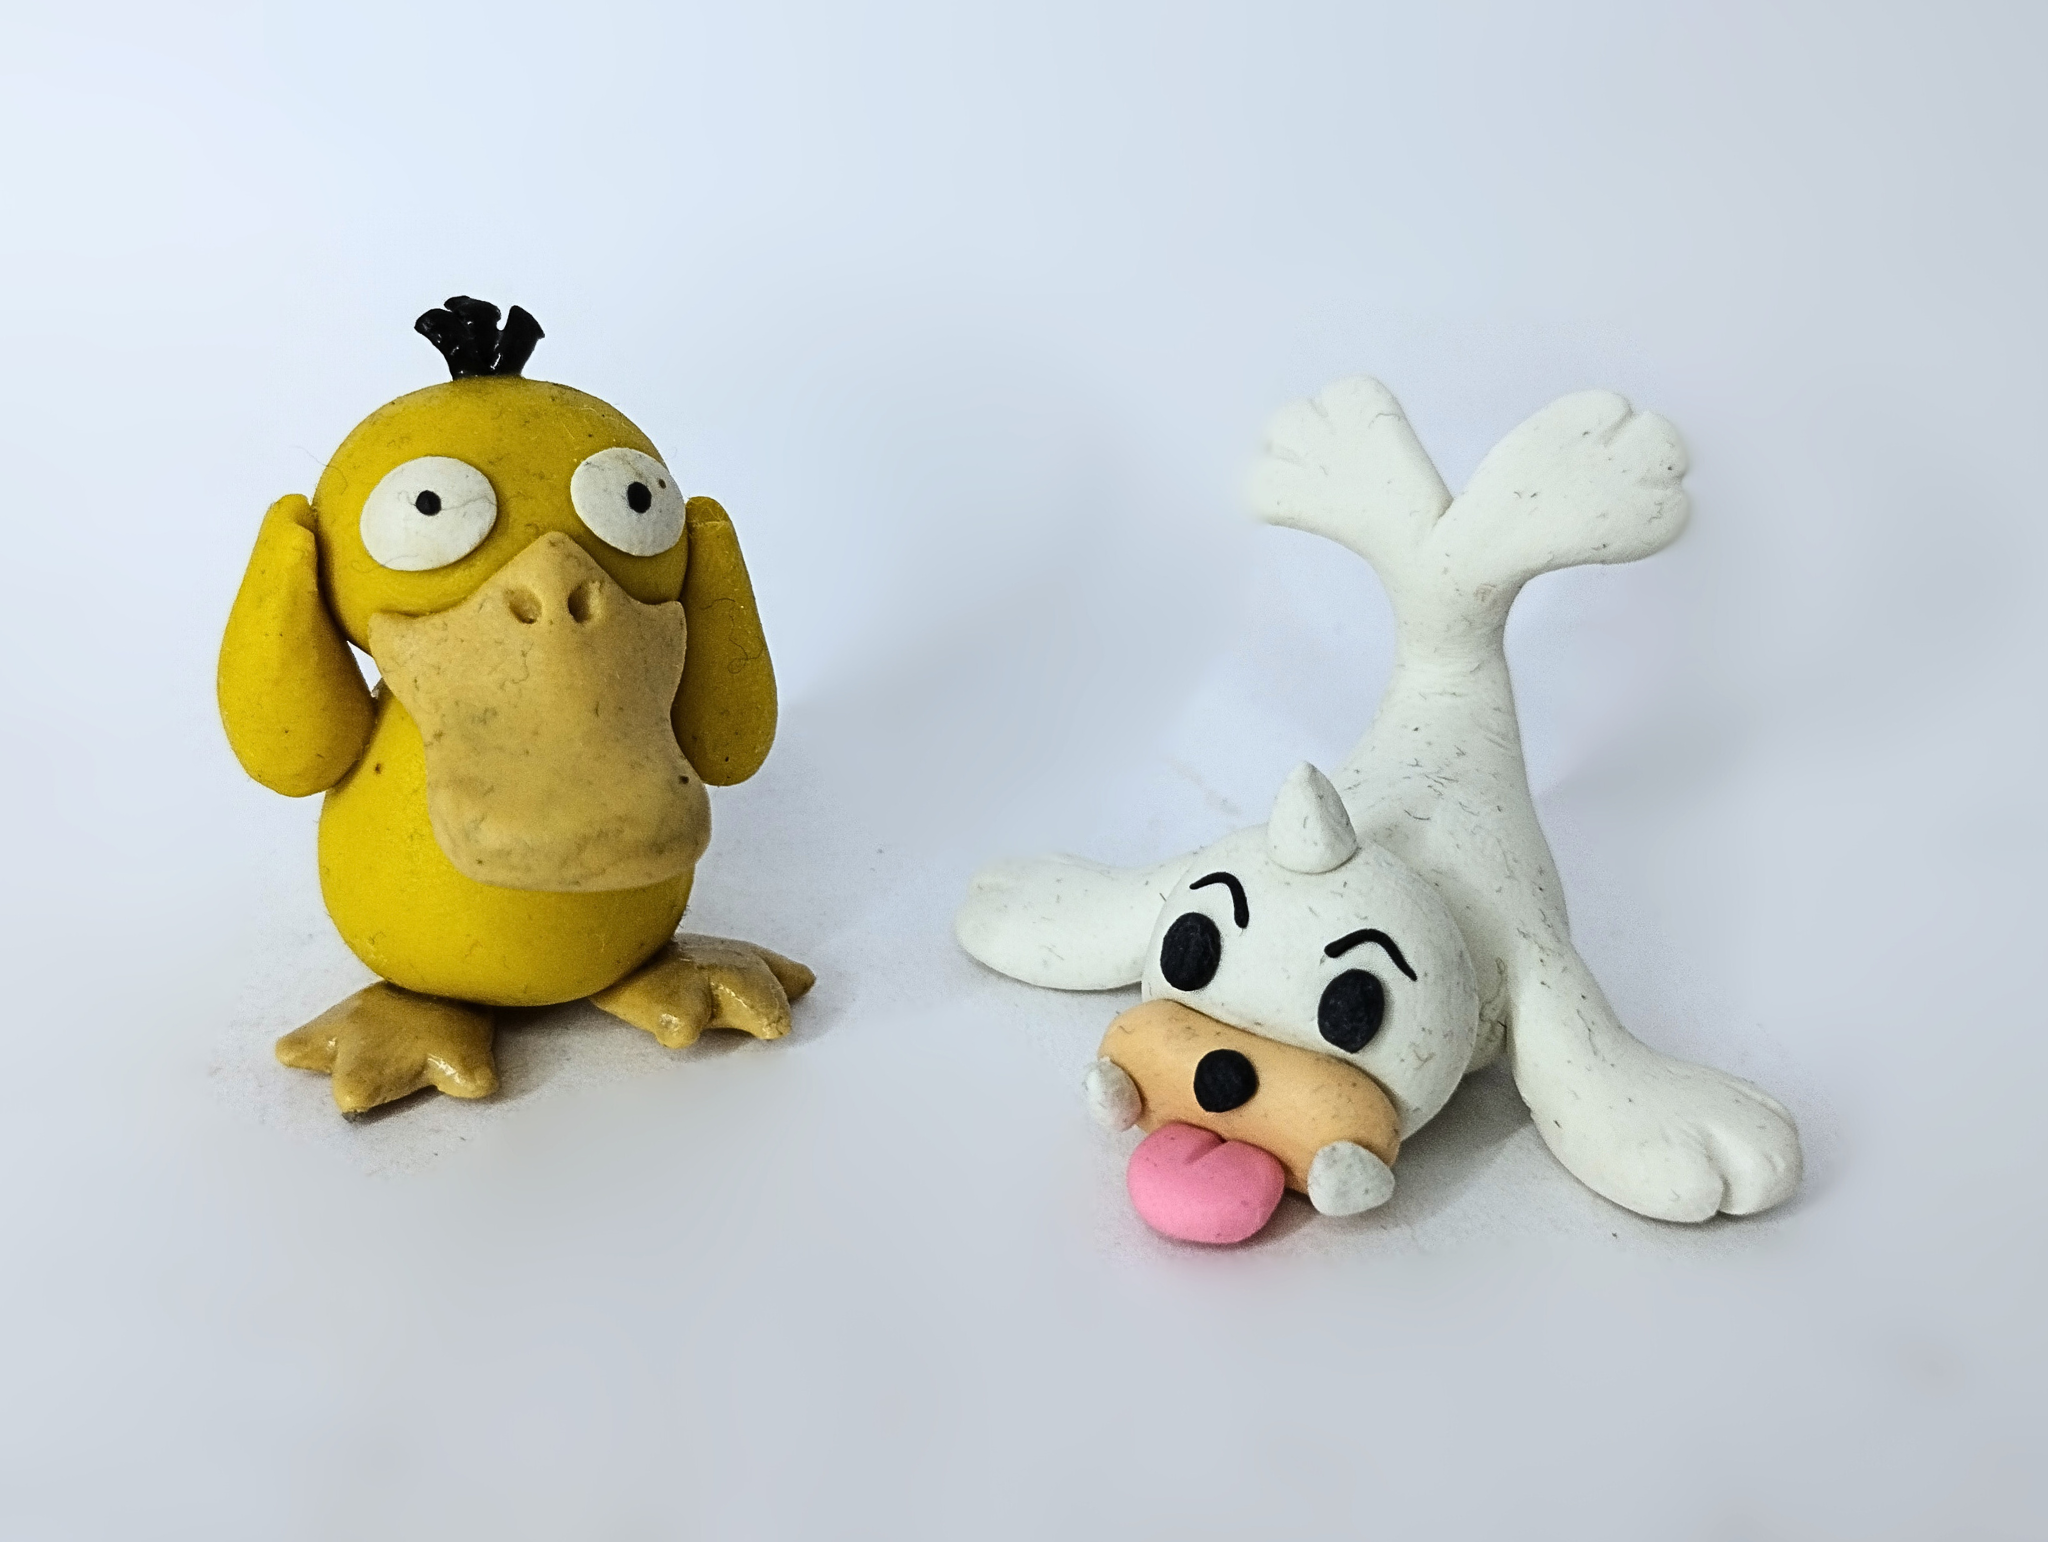
Well, friends, that's all for now. I hope you liked my Pokémon, as it's another character added to the collection. I'd like to know what you think, so please leave your opinions in the comments below. As always, I'll be happy to read them. Without further ado, I bid you farewell...
DIY: Seel Sculpture [ENG/SPA]
@gaboamc2393
· 2025-09-16 05:11
· DIYHub
#diy
#art
#handmade
#pokemon
#spanish
#tutorial
#waiv
#pimp
#vyb
#hive-189641
Payout: 0.000 HBD
Votes: 463
More interactions (upvote, reblog, reply) coming soon.