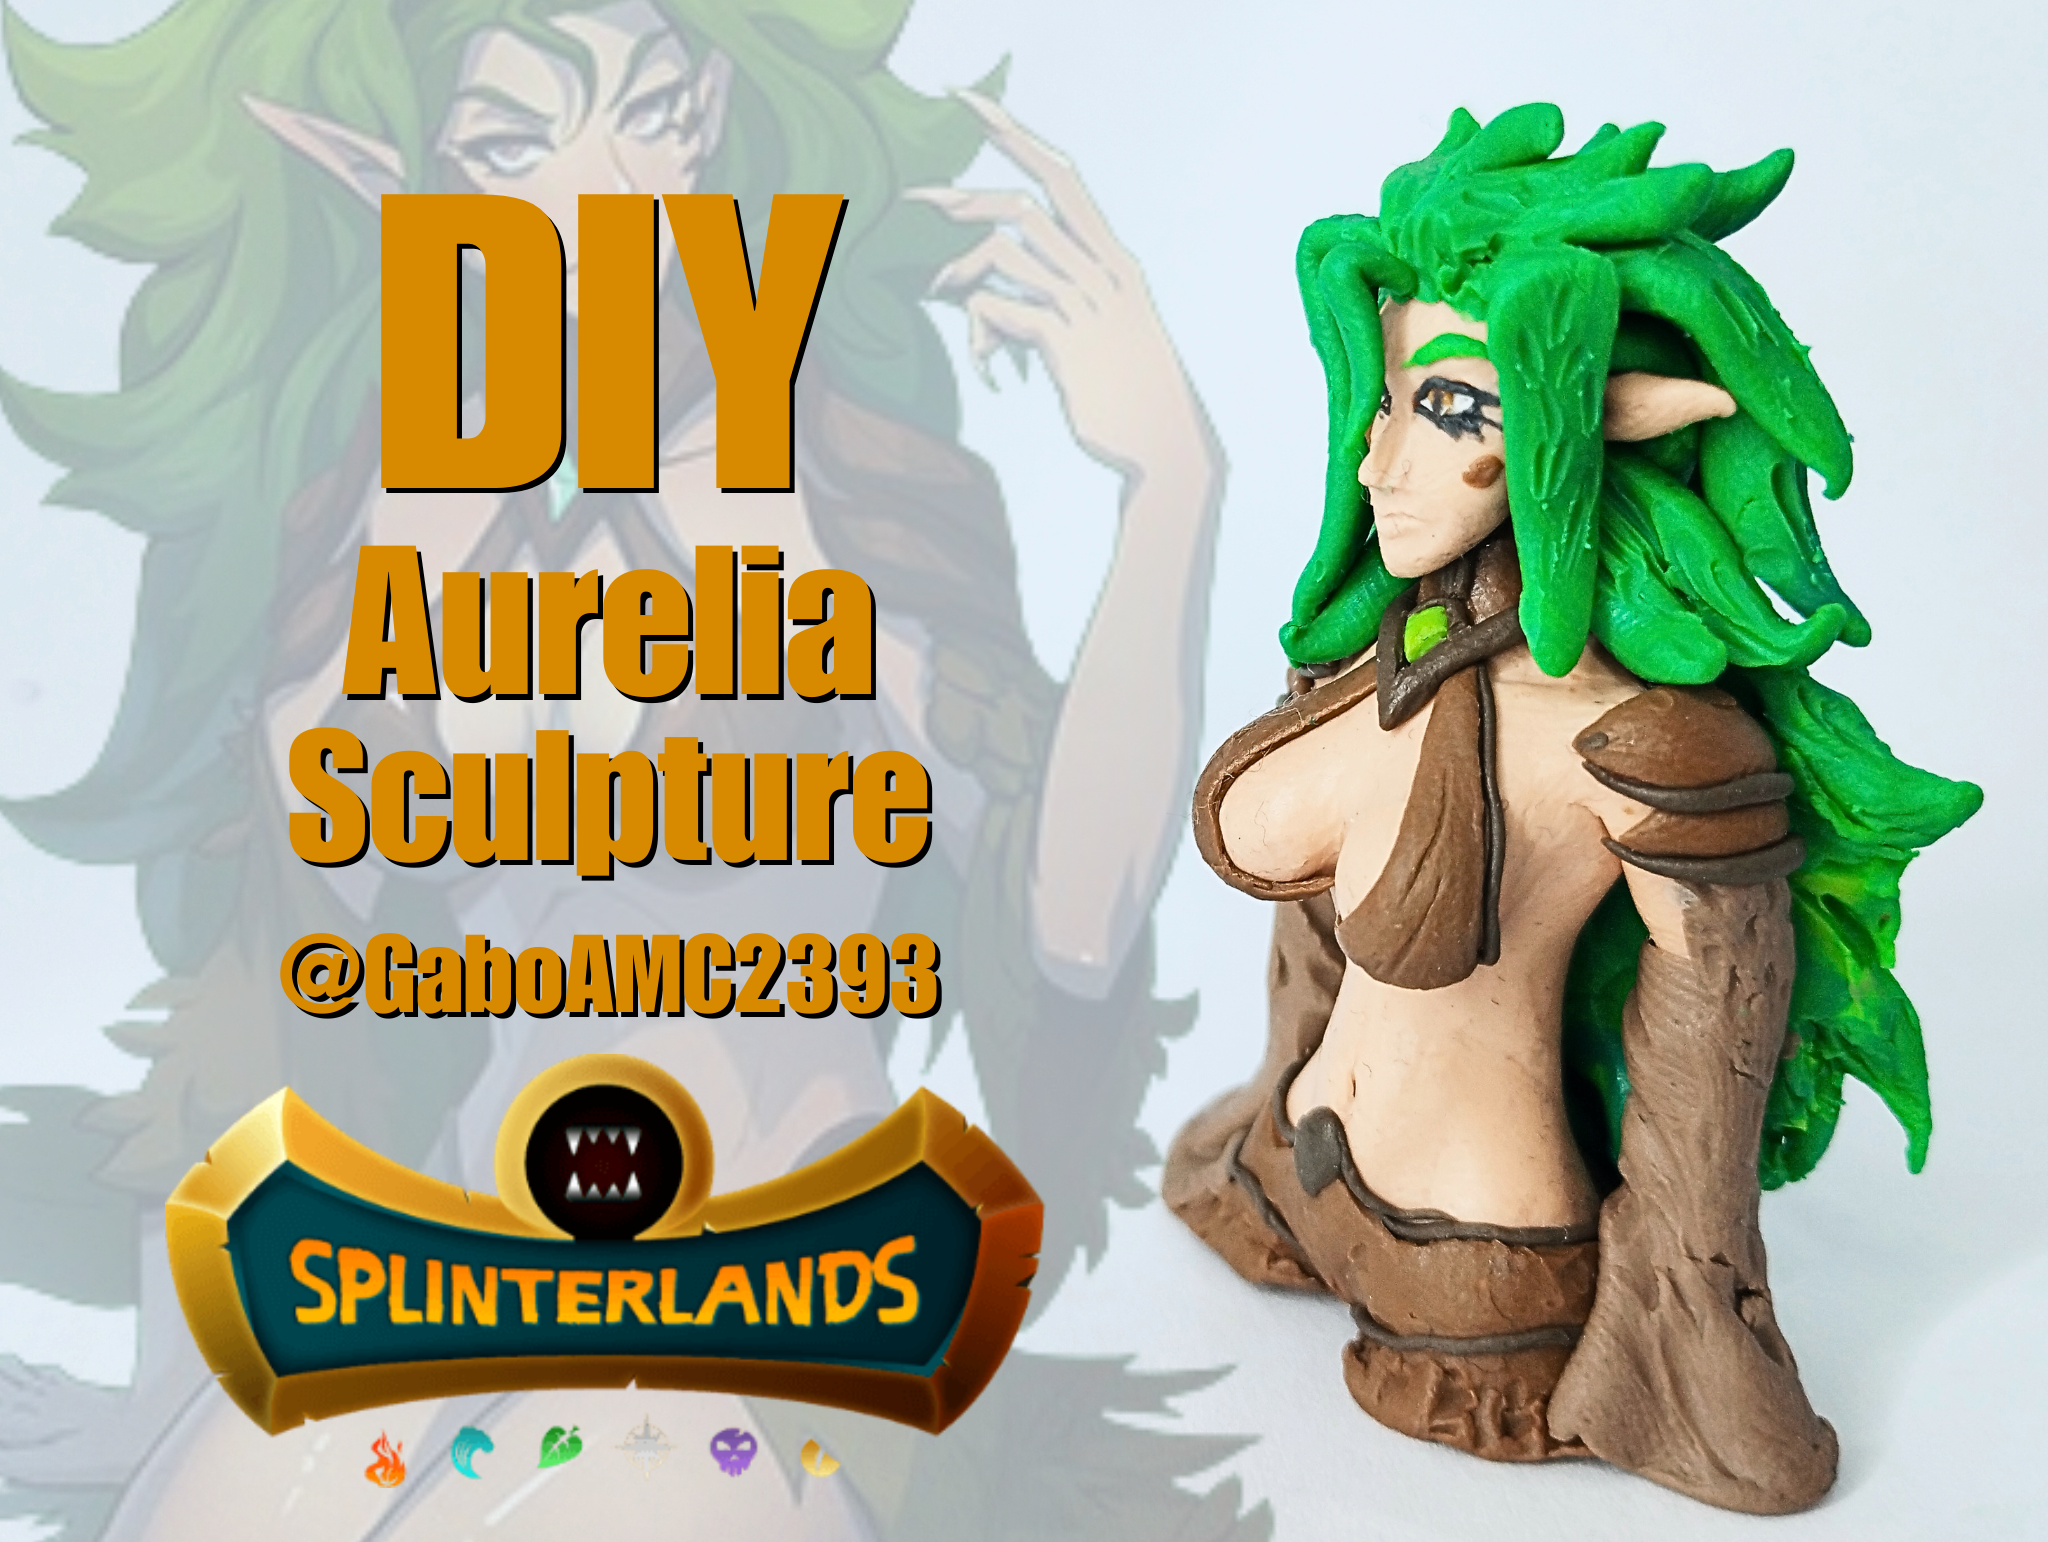
Greetings, friends. It's been a while since I participated in Splinterlands art contests. Well, I've been thinking, and I think it's a good idea to get back into creating art for this game. That's why I'd like to share with you a sculpture I made inspired by Aurelia, one of the characters in the game.
>># Español
>>
>>Saludos amigos. Hace un buen tiempo que no participaba en los concursos de arte de Splinterlands. Pues bien, estuve pensando y creo que es buena idea retomar la creación de arte de este juego. Por eso me gustaría compartir con ustedes una escultura que hice inspirada en Aurelia, uno de los personajes del juego.
**Source / Fuente:**
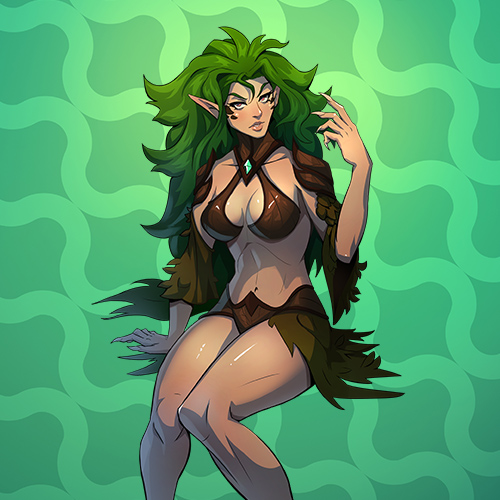
https://splinterlands.com/card-detail/827/regular/16?tab=lore
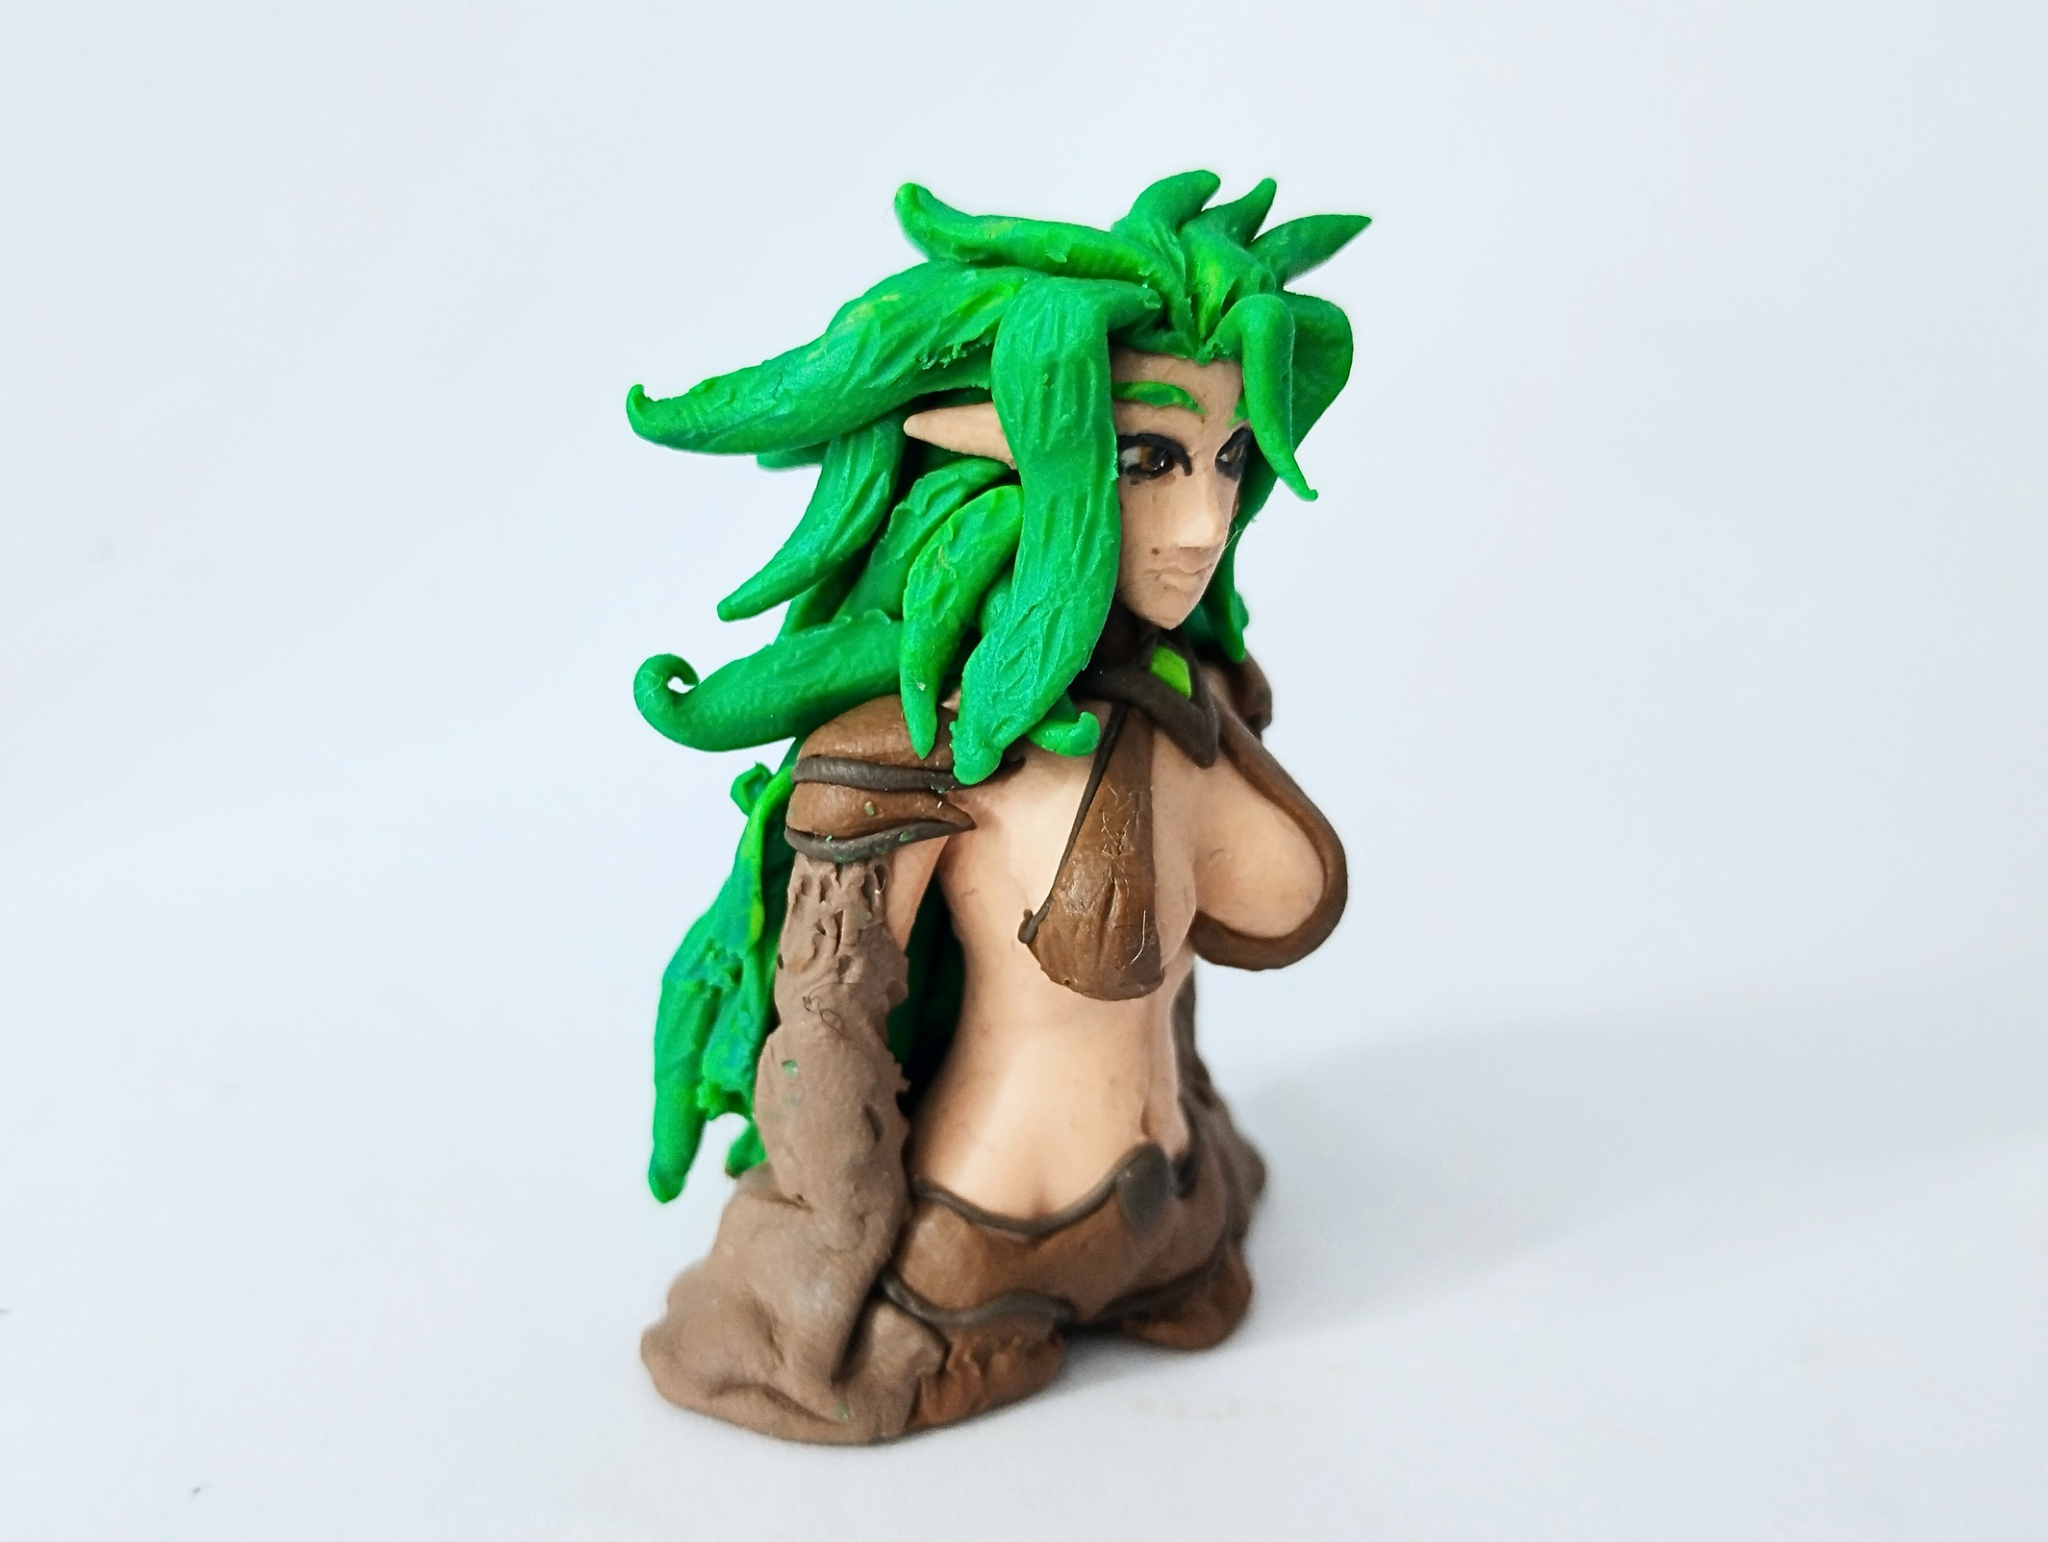
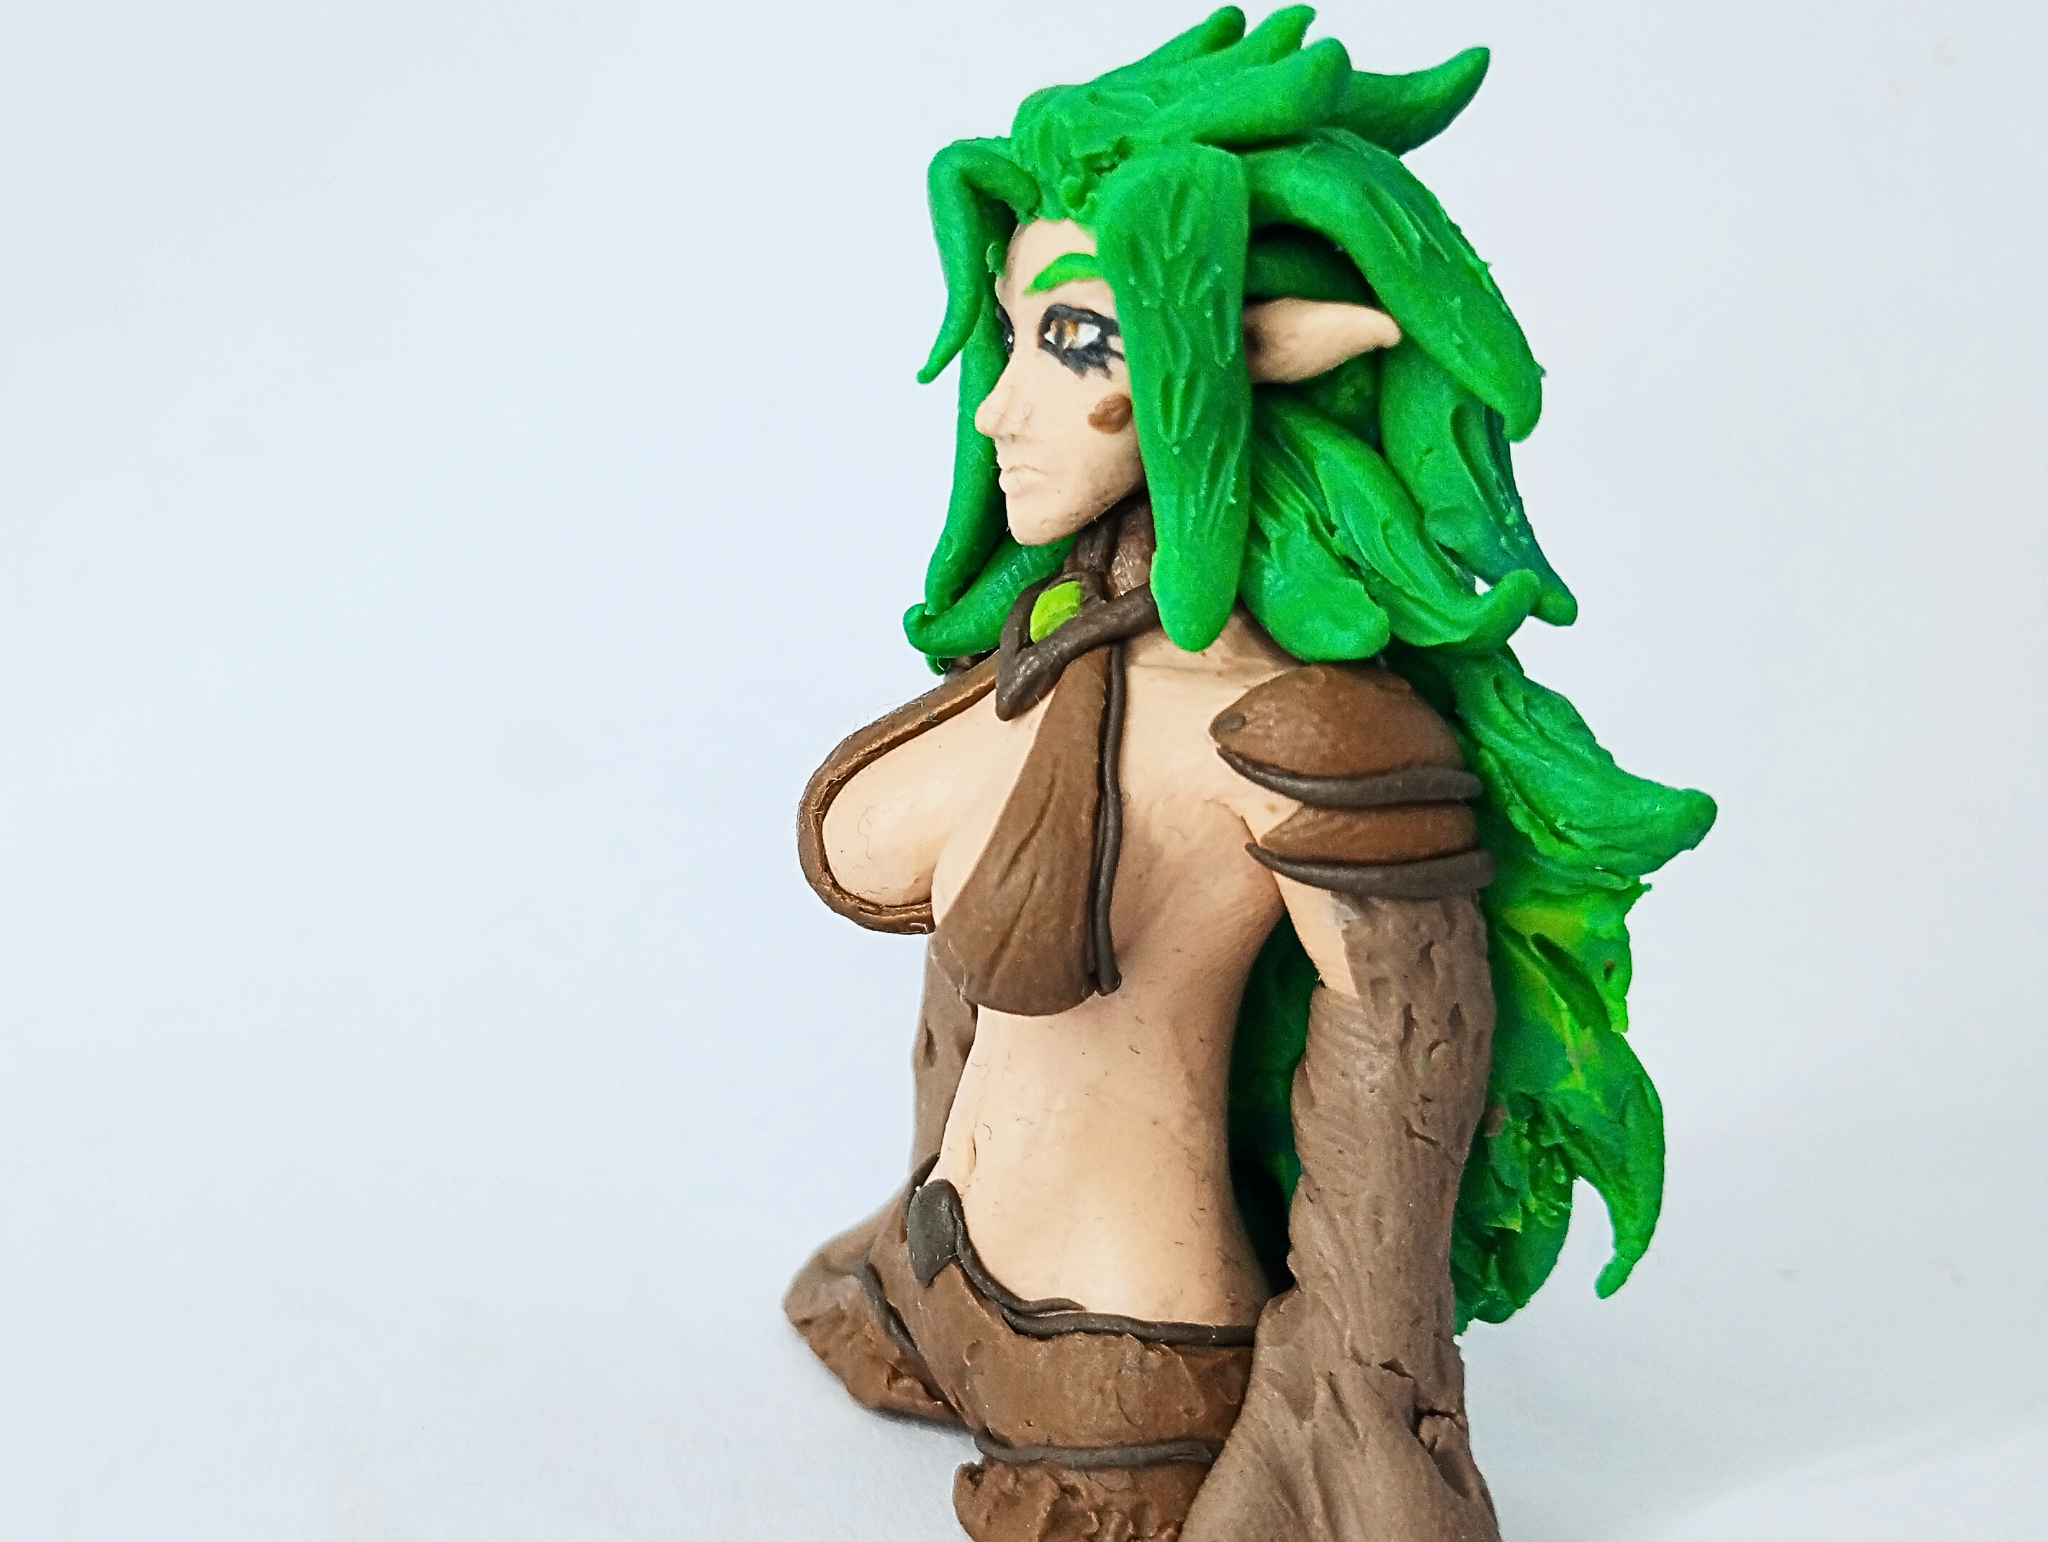
The result of my work is what you see in the image below, a statuette-style figure, made from the waist up, which represents the character well, because it is not made exactly the same. Even so, it is an excellent representation of this character from my point of view.
I would like you to accompany me in the creative process of such a beautiful figurine.
>>El resultado de mi trabajo es el que ven en la imagen de abajo, una figura estilo estatuilla, que está hecha de la cintura para arriba, que bien representa al personaje, porque no está hecha exactamente igual. Aún así es una excelente representación de este personaje desde mi punto de vista.
>>
>>Me gustaría que me acompañaran en el proceso creativo de tan bonita figurita.
# Step by step
The materials I used to make this figurine were:
* Plasticine
* Glue
* Wire
In the image below, you can see the colors of plasticine I used for this project.
>># Paso a paso
>>
>>Los materiales que utilicé para hacer esta figurita fueron:
>>
>>* Plastilina
>>* Pegamento
>>* Alambre
>>
>>En la imagen de abajo se pueden observar los colores de plastilina que utilicé para este trabajo.

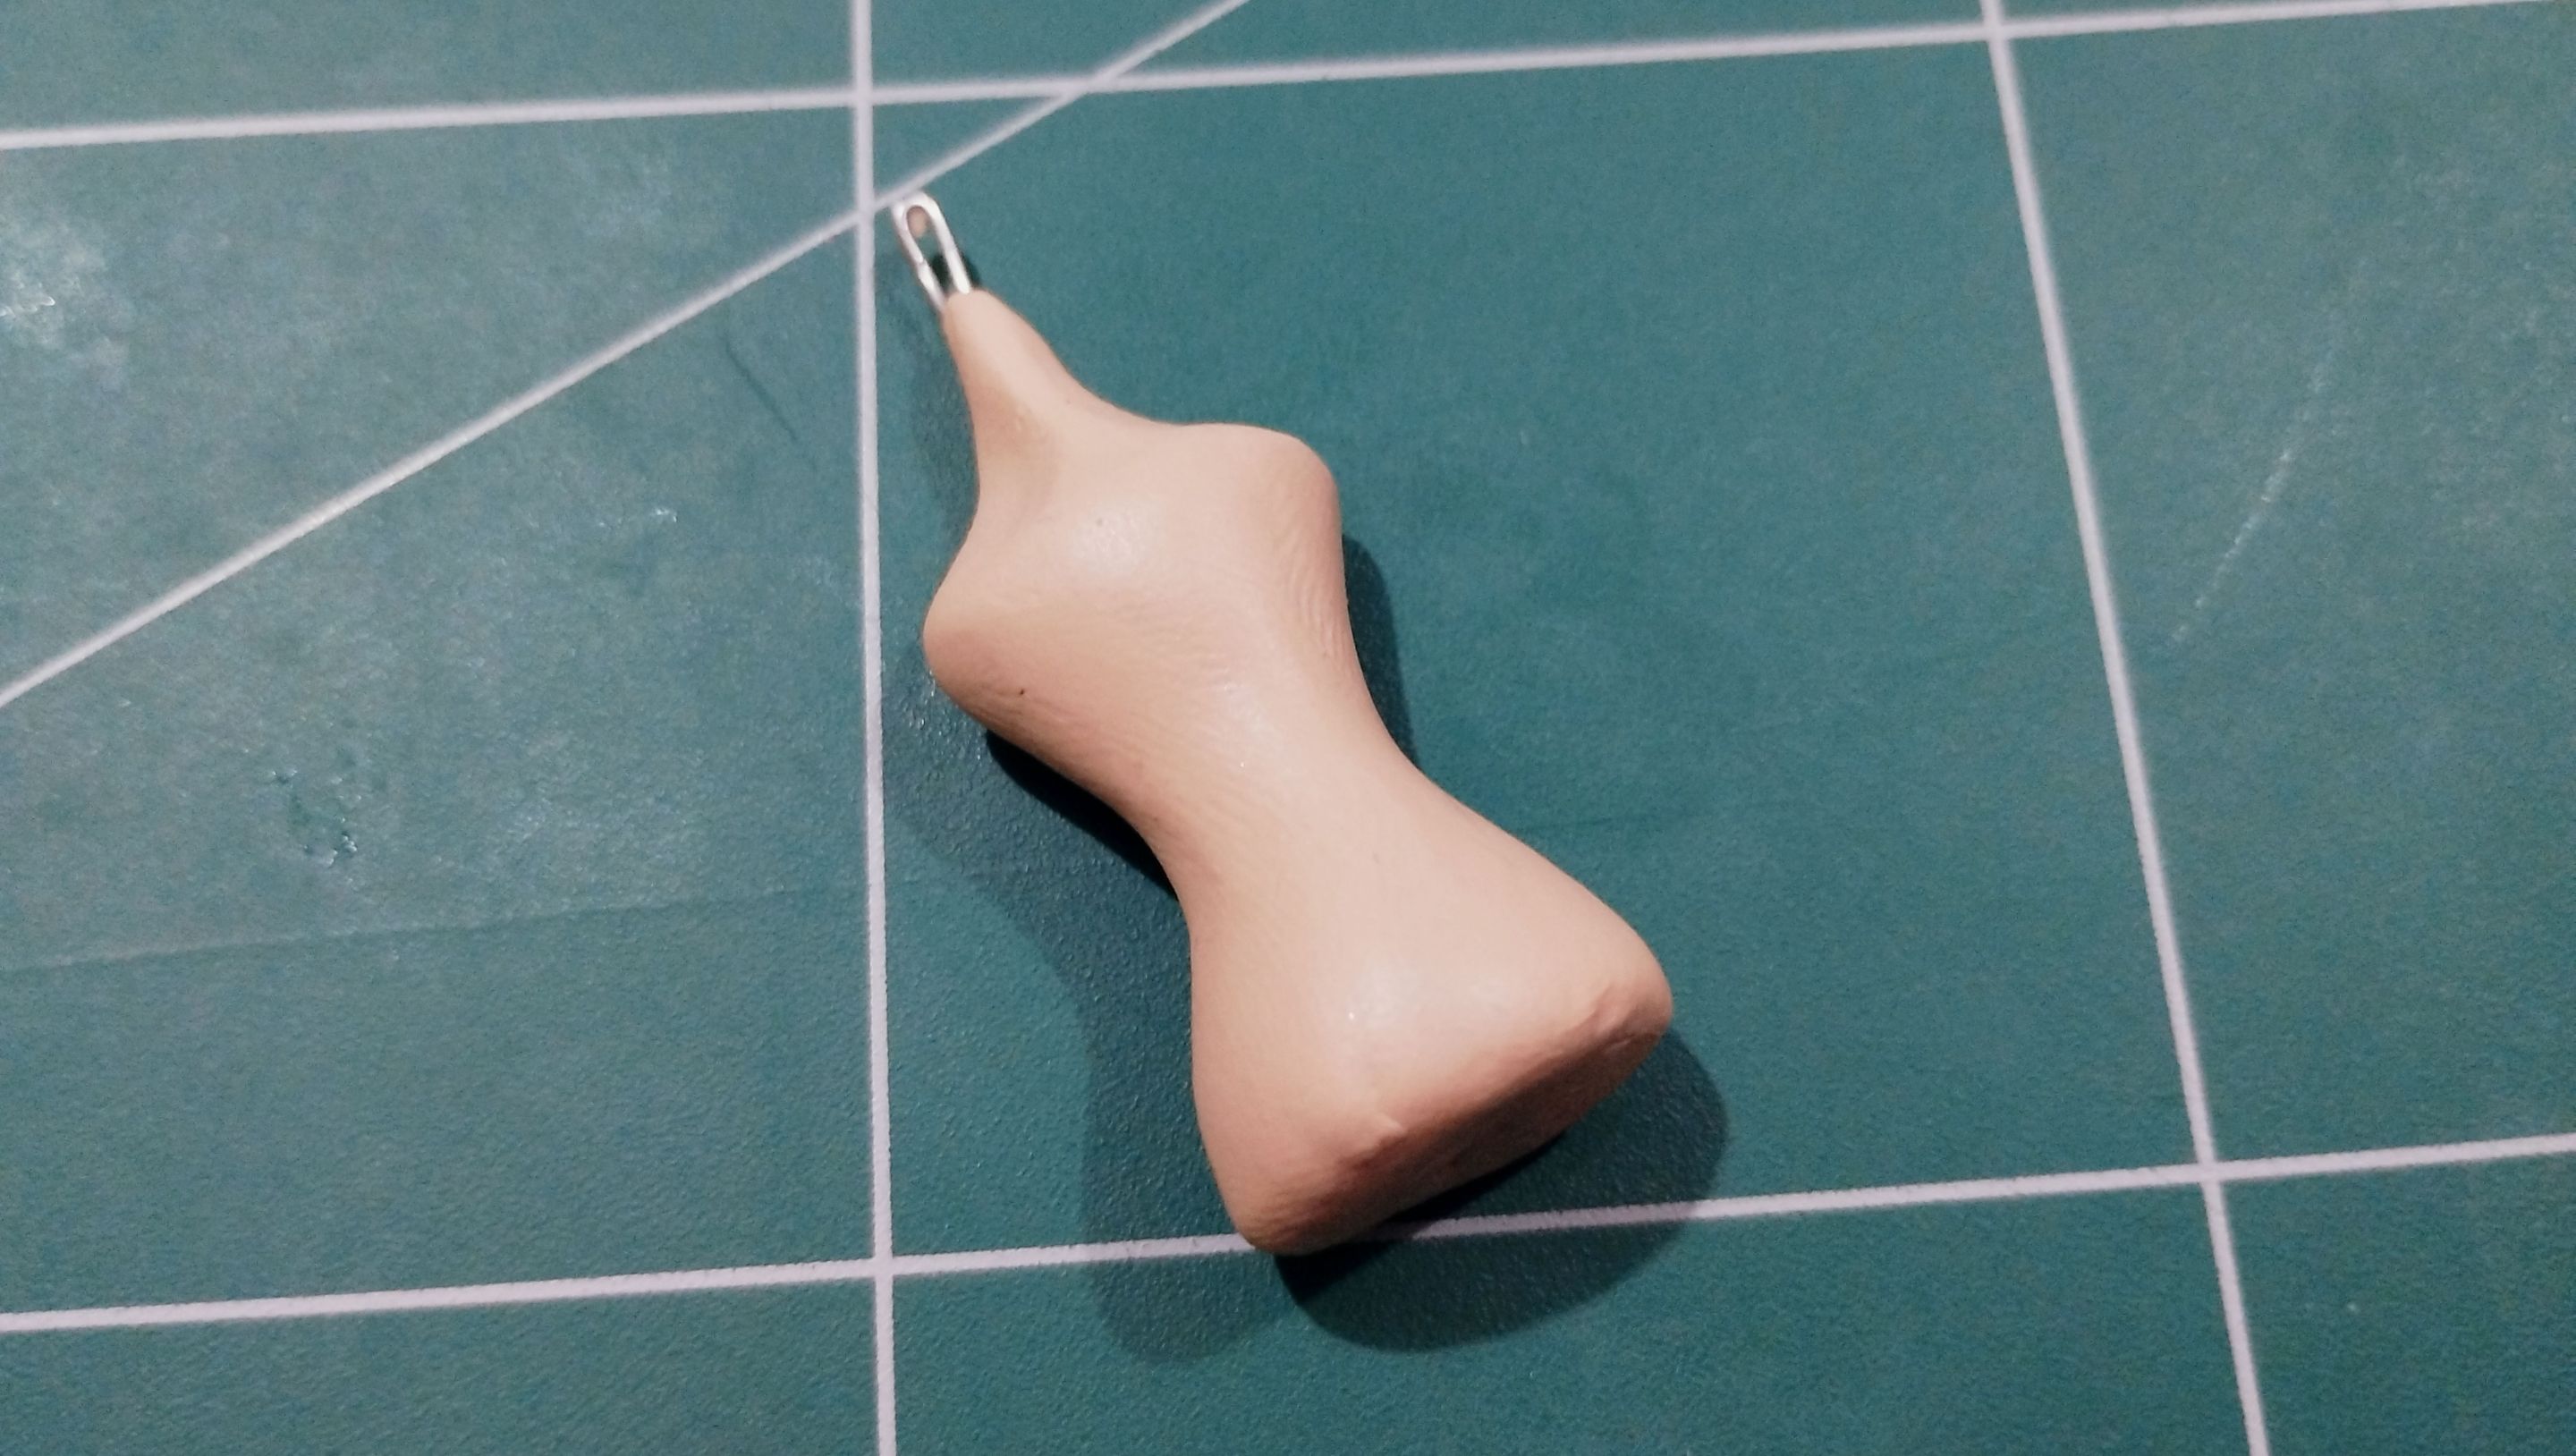
Well, the first thing I did was make the wire base that would serve as a support for this character, as you can see in the image on the left. Due to the shape of the figurine, it didn't need too much support, so this long rolled-up wire would do the trick.
In the other image, on the right, you can see the piece of plasticine I would use for the body.
>>Bien, lo primero que hice fue hacer la base de alambre que serviría de soporte para este personaje, como pueden ver en la imagen de la izquierda. Por la misma forma de la figurita, no hacía falta demasiado soporte, así que con este alambre enrollado y largo serviría.
>>
>>En la otra imagen, la de la derecha, se aprecia el trozo de plastilina que usaría para el cuerpo.
|||
|-|-|
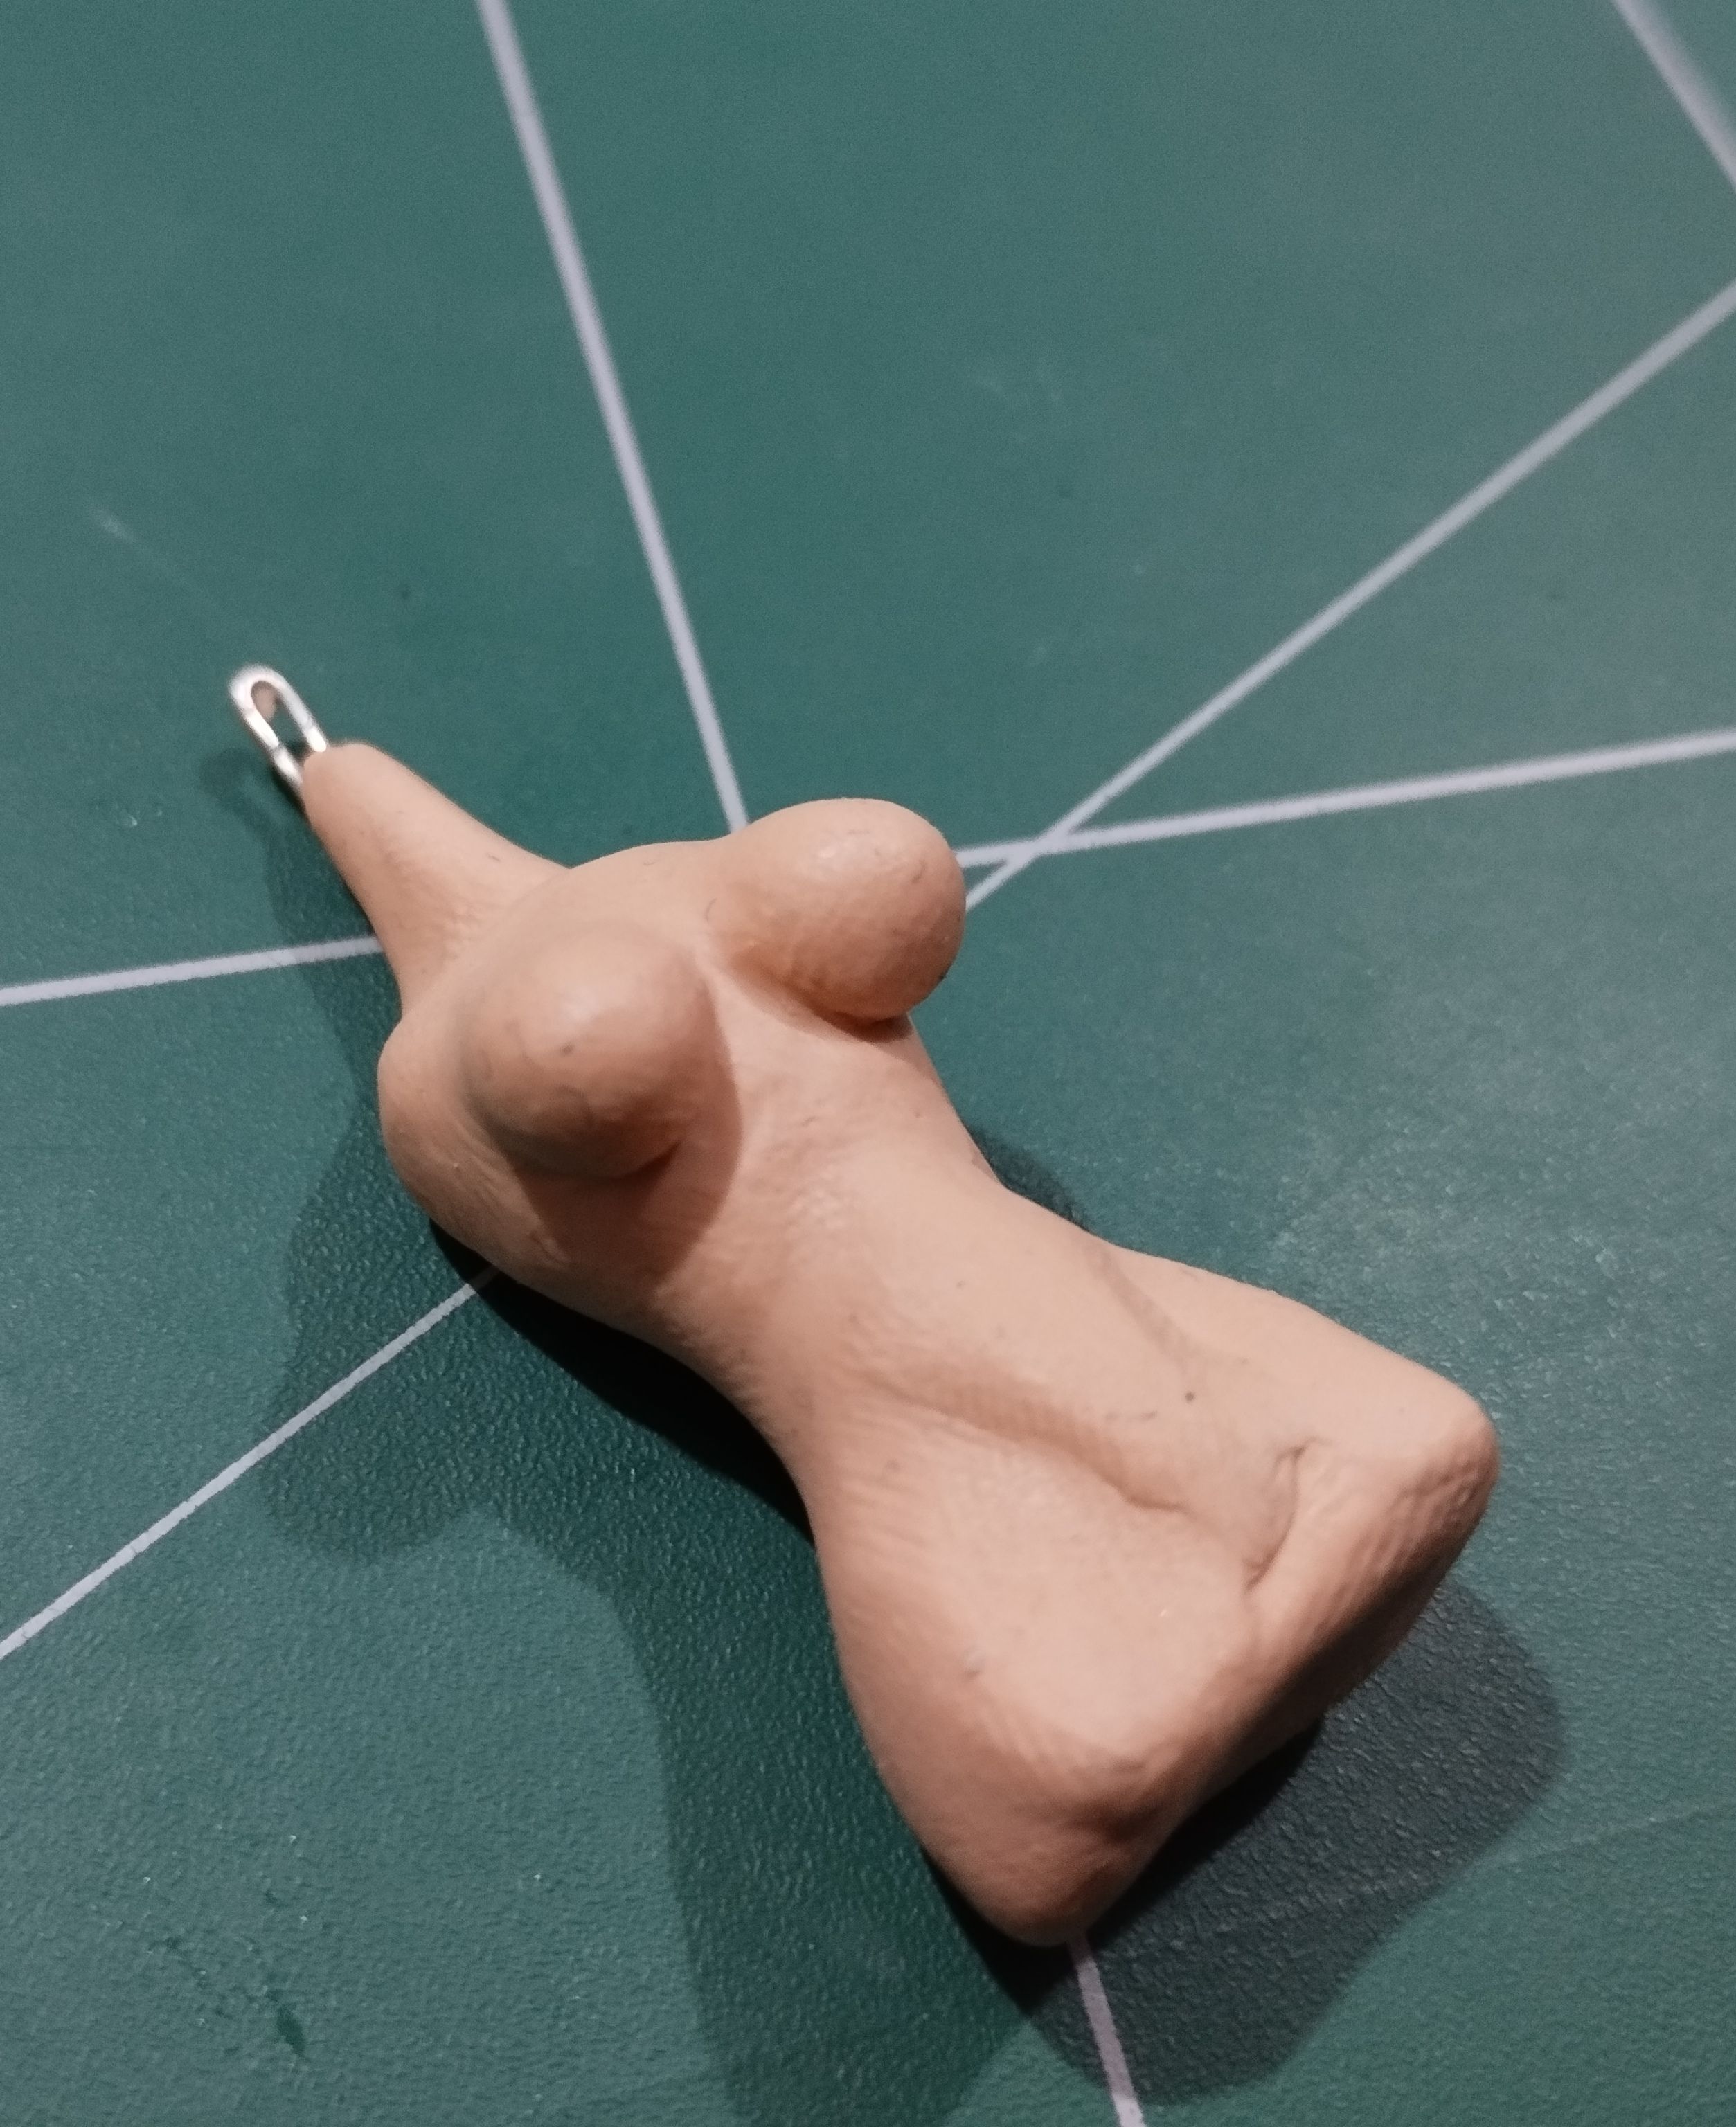
I began to mold the light-colored plasticine around the piece of coiled wire. Then I began to mold the body of a woman. It is basically shaped like a dress form.
>>La plastilina color piel clara la comencé a moldear alrededor del trocito de alambre enrollado. Luego comencé a moldear el cuerpo de una mujer. Básicamente es con una forma parecida a la de un maniquí de costura.
Due to the character's shape, I didn't want to leave it as it is in the image above, so I began to better mold the shape of a woman's body.
As you can see in the reference image of the character, she has large breasts and well-defined curves at the waist, so these were the shapes I applied to the body. In the image below, you can see how the character's body turned out once I added the aforementioned attributes.
>>Por la propia forma del personaje no quise dejarlo hasta la forma que ven arriba, así que comencé a moldear mejor la forma de un cuerpo de mujer.
>>
>>Como pueden ver en la imagen referencial del personaje, tiene senos de gran tamaño y curvas en la cintura bien marcadas, así que estas fueron las formas que apliqué en el cuerpo. En la imagen de abajo pueden observar cómo quedó el cuerpo del personaje una vez agregada los atributos antes mencionados.
|||
|-|-|
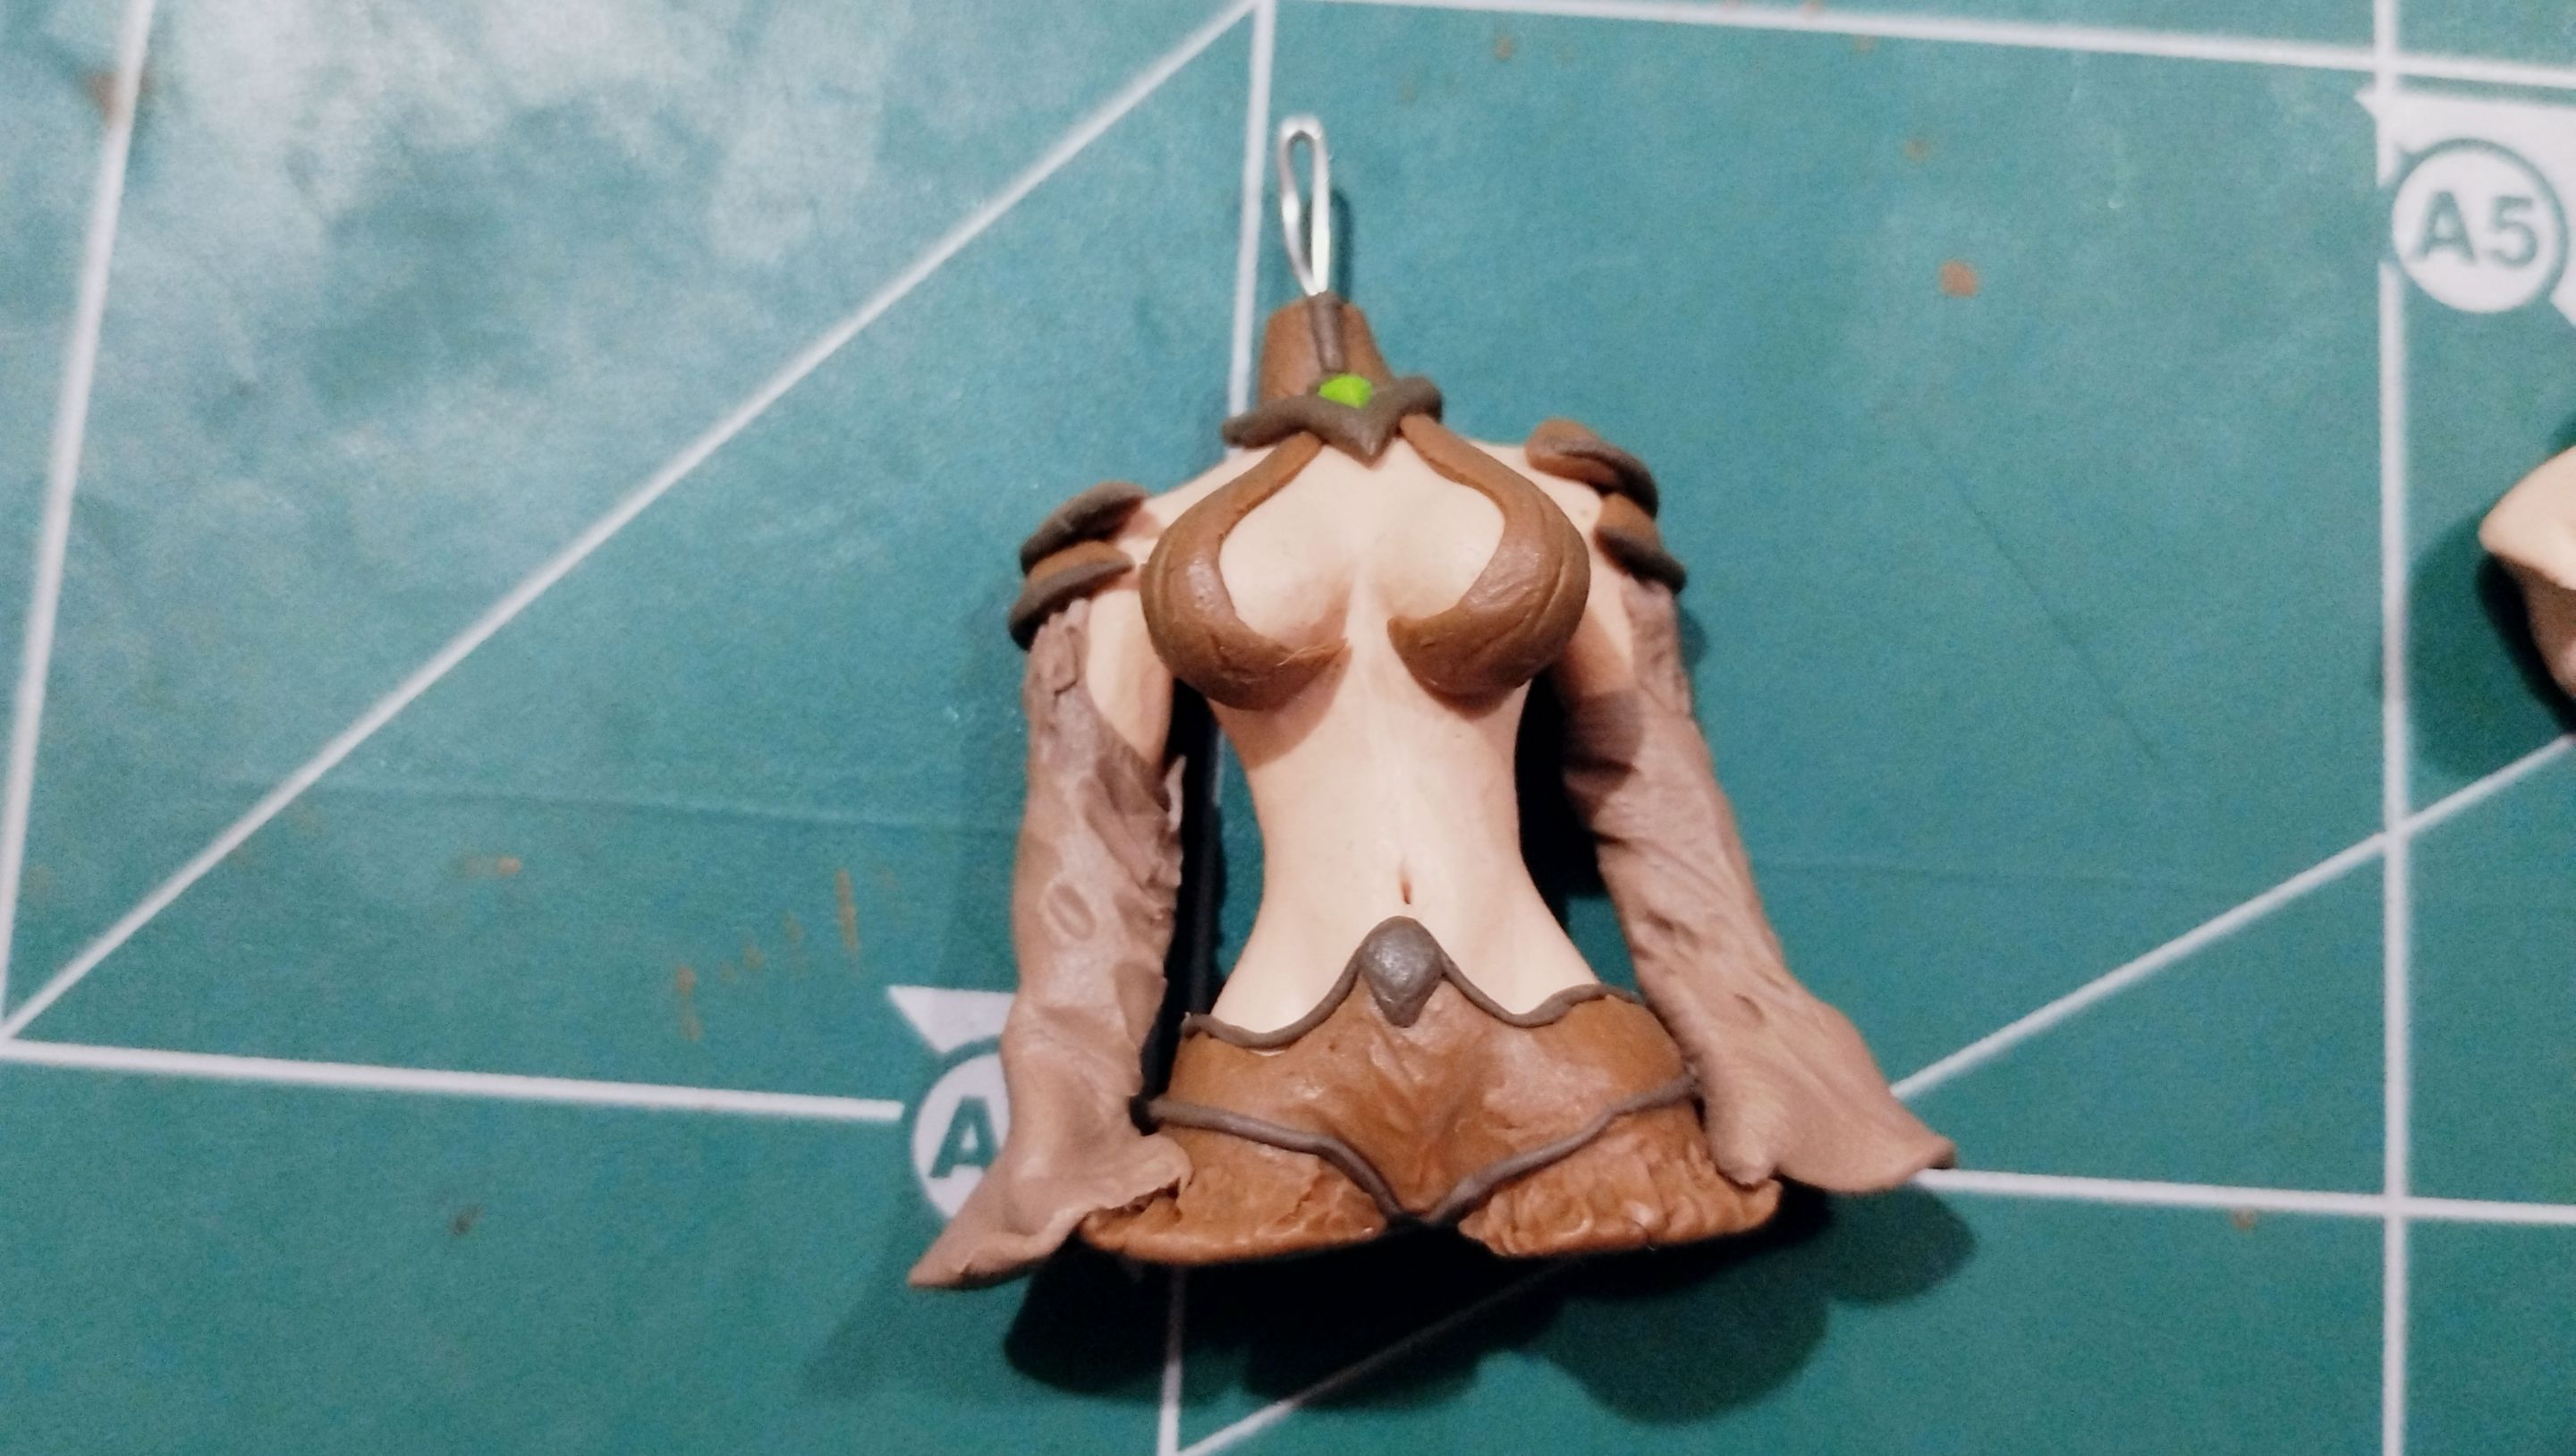
Basically, the body was already finished. After that, I continued with the clothes. It wasn't that difficult to do; I simply made small, thin pieces of plasticine and covered the body with them, which was the hardest part.
Note that I made the arms as if the forearms were long-sleeved and covered from the elbow to below the hands.
>>Básicamente el cuerpo ya estaba terminado. Después de esto continué con la ropa. No era tan difícil de hacer, simplemente fue hacer pequeños y delgados trocitos de plastilina e ir cubriendo el cuerpo, que fue lo más difícil, con estos trocitos de plastilina.
>>
>>Fíjense que los brazos los hice como si la prenda de los antebrazos fuesen de manga larga y cubriesen desde el codo a más abajo de las manos.
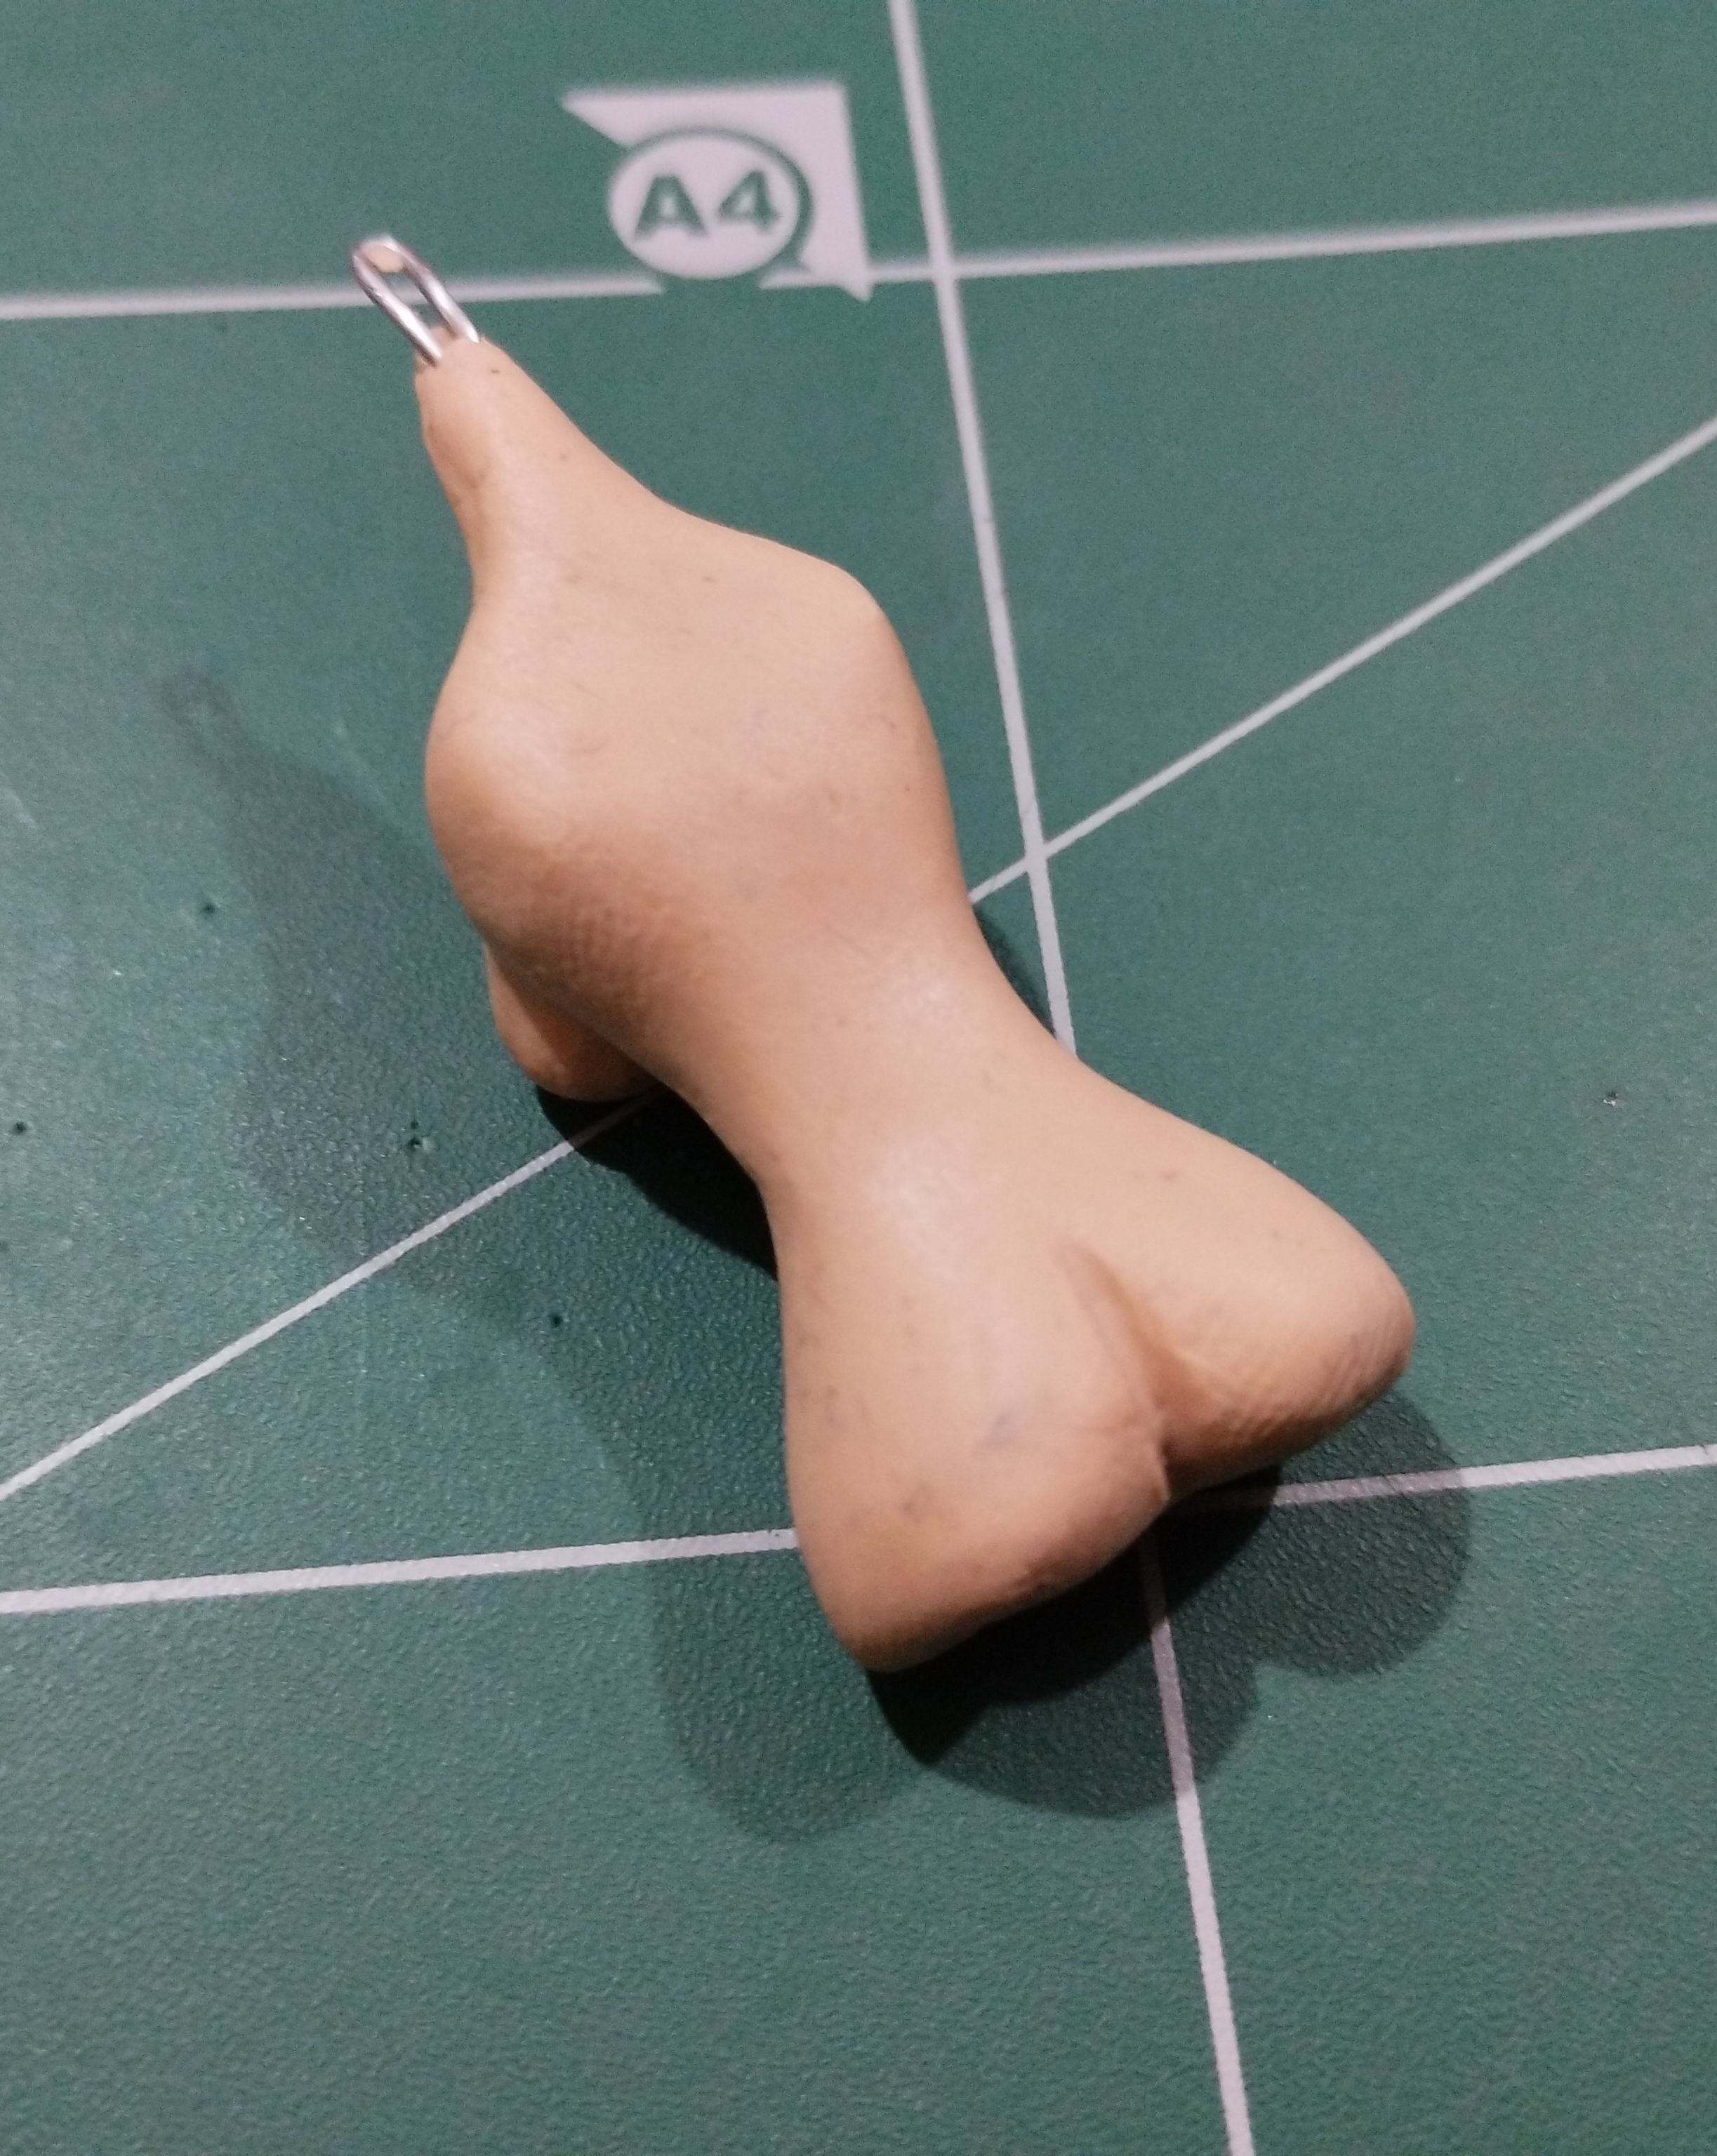
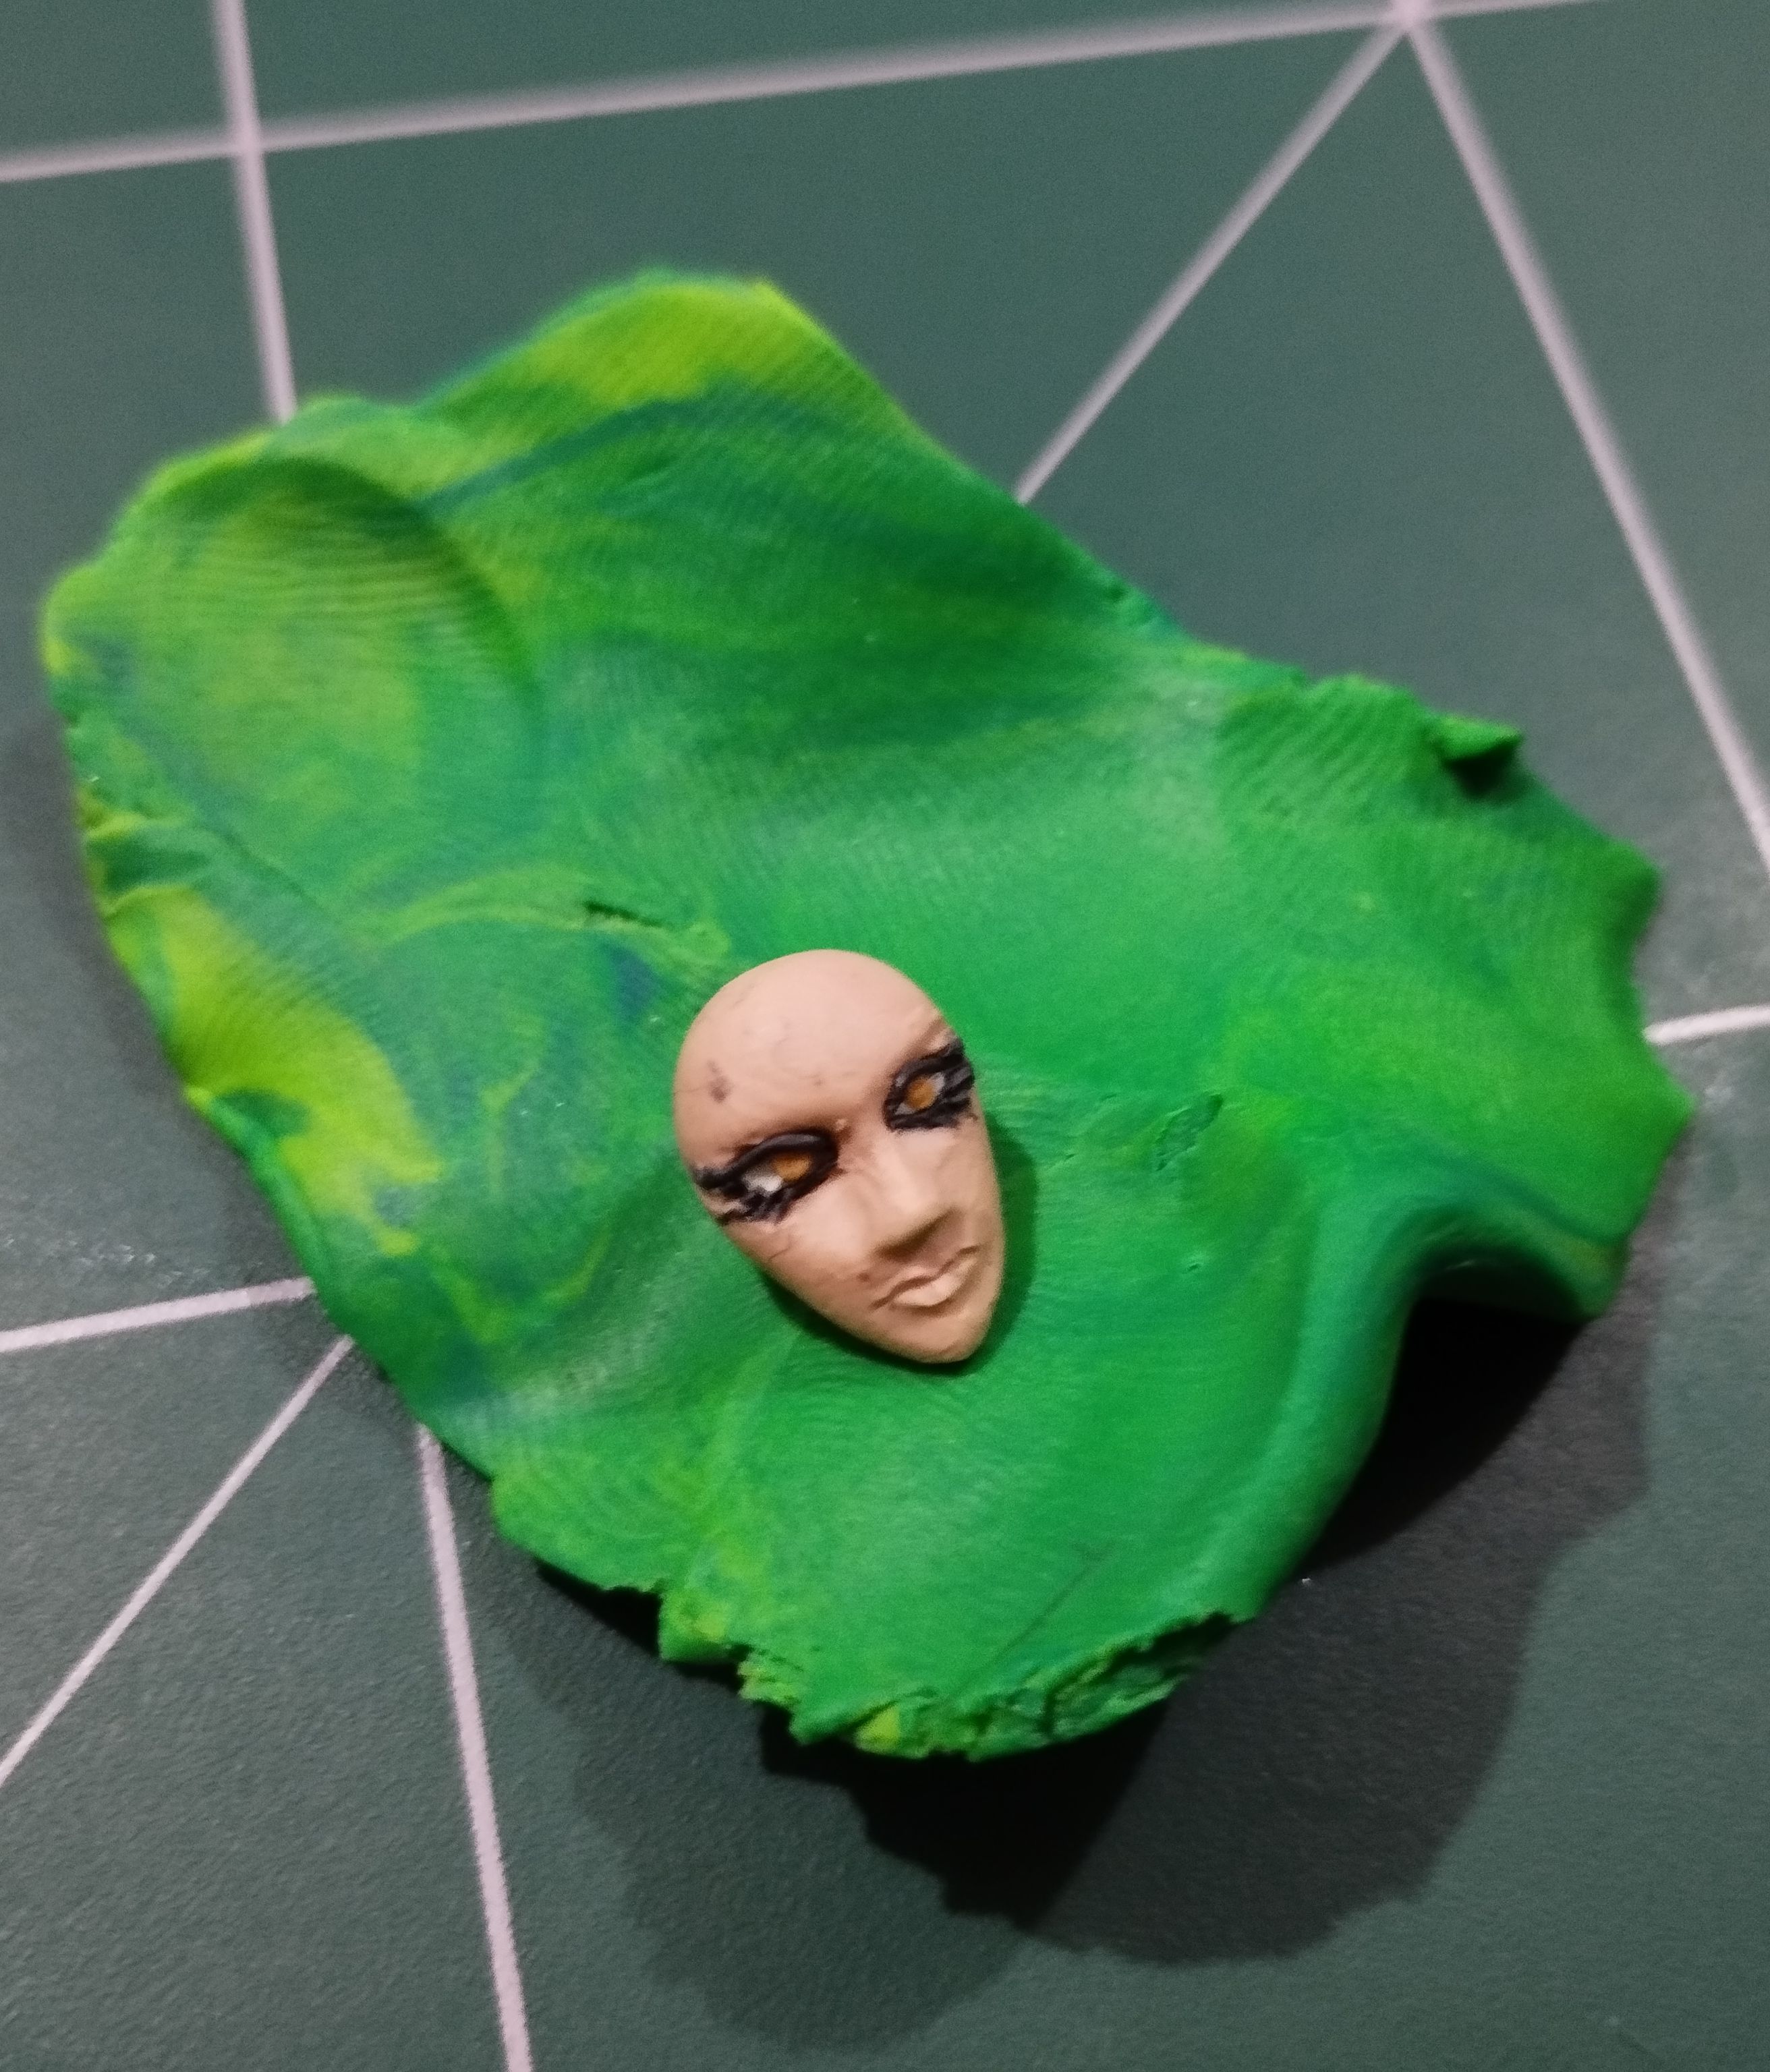
The head and face were the most difficult parts to make. This finished figurine is approximately 5 centimeters tall, and honestly, at this scale, it is very difficult to make a face with eyes, a nose, and a mouth, so it ended up being more of a representative face than a replica.
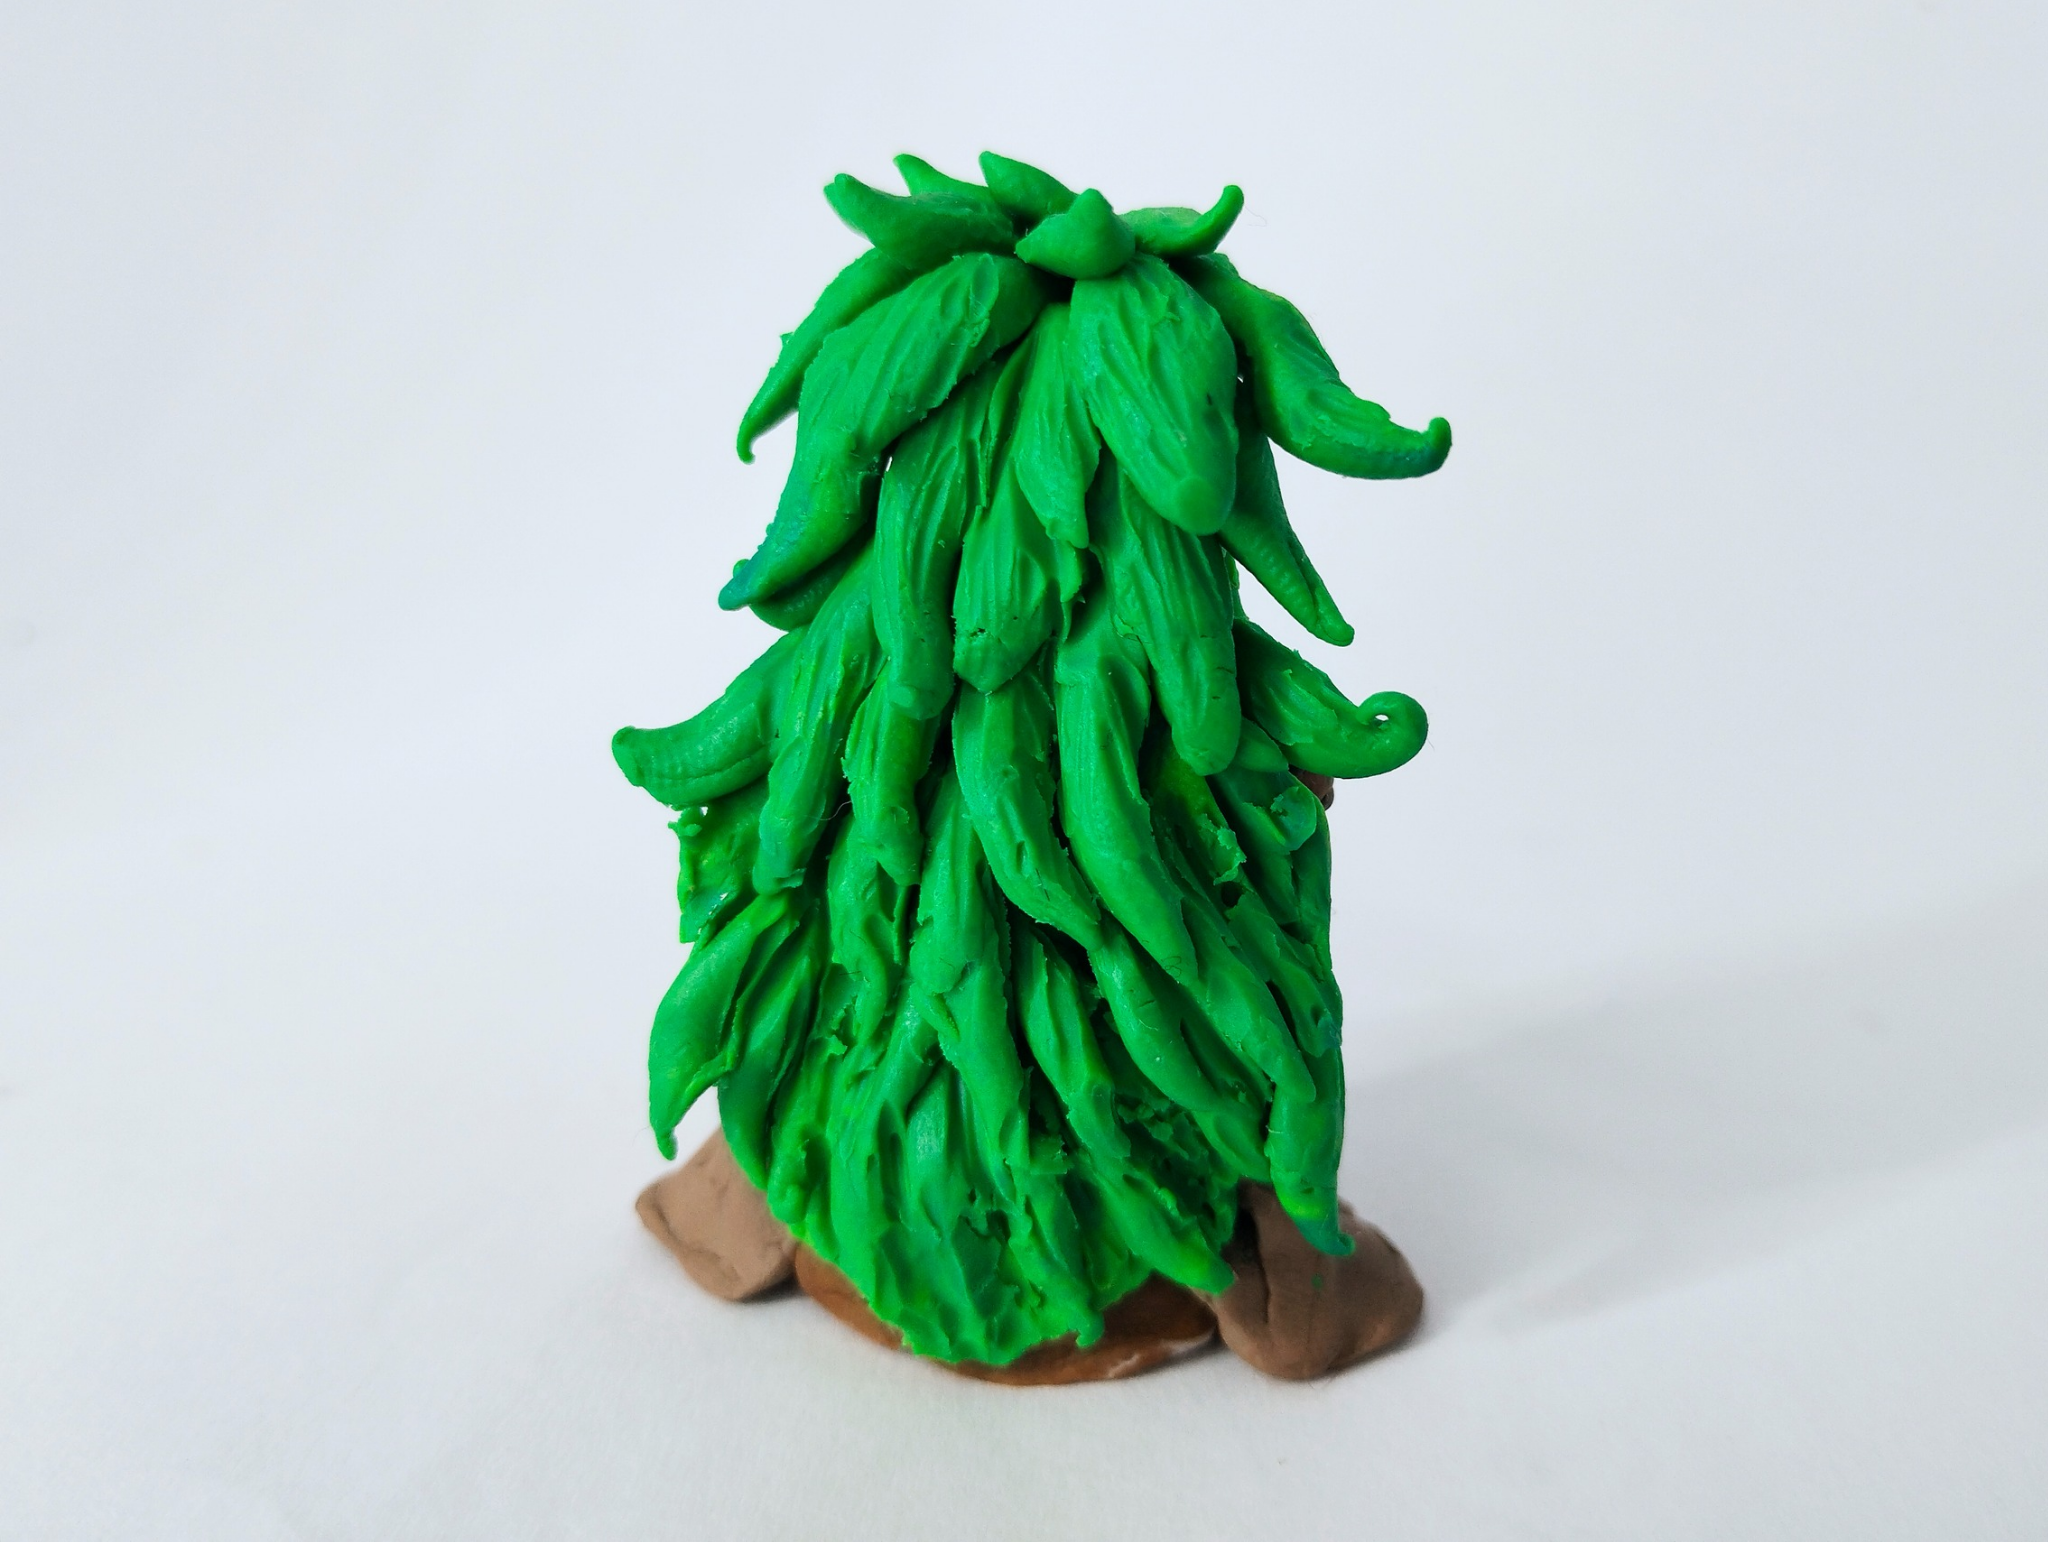
In the image on the left, you can see how I made the head. I made the eyes dark because I thought they would look great at this scale. After finishing the head, I continued with the hair, which is abundant, so I used a lot of green for the character's enormous mane.
>>Ya la cabeza y el rostro fue lo más difícil de hacer. Esta figurita ya terminada tiene aproximadamente 5 centímetros de alto y la verdad a esta escala es muy difícil hacer un rostro con ojos, nariz y boca, así que fue un rostro representativo, más que una réplica.
>>
>>En la imagen de la izquierda se aprecia cómo iba haciendo la cabeza. Los ojos los hice oscuros, pues pensé que se verían geniales a esta escala. Ya luego de terminar la cabeza continué con el cabello, el cual es abundante, así que usé bastante color verde para la enorme cabellera que tiene el personaje.
|||
|-|-|
The last thing I did was to position the ears correctly on either side of the head. It should be noted that I secured the hair better with glue after joining the plasticine, in order to give the piece better support, since if you only join plasticine with plasticine, there is a risk that some strands of hair will come loose.
In the image below, you can see the other front strands that I placed and other details such as some spots that the character has a little above the cheekbones.
>>Ya lo último que hice fue colocarle las orejas bien colocados a cada lado de la cabeza. Cabe destacar que el cabello lo fijé mejor con pegamento luego de unir la plastilina, esto para dar mejor soporte a la pieza, ya que si solo se une plastilina con plastilina, existe el riesgo de que se suelten algunos mechones de cabello.
>>
>>En la imagen de abajo pueden ver los otros mechones delanteros que coloqué y otros detalles como algunas manchas que tiene el personaje un poco más arriba de los pómulos.

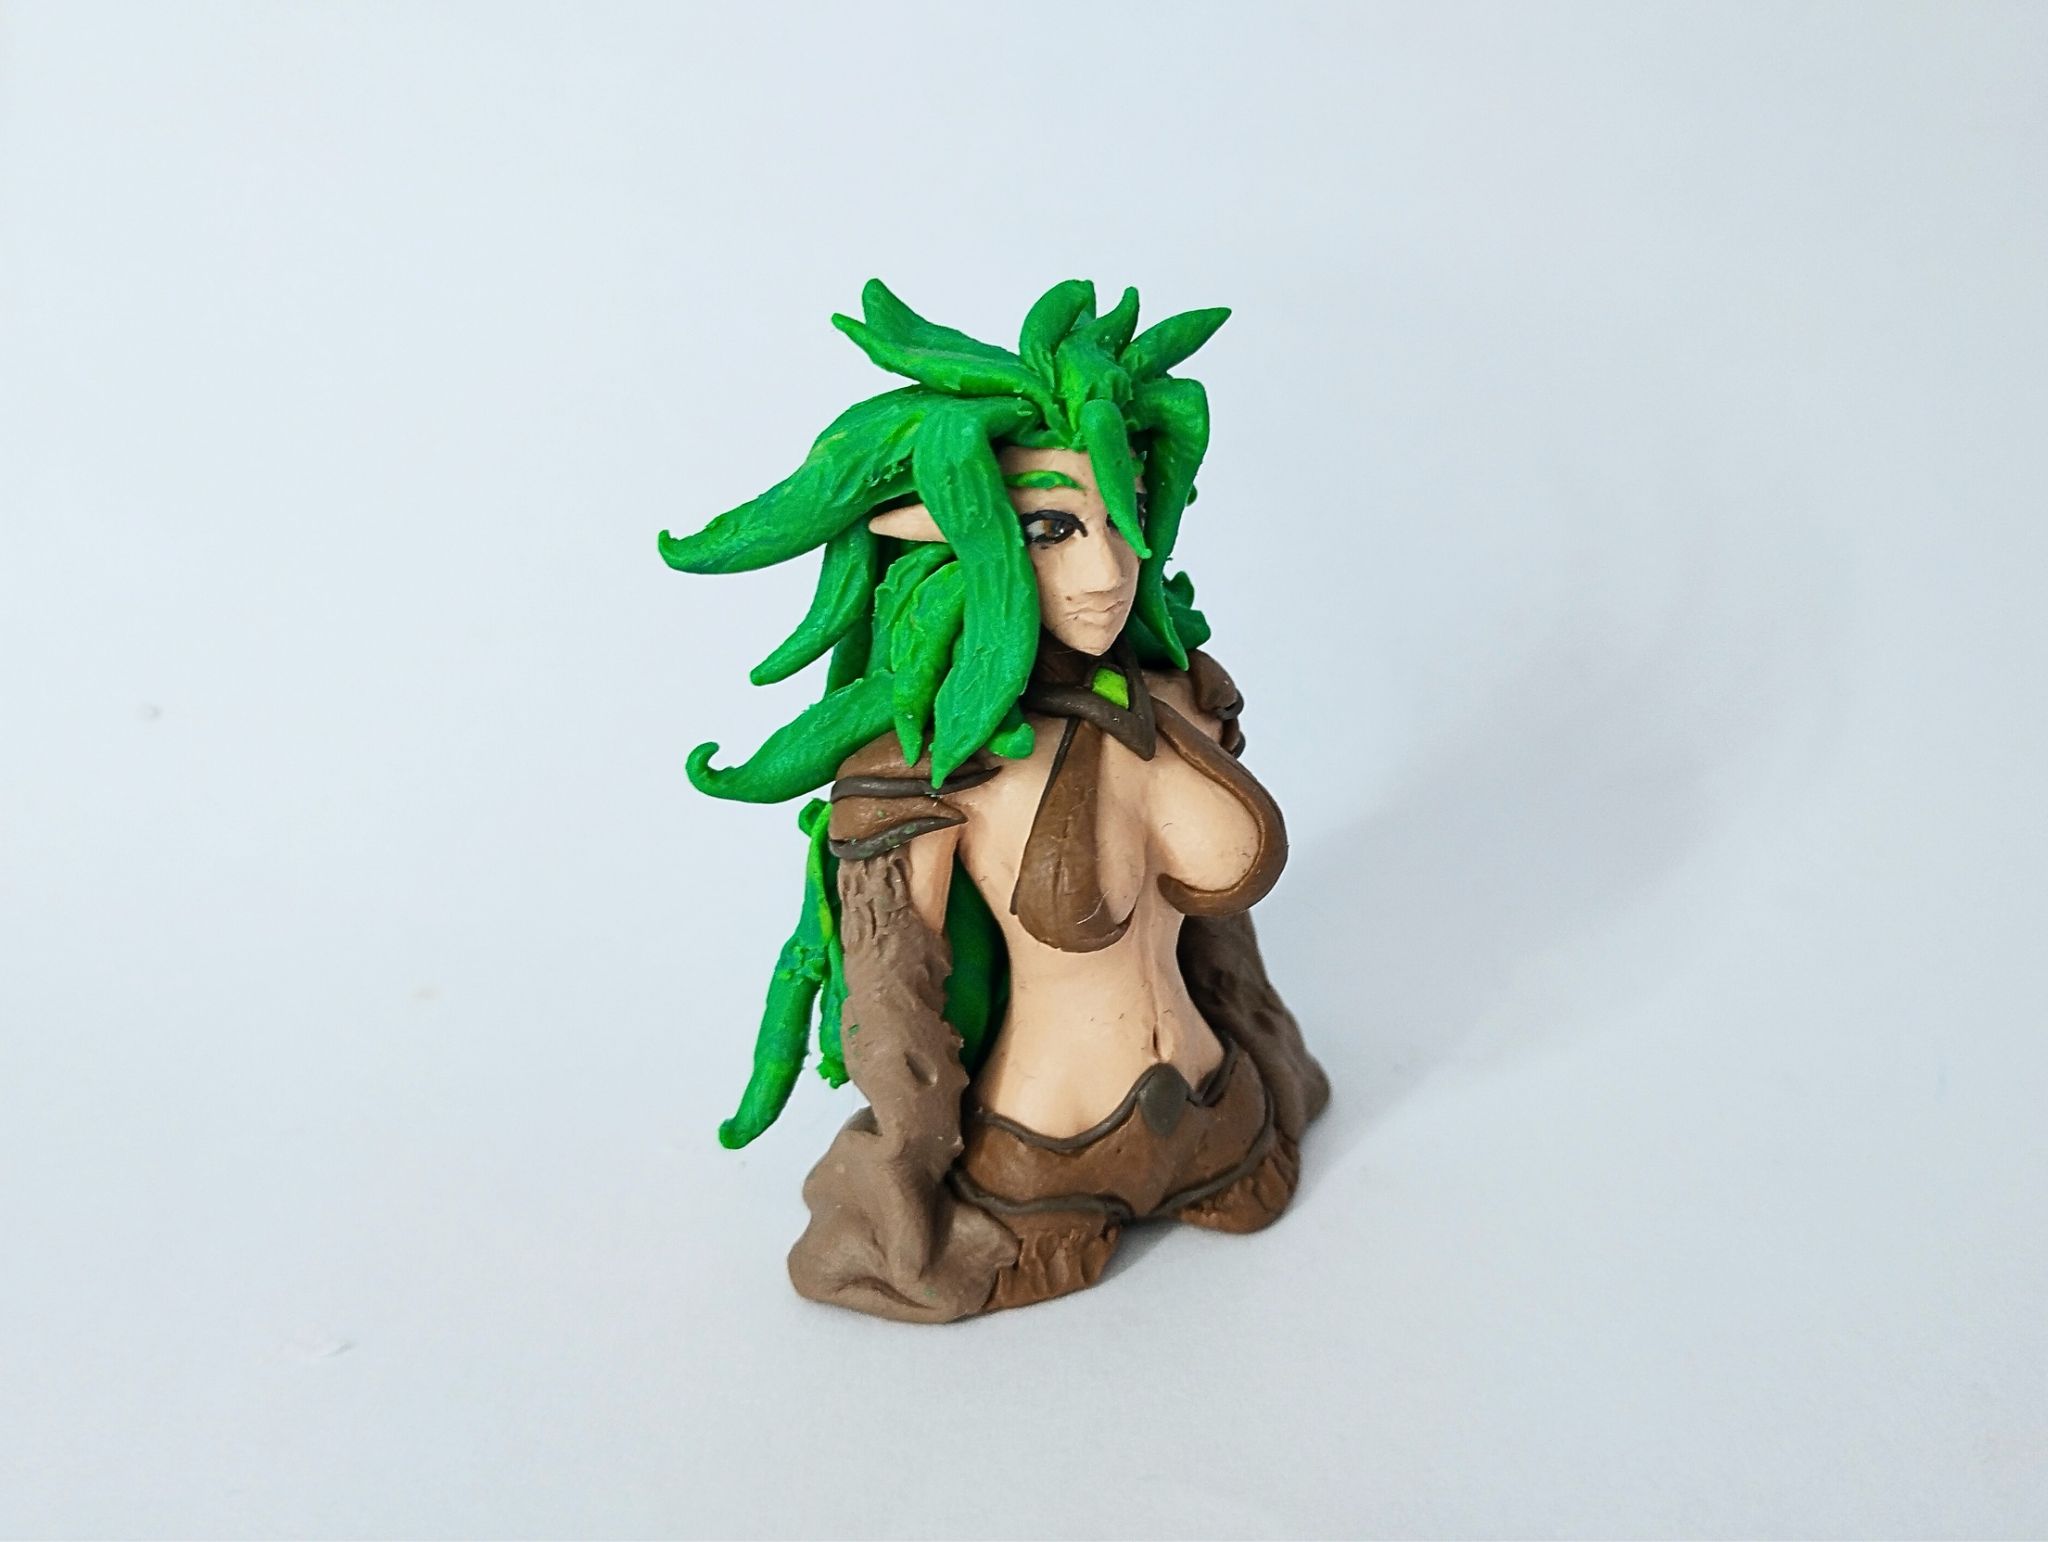
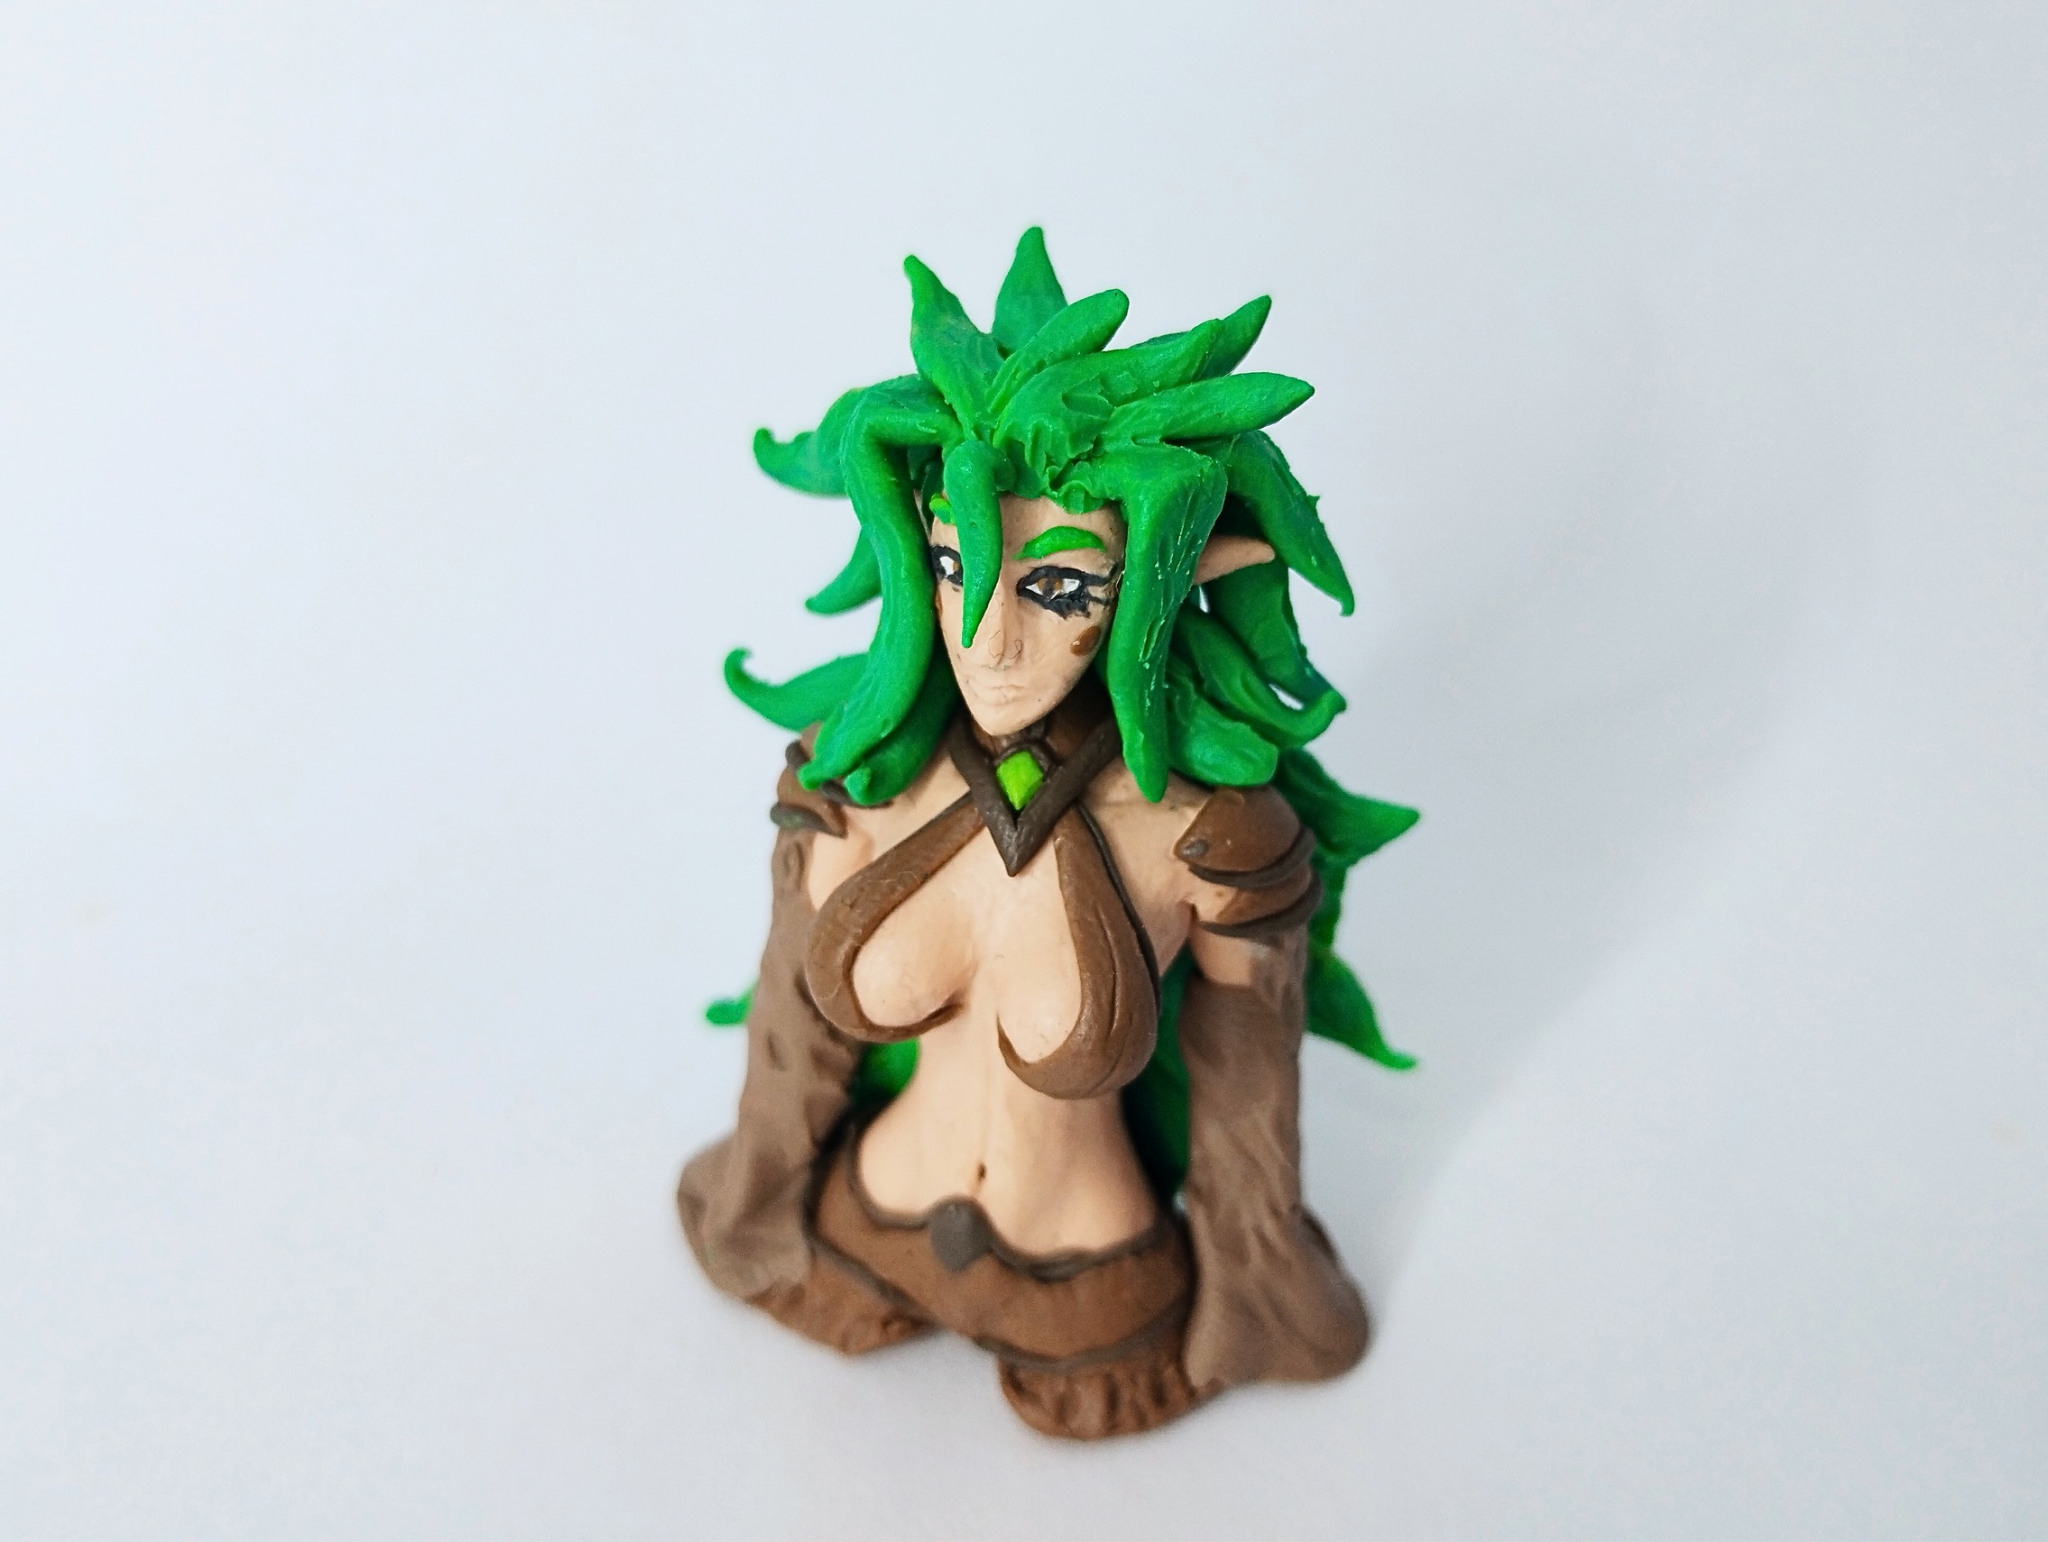
### This is how the figurine was completed. Below you can see a series of photographs of the final result:
>>##### De esta manera la figurita quedó terminada. A continuación pueden ver una serie de fotografías del resultado final:
Well, friends, that's all for now. I hope you liked my figurine inspired by Aurelia from Splinterlands. It's an excellent figure, so I invite you to leave your opinions below in the comments. As always, I'll be happy to read them. Without further ado, I bid you farewell...
Splinterlands Art Contest: Aurelia Sculpture [ENG/SPA]
@gaboamc2393
· 2025-10-11 07:30
· DIYHub
#hive-189641
#splinterlands
#art
#diy
#arcadecolony
#spanish
#pimp
#vyb
#neoxian
#pob
Payout: 0.000 HBD
Votes: 983
More interactions (upvote, reblog, reply) coming soon.