Introduction:
Hey! ✌️ Today I want to share a bit of my work process and how this piece evolved into its final result. I should mention that this artwork is one of several commissioned pieces for a series of illustrations for a board game.
Introducción:
Que onda ✌️ El dia de hoy quiero compartirles mi proceso de trabajo; Cómo esta pieza fue evolucionando hasta su resultado final. Cabe aclarar que esta pieza es una de las tantas que me fue comisionada para una serie de ilustraciones de un juego de mesa.
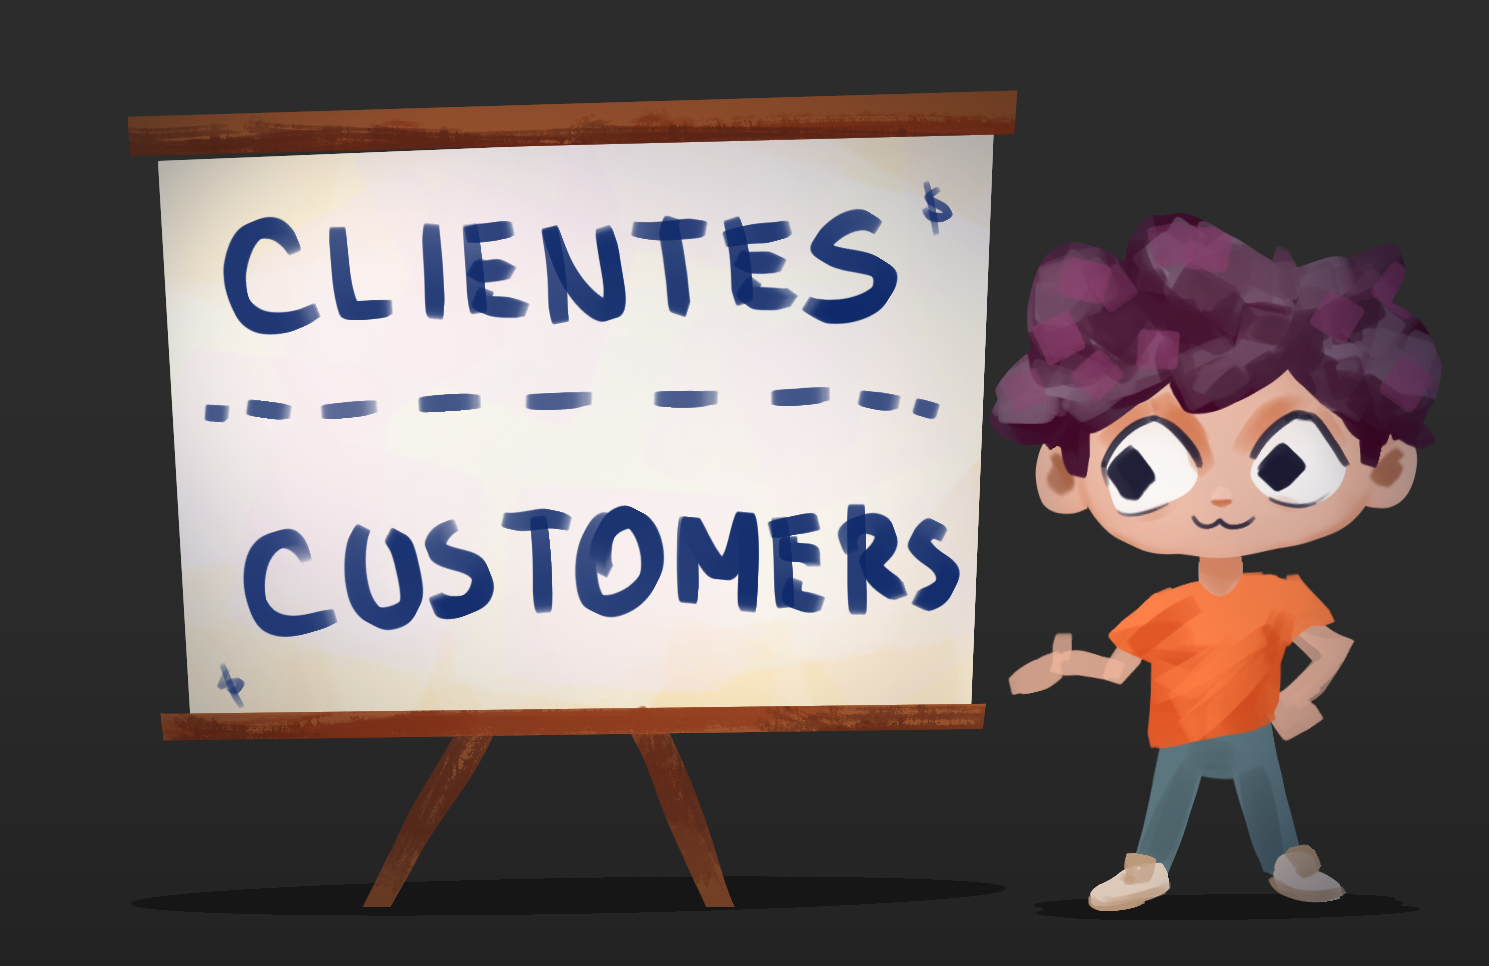
Customers:
When it comes to commissions, there are many types of clients: some don’t really know what they want, others know exactly what they’re looking for, some try to haggle because they think “it’s too expensive for a drawing,” and there are even those who end up paying you extra for your work. In short, there’s a whole universe of people seeking your services.
In this case, the client who reached out to me was another artist, mainly focused on 3D, but with a solid understanding of digital drawing. We could categorize him as the type of client who knows exactly what they want and pays the fair price without objections or haggling.
Clientes:
Hablando de comisiones, existen muchos tipos de clientes: están los que no saben lo que quieren, los que tienen muy claro lo que buscan, los que intentan regatear porque consideran que “es caro para un dibujo”, y también aquellos que incluso llegan a pagarte extra por tu trabajo. En fin, hay todo un universo de personas que buscan tus servicios.
En este caso, quien me contactó fue otro artista enfocado principalmente en el 3D, pero con muy buen conocimiento de dibujo digital. Podríamos categorizarlo dentro de los clientes que saben exactamente lo que quieren y pagan el precio justo sin poner objeciones ni intentar regatear.
Work process:
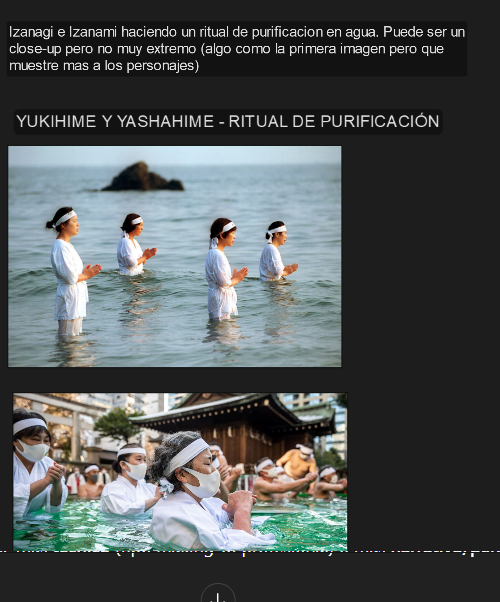
For this project, as I mentioned, the client had a very clear idea of what they needed. They provided me with a moodboard containing references of their characters and the shots they envisioned, along with details on how accurate they wanted the illustration to be compared to those references. This completely changes the way I work, since I don’t have to mentally filter and come up with poses, expressions, framing, colors, or designs. The character already exists, their design and palette work, and I don’t need to spend extra time searching for visual references to figure out the best shot.
In my opinion, this pre-production stage is one of the most important—and at the same time, one of the most underrated or often overlooked. It’s where the pillars and structure of the illustration are built. With those already defined and provided by the client, I can fully focus on reaching the goal: I already know the destination, I don’t have to plan the route, I just need to follow it.
Proceso de trabajo:
En este trabajo, como mencioné, el cliente tenía muy claro lo que necesitaba. Me entregó un moodboard con referencias de sus personajes y las tomas que imaginaba, además de especificar qué nivel de exactitud quería respecto a esas referencias. Esto cambia por completo mi forma de trabajar, porque ya no necesito pasar por un filtro mental para inventar poses, expresiones, encuadres, colores o diseños. El personaje ya existe, sus colores y diseño funcionan, y no debo invertir tiempo adicional en buscar referencias visuales para encontrar la mejor toma.
Personalmente, considero que esta etapa previa es una de las más importantes y, a la vez, de las más subestimadas o pasadas por alto. Aquí es donde realmente se construyen los pilares y la estructura de la ilustración. Al tenerlos definidos y proporcionados por el cliente, puedo enfocarme directamente en alcanzar el objetivo: ya conozco el destino, no necesito planear la ruta, solo seguirla.
Thumbnails:
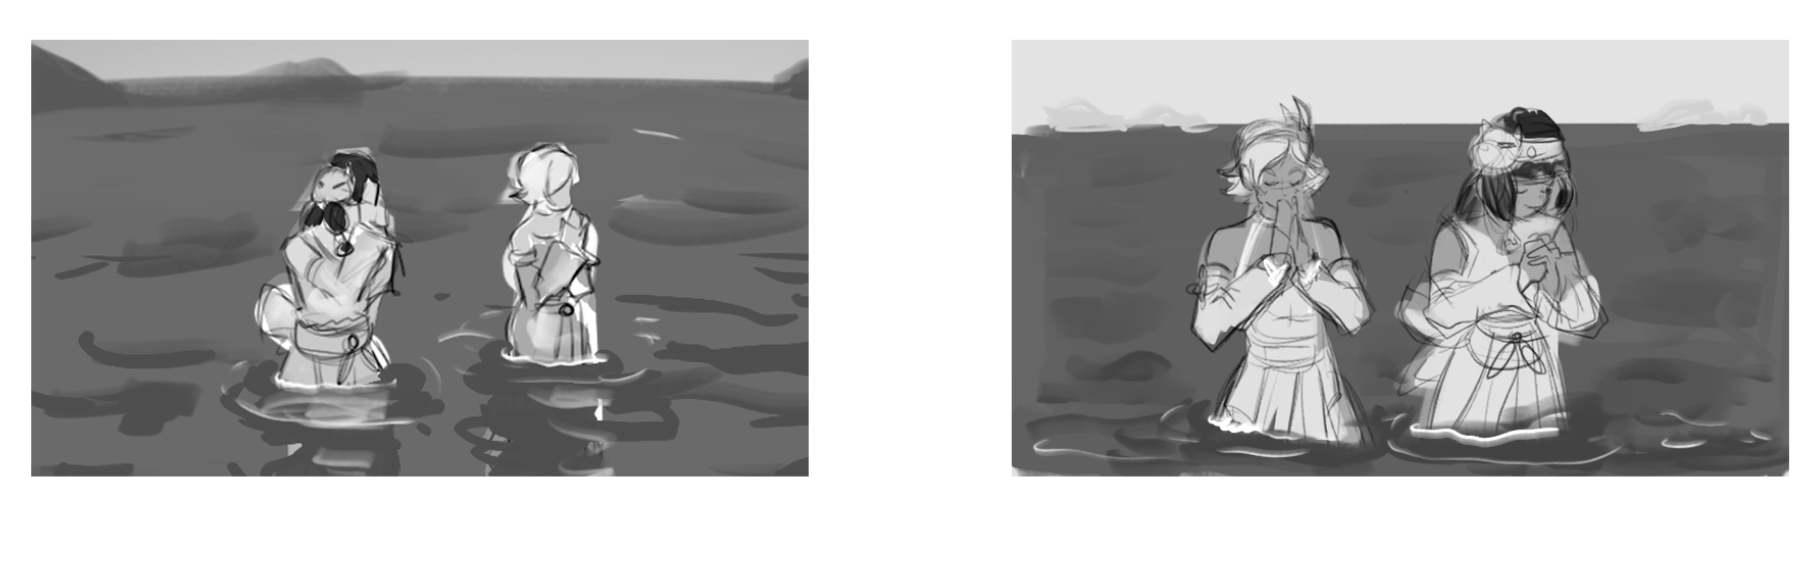
Thumbnails are quick sketches ⏰created within a small workspace, meant to avoid getting caught up in unnecessary details and instead focus on the main shapes, overall composition, and clarity of the idea. The goal is to keep them as simple yet communicative as possible, so we can quickly discard concepts that aren’t worth pursuing.
This process helps me turn the ideas in my head into something tangible and visual. With that foundation—and through client feedback—we can decide which piece works best or confirm if we’re heading in the right direction. Only then is it worth investing 10 to 12 hours into a final illustration.
Personally, I always start with three thumbnails. I find this number ideal: it allows me to release ideas, keep the creative flow going, and gather feedback without spending too much time on concepts that might eventually be discarded. Although for this case, I made 2.
Miniaturas:
Las miniaturas son bocetos rápidos ⏰ realizados en un espacio de trabajo reducido, con el objetivo de no distraernos en detalles innecesarios y enfocarnos en las formas principales, la composición general y la claridad de la idea. La intención es que sean lo más simples pero comunicativas posible, de manera que podamos descartar pronto aquellas ideas que no valen la pena.
Este proceso me permite trasladar las ideas que tengo en la mente a algo tangible y visual. Con esa base, y gracias a la retroalimentación del cliente, podemos decidir qué pieza funciona mejor o confirmar si vamos por el camino correcto. Solo entonces vale la pena invertir entre 10 y 12 horas en un dibujo final.
En mi caso, siempre comienzo con tres miniaturas. Este número me parece suficiente para soltar ideas, mantener el flujo creativo y recibir feedback sin arriesgar demasiado tiempo en propuestas que quizá terminemos desechando. Aunque para este caso hice 2.
Boceto:
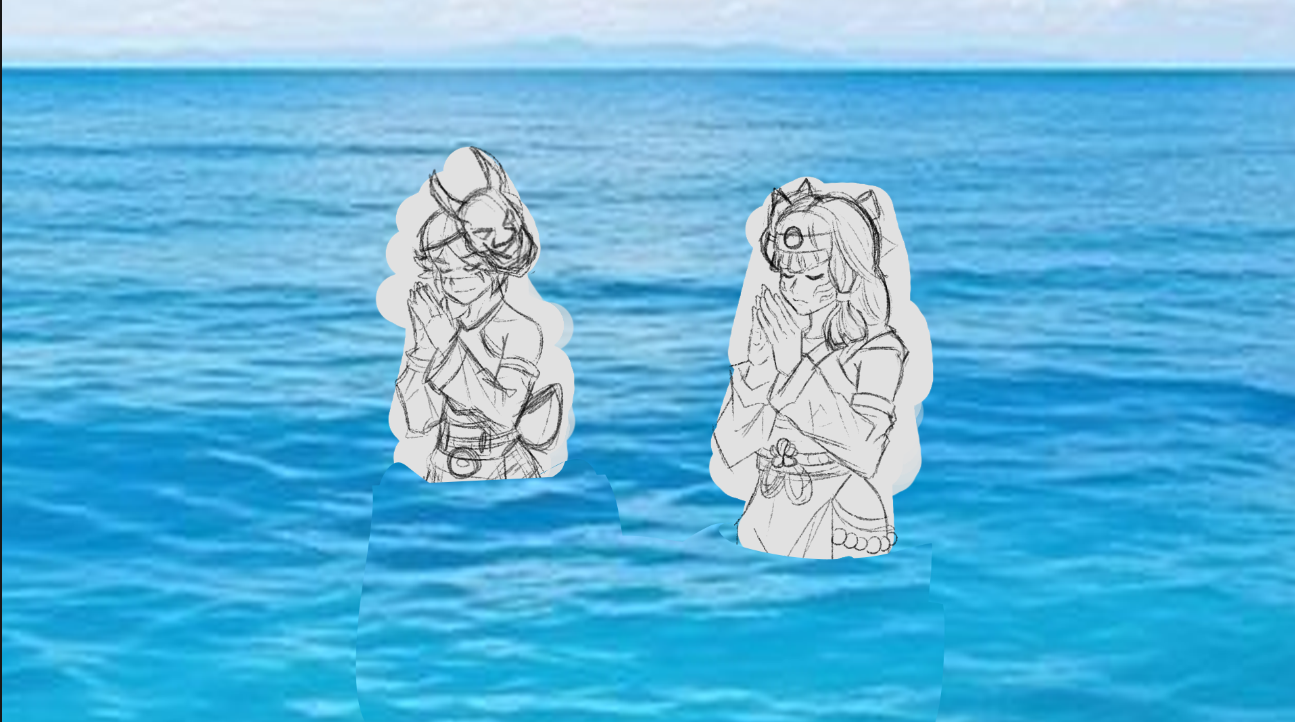
Entramos a la etapa final. Una vez que tengo la miniatura y la idea clara de lo que voy a hacer, ya tengo identificados los puntos clave: el diseño del personaje, la composición, los colores, la sensación que quiero transmitir, la iluminación de la escena y las referencias de materiales. En este caso, el agua es el material principal a renderizar.
El hecho de tener definidos estos elementos me permite entrar en una especie de modo zen o automático, porque ya no estoy pensando en “qué quiero hacer” o “qué sigue”, sino que simplemente me concentro en avanzar etapa por etapa.
Lo primero es el boceto: partiendo de mi miniatura, escalada al tamaño de la resolución final, ya tengo una base sólida para comenzar a pulir la silueta y transformarla en los personajes.
Sketch:
We now move into the final stage. Once I have the thumbnail and a clear idea of what I’m going to do, I already have the key elements defined: character design, composition, colors, the mood I want to convey, scene lighting, and material references. In this case, water is the main material to render.
Having these elements set allows me to enter a sort of zen or automatic mode, since I’m no longer wondering “what do I want to do?” or “what comes next?”—I just focus on progressing step by step.
The first step is the sketch: starting from my thumbnail, scaled to the final resolution, I already have a solid foundation to refine the silhouette and turn it into the characters.
Bloquing:
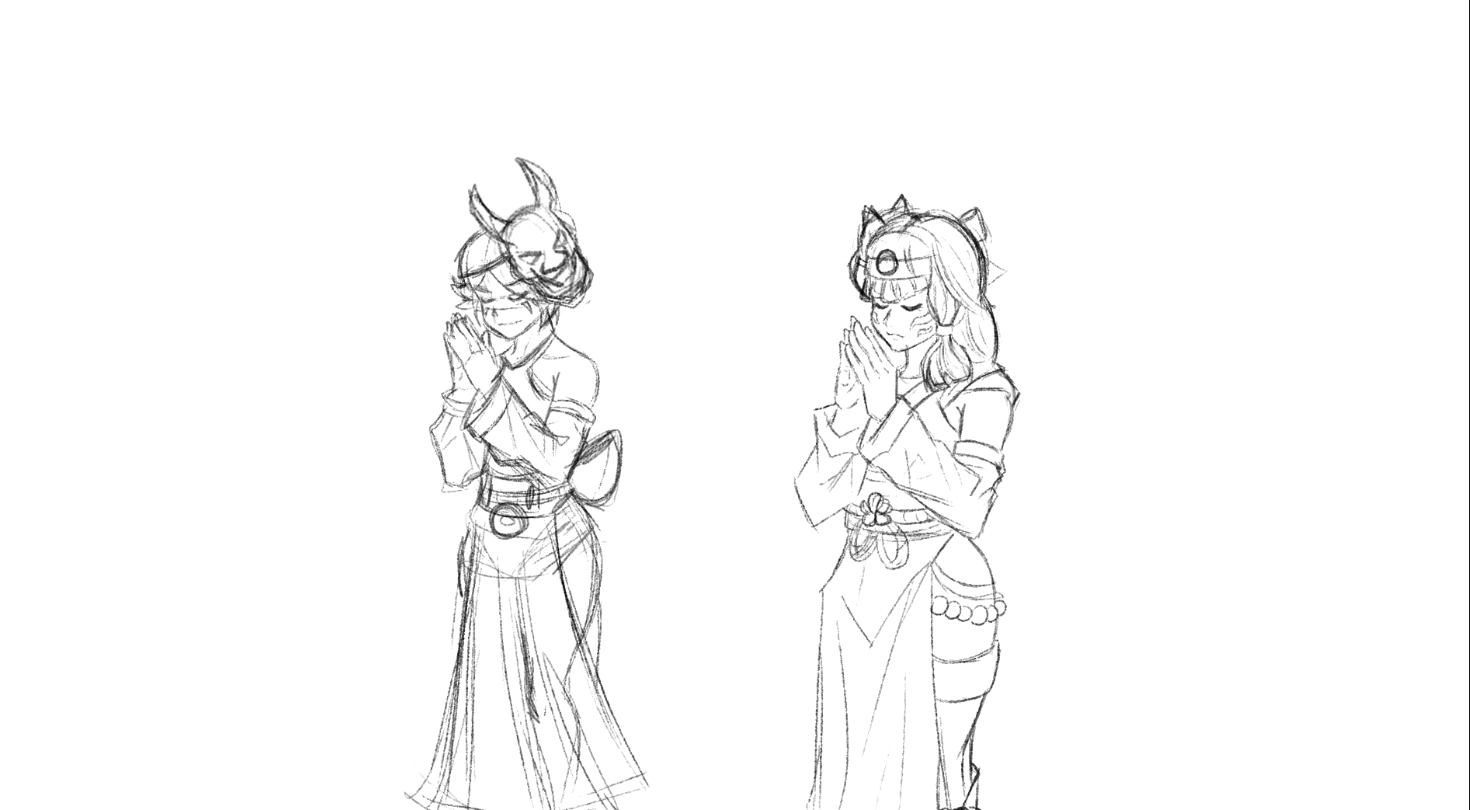
Lo que sigue es limpiar el boceto, definir lineas y agregrar las primeras plastas de color por secciones sin enfocarme en sombras, luces, materiales, etc. Solamente empeizo a llenar de color toda la escena en diferentes capas para tener un control de cada detalle que agrego.
Blocking:
The next step is to clean up the sketch, define the lines, and start laying down the first flat colors by sections, without focusing yet on shadows, lighting, or materials. At this stage, I’m simply filling the scene with color, working on separate layers to keep better control over each detail I add.
Renderizado:
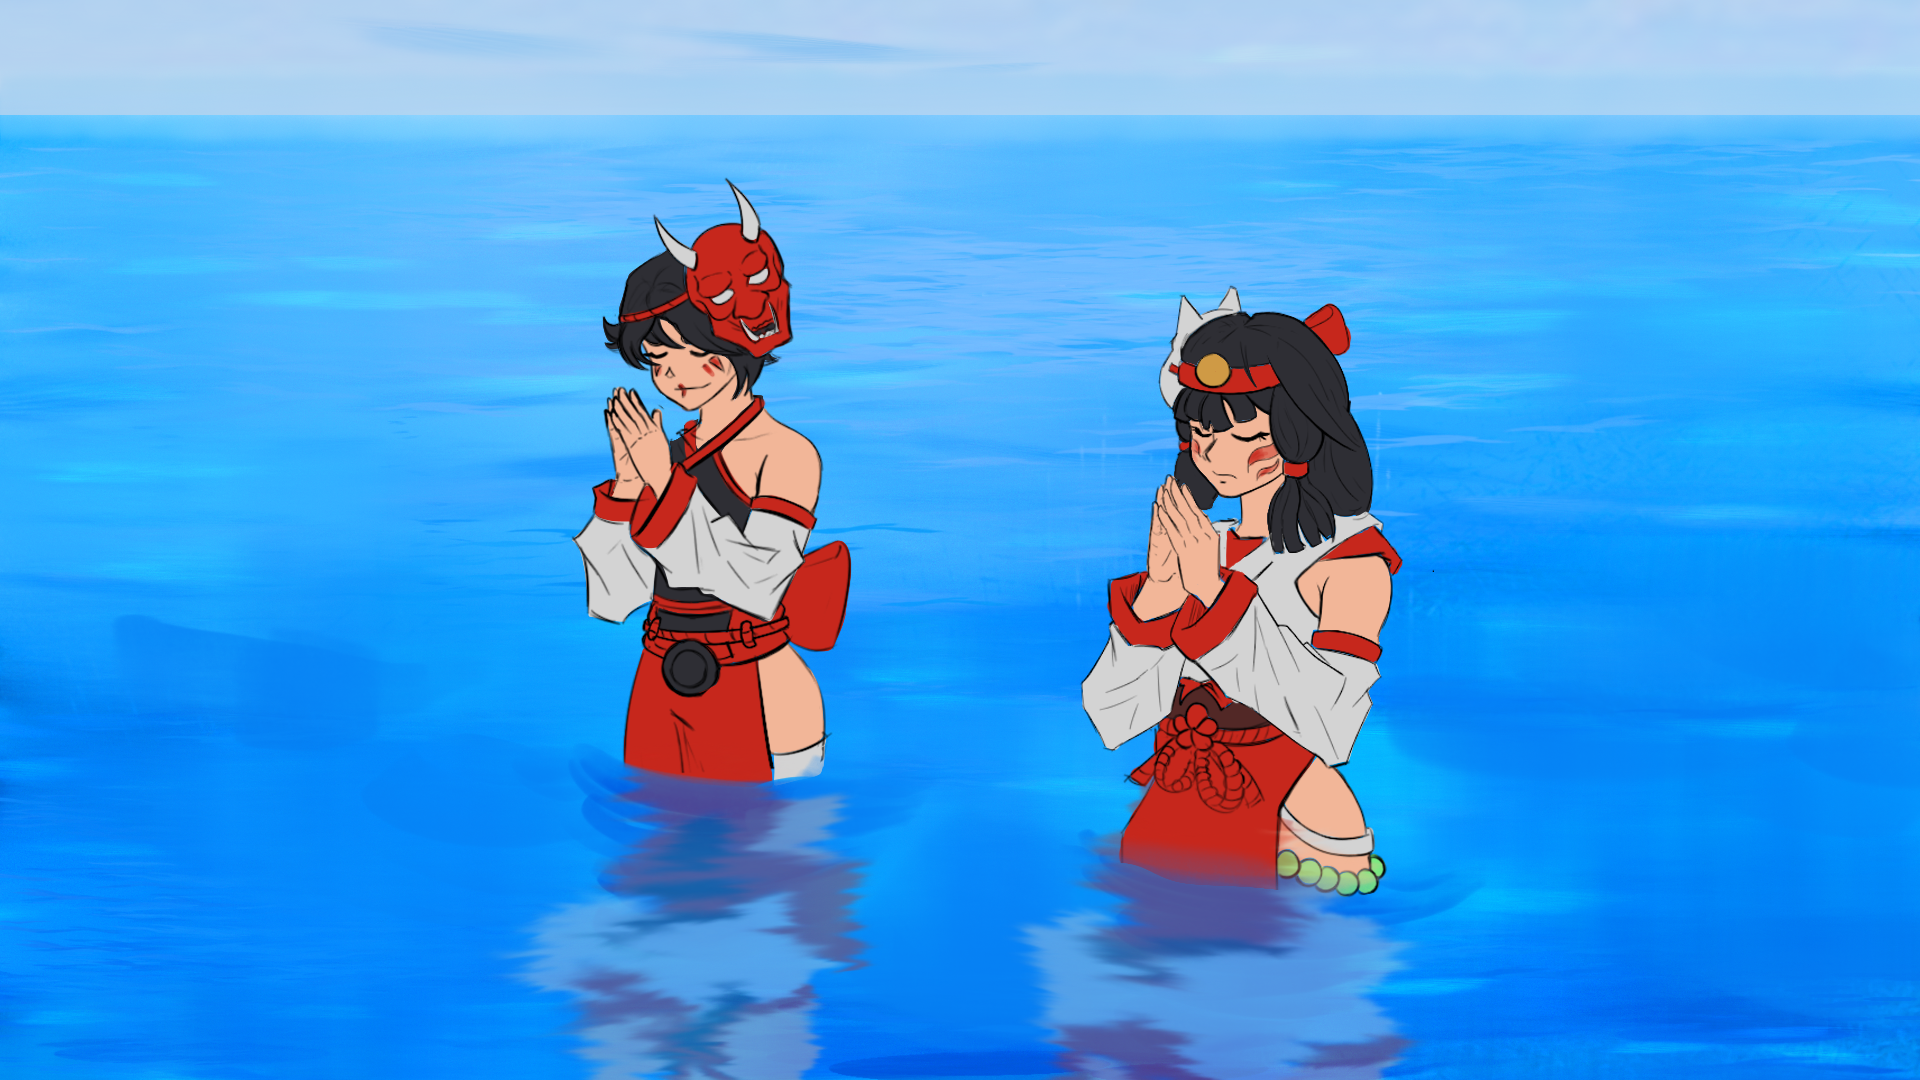
En el paso anterior pueden notar que realicé un cambio en la forma de representar el agua, tratando de integrarla mejor al estilo general e incluso simulando un poco el efecto de espejo que produce.
A partir de aquí, lo que sigue es comenzar a pintar con pinceles de textura, herramientas de degradados, ajustes de color, y trabajar en los detalles de luces, sombras y materiales. Aunque parezca difícil de creer, este proceso es realmente el más sencillo de ejecutar, pero también el más tardado, ya que depende mucho de la técnica y del dominio de las herramientas para lograr el acabado deseado.
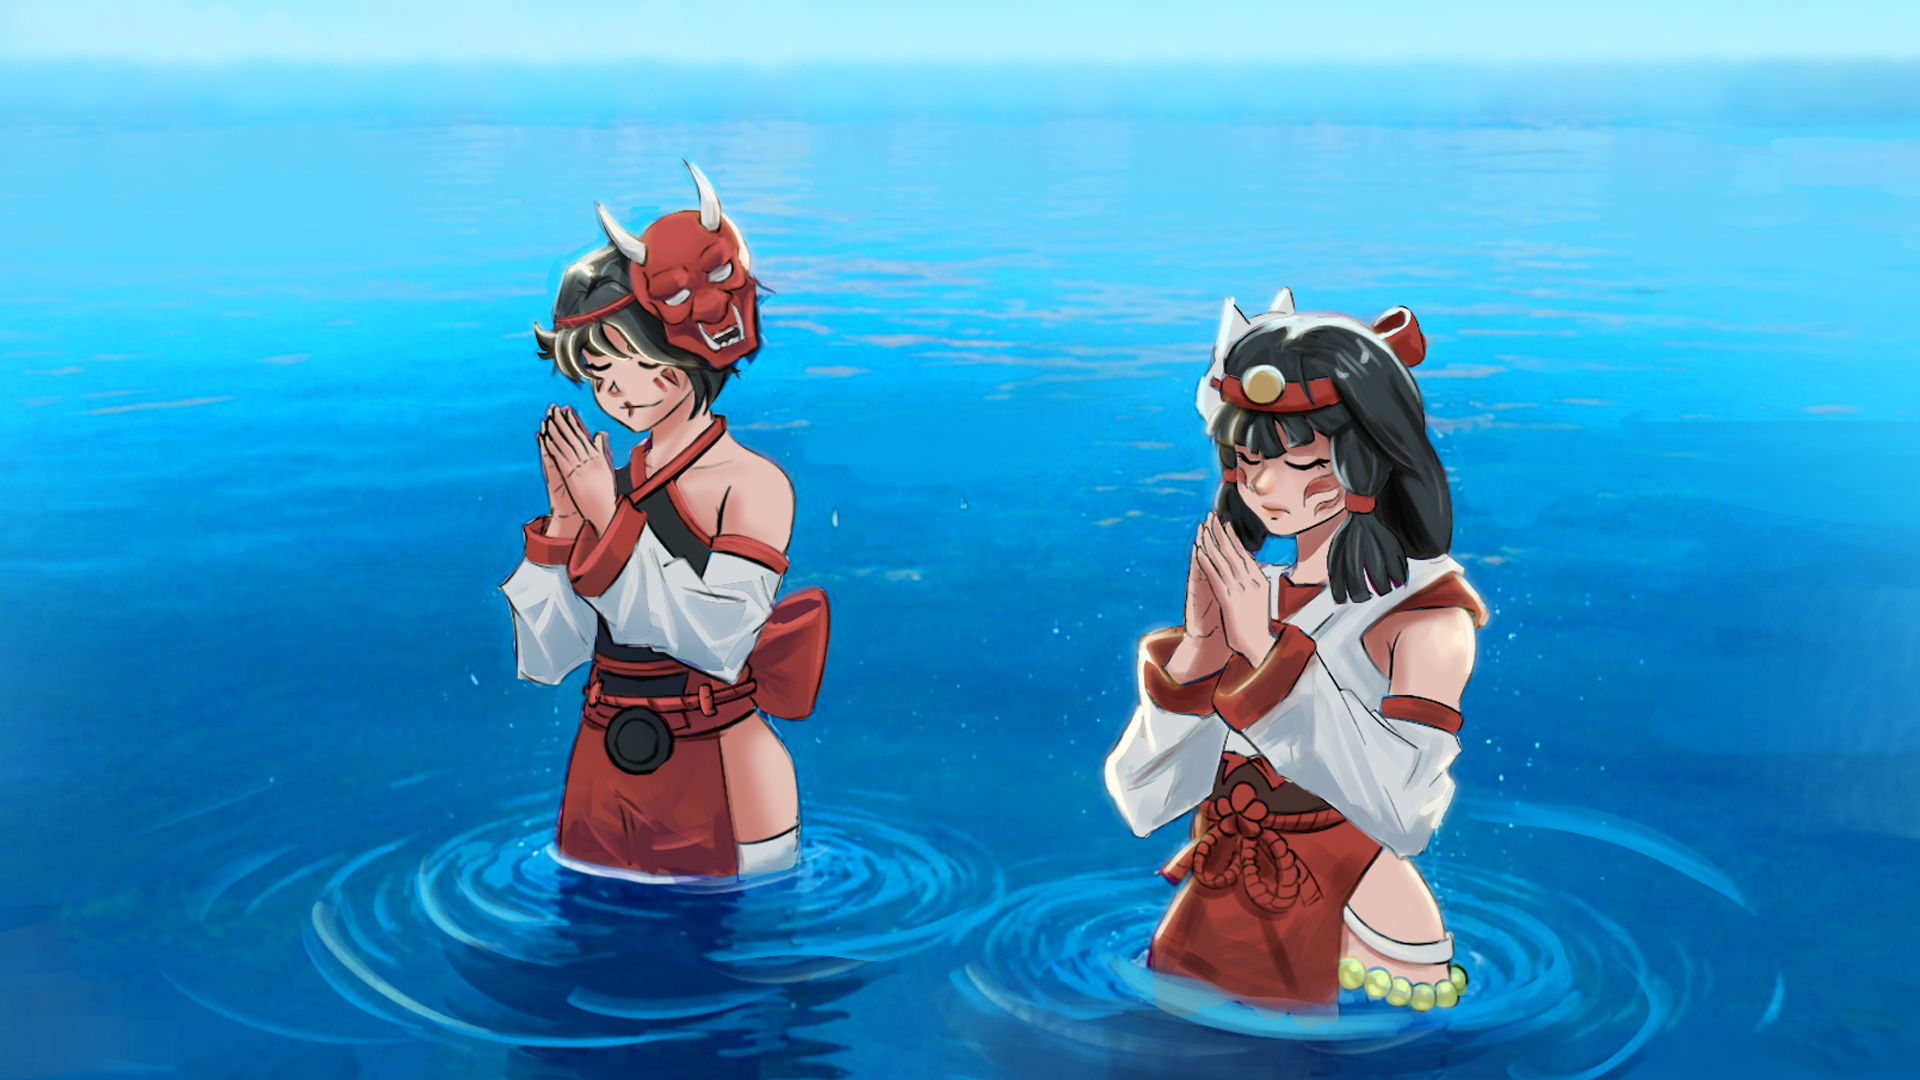
En mi caso, este fue el resultado final al que llegué, con el que el cliente quedó satisfecho y no solicitó ningún cambio.
Render:
In the previous step, you can notice that I made a change in how I represented the water, aiming to integrate it better into the overall style and even simulate a bit of the mirror effect it creates.
From this point on, the next step is to start painting with texture brushes, using gradient tools, color adjustments, and refining the details of lighting, shadows, and materials. Although it may be hard to believe, this is actually the easiest process to execute—but also the most time-consuming—since it heavily relies on technique and mastering the tools in order to achieve the desired finish.
In my case, this was the final result I reached, and the client was satisfied with it without requesting any changes.