Hello dear lovely creators, I hope you all are having a great day.
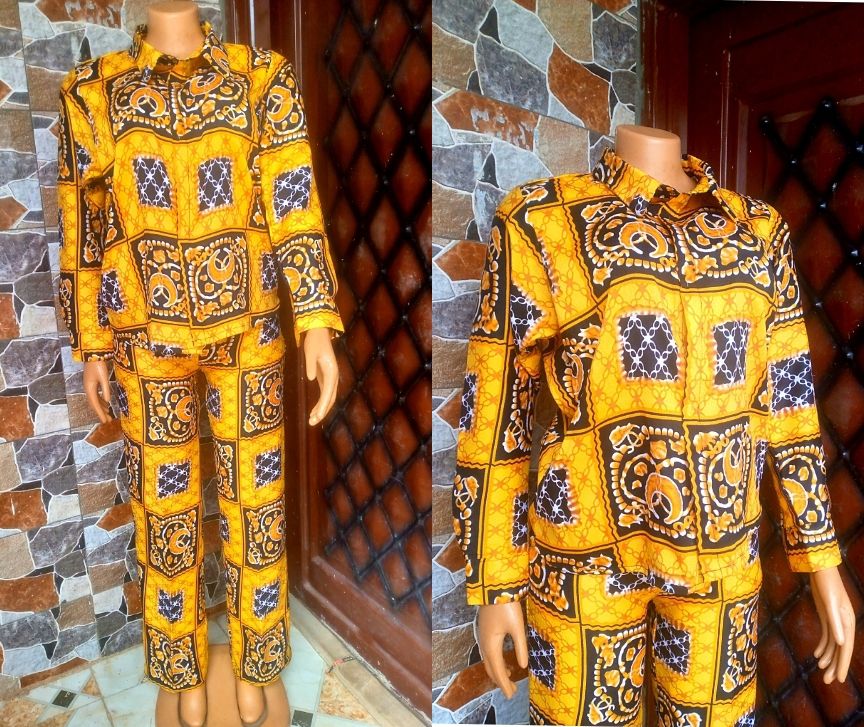
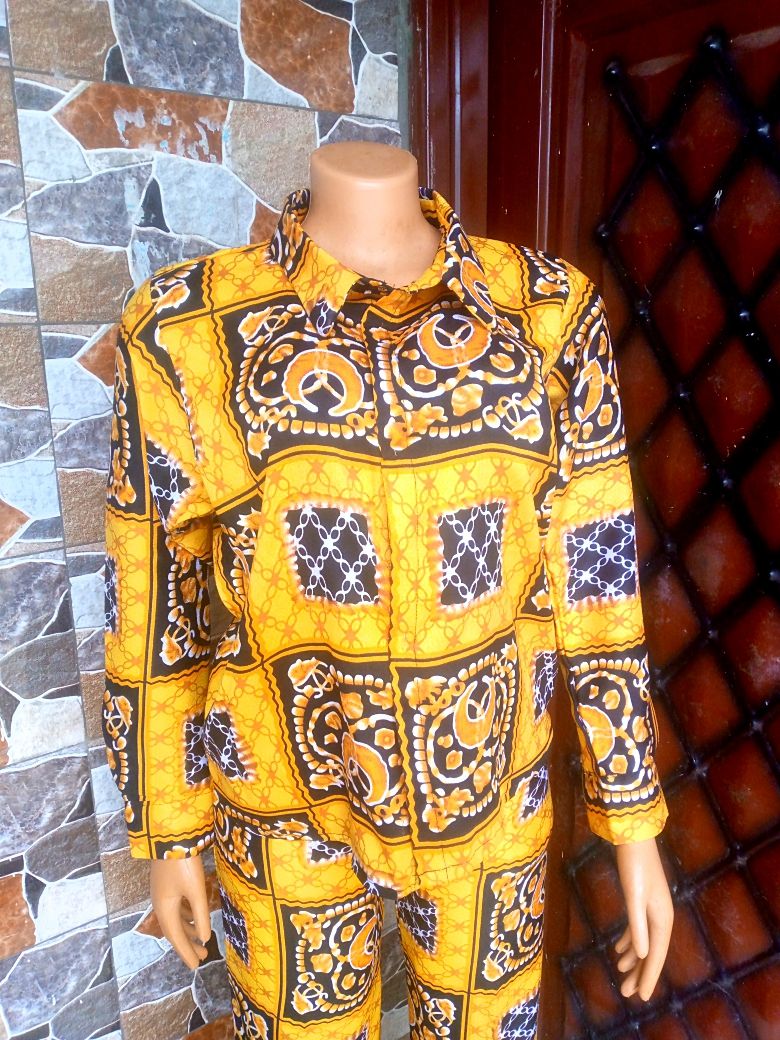
Today, I get to put finishing touches to the two-piece shirt and pallazo pants I started working on early this week, for an old friend of mine. She stays in a faraway city from mine, we had even lost touch for a long while. She recently visited a relative who lives in the same town as me, and extended her visit to my place of residence. I was happy so happy to see her, because it had been a long time since we last saw each other. In the midst of discussing and going over memories, she asked if I still sewed, of course, never left sewing, I replied, she was happy to know that, and asked that I make her a new outfit specifically requesting a shirt and pallazo pant, according to her, she was using the opportunity being close to me well.
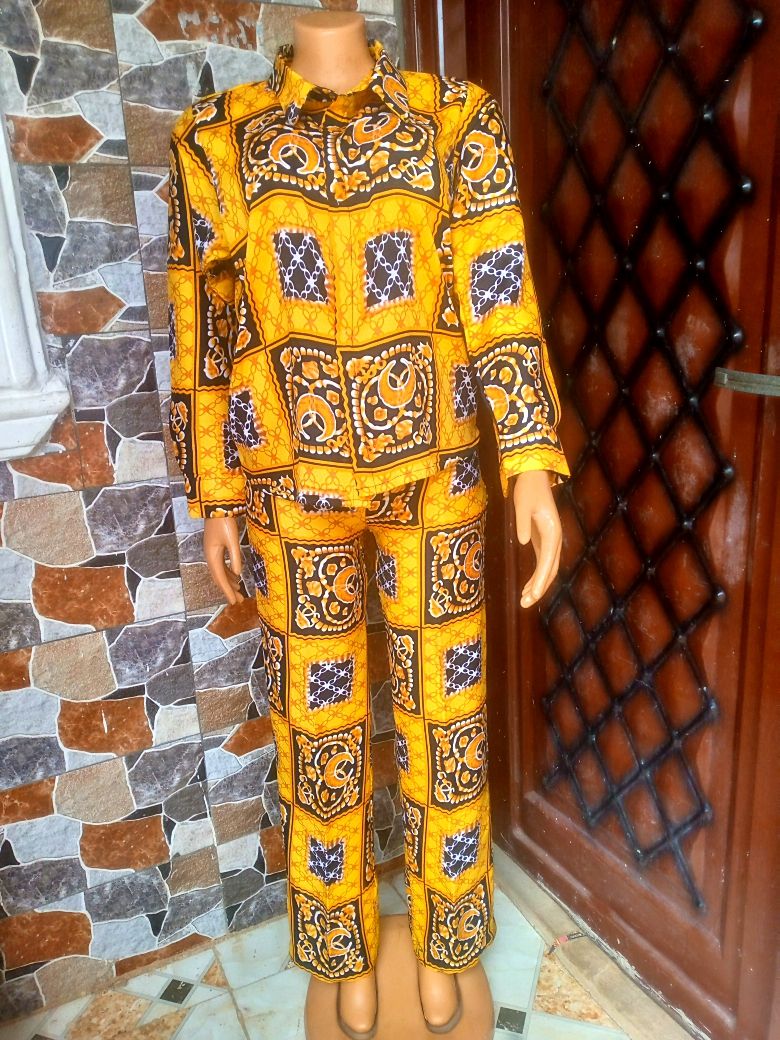
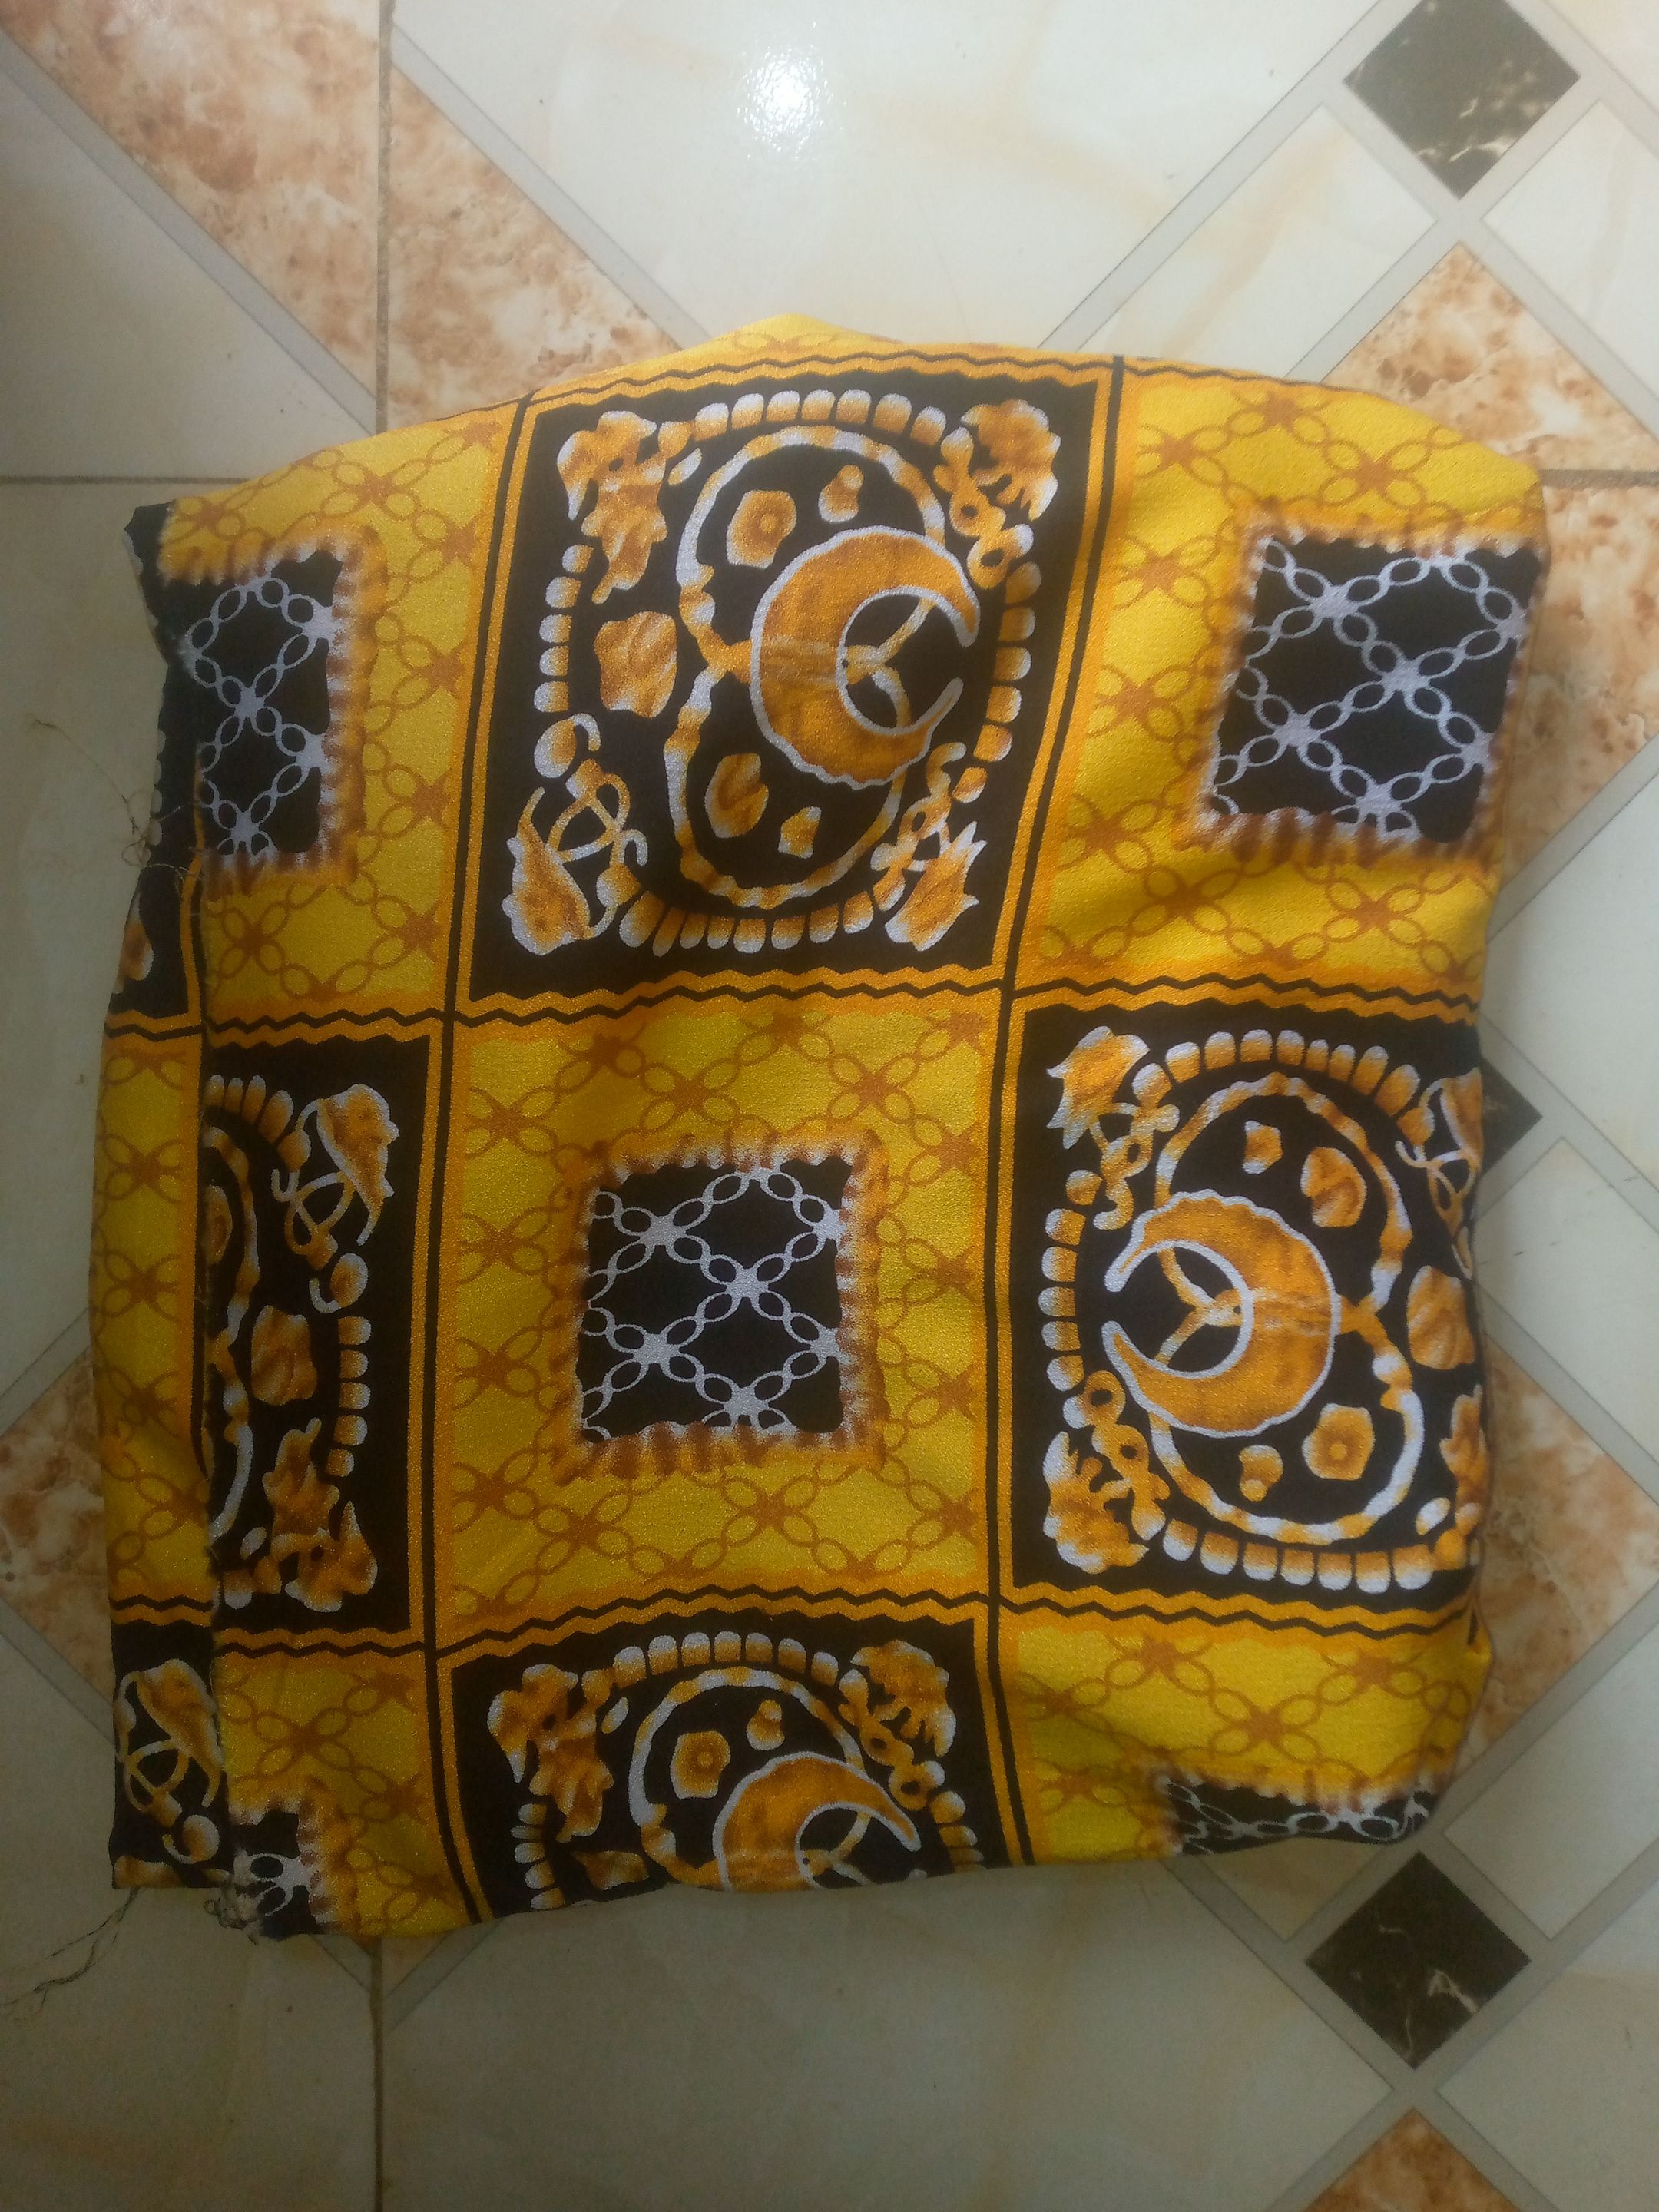
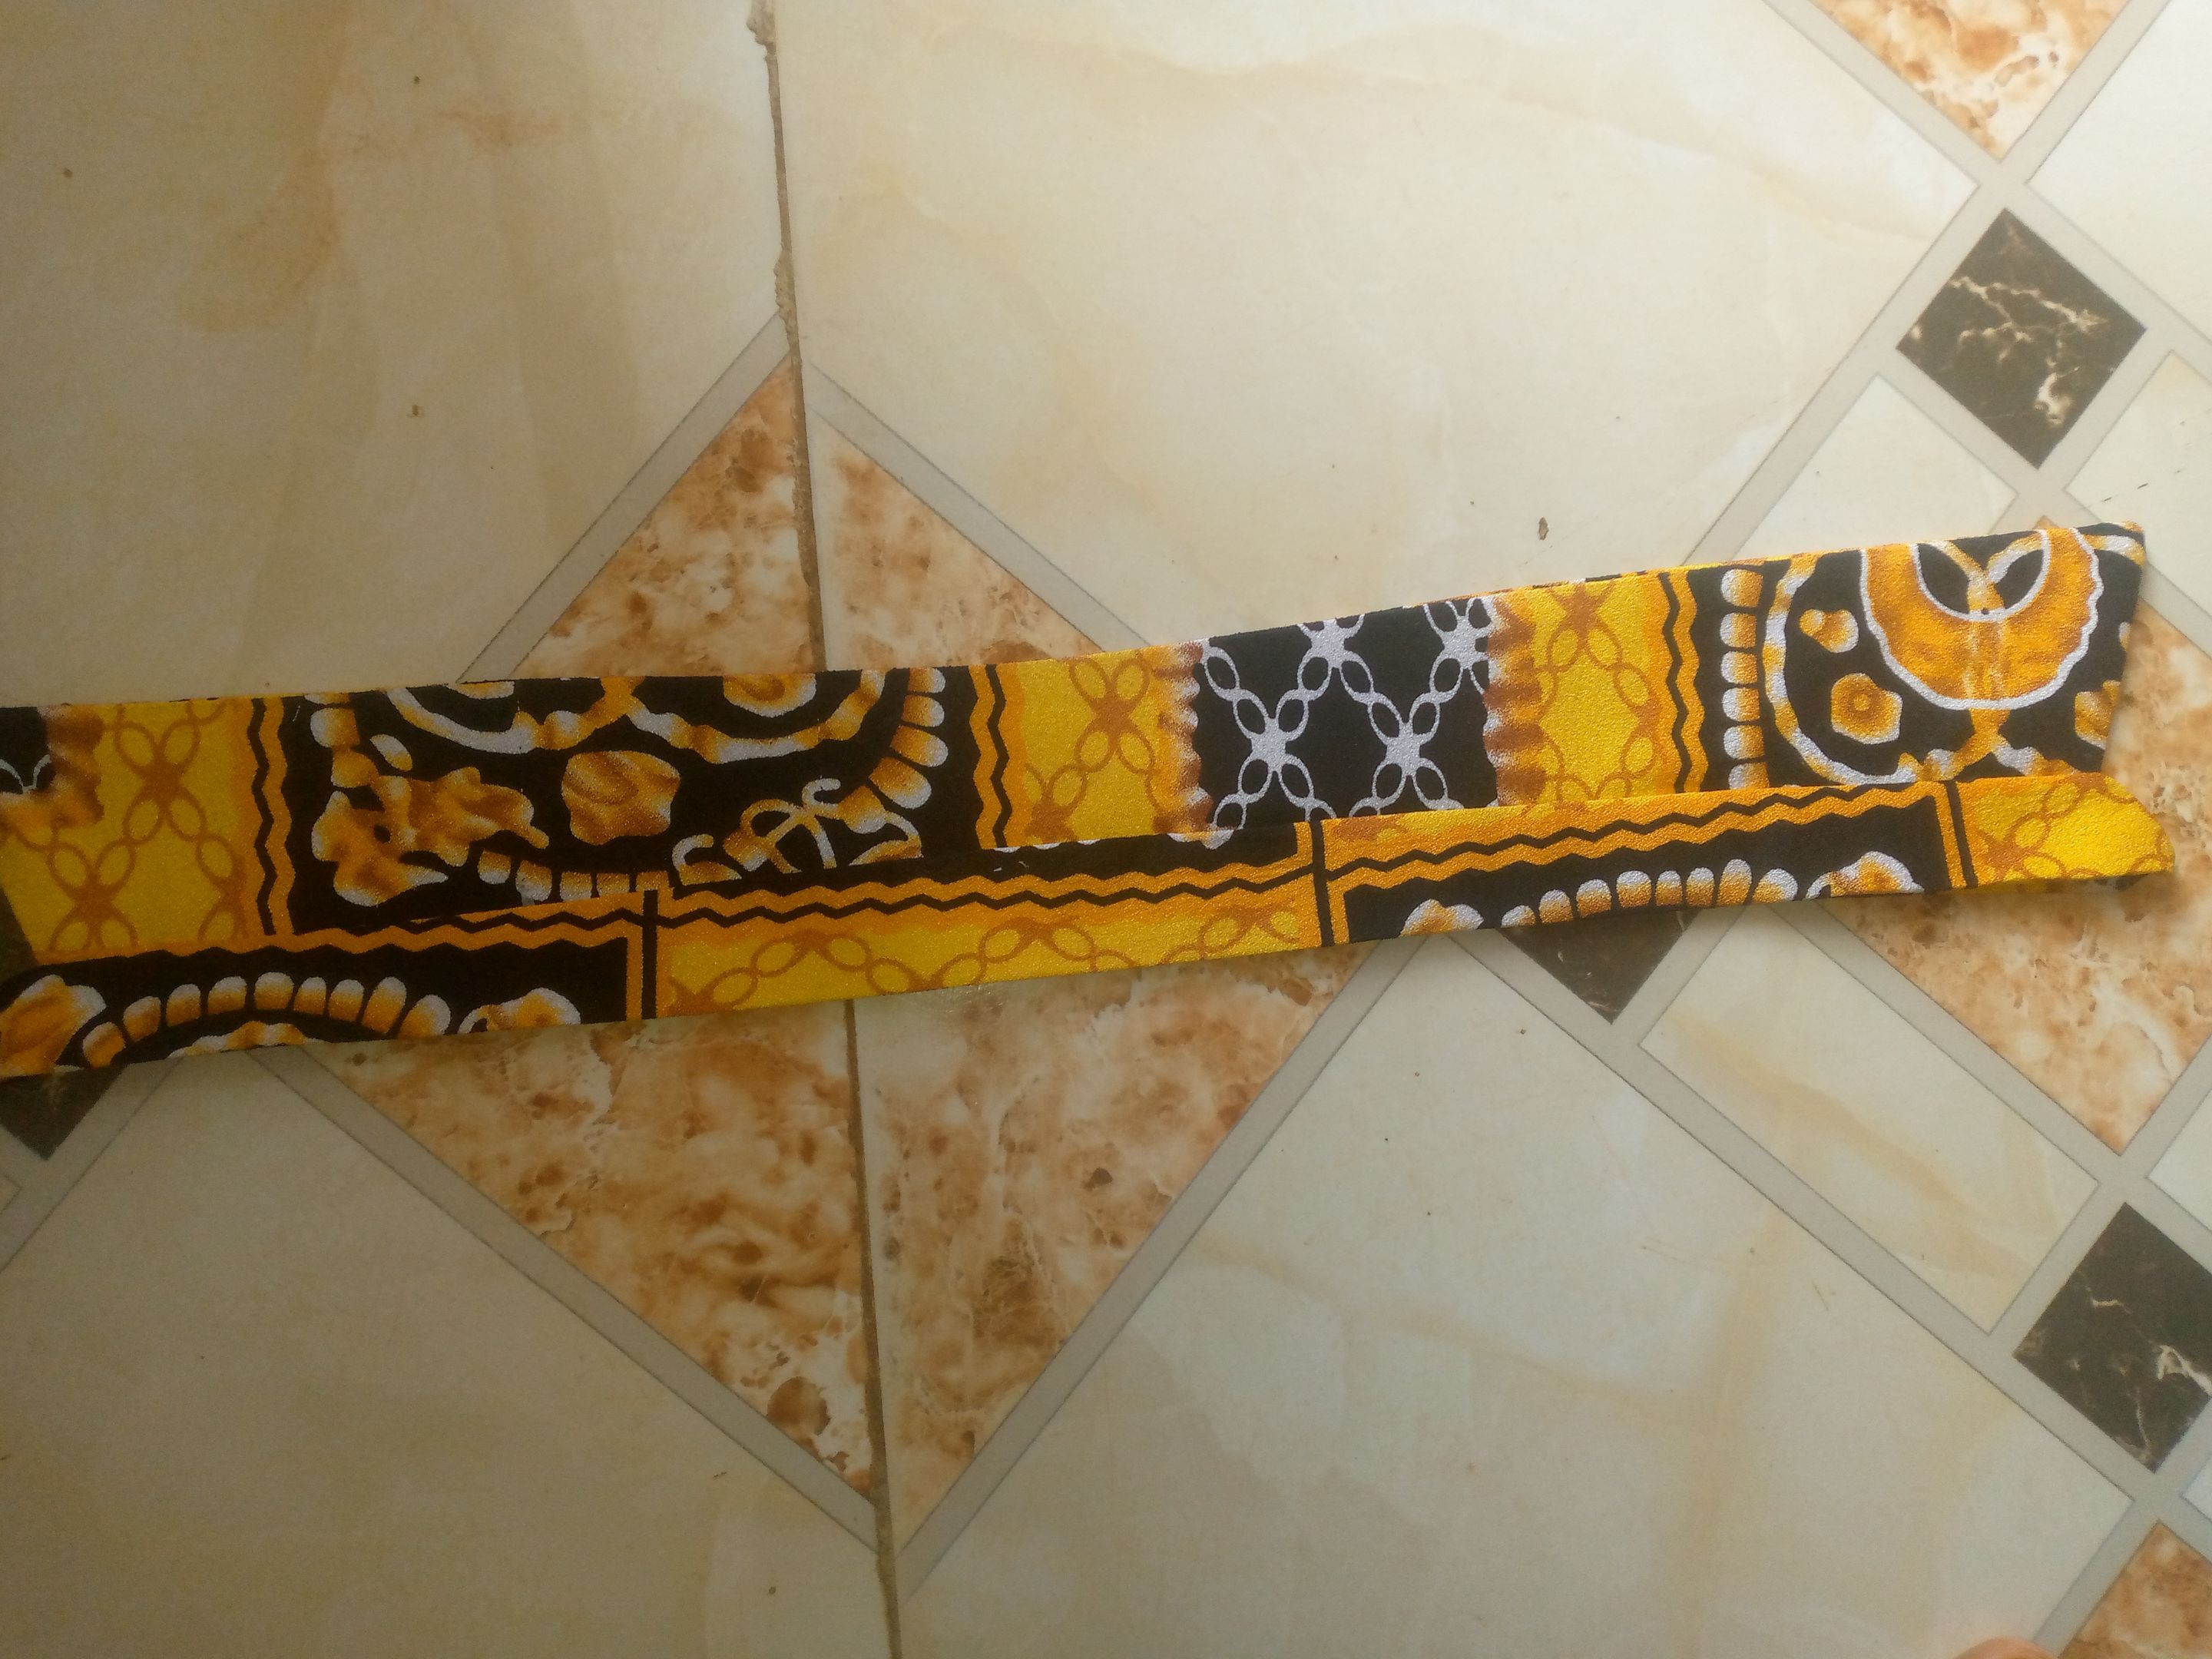
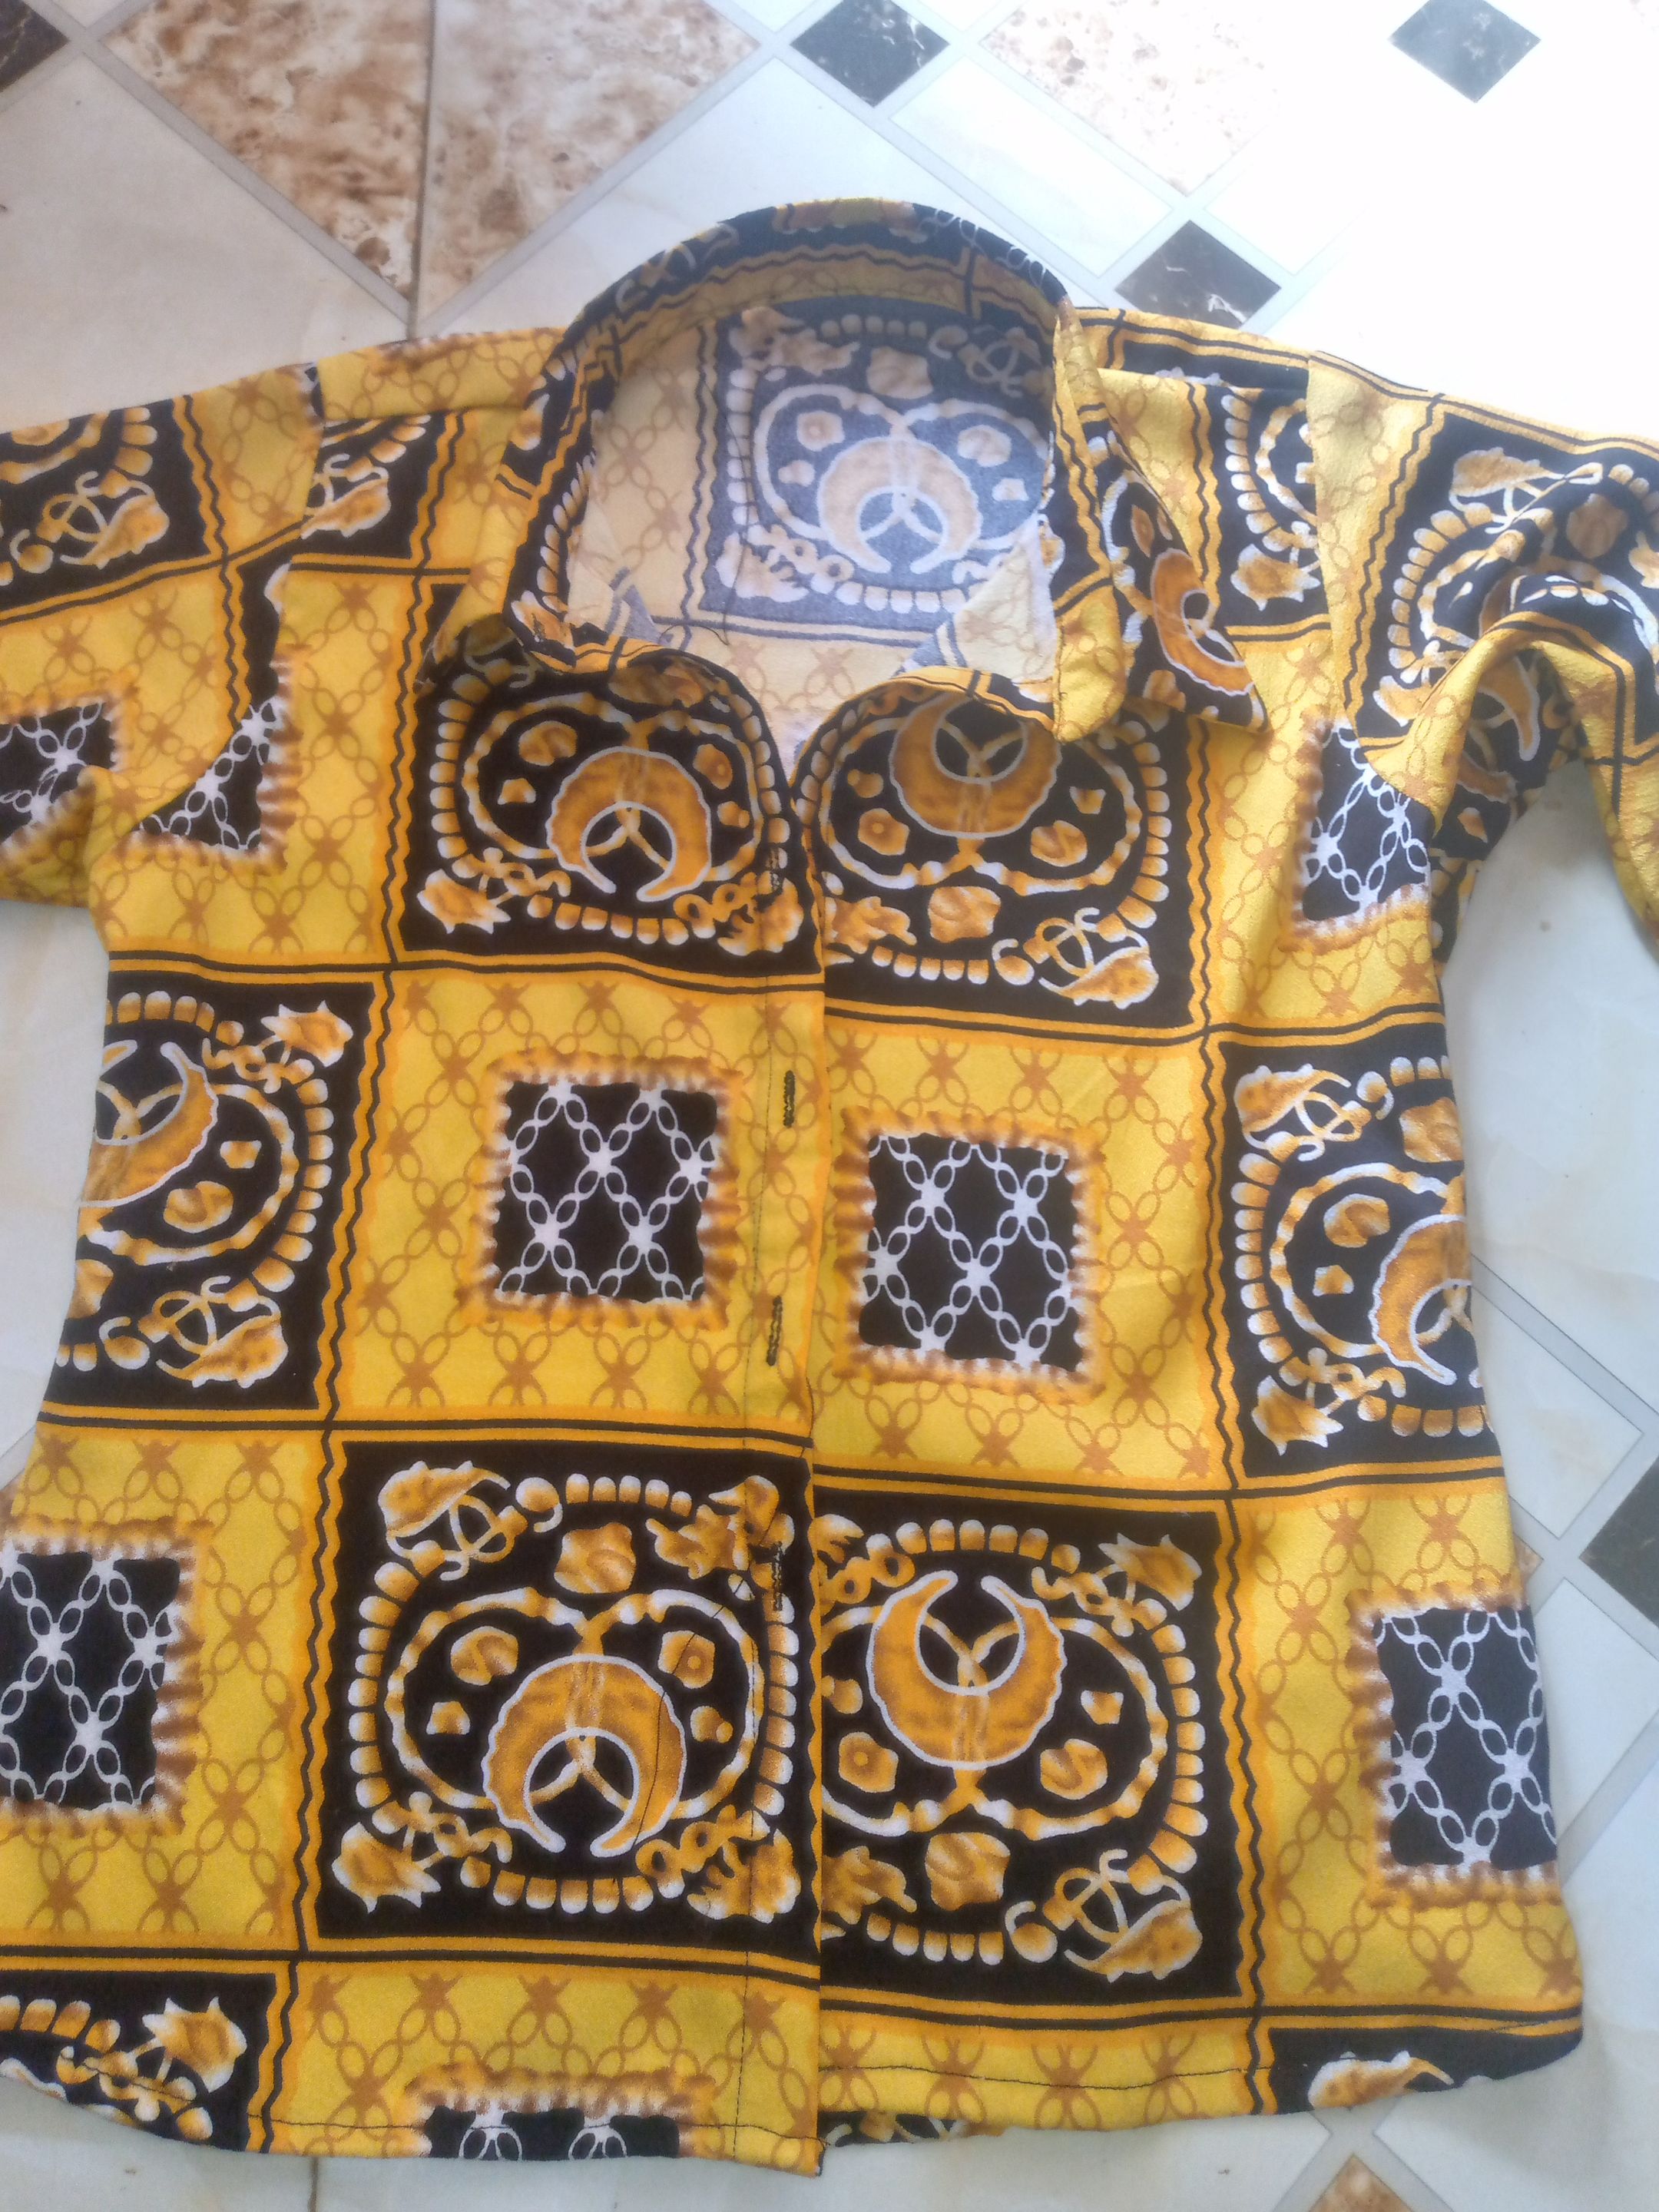
We both went to the nearest fabric store together so she could make a choice, and that was how we ended up with this beautiful sunny yellow print, with a combination of black. It is known as soft crepe fabric here, and it fits perfectly with the style she wants. Since she will be leaving tomorrow, I made sure to get it completed on time so as not to disappoint her.
What I love about this fabric is how versatile it is, and it can easily fit into formal and casual occasions.
So without further ado, let's get right into the making process.
Materials Used
-
Soft crepe fabric
-
Thread
-
Gum stay
Cutting And Sewing Process
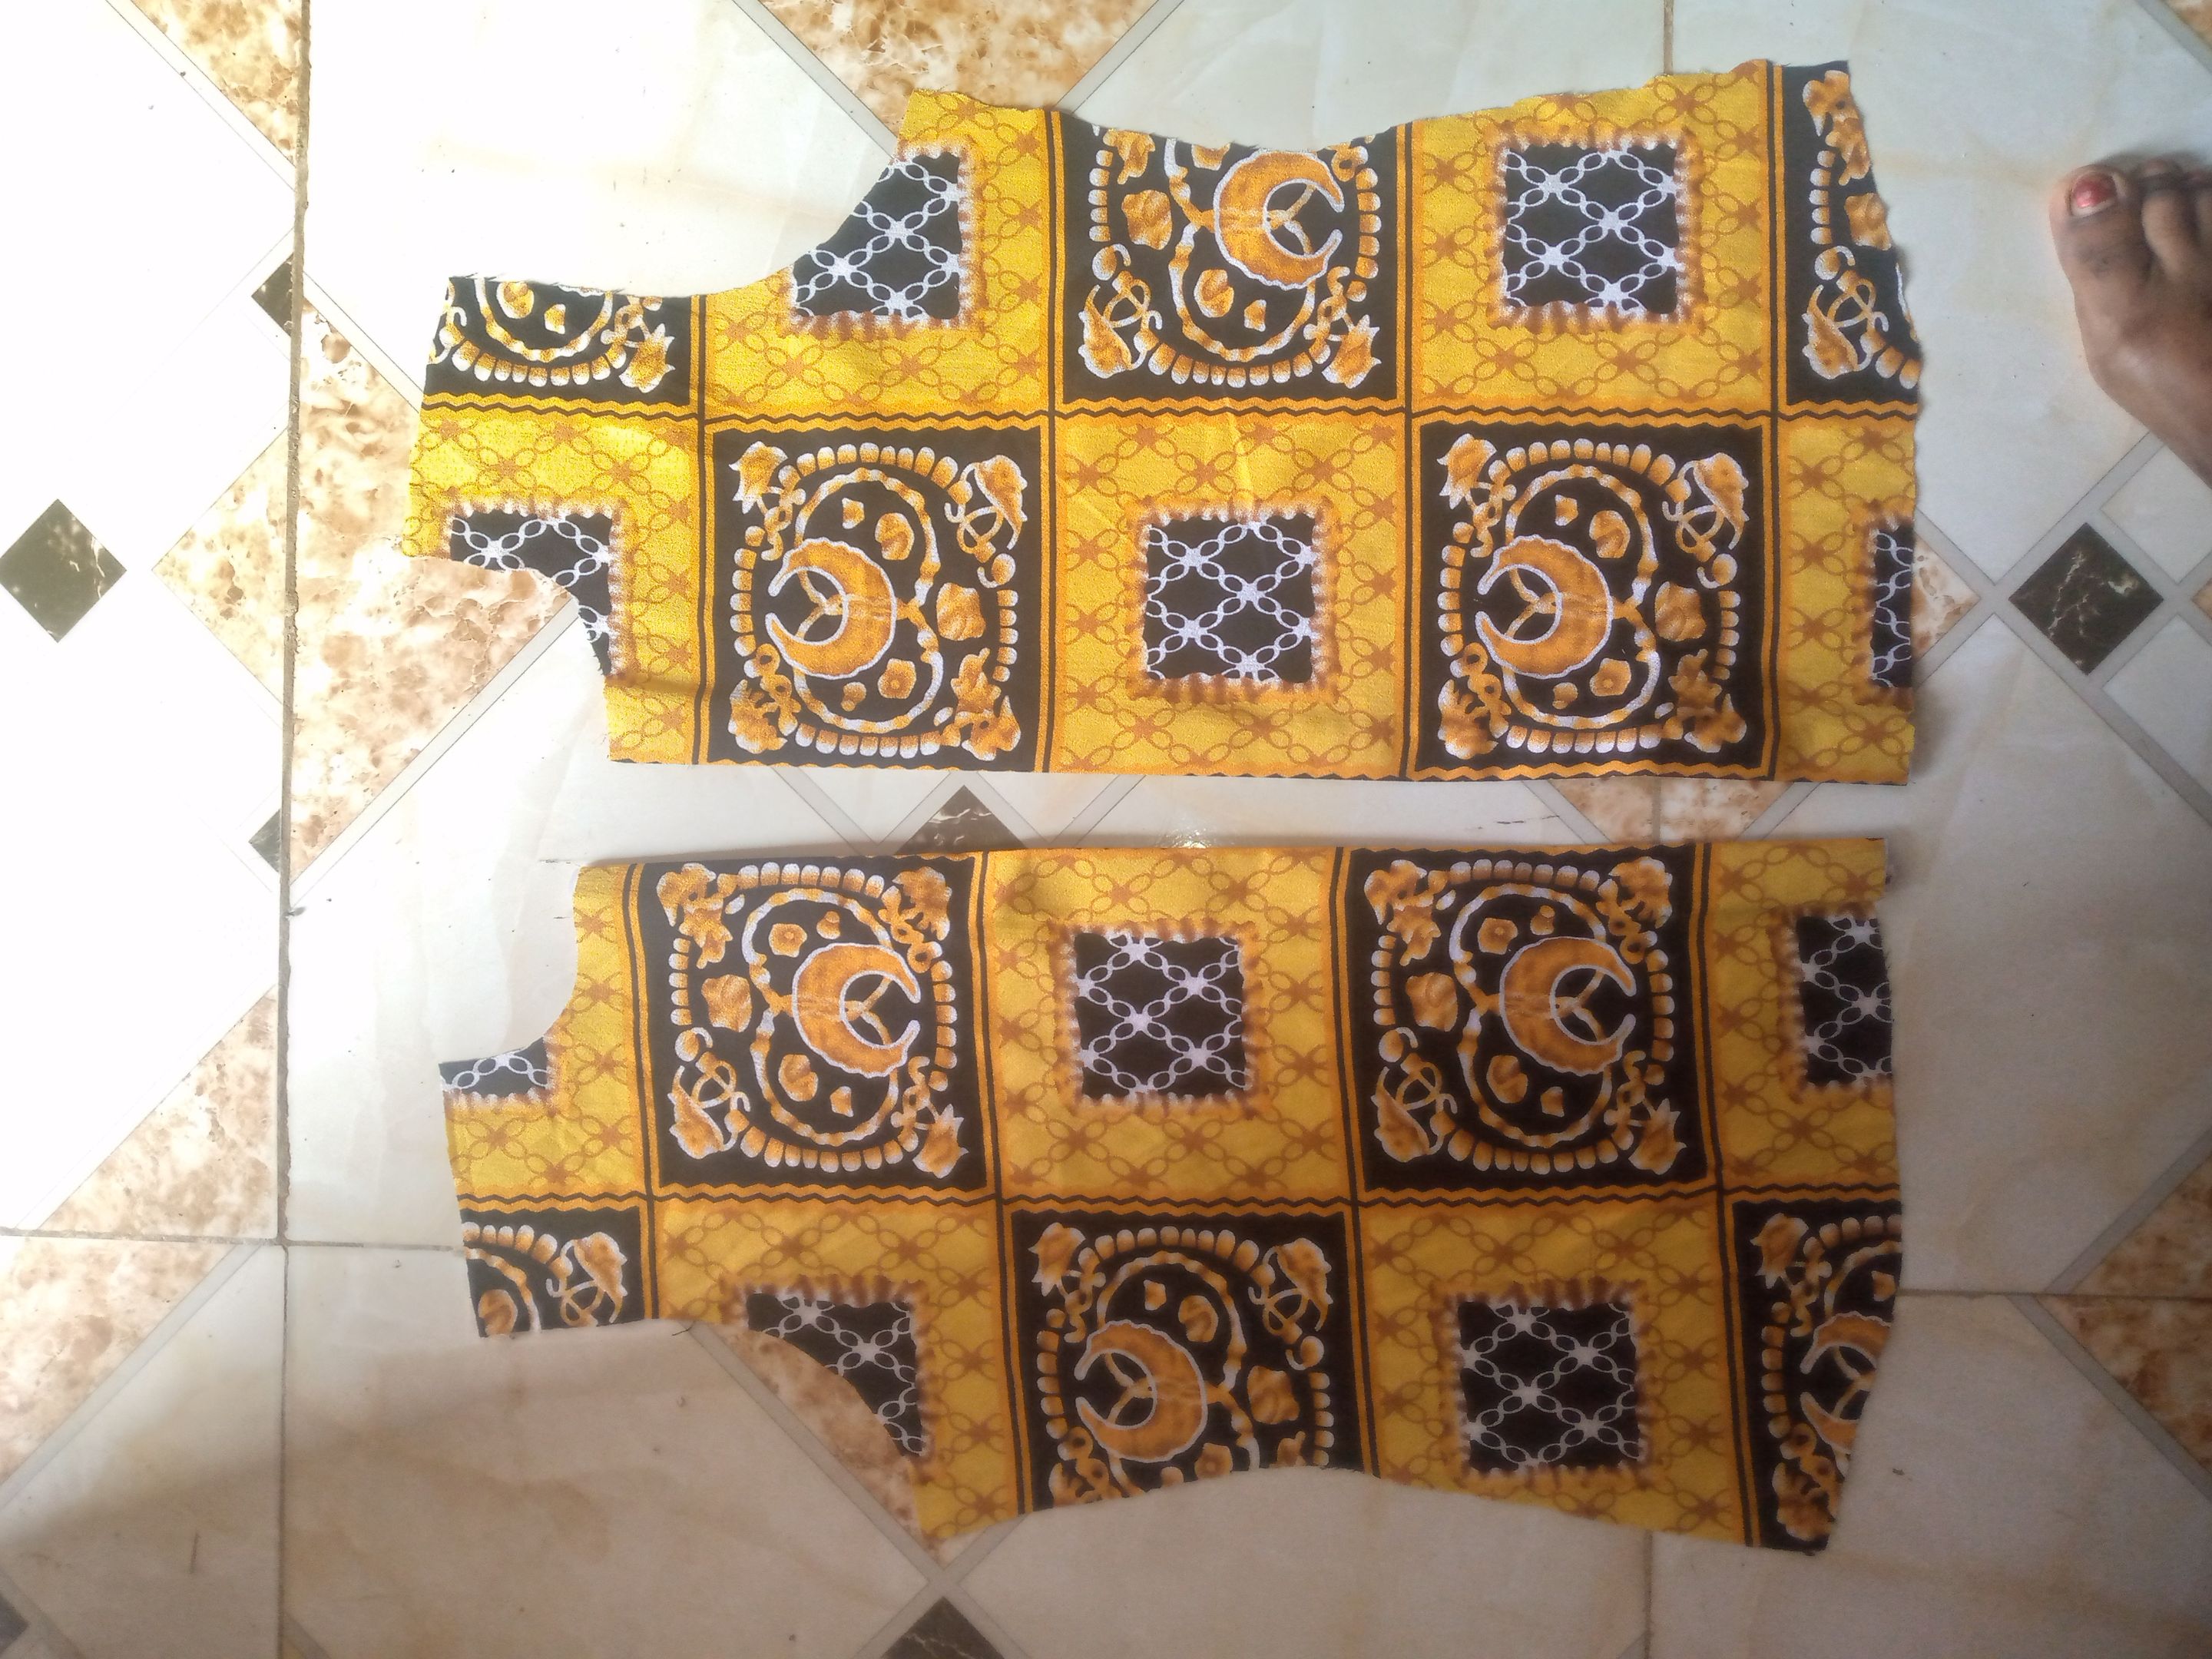
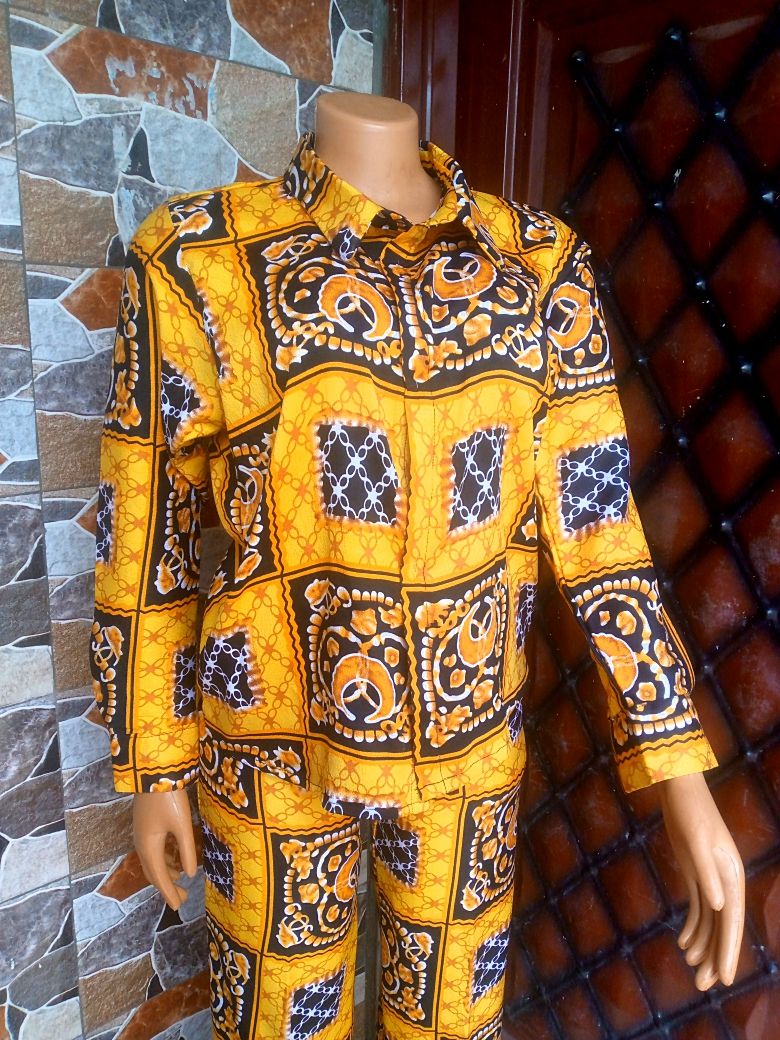
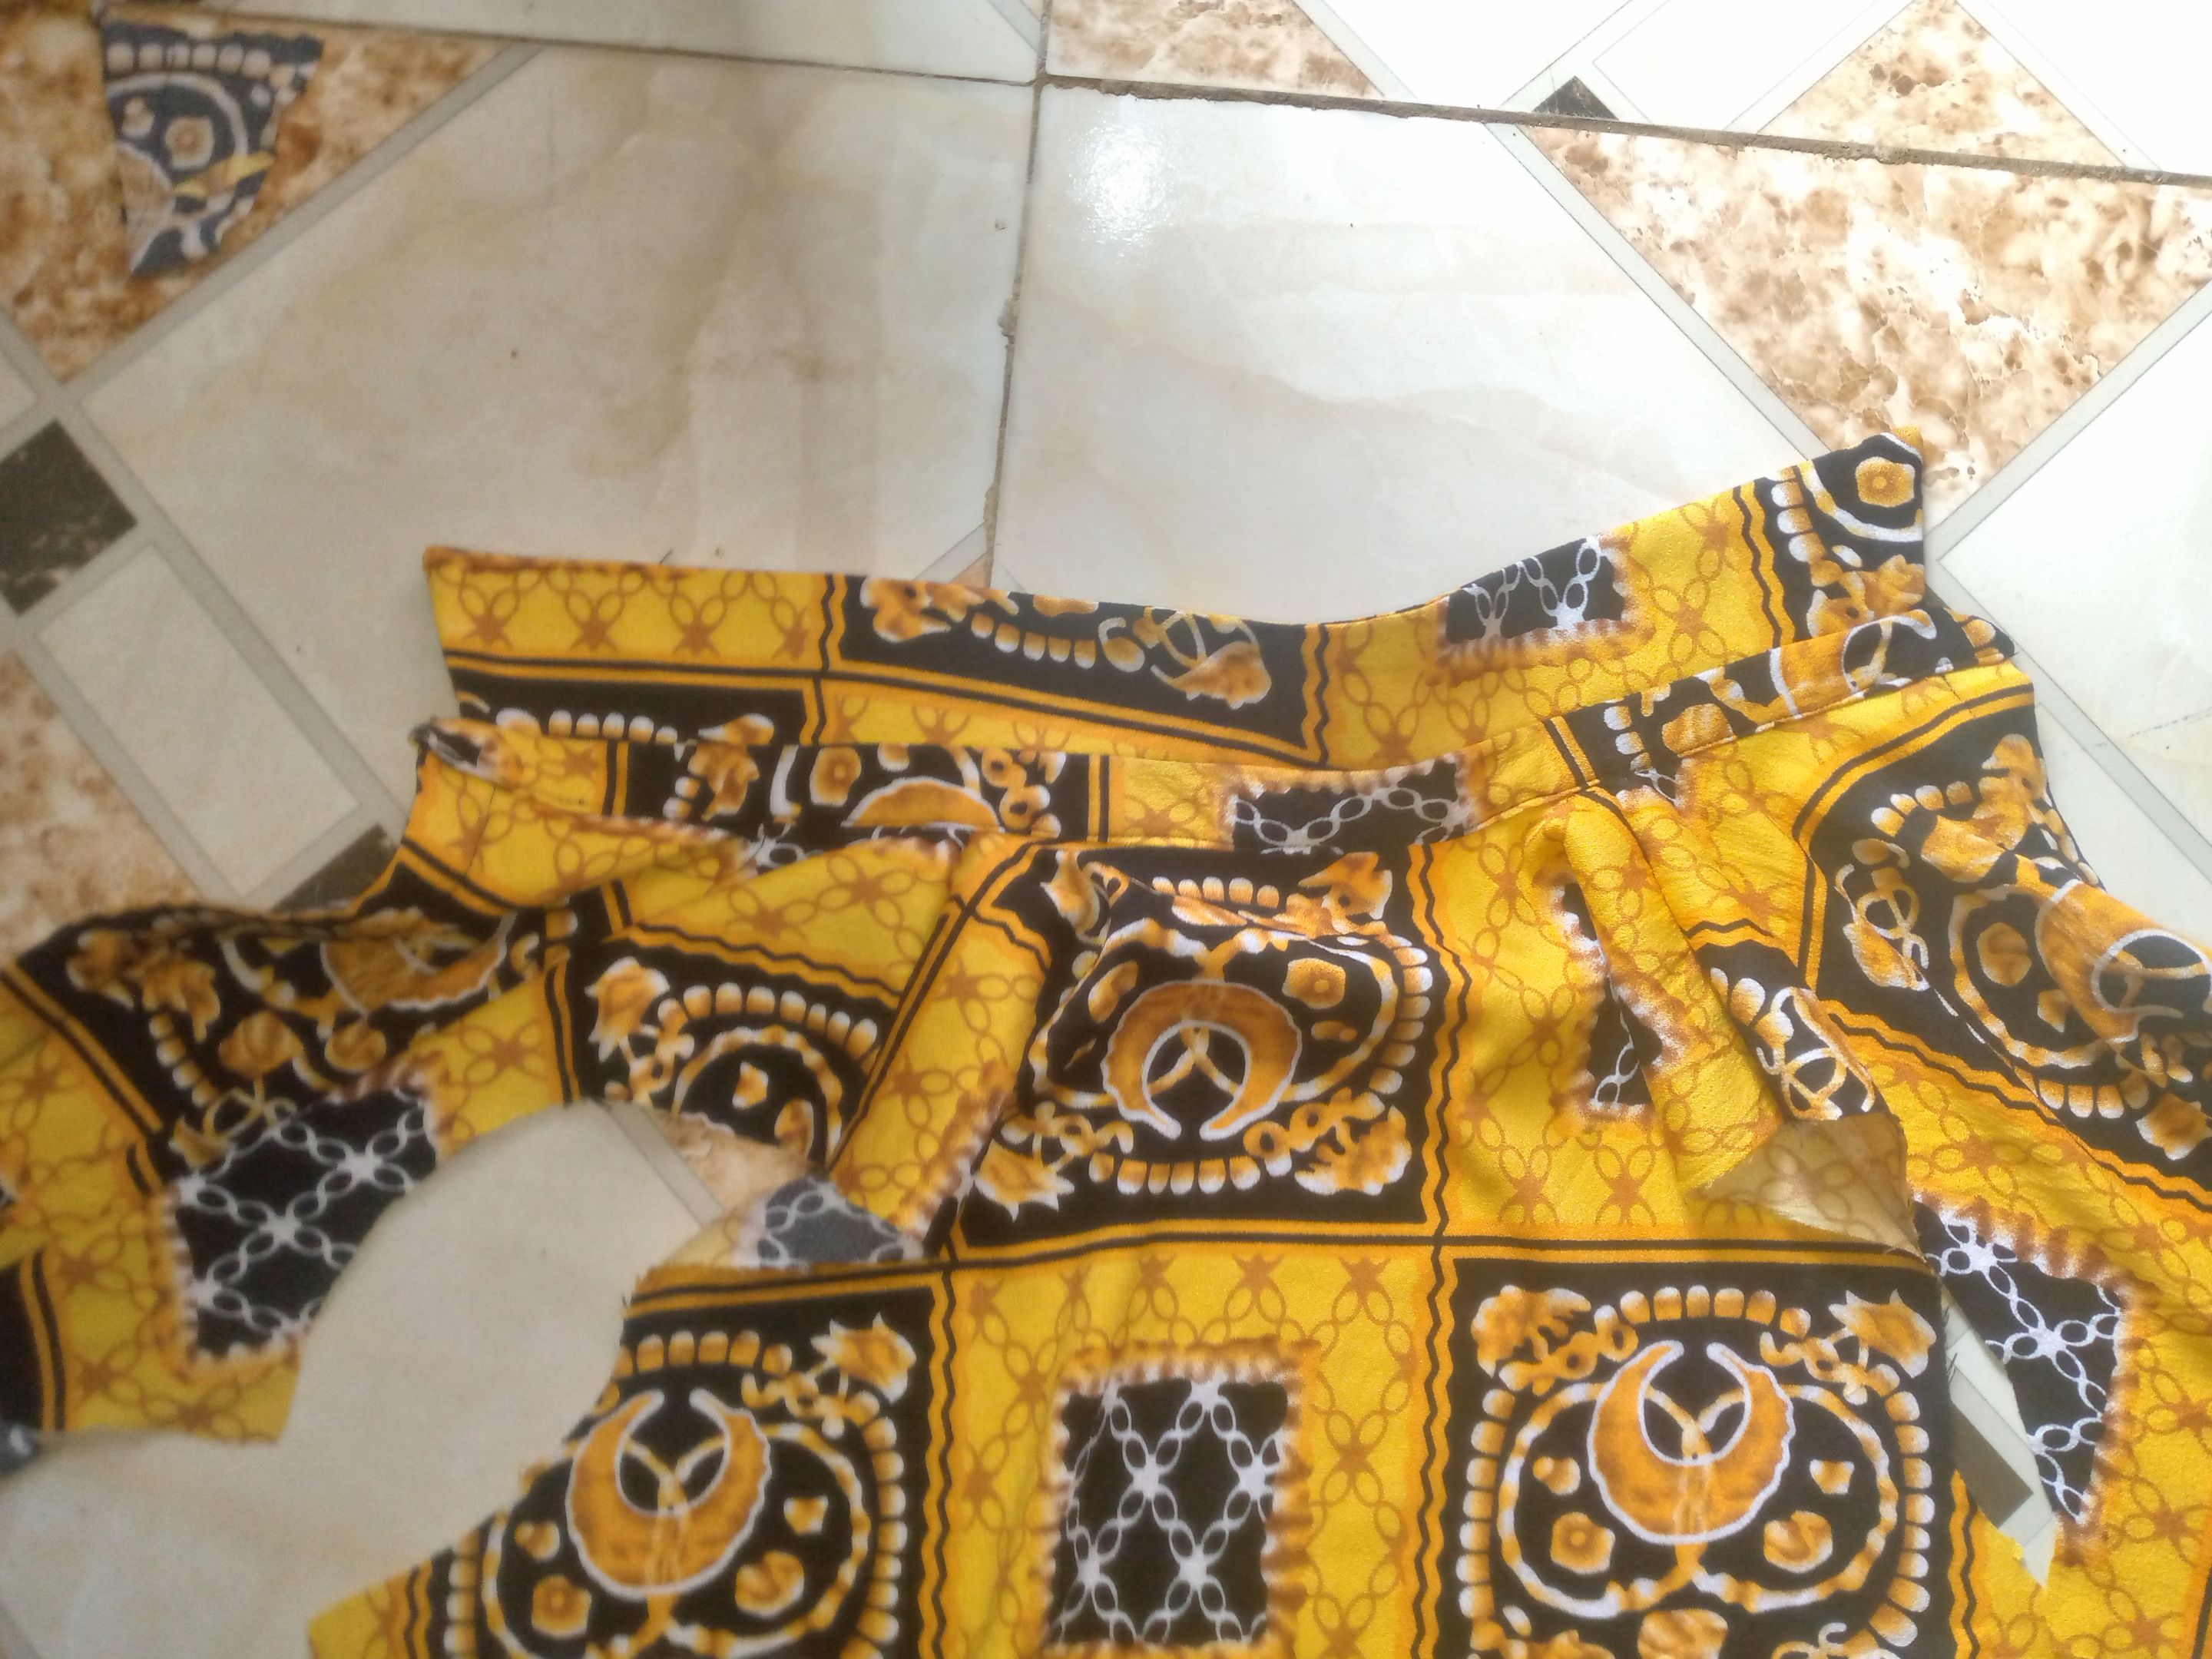
- I started by drafting the front pattern of the shirt, shaping out the neckline, armhole, bust waist and shirt length. I also extended the front, which will be folded into lapel for the button and button hole,
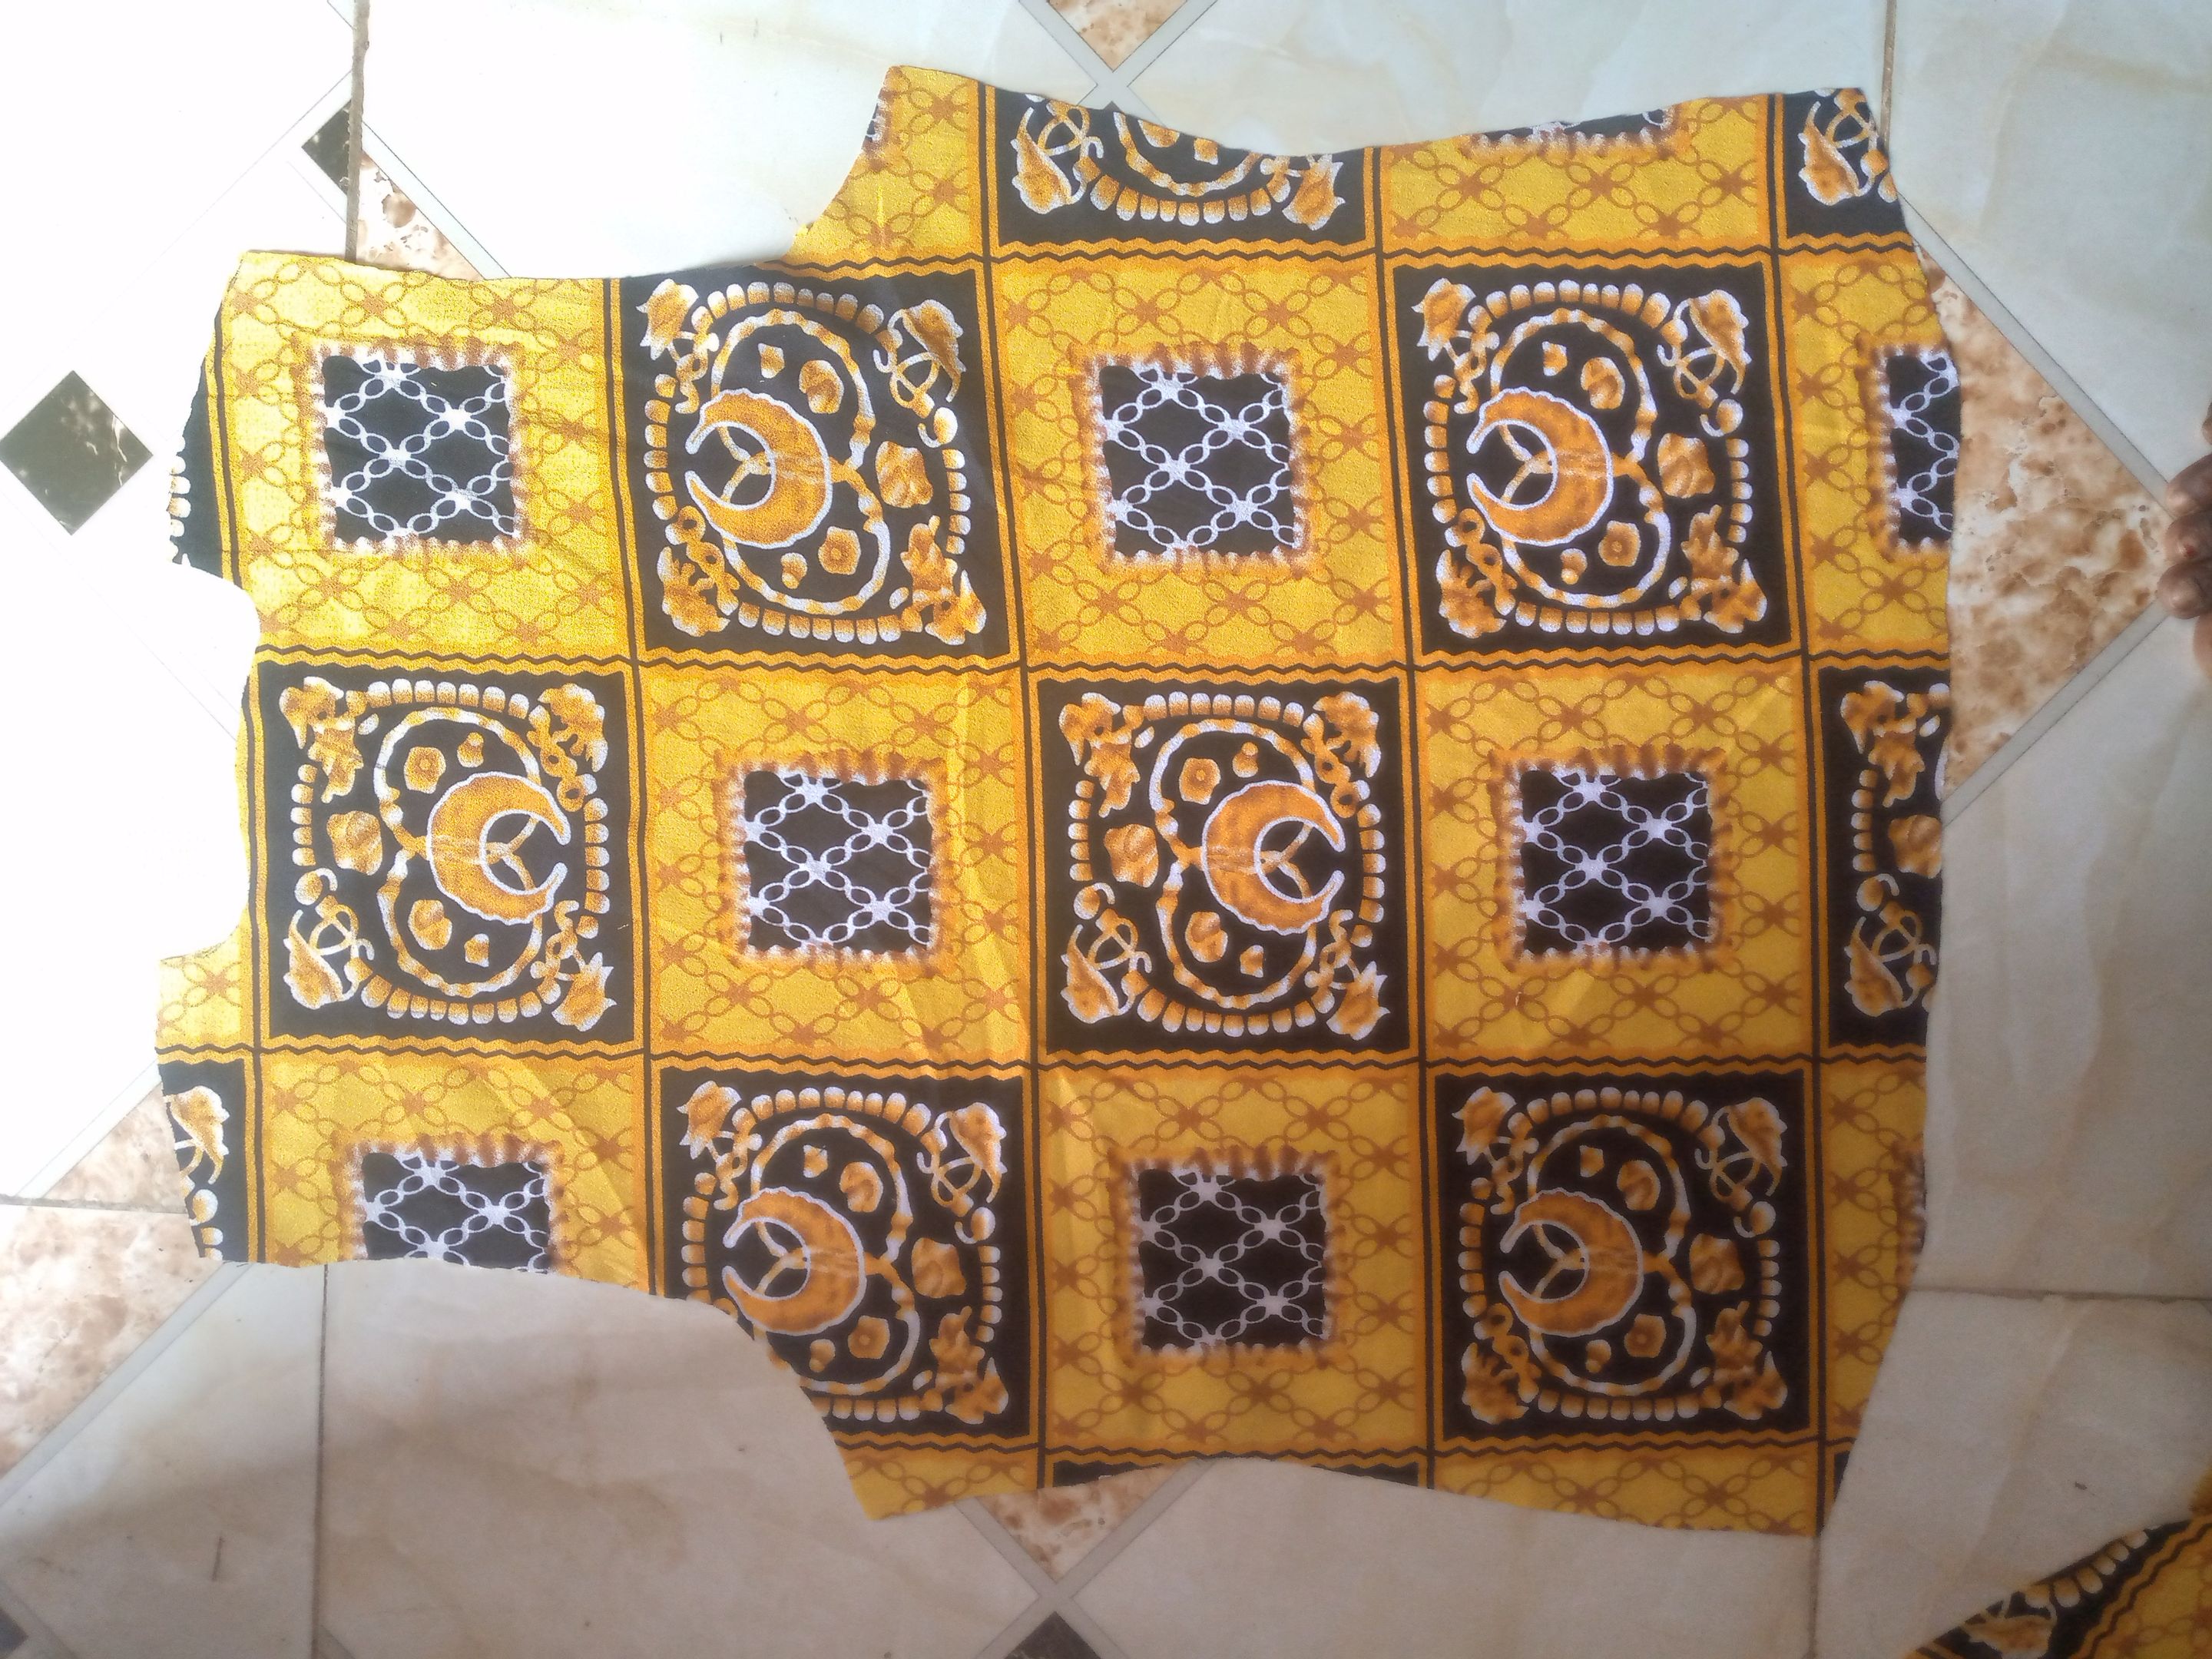
- Next, I cut out the back pattern on fold, using the cut-out front pattern to shape it out.
- Continuing, I joined the front and back pattern pieces by the shoulder.
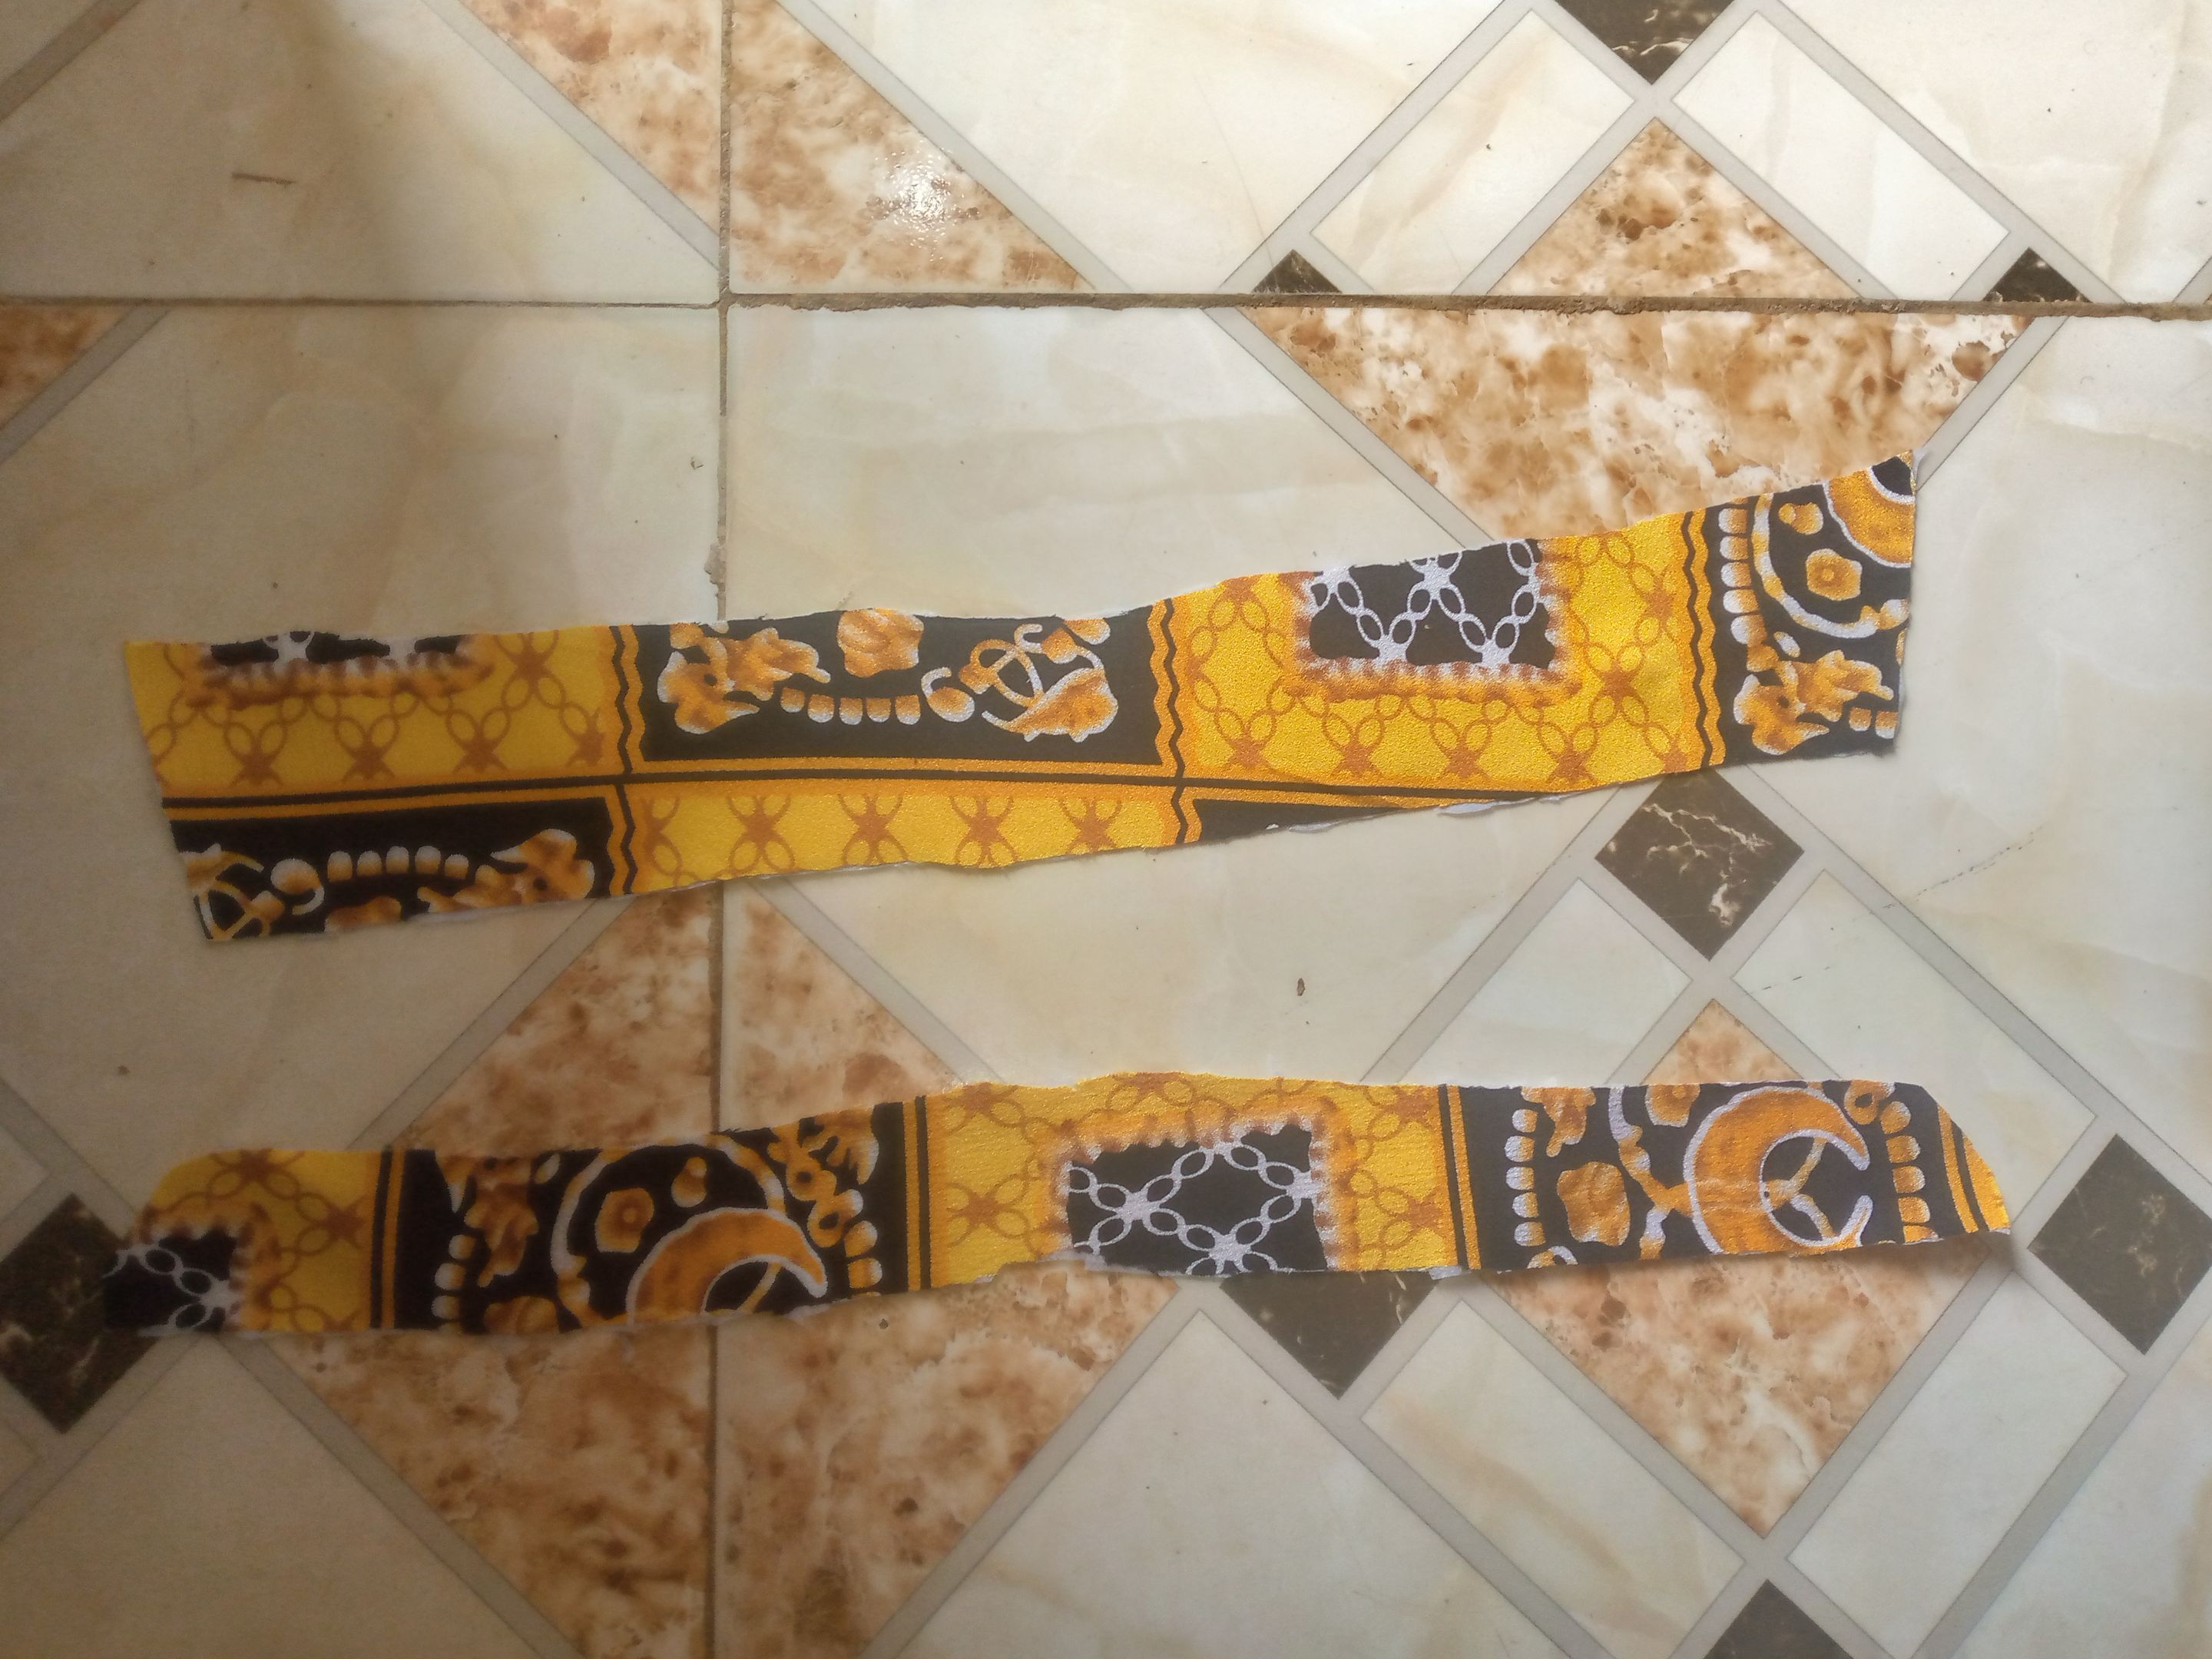
- Then I also cut out the shirt col lar Ironed stay on the wrong side of the fabric
- Then I sewed the collar around the shirt neckline
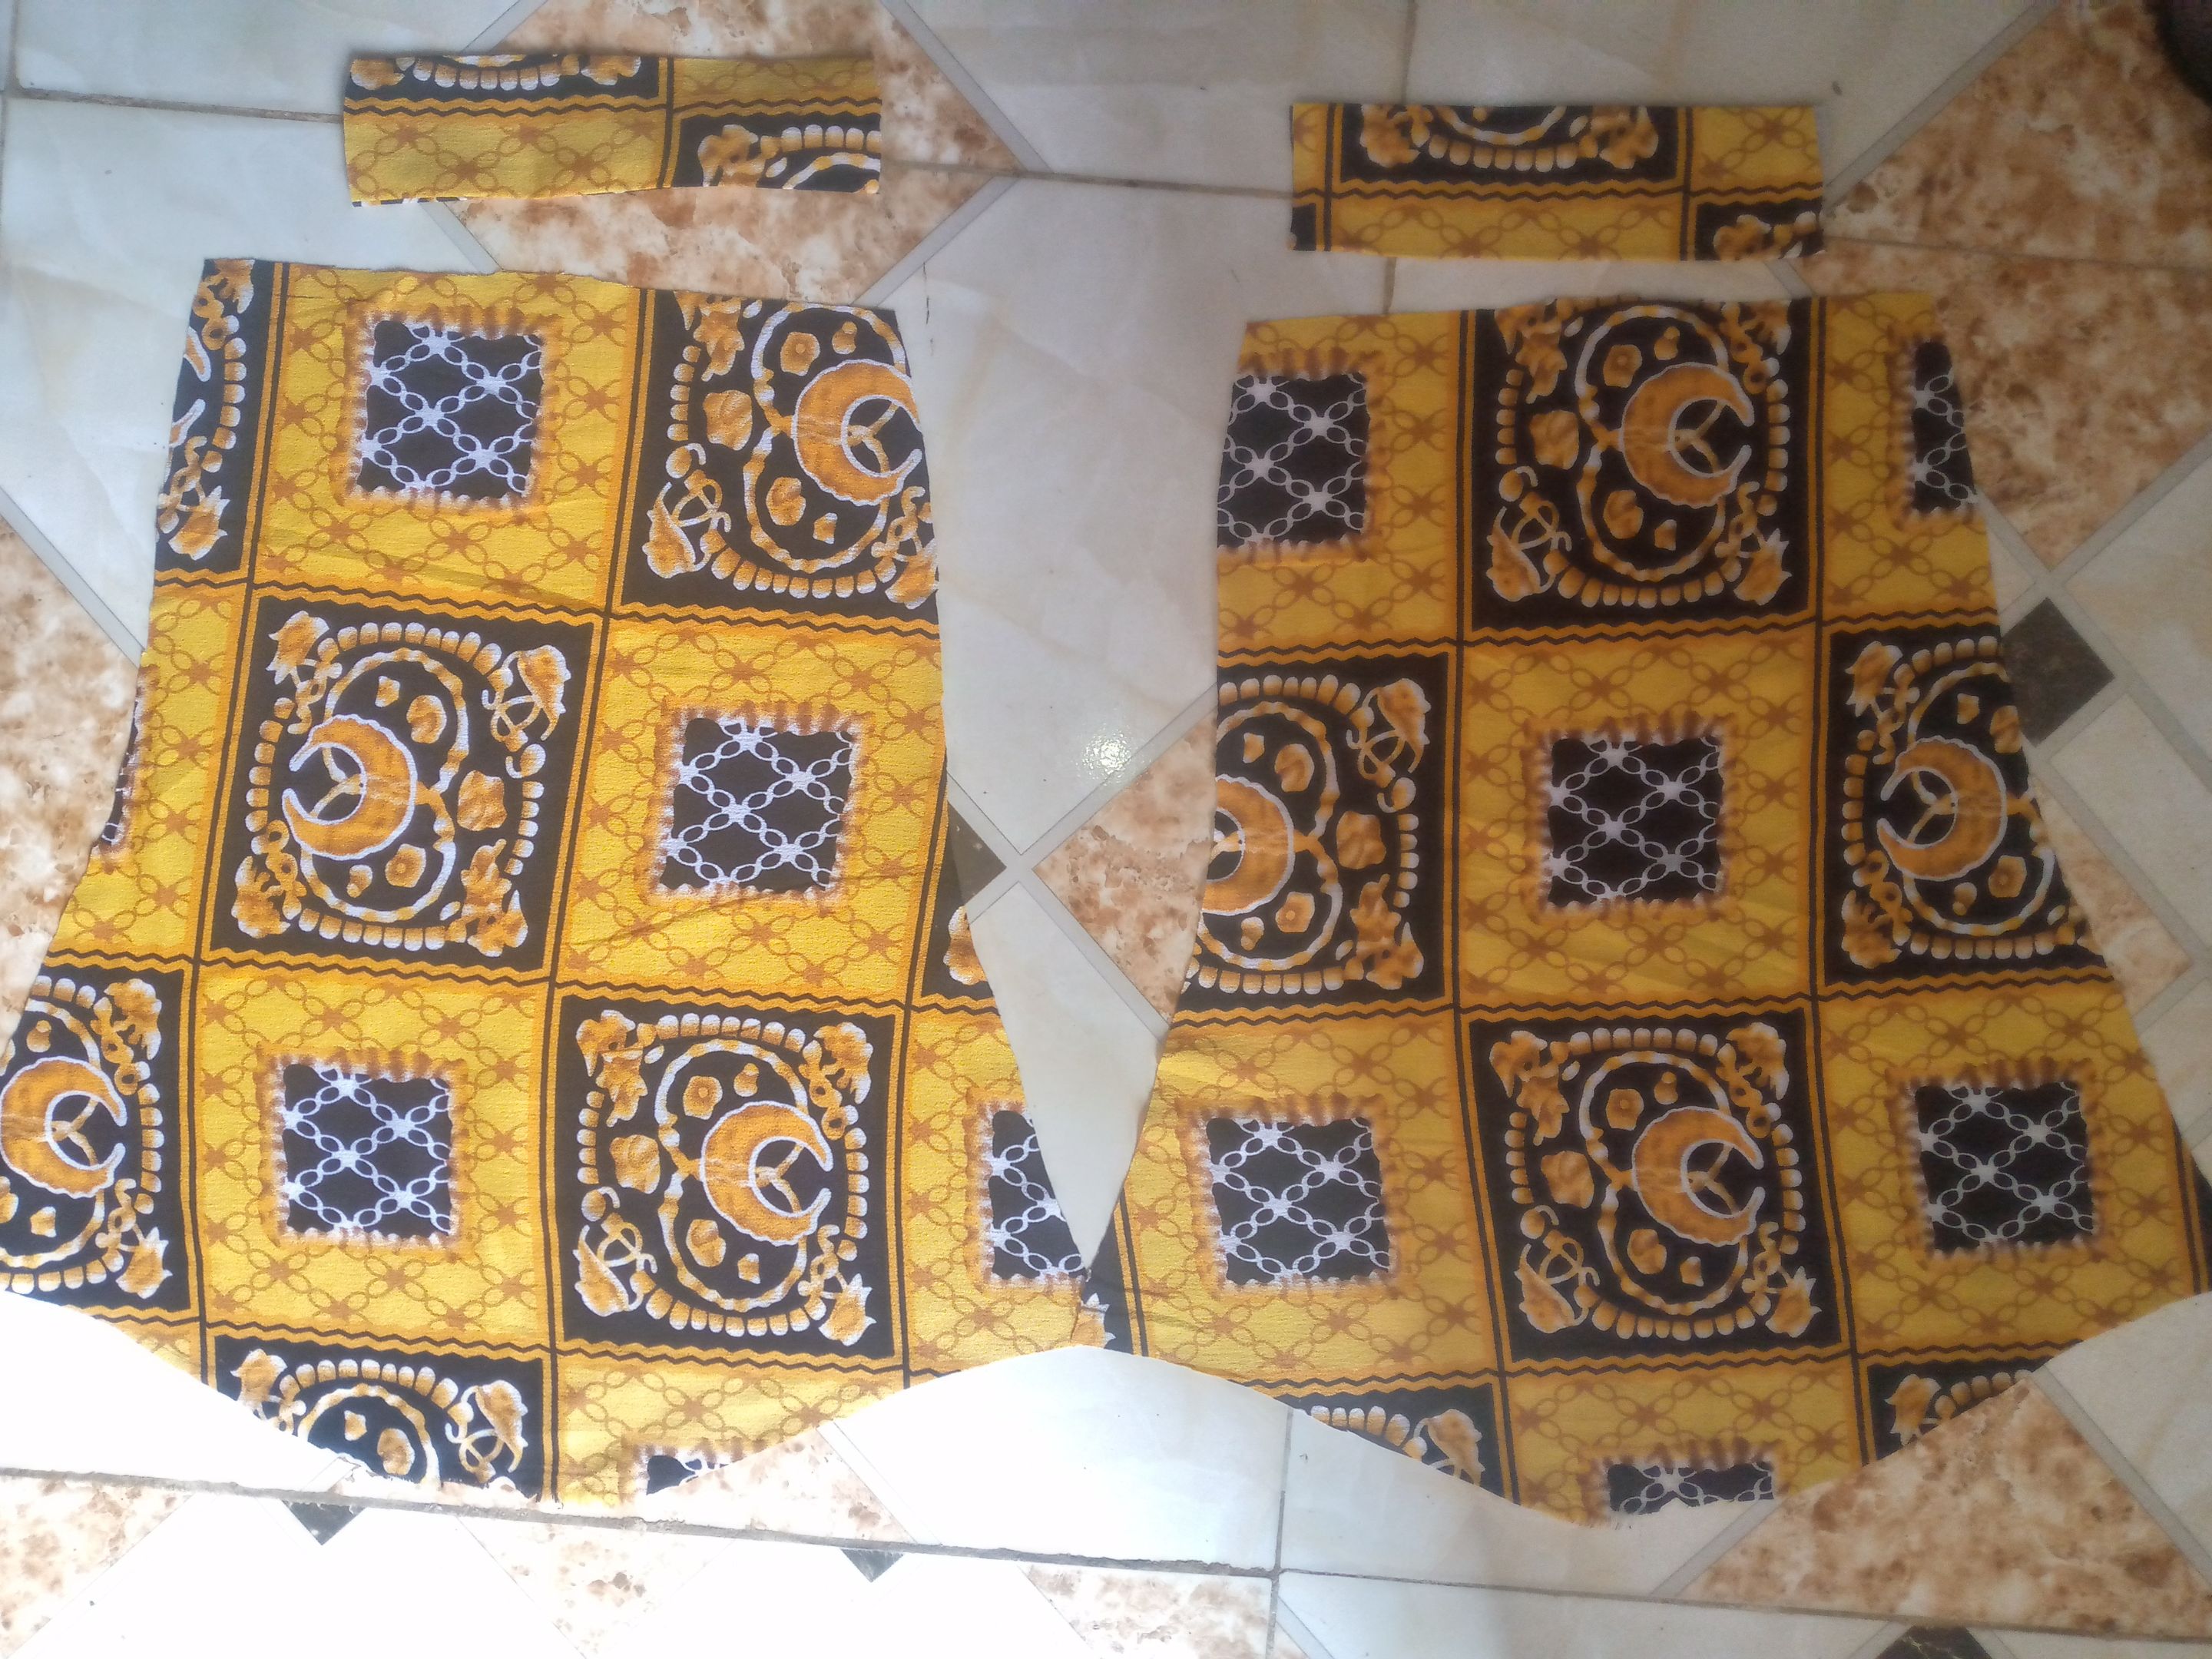
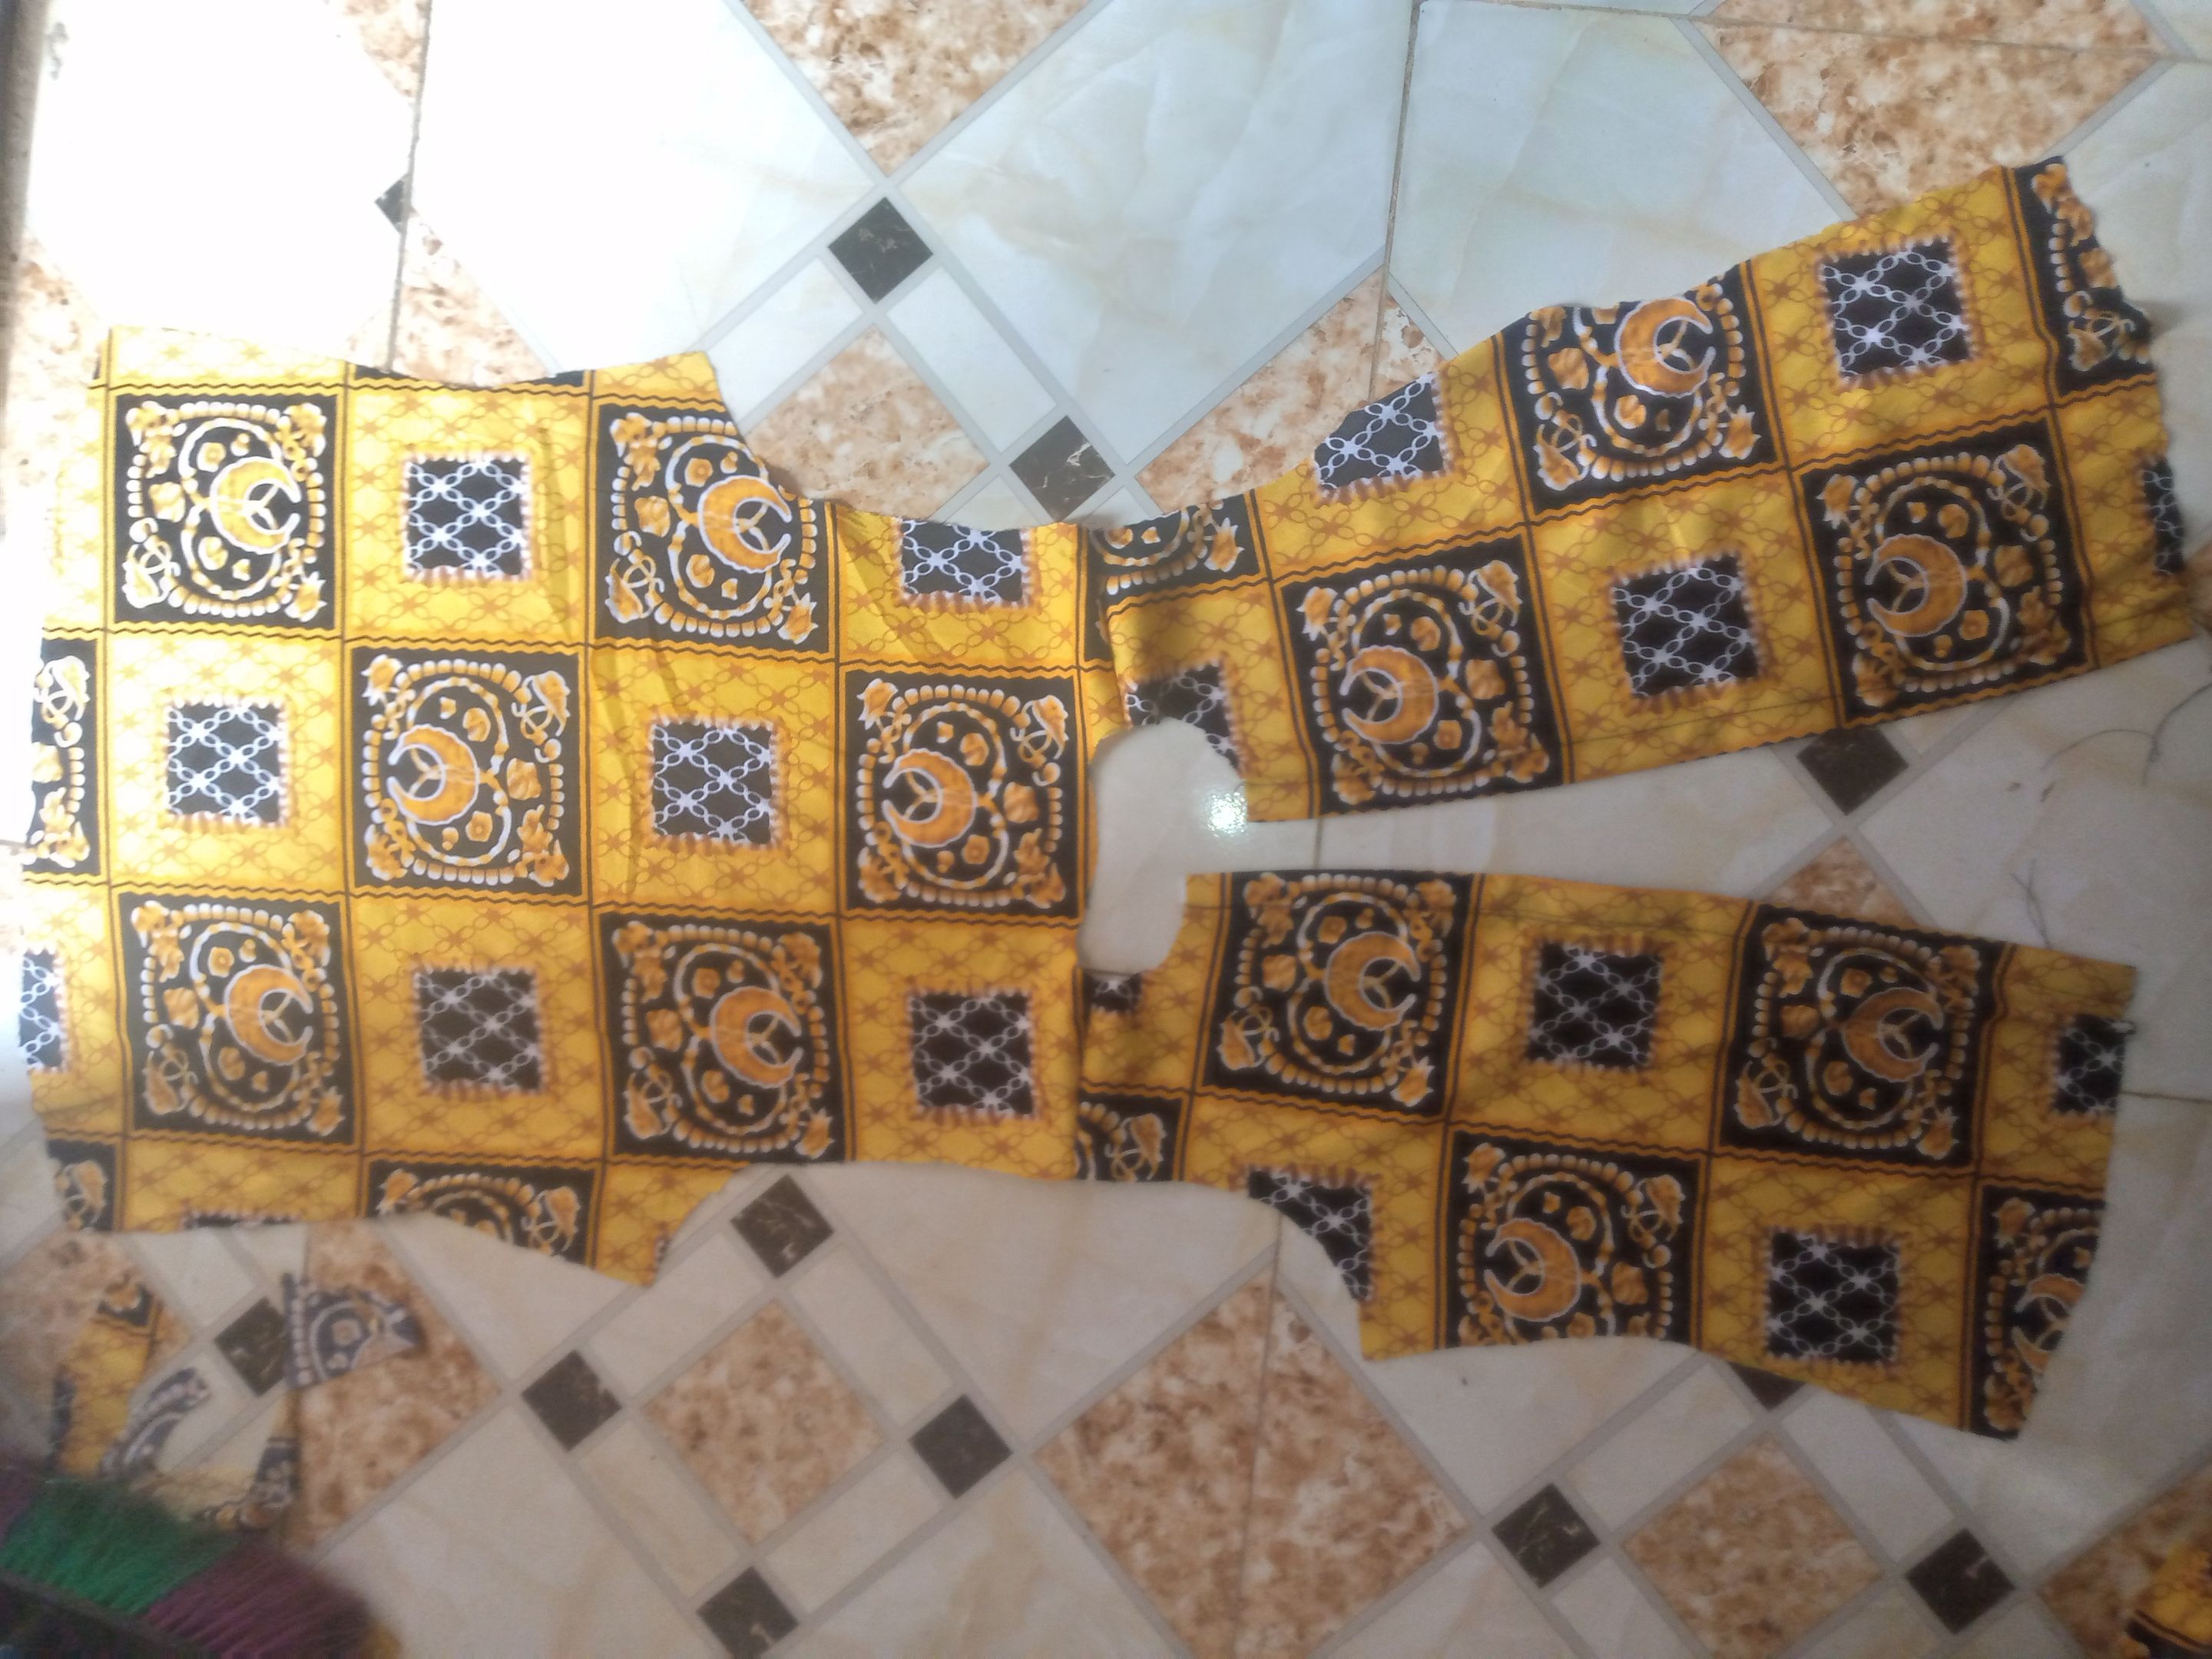
- Moving on, I cut out the shirt's long sleeve pattern, alongside the cuff.
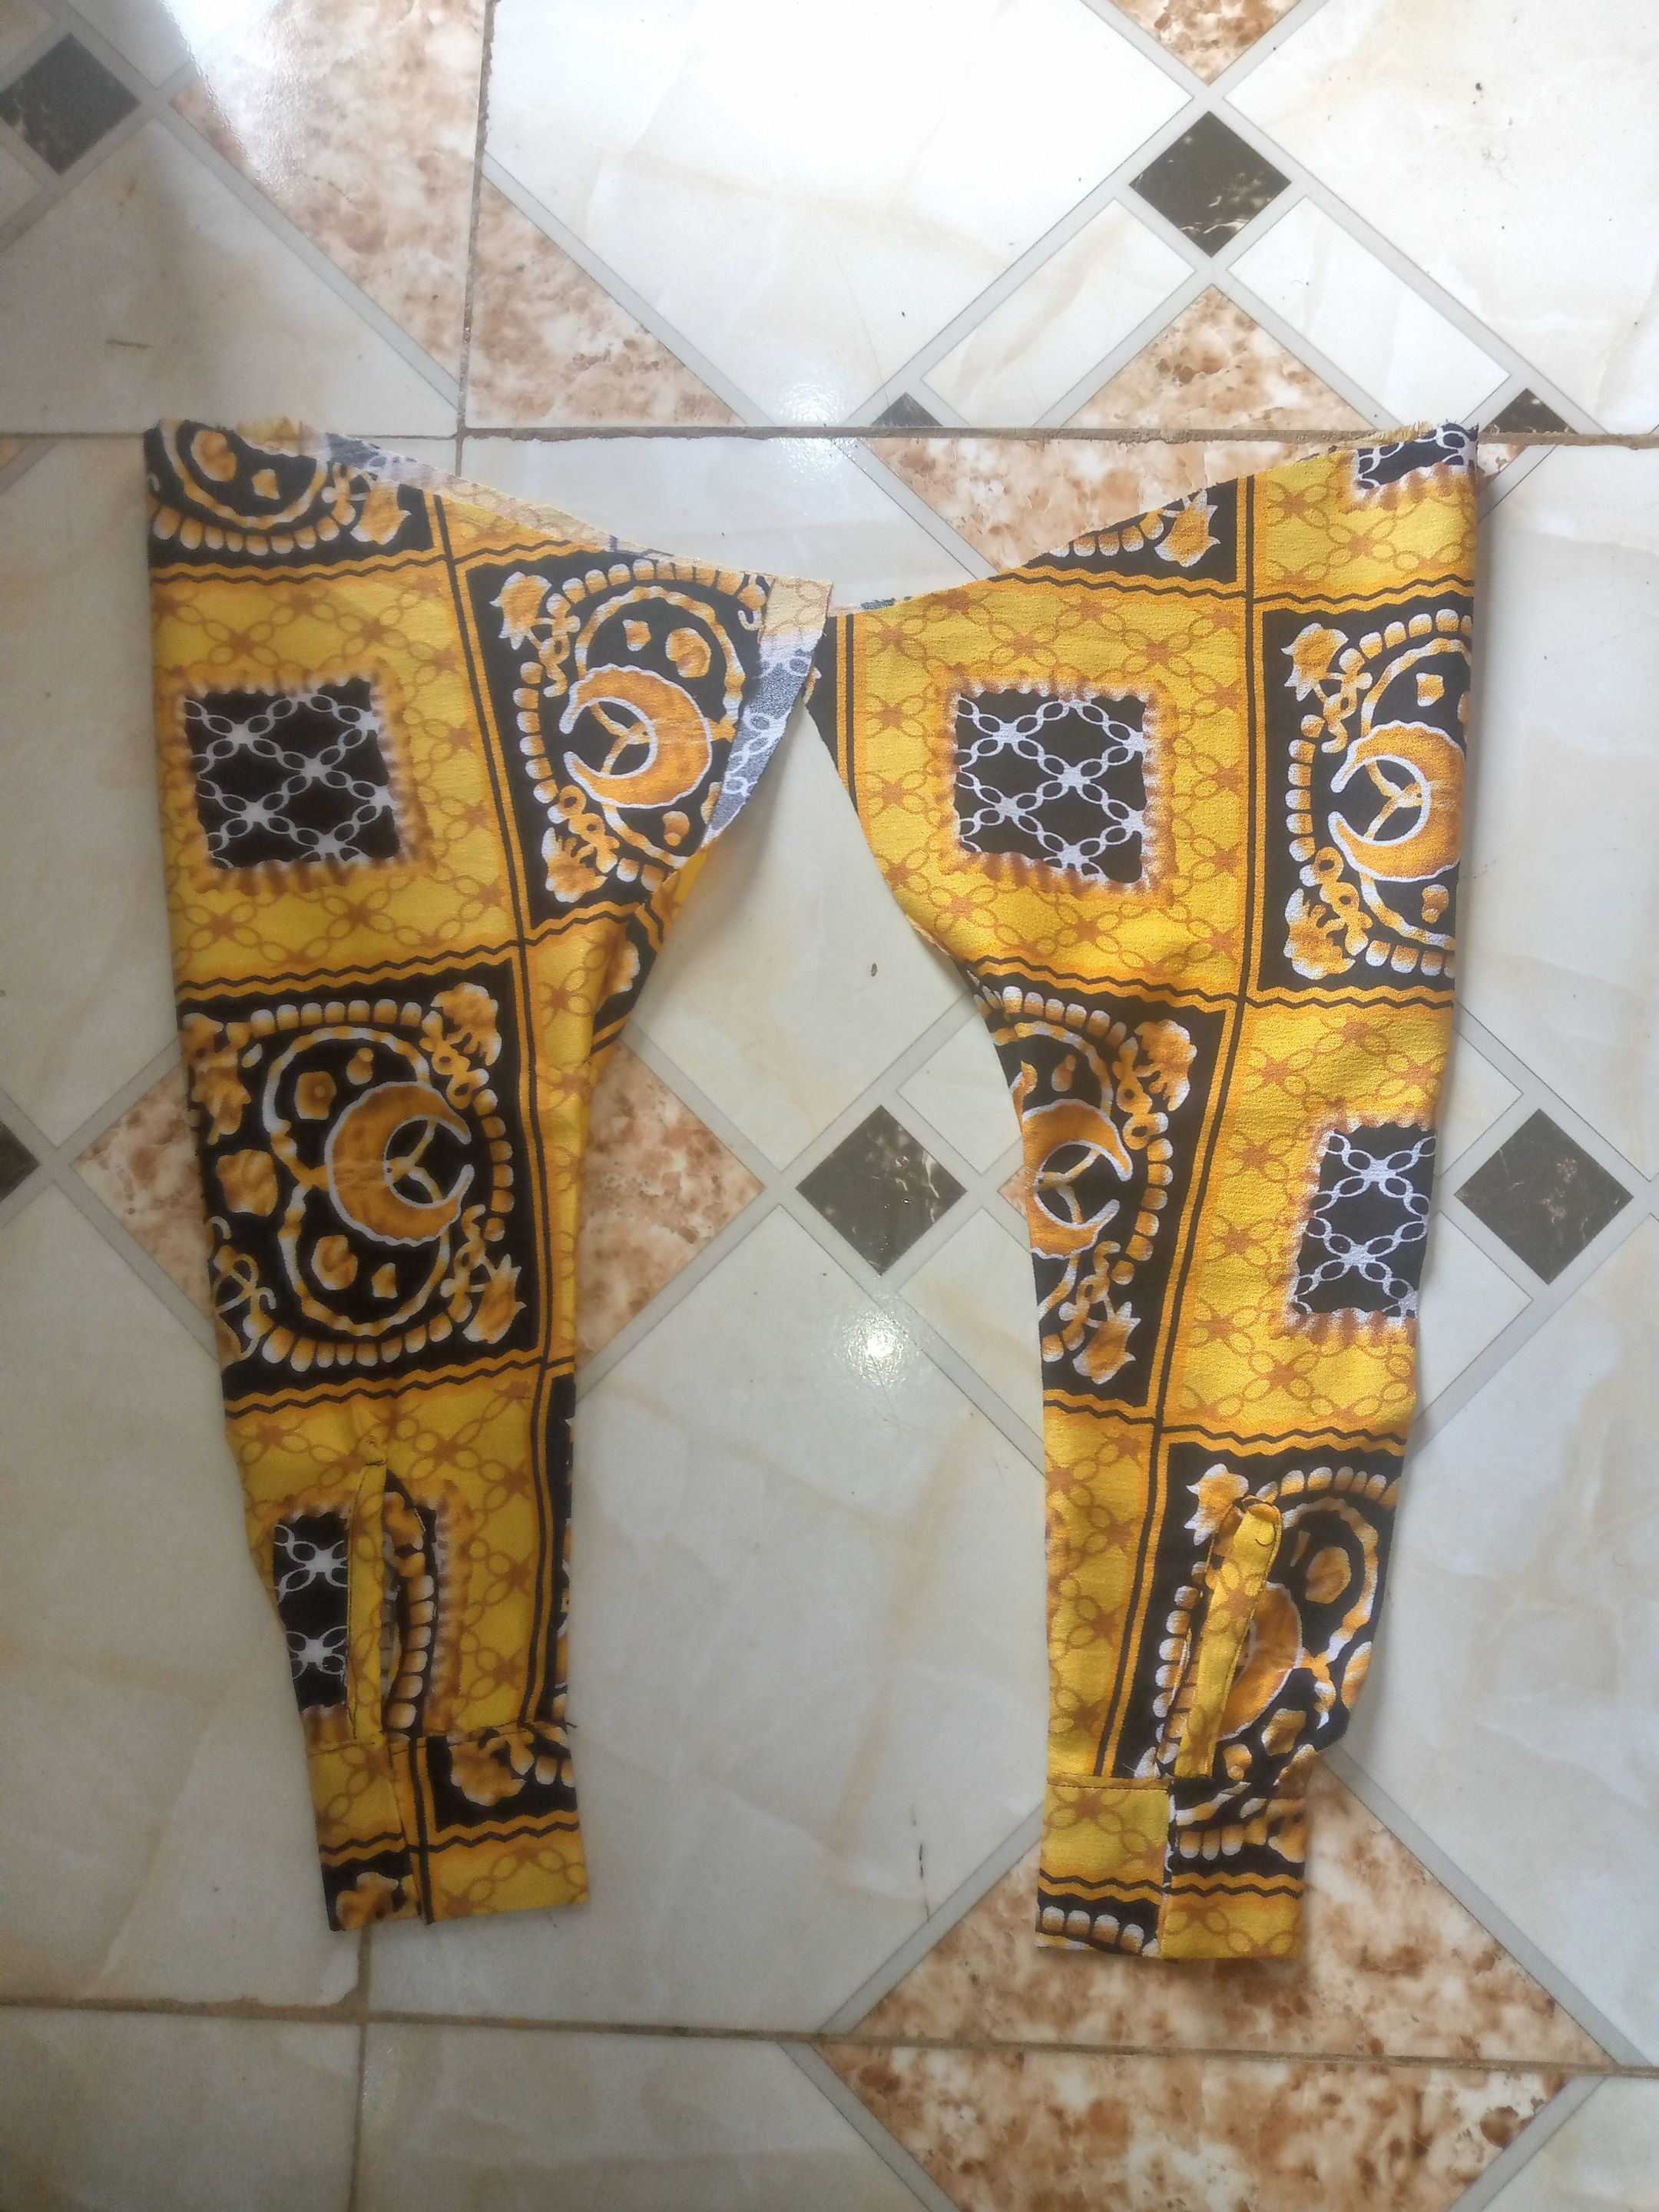
- I sewed the cuff to the long basic sleeve
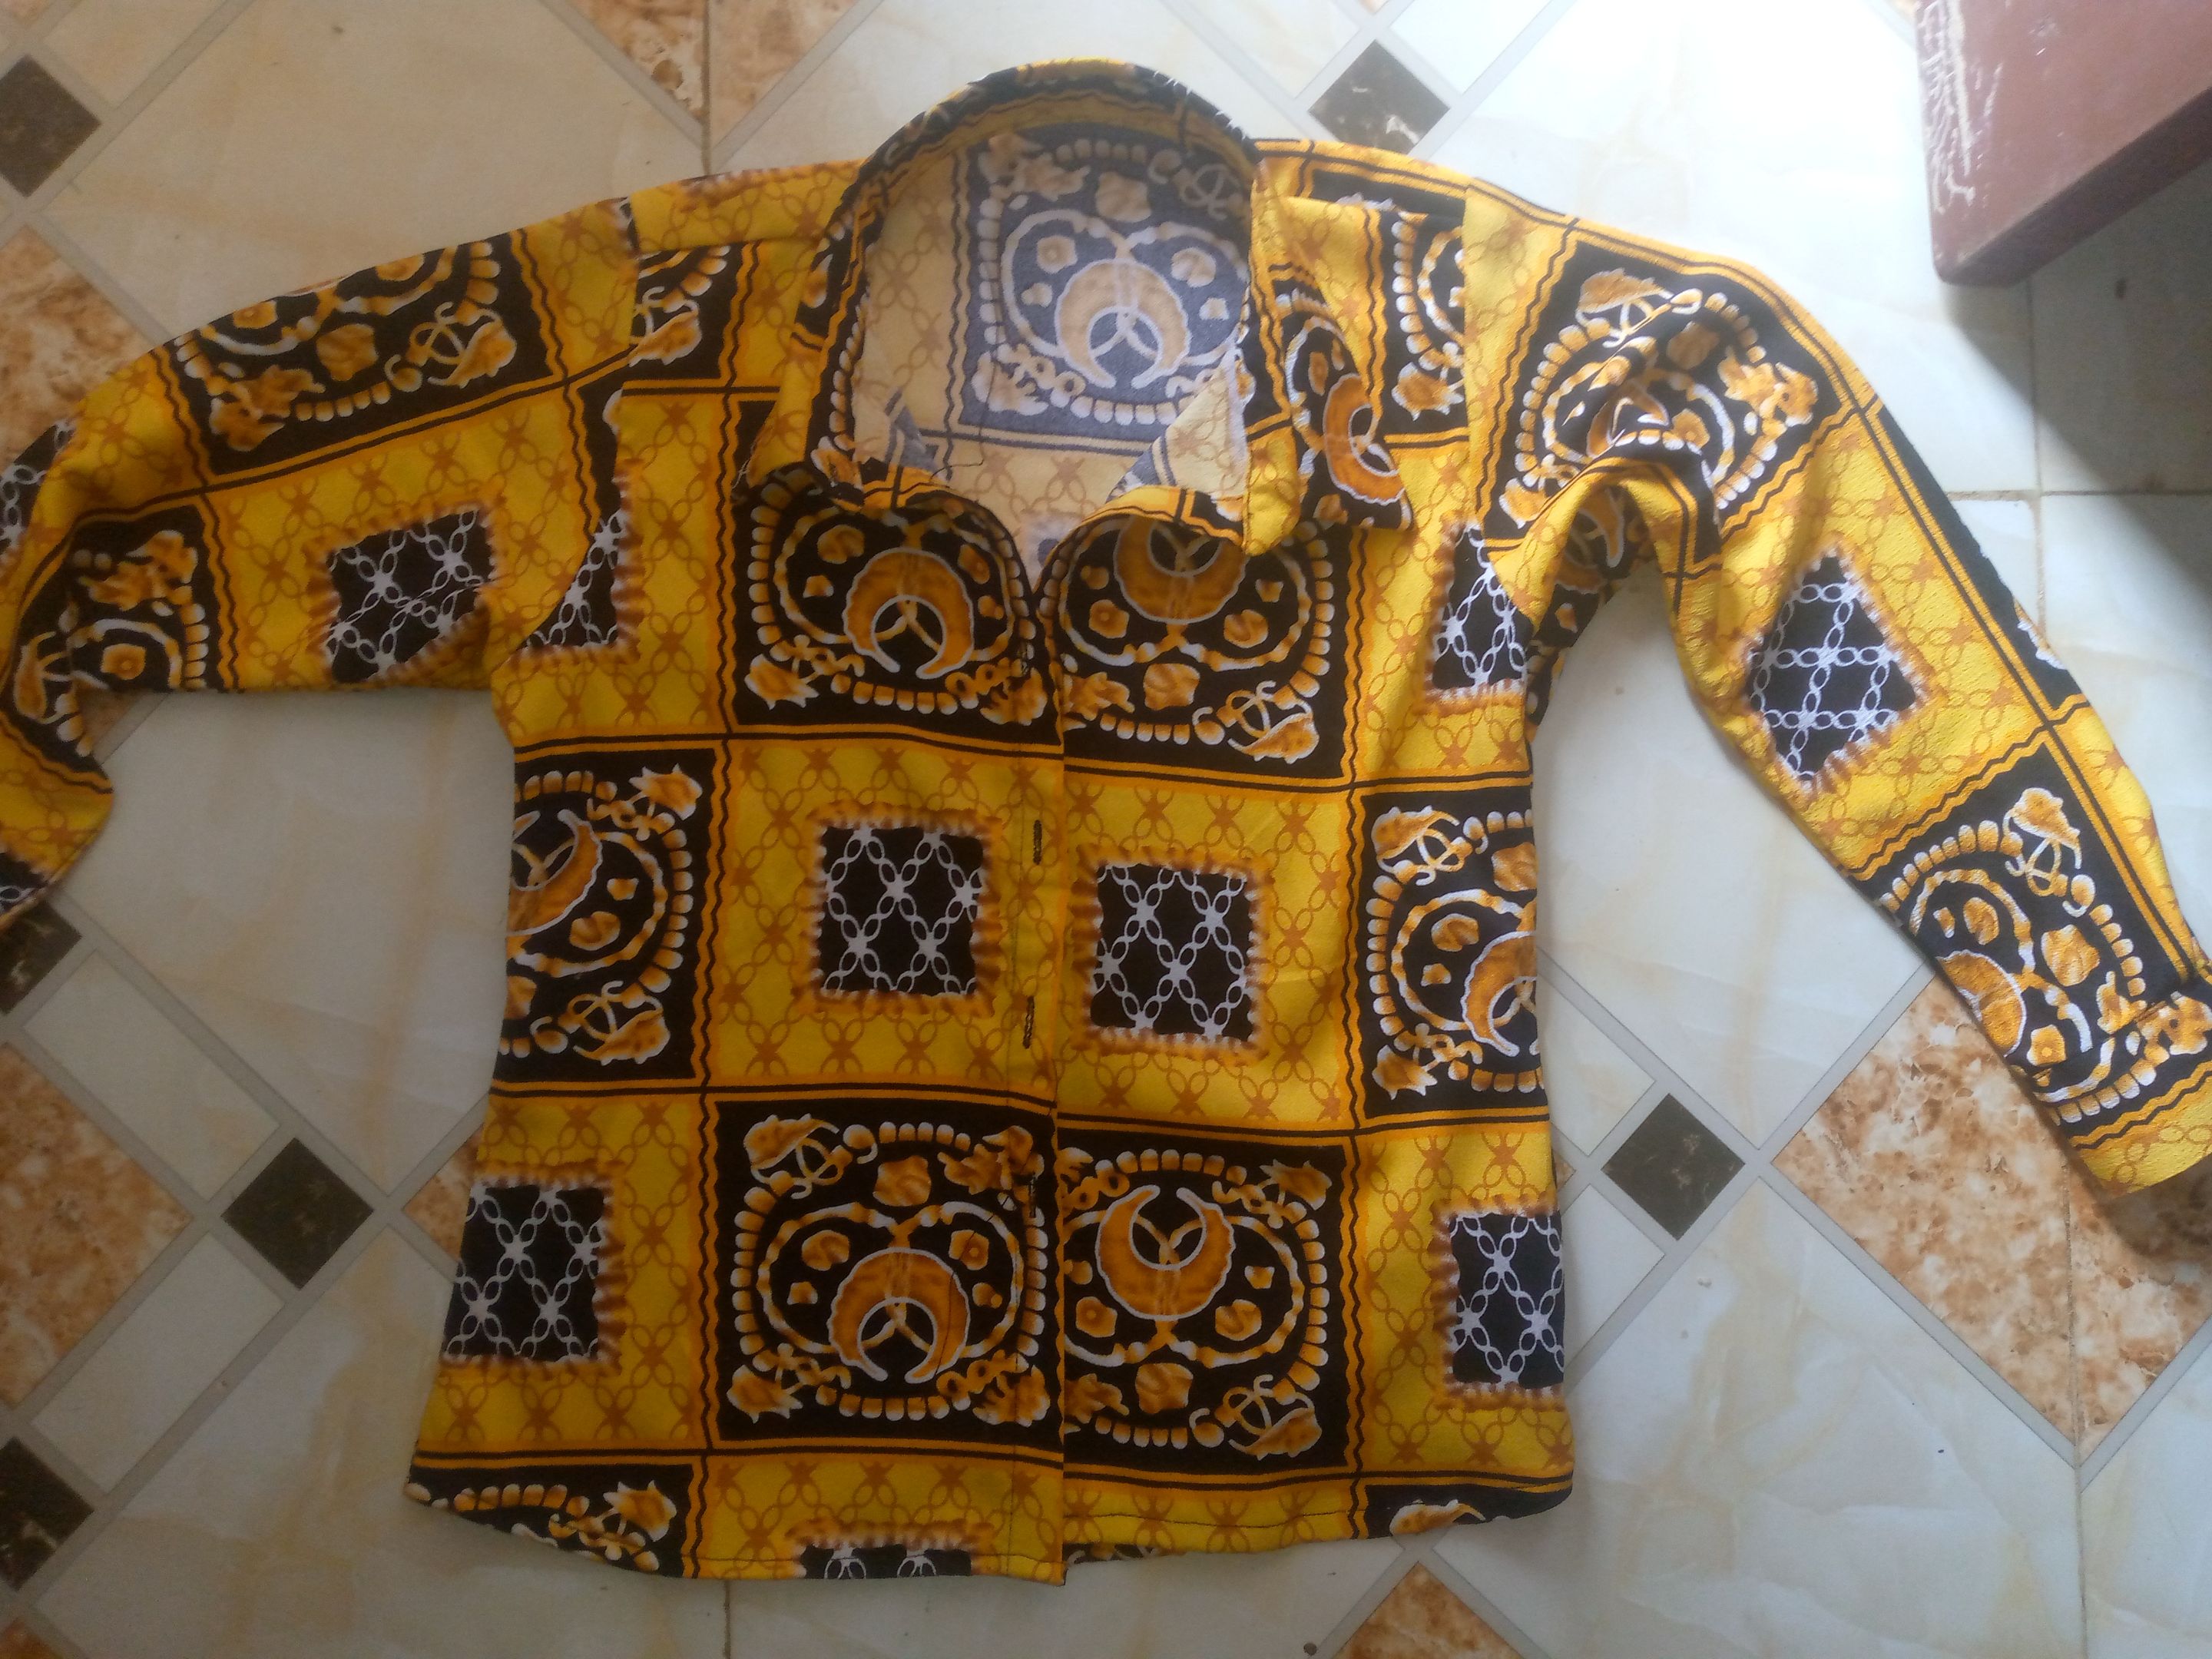
- Finally, I joined both sleeves to the armhole area of the shirt, joined the sides with the seam allowance, and folded the shirt hem neatly.

And that completes the making of this shirt.
All images used are mine