Happy weekend, dear creative friends. I hope we are all looking forward to having a fun or restful weekend for some, as all work and no play dulls the brain, hehe.
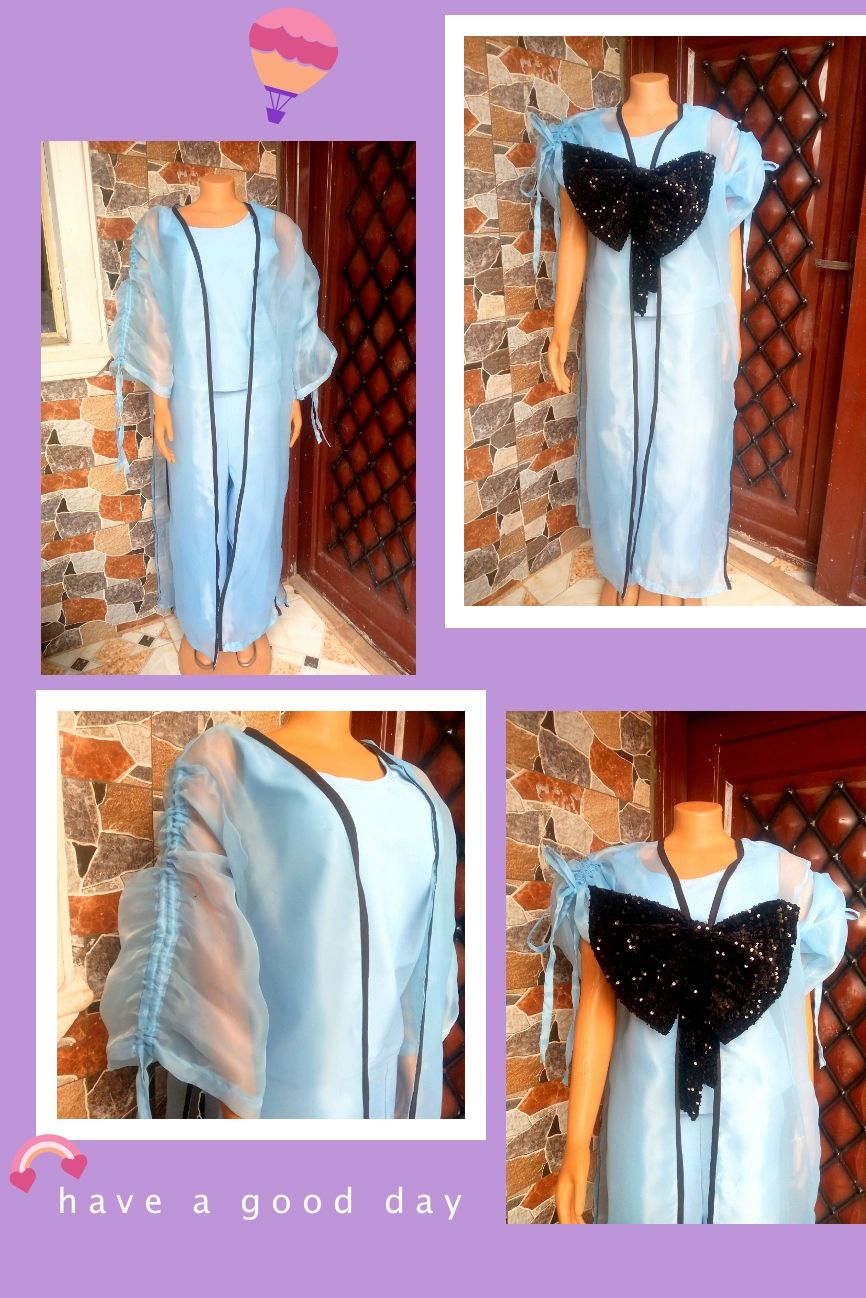
Well, the good thing about sewing is that it counts as fun for people just like me who are passionate about creating something new and interesting. During the week, got challenged to make this beautiful sheer Kimono jacket, with ruffled sleeves and a pretty sequin bow on top. Well, it didn't start as a challenge, though. A friend of mine is having her baby dedication this weekend and wants something simple and elegant for the day, which has her scrolling through the streets of Instagram.
She stumbled upon this pretty dress by one of the top fashion brands, but when she saw the price, she gave up on the dress because she couldn't afford it, as it amounted to six figures. Still, on a second thought, she forwarded the link to me and asked if I could recreate the style for her at an affordable rate.

When I made a list of the cost of the materials needed, I realized how crazy the price of the dress was, as it cost a few dollars to get it done. Well, what can I say? It's all about building a brand to taste, so that no matter the amount you place on your designs, they will surely sell out. I pray I get to that level someday.
So without further ado, let's get right into the making process.
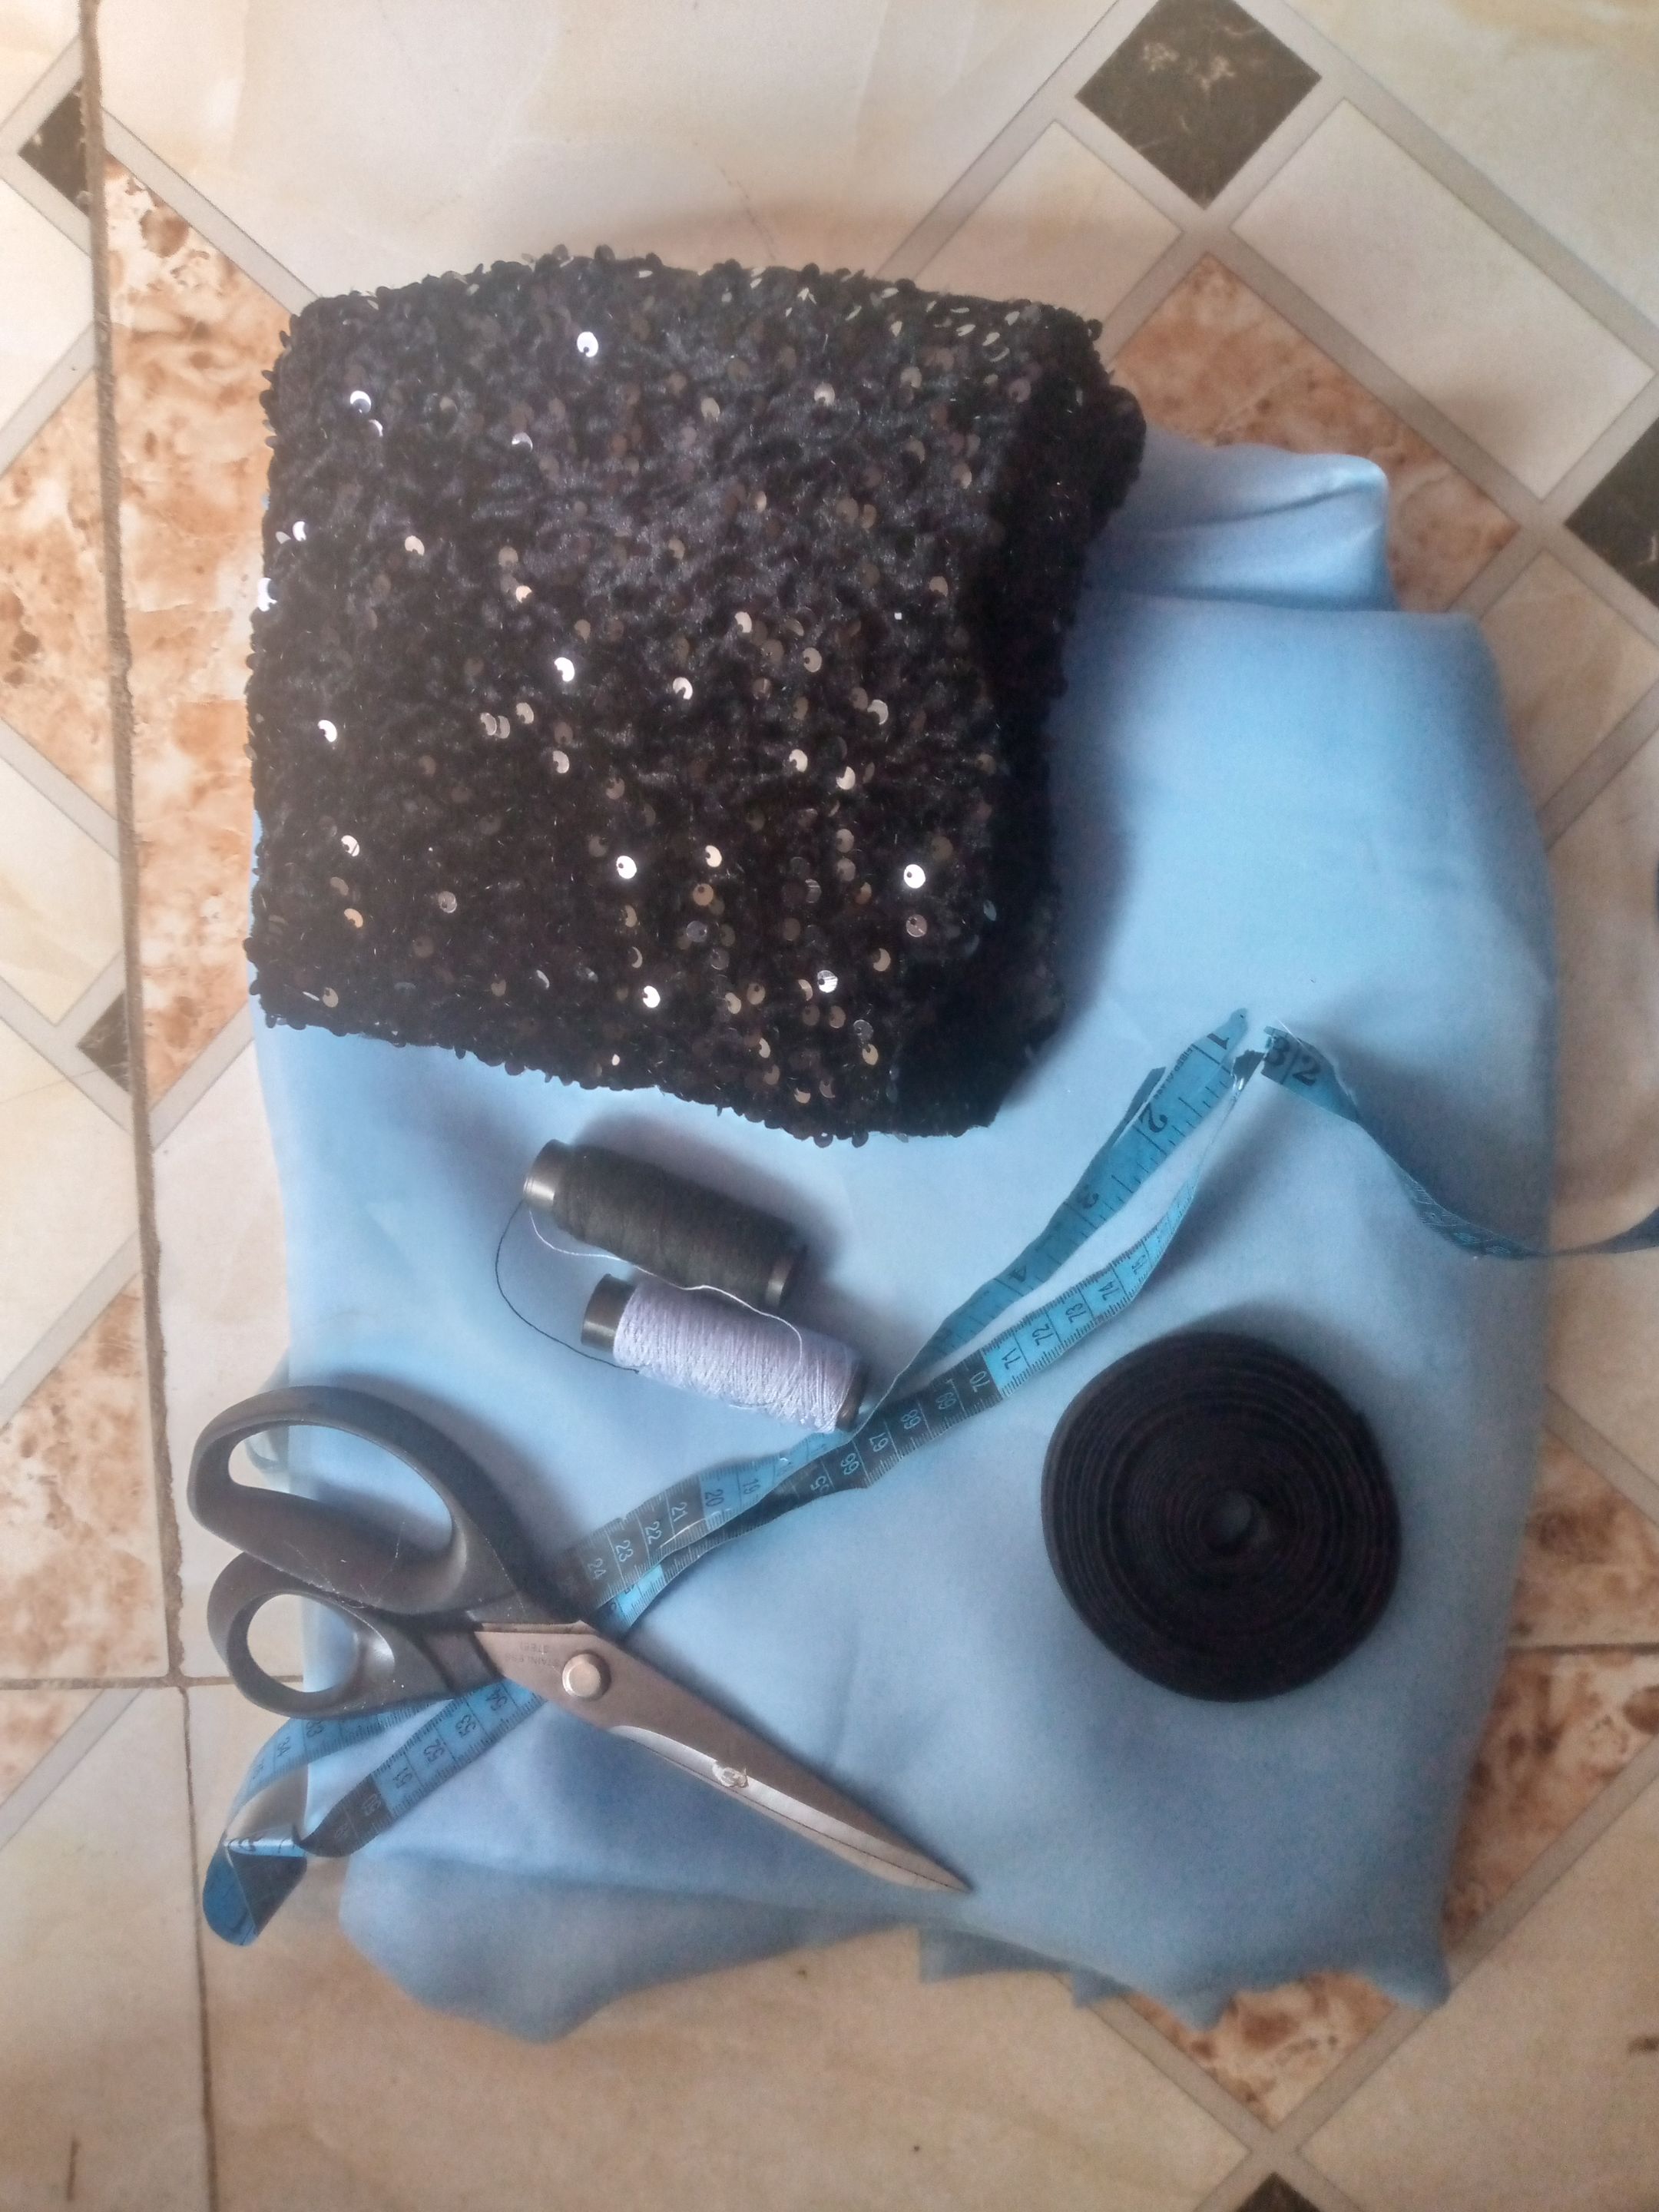
Materials Used
-
Organdy fabric
-
matching colored thread
-
Bias
Cutting And Sewing Process
![IMG_20250828_121844_558[1].jpg](https://files.peakd.com/file/peakd-hive/glorydee/23xp6cCDRomv9SRBY8Y6DDwzkSRAf3rkZtkbGHwKGMbnU89CszRx7Q3AQawNbbTHf2DeQ.jpg)
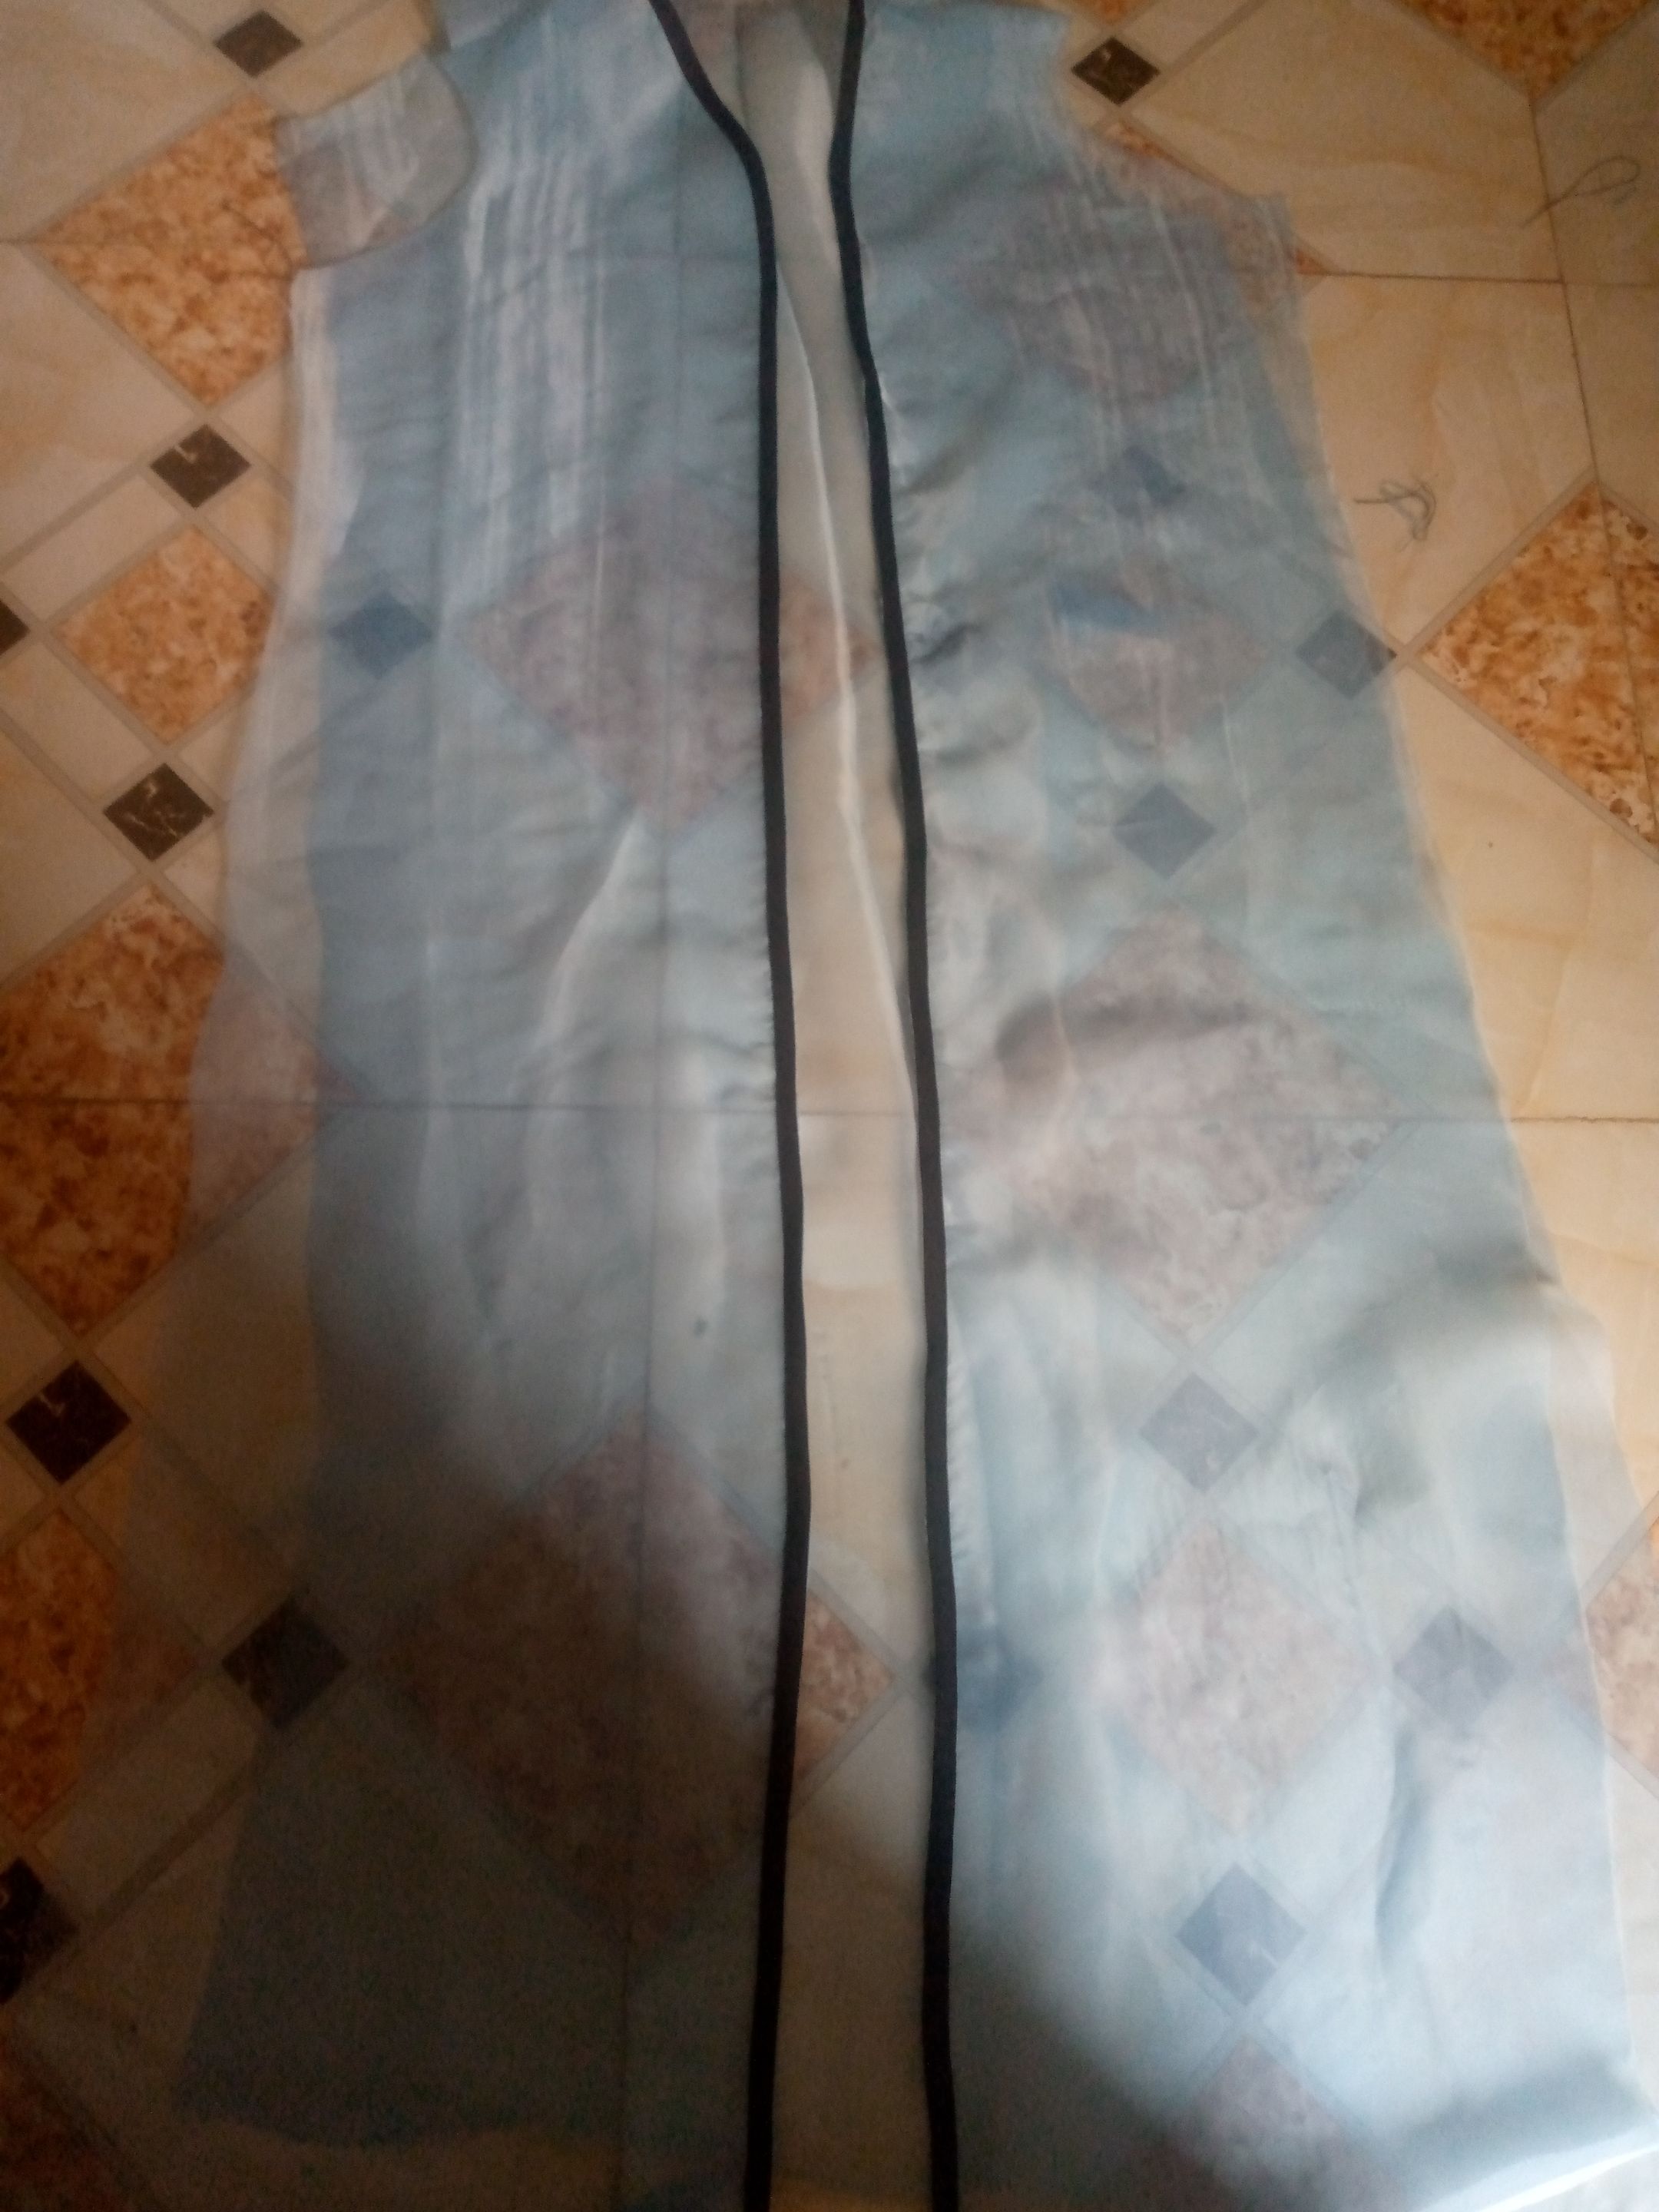
- I started by cutting the back pattern of the dress, One thin you must note is that, working with organdy fabric can be very worrisome, as it tends to shake a lot, and a little shift can alter ythe measurement, so what I sid to stabalize the fabric was to place a very low heated iron on it before cutting out the dress pattern, you could also draft on pattern paper first before transfering to the fabric.
![IMG_20250828_121837_538[1].jpg](https://files.peakd.com/file/peakd-hive/glorydee/23vhyaCL6ov6APyTqVm1CKtEbRg6exHkhBvQvsS4BHkAwCXtFxzqWvQMg5tyzByUBbuUe.jpg)
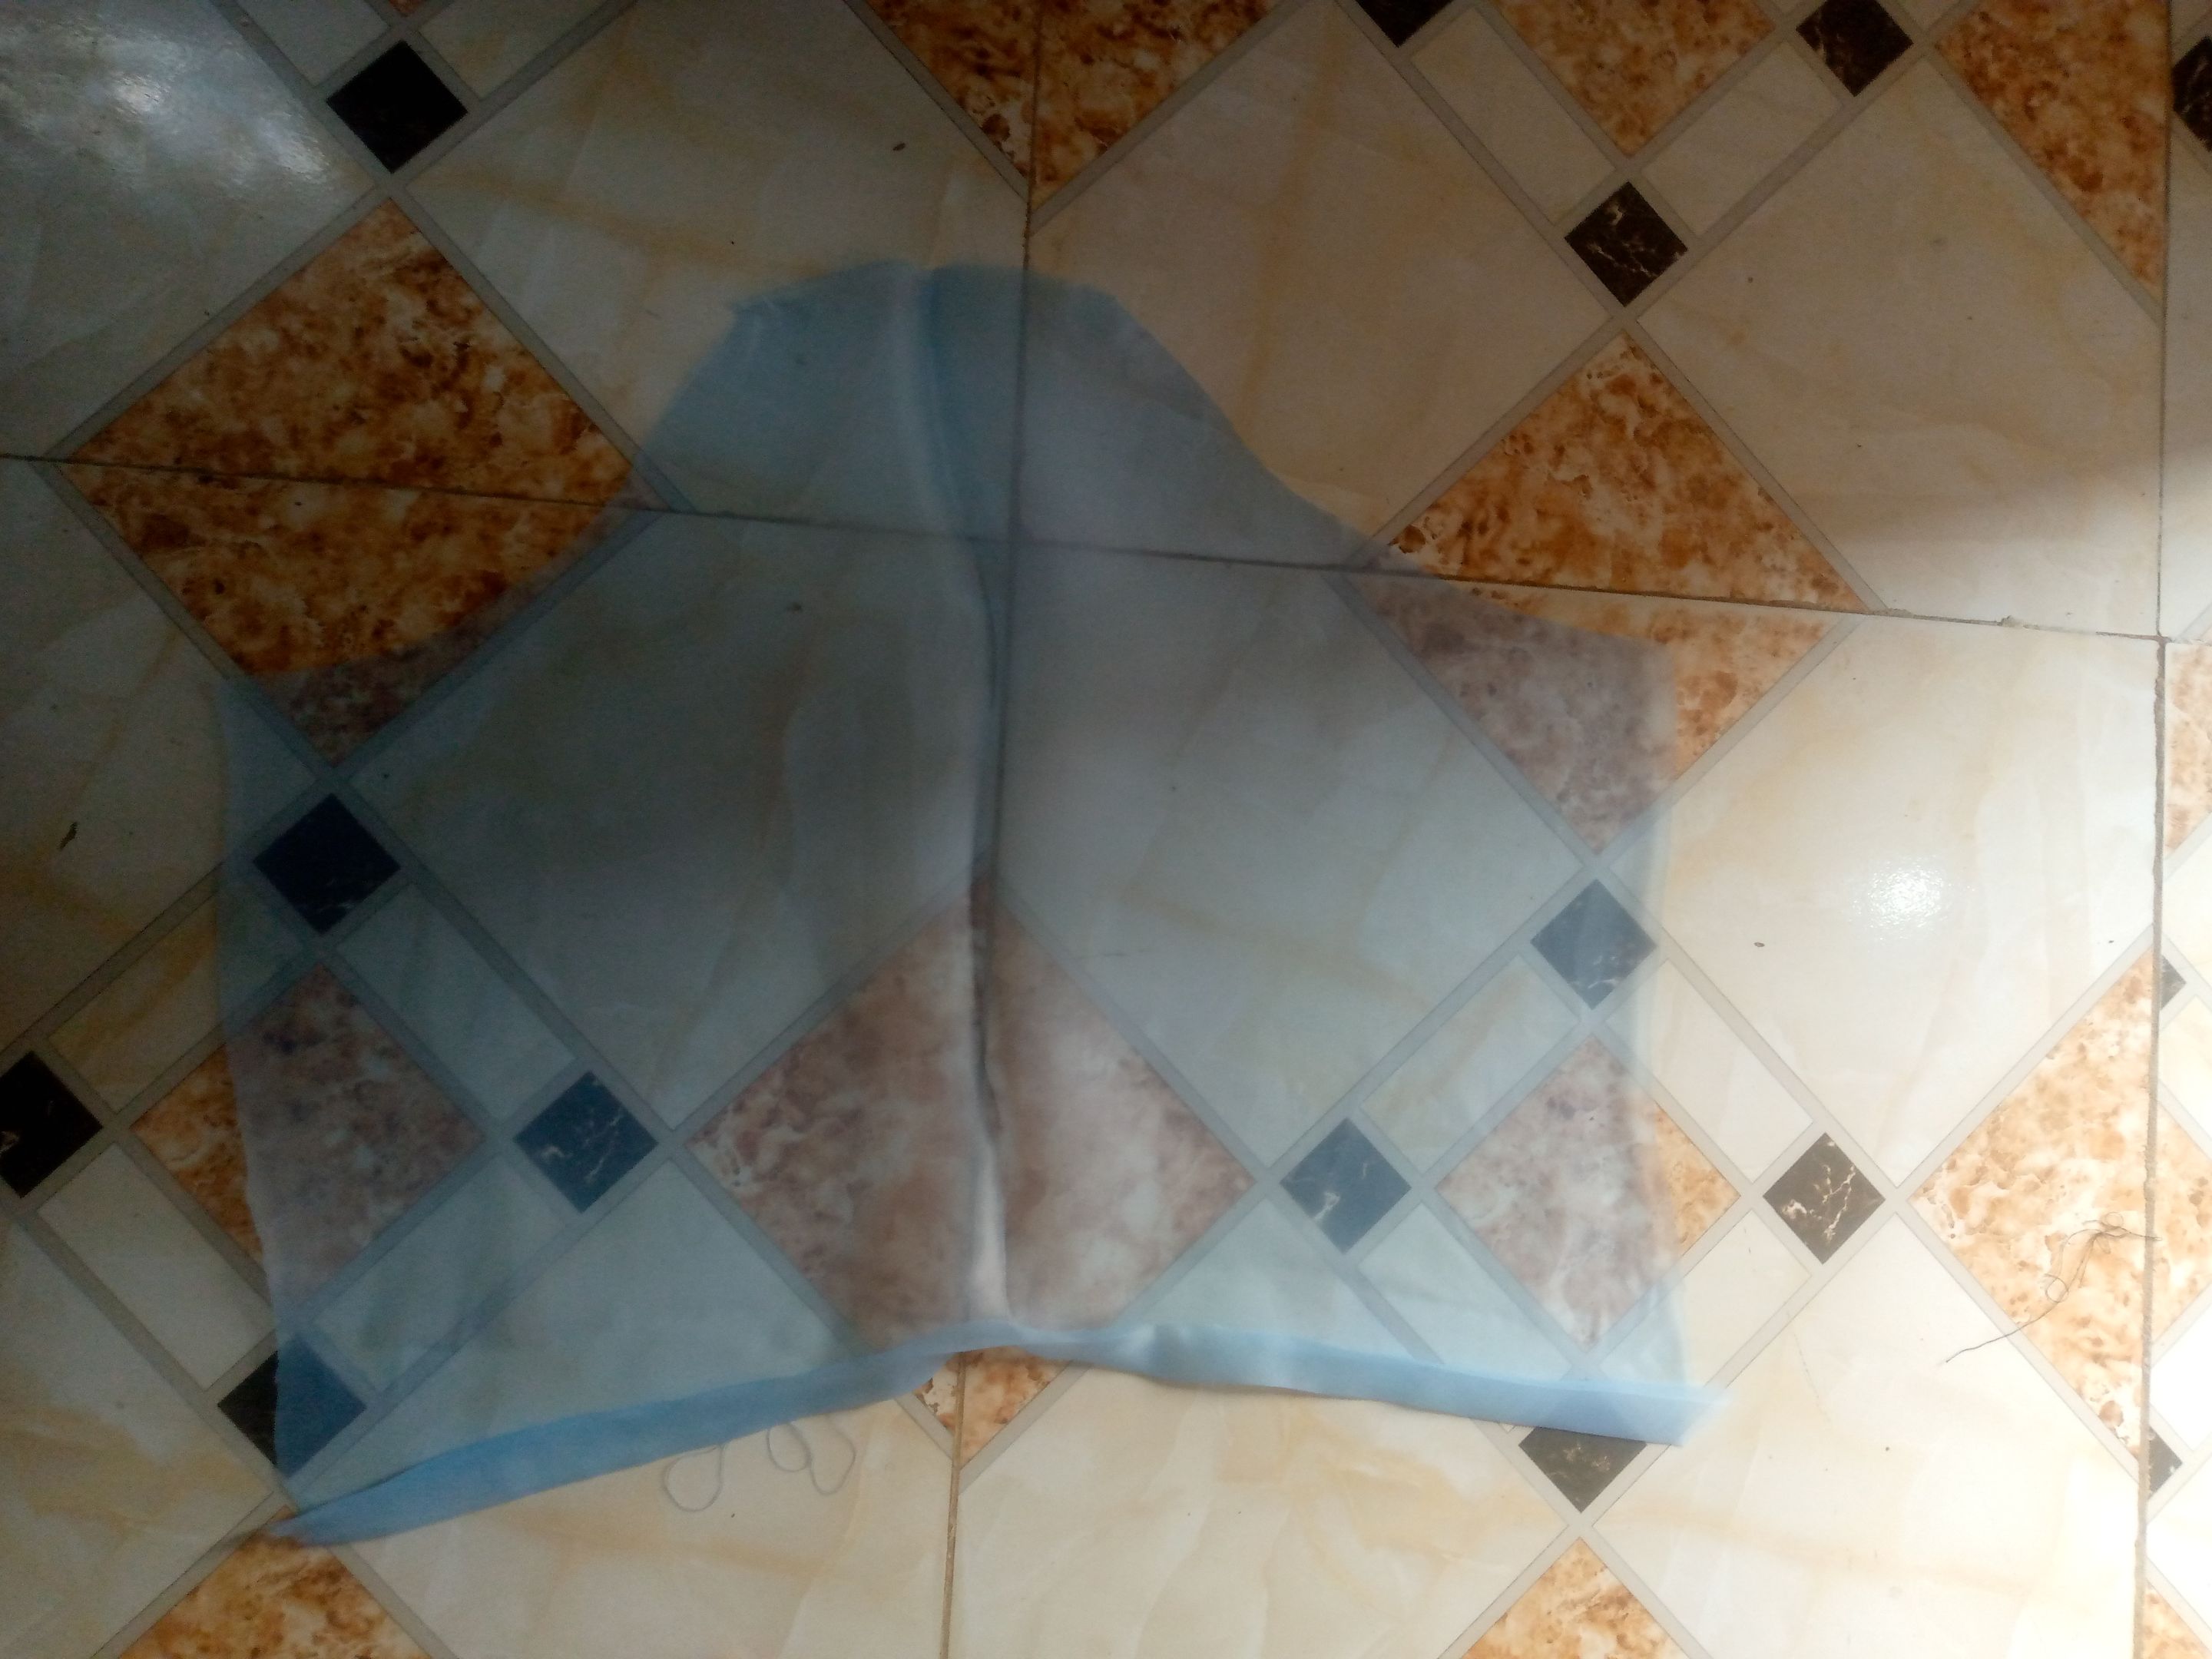
- Using the back pattern, I cut out the front pattern with a V-neckline. I also opened up the front to form two pattern pieces.
![IMG_20250828_123348_750[1].jpg](https://files.peakd.com/file/peakd-hive/glorydee/23u673TDZSTYjTikx6XpamY7frkXkRx8dRGX9adG3GV3qot43pfJ7JxjWZBby2SeSTc4S.jpg)
- Continuing, I joined the front and back by the shoulder area
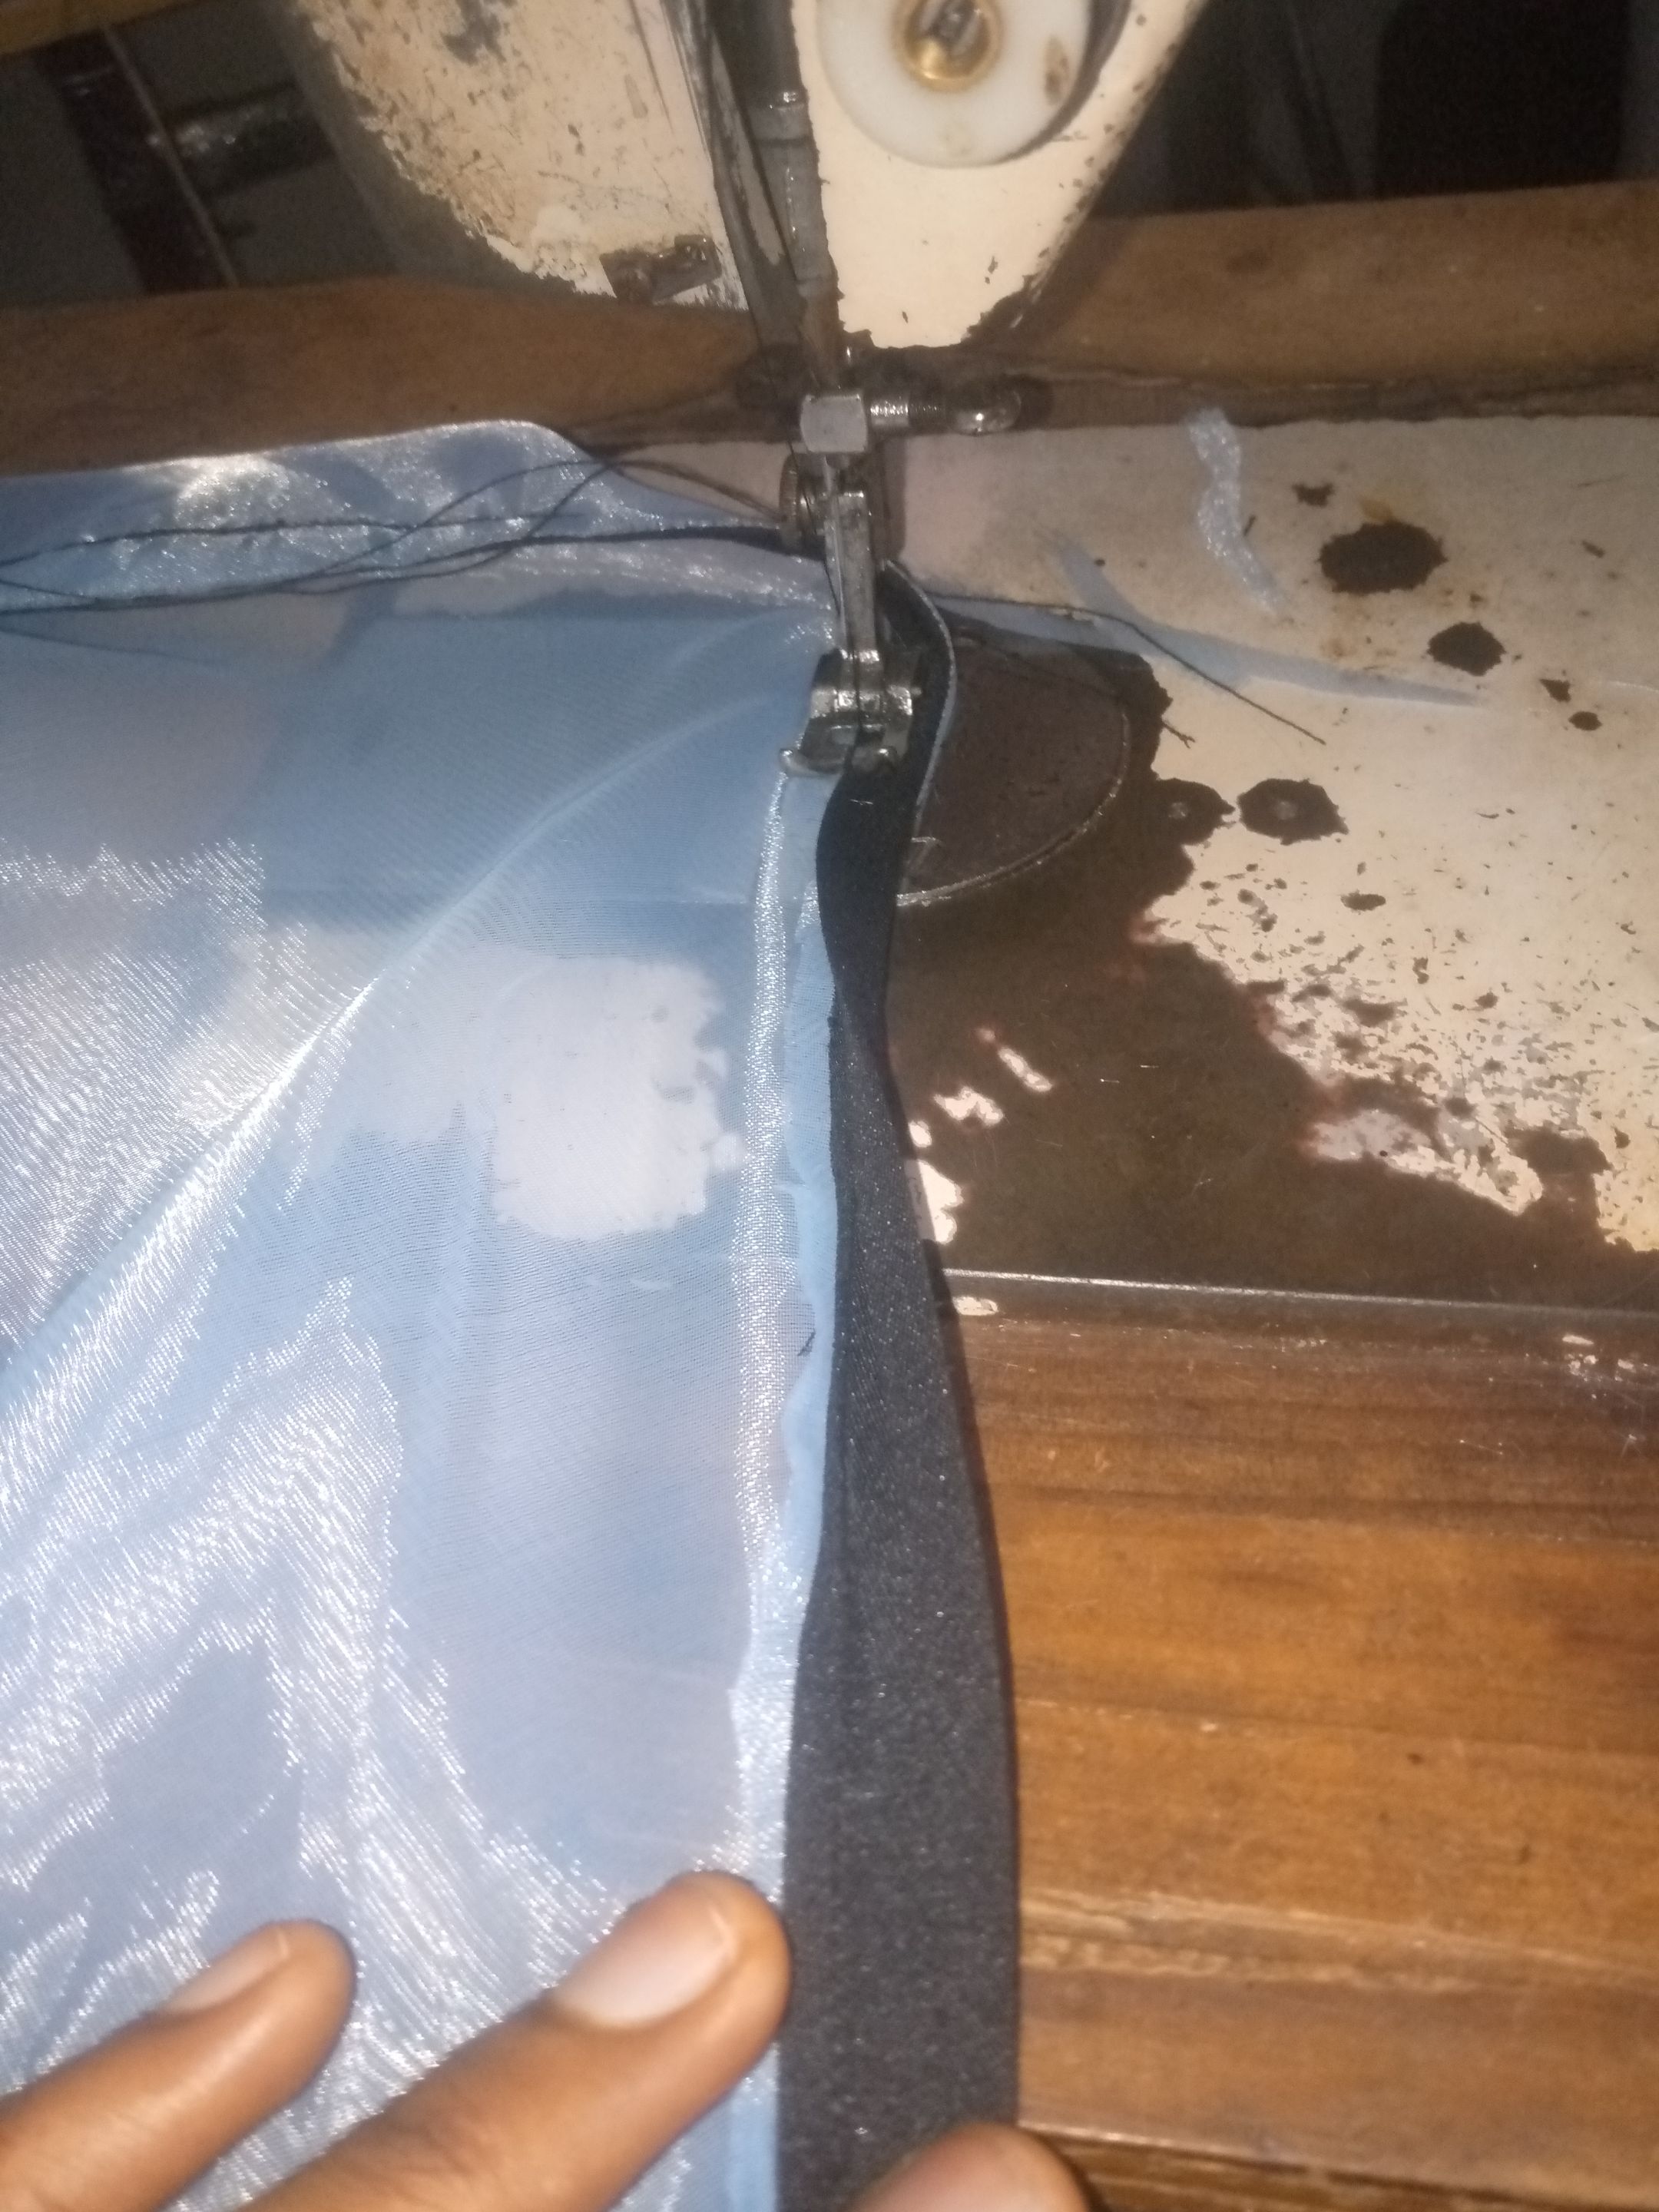
- Then, using a contrasting black bias strip, I piped around the opening from one end, around the back neckline, to the other end. This also helps stop the fabric from fraying.
- Moving on, I cut out the sleeve pattern, and the rope needed to make the ruffle in the center.
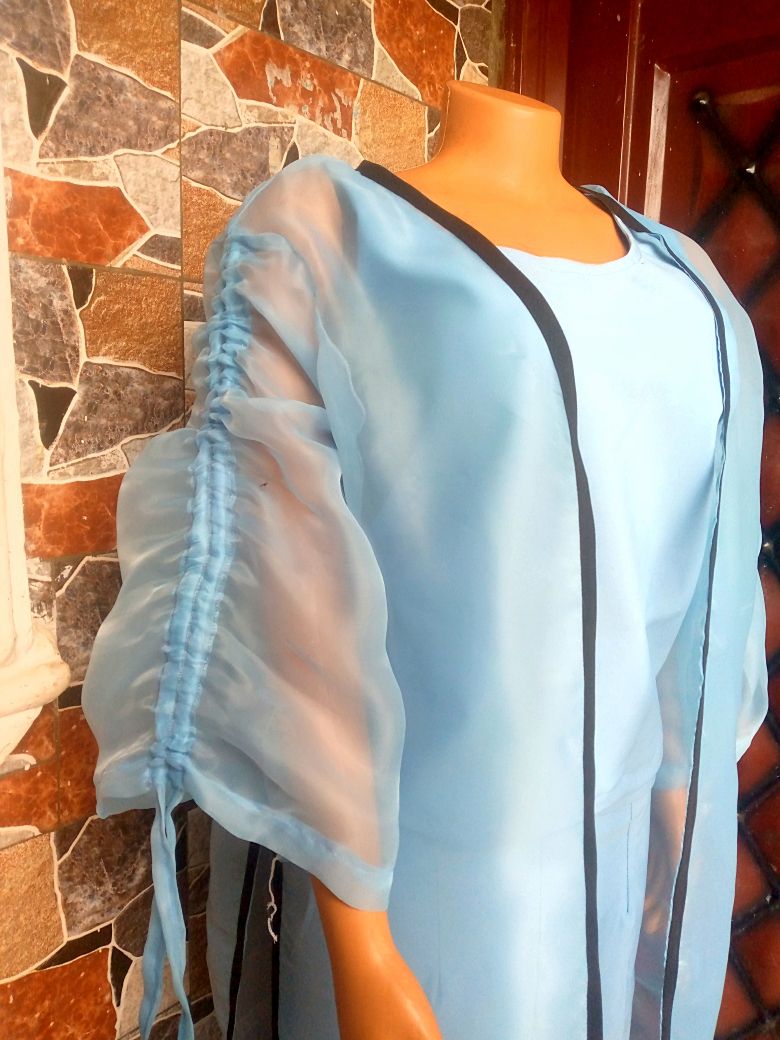
- Here, I joined both sleeves to the armhole area, and also piped the slit opening on the sides, using the contrasting bias strip as well.

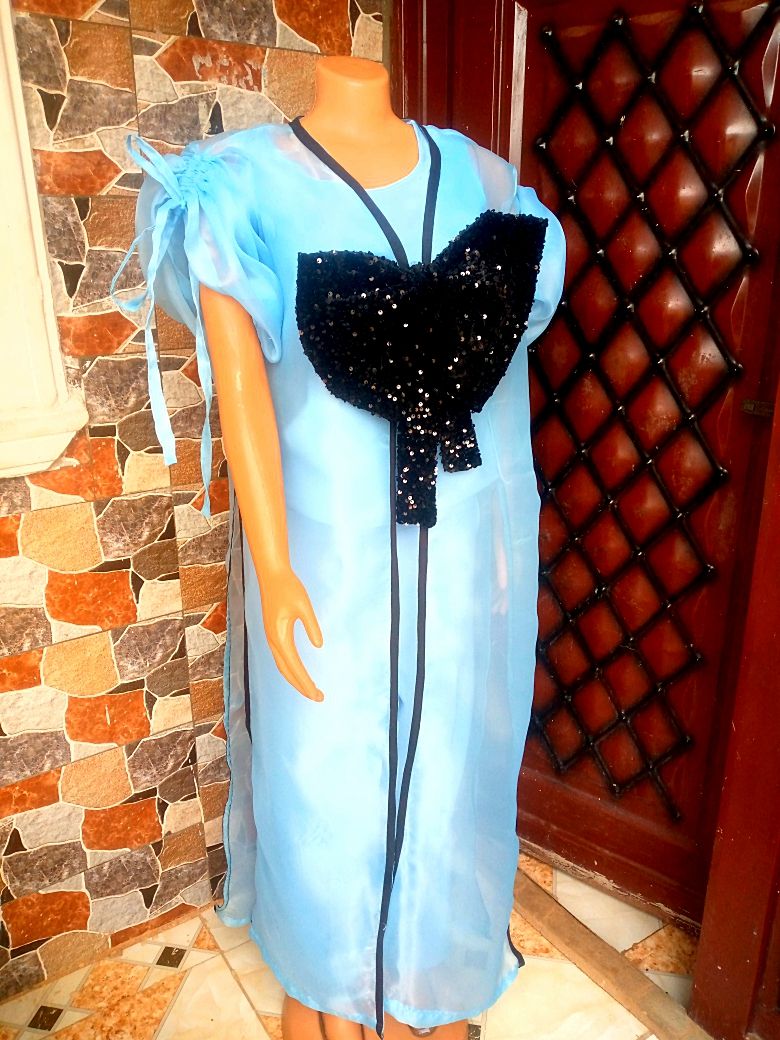
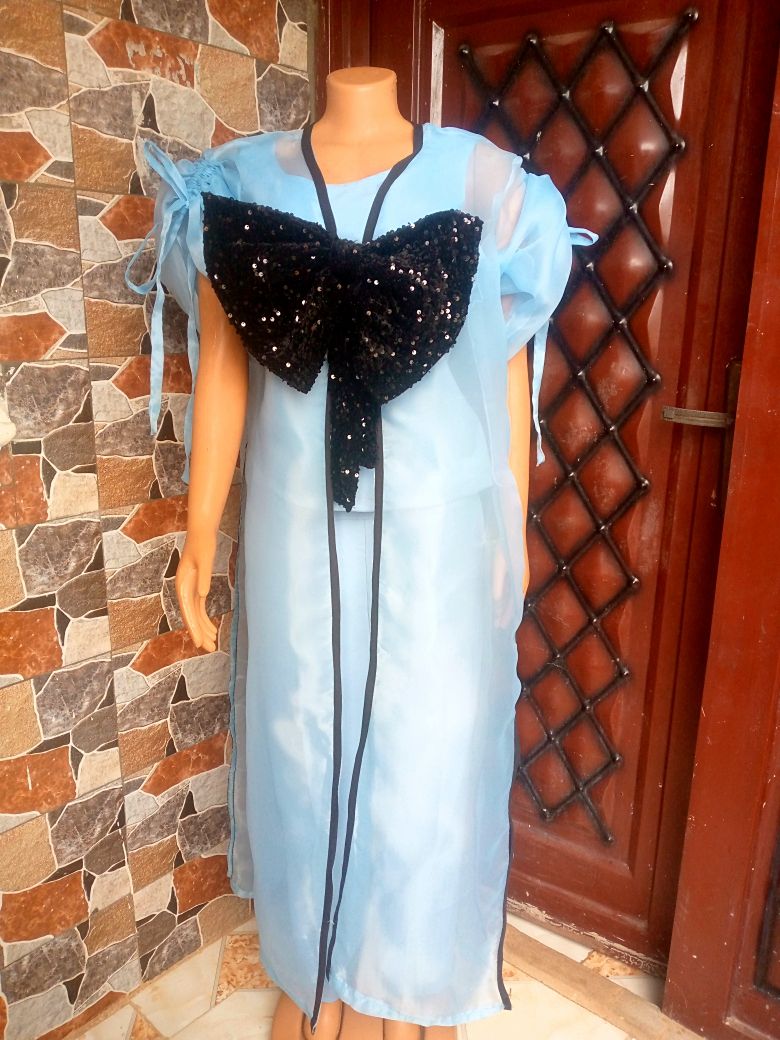
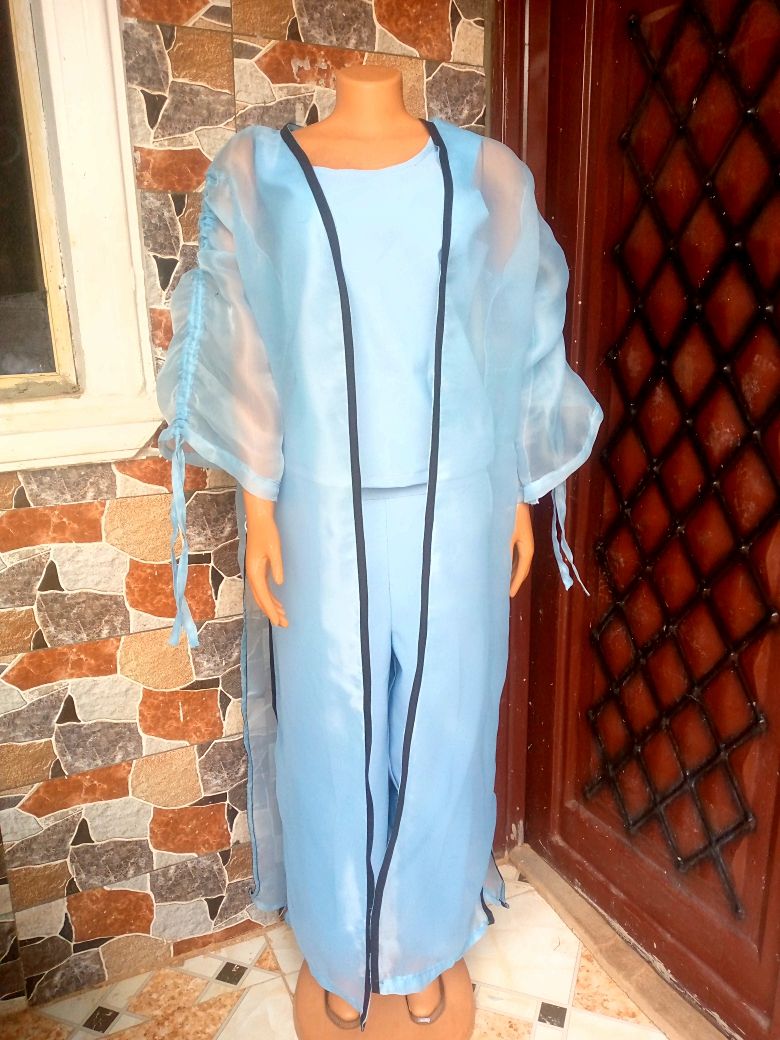
Finally, I placed the sequin bow on the front of the dress, and that completes the making process. What would have cost a lot of money was made at a way lower cost, and that is one of the benefits of being creative: it saves us money. My friend would be so happy to see hr new dress when she comes by later in the day.
All images used in this post are mine