Hello Hive
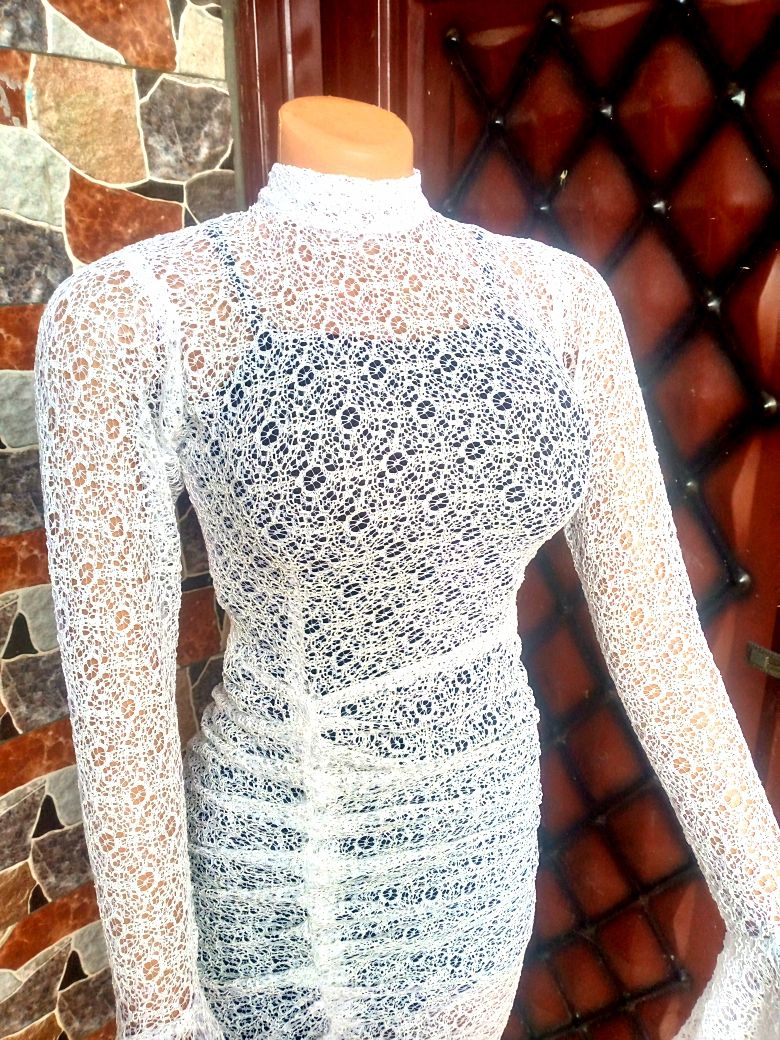
I hope you are all doing great wherever you are. It's a rainy day today, well, it's been rainy for days now, after the August break, I don't know if it's just me, I don't like stepping out of the house when it rains, and no it's not about the cold weather, because i can always have a warm clothing to keep myself warm, I think it's more because of the muddy road, living in a developing country, we still have untarred roads, and it's gets messy when you step outside, thankfully, I work from home so I enjoyed the warmth of my home while it rained, making this beauiful sheer runched dress with front slit.
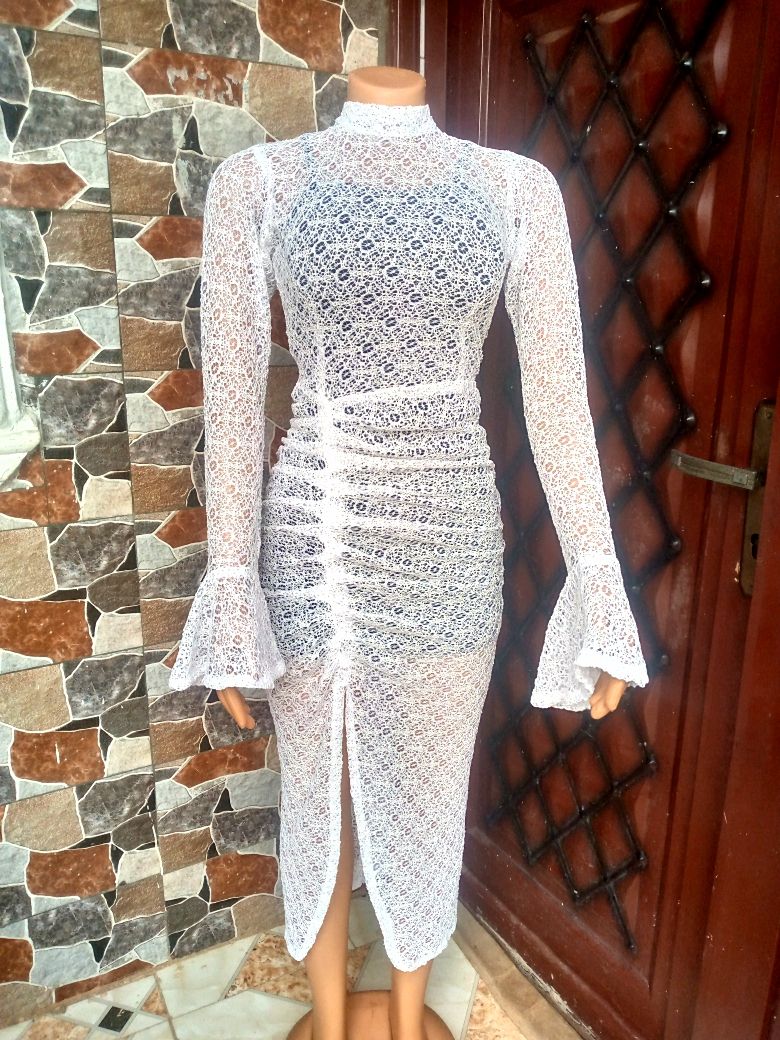
I already shared the making process of the upper part of the dress, Here, today post focuses on the making process of the dress base, since it's somewhat complicating cutting process, as the base was achieved using a slash and spread method of pattern drafting, I thought to share the fun making process with you all today, I hope you find it easy to follow through and recreate.
Materials Used
-
The sheer fabric
-
Zipper
-
White coloured thread
-
Pattern paper
Cutting And Making Proc
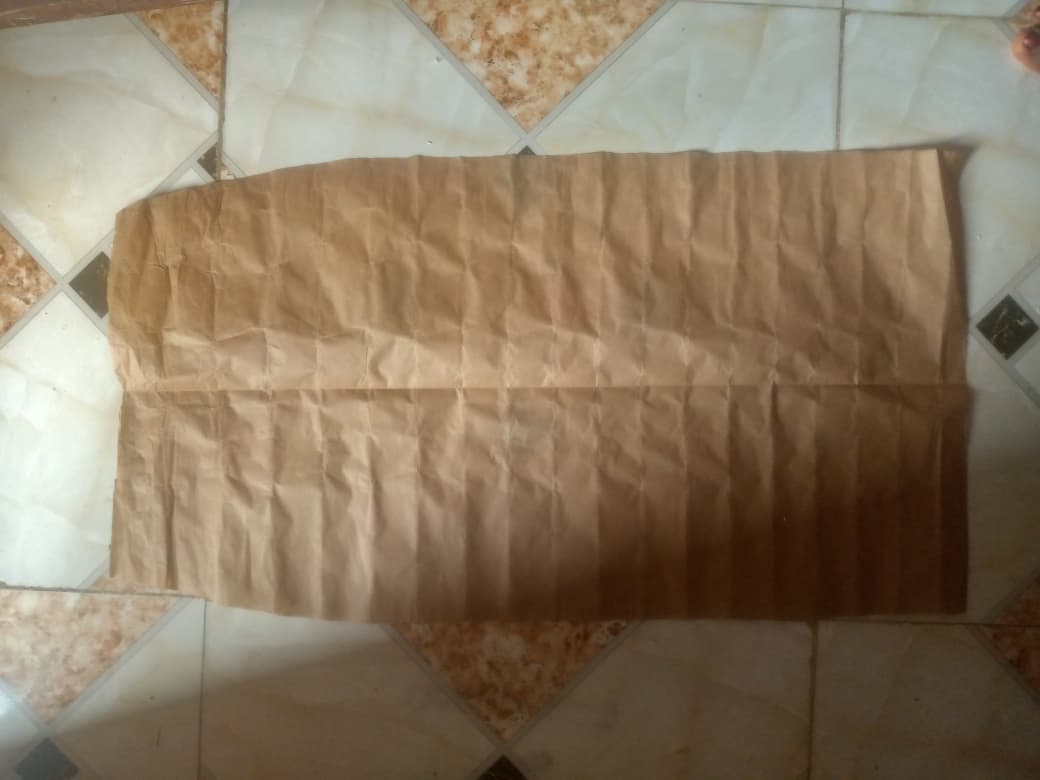
- Firstly, using the brown pattern paper, I drafted and cut out a straight skirt pattern. The front, which was cut on fold, has one piece, while the back has two pieces because of the zipper allowance added to the center
*Next, using a cellotape, I joined the sides of the front and back patterns
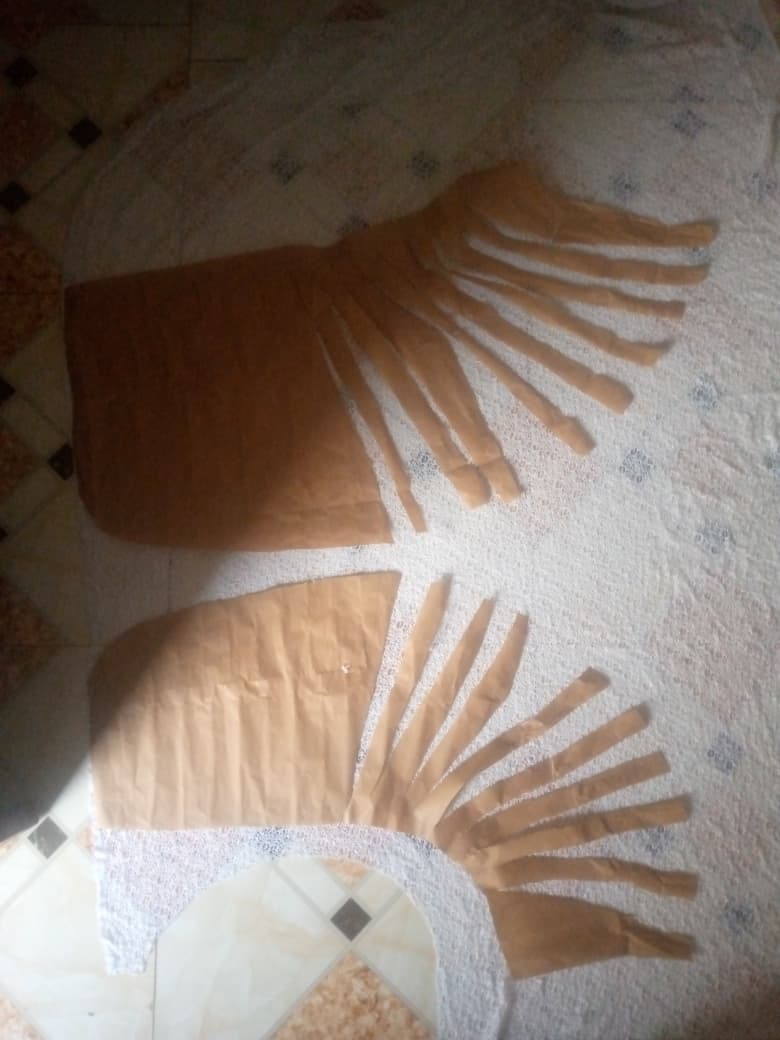
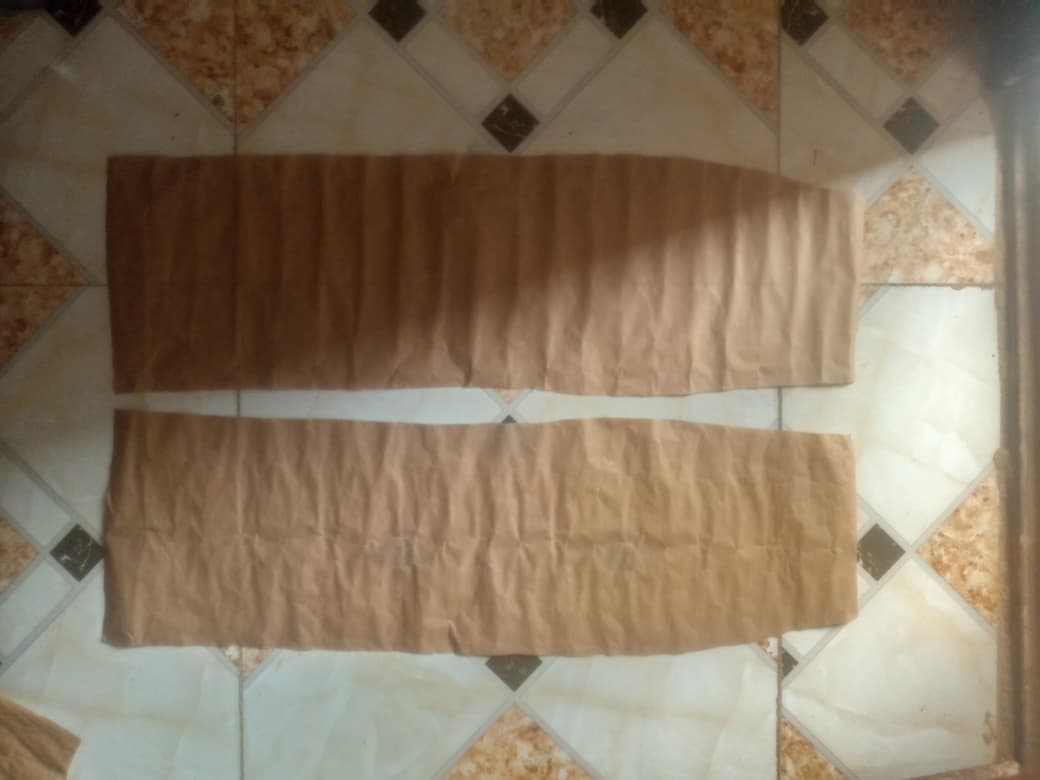
- Then I slit open where I want the slit to be, which is around the right dart point. Then I began slashing and spreading the paper from the slit point to the top, the skirt won't have a side joining.
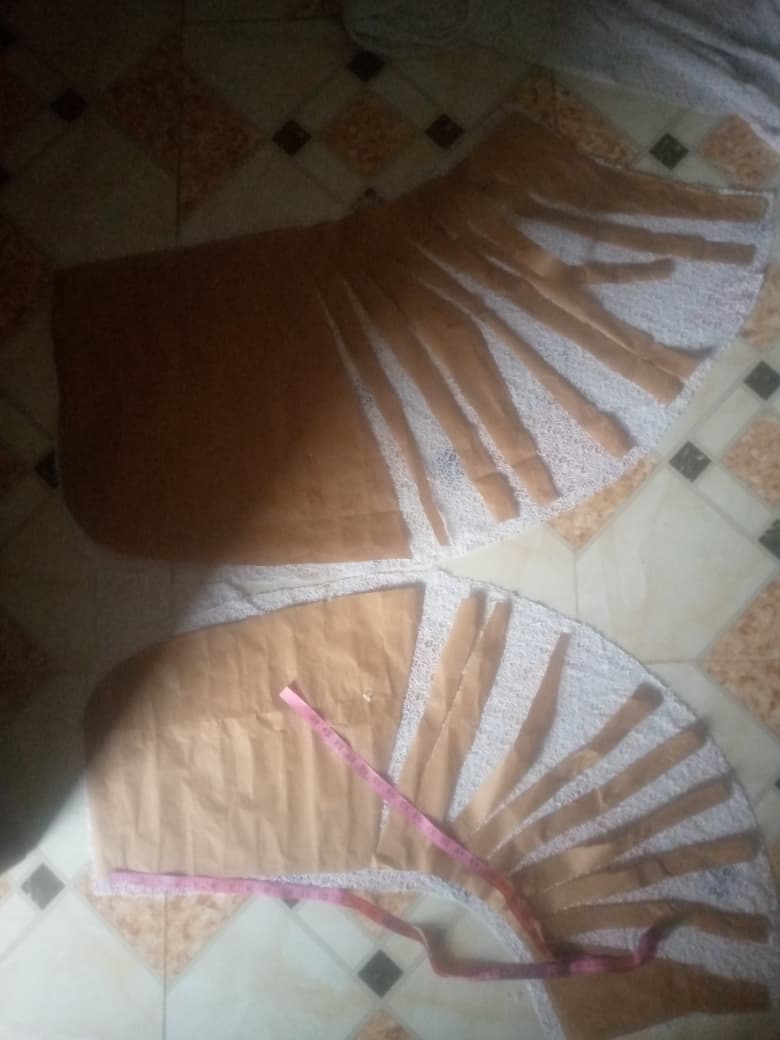
- Cutting the fabric, here's what it looks like
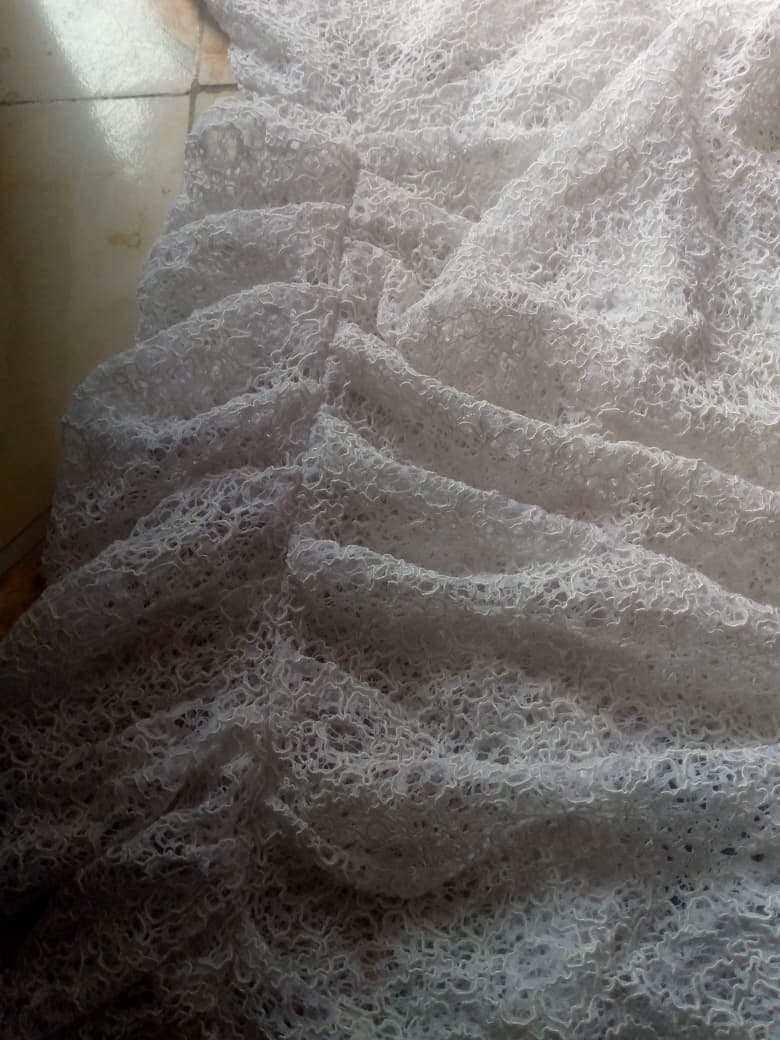
- I pleated the two spread out part back to the original length ang closed the joining

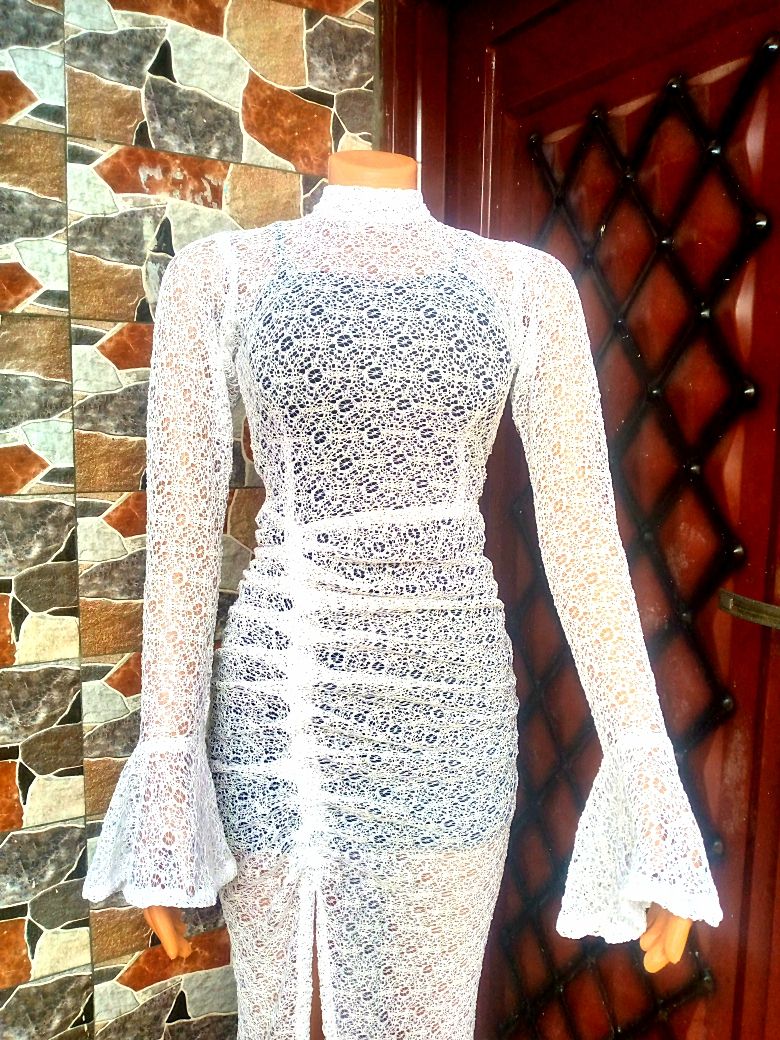
Finally, I sewed the base to the upper part of the dress, around the waist,
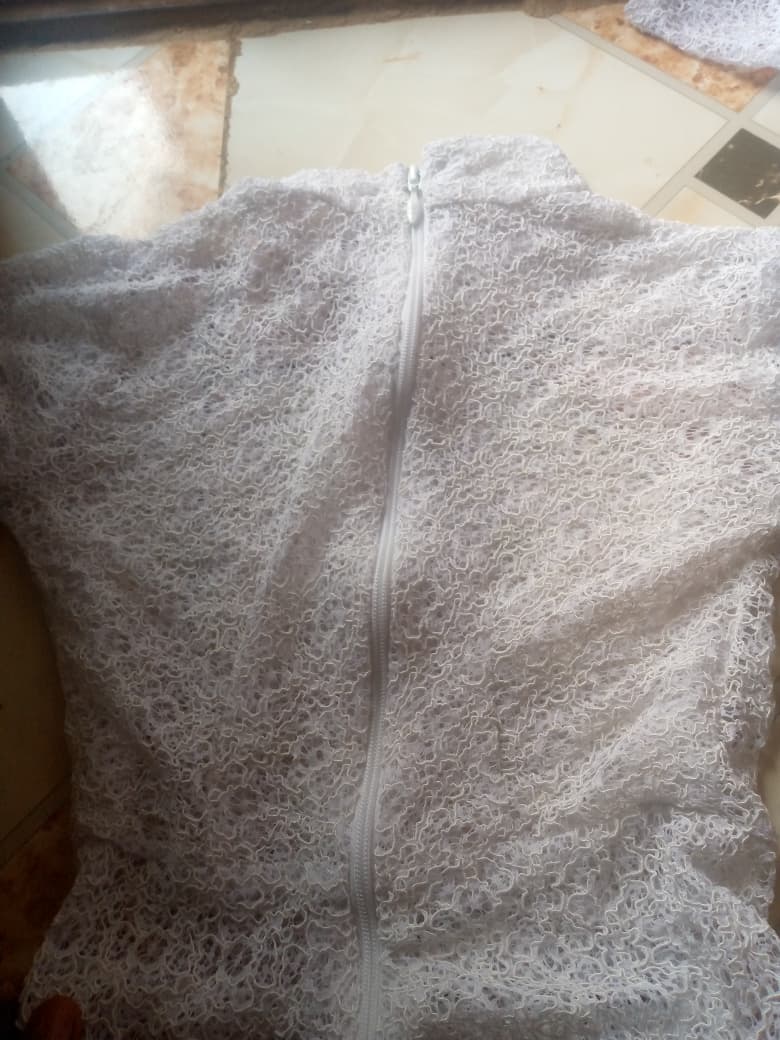
Then I sewed a zipper to the backside of the dress, and that completes the making process of this beautiful, sheer, elegant, ruched dress with a slit.
It's still rainy, I'm thankful I already spent the day well
All images used in this post are mine
.
Spanish
Hola, Hive
Espero que todos estén bien, dondequiera que estén. Hoy es un día lluvioso, bueno, lleva lloviendo varios días, después de las vacaciones de agosto, no sé si solo me pasa a mí, no me gusta salir de casa cuando llueve, y no, no es por el frío, porque siempre puedo ponerme ropa de abrigo para mantenerme caliente, creo que es más por el barro de las calles. Al vivir en un país en vías de desarrollo, todavía tenemos carreteras sin asfaltar, y se ensucia todo cuando sales a la calle. Por suerte, trabajo desde casa, así que disfruté de la calidez de mi hogar mientras llovía, confeccionando este precioso vestido transparente con volantes y abertura delantera.
Ya compartí el proceso de confección de la parte superior del vestido. Hoy, la publicación se centra en el proceso de confección de la base del vestido, ya que es un proceso de corte algo complicado, ya que la base se logró utilizando un método de patrón de corte y extensión. Pensé en compartir hoy con todos ustedes el divertido proceso de confección. Espero que les resulte fácil de seguir y recrear.
Materiales utilizados
-
La tela transparente
-
Cremallera
-
Hilo de color blanco
-
Papel de patrón
Cortar y confeccionar
- En primer lugar, utilizando el papel estampado marrón, dibujé y recorté un patrón de falda recta. La parte delantera, que se cortó por el doblez, tiene una sola pieza, mientras que la parte trasera tiene dos piezas debido al margen añadido en el centro para la cremallera
*A continuación, con cinta adhesiva, uní los lados de los patrones delantero y trasero
- A continuación, hago un corte donde quiero que esté la abertura, que es alrededor del punto de la pinza derecha. Luego empiezo a cortar y extender el papel desde el punto del corte hasta la parte superior, la falda no tendrá unión lateral.
- Cortando la tela, ¡así es como queda!
- Plisé las dos partes extendidas hasta su longitud original y cerré la unión.
Por último, cosí la base a la parte superior del vestido, alrededor de la cintura.
A continuación, cosí una cremallera en la parte trasera del vestido, y así completé el proceso de confección de este precioso vestido transparente, elegante y fruncido con abertura.
Sigue lloviendo, pero estoy agradecido por haber pasado bien el día.
Traducción realizada con el traductor DeepL.com.
Translated using DeepL.com