Hello, dear lovely creative community, glad to make it here today. I hope you are all having a great day. If not, don't you worry, everything is gonna be alright.
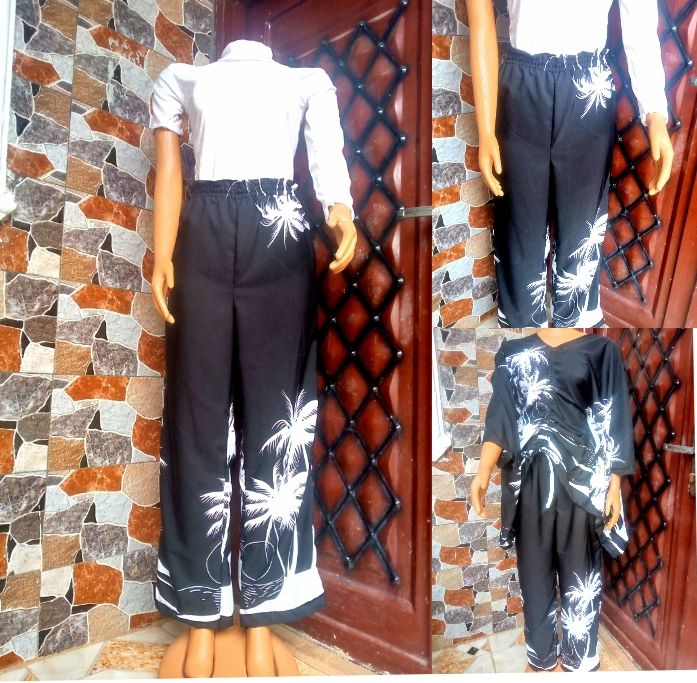
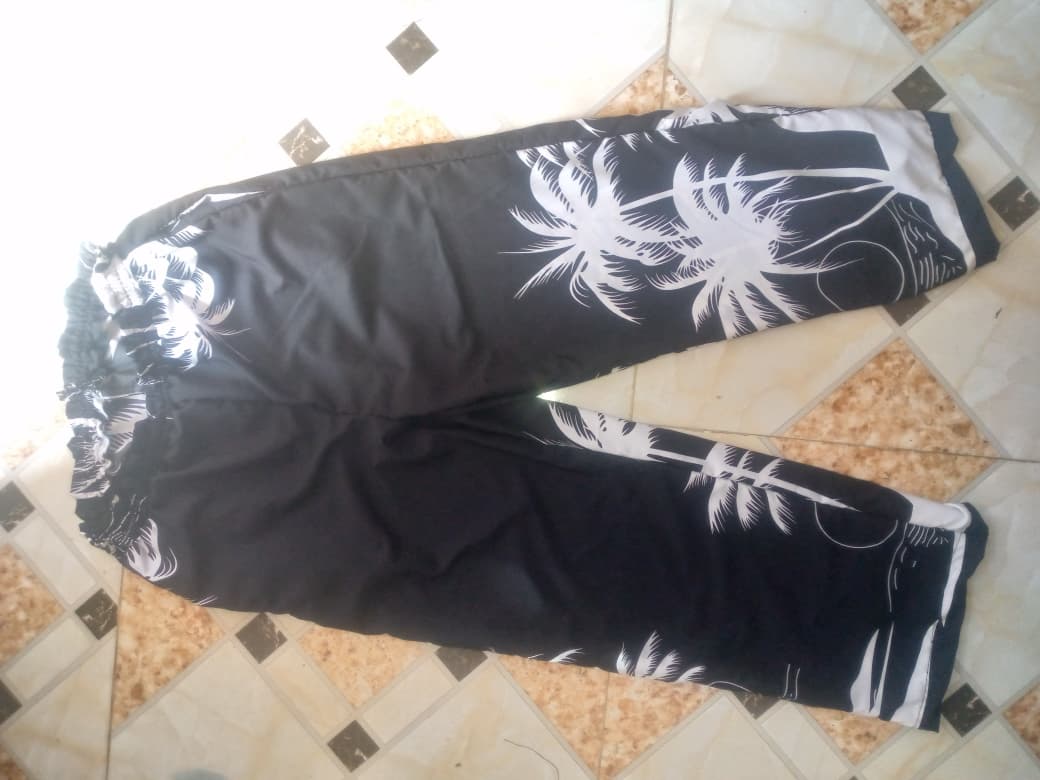
I will be sharing with us the making process of a beautiful pallazo trousers I made for my favourite sister in law, to complete the outfit as I had previously made her a front-ruched Kimono blouse.
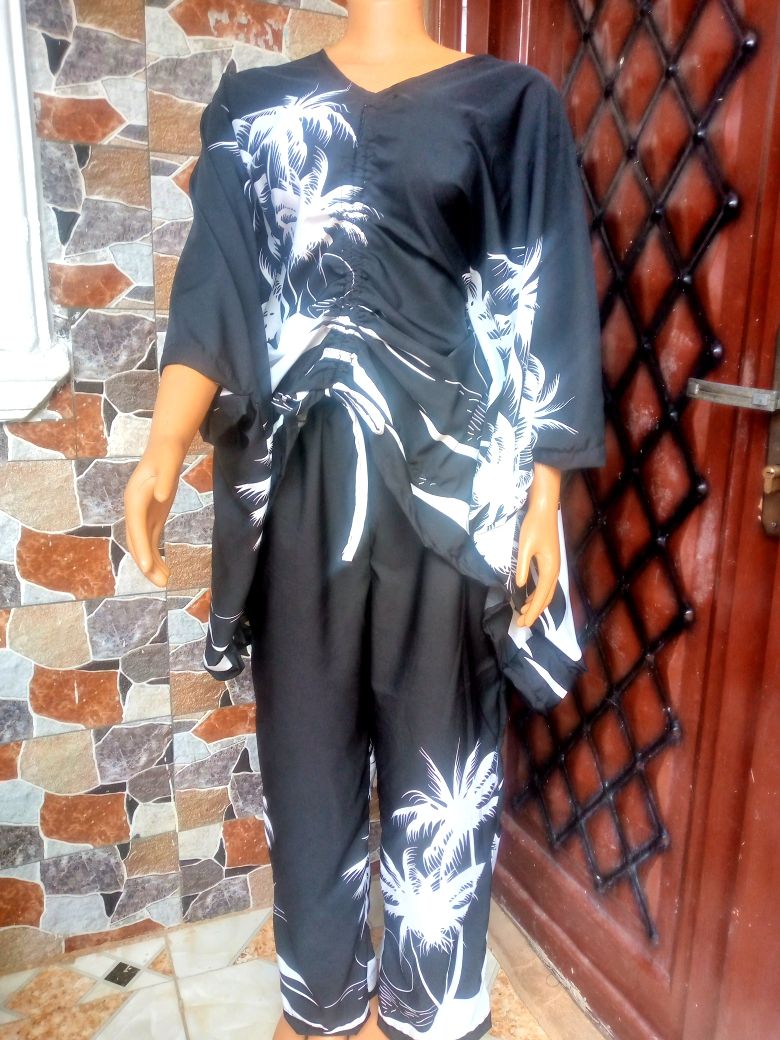
Two-piece outfit gives a very elegant and sophisticated look, don't you think so as well, especially when it's a comfortable and flexible outfit that easily blends with diverse occasions.
Since she is having a wardrobe makeover, I made sure that the choices of outfits I make for her are comfortable, trendy, and chic. I guess she already knows me to put my best into what I do, which is why she left the style choices of the outfits she wants for me to decide.
Trousers are one of the easiest clothing to make, and trust me, you can't go wrong with a pair of pallazo pants, irrespective of your body type, as they fit everyone.
So without further ado, let's get right into the making process.
Materials used
-
Soft Crepe fabric
-
Matching coloured thread
-
Elastic band.
Cutting And Sewing Process
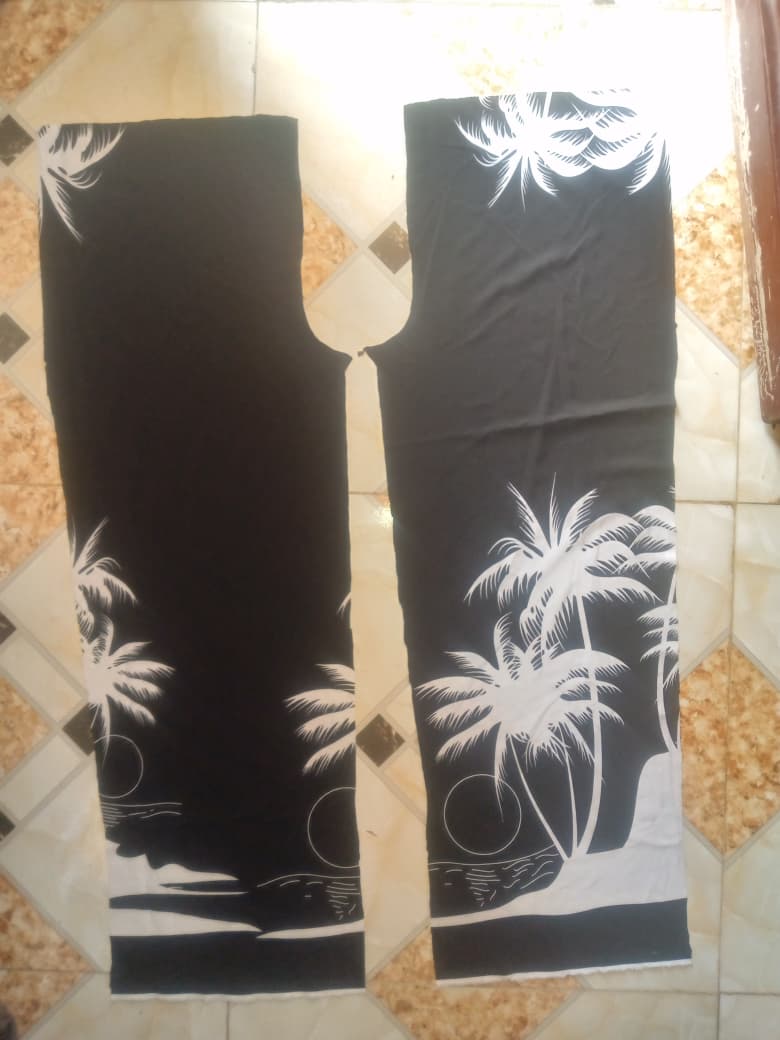
- First, I started by cutting the front side of the trousers, shaping out the waist, hip, crotch, and length of the trousers.
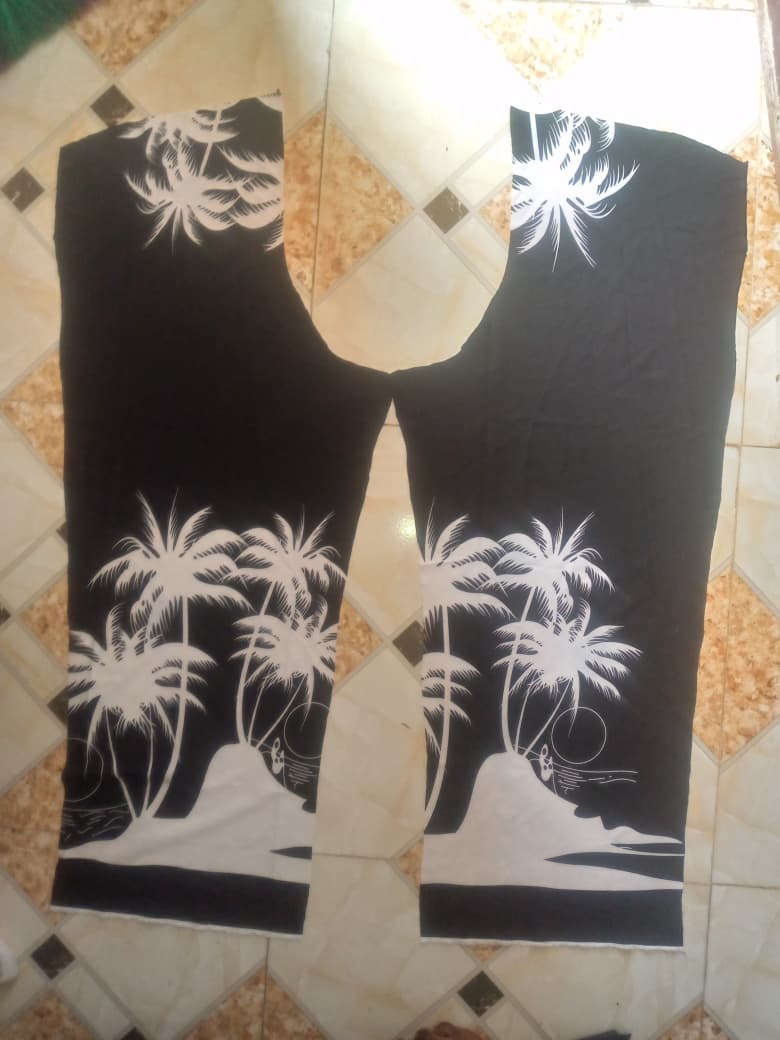
- Using the front pattern, I extended it, adding more allowance to cut the back pattern, which reason why the back side of the trousers is always bigger than the front.

- Next, I cut out the pocket patterns, which were four pieces in total, for both the front and back sides.
- Continuing, I joined the front and back trouser pattern at the croth area, and also sewed the pockets to the sides.
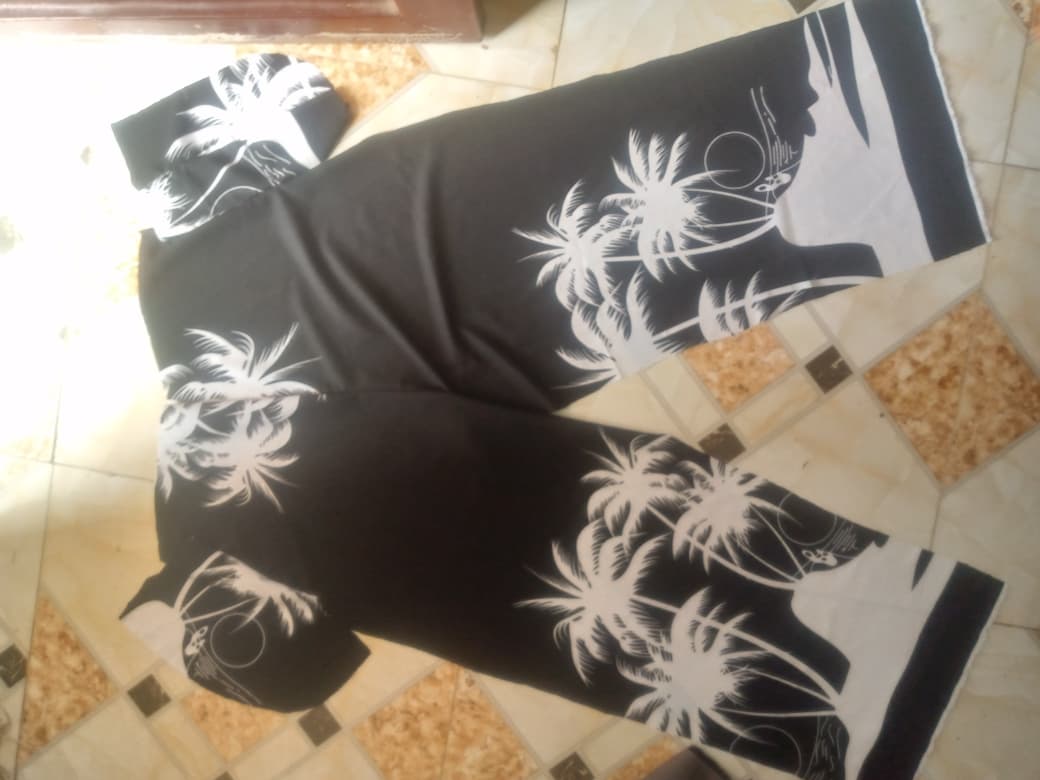
- Then, I joined the sides and inseam area of the trousers
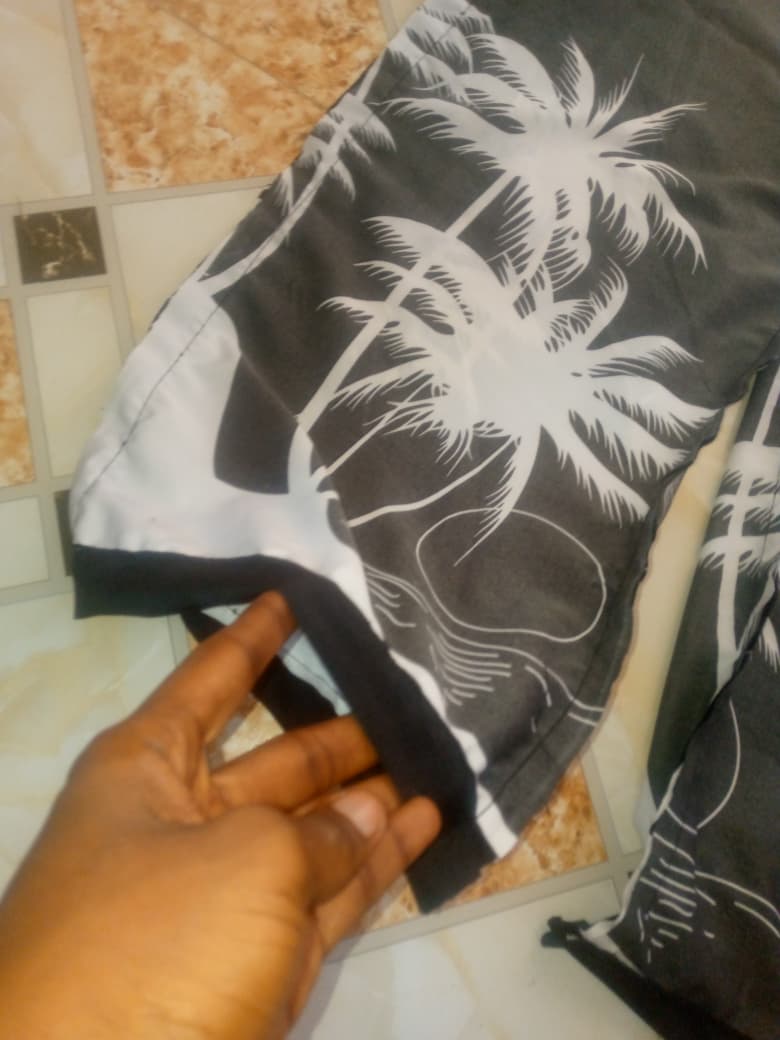
- I also folded both hems.
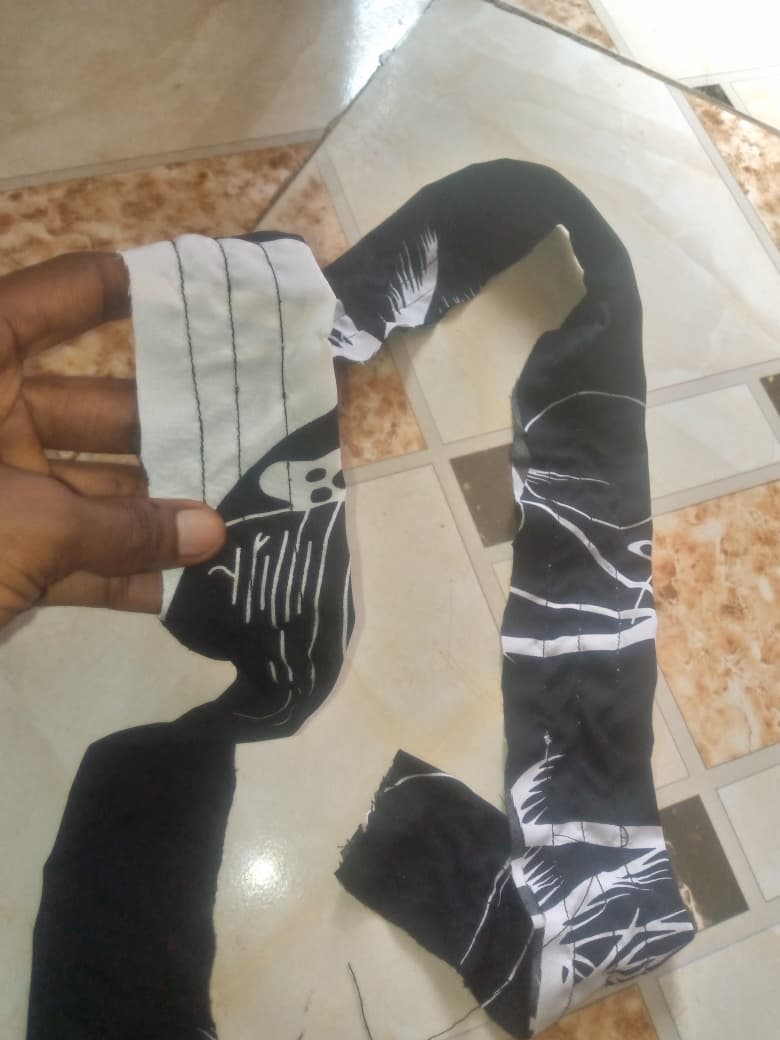
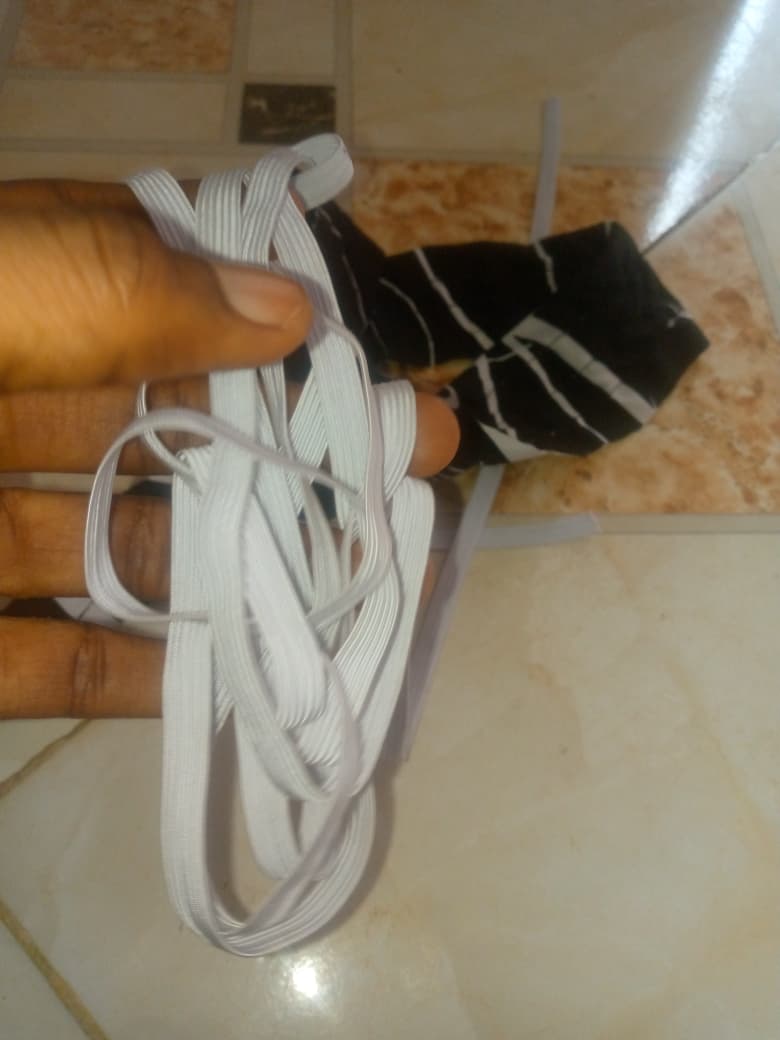
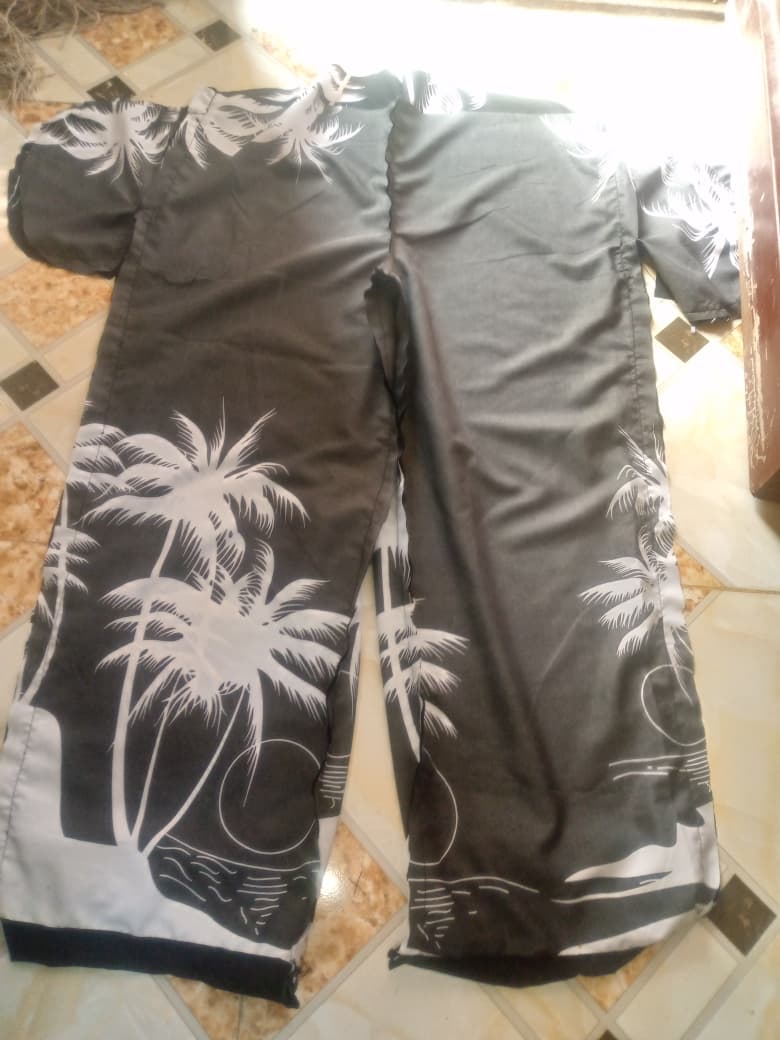
- Finally, I cut the waistband and sewed three straight lines on it, which served as the elastic case
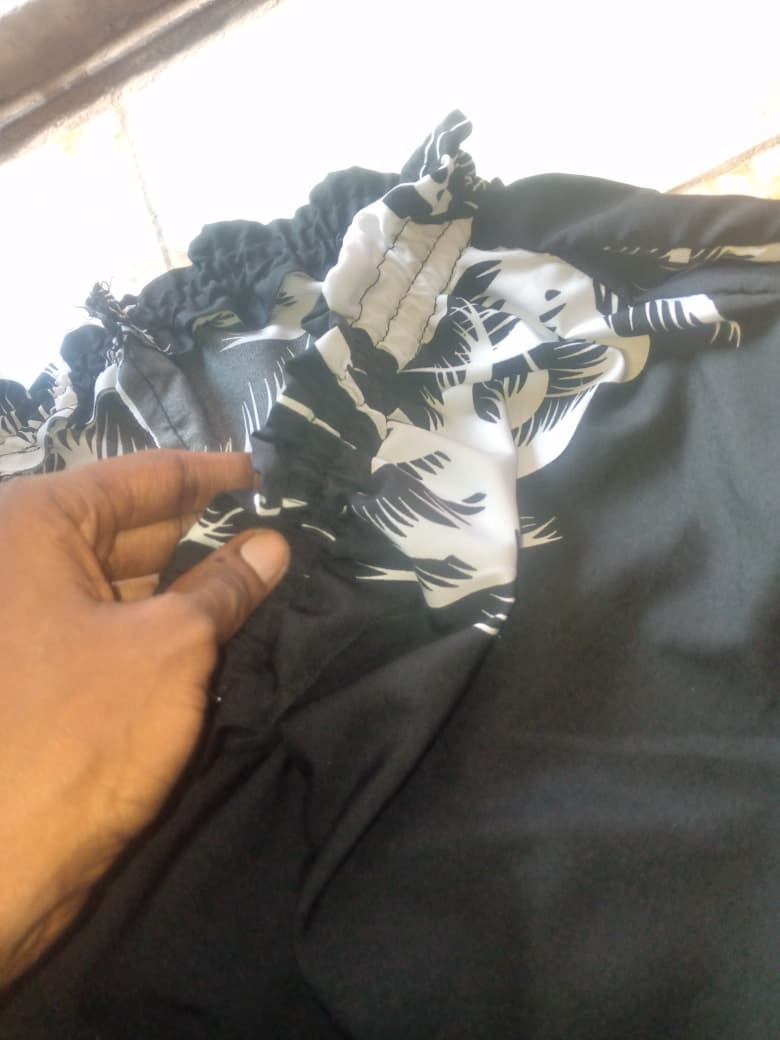
- Lastly, I passed the elastic into the cases and joined it around the trouser waist, and that completes the making process of this beautiful pallazo pant.

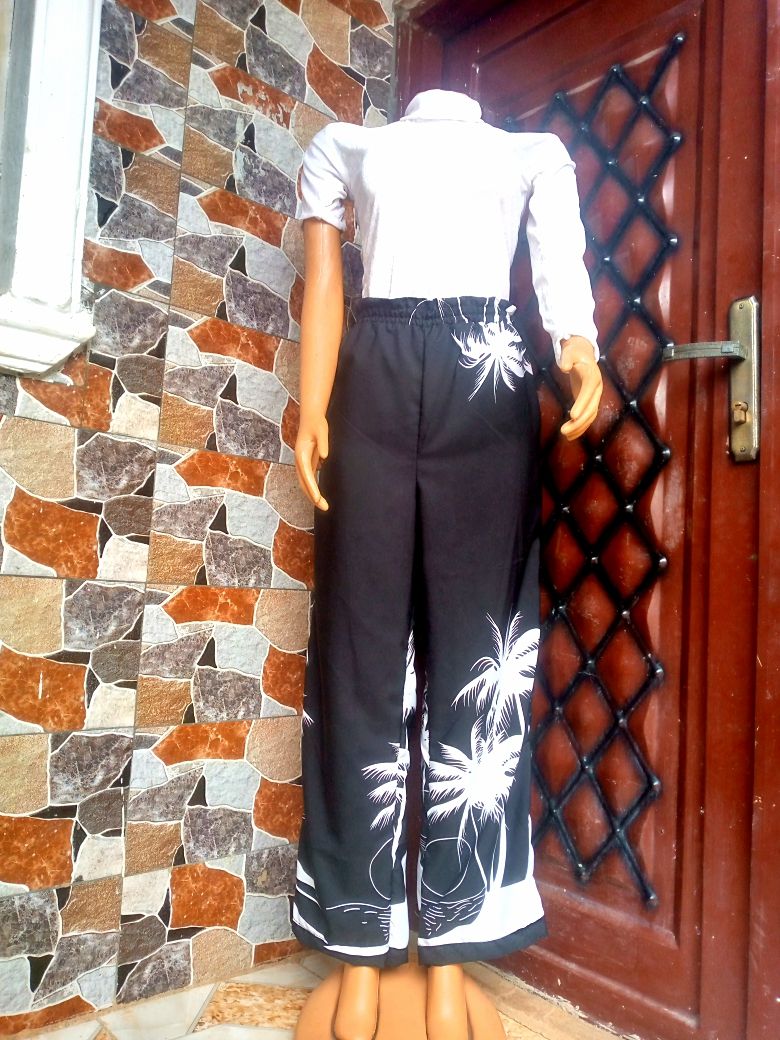
As you can see, she can also style with a different top entirely, and it still looks stunning.
I hope you enjoyed and learned something interesting from these steps provided.
All images used in this post are mine