Hello, dear Hivers!
A blessed week to us all. It's the holiday period for pupils in my country right now as children get a break from school and spend the whole of August even unto the first week of september at home, for parent, especially we that work from home, this means double, or should I put it as full time work for us with no rest, except maybe they are sleeping.
To channel all of that energy they use, one mum suggested telling them to count a cup of rice for her, which was so hilarious. Instead, I told mine to join me and follow the process as I make a two-piece outfit for one of them. To think I underestimated them, my daughters started pointing to the part they think is the sleeve, the neckline, the waist of the shorts, etc, and they were absolutely right, which made today's sewing experience fun. After cutting mine, they went ahead to cut theirs on paper and are still on it, a creative and fun way to keep them active instead of disturbing mummy.
I realized that we shouldn't assume that they are too small to understand what you are up to, whether in the kitchen or whatever you do at home, a little explaining and getting them involved channels their energy into creativity.
So without further ado, let's get right into it then
Materials Used are
-
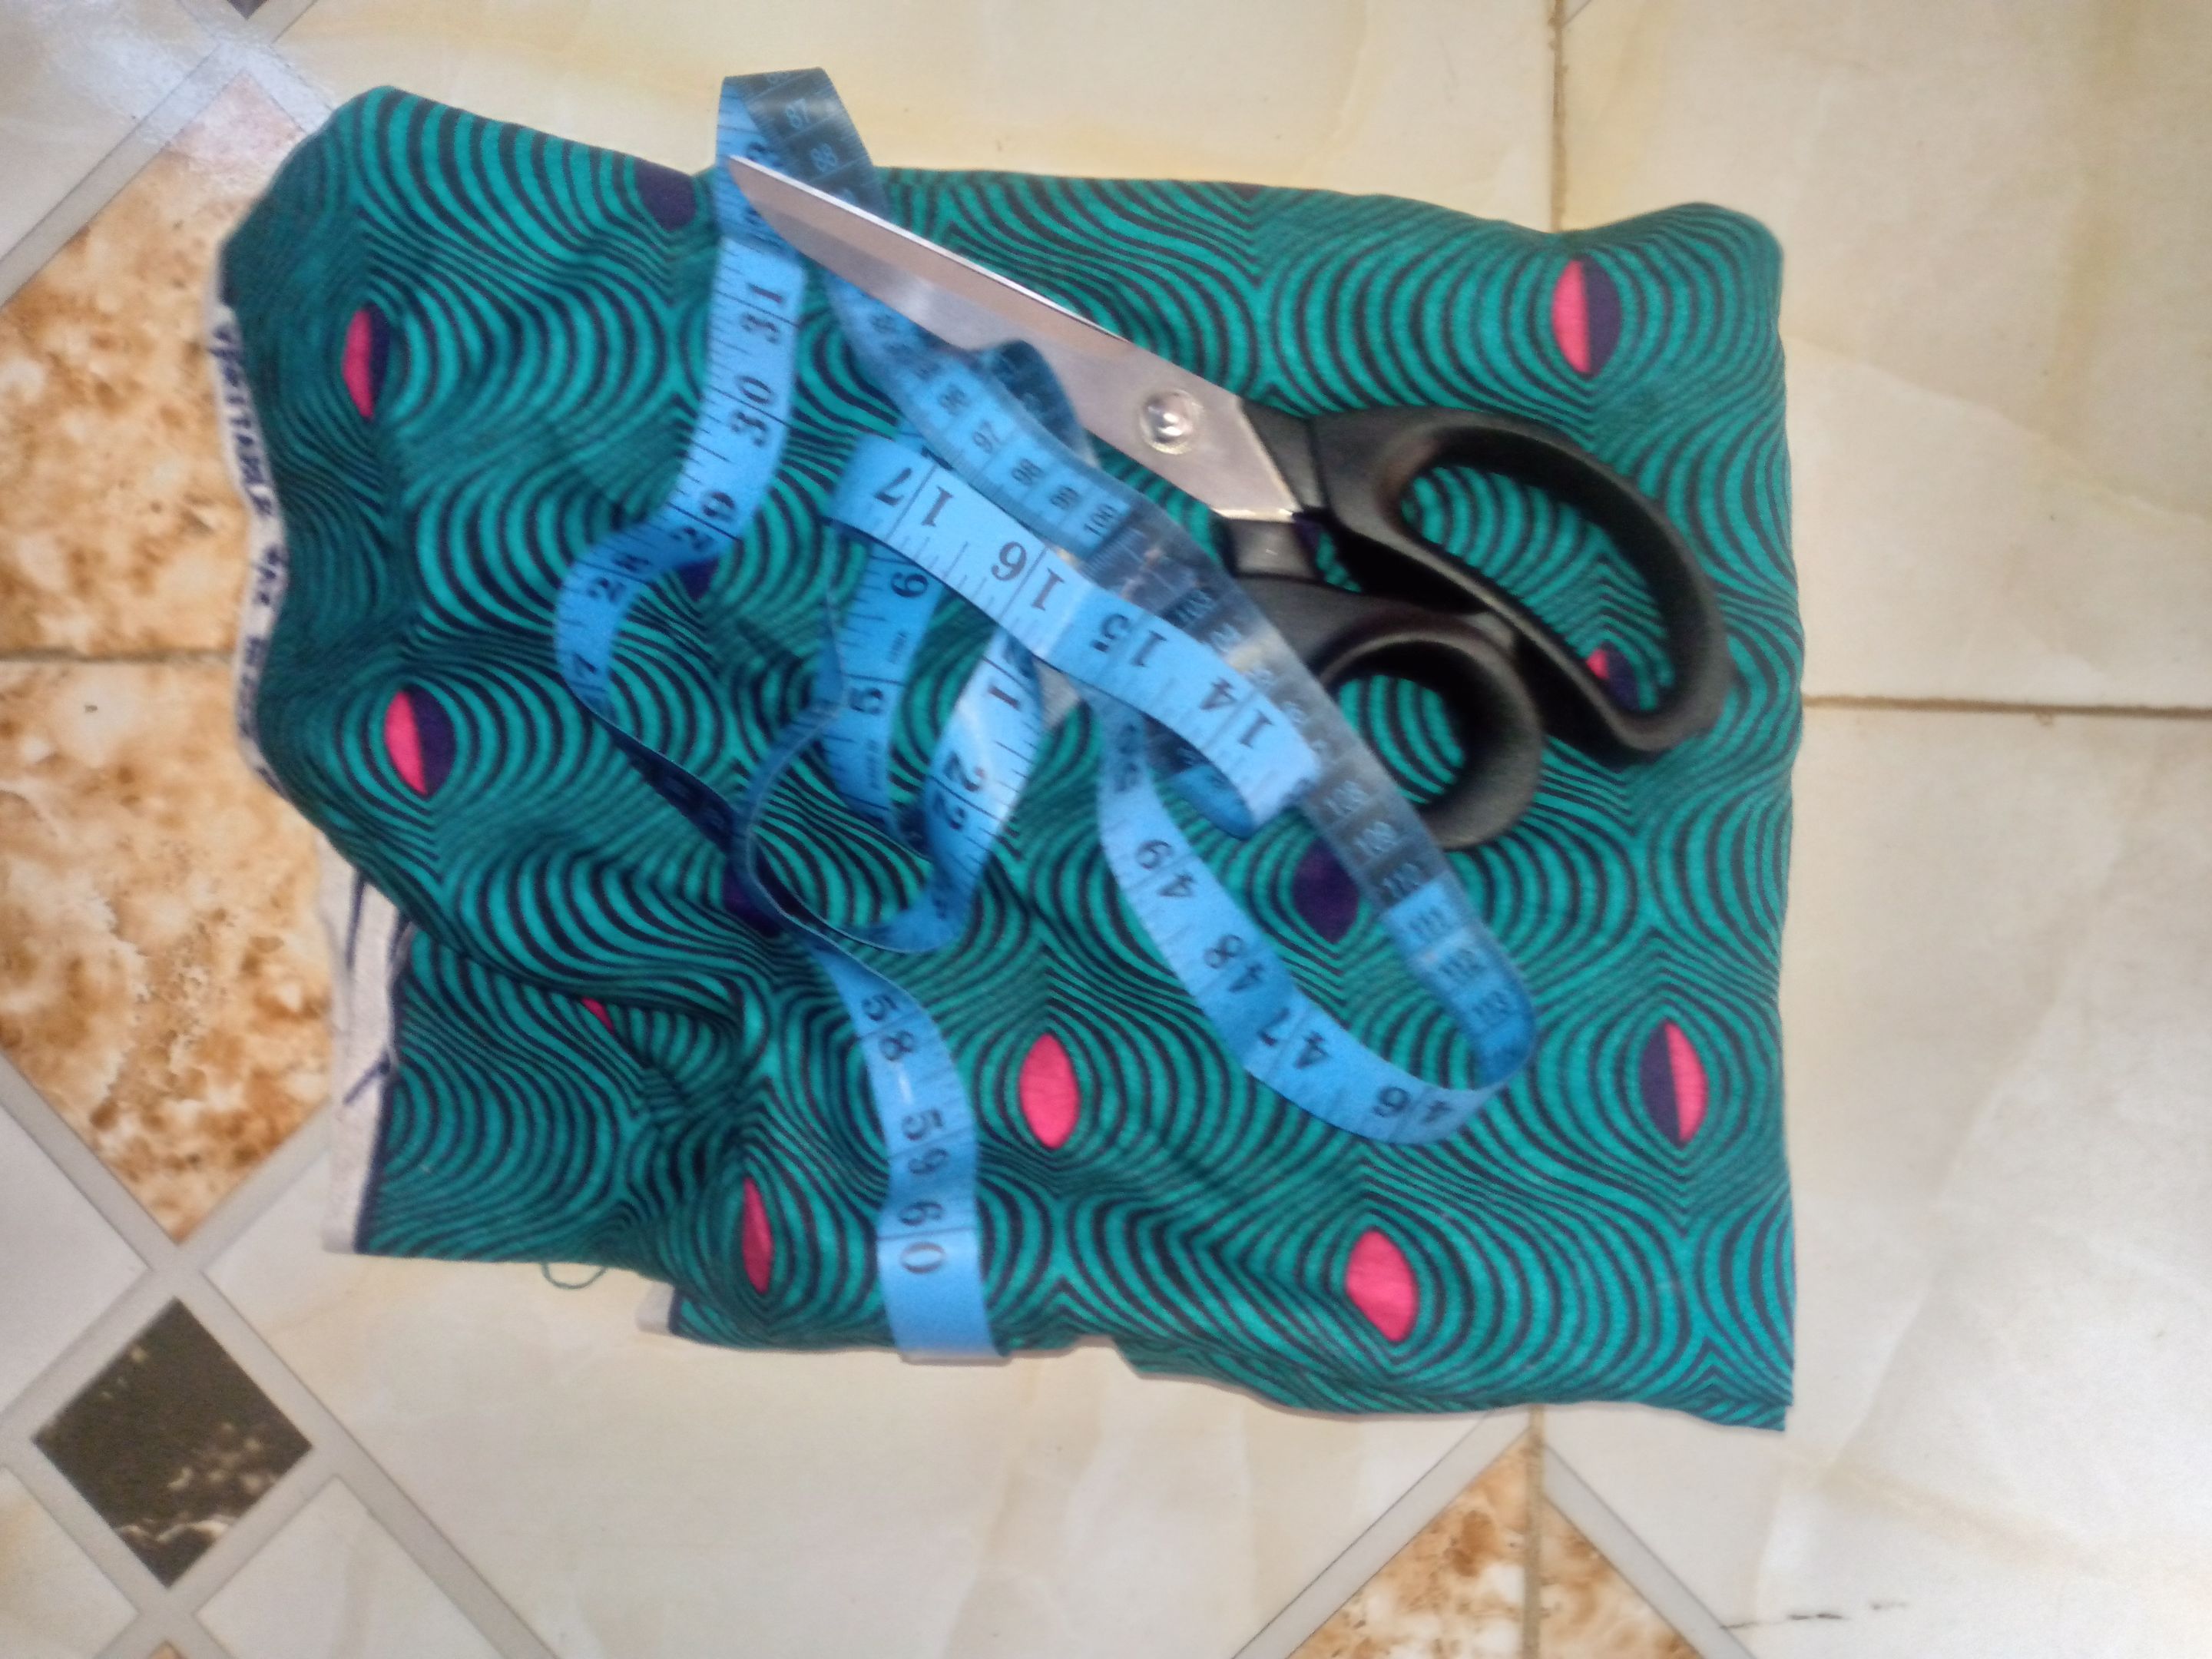
Ankara fabric
-
Matching coloured thread
Cutting And Sewing Process
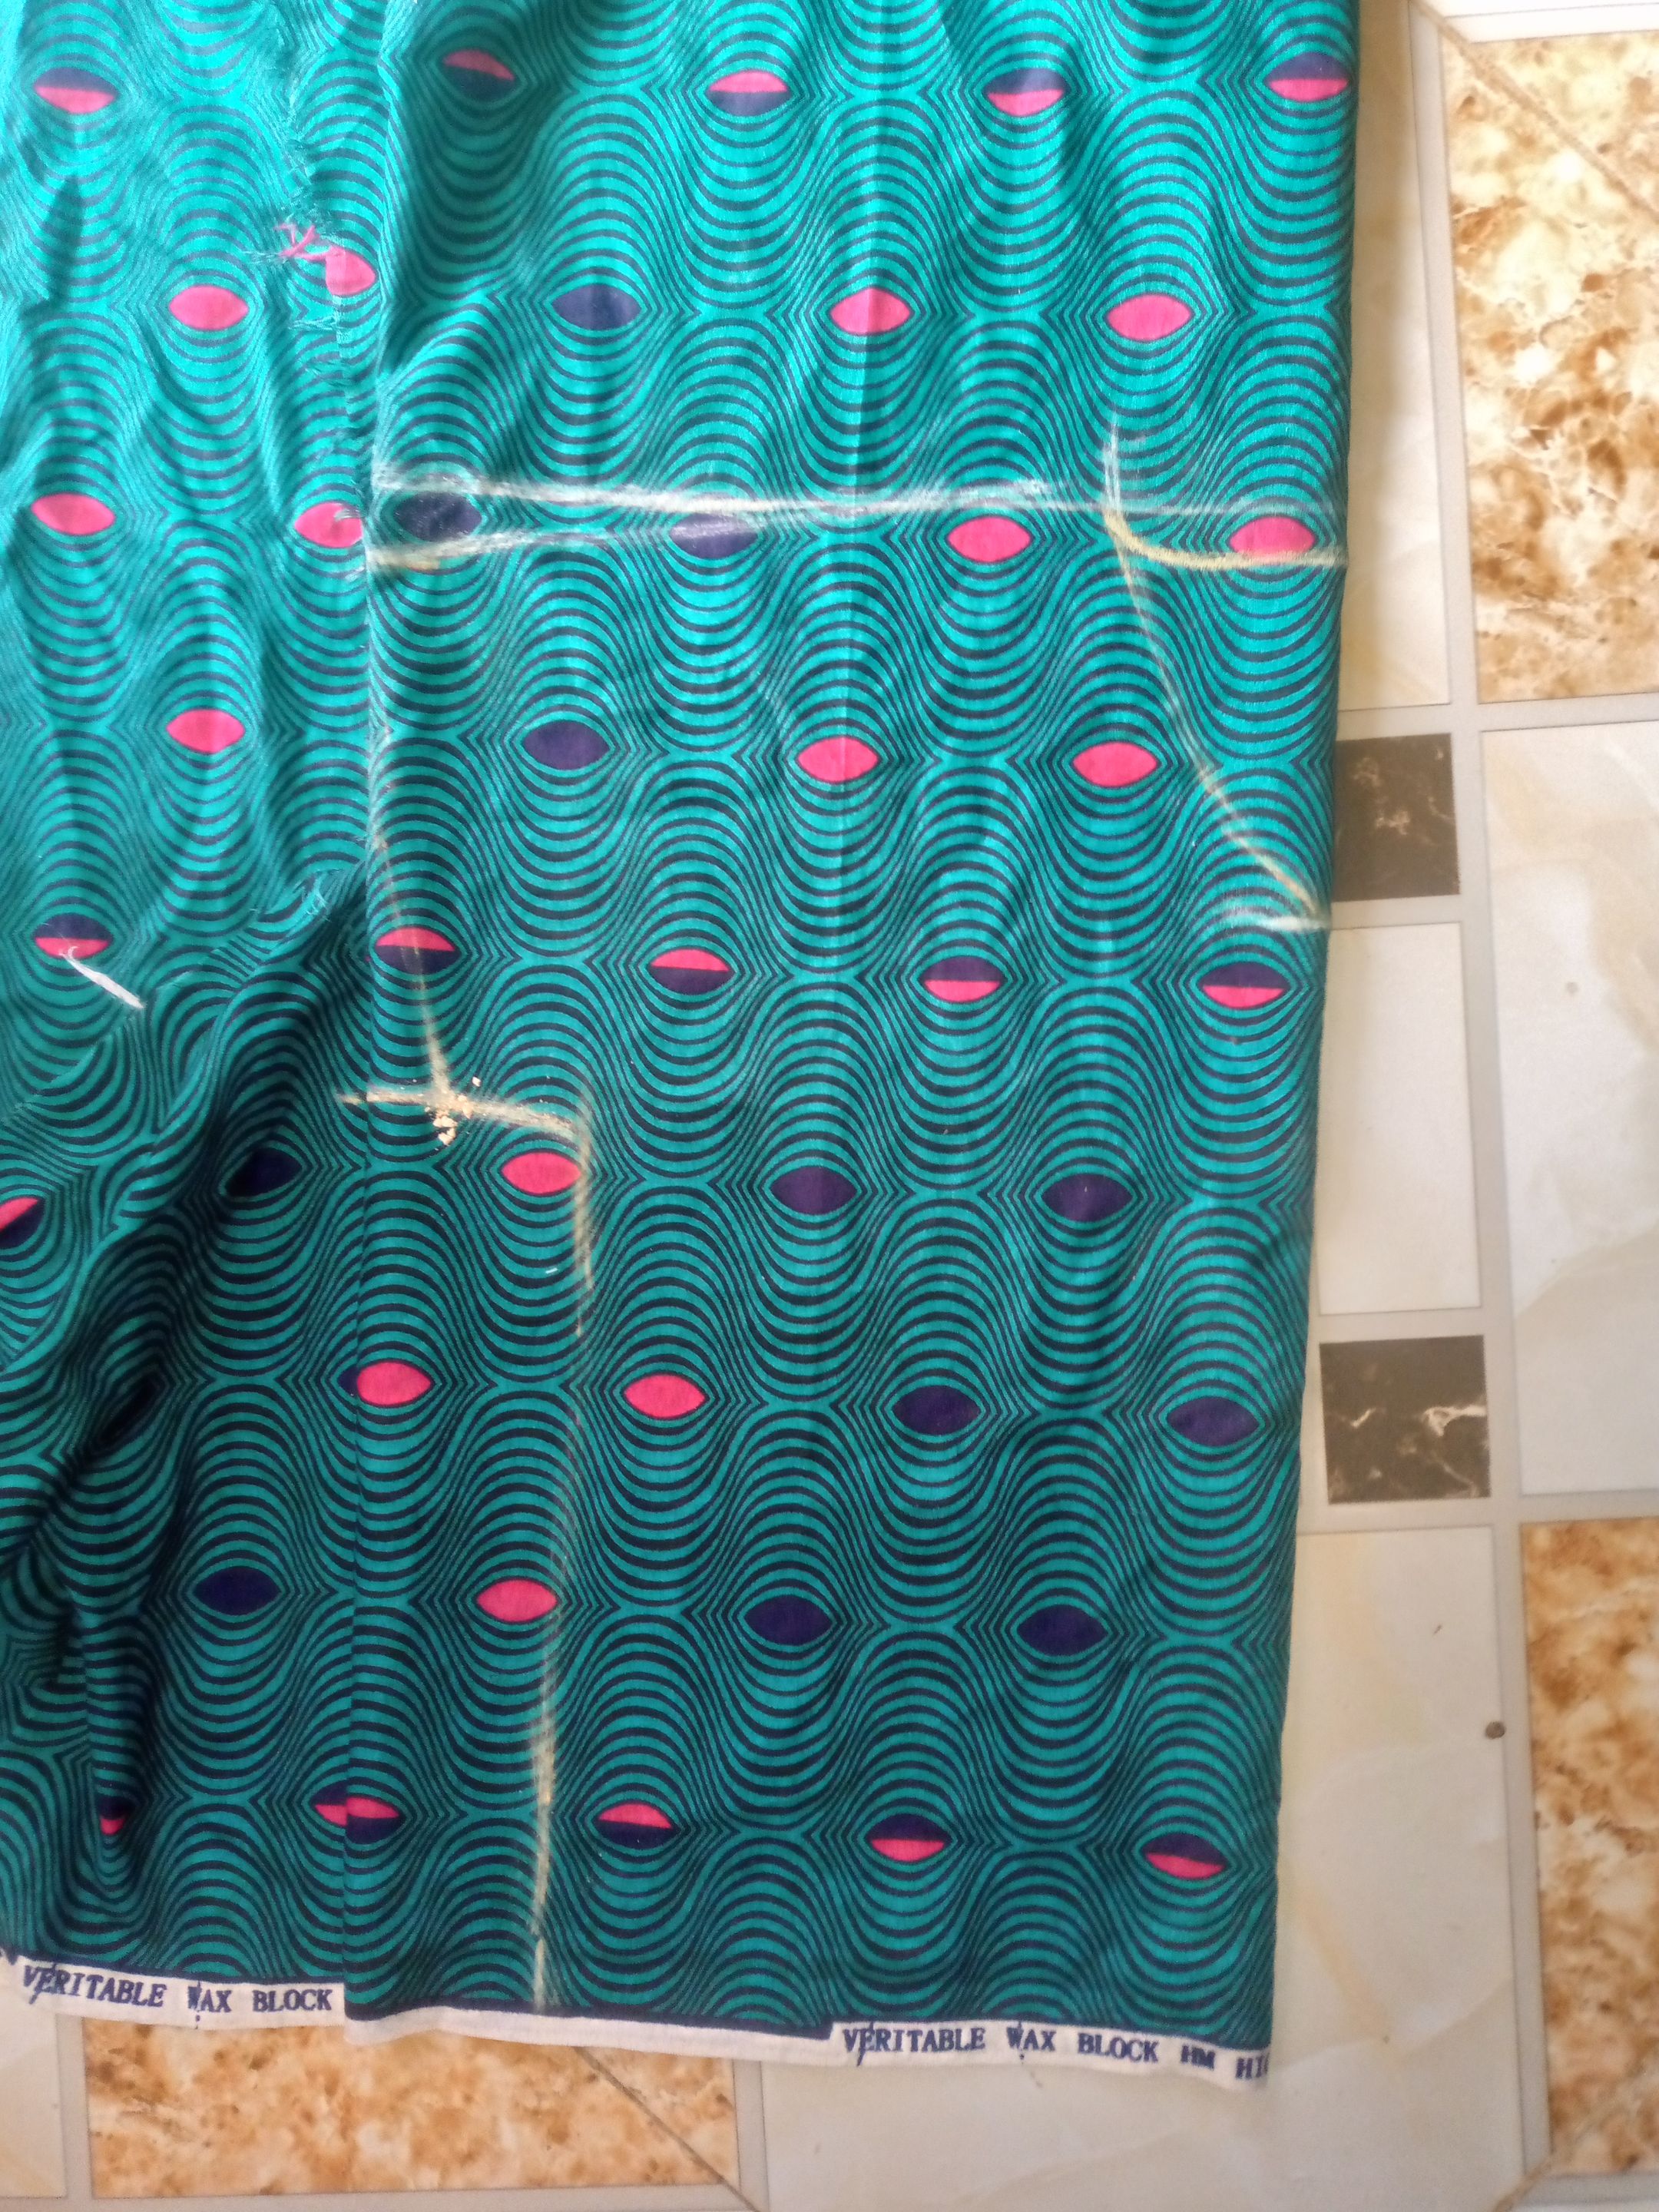
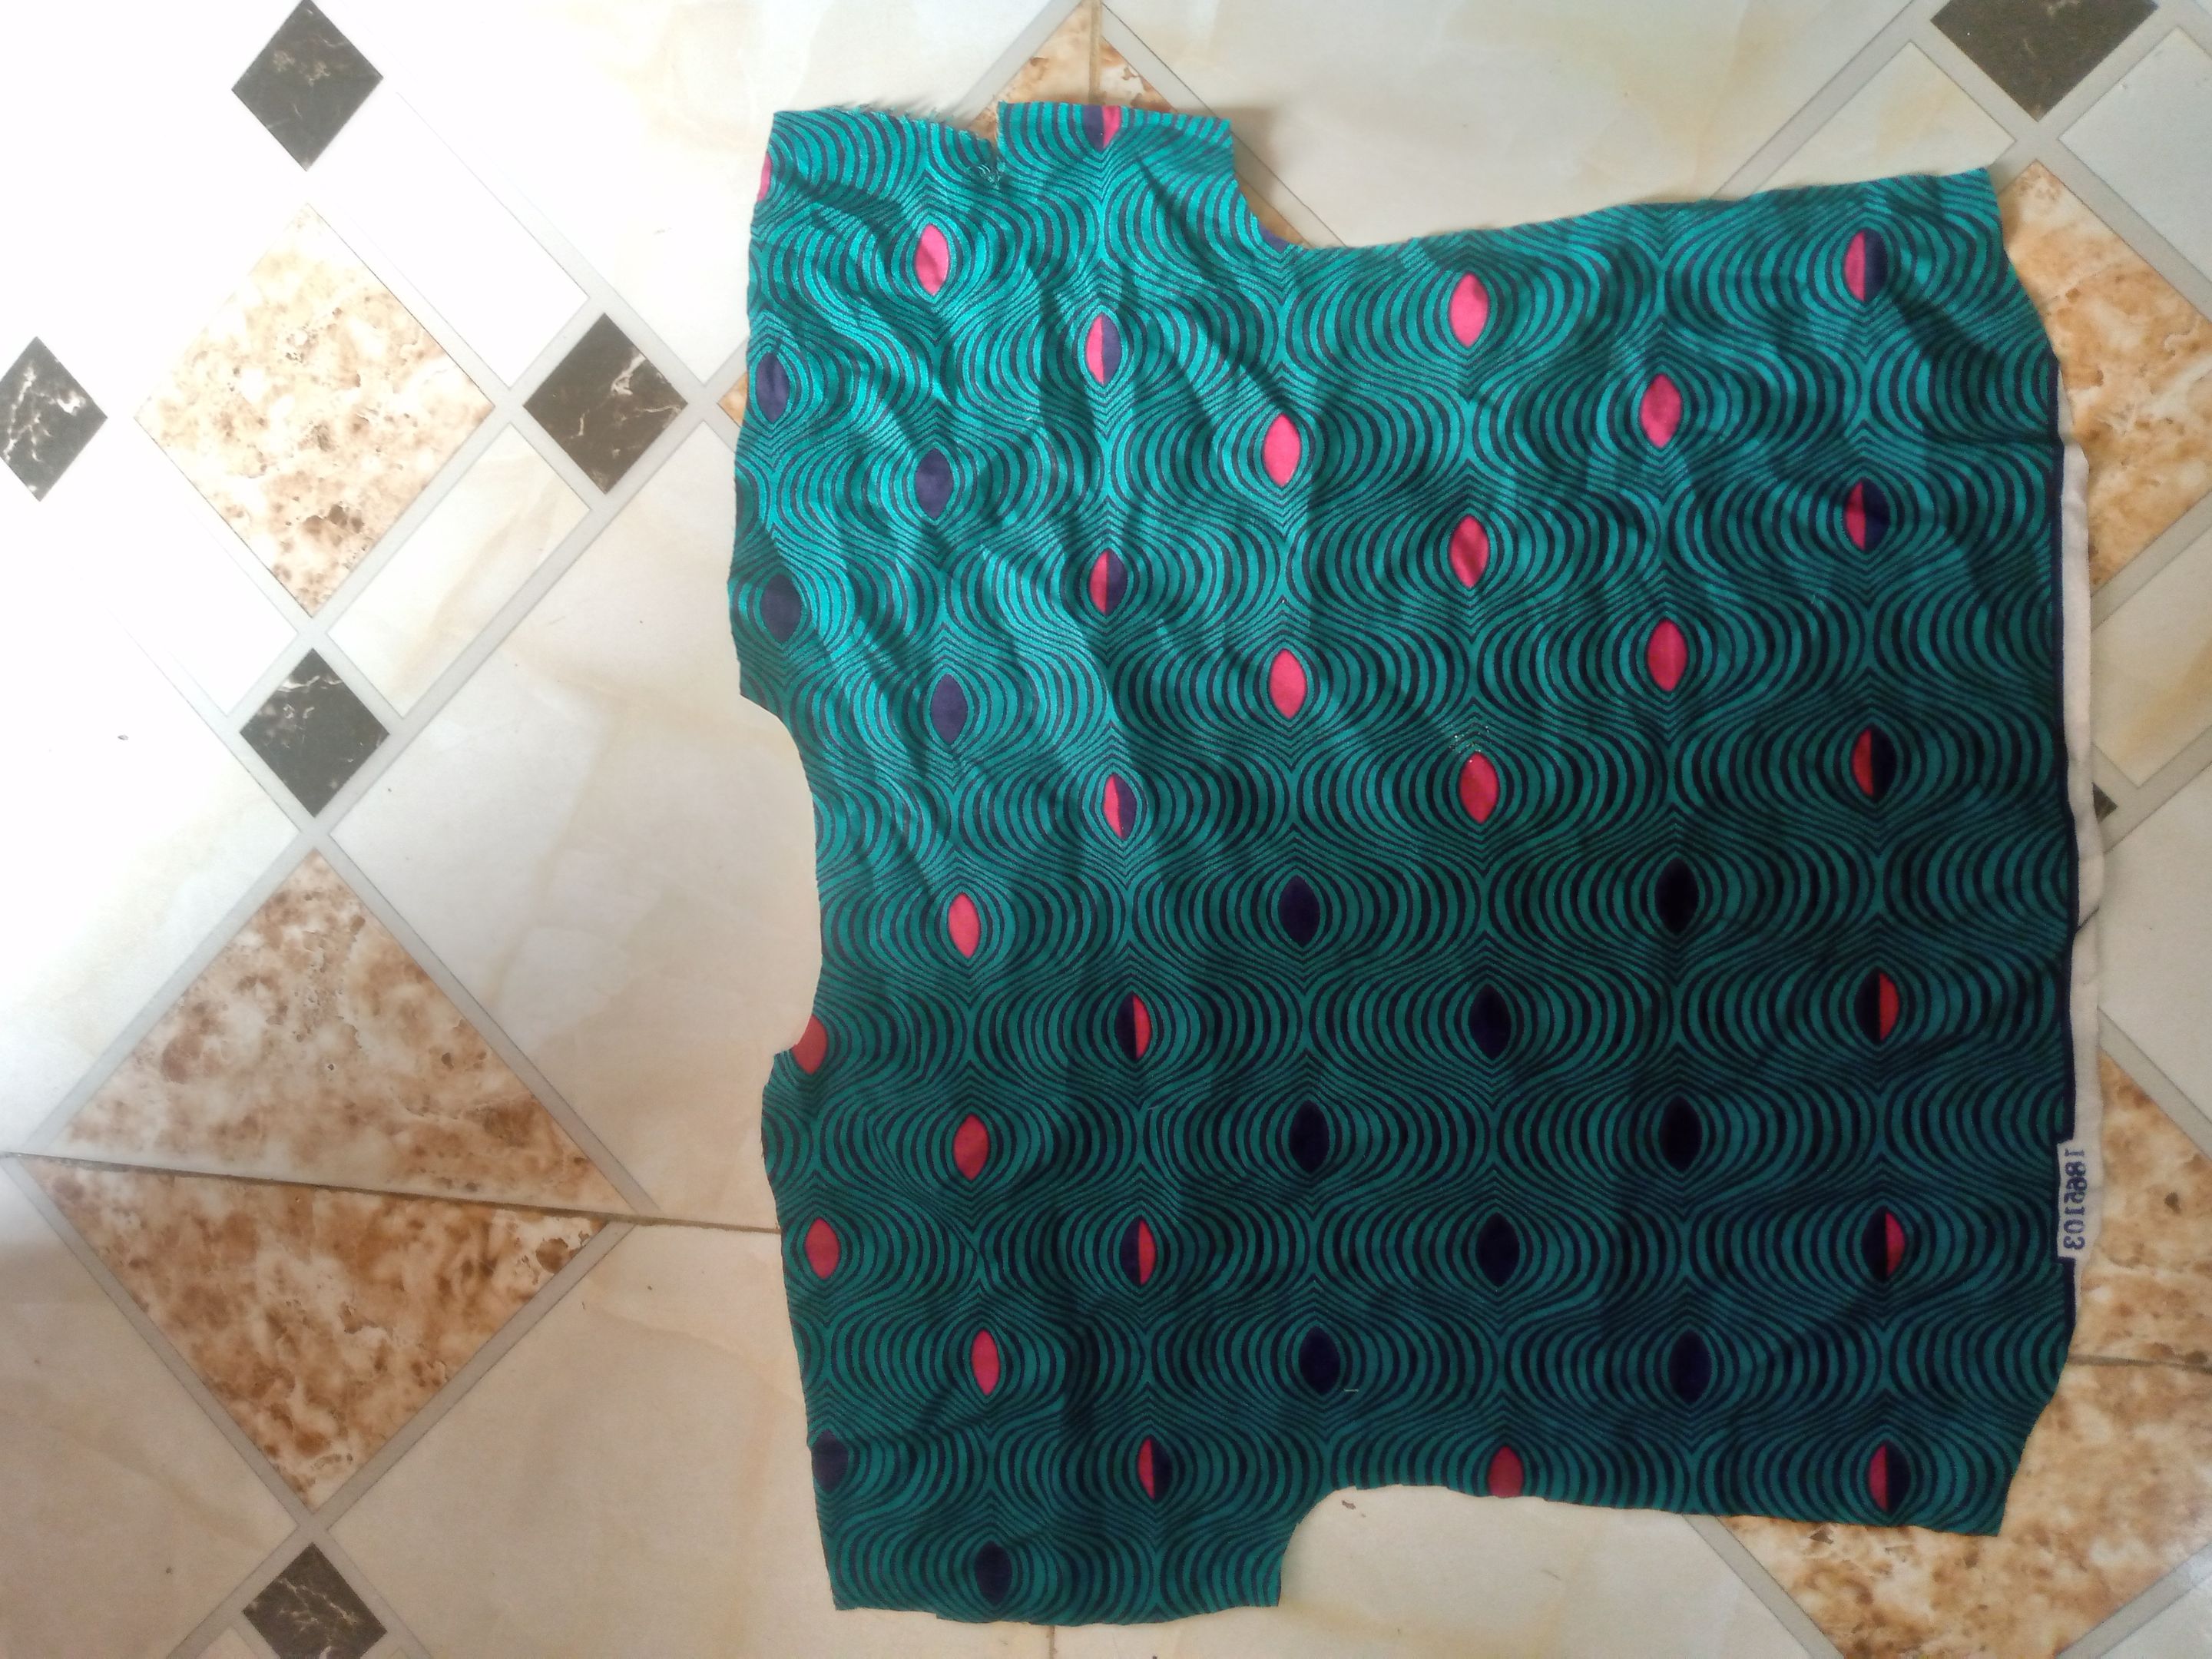
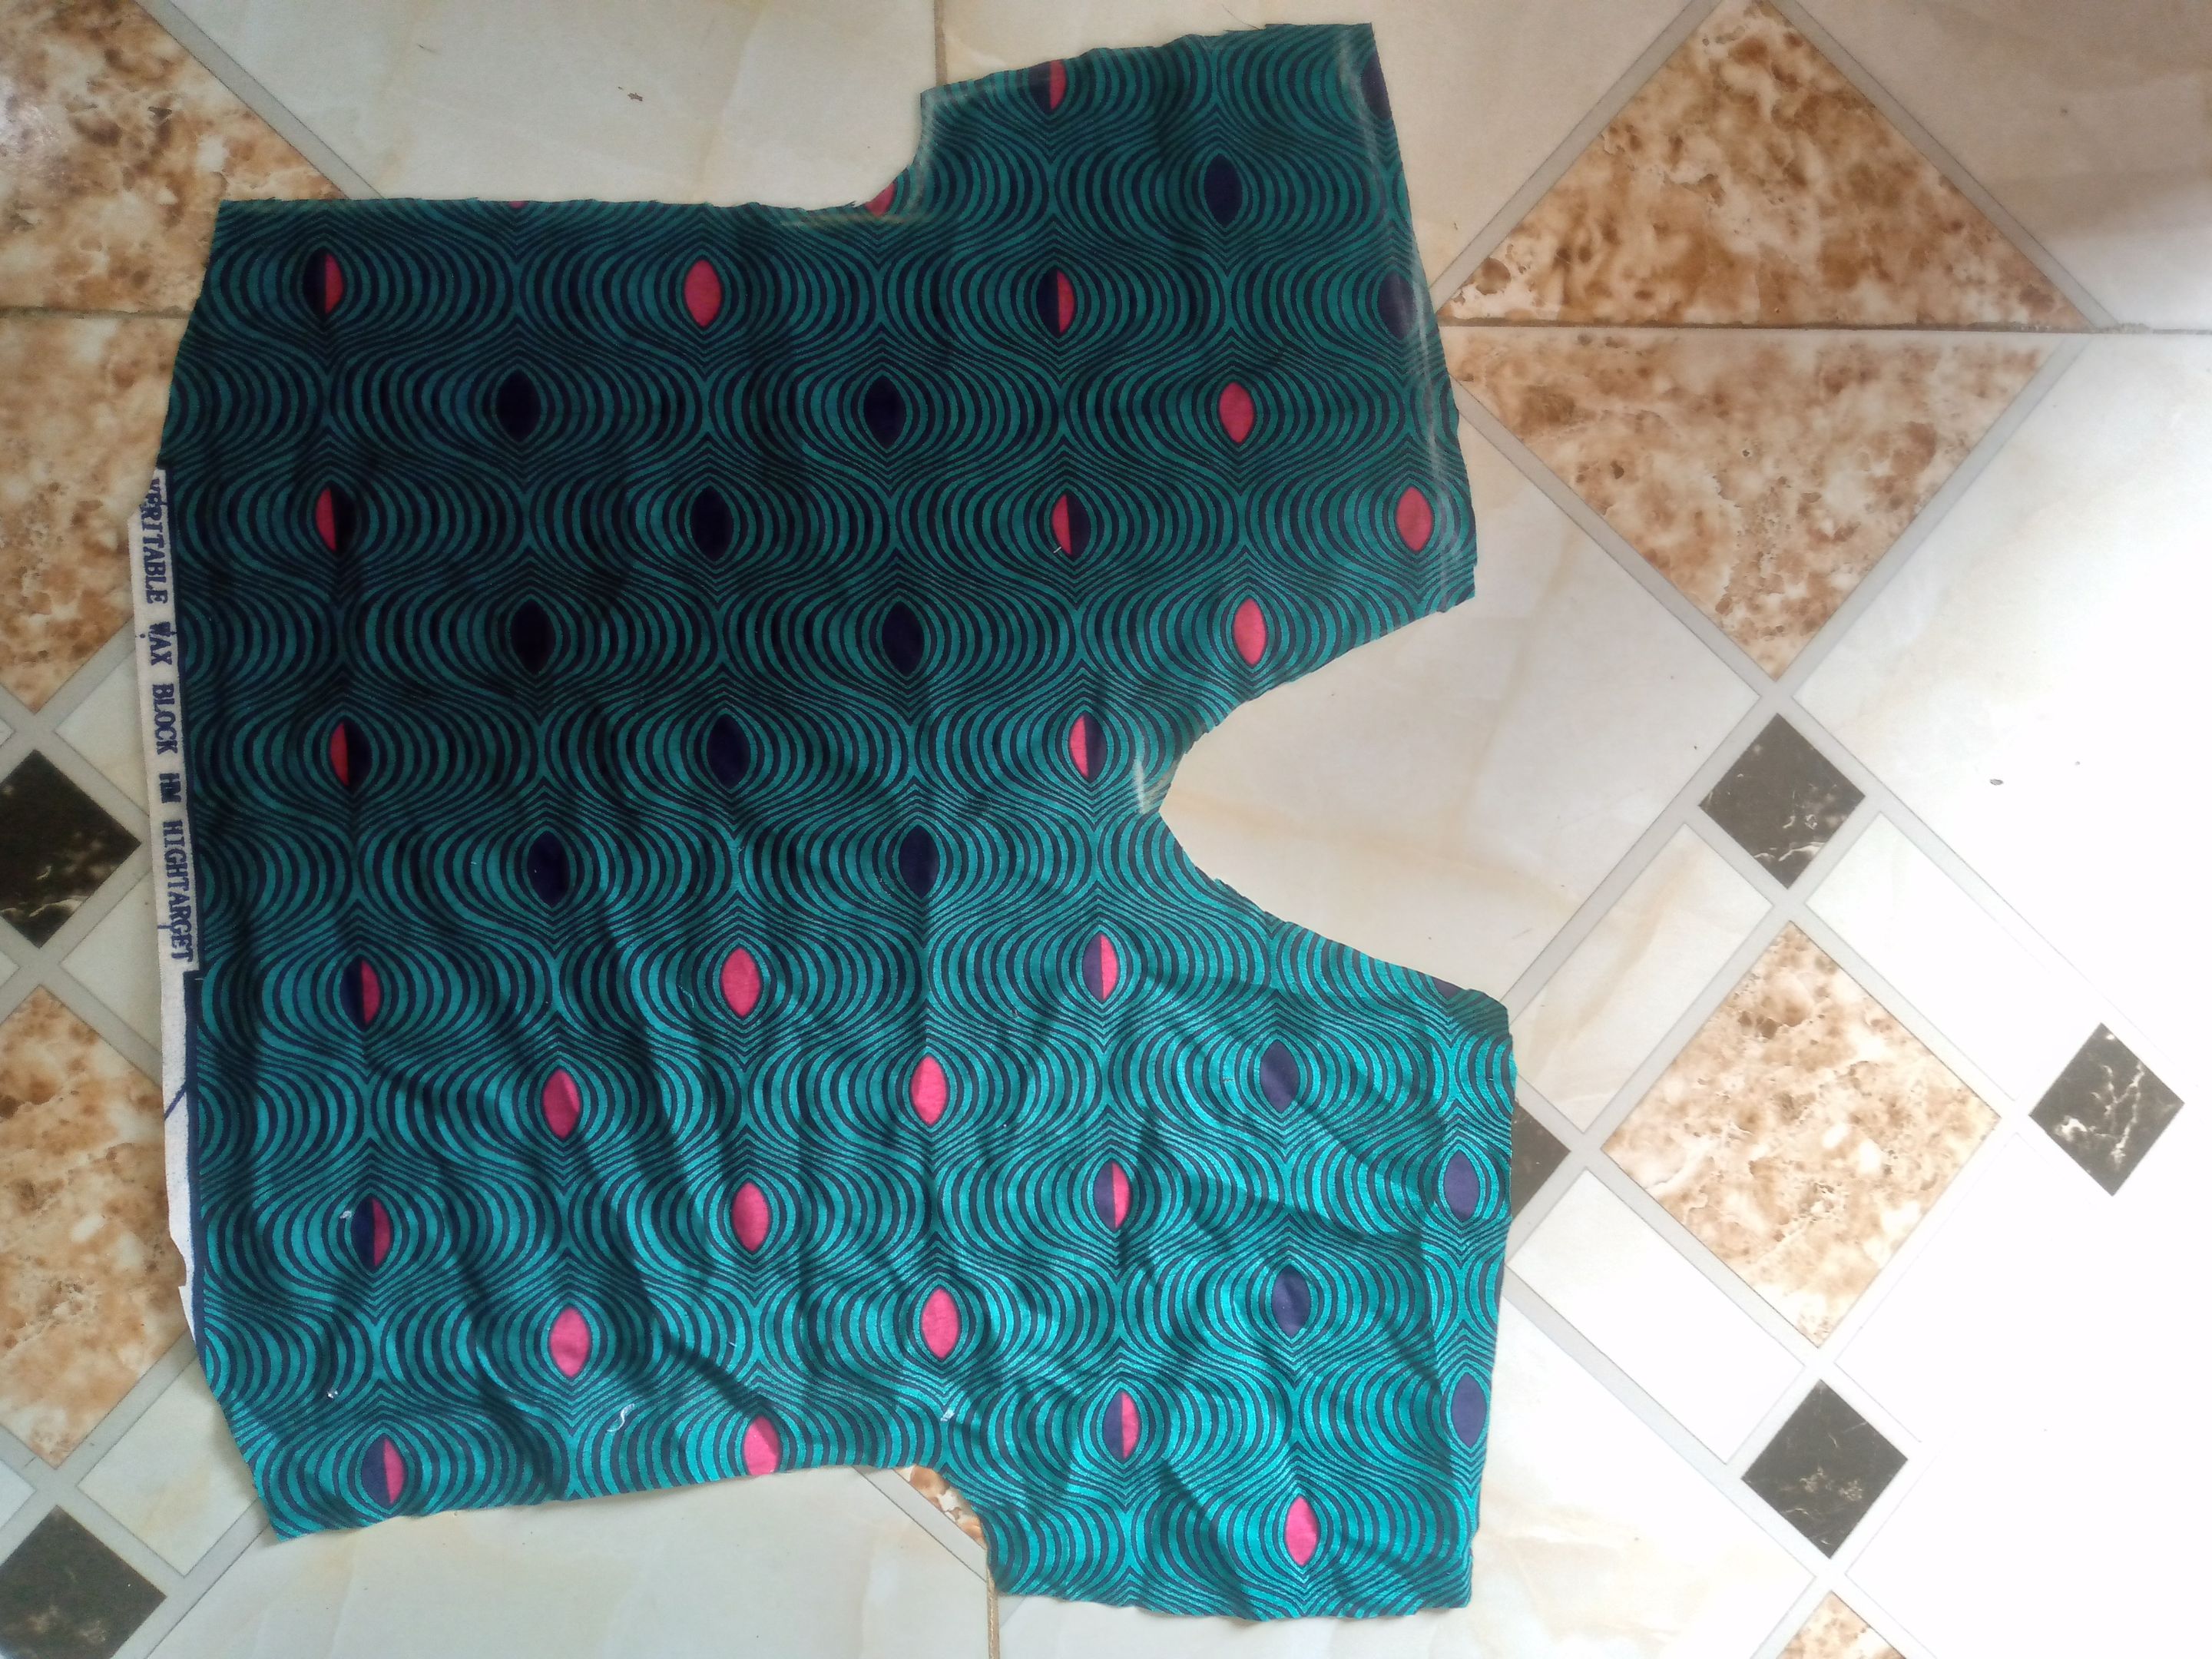
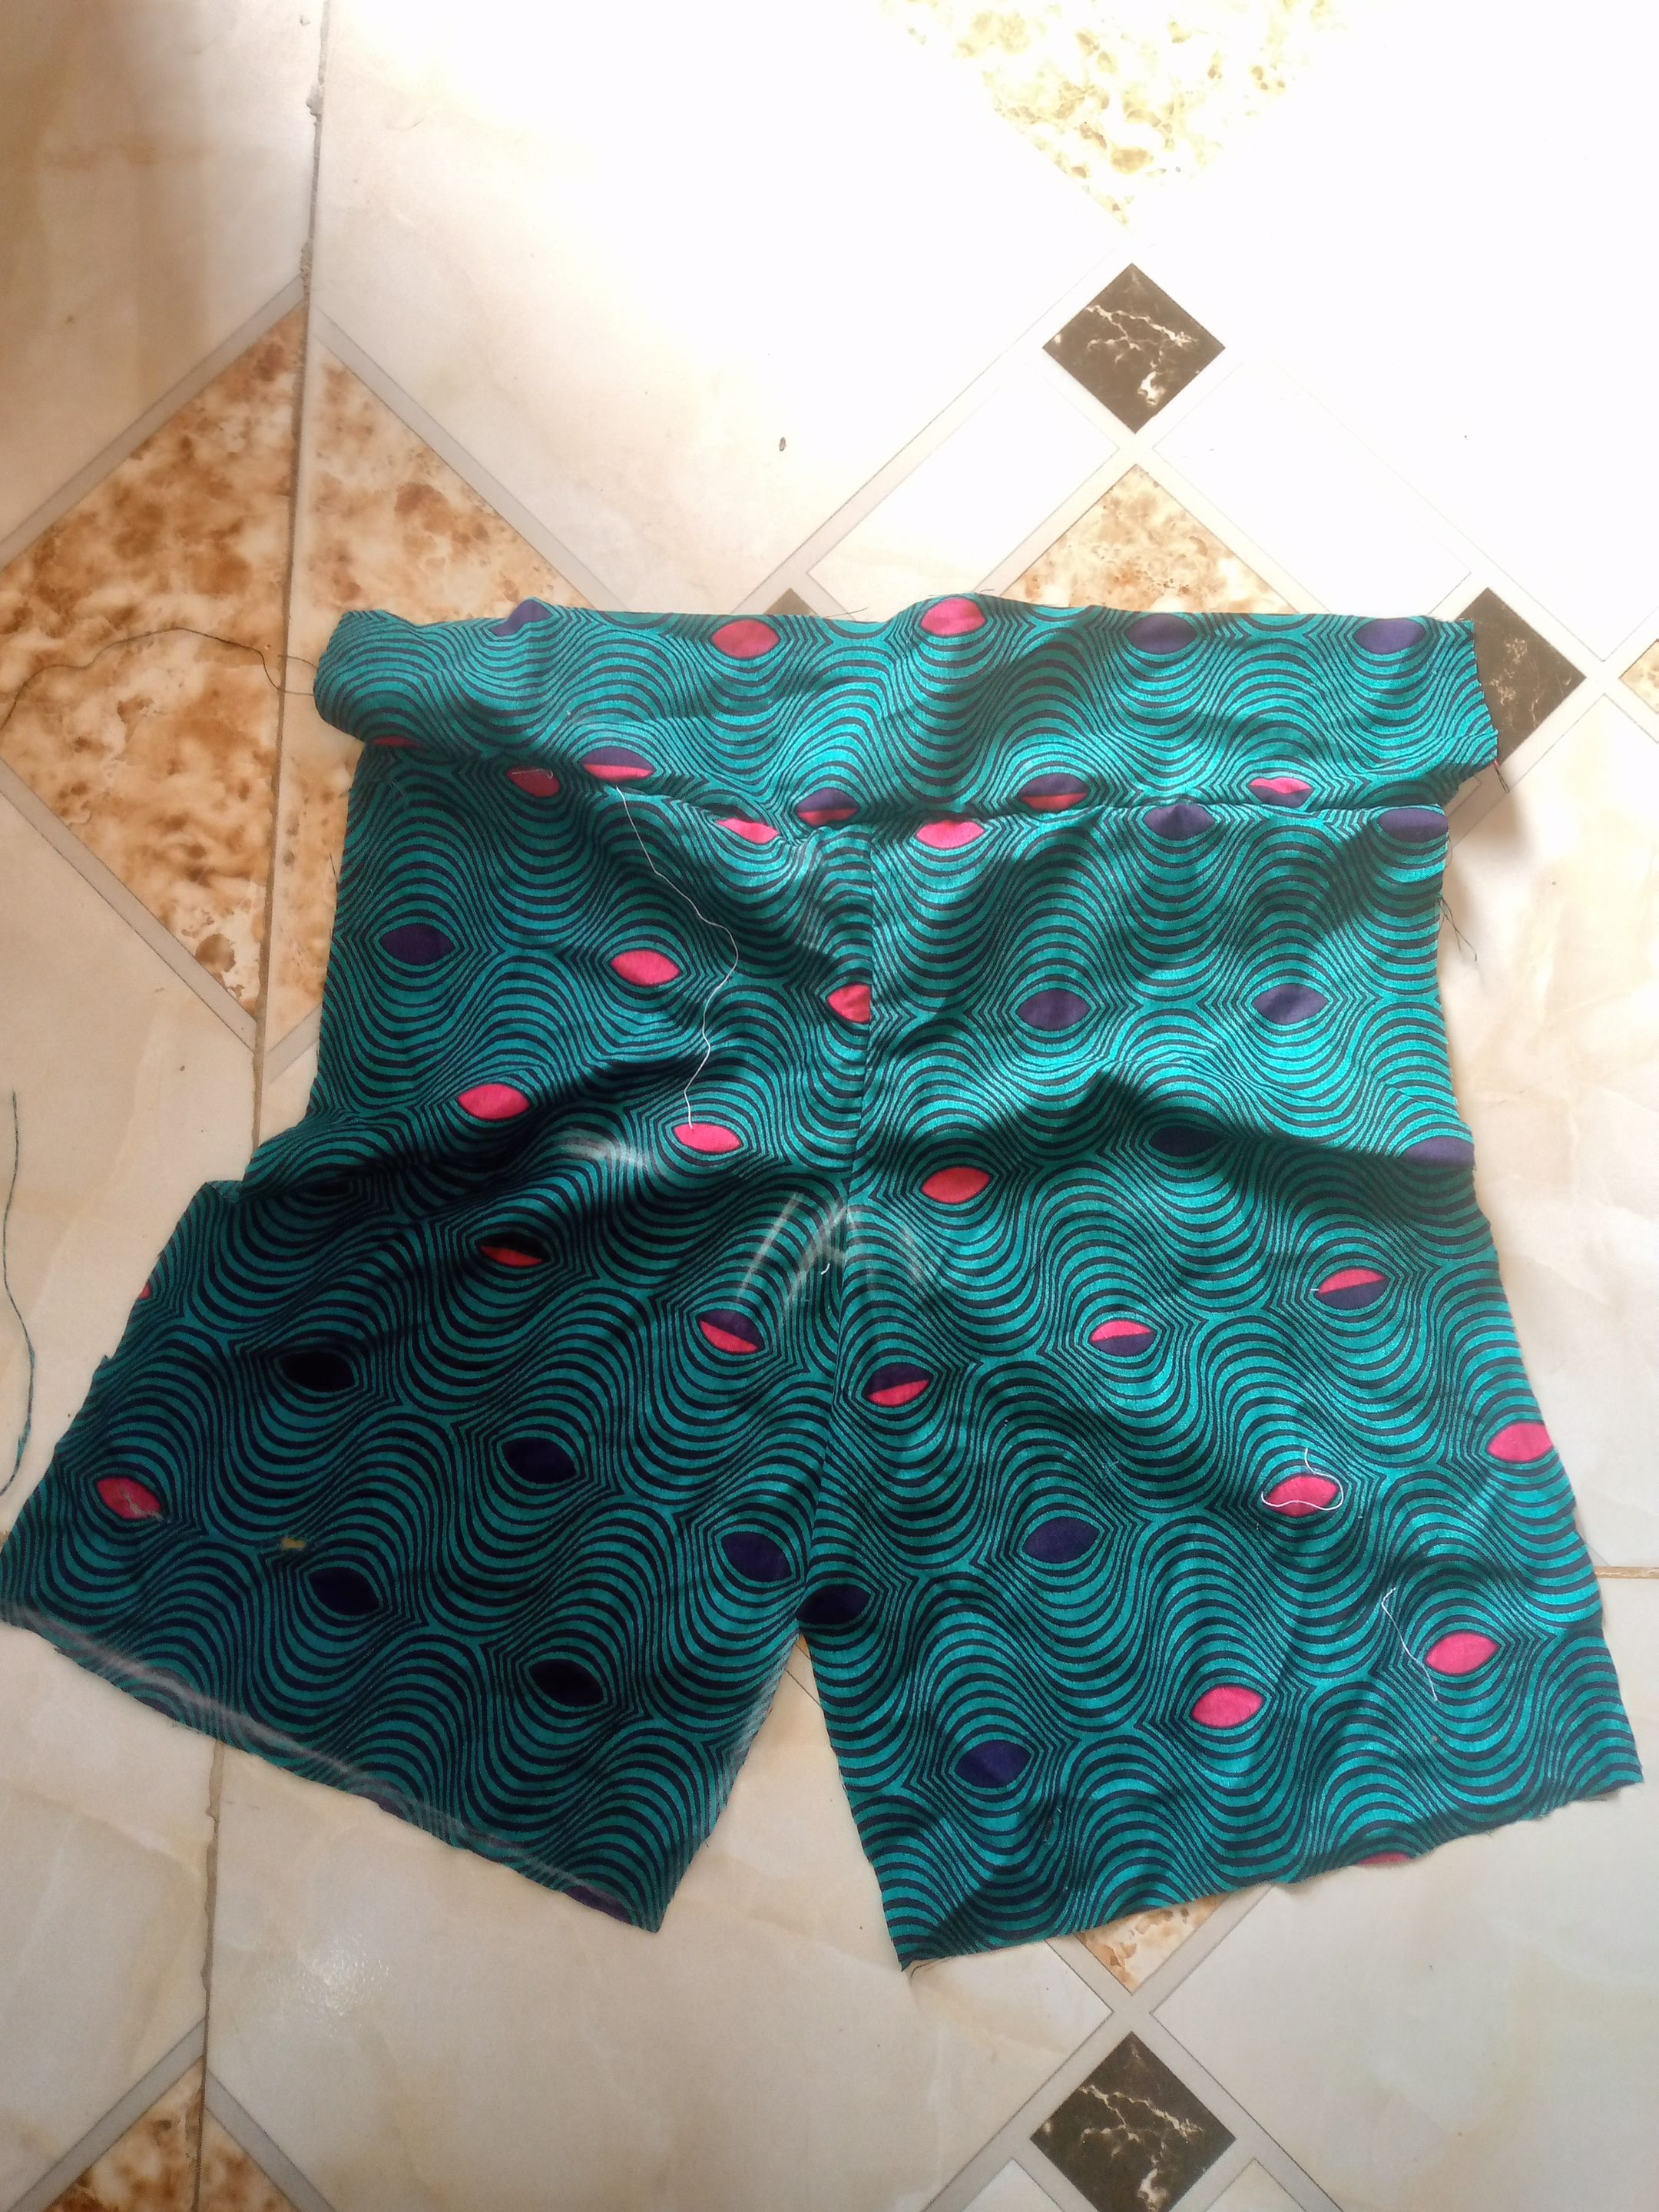
- I started by folding the fabric into four, determining the legth and width, then I drafted the blouse bodice pattern , cuttting out the backline first, before seperating them to cut out the front V-neckline
-
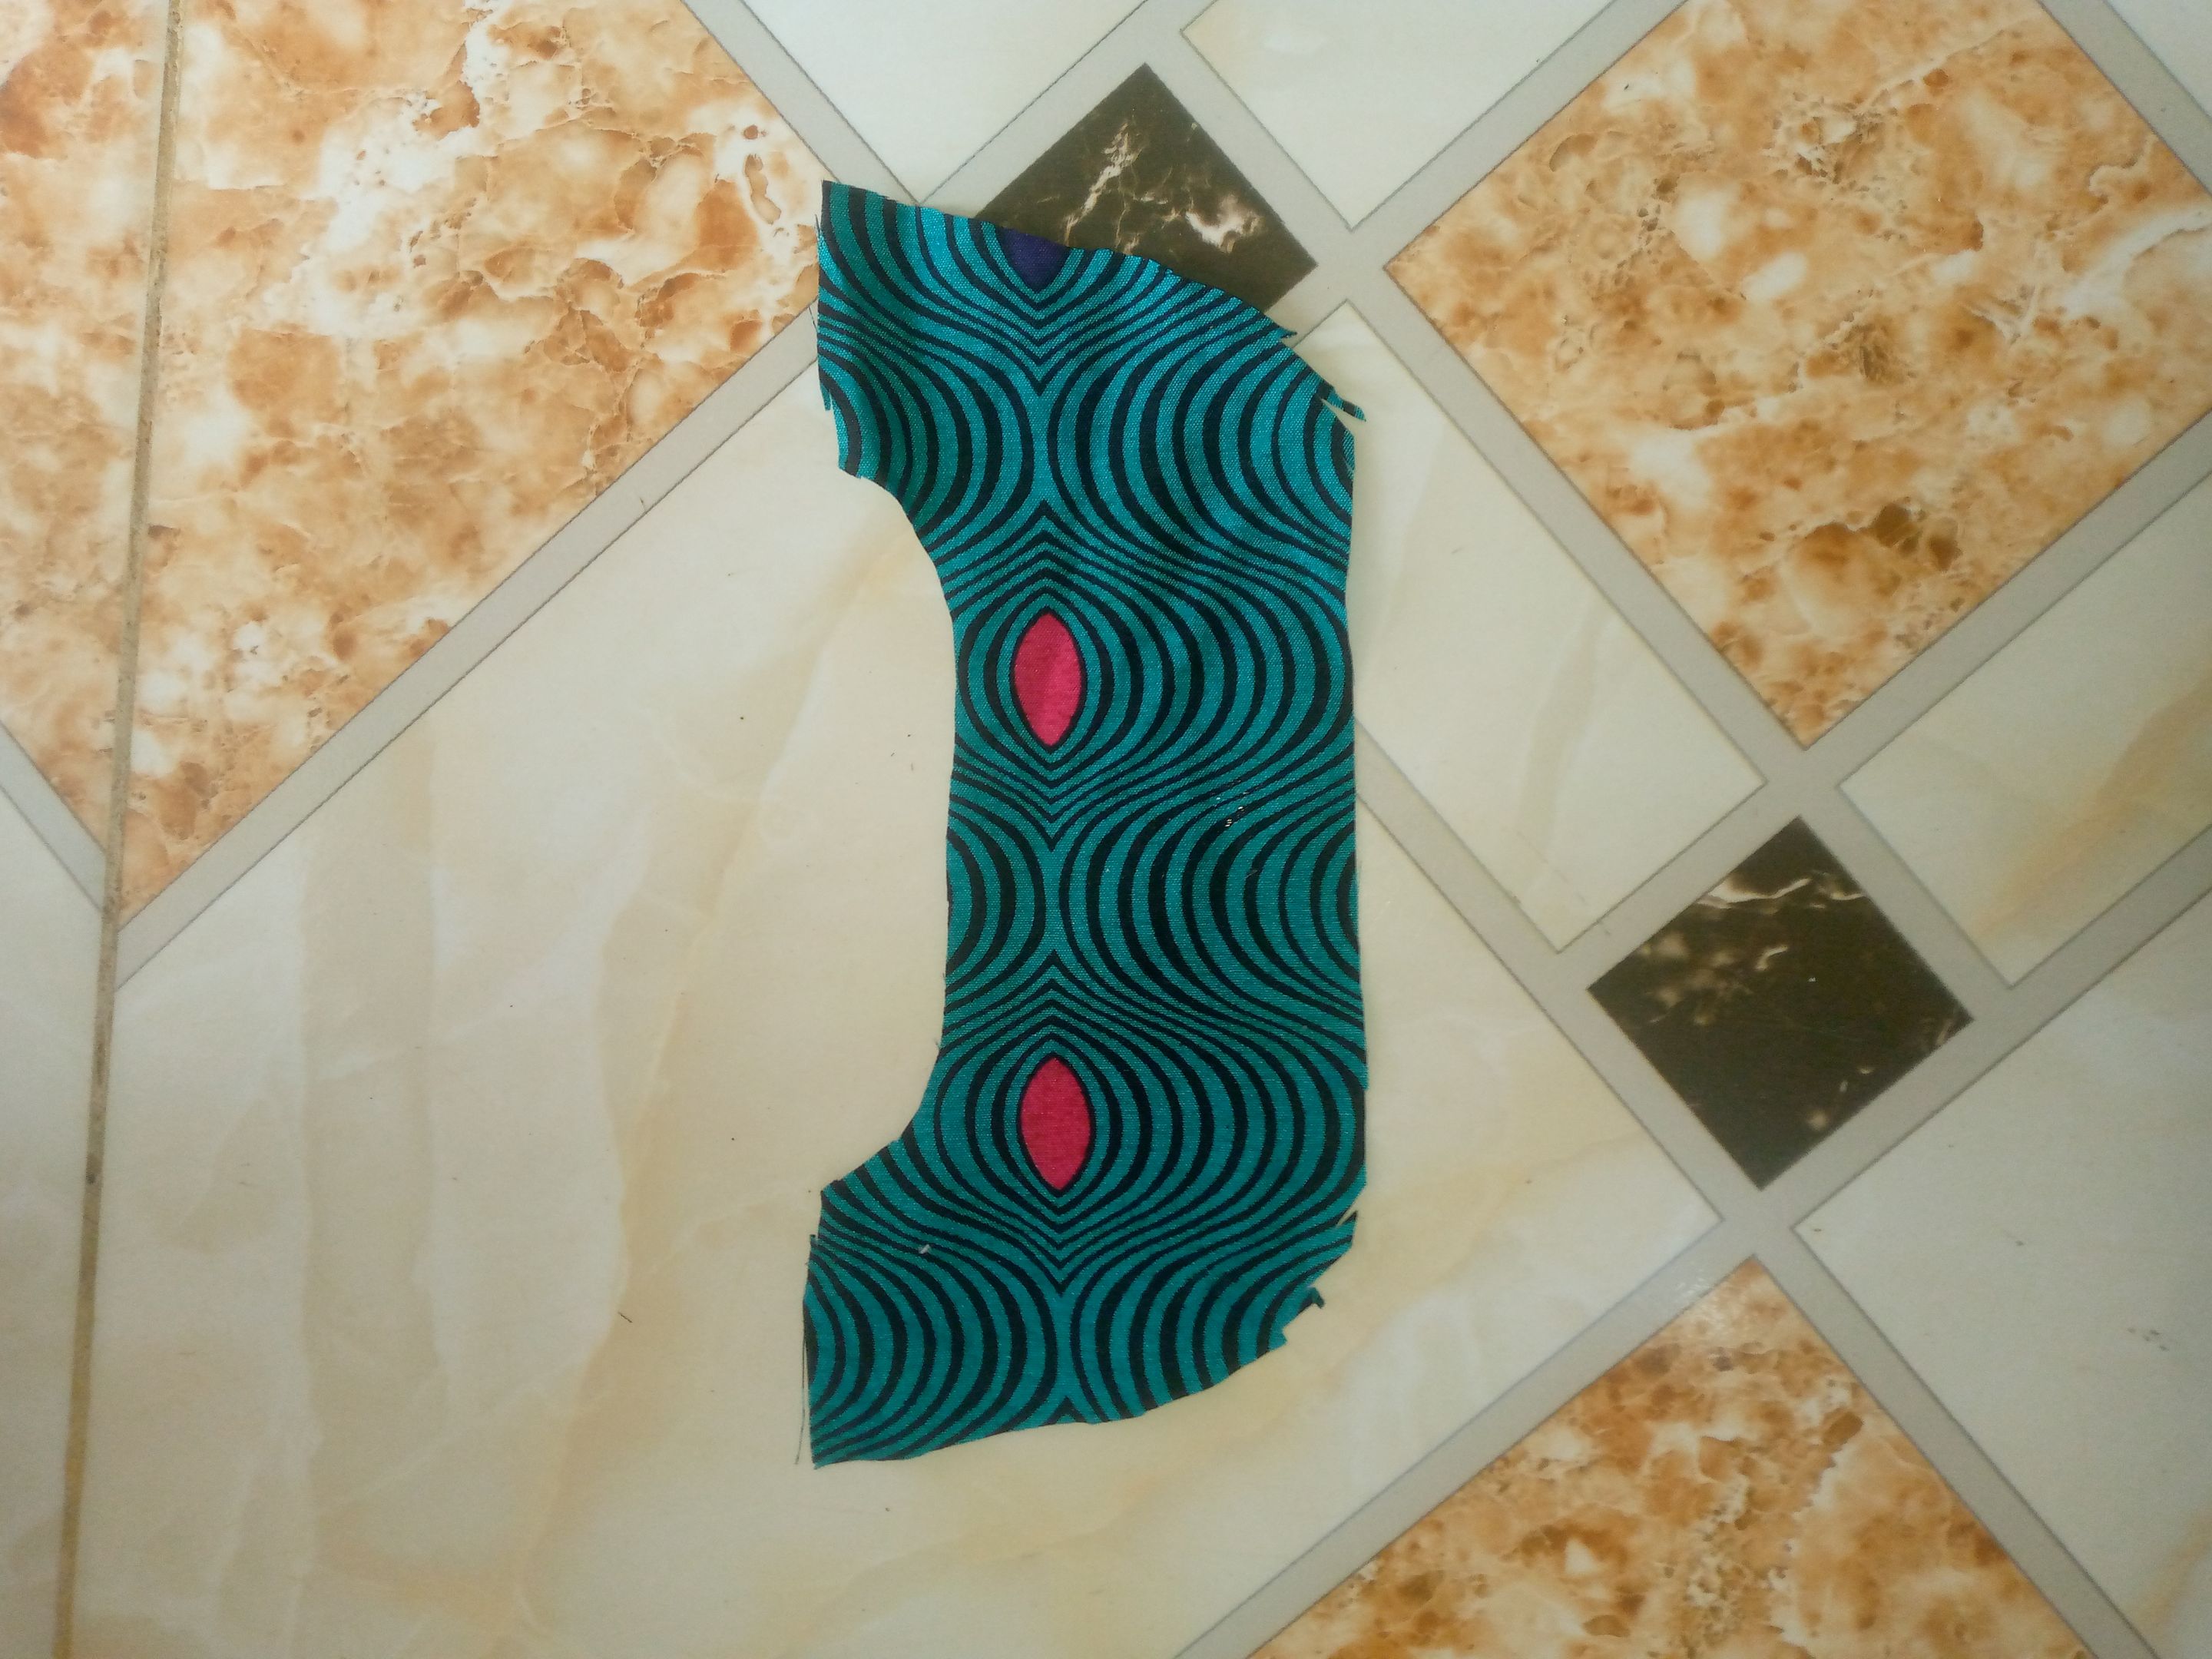
I also cut out facings for both the front and back neckline, which I used in turning the necklines neatly in
-
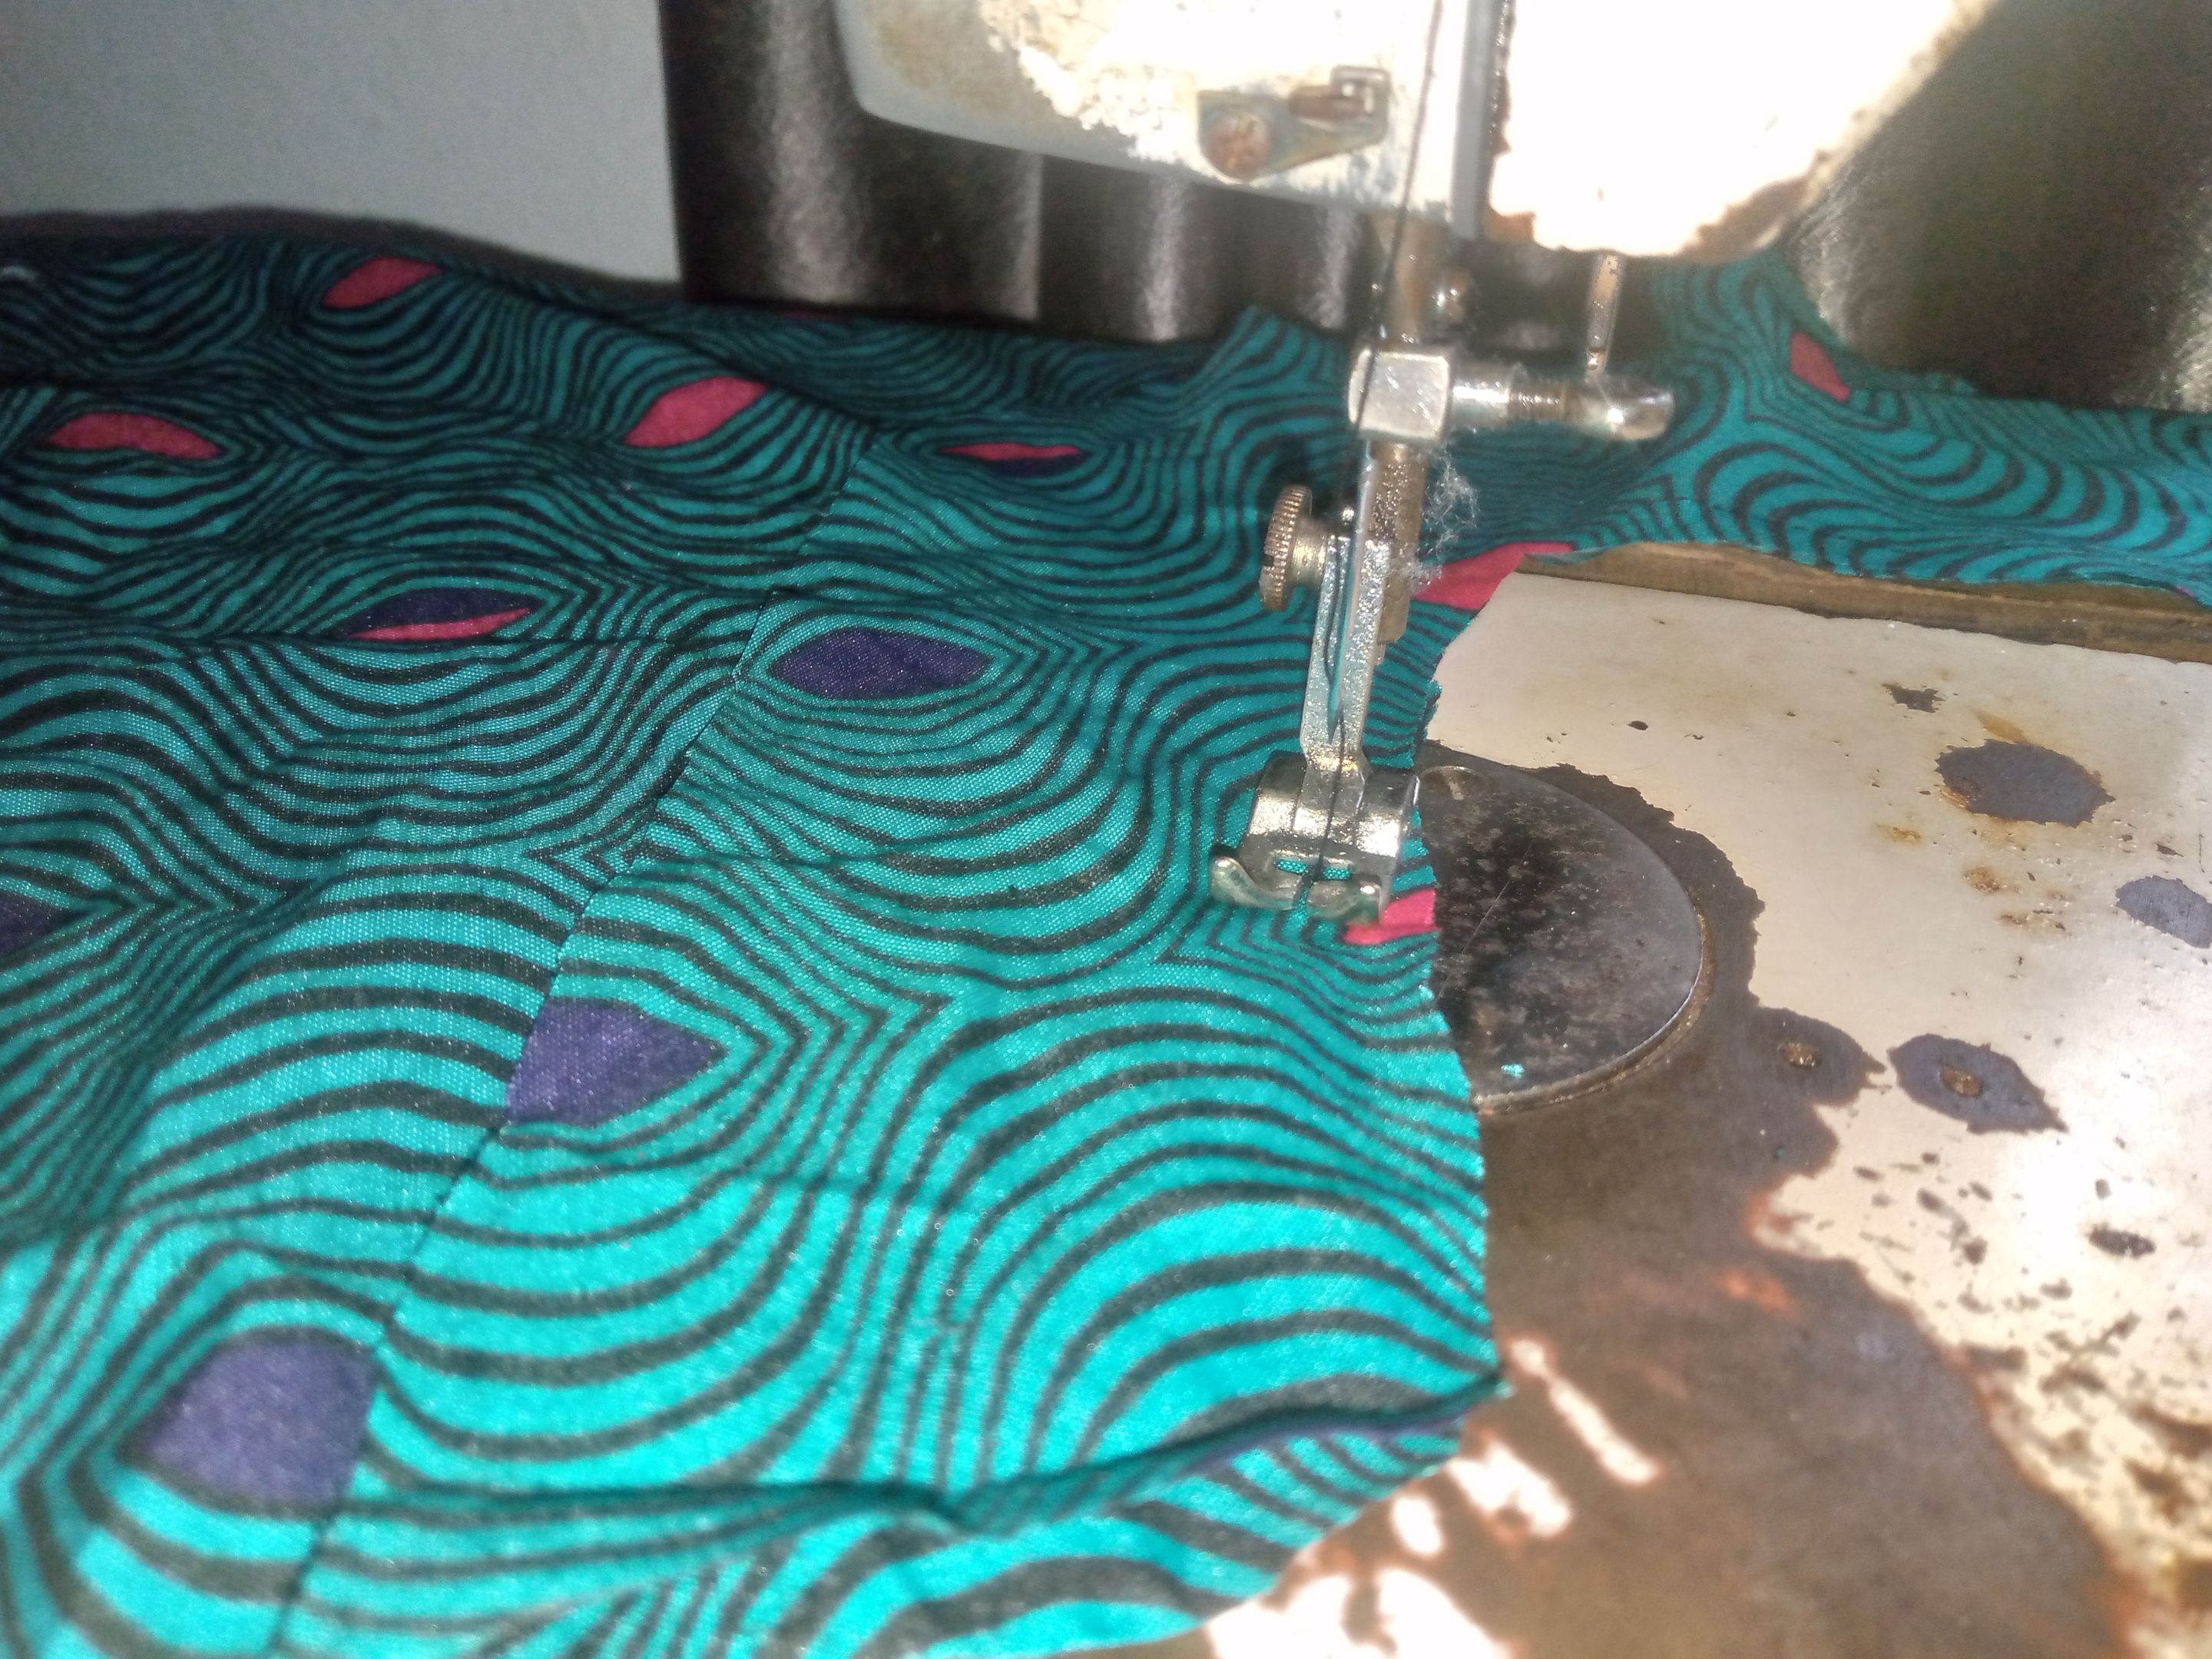
Continuing, I joined the front and back by the shoulders, and also folded the sleeve hem
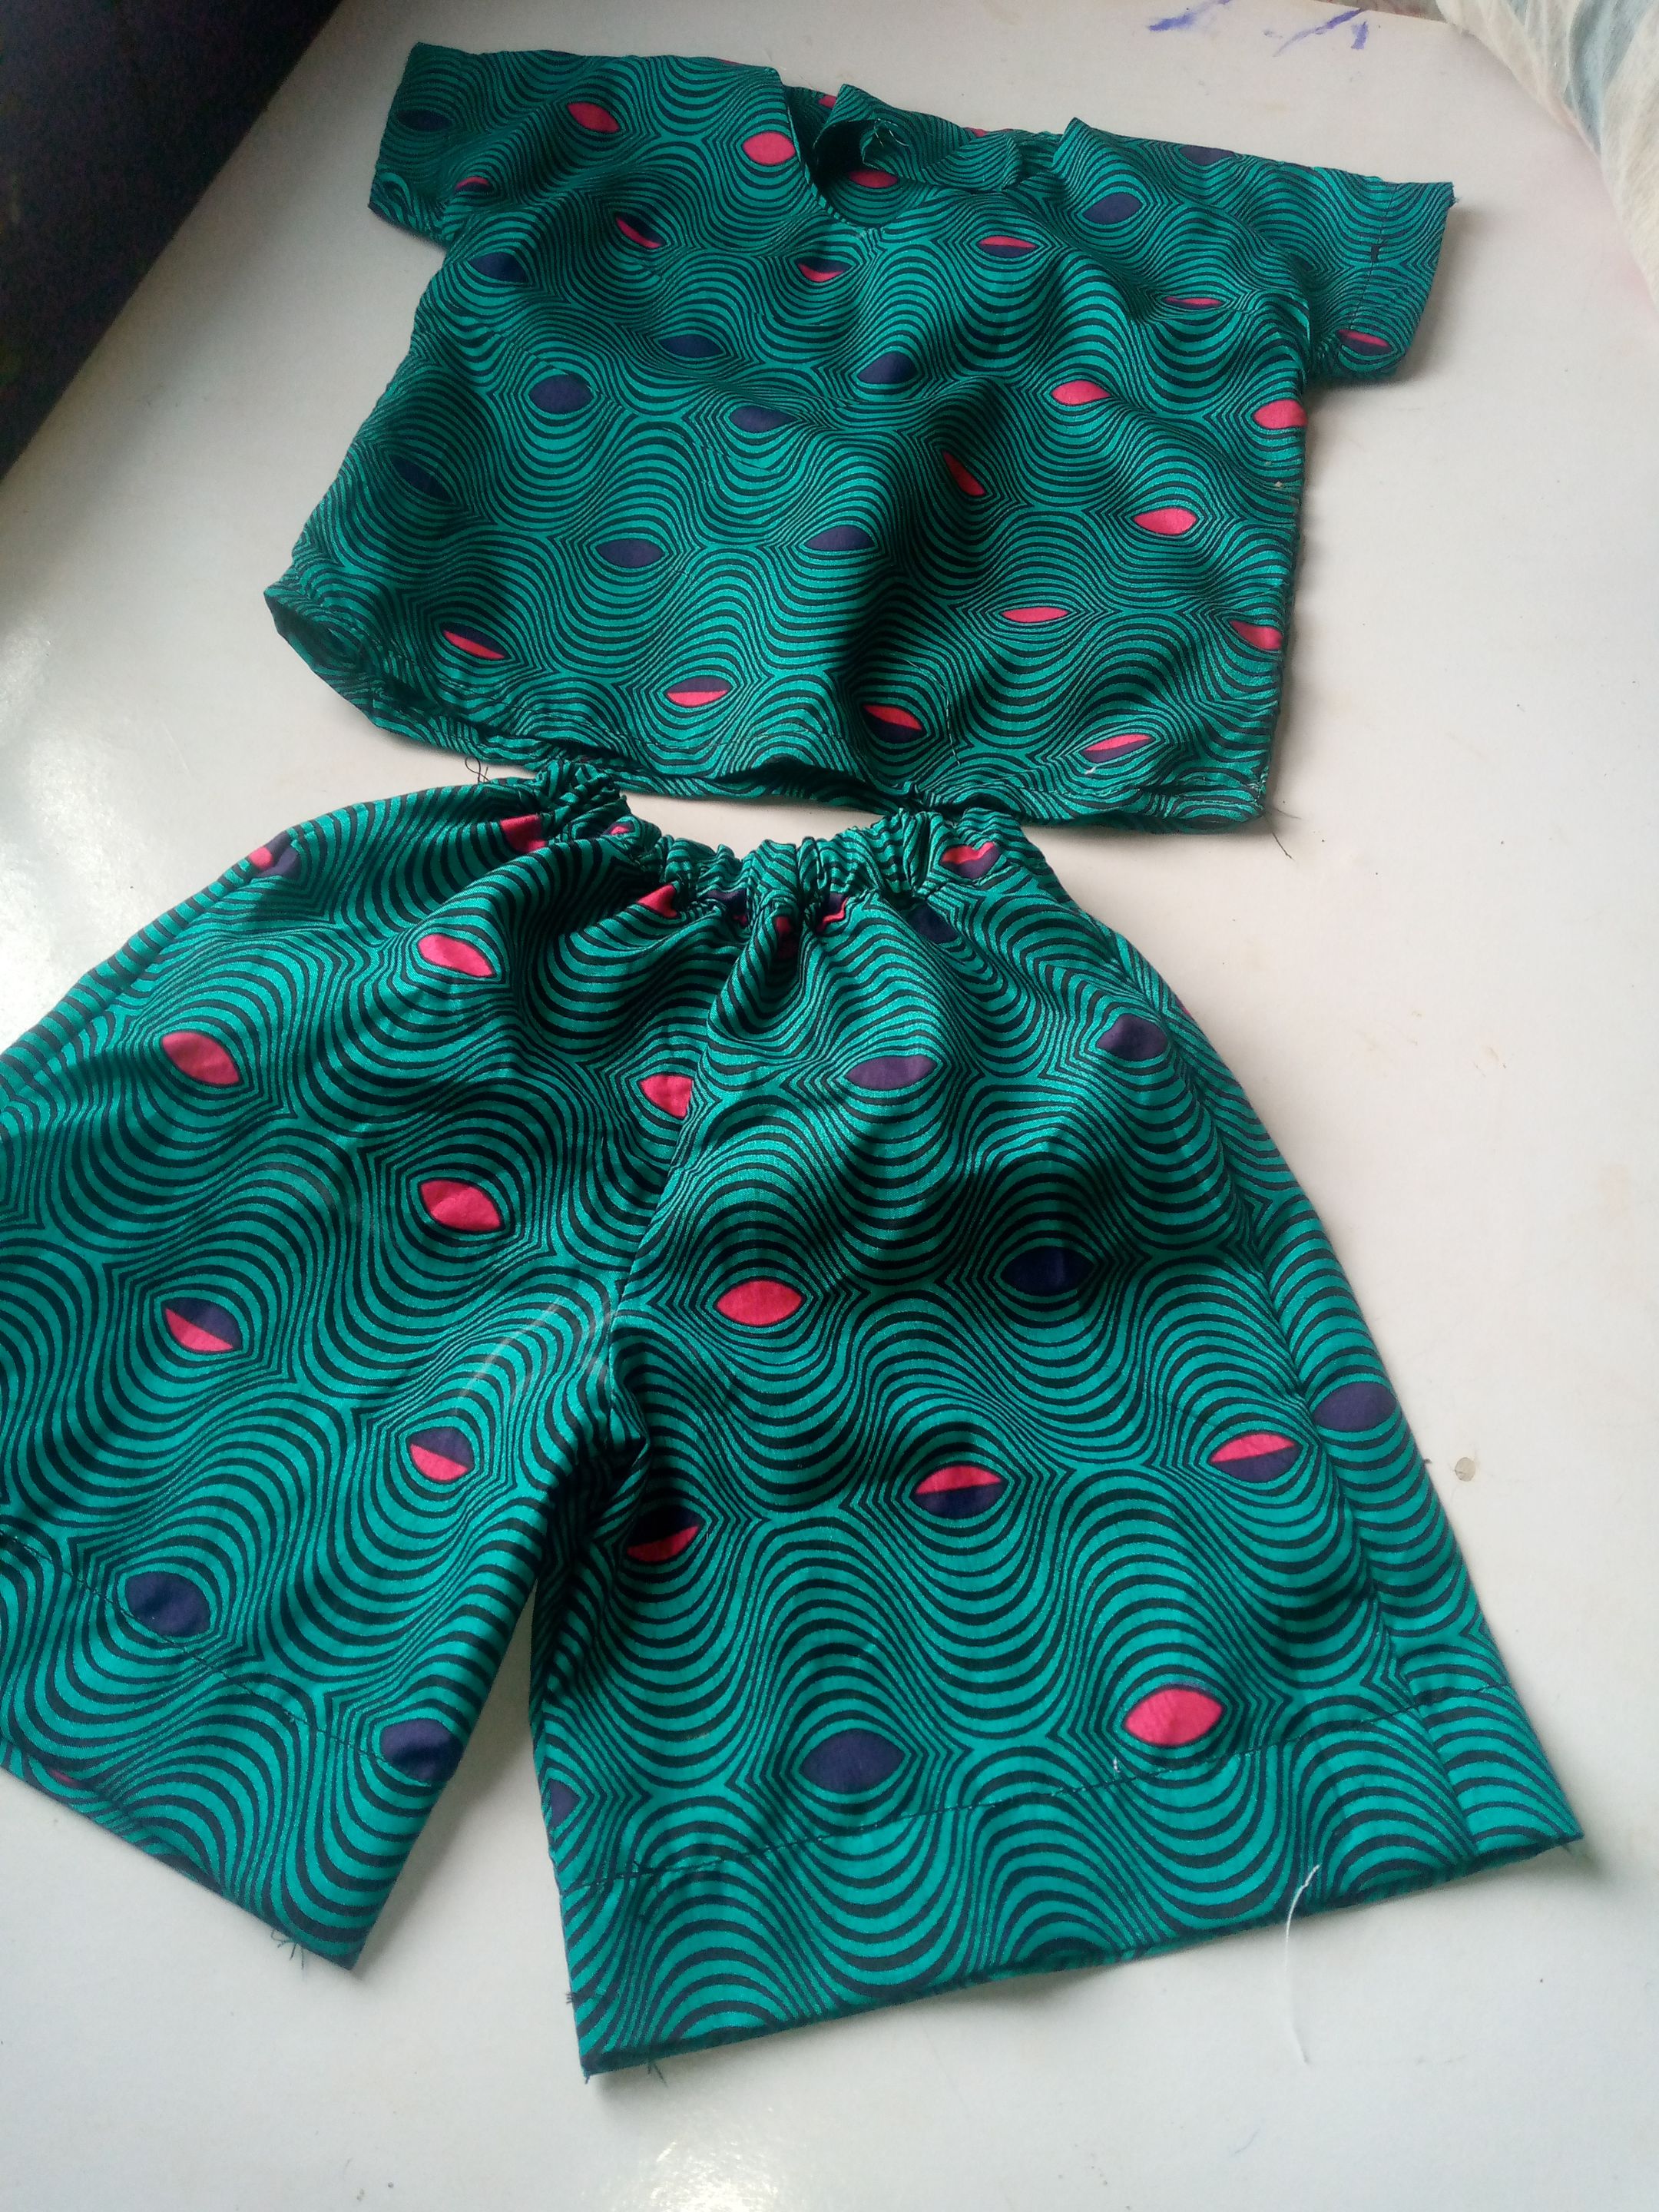
- To complete the blouse-making process, I sewed the sides and hemmed it neatly at the base.
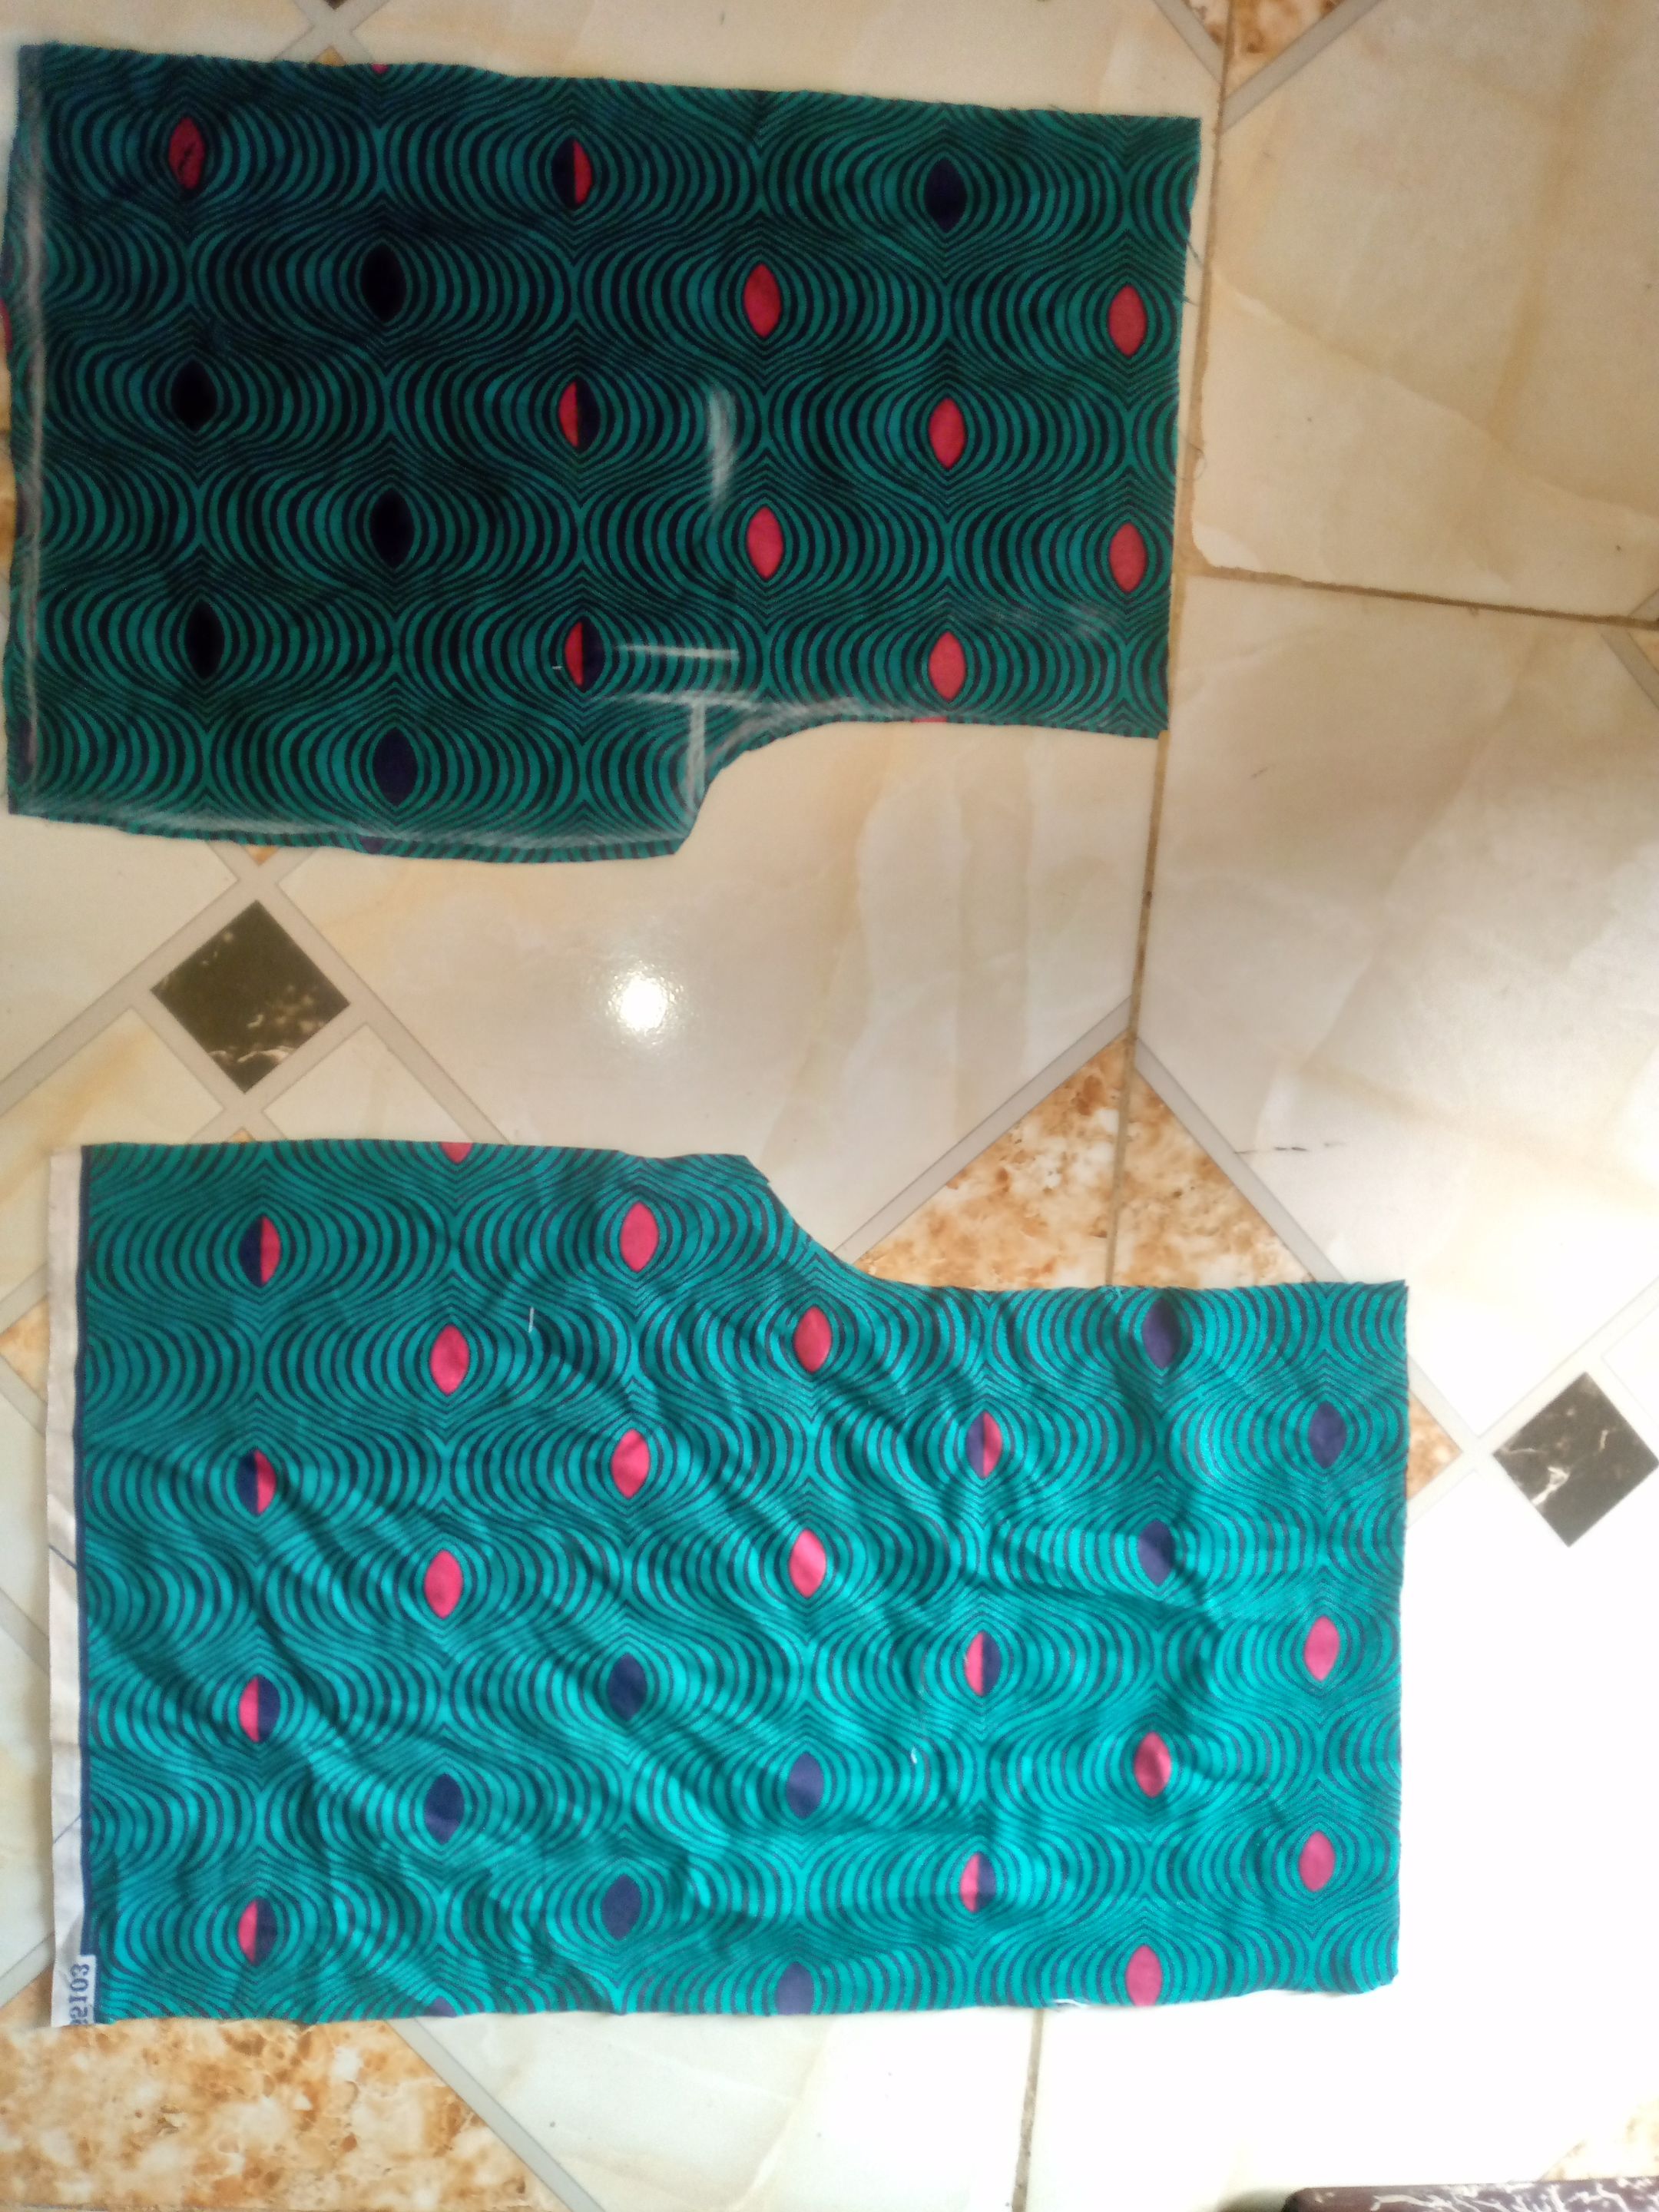
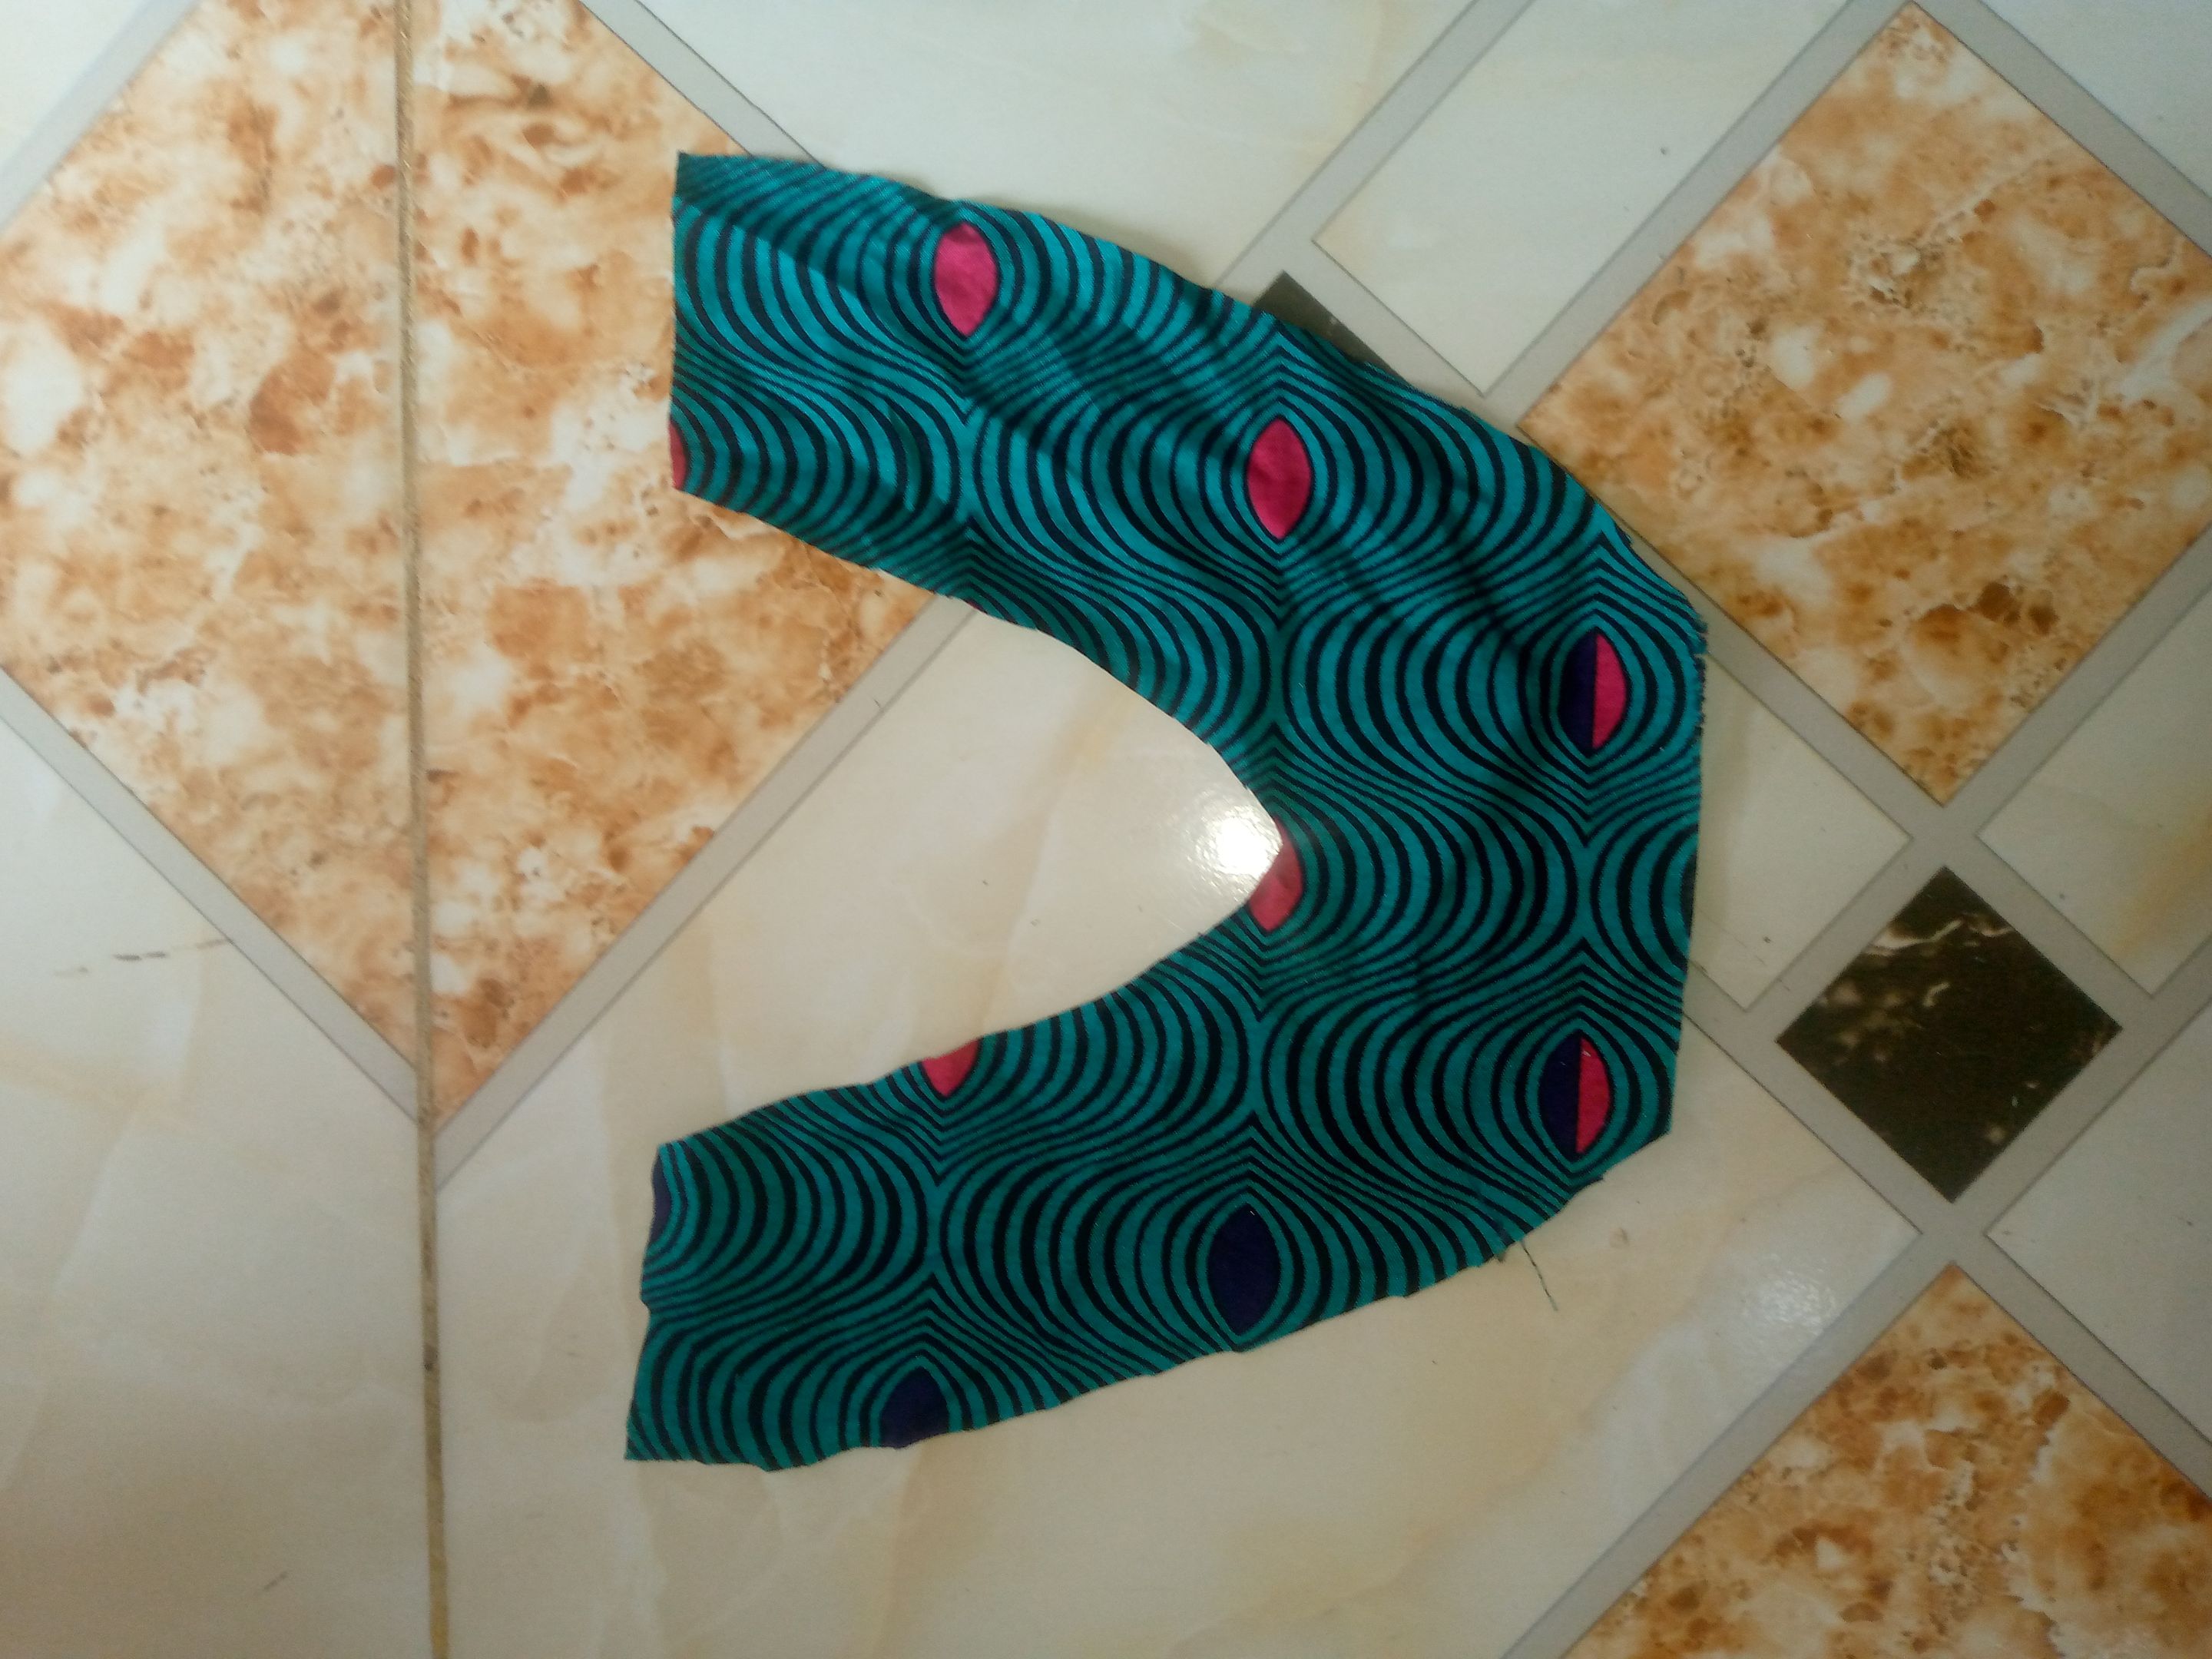
- Moving on to the shorts, I cut out the front and back pattern
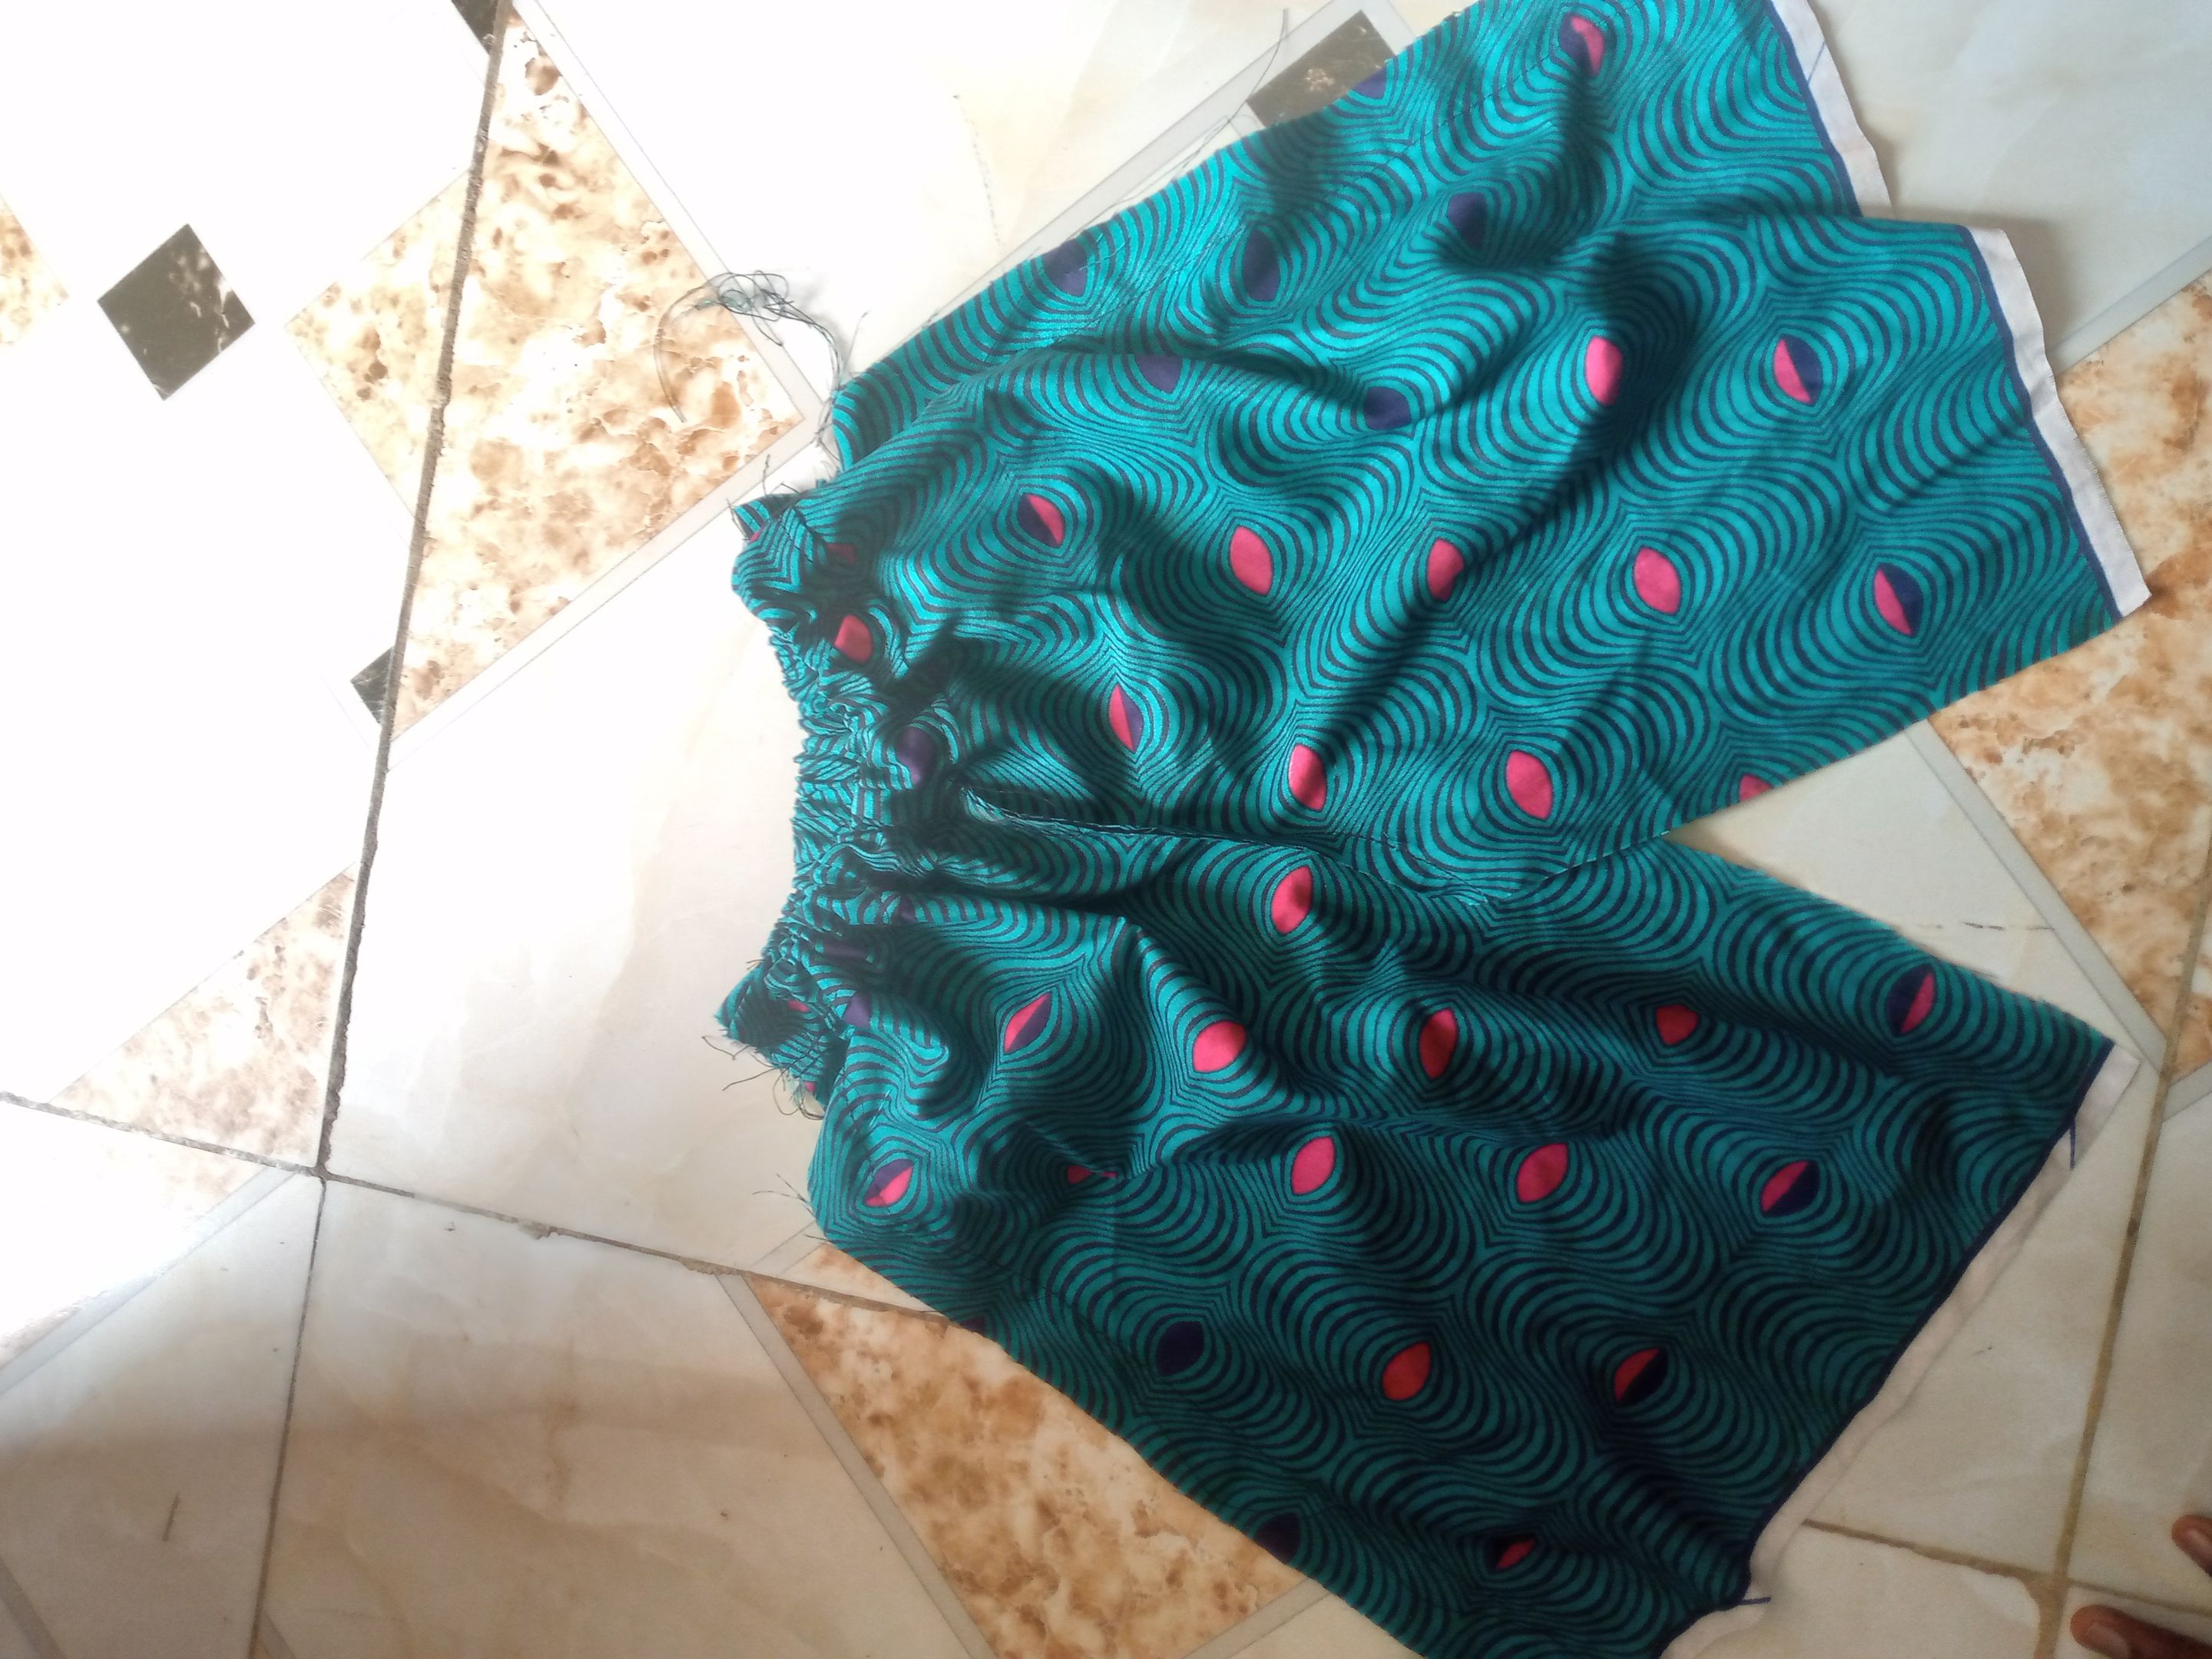
- Then joined the front and back crotch part, and also joined and folded the waistband band and also put in elastic so it firms up around her waist
-
Next, I sewed the sides of the shorts.
-
Finally, I joined the inseam area and also folded the hems
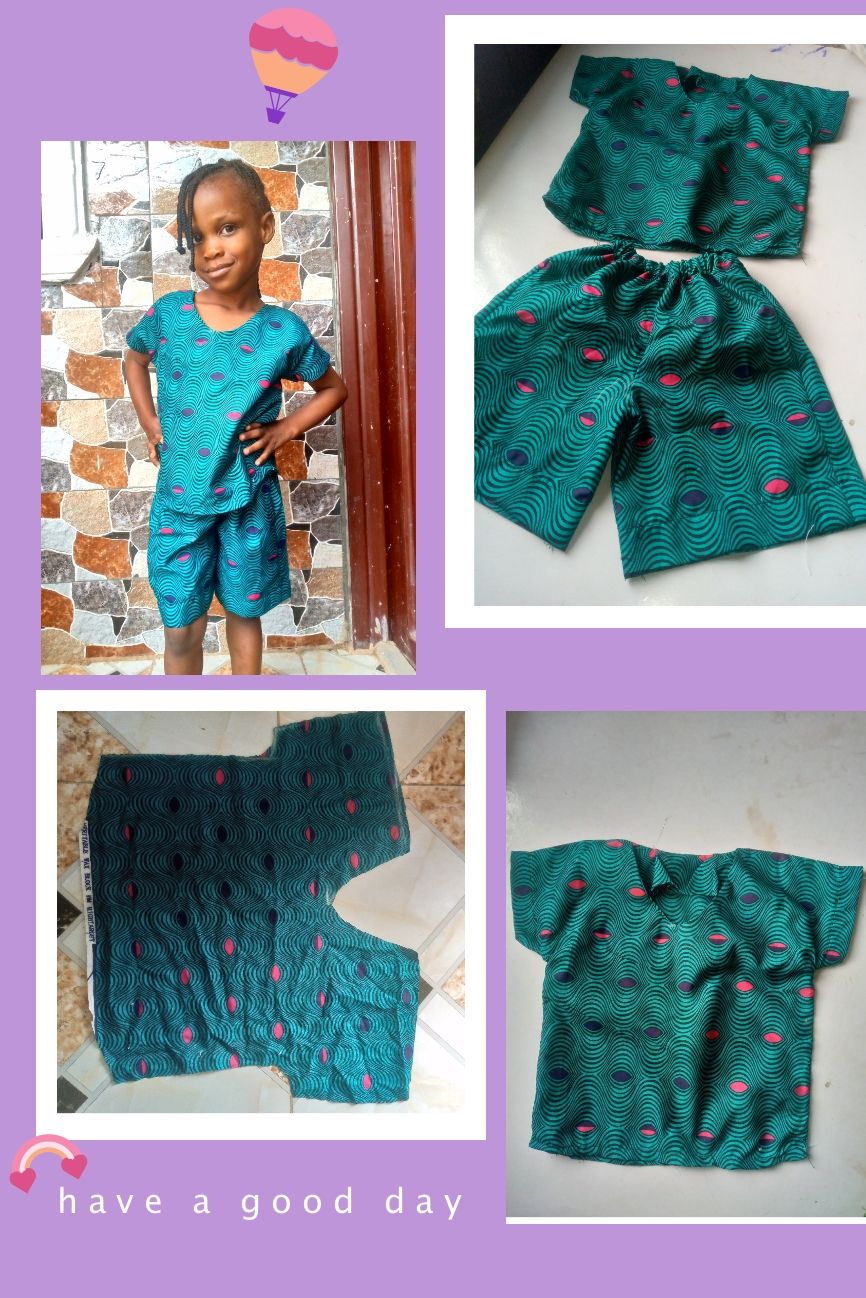
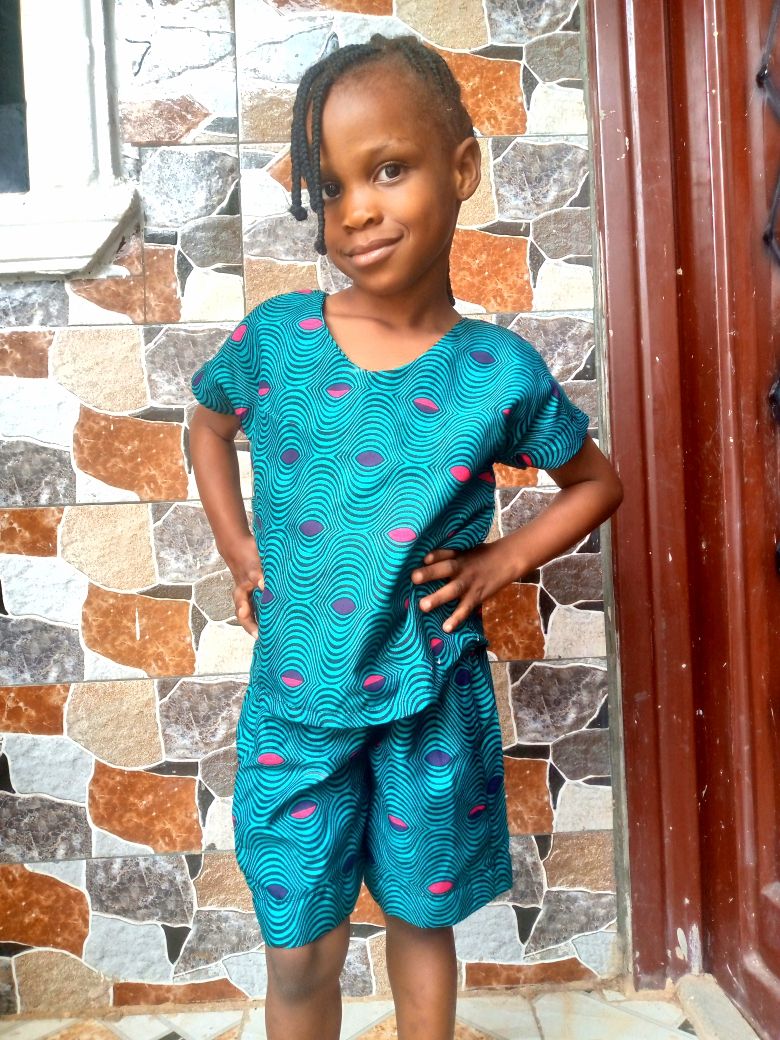
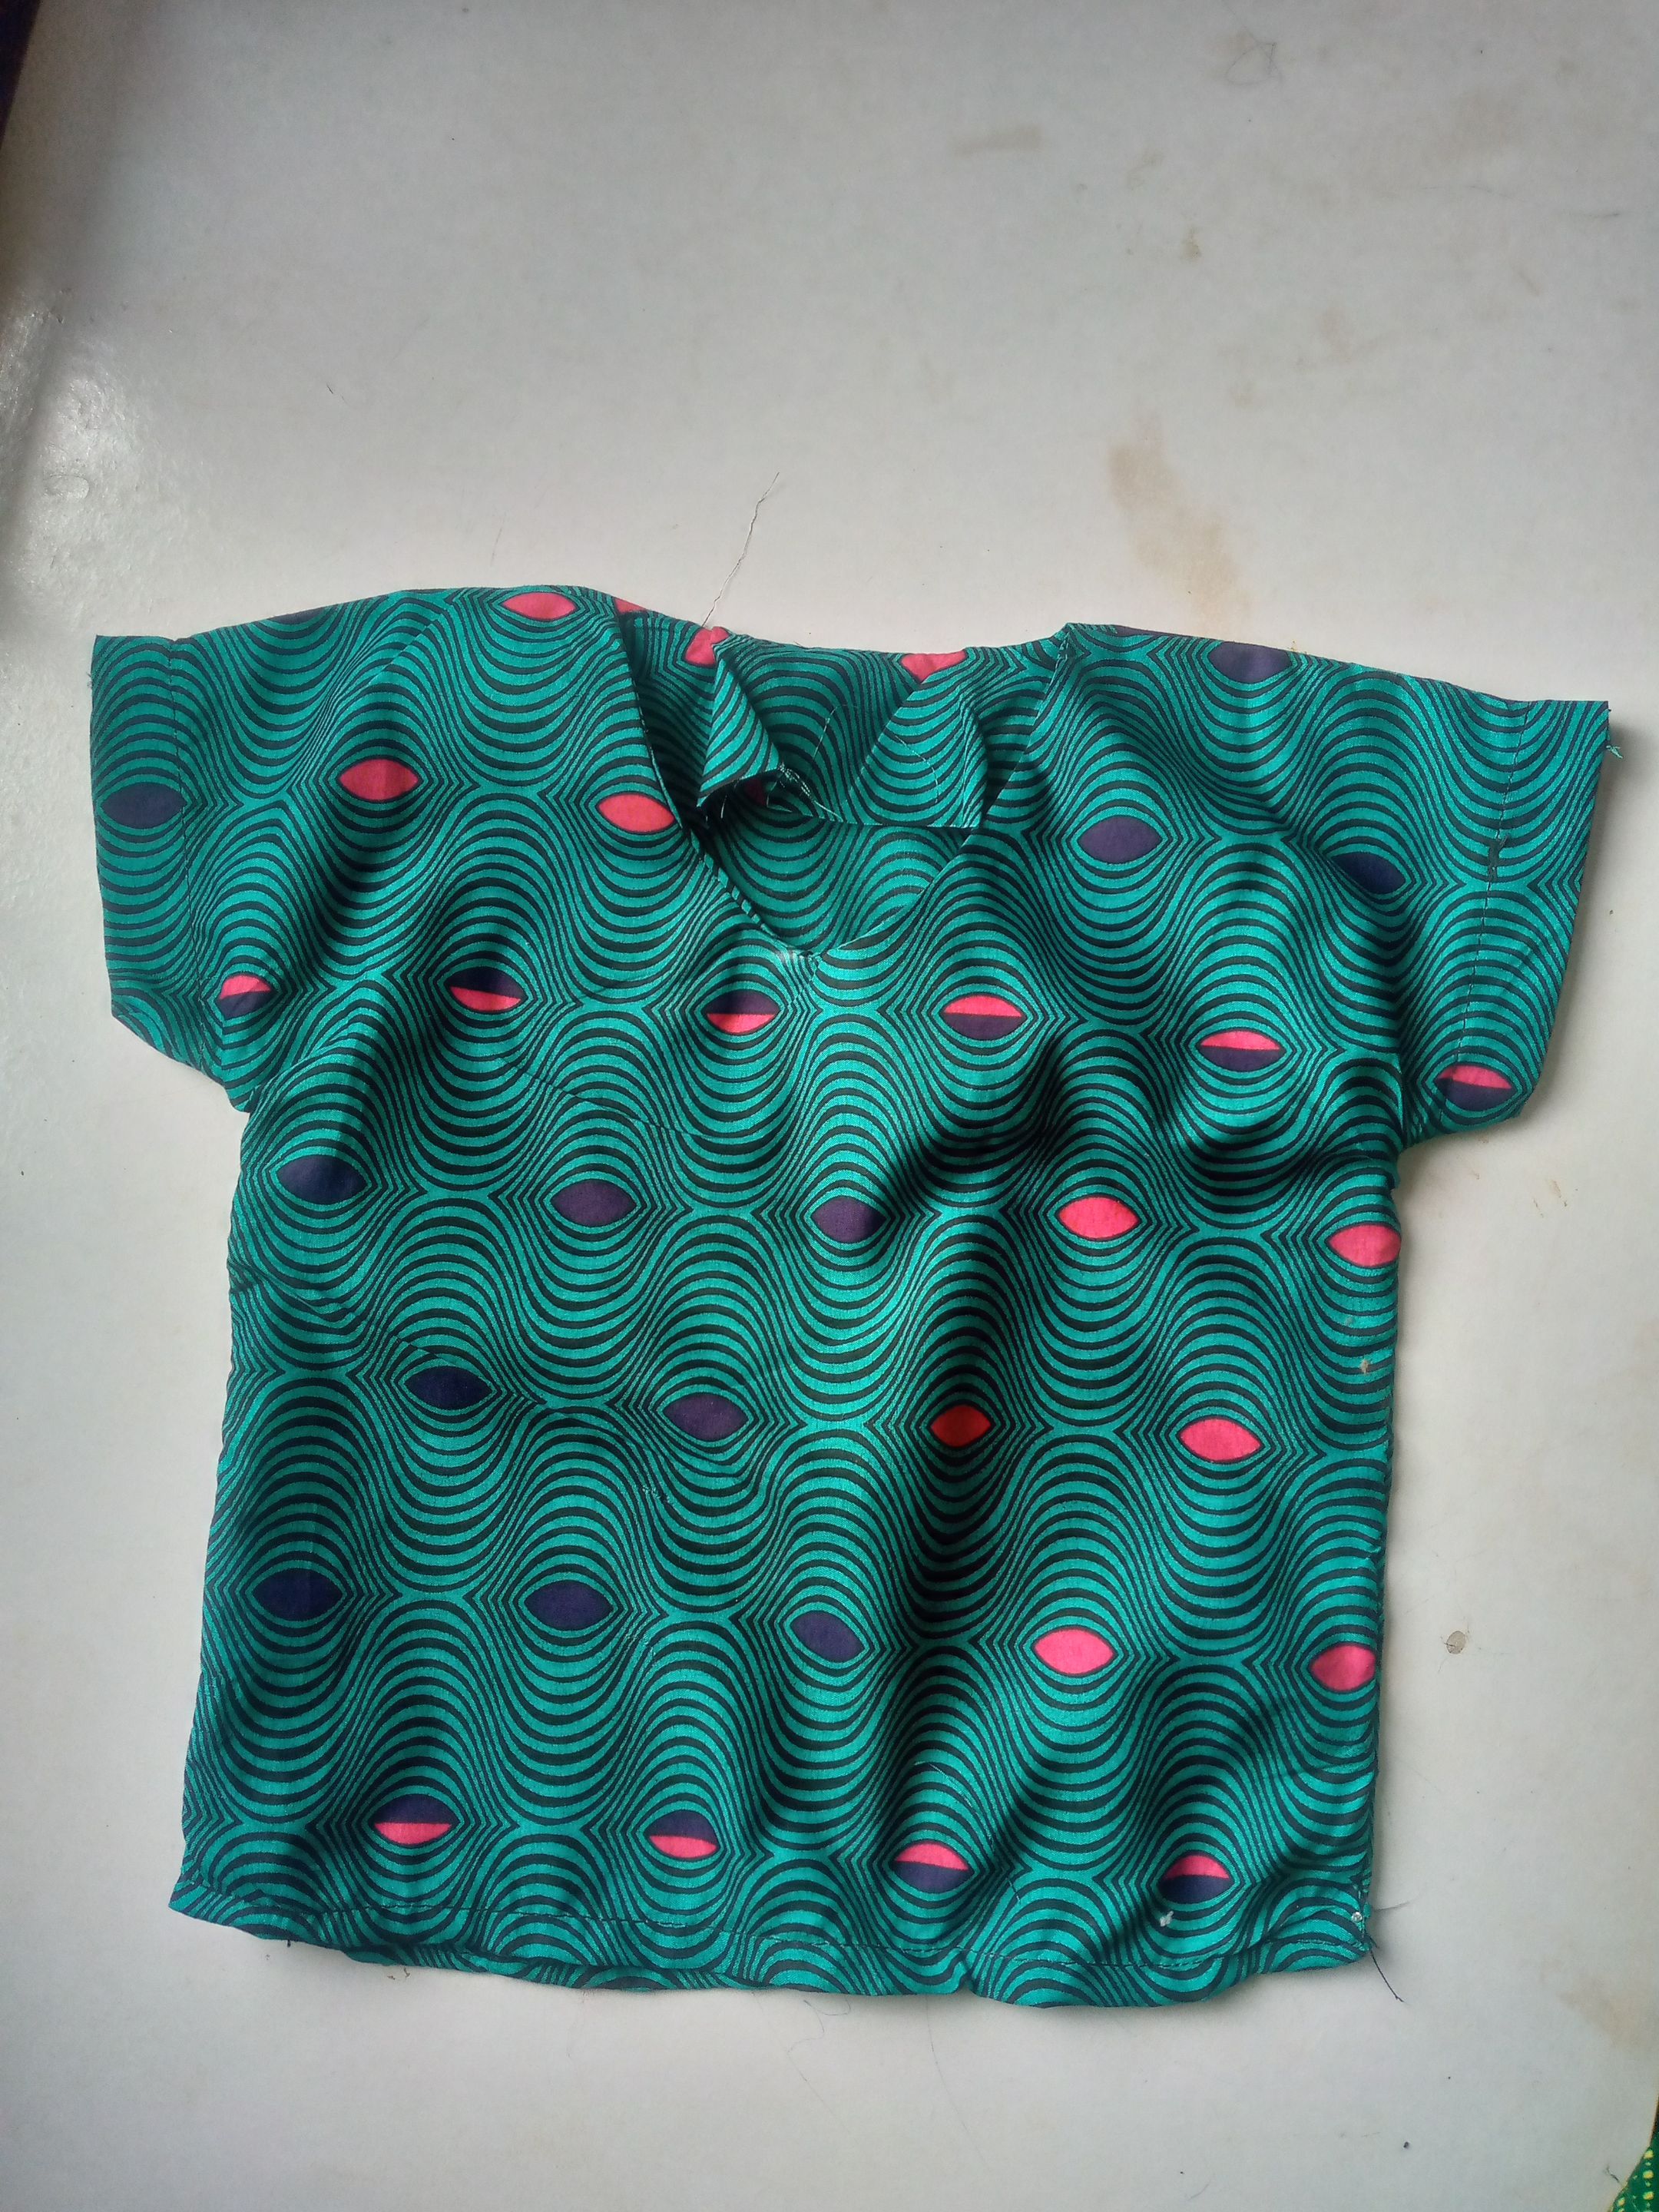
And that completes the making process of my little one's two-piece blouse and shorts.
See that smile, it's worth it all.
All images used in this post are mine