Happy start of the week, dear friends on Hive, I hope you all feel refreshed this Monday and ready to tackle the week ahead. Wishing everyone an amazing week.

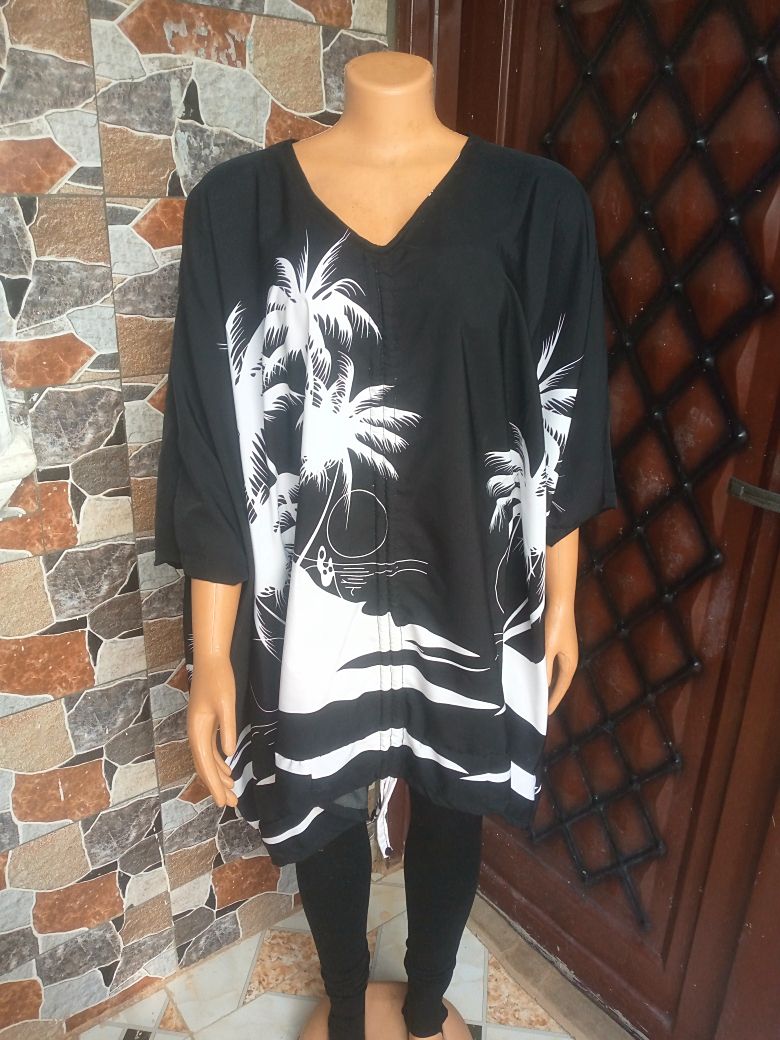
Glad to make it to another Needlework Monday, I almost thought I would miss it, as I had an early Monday run, also delivering this beautiful blouse I made to my favourite sister inlaw, she had reached out to me a few weeks ago, wanting me to make some couple of outfits for her as most of the onses she had were either tight or worn out. I love the sound of a wardrobe makeover, and was more than happy she chose me to fulfill this purpose, considering she lives far from me.
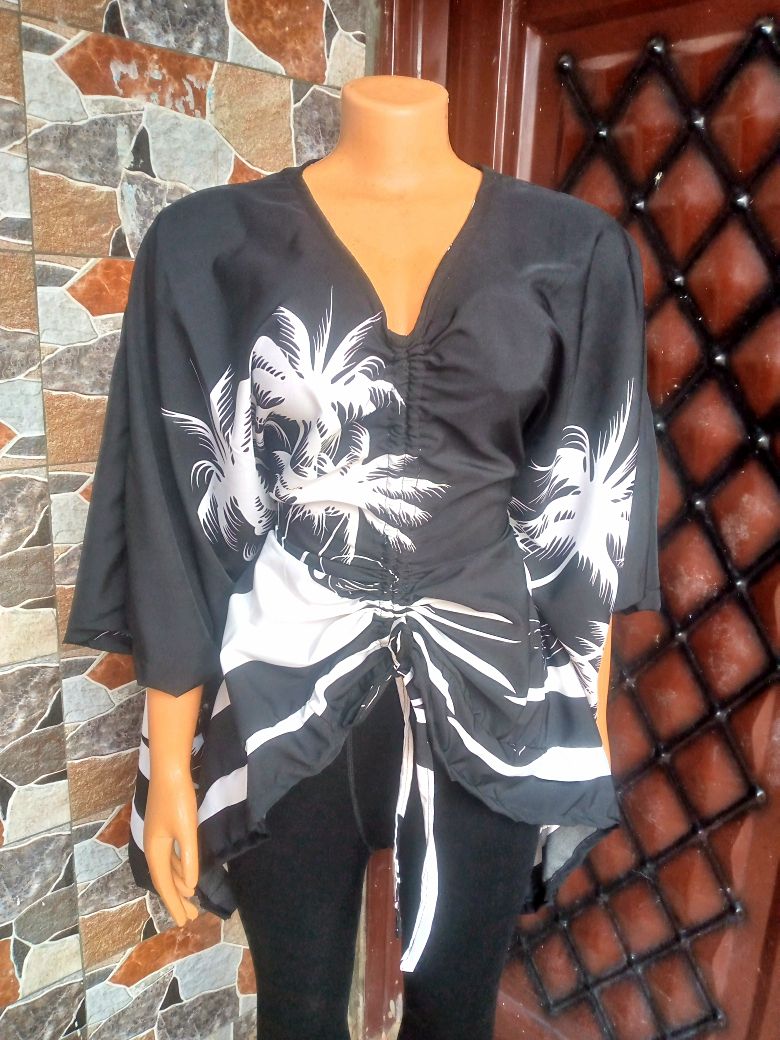
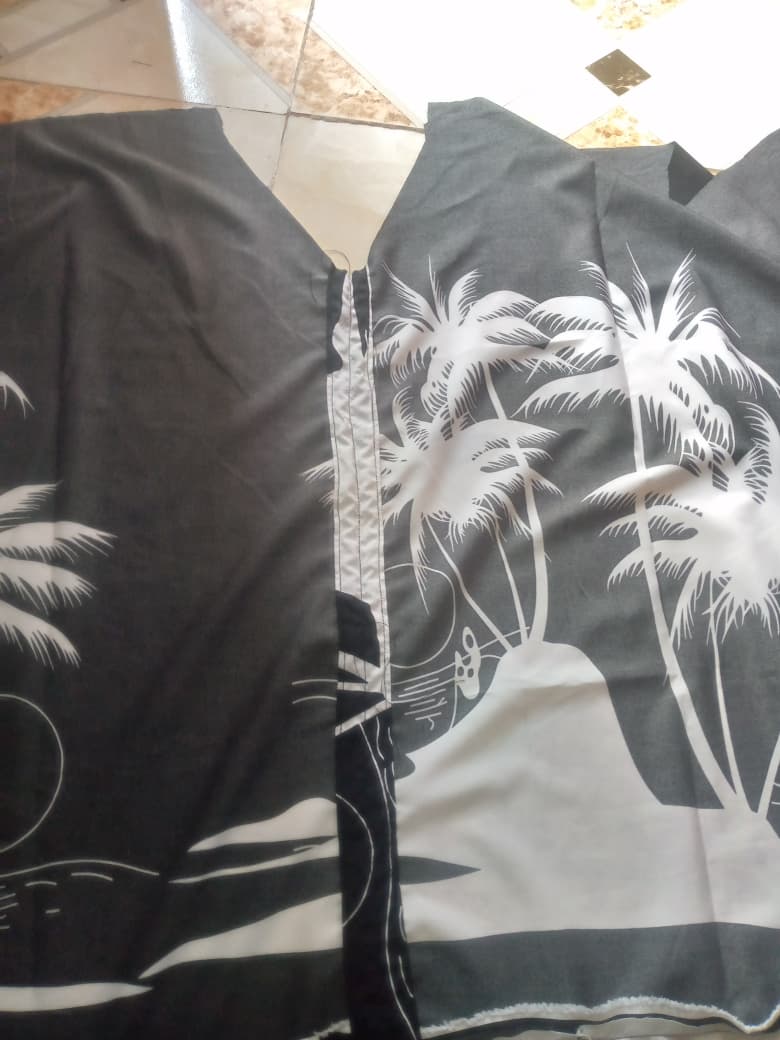
I need the Glory's touch she said, making me burst more with happiness. The blouse was one of the collections I made for her, it's a two-piece actually, but today's needlework post will be focused on the kimono blouse making process, for many obvious reasons, it is pretty, and has its unique runch at the center of the blouse with a V-neckline. Not forgetting, it is a super comfy blouse, and as I stated earlier, it has a matching pair of trousers to complete the piece. Let's get right into the making process, then.
Materials Used
-
Soft patterned crepe fabric
-
Matching coloured thread
Cutting And Sewing Process
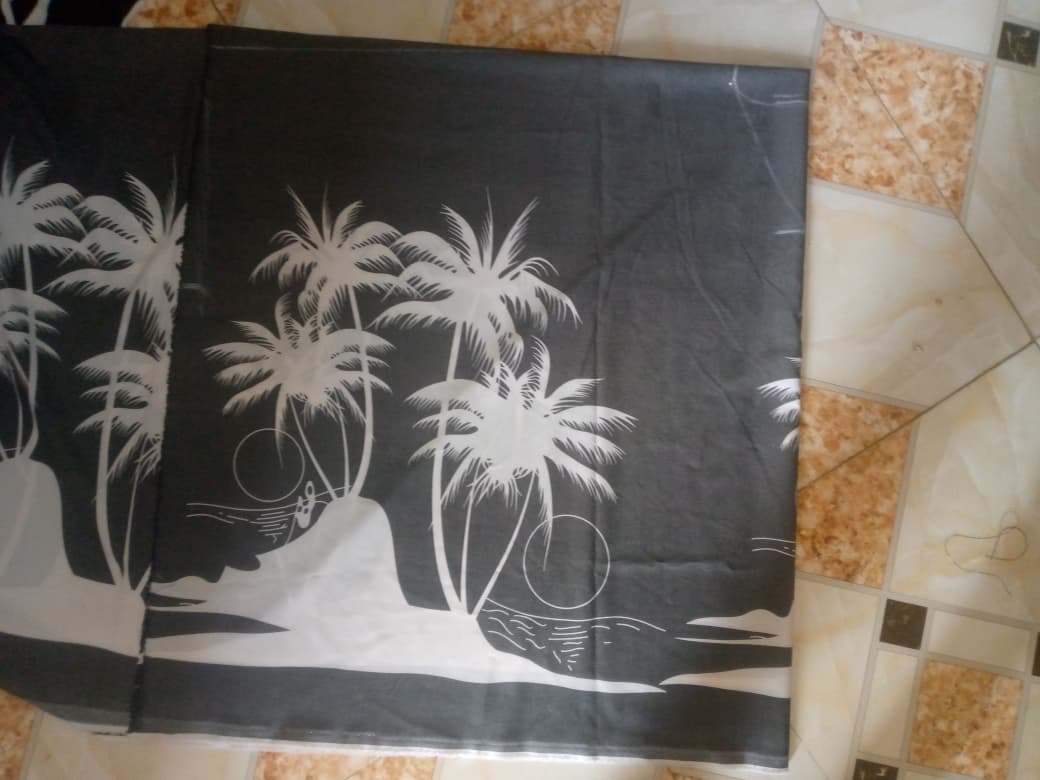
- I started by folding the fabric into four folds, determining the length of the blouse and the sleeve length as well, since it is cut together with the blouse.
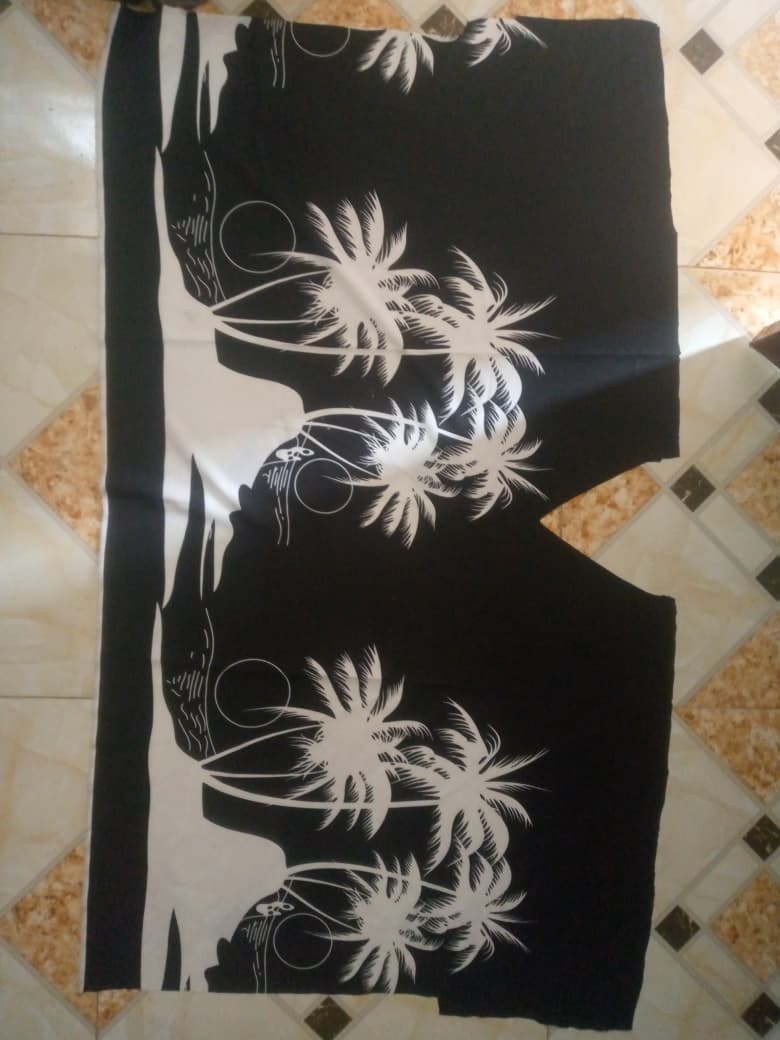
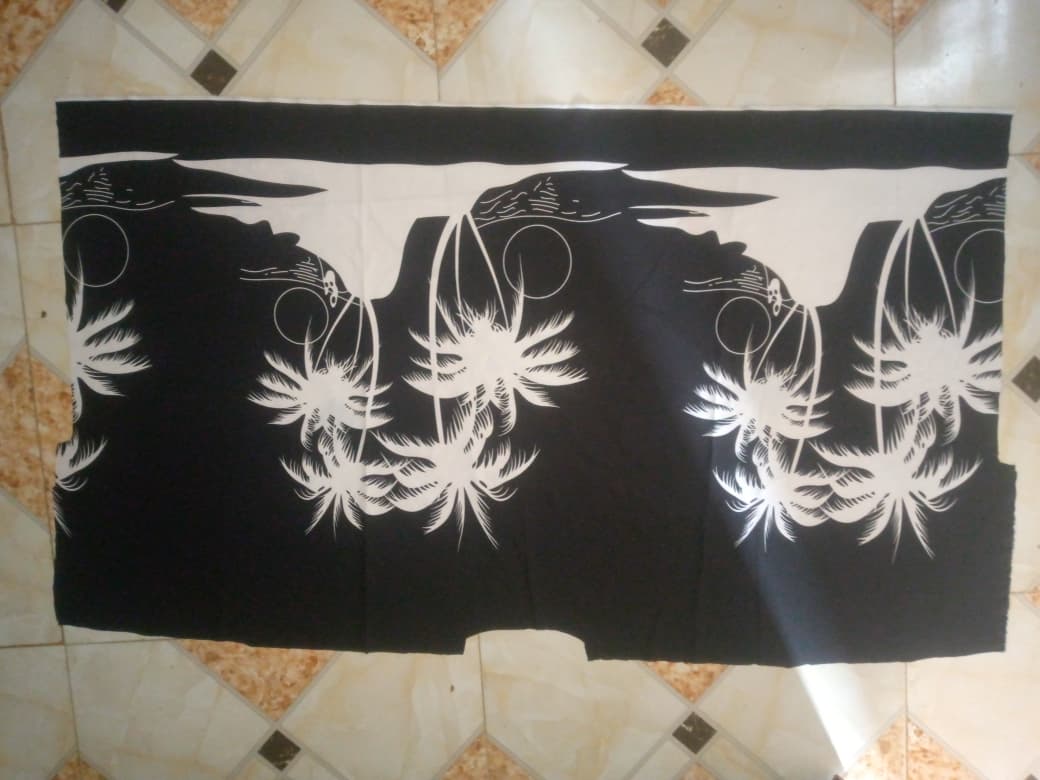
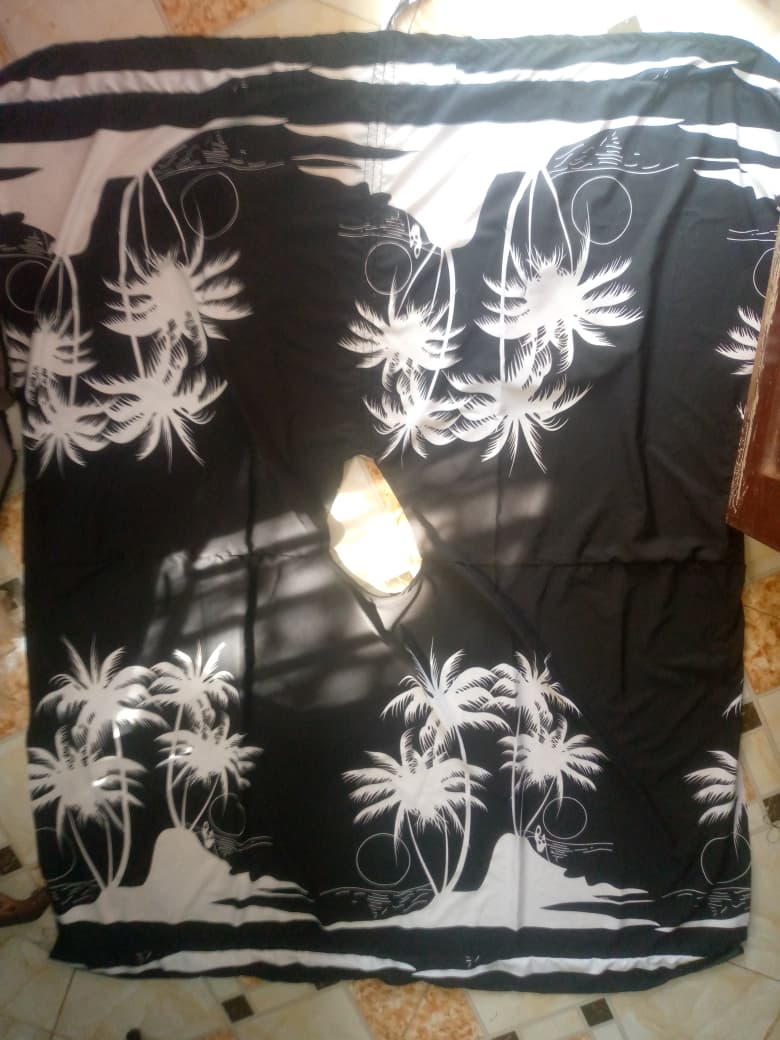
- I made the front a V-neckline, while the back is rounded.
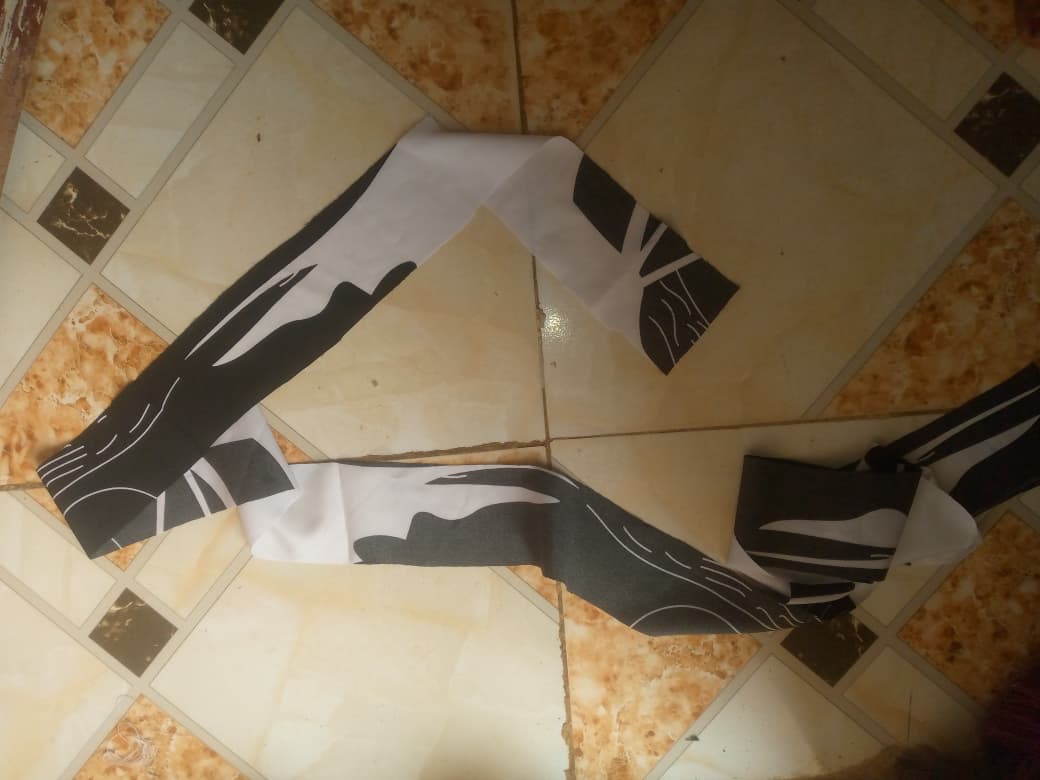
- Next, I cut out a long strip of 2.5 inches width, which I sew to the center of the blouse front pattern, creating a two-sided case.
- I also made two-sided loops for the cases
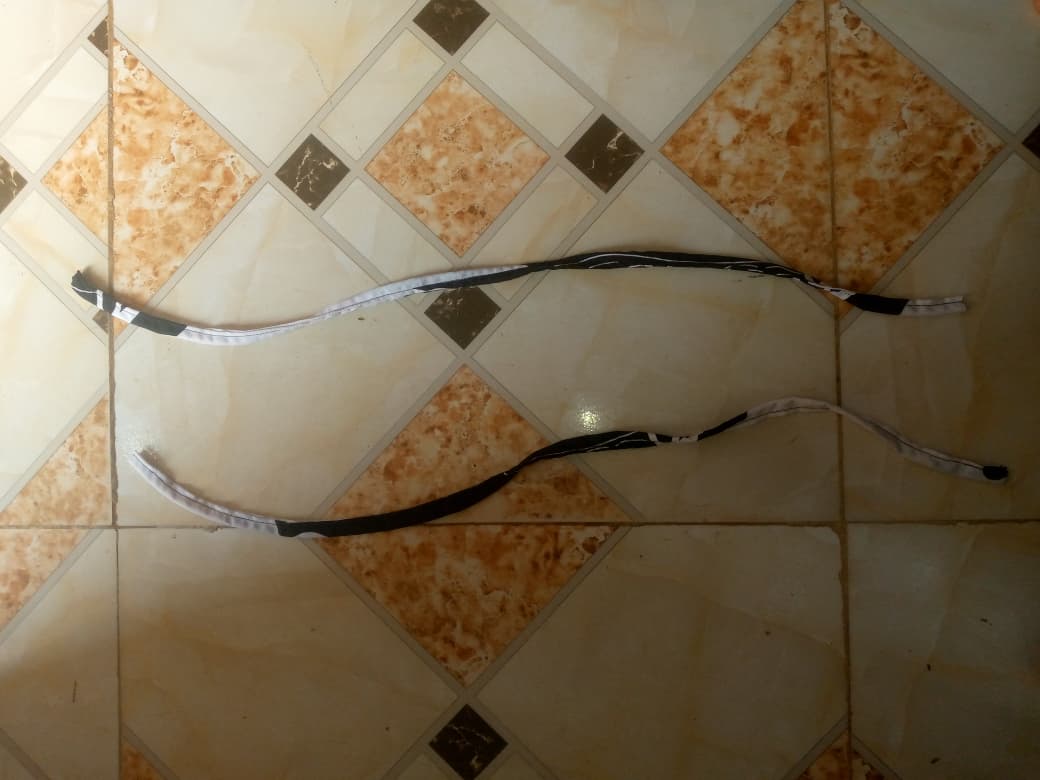
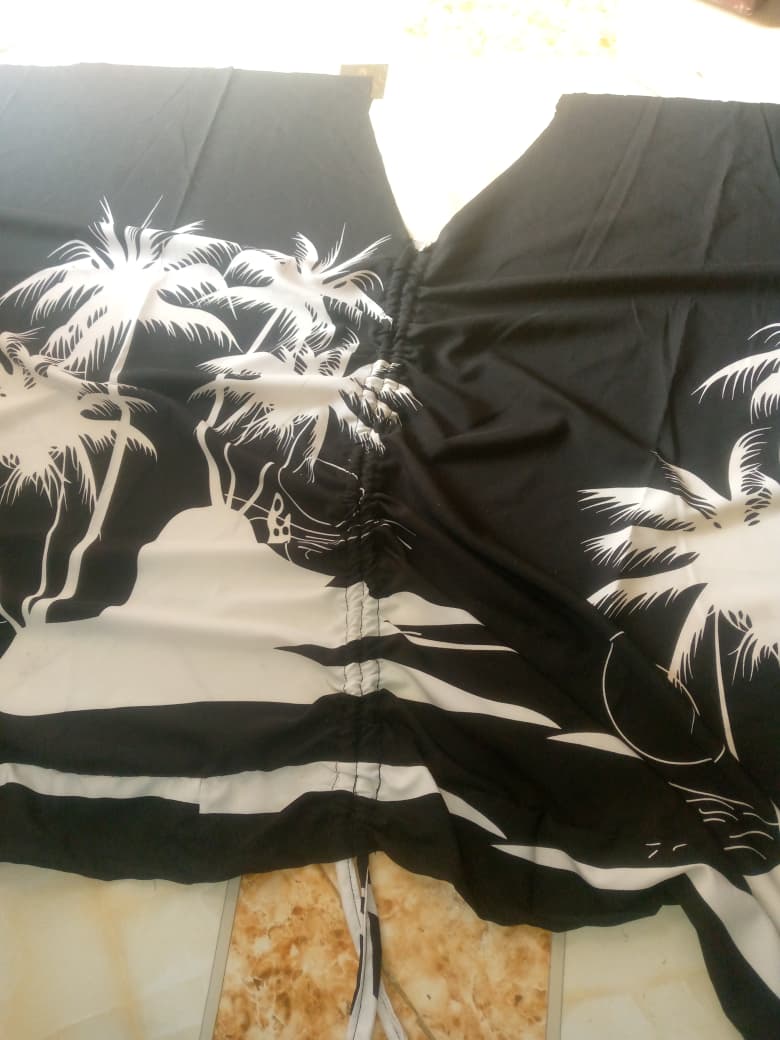
- Then, I passed both loops into the cases created
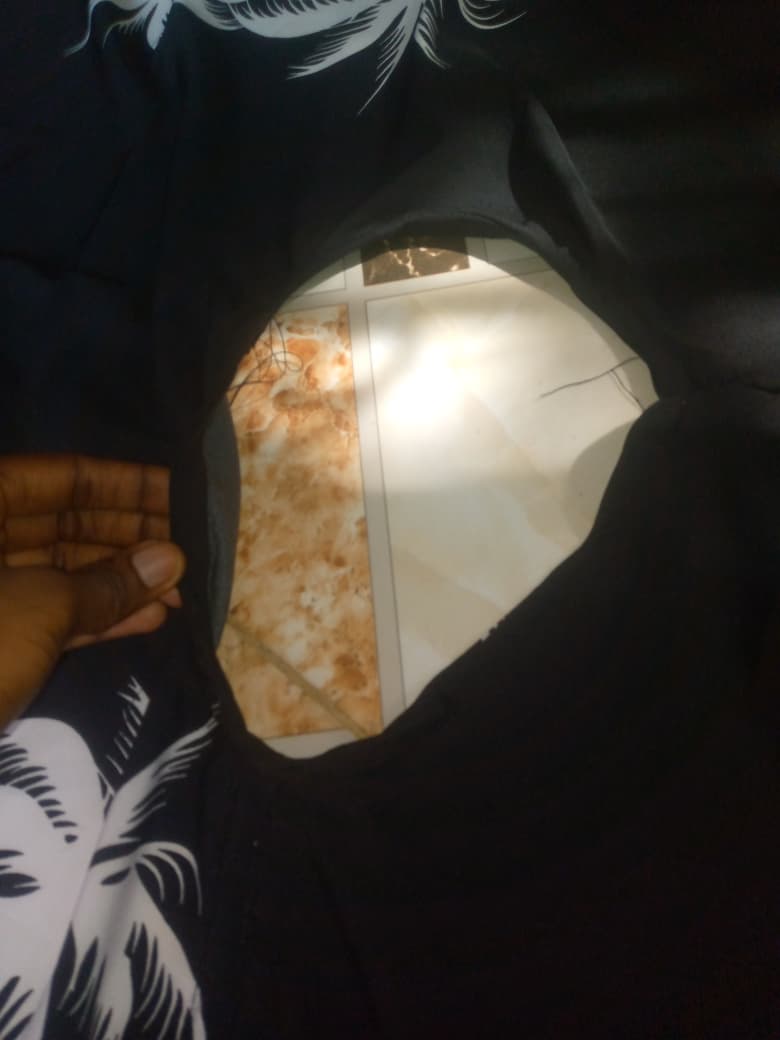
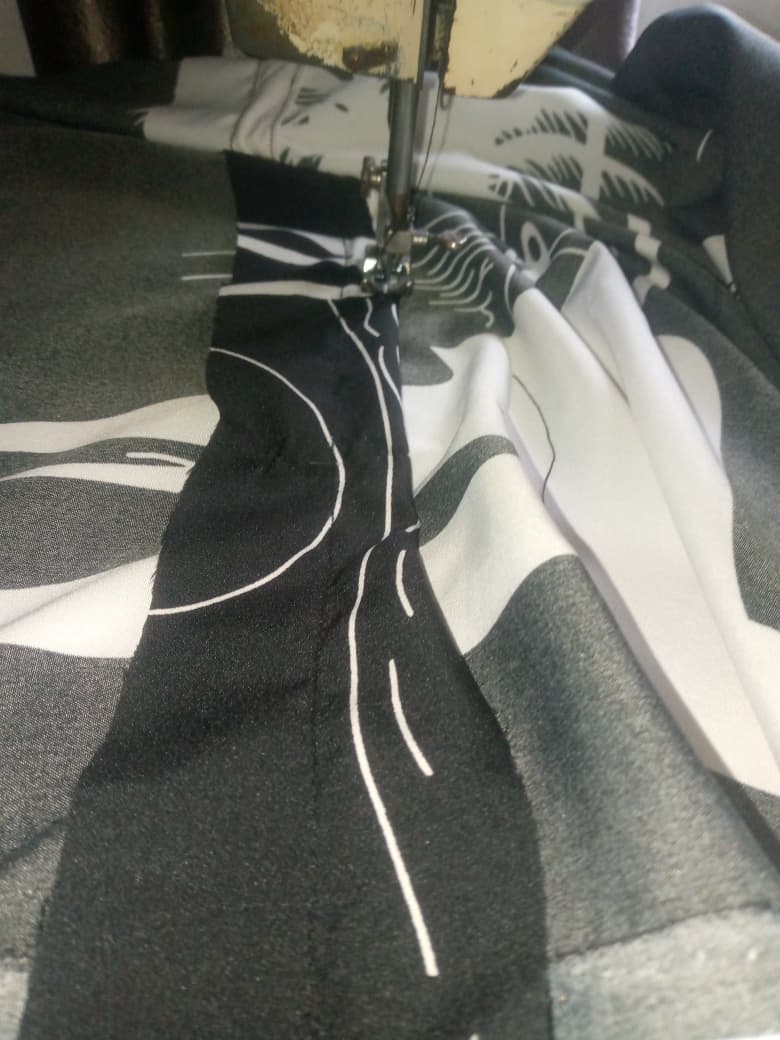
- Continuing, I piped the neckline of the front and back after joining the shoulder area, and also folded the sleeve hem
- I joined the sides of the blouse, and also hemmed it neatly below. That completes the making of the front-ruched kimono blouse.
Easy to make, right? I hope you liked the easy steps provided. It's actually quite easy to make. Will you be recreating yours?
All images used in this post are mine