Hola creativos de Hive! El día de hoy les traigo un nuevo tutorial con material reciclable. En esta ocasión vamos a utilizar una caja de zapatos qué no usemos para hacer un estante de libros o de lo que quieran. A continuación los dejo con el paso a paso, espero les guste mucho y les sirva.
Hello Hive Creatives! Today I bring you a new tutorial with recyclable material. This time we are going to use a shoebox that we do not use to make a shelf for books or whatever you want. Here I leave you with the step by step, I hope you like it very much and it will be useful.
MATERIALES // MATERIALS
| ESPAÑOL | ENGLISH |
|---|---|
| Caja de cartón | Cardboard box |
| Tijeras | Scissors |
| Silicona | Silicone |
| Cinta adhesiva | Adhesive tape |
| Pinturas acrílicas | Acrylic paints |
PROCESO // PROCESS
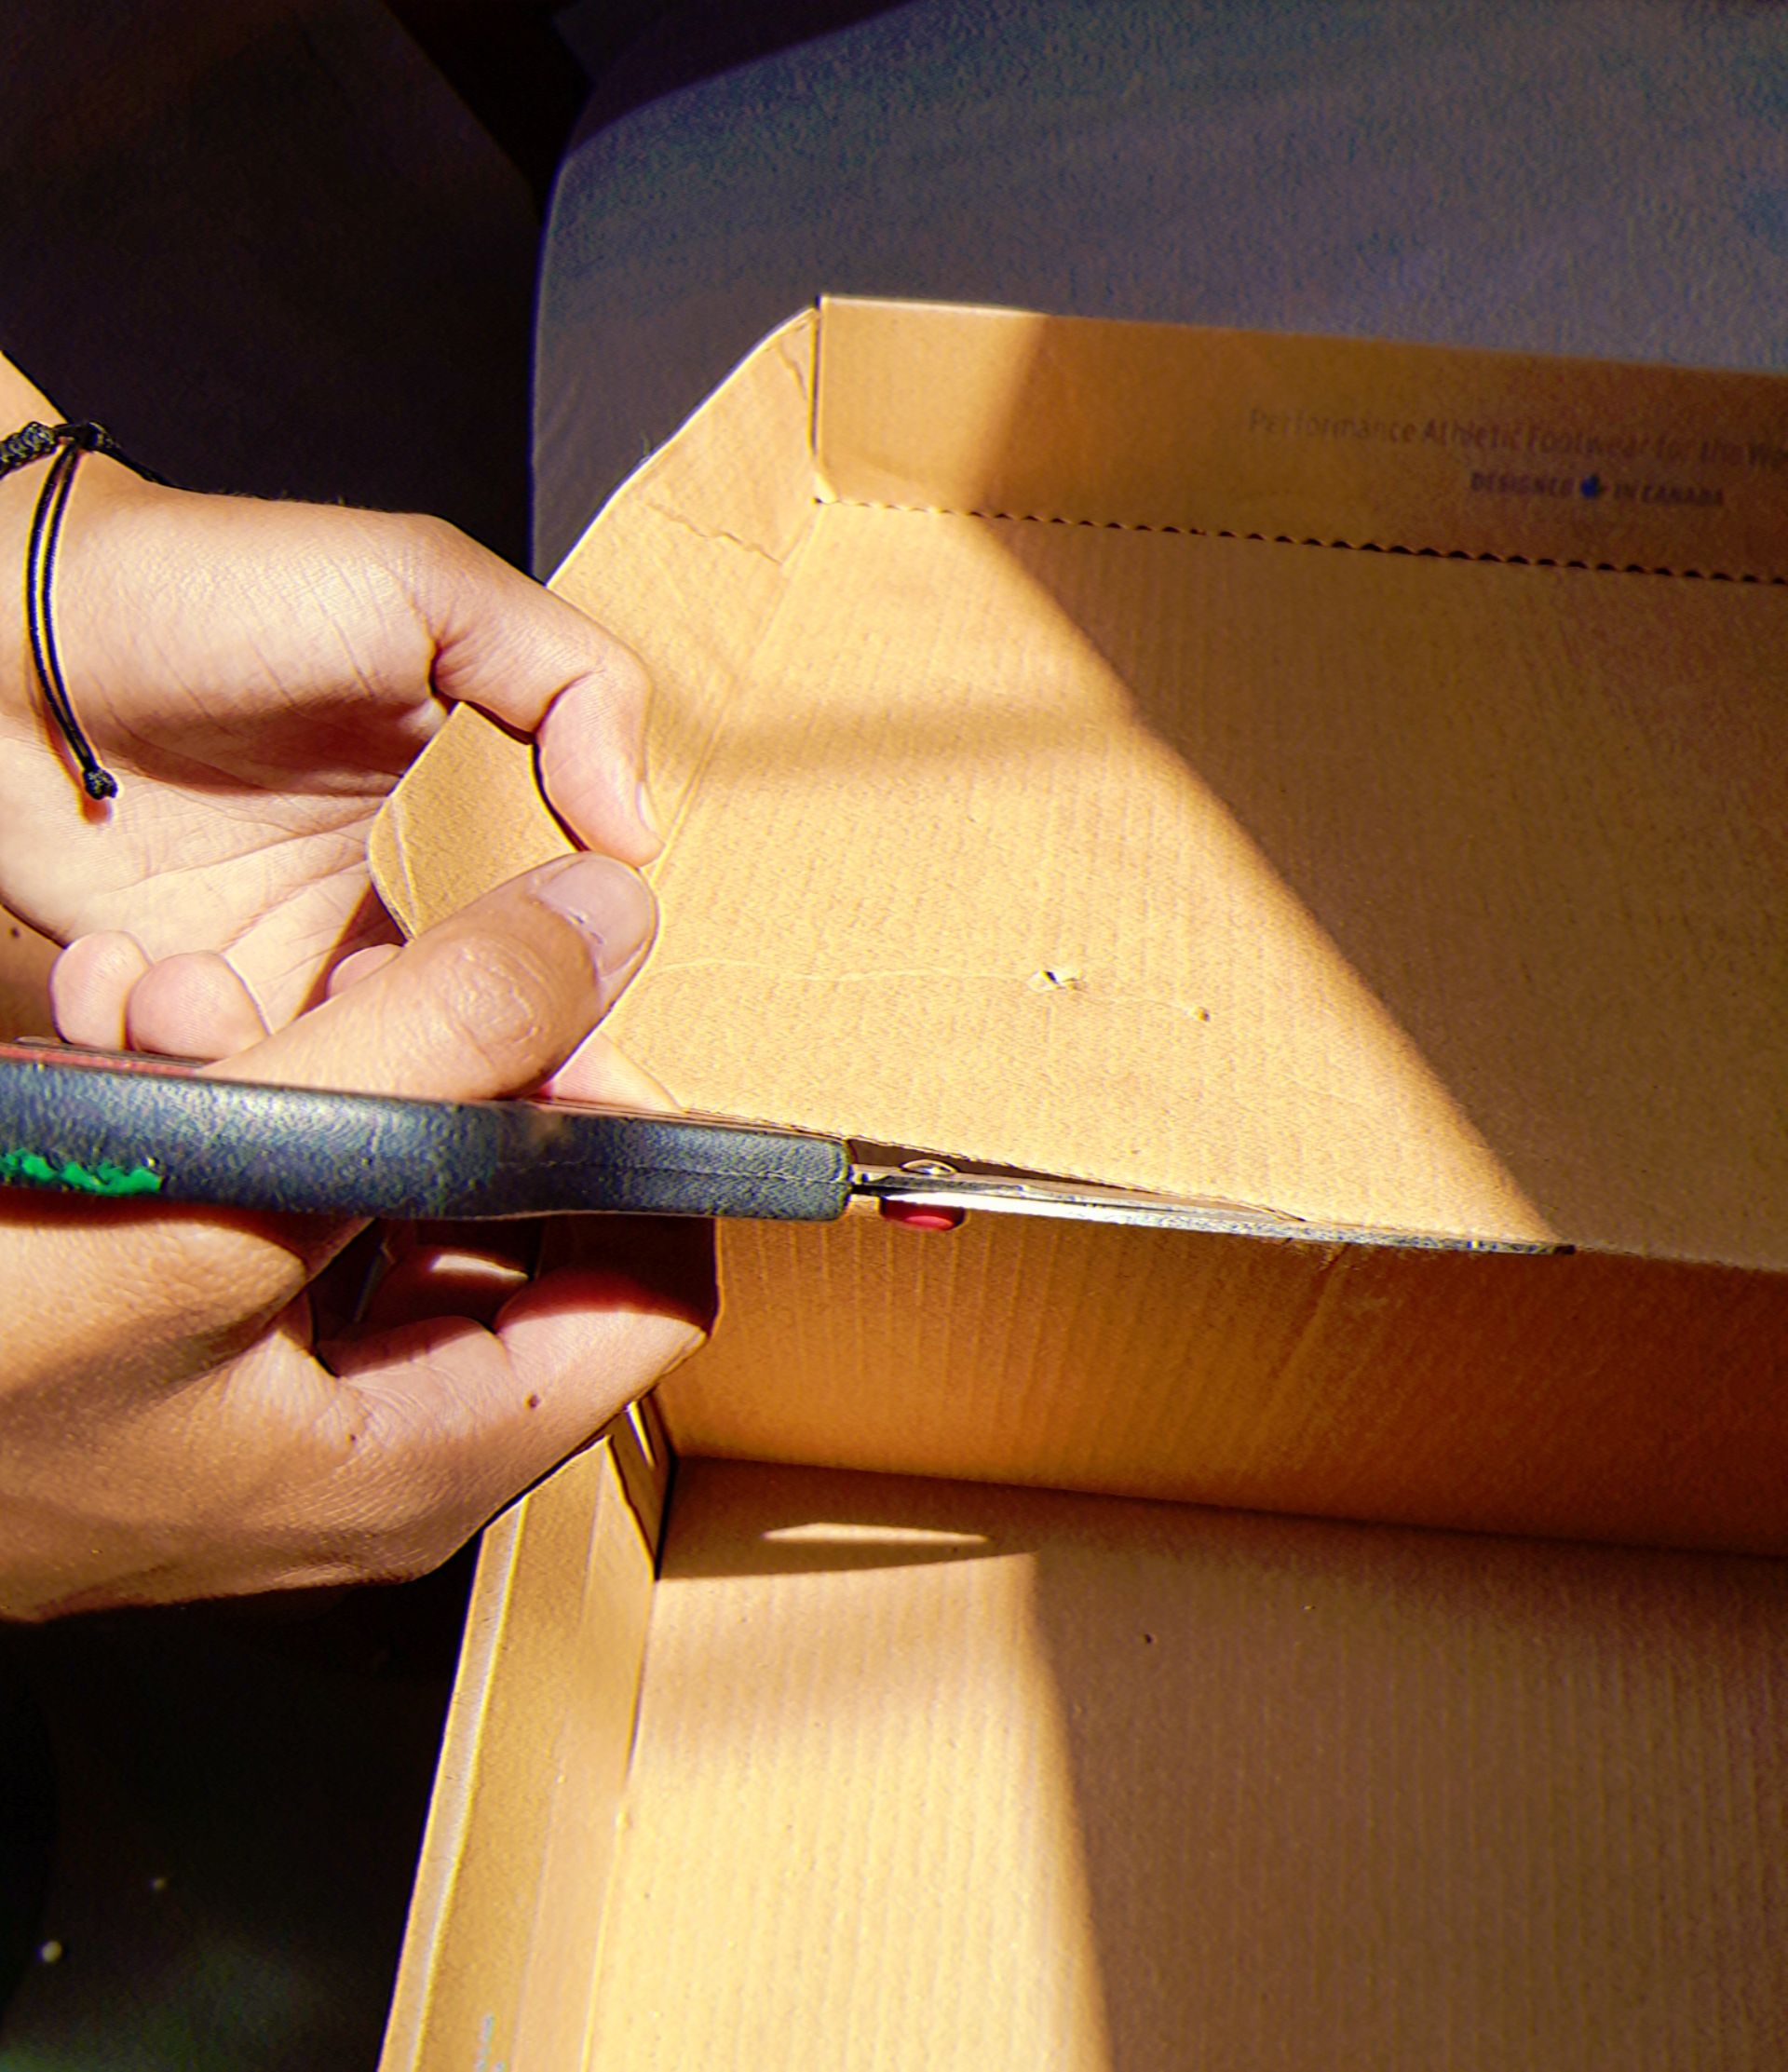
Lo primero que haremos será recortar la tapa de la caja:
The first thing we will do is to cut out the lid of the box:
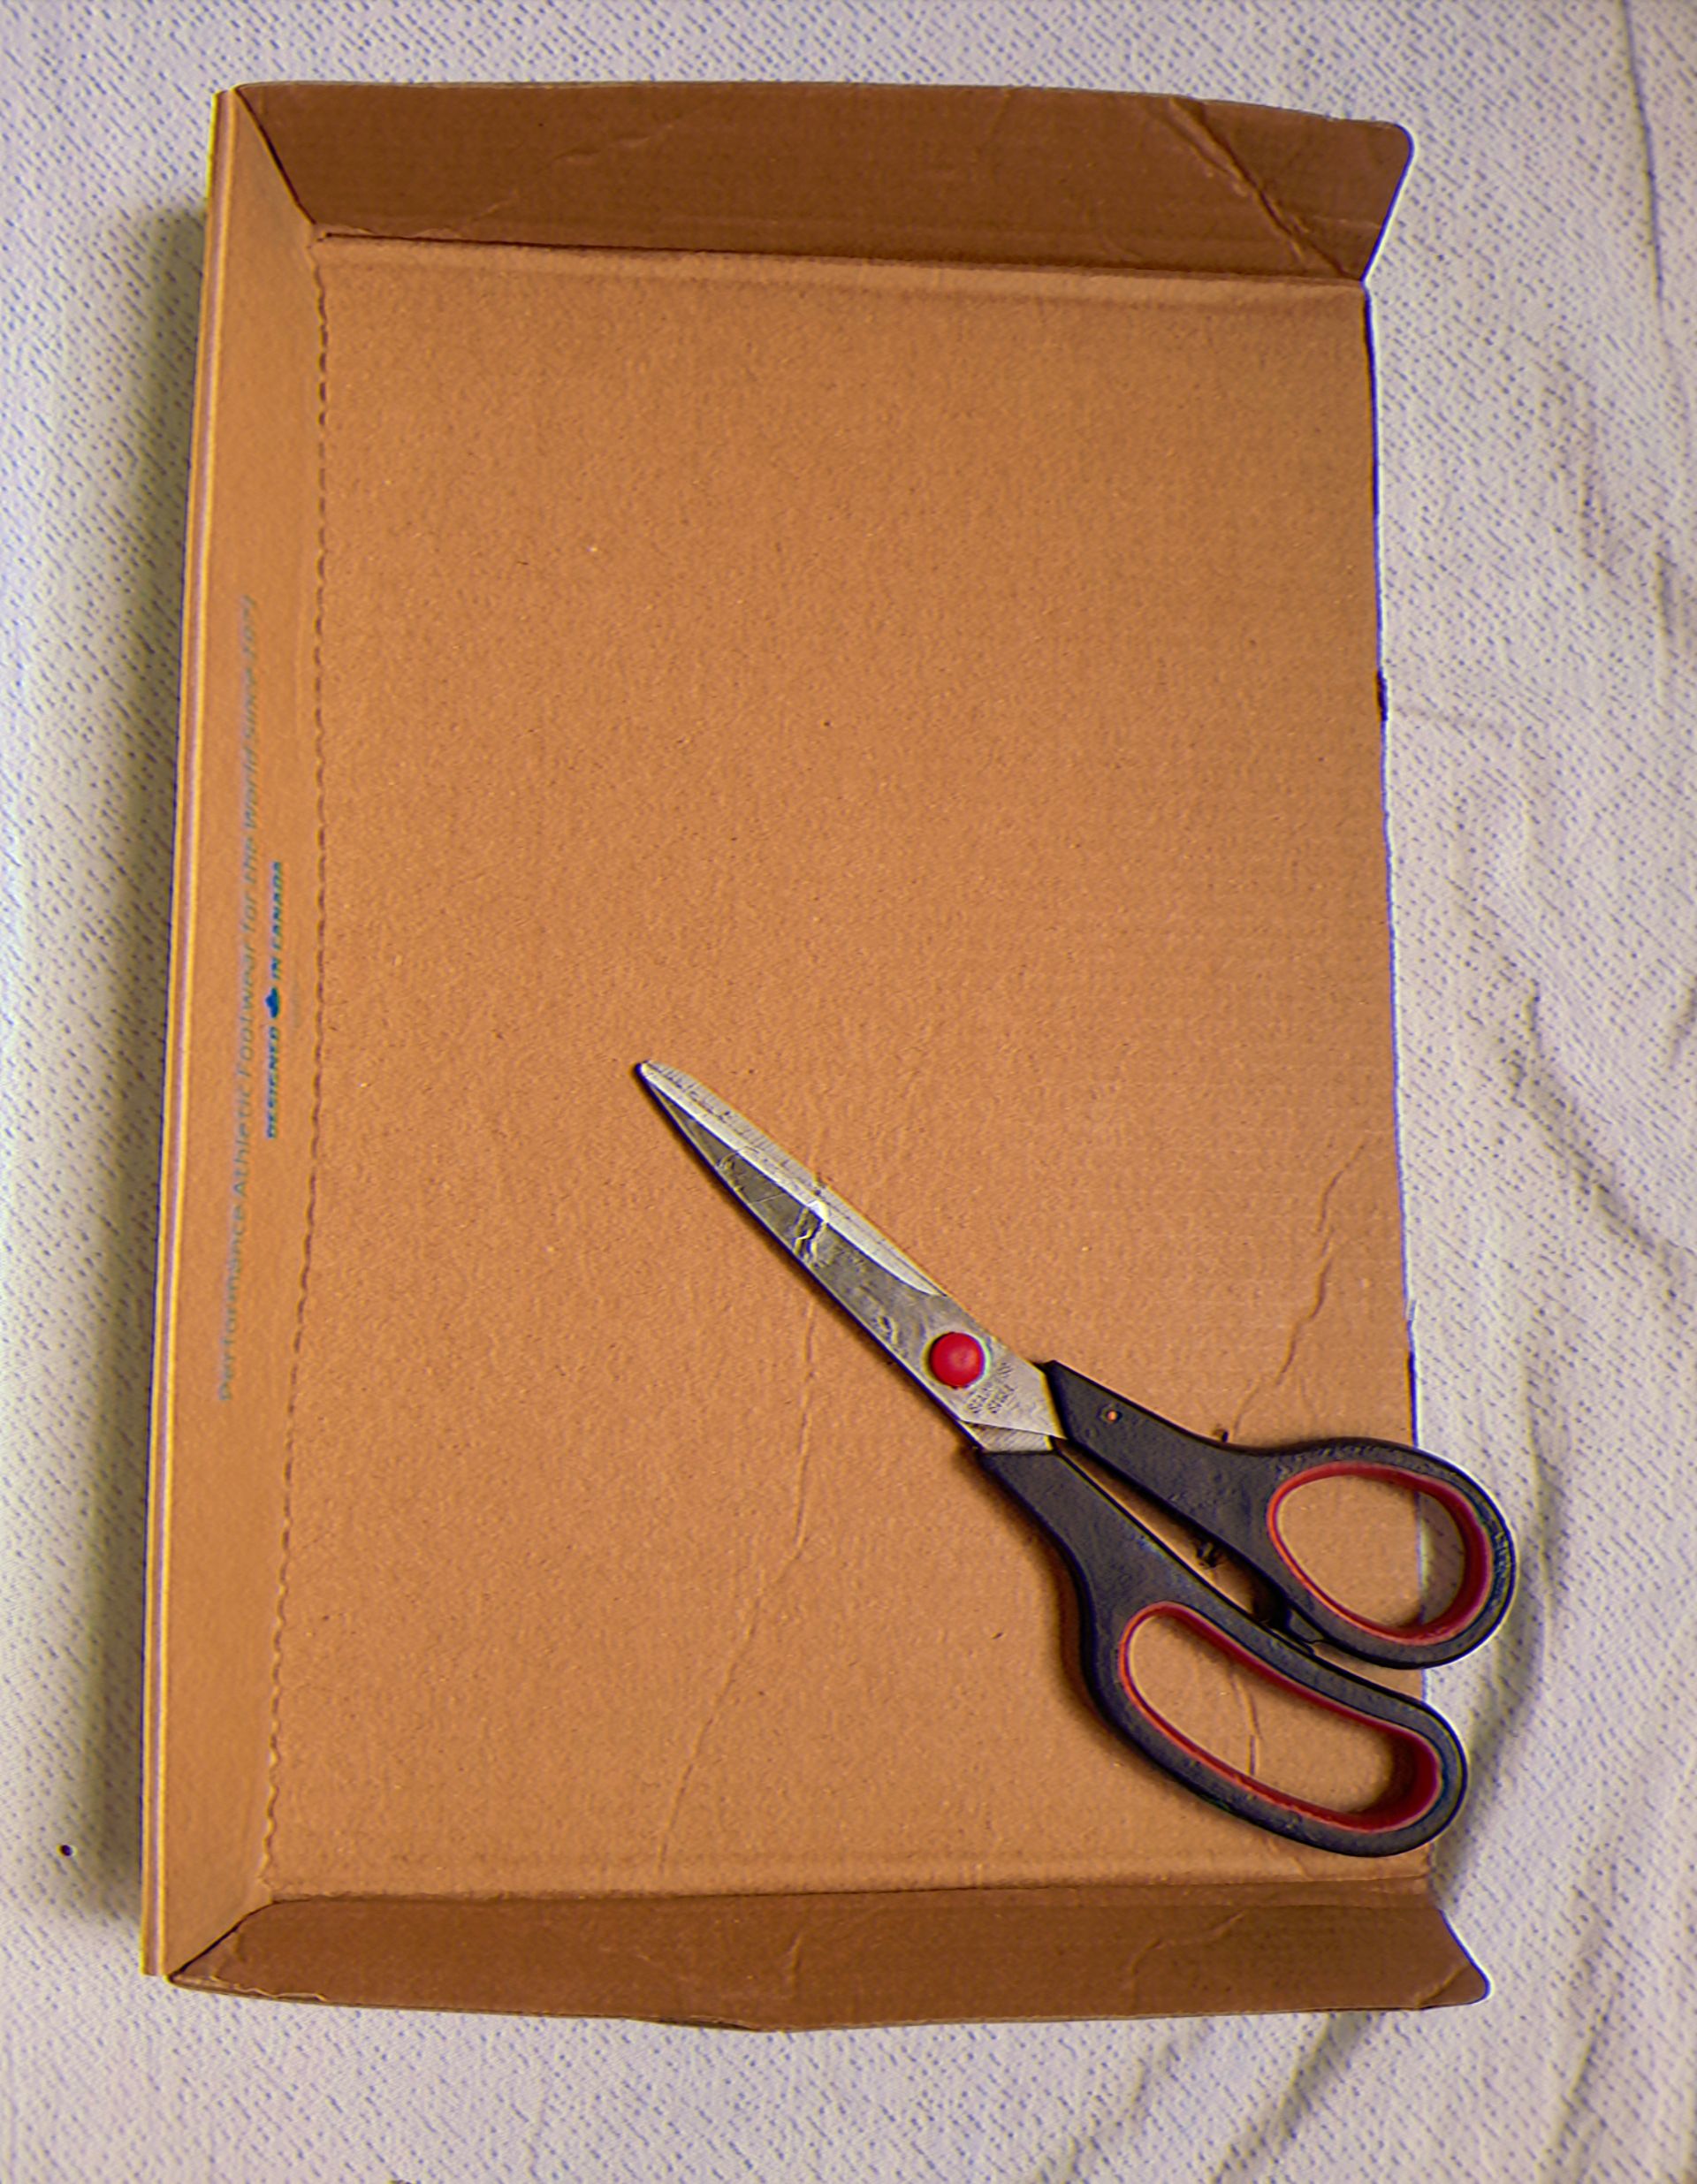
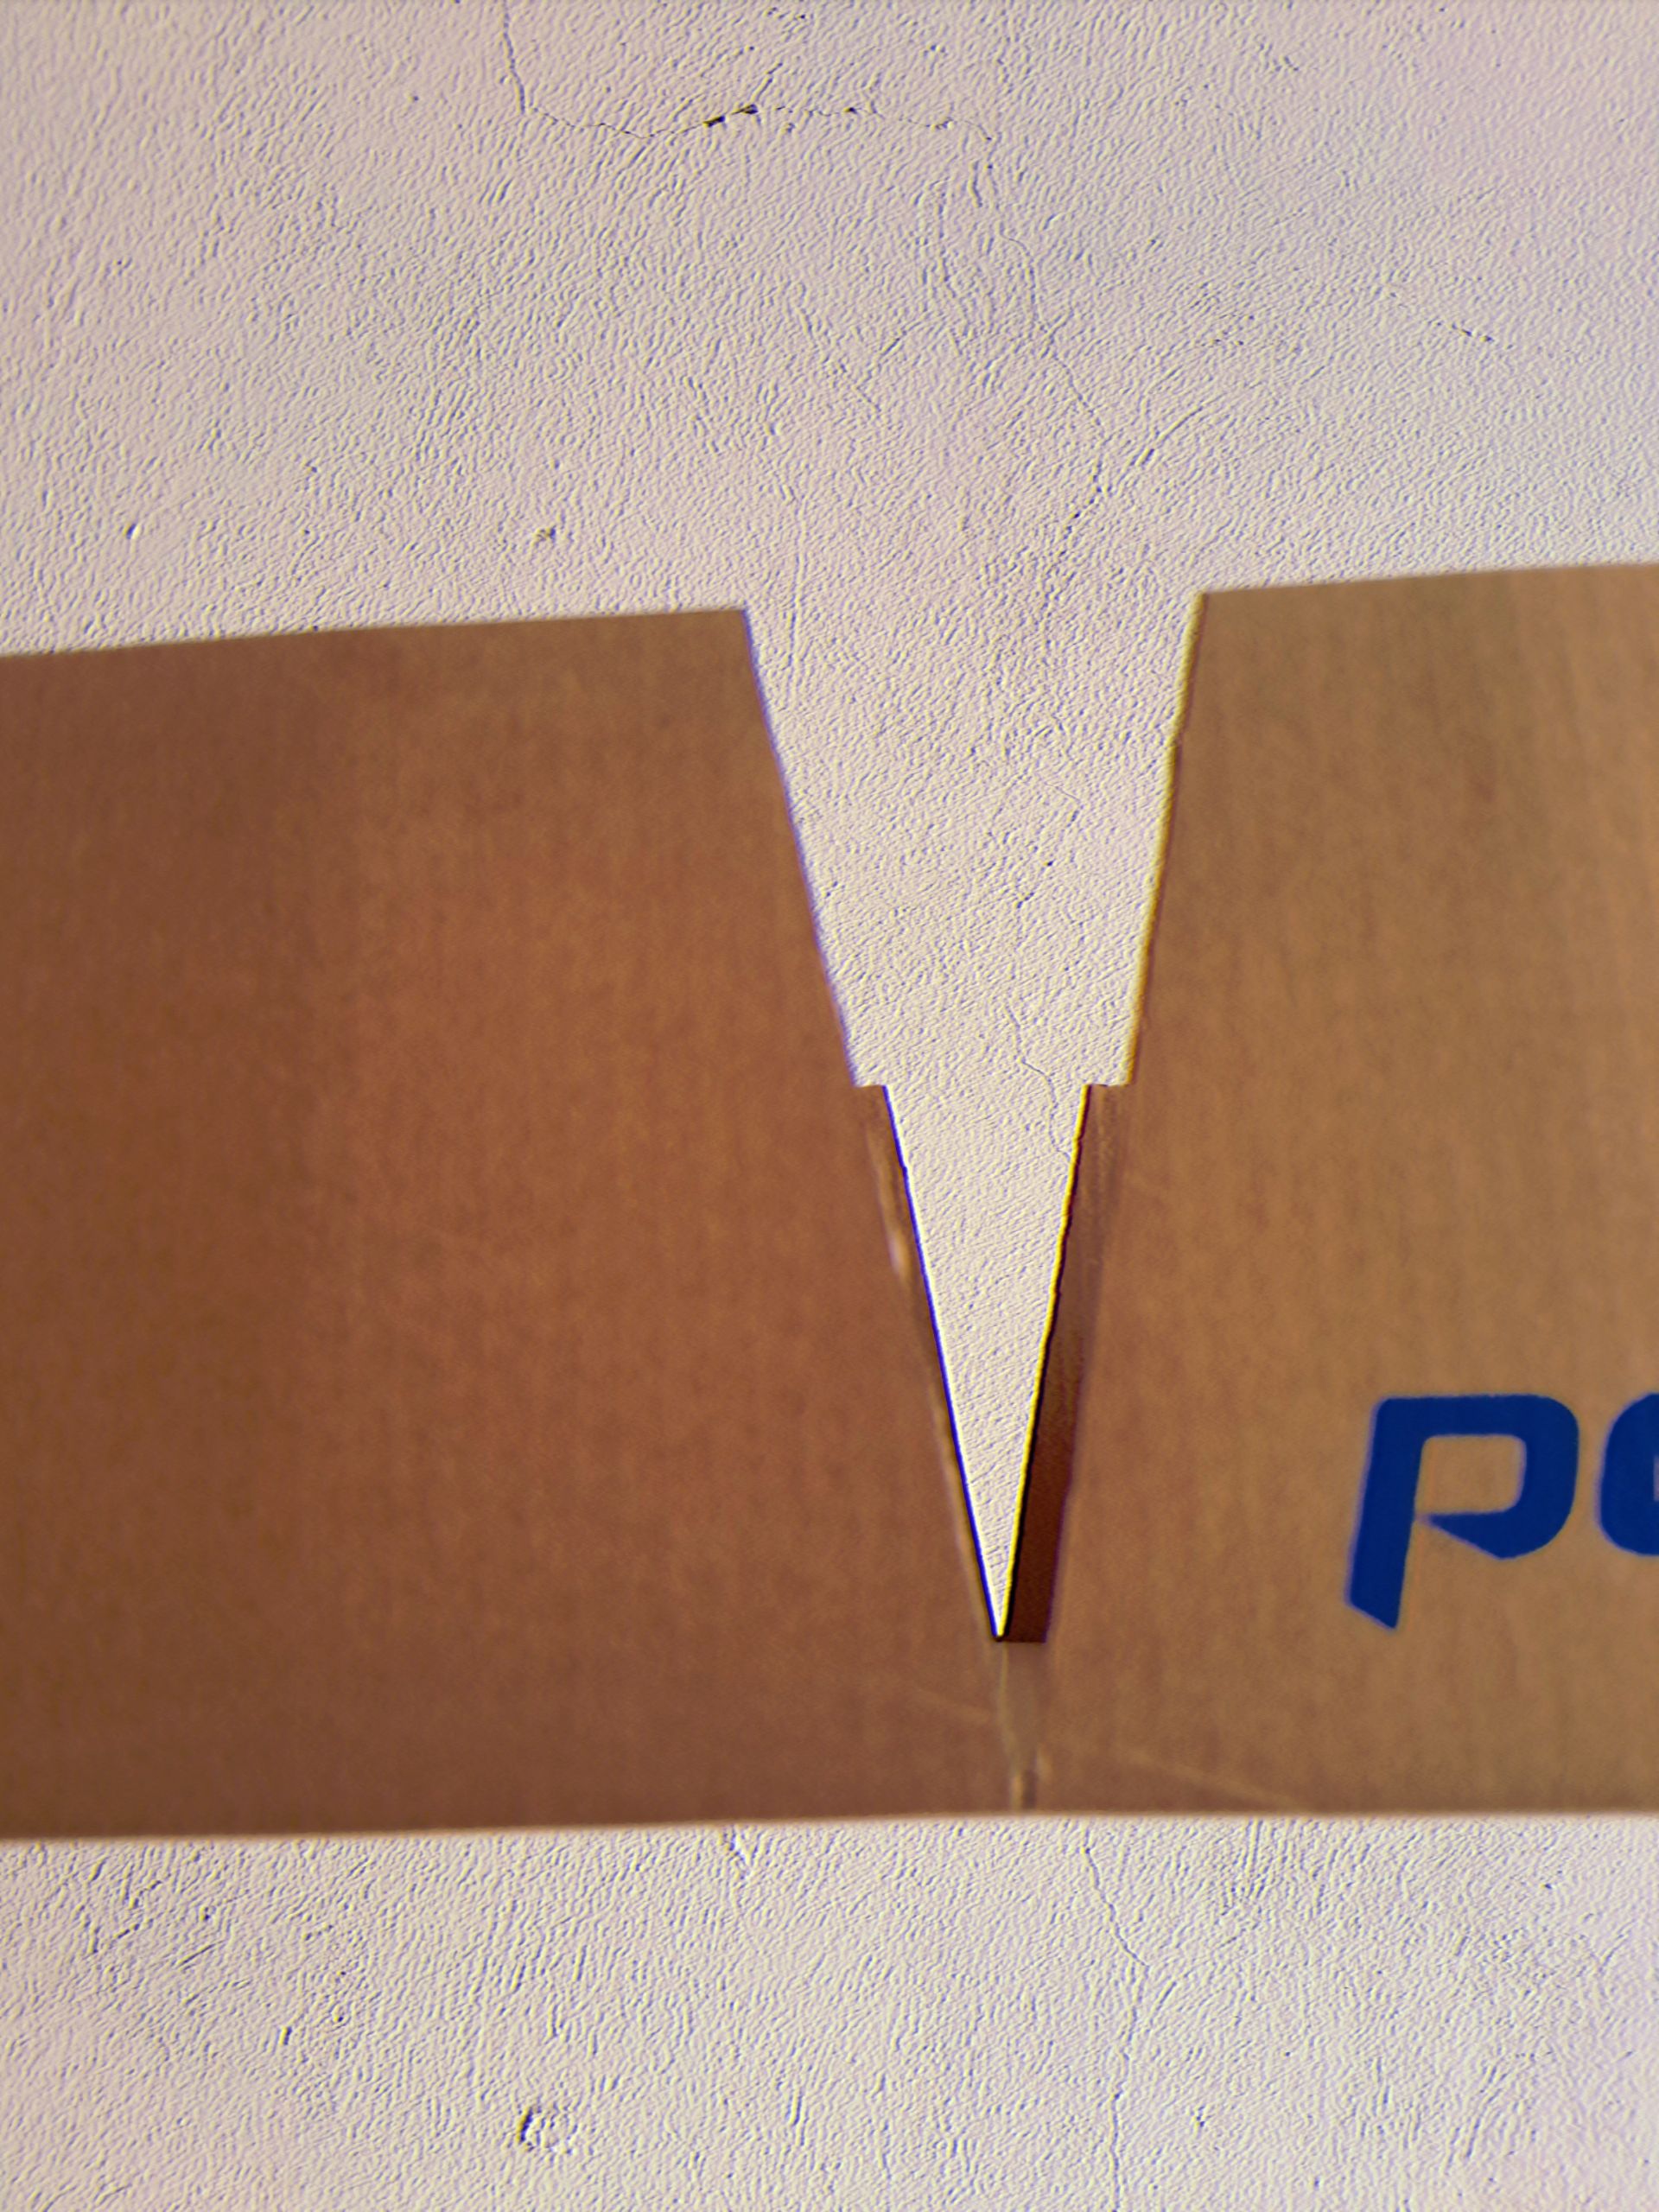
Una vez tengamos separada la caja de la tapa, la dejamos de lado un momento y nos enfocamos en la caja en sí. A la caja, le haremos un pequeño corte a cada lado precisamente en toda la mitad, para luego a partir de ahí hacer un triángulo invertido de 2cm de ancho en la parte superior. De esta manera:
Once we have separated the box from the lid, we set it aside for a moment and focus on the box itself. To the box, we will make a small cut on each side precisely in half, and then from there we will make an inverted triangle of 2cm wide at the top. In this way:
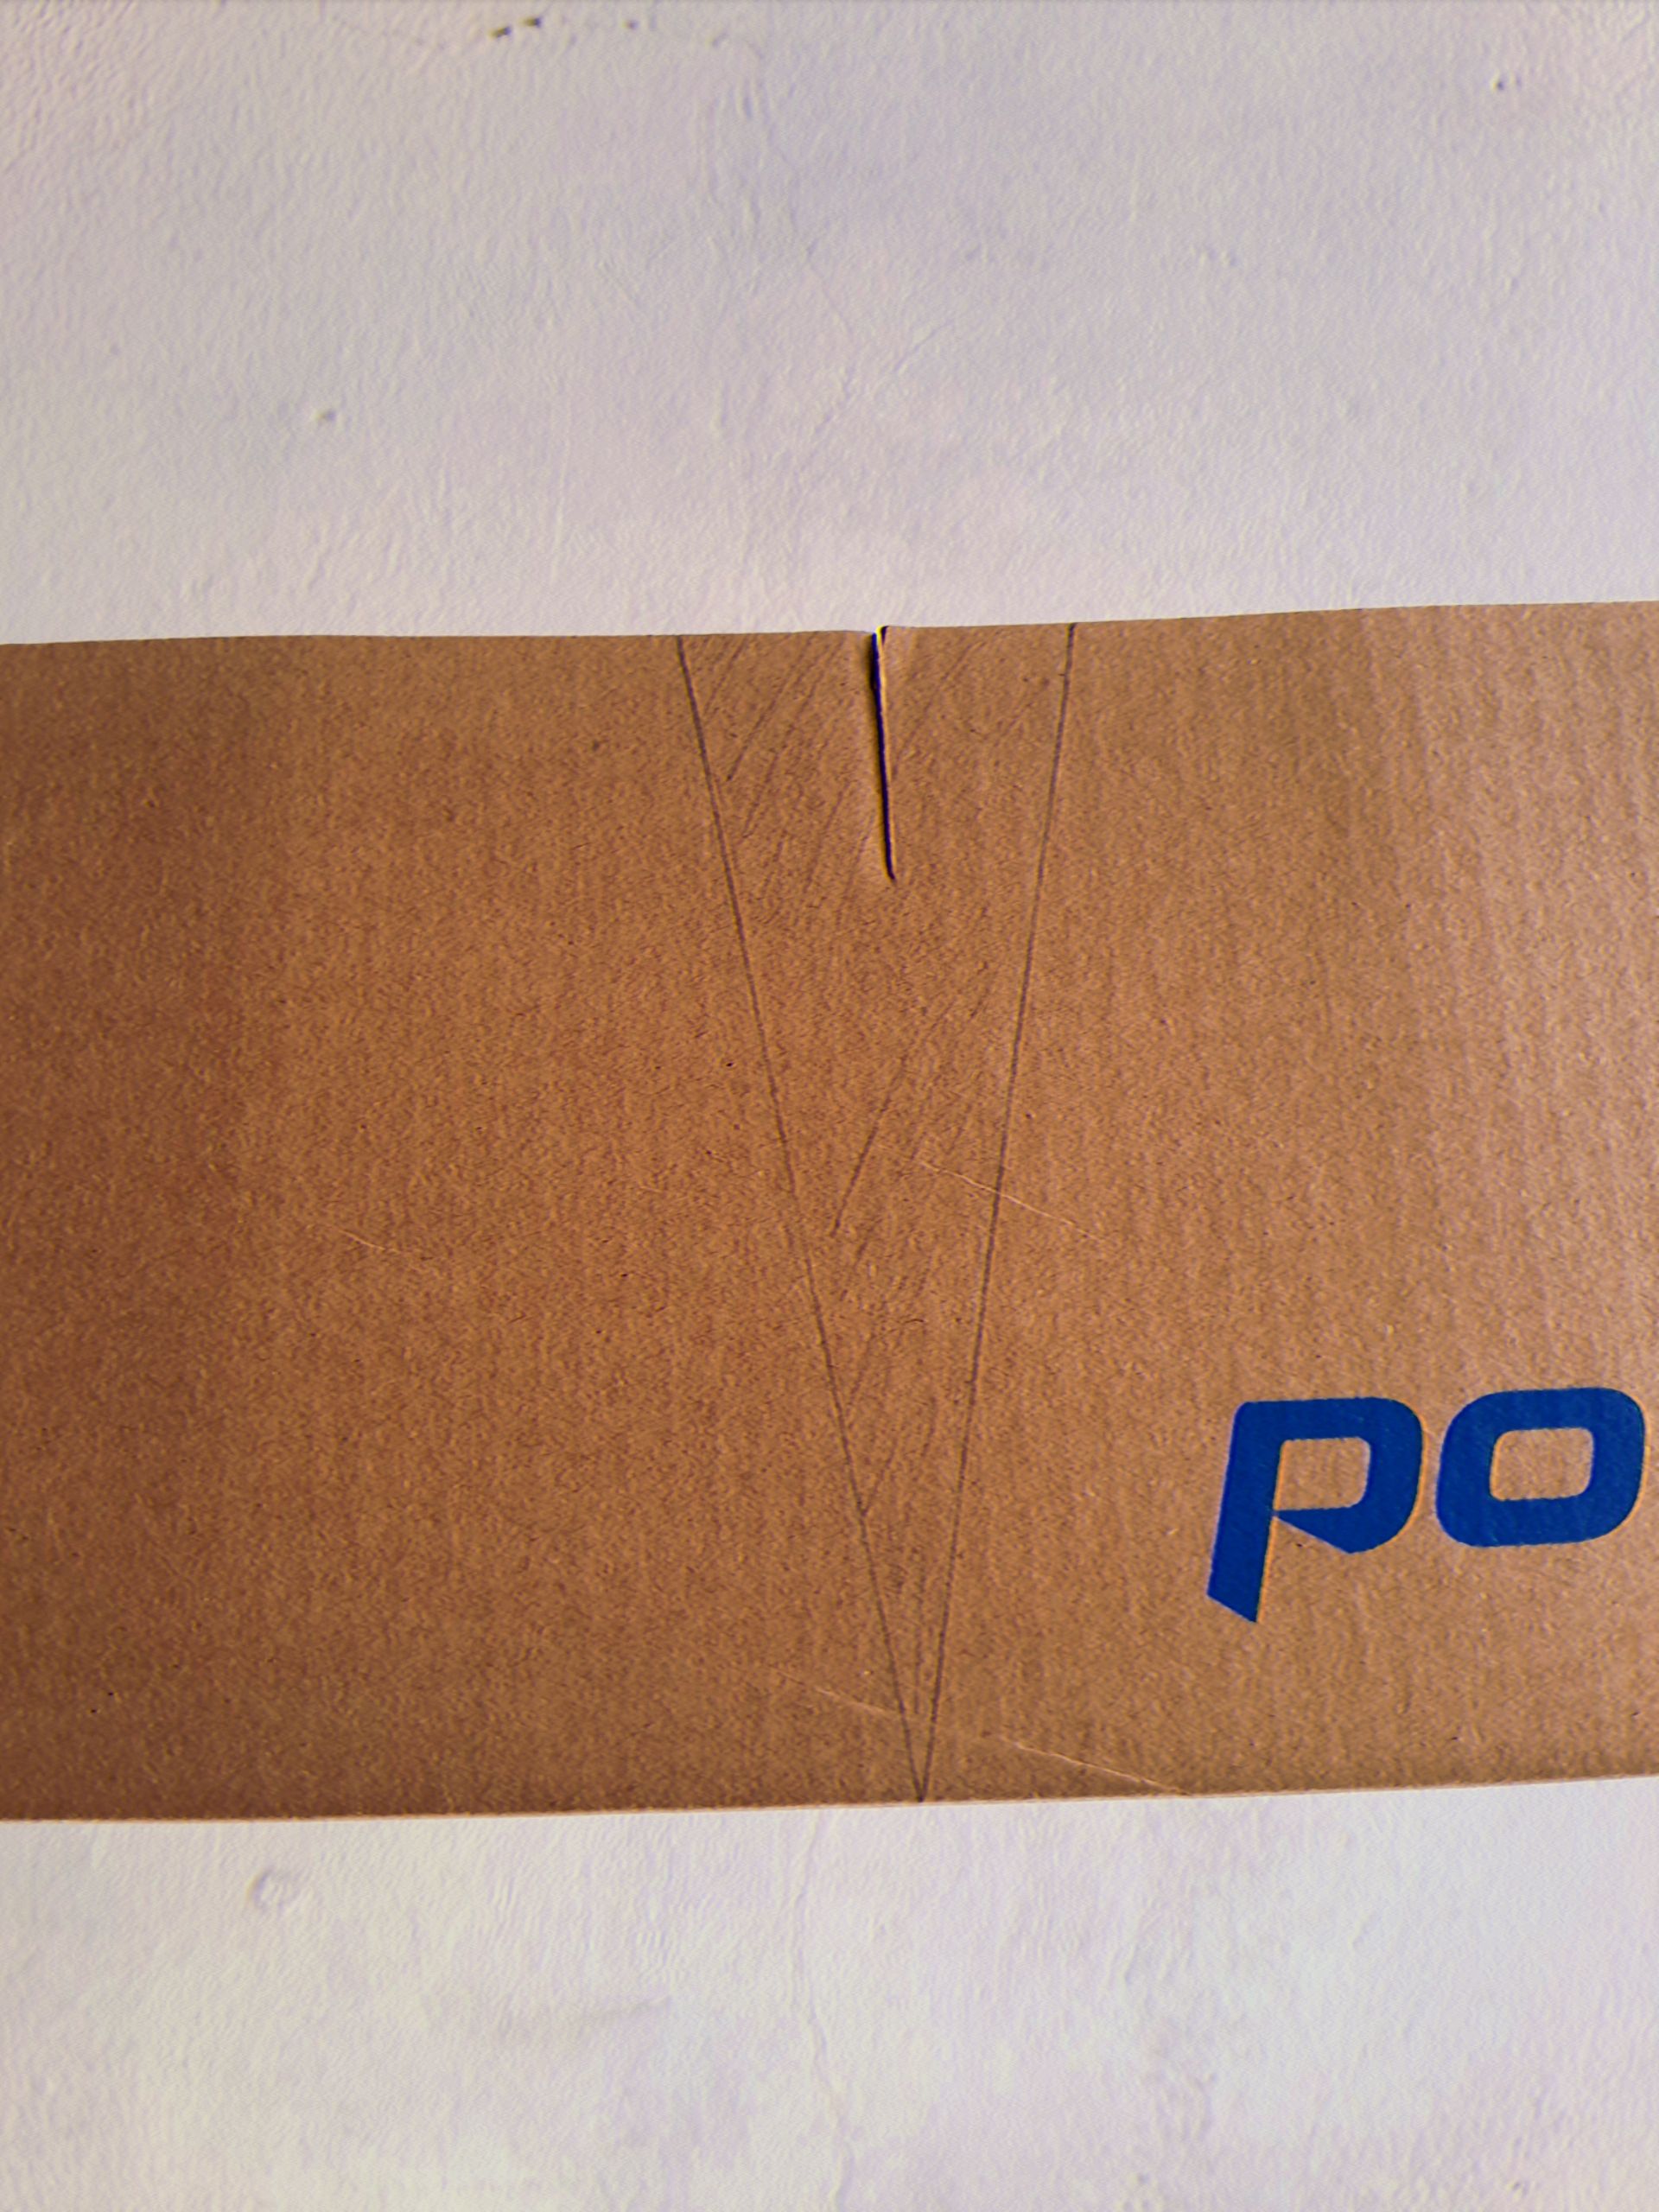
Recortamos los triángulos...
We cut out the triangles...
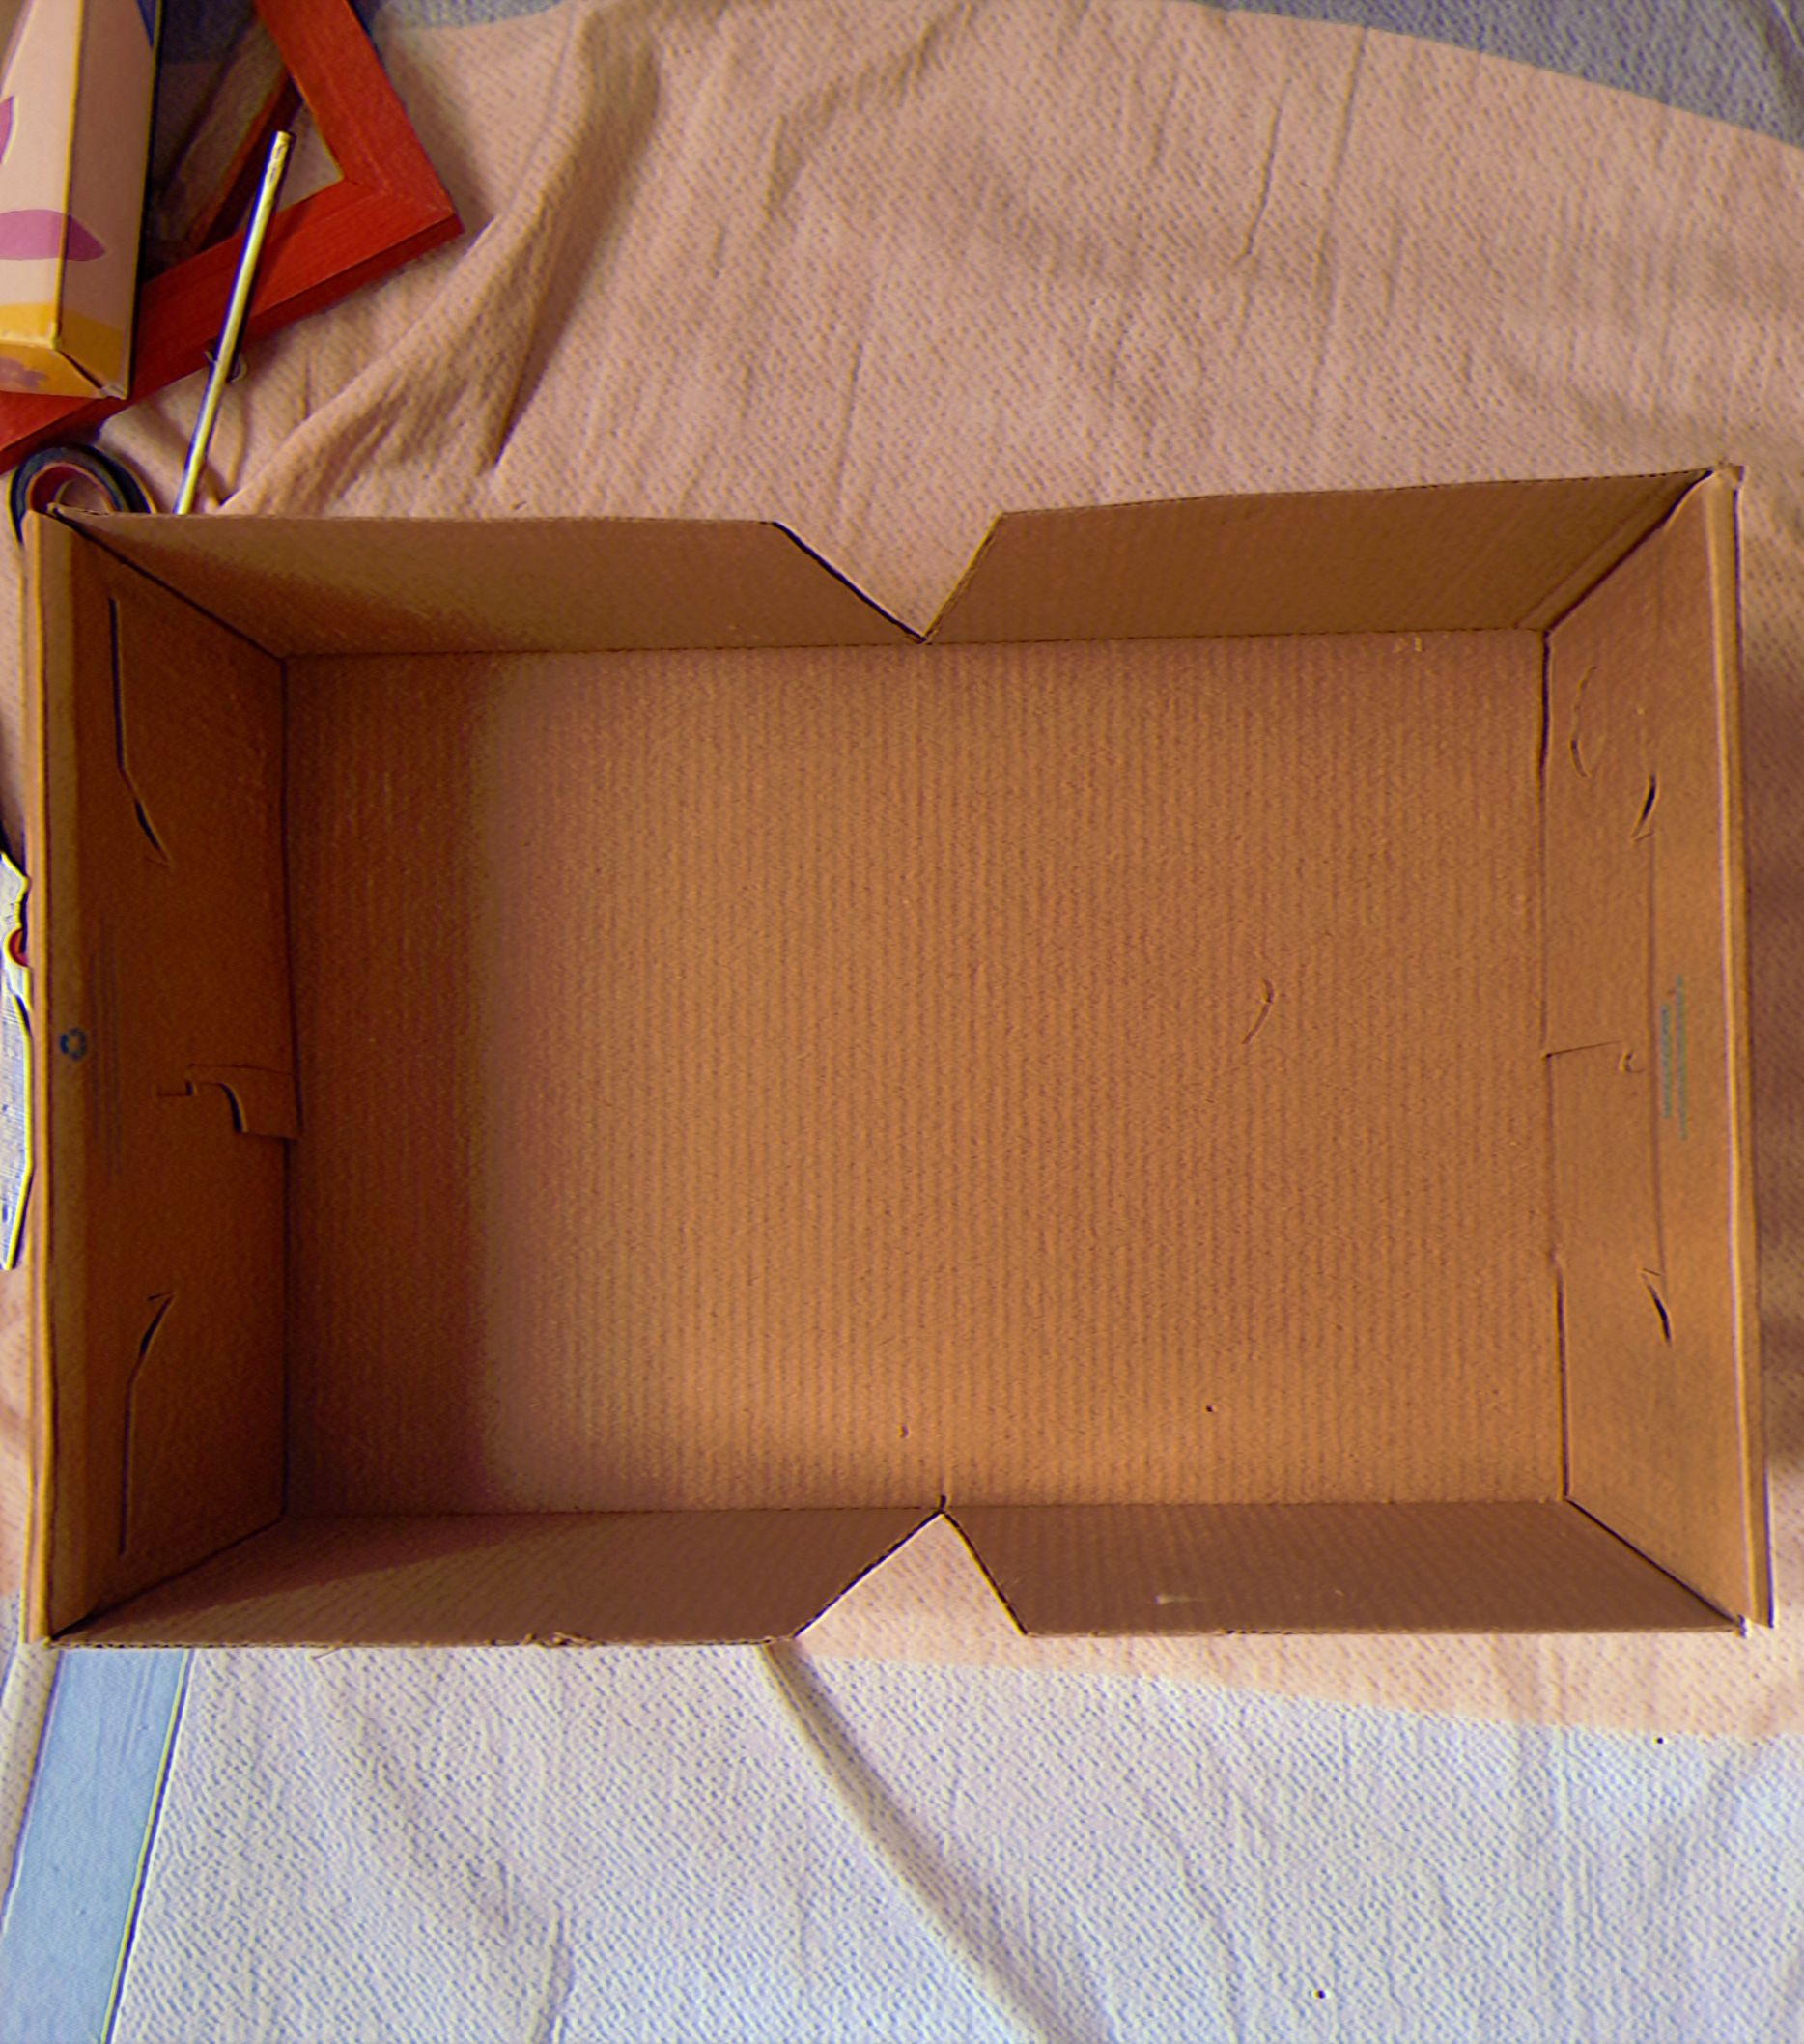
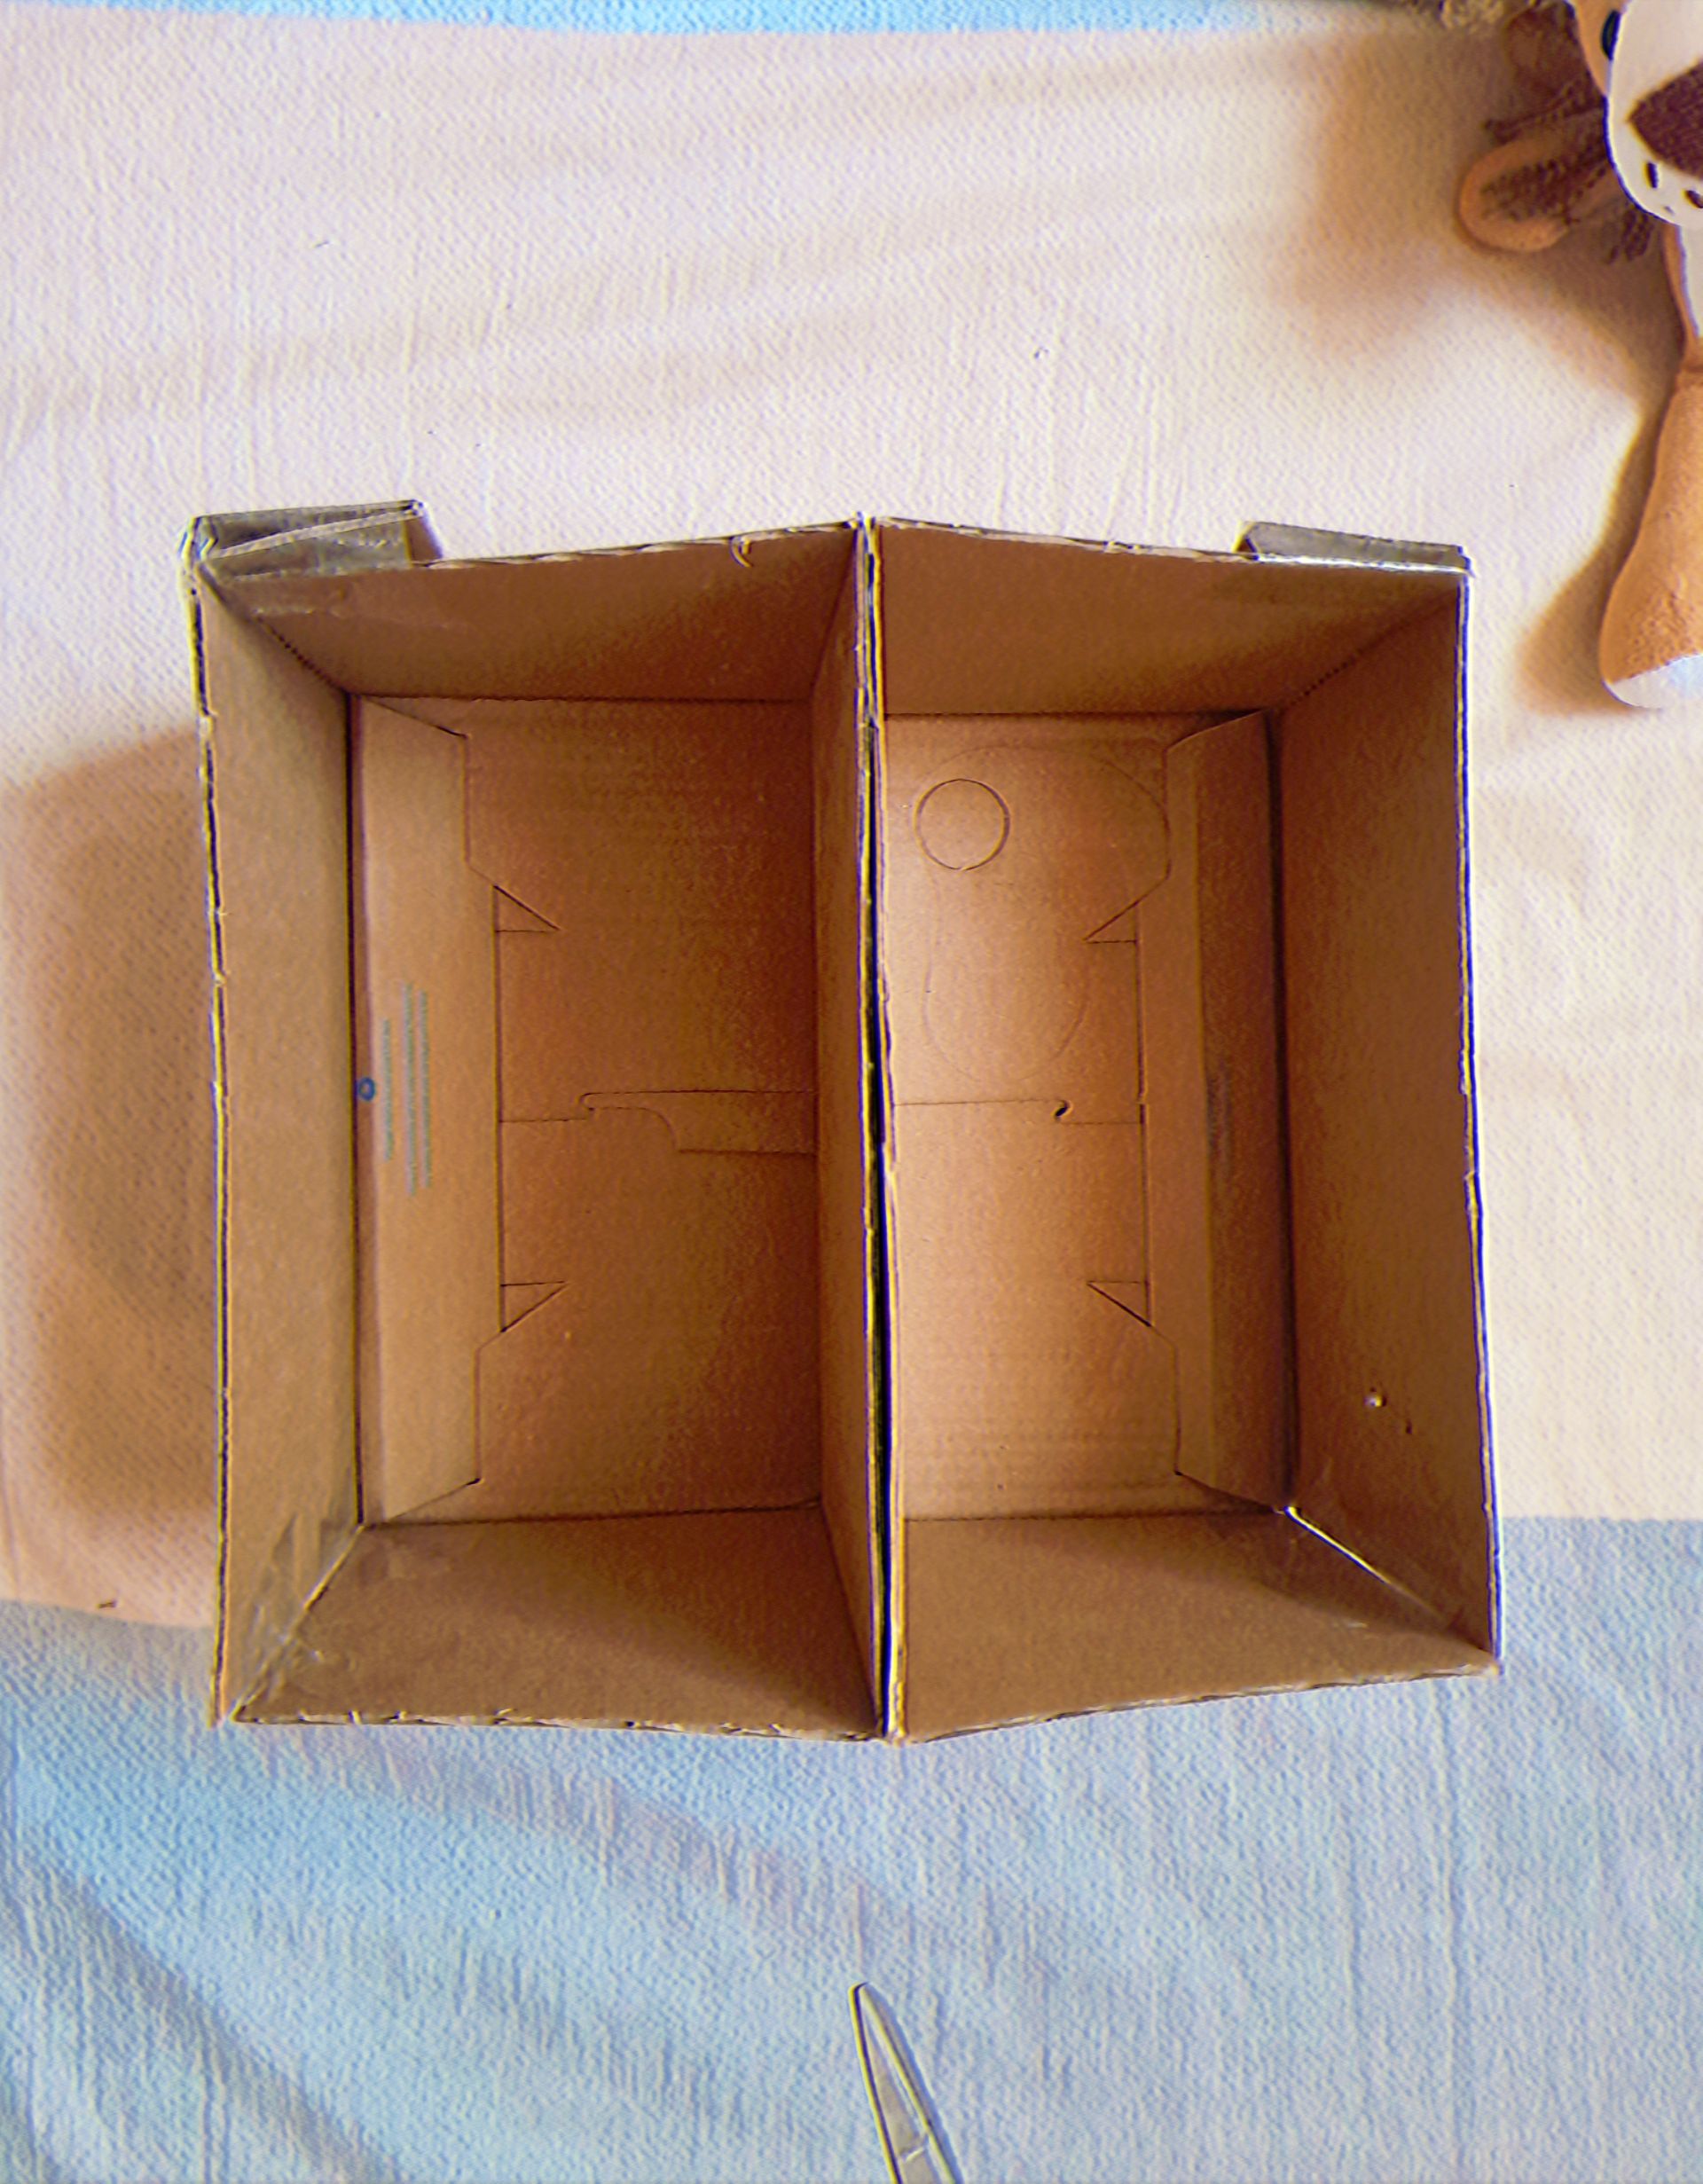
Debe verse así desde arriba.
It should look like this from above.
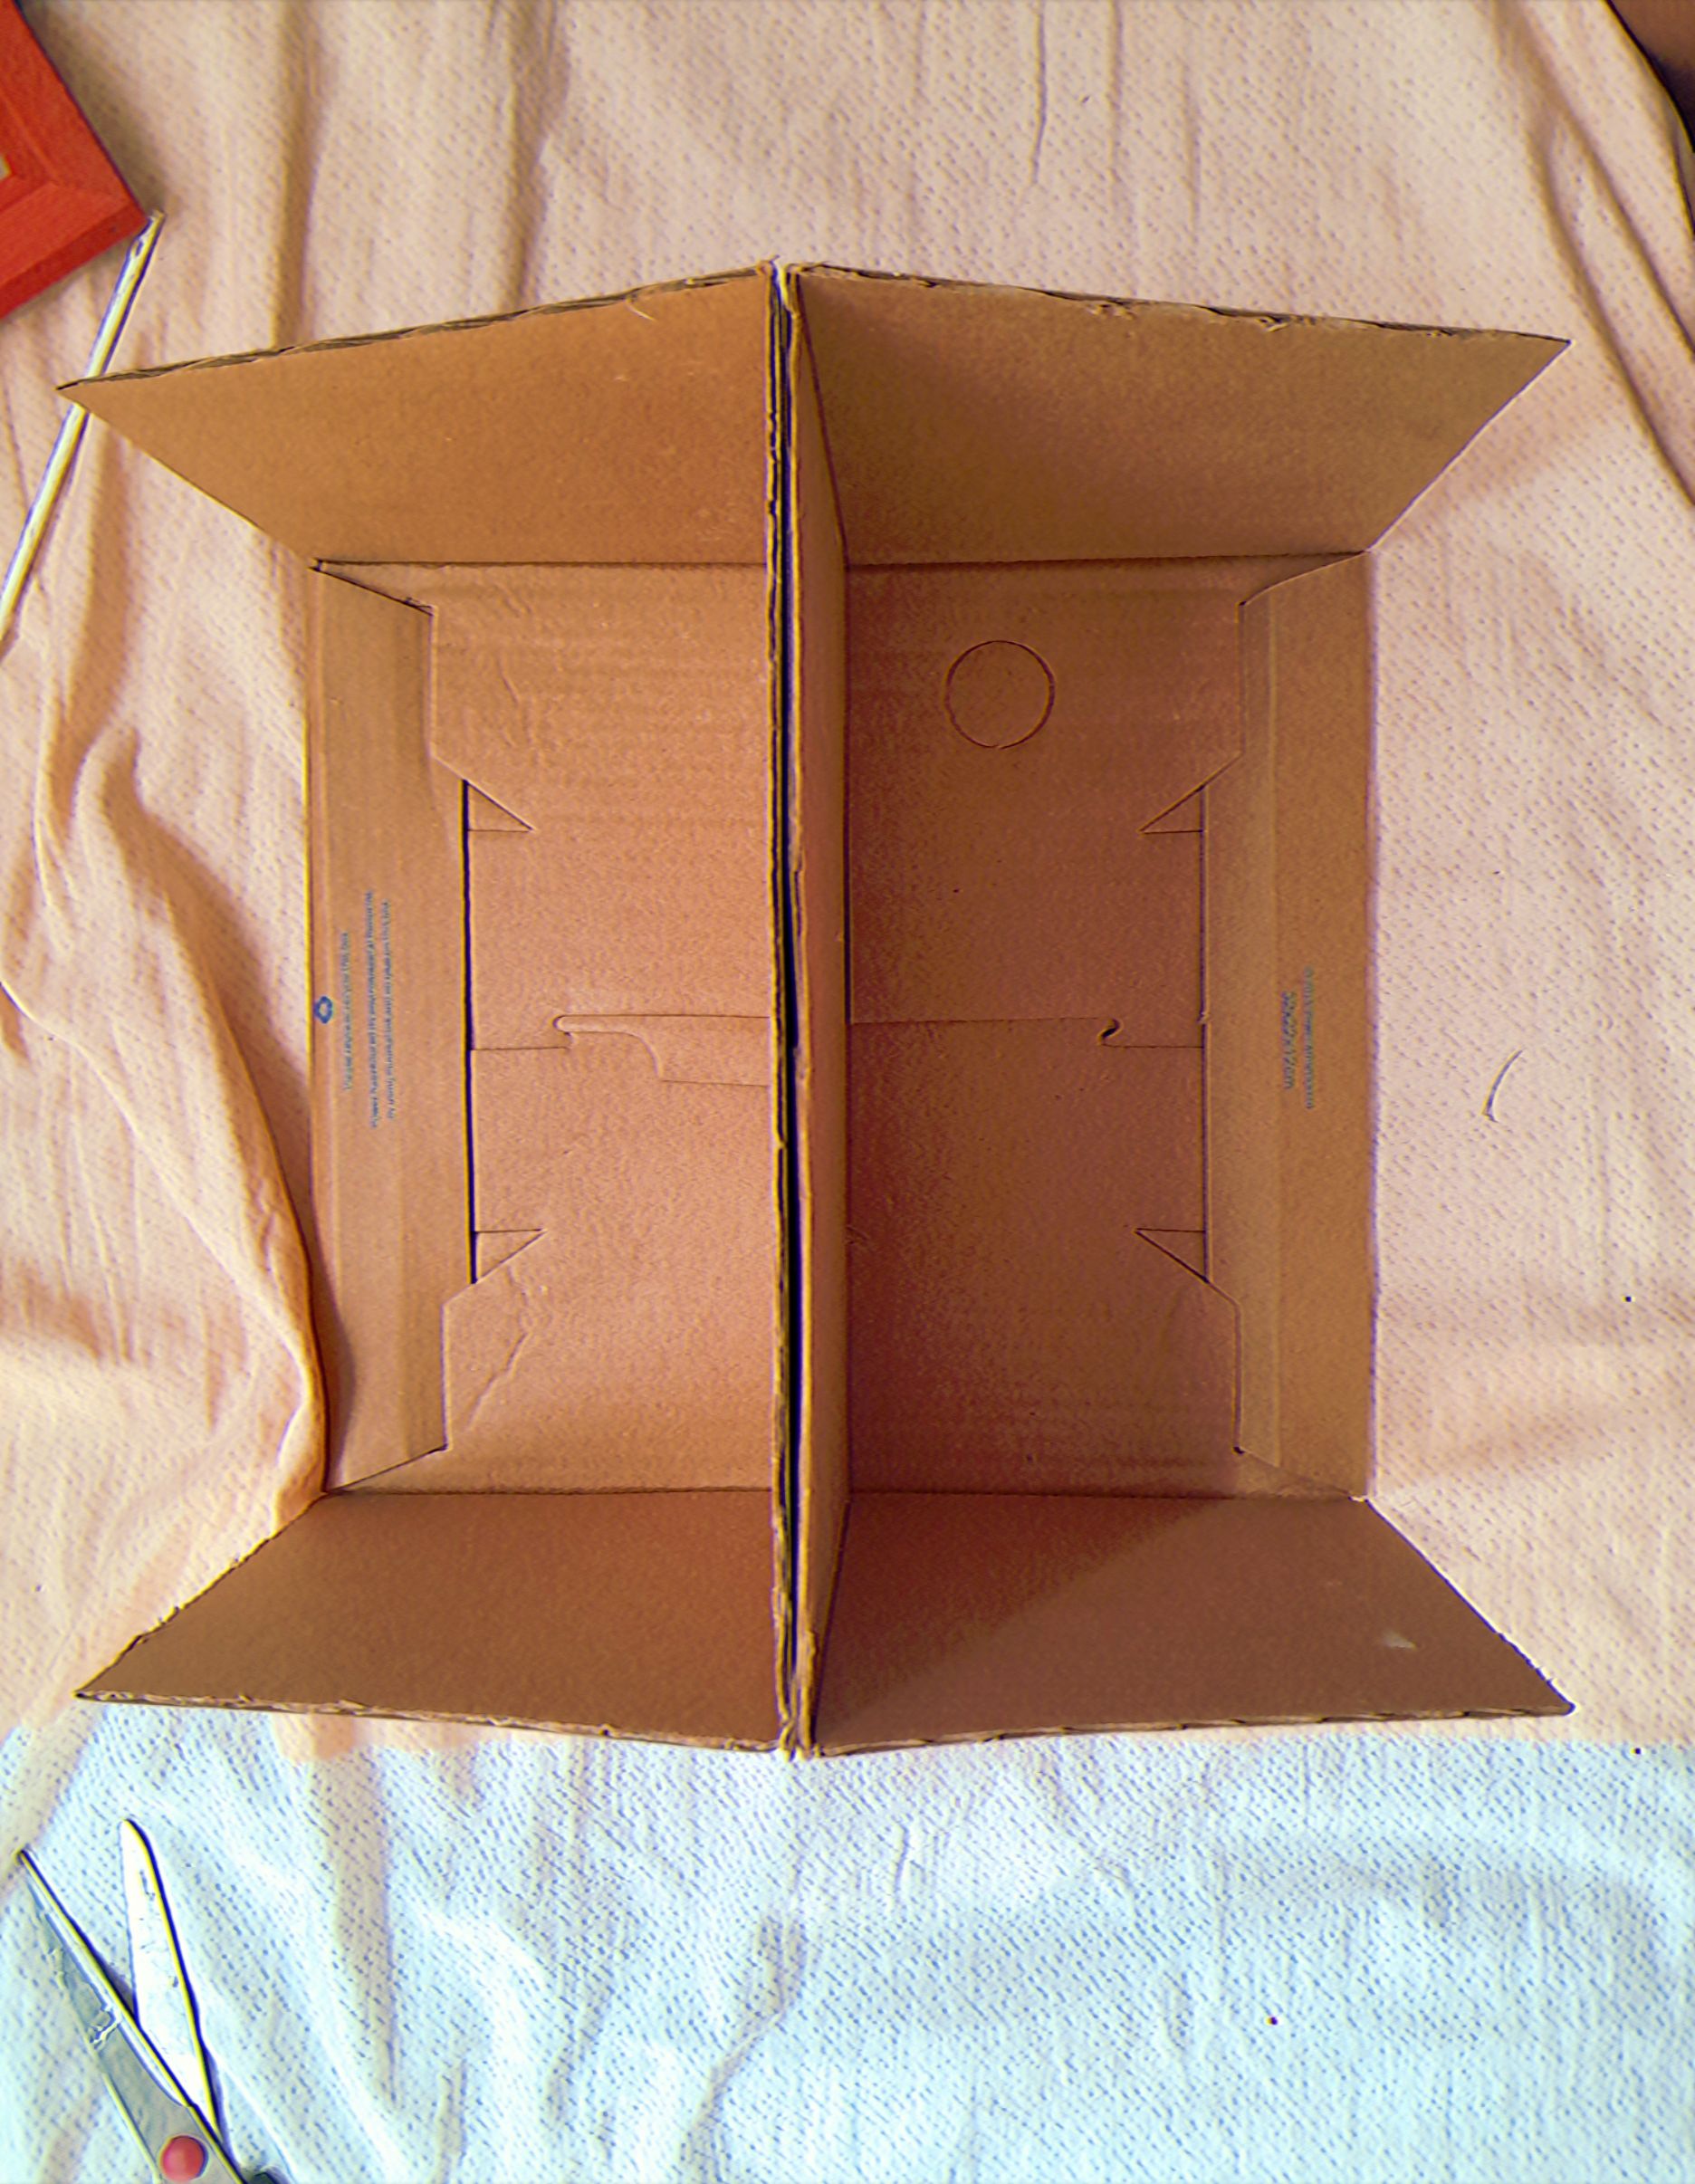
Aqui tienen la opción de doblar hacia afuera desde la mitad o recortarlo, ustedes deciden.
Here you have the option of folding it out from the middle or trimming it, it's up to you.
Ahora, buscamos la tapa y la cortamos exactamente a la altura del estante. Haremos lo mismo del otro lado.
Now, we look for the lid and cut it exactly to the height of the shelf. We will do the same on the other side.
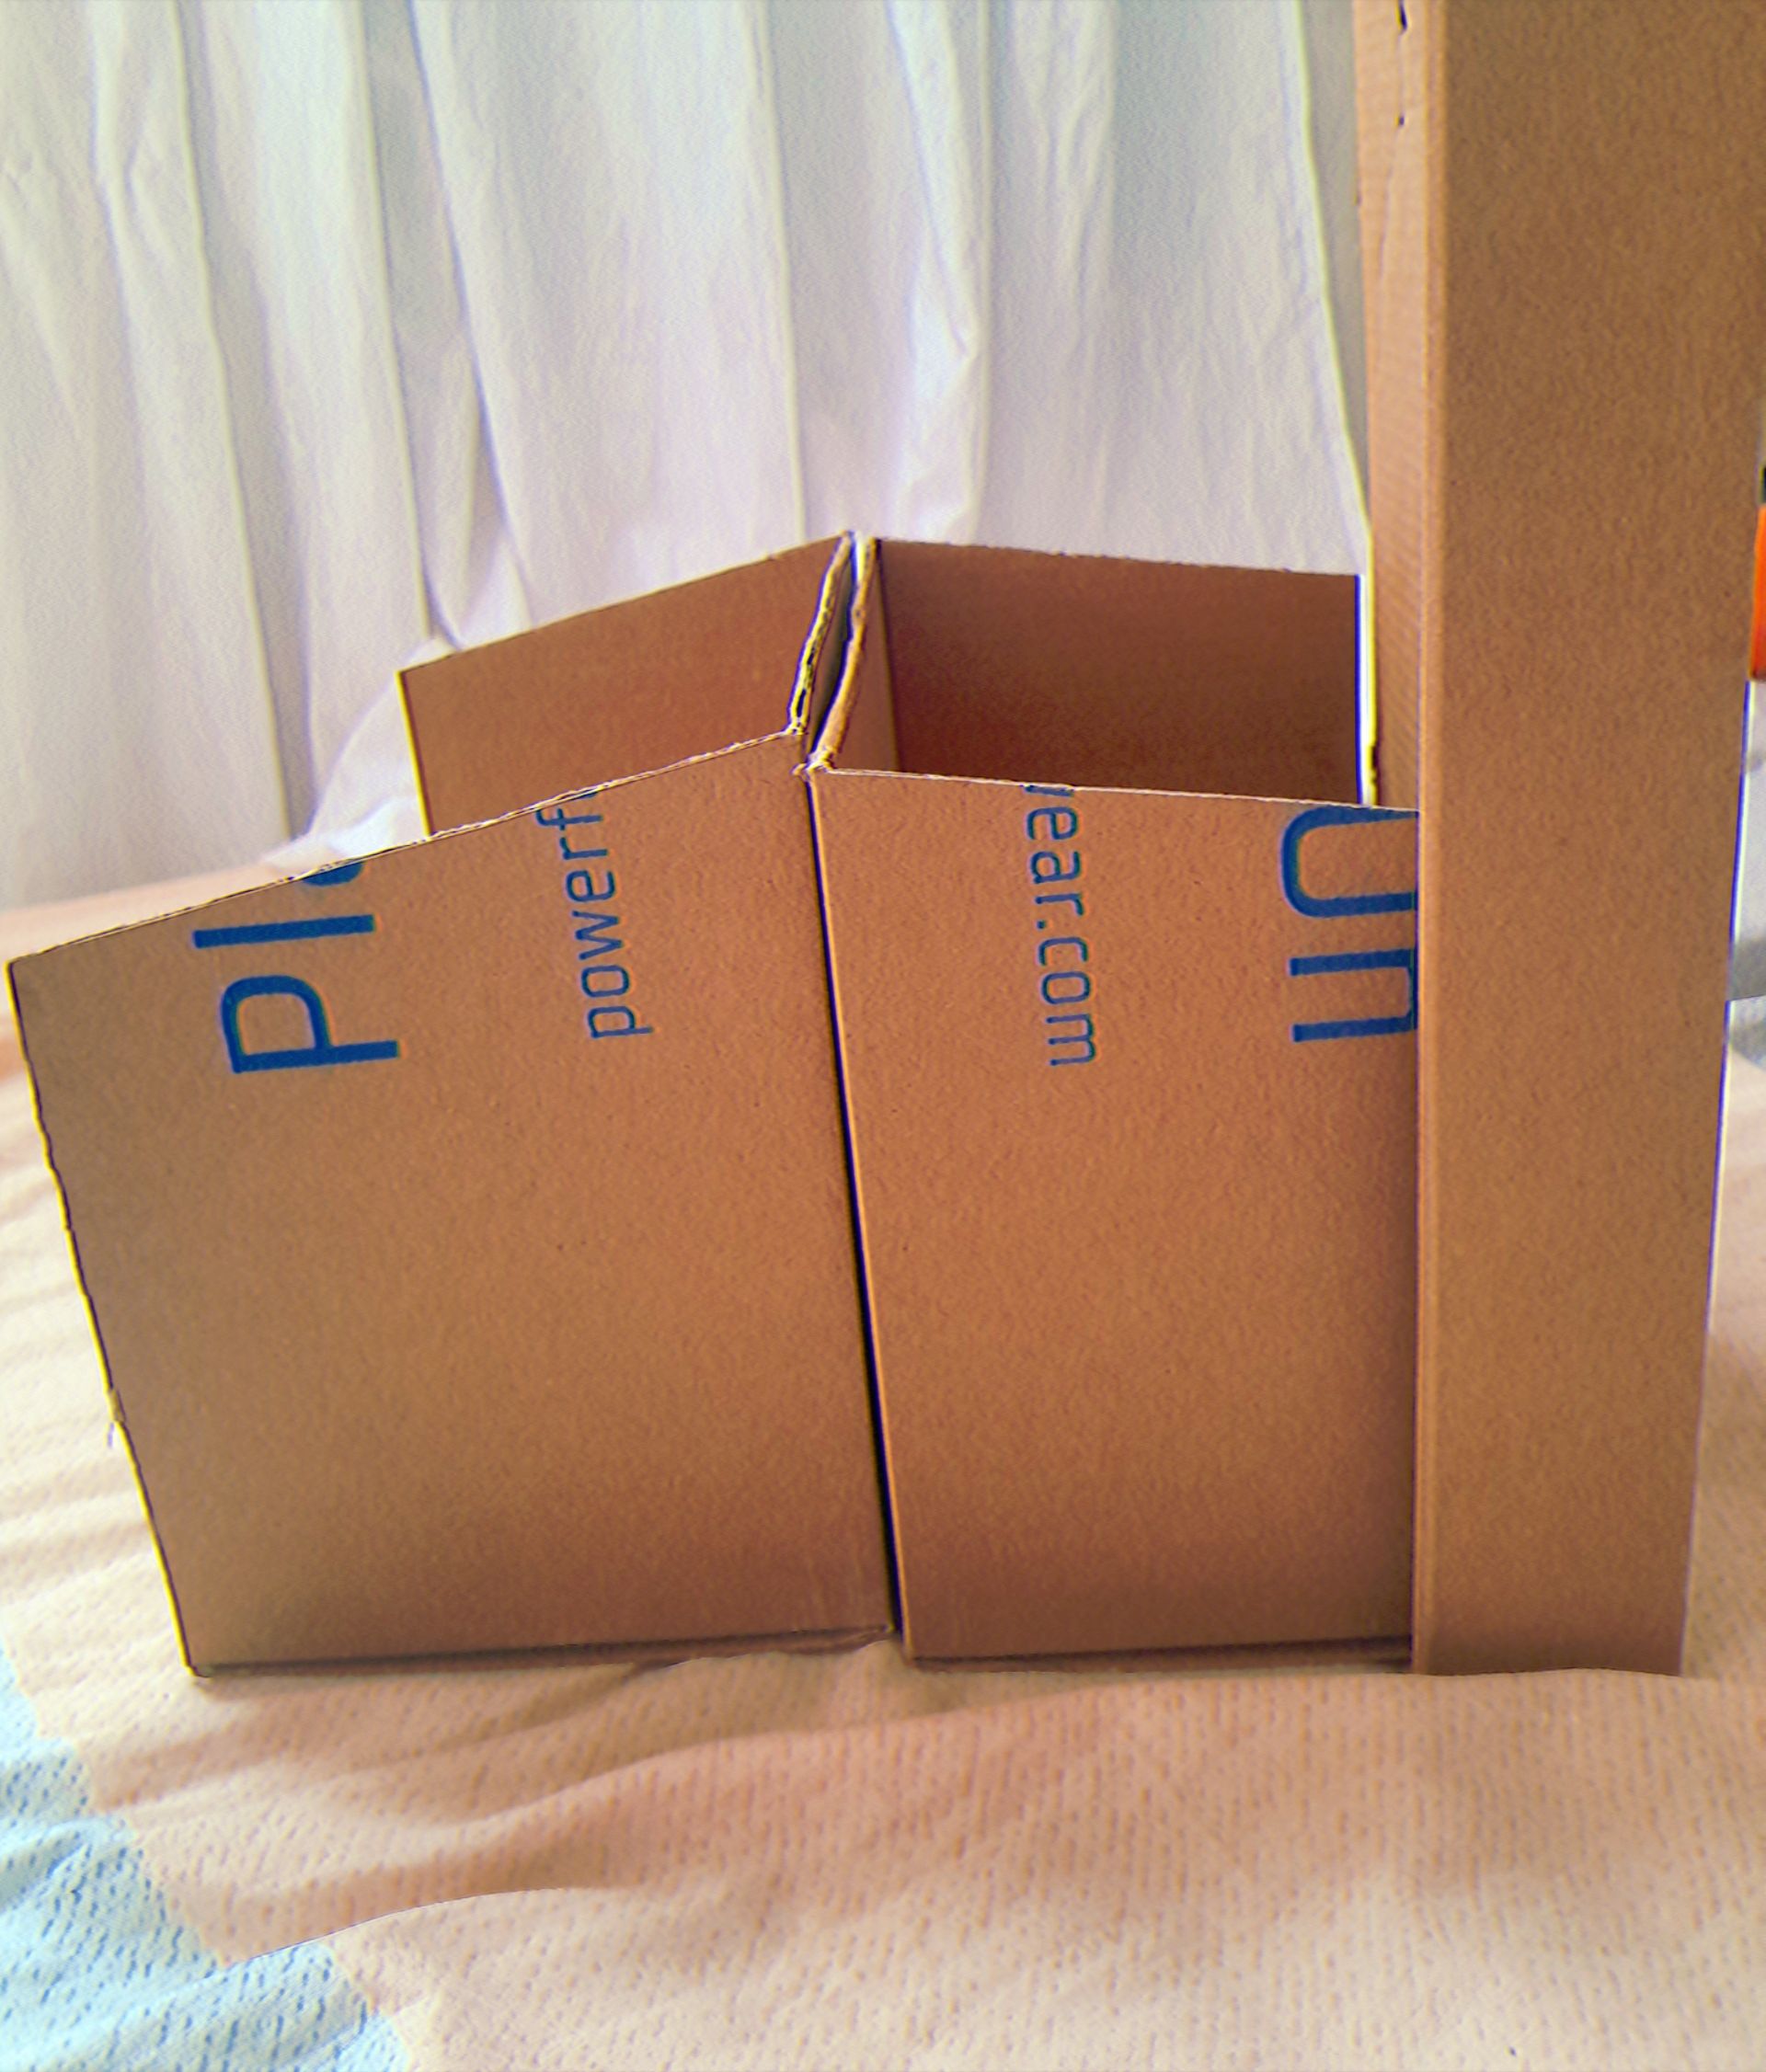
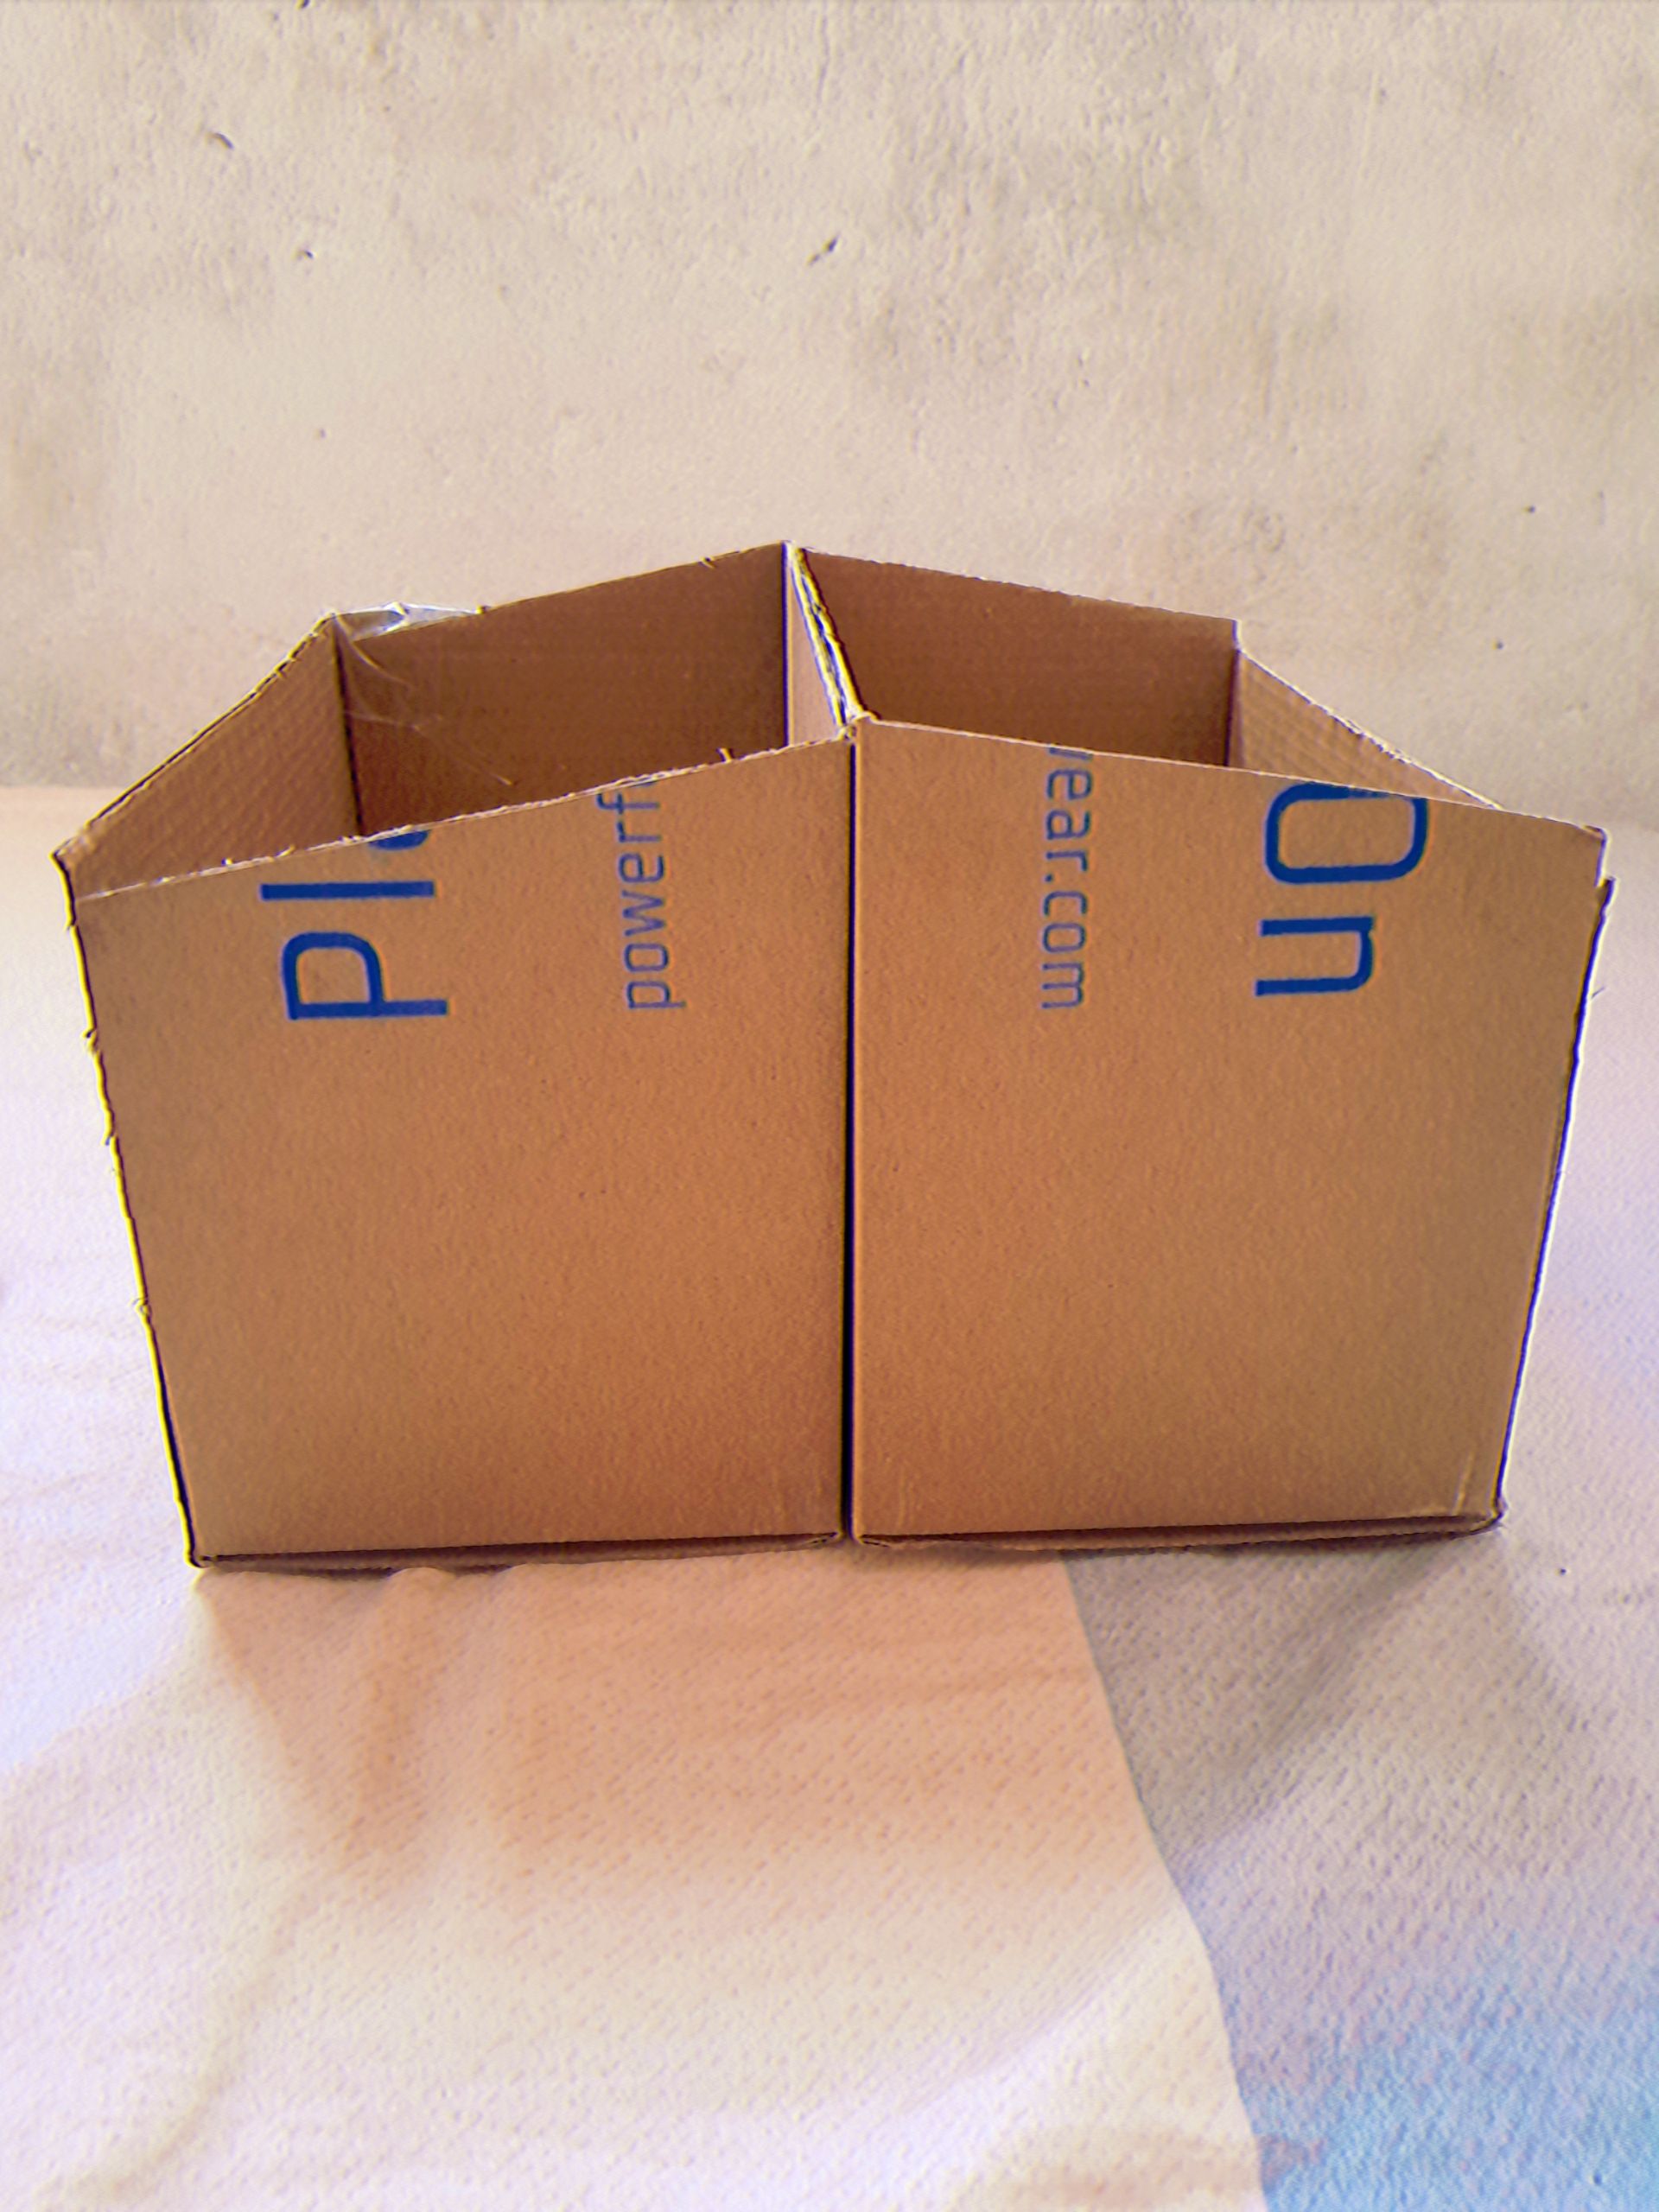
Una vez pegado todo, debe quedar algo asi:
Once everything is glued, it should look something like this:
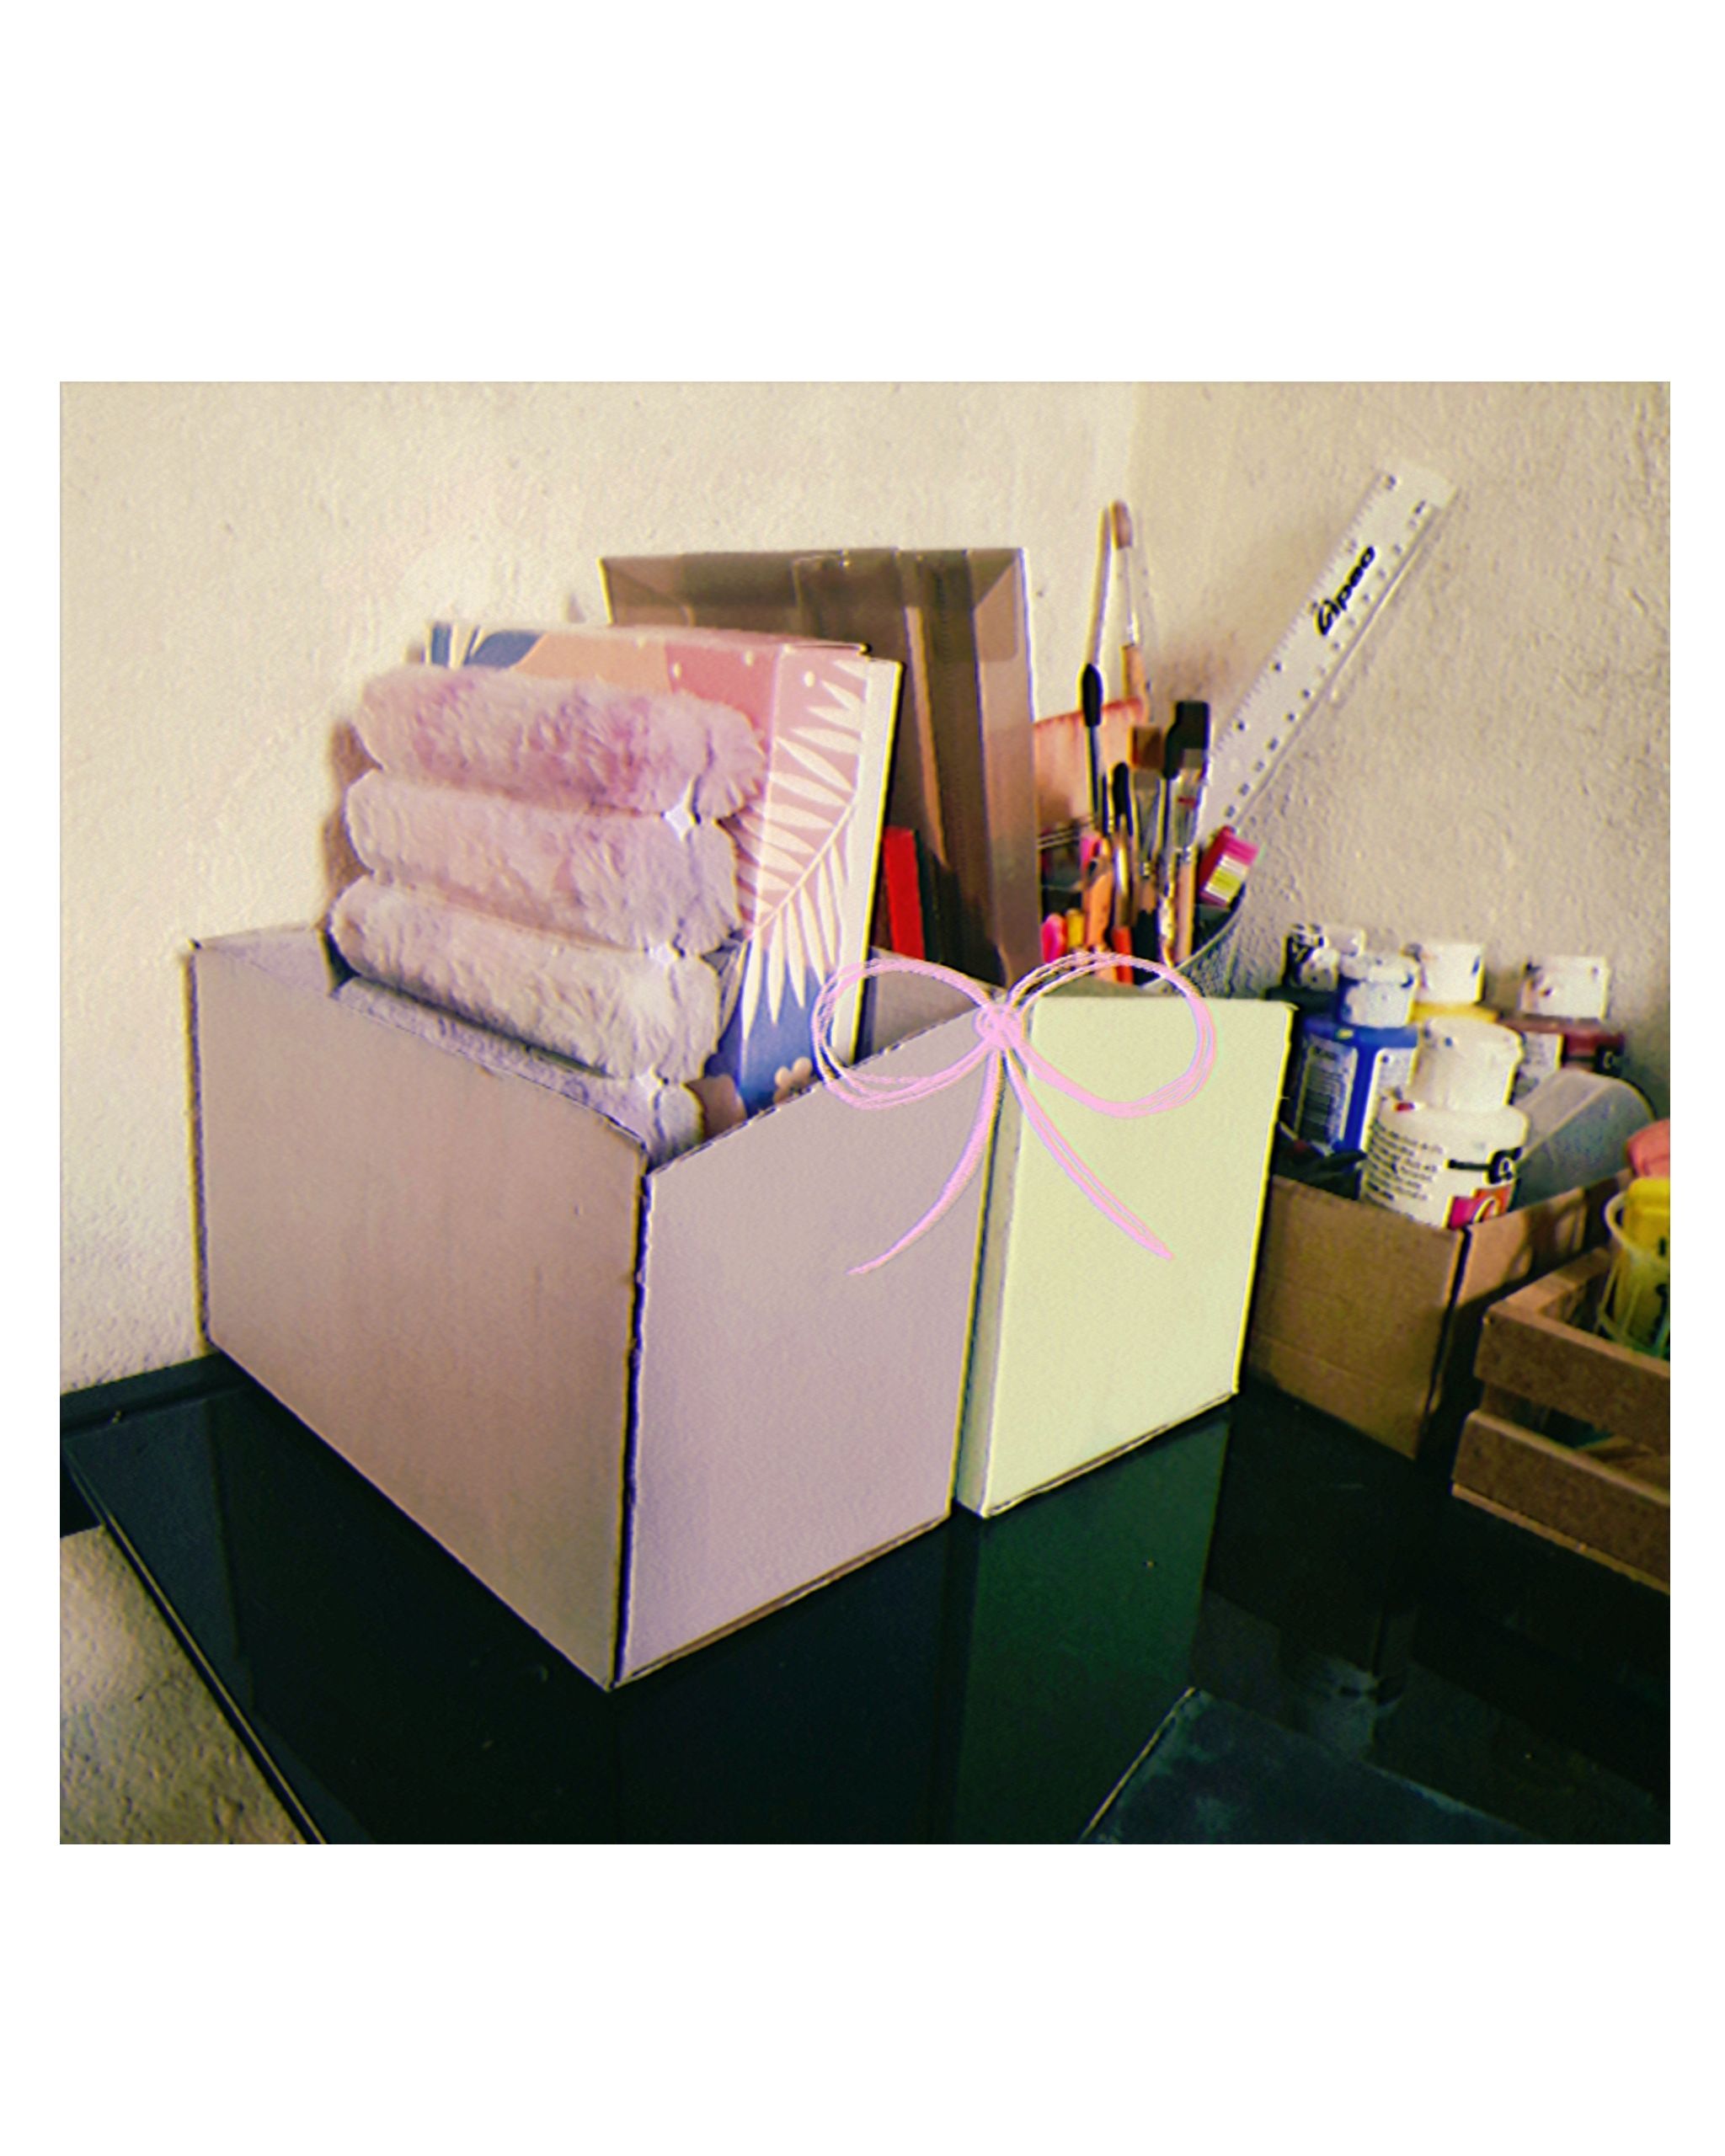
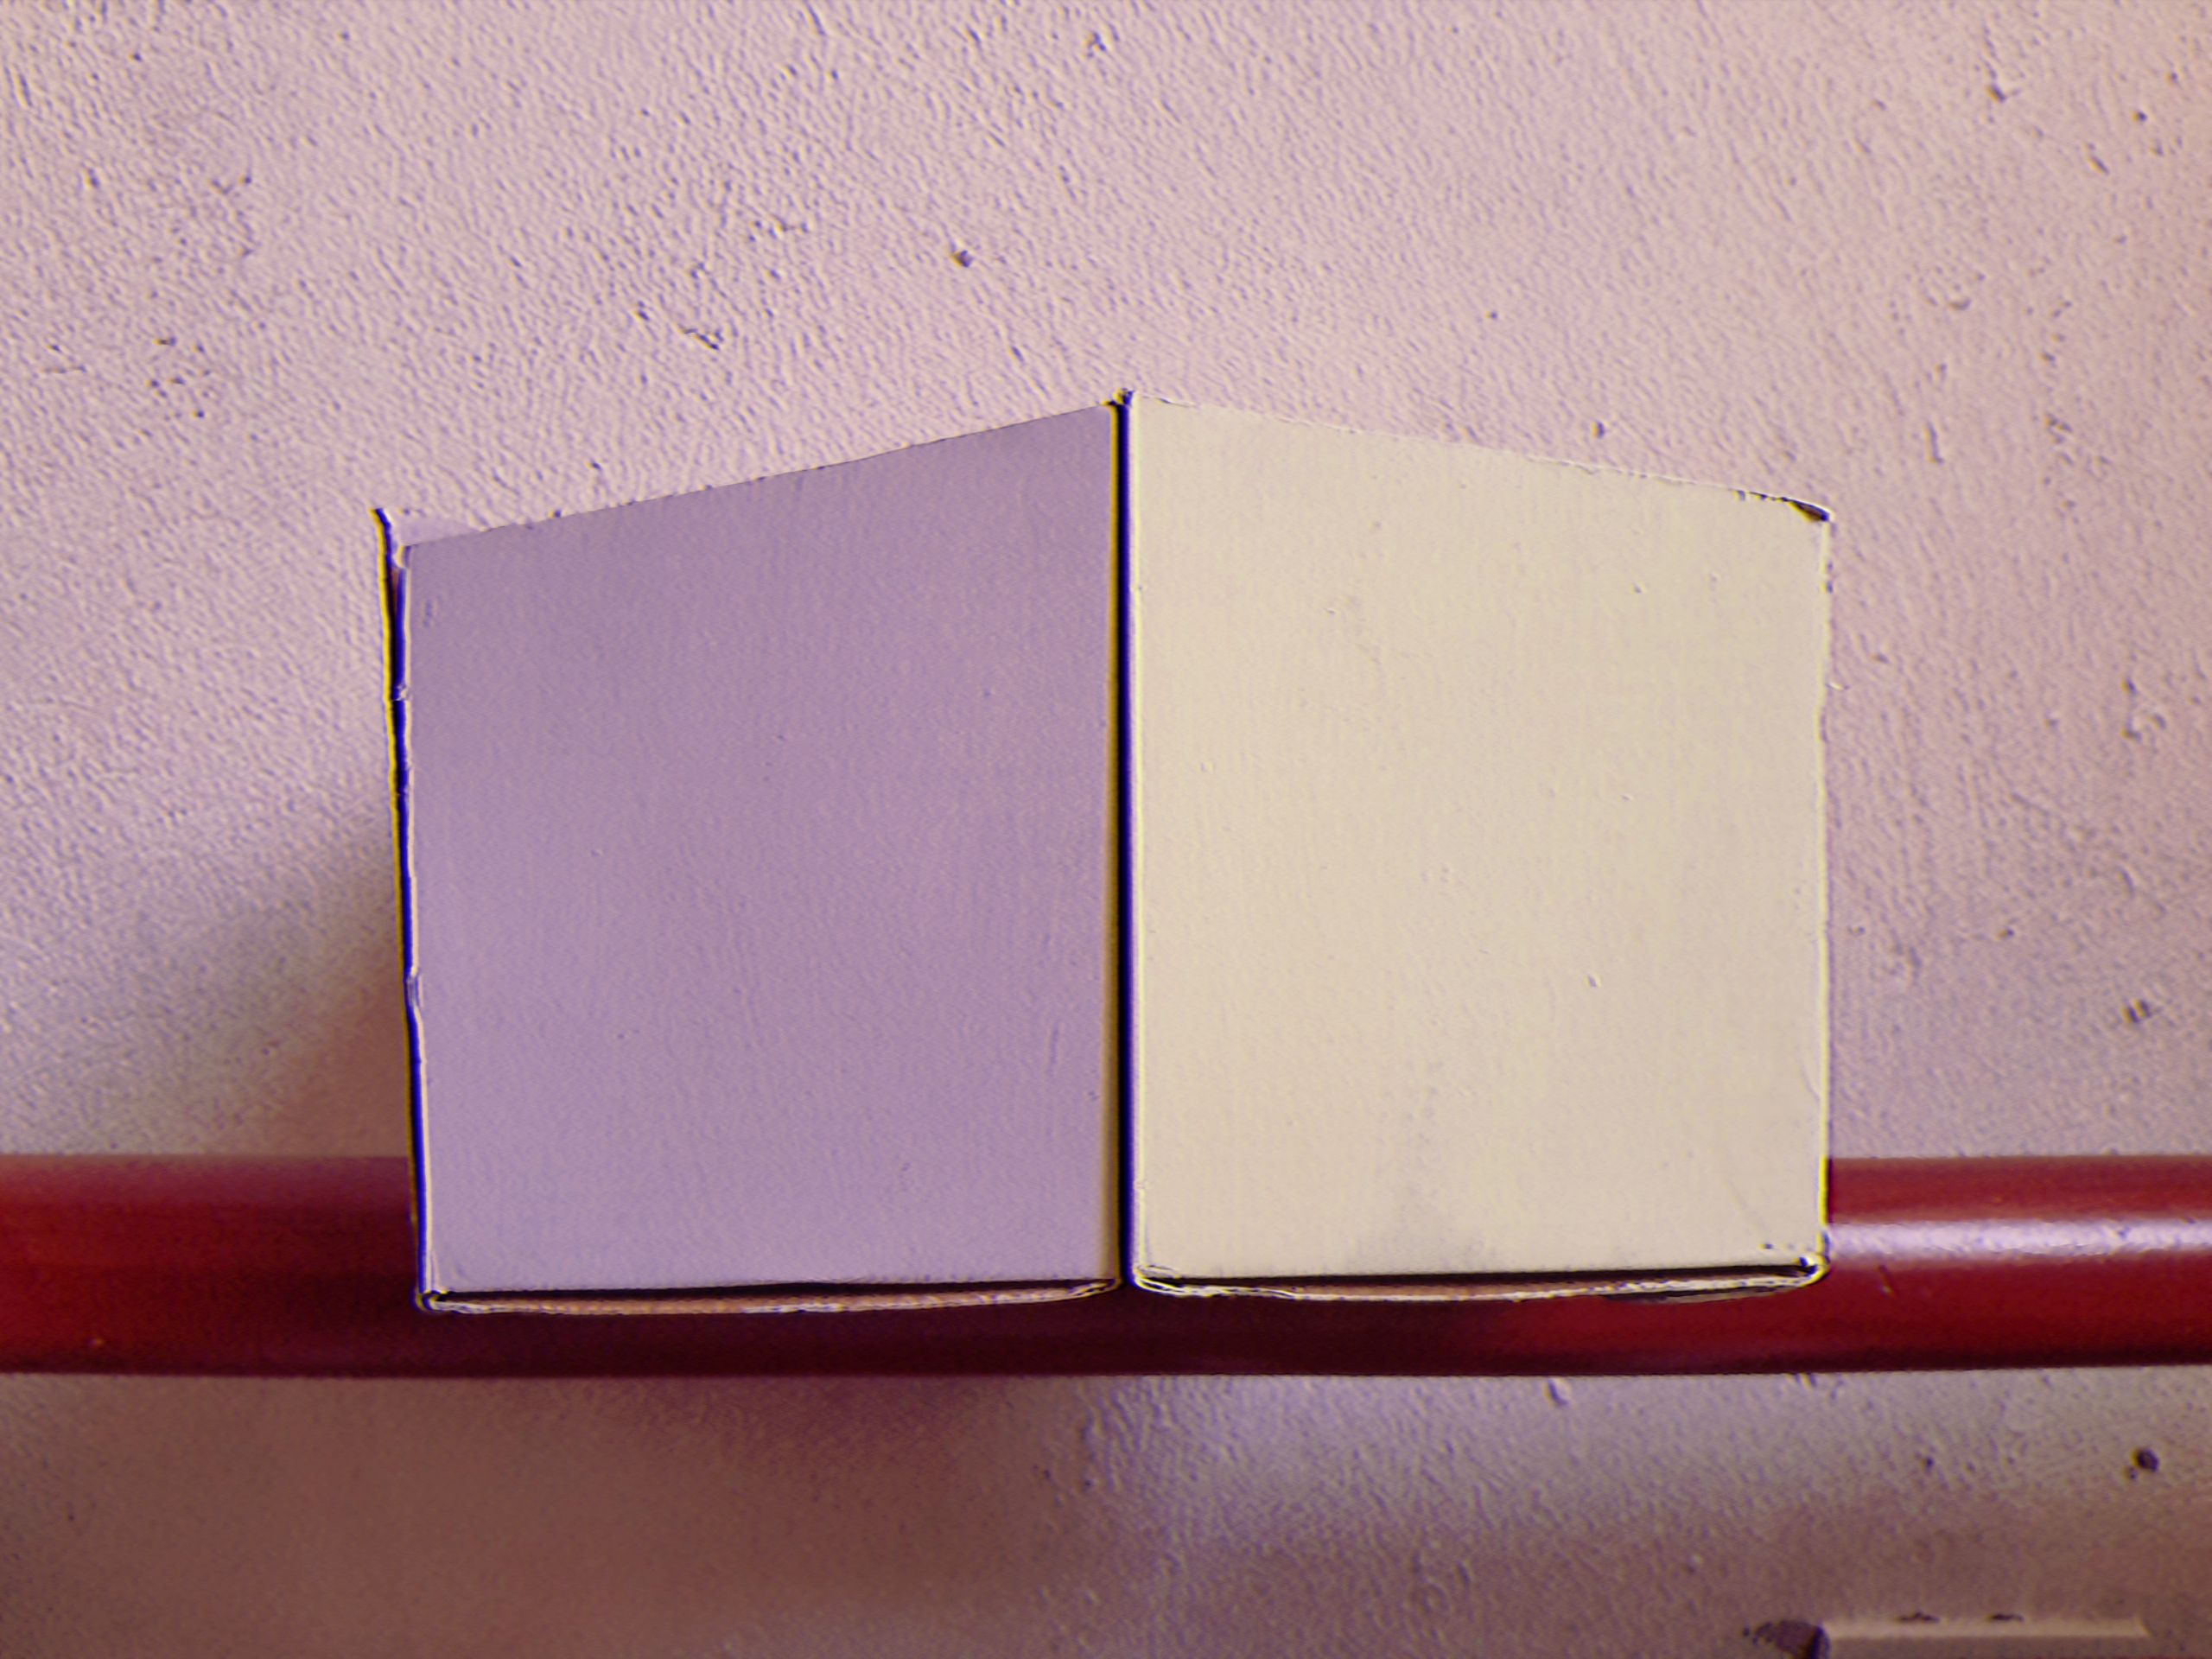
Está prácticamente listo, pues lo único que faltaría aquí sería decorarlo al gusto y en mi caso yo opté por pintarlo con pinturas acrílicas color pastel.
It is practically ready, because the only thing missing here would be to decorate it to taste and in my case I chose to paint it with pastel acrylic paints.
Y eso es todo, ¿que tal les pareció?
And that's it, how did you like it?
Gracias por leer y observar.