 Mulch moved
So it turns out my intern could not come on Wednesday, so I’d be digging garlic myself. I got out early at 5:30 as it was to be real hot. It had to be done, as it had gone well past harvest condition.
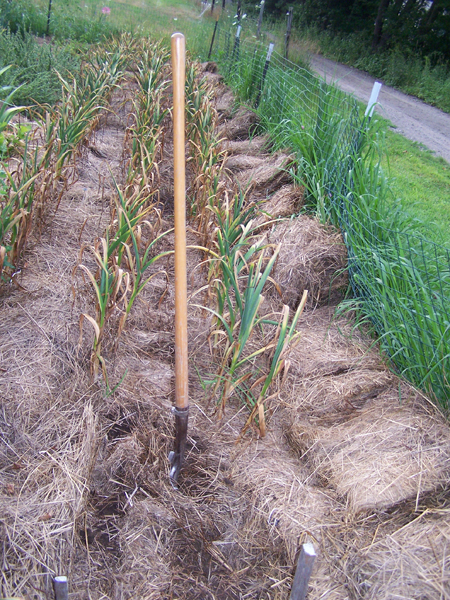
First thing was to move the mulch so I could dig.
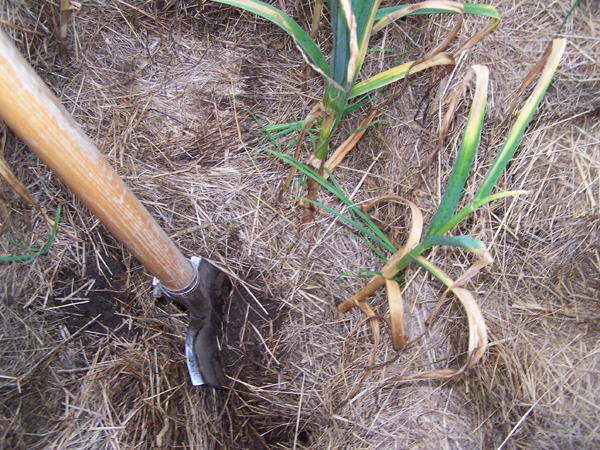
This year I paid a lot of attention to how close I dug. I didn’t want to damage bulbs. The shovel looks angled in, but is actually straight down, then I lift gently to loosen the soil. I pull the plant out by holding around the lower leaves. It should come easily, even though I planted deep, at 6”.
I use 32 gallon totes for the harvest. There are 4 rows of 32’, plants spaced 6” apart.
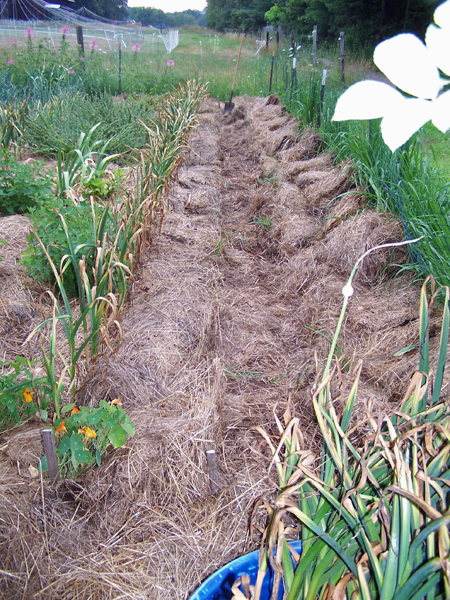
I dug these 2 rows together and finished them.
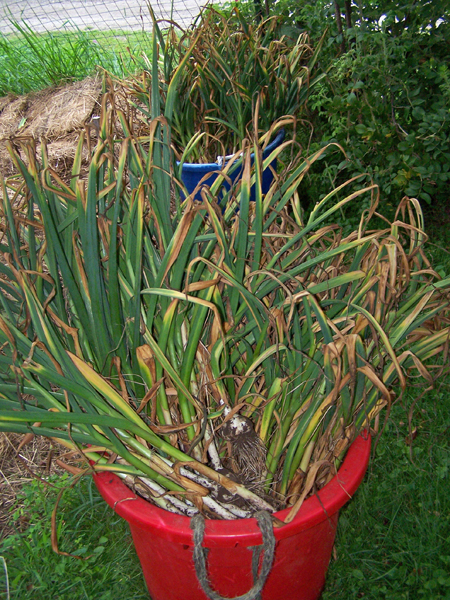
I filled this tote and half of another one.
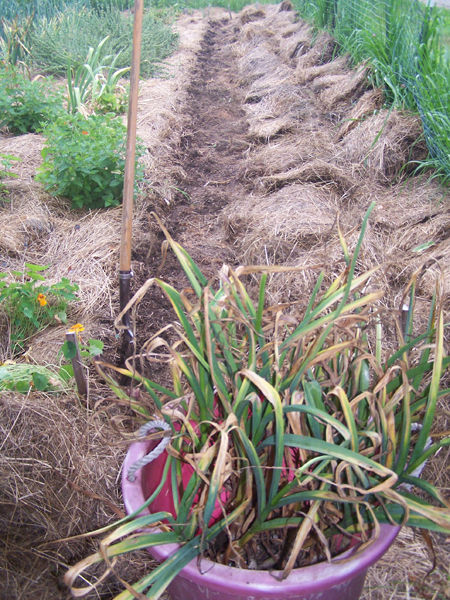
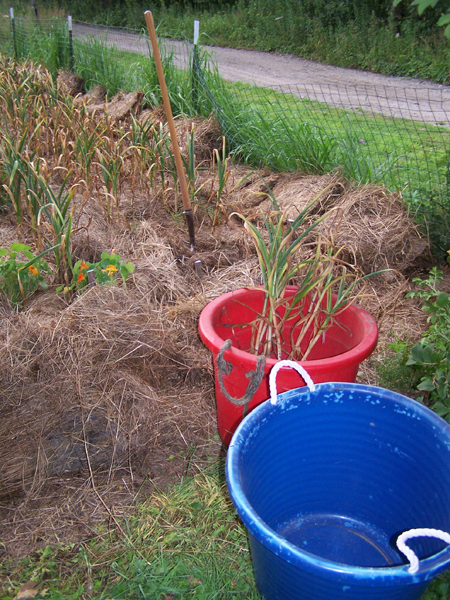
Next I moved more mulch into the finished rows and dug the 3rd row. I filled the second tote and started this 3rd one.
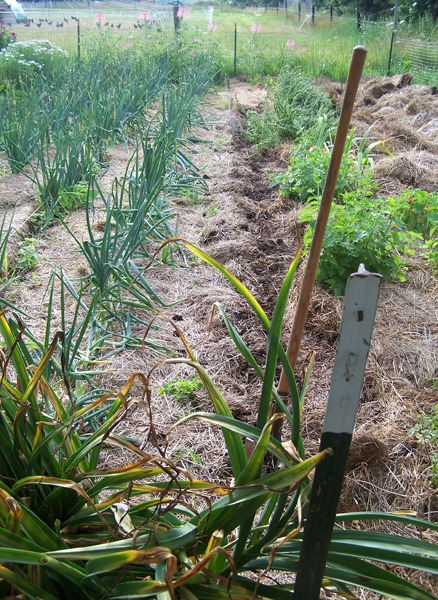
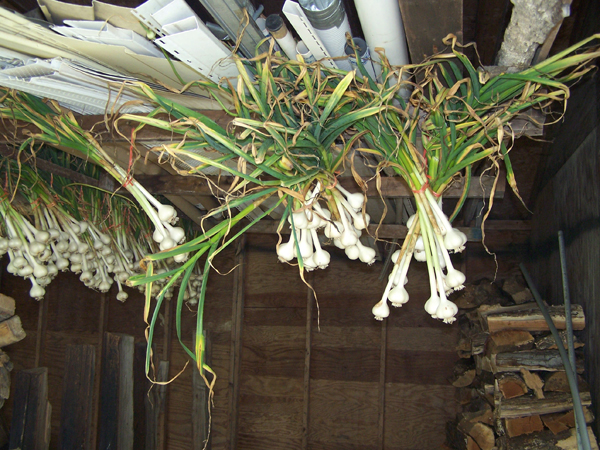
More mulch moving and I started the 4th row. This row had the Chesnok Red garlic.
 Chesnok Red garlic with its late starting scapes
The Chesnok Red didn’t make scapes when my German Extra Hardy did in June. I’d long since finished harvesting scapes when they were ready, so they were left.
This meant the bulbs would be small as the energy went into making seed in the scape. But these have always been small, even when I got the scapes off. I’ve decided I’m not growing the Chesnok Red anymore.
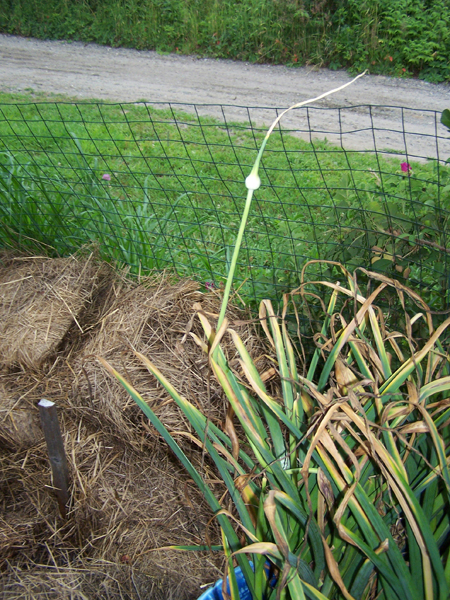
There were 2 or 3 of the German that had late scapes too.
My husband lugged the 3 totes over to the picnic table and I set up a chair, an enormous pot with drainage holes, and a hose and set to work cleaning the garlic.
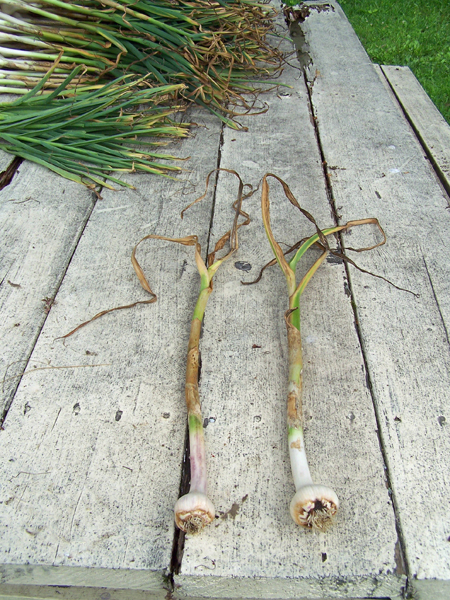 Garlic with 5 brown leaves
What happens if you are late harvesting garlic, for each brown leaf from the bottom, you lose a layer of protective skin. So garlic should be harvested by the time there’s 2 brown leaves.
This is what the bottoms look like, missing all paper.
So I was removing the rotting layers from my too late garlic, and the soil. If garlic is harvested in a timely fashion, those 1 or 2 layers can be pulled off, leaving a nice clean bulb.

My husband took pity on me and about 10AM he came out and started cutting roots back while I finished cleaning the garlic.
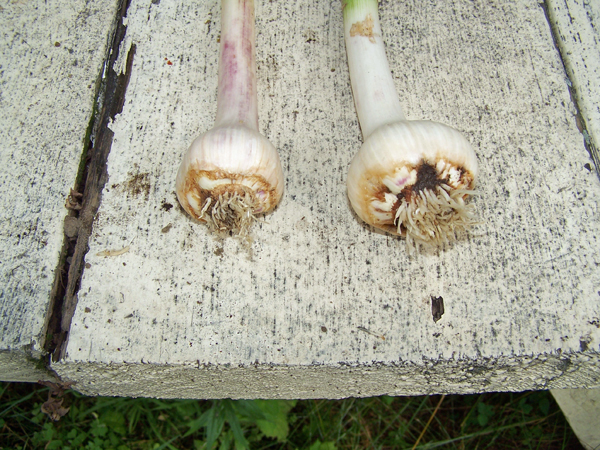
 This is the cleaned garlic for the year. Chesnok Red on right.
Then I started tying sets of 8 bulbs, styled in a staggered fashion for better drying, so they could be hung up. My husband ferried them to the woodshed and hung them 2 sets to a nail.
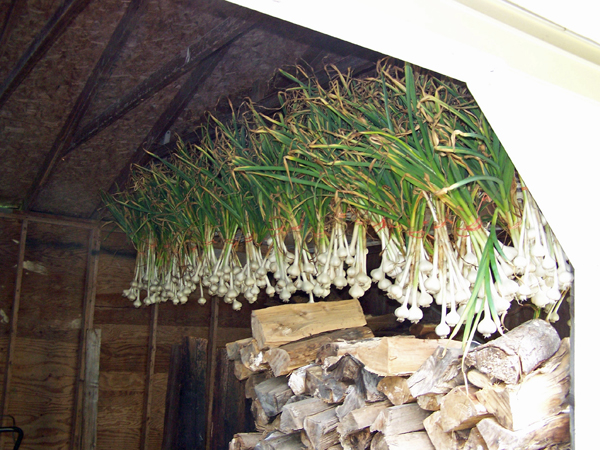
This year, they can hang as long as needed as I did not grow any storage onions. Last year I had to take them down before they’d finished curing because the storage onions had to be harvested. They were slow to cure last year due to incessant rain and high humidity.
He had to put up more nails here to hang the 5 extra sets.
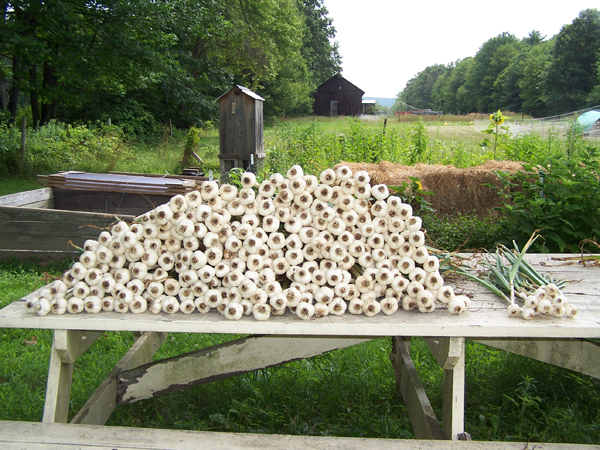
I had only damaged one digging, and had the 2 that were too far gone to hang. He estimated that there were around 275 bulbs, including the Chesnok Red, of which there were 12.
I will be able to sell some of these this year. In past years I’ve had a lot of people want some, and not had enough.
The quality isn’t what it was last year, due to late harvest and the drought. But there’s still some nice size cloves on the bulbs and that’s what I select for, for my own seed.
More info on garlic: https://steemit.com/homesteading/@goldenoakfarm/digging-and-processing-garlic
![]()
Join Us on Discord. https://discord.gg/hPJs5Rb