https://images.hive.blog/DQmQsfScUcrwd45qV2obHR6kPCKtWhLz8MdYP2tkBfGeEuU/Techy%20Portada.png
Greetings again to all the community! In this opportunity I share with you the drawing process of a character that I am developing for a personal project. It is a robot that I am actually building in real life. I hope you like it.
I used the following materials and tools:
First, I made the sketch by hand on a recycled paper sheet.
https://images.hive.blog/DQmfT6ZGiubMiH484VnR3CDKgv1XYhzh5nD2GaRsnAJAMzb/20240321_093044.jpg
https://images.hive.blog/DQmQhEtjDdXHznsu1sKidsYPNEUZ8vHzXn6e8wZ8zT7HKUg/20240321_093347.jpg
https://images.hive.blog/DQmahDHcaZNaJG6vvNN9aCGozkhCp6ZHgah9jVt9TJETXg2/20240321_094140.jpg
https://images.hive.blog/DQmYUD5pzbU9qNTXGvdFg1WcHeBgTJuaPwFyvxxt3aATJQS/20240321_095312.jpg
https://images.hive.blog/DQmc8uhg9CsGCCqfXKMjbqEn3frhym6j7oU6NnW2uZSiyBM/20240321_100531.jpg
https://images.hive.blog/DQmVYjFGHN3Uivzg5VZpvxyX7UhMjkoczUmoQVrWTpoy2CM/20240321_102151.jpg
https://images.hive.blog/DQmV12H2Bun7GQwRoT66VvKGESYsBtBegVxXYJwA6y9def6/20240321_102909.jpg
https://images.hive.blog/DQmcqpC6Gwof8JnTbhYxHvFPG6cJzesz43CSF7MaPp4sFSs/20240321_105439.jpg
https://images.hive.blog/DQmTEPvjhX8RPNYcDosDU4Ko5tGCXaMvwC6yNRJ4dabLcnP/separador%20negro%20y%20rojo%20NUEVO.png
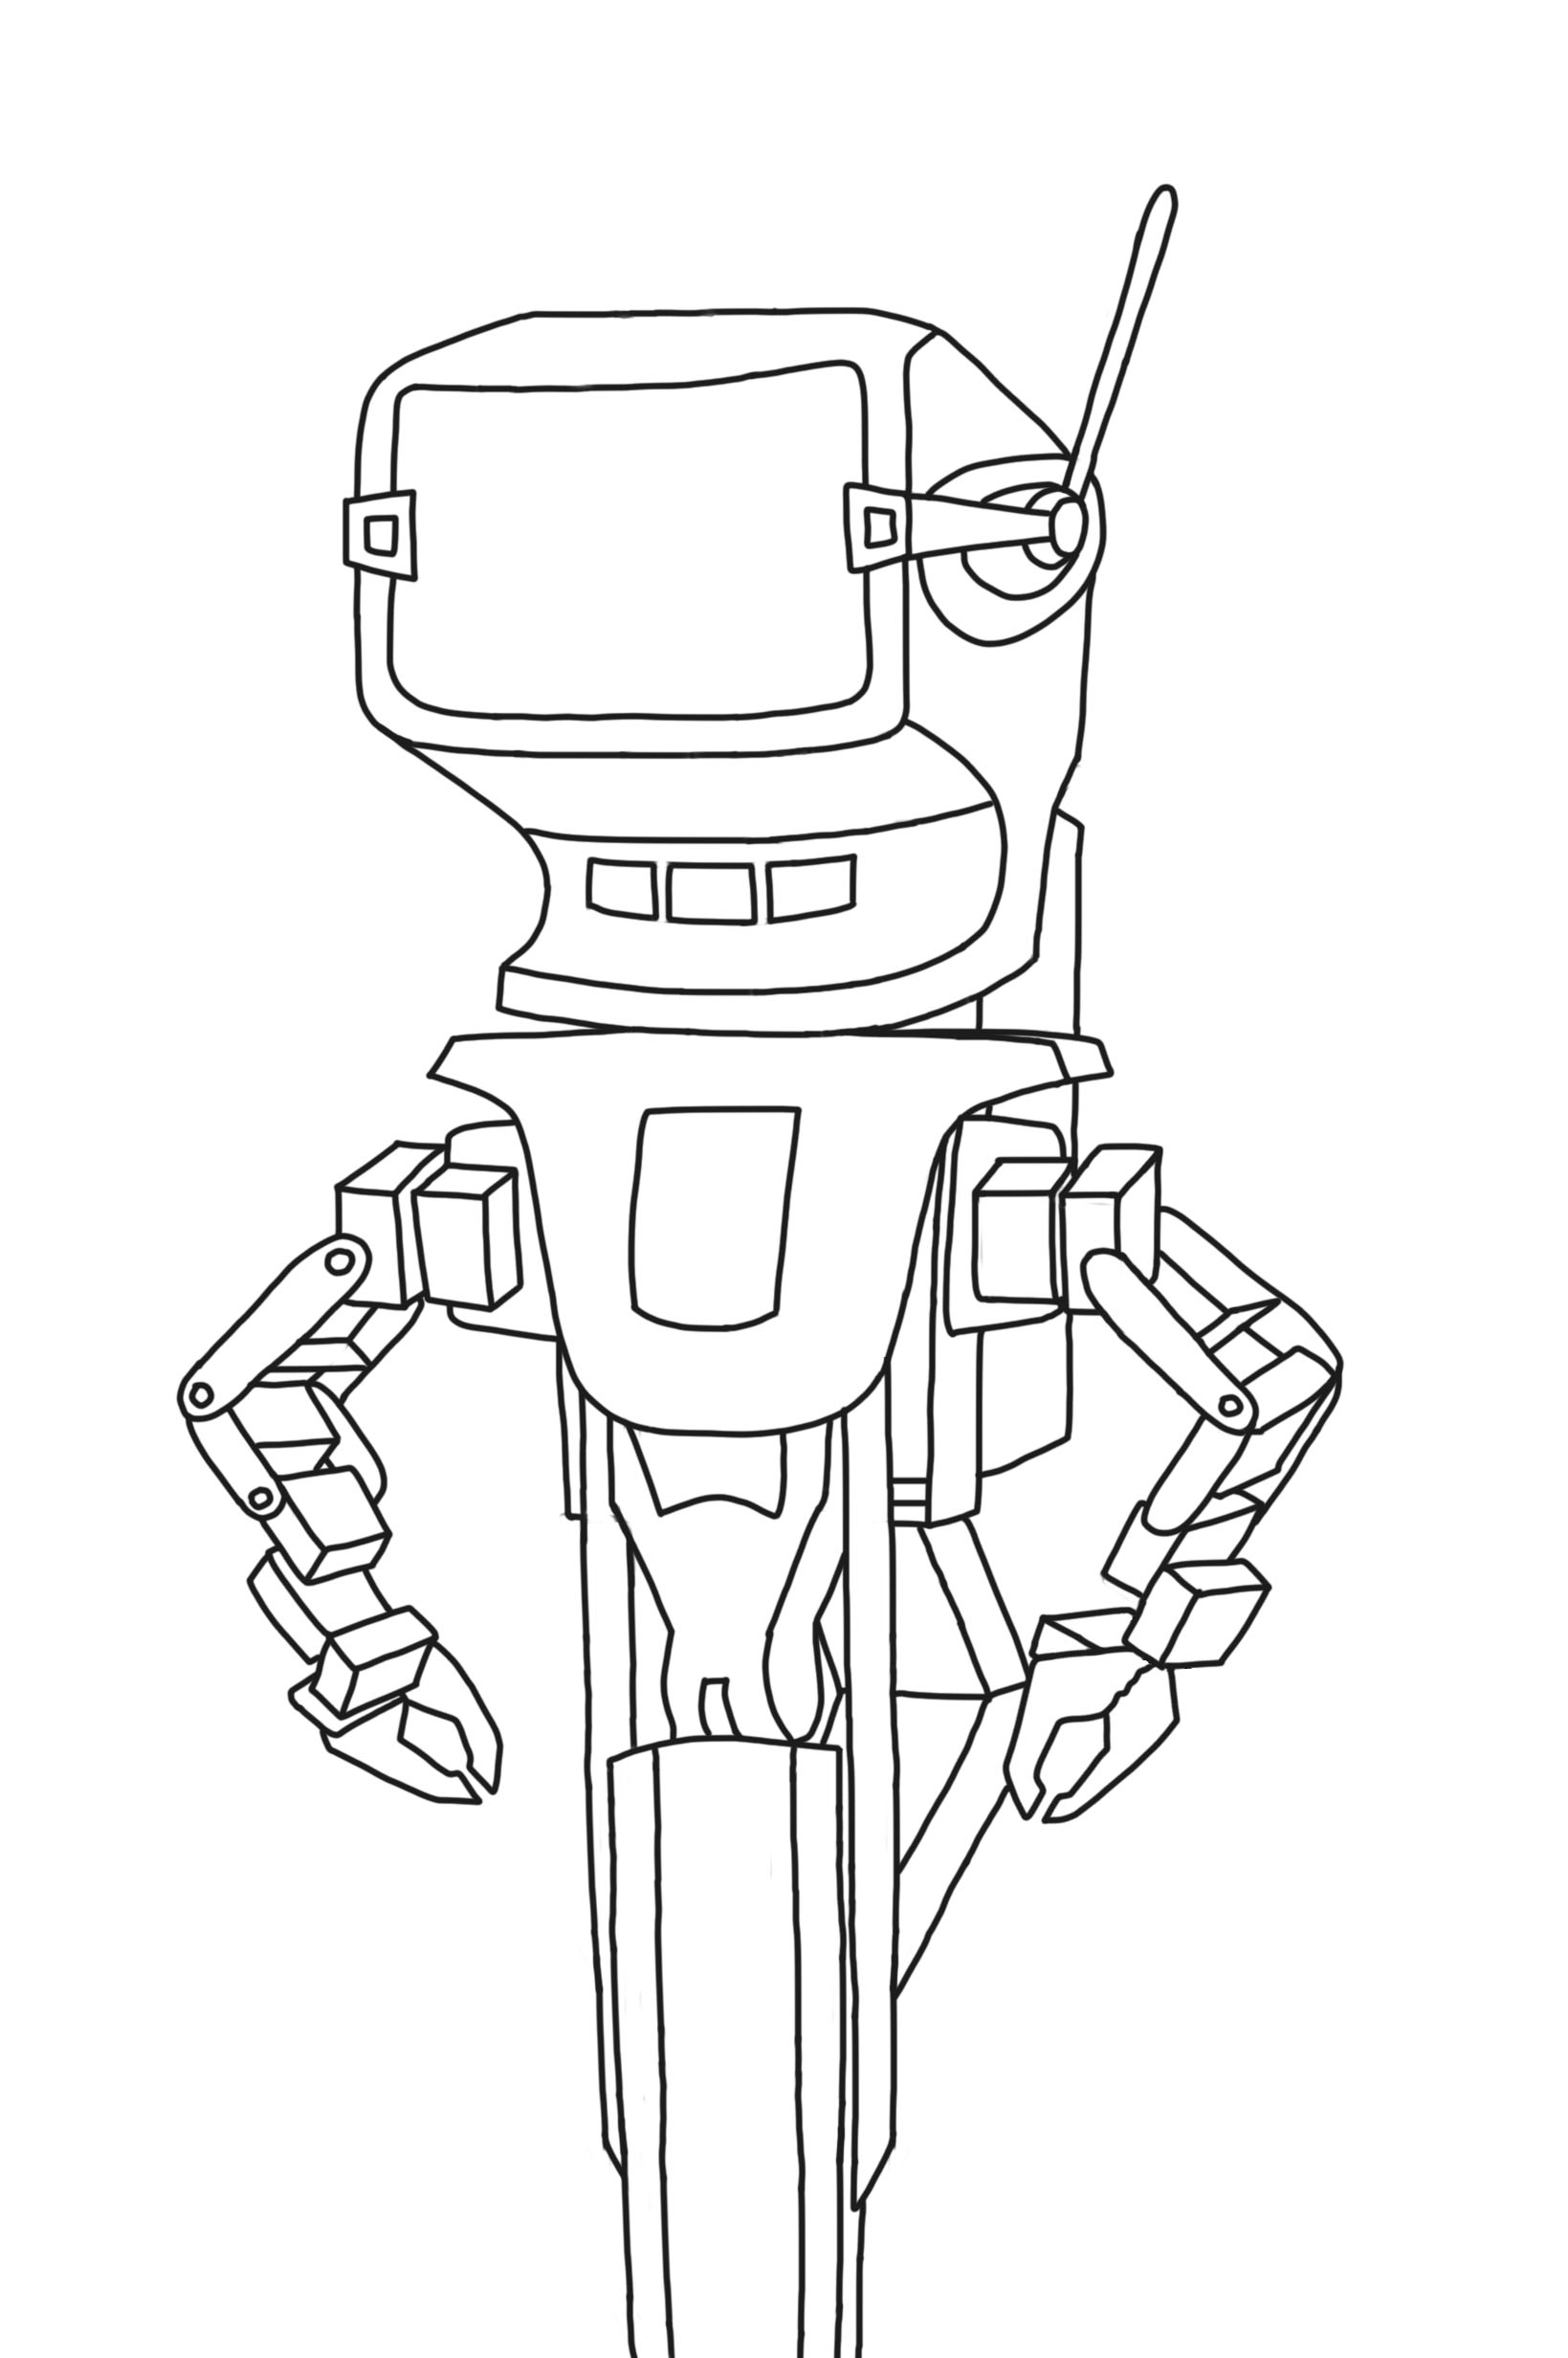
The next step was to scan the image and open it in the Photoshop design Software. I traced the outline of the drawing with the pencil tool on a new layer, the result is shown below.
https://images.hive.blog/DQmNTZhxmvjgkhECbinK1yMCE2oR6SEPzZS7tUc52ypg2qJ/Tek%20a0.jpg
https://images.hive.blog/DQmScAiAWyzN2pusxSmUCmGuEVzBzcnU5tfYGPbCaejyRMC/Tek%20a1.jpg
https://images.hive.blog/DQme7qiFdKmtv38yqwqJnuMAYUap2cx7Y6jUsEmTnAEPag1/Tek%20a2.jpg
https://images.hive.blog/DQmSe8jXgas8DYaf37szyXMtuTQ5Yu9bkqHAPRa9ZpSTaES/Tek%20a3.jpg
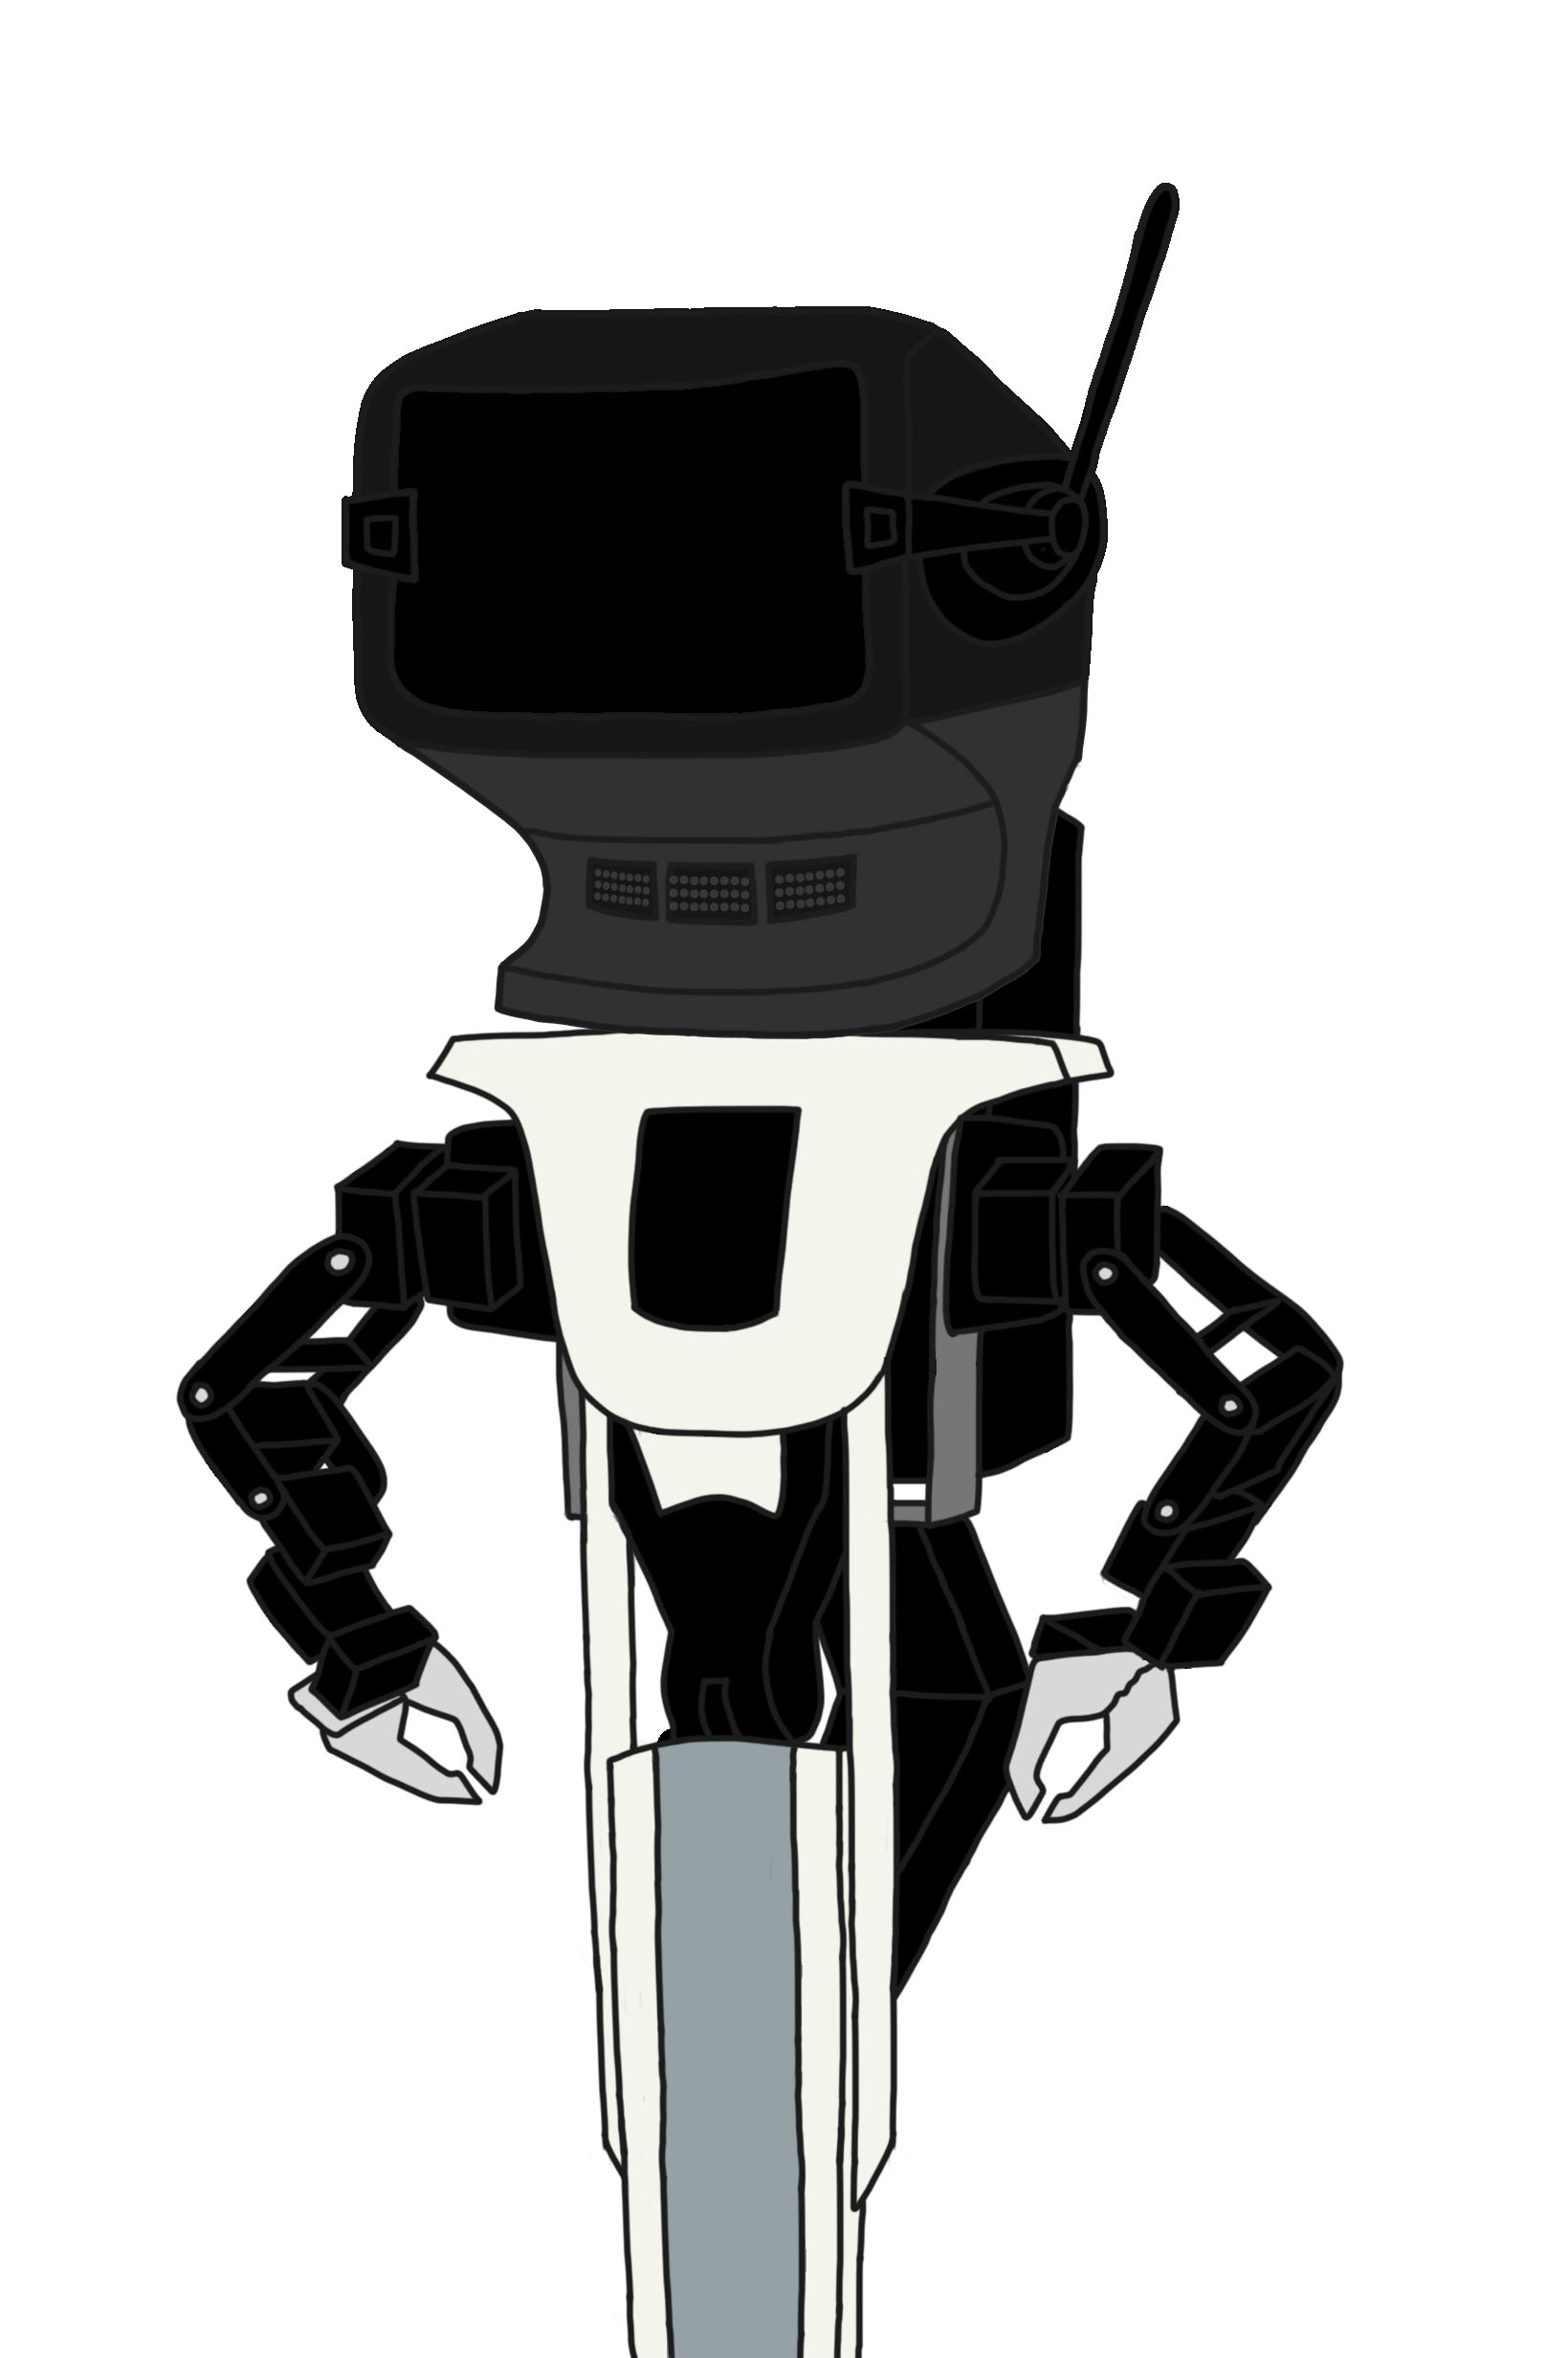
Then I added color to the illustration.
https://images.hive.blog/DQmNXCndAUjFZqkgL9UEg38LgHC1Uetq9T9oXXgZfsAidgd/Tek%20b1.jpg
https://images.hive.blog/DQmWNXwwYZwzTe78Q9Ey5XnyEi5mcBn5LUzExRYZ26MF92L/Tek%20b2.jpg
https://images.hive.blog/DQmeetAUB3K3jzSZLKRrMjpbDrgdXssUG1VkLziZDzuwMoy/Tek%20b3.jpg
https://images.hive.blog/DQmTEPvjhX8RPNYcDosDU4Ko5tGCXaMvwC6yNRJ4dabLcnP/separador%20negro%20y%20rojo%20NUEVO.png
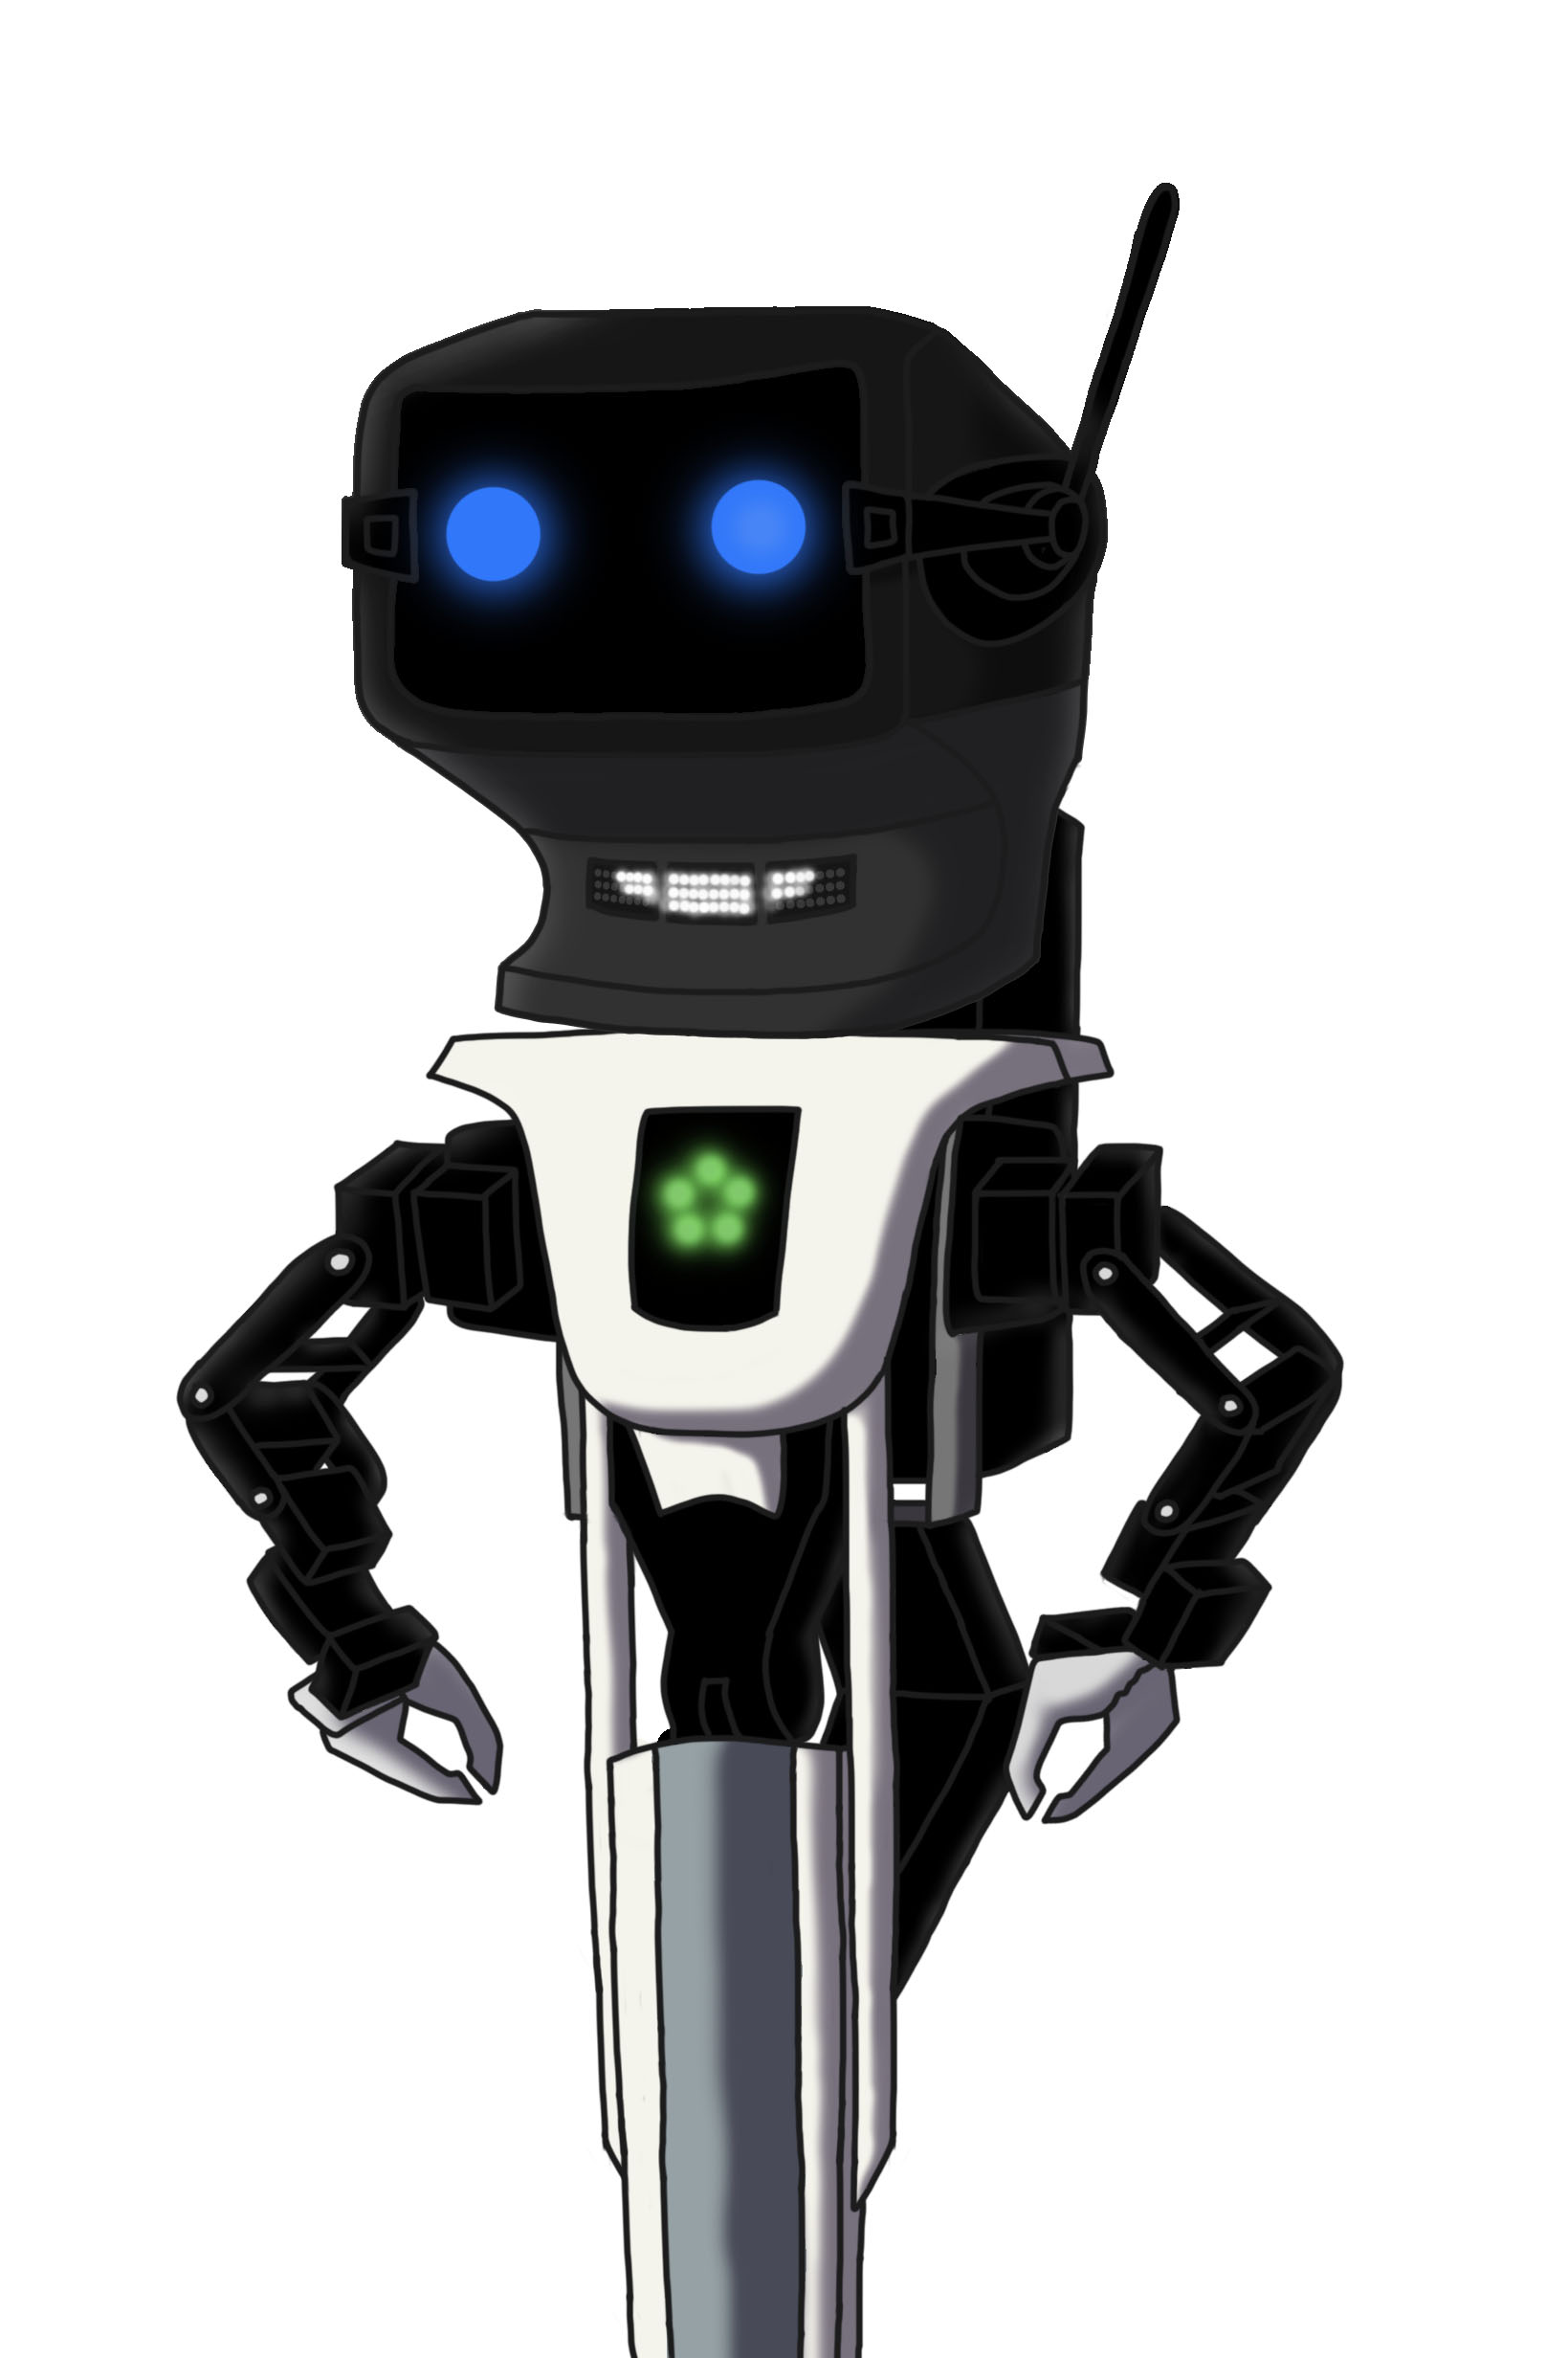
This is the result after adding some effects and shadows.
https://images.hive.blog/DQme6NT92EmBgHARwTYmFtGdVFiNrEj3jGQ7qmzSUBEdc1L/Tek%20c1.jpg
https://images.hive.blog/DQmNbPjSnmjJ6SxSx4m9MVBxSVSjAEJ9LBFLDQiGcMCJ8FV/Tek%20c2.jpg
This is how it looks compared to the real-life version.
https://images.hive.blog/DQmS4zKAt1qBwJ76qSxPMRDDDQocxYE8jrFaC91bpnnYb9u/portada%20imagen.jpg
If you are interested in learning more about the real robot I am creating you can follow my account @warrior.tech, which I started to share posts about electronics and robotics.

Greetings again to all the community! In this opportunity I share with you the drawing process of a character that I am developing for a personal project. It is a robot that I am actually building in real life. I hope you like it.
Saludos nuevamente a toda la comunidad! En esta oportunidad les comparto el proceso de creación del dibujo de un personaje que estoy desarrollando para un proyecto personal. Se trata de un robot que de hecho estoy construyendo en la vida real. Espero que les guste.
I used the following materials and tools:
- Recycled paper
- Pencil
- HP Photosmart C3180 Scanner
- Desktop PC
- Adobe Photoshop CC 2019 Software
Los materiales y herramientas usados fueron los siguientes:https://images.hive.blog/DQmTEPvjhX8RPNYcDosDU4Ko5tGCXaMvwC6yNRJ4dabLcnP/separador%20negro%20y%20rojo%20NUEVO.png
- Papel de reciclaje
- Lápiz
- Escáner HP Photosmart C3180
- PC de escritorio
- Software Adobe Photoshop CC 2019
First, I made the sketch by hand on a recycled paper sheet.
Primero, realicé el boceto a mano en una hoja de papel de reciclaje.
https://images.hive.blog/DQmfT6ZGiubMiH484VnR3CDKgv1XYhzh5nD2GaRsnAJAMzb/20240321_093044.jpg
https://images.hive.blog/DQmQhEtjDdXHznsu1sKidsYPNEUZ8vHzXn6e8wZ8zT7HKUg/20240321_093347.jpg
https://images.hive.blog/DQmahDHcaZNaJG6vvNN9aCGozkhCp6ZHgah9jVt9TJETXg2/20240321_094140.jpg
https://images.hive.blog/DQmYUD5pzbU9qNTXGvdFg1WcHeBgTJuaPwFyvxxt3aATJQS/20240321_095312.jpg
https://images.hive.blog/DQmc8uhg9CsGCCqfXKMjbqEn3frhym6j7oU6NnW2uZSiyBM/20240321_100531.jpg
https://images.hive.blog/DQmVYjFGHN3Uivzg5VZpvxyX7UhMjkoczUmoQVrWTpoy2CM/20240321_102151.jpg
https://images.hive.blog/DQmV12H2Bun7GQwRoT66VvKGESYsBtBegVxXYJwA6y9def6/20240321_102909.jpg
https://images.hive.blog/DQmcqpC6Gwof8JnTbhYxHvFPG6cJzesz43CSF7MaPp4sFSs/20240321_105439.jpg
https://images.hive.blog/DQmTEPvjhX8RPNYcDosDU4Ko5tGCXaMvwC6yNRJ4dabLcnP/separador%20negro%20y%20rojo%20NUEVO.png
The next step was to scan the image and open it in the Photoshop design Software. I traced the outline of the drawing with the pencil tool on a new layer, the result is shown below.
El siguiente paso fue escanear la imagen y abrirla en el Software de diseño Photoshop. Tracé el contorno del dibujo con la herramienta lápiz en una capa nueva, el resultado se muestra a continuación.
https://images.hive.blog/DQmNTZhxmvjgkhECbinK1yMCE2oR6SEPzZS7tUc52ypg2qJ/Tek%20a0.jpg
https://images.hive.blog/DQmScAiAWyzN2pusxSmUCmGuEVzBzcnU5tfYGPbCaejyRMC/Tek%20a1.jpg
https://images.hive.blog/DQme7qiFdKmtv38yqwqJnuMAYUap2cx7Y6jUsEmTnAEPag1/Tek%20a2.jpg
https://images.hive.blog/DQmSe8jXgas8DYaf37szyXMtuTQ5Yu9bkqHAPRa9ZpSTaES/Tek%20a3.jpg

Then I added color to the illustration.
Luego agregué color a la ilustración.
https://images.hive.blog/DQmNXCndAUjFZqkgL9UEg38LgHC1Uetq9T9oXXgZfsAidgd/Tek%20b1.jpg
https://images.hive.blog/DQmWNXwwYZwzTe78Q9Ey5XnyEi5mcBn5LUzExRYZ26MF92L/Tek%20b2.jpg
https://images.hive.blog/DQmeetAUB3K3jzSZLKRrMjpbDrgdXssUG1VkLziZDzuwMoy/Tek%20b3.jpg

https://images.hive.blog/DQmTEPvjhX8RPNYcDosDU4Ko5tGCXaMvwC6yNRJ4dabLcnP/separador%20negro%20y%20rojo%20NUEVO.png
This is the result after adding some effects and shadows.
Este es el resultado después de agregar algunos efectos y sombras.
https://images.hive.blog/DQme6NT92EmBgHARwTYmFtGdVFiNrEj3jGQ7qmzSUBEdc1L/Tek%20c1.jpg
https://images.hive.blog/DQmNbPjSnmjJ6SxSx4m9MVBxSVSjAEJ9LBFLDQiGcMCJ8FV/Tek%20c2.jpg

This is how it looks compared to the real-life version.
Así se ve comparándolo con la versión de la vida real.
https://images.hive.blog/DQmS4zKAt1qBwJ76qSxPMRDDDQocxYE8jrFaC91bpnnYb9u/portada%20imagen.jpg
If you are interested in learning more about the real robot I am creating you can follow my account @warrior.tech, which I started to share posts about electronics and robotics.
Si les interesa saber más del robot real que estoy creando pueden seguir mi cuenta @warrior.tech, que inicié para compartir publicaciones sobre electrónica y robótica.
