
Materials
- Smartphone, tablet, computer or graphics tablet.
- Autodesk Sketchbook or any other drawing application.
- Dedication and free time.
Process
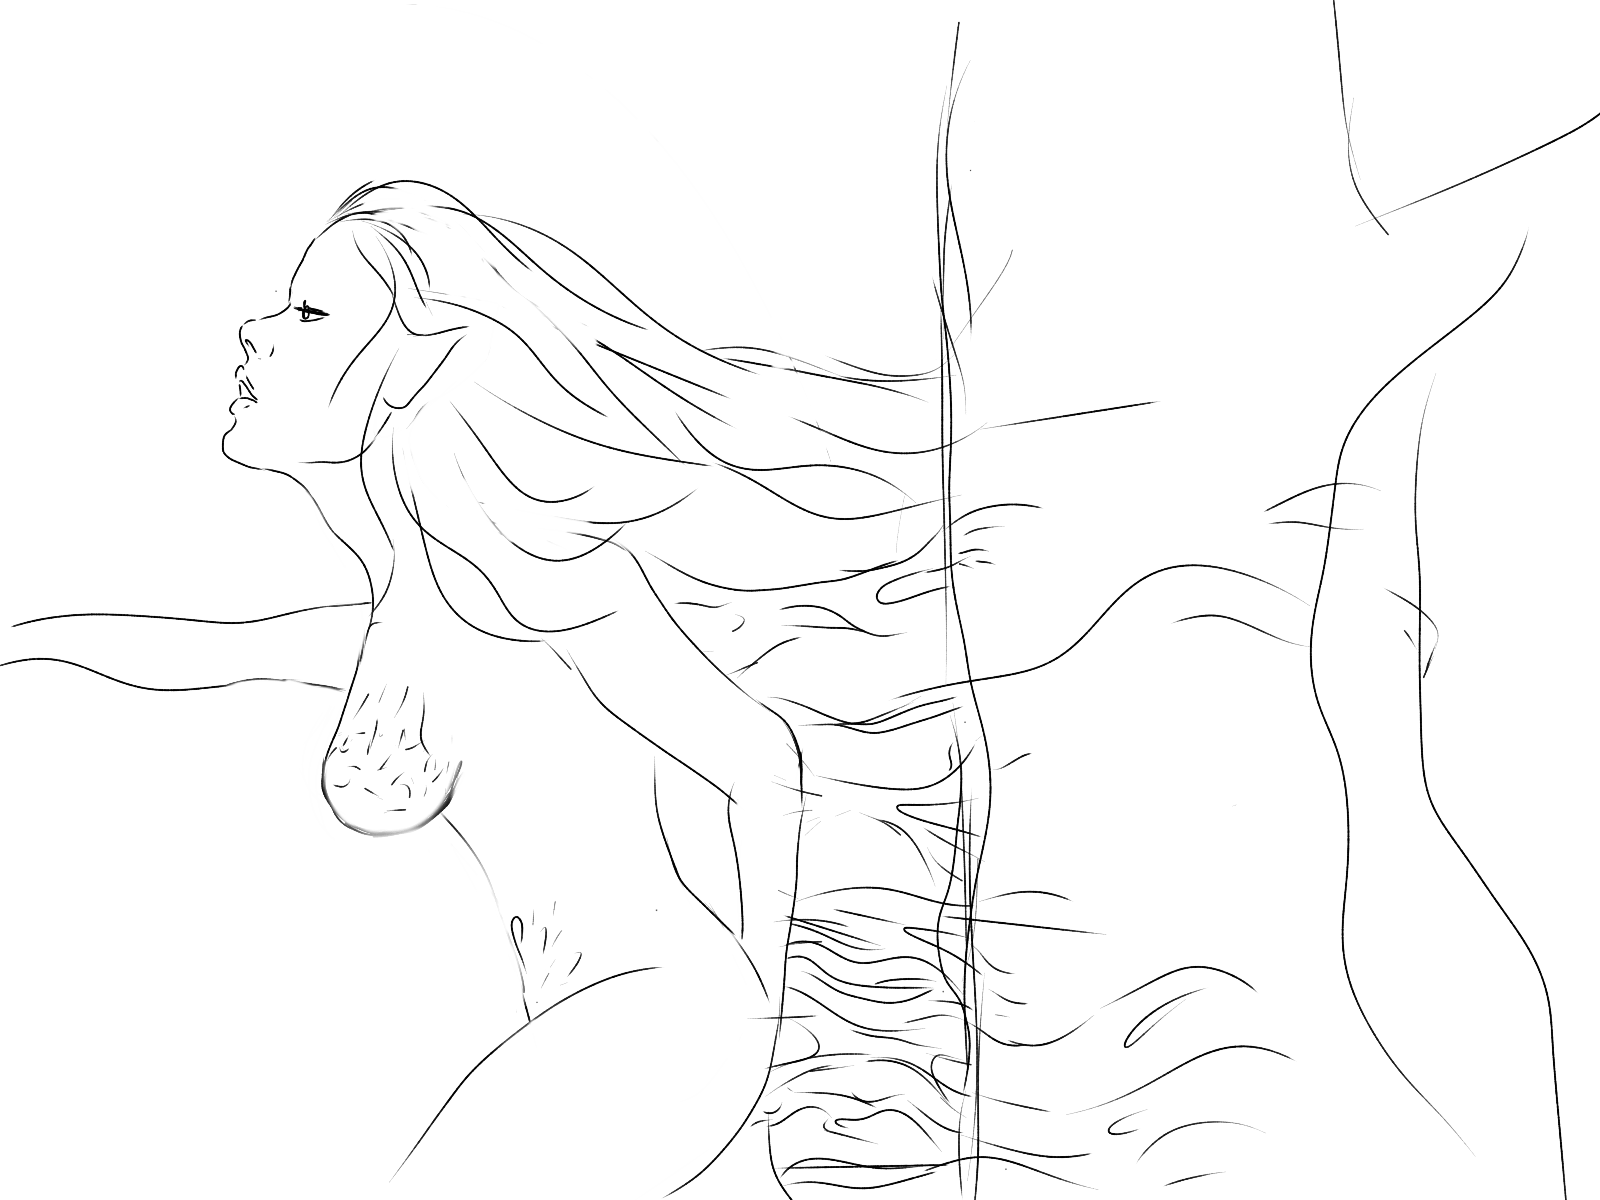
The first step in any illustration, whether in traditional or digital drawing, is the sketch, in it we will express and organize on paper or screen, the idea that is in our brain. When it comes to digital art, the elaboration of the sketch tends to become more versatile and easy, since we can start with a few "stripes", and polish it up to give shape to our ideas. The final shape of our sketch is what is known as Lineart, which will serve as a base or guide to start coloring, depending on your style of drawing or the result you want to achieve, it is your decision whether or not to keep the outline until you complete your drawing.
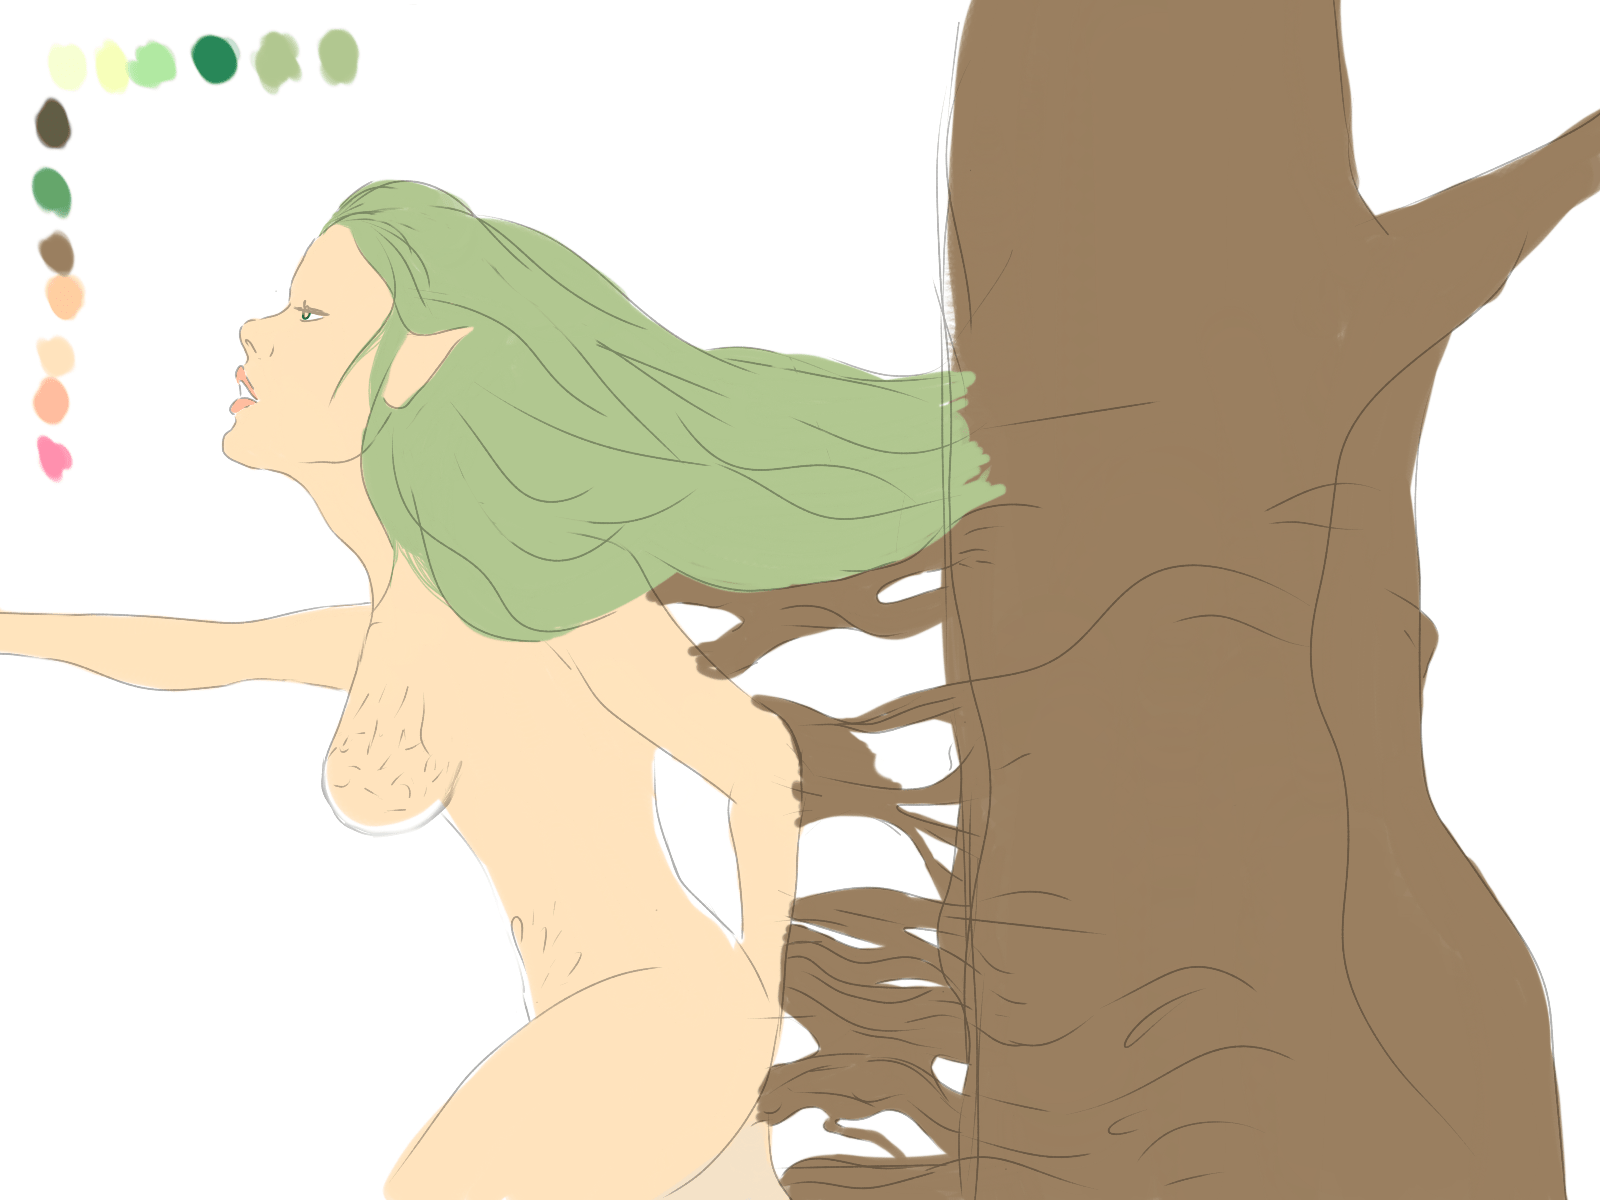
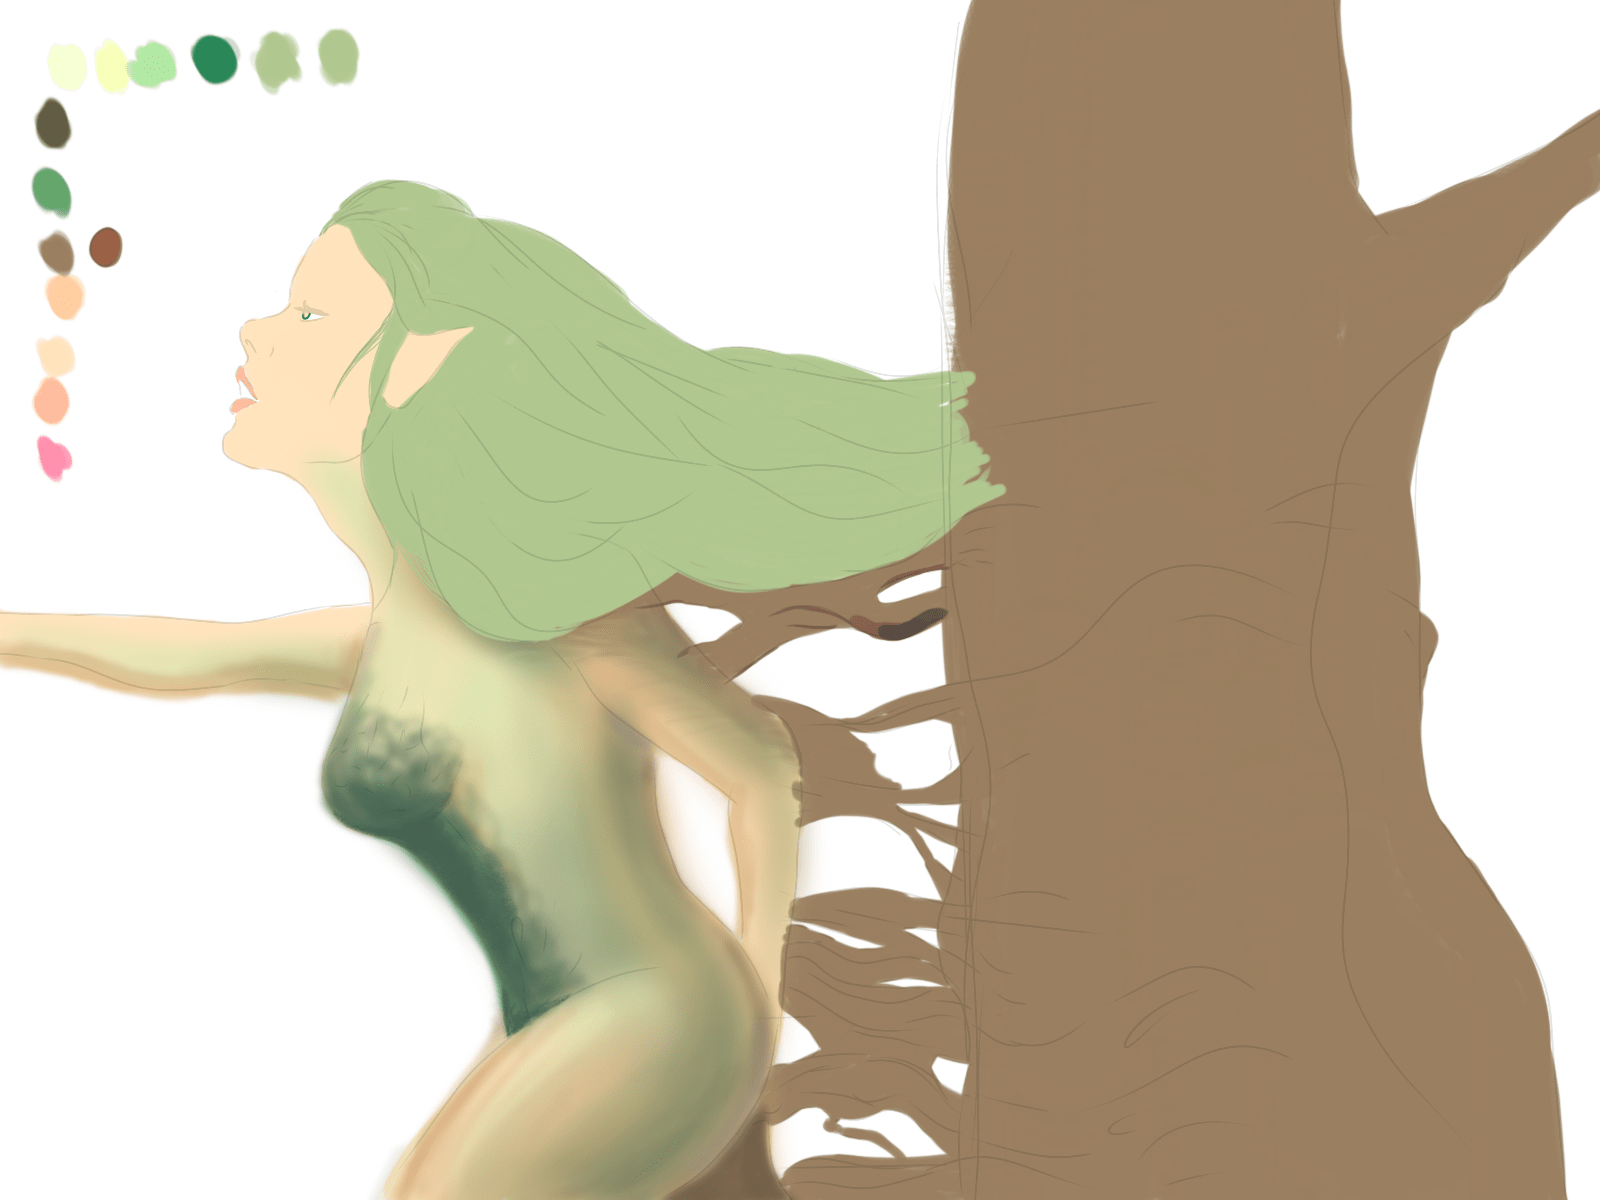
--- --- ---As I mentioned earlier, the Lineart will be our guide to start the Colored. Initially, it is recommended to apply only the base colors of our drawing, as you can see, I have applied 4 shades of color, which are distributed among the areas of the lips, skin, hair and trunk of the tree.
Also, I have selected the color palette that I will use for the shading, these can vary as you advance in the illustration, remember that the digital art, allows you to experience many things and techniques without damaging your work, or at least not completely.
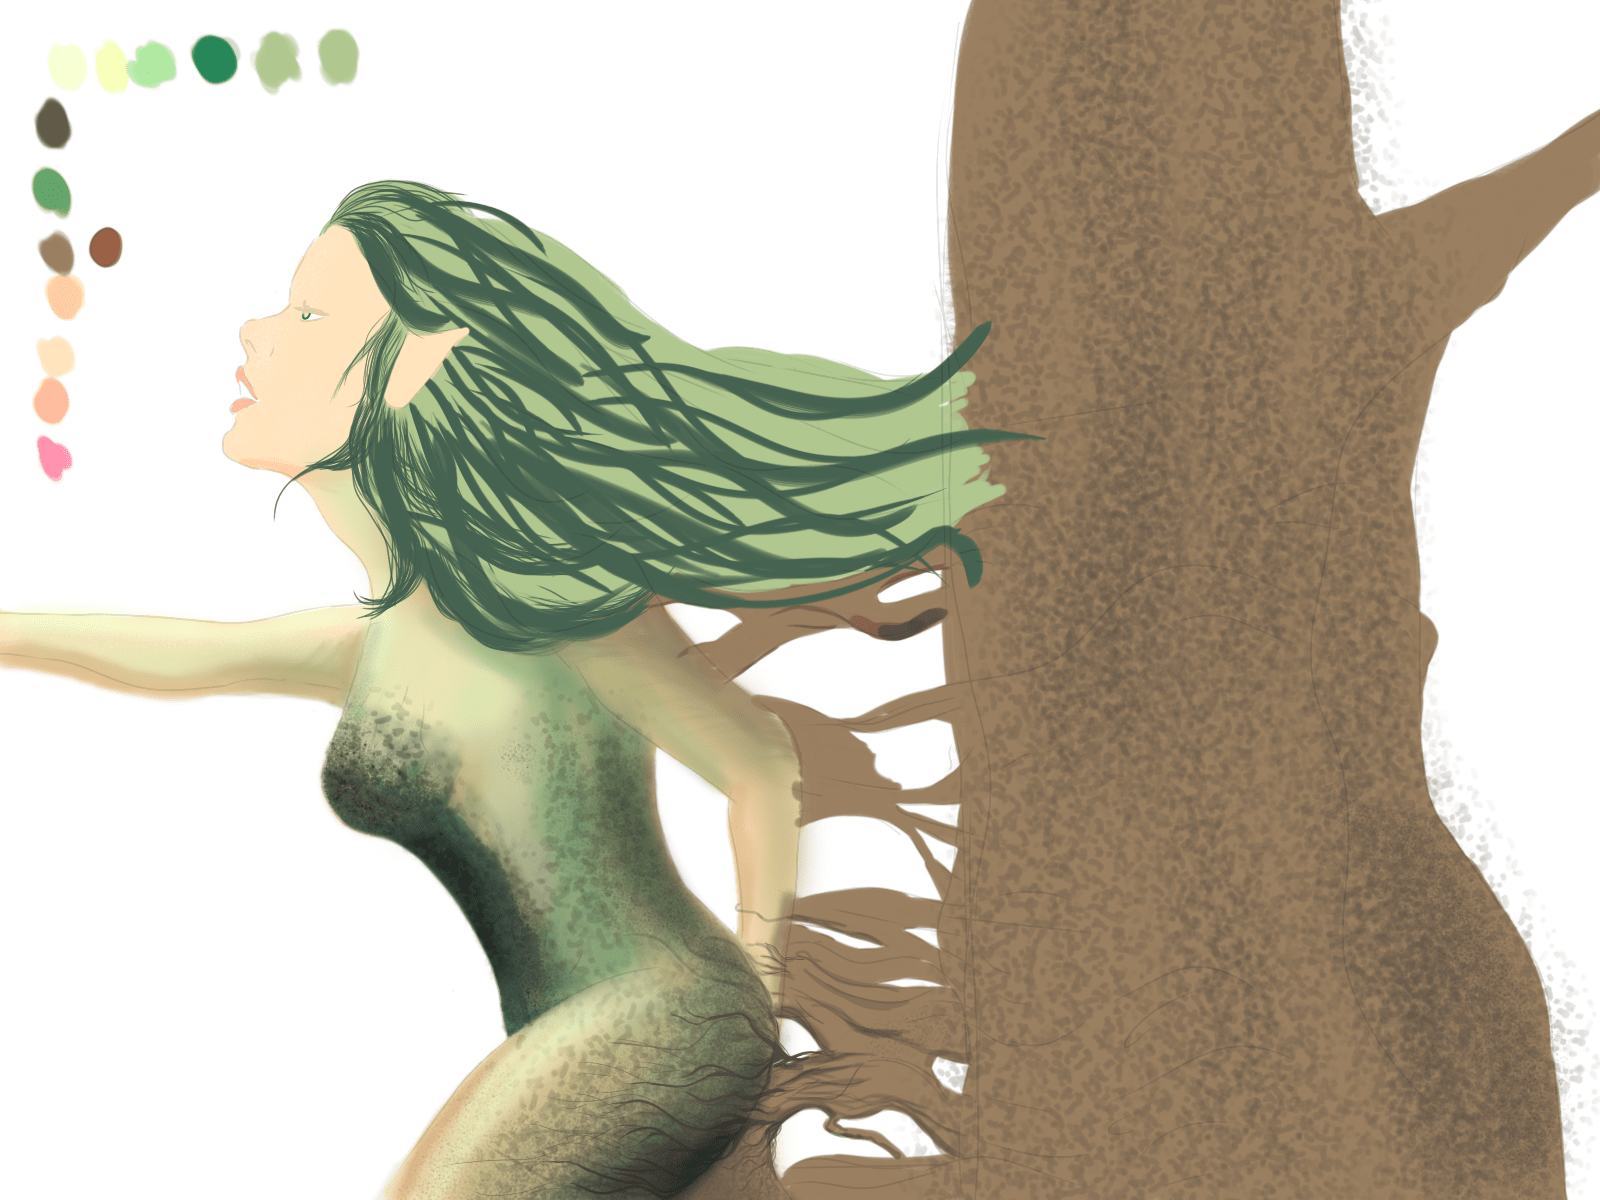
Once we have visualized the colors we want to apply, we will proceed to apply the shading, taking into account our light source, remember that it must "enter, exit or reflect", this means that some areas will be more illuminated, since the light will give on them directly, on the contrary, other stripes will be darker due to the absence of light, and of course we should not forget the mid-tones. Taking into account these three intensities of color, we will achieve greater realism in our coloring.
 |  |
|---|
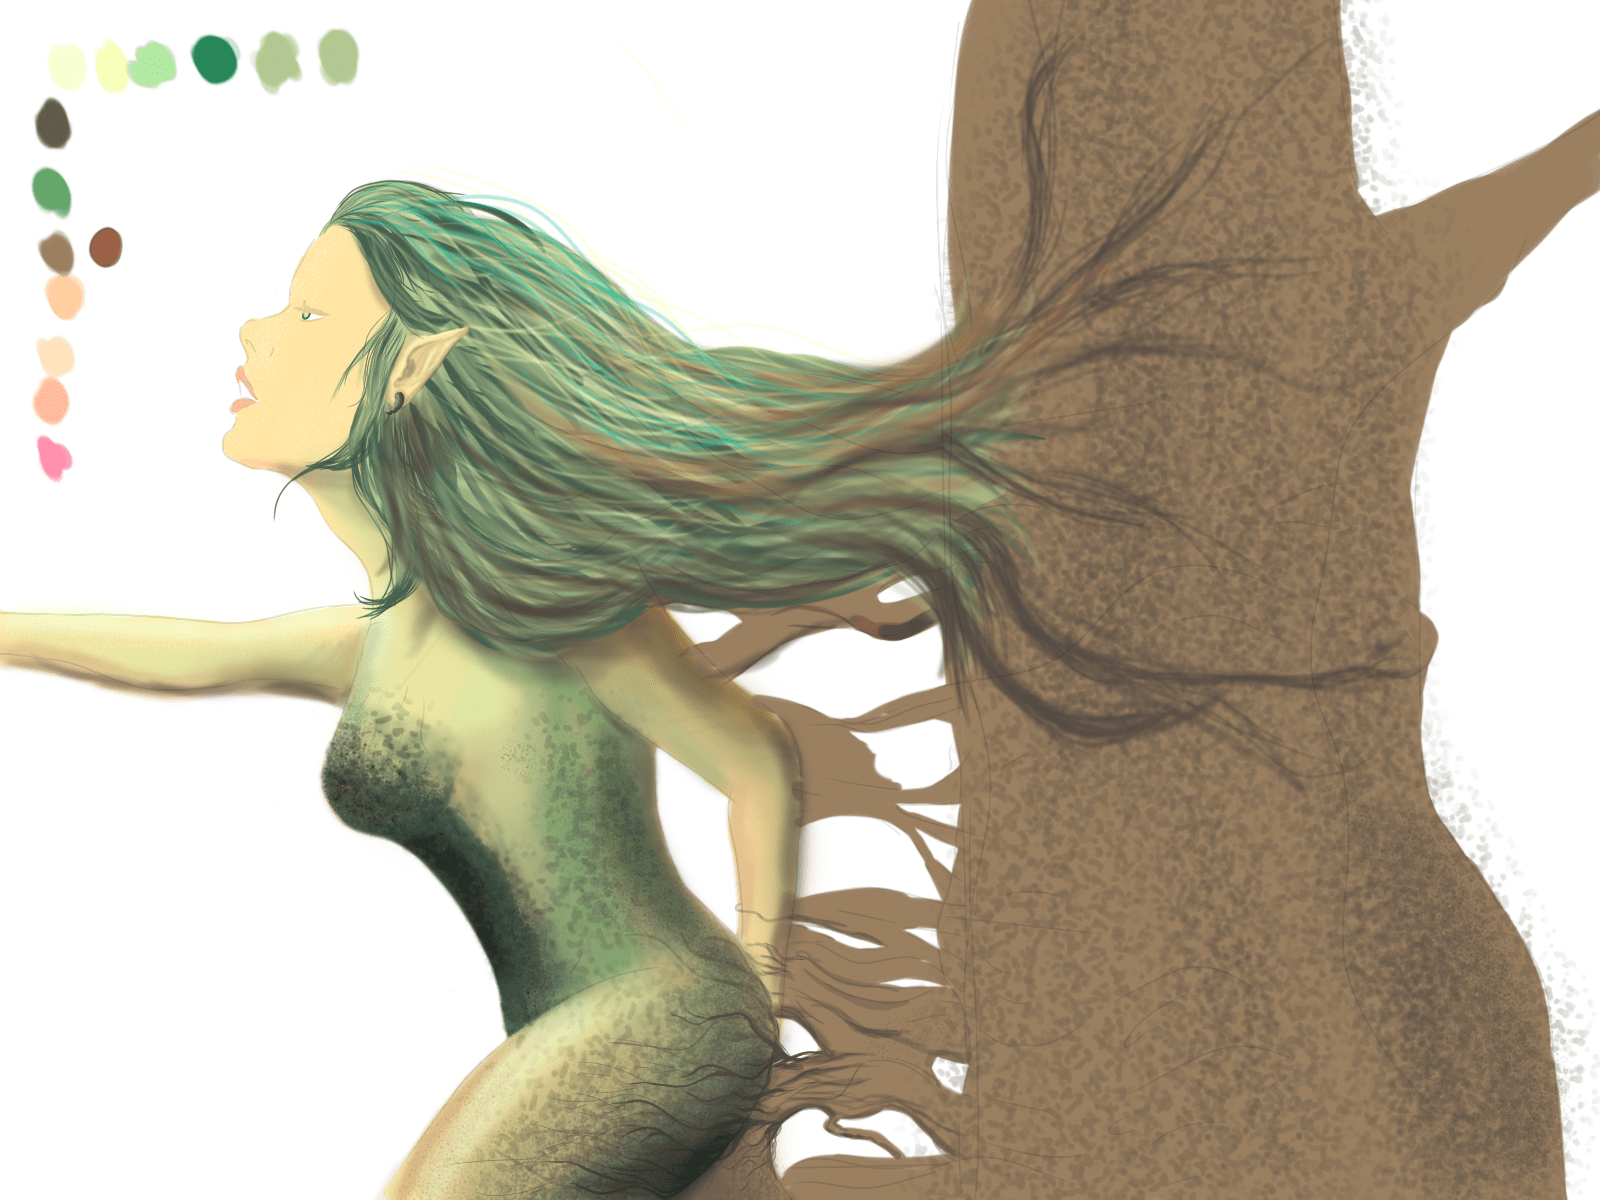
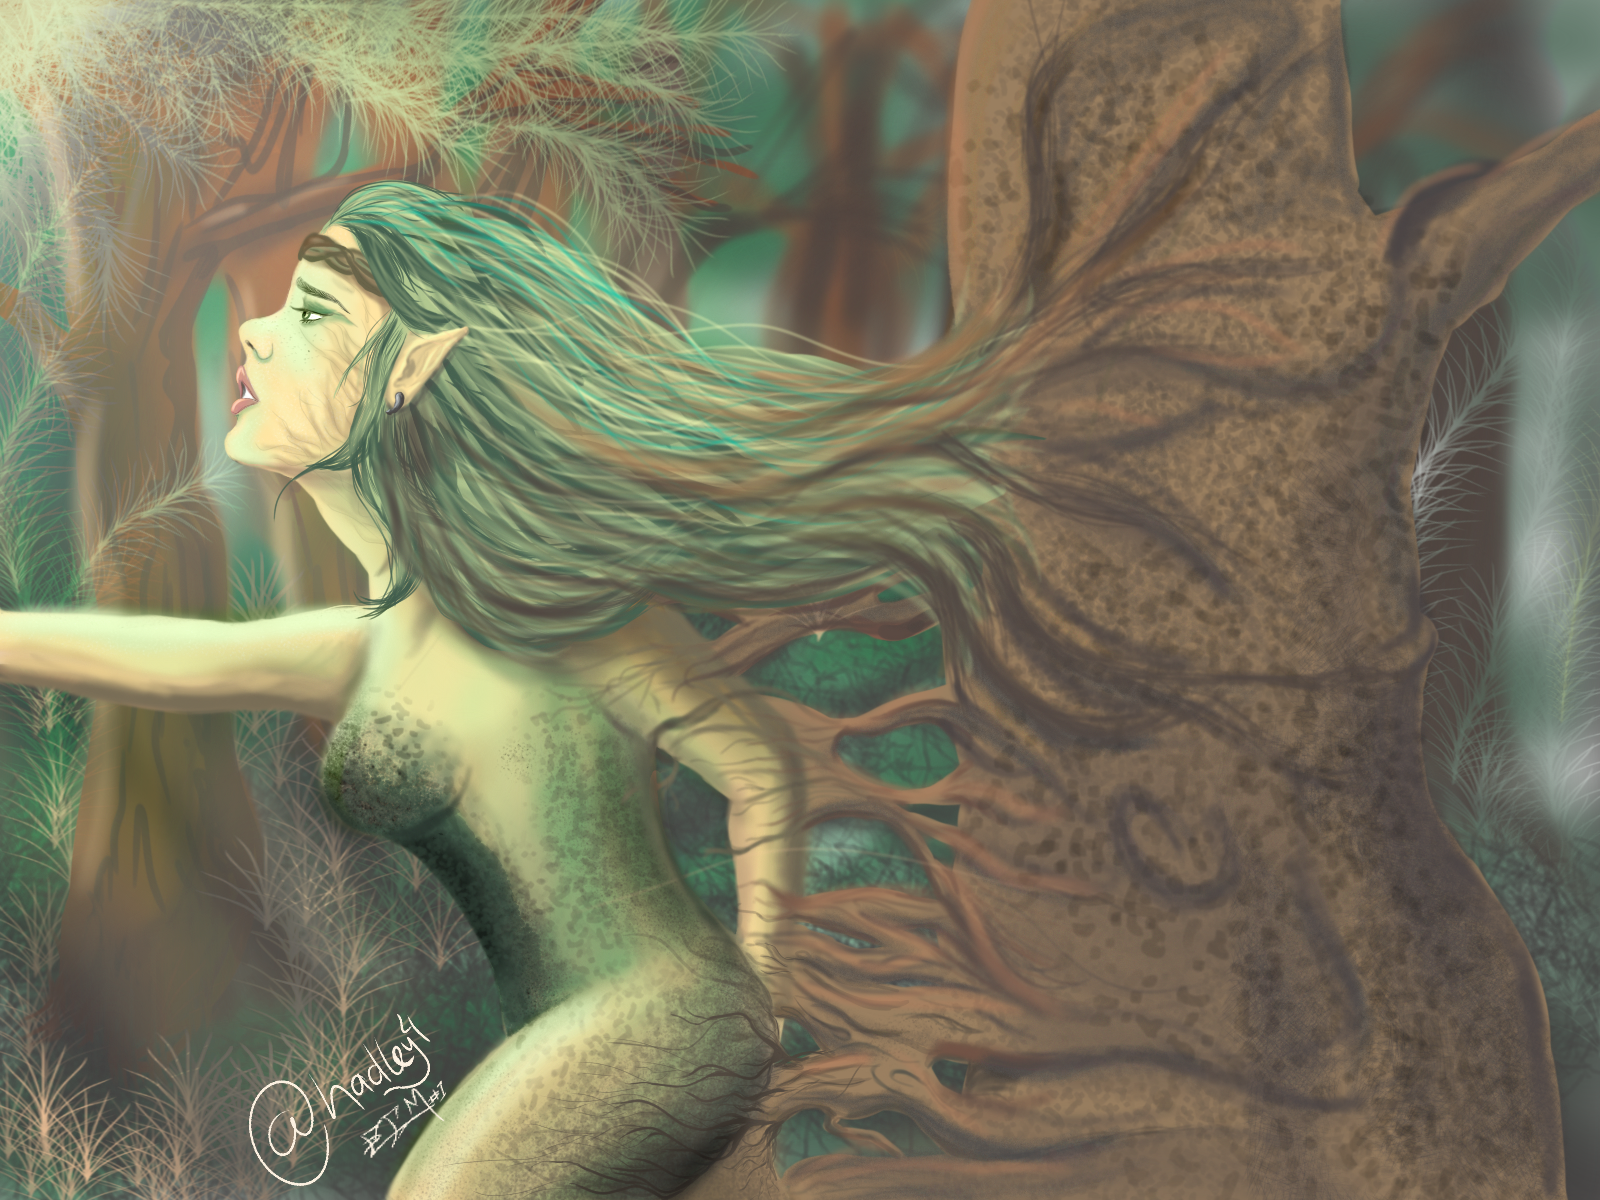
Finally I decided to give color to the face, due to the amount of details required, I had to zoom in about 2000% to define their facial features, as I mentioned earlier, the digital drawing is very transformable and modifiable, this can be seen on the forehead of our nymph, because on it I drew an accessory that was not planned in the lineart.
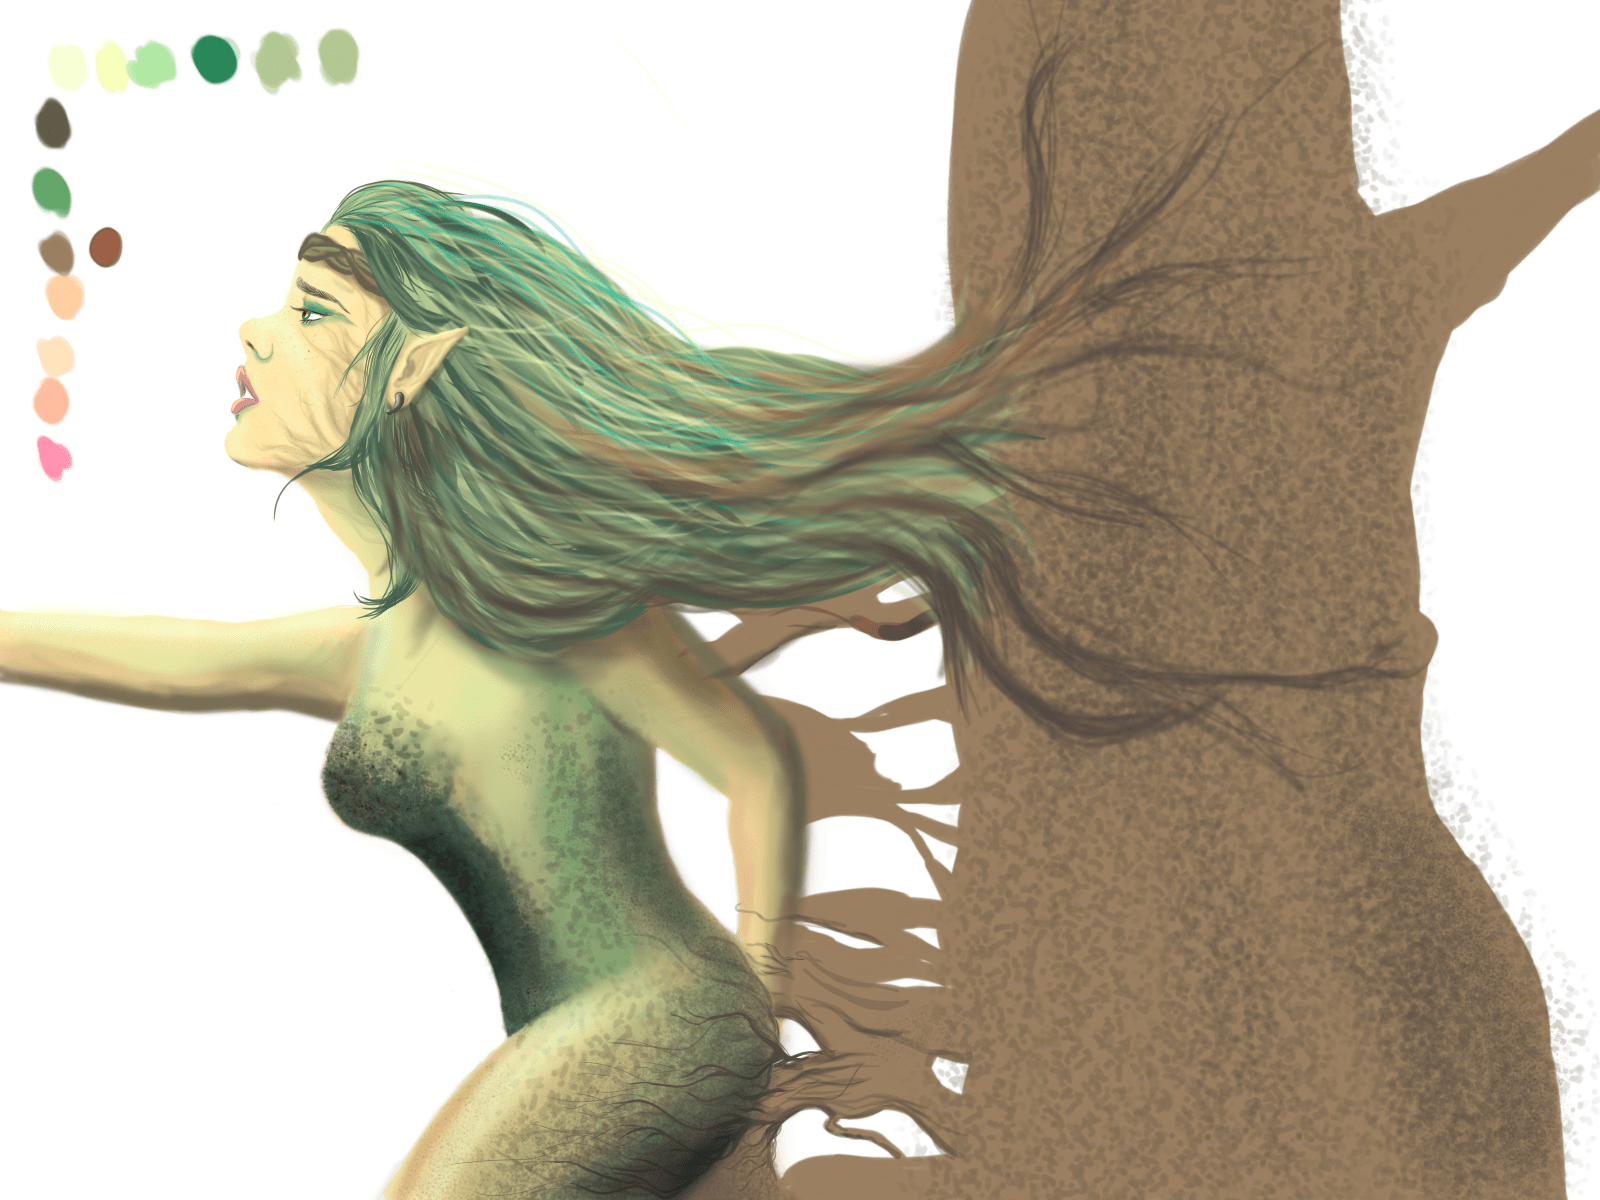
Once our character is fully completed, it is time to complement it, as the white background is usually not very attractive to the eye. To make the background we must have something very clear, it can not steal protagonism or focus from our character, that is, we must get the viewer to turn his gaze immediately to our character, and once you have seen it, proceed to observe the rest.

Compared to the total time it took me to complete the character (about 10 hours), the background was really fast (about 1 hour), as it didn't require much detail and I had a clear idea of what I wanted to capture in it. Of course, my signature and user could not be missing, which have been added in a place near the spotlight of this beautiful Dryad.
I hope you liked this illustration, if so, you can support me with your vote, you can also click on that beautiful reestem icon and of course don't forget to comment and tell me how much you liked this drawing and what advice you have for me. Soon I will be uploading a tutorial on the use of this wonderful drawing app, so that you can make art wherever you are.

This work is licensed under a Creative Commons Attribution 4.0 International License..
If you want to reproduce or reuse it, don't forget to give me the corresponding credits. --- ---
Thank you for your support